3D Printing Tips for Keyboard Case Design
An AK64 Breakdown - Part 1 of 2 (will add a second part soon)
Overhangs
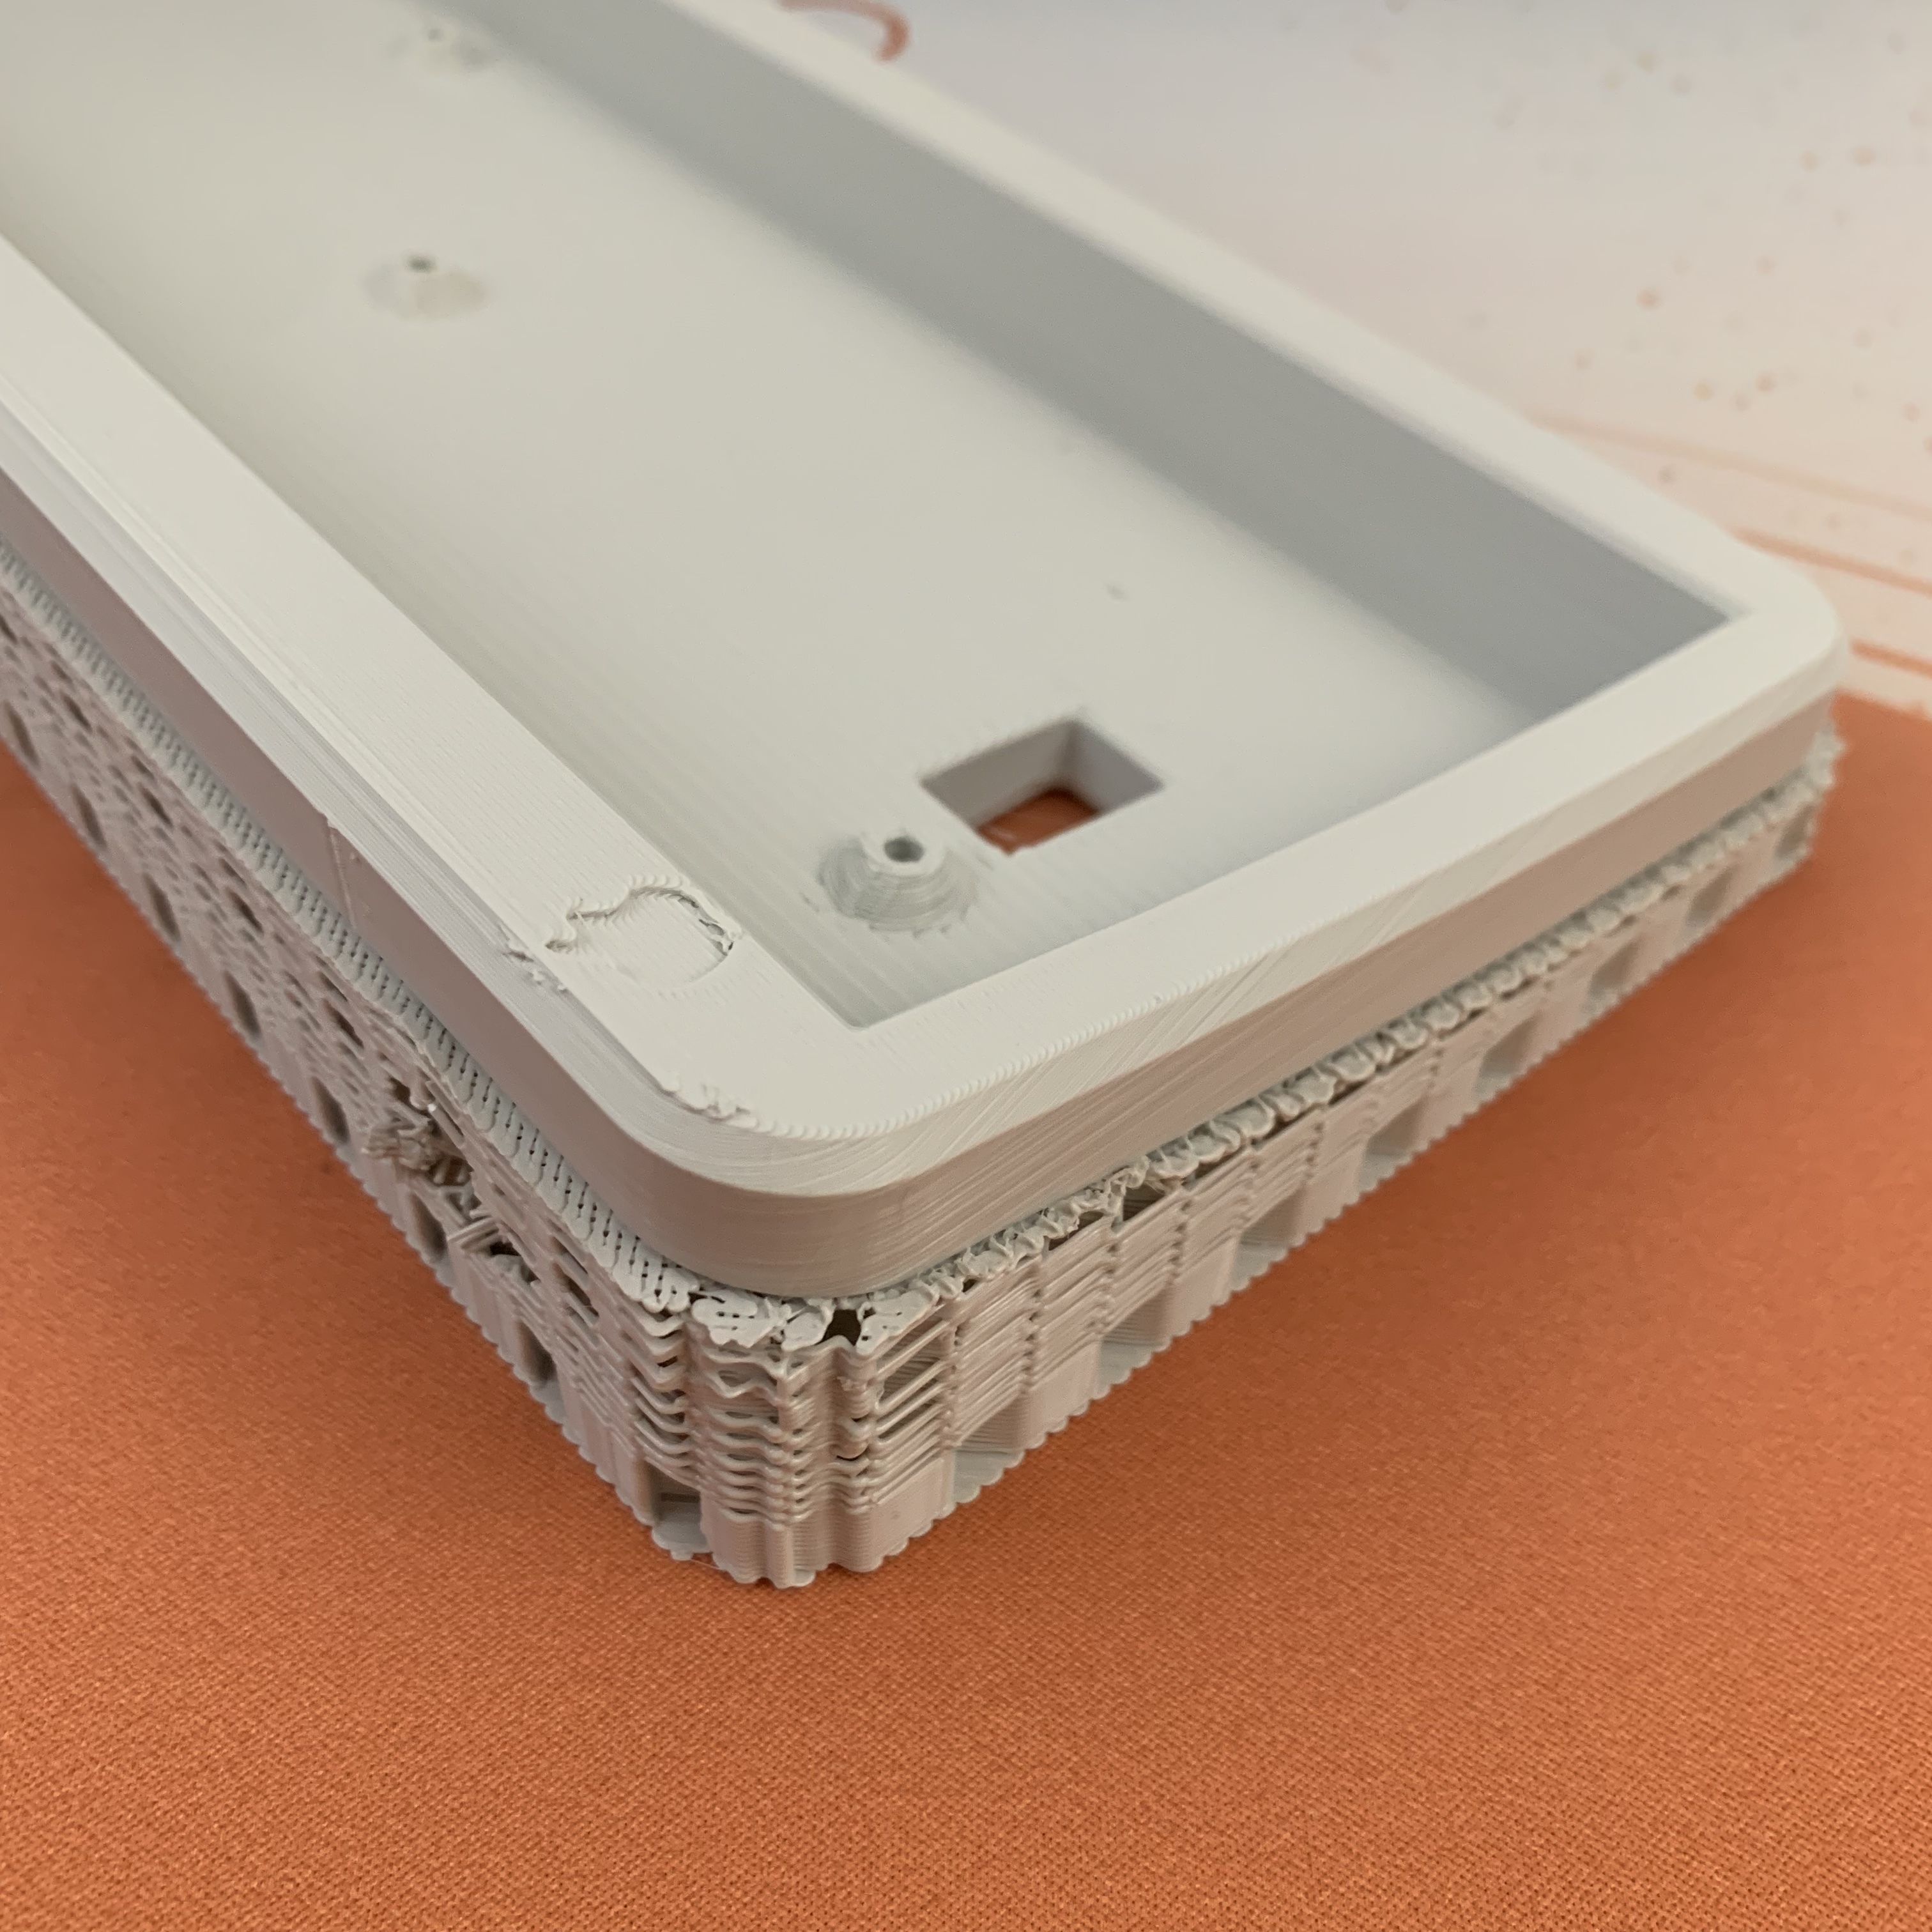
The photo above is the ADK64 exactly as it comes off the printer. The ADK64 has 90 degree overhang “ledges” all the way around the rim of the case, which is one of the more difficult features to 3D print.
My overhang support (the “scaffolding” in the photo) setup involves printing supports wider than the overhang, then I take a chisel and align it against the support edge and break it away with a tap from a hammer against the chisel handle.
When designing, instead of a 90 degree angle, usually anything up to a 50 degree angle is easily printable without supports, which saves both plastic and the time it takes for support removal.
Angled Cases
3D printers create layers in “slices” based on a setting within software. Standard settings are 0.3mm thick and the highest resolution setting is usually 0.1mm thick. That height usually should be between 25% to 80% of the nozzle width used - so a 0.4mm width nozzle can print from 0.1mm to 0.32mm layer heights.
To print smoothly, it’s best to stick with angles of at least 20%. The smaller angles don’t slice as well at 0.3mm layer heights. The screenshot below is the ADK64 if it had been sliced at only 0.3mm layer heights, and you can see the less angled bottom bezel is not made up of as many slices as the top bezel, which makes it not look as smooth.
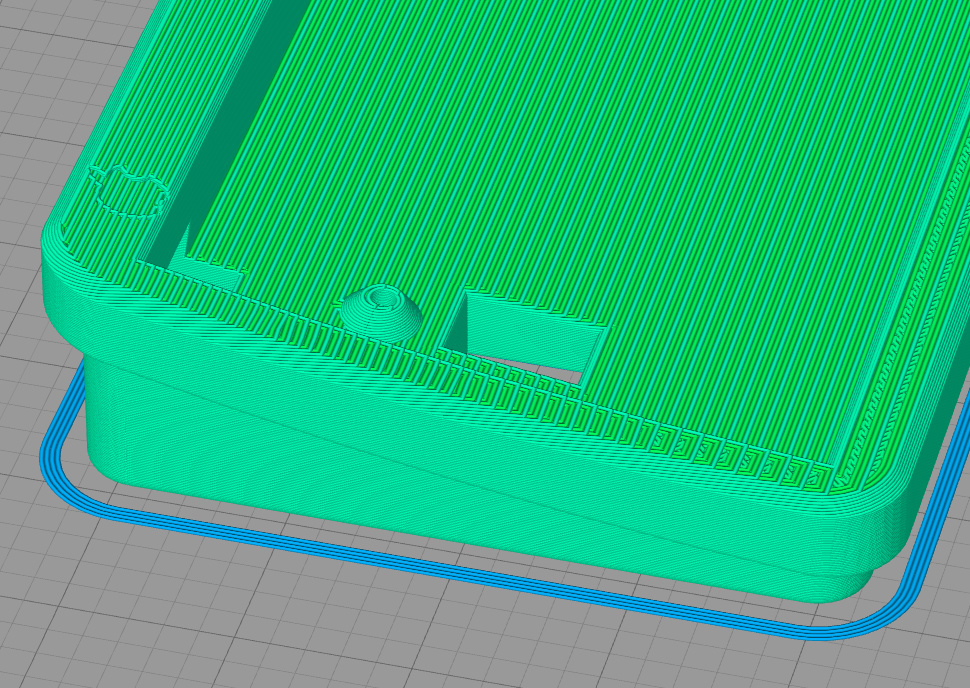
To avoid this, I sliced the ADK64 at 0.3mm until I reached the height of the bottom bezel, then swapped to 0.1mm to create a smoother bottom bezel.
If the entire top surface of your case design is created at the same angle - the printer can stay at the same layer height for the whole print (you can see the layer change on the right side in the ADK64 prints - perhaps due to a glitch or the way the code takes a moment to switch slicer settings over).
The trade-off for 0.1mm layer height resolution is the printing time starts to approach 24 hours or longer, so it results in more expenses in machine time and more expensive 3D prints.
For my designs, I’m currently making flat designs, but I stock 10mm tall feet to offer with cases as a simple way of angling them.
The bottom of the ADK64 case also uses more plastic than a flat design because of the angle. Having a flat case bottom (hidden under the PCB anyway) and only angling up the risers would be a design suggestion if you wanted to save plastic and print time for a 3D printed angled case design.
Printer Suggestions for Newbies
I’ve been 3D printing since 2014. It takes a unique balance between your slicer settings, your printer firmware, CAD design, and your printer hardware to reach reproducible results when printing large scale prints.
I modify even small design features in CAD specific to my printer layout, so that’s one advantage I have as both a designer and 3D printer.
For getting started, I’d recommend designing a case for a smaller PCB, like the Novelkeys NovelPad, and using a cheaper printer, like the Monoprice Mini Select (or the Prusa i3 MK3 for advanced or technical users).
The larger prints become exponentially more complicated and require longer print time and better printer hardware and software, but the Prusa i3 MK3 has all the best current parts that I would feel comfortable running longer prints on.
A Monoprice Mini Select may break after several months, but for getting started and tinkering, under $200 is a good price for a learning machine. Run it frequently within the warranty or return period to make sure you can return or exchange it if it breaks.