Bag lube, spraying springs, and paintbrush lubed stems vs. bag lubed stems

Sorry in advance for the crappy quality, I didn’t have a better camera available to use. I was using my phone to stream. I’ve never done this before.

The phone battery died before I finished, but this was only after I was almost done (assembling the switches) so if you are curious about bag lubing it’s covered in this video.

Opening the switches starts at about 15 minutes.

Lubing the bottom housings (paintbrush method) starts at 28 minutes.

I also lube my springs in an unusual way, which starts at about 58 minutes in.

If you just want to skip to the bag lubing part that’s about at 1 hour 13 minutes in

Now, for some comparison pics between the bag lubed stems I made in this video, and a paintbrush lubed stem.


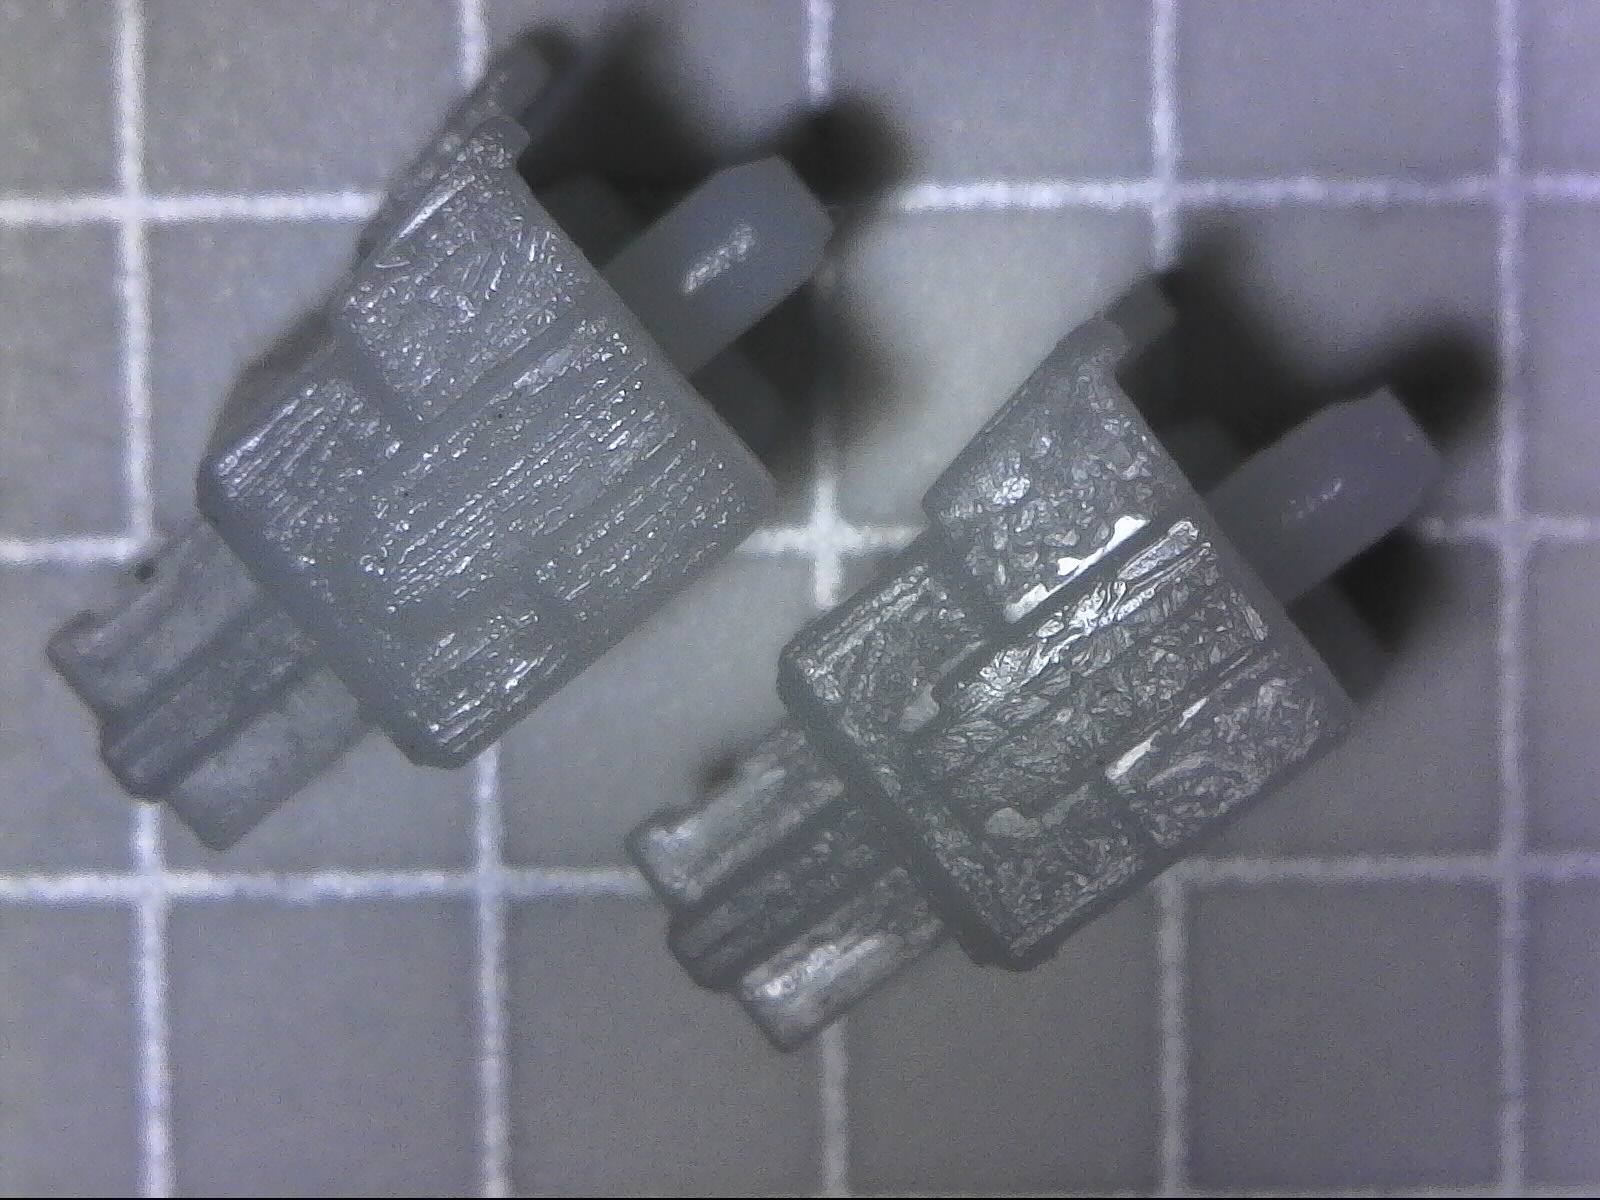
On the left is the paintbrush-lubed stem, on the right is the bag-lubed stem. To better understand how the lube job will affect actual use, I put these stems into the housings and cycled them a few times before taking these pictures. As you can see, the coverage looks quite good, but not perfect, using bag lube method. You can see some small dry areas right next to the rails on the side of the stem. Does it matter though? Stay tuned, the answer lies below!


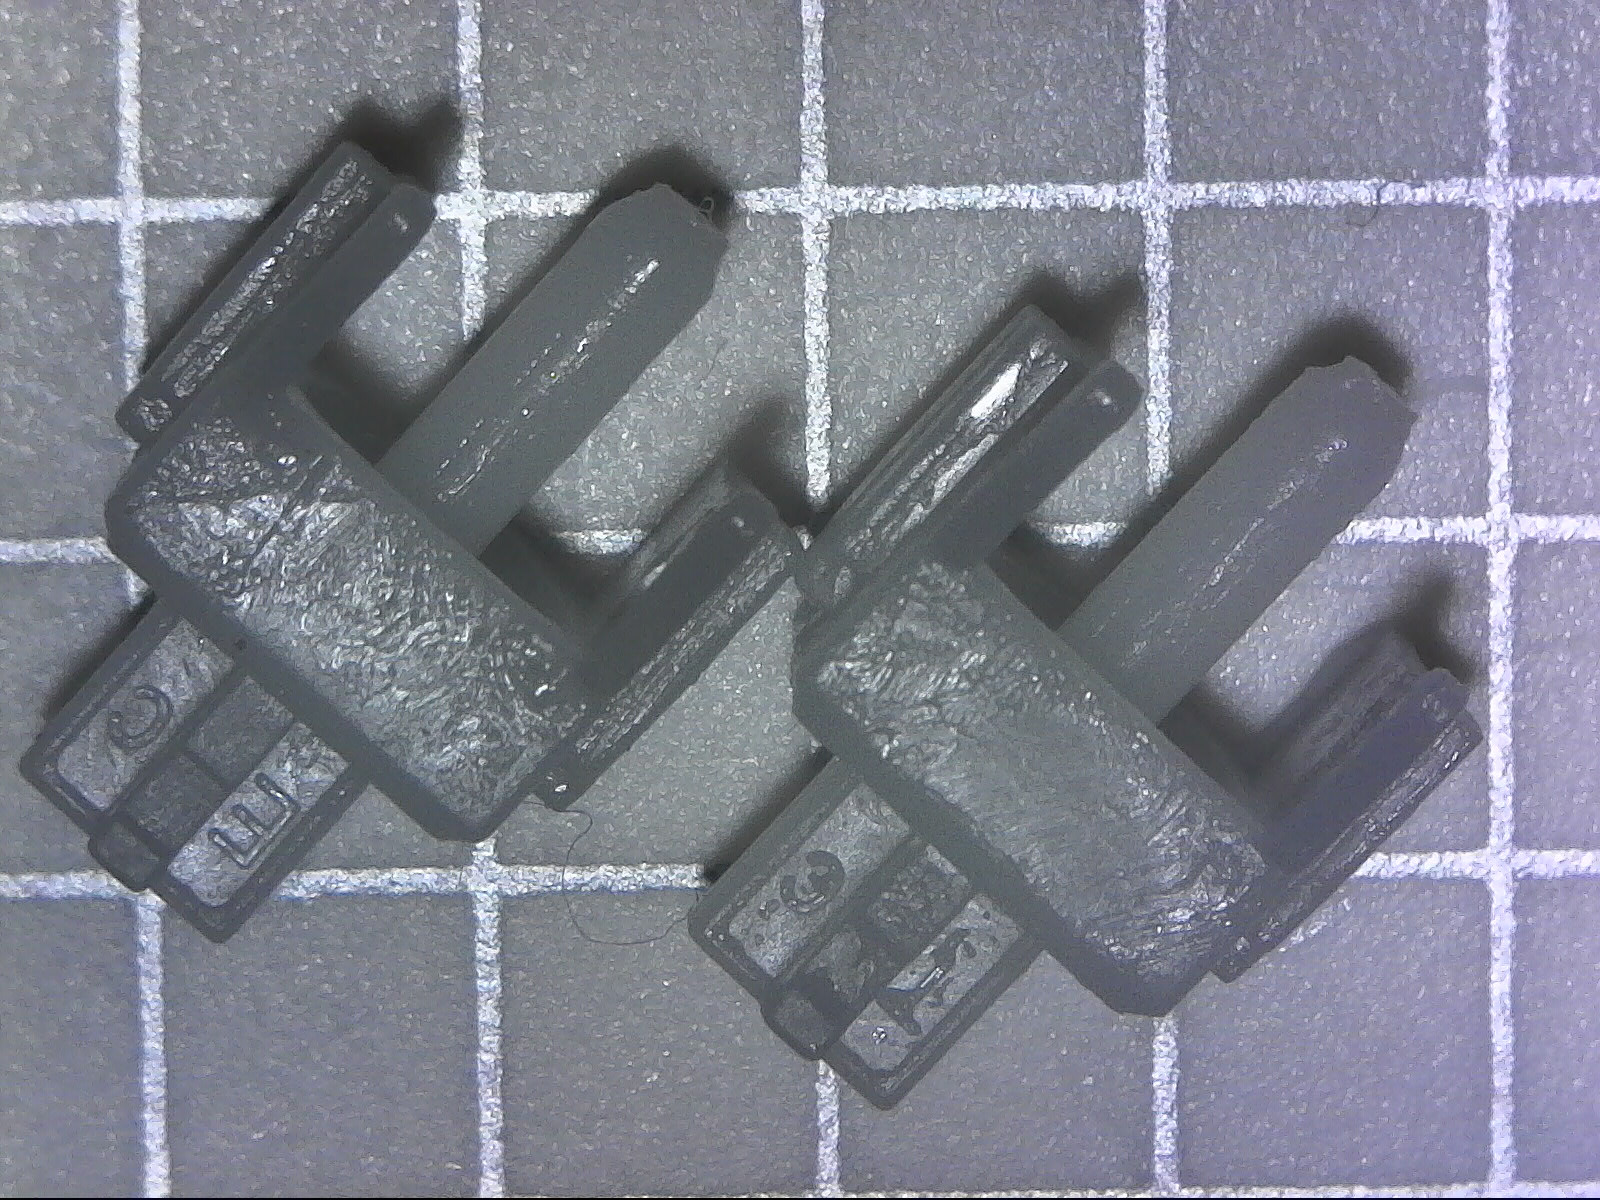
Here is another angle, again paintbrush-lubed is on the left, bag lubed is on the right. Coverage looks fine to me here.


This is the bag lubed stem. Focus is on the leg. You can see it’s greased.


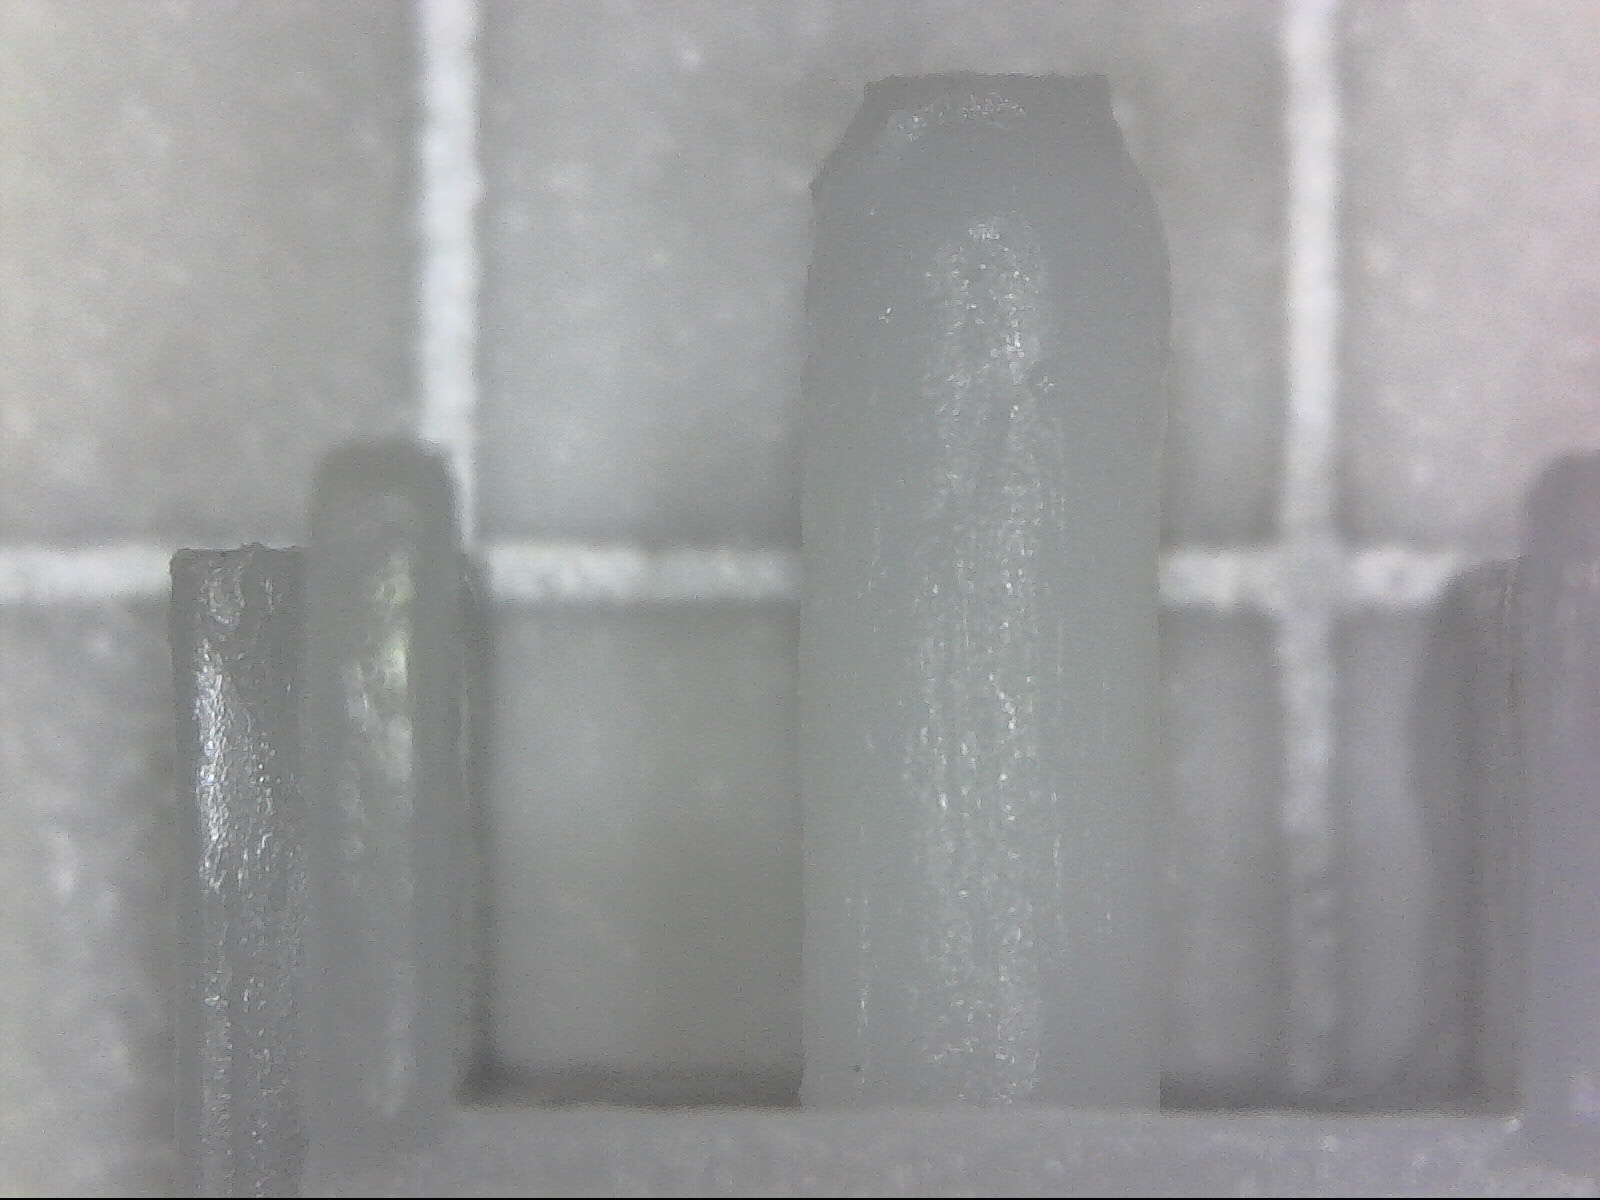
Bag lubed stem again, focus on the side of the rail (far left part). You can see lube coverage looks fine, and you can see some lines where the lube might have been smeared due to contact with the switch housing. This looks good to me.


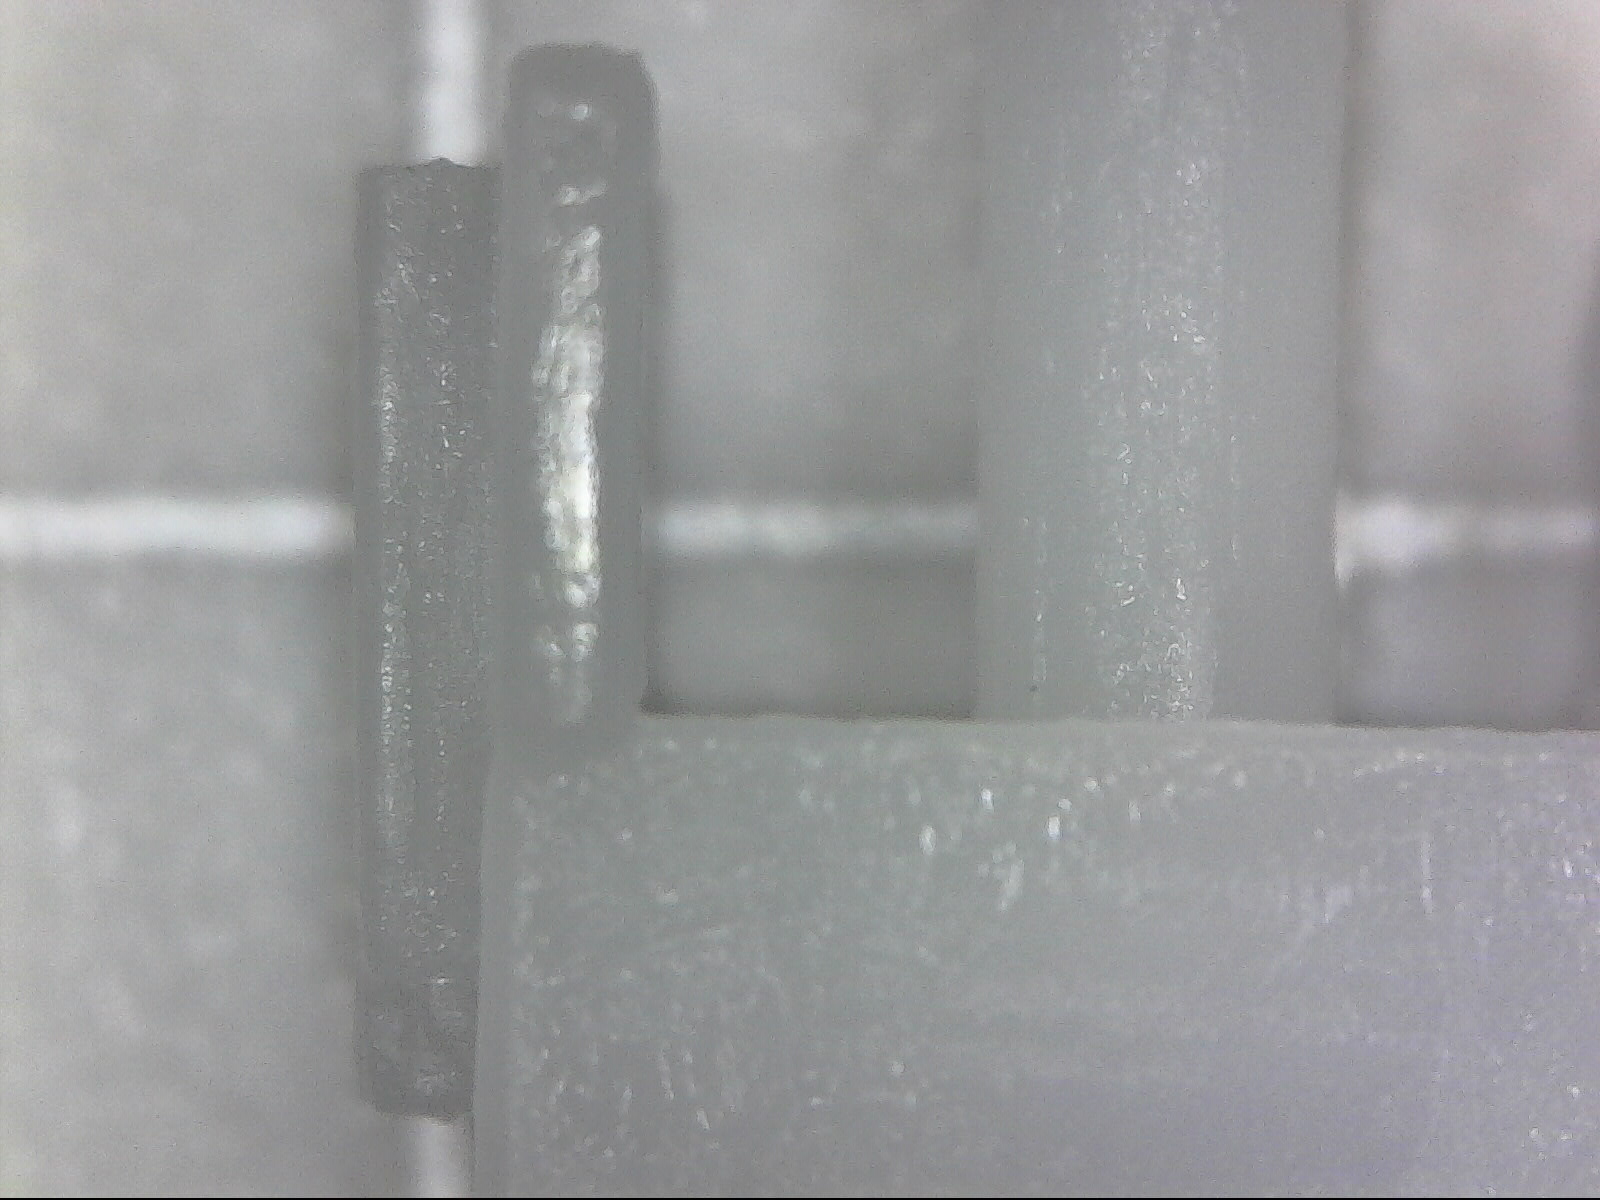
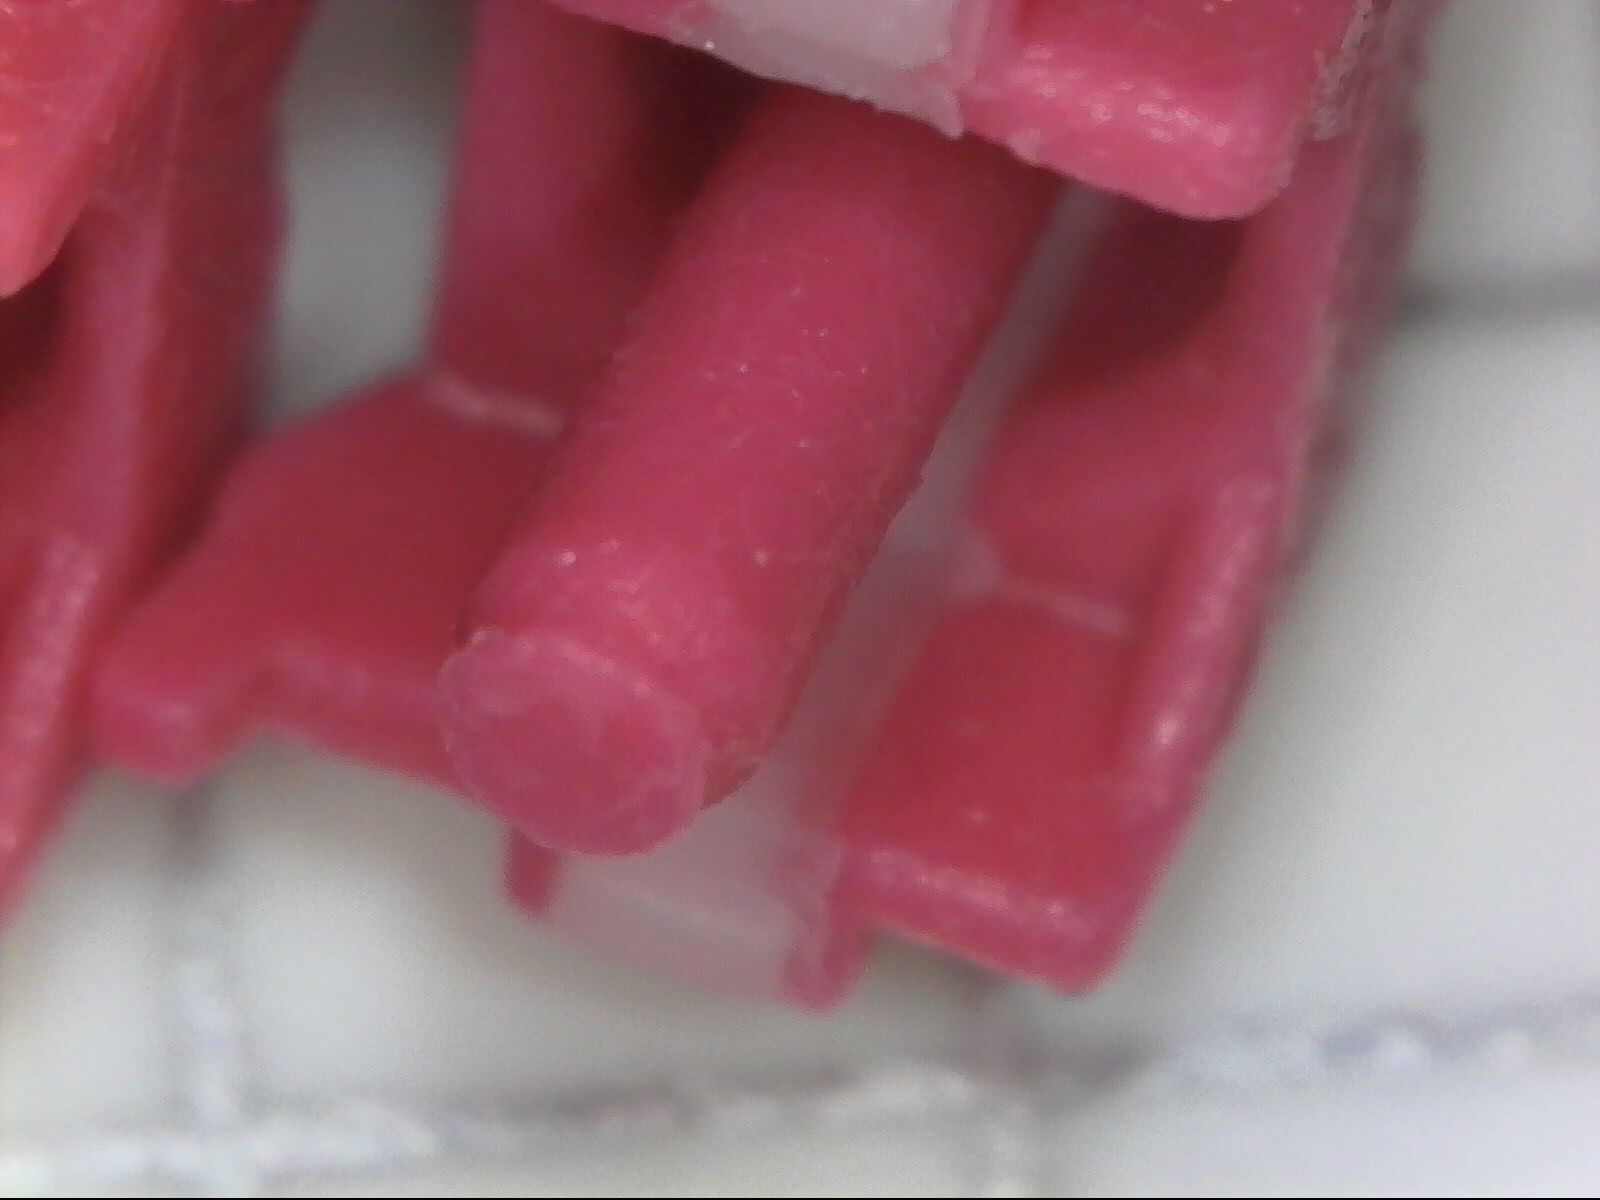
Another shot of the bag lubed stem, this time with the focus on the “post” of the stem. It looks to me like the coverage is fine here. I think contact with the switch housing has smeared some of the lube here so if the coverage wasn’t even before, it is now.


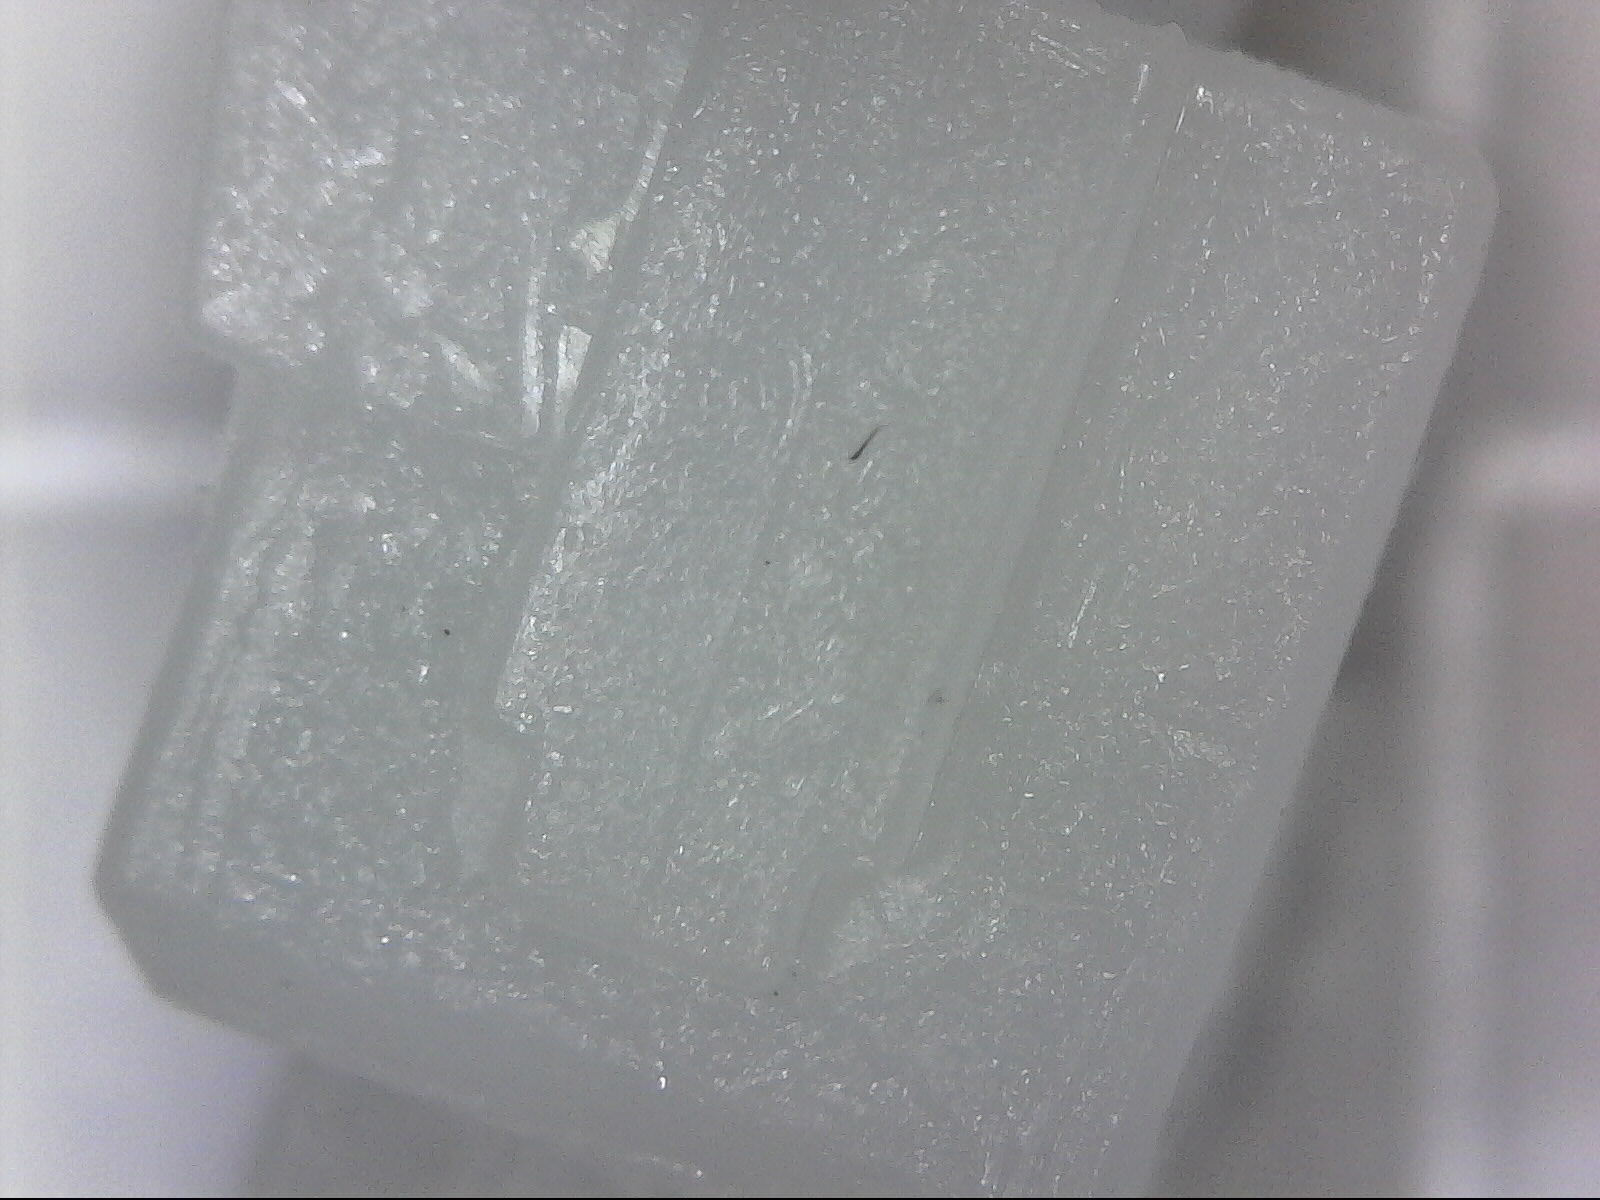
Another closeup of the bag-lubed stem. Again you can see the tiny dry sport. BUT DO THEY MATTER?


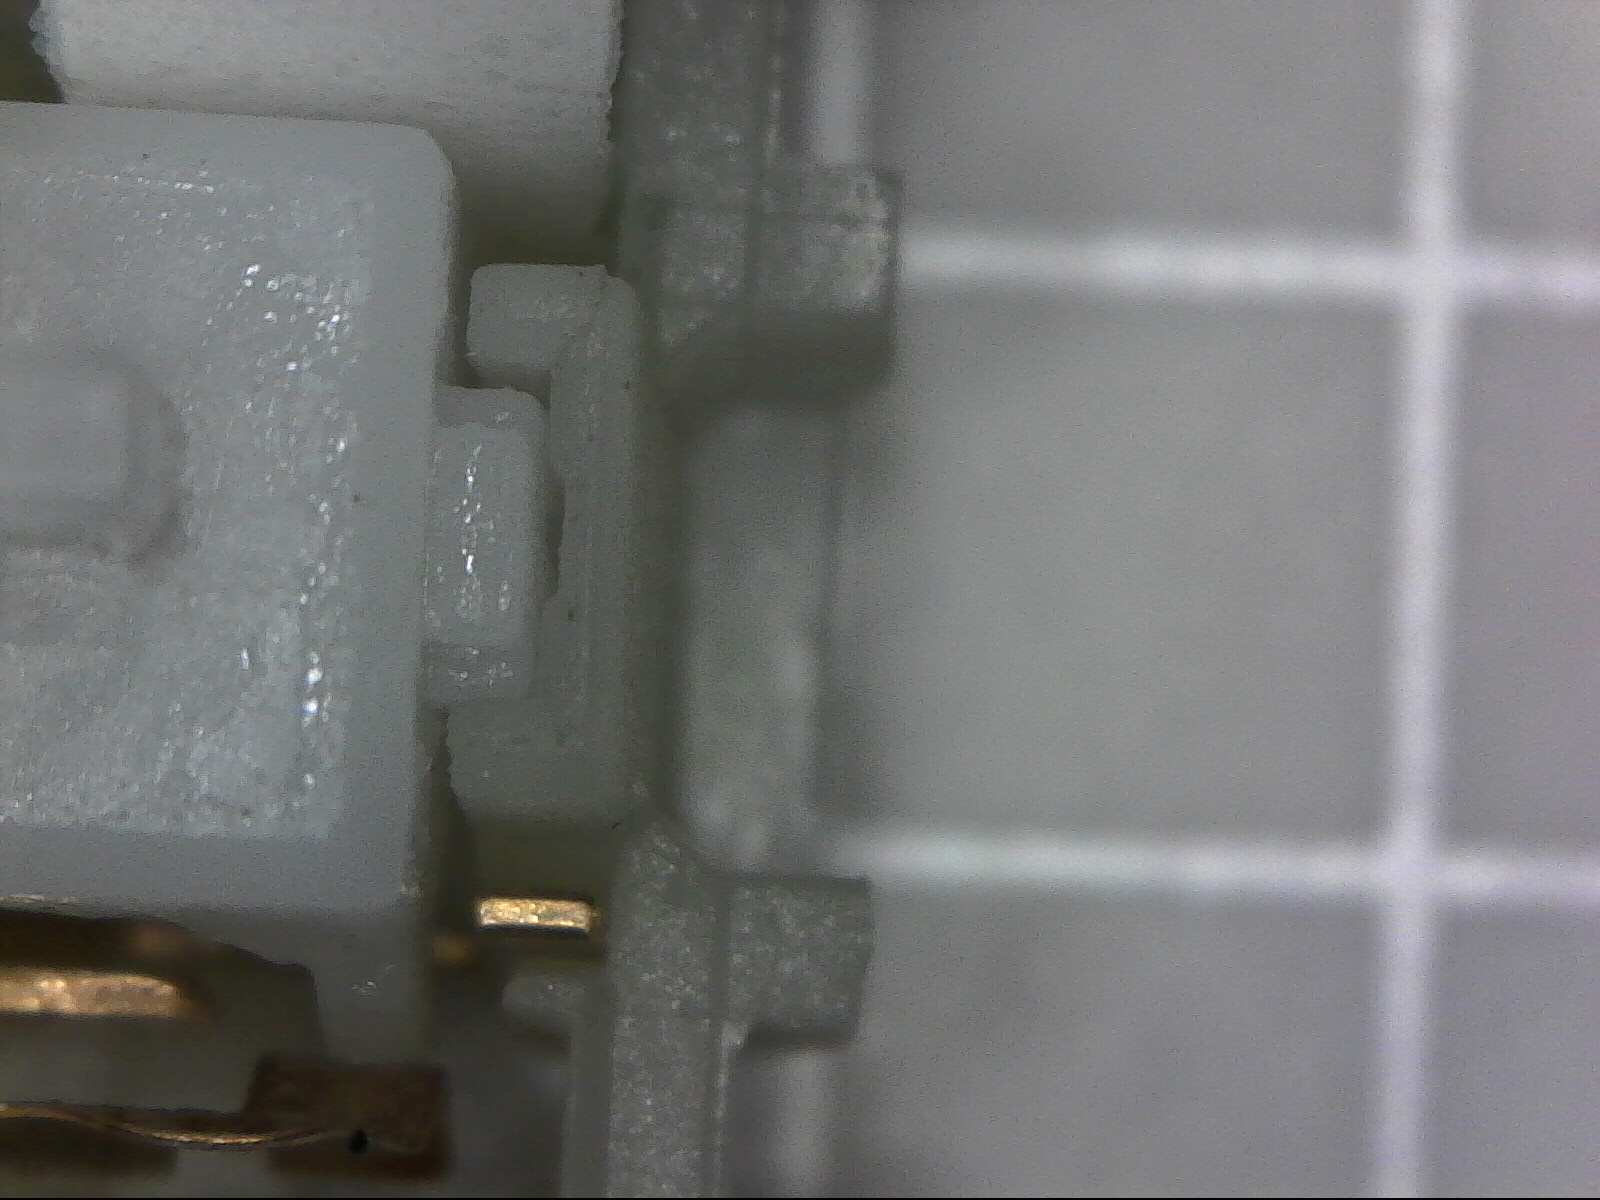
And the answer is nope, doesn’t matter! In this picture, I have wedged pins and pieces of plastic into the stem to push the stem down and to the right as far as possible. You can see that the area that was dry in the above pictures doesn’t even touch the housing anyway, so it won’t make any difference that it didn’t get greased. All of this is true for Gateron switches, your mileage may vary with other switches! Most of these Cherry MX compatible switches are very close copies of Cherry so I suspect the same probably applies to other housings. I know from experience that I can’t feel a difference between by bag lubed switches and the ones where I tried lubing the stems with a paintbrush.


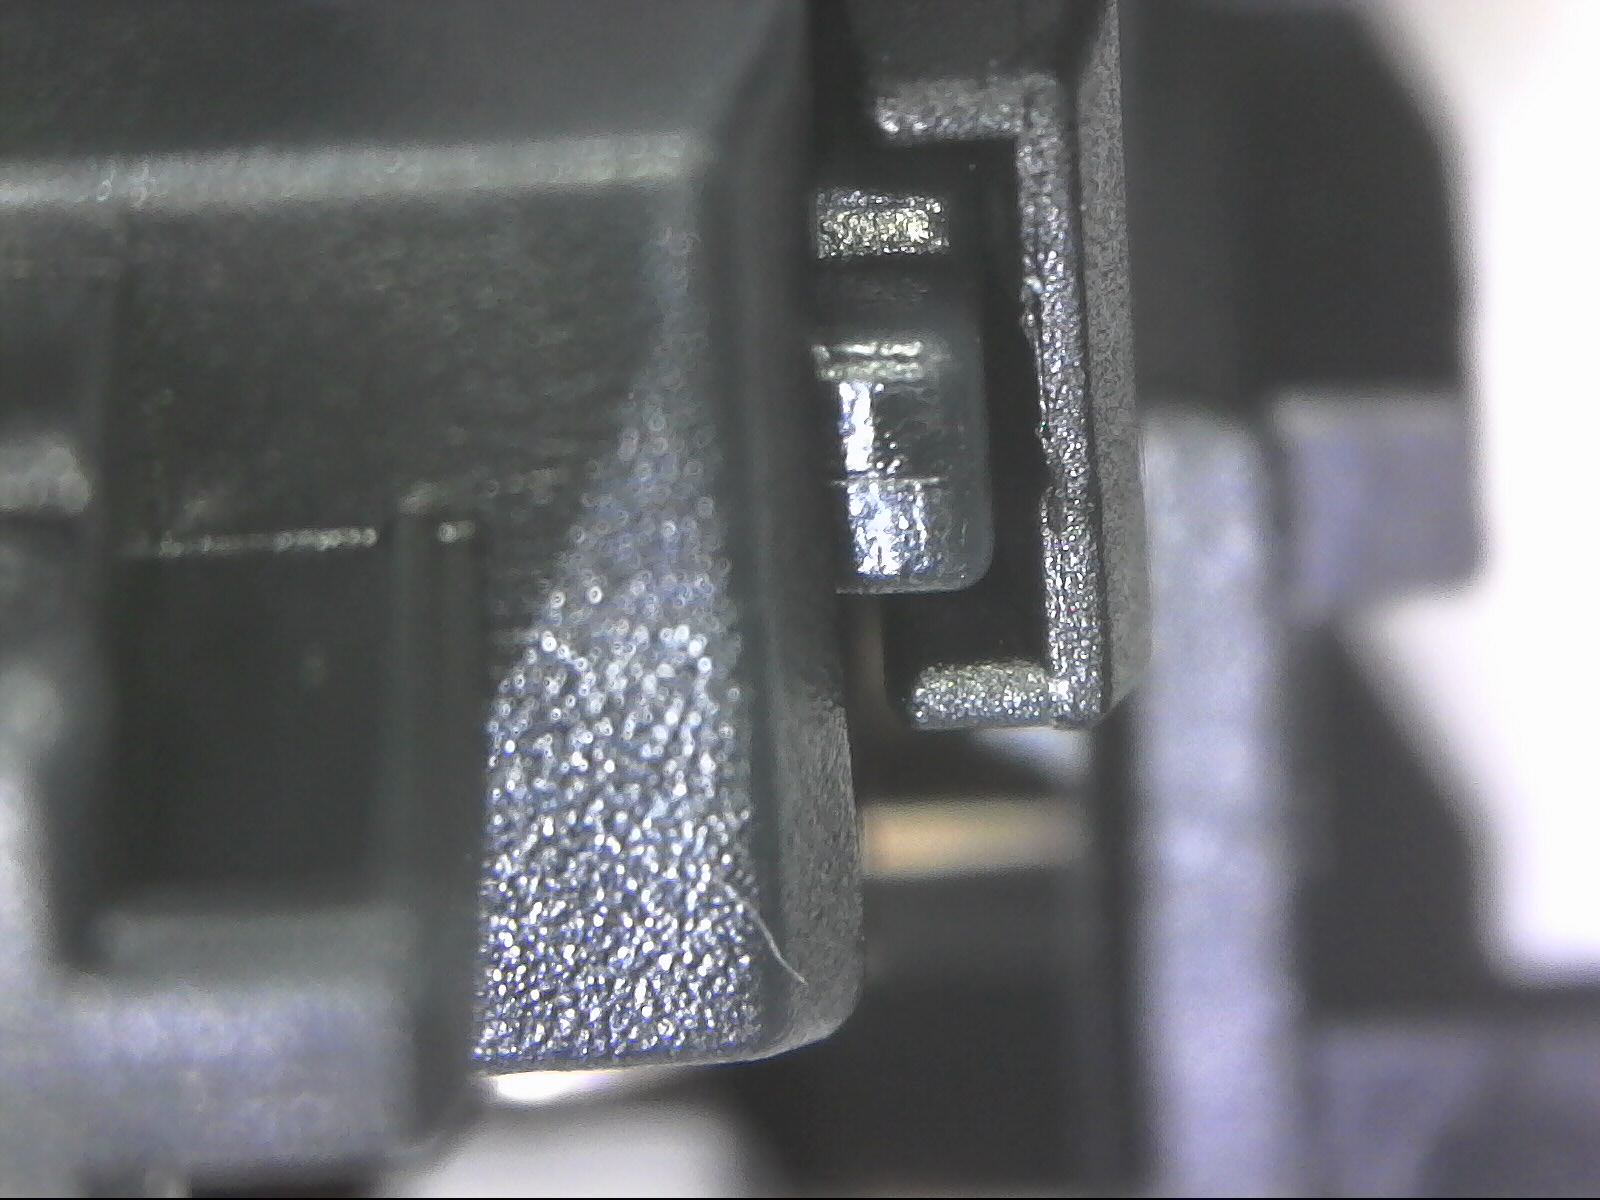
For comparison, here is the same test done on a Cherry retooled black housing / stem. When I force the stem as far down and right as it can go, that part you saw was dry earlier never touches the housing.


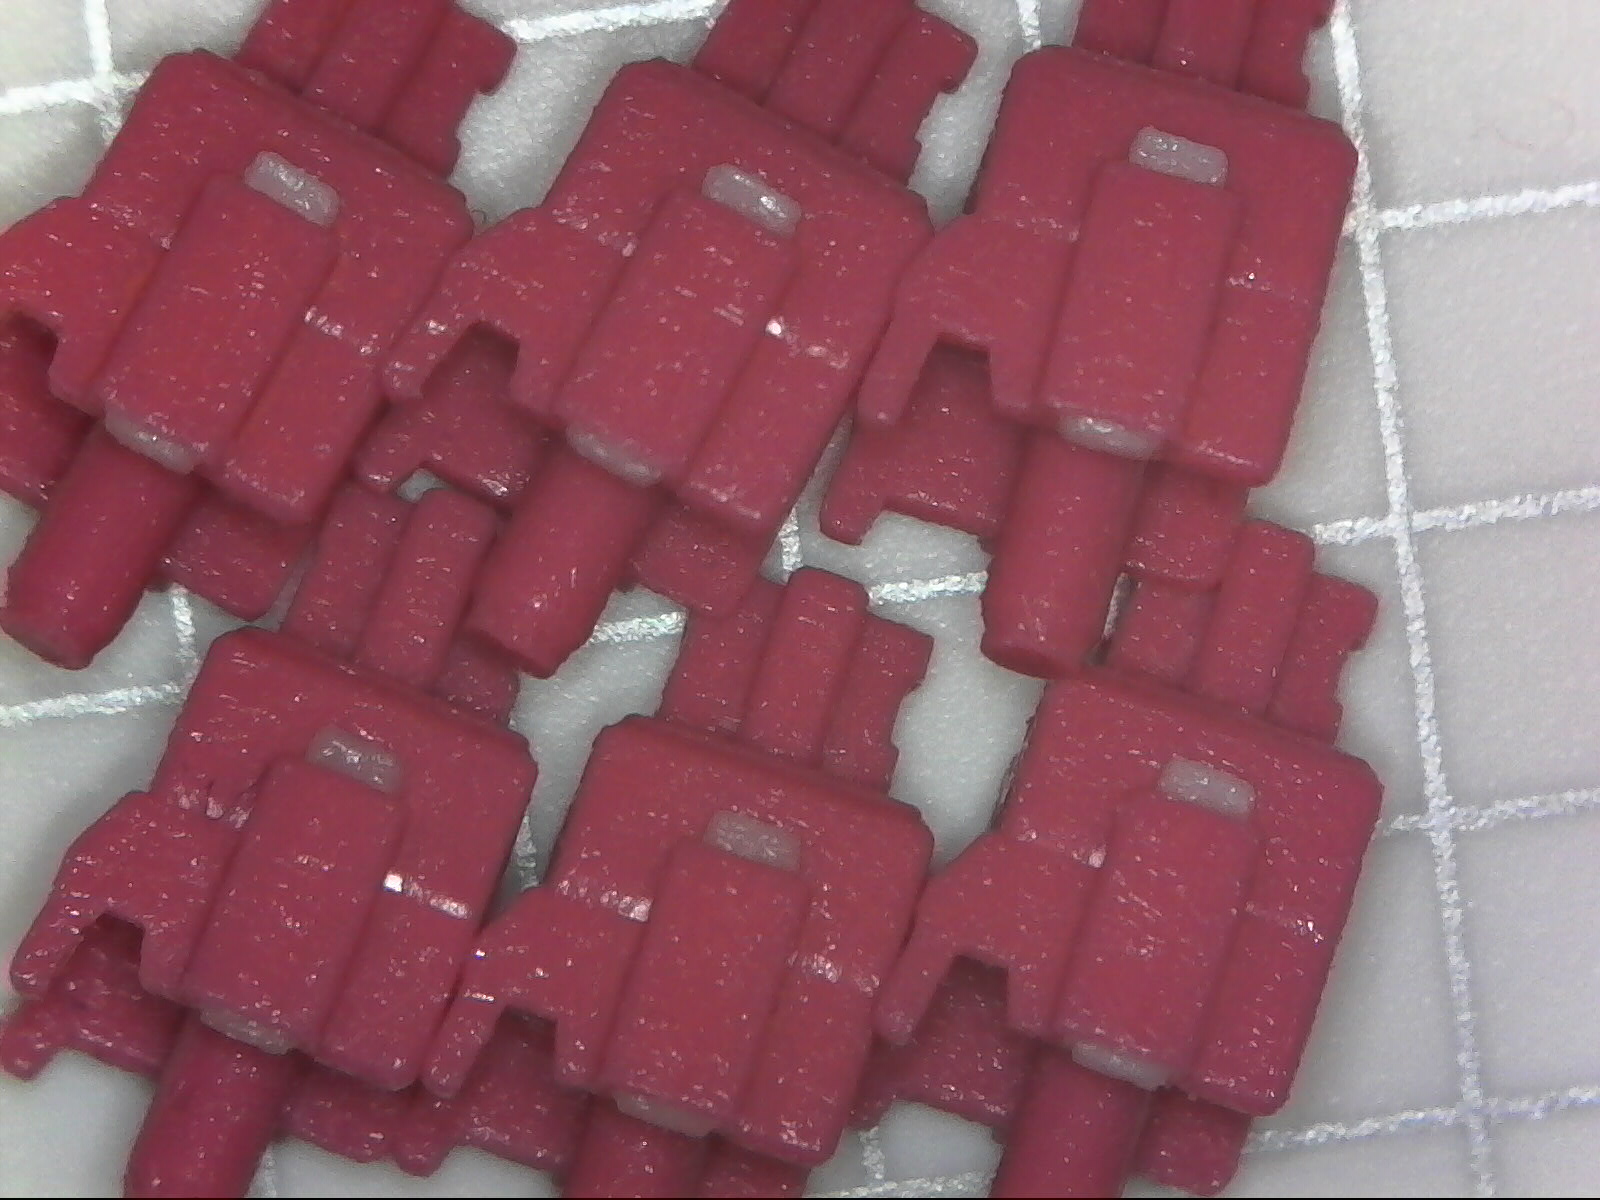
However, I wasn’t sure the above pictures were fair, because I took them only AFTER using the stems in a housing. So, I bag lubed some fresh stems, and this time took pics before putting them into a housing. I also went a little heavier on the lube this time, AND I shook them harder. I mean HARD! I shook them as hard as I could this time. Guess what… NO DRY SPOTS! What I learned is that if you shake hard enough and long enough (about 3 minutes in my case), the grease will actually find its way into the corners! From now on I will shake super hard when I bag lube!


Another angle showing no dry spots!


This angle is so that you can see that the posts got lubed


Another angle

Here is how the finished keyboard sounded:

2 Likes

Thanks for sharing. It’s always fun to watch the different ways people go about the task.

The tweezers seem to work really well for opening.

I use this 3d printed opener:

I’ve opened about 800 switches with it so far and it hasn’t degraded in quality, so I highly recommend it for traditional mx switch opening.

Love your board, btw. Looks and sounds great!

Also use the same - these tweezer ninjas are crazy.

What material did you have the switch opener made in? I printed a couple with the printer at work and the first switches broke every one of those tabs off.

I usually use either a single edge razor blade or the MK.com openers.

Have you tried tweezers? For me they are the fastest way

I just ordered the shapeways white version. I don’t know what plastic it is that they use, but I’m sure it tells somewhere. It’s very sturdy.

If anyone has a 3d printer you can find the file on thingaverse.
https://www.thingiverse.com/search?q=switch+opener&dwh=135b4aeb67889b5

I edited my original post to add microscope pictures comparing how these bag-lubed stems look compared to a stem that I lubed with a paintbrush :slight_smile:

Edited again to add more pics!
I lubed some more stems (this time Aliaz). I used a little more lube, and shook REALLY hard, and the dry spots are gone!

I’m excited to put these into some housings and see how they feel, I bet I won’t even need to lube the housings since the stems look like they got really thoroughly coated!

Excellent edit- really interesting.

Pretty interesting stuff as usual @Walkerstop! To me though using the paintbrush method with stems + thick lubes is more about precision application, mitigating waste, & keeping a clean work area than getting full coverage. I can definitely see from your pics using the bag method with a thicker lube & stems does not have an issue with coverage. Although to me it looks like going the shake & bake route with stems + thick lube would be pretty wasteful with the lube & overall a very messy process.

I use the shake & bake method for my springs, but only because I use oils for them. Which requires just a few drops (actually less than paint-brushing them IME) & you want full coverage with springs. For stems I’m not sold on the ideal, I personally do not like lube on the cross mounts of my stems & think you would need to add a good bit more thick lube to the bag to get good results than you would use if you brushed it on. What are your thoughts on it?

2 Likes

I definitely agree that bag lubing the way I do it uses more lube than paintbrush lubing. Some of that is mitigated if you reuse the same bag for multiple lube jobs, but you always have to sacrifice some lube to have a thin coat on the bag, and also on a bowl if you use one like I do. You also waste a little on the cross part of the stem.

However, I have to disagree about it being a messy process, but I guess that’s relative. I just have a rag to wipe my hands on. I haven’t had my work area get all greasy. The grease is mostly contained in the bag or bowl.

This post isn’t intended to convince happy paintbrush lubers to switch to bag lubing, or claim that bag lubing is better. It’s mainly to show that this method can produce good results, which a lot of people wouldn’t have believed without some kind of proof. I’ve heard it talked about a lot, mostly negatively by people who’ve never tried it, and it bothered me because I’ve bag lubed a lot of switches and been happy with the results. I’ve never seen a thorough analysis with pictures to back it up so I’m trying to fill that void.

1 Like

I do see what you’re saying about containing the mess, I’m not super OCD about getting myself messy (I’m a carpenter/painter so I’ve had some days I came home looking like a toddler that was finger painting! :crazy_face:), however I am super OCD about my tools & work space (at work too, my guys hate it). So not sure if this method is for me or not with stems, but seeing you’ve gotten good results with it I think I may give it a try on an upcoming build. Because the one thing no one can deny is the shake & bake method is way faster than the paintbrush method. Anyways just wanted to get your thoughts on my take, thanks for the great contributions man! :metal:

Yeah I think if you’re good at both bag lubing and paintbrush lubing, it mainly comes down to a trade-off between time spent and lube spent… I don’t think I’d have ever started trying this if it wasn’t for Krelbit making 3204 more available and affordable.

I must say though, aside from the main advantage which is that it’s quicker, I also feel like it actually might be easier for a beginner to achieve consistent coverage by bag lubing than by paintbrush lubing, but I’m not sure, what do you think? Seems like if you shake long enough and hard enough, and check your work as you go along, it might be a little easier for some to get consistent results than practicing the motor skills and paintbrush wetting/wiping etc. to make sure you’re applying at even coat to the stems. I mean, both methods require skill but I suspect the bag lube method might require less skill to get a certain level of consistency and coverage. Your thoughts?

2 Likes

TBH I gotta agree with you. I think the shake & bake method (sorry I can’t help but call it that, LOL!) would be a much better way for beginners to get consistent results. I’ve been painting houses for a long time so I’m no stranger to a paintbrush & fine detail work with them. Being honest it took me around 10 switches to get them decently consistent the first time I lubed a batch. Then I’d say even a few batches to really get the hang of making the switches truly consistent using the paintbrush method. The more I think about it, the shake & bake method is probably the best one to recommend to someone who is lubing switches for the first time.

I say that because this also got me thinking about the times I’ve worked with or trained guys inexperienced with painting. All of them that stuck around took at least few weeks to be able to cut half decent lines & some just never got it. The fine detail work with painting is much harder to do with consistently good results than a lot of people realize. I know guys that have worked as strictly painters for yrs., but still can’t cut a straight line! So I think you are 100% correct in thinking the shake & bake method is a better way for beginners to apply lube to their switch stems & springs too.

1 Like

so… is there a way to lube switches without opening them? Not a fan of spray lubing.
I am thinking on pushing the stem in and applying some lube on the sides with a small brush,
but maybe there’s a better method out there.