Inspired by the beautiful atreis keyboard by dekonnection (reddit post), I’ve been thinking about making something similar as my next project.
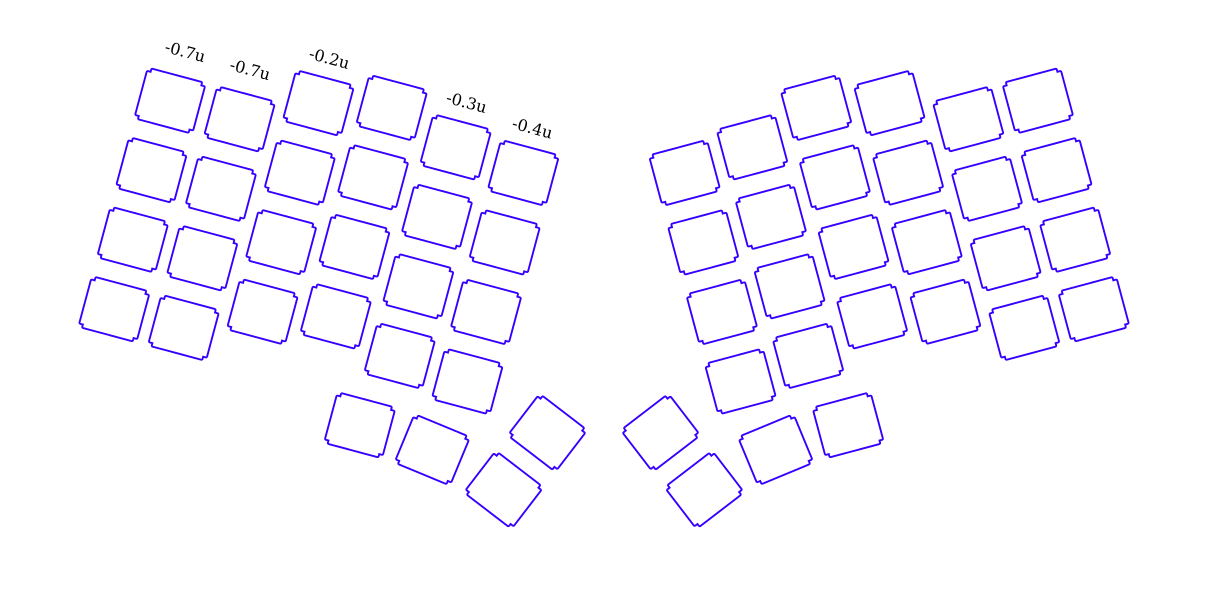
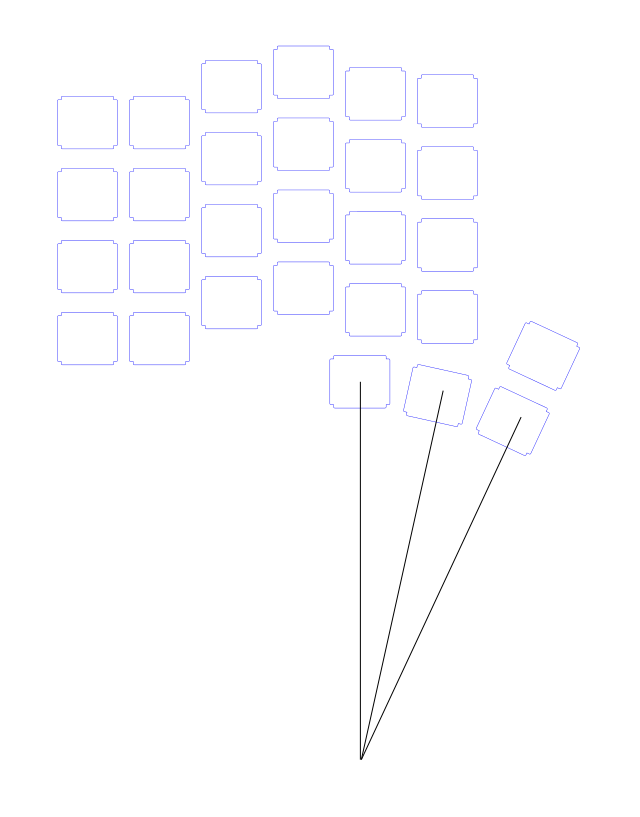
I started with the atreis design, but added a bit more stagger, more like the dactyl (total stagger/offset is listed in the image below). I’ve been back and forth with the thumb keys/thumb cluster, but I’ll probably go for either 2x1u + 1x2u, or 4x1u, like the original atreus.
Perhaps someone with experience with the Iris can chime in on the thumb keys? I imagine it’s hard to discern the two keys while typing, so I’m leaning towards just a single key (in the style of the not-so-minidox).
As an owner of two Irises… My biggest issue is with the thumb cluster. It is too far inward for me, and needs to be moved half a U out (towards the center of the board).
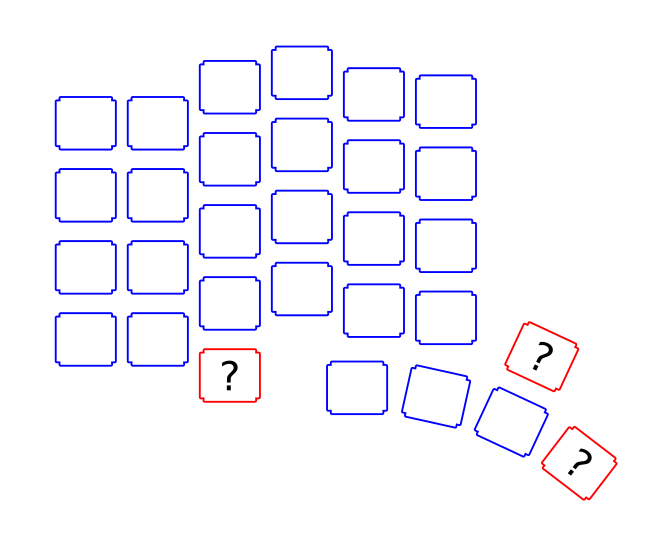
An alternative solution is to just remove the innermost thumb key, and add an extra row of thumb keys. This is kind of equivalent to moving the thumb cluster a whole U toward the center (and adding a key in the free space).
Ok, thanks for the feedback.
Do you have a 2u key in the outermost position, or 2x1u? Which do you prefer?
I’m curious if the extra key is practical or not, it seems like it might be hard to reach with the thumb.
Unfortunately I don’t have any makerspaces around me, nor a 3d printer/laser cutter, so I have to use a service to get anything made. This of course drives up cost if I want to make several iterations. But perhaps a 3d printed PLA prototype might be a good idea before I order any acrylic.
In this most recent version I’ve rotated the thumb keys by respectively 12.5 and 25 degrees, which I found to fit very well with the length of my thumb (9-10 cm)
I’m inclined to believe the plus12 “fanout” thumb cluster is the way to go, e.g. just one row.
This is with what I experienced when using an Iris and an ergodox for a while.
Also where is your home row? Second or third row from the top?
On the Iris I’ve configured it to be the third row simply because for me it’s much easier to reach another row at the top than one on the bottom.
That’s right, so I might go that in the end. We’ll see!
I’ve been thinking about adding some more keys in the thumb cluster, since I think I might struggle a bit with only 3/4. But I kinda like the minimal look of the Iris as well though, so I’m having a hard time deciding.
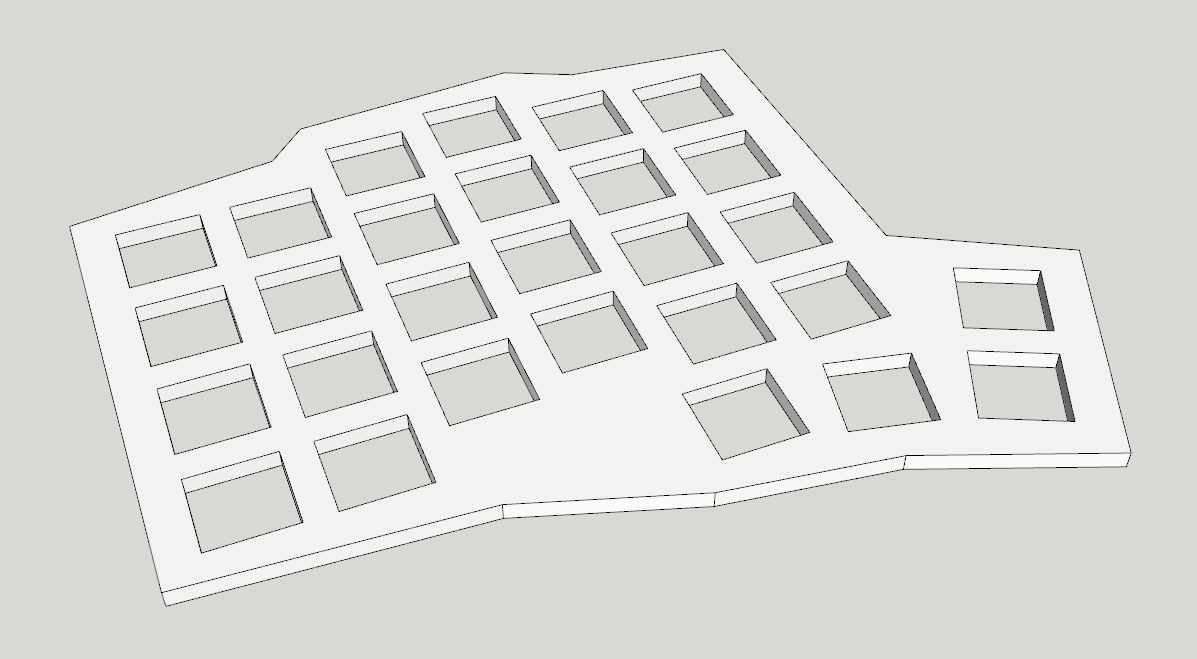
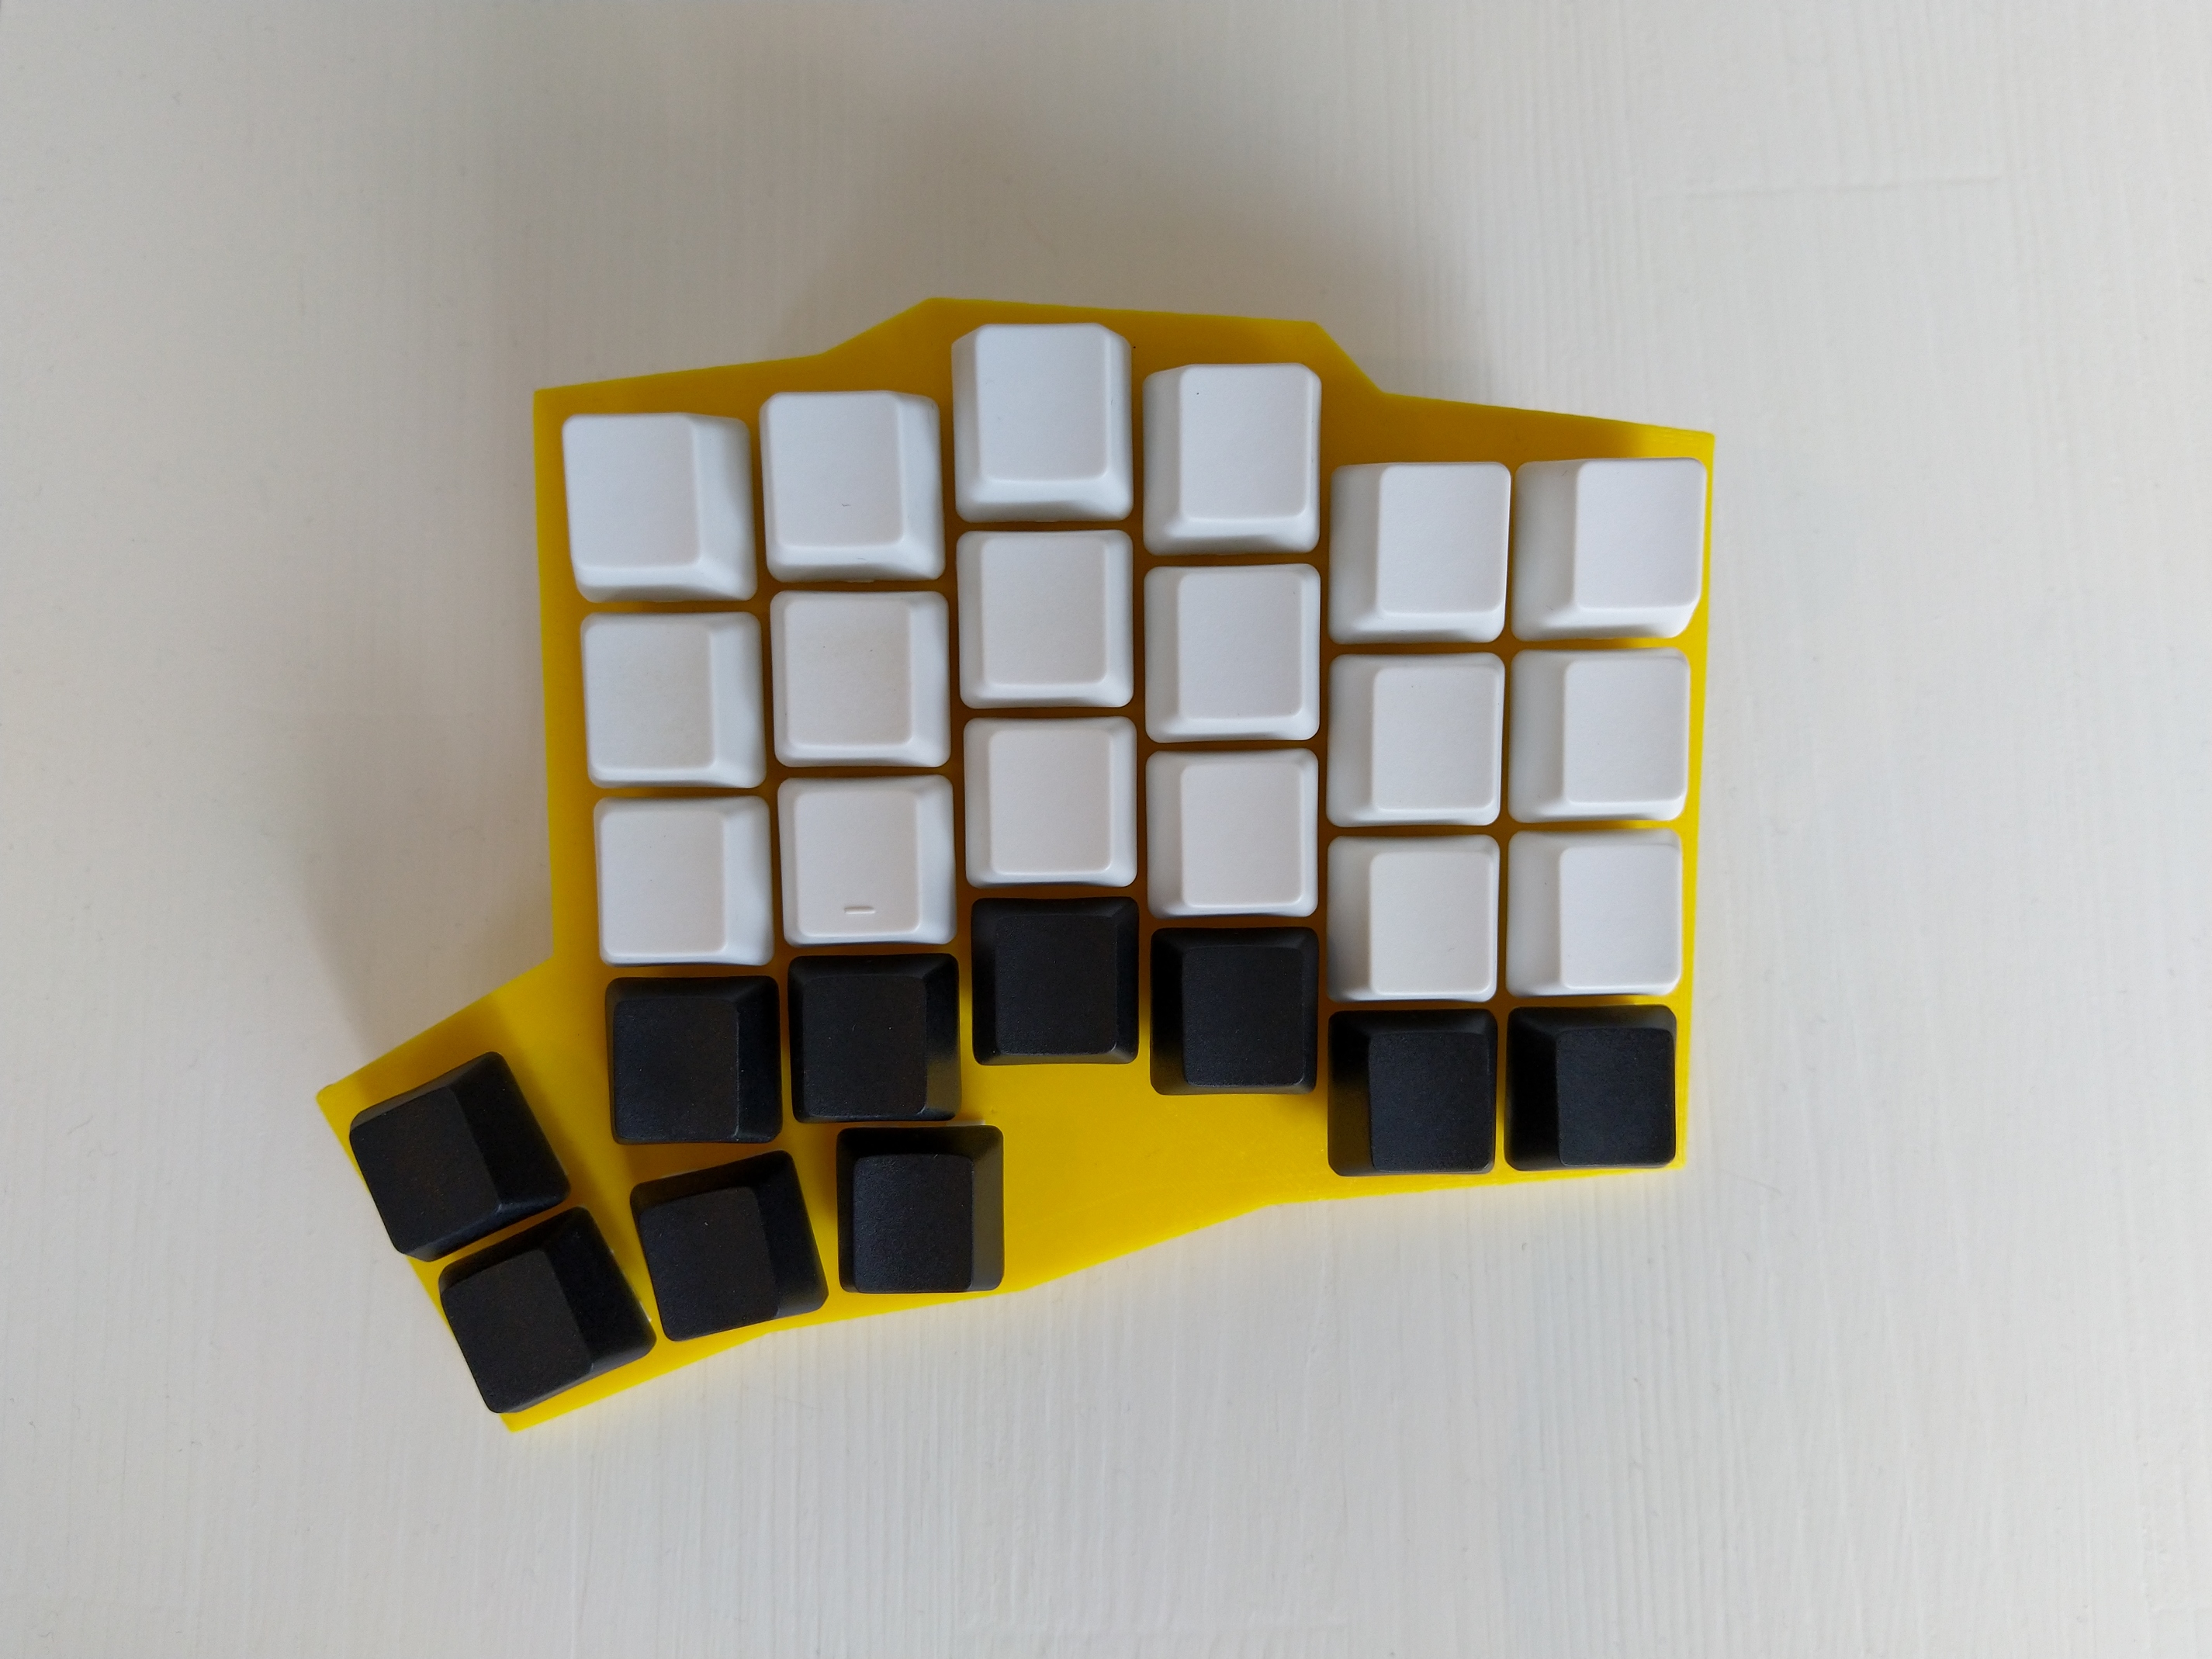
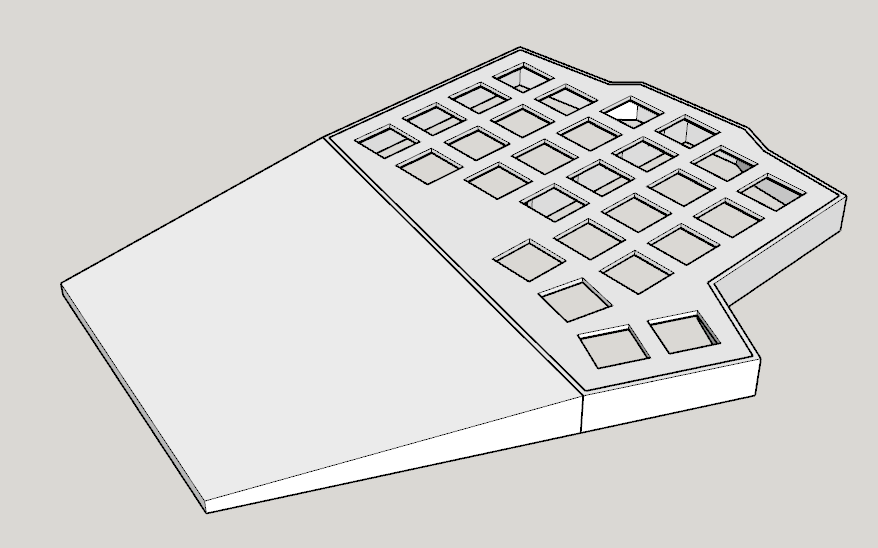
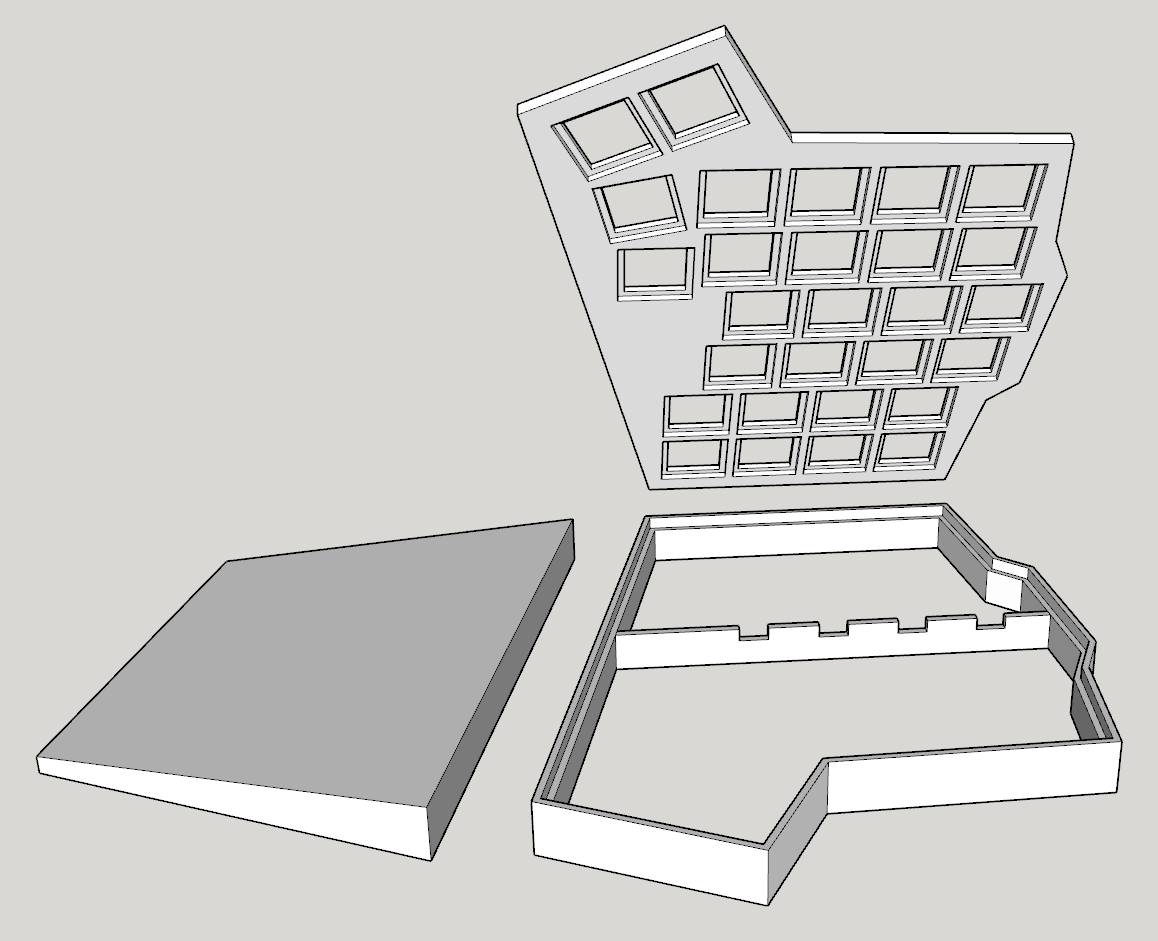
This is a 3 part design (for now), optimized for 3d printing, minimizing the amount of support structure needed. I also added some notches in the switch holes (on the underside of the plate), for the switches to grab onto. The notches were also included in the yellow prototype in the post above, and seem to work great.
The notches in the wall in the middle of the base are for routing wires through.
This split 3d printed version was mostly made for cost saving reasons, since laser cut acrylic turned out more expensive than I had thought. But I’m leaning towards going more in the direction of my original inspiration again, the atreis.
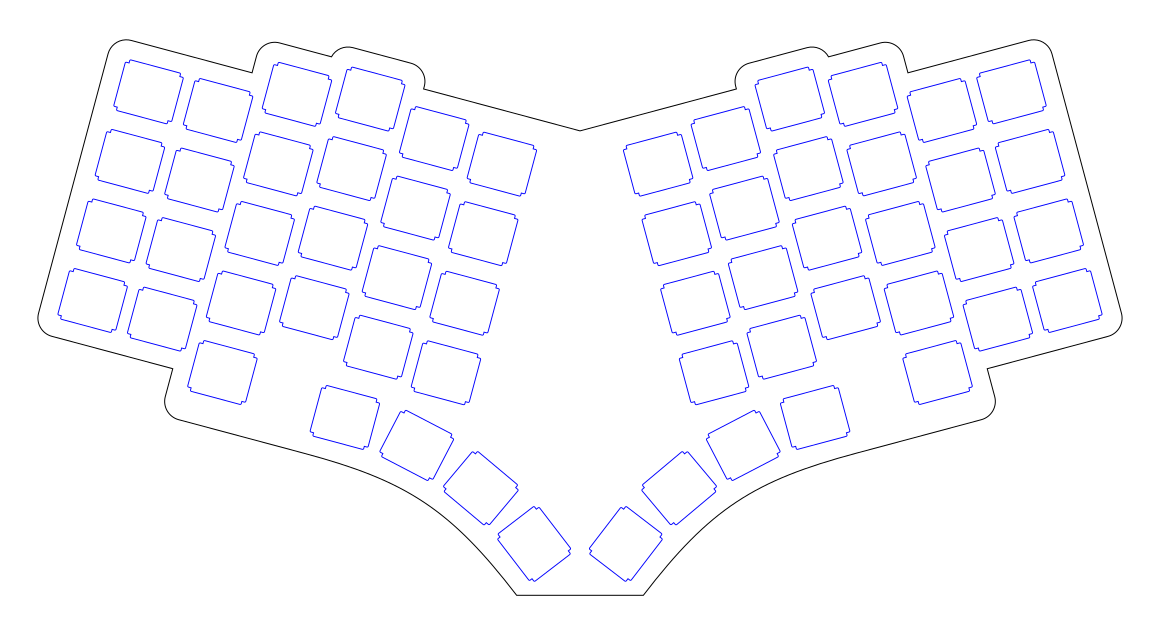
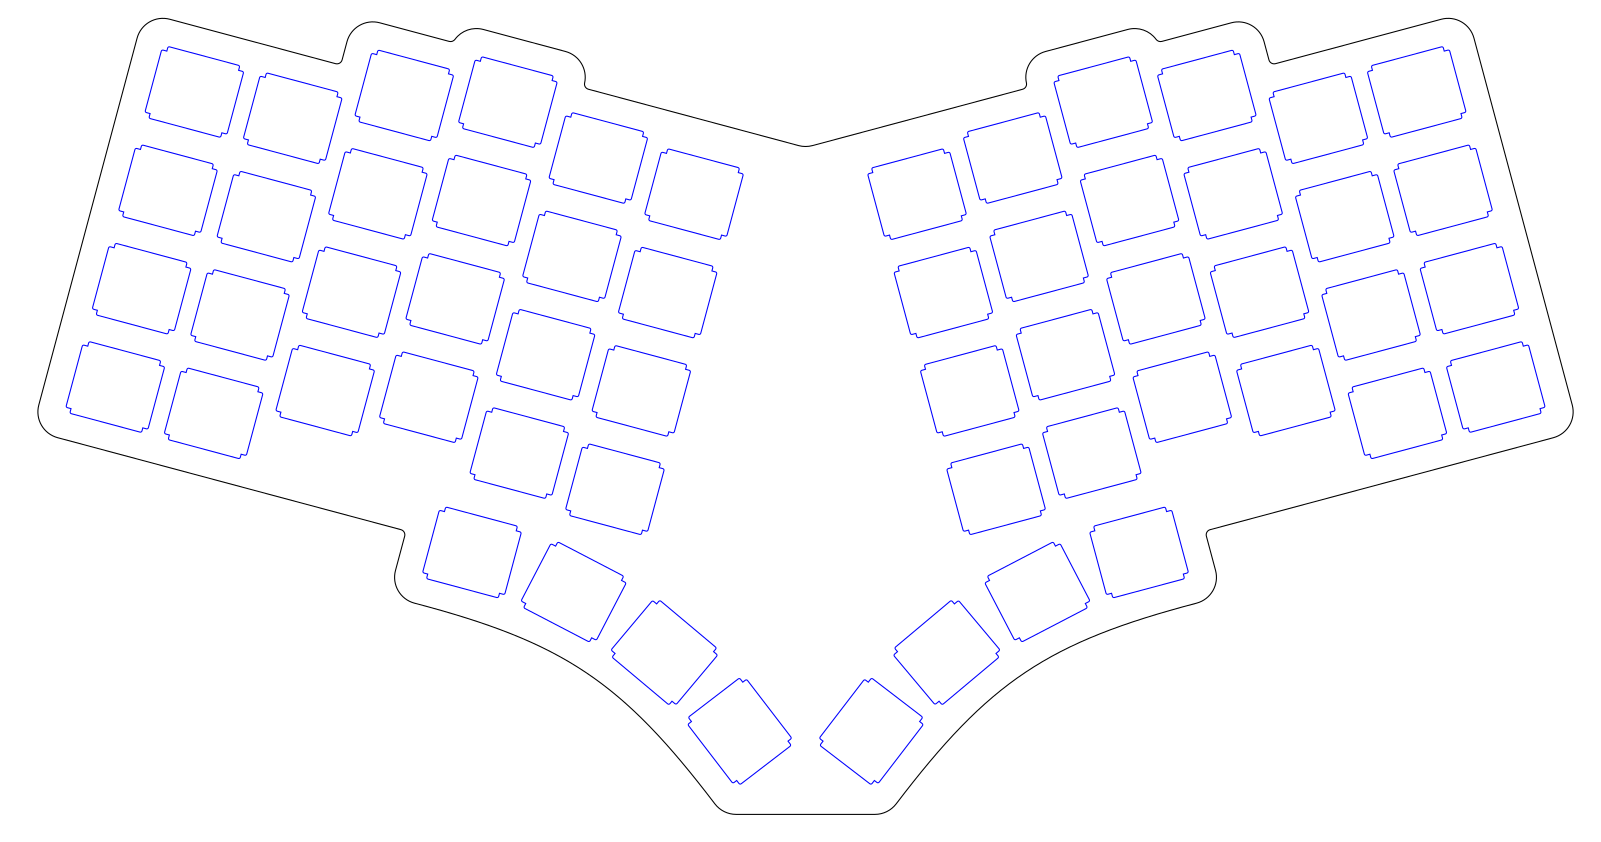
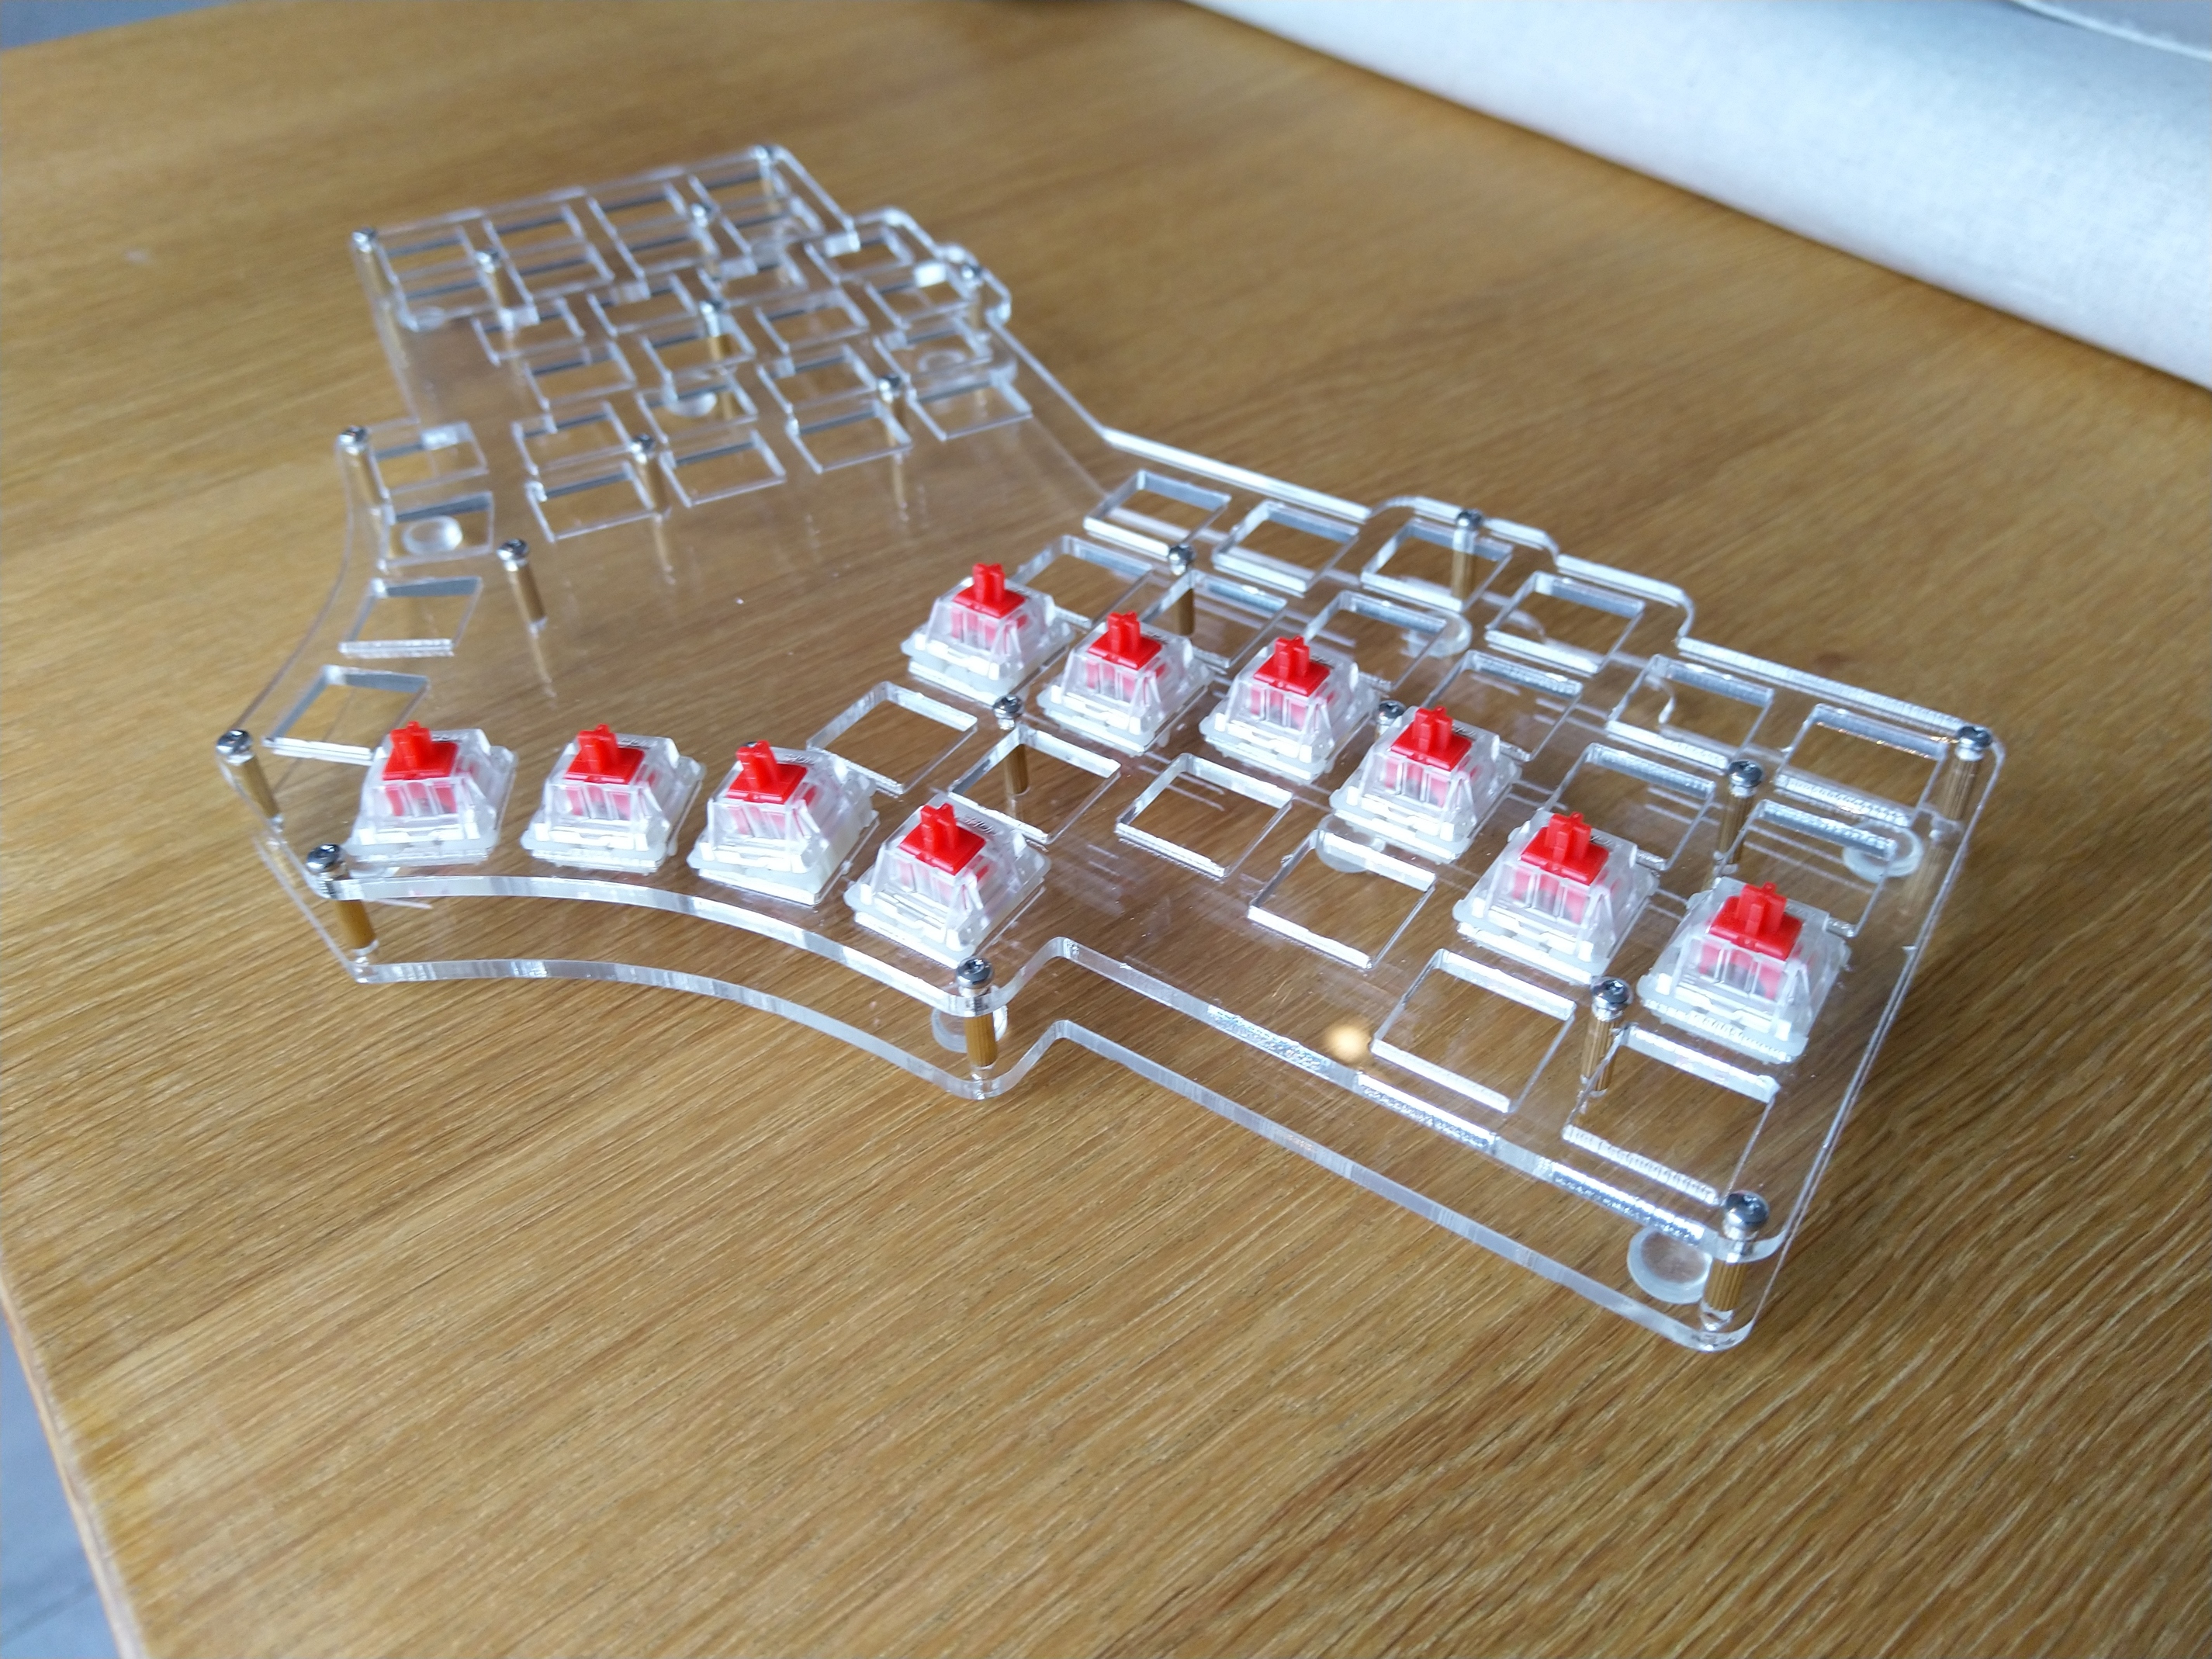
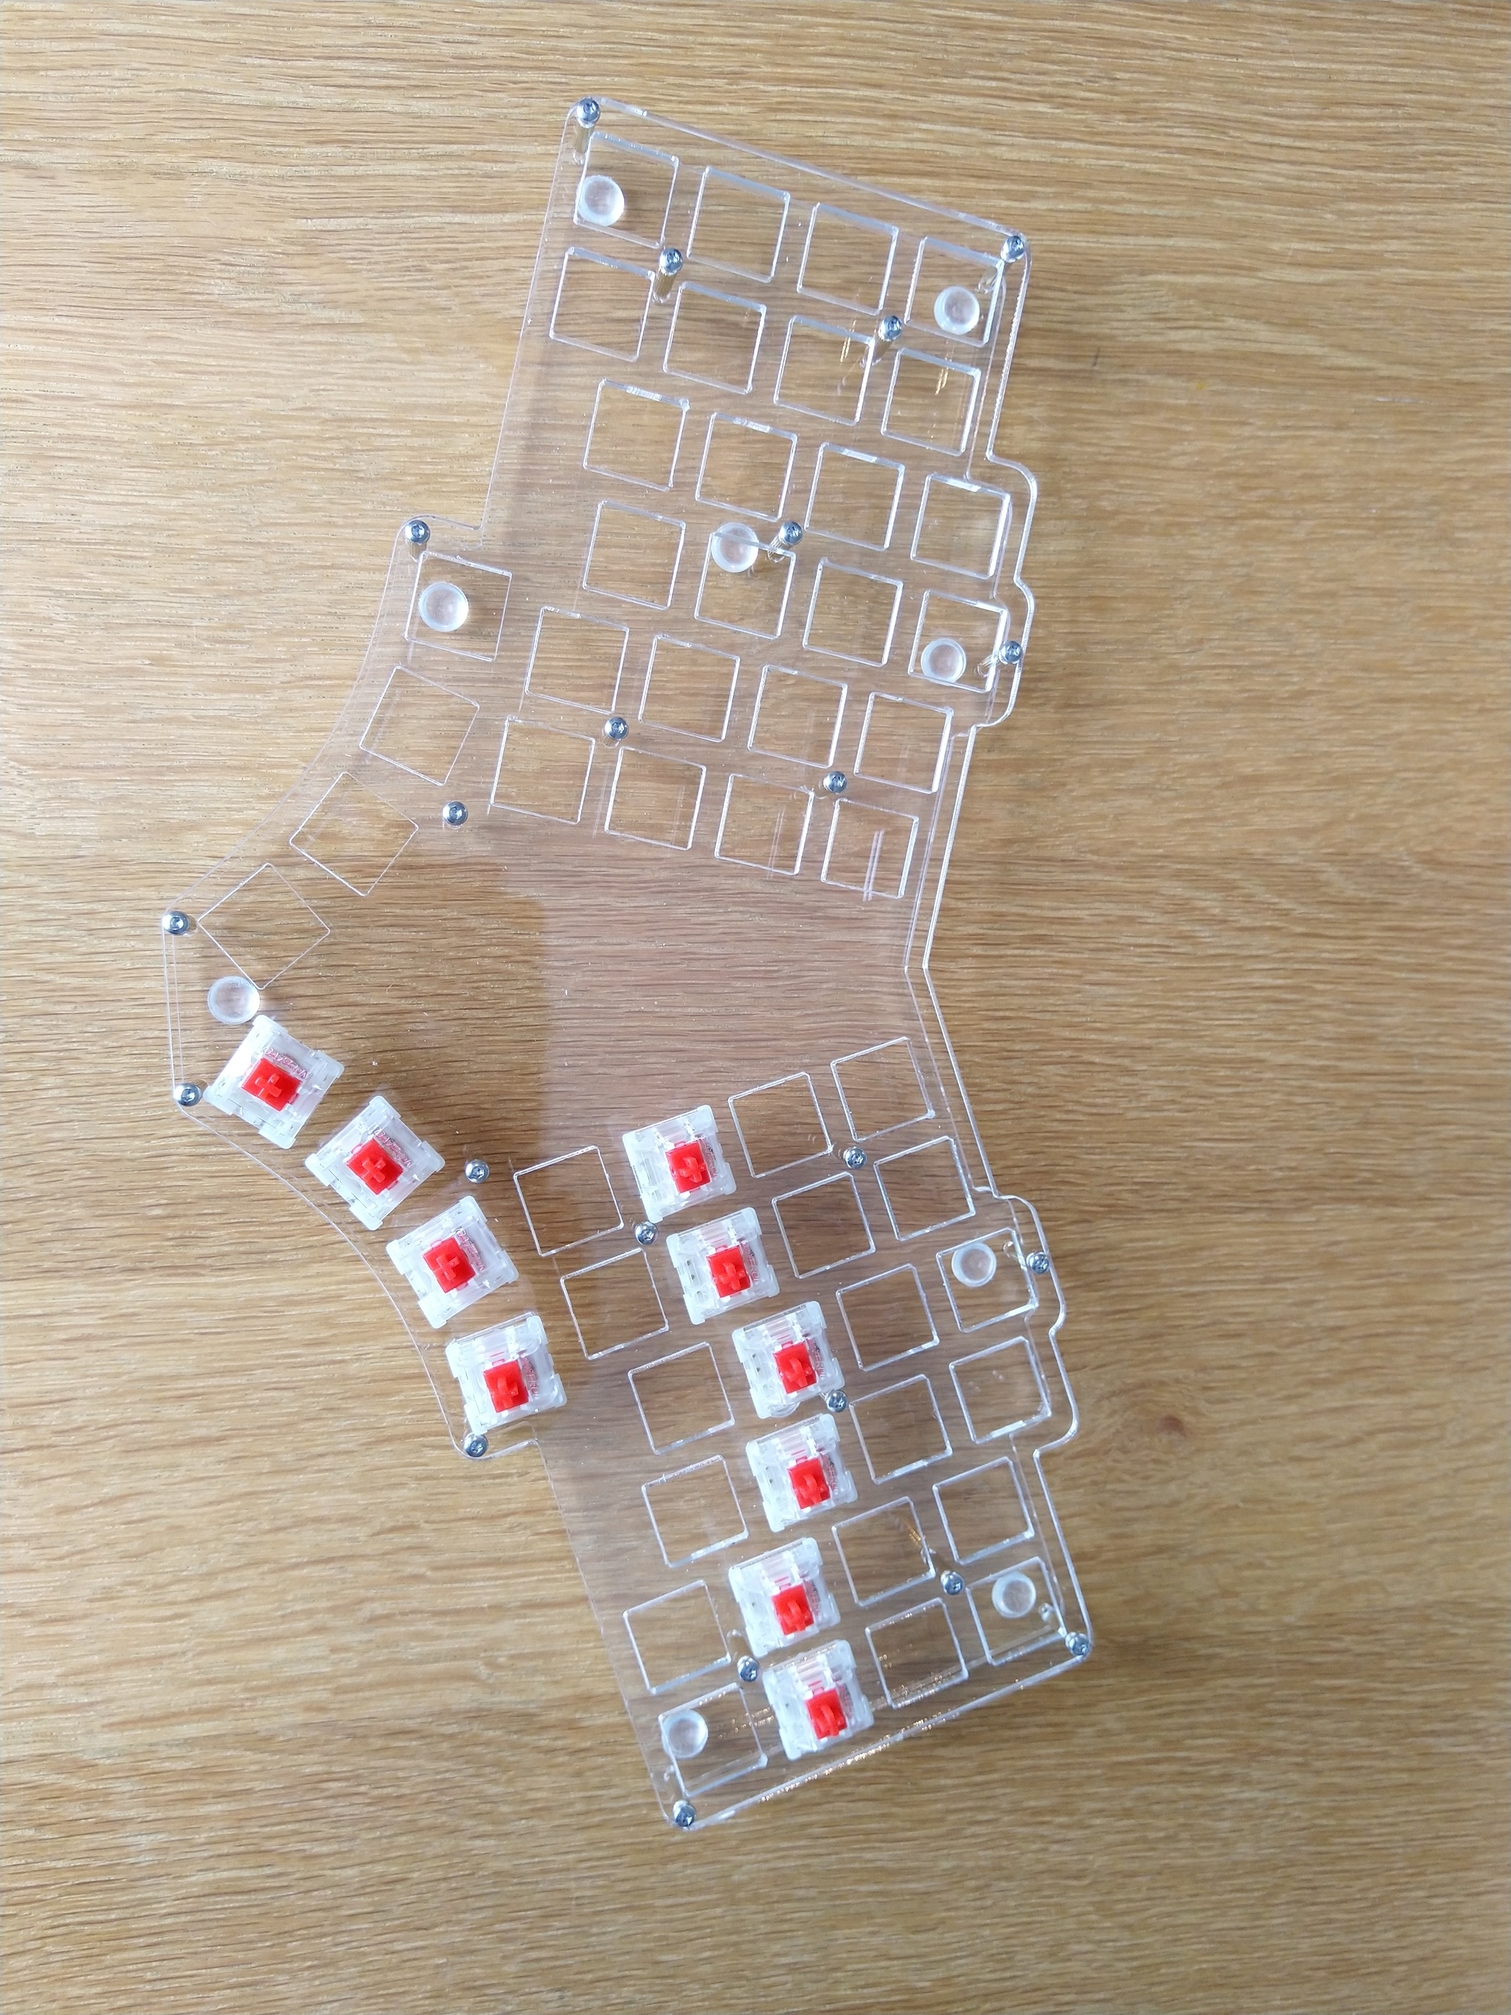
Todays progress on the acrylic version. Still have to fix the sharp corners at the bottom, and the sharp inner corners (not good to have have sharp inner corner when using acrylic).
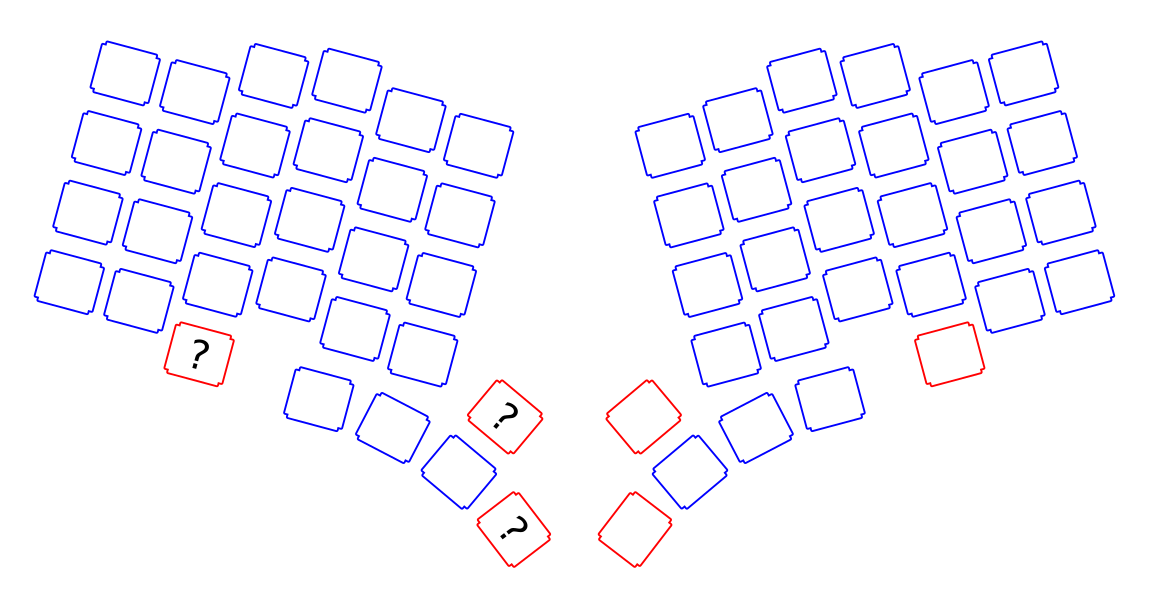
Yeah, I was not sure if I wanted to include it or not. After fiddling with my prototype for a bit a figured it won’t probably be used anyway, so I removed it.
Here’s as close to a final version as I think I’ll ever get
I have (temporarily) named it the zuboard (inspired by Zubat, since I think it kinda looks like a bat), and created a github repo and uploaded the .svg files for the case here: GitHub - FSund/pteron-keyboard: Ergonomic keyboard
I’m very open to alternative names for the board though!
Are you going to handwire one or do you intend to design a pcb?
BTW instead of using 3mm acrylic you could use 1.5mm Aluminum. Price for 2 sets of Iris boards at geerscutting was about 70 Euro for me.
I’m definitely just doing handwiring. Mostly because I don’t know anything about pcb designing, but also for cost saving.
Thanks for the tip on the alu. I really lile the look of the transparent atreis though, so I’ll probably go for that. I also have a local guy with a lssercutter, so I’m hoping to get a good deal there.
Looks amazing to me!
You could add a logo in the middle empty area, or a cutout for a display, or a cutout for the keyboard chip(would make it possible to make the keyboard thinner)