Experiementing with Wrist Rests

So I’ve been wanting to make some wrist rests. They seem like they would be straight-forward enough to make, I could apply my designer skills and sensibilities to them to make some interesting pieces, and it gives me an excuse to buy a table saw. Plus it sounds fun. I’ll be documenting my journey here.

Experiment 0

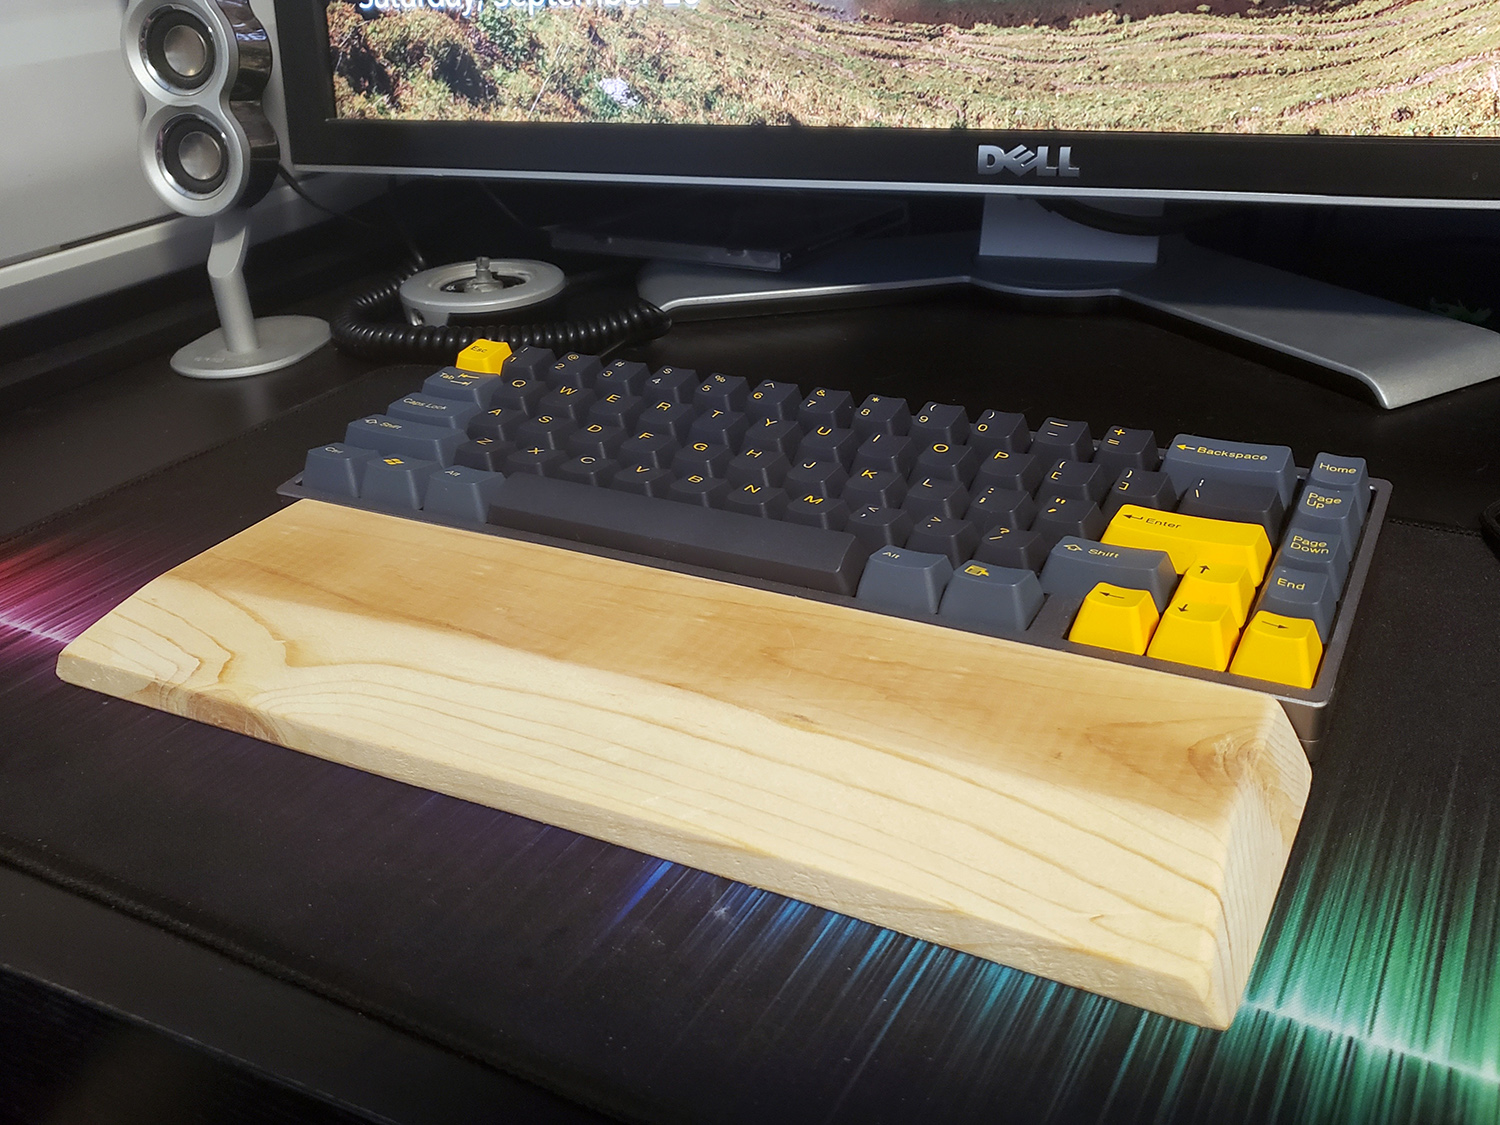
This rest was really just created to get my bearings and learn how to operate the saw. I took a 12" x 72" x 3/4" piece of pine that I had originally bought for painting on, but had to drill random holes into to patch the backyard fence. I cut a 12.5" x 3" piece (12.5" being the width of my KBD67), then cut a 45 degree angle down the front and 30 degrees on the sides, really just to see how they would look.

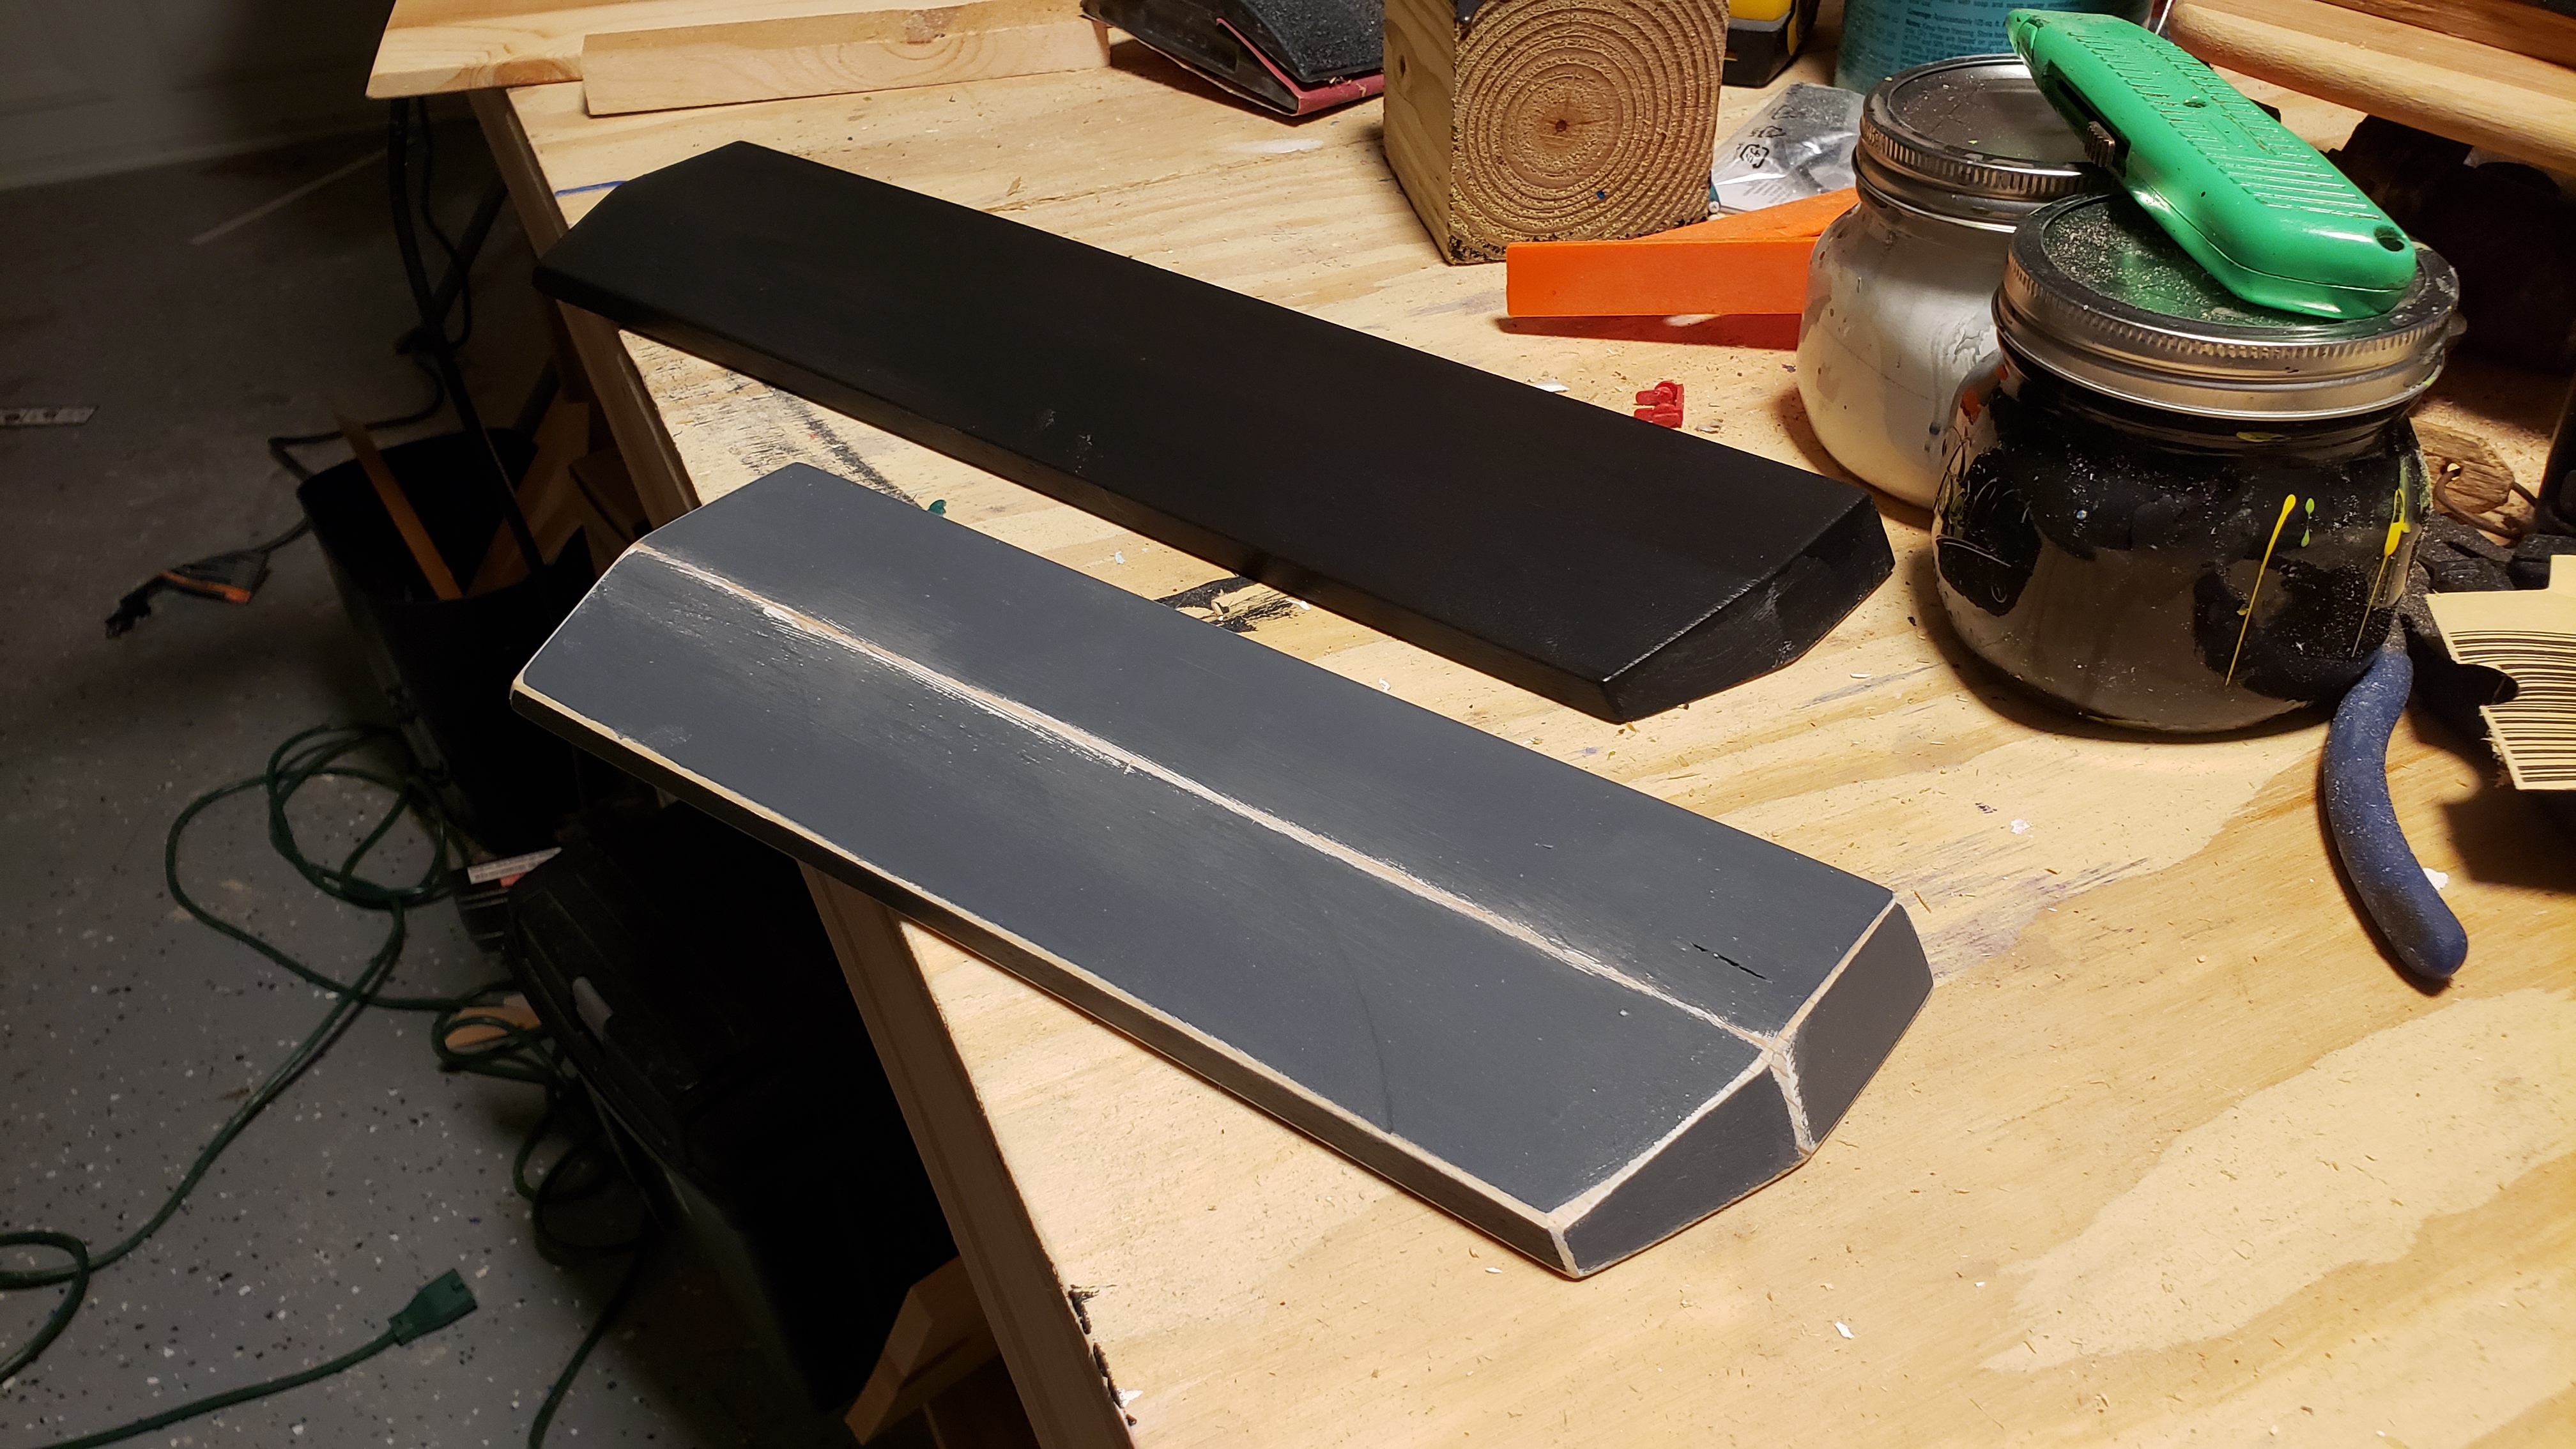
The result is a pretty terrible wrist rest. The cuts are ugly, the angles are awkward, and your hands slide off the edge while trying to use it. I painted it anyway just to get reacquainted with finishing wood, as it’s been awhile since I’ve played carpenter. Despite this rest being completely useless, it helped me figure out what I wanted my next creation to look like.

Experiment 1

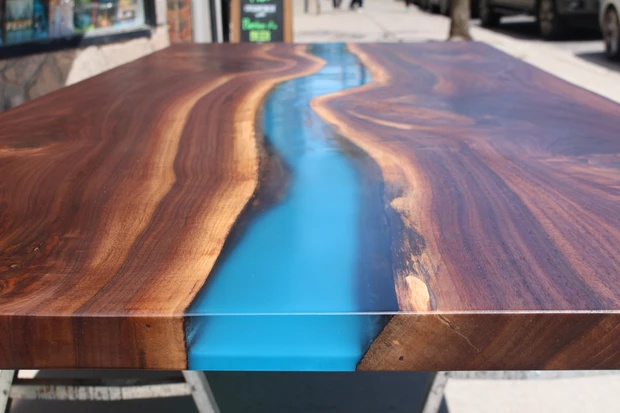
I sat down a did a little research on what rests were on the market currently. Glorious seems to be the only company that offers consistent product targeted toward the mech community. There are numerous sellers on Amazon, of course, but most offer generic padded rests. Etsy was more promising, with sellers there offering all manner of handmade rests, some of which looked absolutely fantastic. What I didn’t see in my brief search however, were any offerings for colorways that might match existing keyboards. It’s there that I may have a niche I can fill.

But more on that later. I still need to figure out my shape. From my research, I found there are 4 main shapes: flat, angled, rounded, and angled into flat, which I’ll refer to as ridged. Rounded I definitely don’t have the equipment for. Ditto for a straight angle, which seems to require a planer. That leaves flat and ridged.

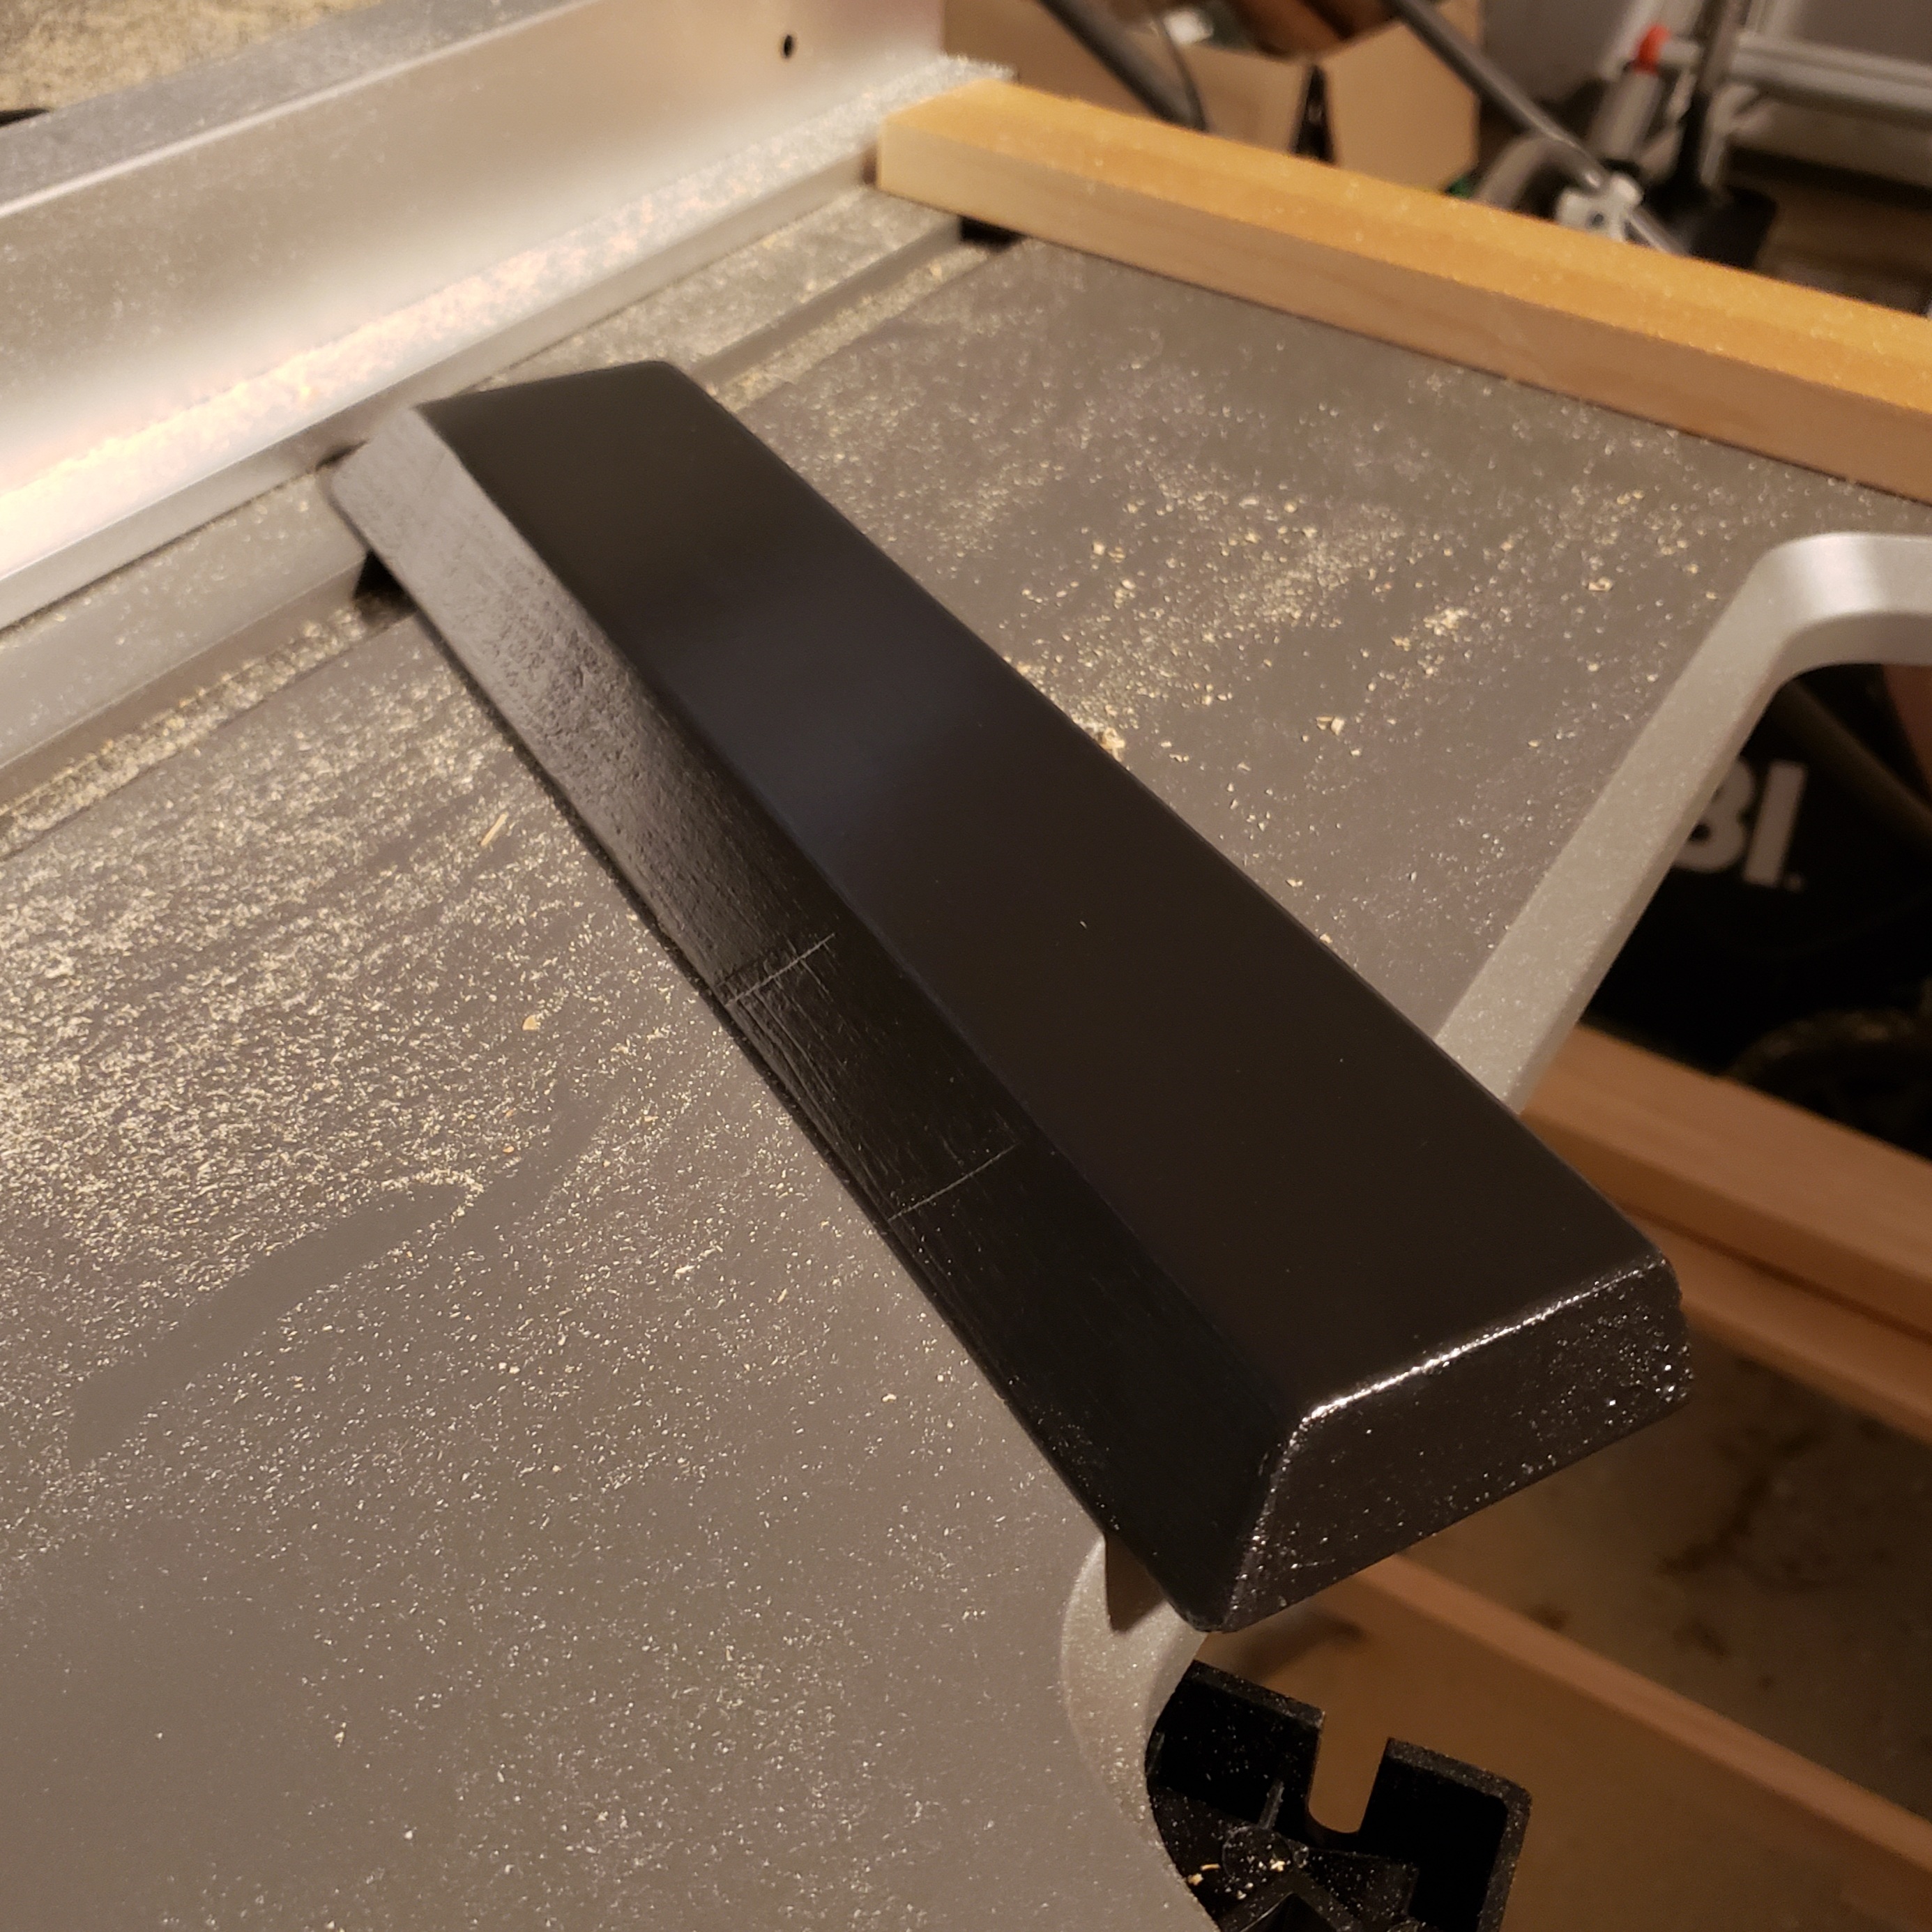
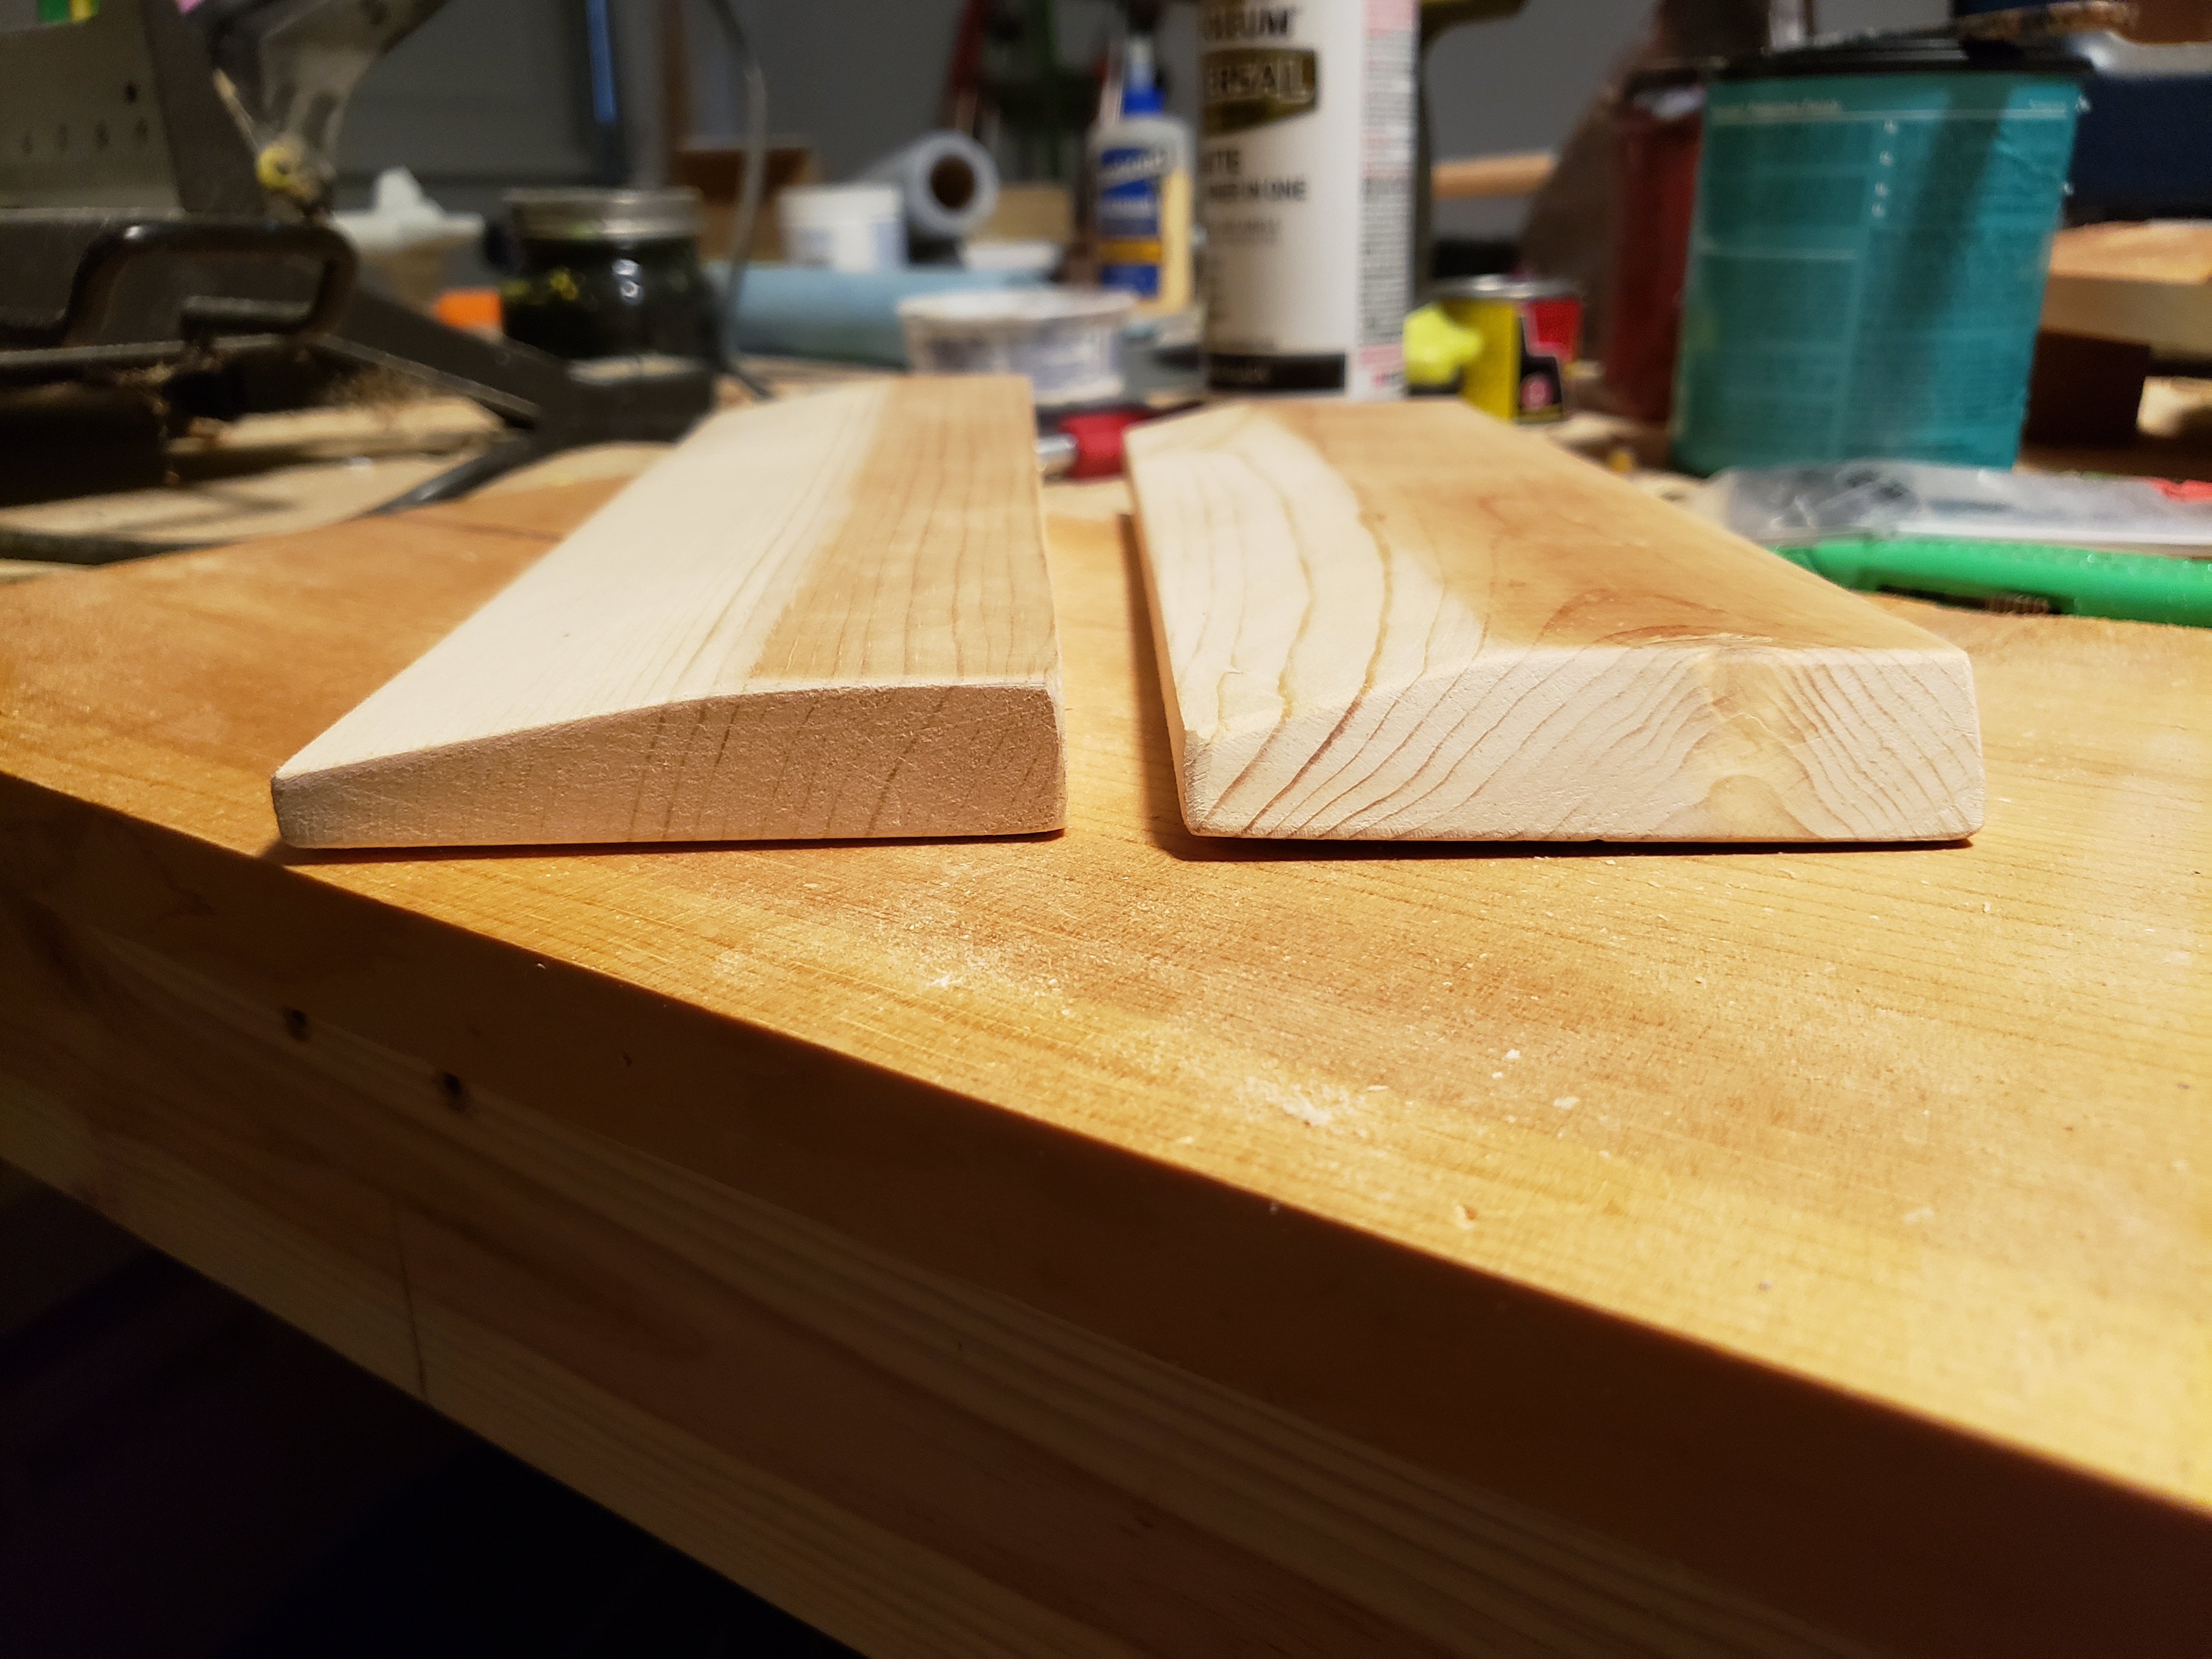
I took the same 3/4" pine I used for E0 and cut a 12.5" x 3.5" piece, then set the fence to 3/8" and the angle of the saw to 13 degrees and cut the piece while standing it on its narrow side. Then, for aesthetic appeal, set my miter saw to 30 degrees and angled the short sides. The result is this:

Not a bad look! Upon trying it out, I immediately found it much better than E0, though the 13 deg angle felt slightly too steep. Also I didn’t take into account that beveling the sides would shrink the visual footprint of the piece, even if the physical footprint was the same width as the keyboard. Still, it’s a reasonable candidate, though I want to continue prototyping.

1 Like

Sounds you’re off to good start, and immediately improving after one iteration. Imagine how good it will get by the next few attempts? Thanks for sharing!

1 Like

Nice!, Looks great, im just curious and not very educated, is polyurethane usually what the coating is on the wood?

1 Like

I already have the next two in the works! Trickiest part is finding the time to do the write-ups, ha.

Thank you for reading!

1 Like

That’s right, polyurethane or polyacrylic, which is the same thing but water based. Goes on as the clearcoat over the paint or stain. I actually use the same thing for my canvas paintings.

But yeah, I need to do some research myself. It’s been some number of years since I spent my Saturdays mornings watching New Yankee Workshop.

Experiment 2

In attempts to find an angle I liked better, I made the same cuts as E1, but changed the angle to 9 degrees instead of 13. This looked good while lining everything up, but turned out push the ridge too far up the board. With some adjustments, I think I could make these as an emulated full angled rest, as the ridge is past where one’s hands touch the board, but some further experimenting is needed before I’m happy with this dseign.

Experiment 3

I caved in and took a look at the dimensions Glorious uses for their wooden rests. They go all the way to 4 inches wide, and while they don’t reveal the angle they cut the top at, its fairly clear that the ridge lands in the exact middle of the board. Interestingly, they list their rest as being 19mm tall, but as it turns out this is the same thickness as a “1 inch” piece of wood in the States. It would appear we’re using similar processes :grinning:.

This time, I cut a 13" x 4" piece, with the intention of beveling the edges to 12.5" on top. I set the angle to 11 degrees, splitting the difference between the two previous attempts. This, as it turns out, is perfect. The position of my hands and the way the rest feels very natural. I’m a little irked that copying someone else led to the best results, but there’s still room to put my own spin on it.

And put my own spin on it I did:

I’m pretty bad about remembering to take pictures as I work, so my apologies there. As you can see, I 1.) cut a full size version, and 2.) made two aesthetic cuts, trimming the front corners at 22.5 degrees with again a 30 degree tilt, giving the rests a nice low-poly sort of look. I tried sanding and trimming the corners off to get a vector line, but it didn’t turn out as cleanly as I would have liked. Paint will have to wait for next time.

2 Likes

Are you just experimenting with shape at the moment? Do you plan on expanding your experimentation into finishes, and possibly mixing of materials?

Would you consider a resin river in your wrist rest? XD

image

1 Like

Yes, shape for now. Finding the shape is the nitty gritty before I can start thinking about fun finishes, but I think I’m happy with this current iteration and can start experimenting with looks.

I’ve listed out things I want to try. Resin rivers is definitely one of them, but also inlays with opaque or semi transparent acrylic, painting them with graffiti tags, and maybe even sculpting something like artisan keycaps and embedding those in resin. The possibilities are endless.

3 Likes