Mate, that’s rotten luck - hope the second take goes better.
2 Likes
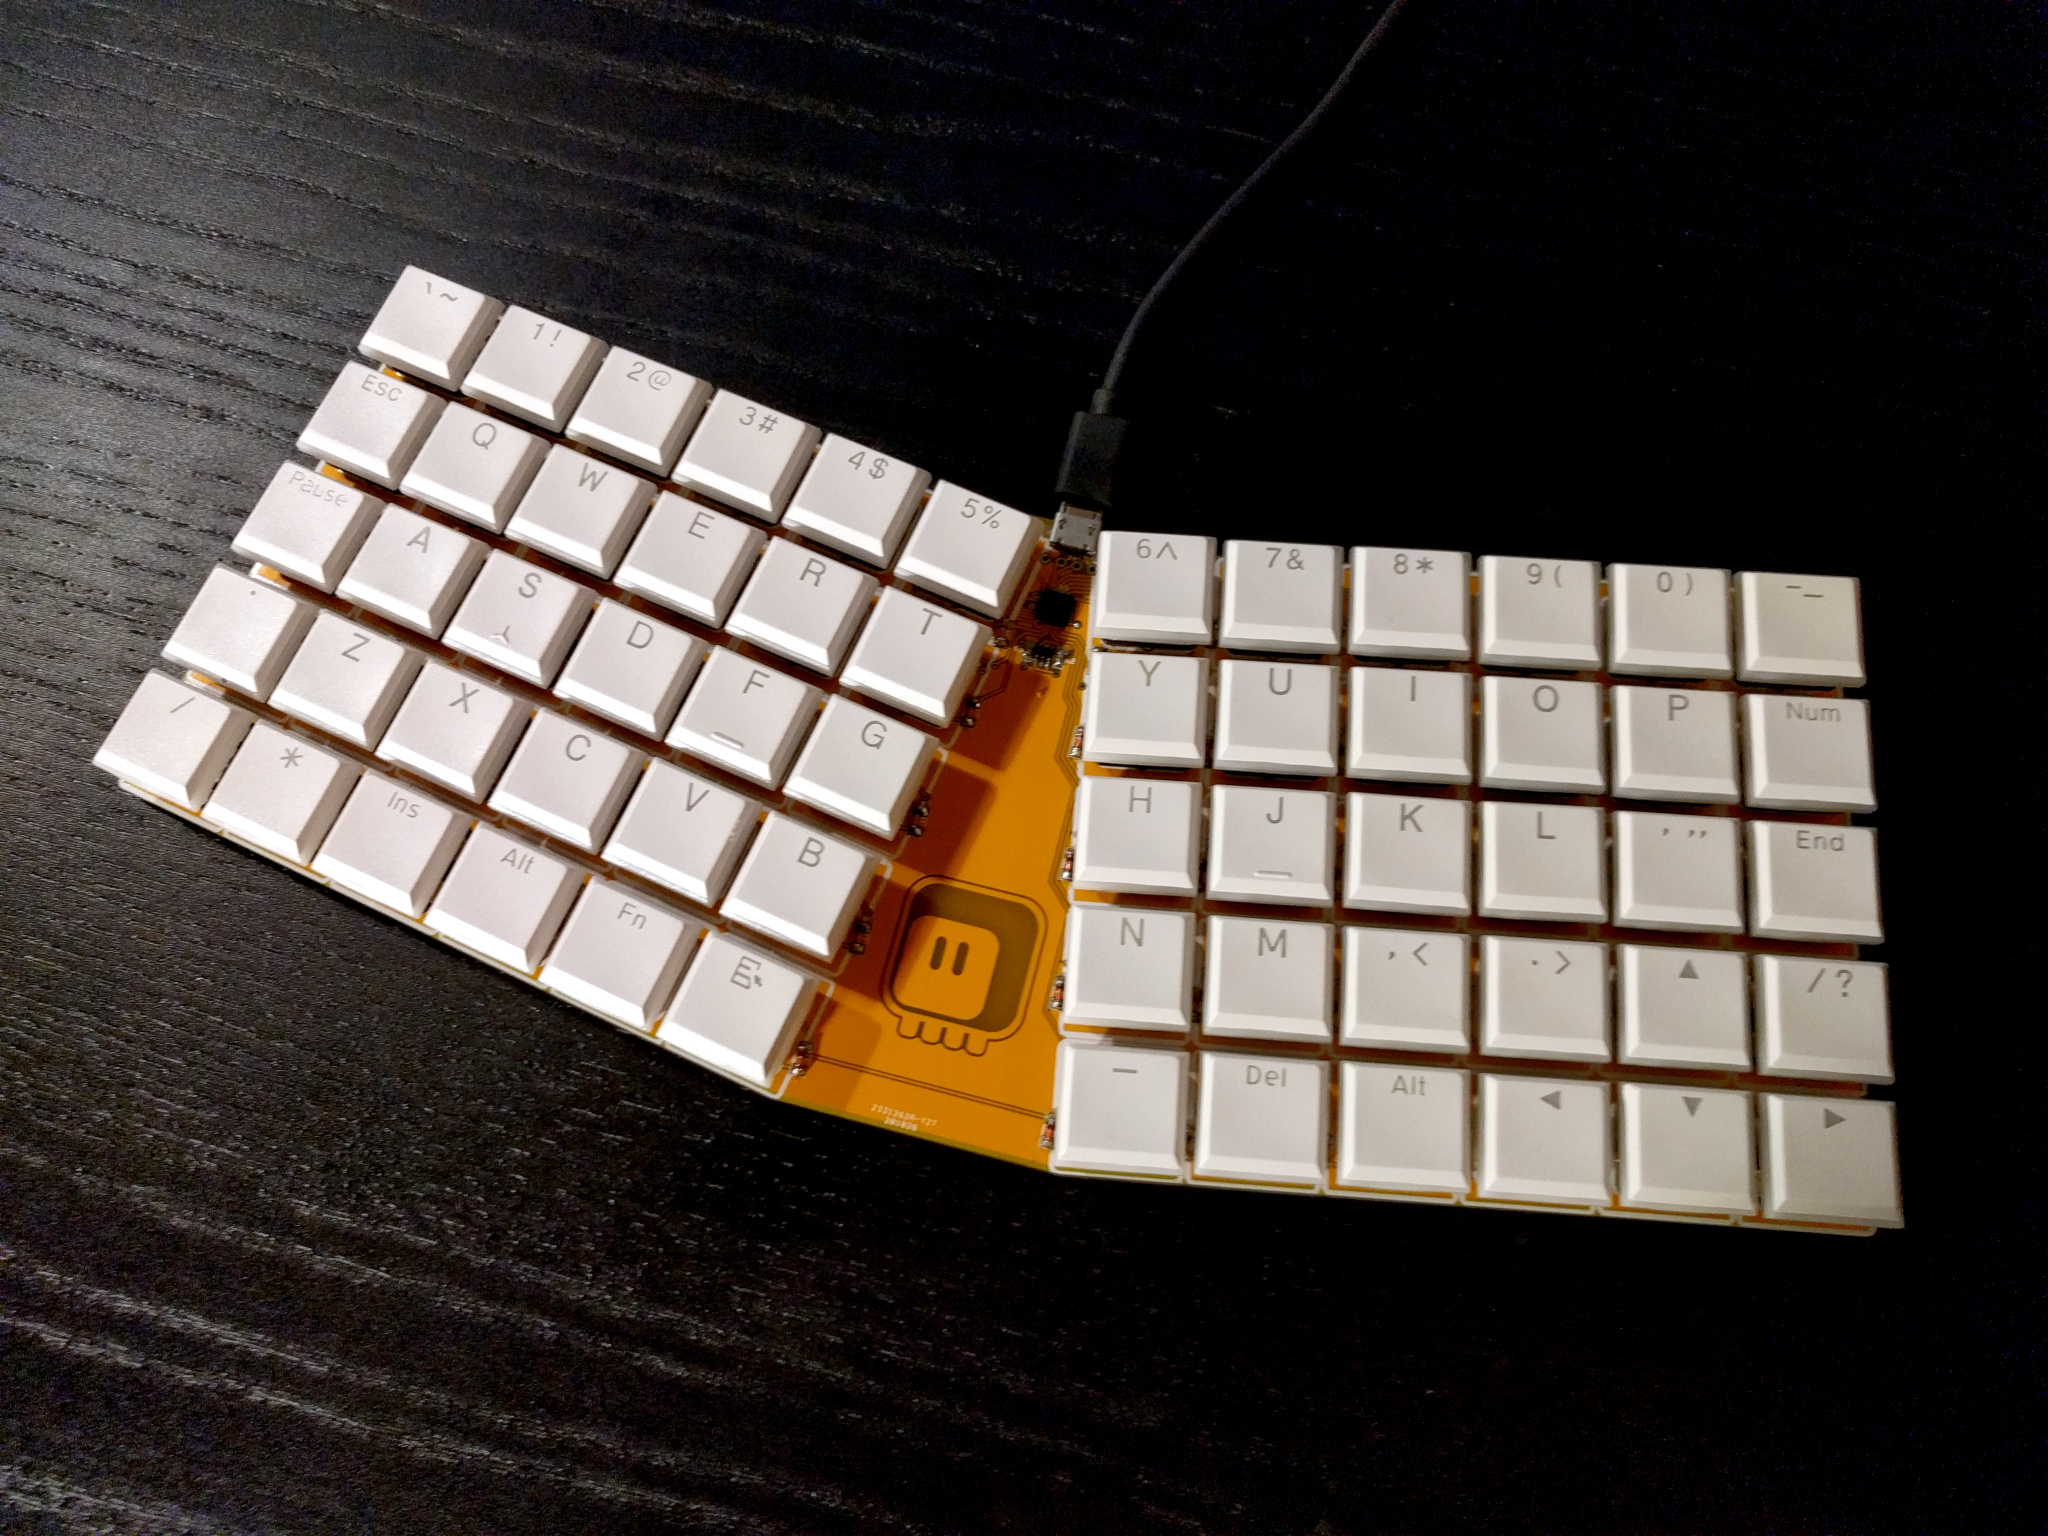
Here is the new layout:
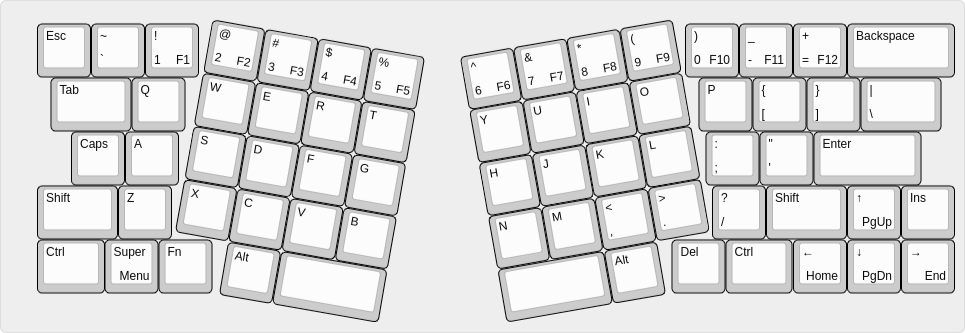
As you can see, I actually took a step back and made it more like the Alice layout, only ortholinear. The columns are no longer staggered, except for the pinky column, which is lowered a bit due to the skew of the keys. I also got rid of the extra 4 keys on the side, and instead put the Home, End, PgUp and PgDn on the arrow keys with Fn — since I need that key for the function keys anyways, I might as well make use of it. For a moment I considered using one of the long shifts for the Enter and a 1.5U for Caps, just to have a nicer edge, but then decided against it, as it would only complicate things.
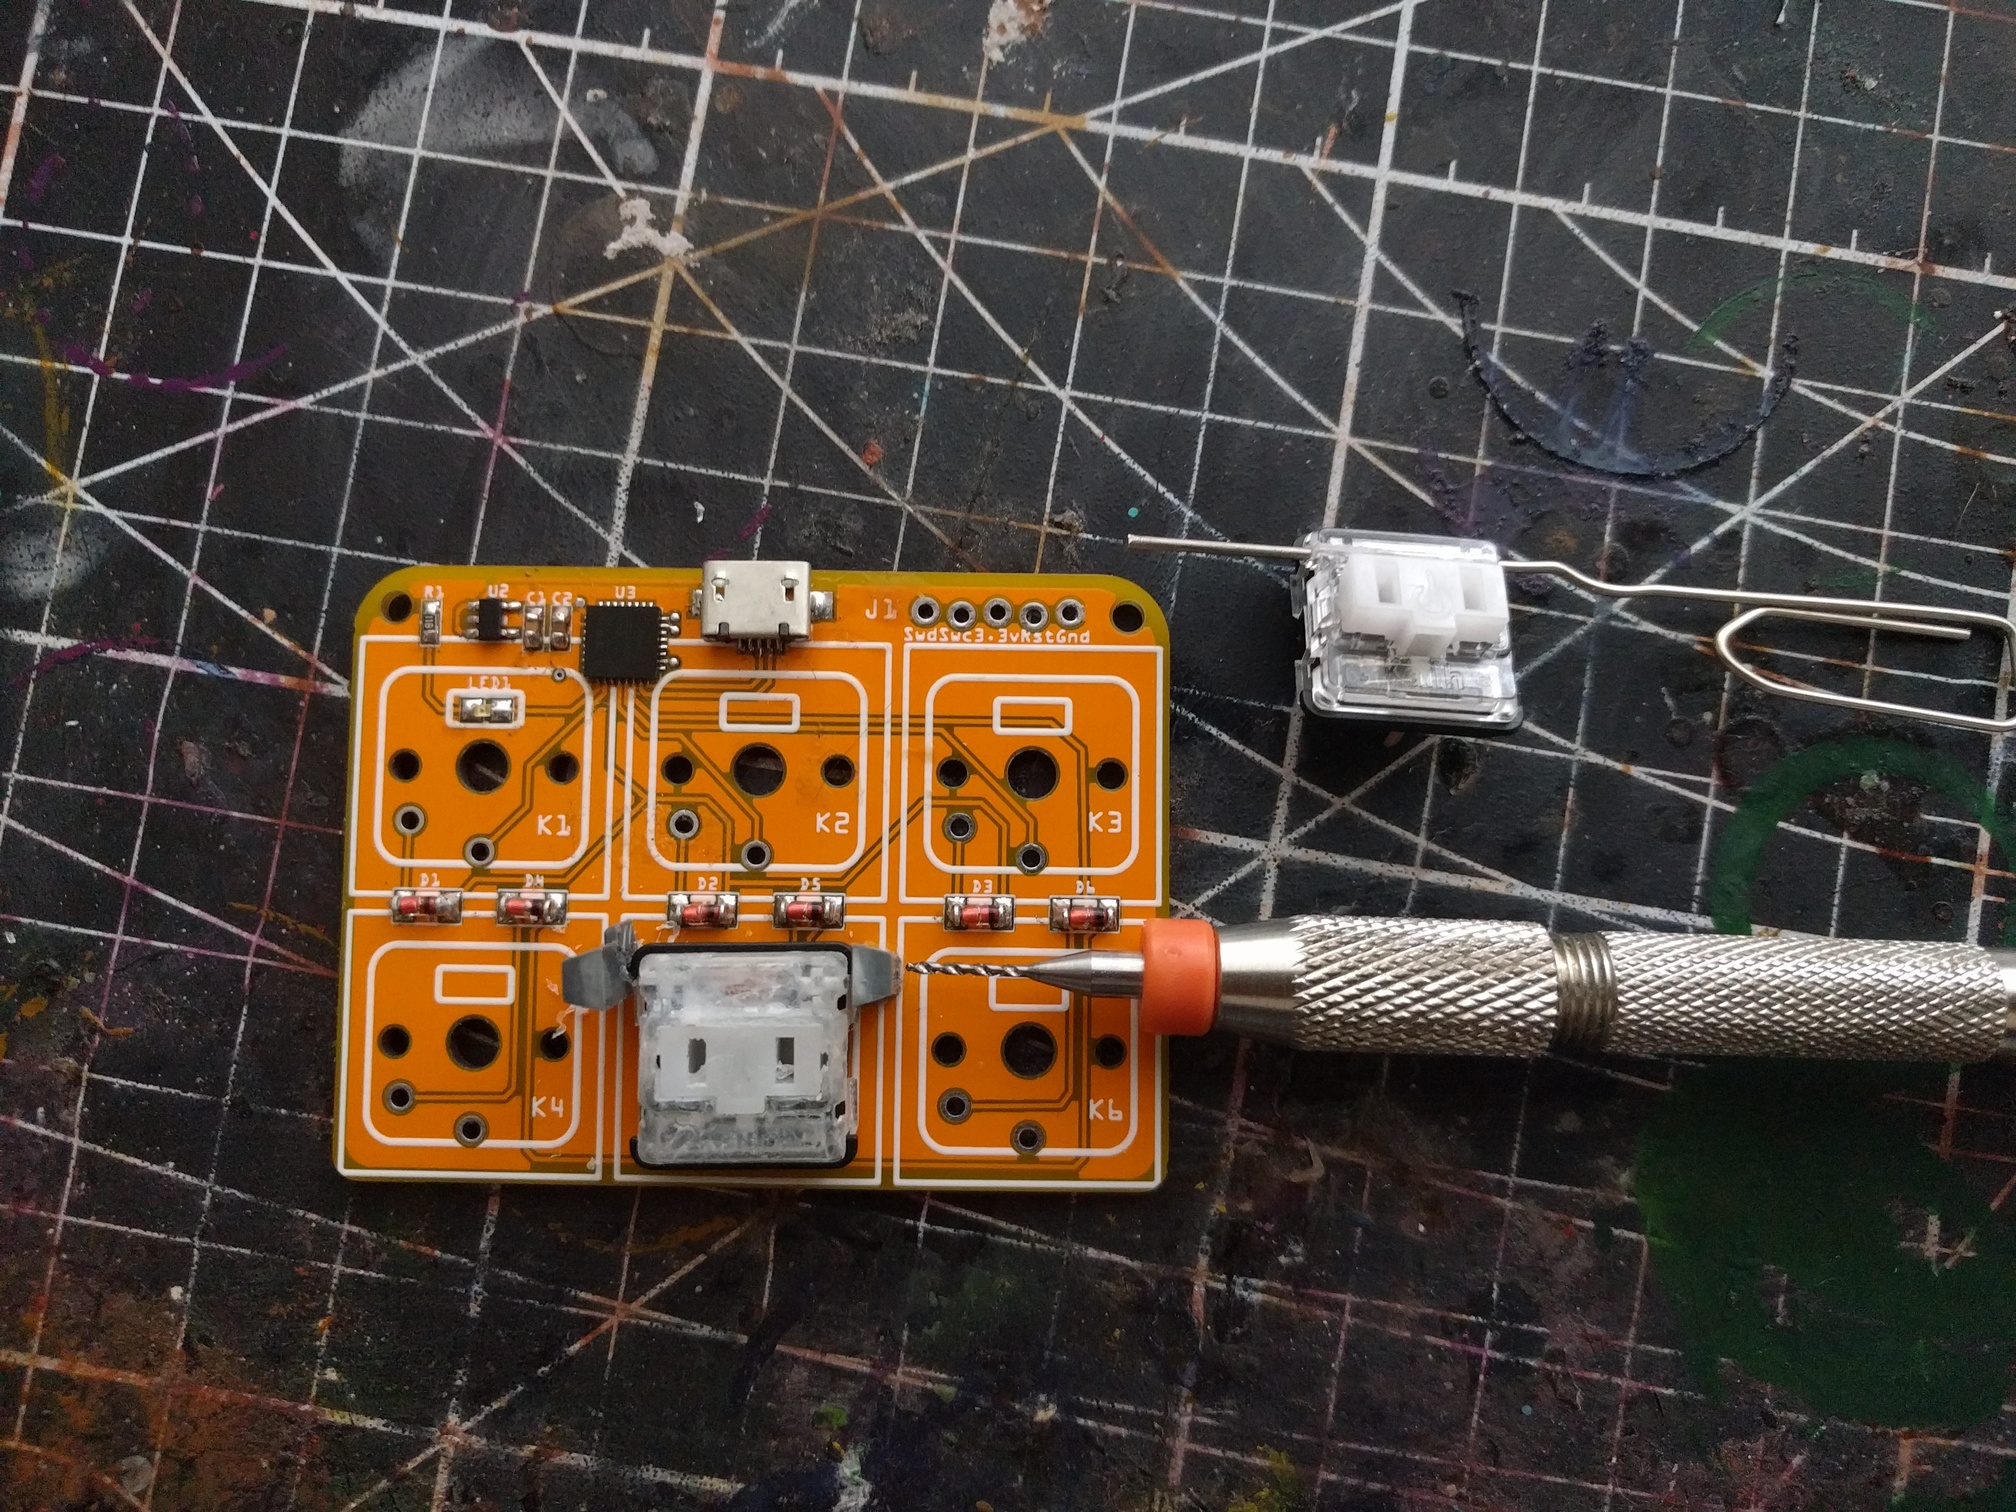
This time I was very careful to make the PCB right size:
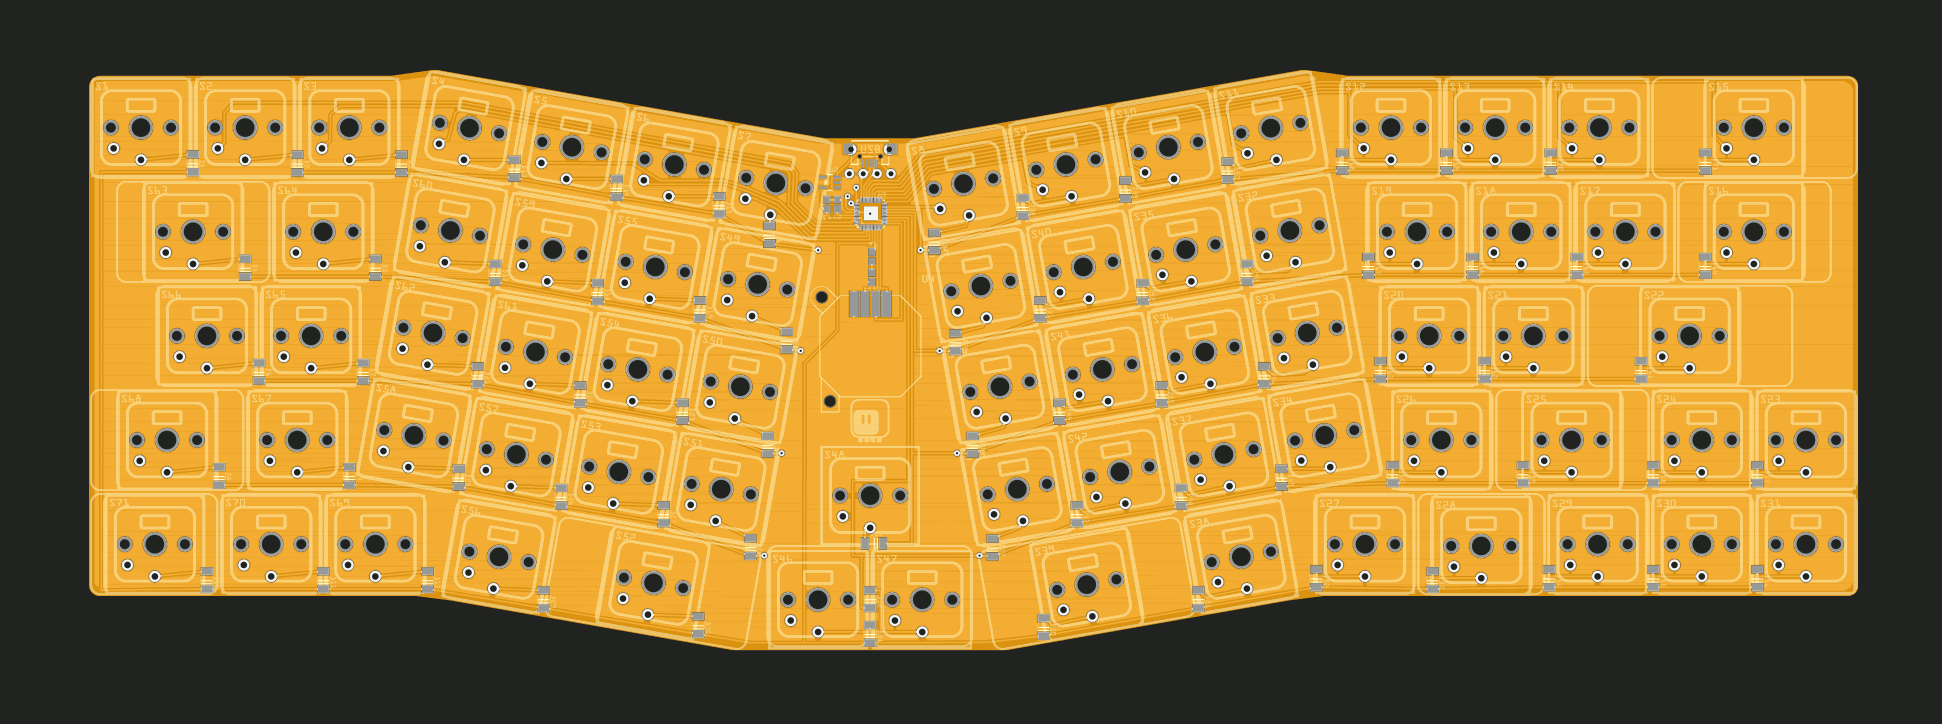
I added it to an order I was making anyways for other PCBs, so I didn’t have much time to make nicer diagonal traces, but this should work as a proof of concept. I also didn’t make holes for the stabilizers, I’m going to improvise with paperclips again.
Since there was room, I put some extra keys and a joystick in the middle, but I will probably leave that unpopulated.
4 Likes
Such a tease ![]()
The PCBs have arrived a while ago, but unfortunately I’m still waiting for the switches, which seem to be stuck in customs. I had enough spare switches at hand to do all the non-1U keys, at least, including drilling the switch case to add stabilizers:
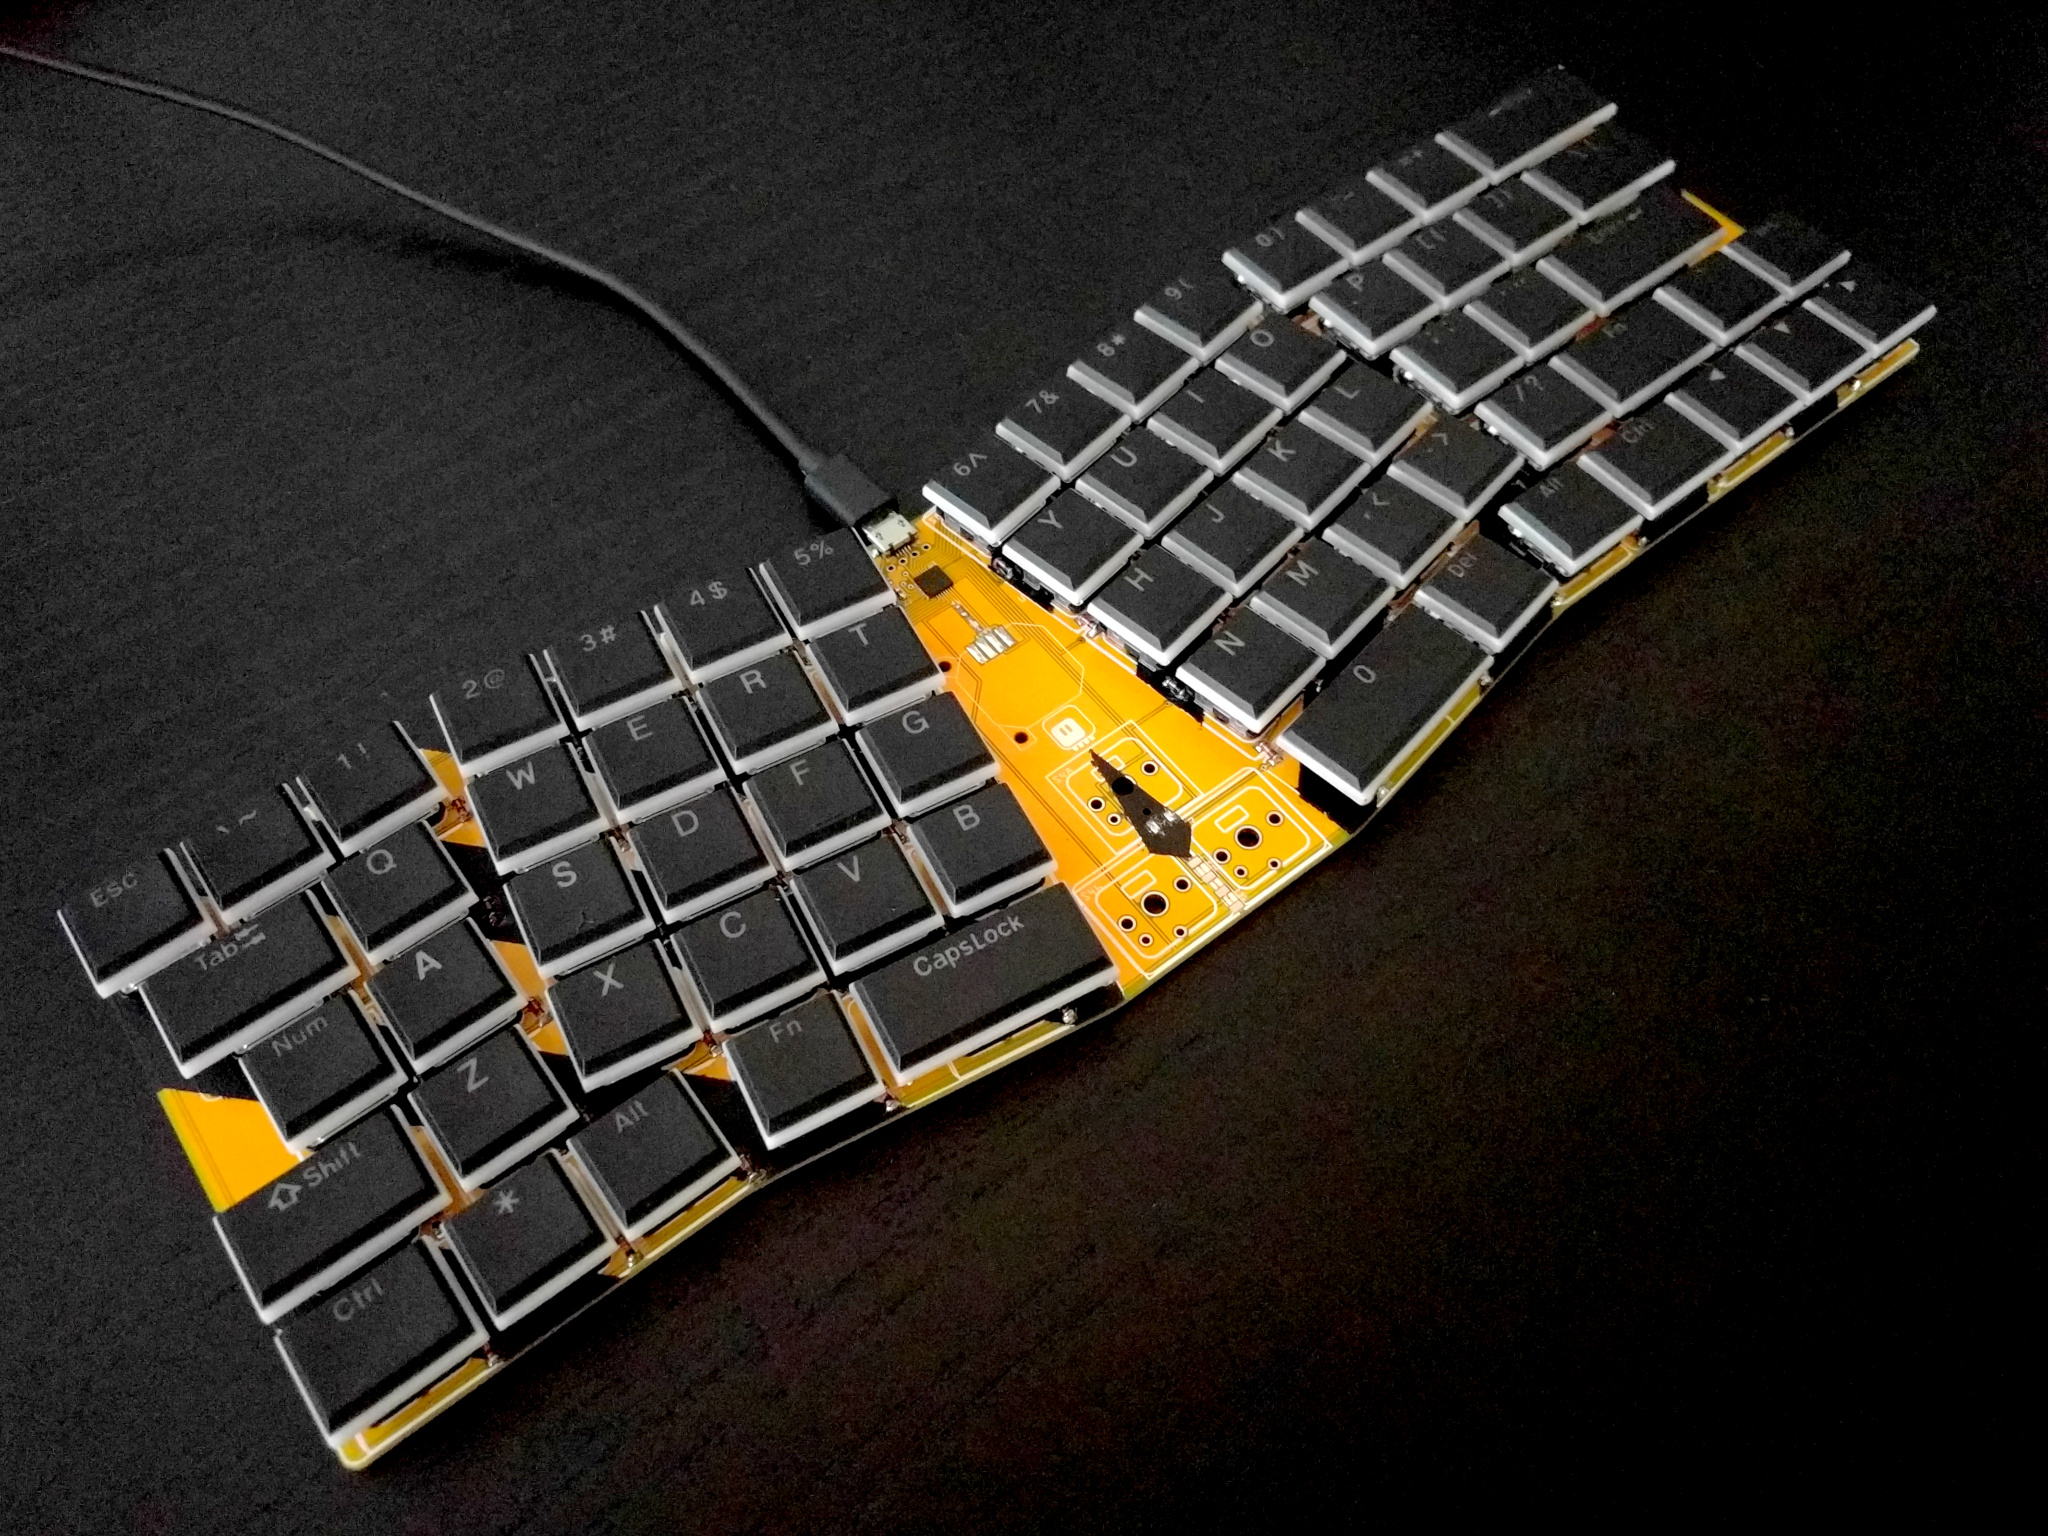
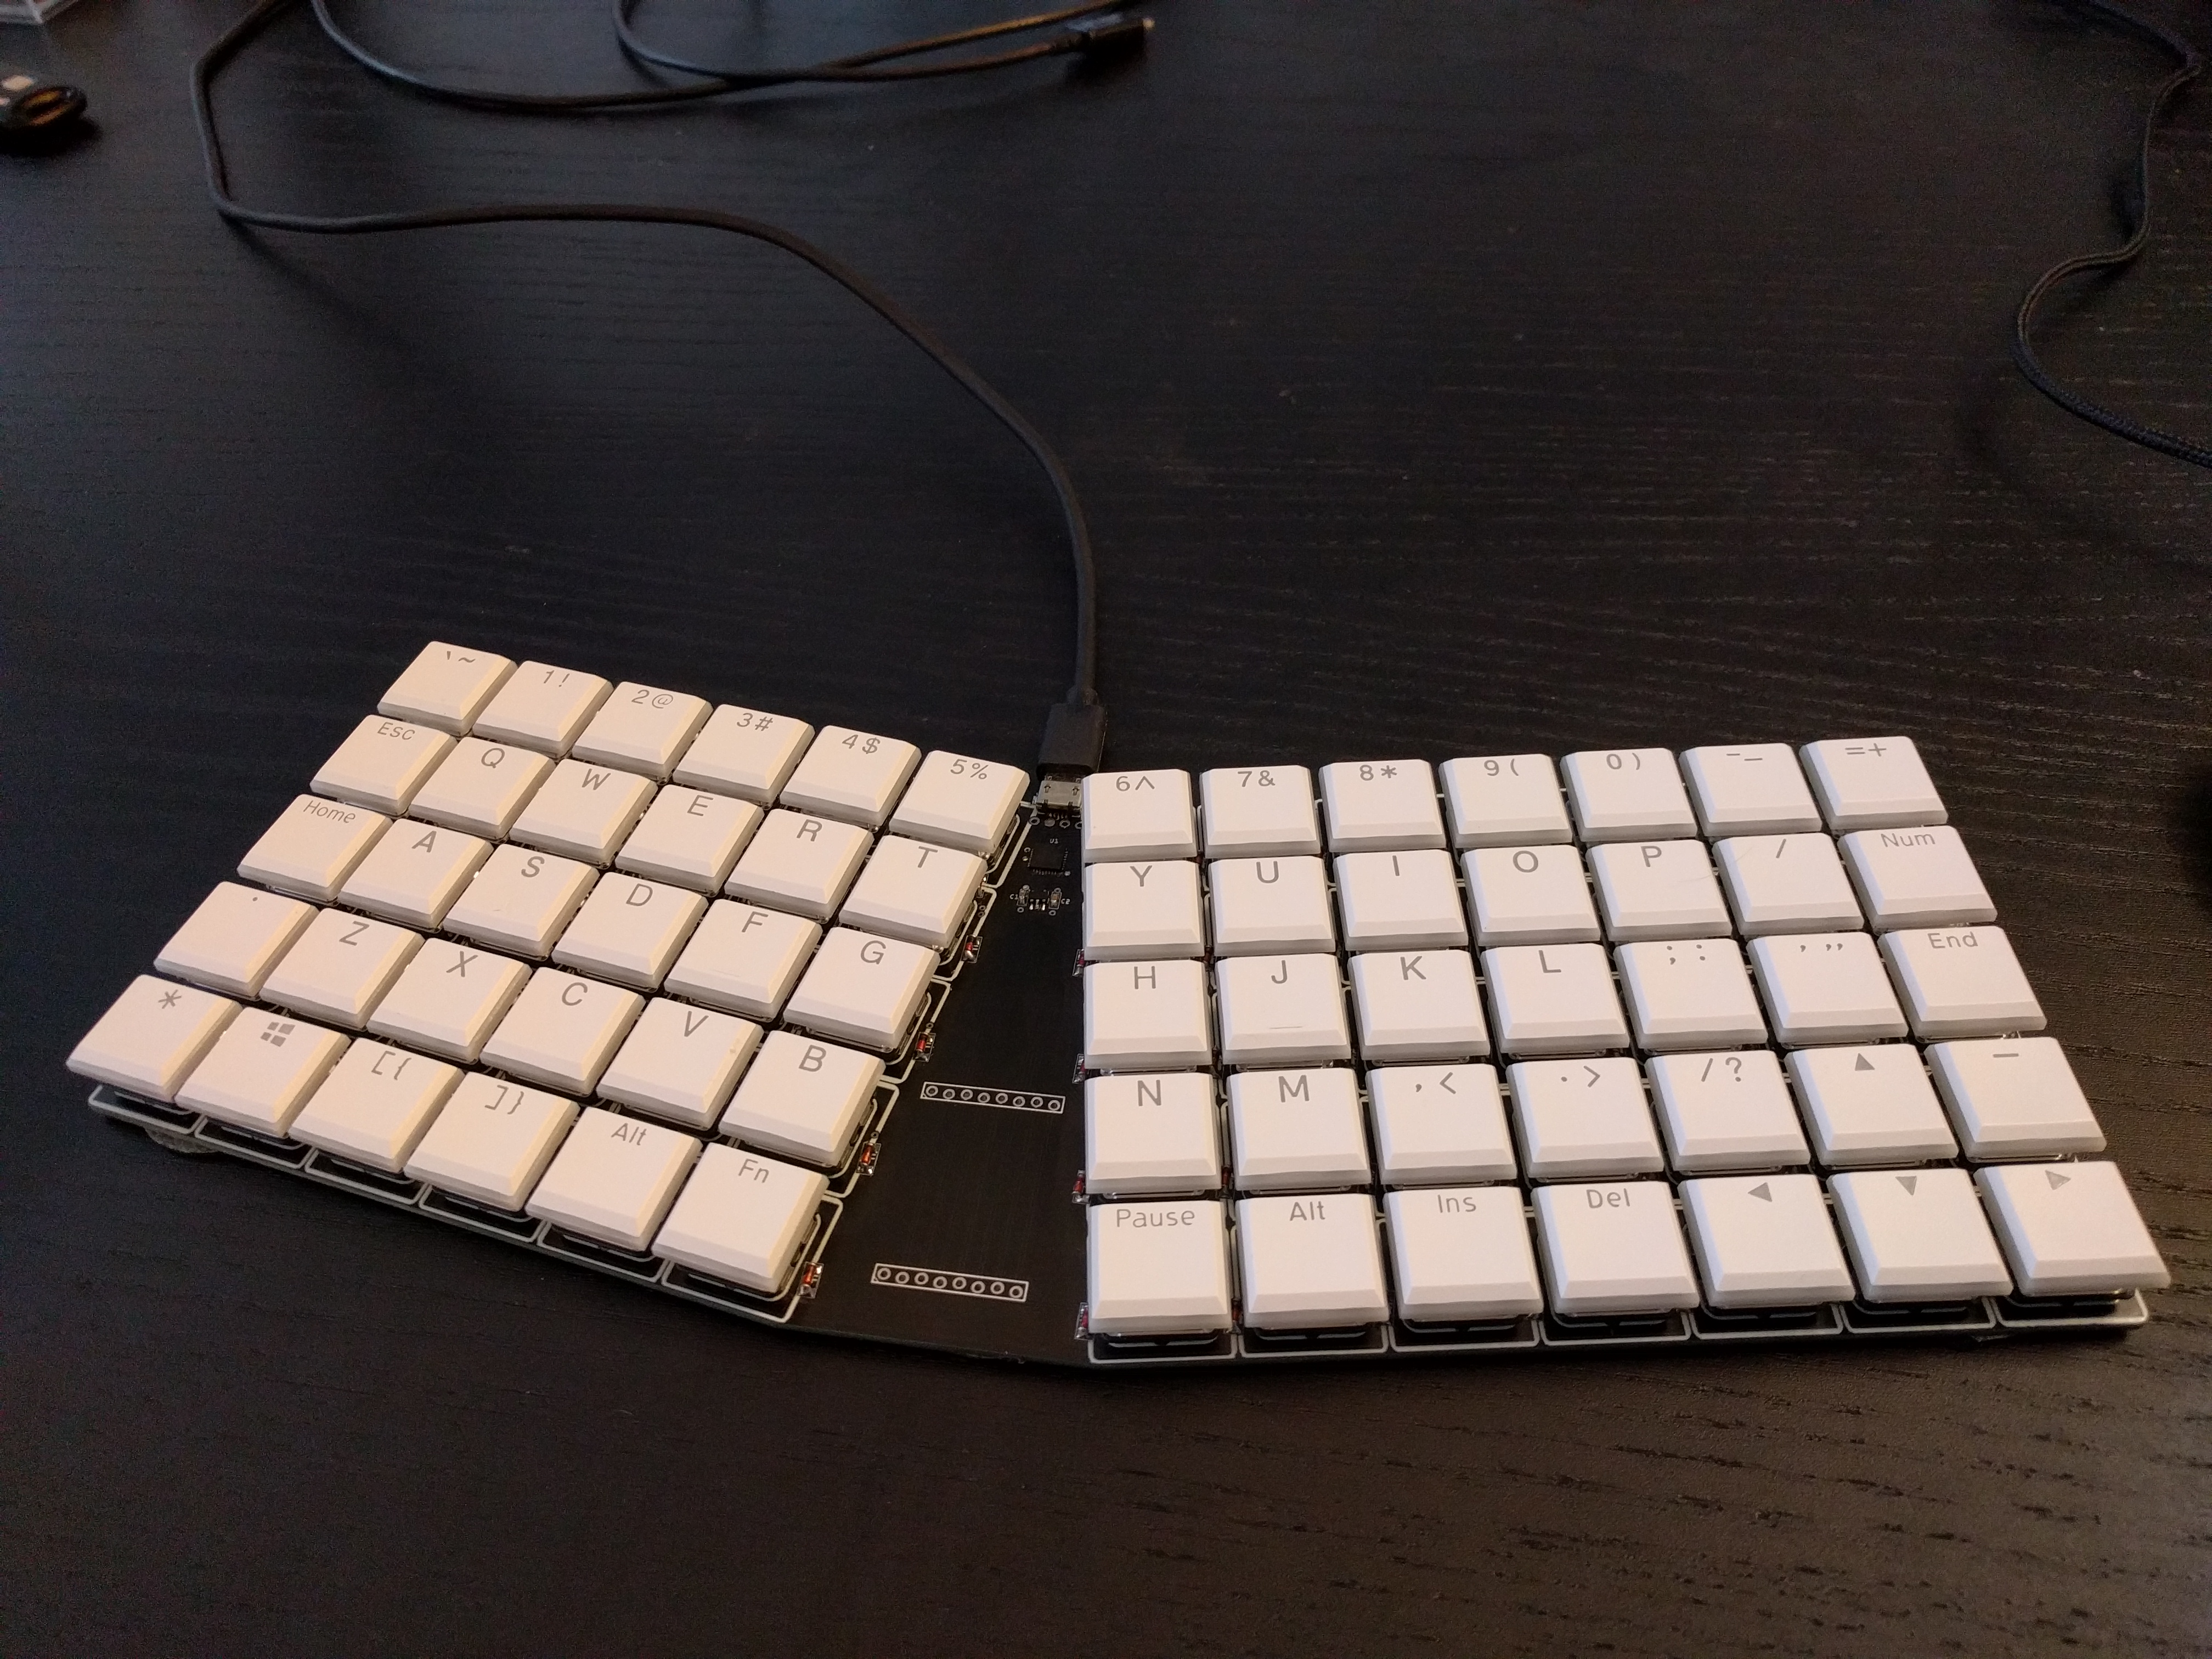
The keyboard looks like this:
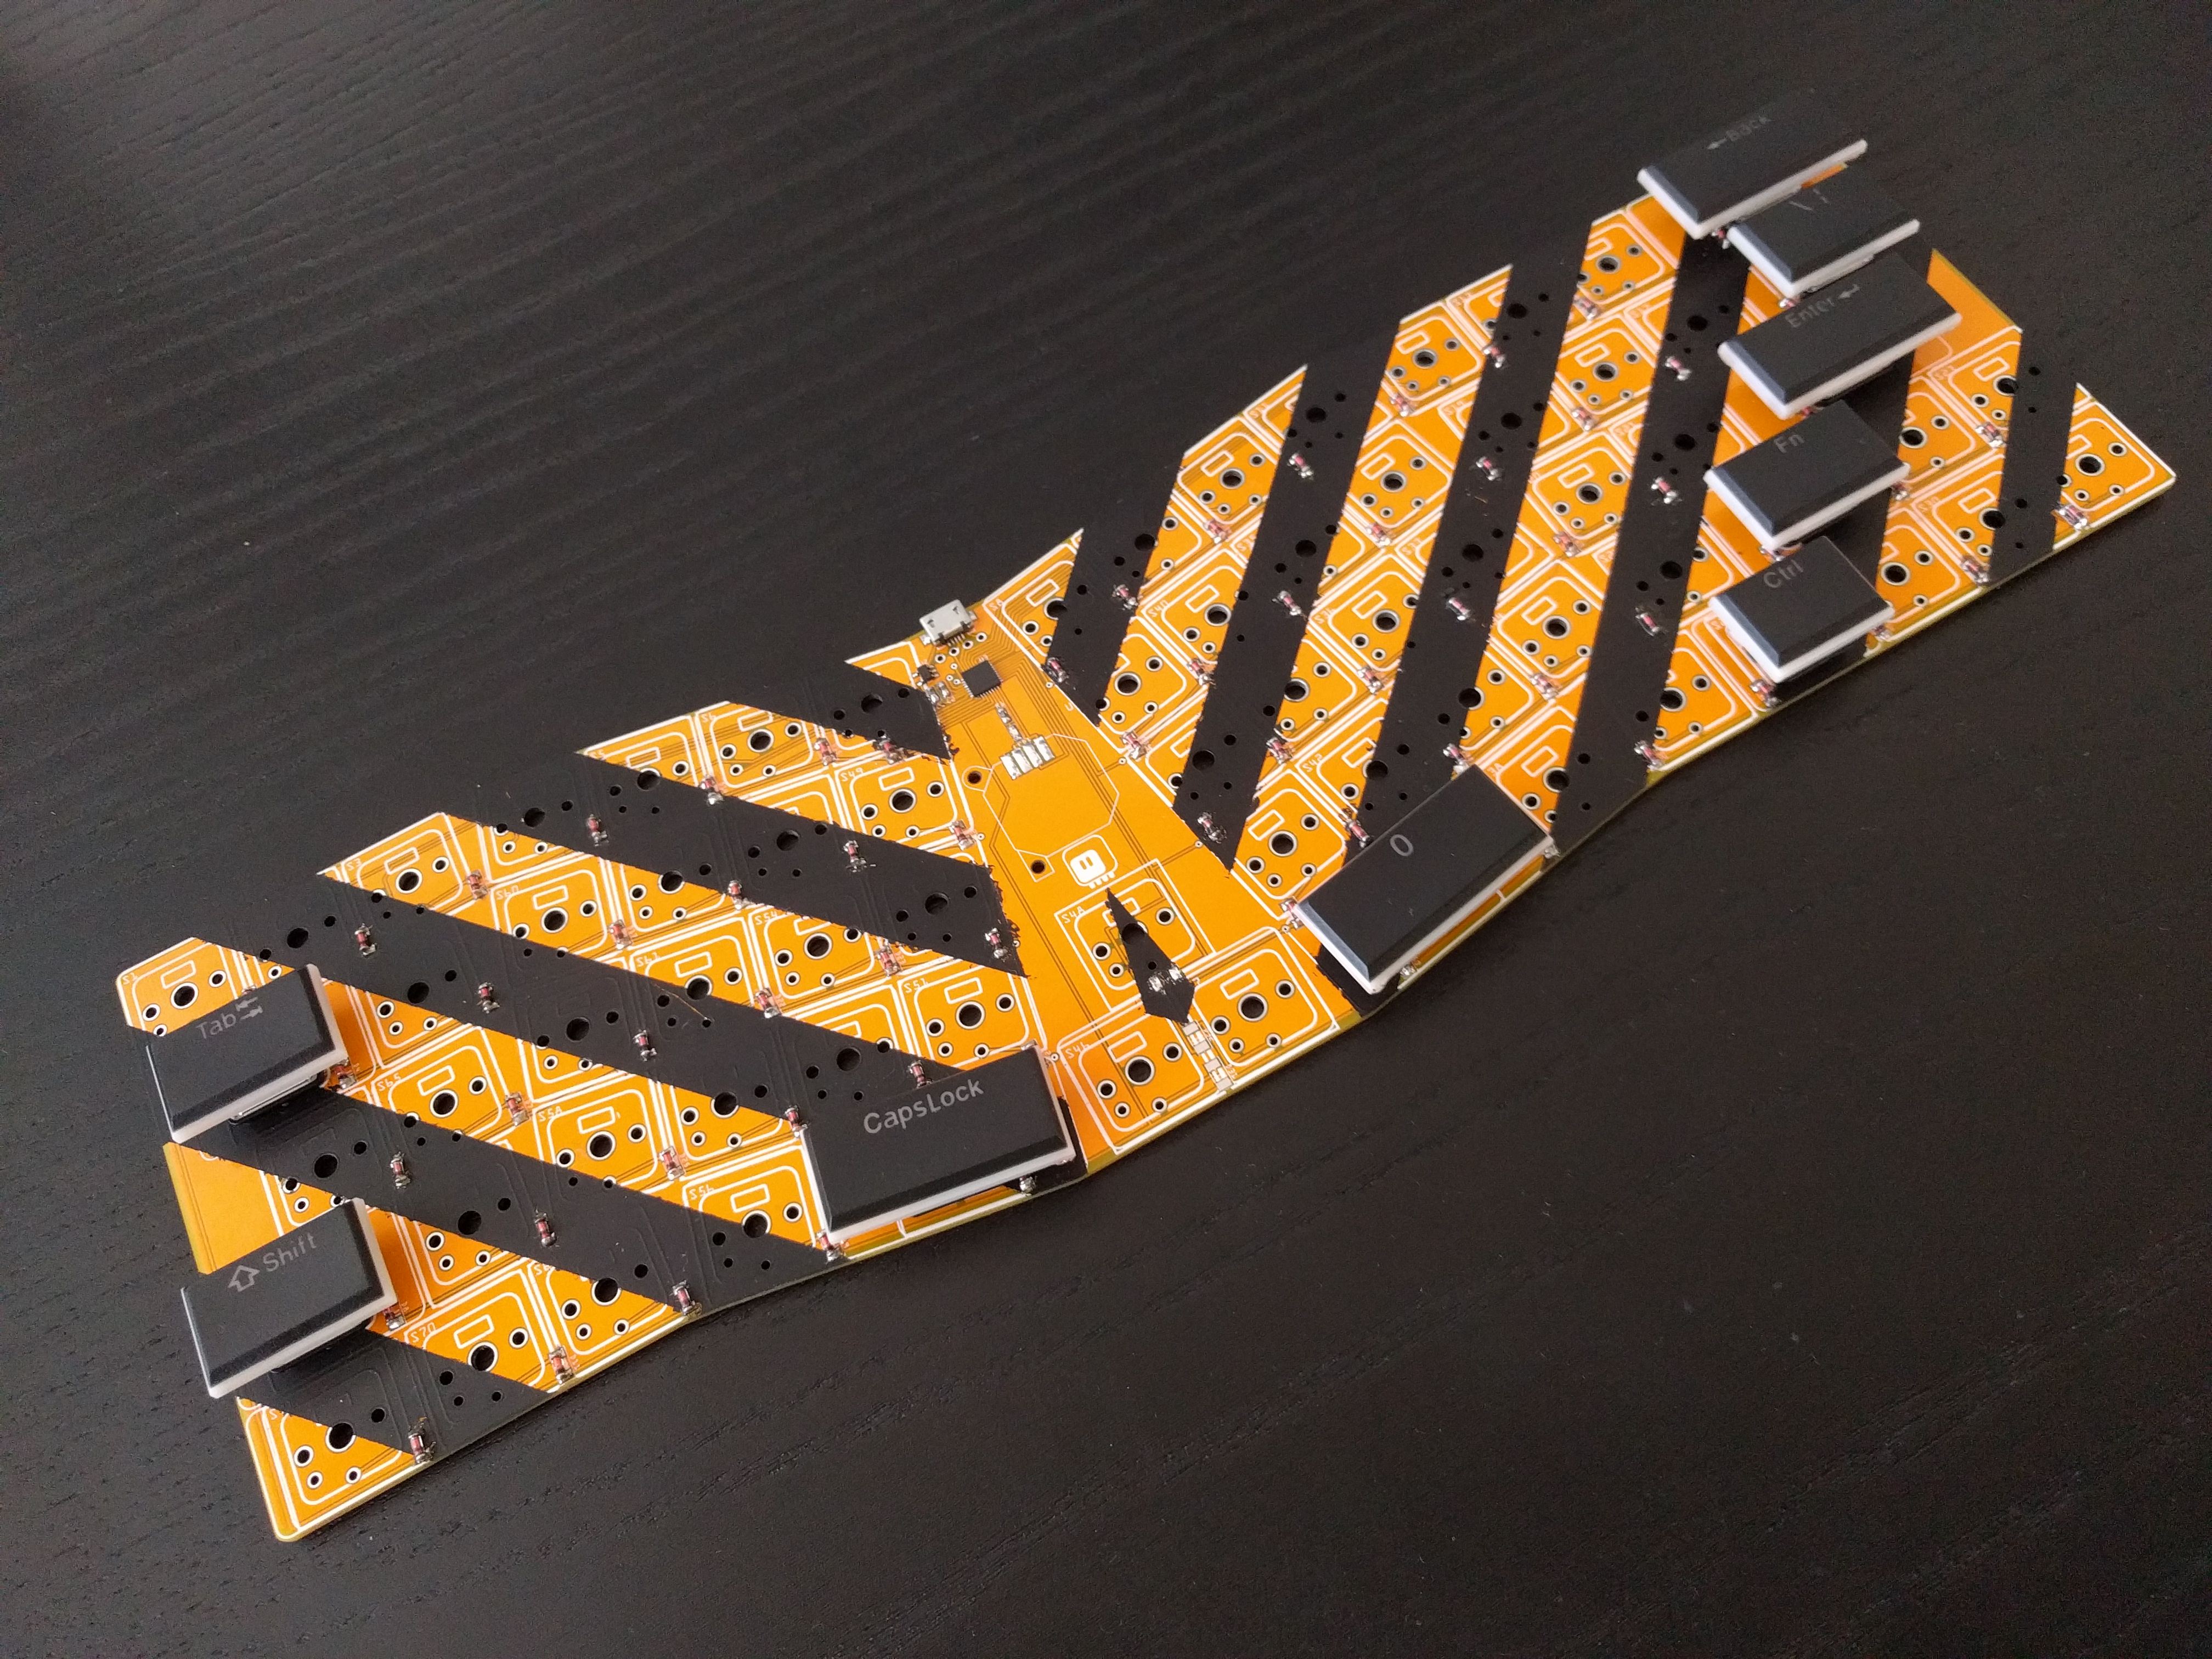
(I painted the black strips using a spray can and some masking tape.)
I have a good feeling about this, and I can’t wait for the switches to arrive.
4 Likes
4 Likes
After a few weeks of using this, I can write some summary.
The layout itself works well enough. If I were to change anything, I would move the tilted blocks of keys a little closer to the non-tilted parts, to reduce that gap — I left it too large, because I wasn’t sure how well the key caps will fit. Otherwise this works as well as any other full-size ortholinear keyboard for me.
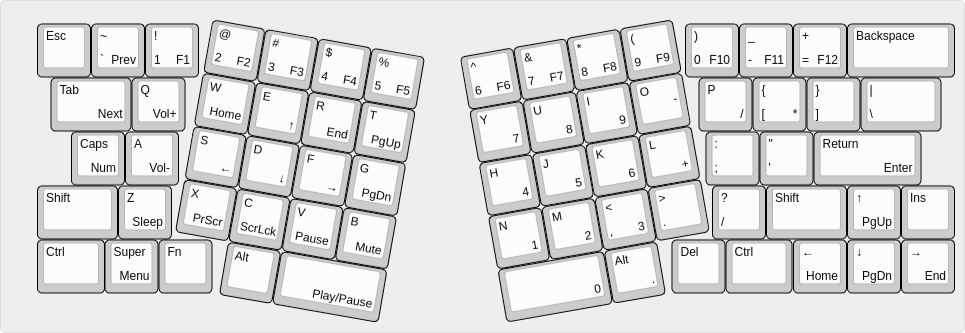
One thing that I didn’t think about that made me not use this keyboard as my everyday setup, however, is something I only noticed after using a Plack for a few weeks and then switching to this: the Esc, Tab, Enter and Backspace keys are too far away to reach without moving my hands from the home row, and as soon as I move my hands, my all-finger touch-typing devolves into 3-finger pecking. Granted, this is not a problem of this layout specifically, but rather of all “full size” keyboards. To resolve this, I have now made yet another keyboard that I am now using for two weeks and that I’m happy with:
I gave up on Alice inspirations, Atreus staggering of columns or differently sized keys, and just went with the simplest thing that could possibly work. The only change I would still make (and I still might do it), is adding one more column on the right side, to have those “=+”, “;:” and “\|” keys accessible without function keys, and no hold/tap on the shift keys.
2 Likes
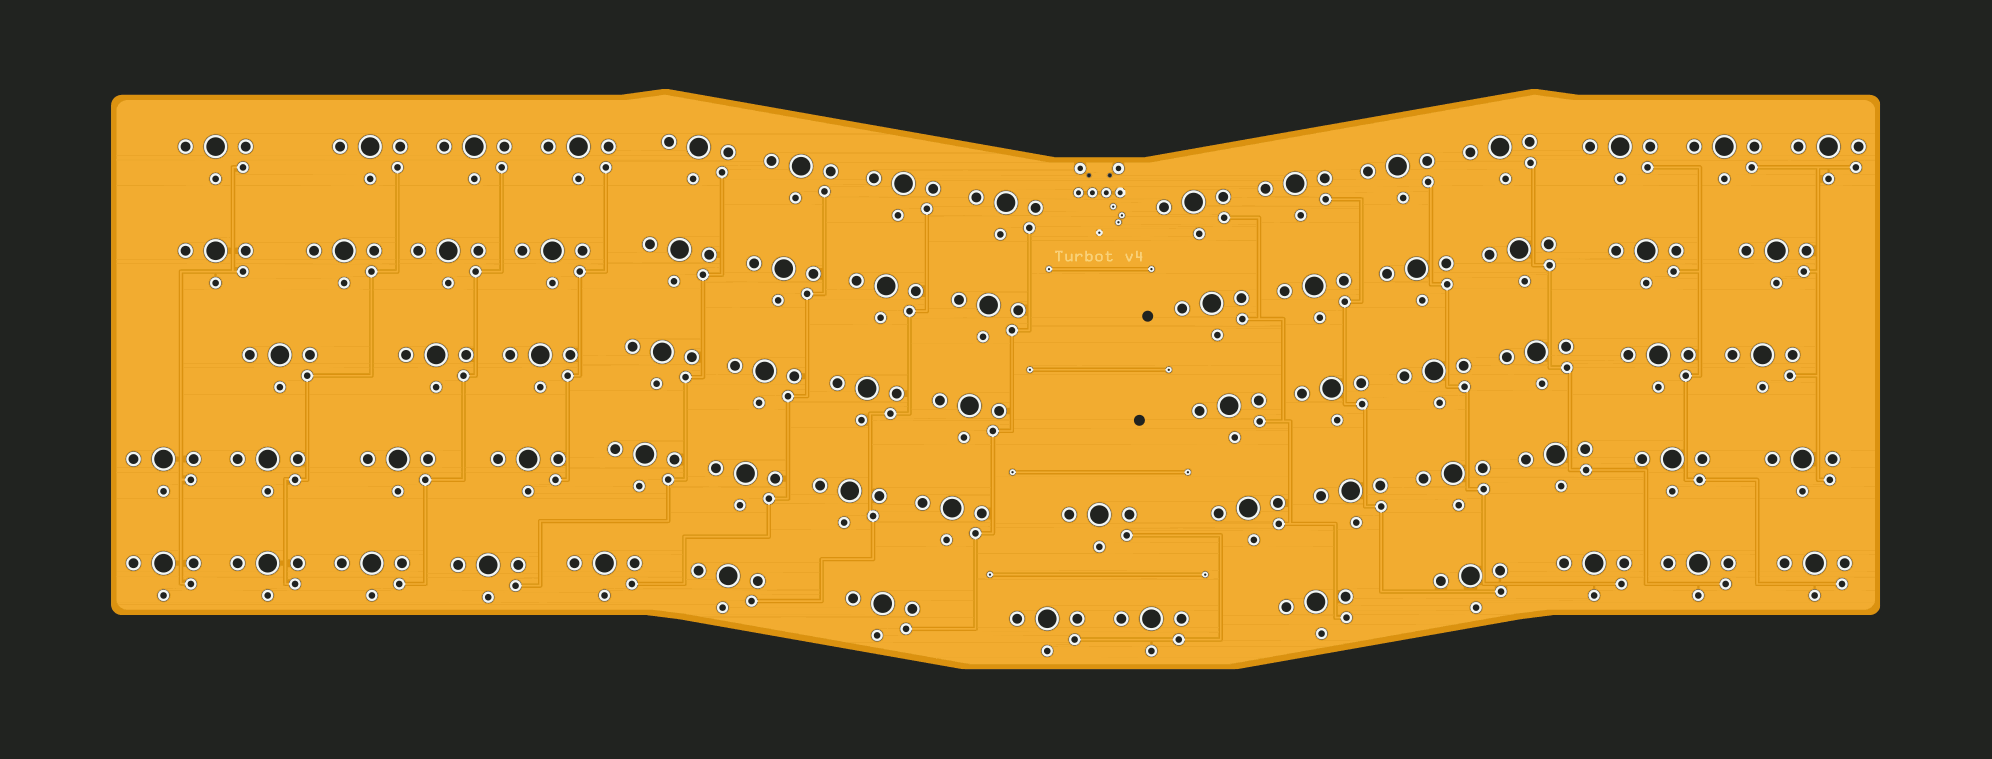
I went ahead and did that change. Also, added pins in the middle for attaching custom modules, so I can experiment with encoders, joysticks and the like.
Also changed the PCB color to black so that it matches my desk.
2 Likes
The real 200IQ moves right there!
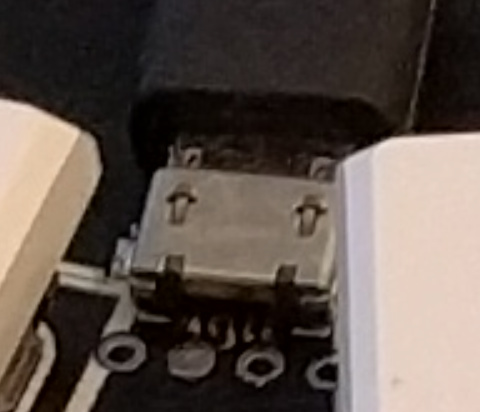
Is that USB Micro? ![]()
Well, I still have more micro-USB cables than any other kind, and even with USB-C the protocol actually being used is the same slow USB 1.something, so what’s the point? Sure, if my computer had more USB-C ports, it might make sense, but otherwise this is perfectly fine.
2 Likes
Hey man,
I’ve been looking for precisely for that setup. Do you got any files you would share so i can build one?
All I have is available at Kamina Keyboard | Hackaday.io
If you are in EU, I can send you a spare PCB.
1 Like
ah great thanks!
i’ll hit your DMs for your offer