Build #39: Kaffeeb(r)auer
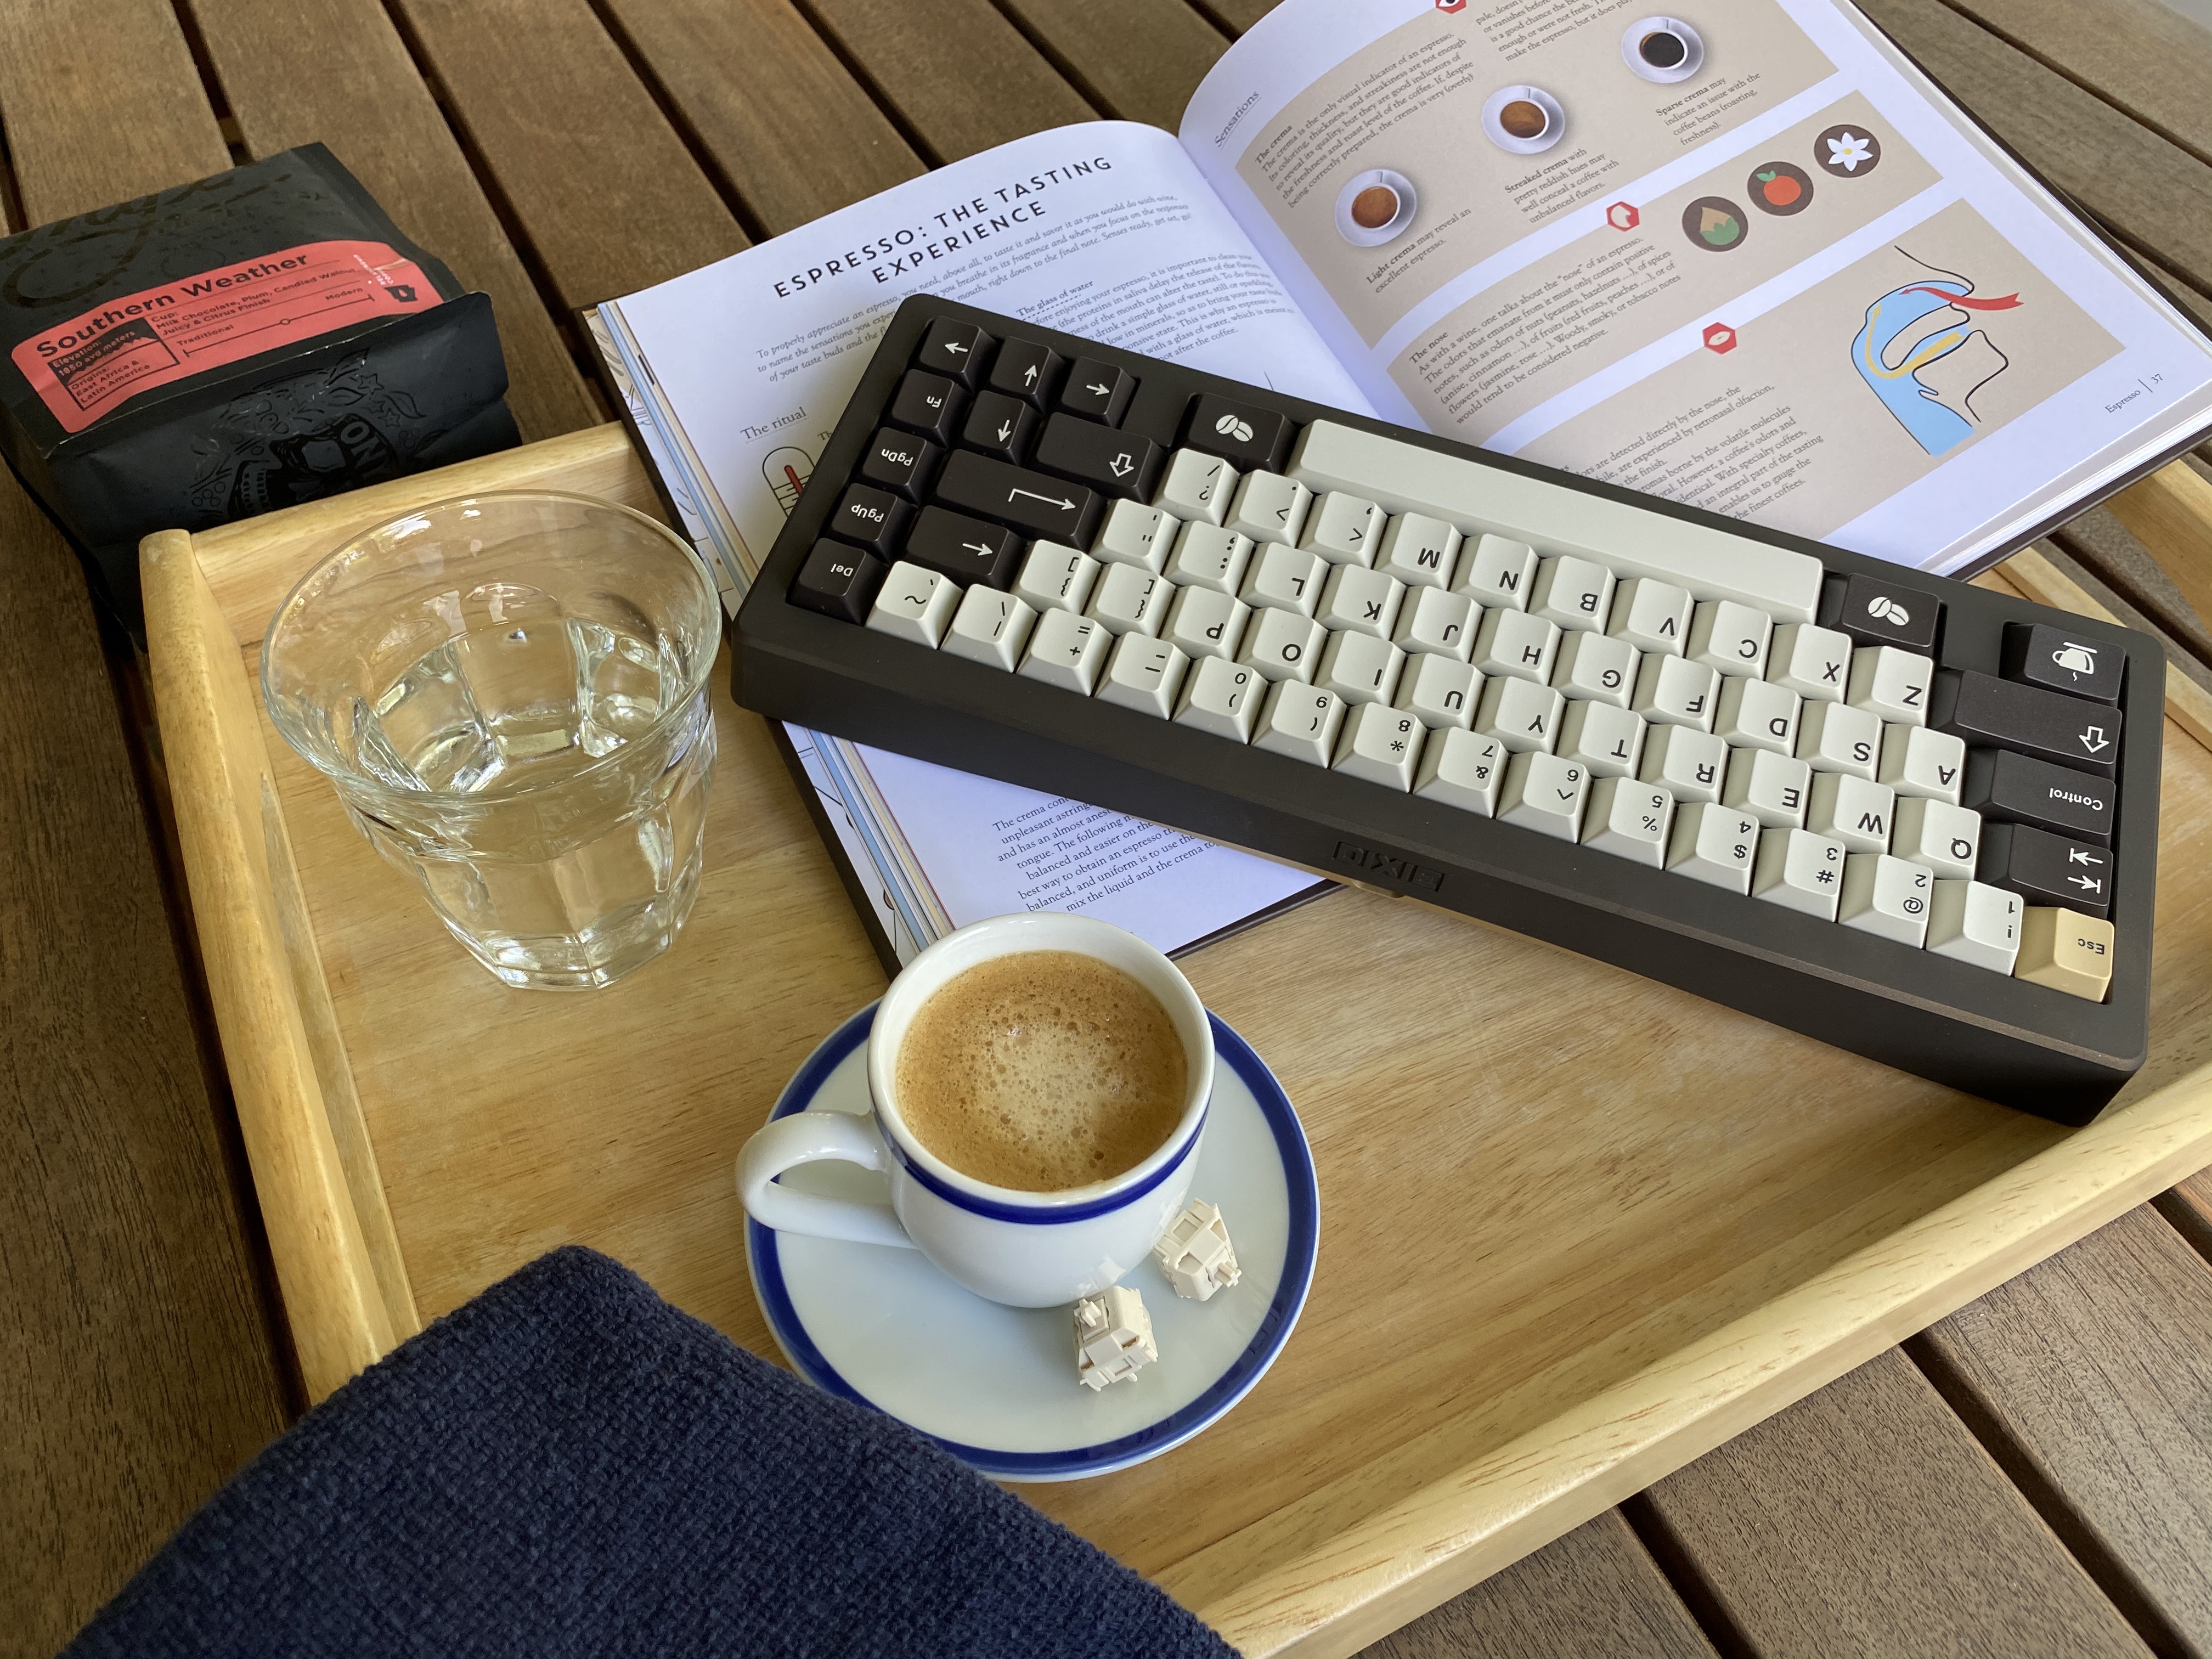
How many of us begin our days at a keyboard with a cup of coffee? Let’s take that relationship to the next level.
I’ve written before about the dangers of trying to color match boards and keycap sets based on renders, or even photos - color matching is no joke. But as much as I try to be rational and scientific about these things, sometimes I just have a hunch. When I saw the bronze cerakoted Bauer and GMK Café, I knew what had to happen - and, as awful as my FCFS/raffle/RNG mojo has been in recent months, I got lucky here with the Bauer. Let’s start brewing.
Grind
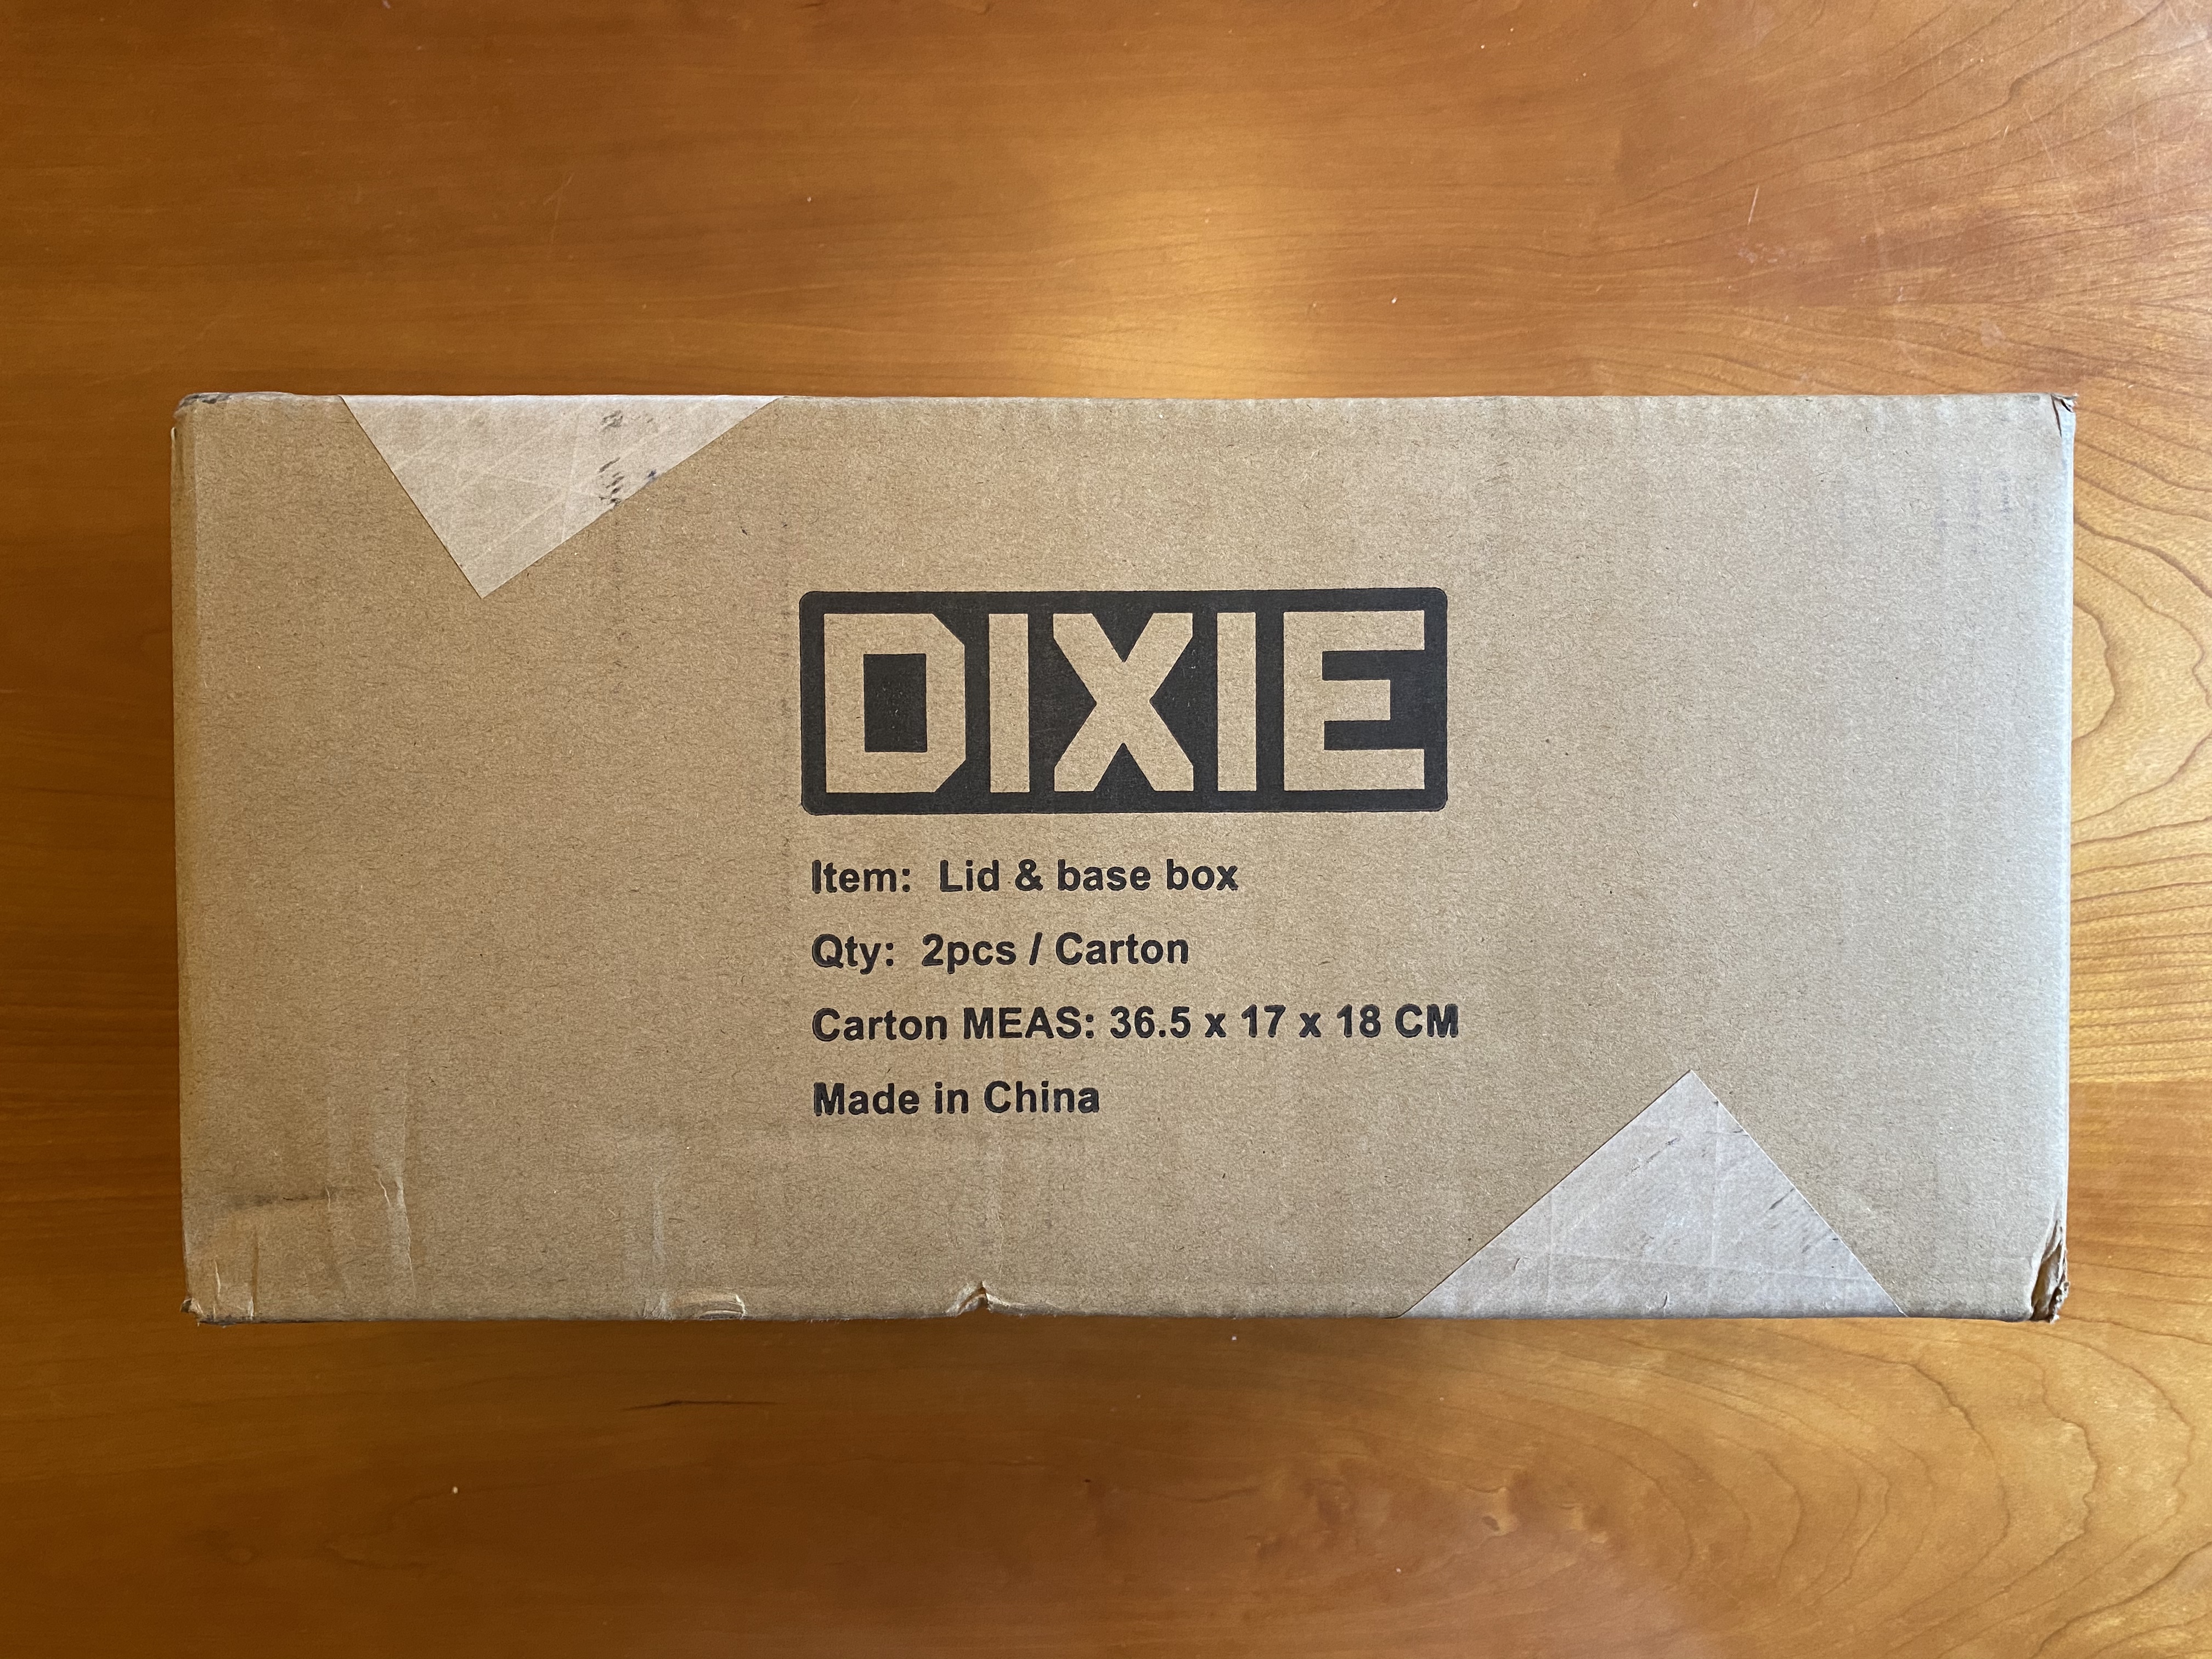
This is what showed up on my doorstep back in March 2020. Are we excited yet?
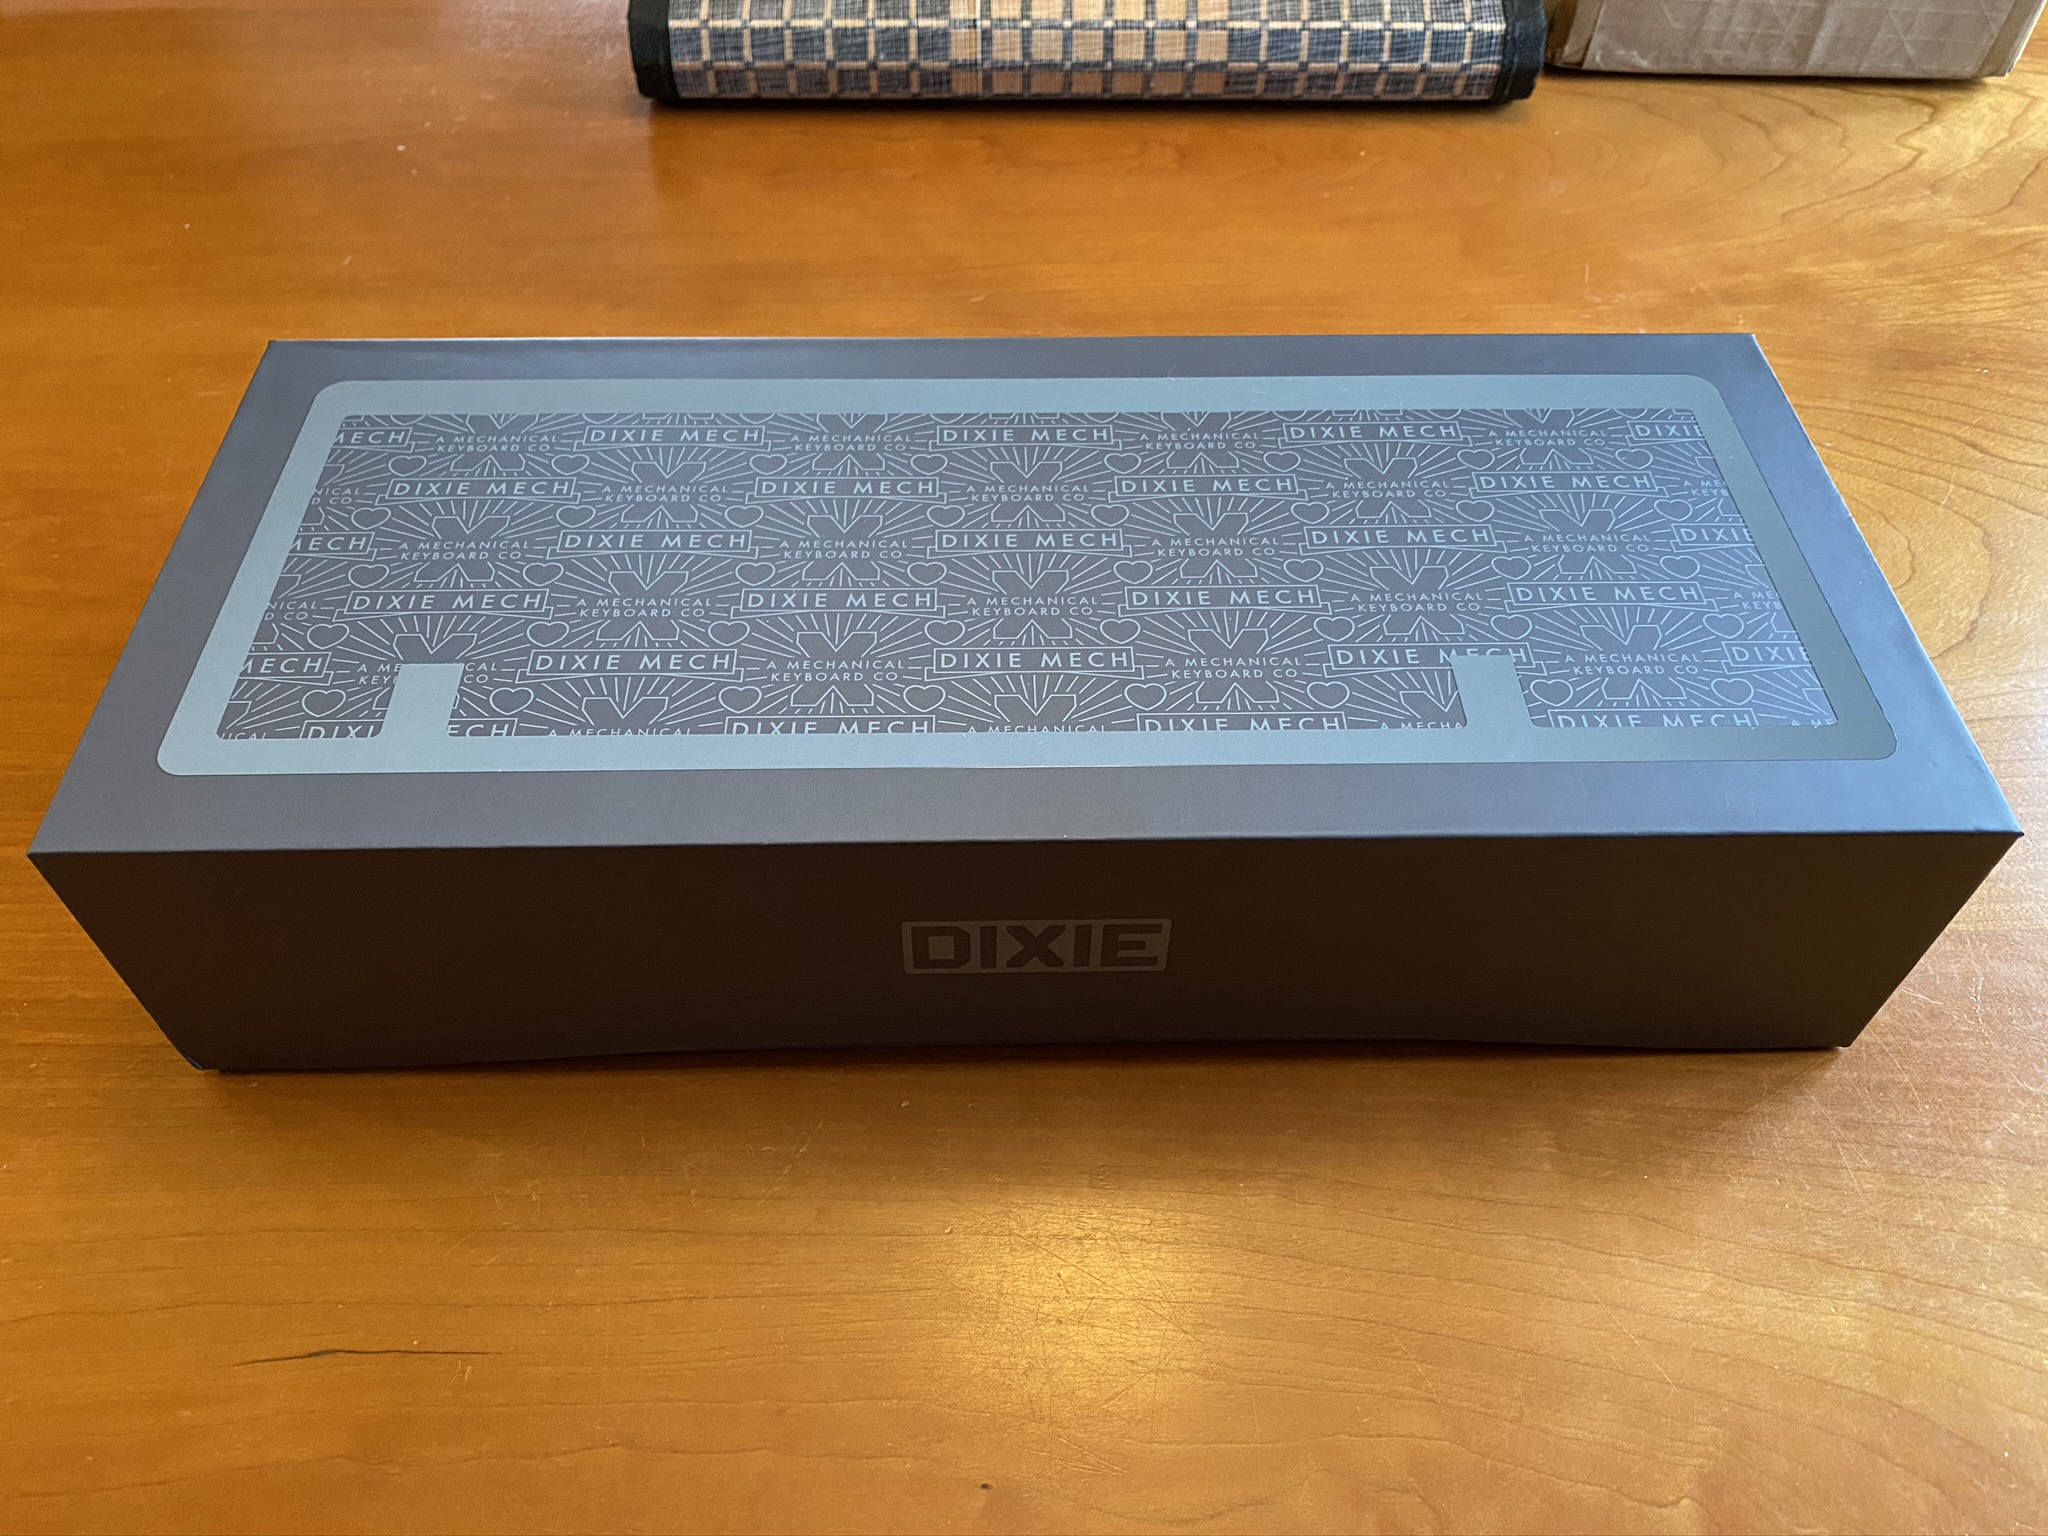
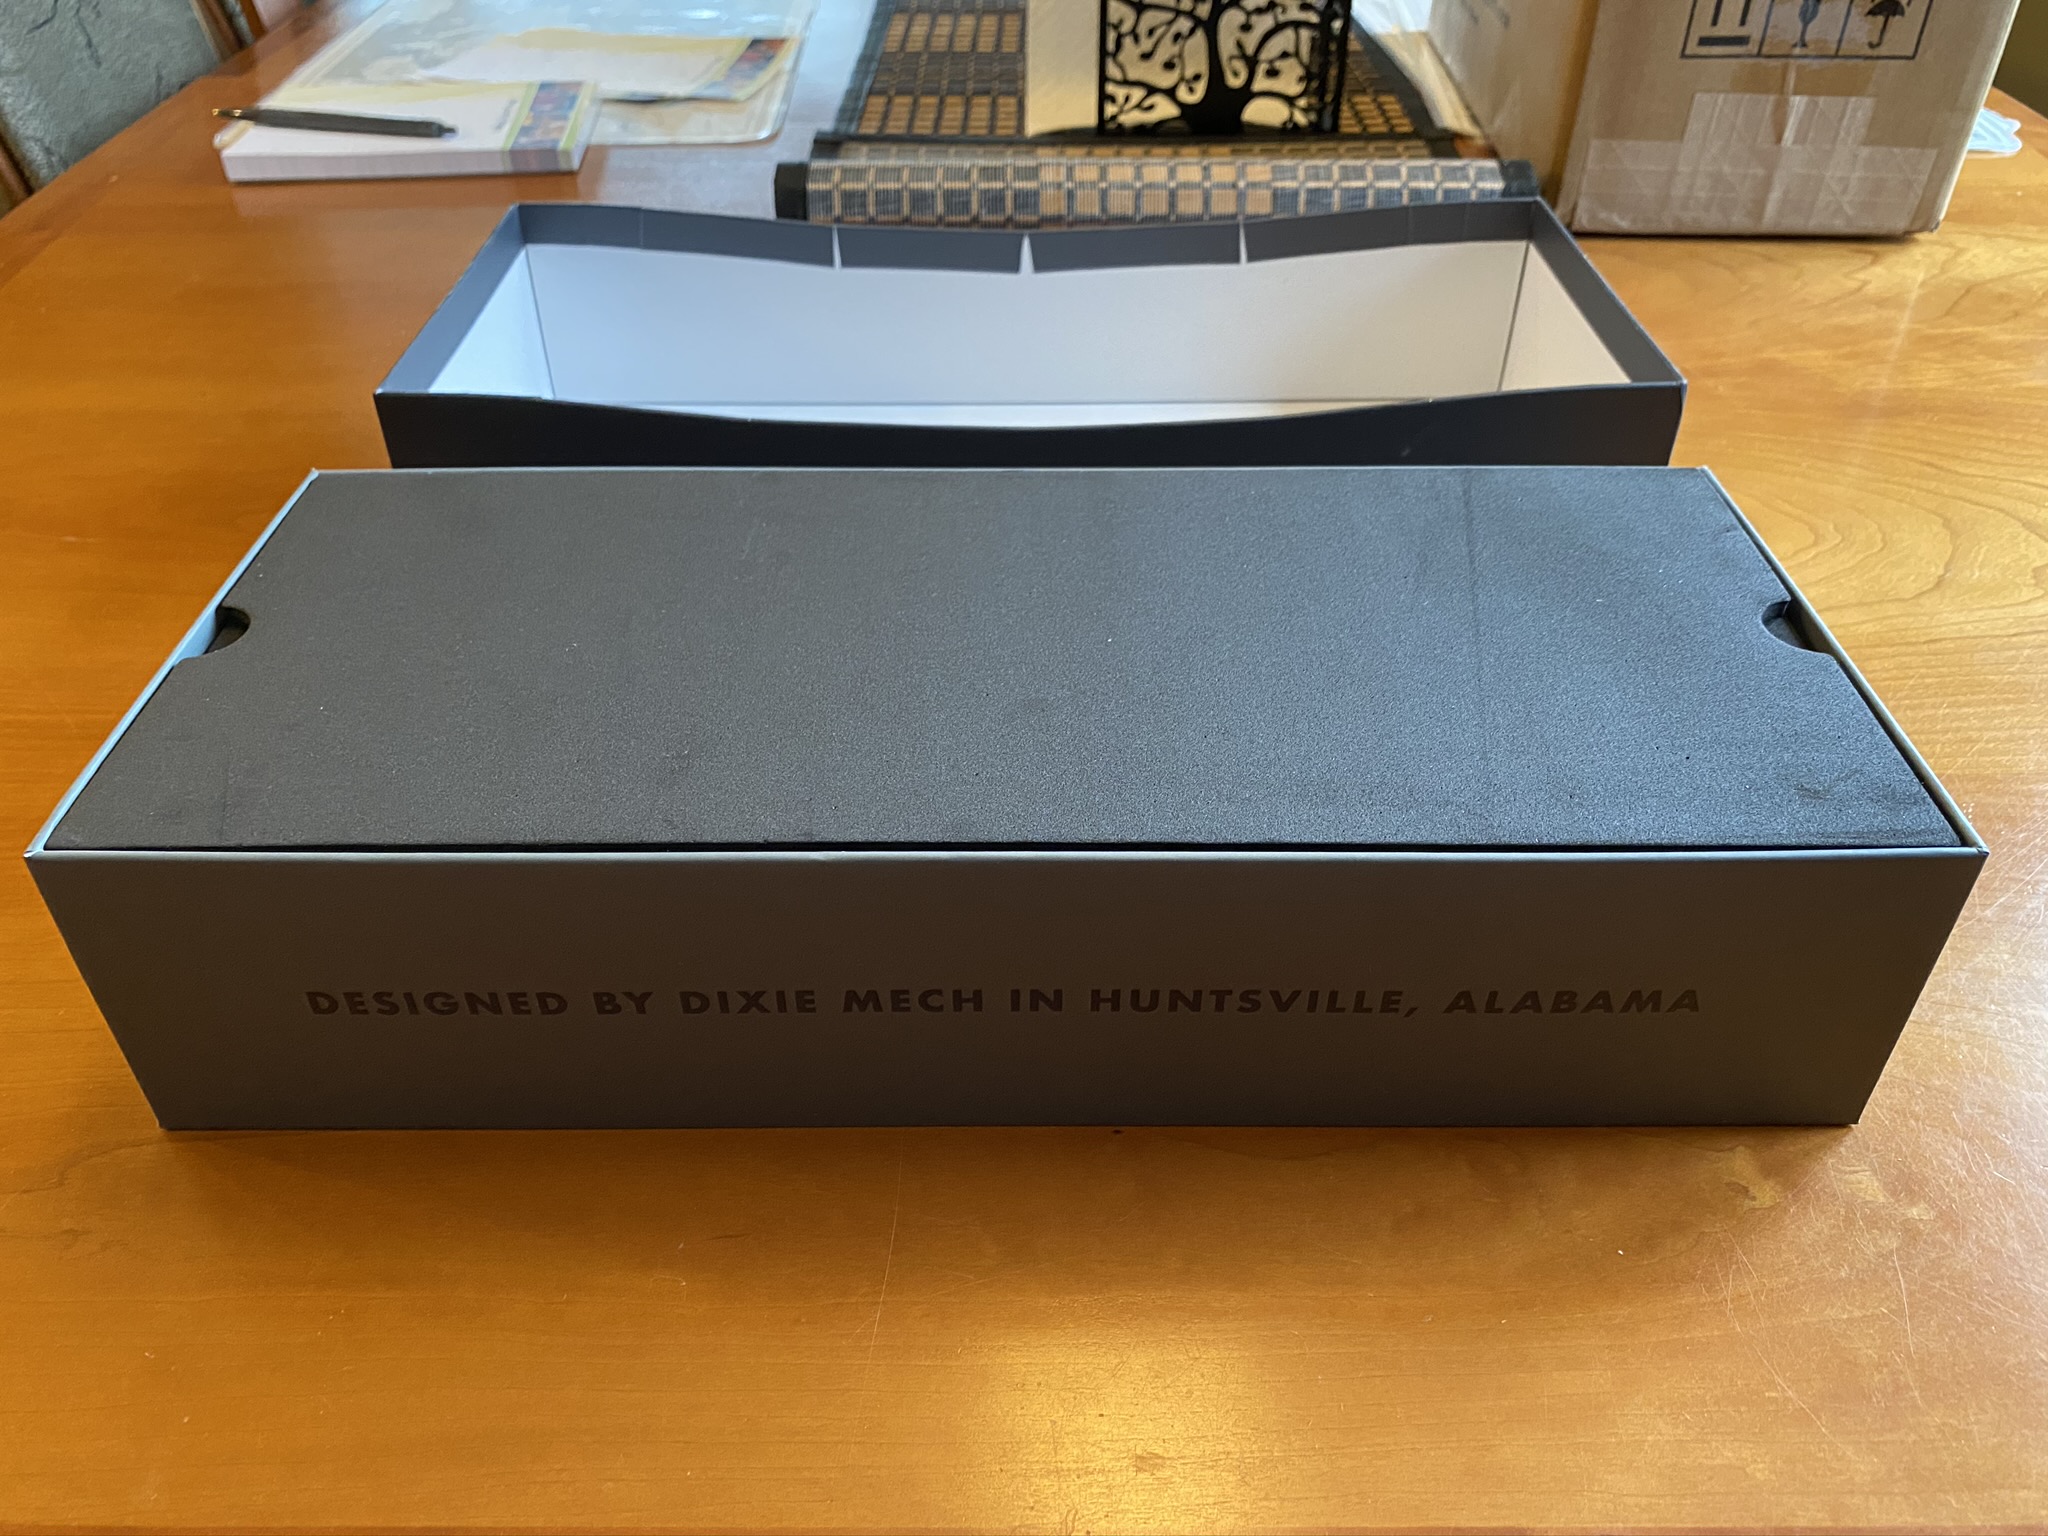
There is a part of me that doesn’t care all that much about the packaging details - ultimately, it’s the product that counts. Then there’s the other part of me that gets fired up when I see touches like this echo of the Bauer curve on the packaging. Details matter!
And again - echoing the Bauer base, with virtual bumpons.
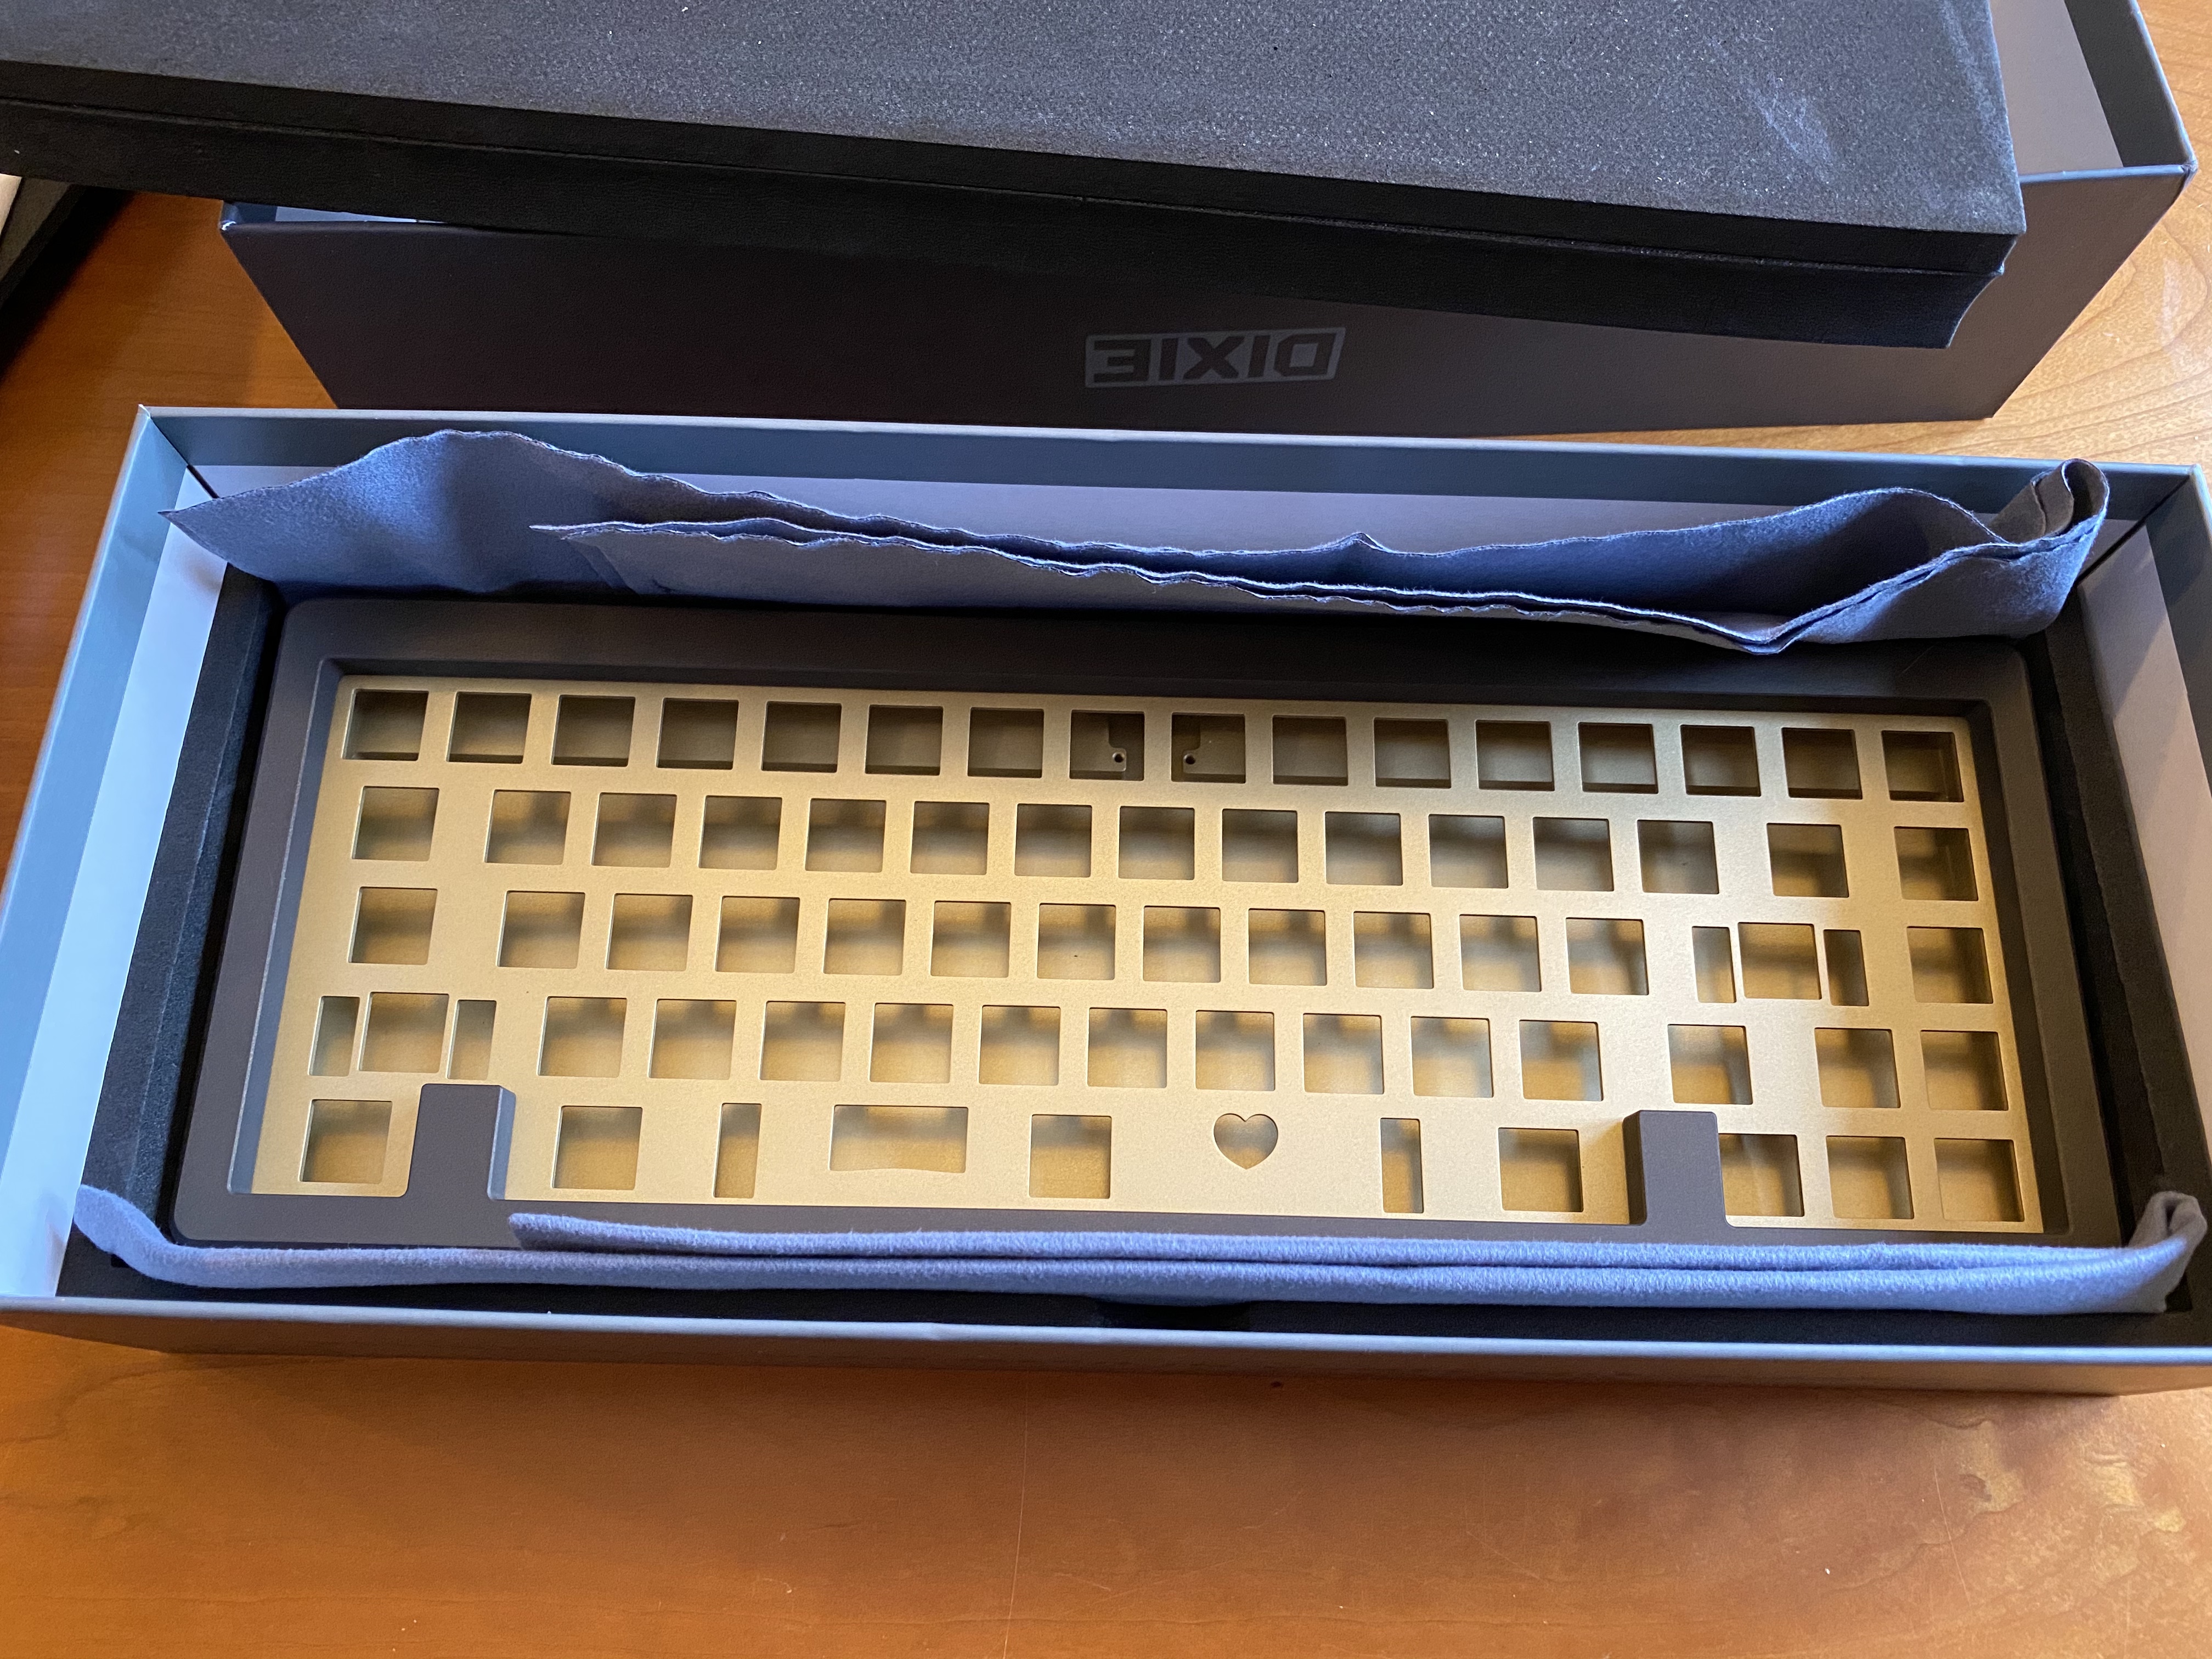
Yes, it’s a slow reveal. Finger holes for the protective foam - another minor detail, but I like it.
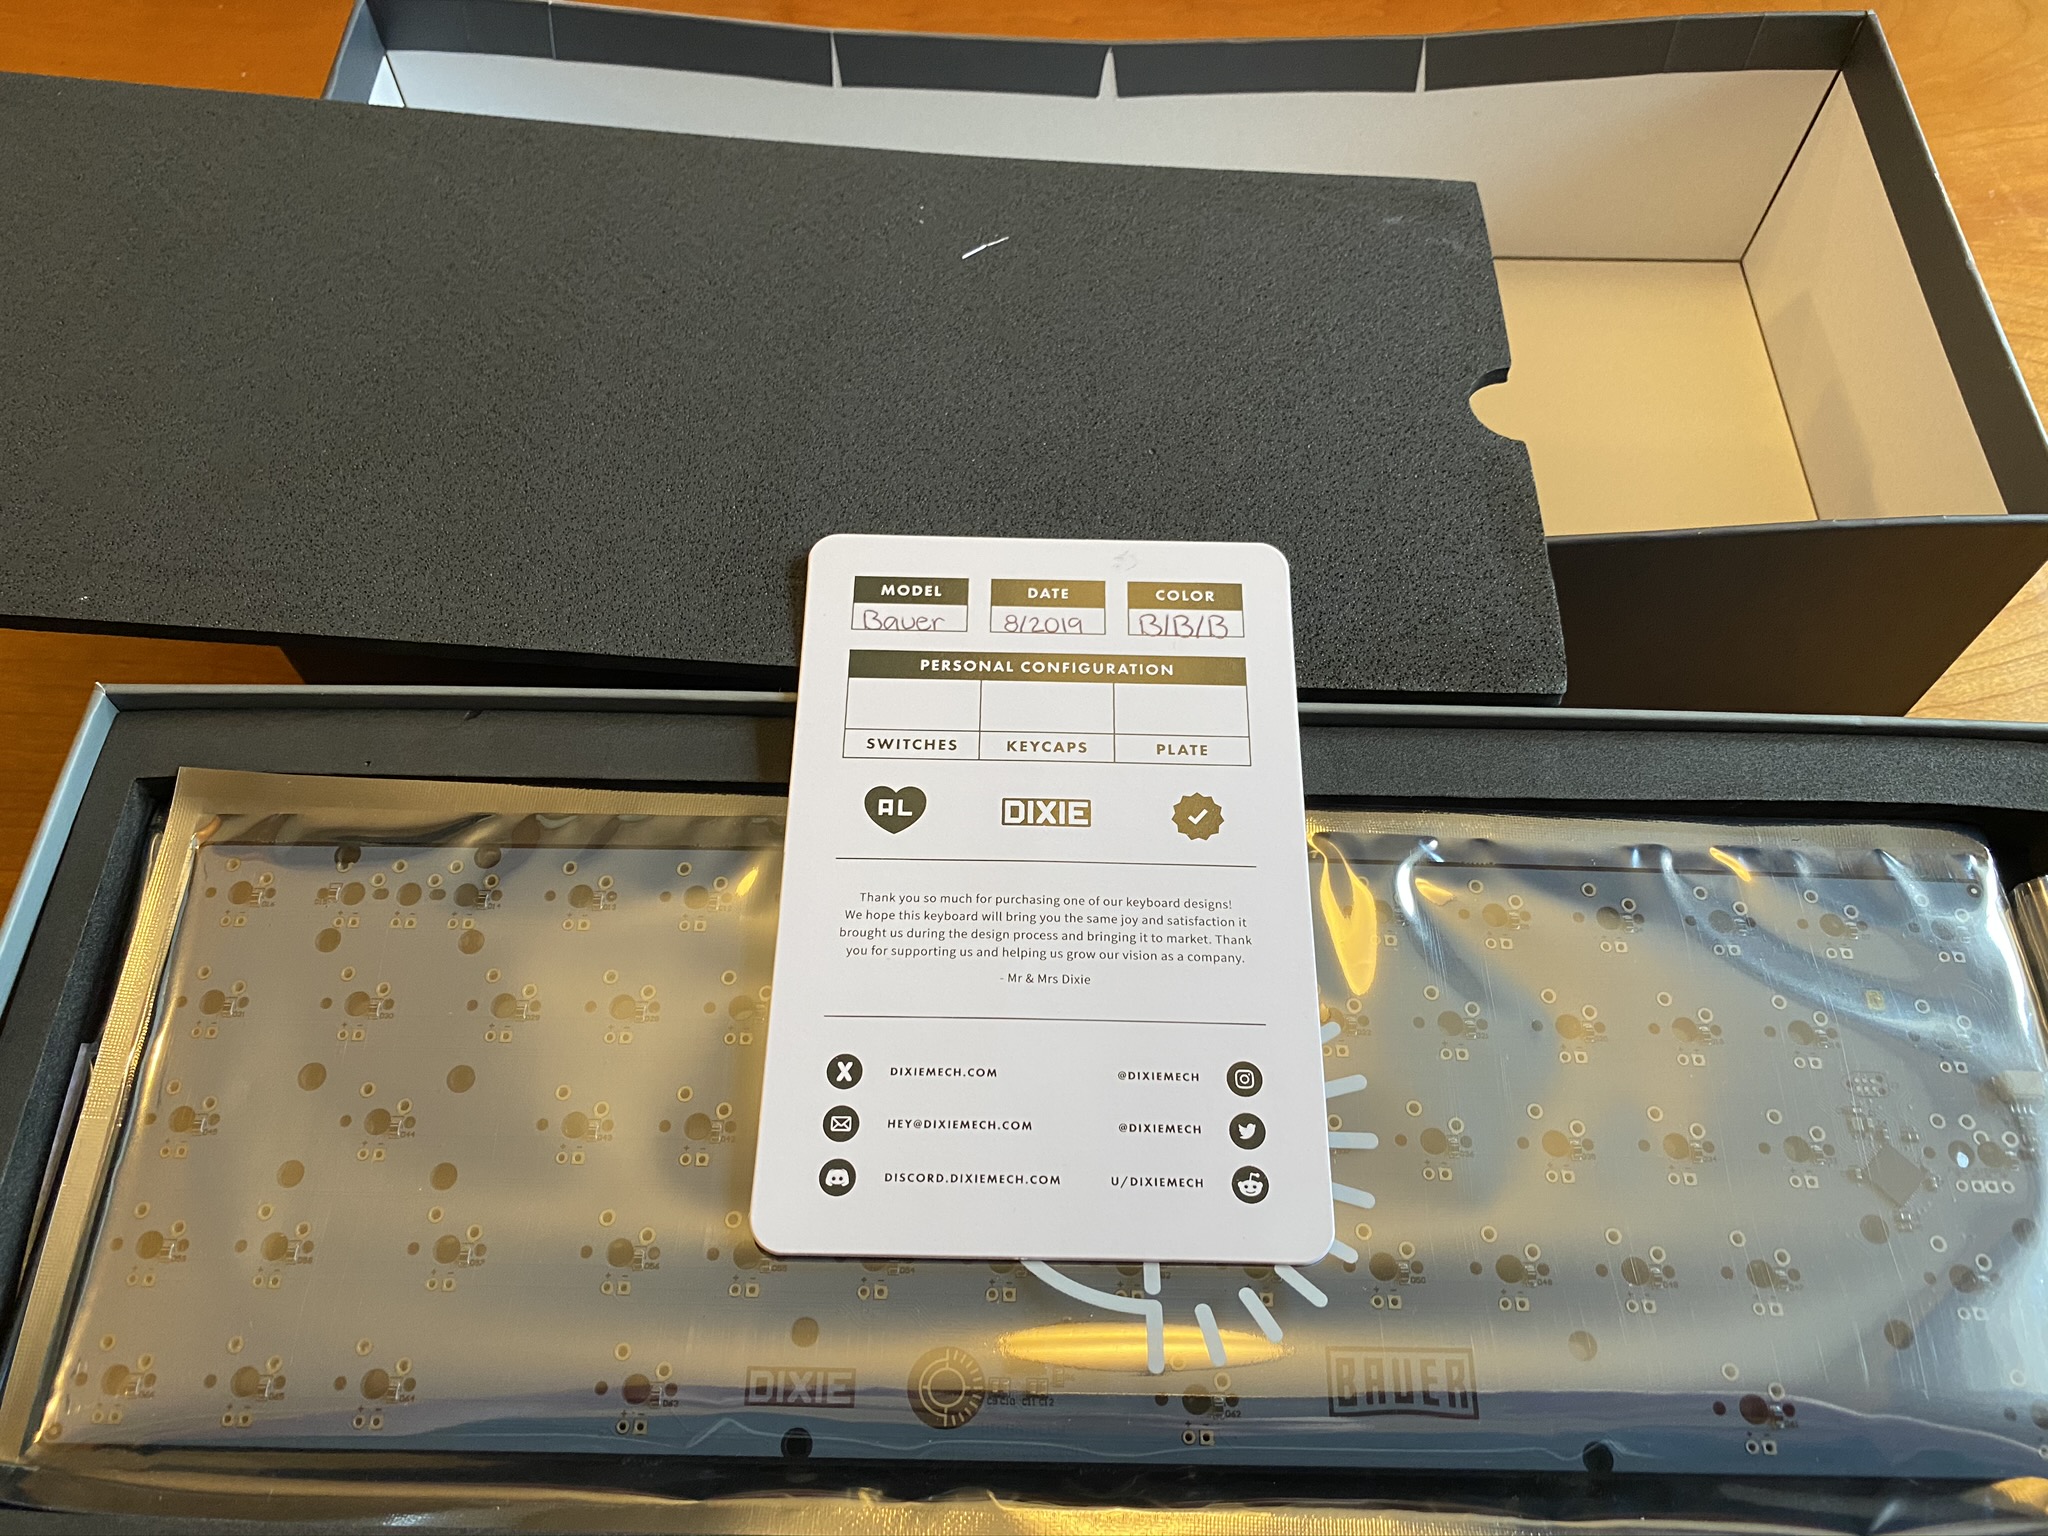
We’ll get to the PCB in a moment, but this is a nice touch, printed on good cardstock. Thanks, Mr. and Mrs. Dixie!
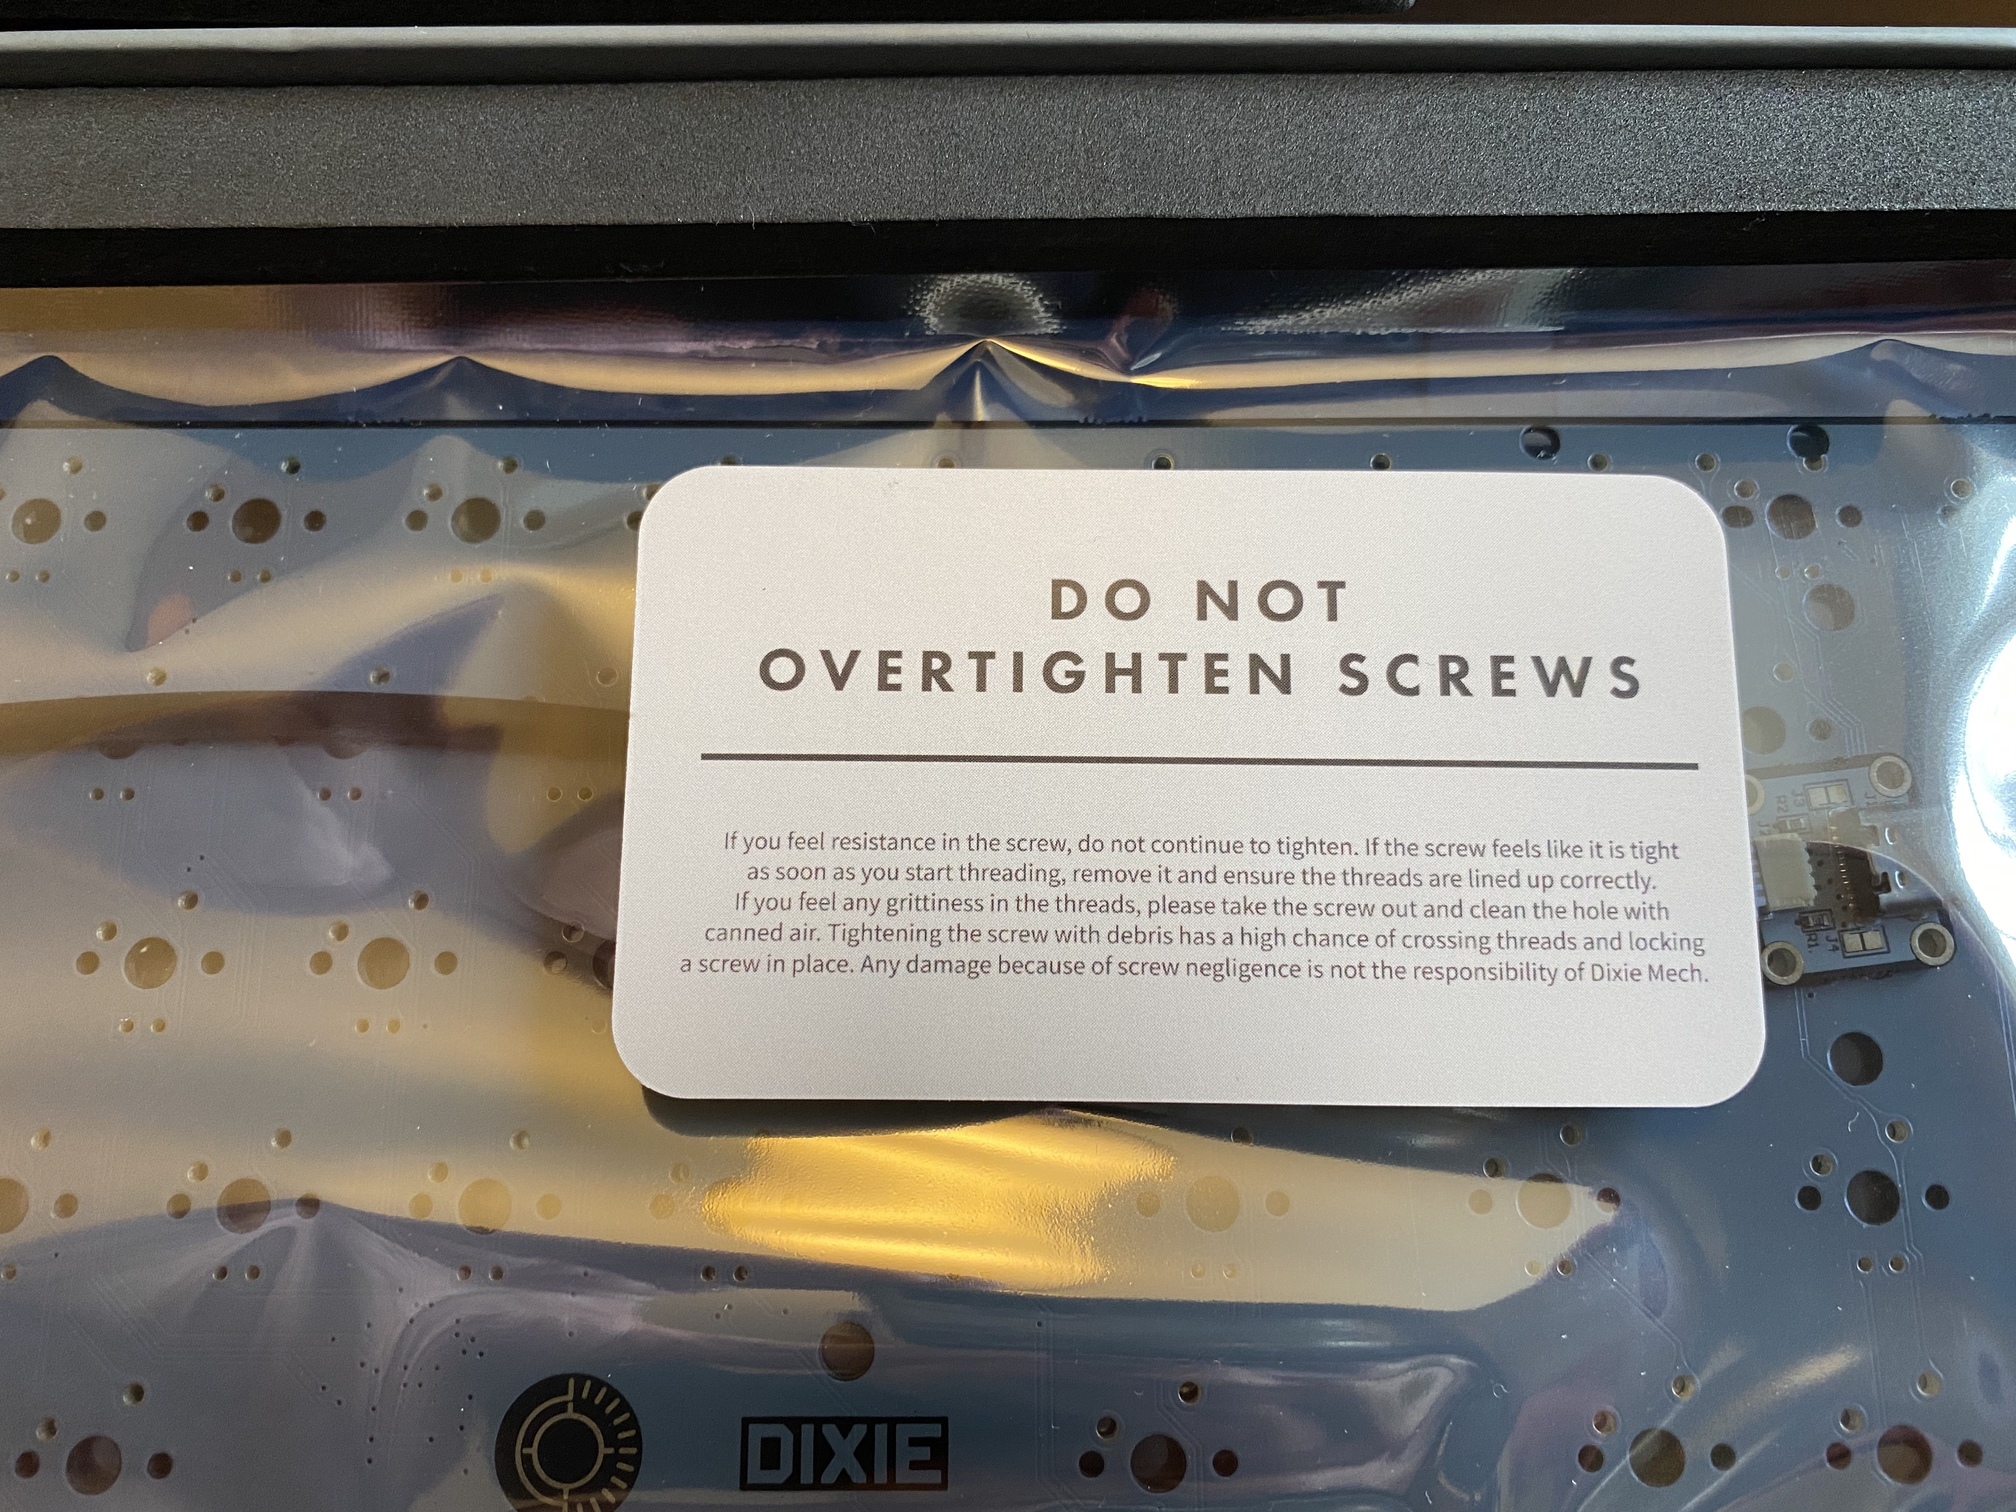
And, a helpful cautionary warning. Sadly, grit in the threads is a problem I’ve encountered the hard way on a somewhat recent build, so this is both topical and useful.
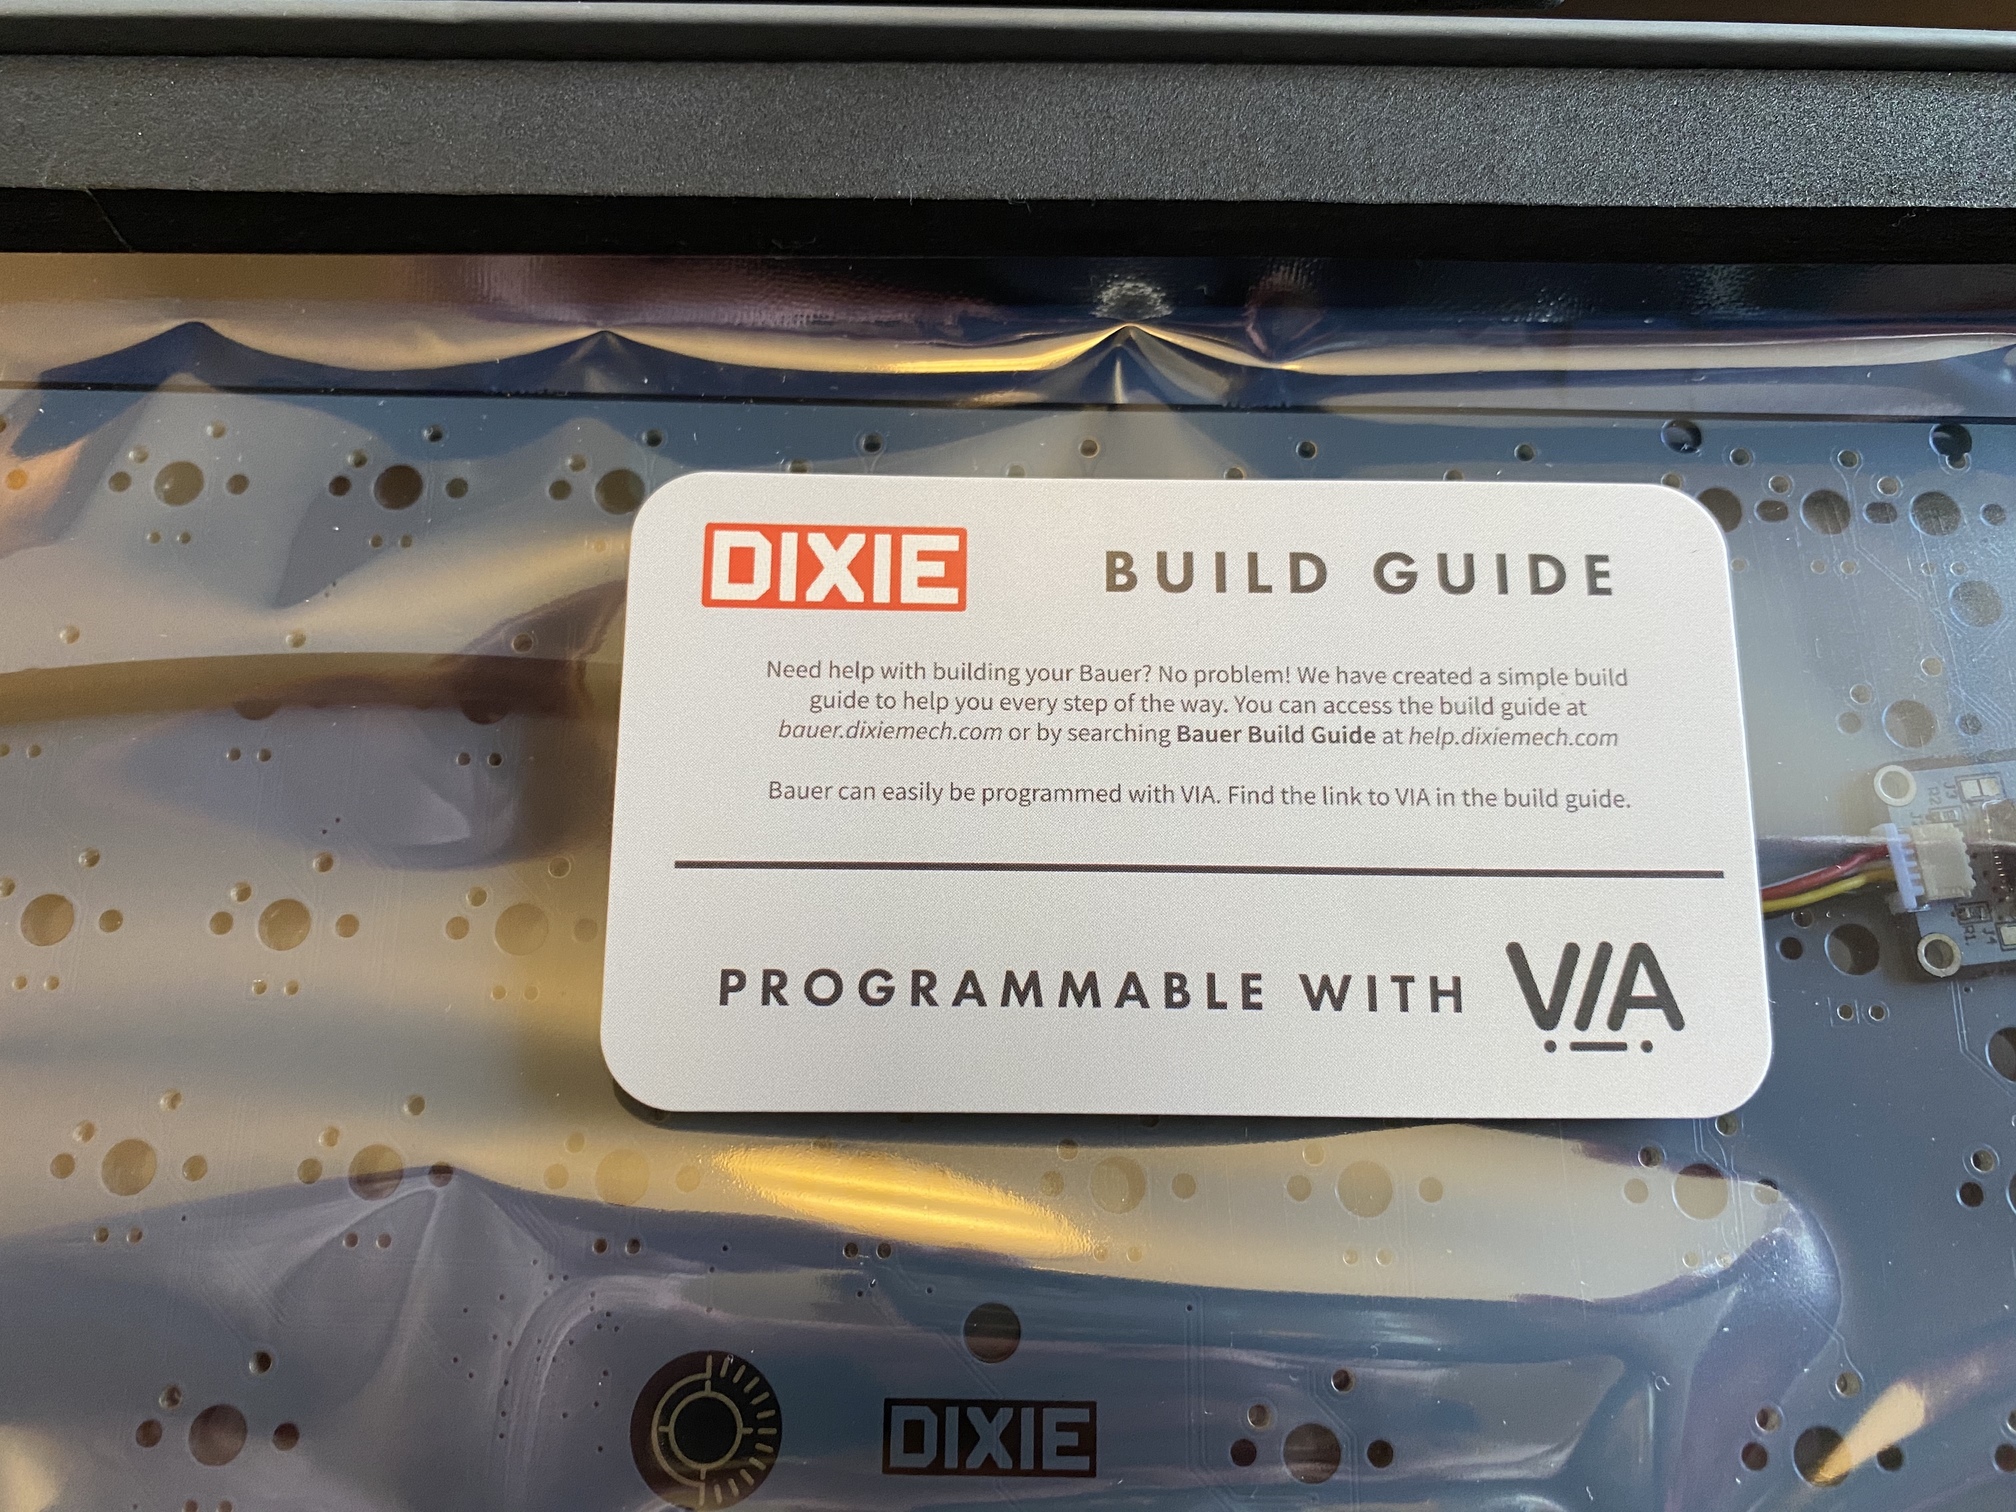
I don’t want to spoil the Bauer’s thunder, nor my own with this build log, but take a moment to check out the Bauer build guide. It sits right next to the Norbaforce cartoon guide at the top of the heap, as far as instruction manuals for custom keyboard builds go.
Tamp
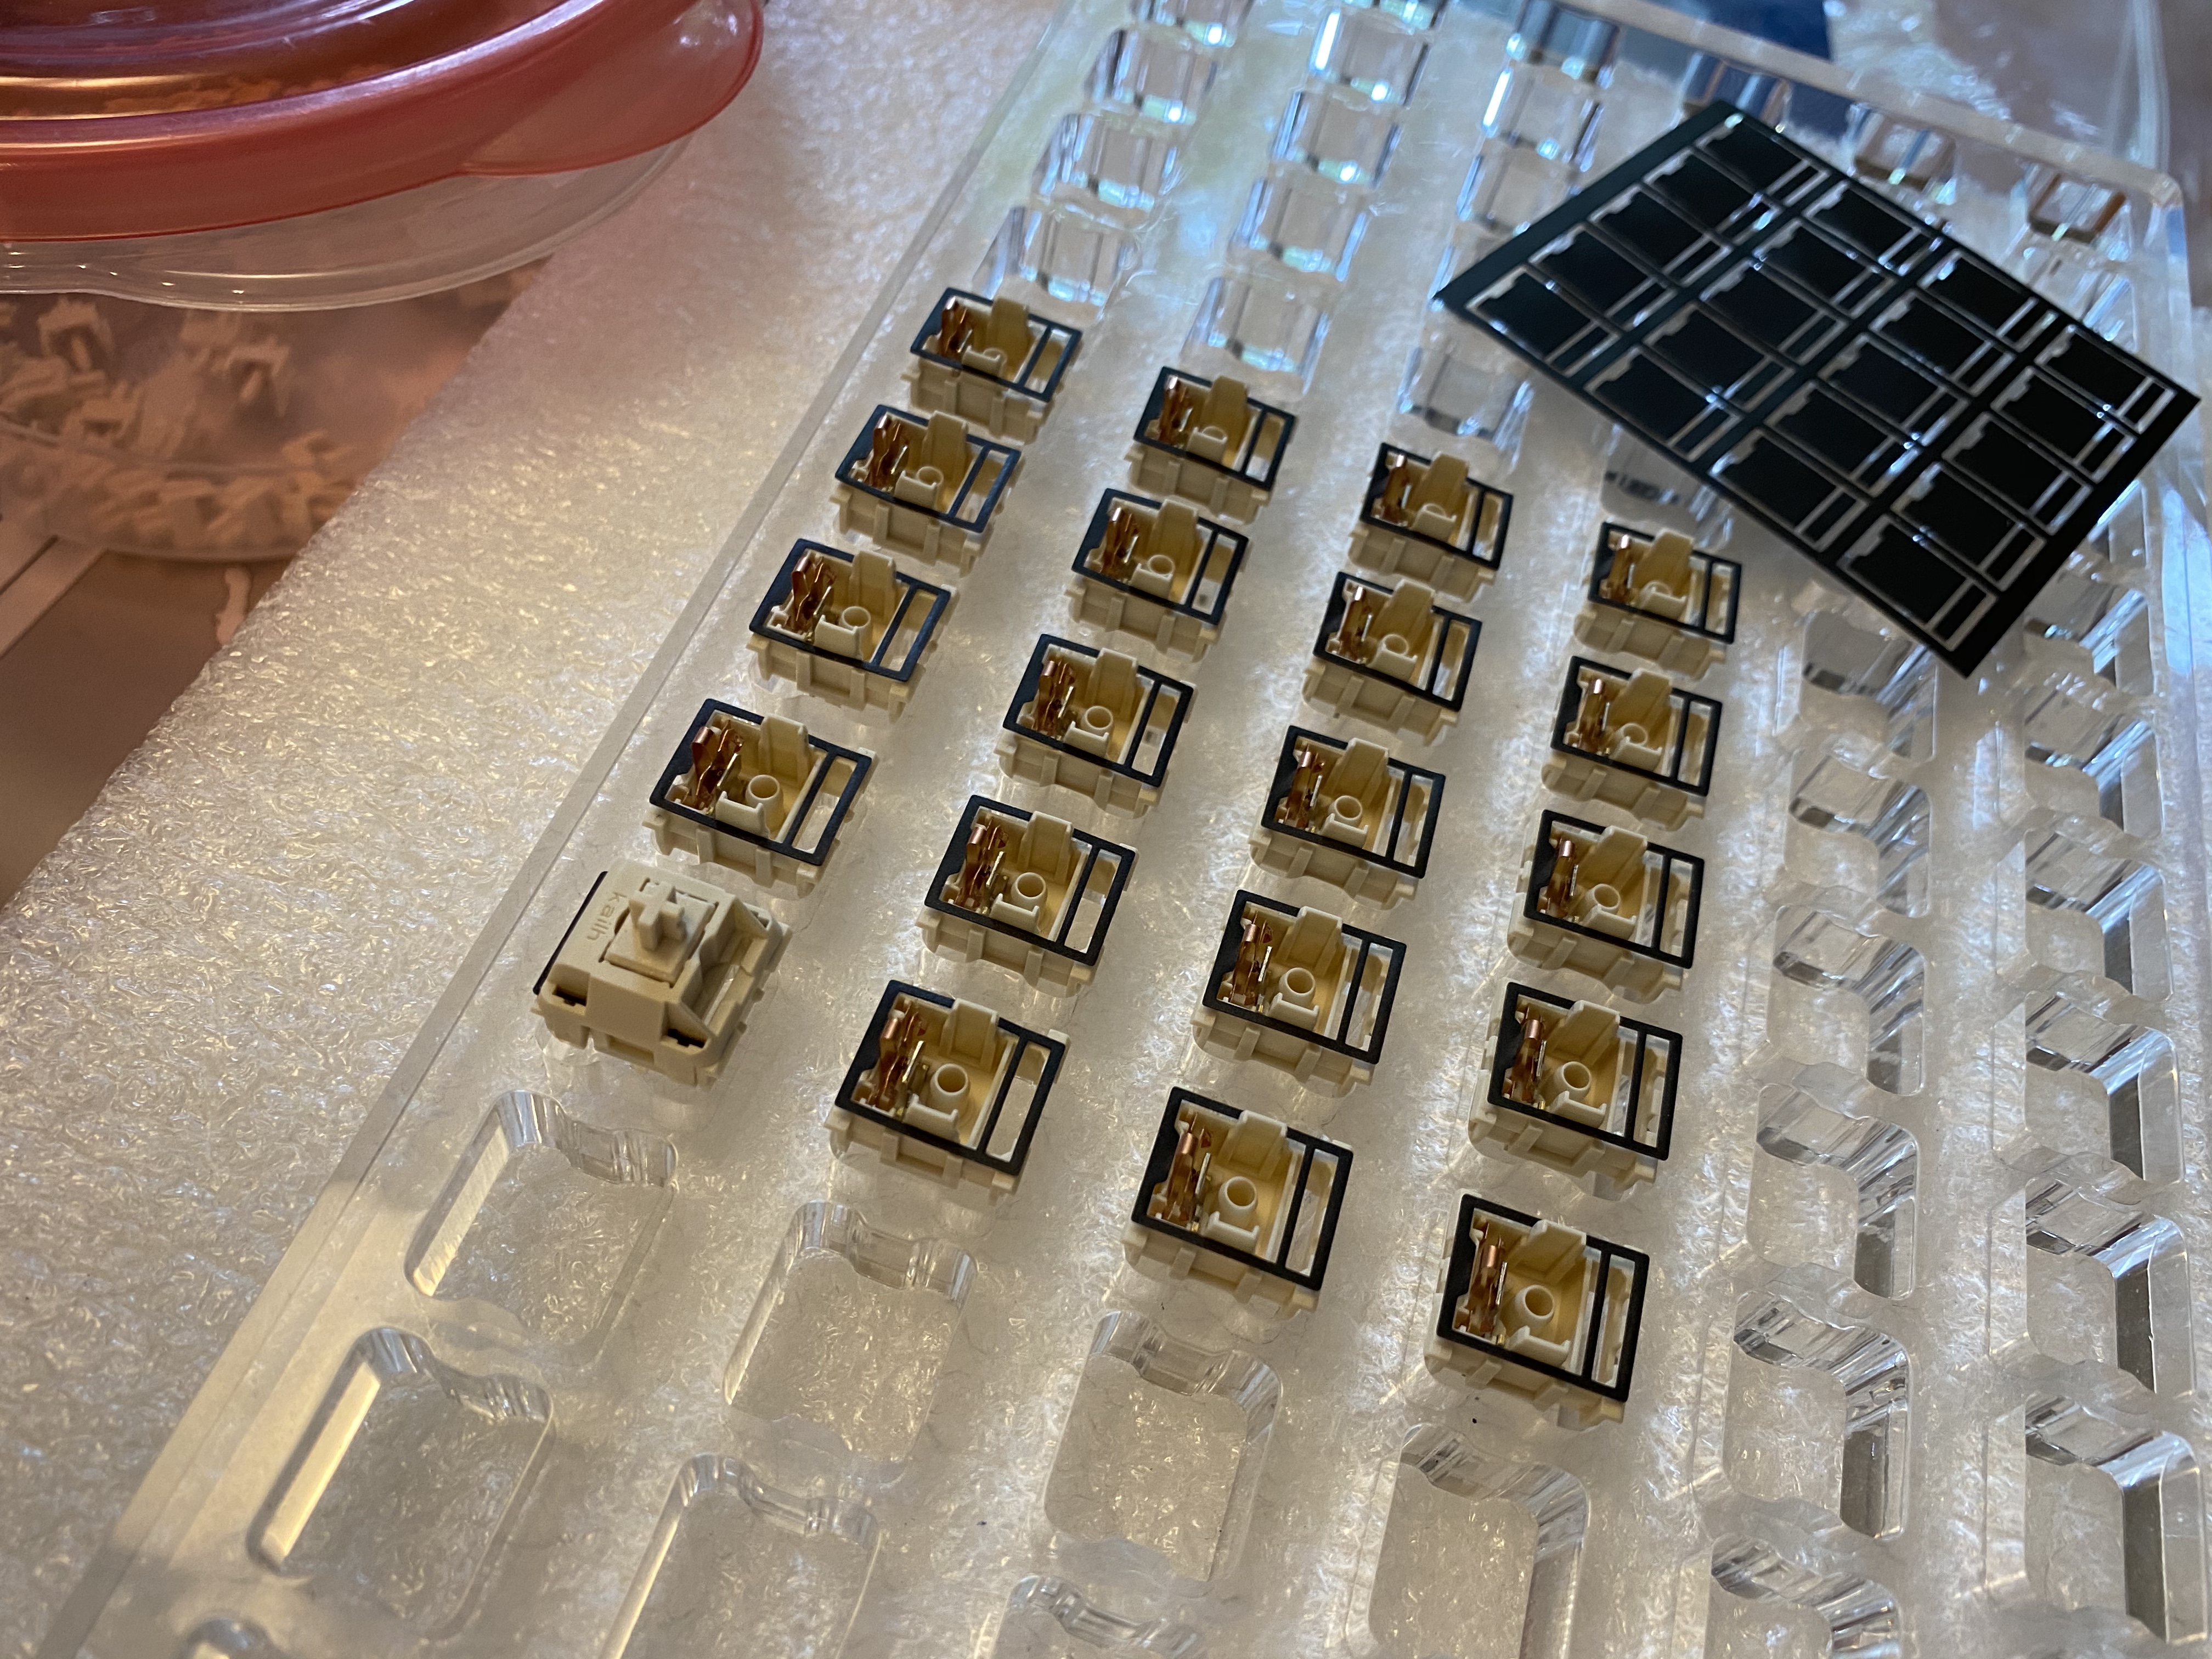
I know, I’m such a tease. But before we go further, let’s get switch tuning out of the way. For this build, I wanted to try out the Deskeys switch films. These come in precut sheets, and individual films can just be peeled away from the backing. They’re not particularly sticky, but they do crease easily, so some care is warranted.

A disassembled NovelKeys cream, with tub-lubed spring and film in place.
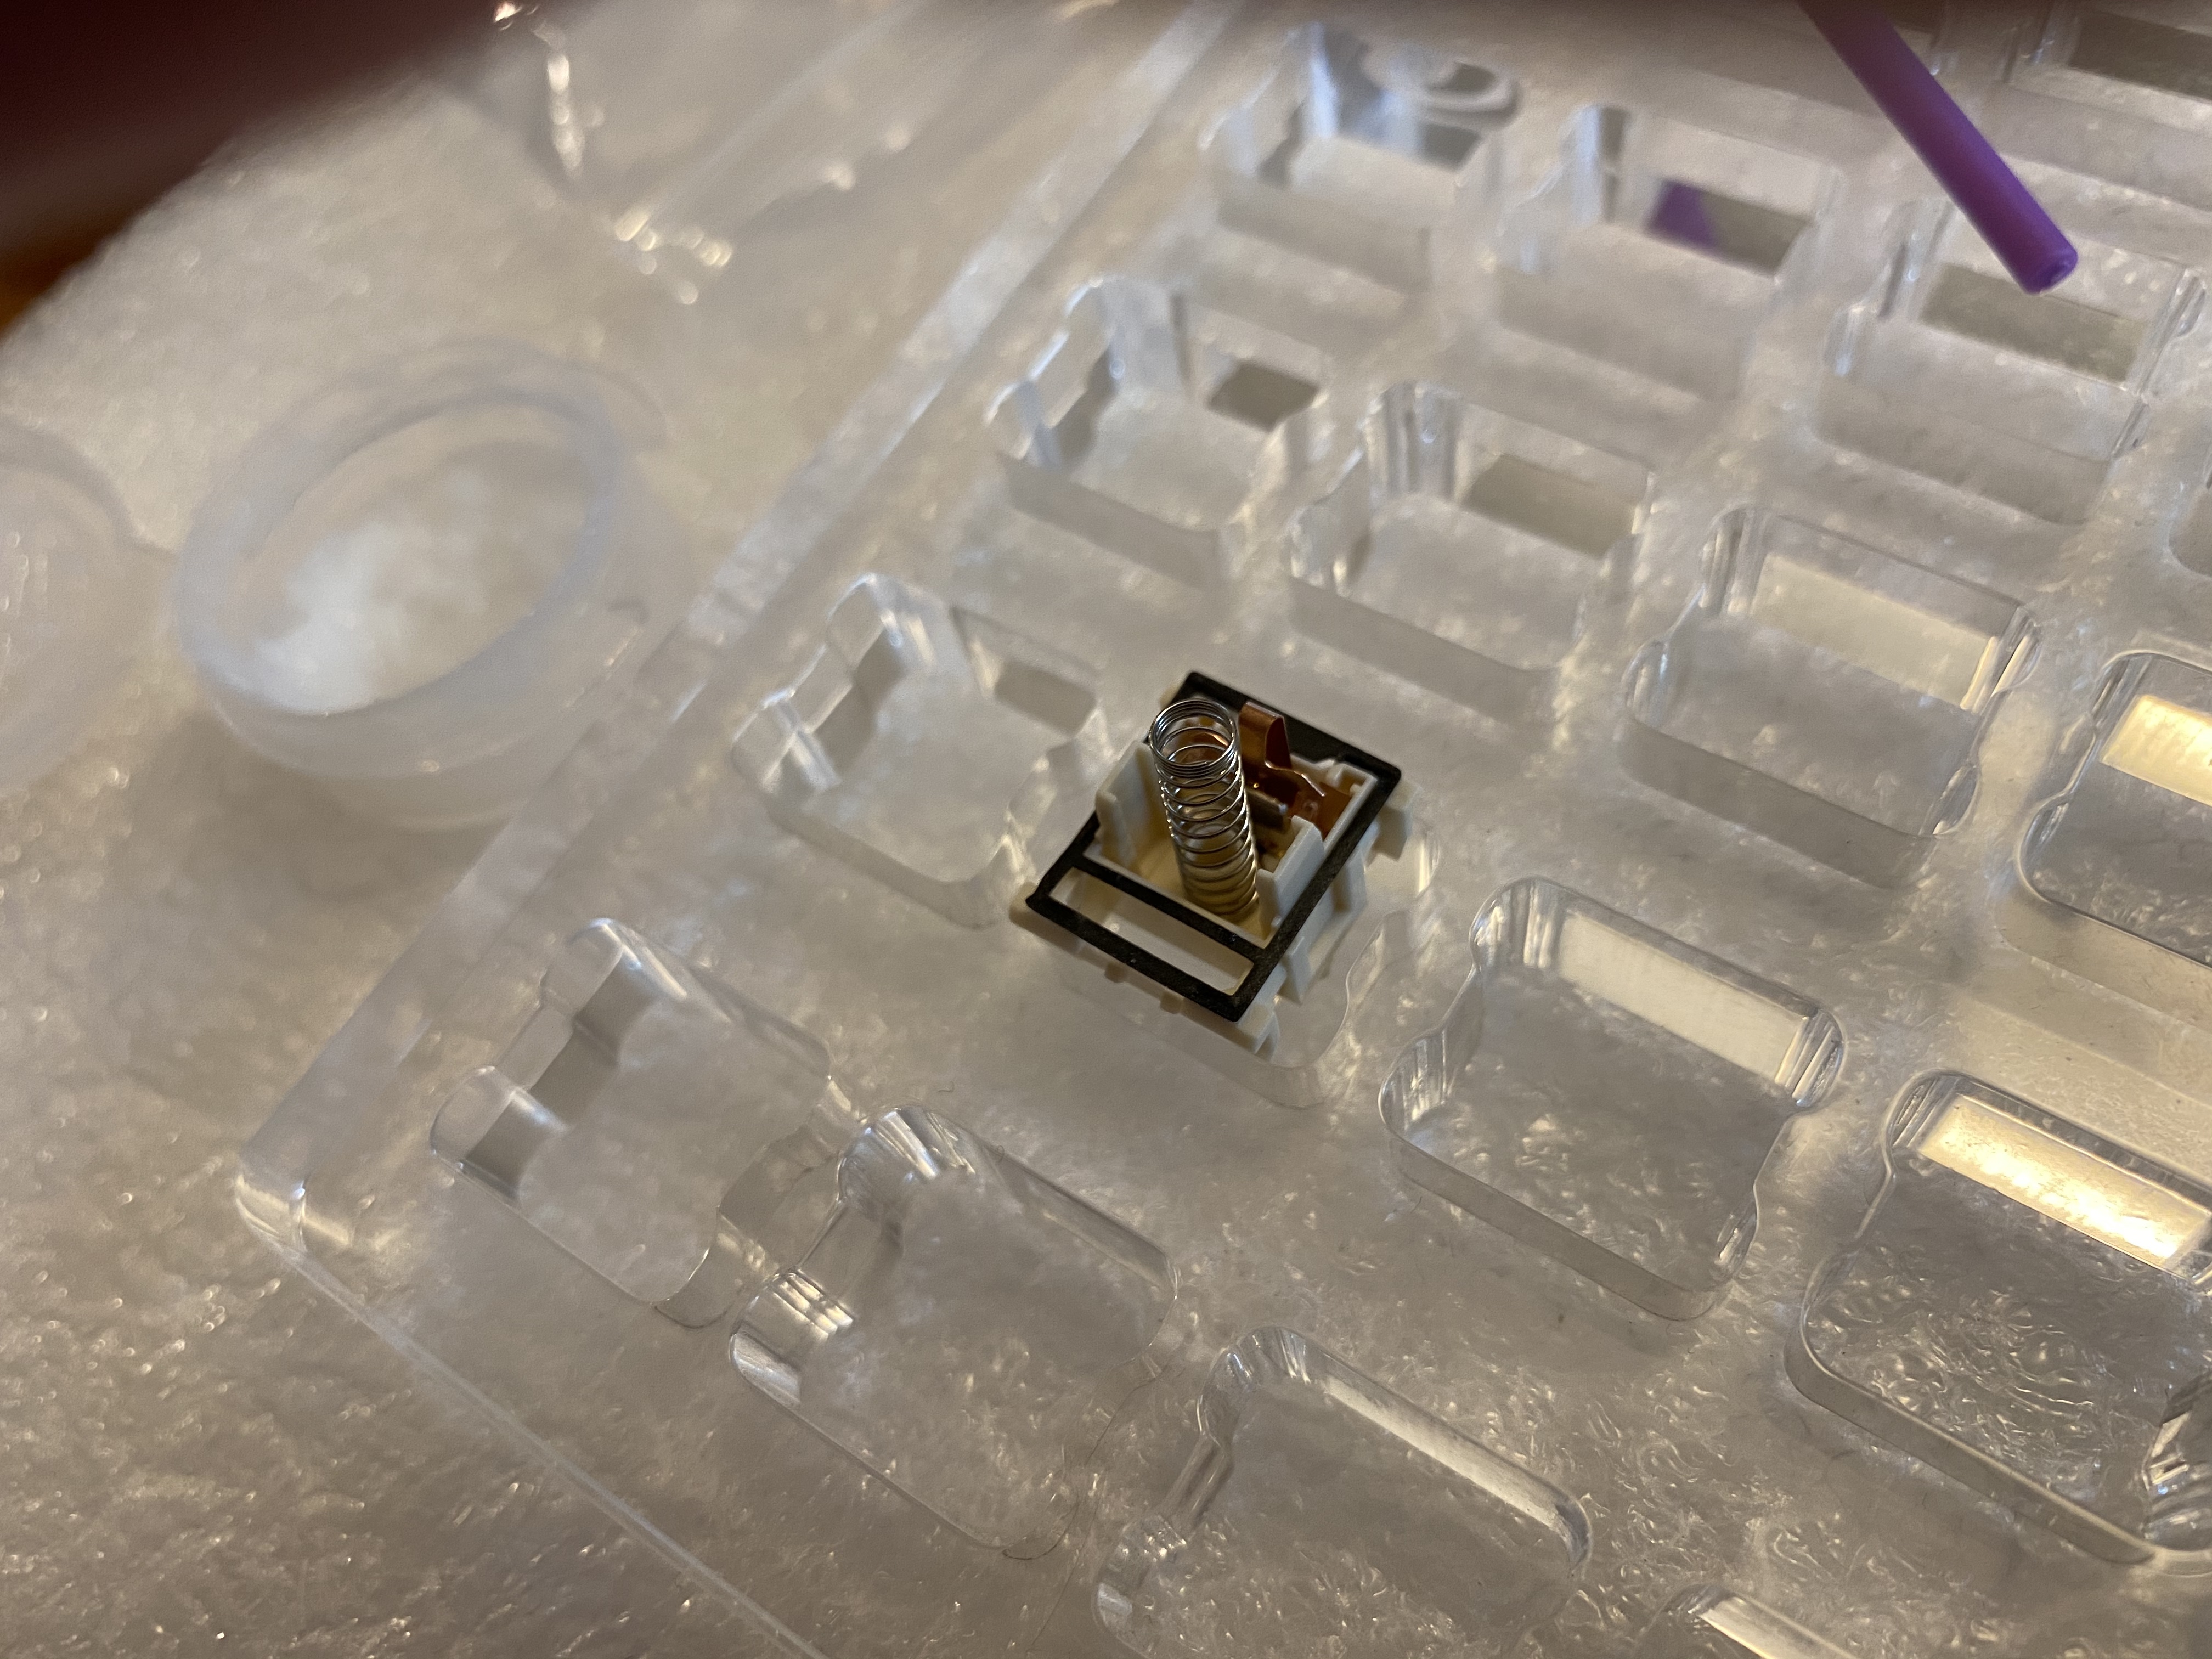
When I’m lubing and modding switches, I prefer to work in small batches; I don’t always have time to do an entire board in one sitting - and if I’m being honest, the breaks are necessary to keep me from losing my mind. It is my fervent hope that good factory-lubed switches become a thing, but until that time…
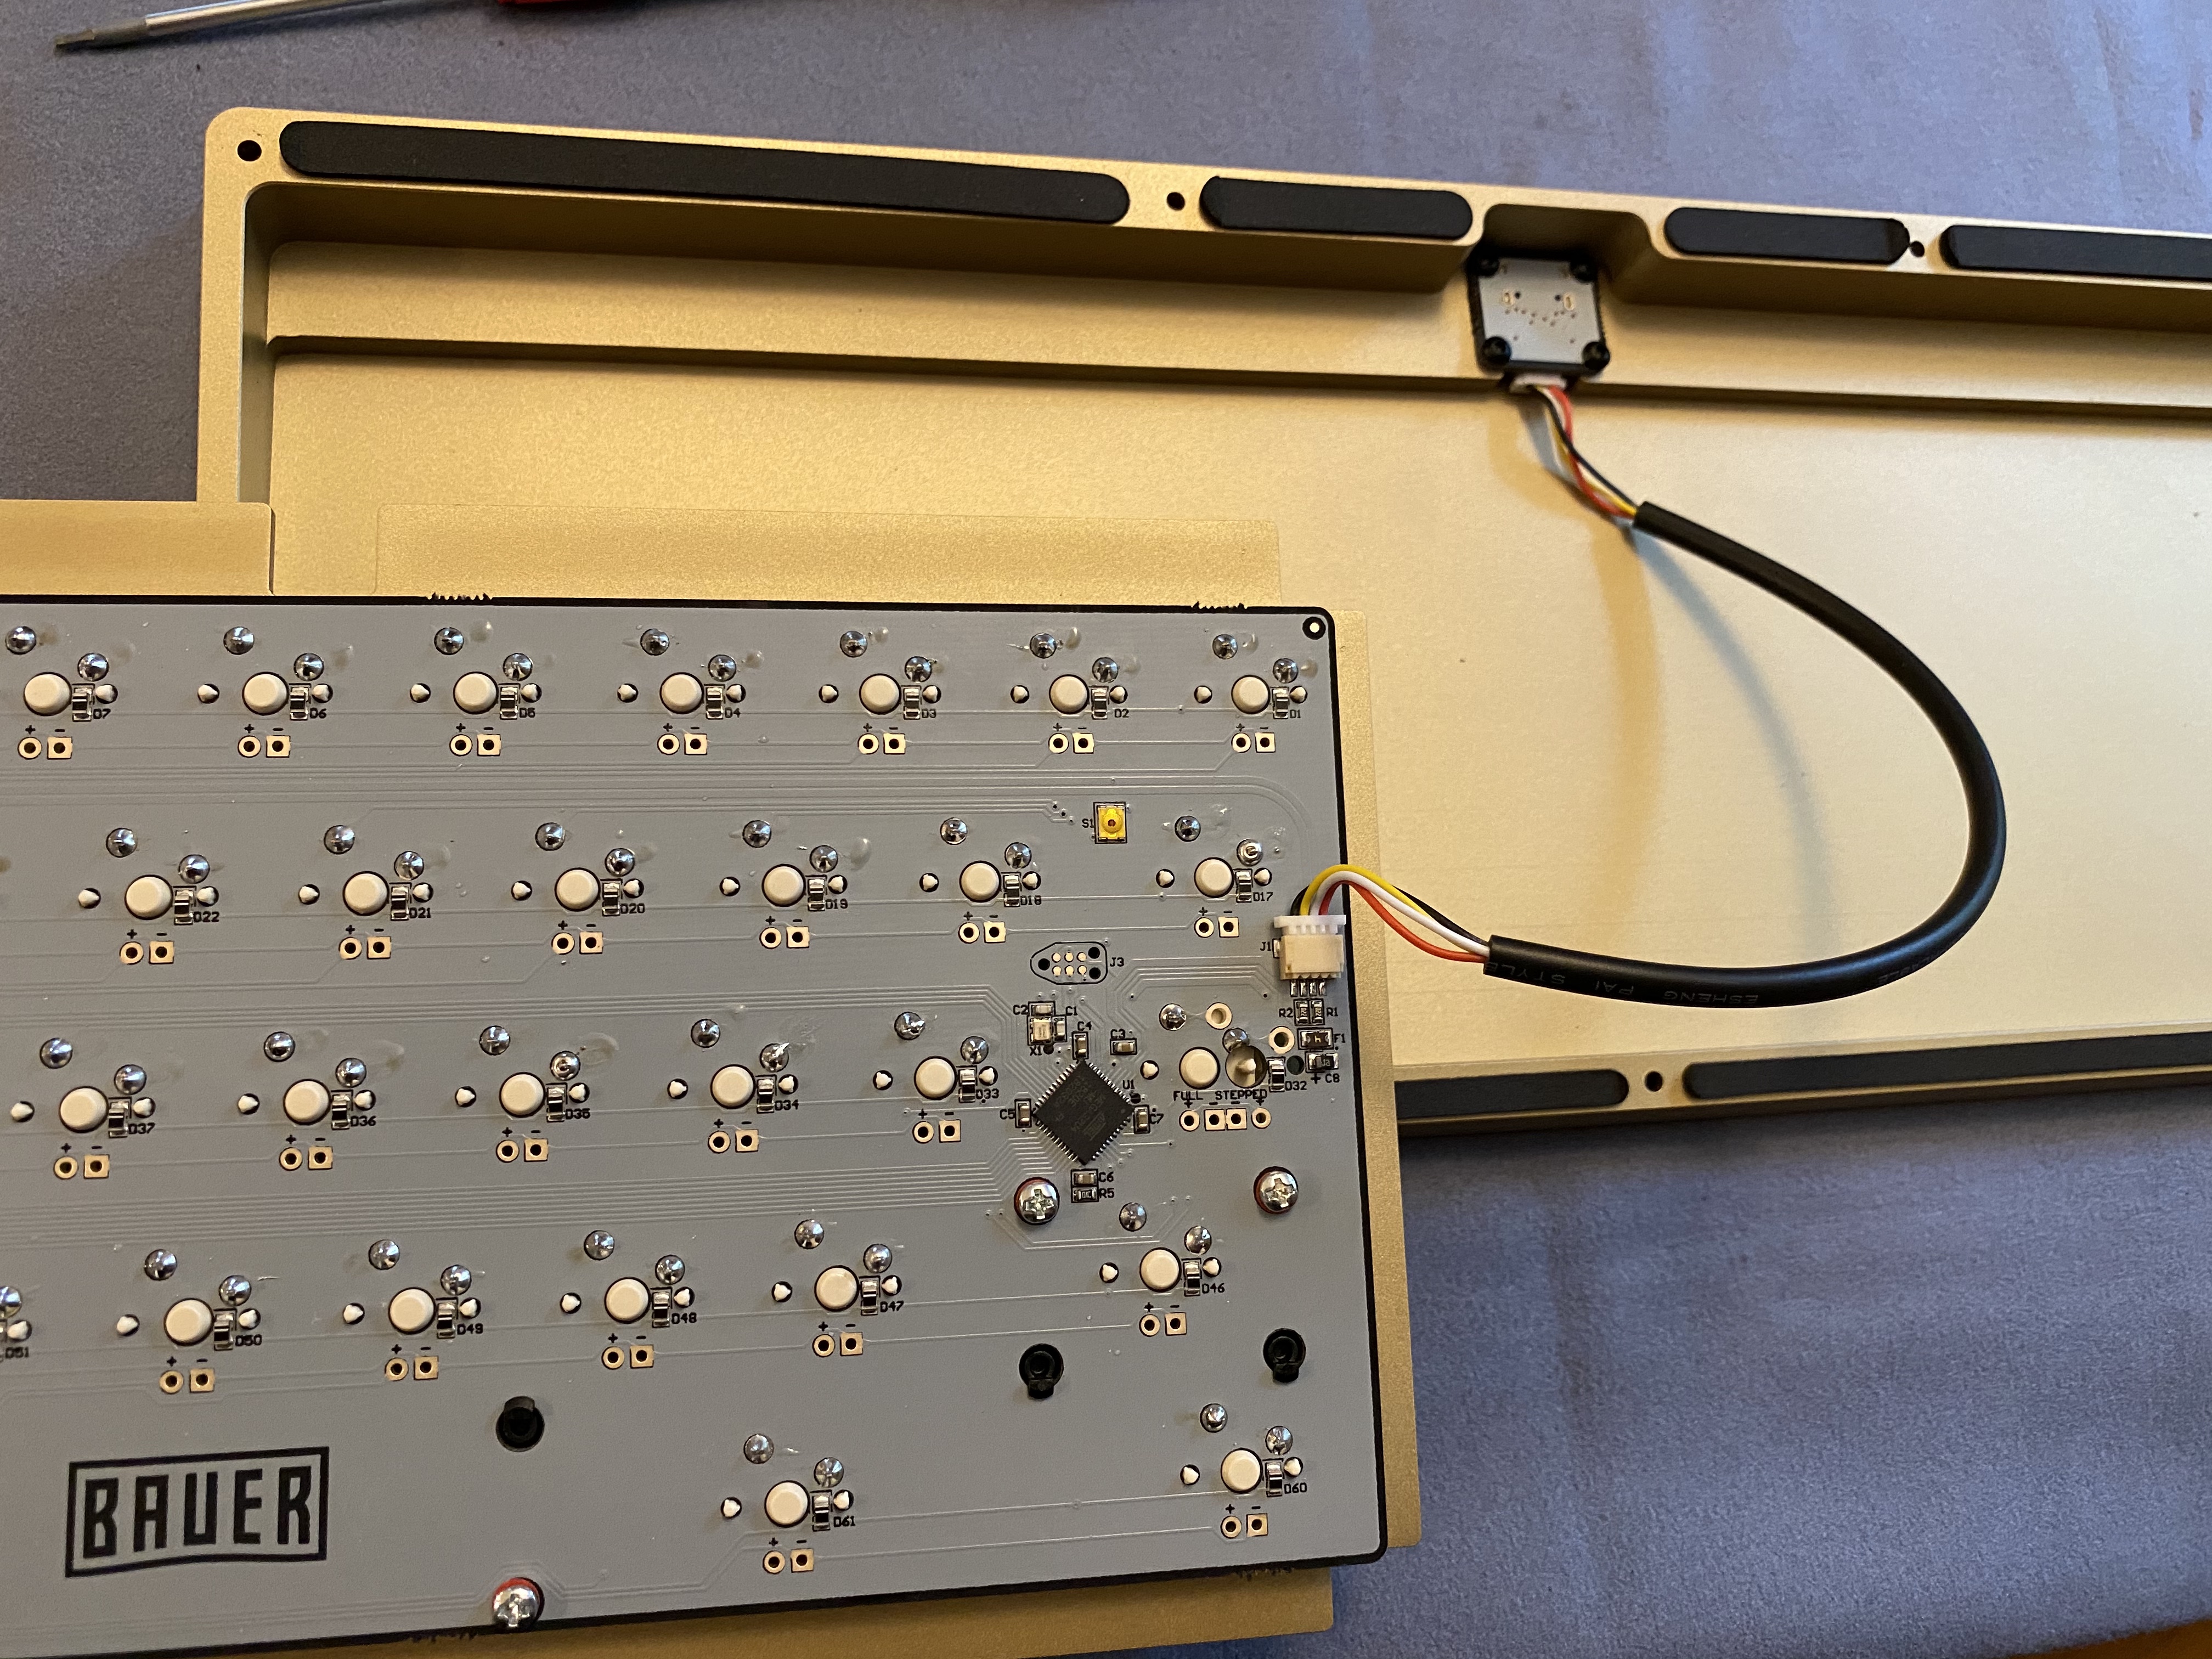
Let’s take a look at the PCB. The Bauer’s PCB is the WT65-B, a Wilba production, so we know what to expect - clean traces and design, and a beautiful solder mask. Branding is kept to a tasteful minimum.
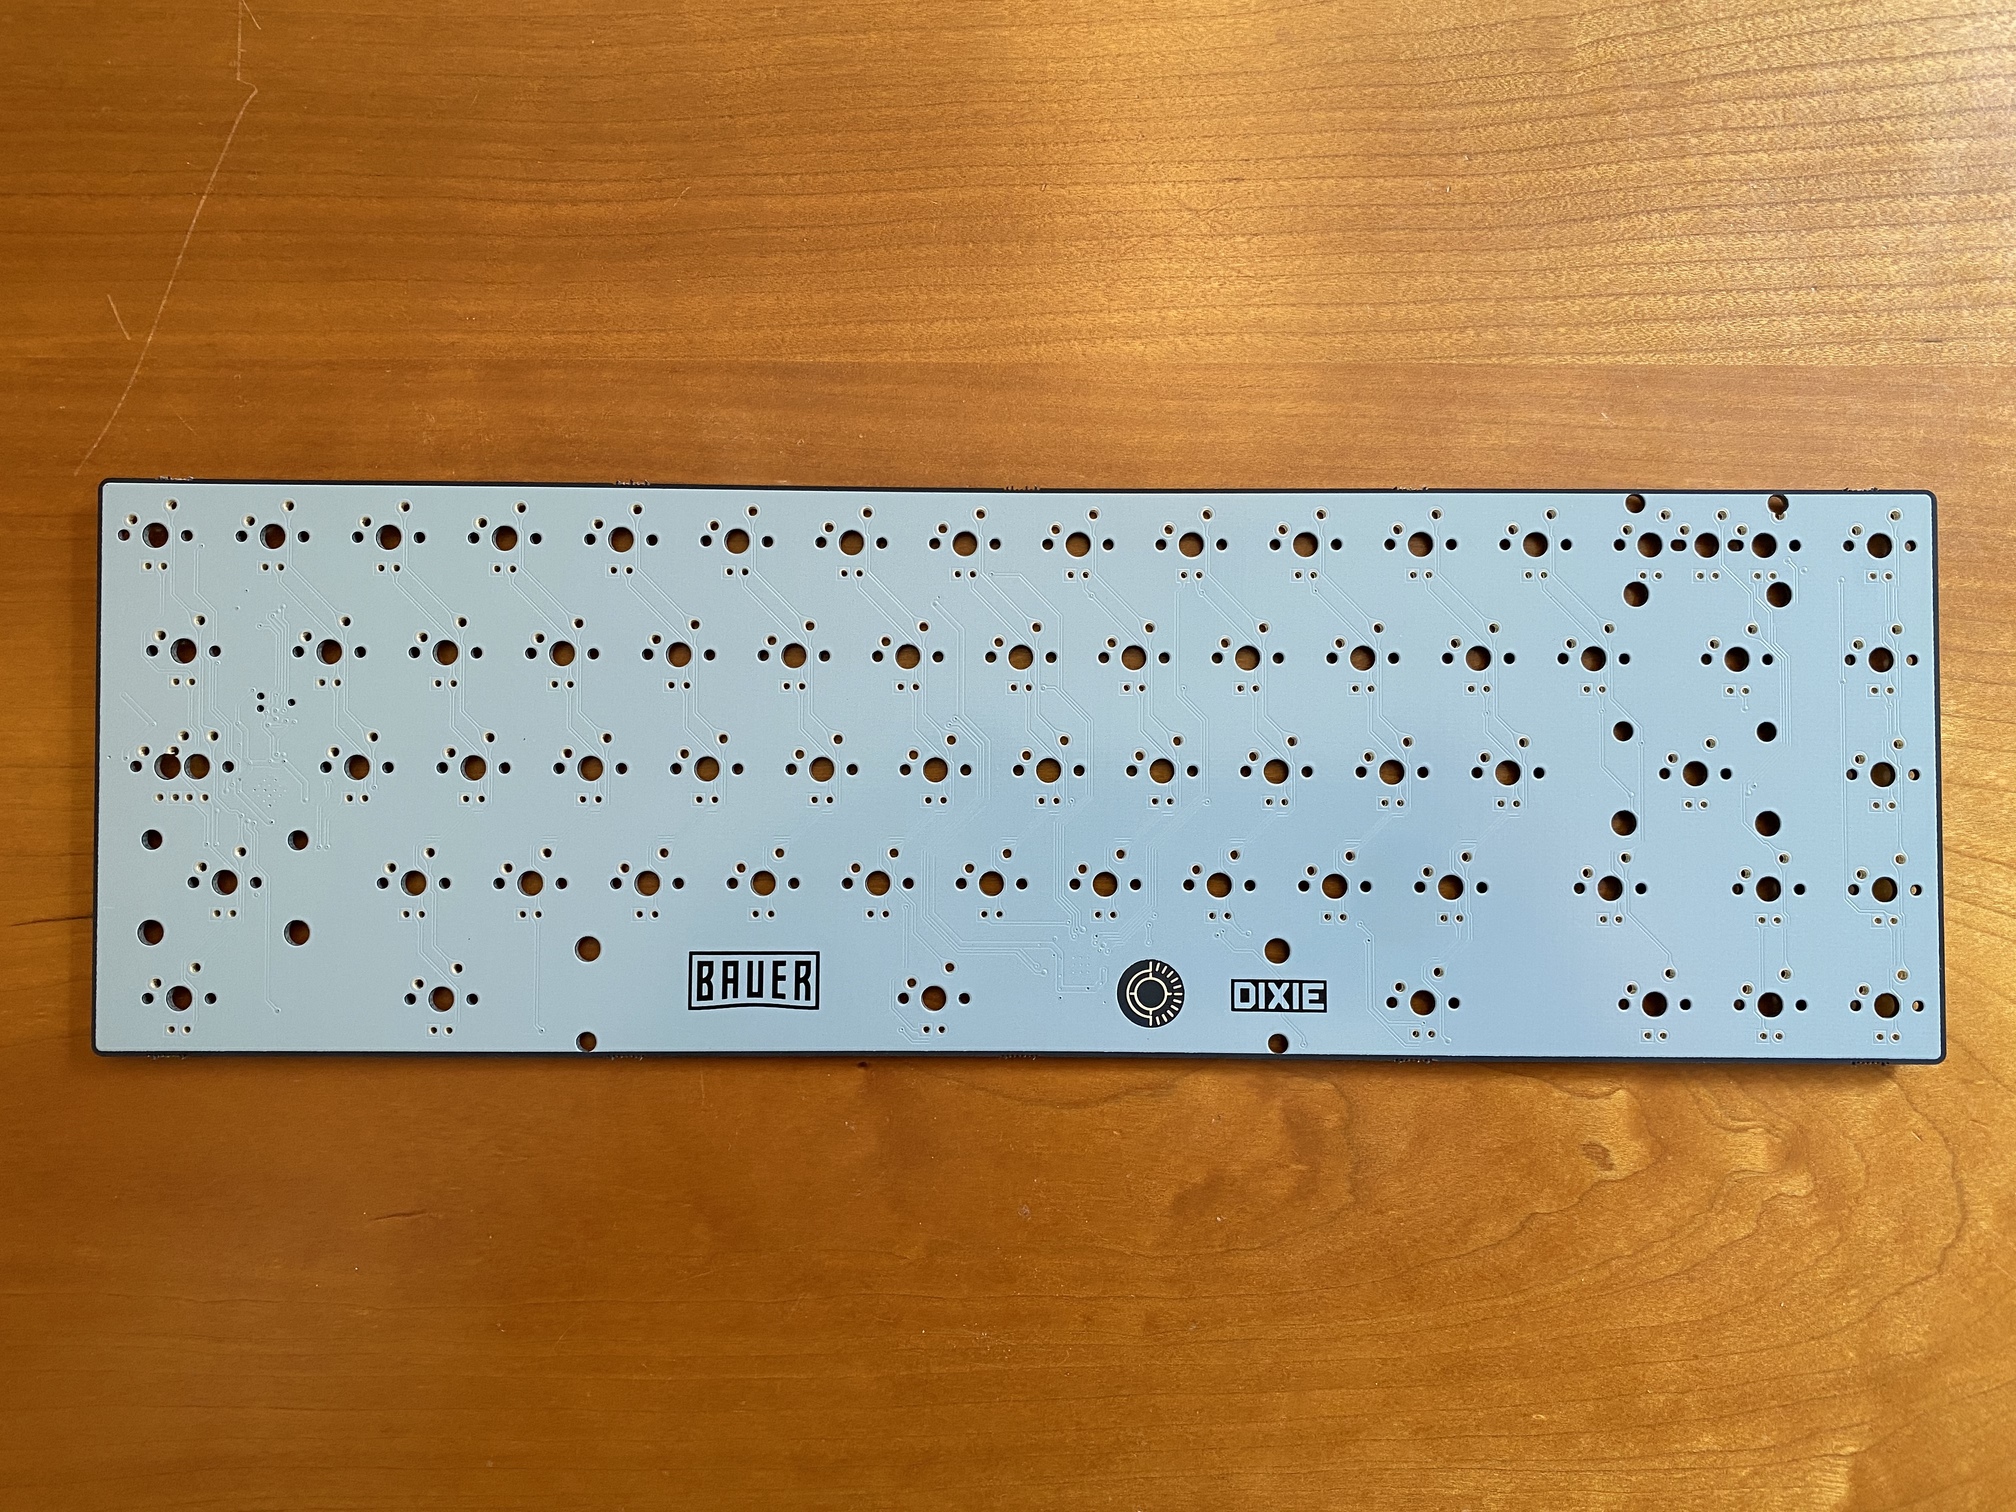
The underside is similarly clean. One notable addition is the JST daughterboard connector, over on the right side of the PCB near the Atmega32U4 controller chip. If I have any complaint here, it’s the lack of key labeling for each switch cutout. But this is just nitpicking, since this is almost the exact opposite of a “Swiss cheese” PCB - there are very few alternate layout options for the Bauer PCB, and it’s pretty obvious what those options are.
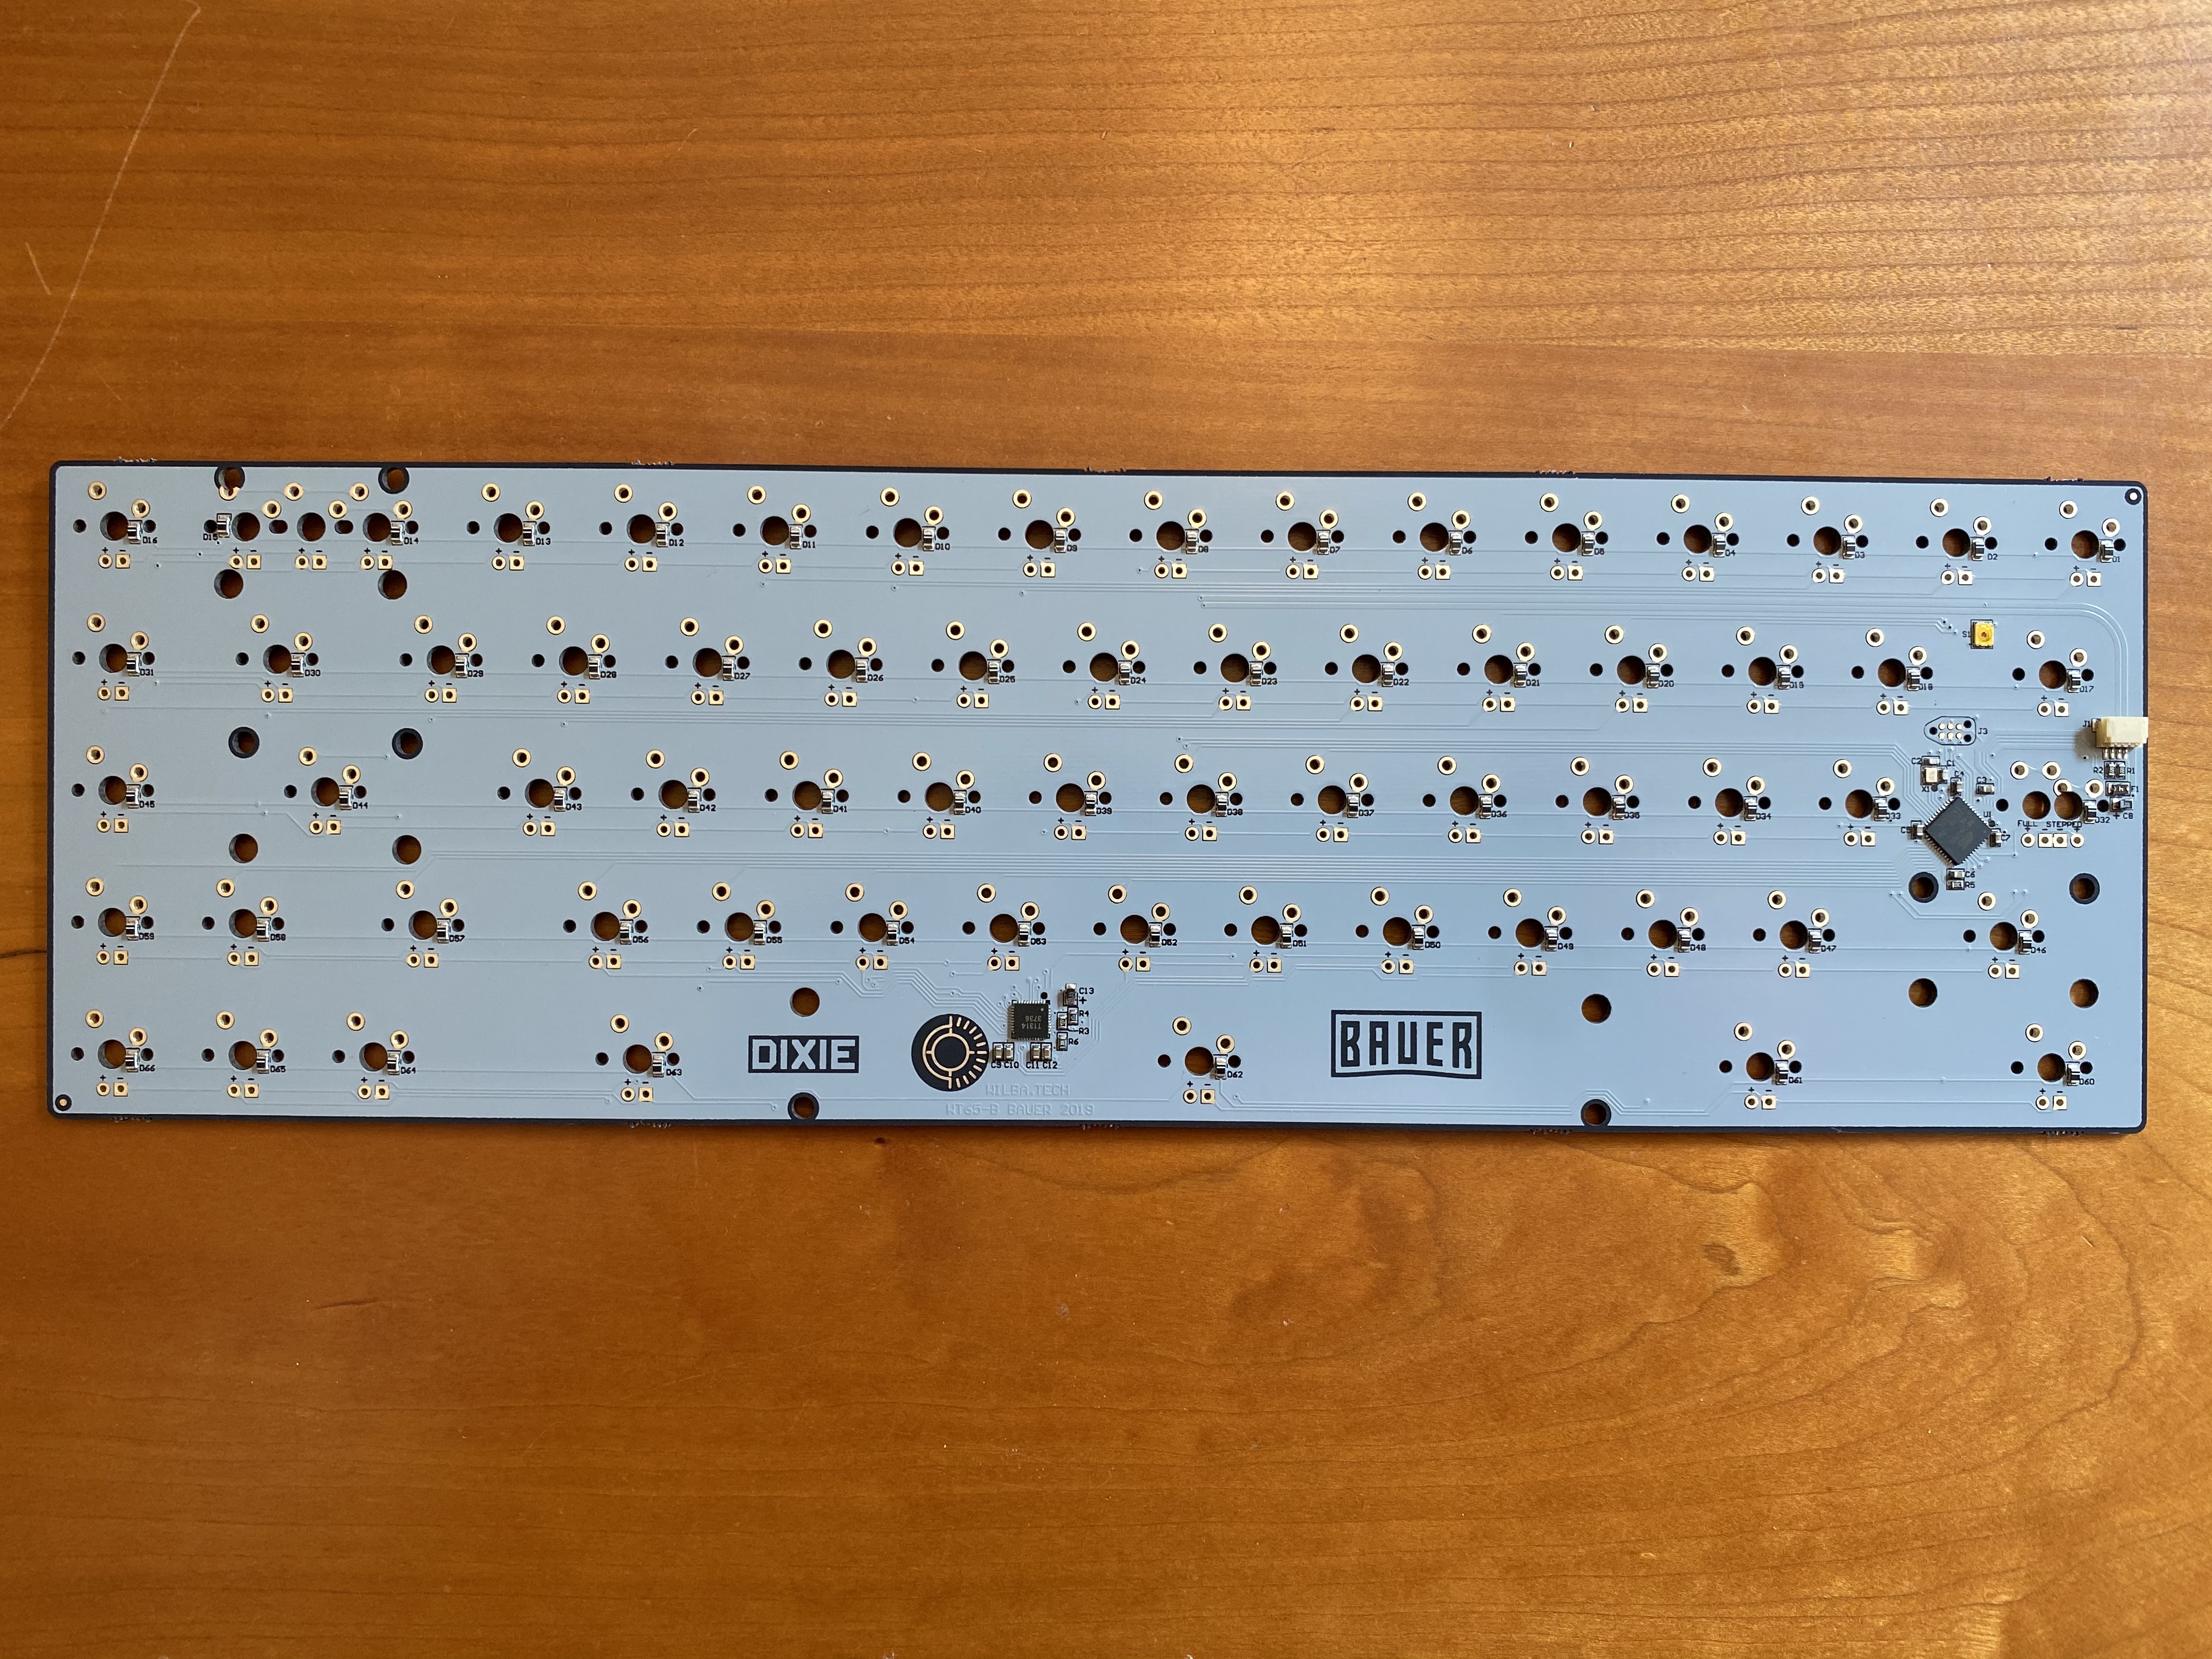
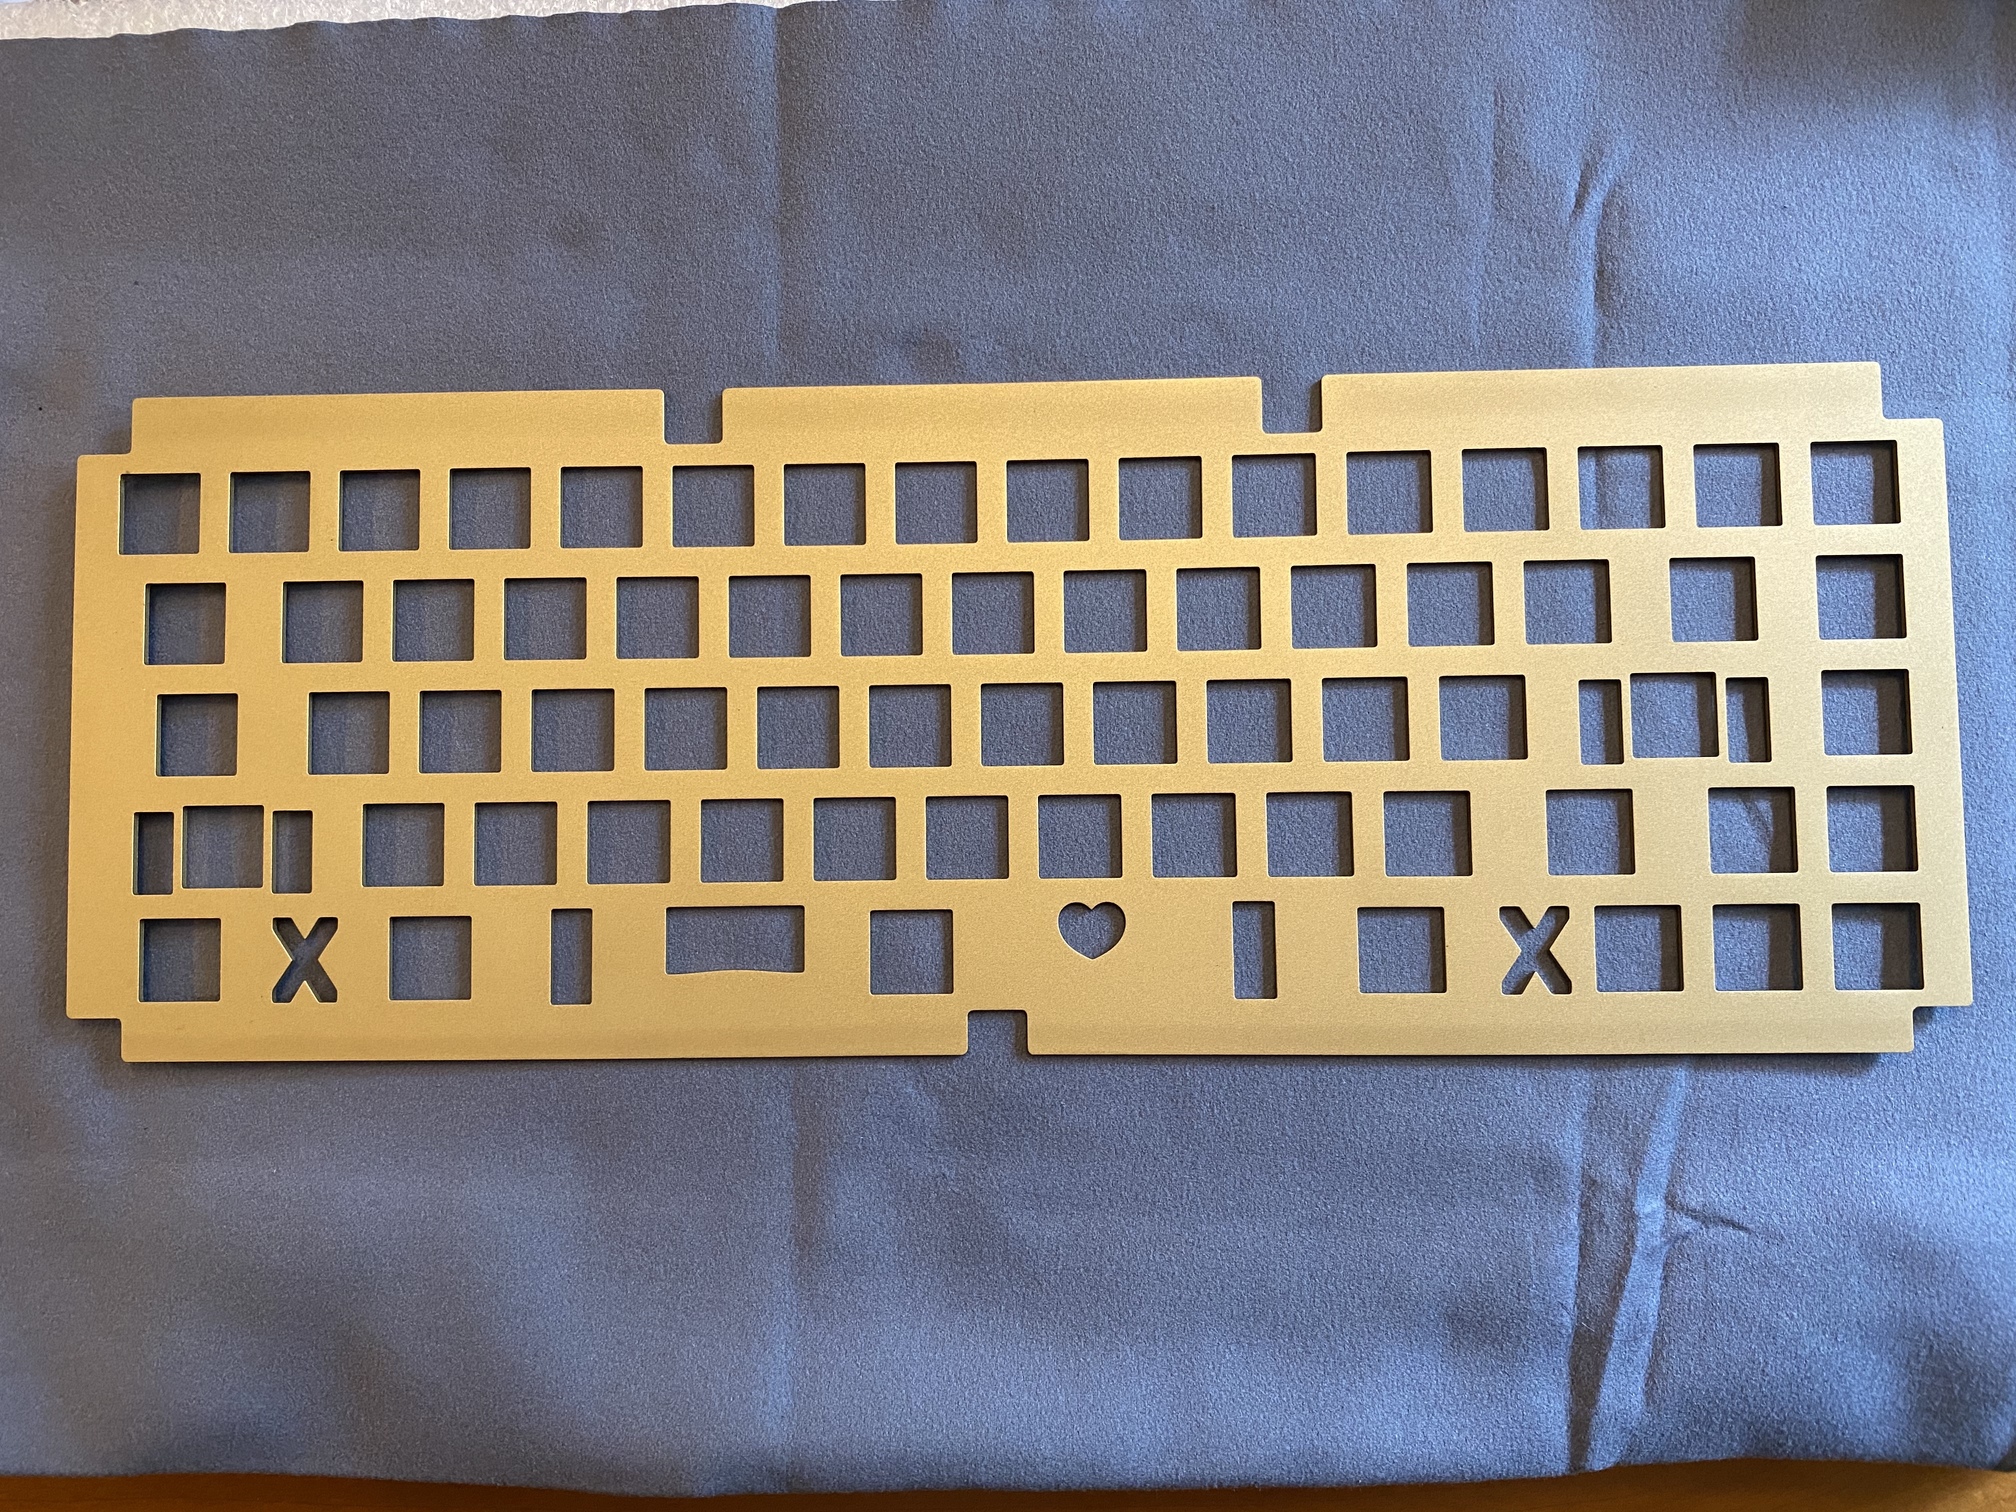
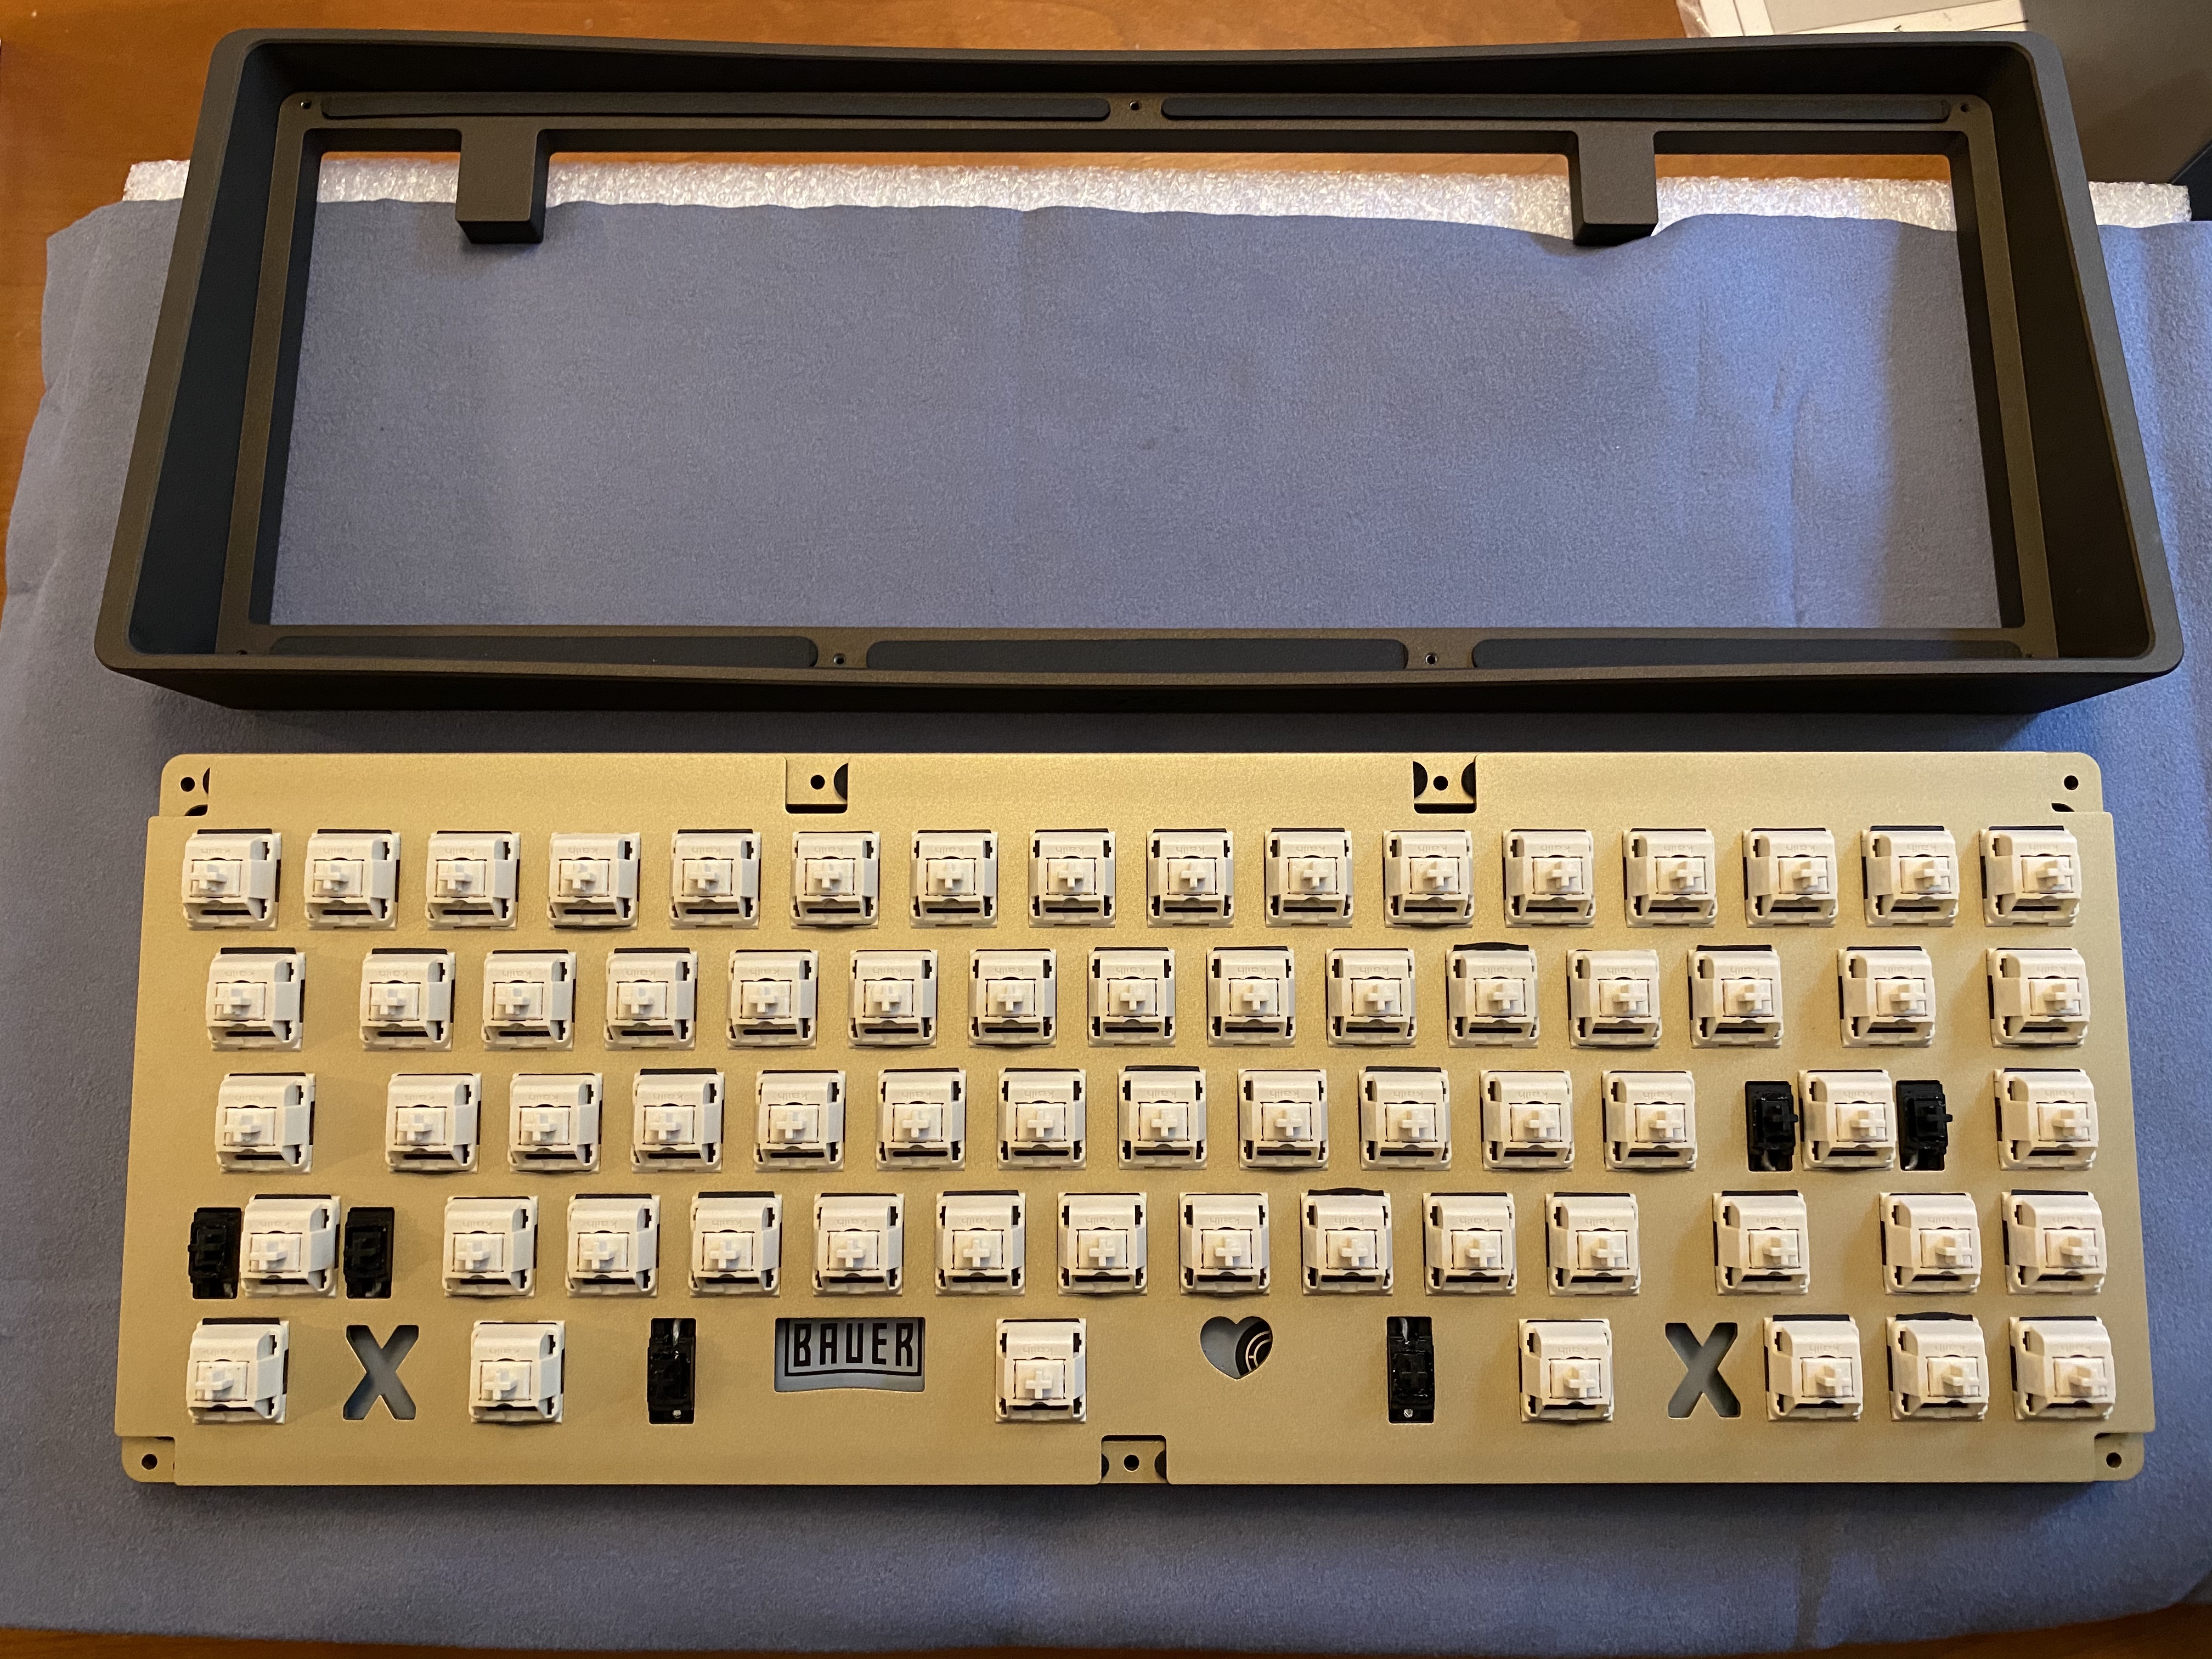
And, using the stock plate that comes with the Bauer kit (in this case, a sandblasted brass plate), even those few choices are eliminated.
Pull
Oh, all right, you want to see that Bauer now? First look, bronze cerakote with brass plate. I’m unable to properly capture that cerakote finish, but it is flecked with very fine gold specks that catch direct light in a lovely way.
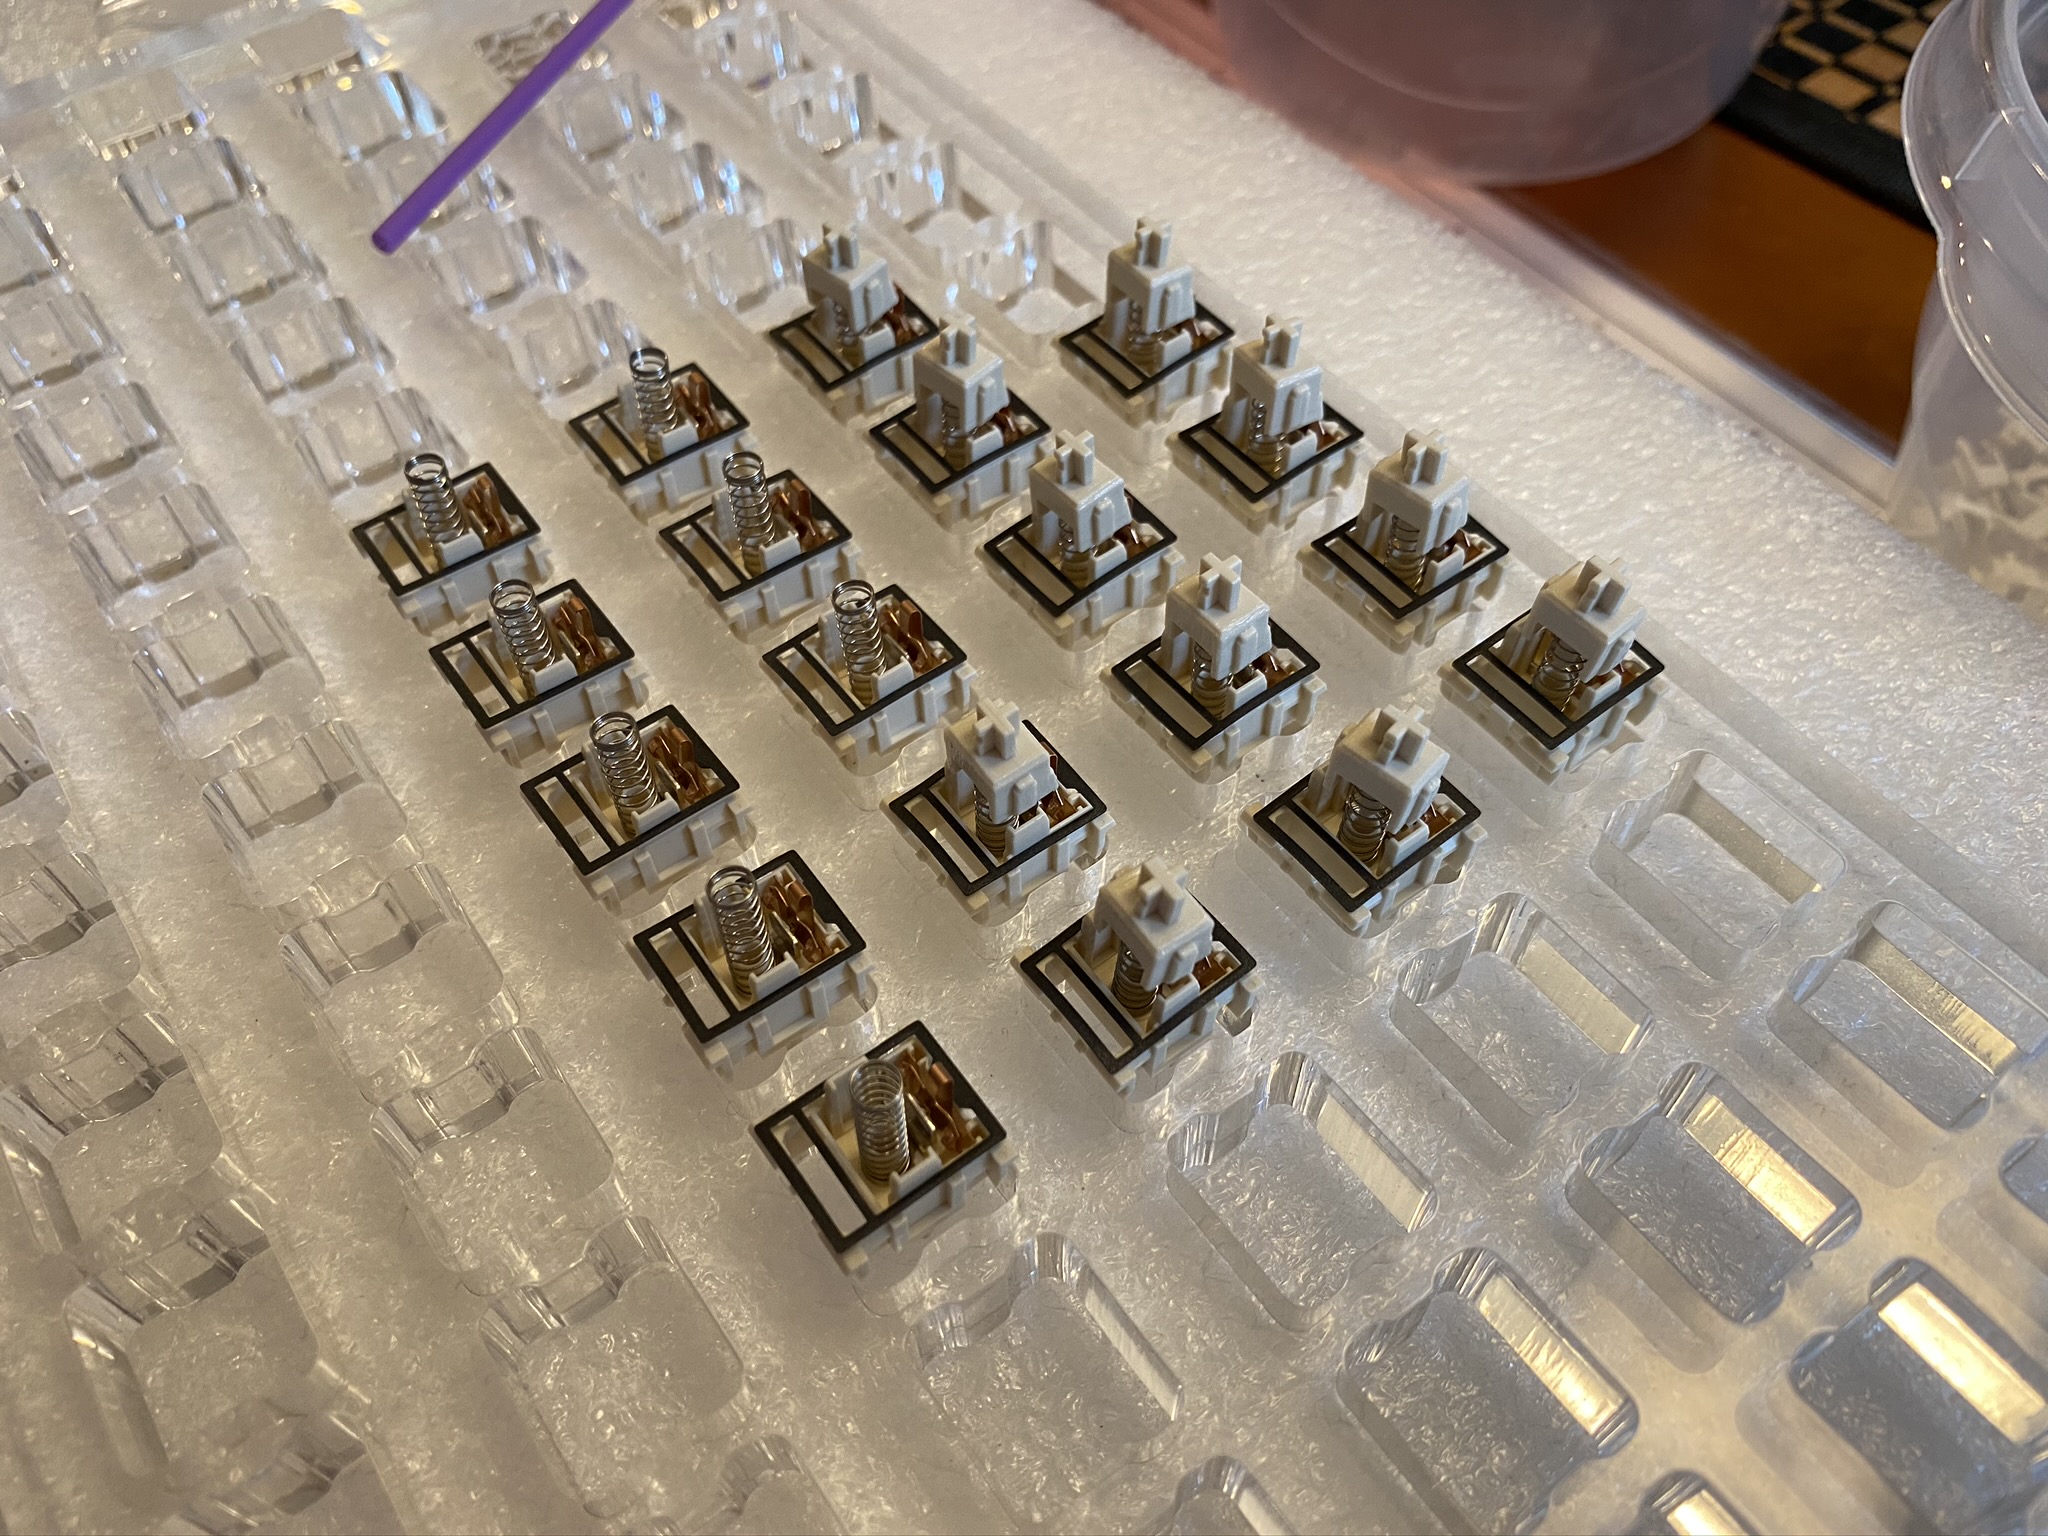
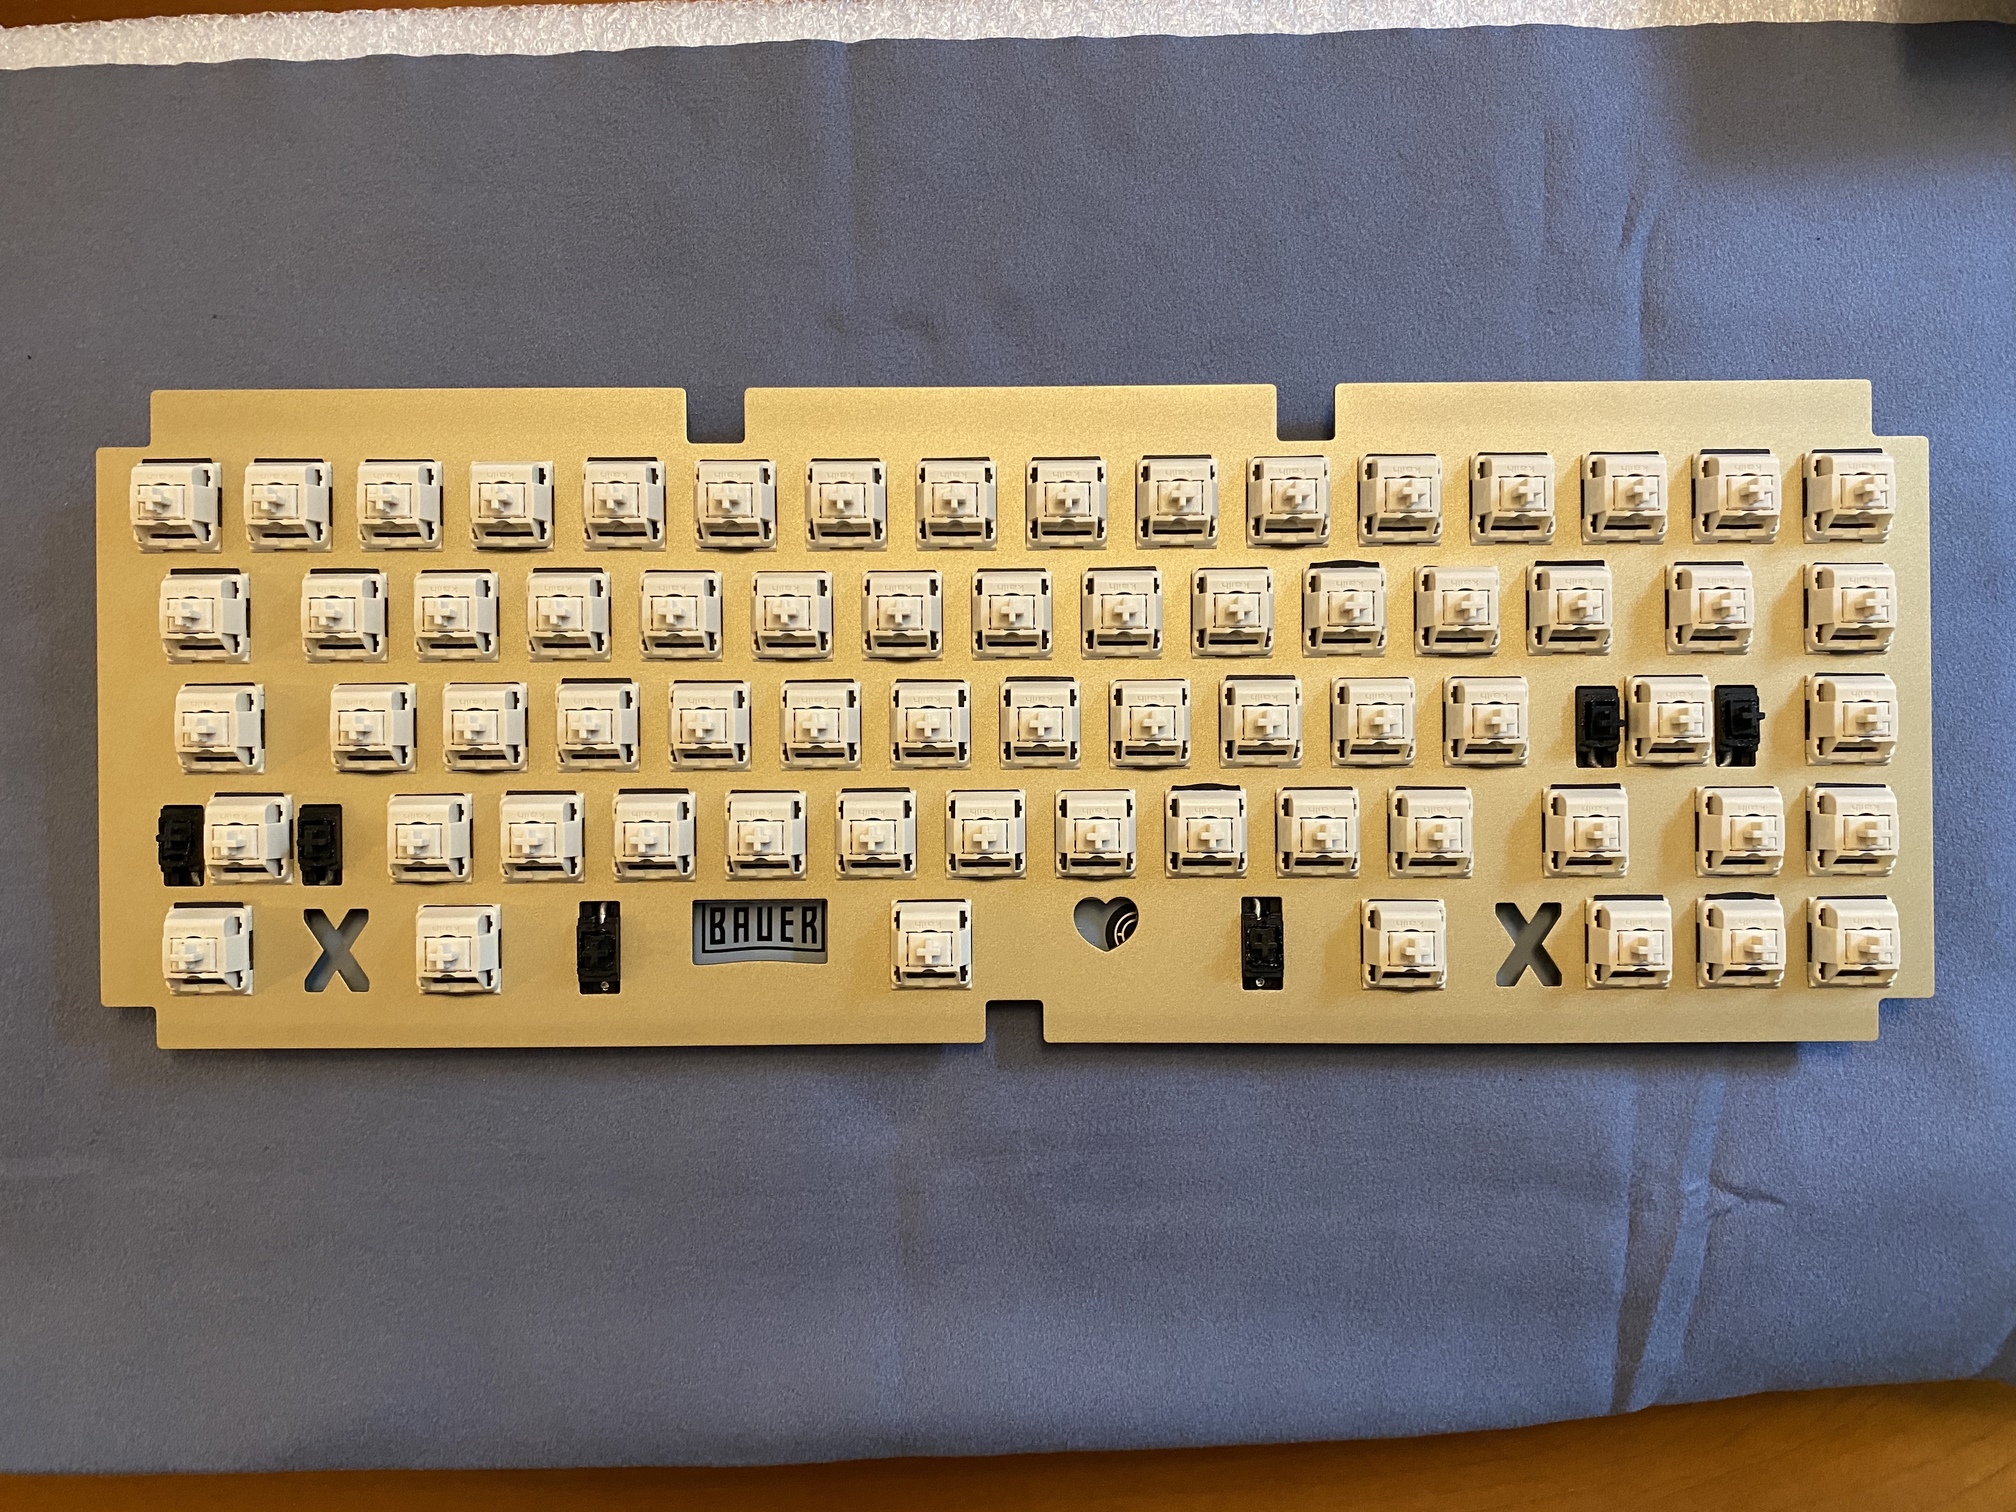
If you’ve read through the previous 38 build logs, you know how the switch and stabilizer parade goes.
If you look closely, you’ll see I wasn’t particularly precise with film alignment when putting the switches back together. I didn’t notice any difference in sound or feel as a function of film placement. With Creams, the Deskeys films make for a tight fit - you will need to inspect each switch after reassembly to make sure both sides of the top housing have fully snapped into place. I found that when I listened carefully, I could hear two separate clicks; a louder one when one side of the top housing locked into place, and a fainter one when the other snapped into place. In any case, if they aren’t properly snapped together, you’ll find that out when you try to fit them into the plate, as they won’t fit.
Next, we need to attach the daughterboard to the bottom piece of the case, and then use the included cable to attach the daughterboard to the PCB. If you happen to be one of the last stragglers, like me, who hasn’t built his Bauer yet, and your eyes are as bad as mine, then I’m here to help. Here’s how the JST connector should look when it’s attached to the PCB.
In passing, I’ll also note that the adhesive foam gaskets that you see around the perimeter of the case bottom were preinstalled. Nice.
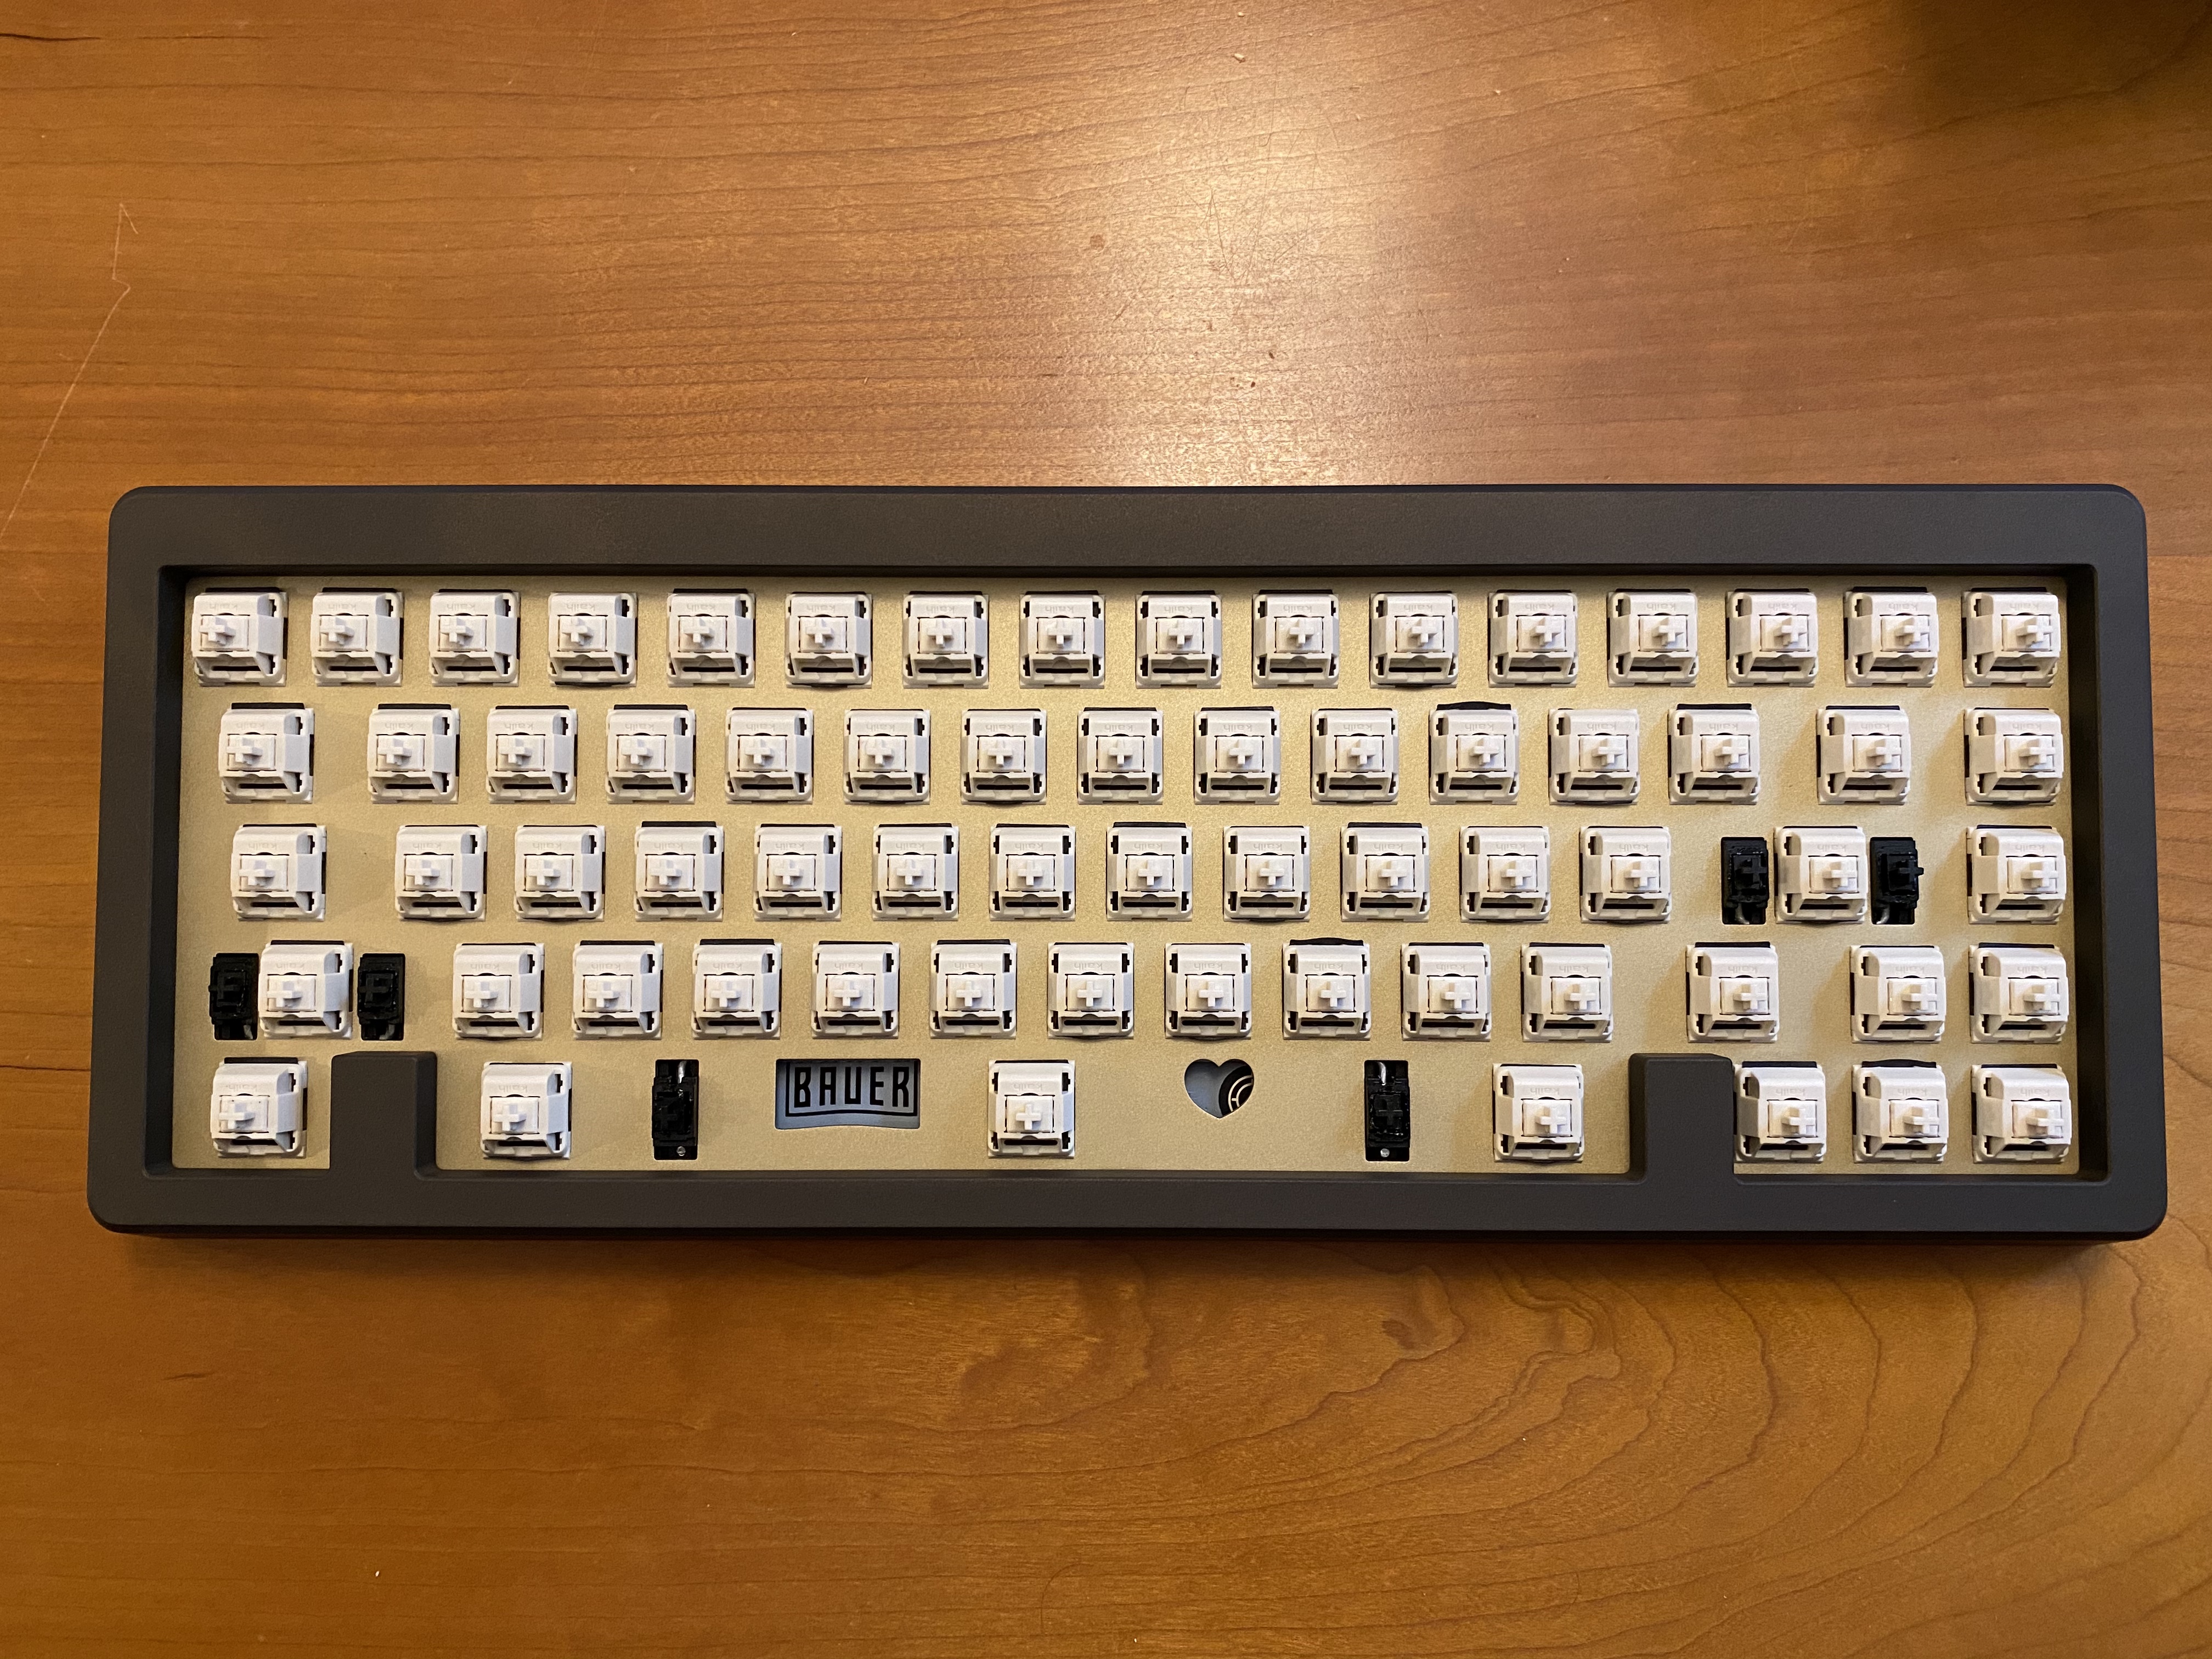
The plate is held in place by pressure from the gaskets on the bottom and top of the case halves, so the trick here is simply placing the PCB/plate assembly on the bottom gaskets and aligning the plate with the case, and then placing the other half of the case (also equipped with gaskets, which we can see here) on top.
Serve
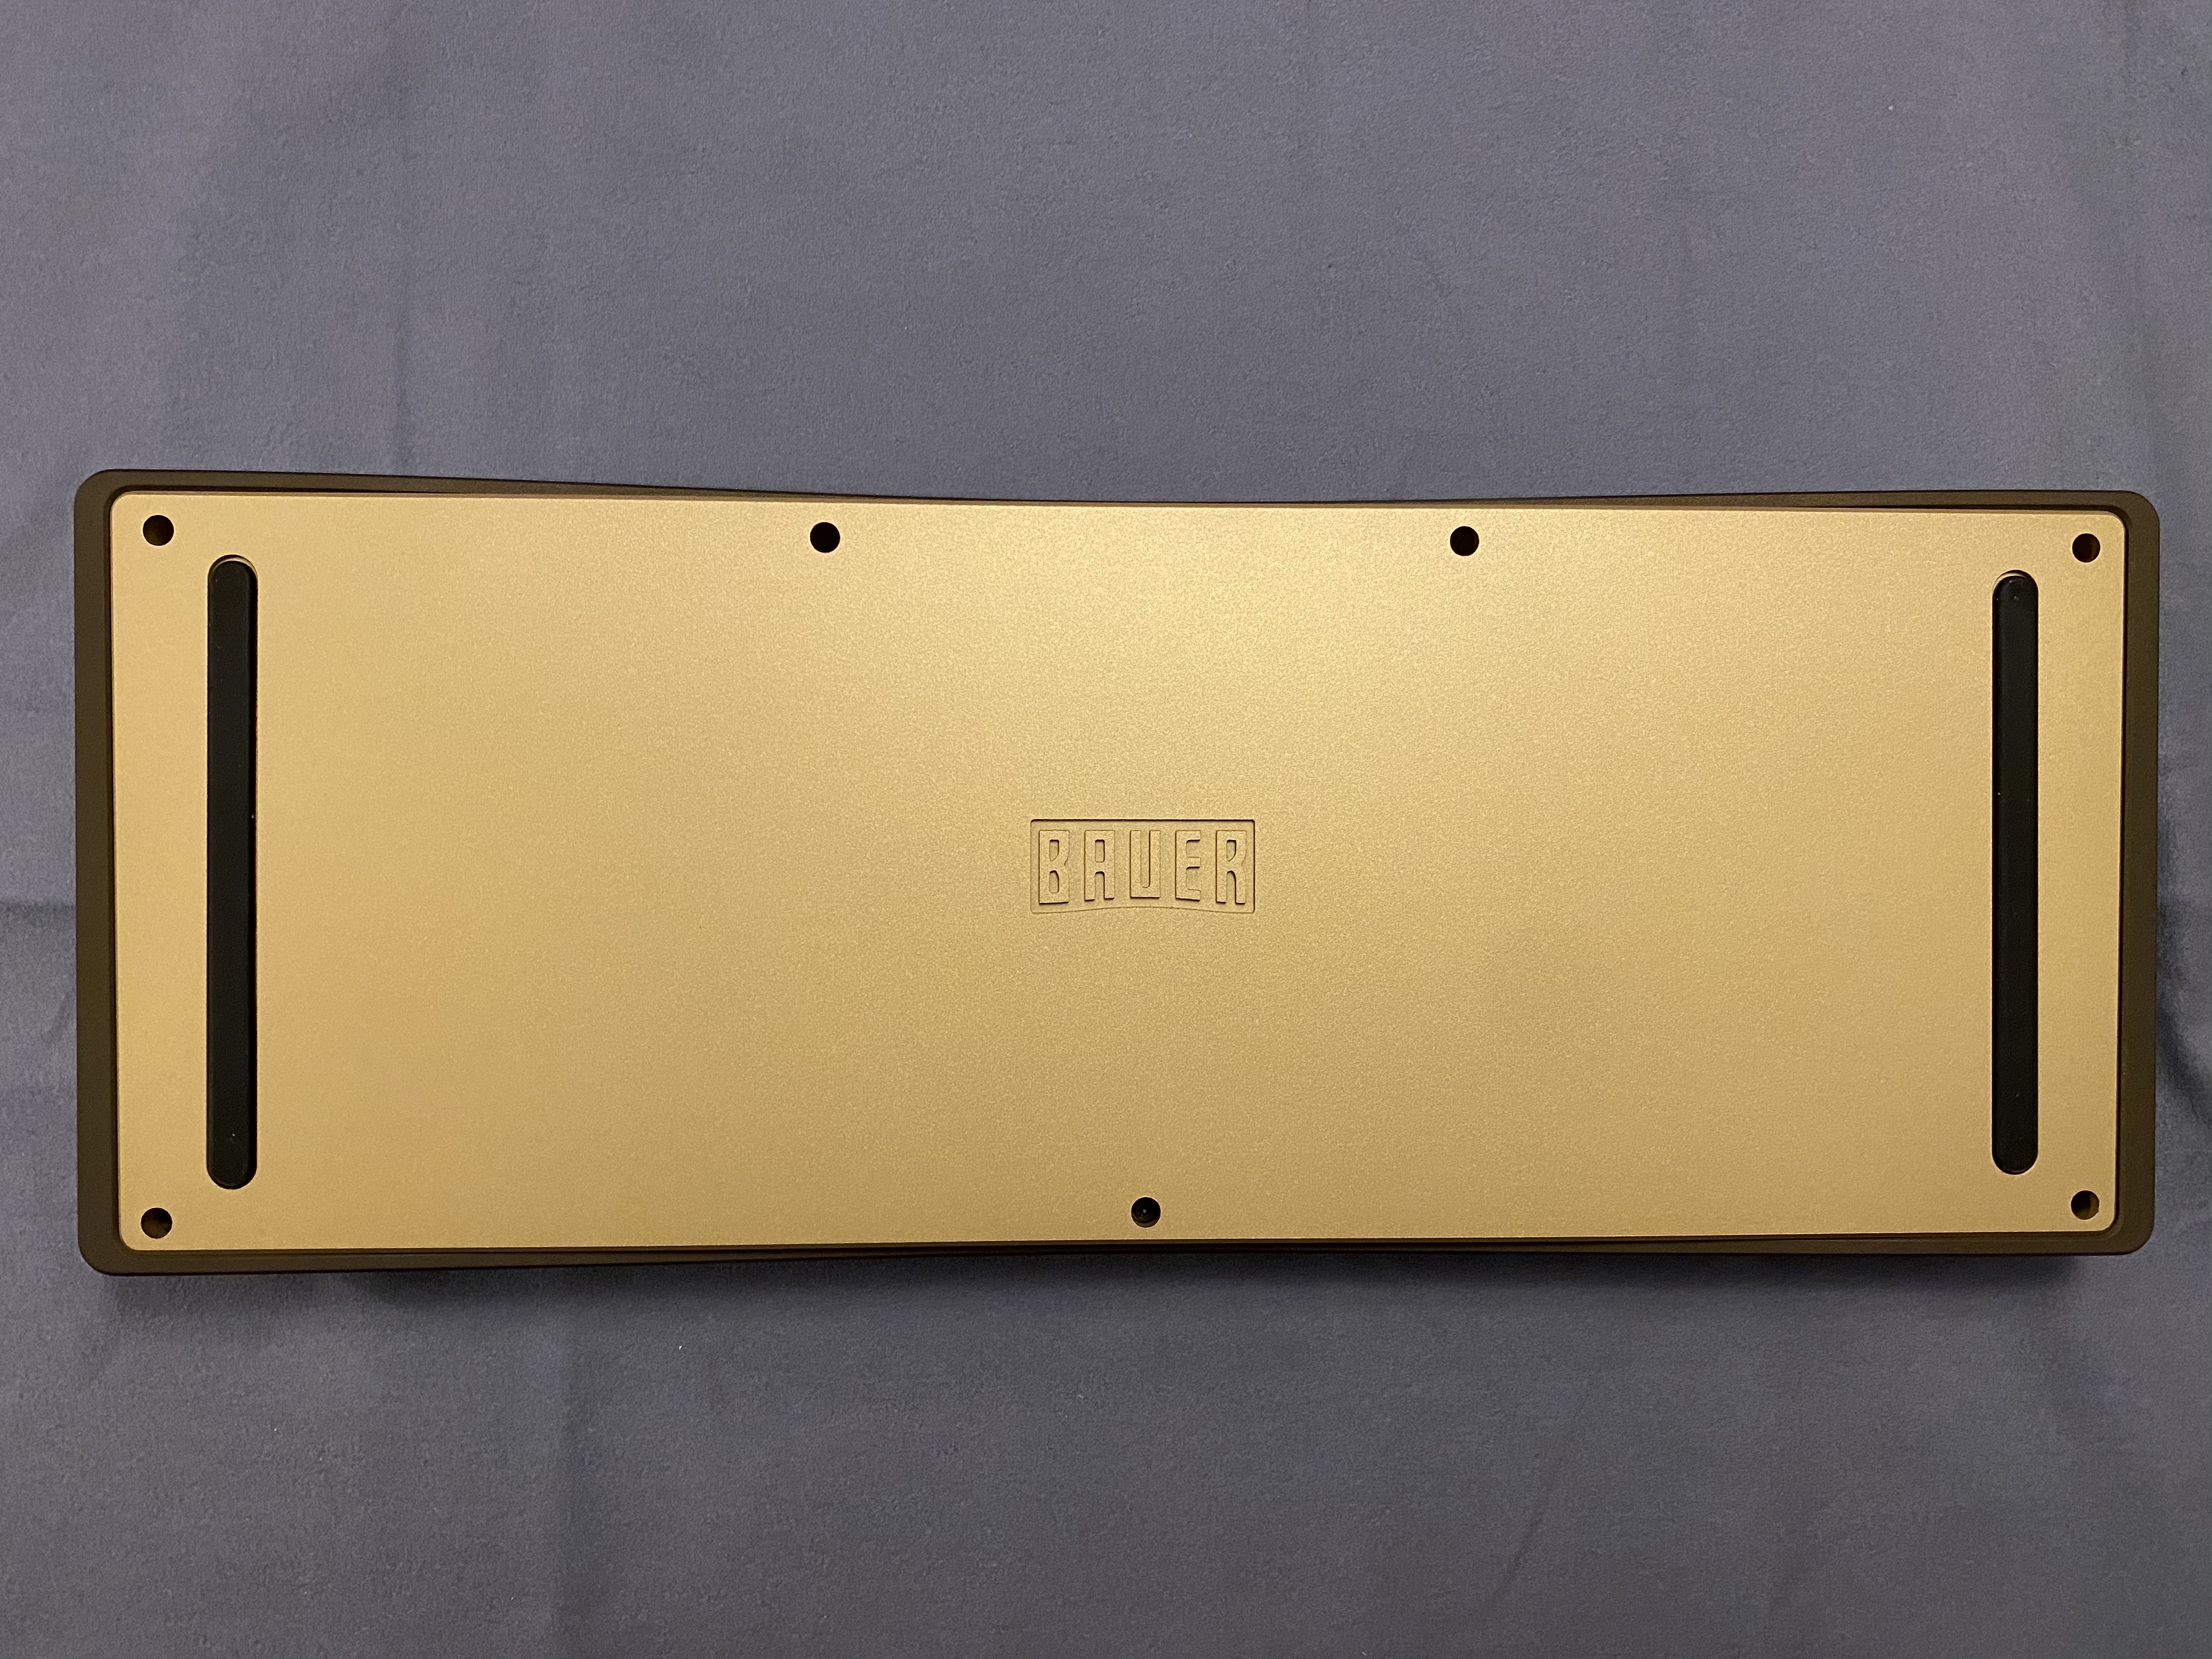
From here, it’s just a matter of (carefully!) installing the seven screws to hold the whole thing together. Here’s the underside of the Bauer, exactly as we expected from the packaging. Details matter!
At this point, the Bauer is ready to receive keycaps.
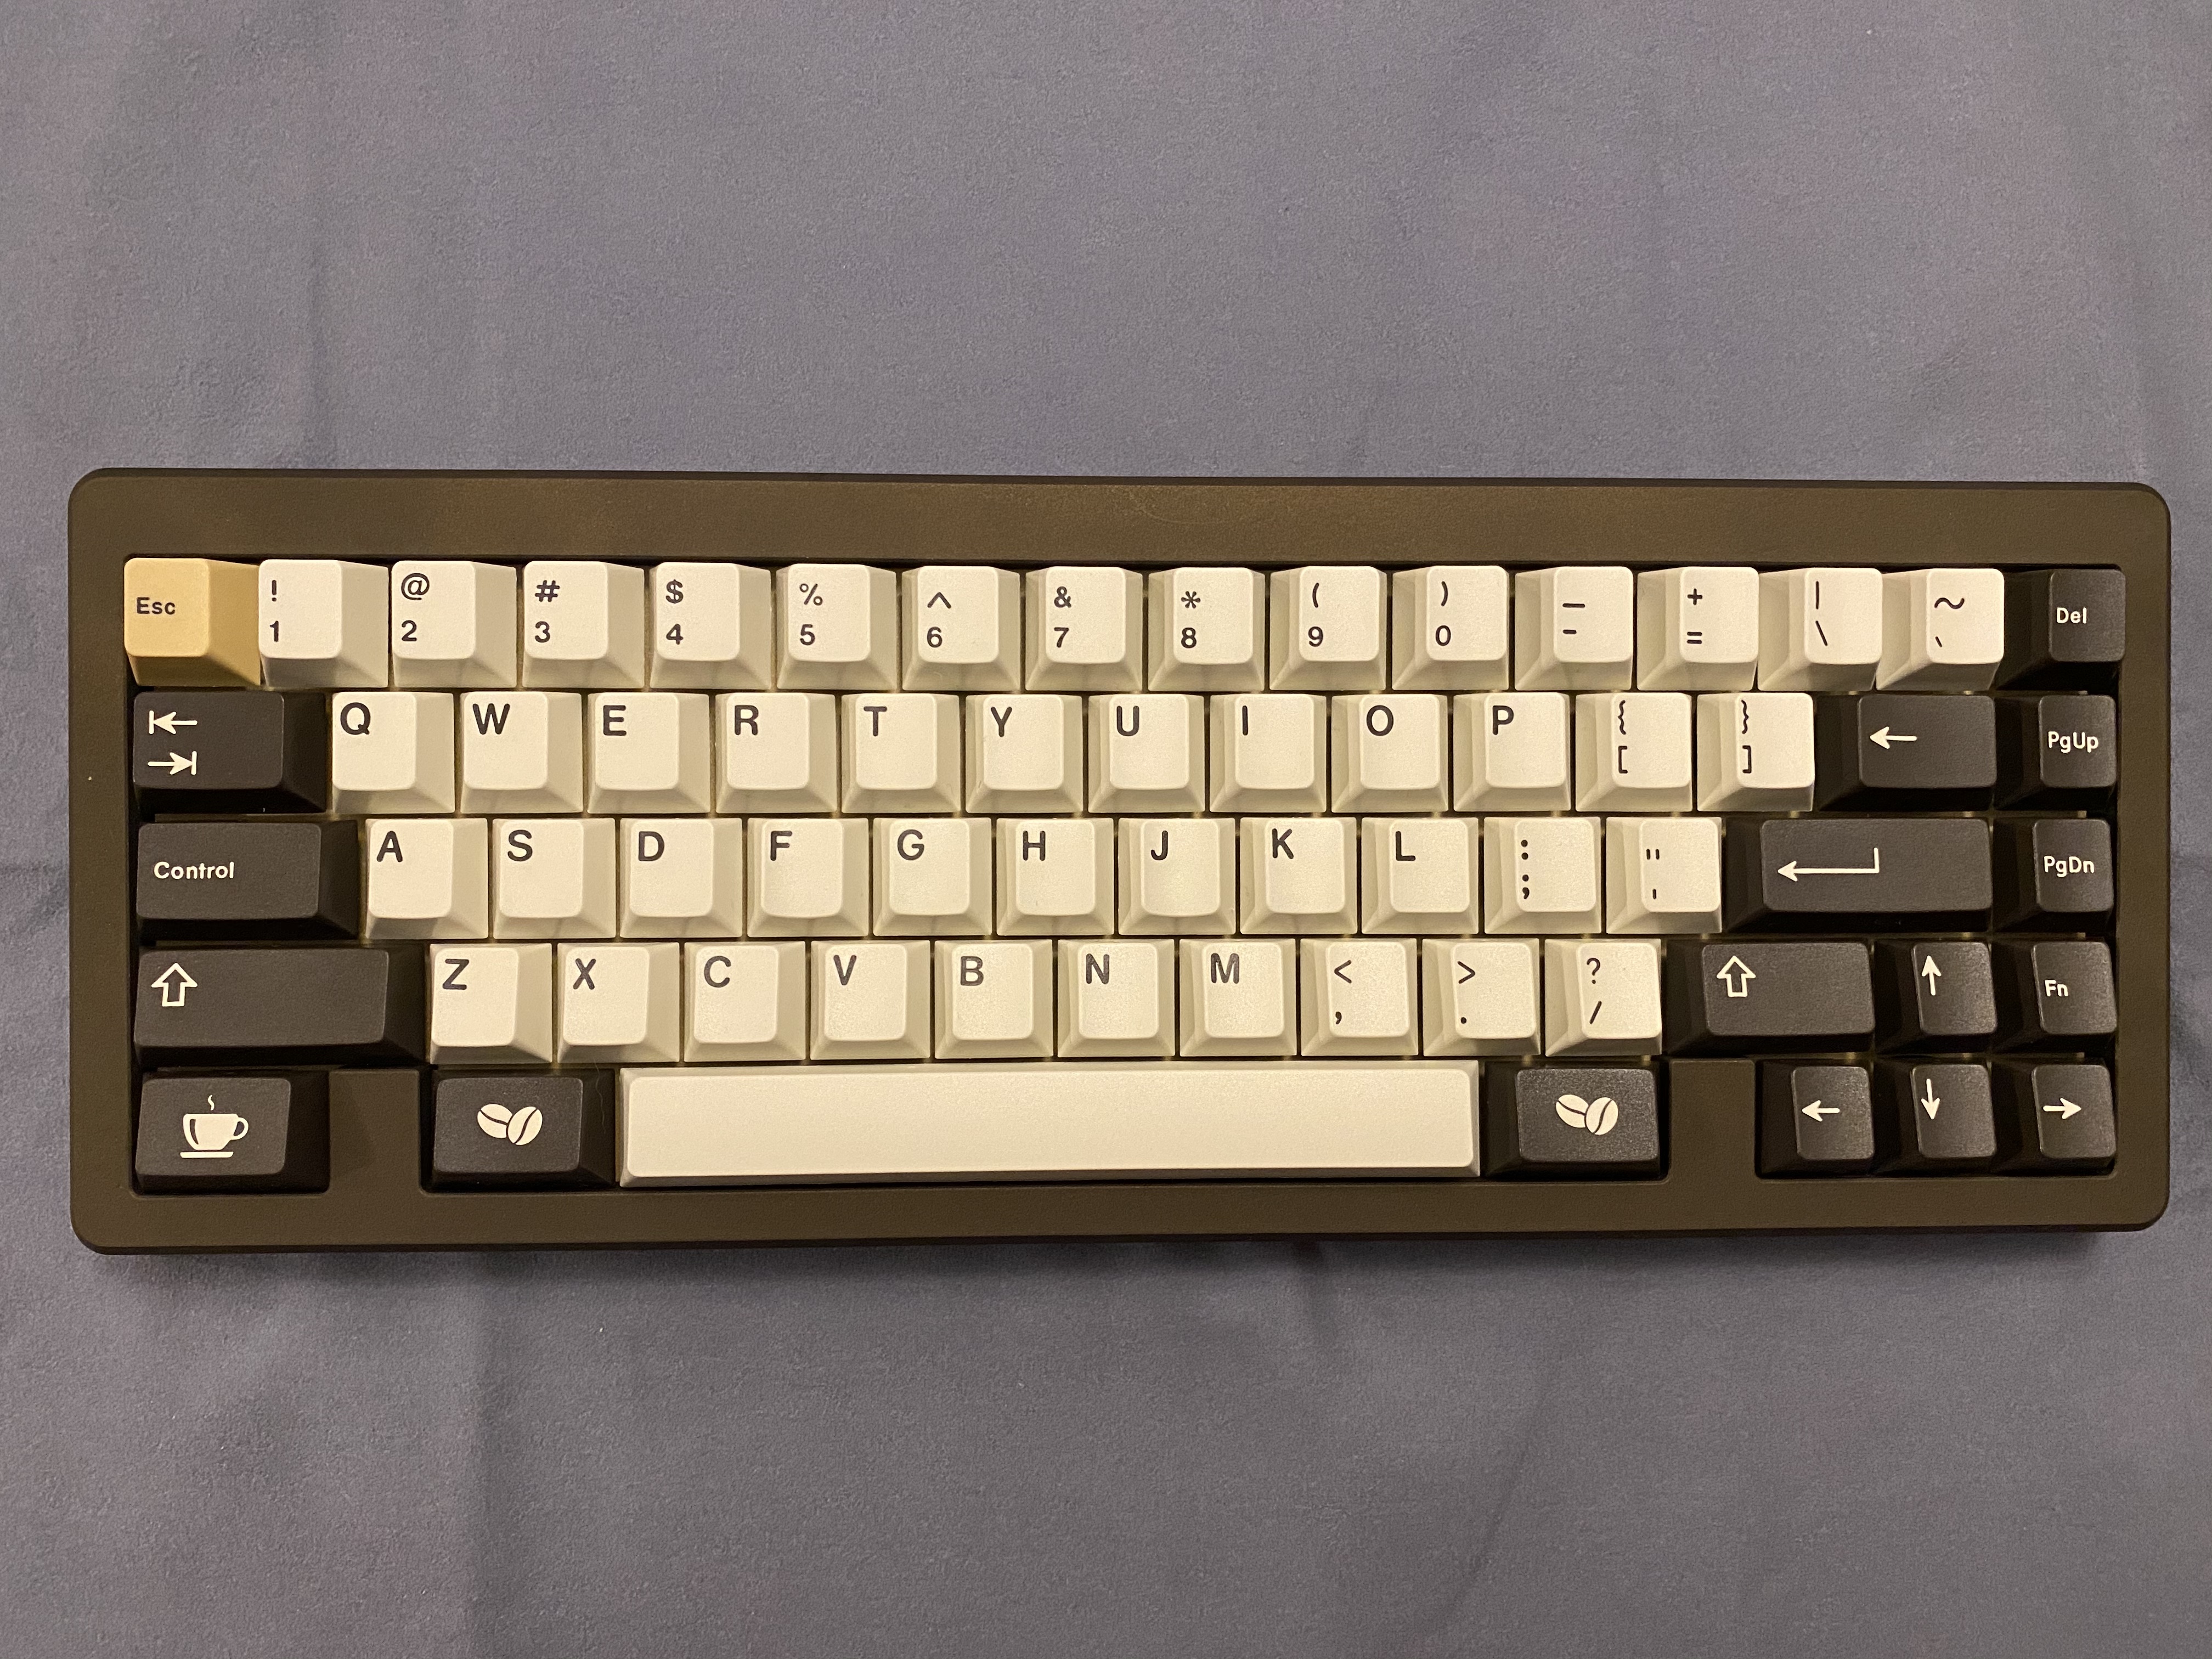
And receive keycaps it shall, and, sometimes, our color hunches pan out. GMK Cafe turns out to be just the thing for the dark finish of this Bauer.
Lessons learned
- The sound of Cream switches is modestly but noticeably improved with the use of films; I found it to be crisper and cleaner than a stock Cream switch.
- Deskeys films seem perfectly fine to me for switch filming; they are a bit more delicate than TX films, so if creasing the films is an issue for you, you may prefer TX films.
- With preinstalled gaskets, it’s a little harder to tell, but I think the gaskets are making a significant difference in board acoustics. To see this for yourself, snap some Creams into place in the plate, and then actuate the switch while holding the plate close to your ear. You’ll hear plate ping, which is essentially gone once the plate is sandwiched between the gaskets. I initially thought I might have to use some Sorbothane or foam in this board, but it’s not needed.
- Packaging, instructions, ease of build, and quality of the Bauer kit are all well in line with what you should expect from a premium custom build, and this bodes well for the imminent Bauer 2.
I hope you’ll agree that a proper coffee service is a thing of beauty.
Specifications
case: DixieMech Bauer
- 6063 aluminum
- bronze cerakote top
- brass bottom
case dampening:
- preinstalled adhesive foam gaskets, top and bottom
PCB: WT65-B
- VIA support
plate: brass Bauer plate
plate/PCB dampening: n/a
stabilizers: GMK PCB screw-in
- 1x7u, 2x2u
stabilizer mods:
- clipped and lubed with SuperLube
- installed with cloth washers
switches: 66x NovelKeys Creams
switch mods:
- springs tub-lubed with Krytox GPL 104
- stems hand-lubed with Krytox GPL 205g0
- no housing lube
- filmed with Deskeys switch films
keycaps: GMK Café
HxWxD (without caps or feet): 1.13" x 12.88" x 4.81"
HxWxD (without caps): 1.19" x 12.88" x 4.81"
HxWxD: 1.44" x 12.88" x 4.81"
assembled weight: 2.39 kg (5.27 lb)