I’m Thibault aka KPush. I live in France (where the hobby isn’t quite as developed).
I’ve been gaming on my Corsair Strafe RGB with MX Silents for quite some time before discovering the hobby on massdrop. Having never seen a 60% keyboard, I fell in love with the ALT keyboard and promptly ordered one with some mx brown.
Going from ISO AZERTY to ANSI QWERTY was (and still is) hard but I’ve come to realize that it’s the way to go if you ever want to have options for your keycap set.
I was engrossed with the feeling of brown (going from linear to tactile felt gooood) but the missus wasn’t quite as fond of the noise it made compared to mx silents with o-rings (+ poor construction of the ALT).
I went on geekhack and reddit to gather information onto how to reduce the noise and this is how I got my first peek into the keyboard community.
A few hours of intense browsing later, I understood that in order to make a truly silent keyboard, I’ll have to go the fully custom route and say goodbye to my ALT keyboard. (as a side effect, I’ve also come to hate geekhack’s color scheme…)
I then discovered KeebTalk after stumbling on @jshufelt’s marvelous build logs and decided to stick around for the amazing community, quality advices and the wayyy niceer color scheme (still not over the red/black thing…).
As I write this down, I’ve just received all the components for my first build :
Plate : None, I’m going with bare pcb first as I’ve heard it can be quieter. I might add a plate later on but that’s only if I got my hands on some Sorbothane to put between the plate and the pcb ( wink wink@Manofinterests)
Hello and welcome! Pleased to hear that you found the build logs useful.
Unsolicited advice - with a plateless DZ60 build, take the time to make sure all of the switches are seated in the correct place for your desired layout before you solder. Lots of options on that bottom row…
In any case, that’s going to be a fun build. Looking forward to the pictures!
Yeah shipping is a pain in the butt… I’ll try to find a local distributor, as on now I’ve only really checked the main manufacturer in the US and local prices on amazon (which is around 100+ € per sheet in France…).
If prices are too harsh I might try to play with the economy of scale and start a GB for Europeans!
Thanks @jshufelt I’ll be sure to double check with the keycaps on before soldering the switch!
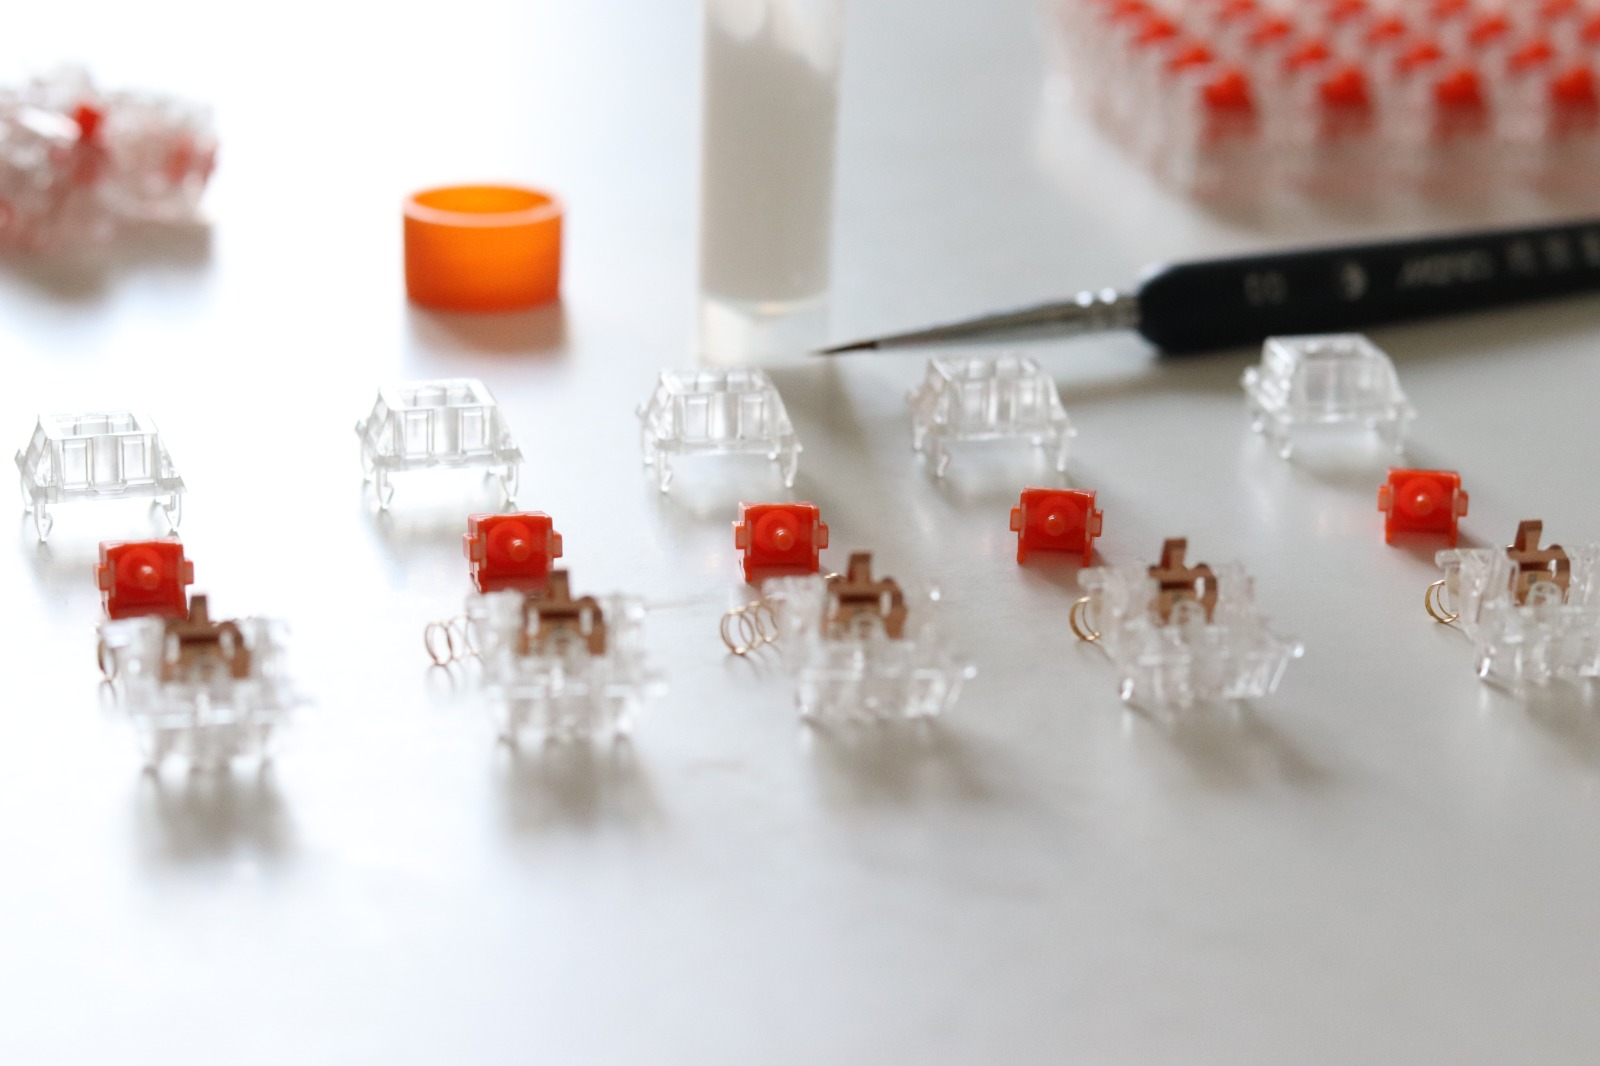
Finally took the time to finish the build and post some pictures
It took me way longer than expected to lube every switch… I started by doing them one by one, and ended up lining up to 10 of them to try to gain time by doing them in batches.
I didn’t know better but next time I’m definitely trying out the bag-lubing technique (for the springs at least).
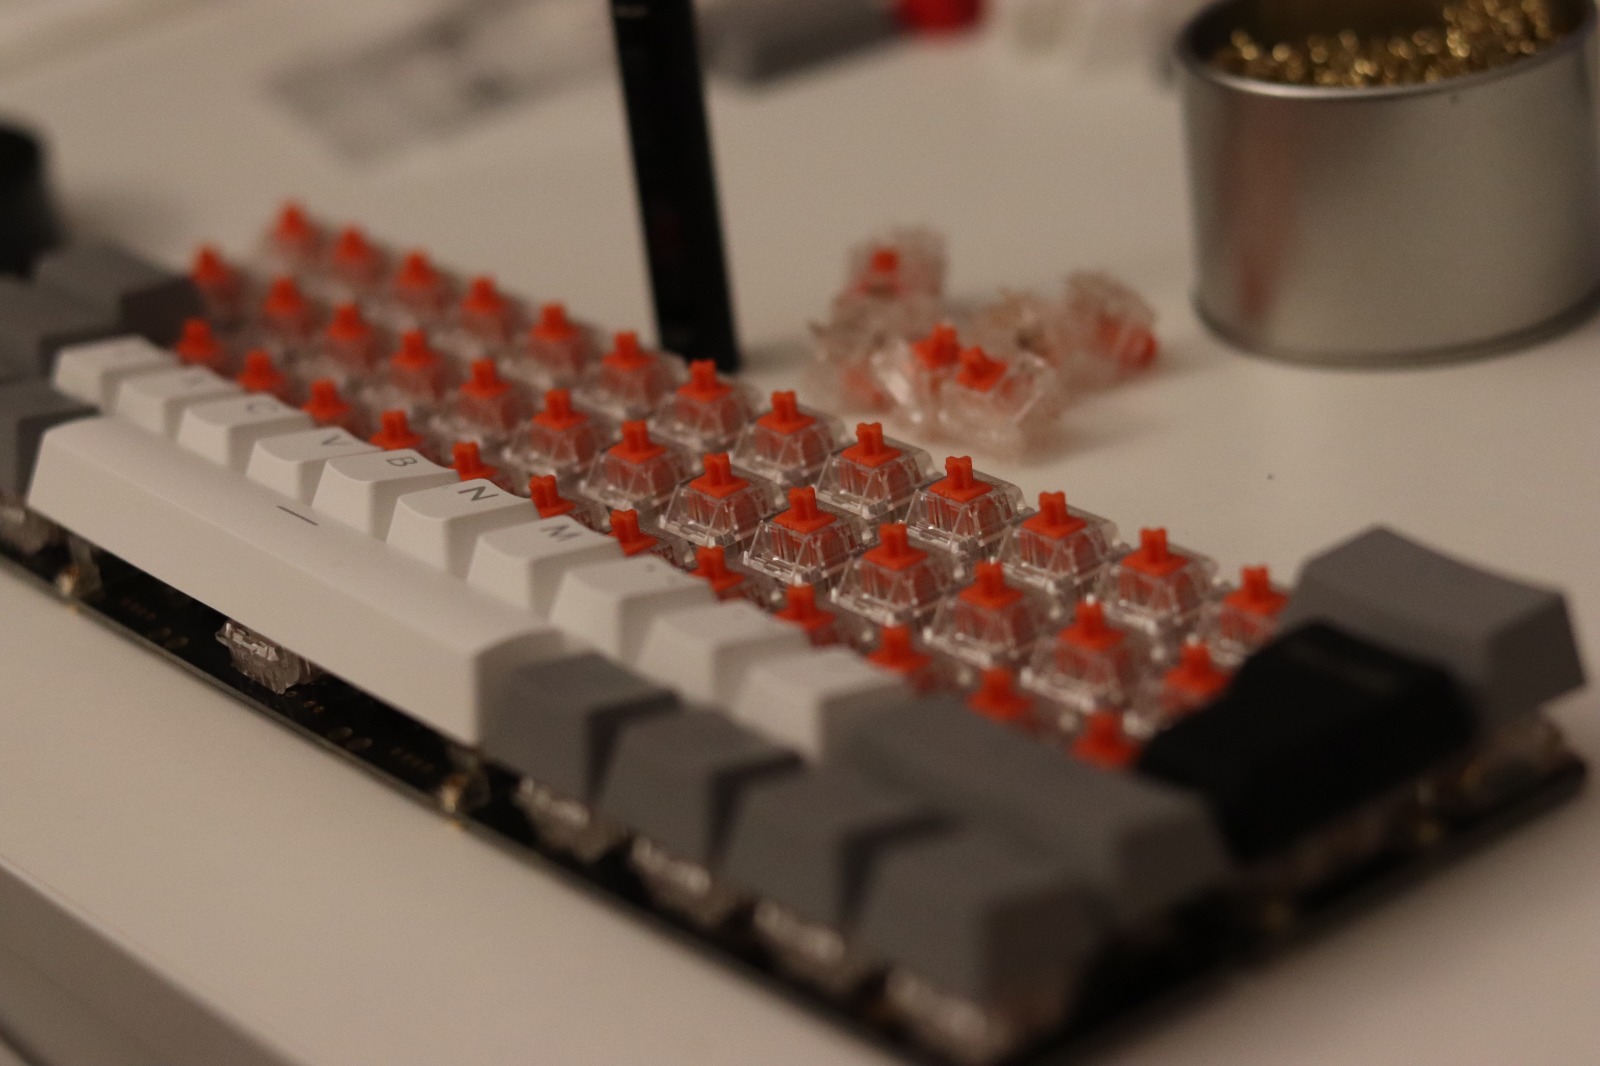
Soldering was quite easy, I bought a TS80 soldering iron and this thing output some serious eat really quickly. What was more an issue is that the DZ60, while being fantastic for supporting almost any layout, don’t allow for a snug fit for many switches. So I ended up using some tape to hold it in place while I was soldering. Not the prettiest solution but it did the job just fine.
Before soldering, I put the keycap on the whole bottom row to make sure I didn’t screw up with all the possibilities provided by the DZ60 (thanks @jshufelt for the advice !)
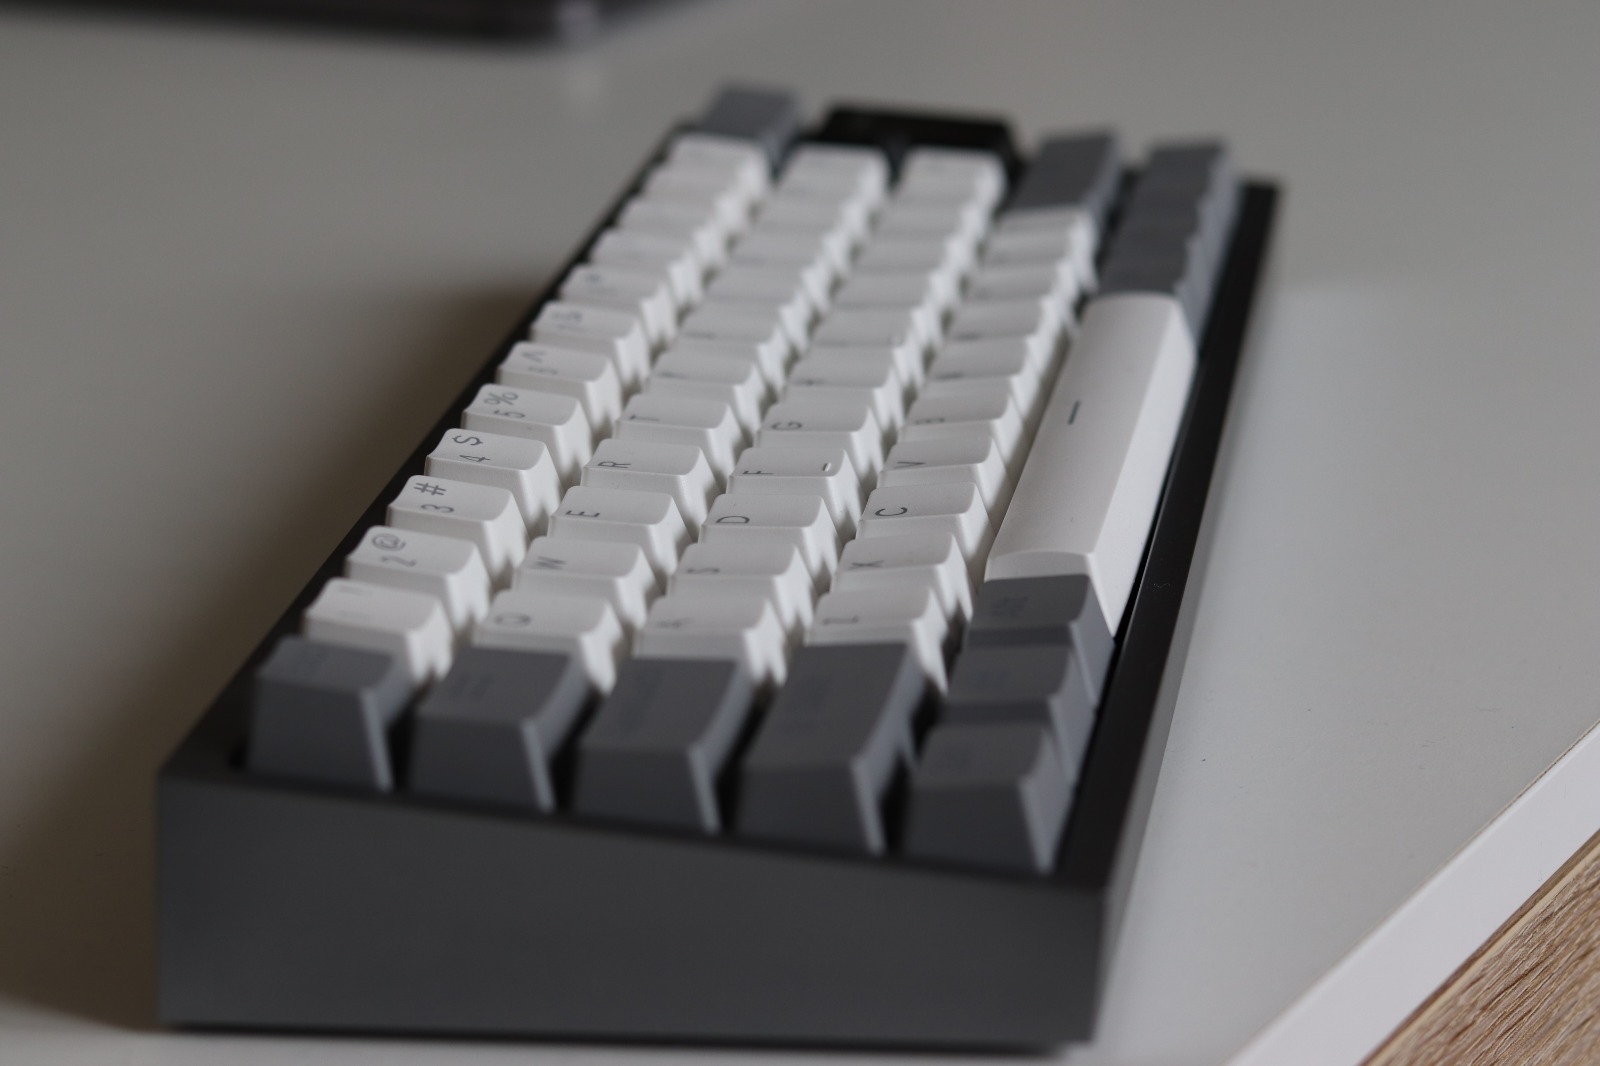
I pretty pleased with the result !
Lubed healios are soooo nice to type on and the missus doesn’t have to wear earplugs when I play games anymore… So that’s a win-win !
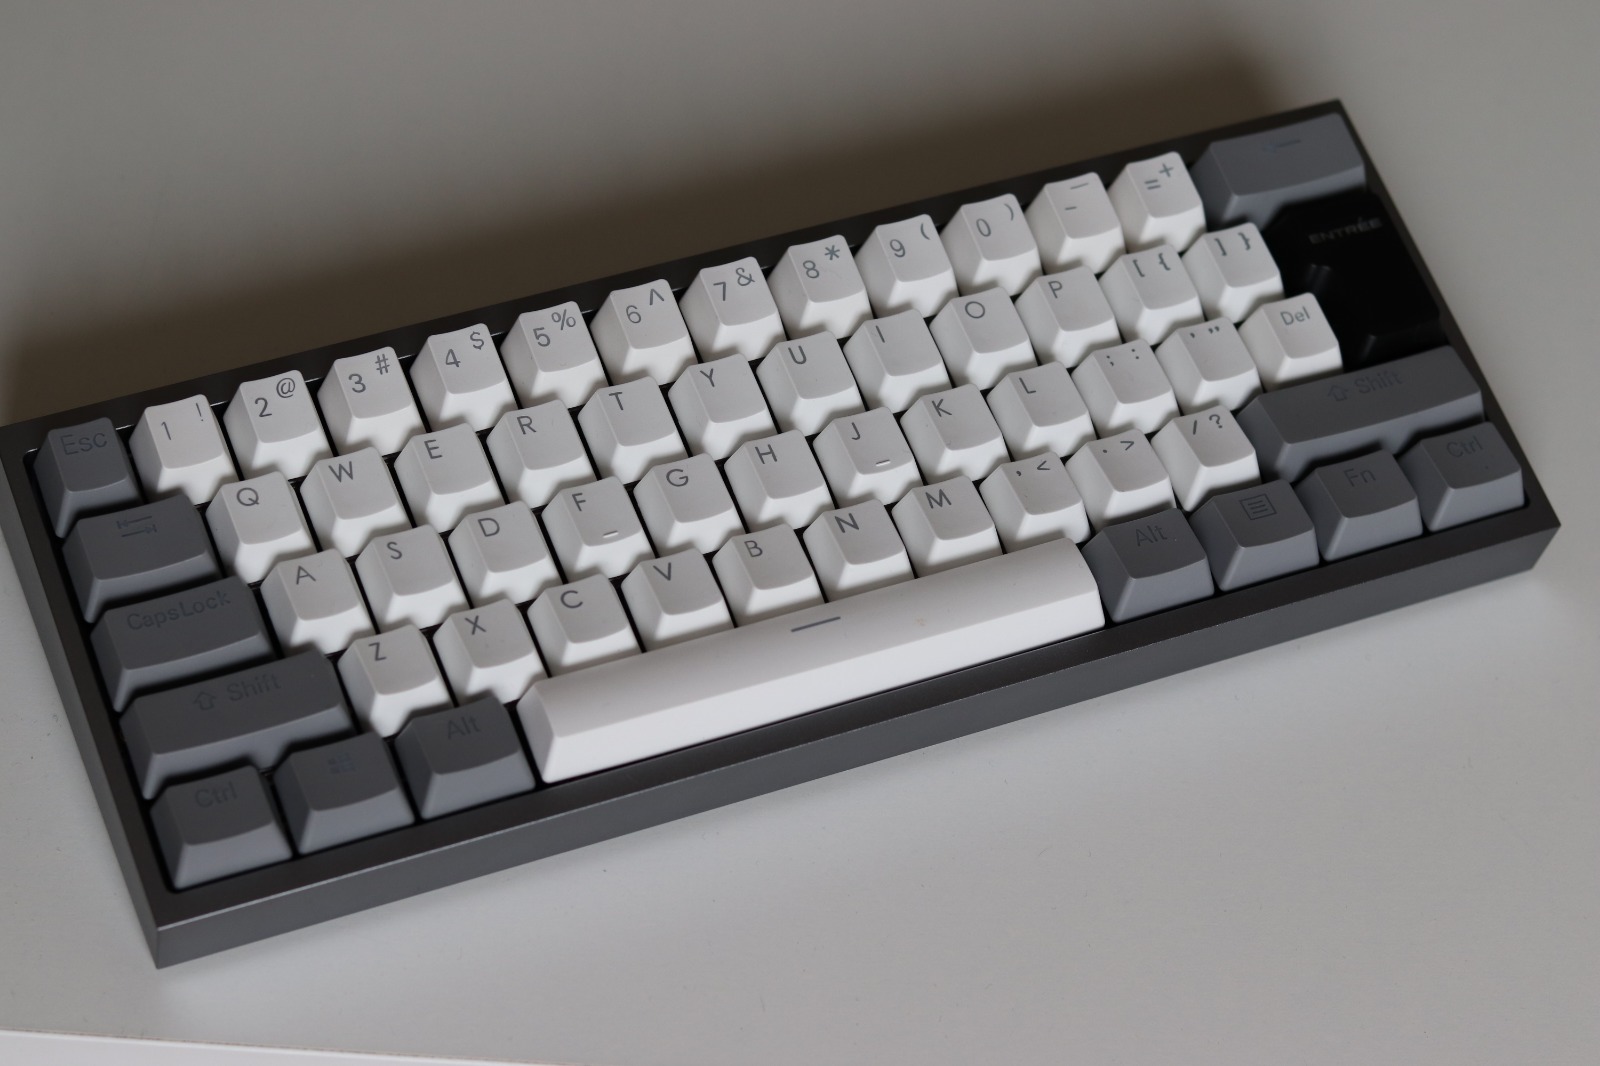
I will do some tweaking here and there as there are a few things I want to change :
In the end, not a big fan of pcb mounted switch. I have small misalignment issues with the zwxc… row and some of the LEDs’ light is leaking through the holes between keycaps (not that I use LEDs really often…). I haven’t looked much into plates and the layout they allow, so I’ll do that next.
I played a bit with qmk configurator to get the best result out of the given layout but I’m still not quite pleased with the way I have to hold FN and use WASD to emulate arrow keys. So I think that I’ll desolder parts of it and add some dedicated arrow keys at the bottom right of the keyboard. After all why not? I never use right Alt, Ctrl and Shift so I wont be loosing much. What annoys me is that I’ll have to desolder the whole ZXCV row just to make them fit (you need a shorter L-SHIFT key and to move the whole row a tiny bit to the left…)
Dunno if it’s because I have cheap keycaps atm but the accoustic isn’t as good as I want it to be. I’m waiting on some ePBT Black on White and I plan on putting some sorbo in there whenever I get my hands on some (tried to add a layer of packing foam in the case but it was just a tiny bit too thick).
Now the main problem is : I’m not happy with keyboard at work anymore… I guess I don’t have a choice, another one incoming !!!
 )
)