Hey guys,
You have all been really helpful so far, so I thank you for having patients with my super newbie questions! With that being said, here comes another one… 
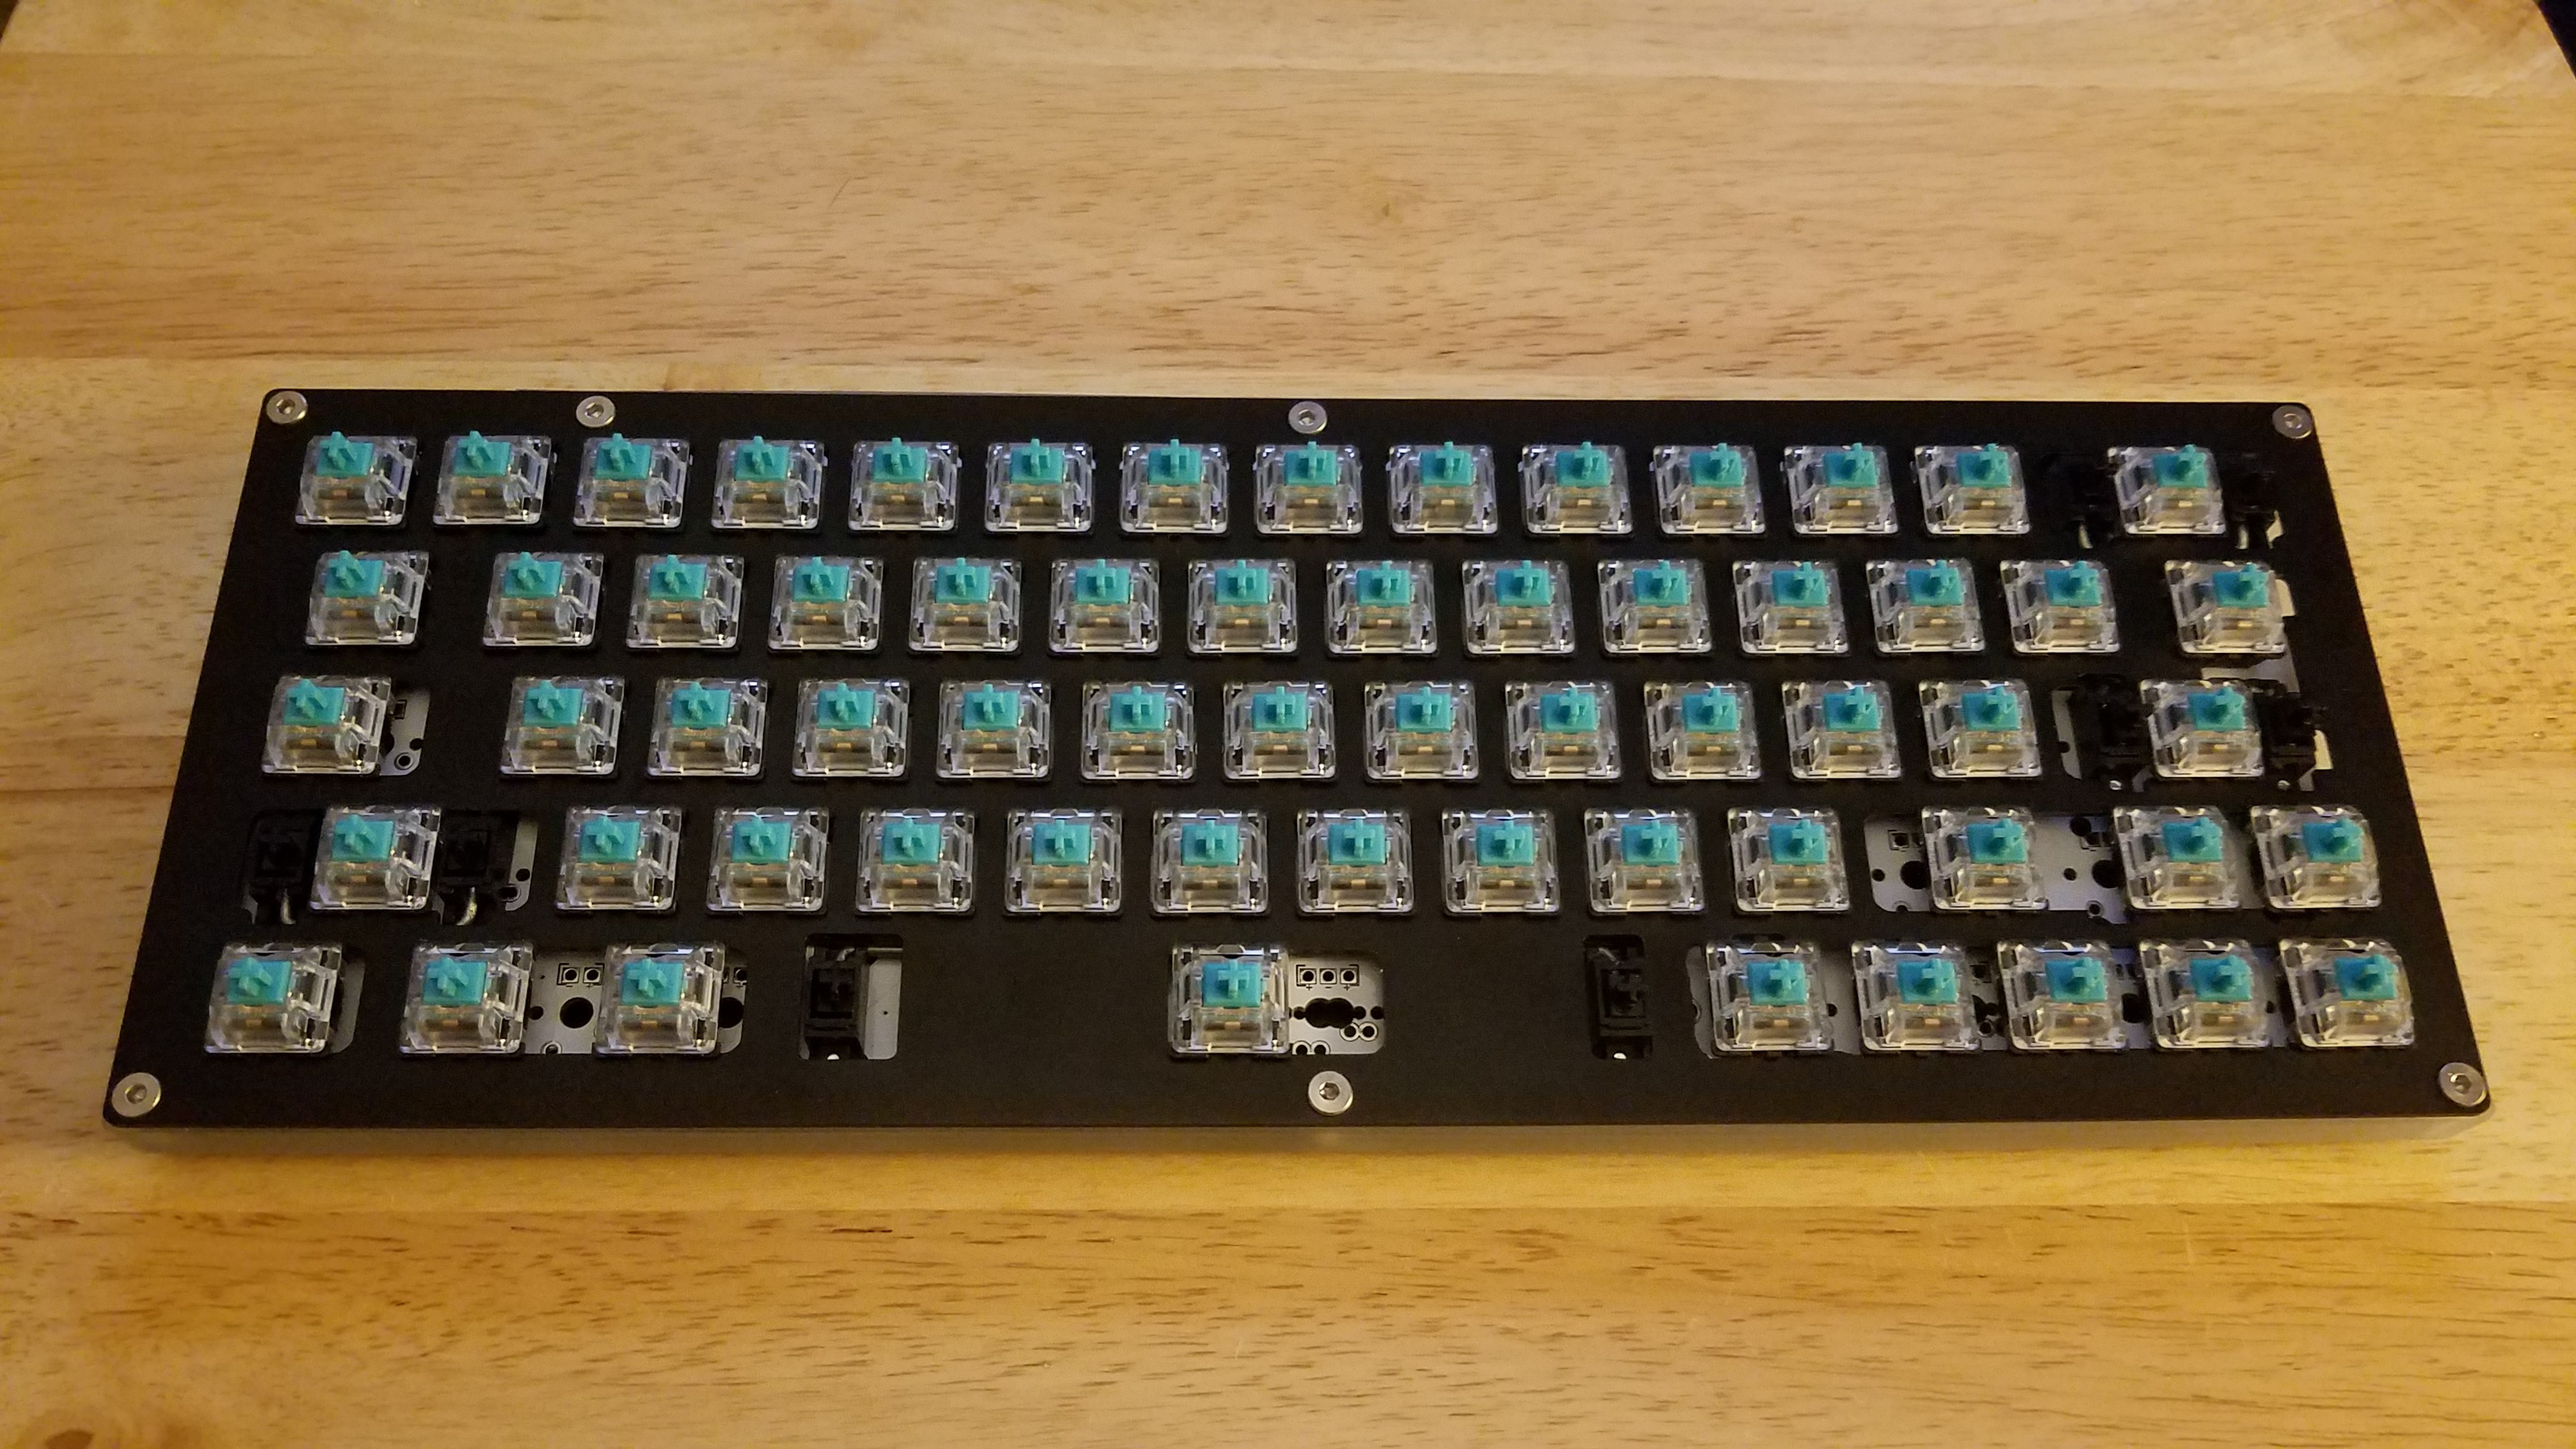
I’m currently building the practice 65 (so I can learn to solder) and I realize there are some different layouts I can build with it.
What is the best way to know which socket a switch should go in, for any certain layout. Is there a method or website I can see an easy schematic of them? If you guys need a more detailed explanation of the question let me know!
Cheers in advance for all the help!
1 Like
For pcbs with a lot of Swiss cheese like that it can be helpful to put the keycaps you need for the layout you want in order to identify which slots to use.
Thankfully the practice 65 doesn’t appear to be too open in terms of layout options. Looks like the main one will be the bottom row - where you’ll have to choose between the two layout options hilighted in blue:
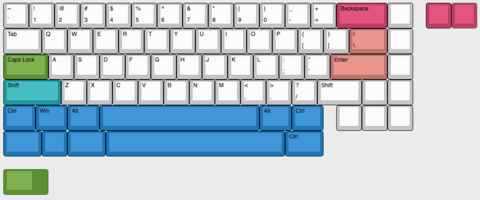
e.g. If you want to use the 6.25u layout you’d be using the leftmost socket for lctrl and then evenly space out the other two based on a 1.25u key. The spacebar would go in the left option out of the 2 spacebar sockets so it’s centered, and then it’s 2 more 1.25u keys.
5 Likes
That was extremely helpful! I appreciate you taking the time out of your day to send me that!
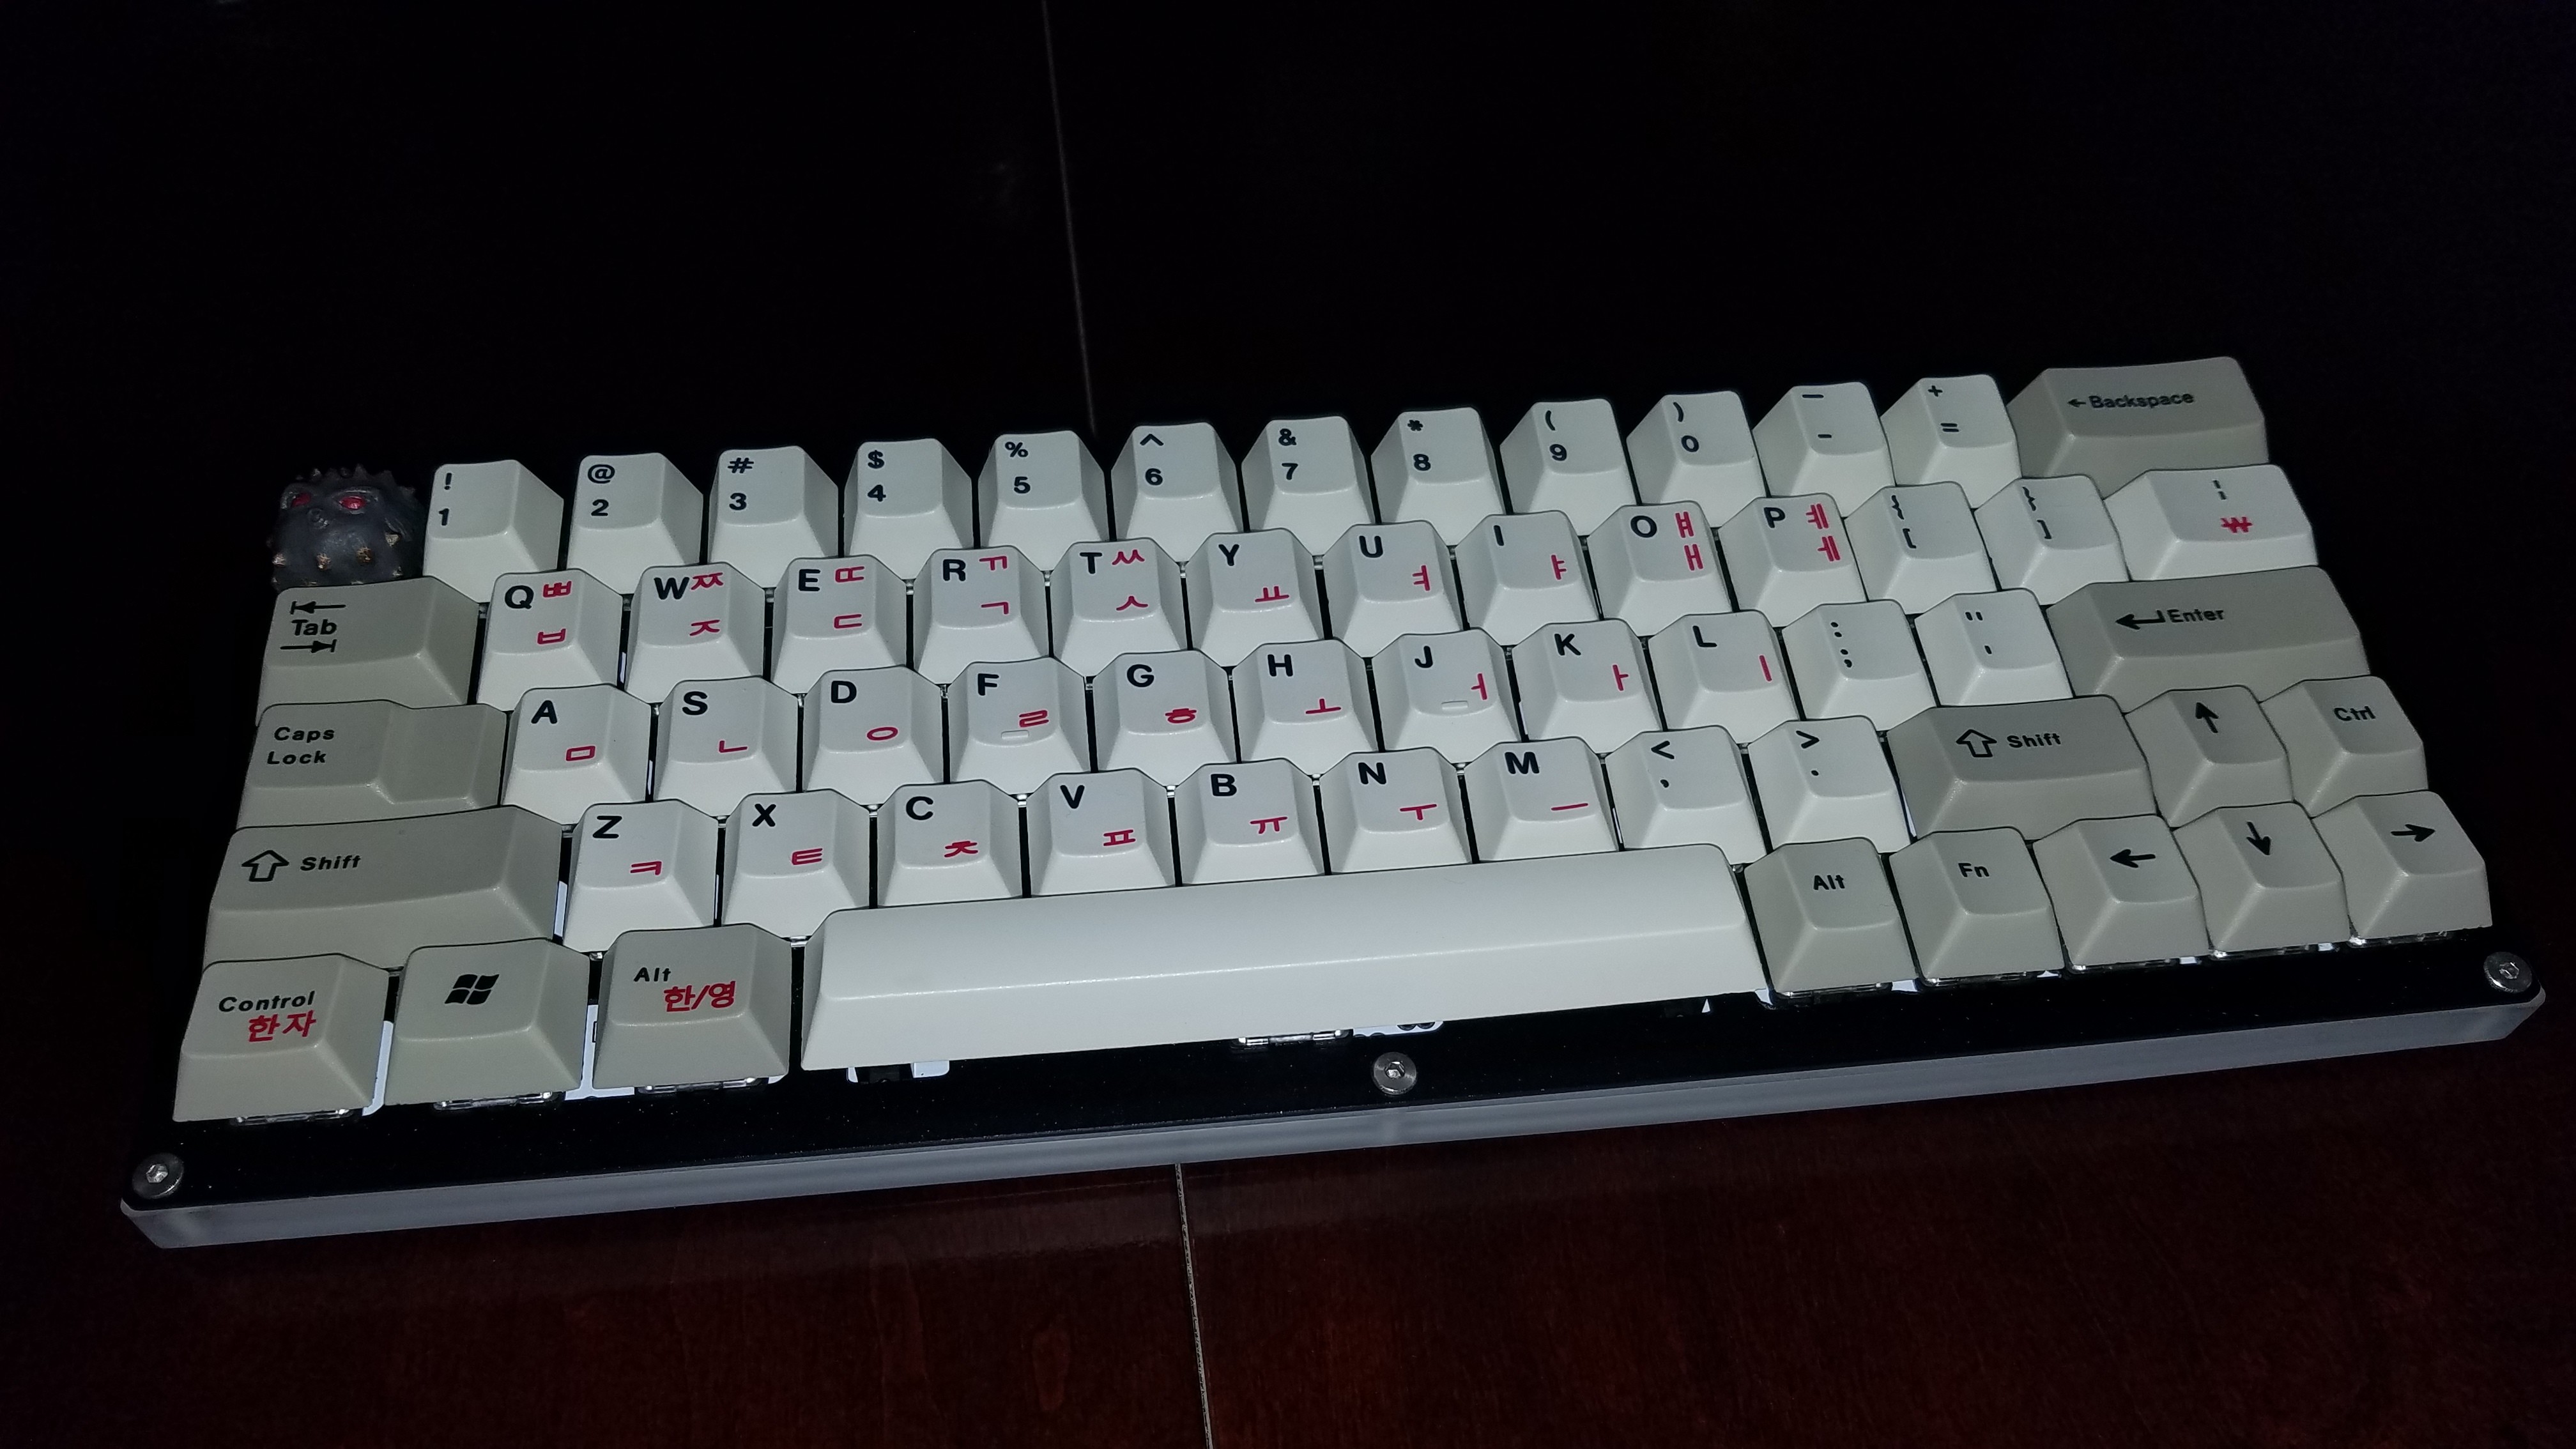
My end game goal is to build a 60% with an sk64 style layout for the switches. But I have no clue what to look for in a 60% PCB. Can any do this, or it has to be a special PCB cut for that specific layout?
For an sk64 type layout, you probably want https://kbdfans.com/products/dz60-60-pcb
On thing to keep in mind on this. In order to achieve this layout, you have to use a smaller left shift. This forces the orientation of the Z row to be slightly staggered to the left. Lots of people don’t mind this, but some don’t care for it. Just wanted you to be aware. Good luck 
3 Likes
You can get away with using a regular L shift & maintaining the stagger on that layout by sacrificing a 1u key on the right side & going with 1.75u R shift. Although that will leave you with needing to remap the ?/ key somewhere else. I did a build like that a few years ago.
2 Likes
Looks great rob! So basically you’re saying you can do it with any 60% PCB if you substitute and move some stuff around?
1 Like
Not any PCB is going to support every layout. Some will only support one layout, some might only support a few options such as splitting the backspace in half or stepped vs normal caps lock, some support many layouts, and some look like Swiss cheese because they have so many holes for different layouts.
What you need to look for is the diagram like the one @Laughmaster posted for your pcb to see if it supports the layout you want
If you already have the pcb you can always put the keycaps on the switches and then put them into the pcb before soldering to make sure what you want fits and you have them in the right spots
2 Likes
Like @dwarflemur said you can’t just use any 60% PCB, you need to make sure it’ll support the layout you want. On almost every page selling PCBs you’ll find a diagram like @Laughmaster posted which shows you all the possible layout options. Always check that for your desired layout before ordering.
@Macavelli I would heavily consider the layout that @Rob27shred suggested. It can still be done with that dz60 pcb. It has better keycap compatibilty and you still get arrow keys in a 60% form factor.
Not sure if you use right shift a lot or not, for me I would make rightShift just be “?/” when tapped, and rShift when held down. All stuff you can do with QMK firmware.
1 Like
I don’t use right shift ever, so ?/ would be great!
thanks gentlemen!
You’ve all been a great help!
1 Like