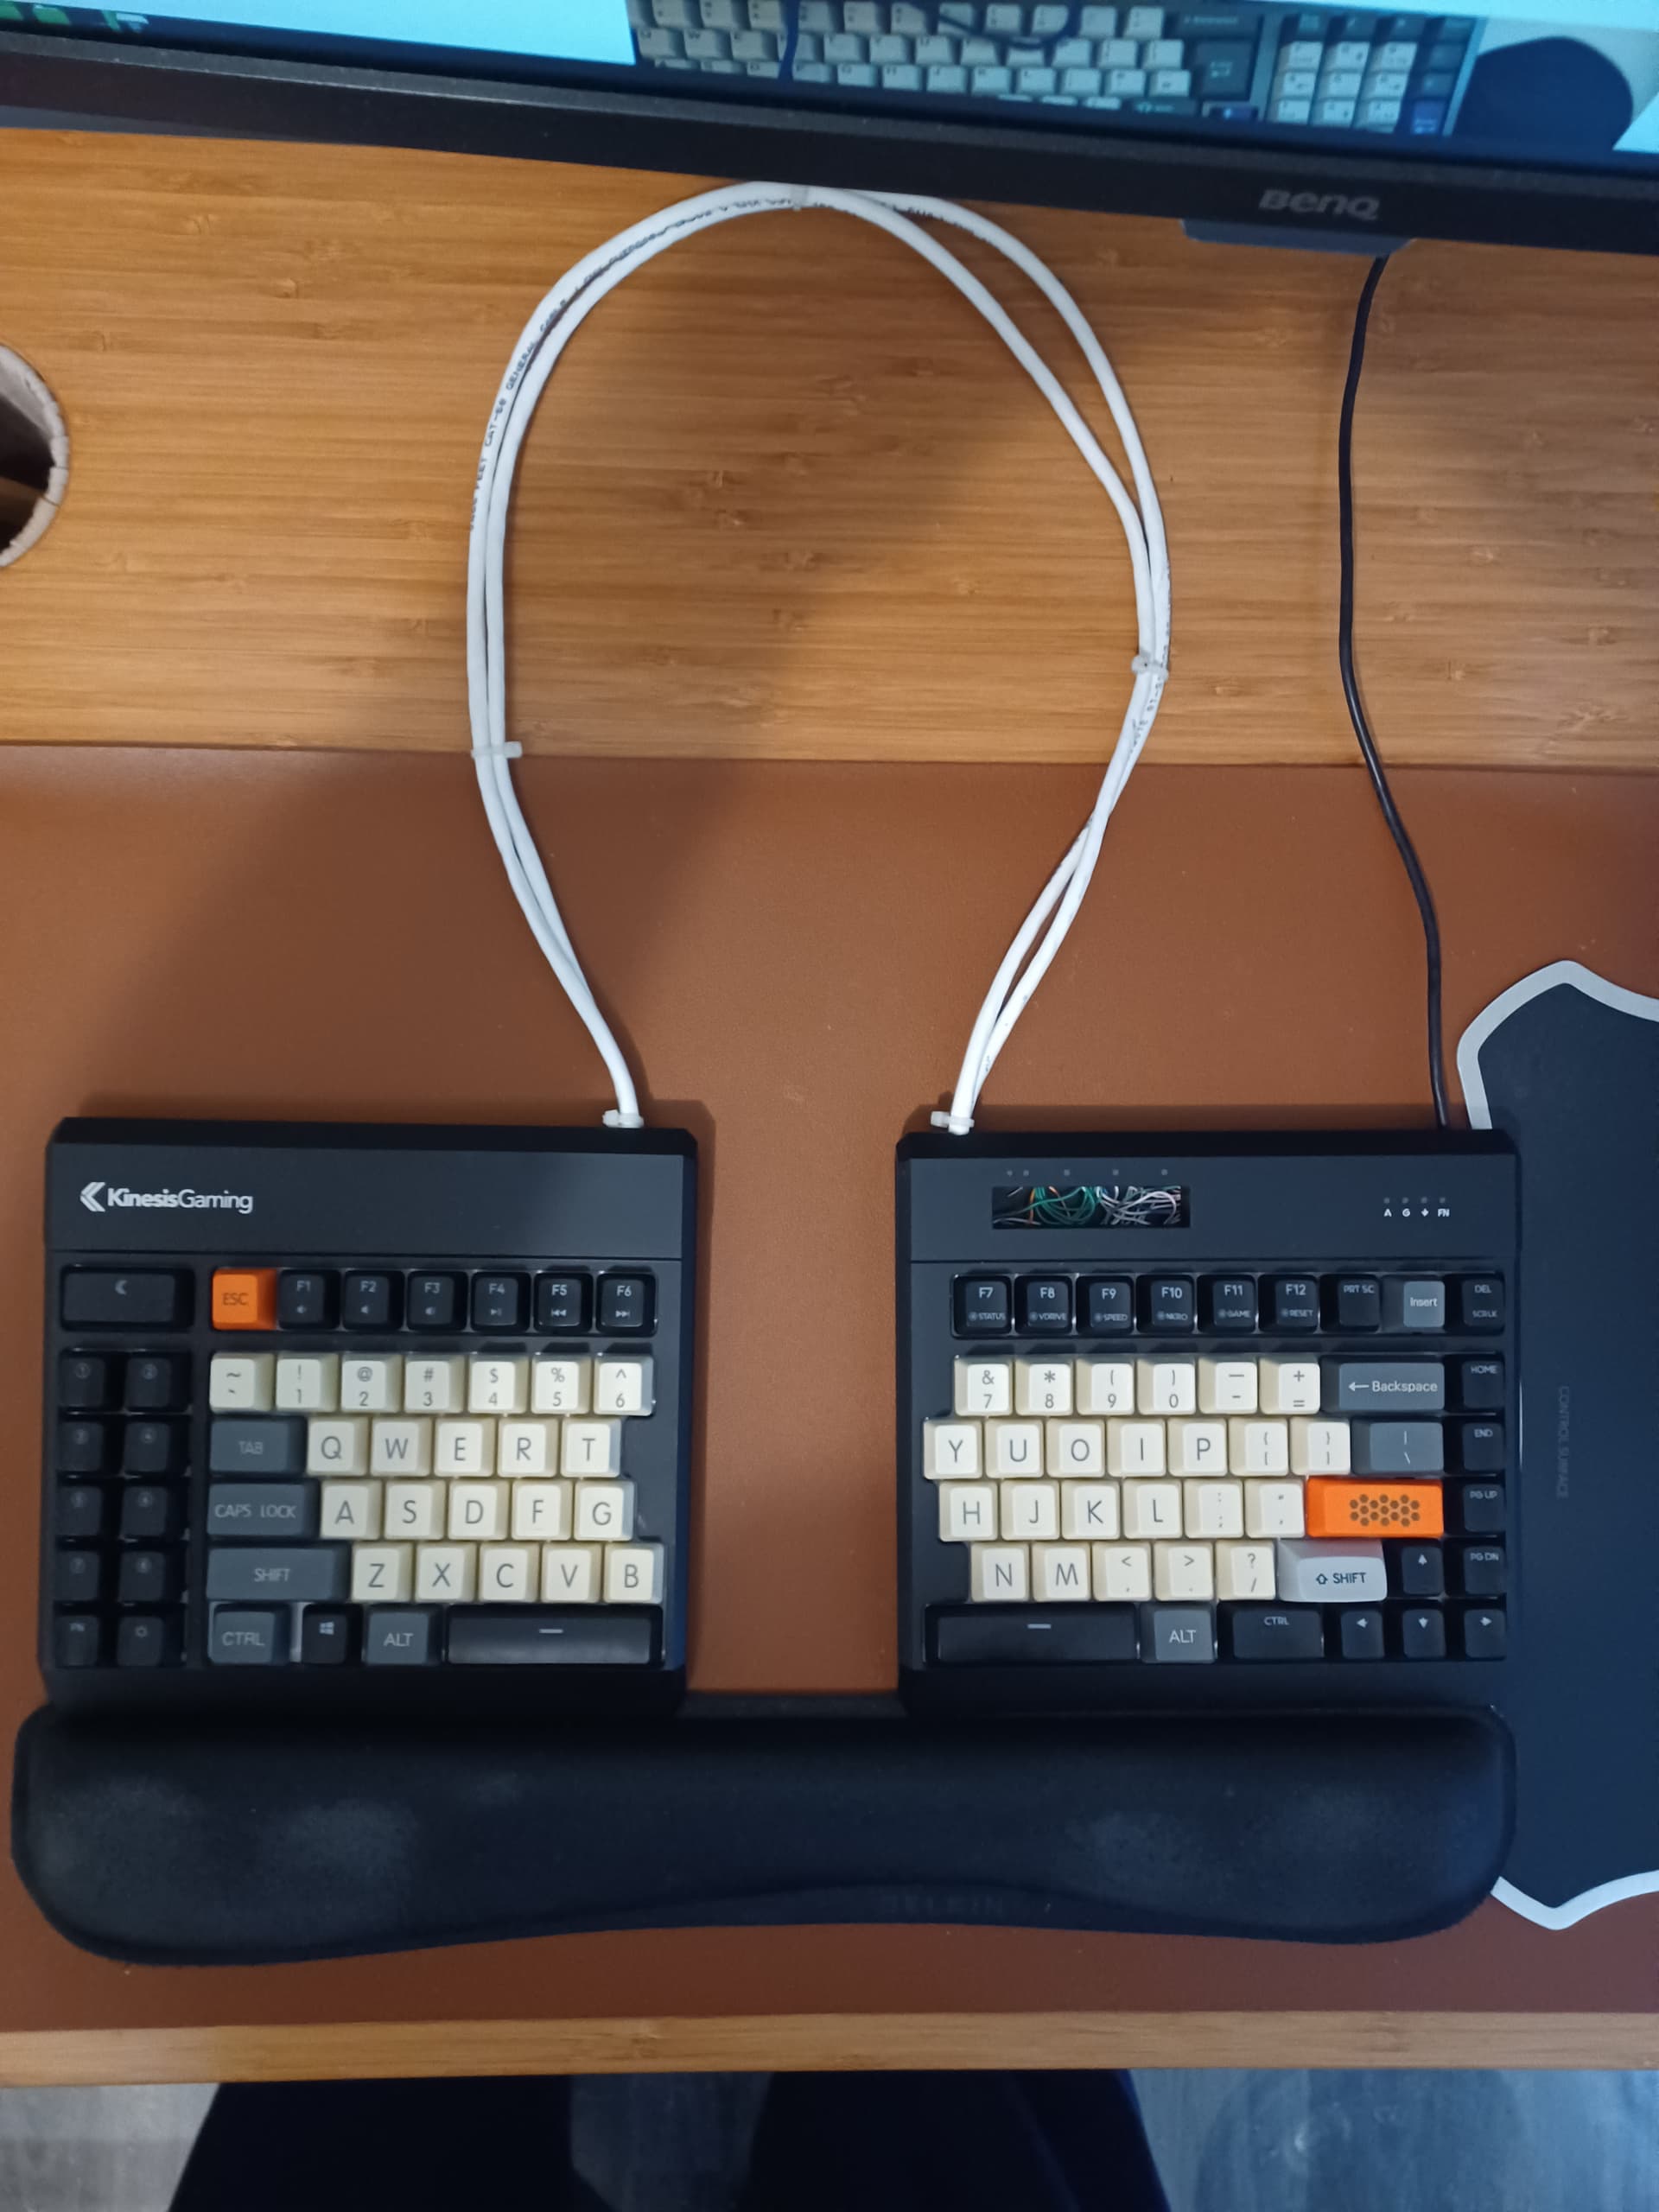
I made a split ortho keyboard with a single MCU last year. I only needed about 12 conductors, so I just used fixed strands pulled from a patch cable, and bound with shrink wrap. It worked fine, but it’s a very specific aesthetic, lol.
You have options to make the two ethernet cords look a little better, though honestly I don’t think they look bad now, but the real fix for you would probably be getting a second microcontroller and wiring with a primary/secondary setup.
Thought about shrink wrapping the conductors too, that would definitely look better. Researched the dual controller option and for some reason haven’t been able to wrap my mind around the whole topic. I’ve seen some flashing each half separately (if necessary the ugly look works for me) which is an extra step.
To flash now I have a terminal alias that runs the make command and a physical key on the board that completes the process. I can get into keymap.c, make an edit, run the alias and press a key to complete the process in less than a minute.
So I’m not happy with the ugly CAT cables, but not unhappy enough to take the effort to fully comprehend the dual controller approach. If you know of a dual controller post-for-dummies I’d be interested.
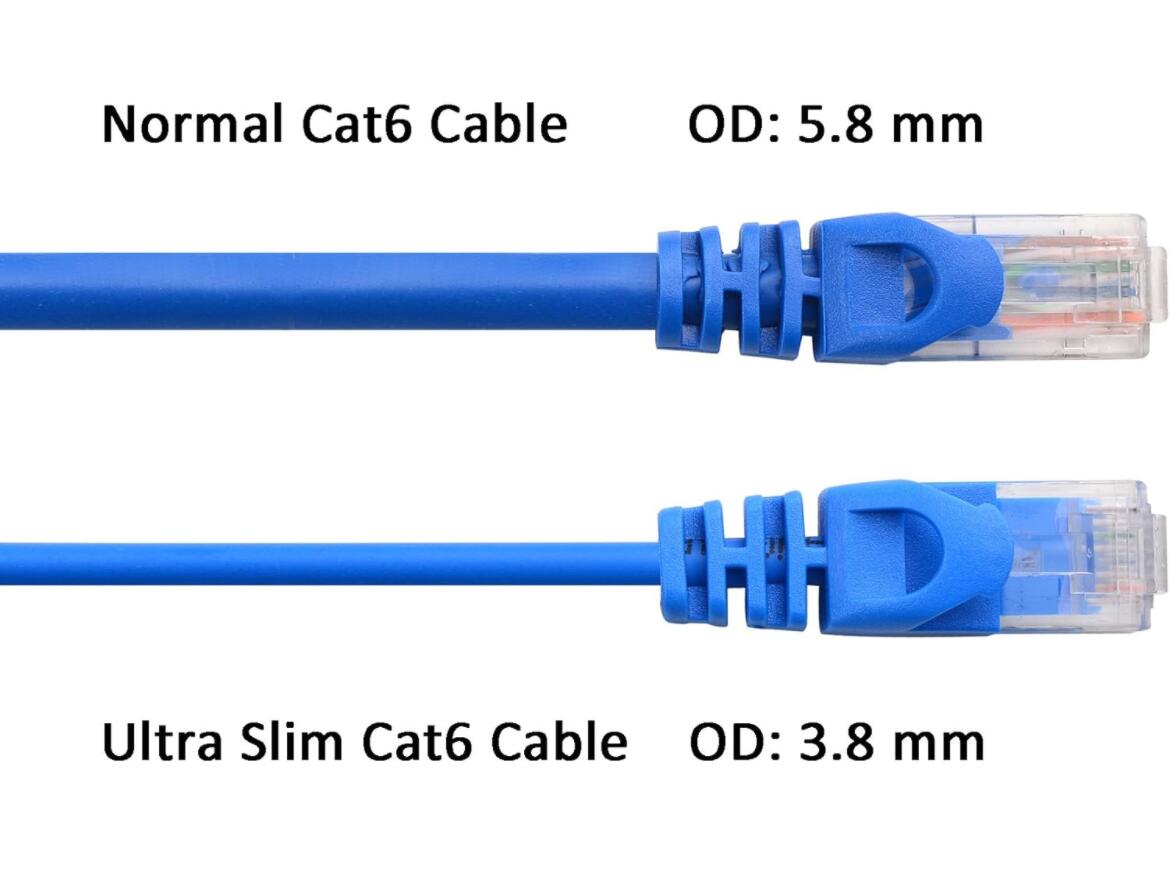
One option is to use a cable sleeve to wrap the cables. The expandable braided PET type could work. I can’t add a link as this is my first post, but search “PET Expandable Braided Sleeving” from e.g. Amazon.
With no intention to take anything away from this very cool mod, I’d like to reach out to those not adventurous enough for this sort of mods.
I have just recently discovered out that OS level keymapping tools have evolved a lot from awkward tools like xmodmap, and can actually be a valid alternative to QMK and the like. Personally, I’ve moved on doing (almost) all of my remapping on such software.
One example of such tools I use with a backstory of why I now prefer it over QMK.
I bit of backstory to also act as an introduction since I’m new here.
I bought my first mech keyboard[1] half a year ago. The first two months I fiddled a lot with VIA and also flashed QMK a couple of times to tweak some settings. After learning I like mechanical keyboards and had so much fun with QMK, I placed an order for another QMK keyboard[2] to experiment with a different layout.
While waiting for the second keyboard to arrive, I ran across a great blog post comparing various software remapping tools for Linux. After comparing the features, I decided to go with a seemingly lesser known one (IMHO underrated!) one called Keymapper. It runs cross platform (Linux/Mac/Windows) and has an elegantly simplistic config file format. It also supports advanced use cases like context specific mappings while still having very little overhead/latency as it’s written in C++ and runs as a “low level” virtual input device.
In my exploration with QMK, I ended up reverting many remaps as they didn’t work well in all contexts. Keymapper’s context specific mapping solve this issue. The feature makes it possible to do mappings specific to OS, input device or application. I’ve now used it for ~4 months and would rather give away QMK than Keymapper if I had to. I still have some mappings on QMK and have found both complementing each other.
[1] Low-profile Keychron K3 Pro with ISO Nordic layout and NuPhy/Gateron Aloe switches (came with red switches I didn’t like too much).
[2] Low-profile Keychron K15 Pro, with US ANSI / Alice layout and Gateron brown switches (came with blue switches I enjoyed for a while but got tired of the noise)
(Sorry, I acknowledge this is off topic! I welcome forum mods to split this into another topic for whatever reason.)
@ristomatti this looks interesting. Looked at the repository and if I understand correctly, I would be able to manage mappings to a standard keyboard that didn’t have a controller, for example a Model M keyboard from the stone age days. One thing I didn’t see was support for layers. Have you been able to configure layers?
Oh and the key mapping is much cleaner and easy to read so added benefit there.
Yes exactly, no special hardware needed. You can definitely configure layers. Keymapper’s terminology and inner workings are just conceptually a bit different. Keymapper equivalent would be a context, altough it covers a wider scope of features.
To activate/toggle a context, you define virtual modifier keys. Virtual modifiers behave similarly as CapsLock or NumLock, they can be toggled. Here’s a simple config that effectively has 3 layers.
# Add an alias for Virtual0 modifier
NavLayer = Virtual0  # .. up to Virtual255


# Layer 2 - Shifted navigation layer
[modifier = "Shift NavLayer"]
  H          >> Home
  J          >> PageDown
  K          >> PageUp
  L          >> End

  # This would be Shift+Control+H while navigation layer is active
  Control{K) >> Control{PageUp}


# Layer 1 - Navigation layer
[modifier = "NavLayer"]
  # Vim-style arrows
  H      >> ArrowLeft
  J      >> ArrowDown
  K      >> ArrowUp
  L      >> ArrowRight

  # Escape deactivates navigation layer
  Escape >> NavLayer


# Layer 0
[default]
  # Press tab to toggle NavLayer on/off
  Tab        >> NavLayer

  # Press and hold G and F to turn NavLayer on, releasing G or F turns it off
  (G F)      >> NavLayer ^ NavLayer

  # Toggle NavLayer by pressing G followed by N within 100ms
  G !100ms N >> NavLayer

  # Hold N 200ms to toggle NavLayer
  N{200ms)   >> NavLayer
Contexts are more flexible as layers though. A specific application can activate a context, multiple virtual modifier contexts can be active at the same time. A context can exclude another: [modifier = "!MediaKeyLayer NavLayer"], etc.
The working principle is similar to layers in the sense that a keypress is evaluated from top to bottom. If criteria for the first context is not fulfilled, the next context is evaluated and so one. The first active context block that defines a mapping for the key will be used, otherwise it falls through and acts normally. This would be mean in QMK terms that by default all keys/key combinations are transparent keys.
To get an idea of what else can be done, Iv’e posted my config on GitHub.
Recently a feature was added that allows toggling or listening to virtual key states outside of Keymapper config. This opens up a lot of things that can be done with it.
Very interesting…I’ll have to take a closer look. It would be great to get the Model M back on the desk with programmable features. Thanks for the detailed response!
I checked each one of them but Keymapper seemed to be the most versatile and fastest to get into. Other big factors were application specific mappings and cross-platform support.