Hey gang,
I decided recently that I want to hand-wire a 49 key keyboard (custom layout). I wanted to know if anyone had a list of diodes / traces / other materials and maybe even a step-by-step guide of what you’d need to do, because I’m super sold on wanting a board of this layout, but have no idea where to start. (I don’t have an exact picture of the layout, but think 45-ATS with ]} |\ '" /?) Also: custom cases? Would the best bet be to get a custom printed acrylic case, or are custom-cut aluminum cases a thing? If anyone has advice on this, don’t hesitate to let me know! Thanks.
1 Like
my first hand-wired board was a long time ago, I followed BrownFox step by step by Matt3o.
Materials:
- controller: I previously used a Pro Micro but you can also use Teensy and now Proton-C is a solid choice as well.
- diode: 1N4148 (same as Matt3o’s post I think)
- electric wires
- plate-mount stab.
- case: laser-cut acrylic (my build) or aluminum
make sure your plate has <=1.5mm thickness or your plate mount stab won’t fit.
in my case I have 2mm acrylic plate and I have to use “mini hand drill machine” to…ehh… mill the stab area on the plate down to desired thickness.
here is my build: https://imgur.com/a/iFAoU
2 Likes
Is your controller just “floating”? I’ve been wanting to make some layout changes and figured laser cut sandwich handwired together would probably be the easiest, but I wasn’t sure how people normally make the plugs stable
Now that you mention that, I’m sure someone could always 3d print some sort of housing for their pro micro (or whatever controller) like so 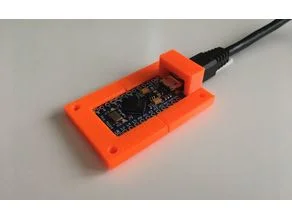
And simply have screw points mounted at parts of the case through standoffs or even glue or something 
1 Like