Nick's build logs and reviews

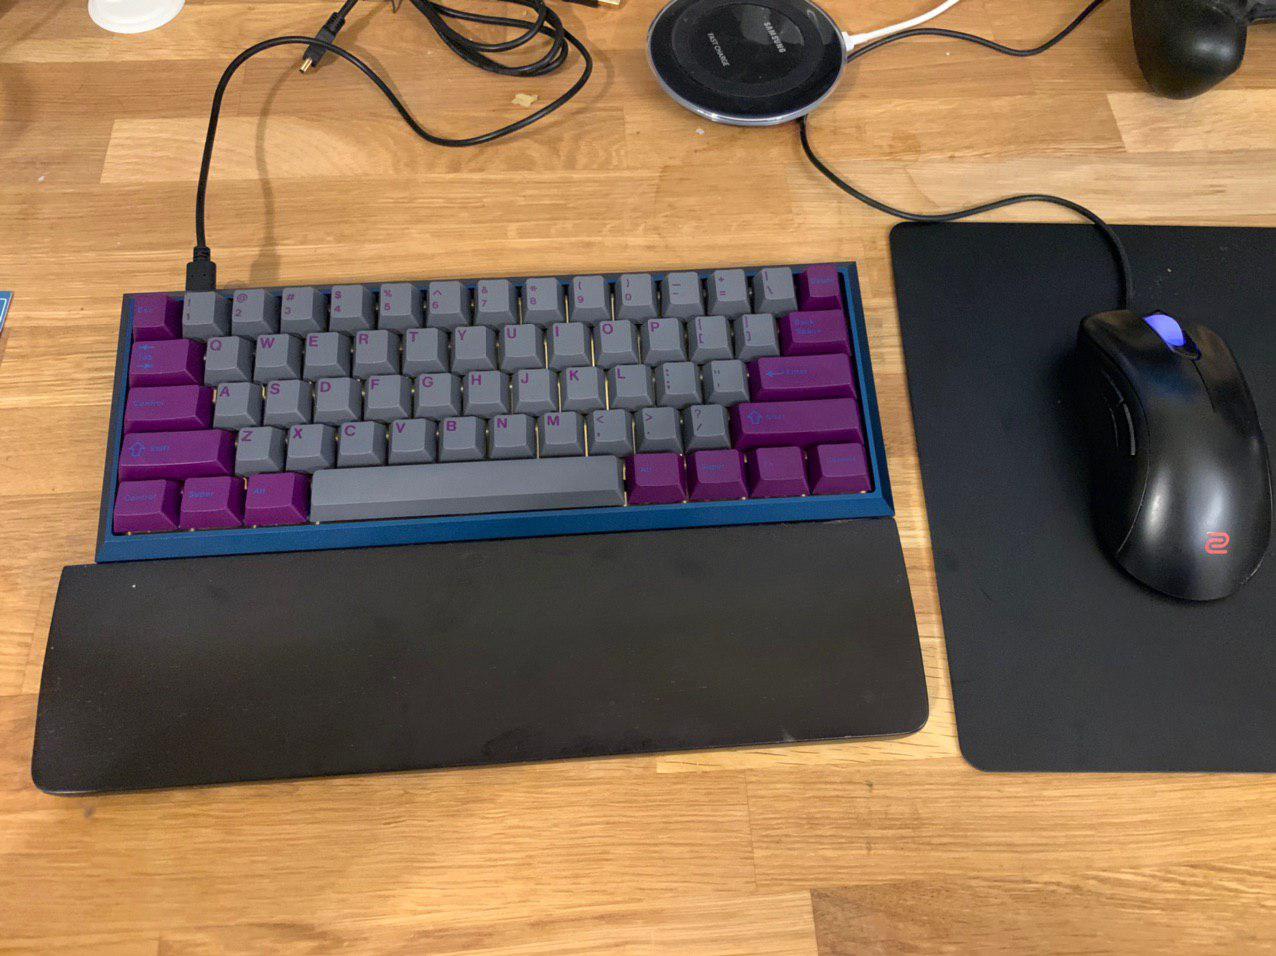
Hey everyone @dwarflemur (Nick) here. I’ve got a lot of keyboards and I’ve built a bunch of them, so I figured why should we let @jshufelt have all the fun; I’m gonna do some build logs too. At this point I think I’ve put together >10 keyboards, and I don’t really want to count, so I’m just going to call my first log here build N and increment from there. Quick about me before we get started, I’m an electrical engineer in the bay area, I make electronics by day, and play with keyboards by night. Someday I’ll finish my keyboard, expect to see it in like 2021. One thing I gotta note before we get going is I have really terrible lighting at my computer where I do my builds, so my pictures won’t be super accurate as far as color goes.

Okay, so let’s go, Build N: Lubrigante Hamboard.

This lubrigante is from the group buy from @homerow. I actually got two of these bad boys, one for me and one for my girlfriend, but we’re going to start with the first one, which was the red color. I was really into the red, and decided to go all in on the red theme.


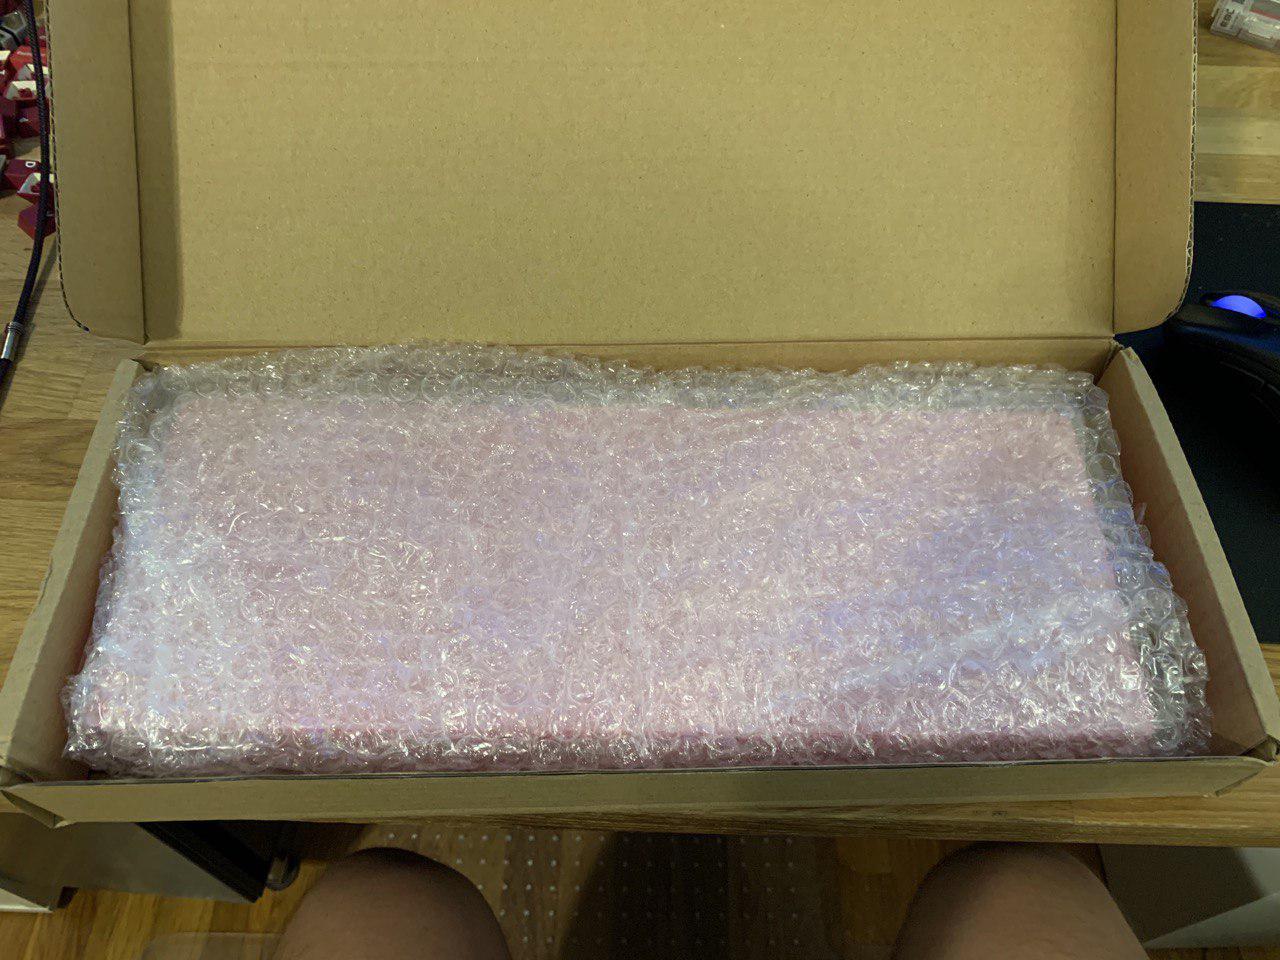
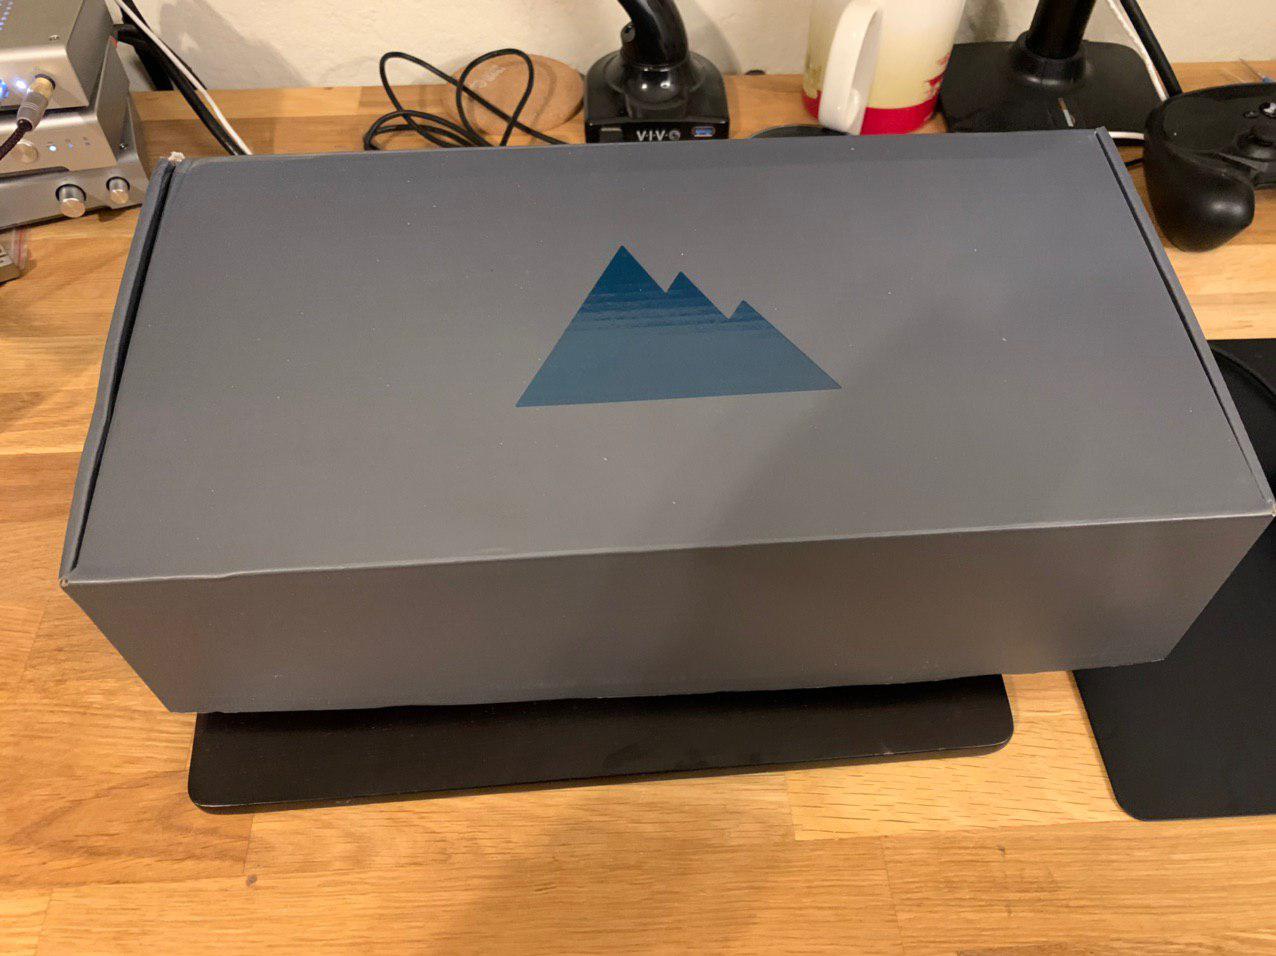
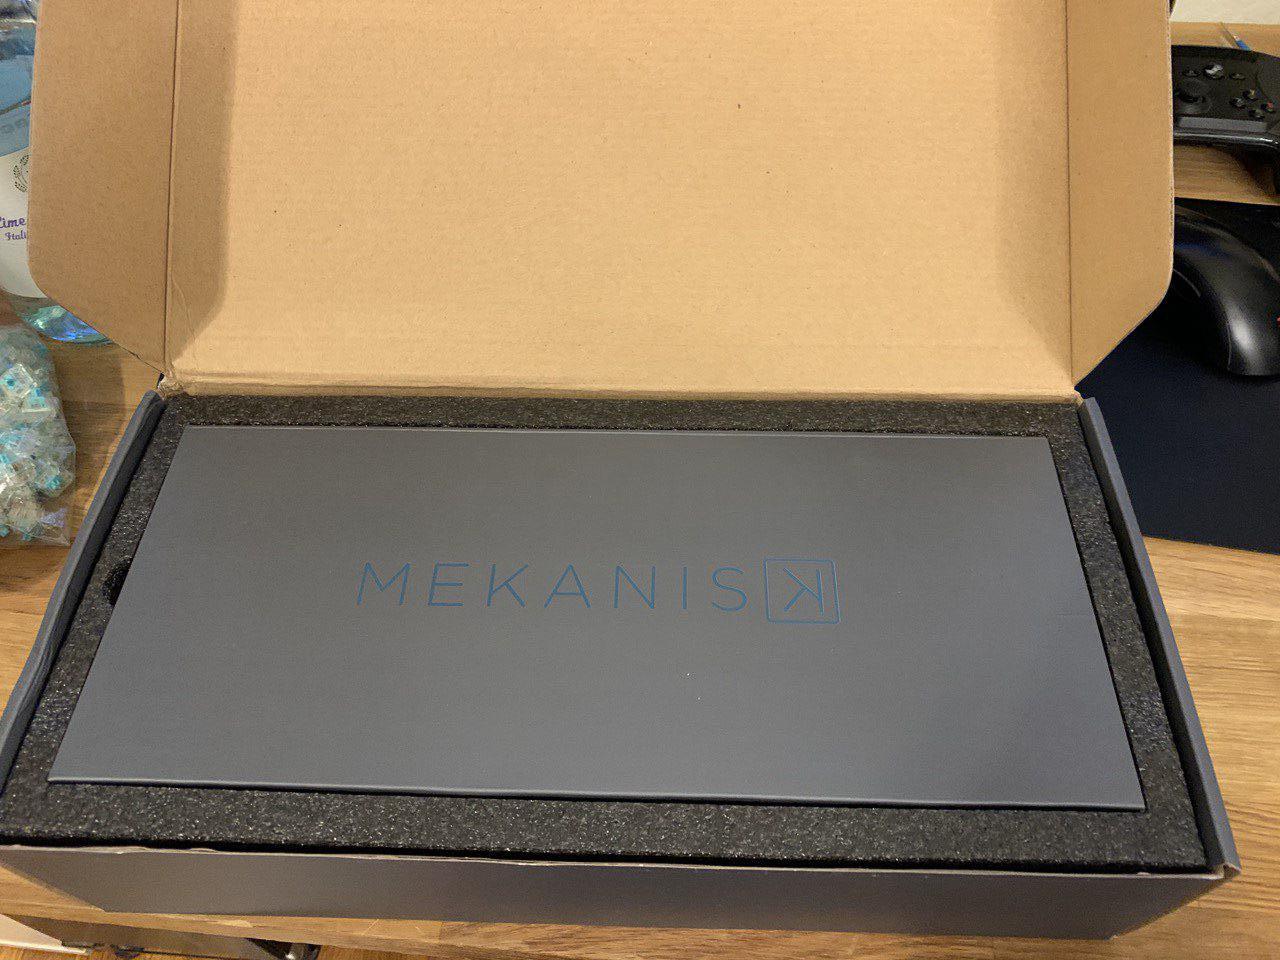
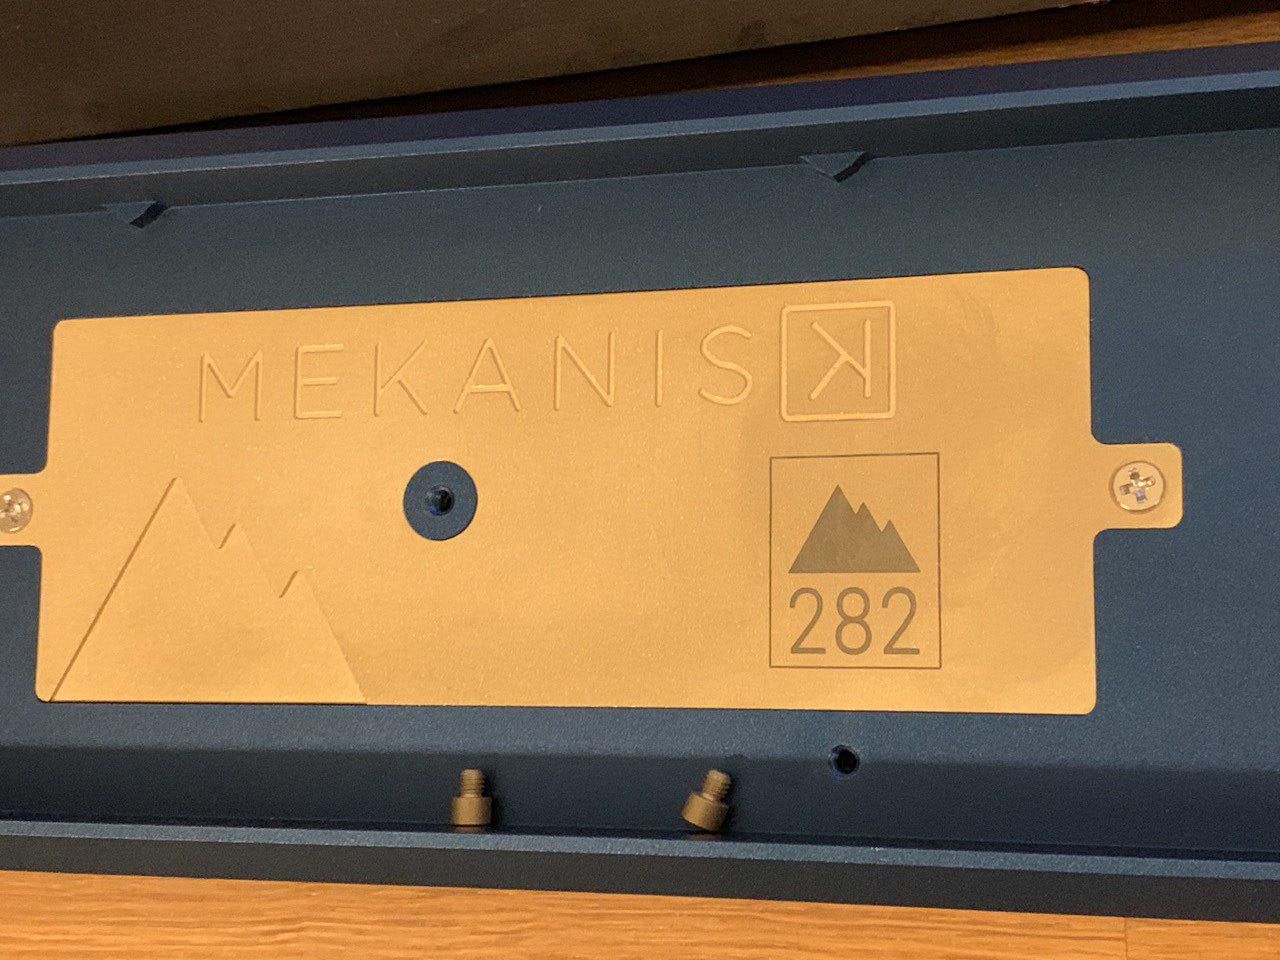
So here it is in the packaging. No issues with the packaging, lots of bubble wrap, no chances of damage.


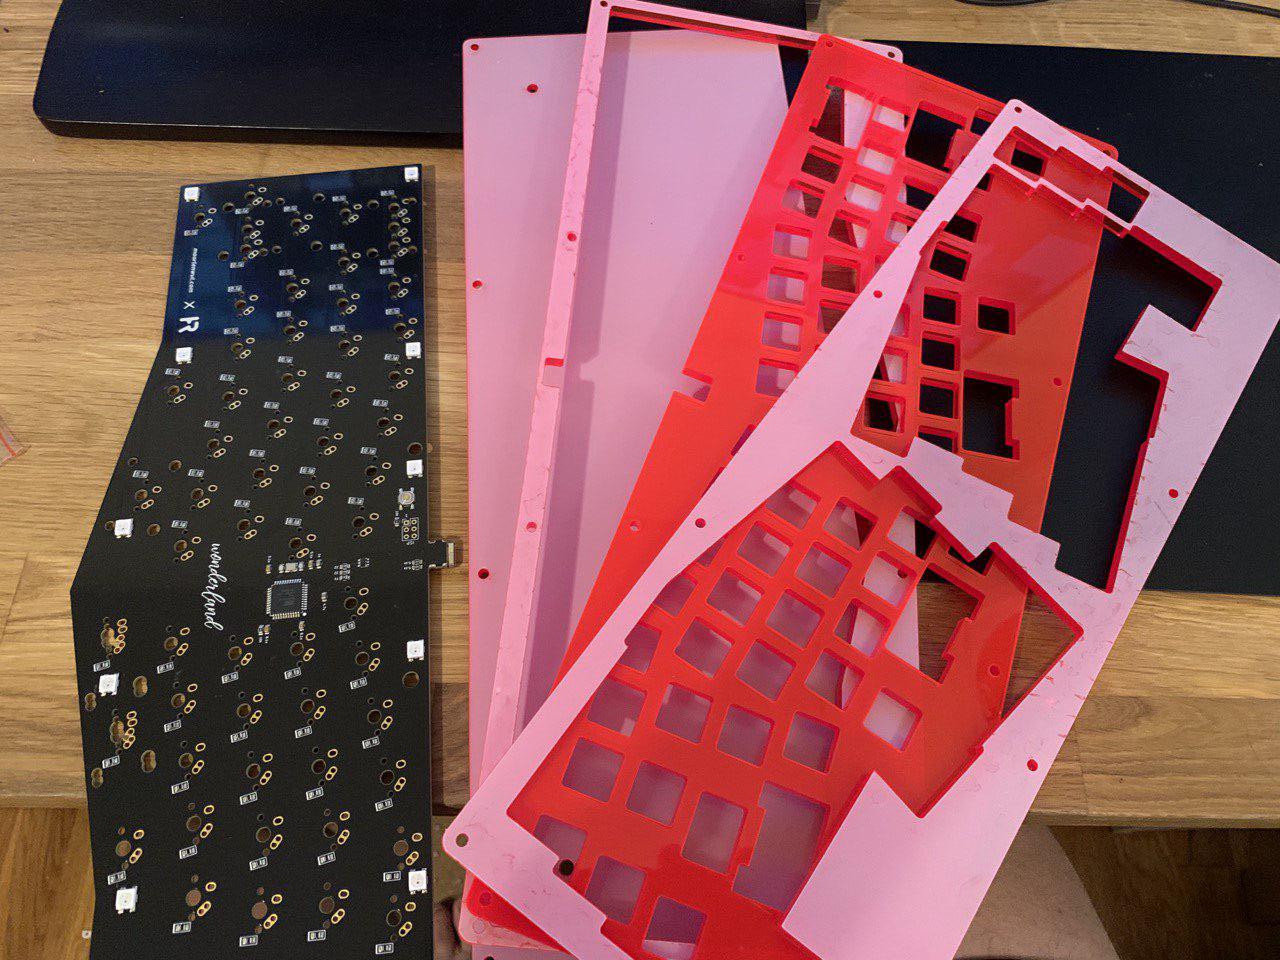
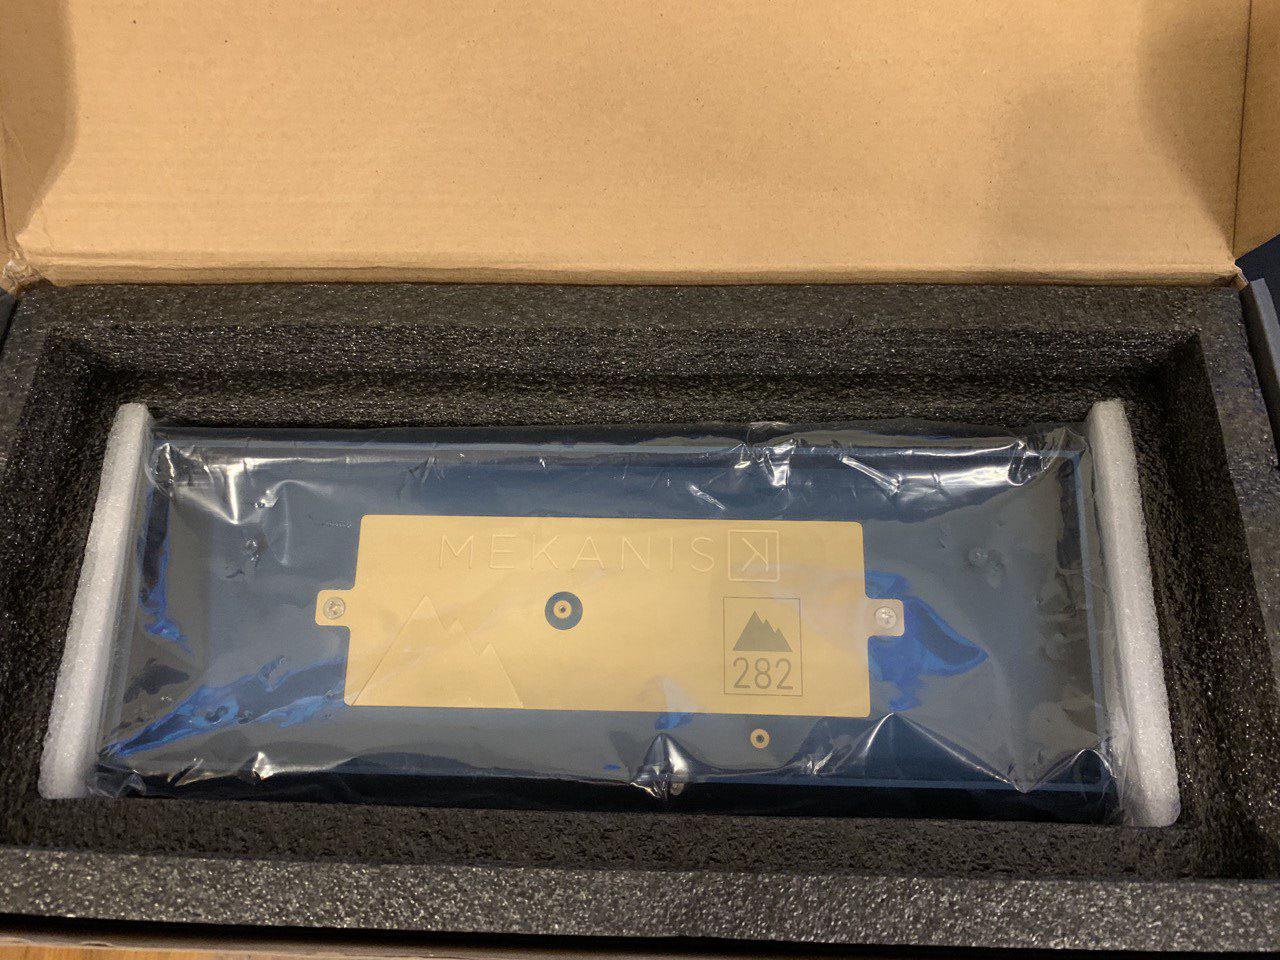
The layers all came with protective film on them (I got excited and took one off before taking a pic). The PCB came in an ESD bag and was also wrapped in bubble wrap.


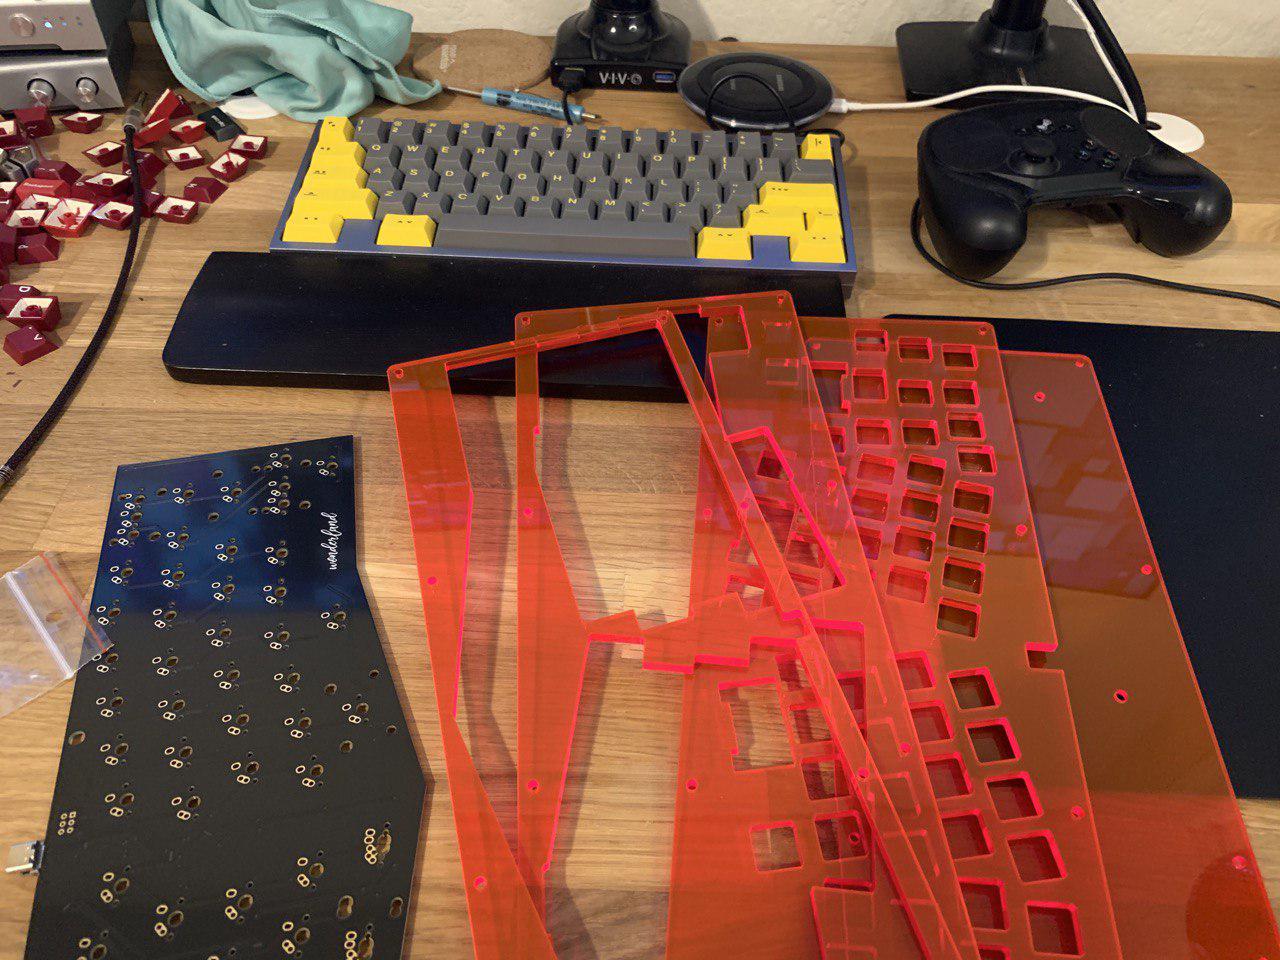
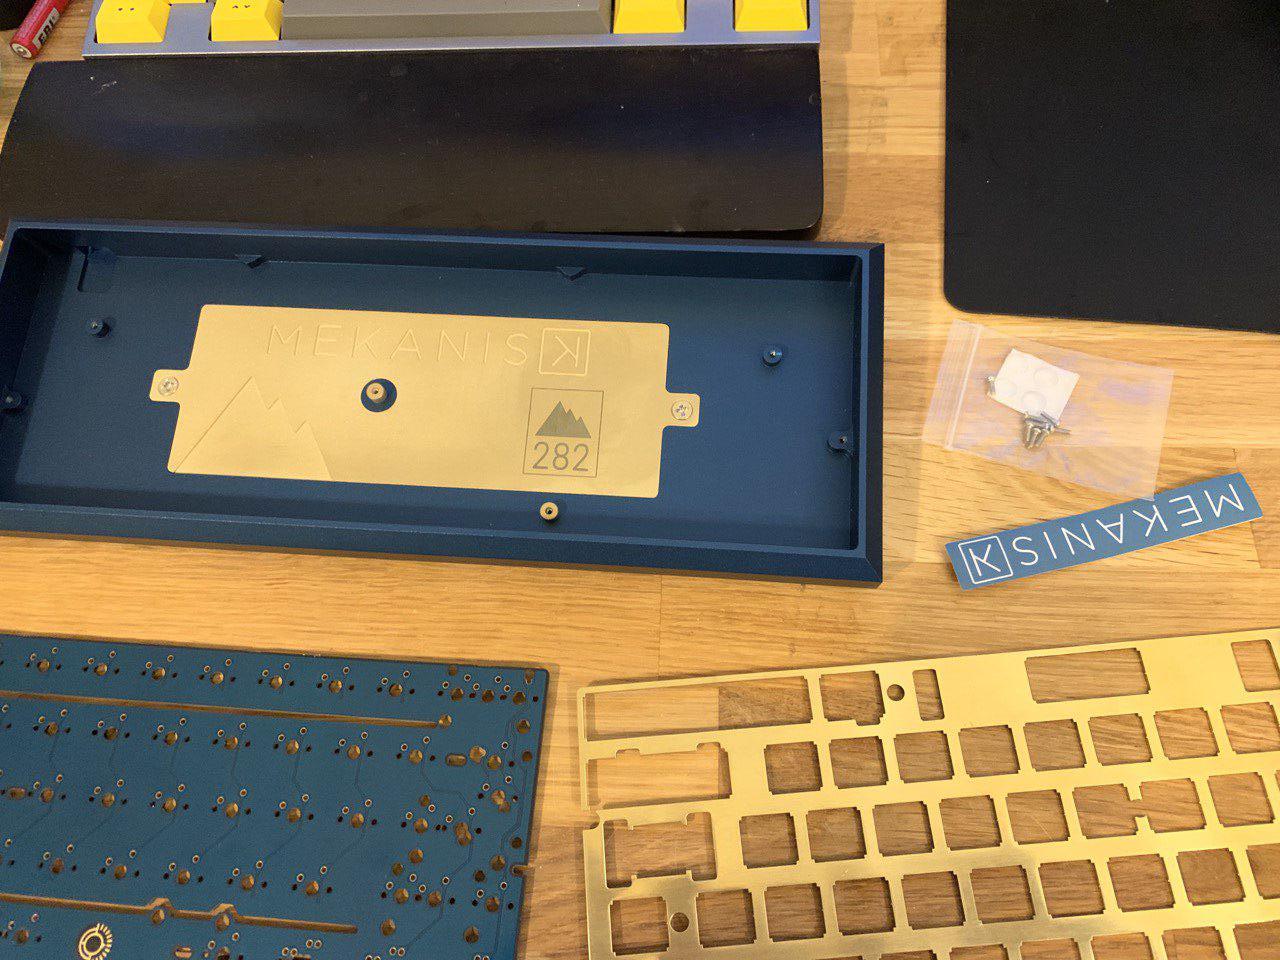
Everything unpacked and unwrapped. Not pictured: bump on feet and screws and standoffs; we’ll get to those later.


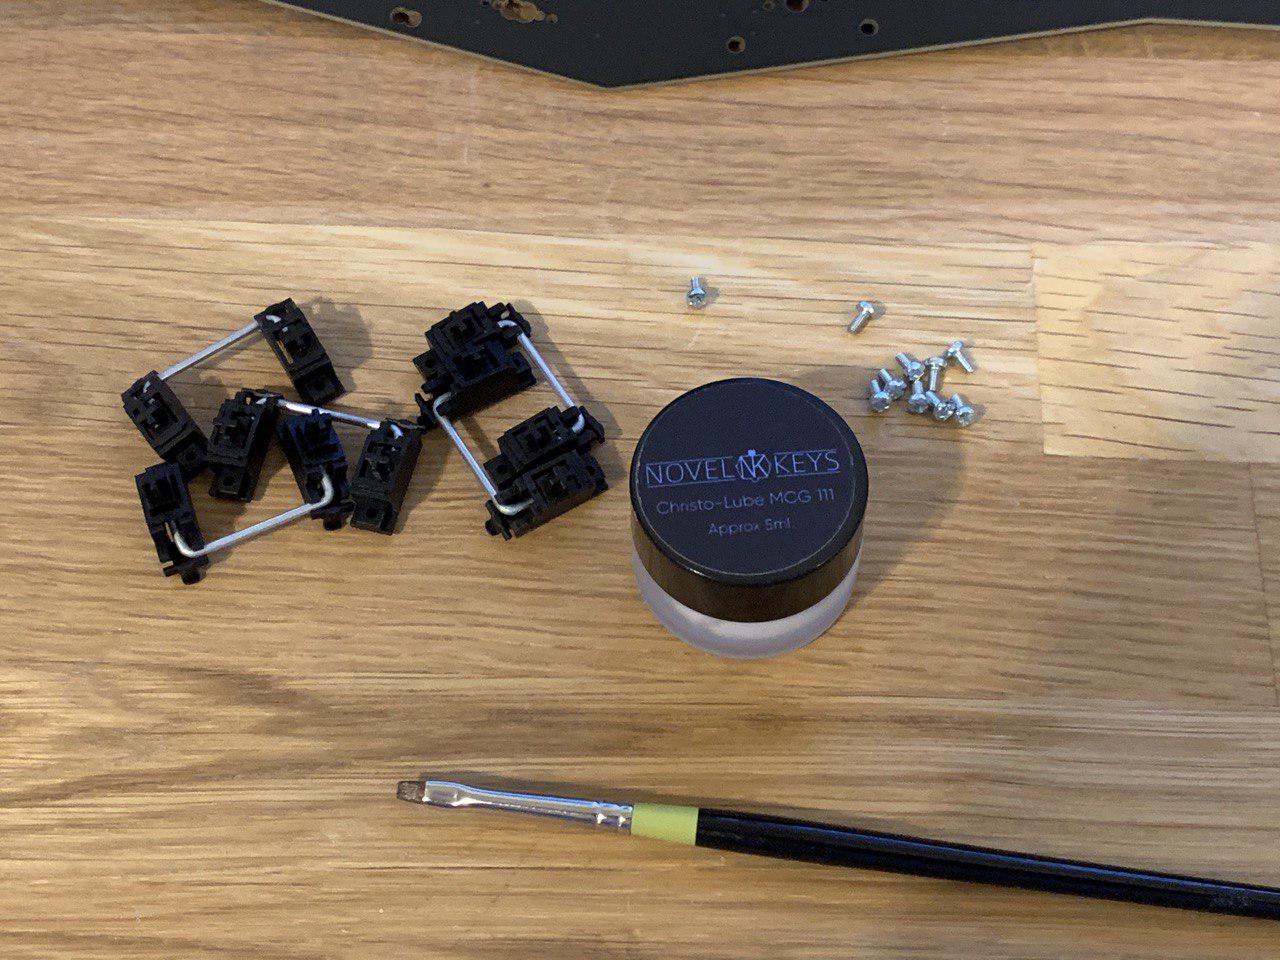
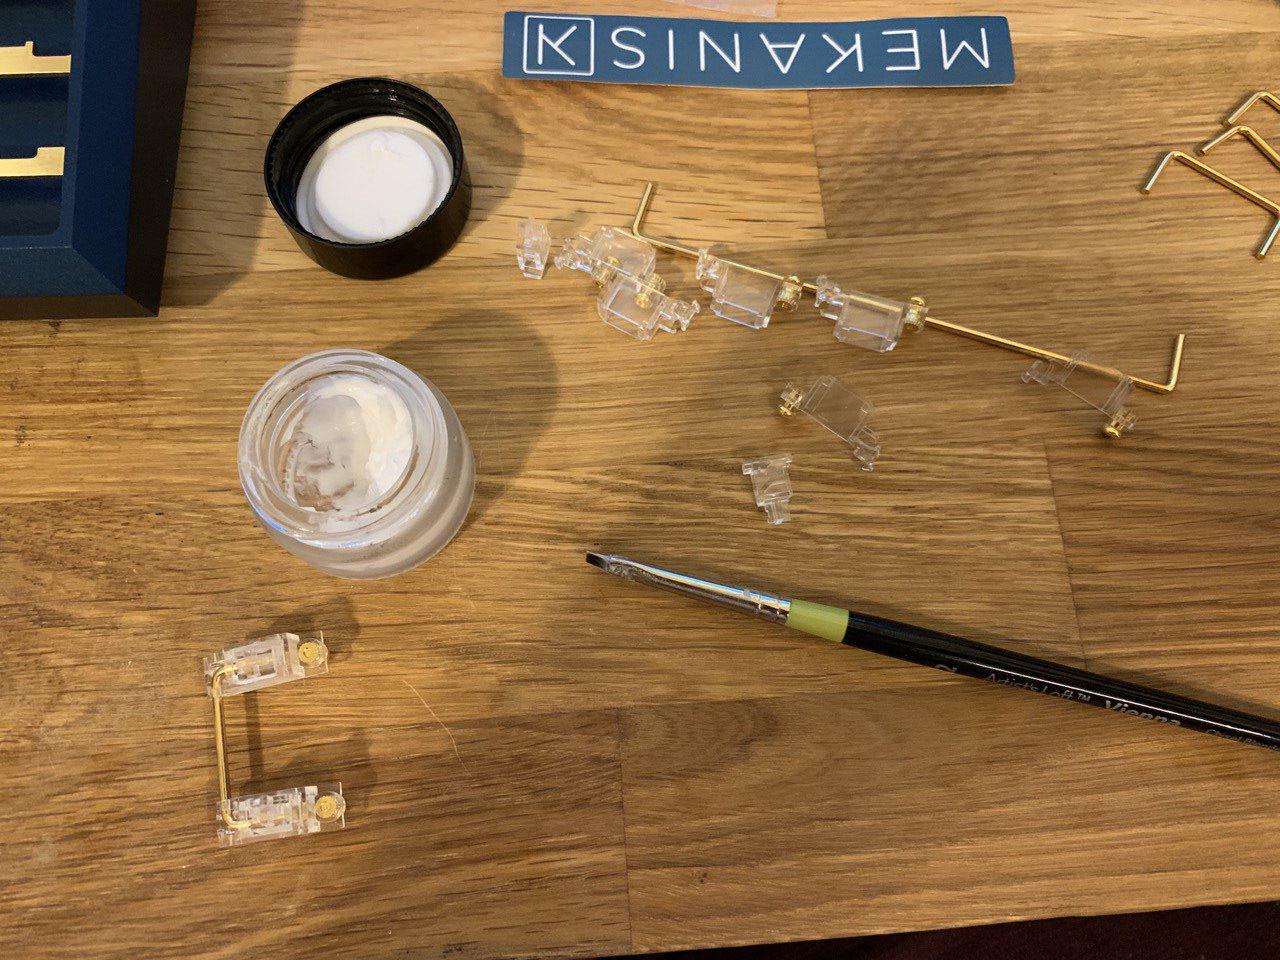
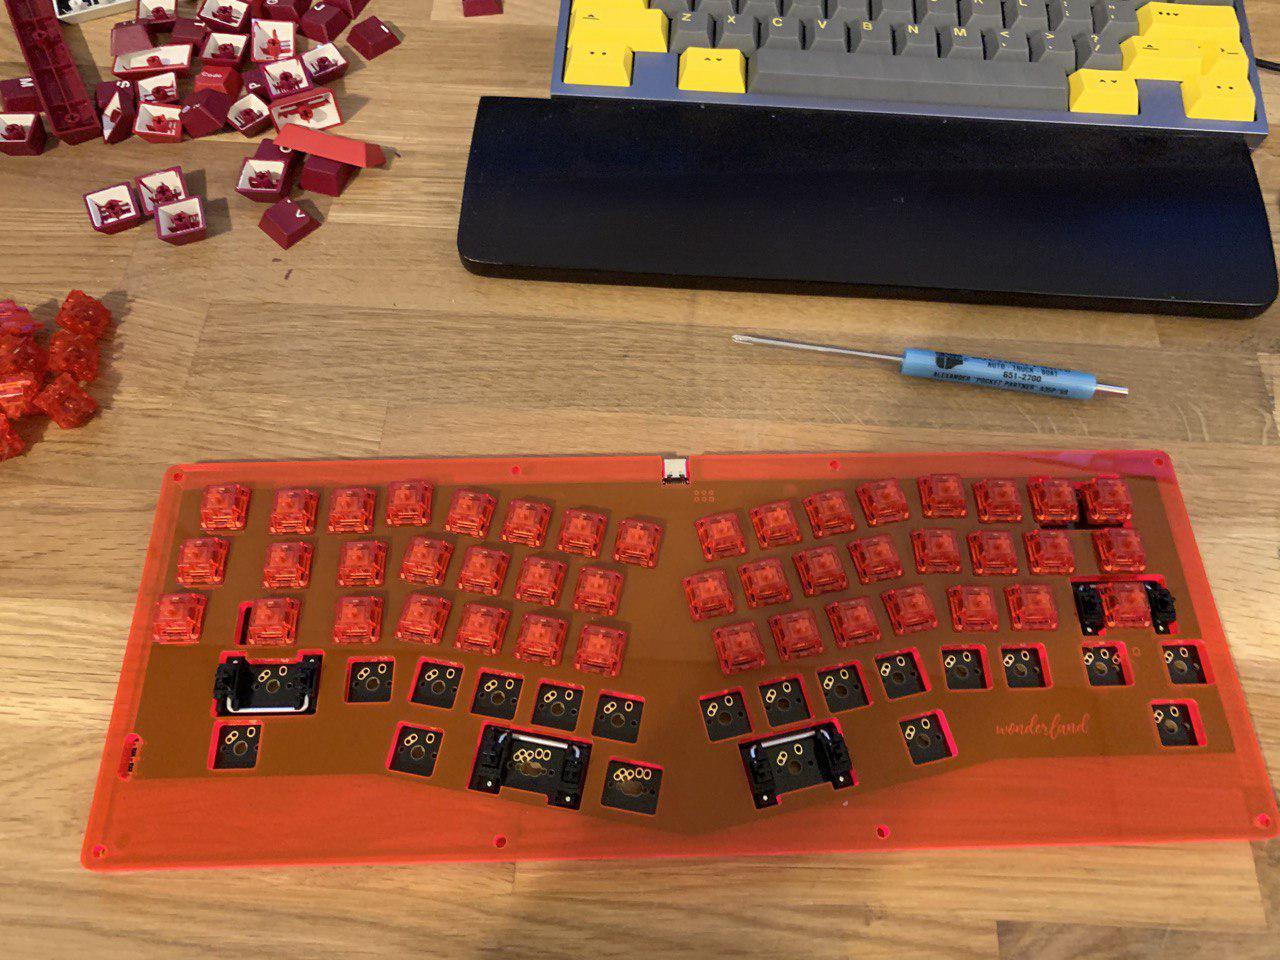
Stabs go first. I like Christo-Lube, so that’s what I put.


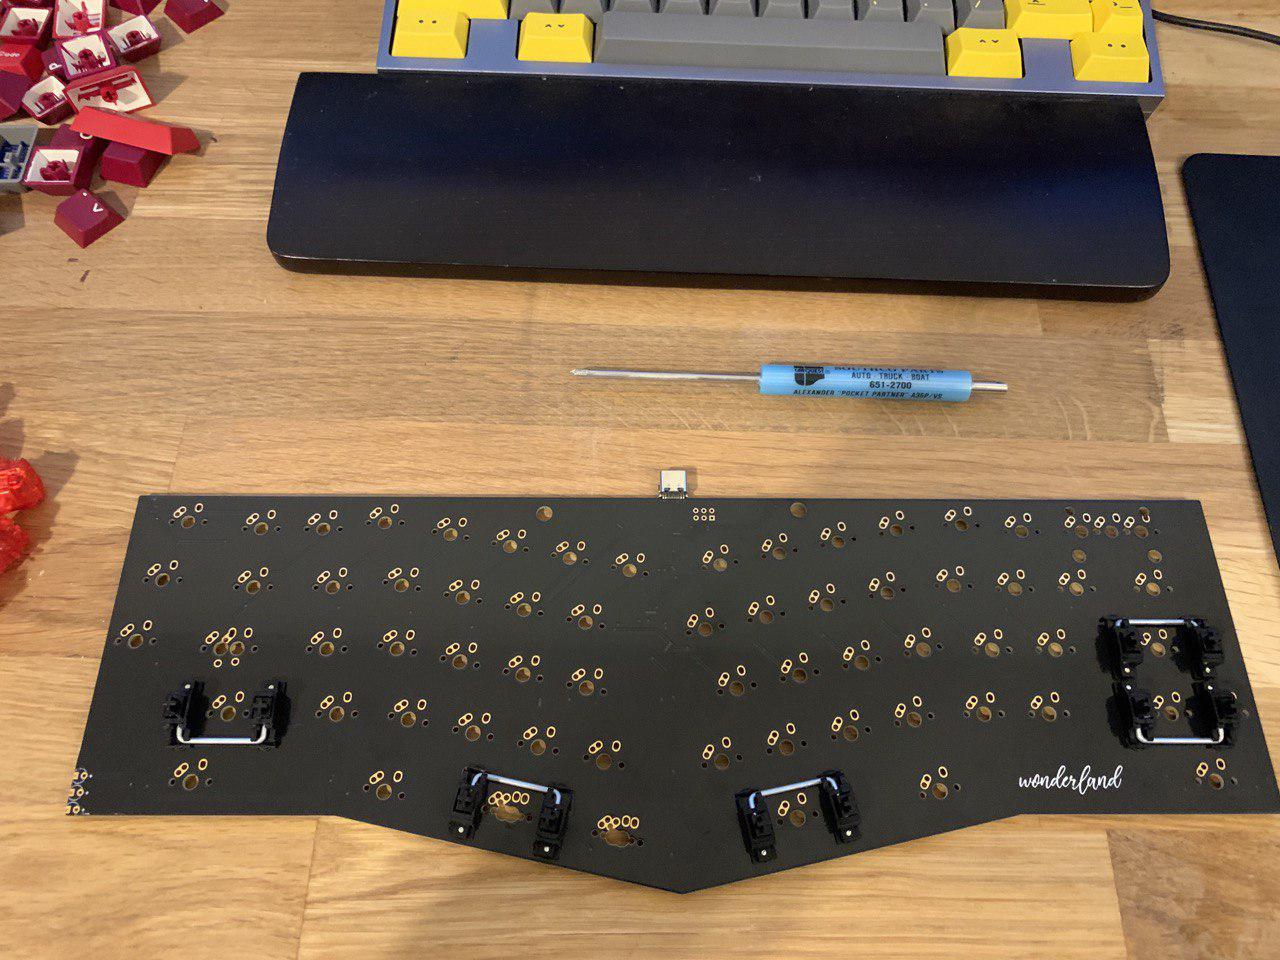
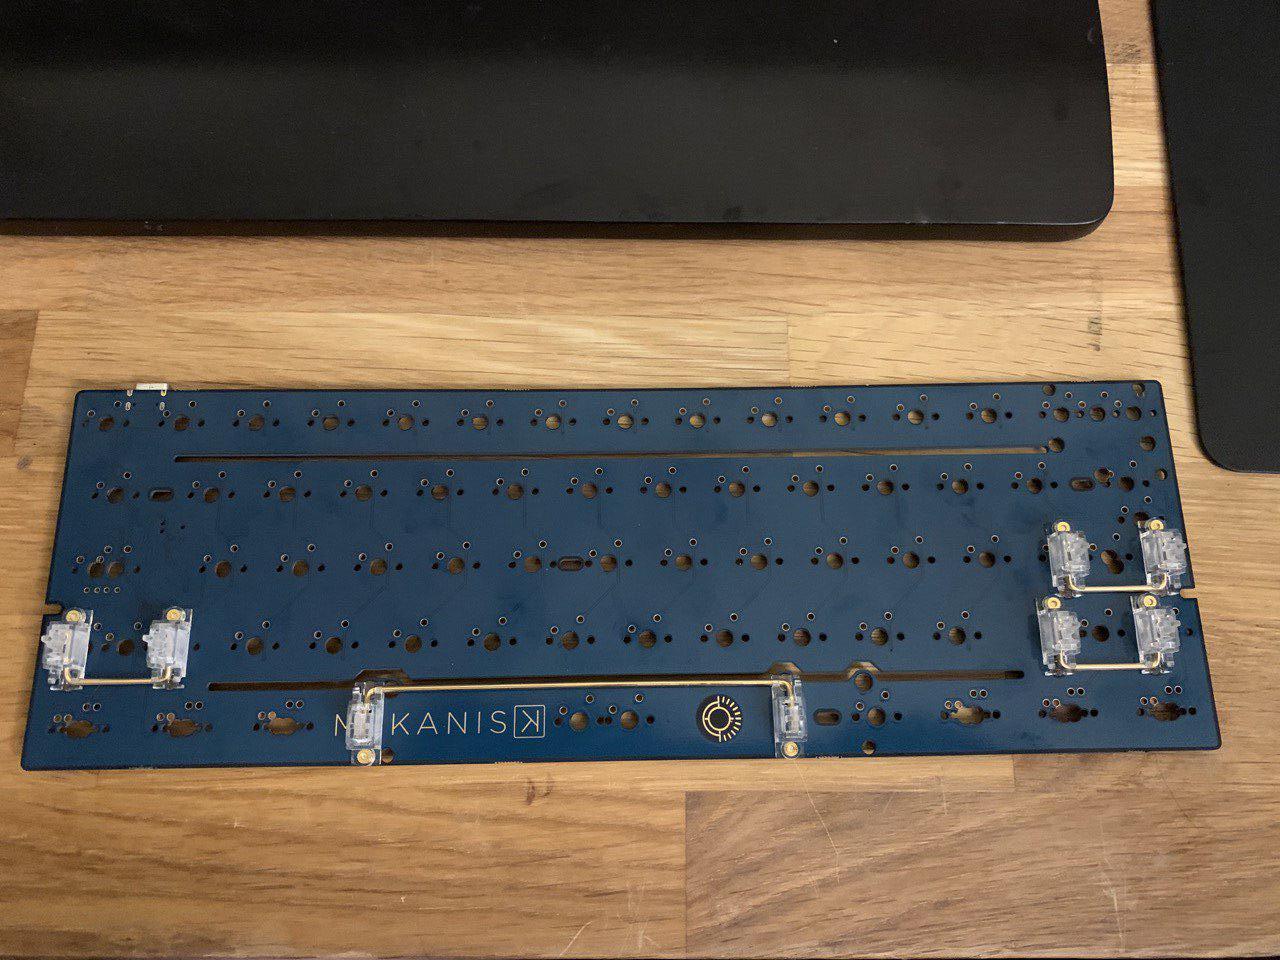
Stabs on the board. It doesn’t support in switch LEDs, so there was no need to worry about the screws shorting anything. Can you see the issue with this pic? We’ll get to it in the next one.


I primarily use right shift, and I like a full size one. I was planning to use the bottom right key as FN here. As it turns out, even though the PCB supports a full size right shift, the plate for this one does not. Oh well, we’ll just put FN there then. It’s always a good thing to check before putting in switches.


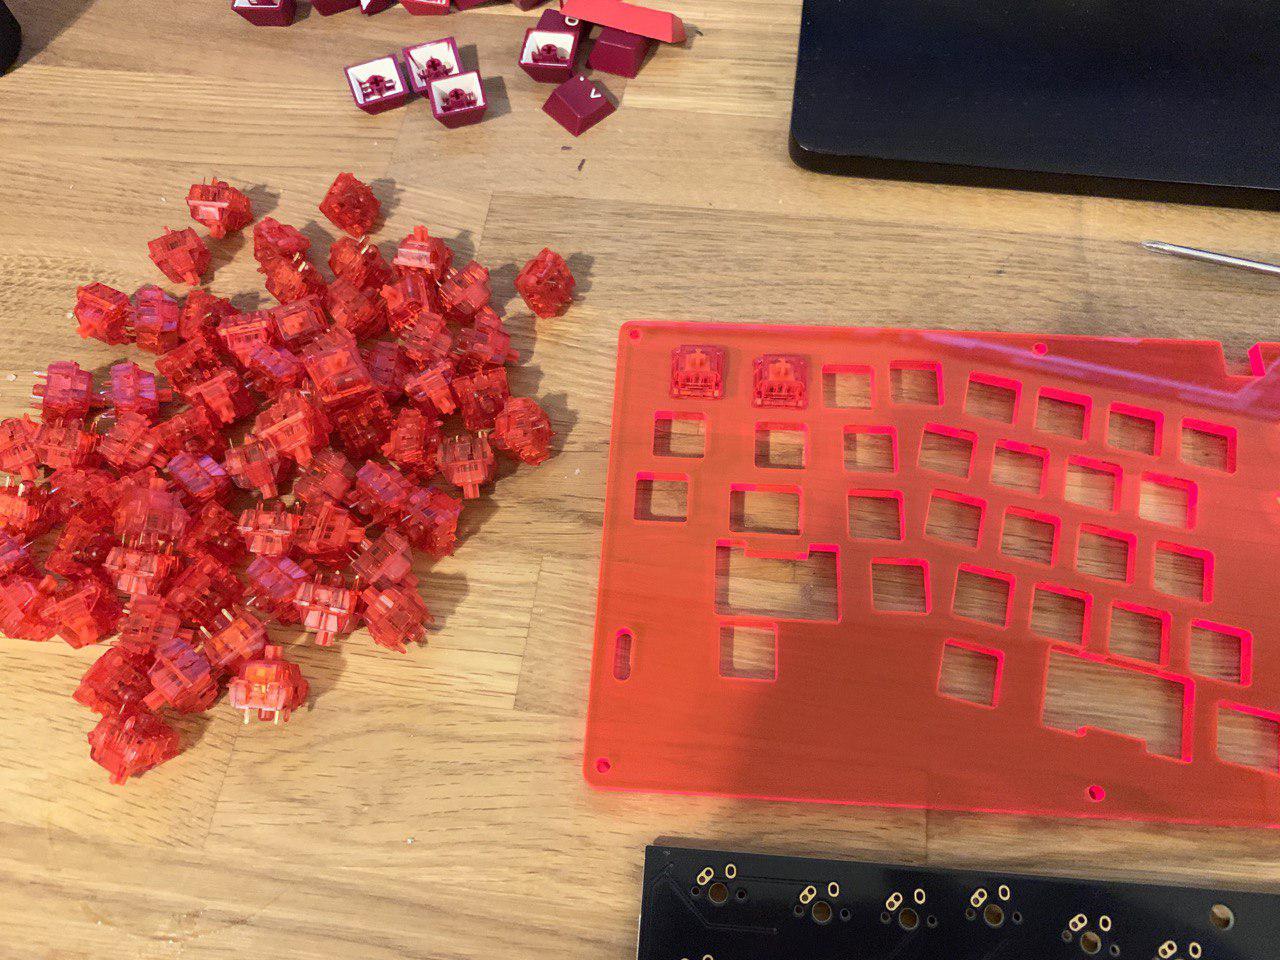
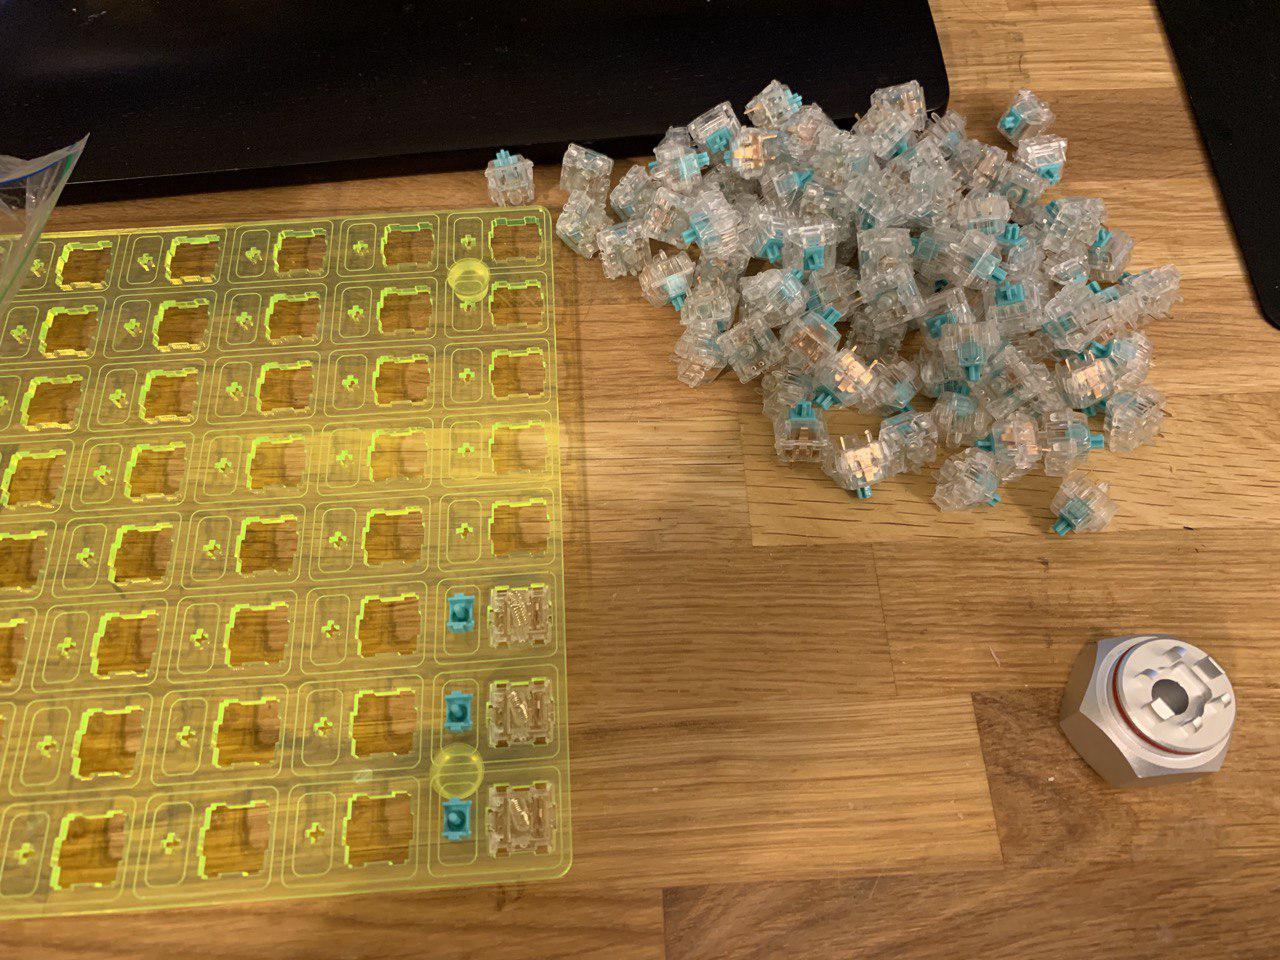
The switches. Of course I had to go with red inks to match the red keyboard. I was planning on lubing the switches, but in the end I decided not to after seeing some talk around about issues with the leaves when lubing inks. They seem plenty fine without for my taste.


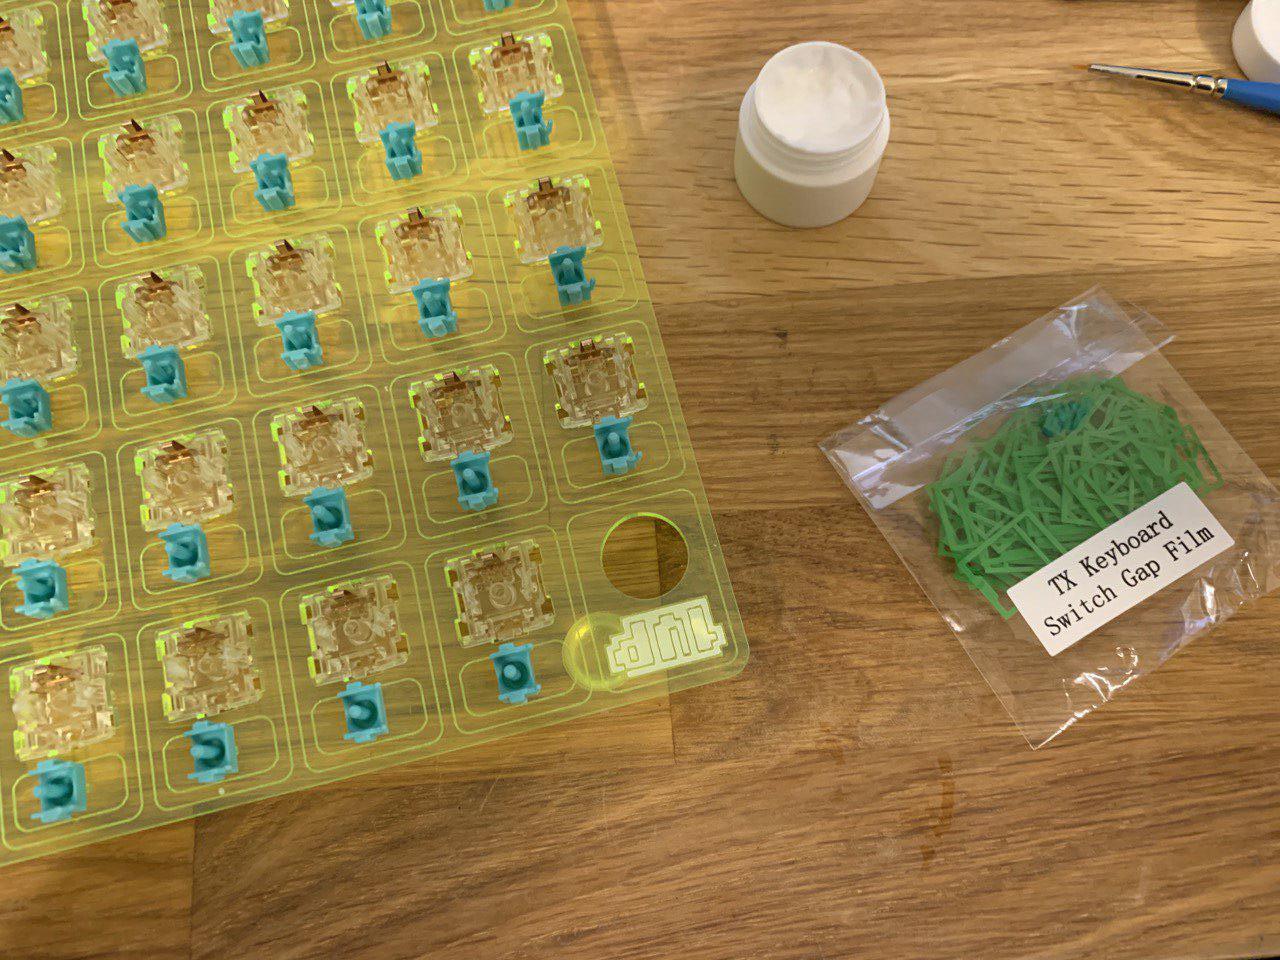
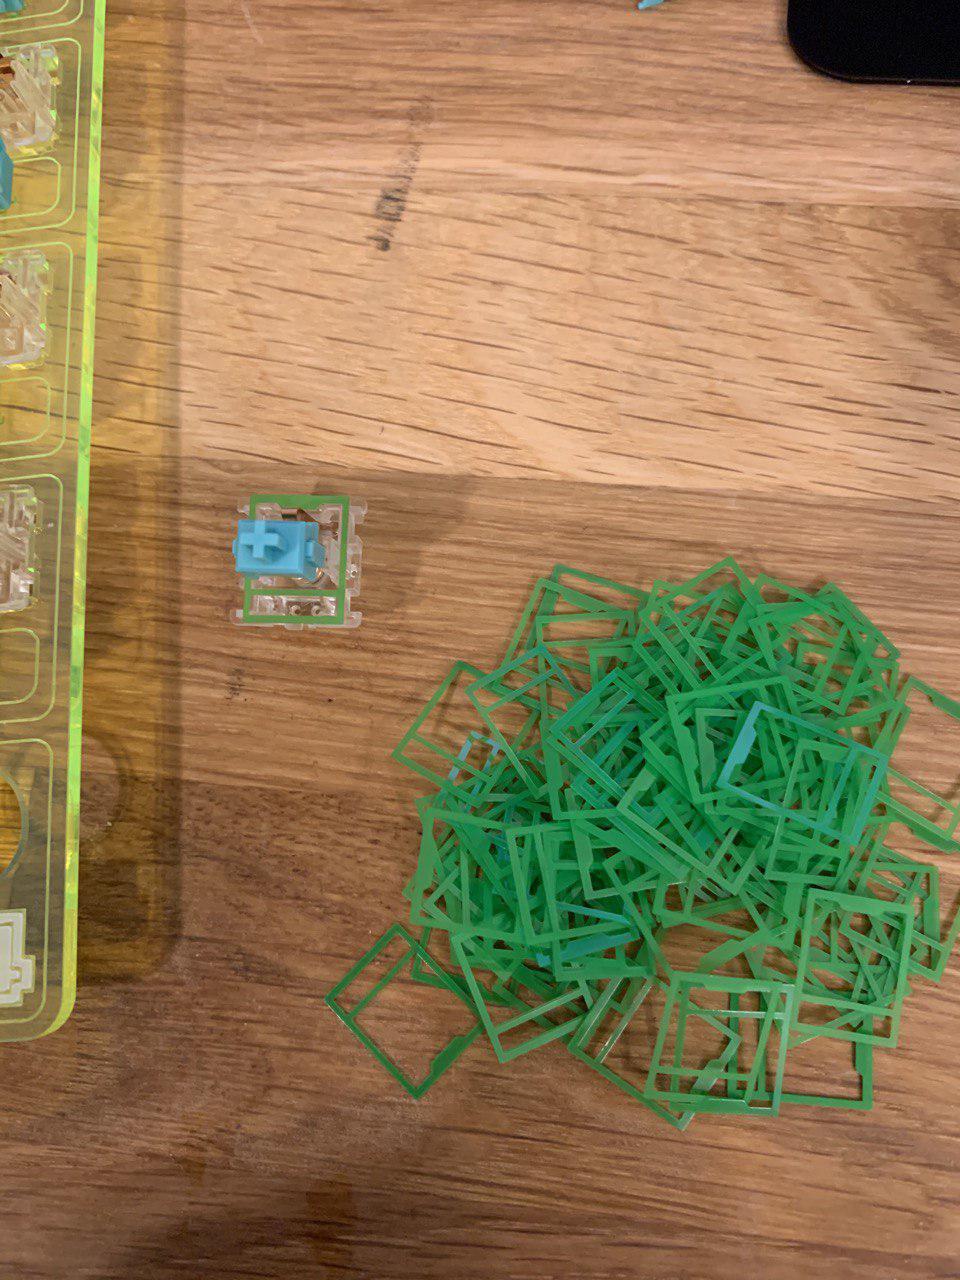
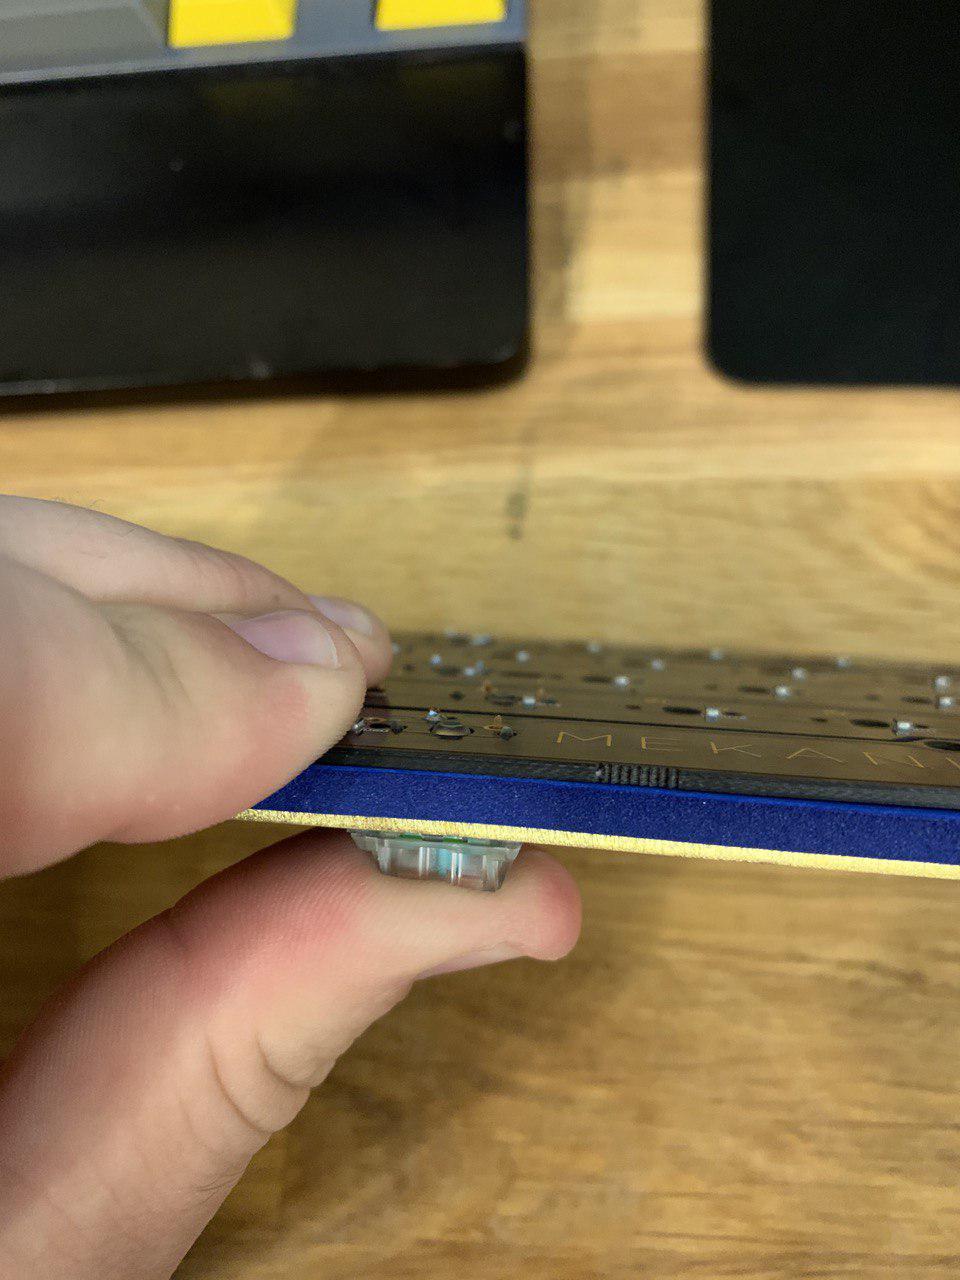
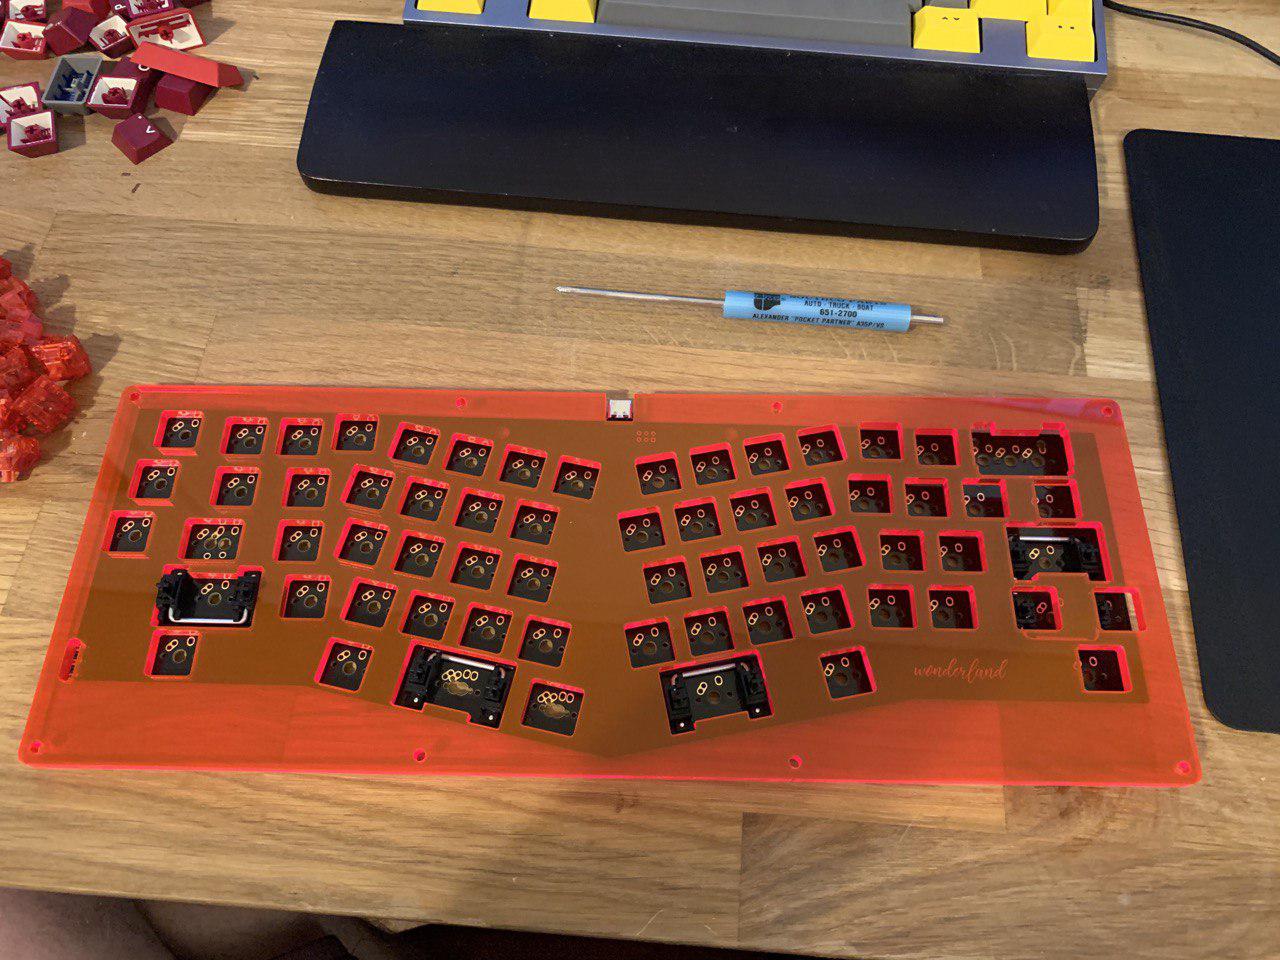
Switches going in. There are a few things going on here. The plate is a thick plate, so there is almost no space between the plate and the PCB, but there are no cutouts on the bottom of the plate for the switches to click in. Besides that, the holes in the PCB for the switch posts were pretty tight, so I had to make sure to push the switches in all the way to get them both into the plate and PCB. We’ll get back to this later.


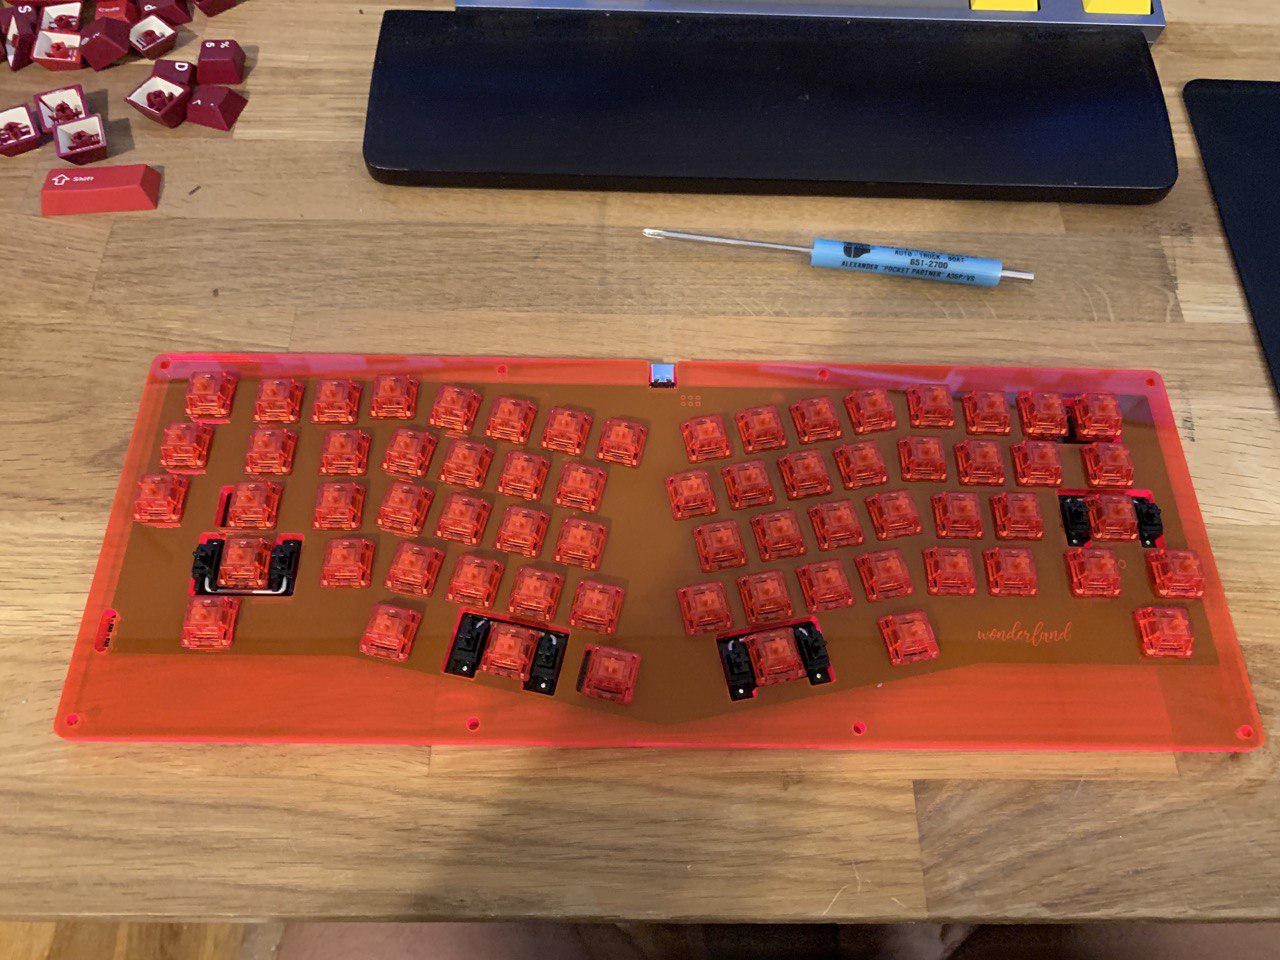
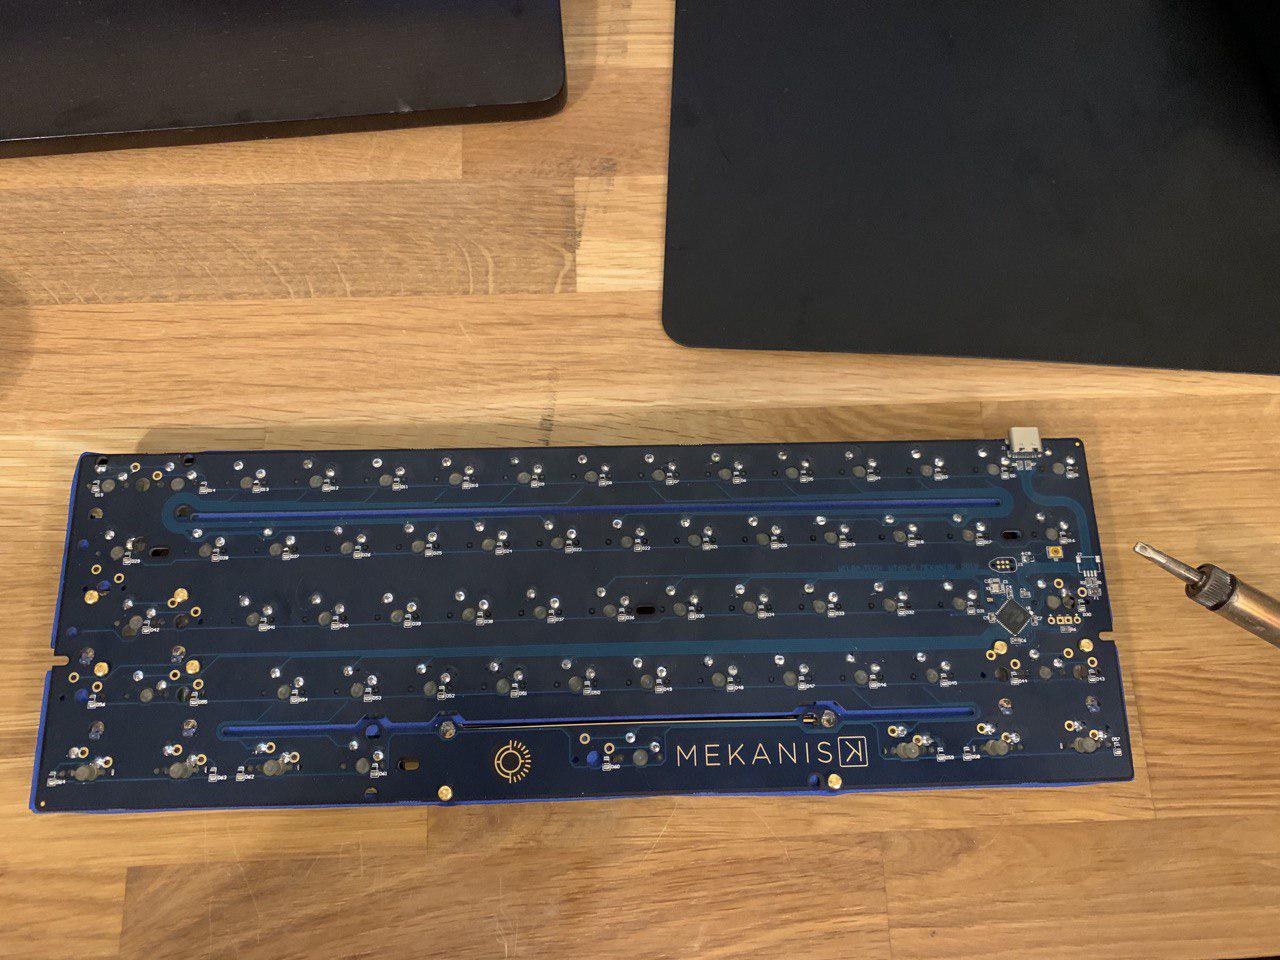
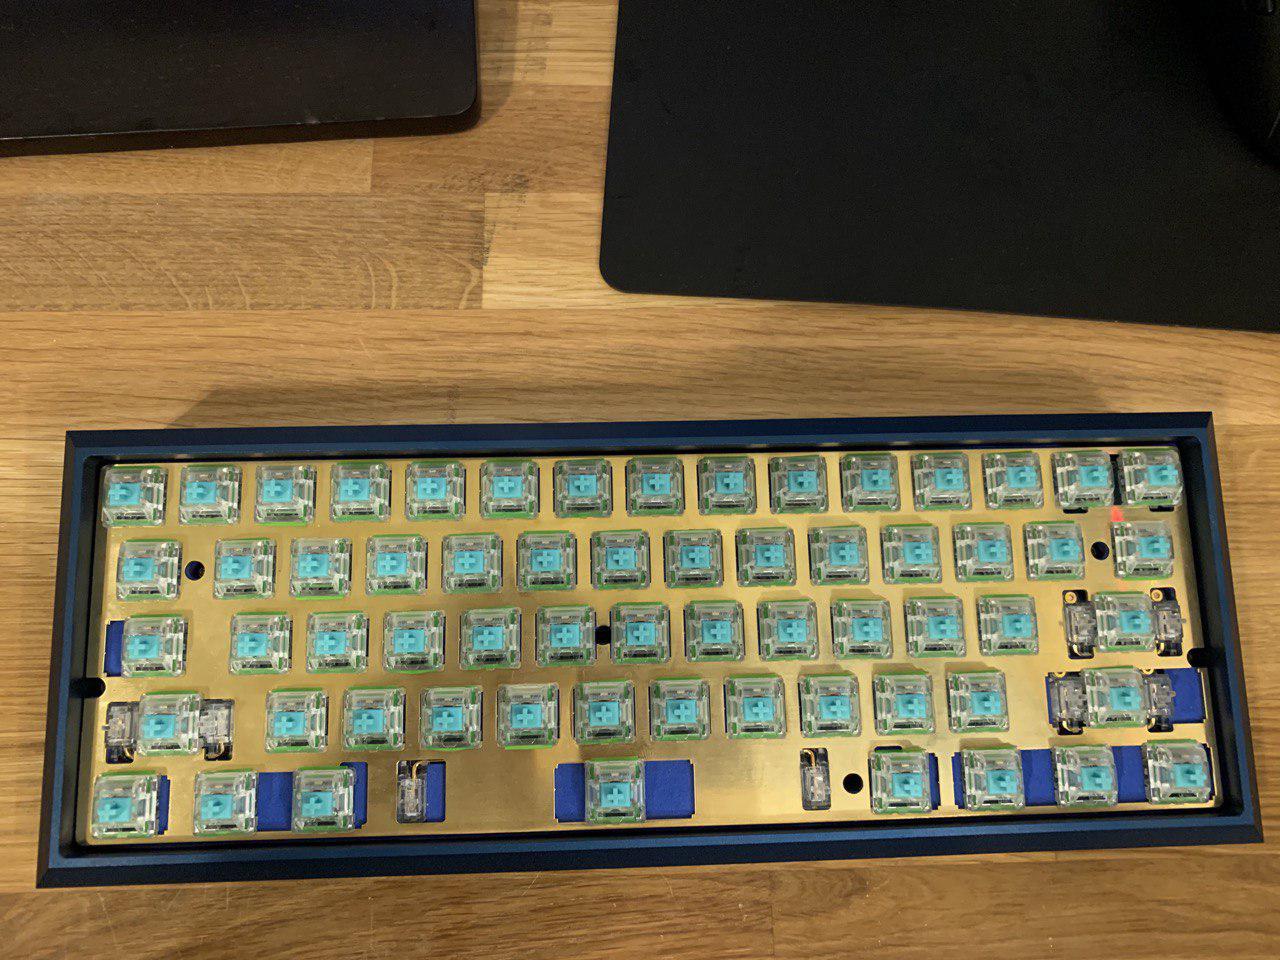
All the switches in, time to solder.


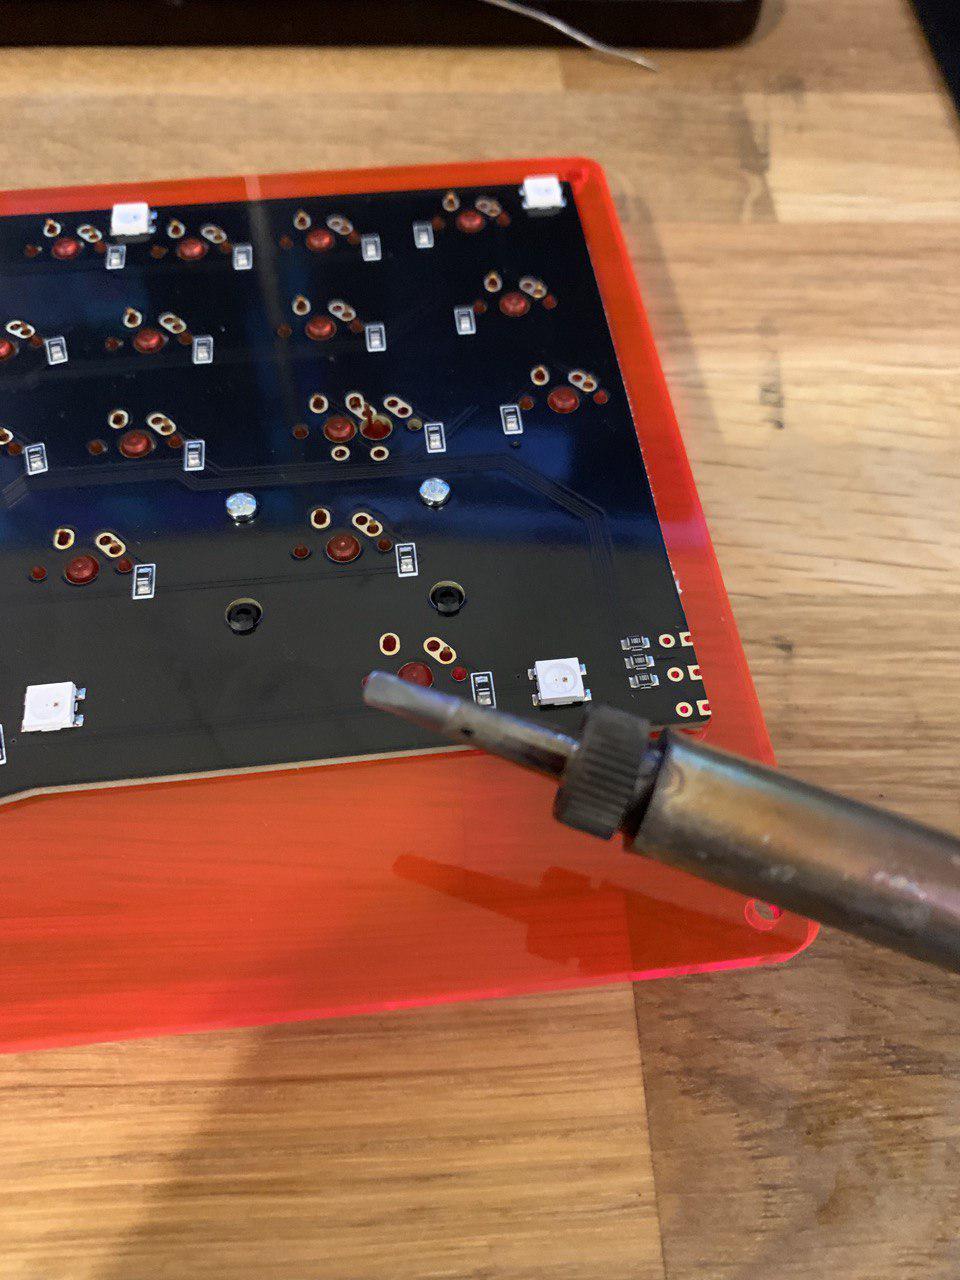
My go to soldering iron. We have a nice soldering station with fine tips and a microscope at work that I can use if I need to, so I use this one at home. It’s a Weller that plugs into the wall with no temperature control, but oh boy is that giant chisel tip awesome.


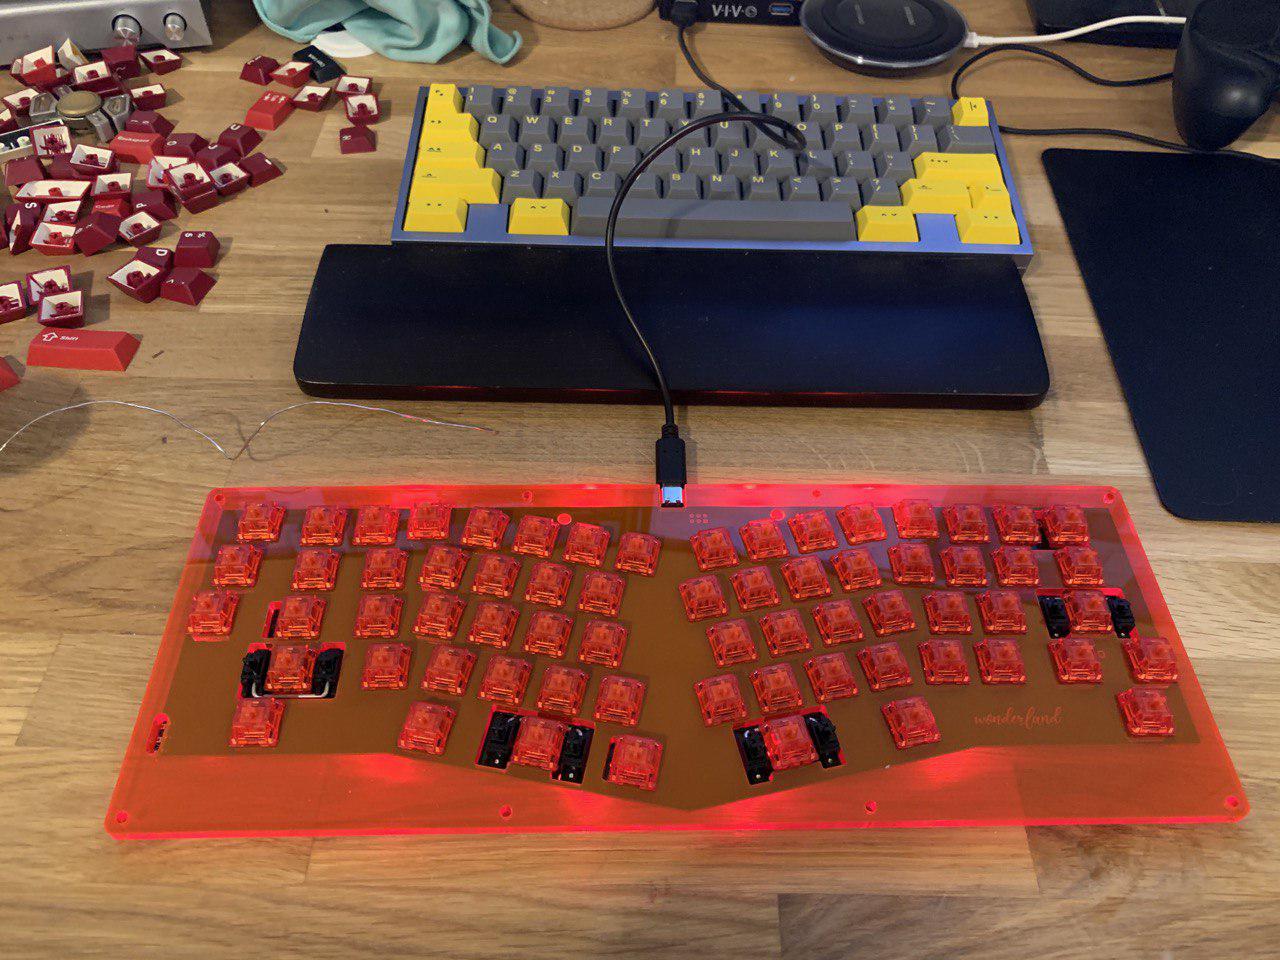
Post soldering. I plugged it in to make sure everything was working, and found out I forgot to solder one of the B keys. This was also where programmed it, before I put it together in case I needed to push the reset button or something, and so I could make sure everything was working as expected.


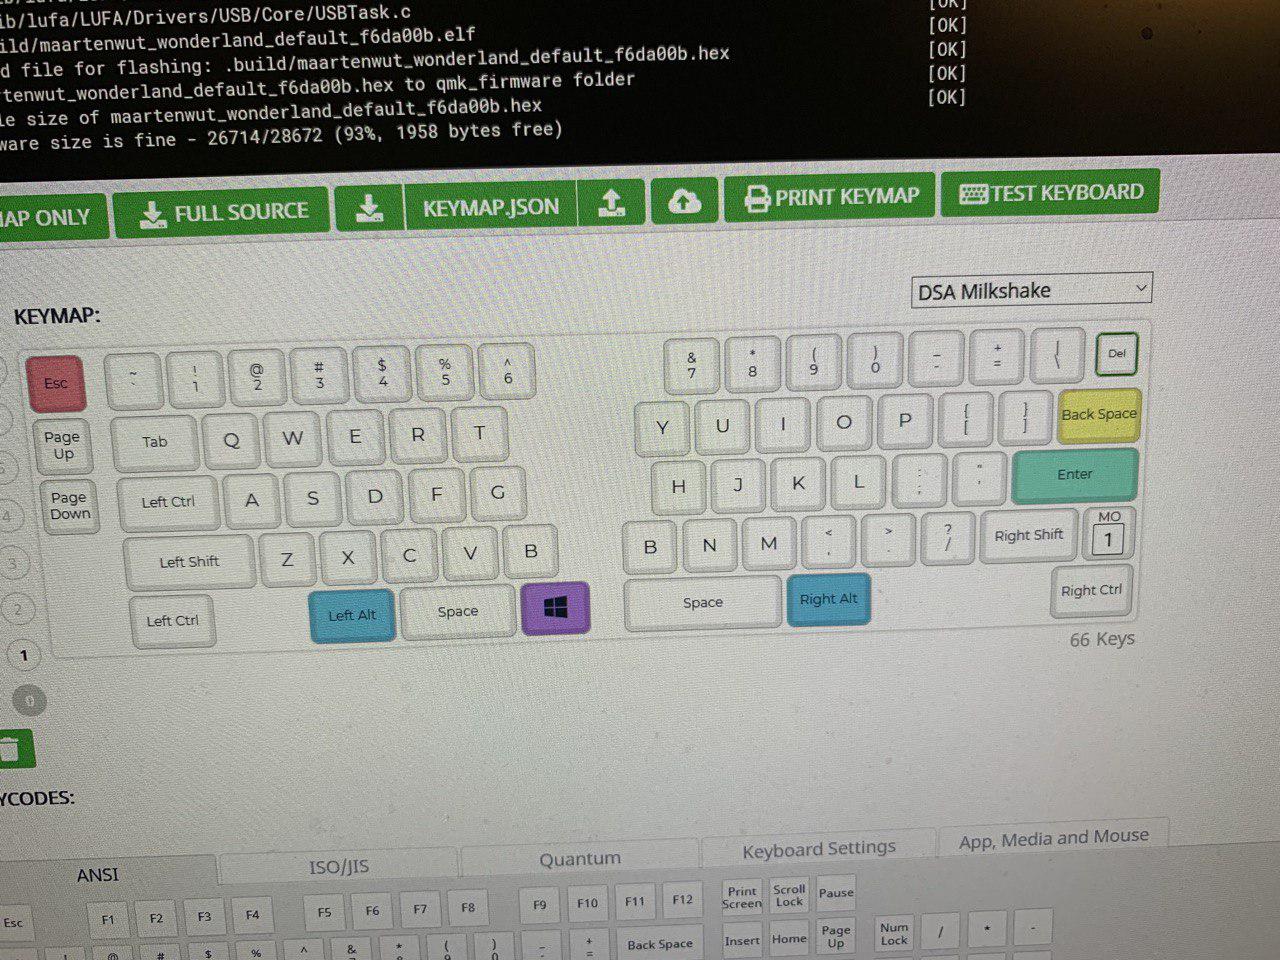
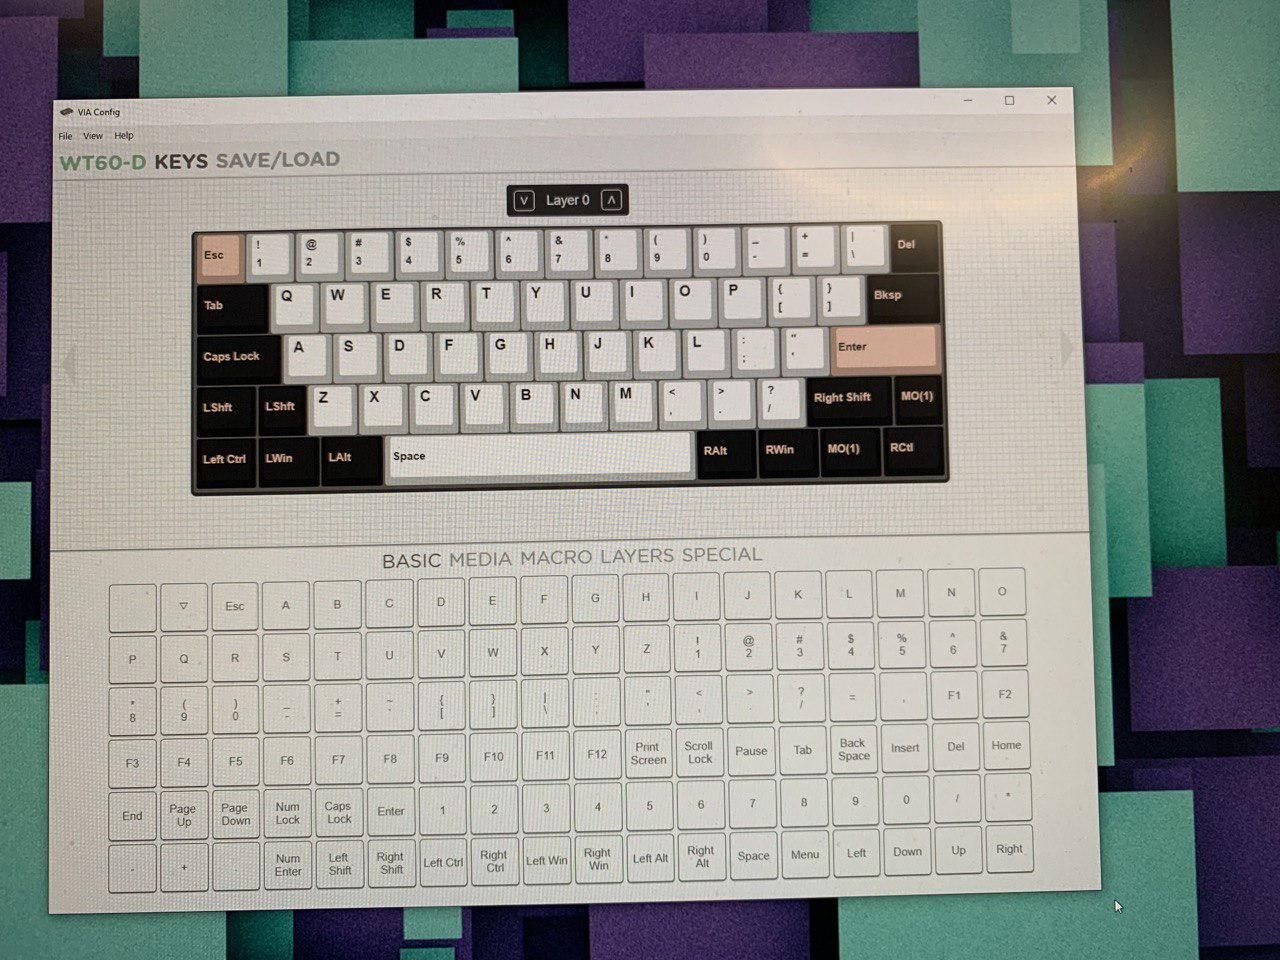
My programming. Nothing wild, HHKB arrows, F keys, and LED control on the FN layer.I might switch windows and left alt so I can alt tab without really needing to move my right hand, need to spend some time with it to see what I like better.


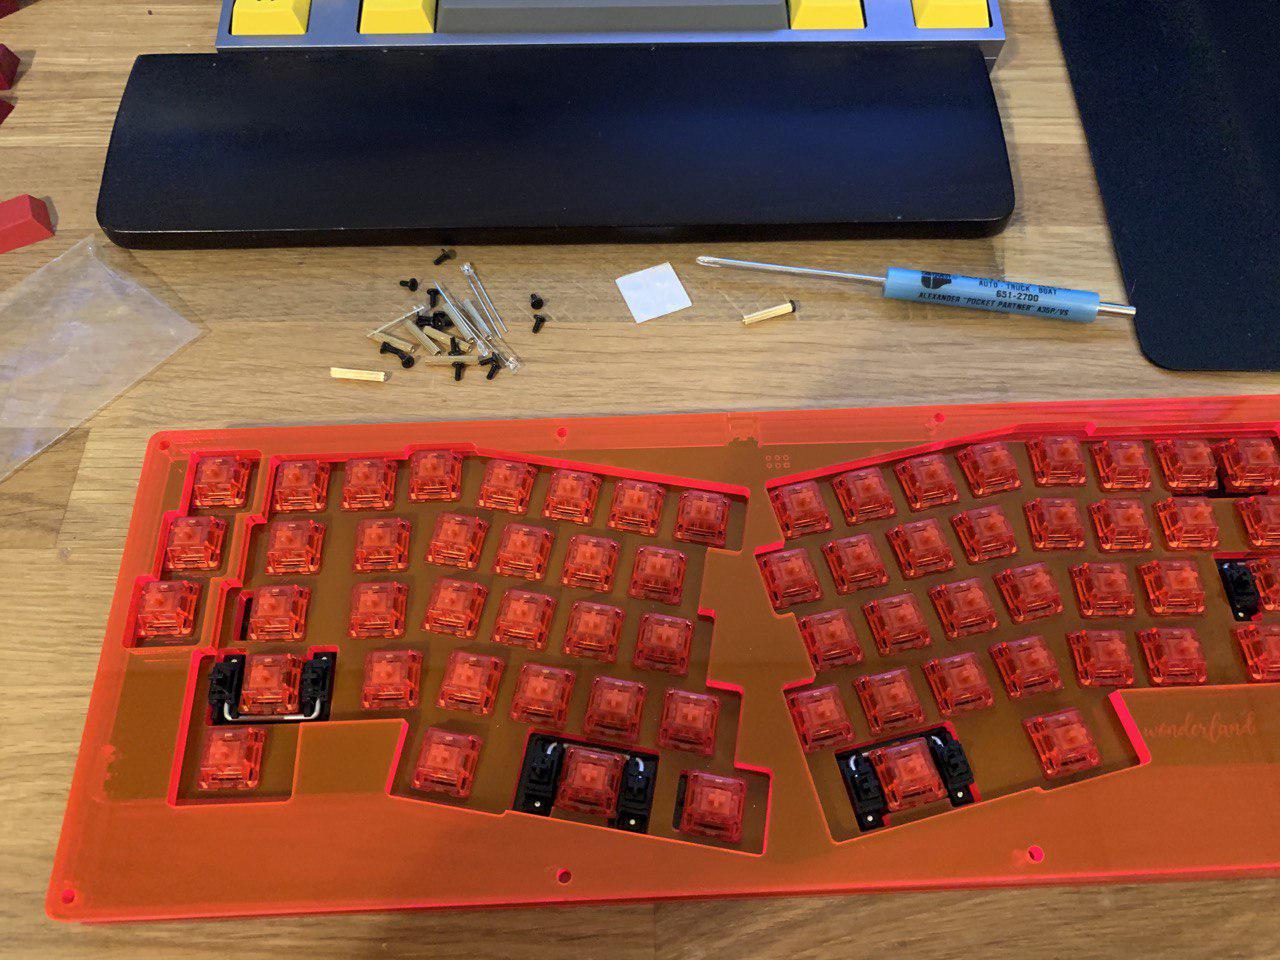
Time to put it together. Screws and standoffs. It also came with some LEDs presumably for caps lock, etc. There is a cutout in the second layer for the LEDs in the bottom left of the keyboard. I decided not to populate them.


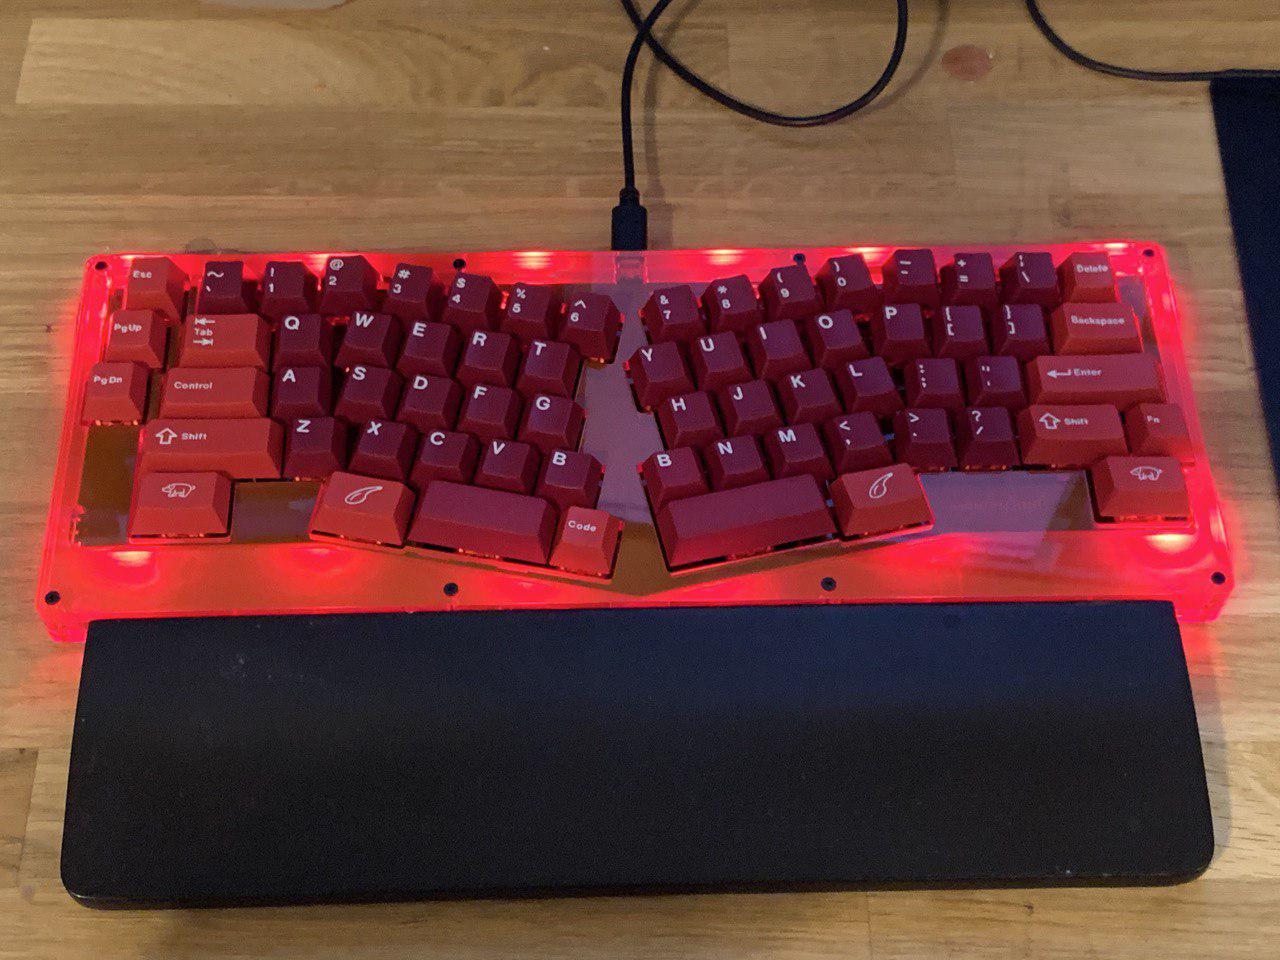
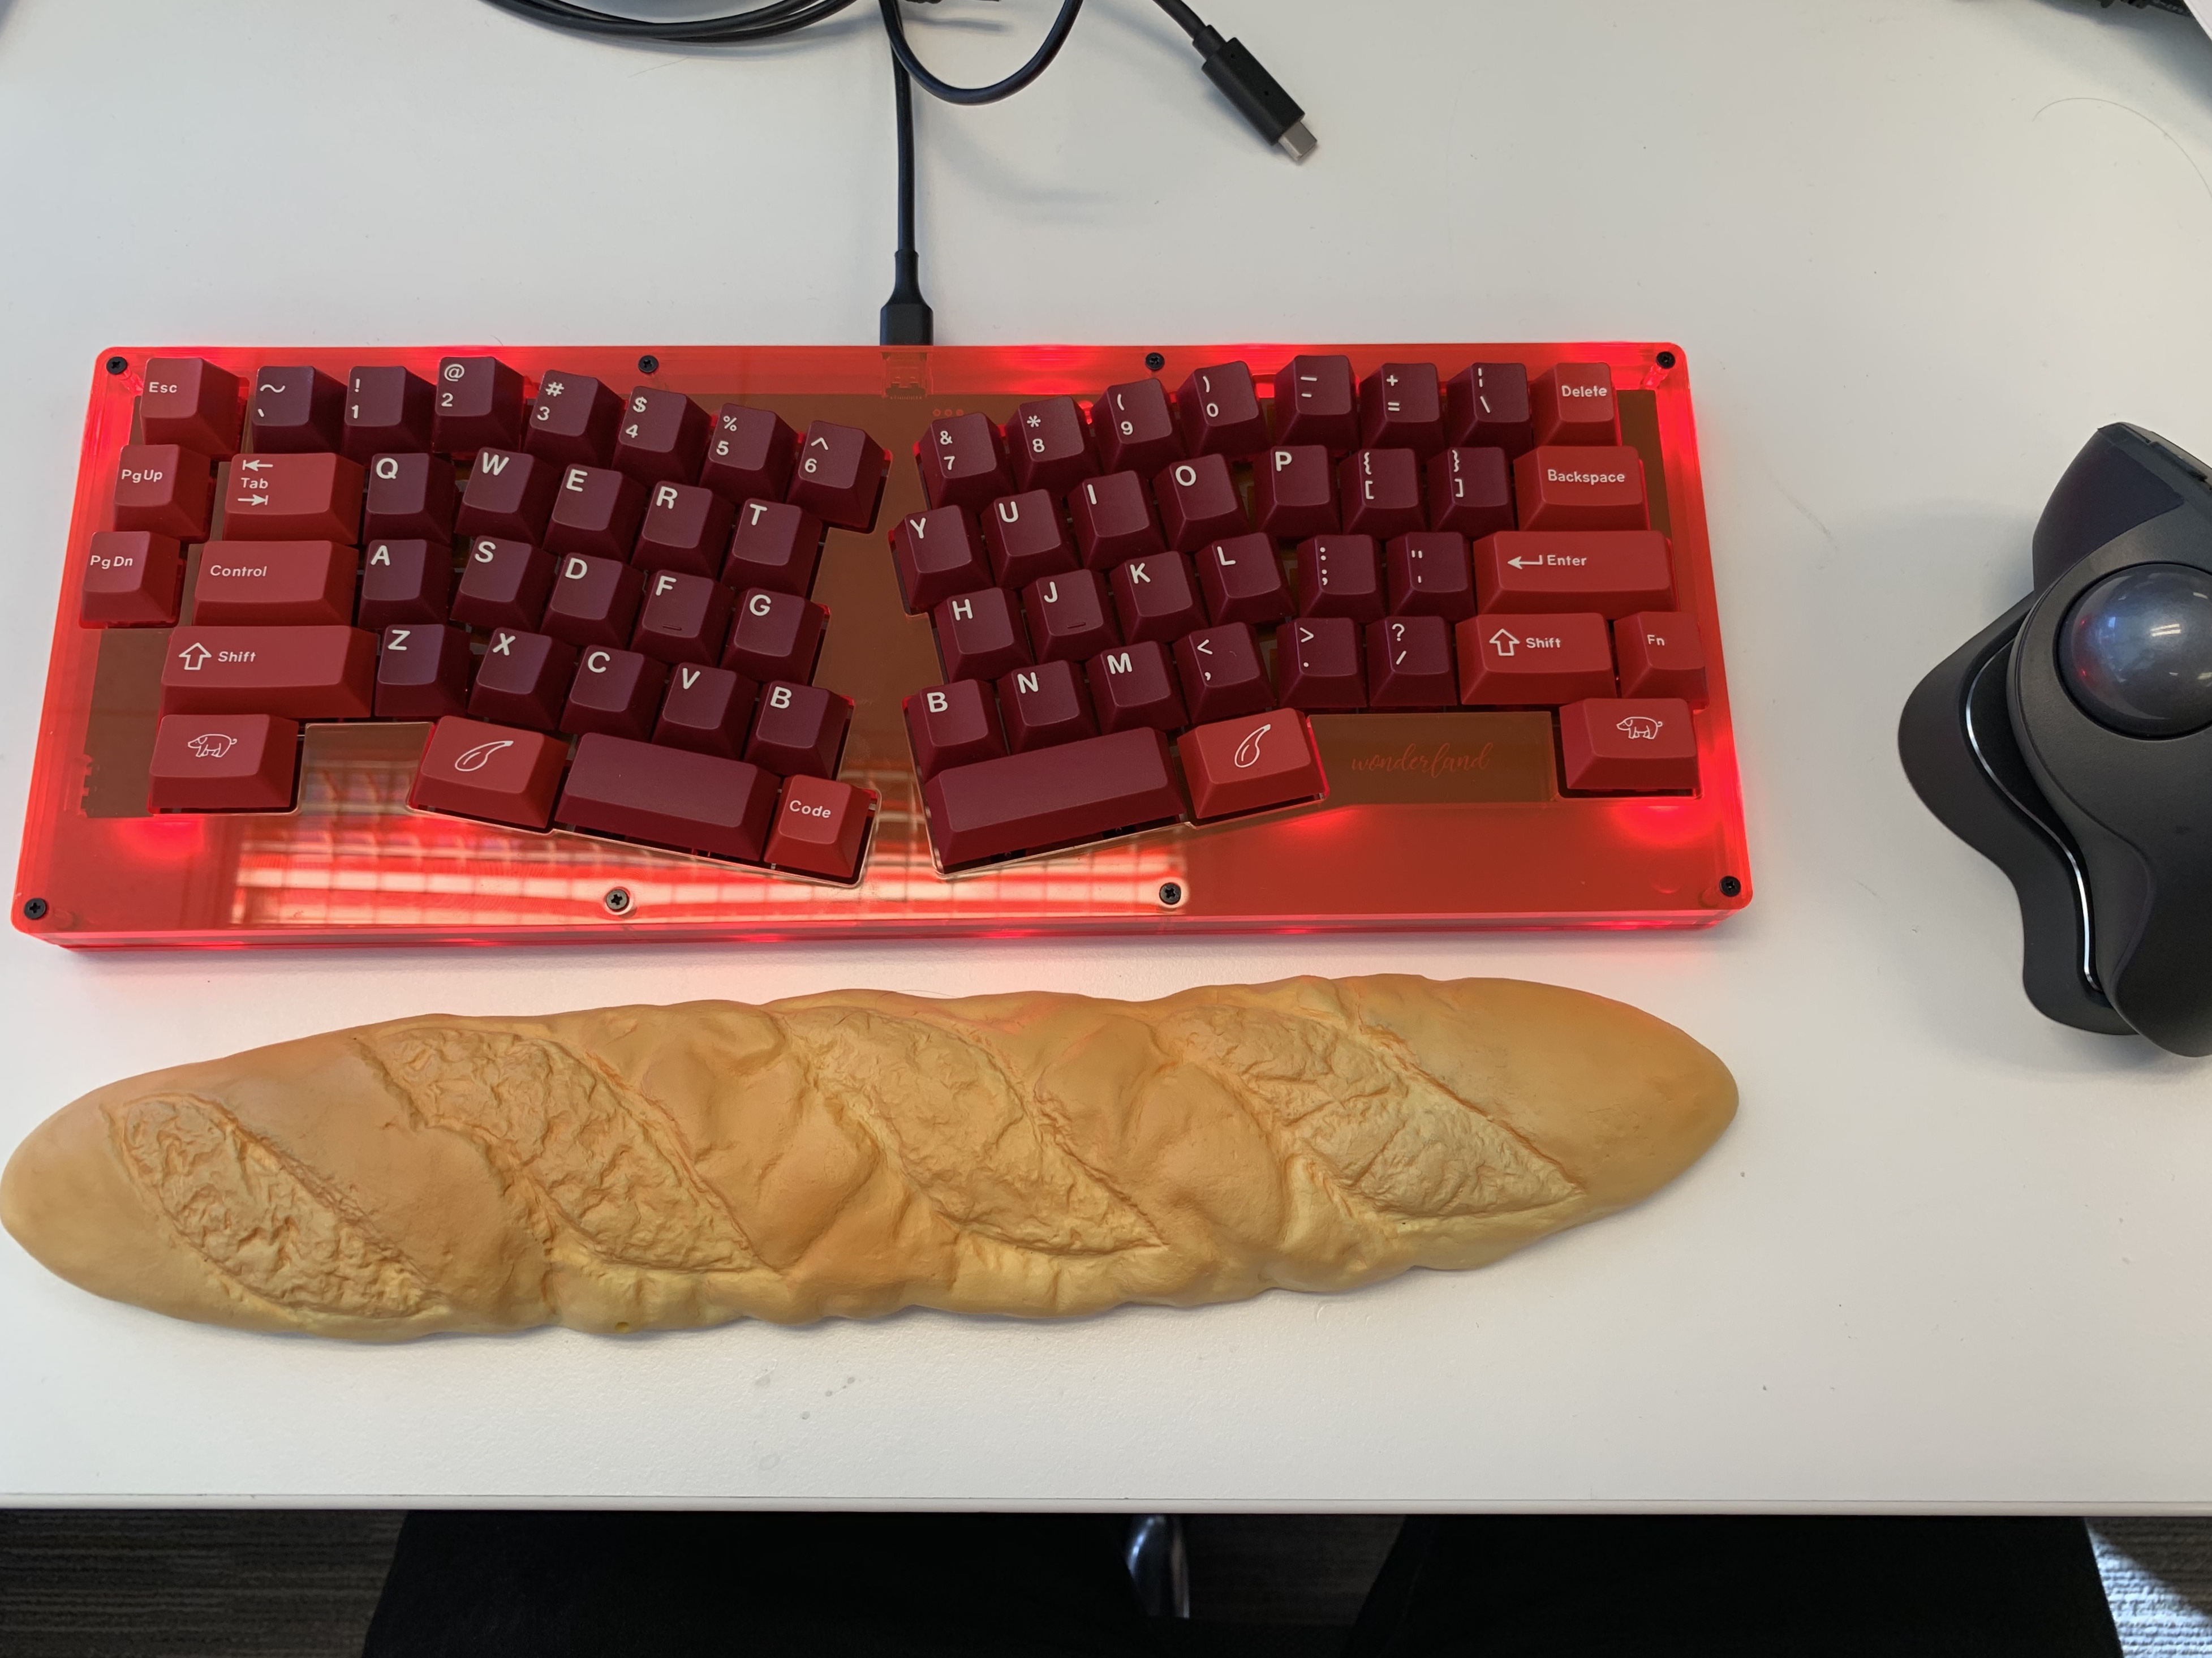
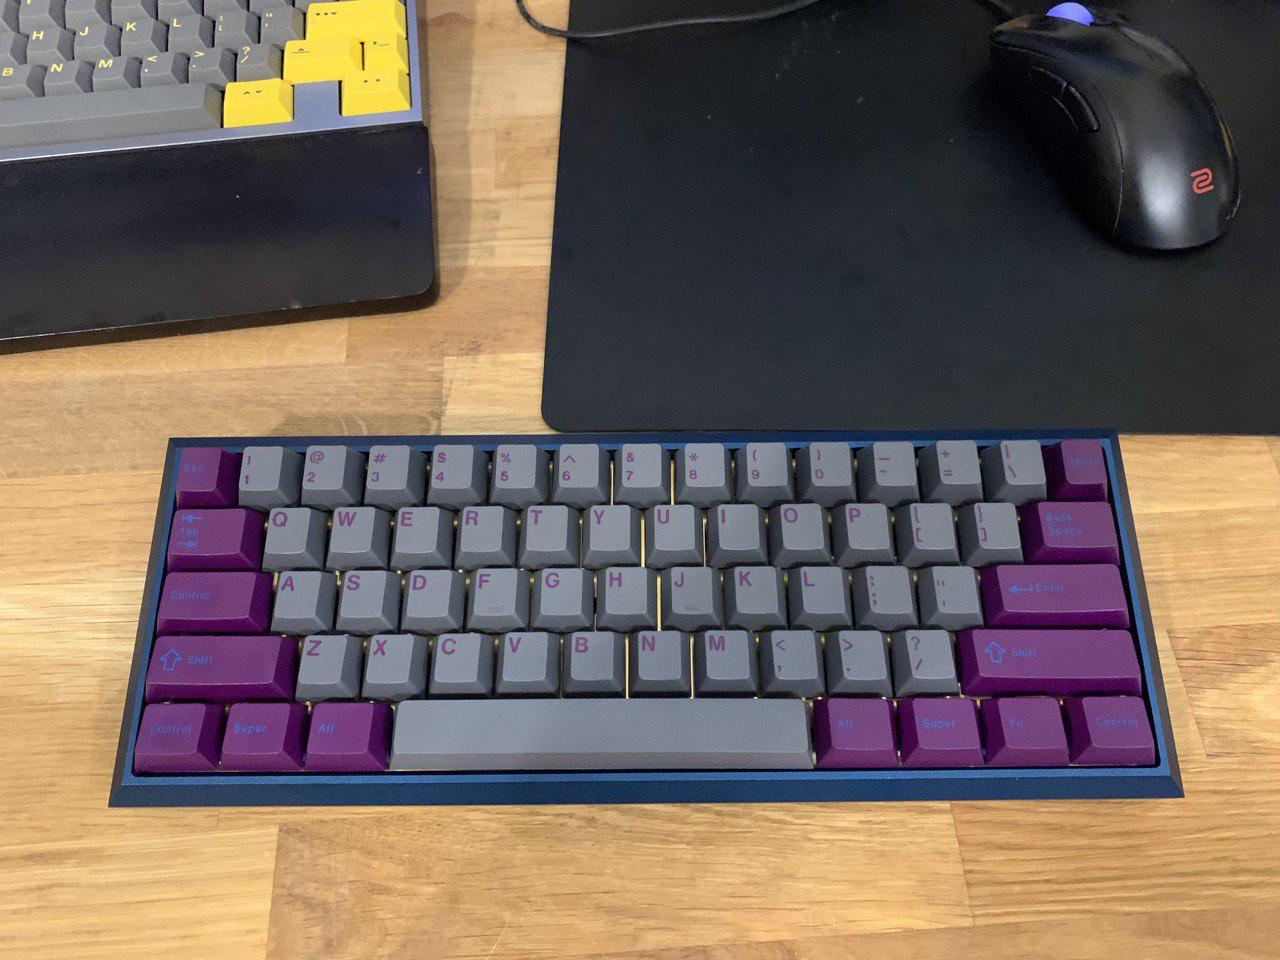
The end product with keycaps. I was deciding between Jamón and Red Riot to go on here, but in the end I decided I like the reds better on Jamón, and besides, I got the 40’s kit with the extra ‘B’ key, so I might as well put it to use. I found that once I put the keycaps on the right spacebar didn’t come back up when I pushed on it. It turns out, I hadn’t pushed the key into the plate all the way, and so it was soldered a little bit tilted, which caused friction with the stabilizers. I was able to heat the solder up and push the switch into place, but it’s still a little bit slow on the upstroke. Nothing that bothers me, but at some point I’ll probably de-solder it and do it right.

Thoughts on the keyboard:

  • The plastic (acrylic?) was very well cut. No burn marks or scratches or anything on it
  • I with the plate had cutouts for the switches to snap into. I had to be careful to make sure they were in all the way, and I still had a key with issues. I bet if I went through the alphas they aren’t all perfect.
  • This is my first Alice-like keyboard, and the extent of the typing I have done is this write-up. So far I like it, it doesn’t seem like I’ll need much adjustment to get used to it. I have pretty big hands, and my right thumb kinds seems to sit naturally on the gap between the left spacebar and the key to the right of it. I can probably get used to it. I primarily hit space with my right thumb when I’m typing, so not a huge issue for me.
  • I think there were options for a black or white PCB, I think white might have looked better. Not a huge issue for me. The black matches the screws.
  • I’m generally not a huge fan of sandwich cases (although my first “custom” was a sandwich clueboard with round 2 zealios way back when. I don’t have that keyboard anymore but I kind of wish I do. I have fond memories of it). The layers on this one match up pretty well, and the red with red underglow looks awesome.
  • This is my first build with the red inks, I like them a lot. I have a board with silent inks that I use at work, I don’t think these are as awesome as those, but I enjoy typing on them.
  • The sound is solid, maybe I should figure out a consistent recording and I can put some audio to go with these in the future.
  • I wish it supported full size right shift. Not a huge issue. I probably could have cut a hole in the plate if I really wanted it.

I’ll probably take this board into work, and provided the sound doesn’t bother my co-workers too much (I work in an open office) keep it there for a while. It’s gonna look great with my baguette wrist wrest. Overall I’m very happy with it.

Full specs:

Lubrigante Hamboard

  • Homerow Co Lubrigante in red
  • Gateron Red Ink switches, unlubed
  • GMK screw in stabs, lubed with Christo-Lube
  • GMK Jamón
20 Likes

I knew I wasn’t the only one who still likes her Steam Controller.

That being said, what a beaut of a Lubrigante! Those Red Inks really seal the deal on that board and push it over from great to awe-inspiring.

When I get my HHKB Tofu back, I’m definitely going to do a proper build log for once in my life and will most certainly be taking notes from this.

It’s not the best, but it has it’s uses lol.

I wasn’t originally going to put the inks, but as soon as I saw it IRL I knew I had to, I had a bag of them sitting right there and the color was just too close.

I’ll def keep an eye out for your build log!

Great build log! I particularly appreciate the call-out on the right shift issue. I’ll be referring to this log when I build my own Lubrigante.

2 Likes

Fluorescent Red, at 5mm thickness is one of the most expensive acrylics Perspex produces. Hope you enjoy it!

We are preparing right now for a completely new idea with R2 with the same low margin through quantity, at same high quality, and with even lower international shipping cost!

Thanks for this nice build guide! :slight_smile:

2 Likes

Btw. this was a decision based on the material and common use of the alice layout - there are maybe 1 or 2 tgr alice we know of that have a full right shift, so its very uncommon. then if we used a universal cutout to accommodate both possibilities we would have to add stabilizer cutouts and this would make the cutout just a very large hole (compare to backspace or enter cutouts) without any grip for the switches, which would be fatal for a half plate :wink:

3 Likes

Here’s a bonus pic in my office this morning.

8 Likes

I look forward to seeing your take on it!

1 Like

Build N+1: Fjell Classic

Hey, I’m back with another build, the Fjell Classic from Mechanisk (@LeandreN). You might remember in the thread on here for this keyboard I was questioning the value of it, compared to similar boards from other vendors that cost significantly less. With all the hype around the Mechanisk boards I decided to go for it, and set out to answer the question: is it worth the price and hype? Let’s find out!

When the DHL guy came into my office and handed me the box I had a feeling I would like this board. I’m a sucker for a nice and heavy keyboard, and this one is almost pushing the limit of what I like. I forgot to take a pic of it as it came, but I believe it came in it’s box inside of one of those DHL plastic envelope things that DHL puts around boxes. I don’t remember if the keyboard box was inside another box or not, but it was definitely adequately to over-packaged.


The outside of the box. The box is very nice and exudes quality.


Opening the box, this is what greeted me. The PCB was packaged nicely in an ESD bag in this separate box inside the box. Nice and well protected.


Under that and some more foam we get to the case. The case itself has some serious heft to it. This thing is definitely the heaviest 60% case I’ve ever used. It feels like a brick to pick up. I forgot to take a picture/note where, but the plate was shrink wrapped in there somewhere too, it will show up later.


The full contents of the box all unpackaged. While it definitely felt very nice, and was a great unpacking experience, I do have to nitpick about the amount of foam. Packaging like this is a great place to use recyclables like cardboard instead of plastics, and having this much foam left over always makes me feel sad.


Before I actually start on the keyboard gotta lube the switches. This is my first time using Tealios. I’ve been lubing a lot of switches lately, and boy is it boring. I’ve been watching Hot Ones episodes while I lube. I’m not that fast yet, it took me around two hours to get the switches I needed for this build.


I went with 3204 on the switches. This was also my first build using films, which we’ll get to next. Not pictured: bag lubing the springs with 205g0.


Films went on while putting the switches back together. One thing I noticed with the tealio housings was that when I opened them the little legs on the top housings got bent outward on some of them, and I needed to bend them back in by hand. This in turn made the tops loose, and the films definitely helped with that. I wish I had done a with/without test of the sound of the films, but I forgot and didn’t. The films seemed to be a little bit big for the switches, and have a little bit of wiggle room when installing, so the look wasn’t completely uniform on all the switches. I tried to put them all on the same on all the switches, but there definitely is some variation. It’s visible in the shot later on of the keyboard without the keycaps. I don’t think it’s a big deal. Another side effect of the films that I haven’t seen anywhere, but was especially useful for the tealios, they made it really easy to see which switches I had already lubed and which I hadn’t, I’ve mixed them up before by accident.


Next up was stabs. I sprung for zeal stabs here, and lubed them with Christo-lube. One thing I will say about this PCB is that the blue color is really nice. I’ve done blue boards before that ended up a more light blue, and if not done right they can look really cheesy. @Wilba and @LeandreN have done a nice job here of making a nice looking PCB that matches the case pretty well and looks great. I’m always a fan of ENiG finish, the gold looks great and easier to work with for soldering, so thumbs up for that too.


Stabs in the plate. No issues here. I went for split backspace, so no stab there.


Next came foam from @MKUltraCorp. Another first for me. I really went all out on this build, this was the 4mm plate foam. More on the foam later, but I’m definitely converted.


I put in a few switches to get started. The foam was a hair thicker than I think the space between the PCB and plate usually is; as it probably should be. However, this meant that the switches didn’t seat fully into the PCB underneath. I decided to get around this by putting several switches at the ends and middle as anchor points, and soldering them while squeezing to make sure they were in all the way before putting the rest of the switches.


Squeezing the plate and PCB together while the solder cools. Note that this PCB has cutout slots between the top and bottom rows and the middle three, almost end to end. This is to allow it to flex more, but it also meant I needed more anchor switches than I otherwise might have.


All switches soldered and ready to go (feat big chisel tip soldering iron).


A note about the case here. The case has removable screw locations for the center two screws (it’s a standard tray mount). I wanted to see what the flex life is all about, so I went ahead and removed them before I put the keyboard together. The case anodizing is perfect. There was not a mark anywhere, inside or out. Same with the brass. This case really is impeccably executed.


All the switches in the board, and the board in the case. I swore I took a picture of it, but there is a foam in the bottom of the case under the PCB as well, also 4mm. If I take it back apart later I’ll snap a pic of the bottom of the case.


Deep space came in the mail on the same day as the Fjell, so I figured it was like destiny or something. I’m not 100% sure the colors match, but I think it looks pretty good and I’ll probably use it like this for a while. I like cherry profile better than anything else, but I’m curious what either a PBT kit or SA kit would feel and sound like on here. I may have to throw on some ePBT to see how it is.


Finally, this board supports VIA. This was my first time using it, I kind of thought “what can all the hype be around, QMK configurator>QMK toolbox to flash works just fine.” While that combo does work fine, this is a convenient one stop shop. I do have a couple nitpicks with it, mostly how the letters are in alphabetical order, rather than laid out like a keyboard, but I really can look over it with how seamless the experience is. I get it now.

So how does it type? In one word: awesome. Seriously. The Sound coming out is like no keyboard I’ve built before, which I attribute to the foam. There is no echo or pinging or anything, almost the only sound is the sound of the switches returning to the top and even that is dampened. With healios this thing would probably hardly make any noise at all. The tealios are silent on the downstroke and upstroke (unlike the cherry blacks I’ve been using which almost grind), and they are just so satisfyingly smooth to press. I can see myself typing on this for a long time to come. I’ll probably take it in to my office tomorrow where I have better lighting and try to take some glamor shots. Typing this up made me want to sell all my other keyboards and just use this one.

So let’s circle back to the question that I posed at the beginning of the post: is this board worth the price and the hype? Or are other similar cheaper boards better value? I think the answer to both questions is yes. I understand the hype on the board. The machining is perfect. The anodizing is perfect. Everything went together very easily. The board shipped in the timeframe provided. However, like anything else, there starts to be diminishing returns. You end up paying a lot more for a near perfect experience. For me, here, it’s definitely worth it. For me three years ago still figuring out what I liked, it probably would not have been. A keyboard like this demands attention to detail when assembling to be everything that it can be, and that takes some practice.

Full Specs:

  • Mechanisk Fjell Classic
  • Case: Ultramarine color
  • Plate: stock brass (ANSI)
  • PCB: Wilba WT60-D
  • Switches: Tealios; springs lubed with 205g0; sliders and housings lubed with 3205
  • Stabs: Zeal Stabs; lubed with Christo-lube
  • Keycaps: GMK Deep Space
  • Weight: I think we have a scale in the kitchen, maybe I’ll update later

One more thing, I’ve been typing on the Wonderland I posted my previous build log of for a while now, and I think I’d like to write a review of it. I’m thinking I’m going to start writing reviews some time after my builds when I’ve had some time for them to sink in and really get some solid typing on.

10 Likes

Impressive build.

1 Like

Very nice build log and build, I always love to see all the details like this. Appreciated the description of the extra fun involved in soldering when you’ve got compressive material pushing against you - I can relate.

1 Like

Thank you very much for this great build log.
I’ve fully entered this hobby after haven seen Fjell builds and typing sound session one year ago.
I’m happy to hear from you that the hype is still here for this board, such a beautiful case…

Did you had time to compare the flex with and without the center screws?

1 Like

I haven’t had a chance to try with and without yet, I really did just get it put all the way together the other night. I also need to try with and without the foam in the bottom under the PCB, I think that’s taking away from the flex since it takes up pretty much all of the empty space.

1 Like

Hello!
Thanks for sharing the build log with great details and comments :slight_smile:

I want to comment on the foam usage, all my packaging is made to be used for further shipment later, storage and for bringing keyboards to and from meetups. I do realize that the foam production is unecessary for the user that just throws it away after they have unboxed their case, and I will keep it in mind for the future. I really like feedback like this.

Thanks again.

4 Likes

Actually, a good ideal for future runs would be to let customers choose their packaging. They could get the usual premium packaging for the regular price of whatever product if they intend on keeping & reusing it. Or they could get a more eco friendly, disposable shipping solution at more than likely higher cost if they intend on throwing it away (even though the packaging would be decidedly shoddier, eco friendly products are notoriously expensive).

1 Like

Yeah, you gotta remember too I’m just some guy on the internet, I kept the box in case I decide to part ways with it for some reason, and I def get the storage/transport uses even though I probably won’t use it for that

2 Likes