I’m pretty new to this community, and figure there are probably more proper ways of doing this, but I took a crack at labelling my switches to more easily organize them.
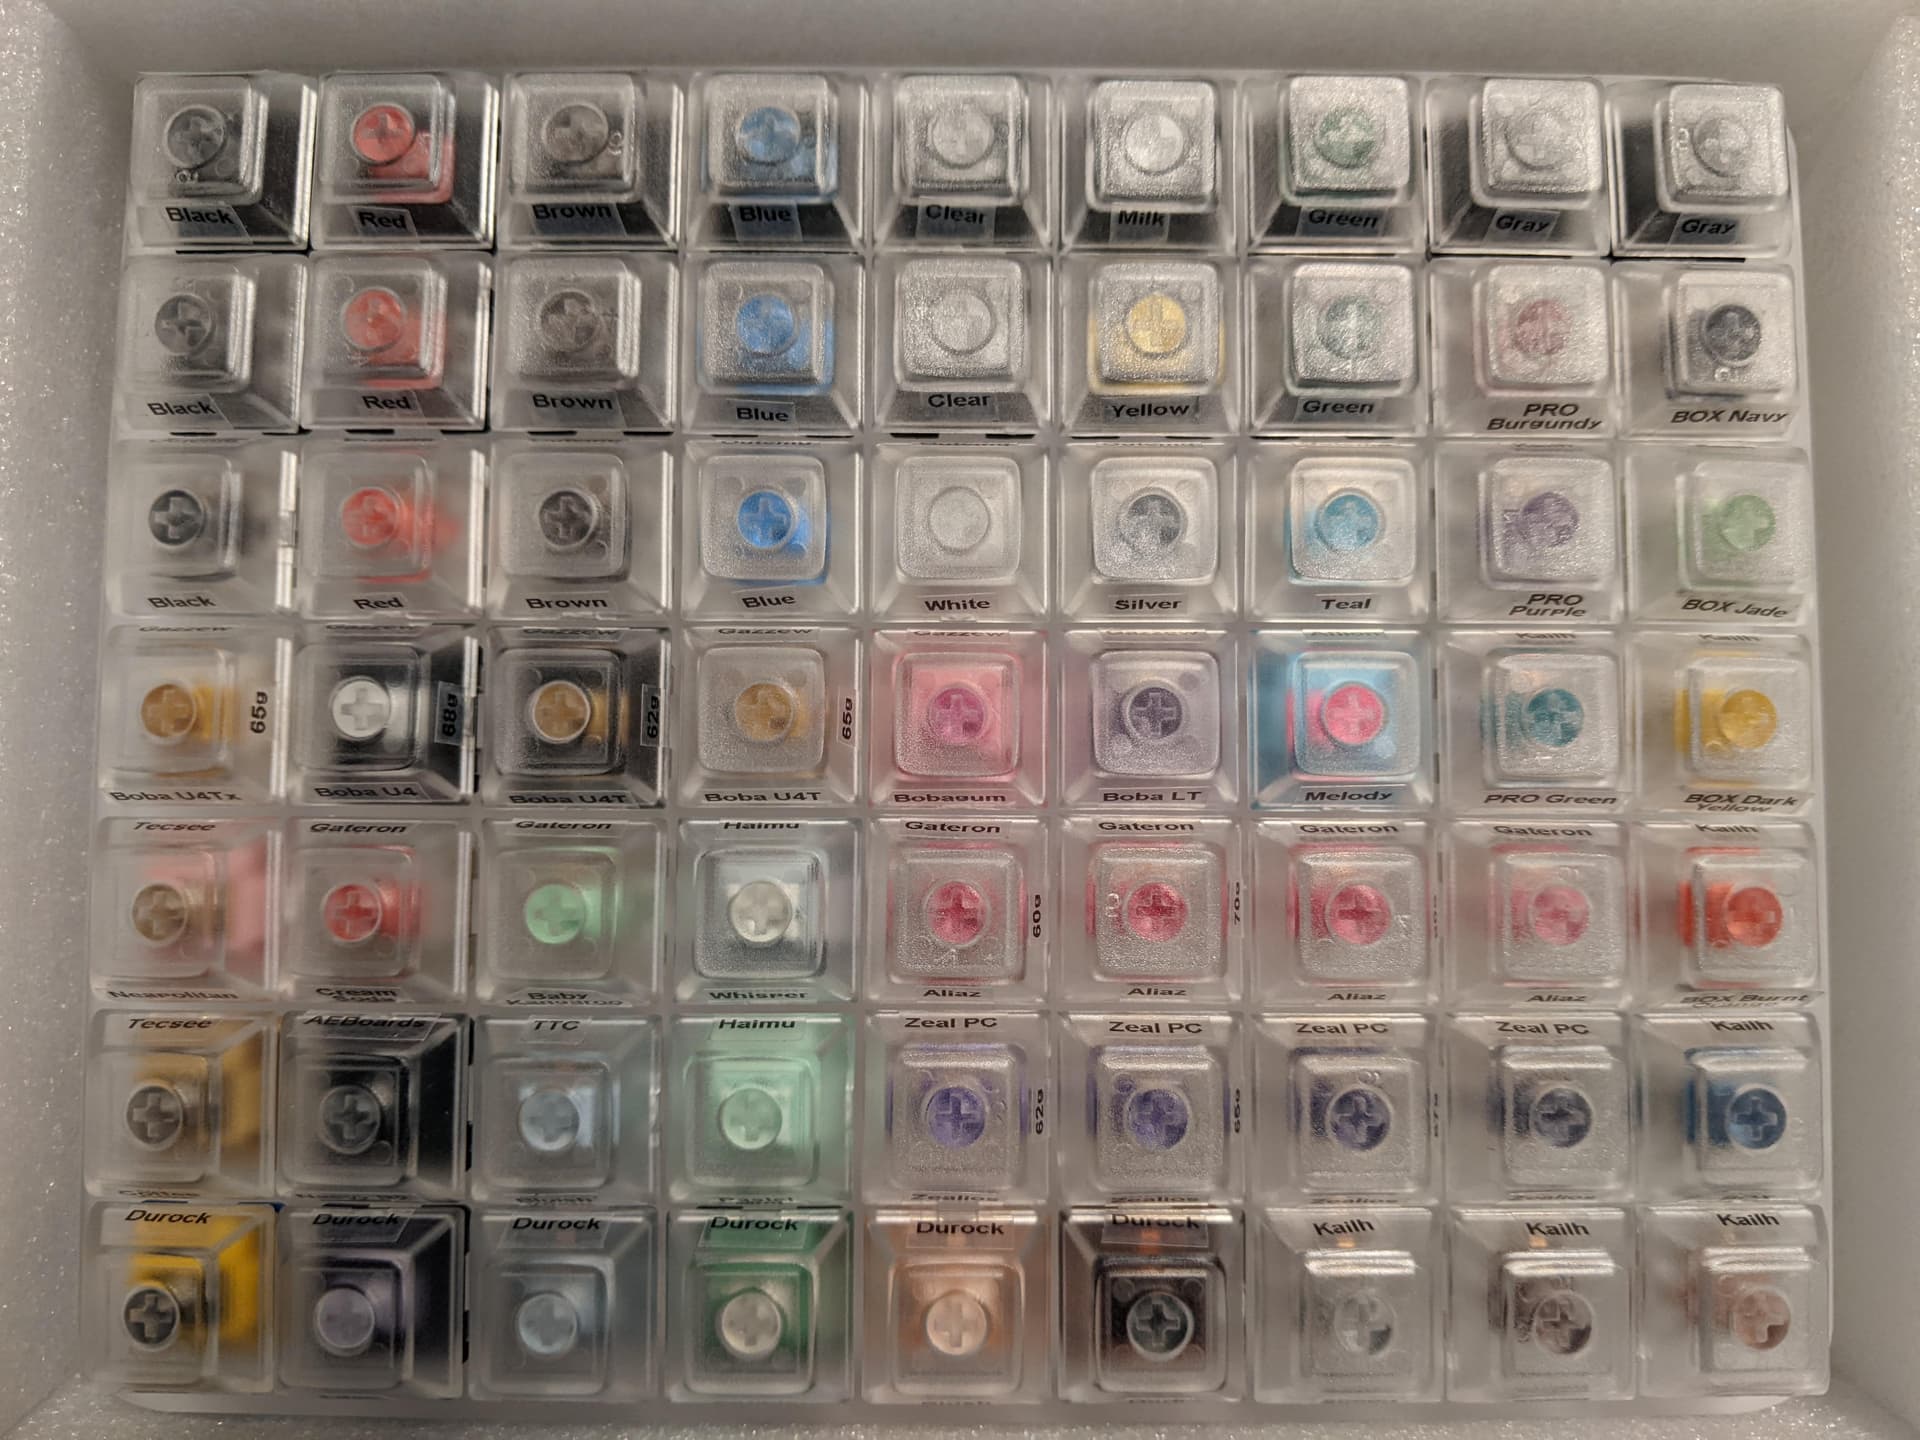
I wanted to do something fairly inexpensive. This amounted to a pack of clear key caps for about 20$ and a roll of transparent label maker plastic for about 10$, plus a borrowed label maker. The difficult part was probably just the printing, cutting and sticking of the labels, taking me several hours for about 100 switches (not all in photo). In a perfect world, I would have been able to use more narrow labels, but the printer I used wasn’t compatible with them, so I used a paper cutter to thin them down.
My goal was to only have labels on the sides, reducing the chance of them wearing out from usage, or being an annoyance when testing the switch. I’m overall quite happy with the result. Figured it’d be fun to share here.