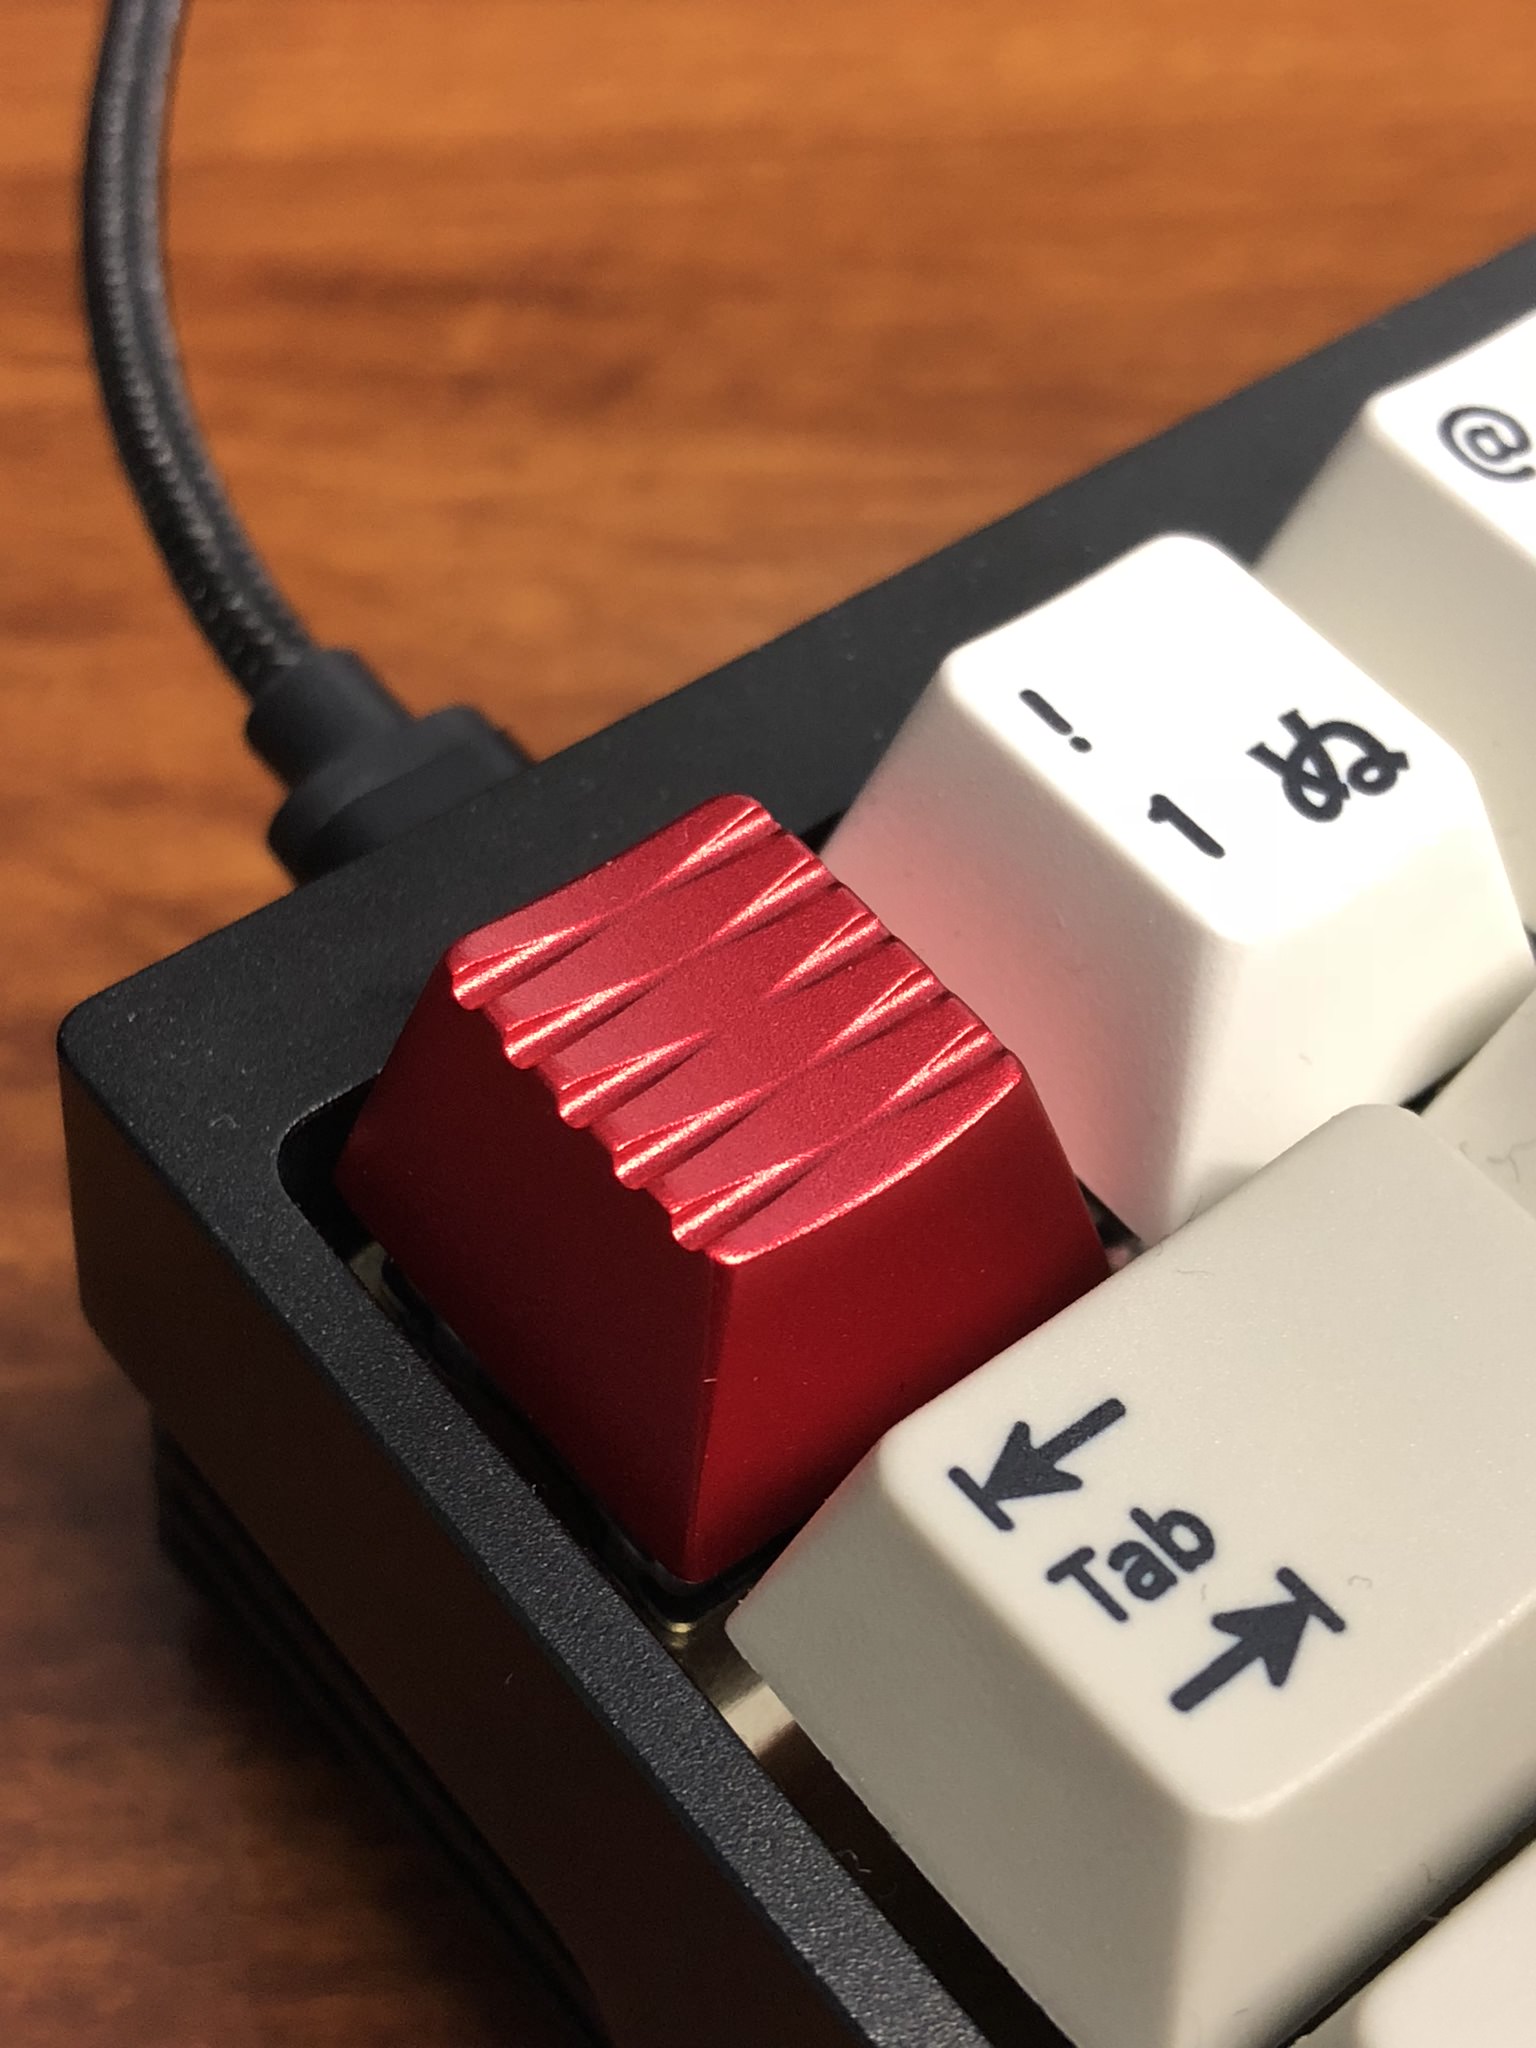
Macro photos with the iPhone 8 are really harsh. It seem to just highlight all the crap and it’s hard to make it look like the actual key. Has anyone posted tutorials for keycaps photoshoots ?
I’m trying to get good result photographing stone keycaps.
This is a great idea. I don’t think I’m an expert on it but maybe I’ll find some time to give my insights into photographing objects. I’d love to see somebody like ChrisSwires do a write up as I actually find his shots to be very consistent and high quality!
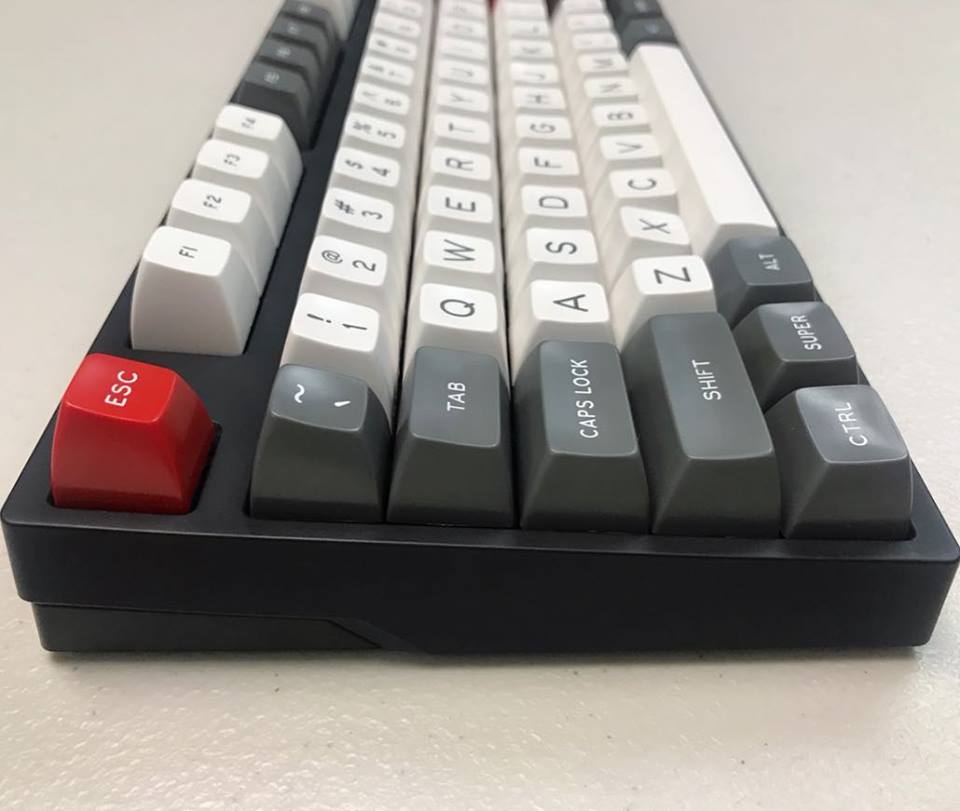
Here is one I took with the camera on my iphone X. Im not a pro or whatever but this looks pretty good (to me) for a smartphone camera close up shot. You have to remember most of the beautiful eye watering shots you see posted on Reddit etc are done with DSLRs, tripods etc.
I think when your using stuff like smartphone cameras you have to do what you can to compensate for what they lack eg. good positioning, good light, maybe a little edit after.
In the photo you posted it looks too dark, and the subject (your artisan) feels a little pushed to the side by the key underneath.
Again take or leave what I’m saying; I’m sure someone with more photography experience will chime in.
The problem with smartphone photography is that it uses a lot of software to calculating lighting, metering, etc. That’s great for most photos, but when you’re shooting non-conventional stuff like keyboards (which has crazy color contrast) the camera goes crazy.
If you’re just doing glamour shots, then go with what looks best. But if you’re trying to to accurate keycap or keyboard photos, then one of the biggest impediments to getting accurate colors is white balance. And nothing will throw colors off faster than your camera trying to be helpful and using automatic white balance.
If your camera allows it, create a custom calibrated white balance, otherwise set it to “Daylight” if you can. If the colors look off on the photo, it becomes much easier to correct them in post when you start with a stable baseline.
If you can afford it, get hold of a color checker card or a photographer’s gray card (18% neutral gray) and include it in a couple beginning shots. The photographer’s gray square or gray card can be eye-droppered for white balance (either by you, by a friend, or by someone online) and the rest of the photoshoot adjusted accordingly to get more accurate color representation.
Hehe. Yes, I call it that because it is a similar finish to Gitzo tripods and some Leica cameras, not because it’s the shade of gray used in white balance reference cards.
Yes… the results with the iPhone are all over the place. The slightest change in lighting totally changes how it decides to compensate. I had to take about 12 shots to get close to what it actually looks.
My v30 and my wife’s zenfone ar both have manual camera settings but it still seems to fight with how much light is really there. Idk what the fstops actually are on phone cameras but as soon as I go to manual, everything gets crazy dark even with a fair amount of natural light