Hello, hope everyone is having a lovely evening/day! I’m back with another progress report
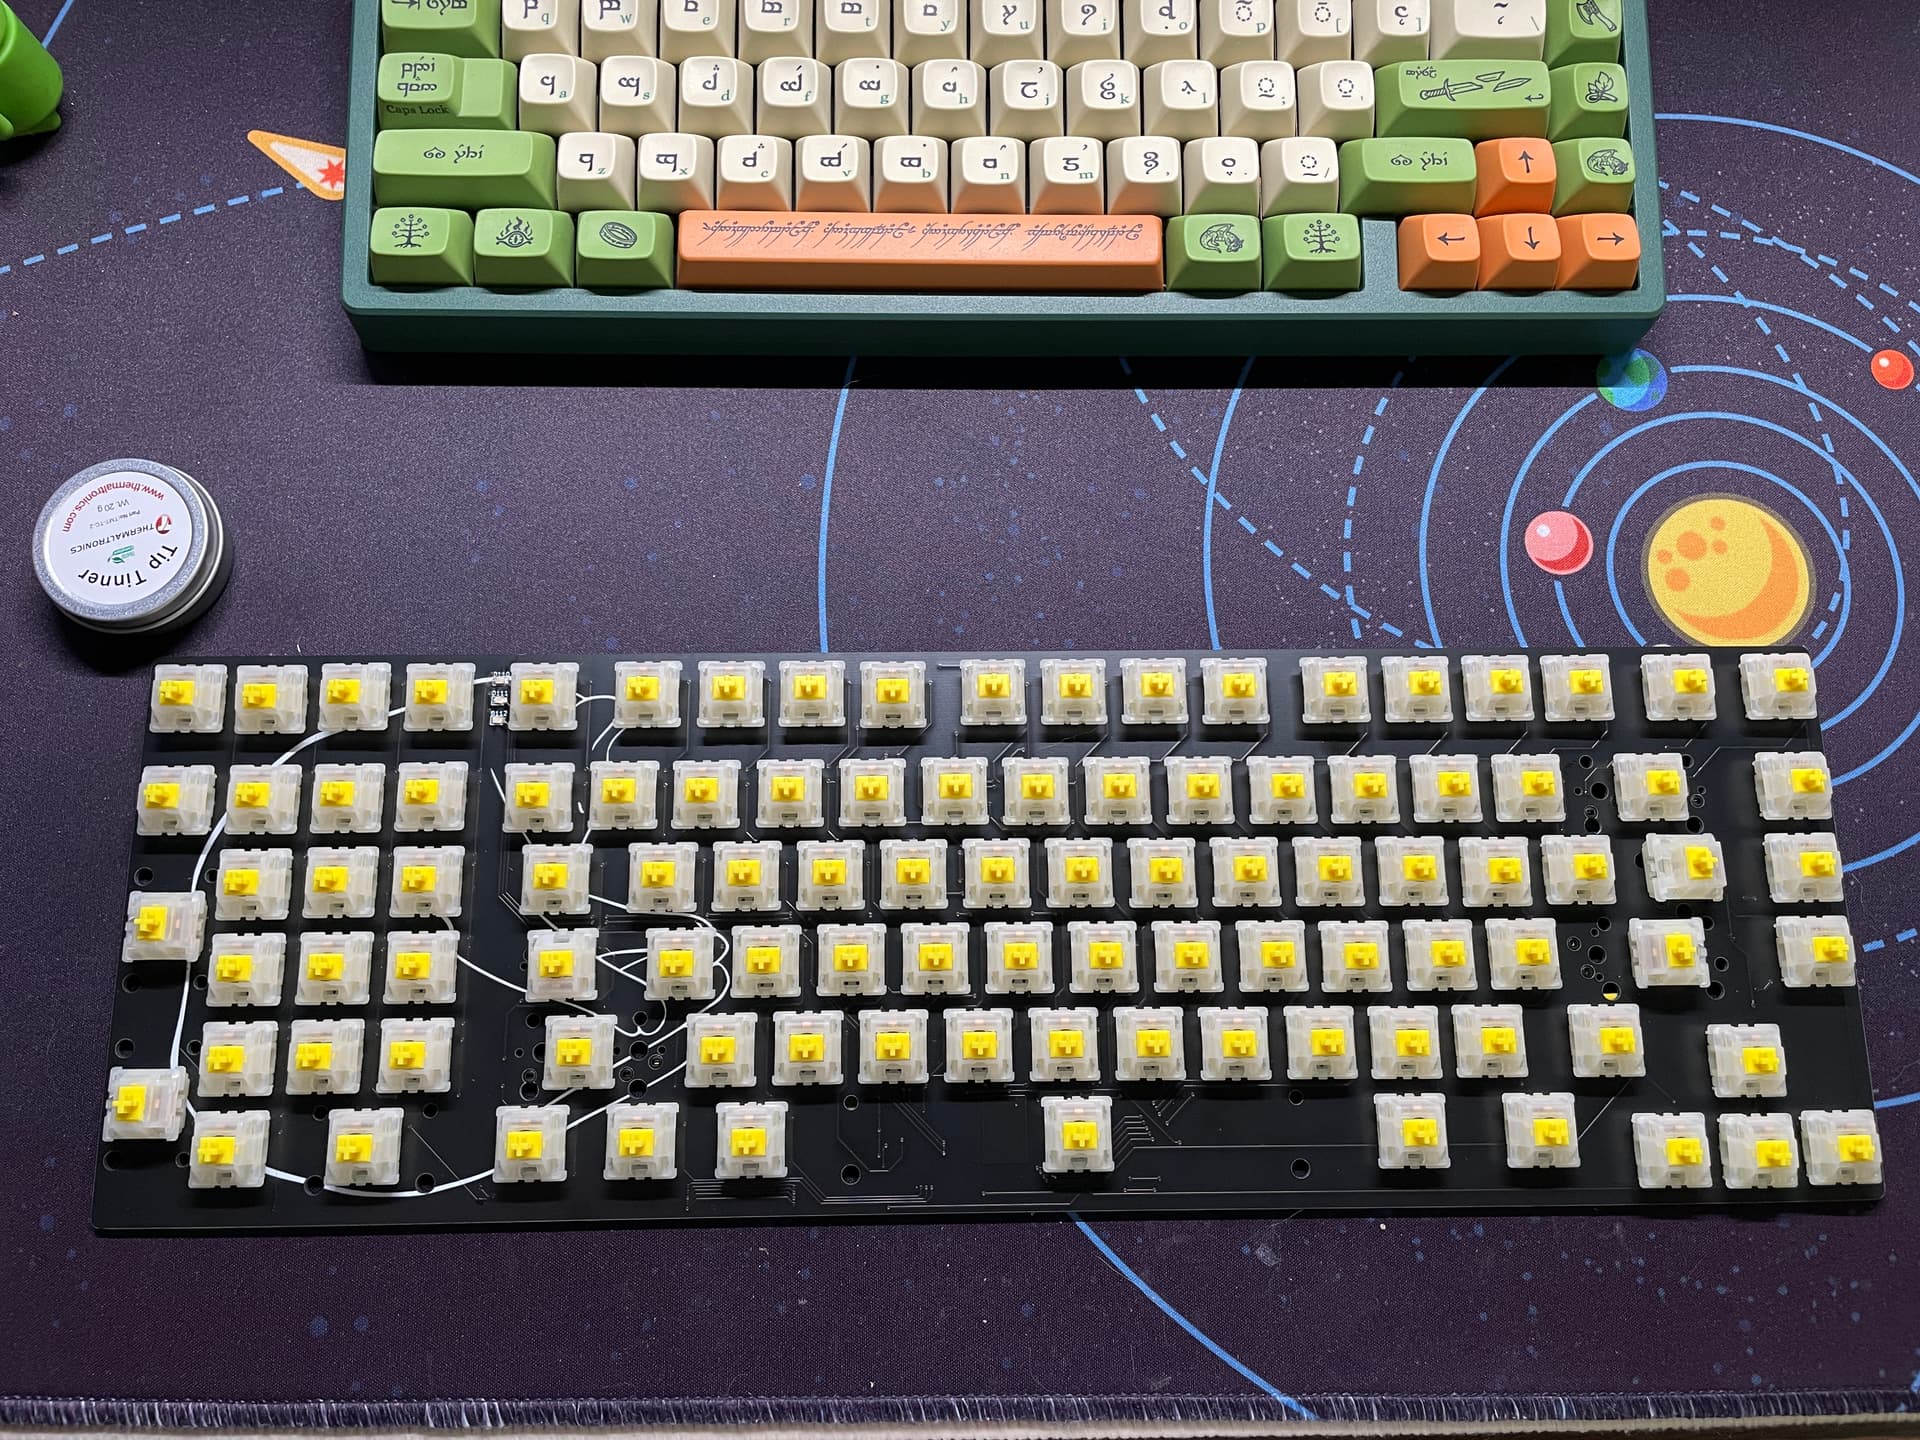
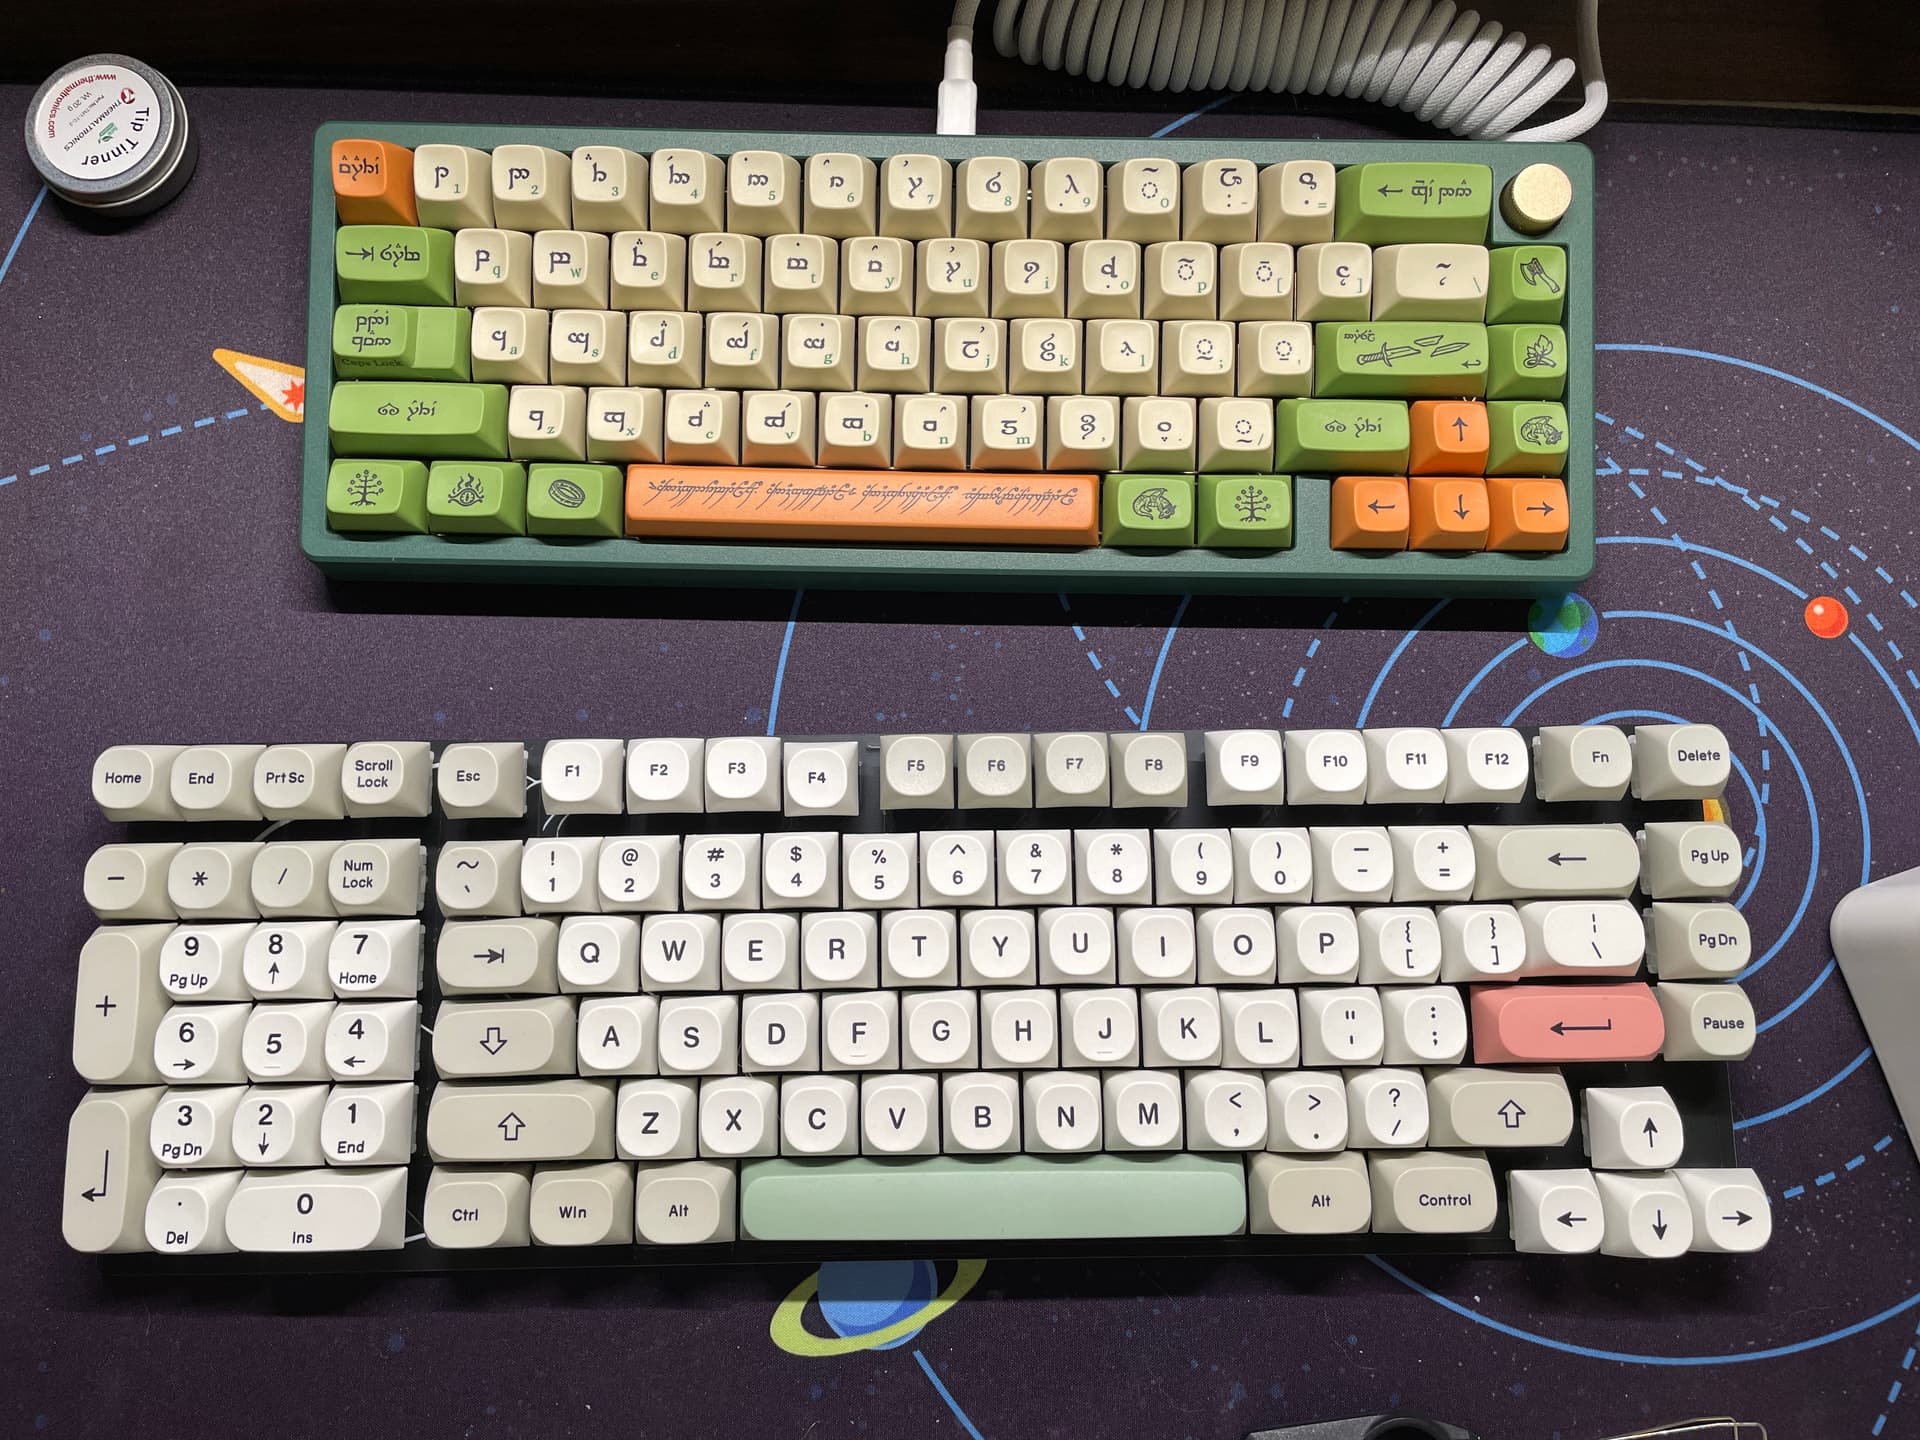
The PCB has been fully soldered and functional (for the most part)!
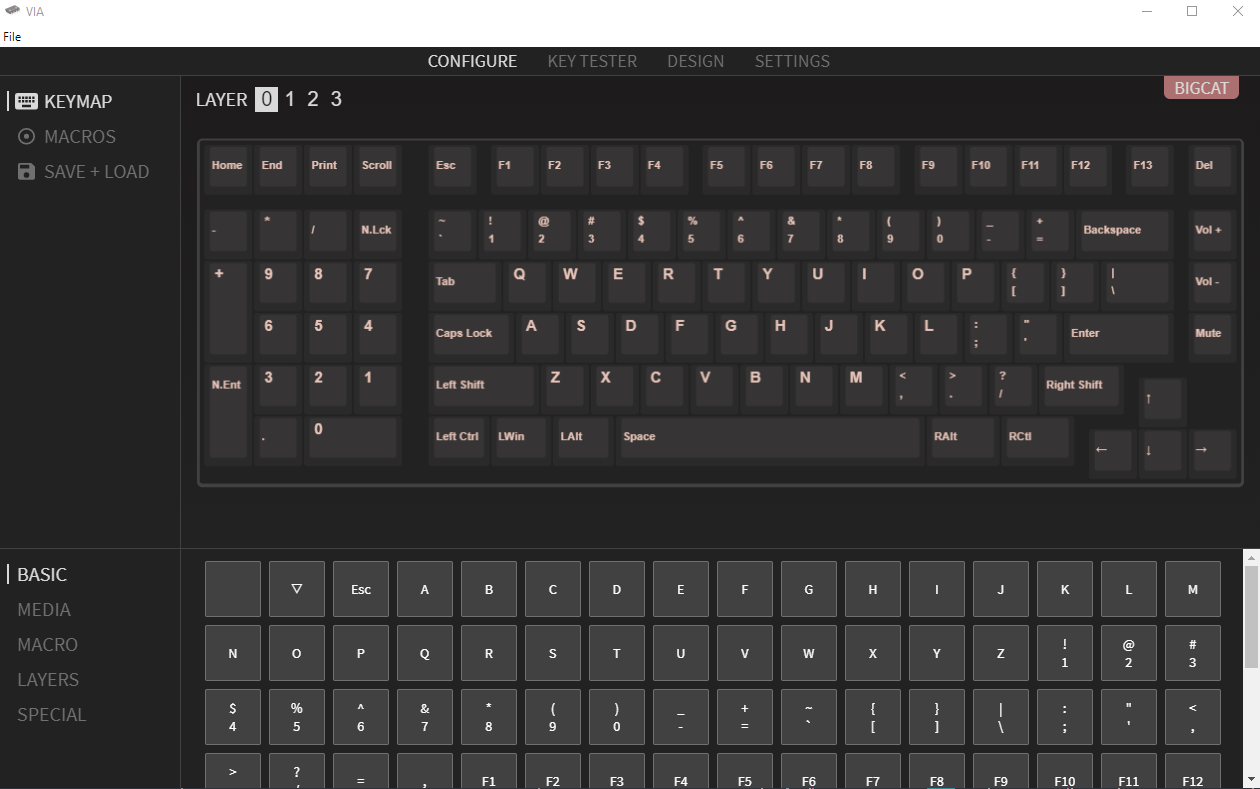
And we have VIA too ![]()
A couple of issues I found out in the process:
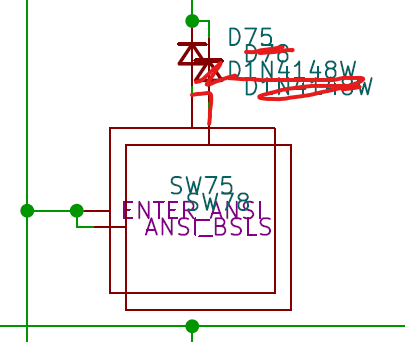
- Where I had two switches in series, they only need one diode… I went trigger-happy and added another diode during schematics phase. This created some major problem with the firmware. I had to abandon my multi-layout plan and use some jumper wires to get the ANSI layout work correctly
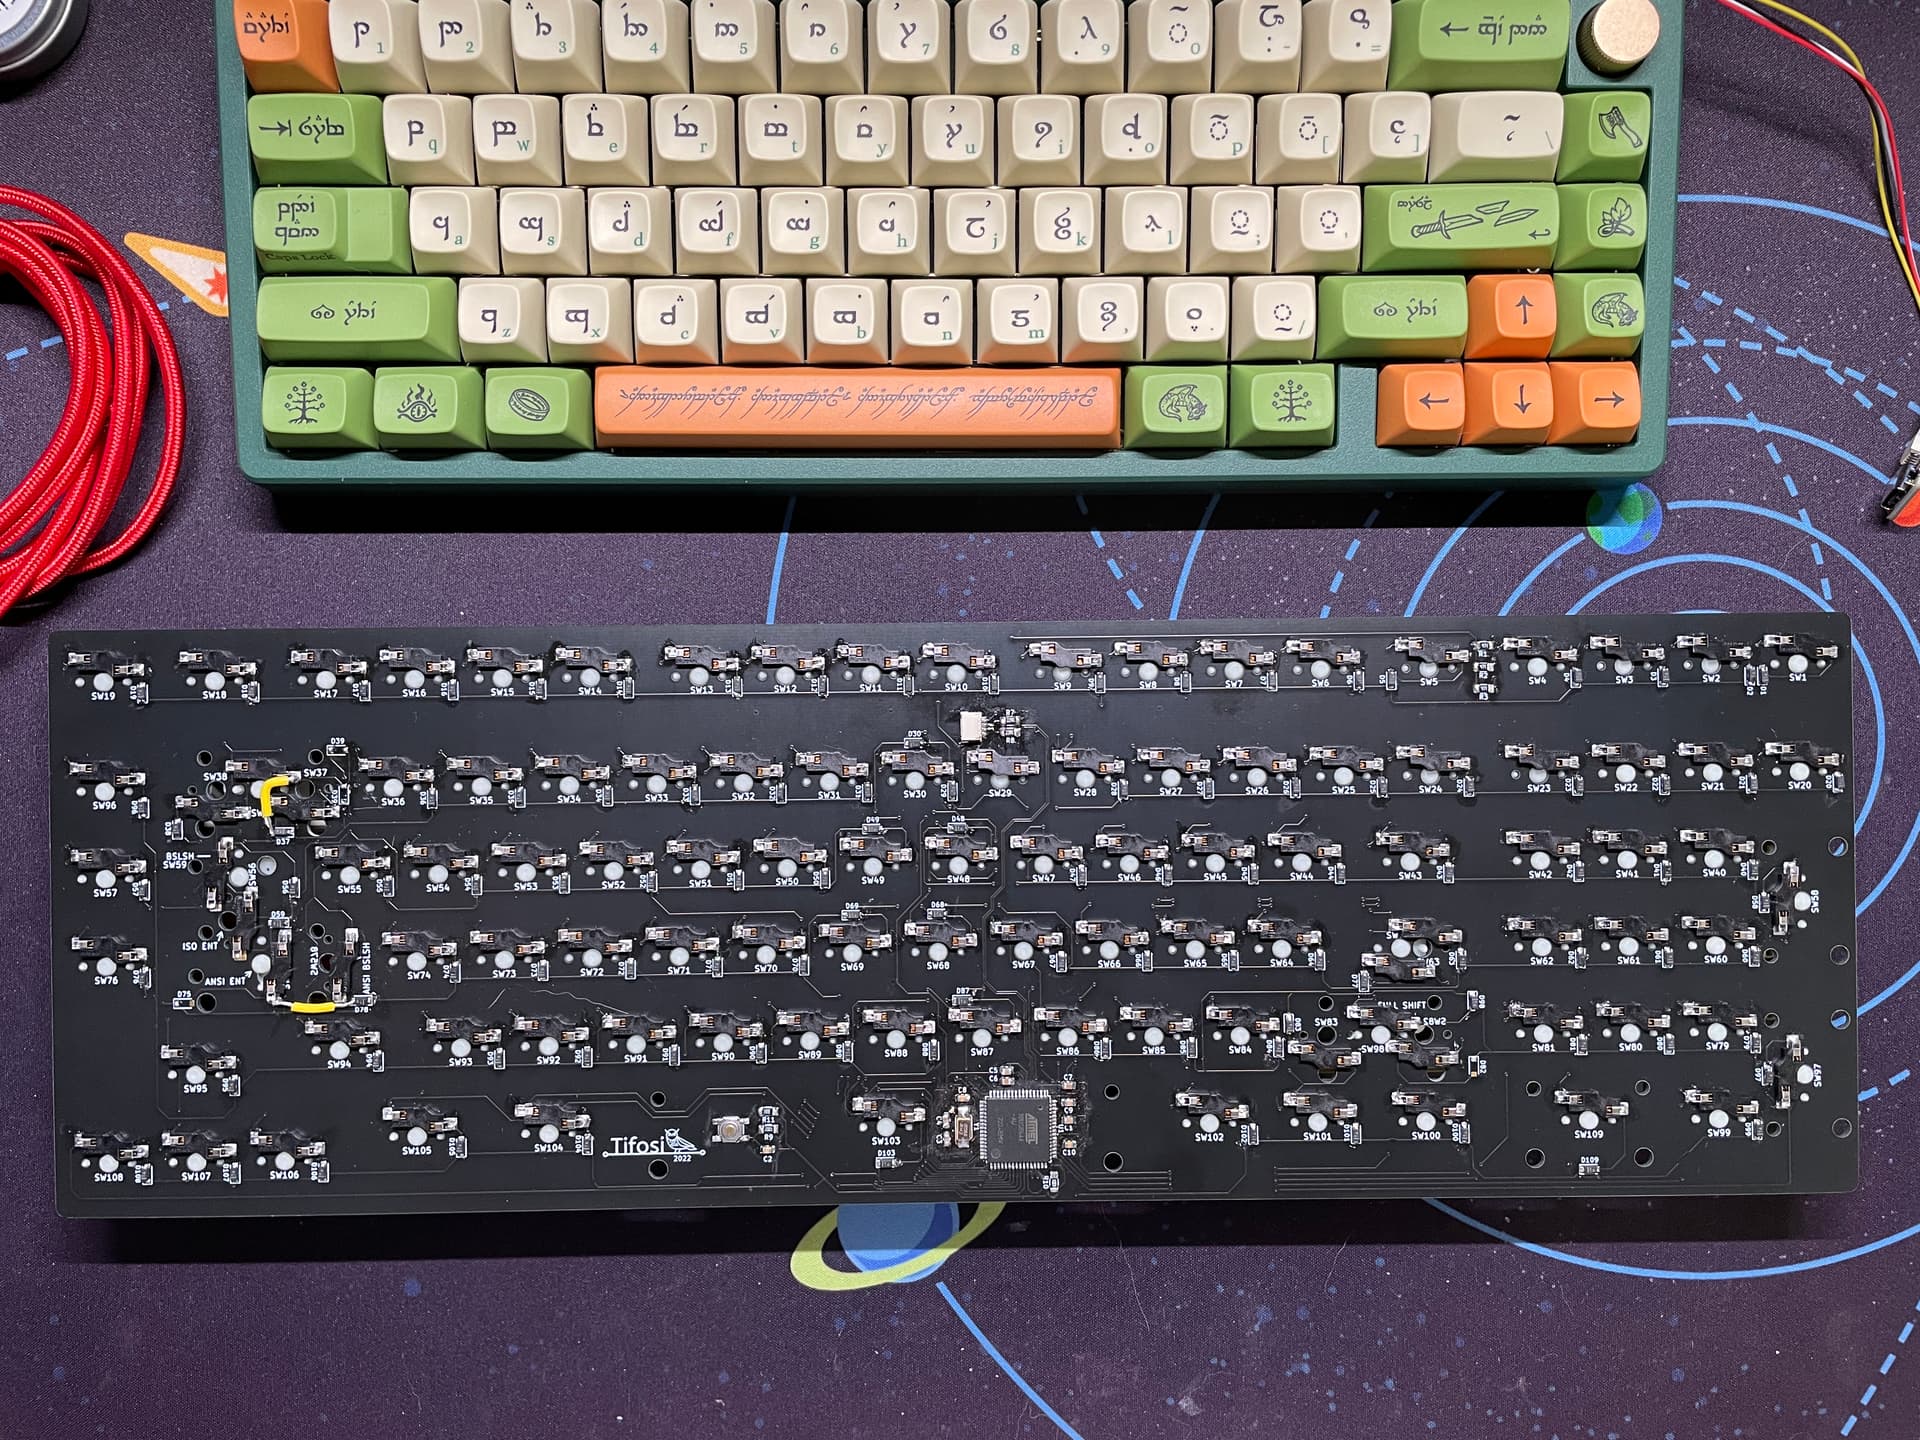
Here is the jerry-rigged back side of the PCB
- In all of my wisdom, I did not wire up the right bracket key

- Once I put the keycaps on, I noticed that there were alignment issues with the pipe key and the enter key. That part of the PCB is extremely busy in KiCAD, so I might have misaligned their footprints.
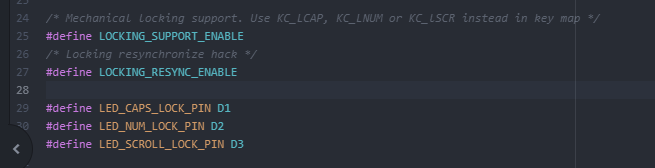
(My phone’s camera went weird here. In real life it doesn’t look this distorted) - The indicator lights for caps lock, numlock, and scroll lock are not working. It might be a firmware/coding issue. I have posted the entire firmware folder on GitHub here if anyone is interested in taking a look: GitHub - tifosi-the-tinker/qmk_firmware
This is what I have in config.h
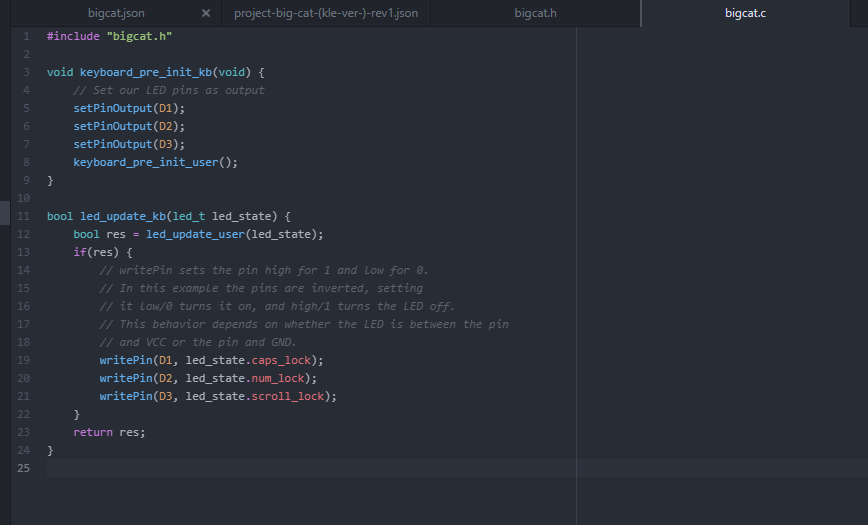
This is the code for indicator lights in bigcat.c
I tried to look through other firmware in the QMK repo, and everyone seems to do it differently. I ended up following the QMK documentation, but that didn’t seem to do the trick. I also tried soldering on the LED lights both ways in case that I messed up the polarity. That also didn’t work…
Notes for PCB Rev1:
- Change out MCU in the next round: maybe use an ARM processor
- Use footprint for solder-only switches and keep everything south-facing to simplify things
- I might not do the ISO layout any more and just do split left shift and 7u bottom row
- Wiring and traces need to be checked more carefully before sending the files for manufacturing
Lastly, just want to point out some very helpful resources in coding firmware. I’m no programmer so I had a lot of trials and tribulations with this process. Hopefully these will help other people in the future:
- QMK documentation: QMK Firmware
- QMK converter: QMK Firmware - Convert KLE to QMK info.json
- Keyboard firmware builder: https://kbfirmware.com/ I won’t be able to do anything correctly without the .zip source files compiled by this website. Do note that their code is a bit old, so I’d only suggest using part of the keymap and switch matrix file.
- Porting VIA: search MechMerlin “Porting VIA Ports” series video on Youtube. I followed this one in particular Porting VIA Ports: KBD67 Hotswap - YouTube
- If you’ve never done a brand new keyboard in QMK before, this video from MechMerlin is also pretty helpful to get you started: Twitch Stream VOD: 1upkeyboards Super16 Macropad QMK Port - YouTube
That’s it for now. I will need to rework the PCB and schematics before moving onto the plate and case, which may take a while. But I will be back with updates and notes along the way. Thanks again for sticking with me to this point. Hope you have a great time wherever you are! ![]()
 It still has a lot of kinks that I need to work out (see my latest long diatribe/update). The reason I started this project is to experience the process of designing a keyboard from scratch, and I don’t intend this to be a for-profit project. If it turned out to be a worthy board, I will look into open-sourcing it eventually.