Hello All,
In this post I will be going over the REALFORCE R4 and my findings. This is an informative post that will show the build and components of the new REALFORCE R4 keyboard.
DISCLAIMER
I AM NOT RESPONSIBLE FOR ANY DAMAGES THAT MAY BE CAUSED FROM DISASSEMBLY. THIS IS NOT A GUIDE BUT IS AN INFORMATIVE DOCUMENT. READER ASSUMES ALL RESPONSIBILITY FOR ANY DAMAGES. THIS WILL VOID YOUR WARRANTY
With the disclaimer out of the way, let’s tear this thing down. ![]()
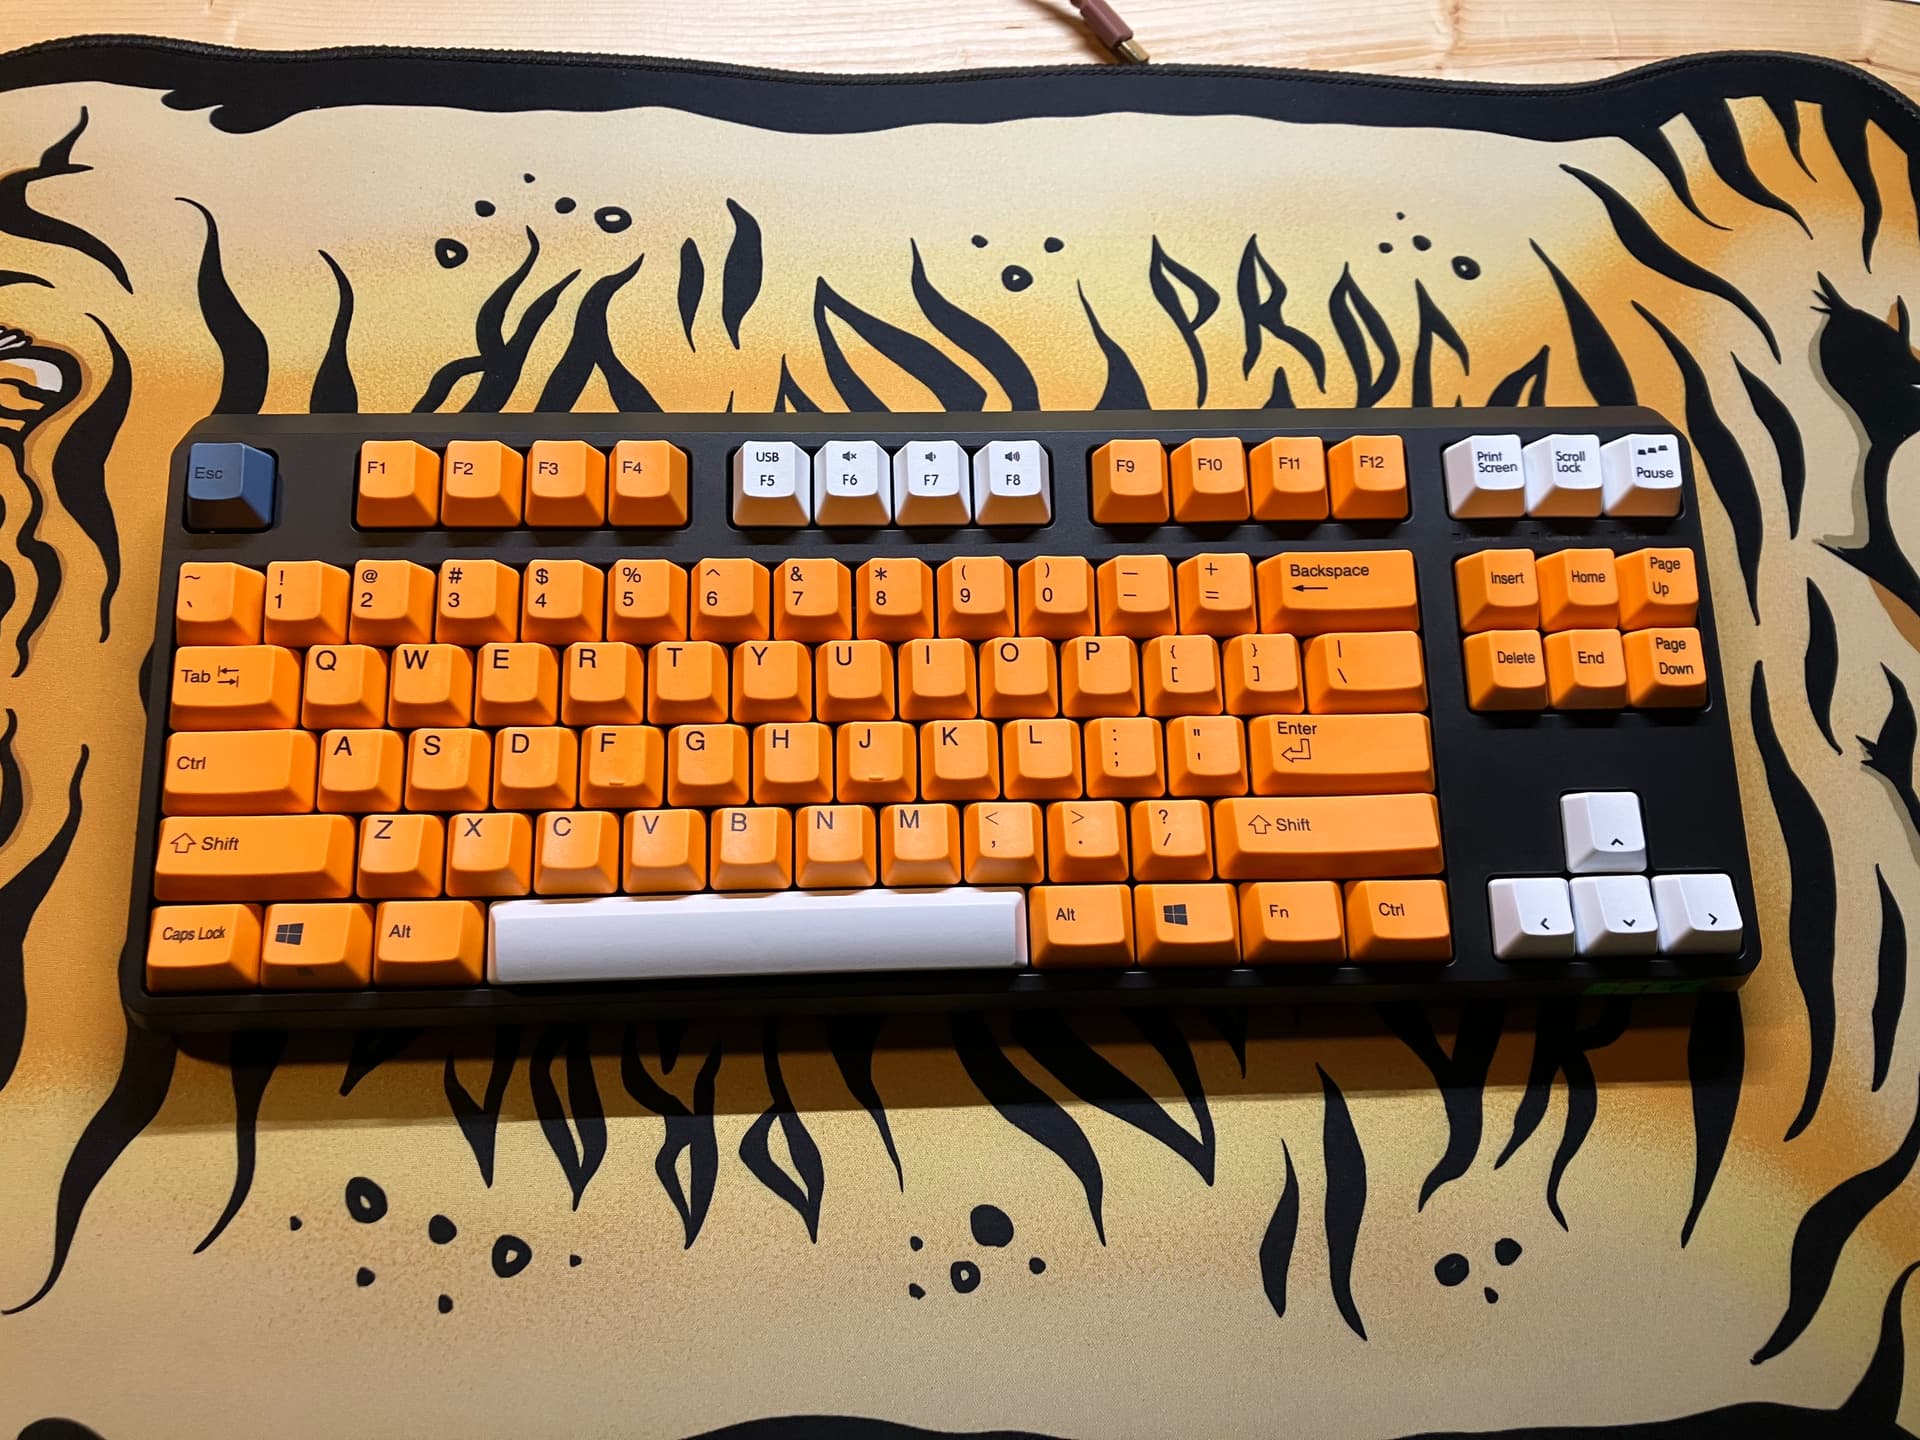
To start off, this board has the same layout as the R2 which is a very welcoming surprise! If you know Realforce… They do not keep the same layout EVER. So I was very happy when I found out I could slap on my R2 orange keycap set!
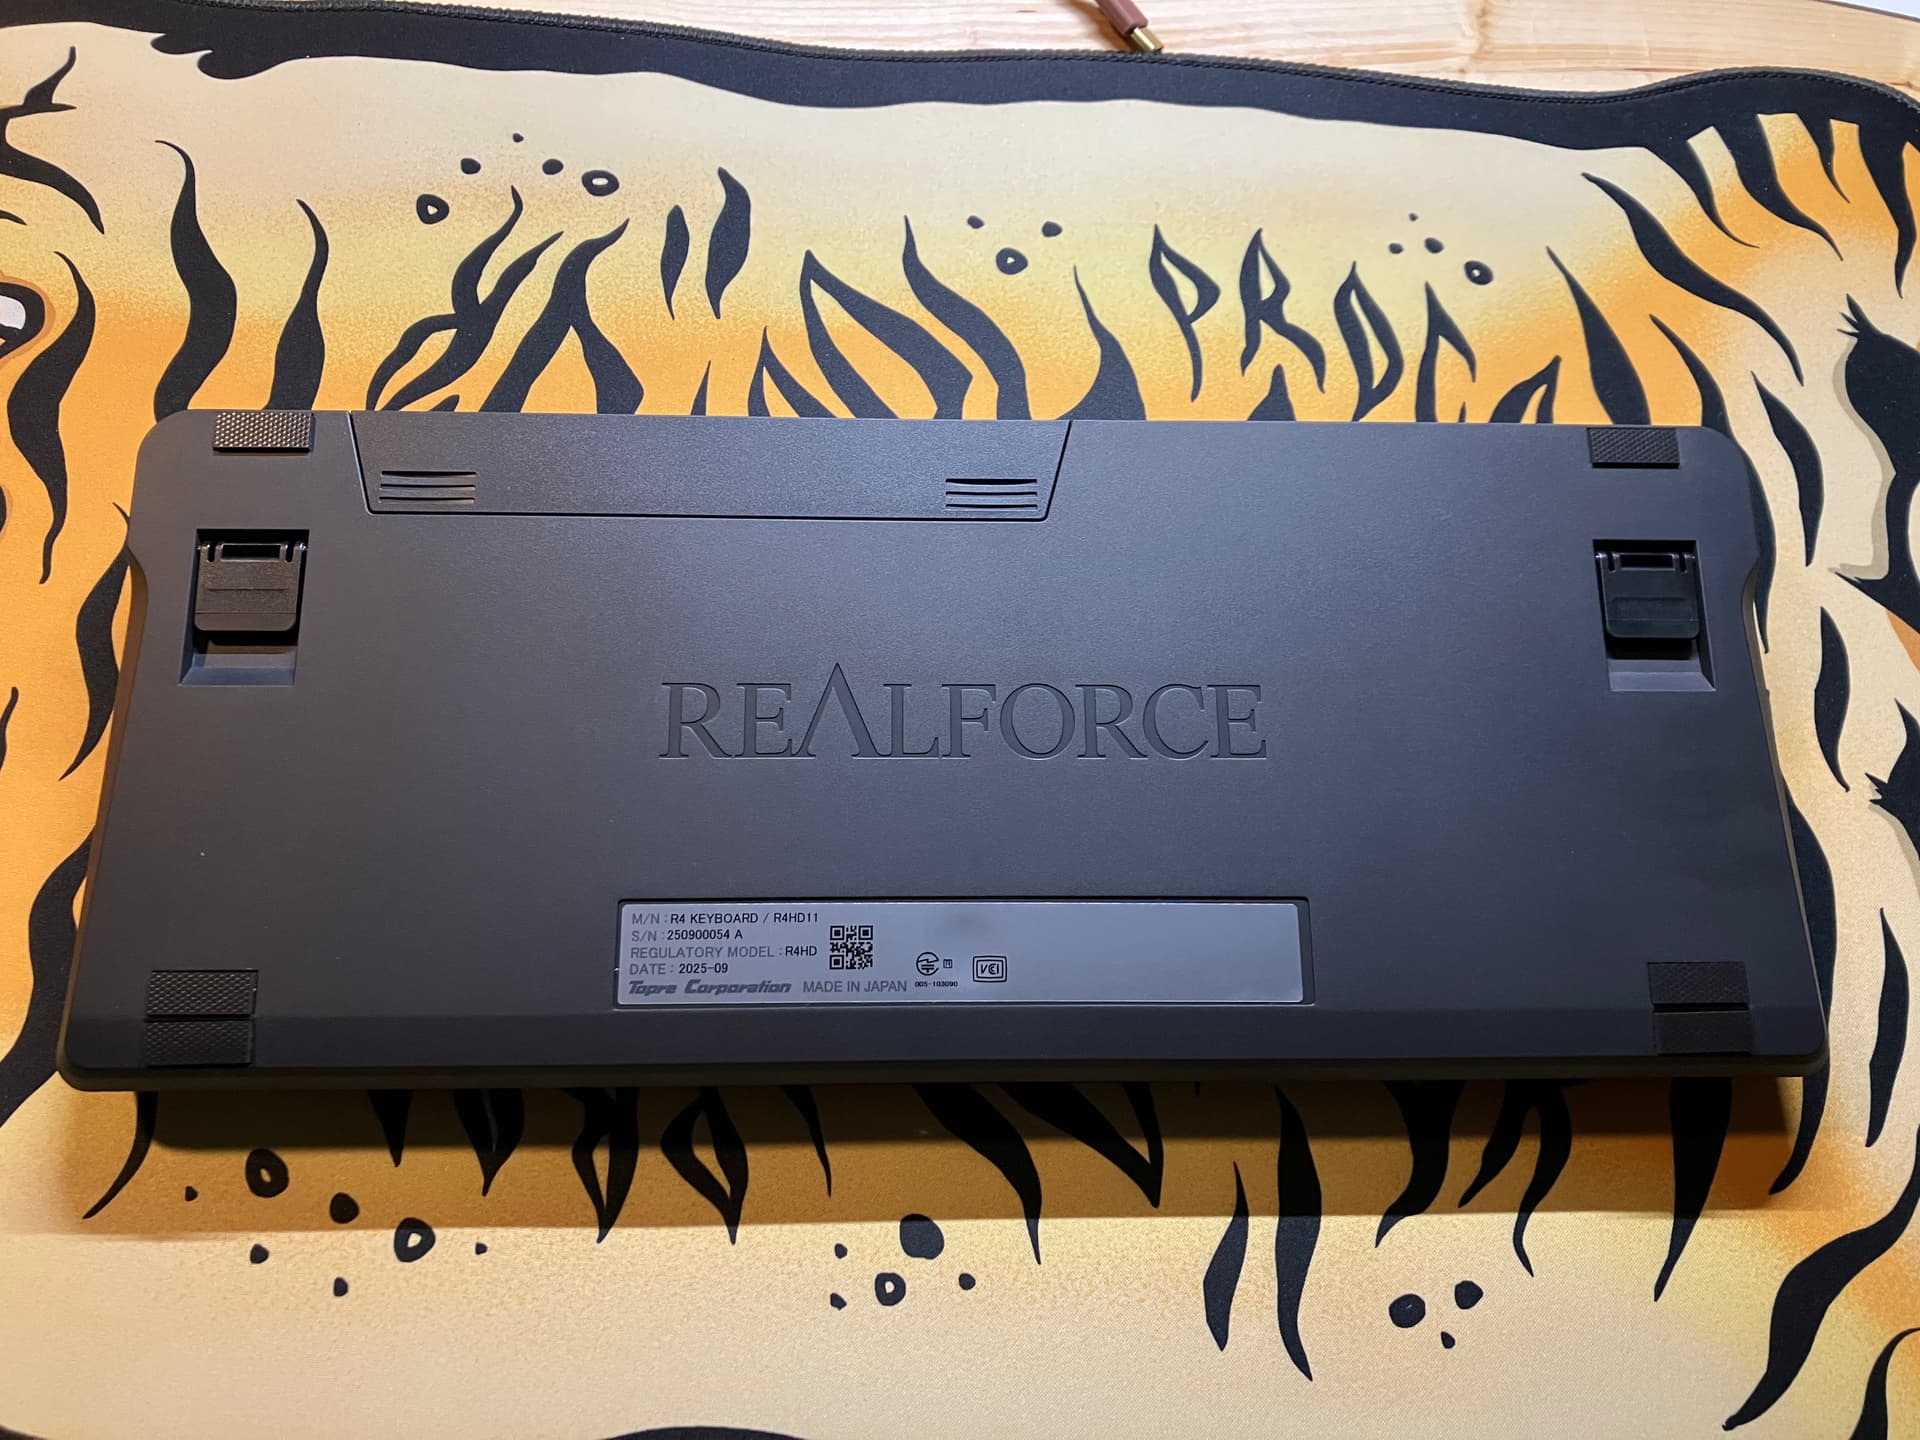
The bottom has a new design that is reminiscent of the GX1 bottom to me. But with a new battery door.
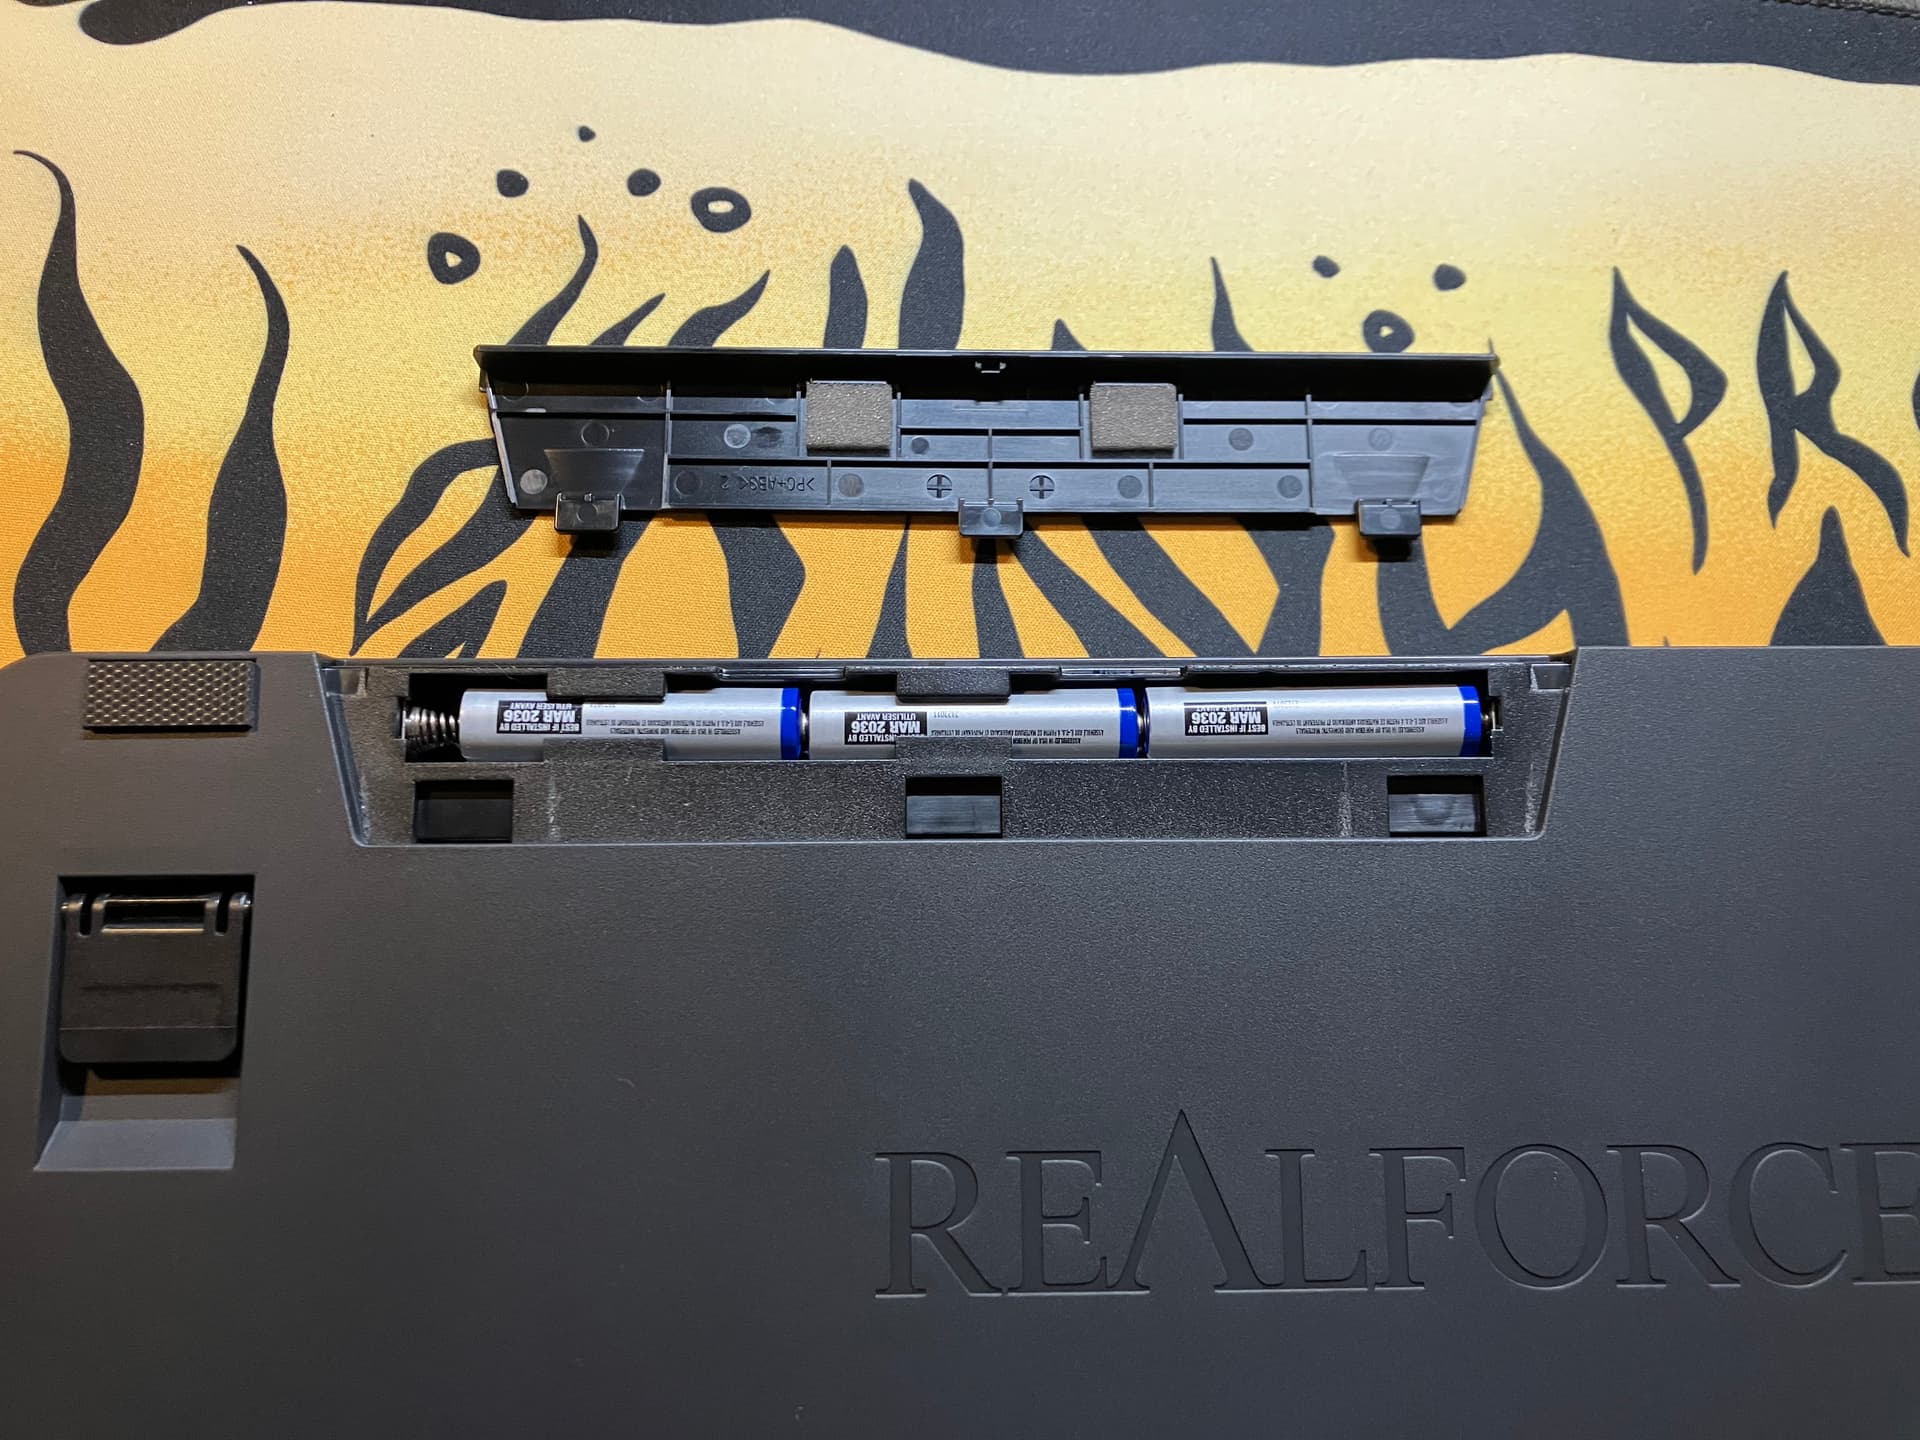
This board holds and uses 3x AAA batteries. I assume this is to keep from any battery housing bump which is nice.
Let’s crack this thing open shall we?
dOk, so to open, we first need to remove the top Right and Left feet to access the screws. Unfortunately, this will absolutely destroy the feet on this board… even with heat. They are now a foam material similar to the “anti-vibration mat” that Bird sells for the HHKB. Maybe some Iso alcohol would help preserve them. This is a con in my opinion… the old rubber feet are the best.
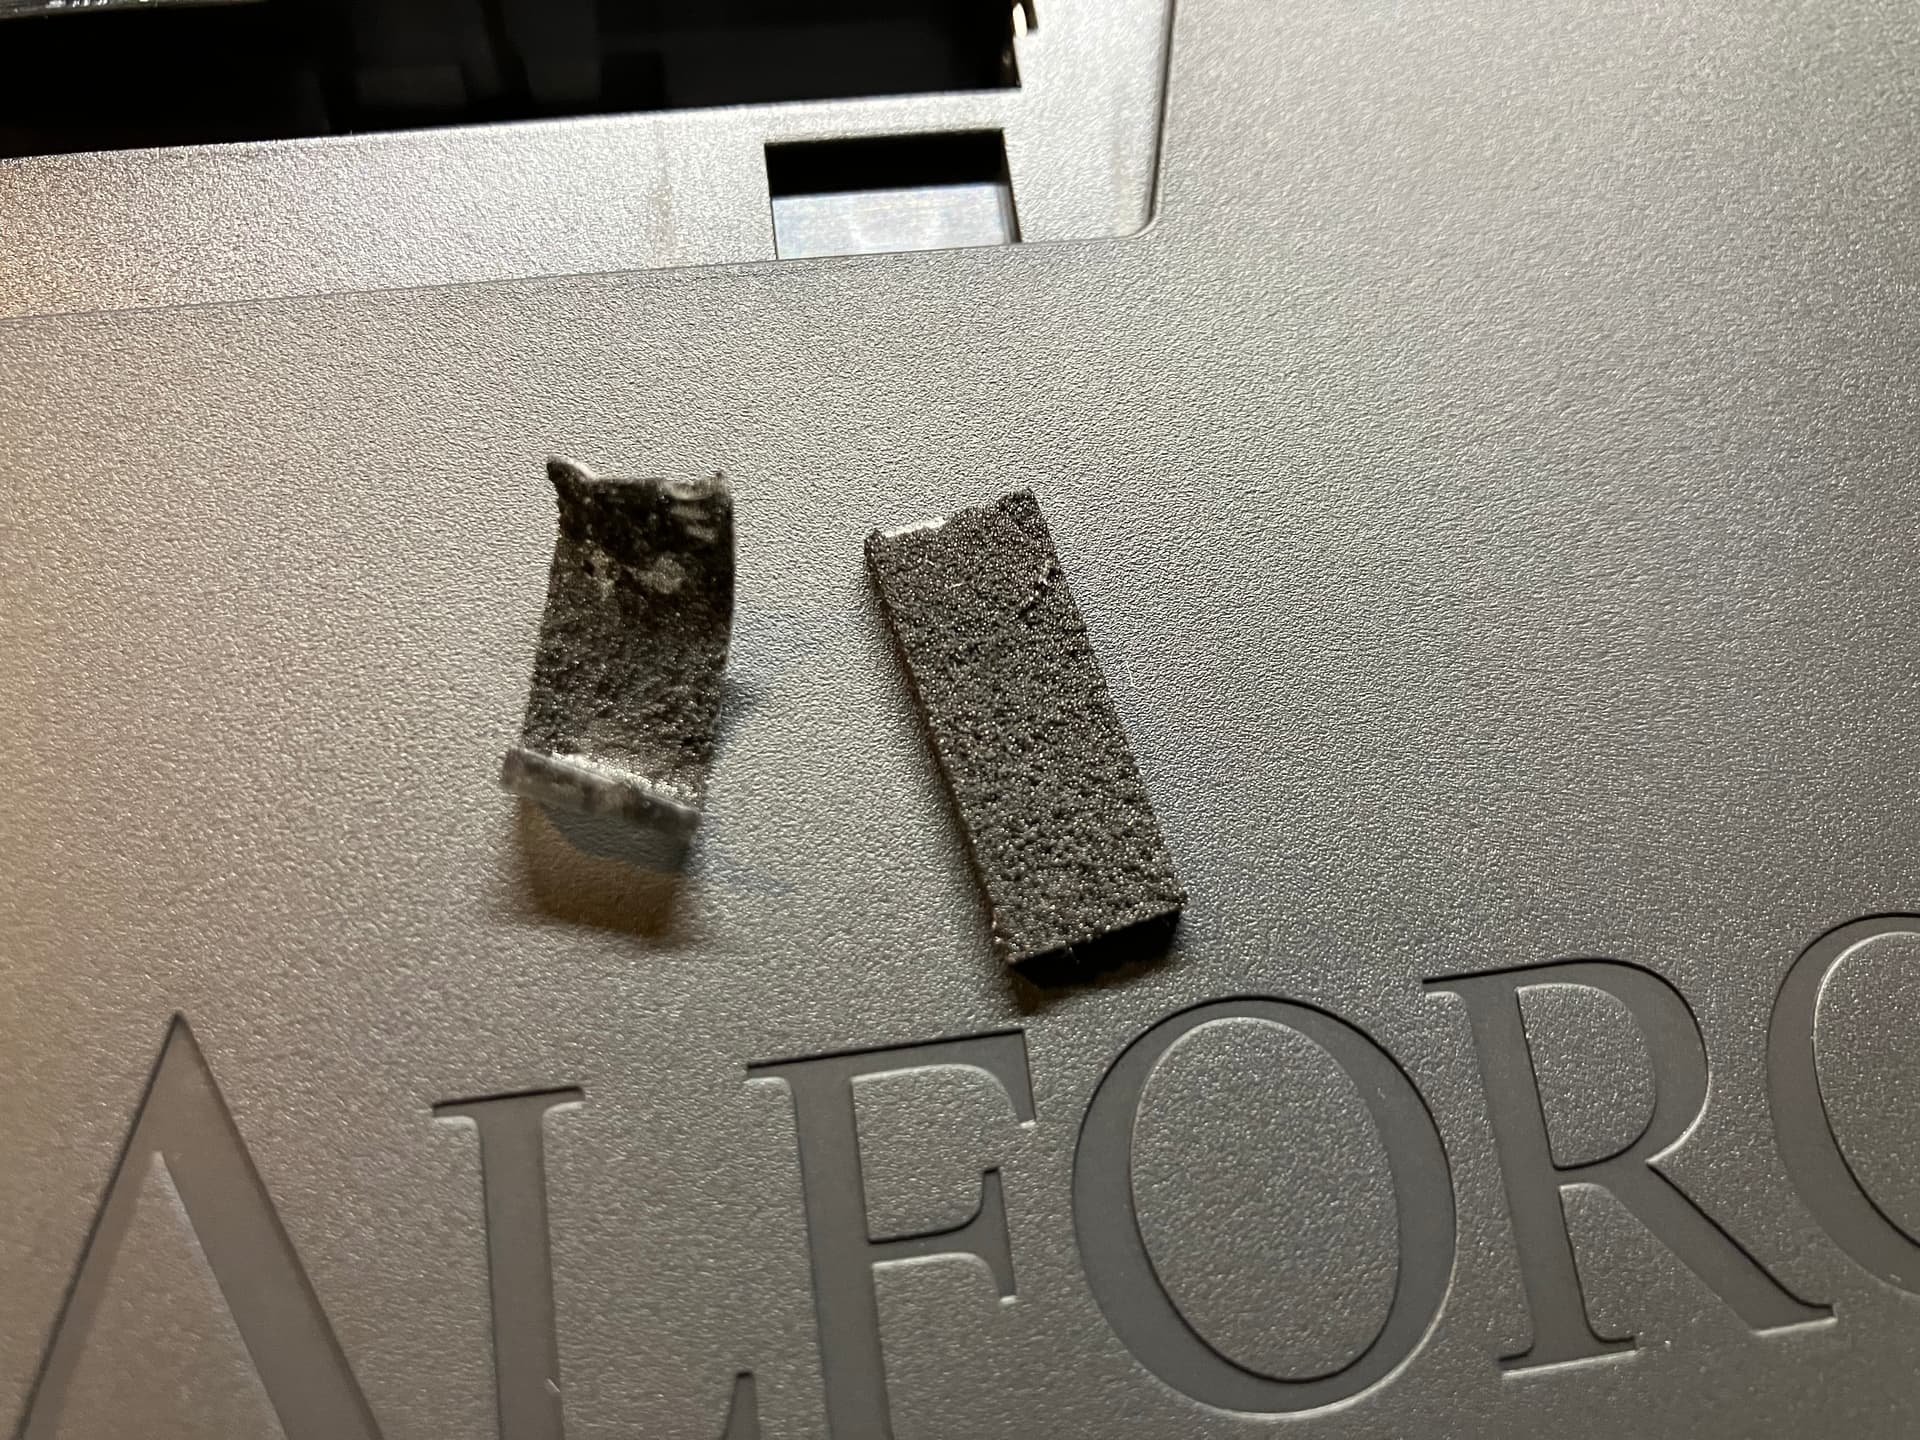
(Sad feet)
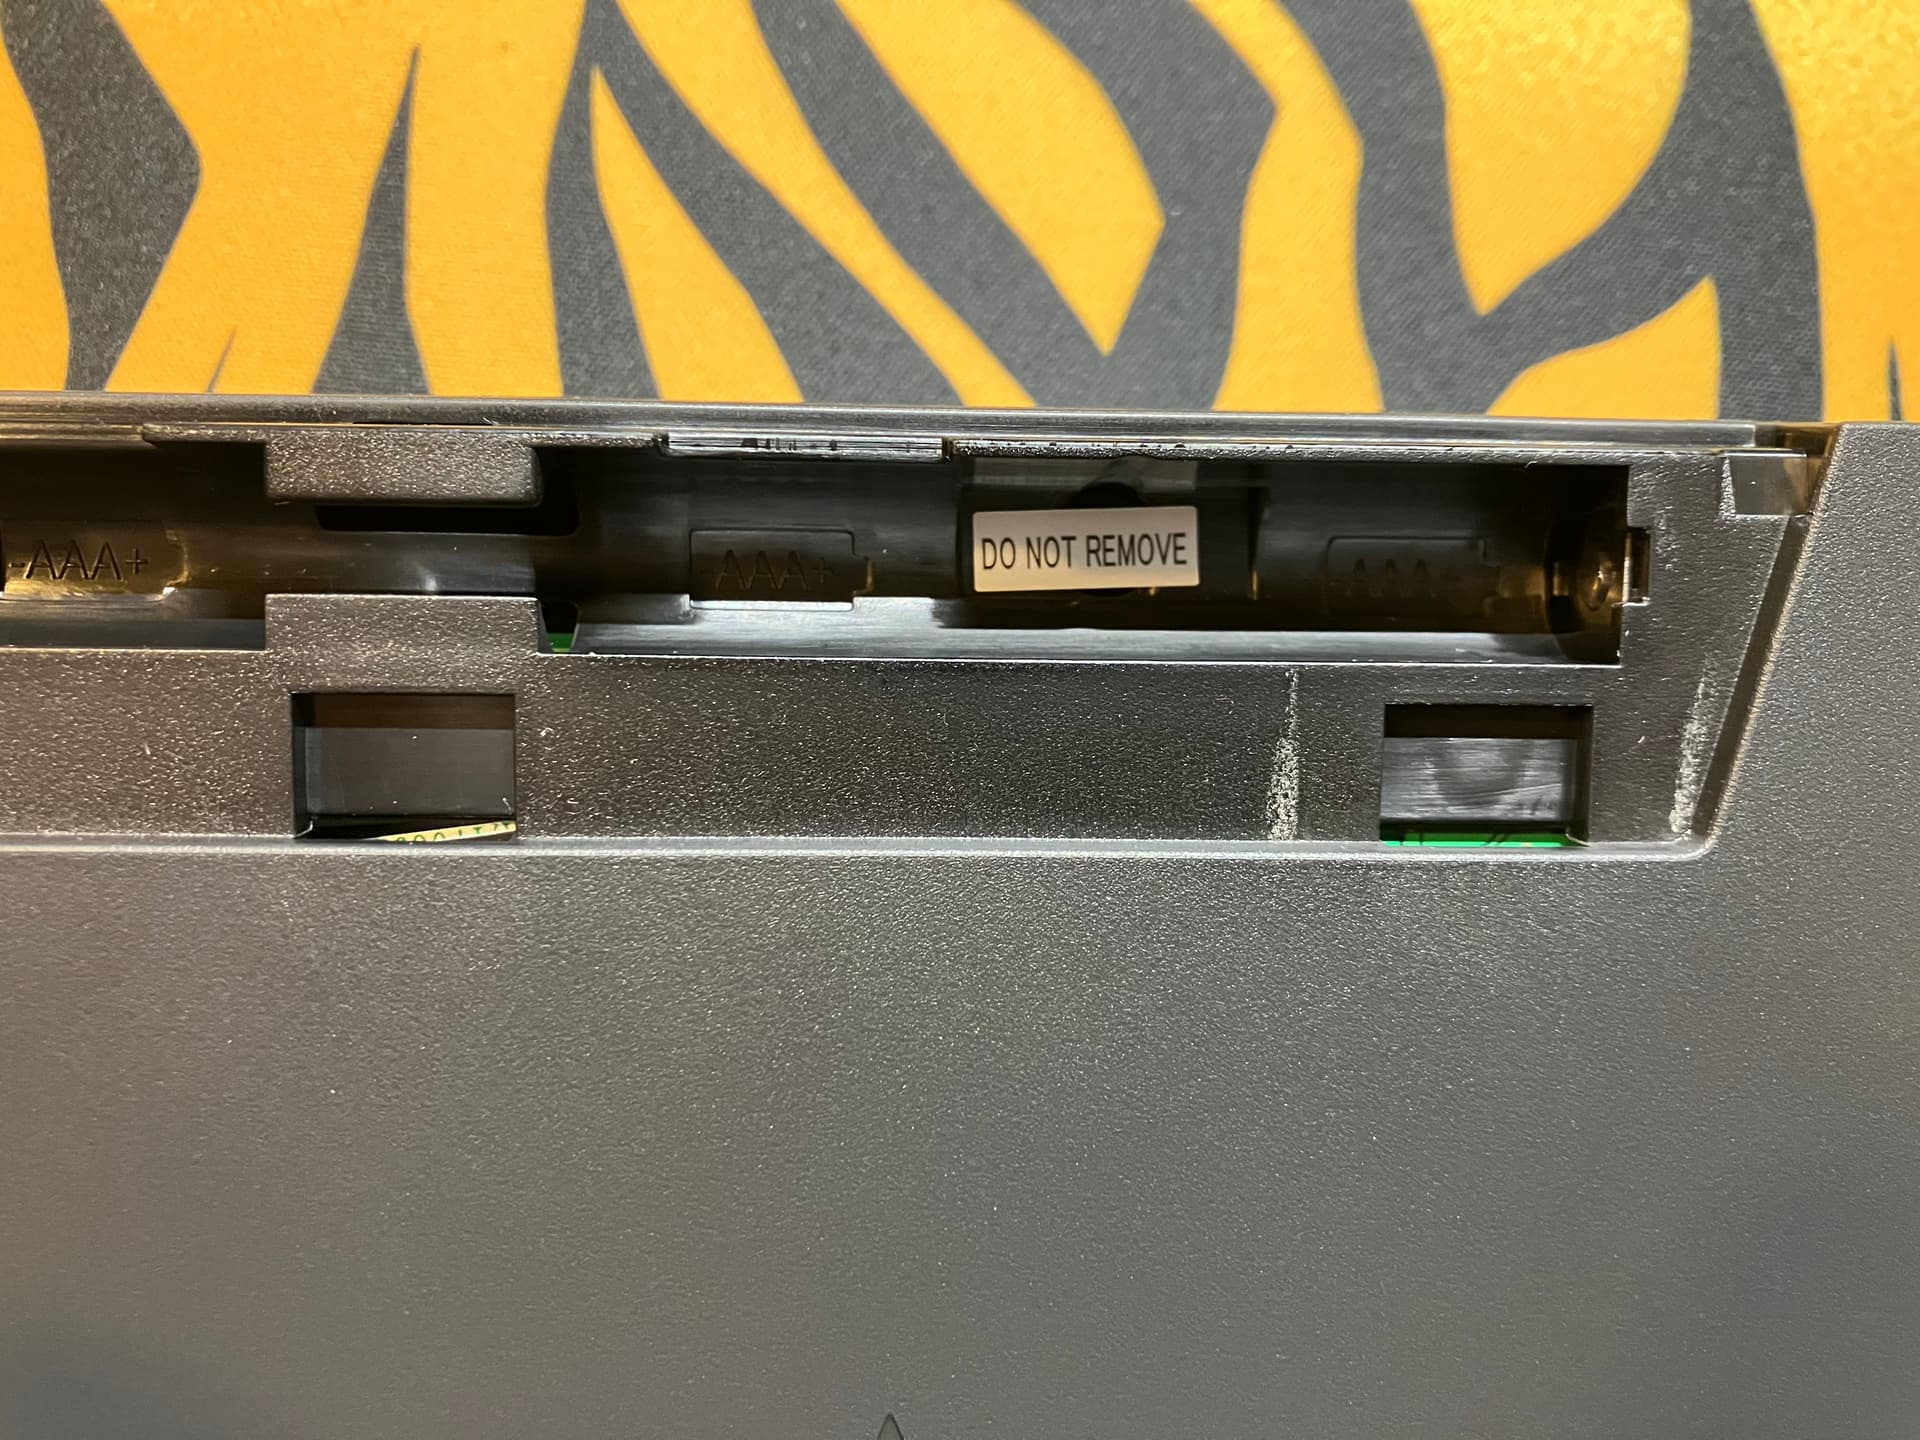
Then you will need to remove the warranty sticker to access the last screw in the battery compartment. Congrats!
UPDATE: @Jucko thank you for the picture. There are clips along the bottom row that help you open up the board a lot easier. Previously we assumed that you had to disengage them from the outside seam, this is not the case! This board is far easier to modify now!

Just go slow and don’t force anything.
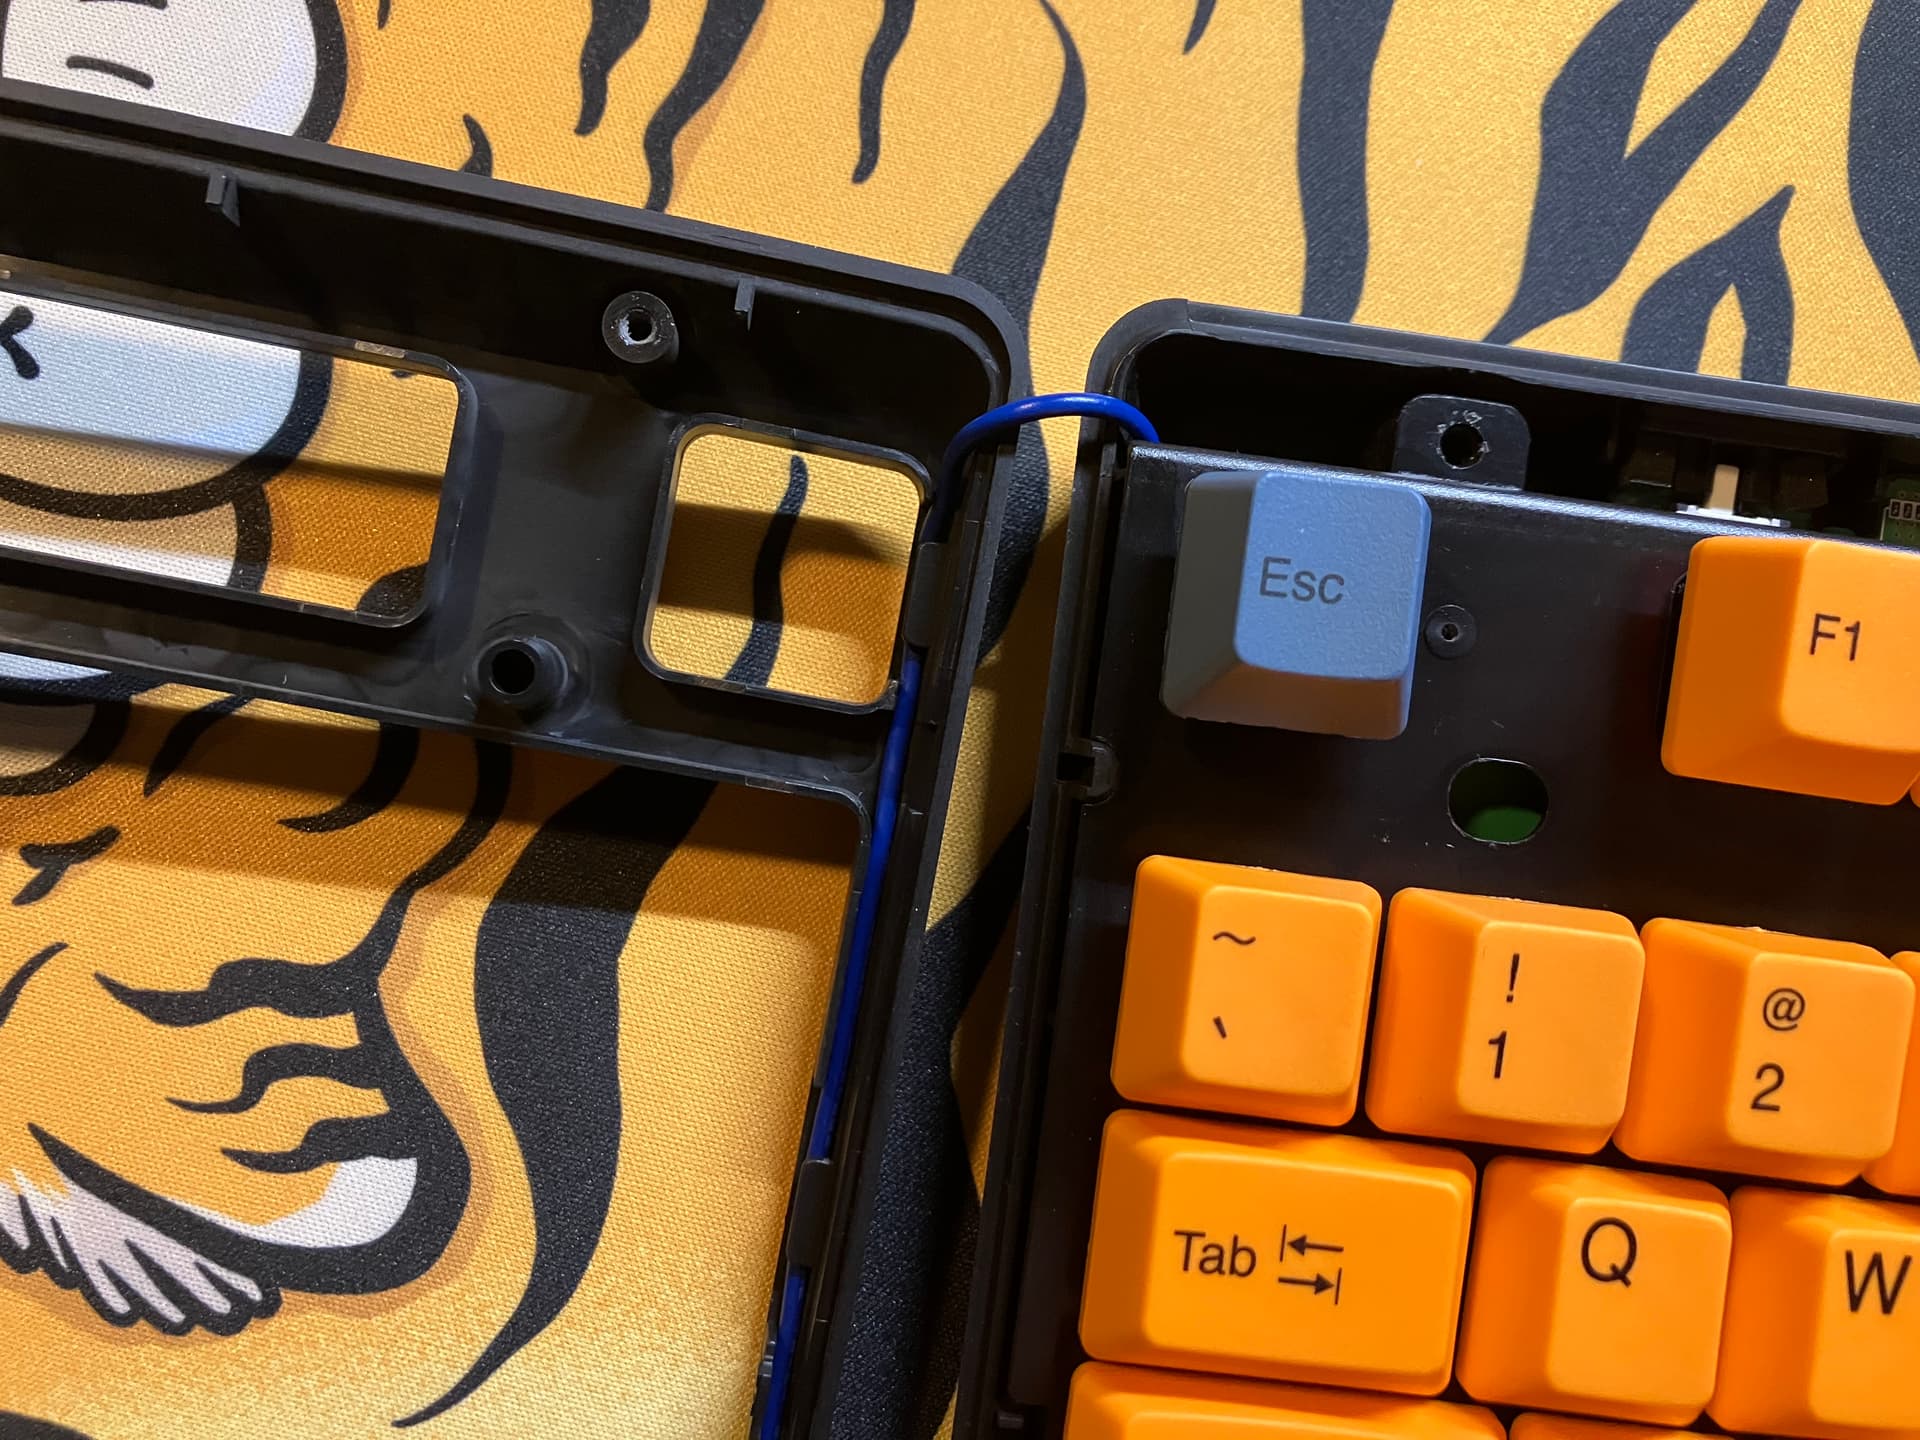
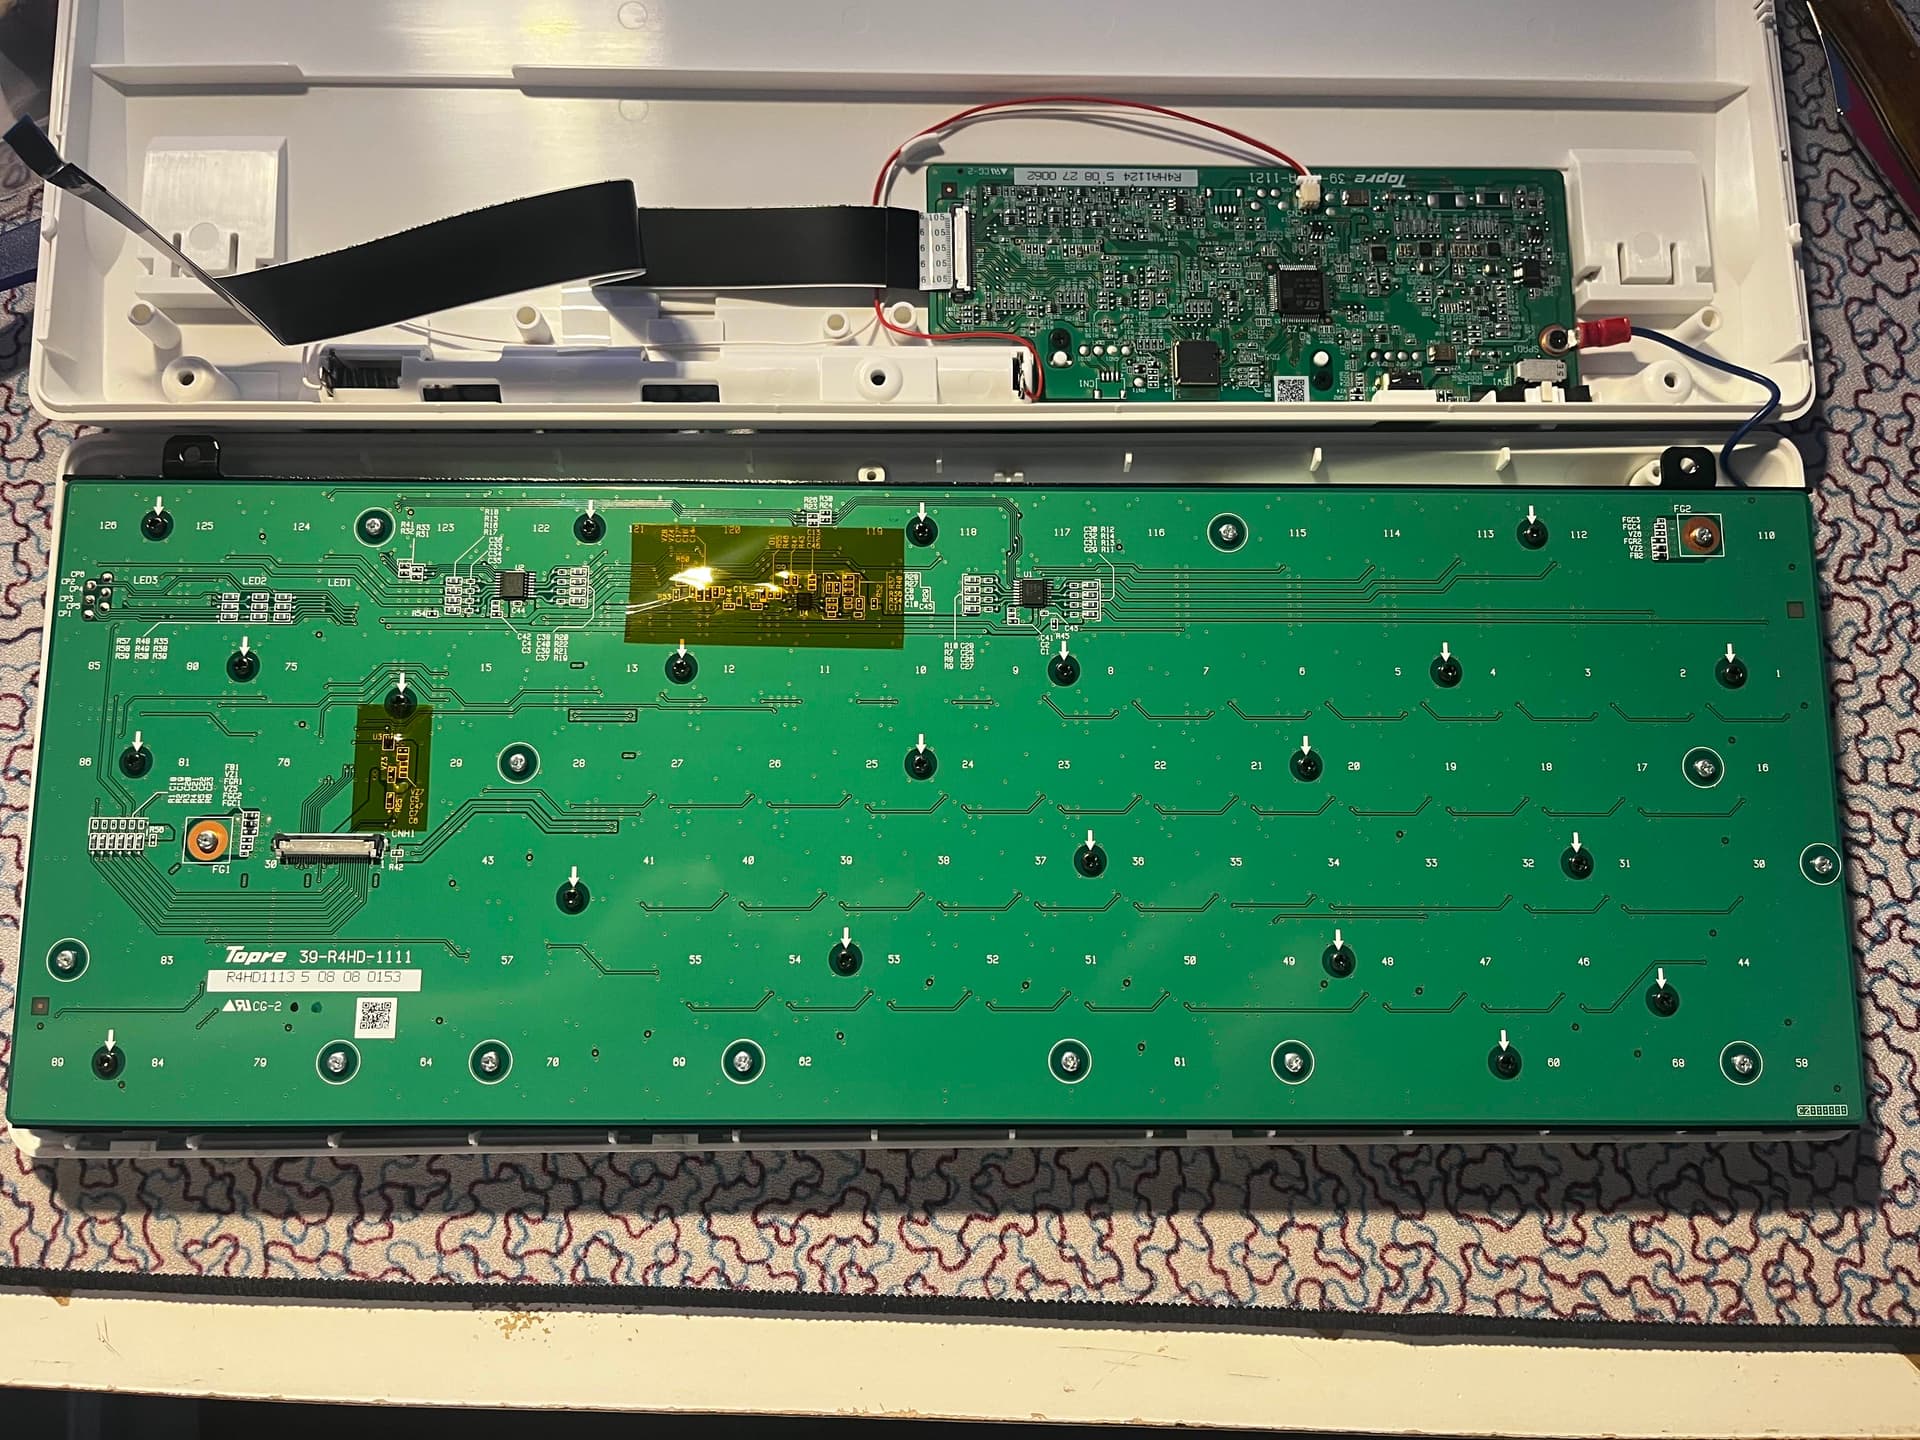
Once you deal with the bottom clips, careful opening up. There is a sensor wire that connects from the daughter board and wraps around the entire top case. I think this is the “proximity sensor” that wakes the board from sleep when you approach.
Again, careful lifting up the PCB/Plate, the ribbon cable is attached. It is fairly long which is nice, and seems to be a standard ribbon cable which might be able to be sourced to replace if broken. To pull out the cable from the connectors, you need to push on the metal part of them and pull out the cable. Be gentle, it’s a fairly thin cable.
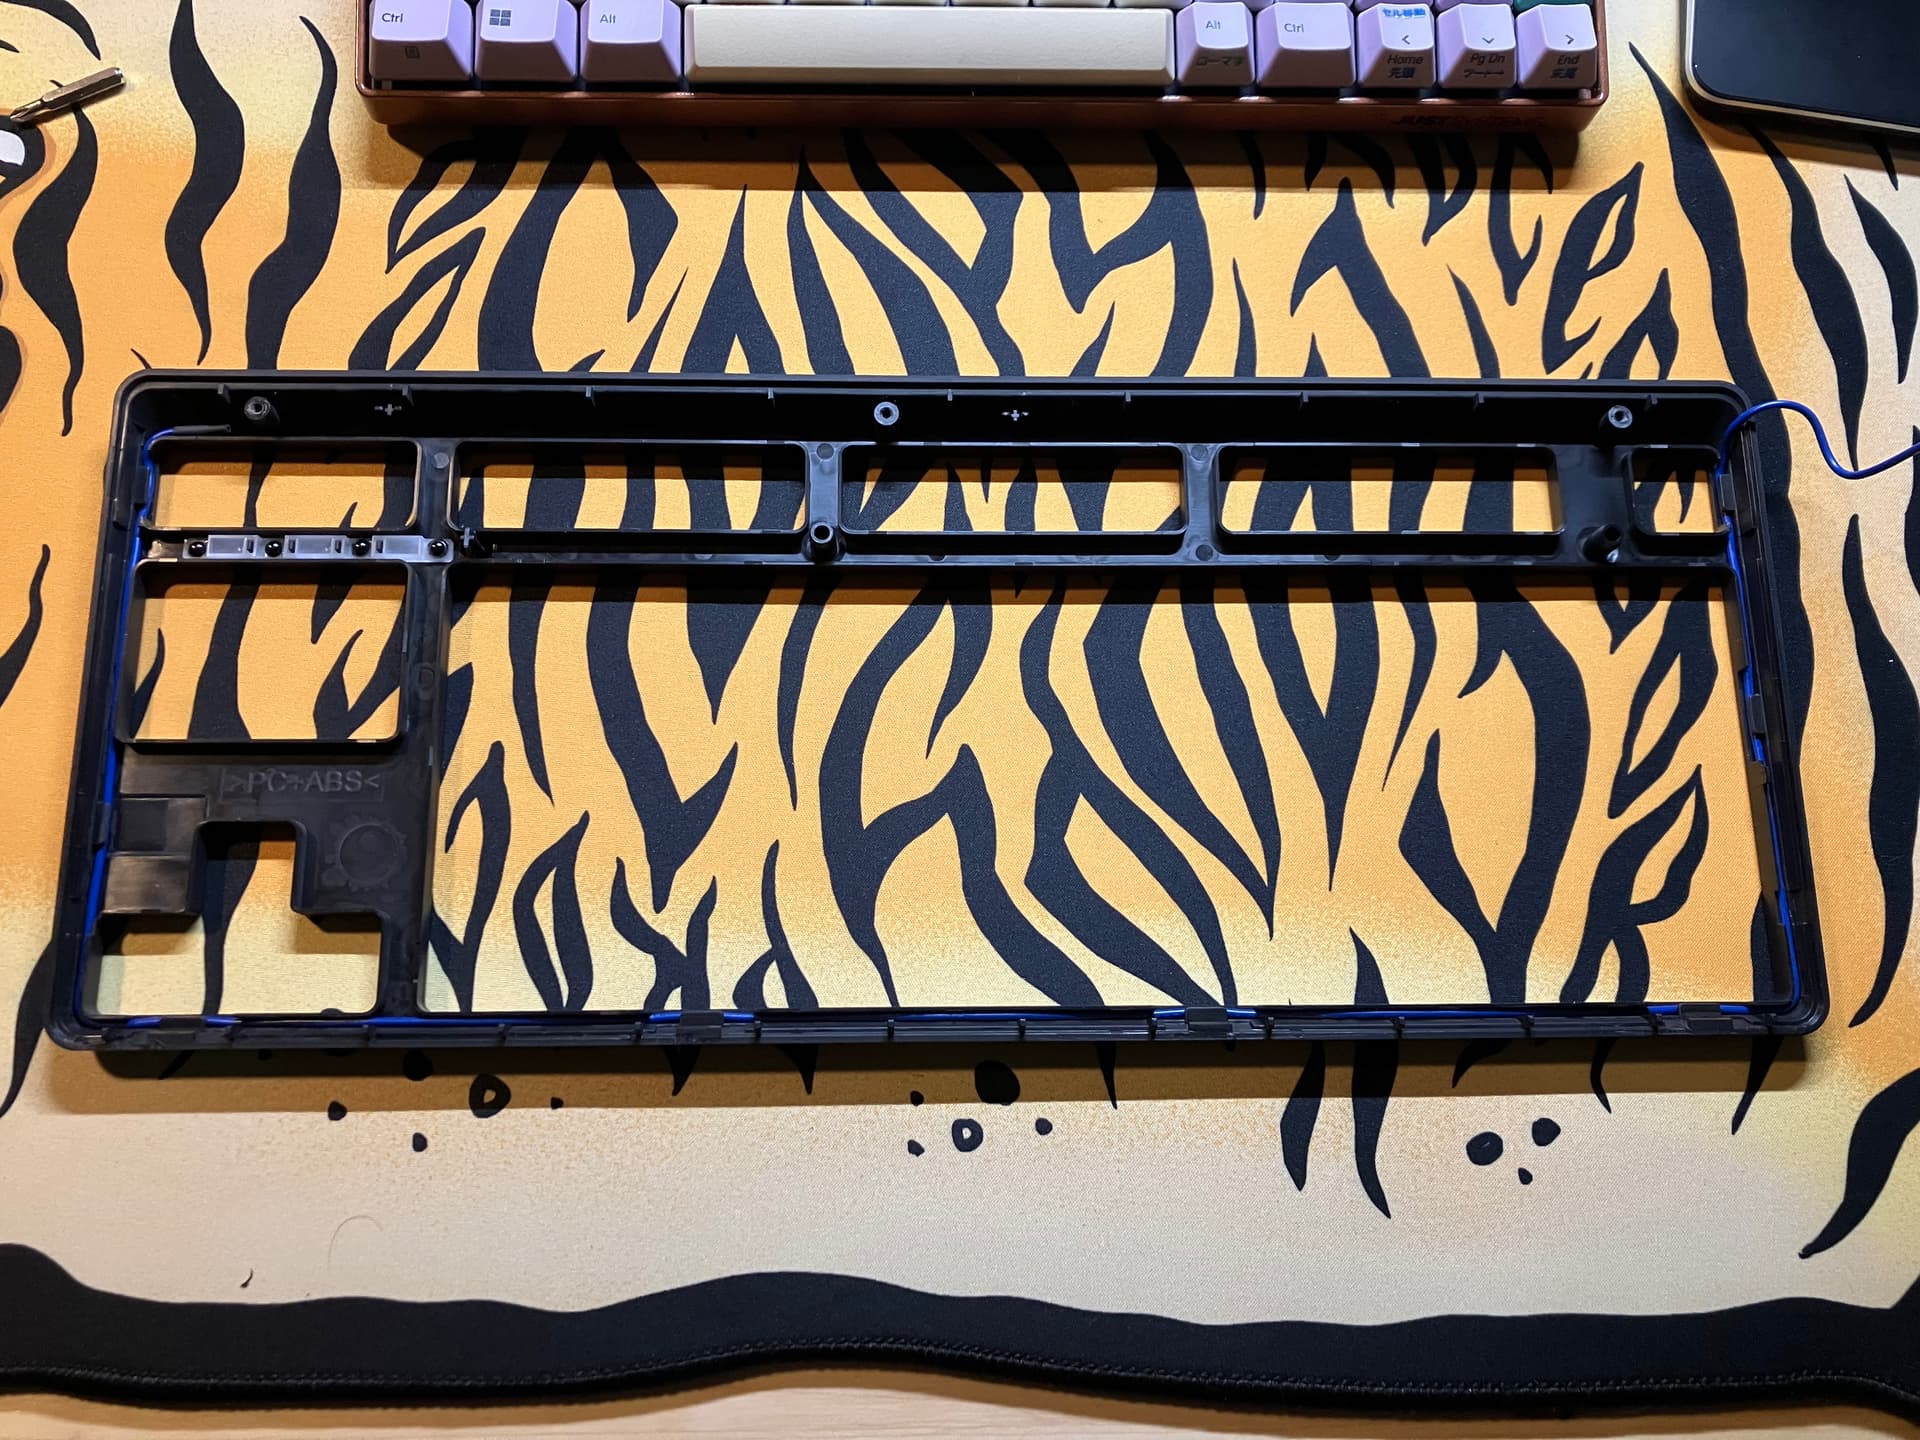
Here is a pic of the bottom of the top case. You can see the blue wire snaking around the whole perimeter.

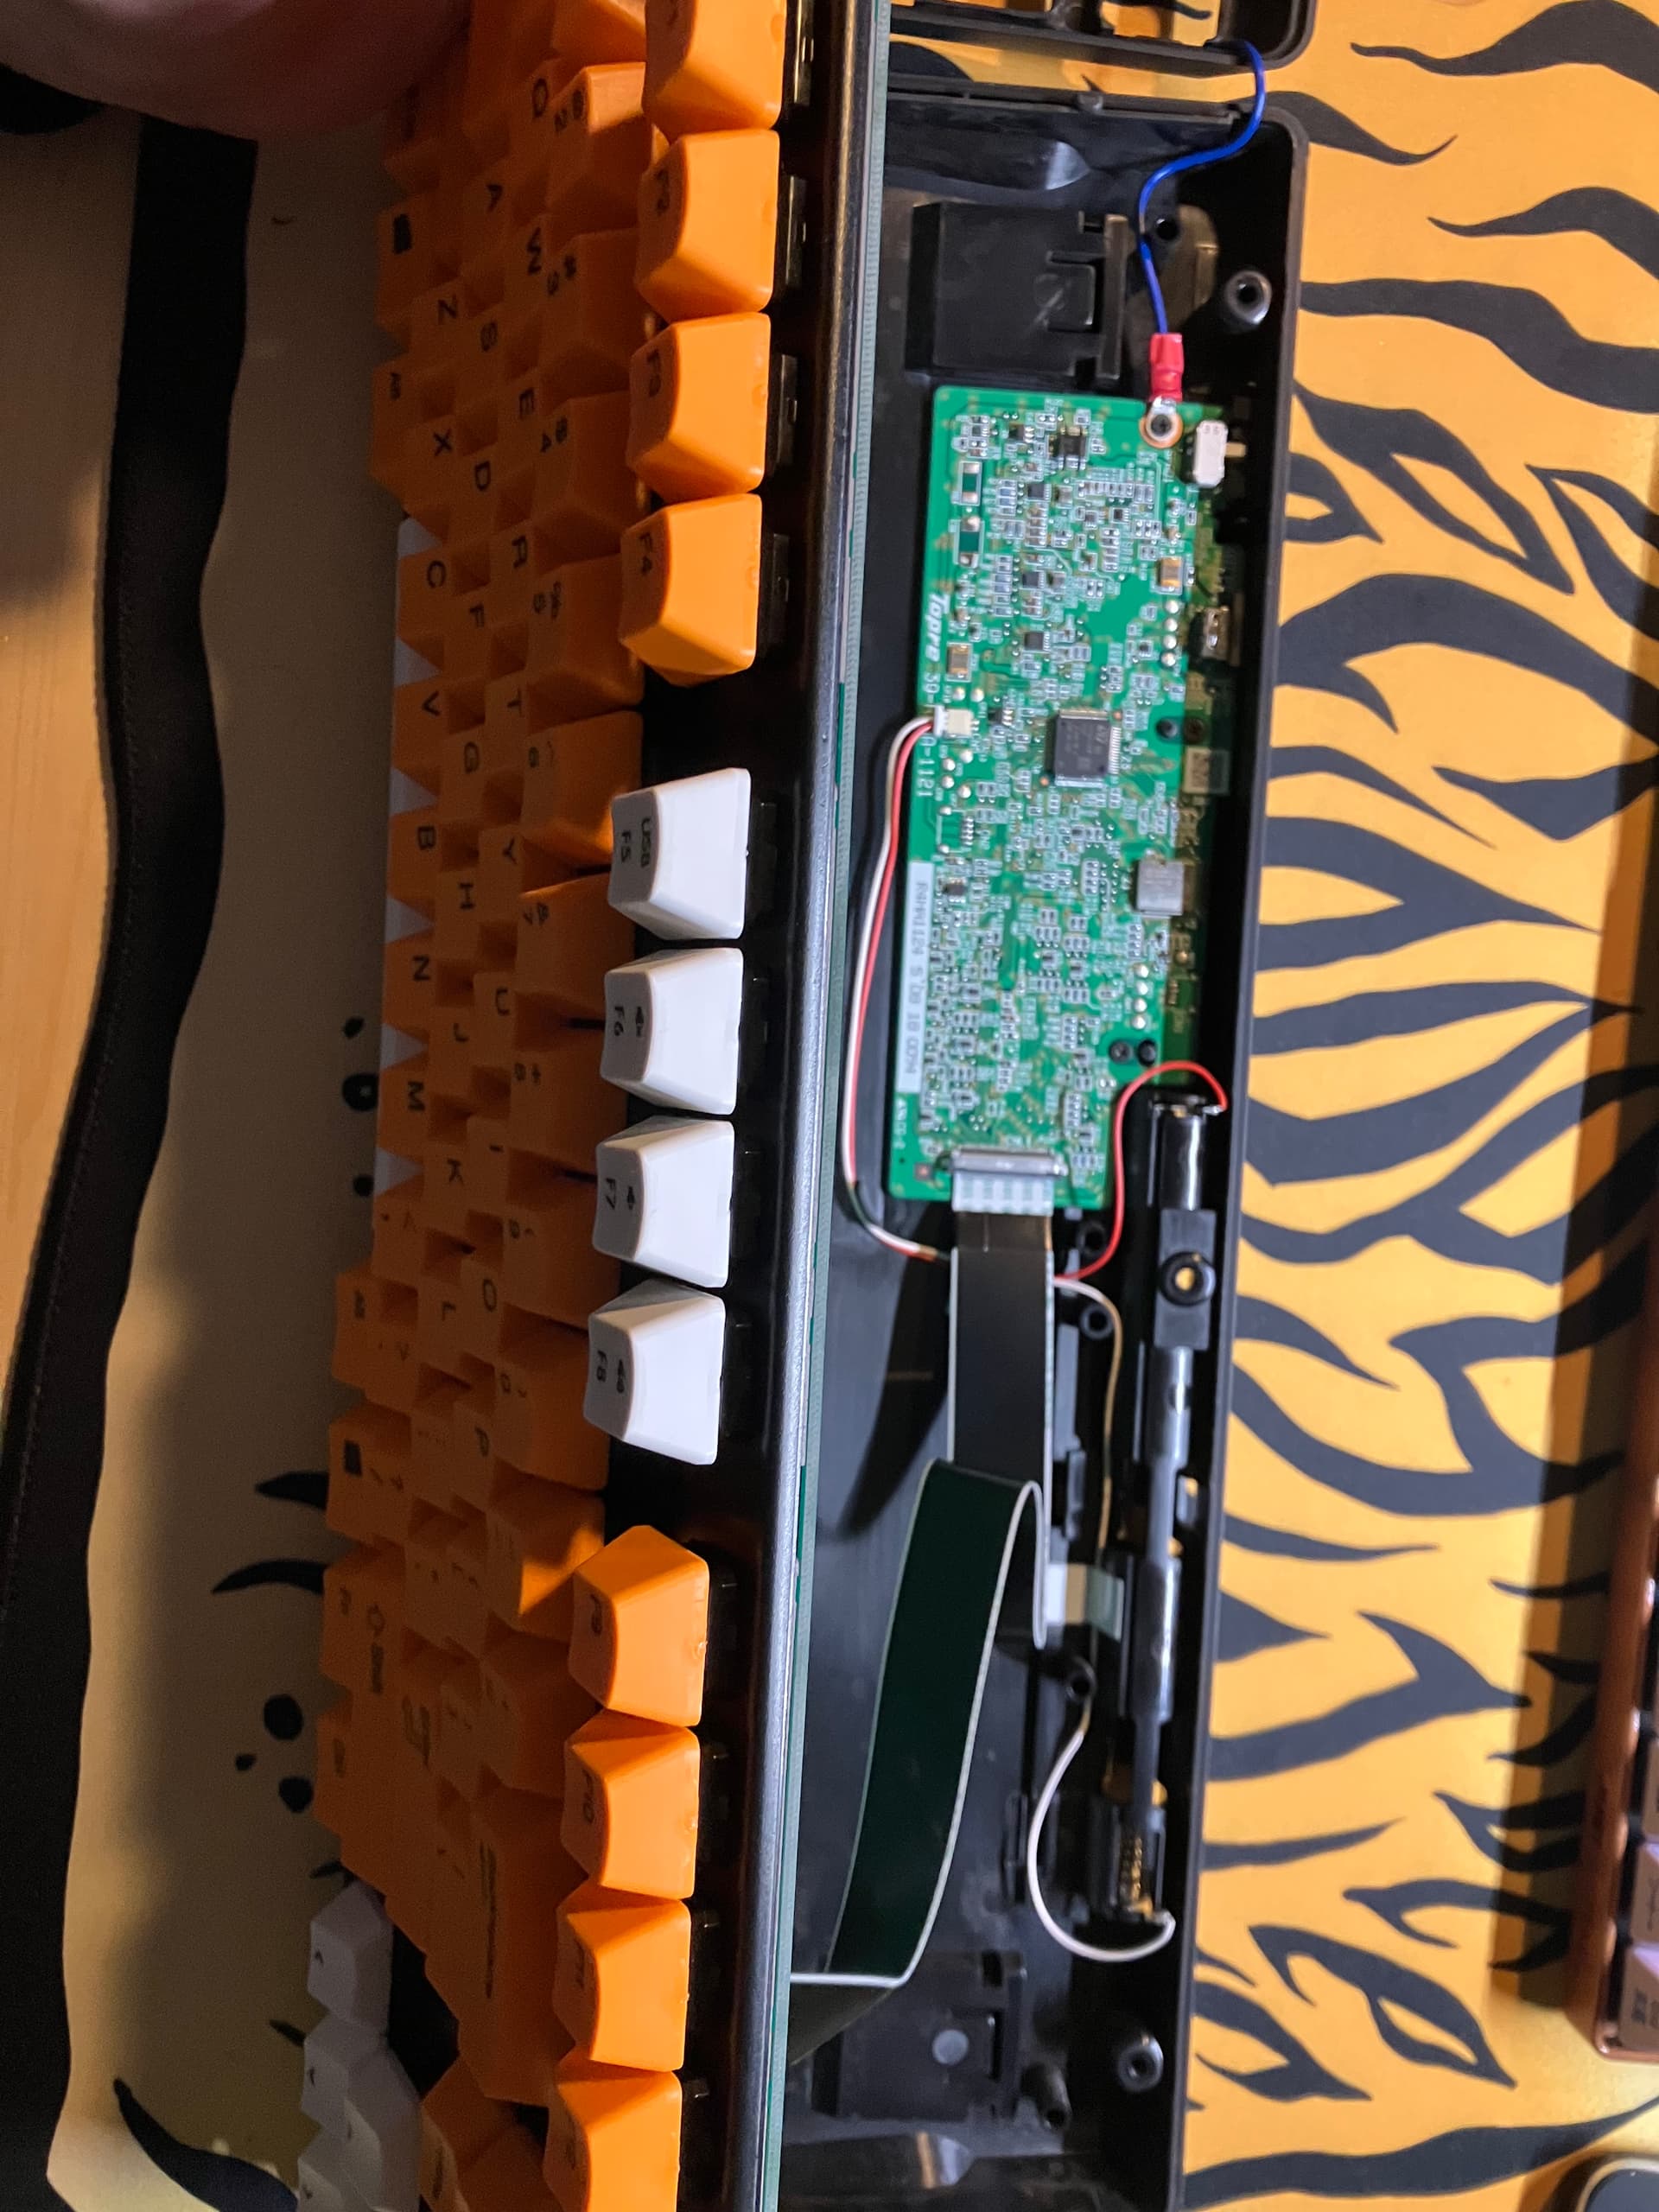
Here is a full pic of the bottom case and daughter board. You can also see the proximity sensor (?) wire screwed into the daughter board which is a little odd.

Here is a pic of the bottom of the PCB. The black tape was a bit weird.. It was just covering some components which on other spots of the PCB are not covered.. There was no spot of interference with the case or wires that I could see for why they put it there.. I just left it alone since it’s not in the way.
21x black screws - seem to be the same as any other RealForce board.
12x silver screws - seem to be the same as any other RealForce board.

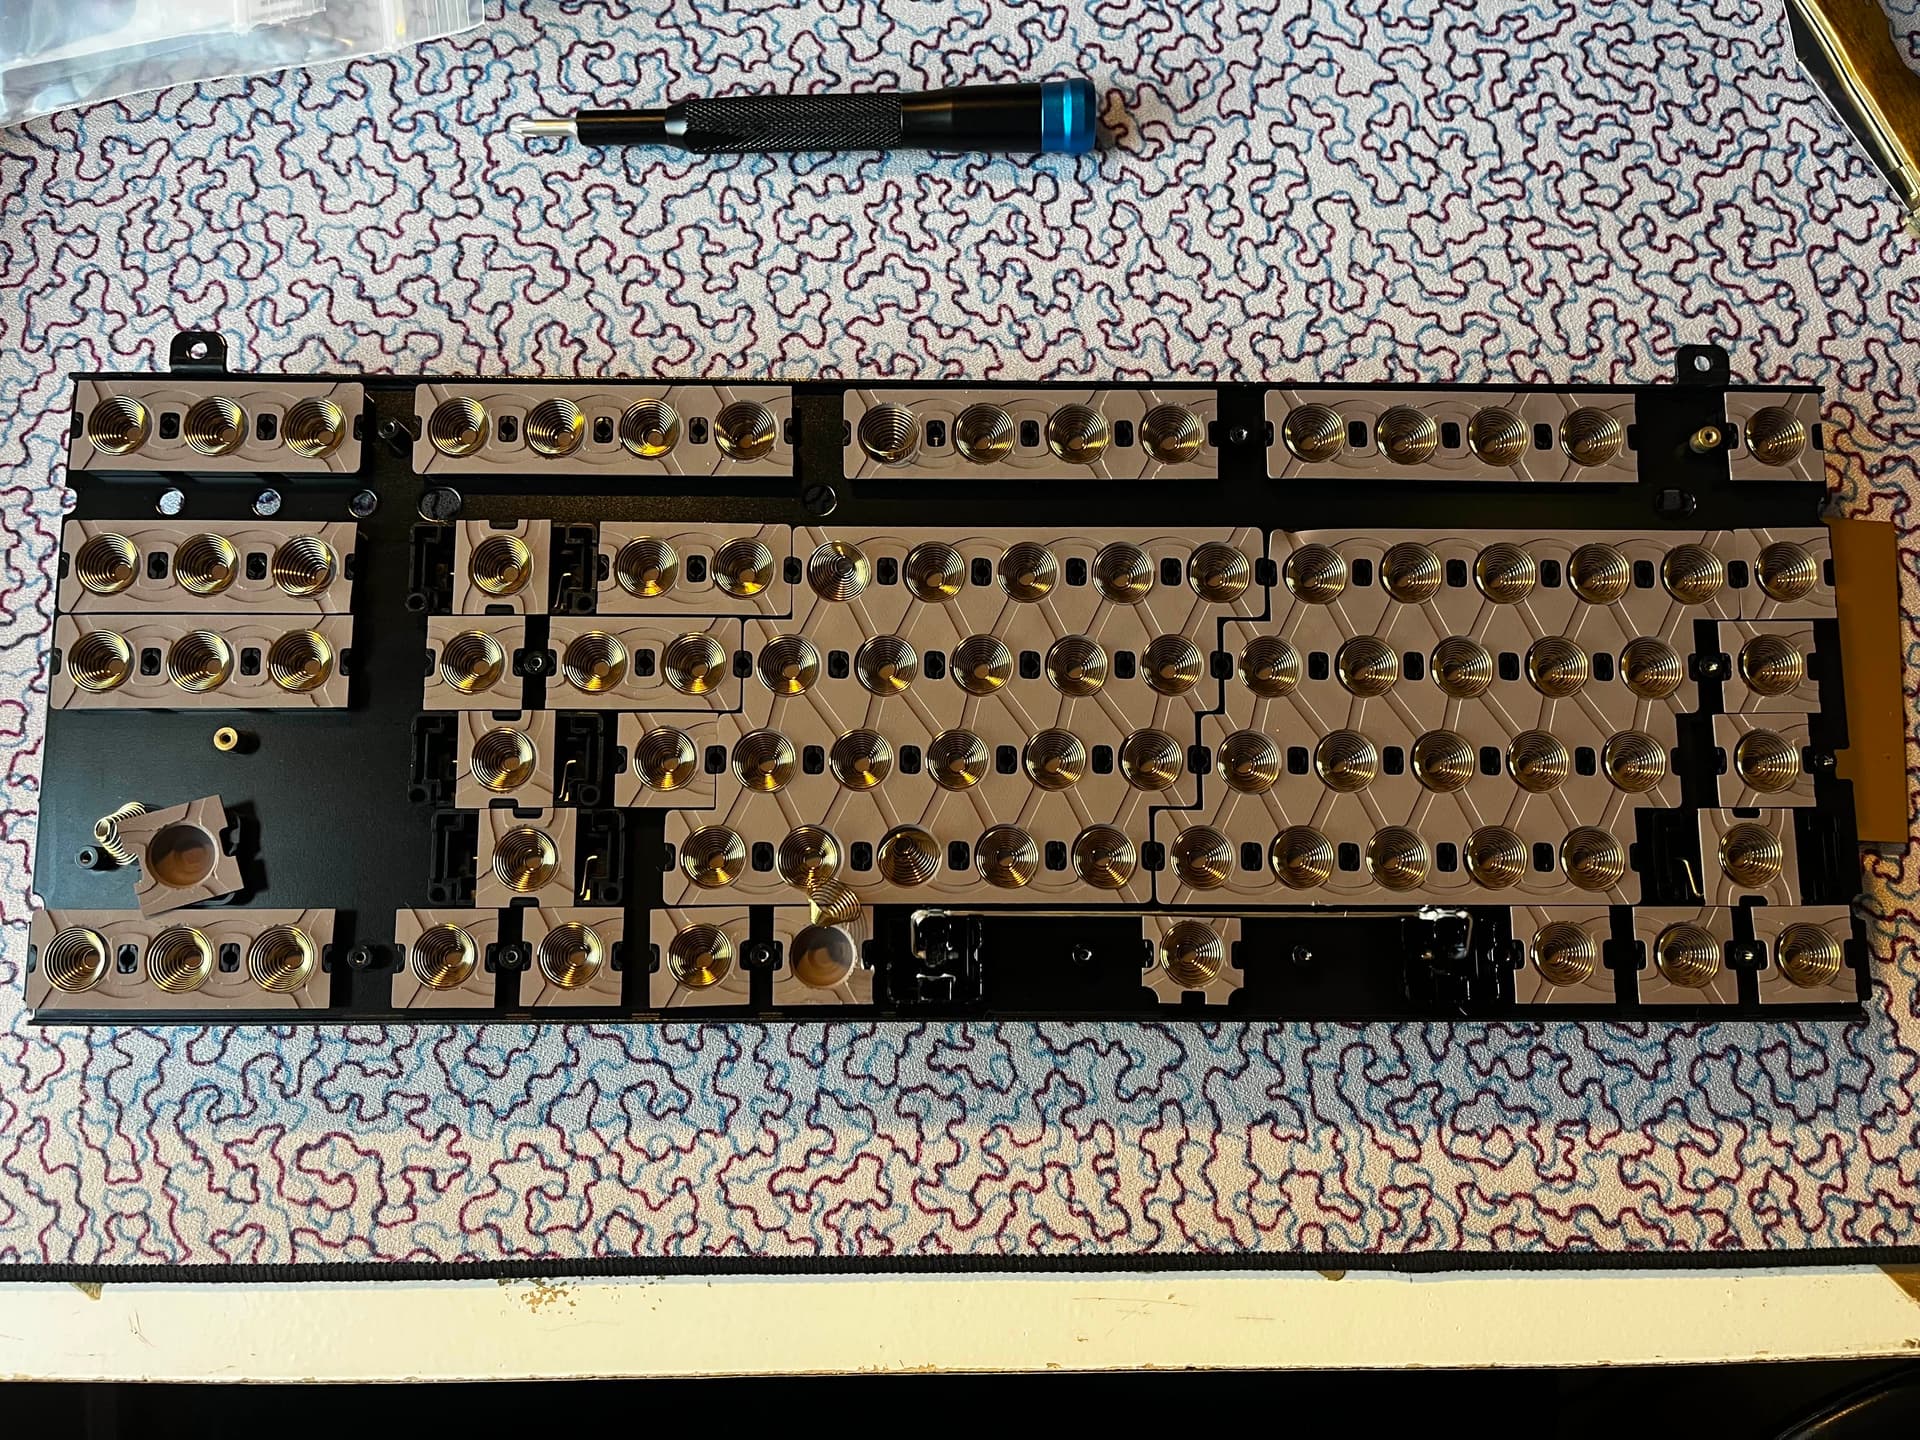
Now we are inside! Nothing too crazy in here.. They only lubed the spacebar with what looks like 205g0. No purple 2u on this one.. very odd they only did that for the RC1. Also we see normal spacebar housings on this one. Everything seems pretty standard and normal… Well… Except one thing..
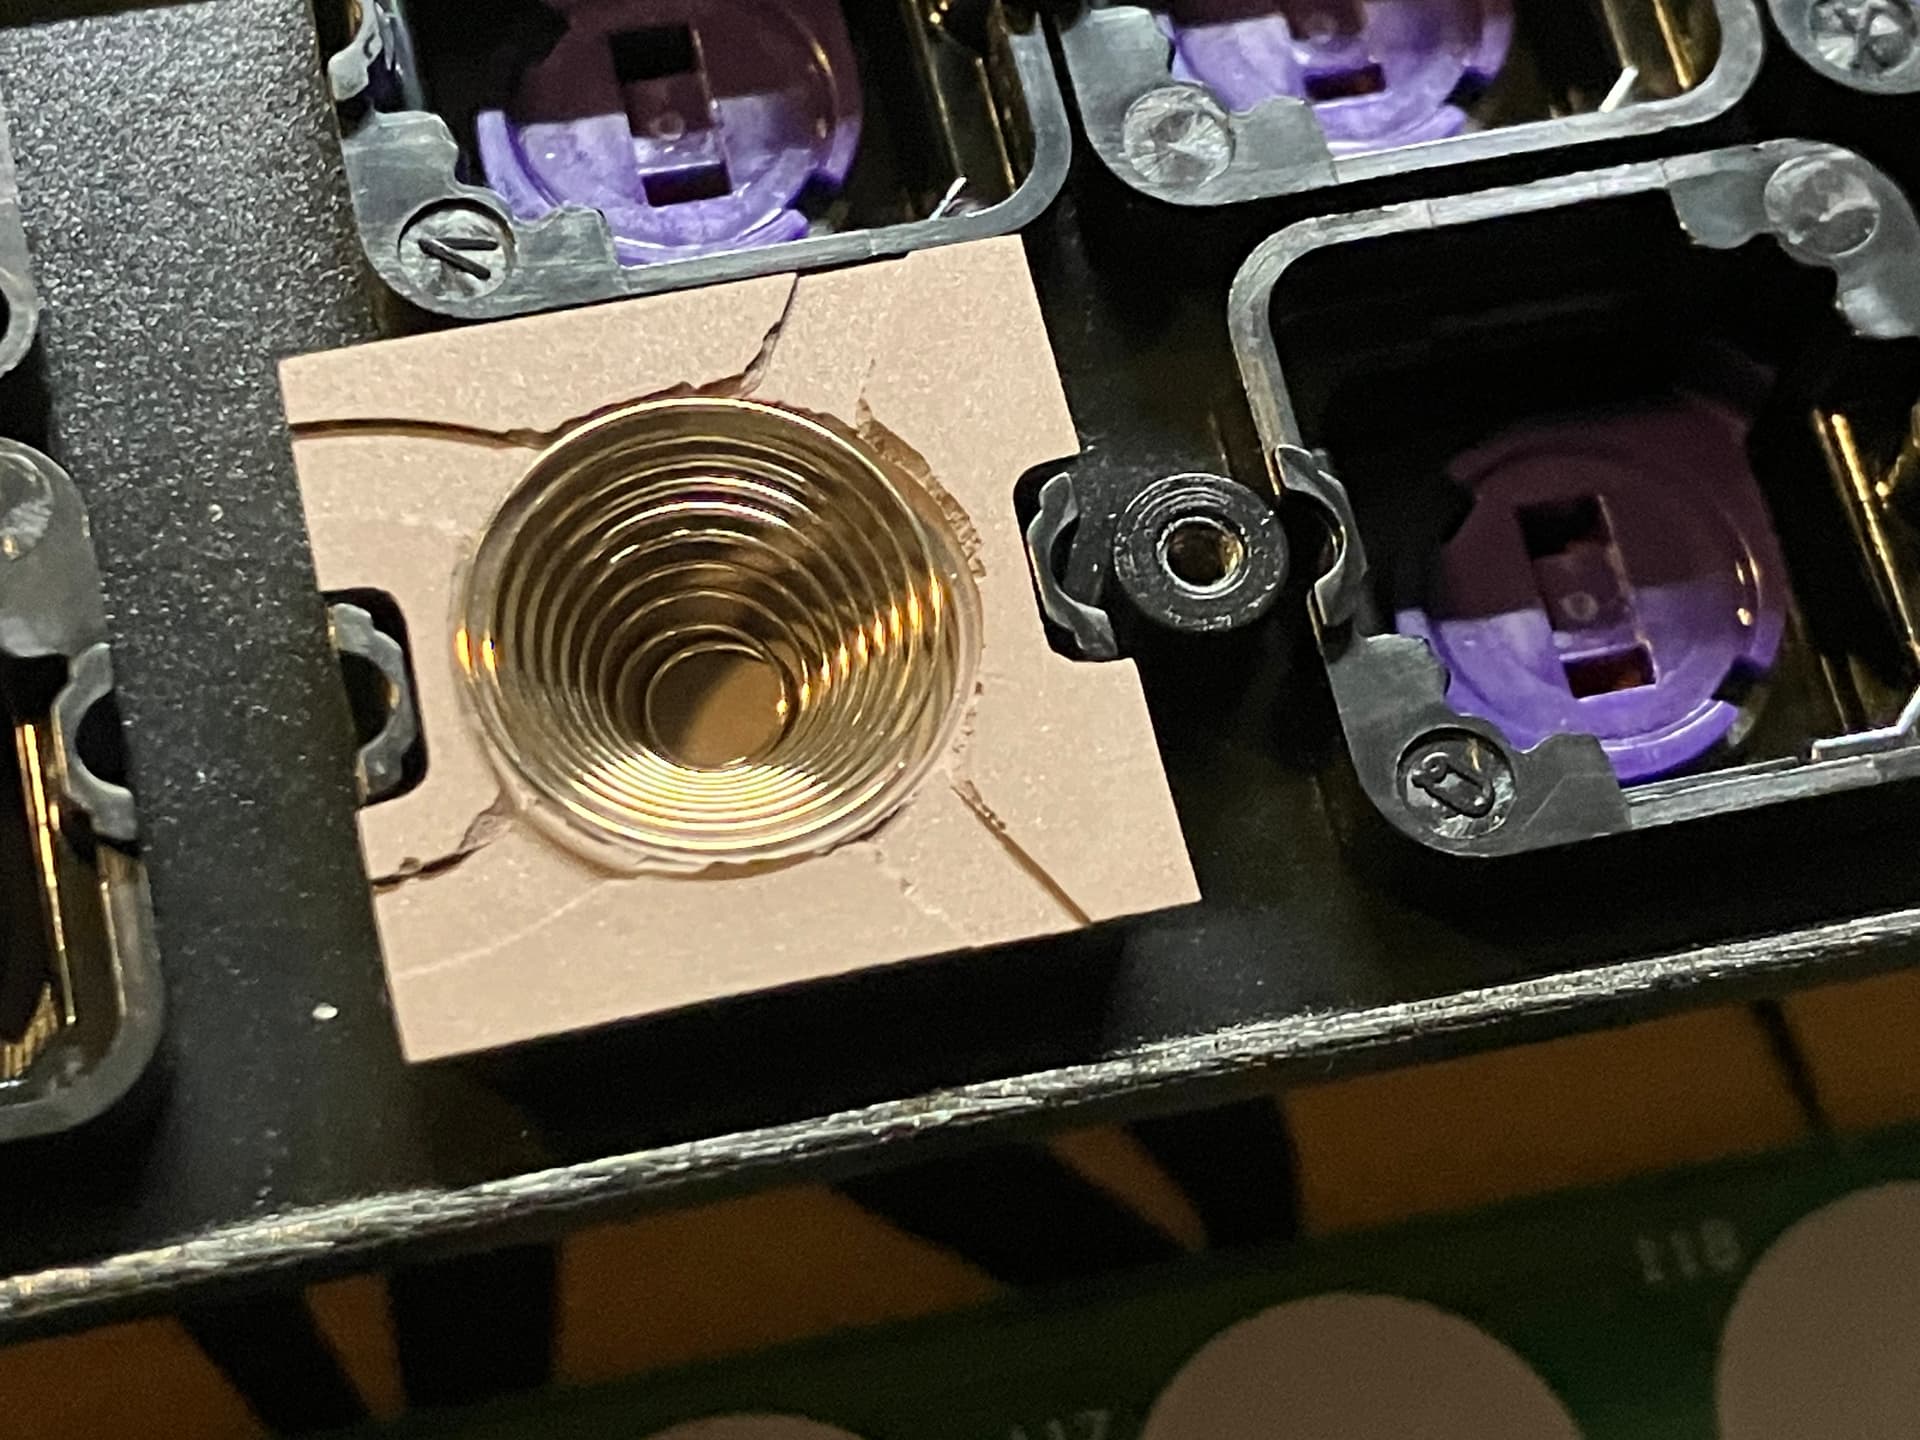
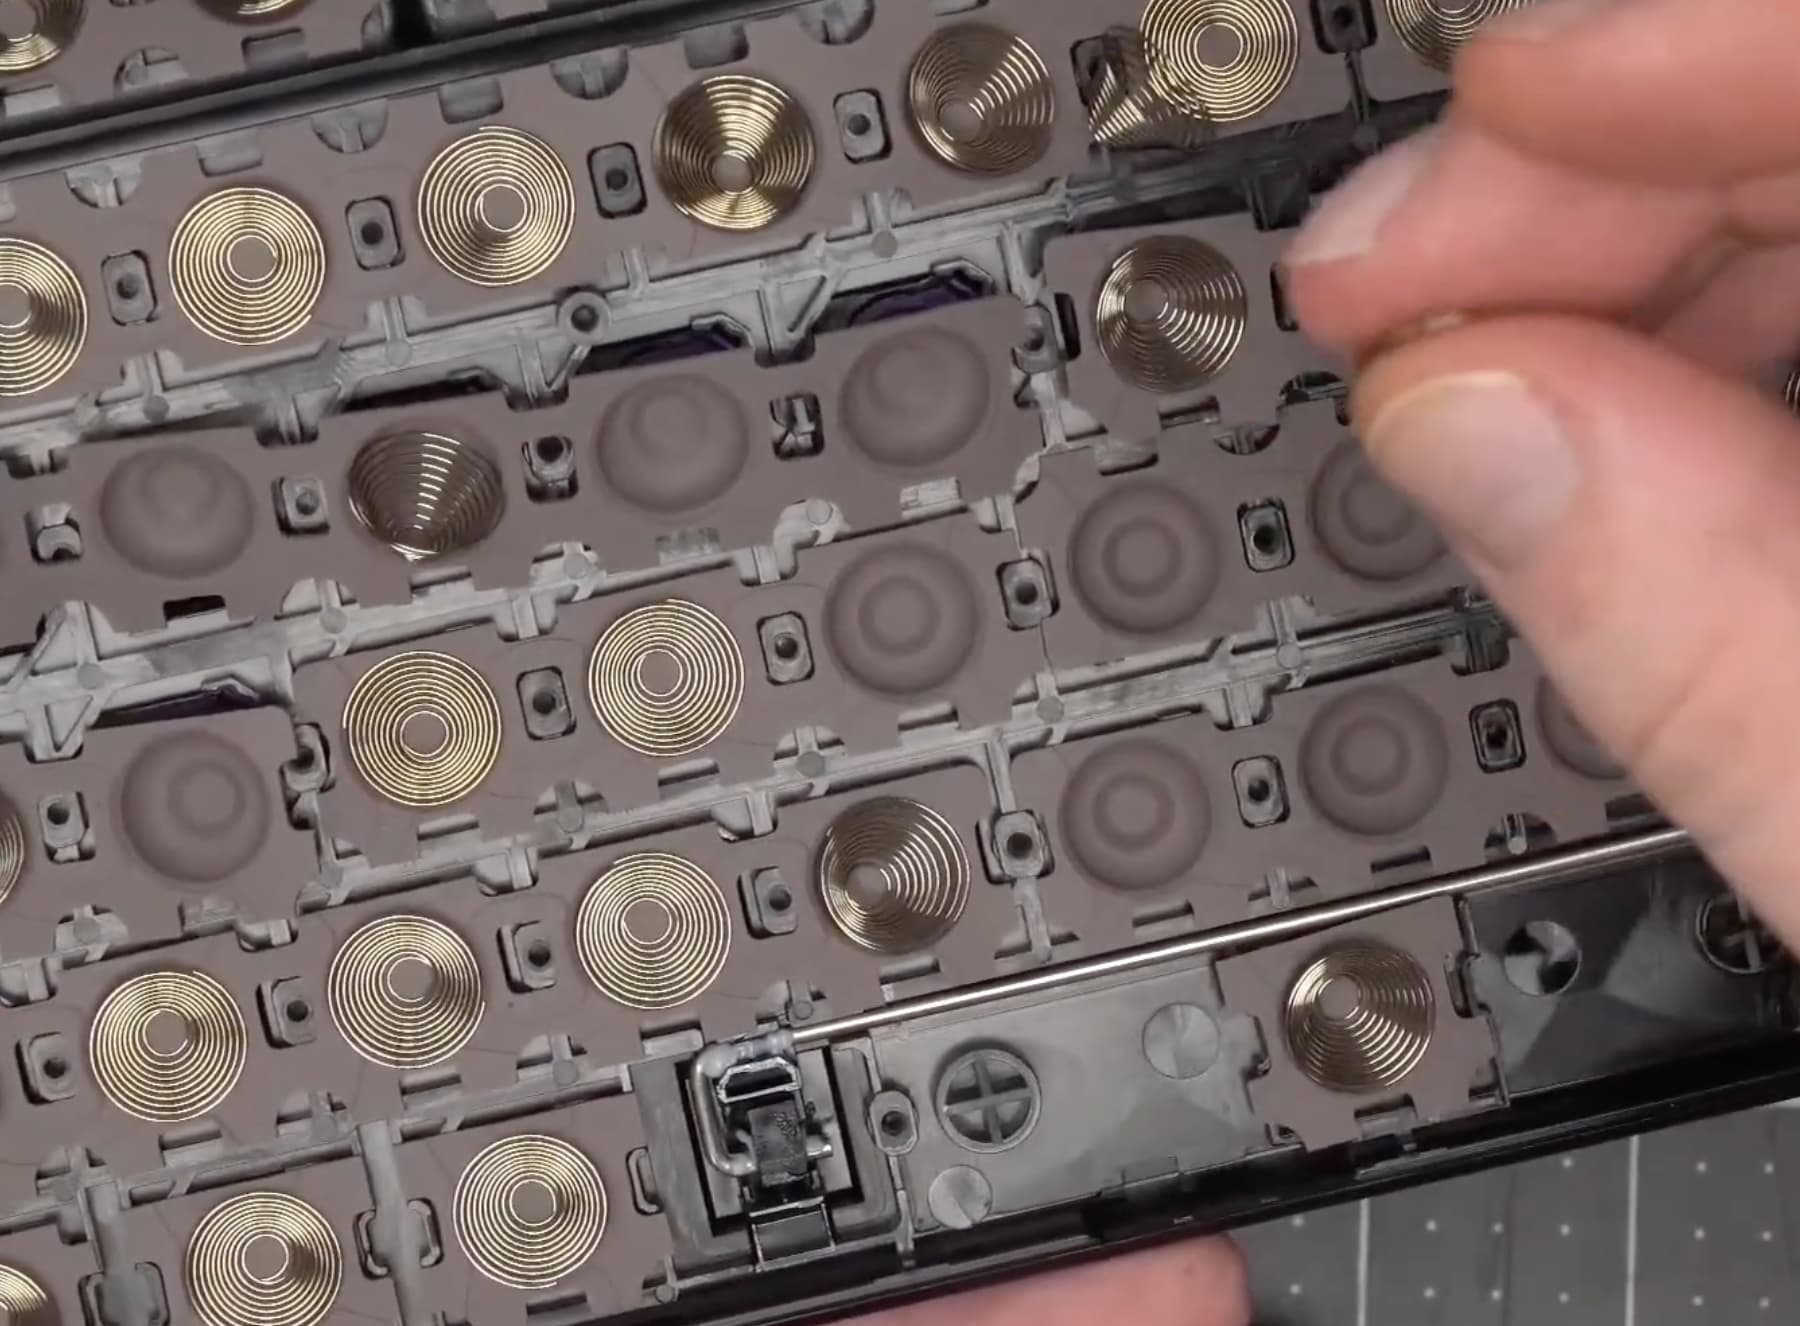
The domes are very… unusual. They seem either poorly removed from the mold that made them (possible these are getting old now), or degraded for some reason.. Also the texture is weird. They are SUPER sticky/grippy compared to other RealForce generation domes. Totally different feeling, and honestly really hard to get the alignment of the spring due to the grip they have. I don’t know why they are like this, they feel normal when typing but clearly are different.
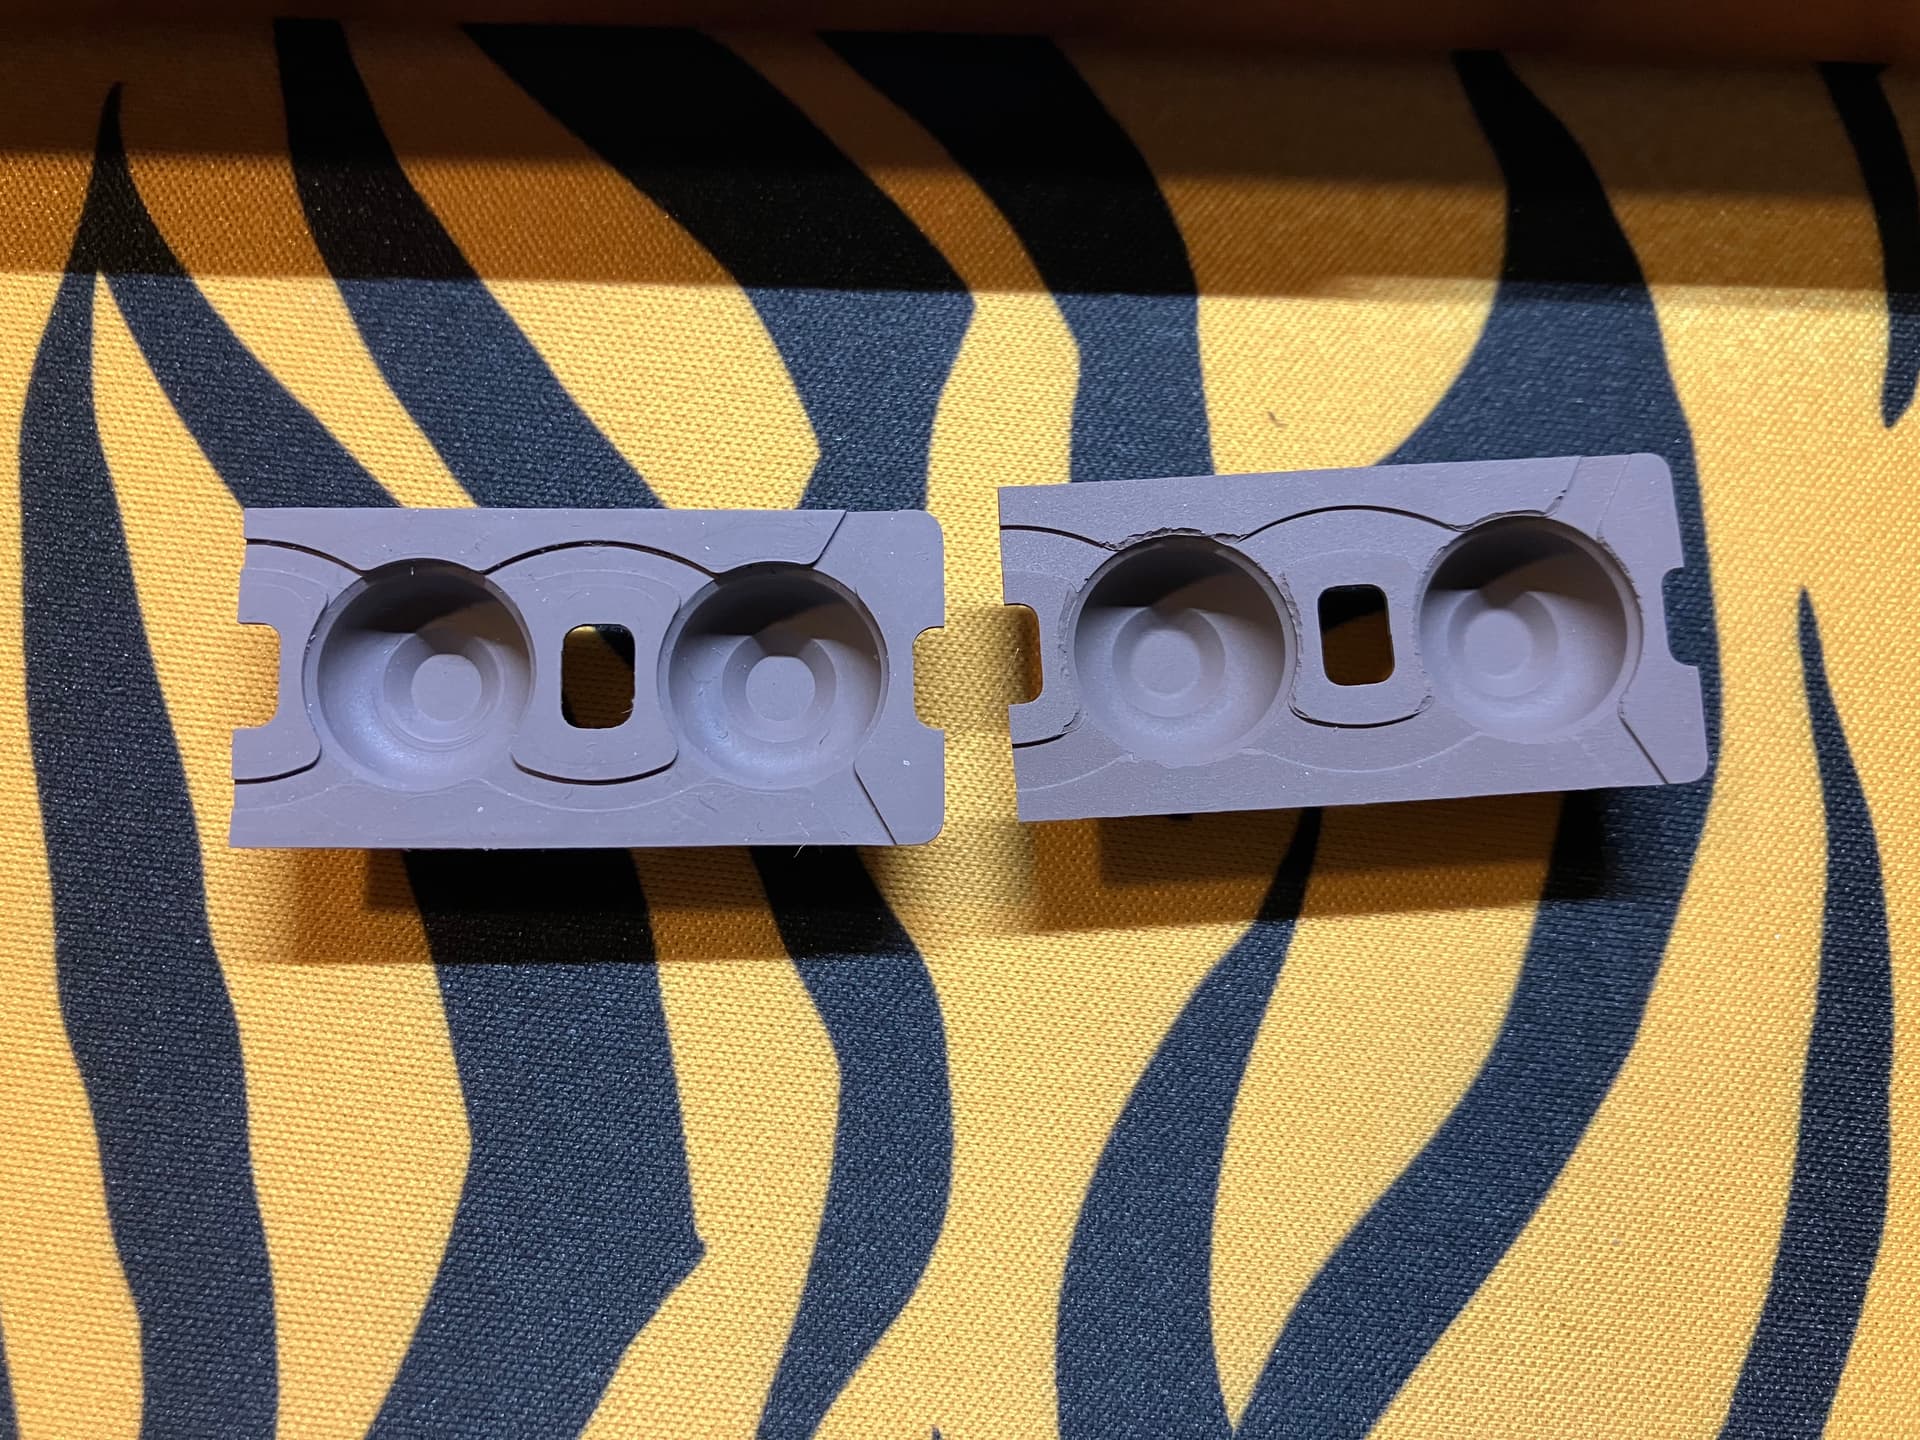
Here is a comparison of the R4 domes (right) and a pair of domes from an R2. You can see how degraded the R4 ones look compared to the older R2 domes.. and the feel.. you can’t capture it on a picture. It feels like they are a new or different material, or mine were just covered in some adhesive or something…
Some beauty shots.
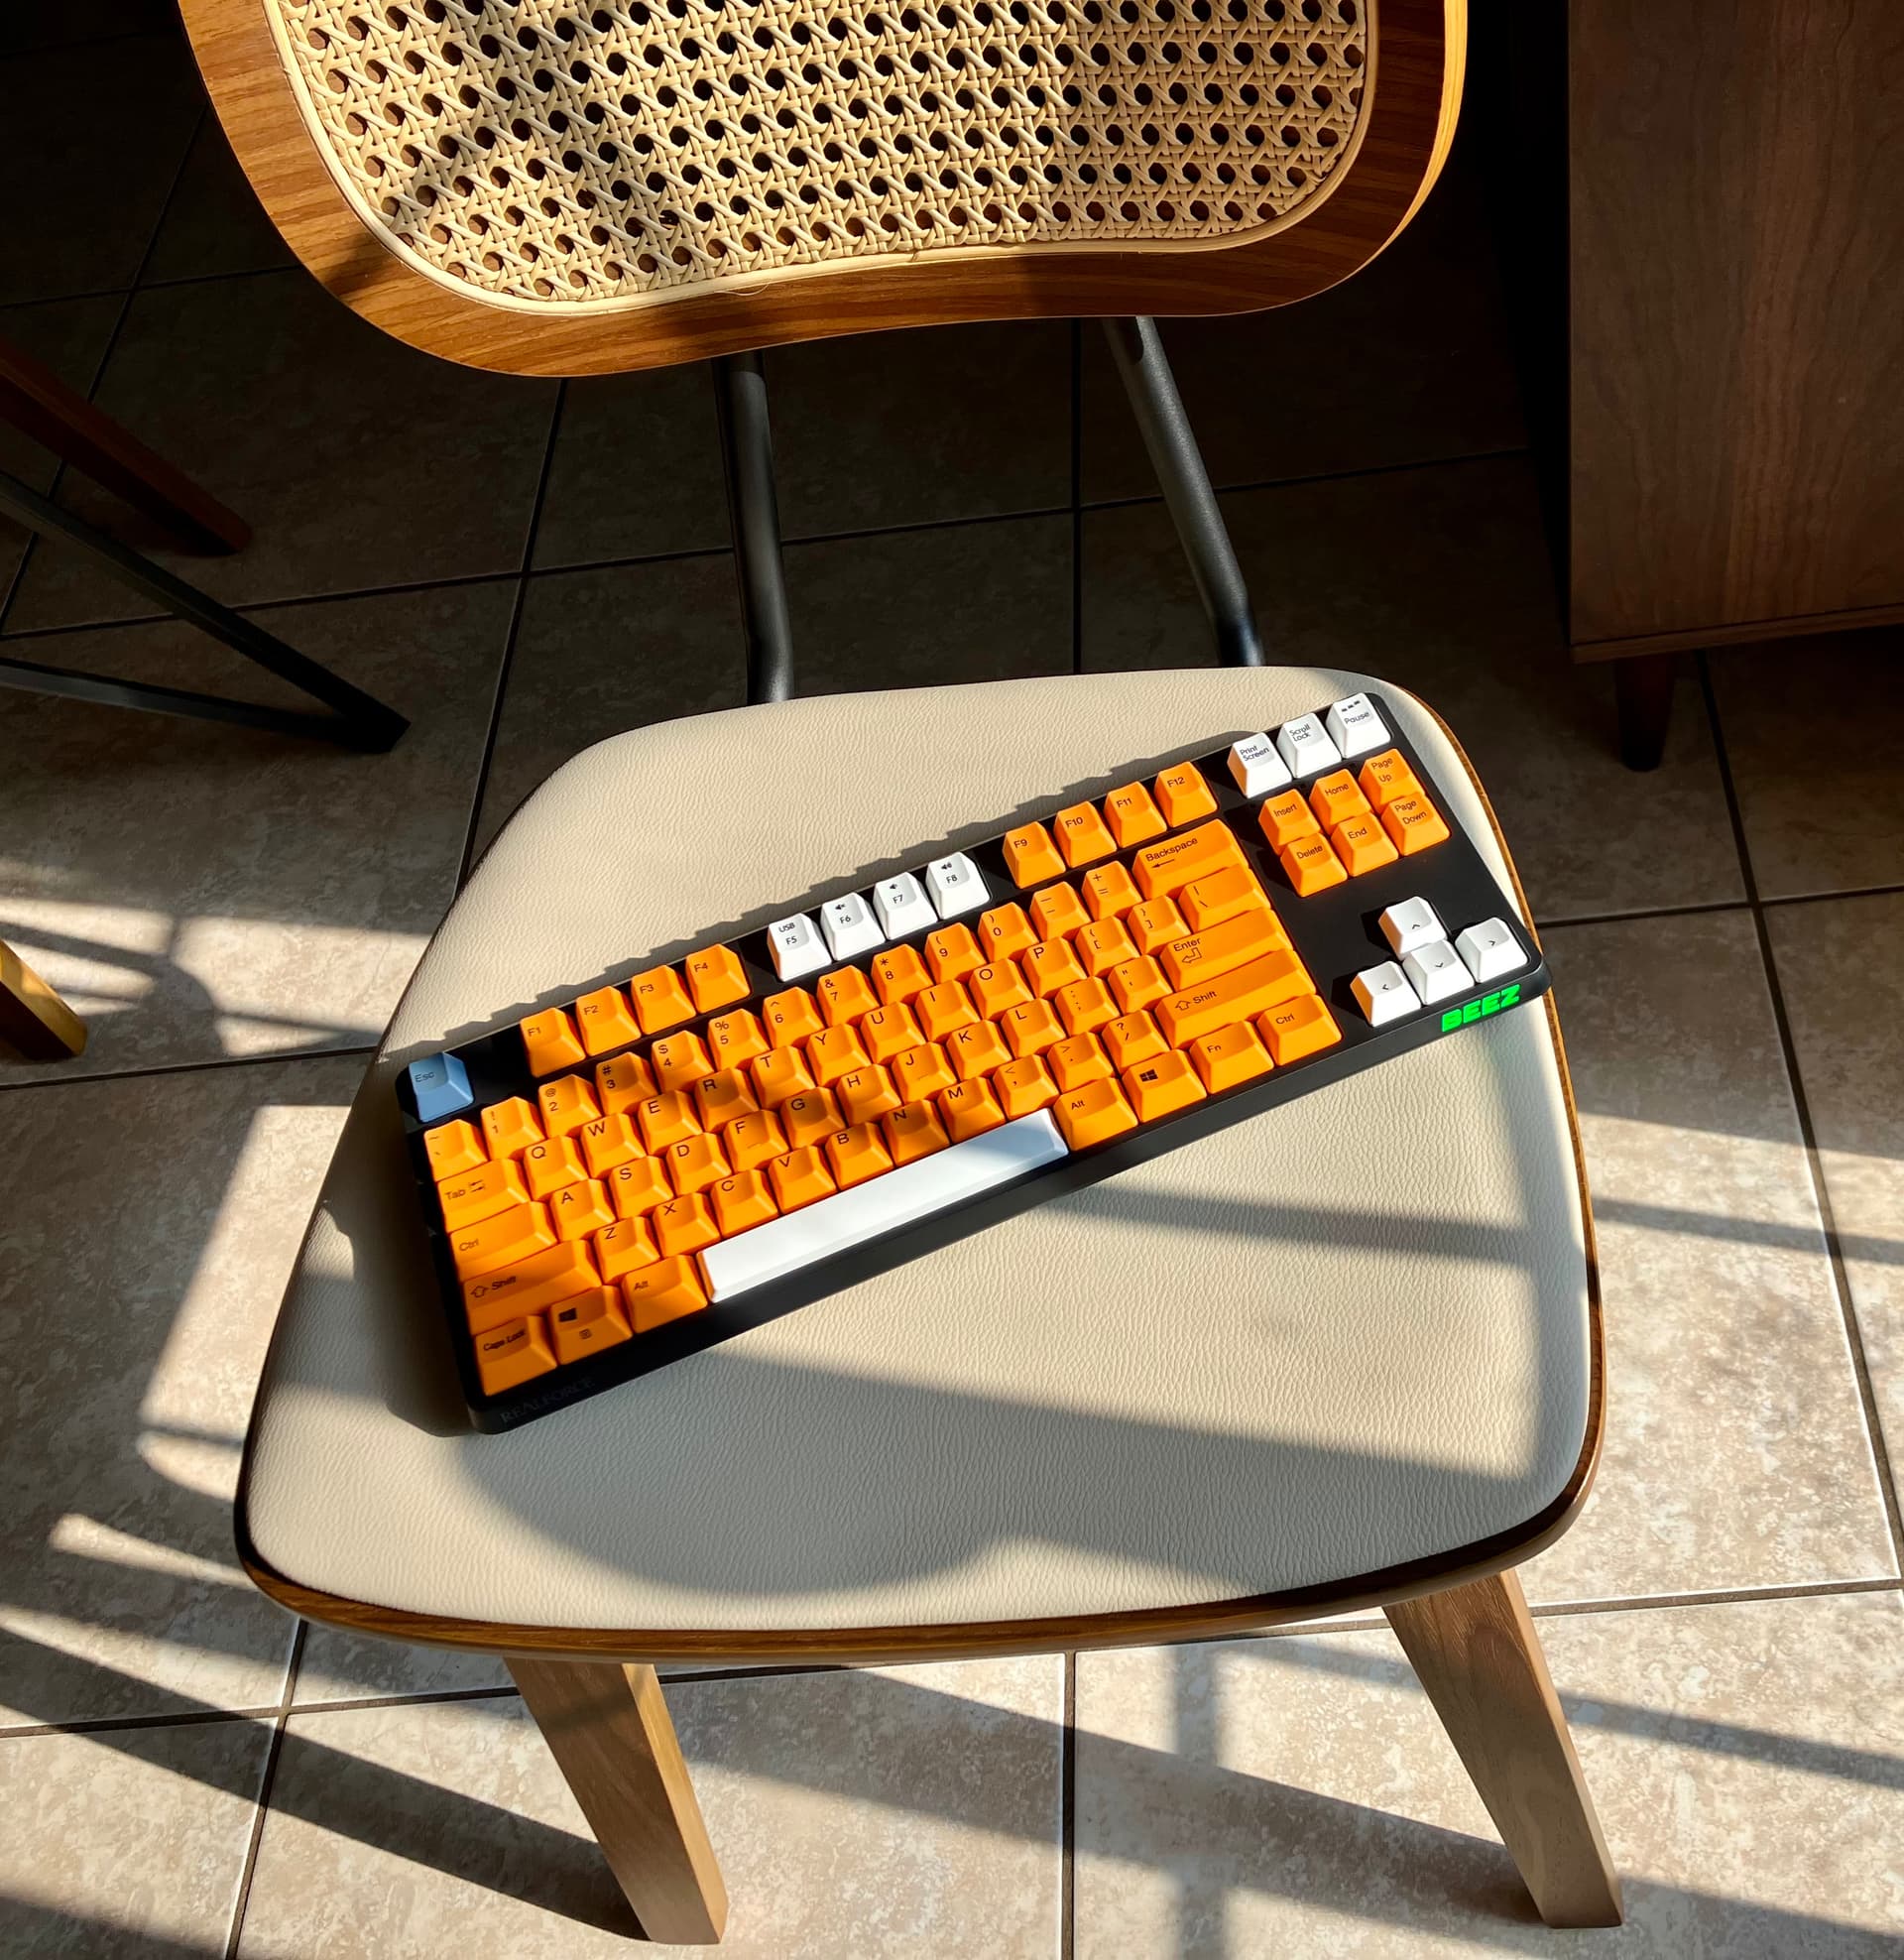
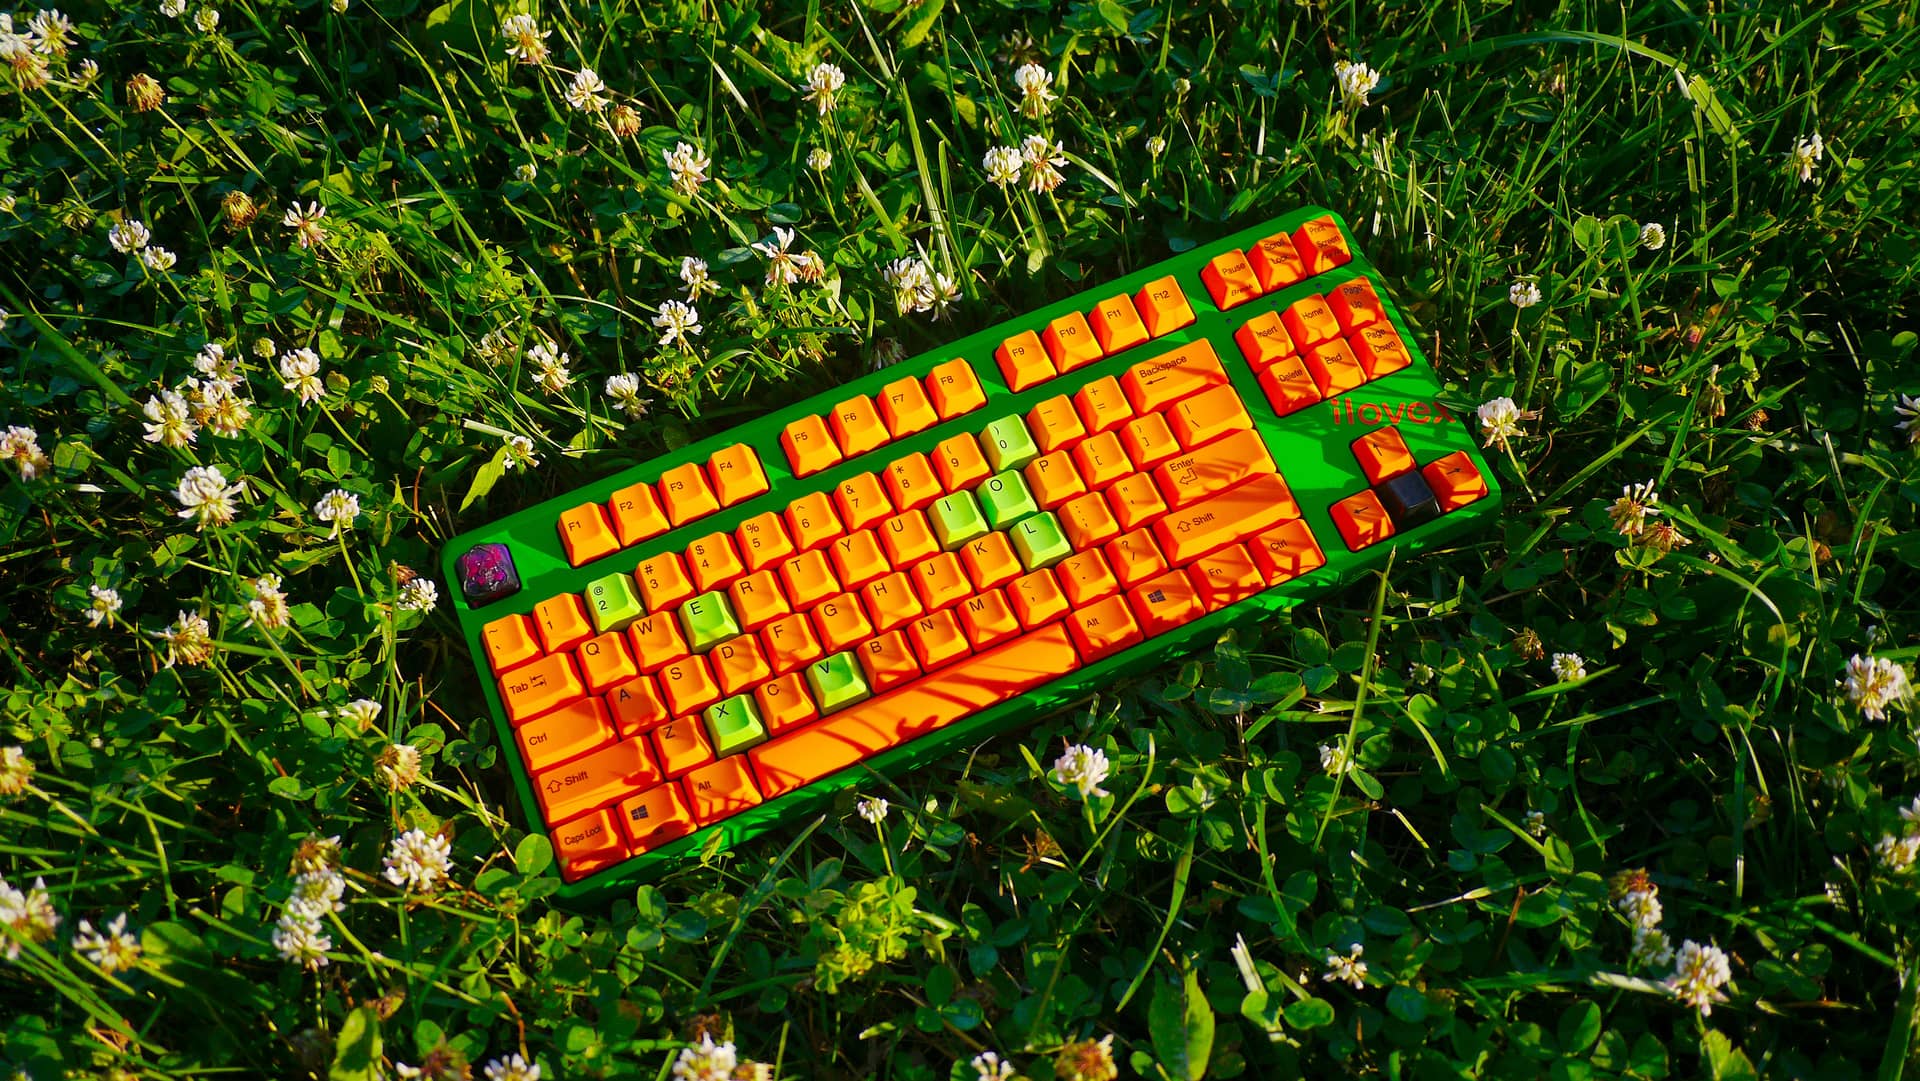
(current state of the R4, ilovex homage)
Thoughts (updated 6/19/26):
After using the board for a few months, I have to say it’s pretty nice. Definitely a lot better than the R3. I like that Realforce is trying new things with case shape and design, and appreciate the R2 layout for caps, honestly this has been a huge gripe I have had with RF in the past… They change the layout so much that previous caps don’t fit. Anyways, the domes still feel fine, no issues with usage on those. I would definitely recommend this board if you are in the market or want to upgrade your R3 bluetooth. It has a very nice solid build and weighting to it.
Thanks for reading!
-Beez
UPDATE 6/19/26:
Removed the mentions of opening the case being hard after @Jucko discovered clips on the inside lip which allows for easier opening (still be careful).
Updated my thoughts on the board after some extensive usage.
Added a new pic of the board in its current state.