I recently had the chance of getting my hands on a Preonic rev3 with a Drop case. The usb connector had broken clean off – as they are wont to do – so I got a good price. When I got home I slapped in some switches and gave it a dry run, only for my fears to be confirmed; this thing sounded pingy and steel-y. If you haven’t seen a Planck / Preonic pcb, they have 5 standoffs integrated into the pcb which are secured against the case by screws threaded through the bottom. So, typical tray mount plus steel plate doesn’t make for the best typing experience. My plan was to make this board’s sound signature singular and contained. I haven’t had the pleasure of typing on a top dollar keyboard but it seems the current meta is aLL GaSkETmoUNt so I wanted to give that a go. I also made sure to lubricate this board with as much snake oil pack this board with as many features as I could muster, using the tried and tested method of throwing shit at the wall and seeing what sticks:
- Gotta have gaskets
- huge o-rings
- or maybe tiny o-rings
- open cell foam
- friction fit / wedge mount
- or maybe burger mount we’ll see
- maybe BOTH
- less metal more plastic, have a pom plate cut; maybe gain some fLeX along the way
- uhmwpe stems of the recent vintage r1 batch 3
- sleeper build / keep a low profile (literally and figuratively)
- gotta have a rotary encoder though (I know, it’s 2020, consider it an ironic throwback at this point)
I’ll try and glean my woes and wins in this thread, in the hopes that future generations of amateur boardheads can pass on a few dead ends and pick out some bits of useful info.
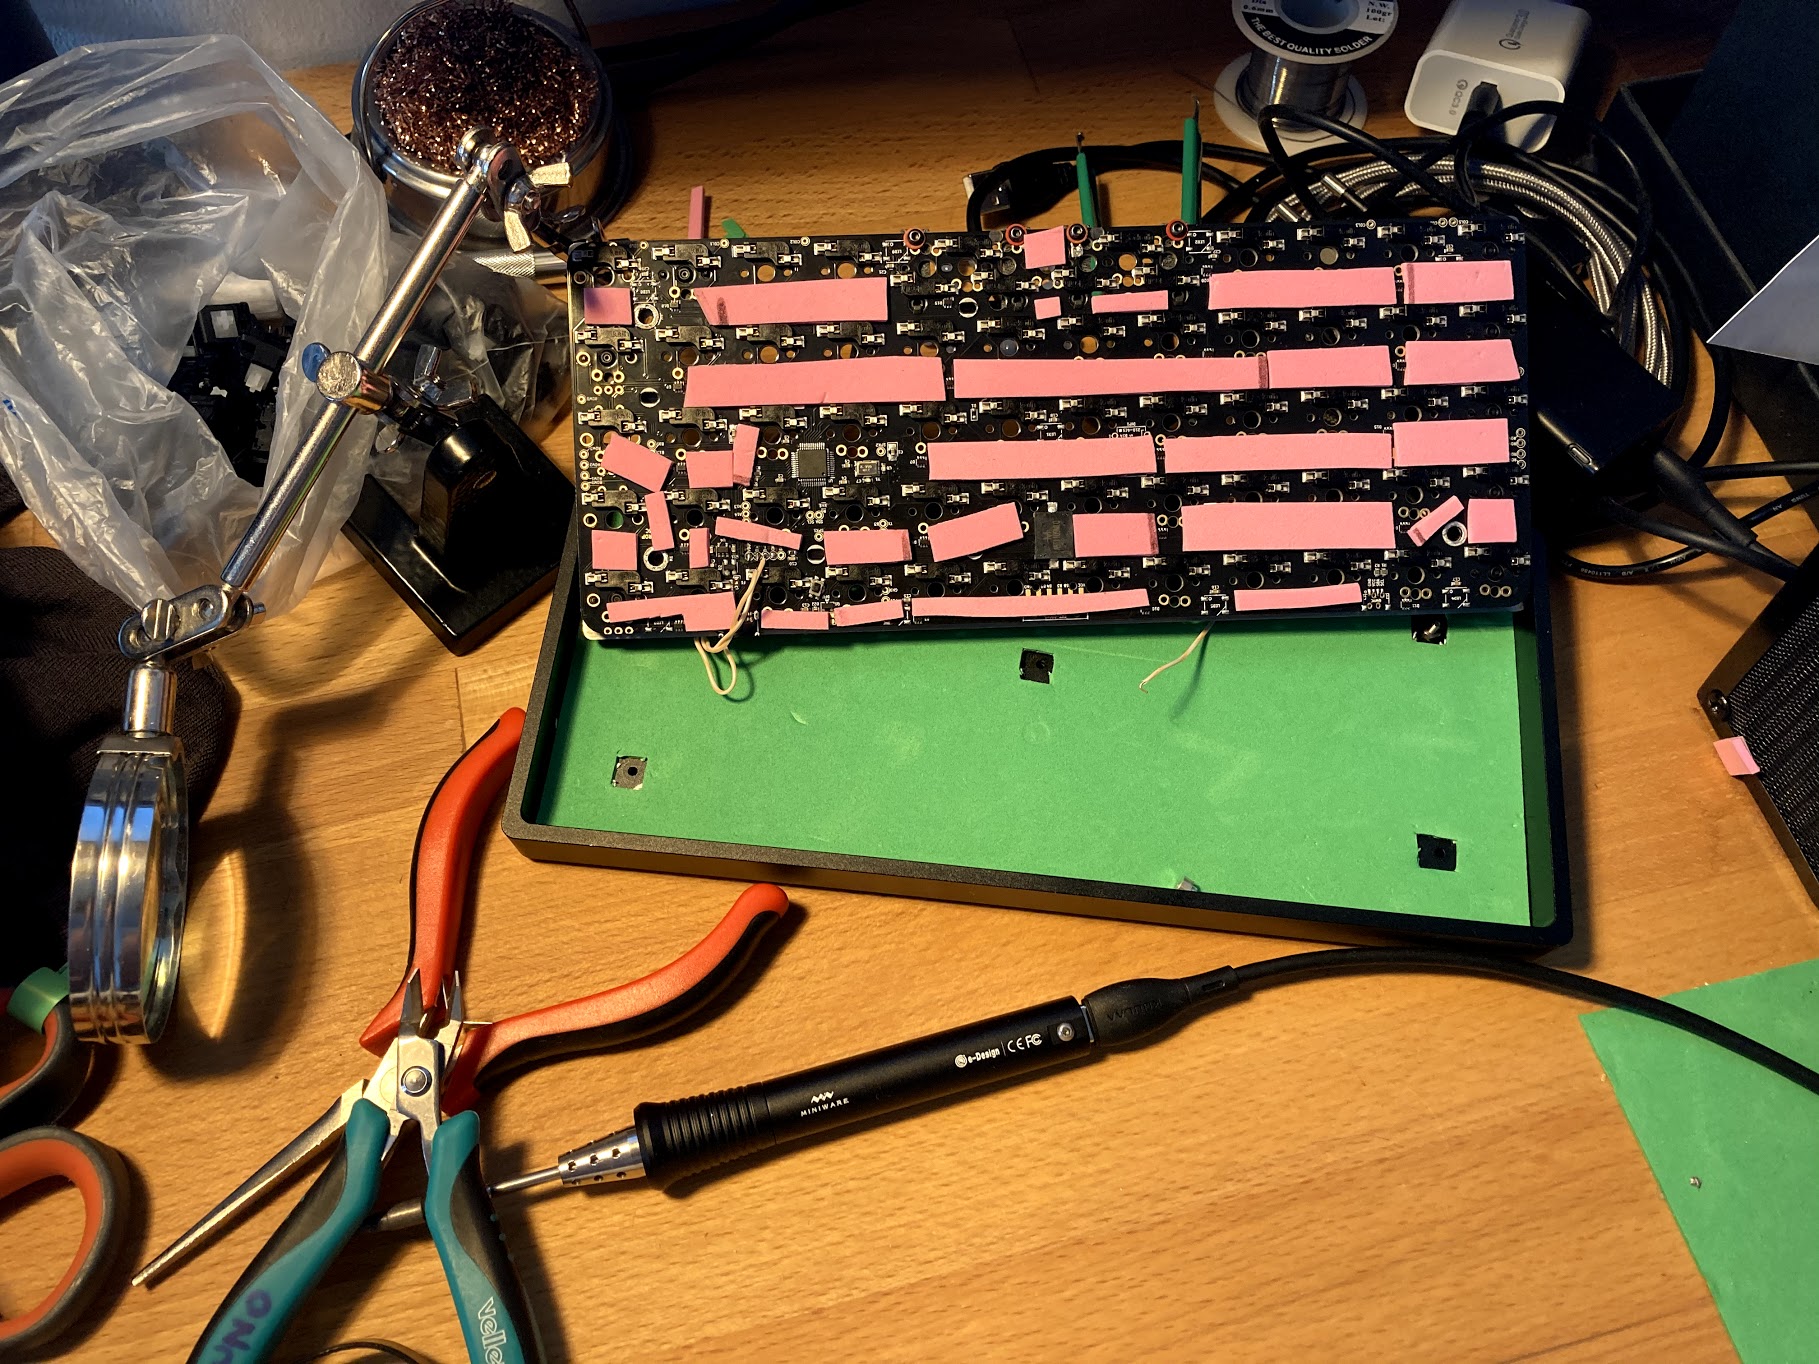
Current state of affairs: pretty chaotic.
Still waiting on the plate from Snijlab and a daughterboard from Evy / anykeys.eu.
Gonna take a run at it soon and update this thread.