Important note: the unit that I have is a prototype with a brass backplate and so the sound and weight of this specific one may vary from the groupbuy units. I have not been paid or compensated in any way to write this review, and have written it only to share my thoughts such that they may be useful for those looking to purchase one.
Introduction
Since the Norbauer Heavy-6 seems relatively close at hand (and extras are available for preorder, giving more people the chance to purchase one) a review seems to be in order now that I’ve used the keyboard since November of 2018. I’ve never actually written a keyboard review before but hopefully this will give some insight into what it’s like to type on this beast.
I purchased my unit directly from Ryan via email after I expressed concerns over the badge during the cerakoting process. He was extremely accommodating and offered to sell me a non-finished prototype so I could have it cerakoted without worry of damaging the badge. Of course, that was an offer I could not refuse.
Installation
Having never modified or taken apart a Topre keyboard before, I was slightly apprehensive about the process of disassembling an FC660C. Luckily this process is relatively simple despite how tricky it may seem. The case of the 660C is held together with a series of plastic clips and one singular screw, as can be seen in this wonderful guide by ripster55. However, the use of a plastic spudger on the clips instead of a screwdriver is recommended to limit the possibility of damaging them.
Once the 660C and its controller are liberated from their original plastic housing, the process of installing them into the Heavy-6 is also relatively simple. Very carefully, separate the controller daughterboard from the mainboard at the mainboard connector, leaving the ribbon connected to the daughterboard. For the next step, I would recommend elevating the housing by its sides on a work surface using some thick textbooks or something similar. Doing so ensures that the keycaps will not push the plate away from the screw holes during installation.
Next, screw the top plate into the housing using the included button-flange hex screw hardware. Since the hardware is non-magnetic, care should be taken in placing the screw into its resting place, since misalignment means fishing the screw out from inside the casing and trying again. Get all the screws in halfway first, and then tighten them in a cross-pattern to ensure even pressure. Don’t overtighten them, however - finger tight plus 1/8th of a turn is plenty. It may take a few attempts to get all the screws in their respective spots, three on each side. The daughterboard is attached to the backplate of the Heavy-6 housing via the included standoffs and hardware with the board interconnect and dip switches facing downwards, so ensure that your switches are set as desired before proceeding.
Having completed these steps, VERY carefully plug in the board interconnect and install the backplate and daughterboard into the housing, being sure to align the USB port, the hole for which has surprisingly exact tolerances. The ribbon cable is very fragile, and you’ve added considerable weight to both sides of it should you drop either the backplate or the housing.
Overall, the installation process for the Heavy-6 isn’t the easiest I’ve ever experienced for a board but it is far from difficult. If you want to buy a 660C without modifying it and just place it into the housing, the process goes fairly smoothly as long as you’re patient.
Look, Feel, and Living With The Heavy-6
The Heavy-6 is an interesting keyboard in that it is almost paradoxical. Especially in this satin black cerakote, its design is quite understated with clean lines and reasonably thick bezels, giving it a classical look; however as an input device, it is far from subtle. Upon picking it up, the sheer mass of the Heavy-6 is immediately apparent. At 4lbs 2.5oz or nearly 1.9kg (for this specific unit with a brass backplate) it certainly lives up to its name. I certainly would not want to carry this back and forth to work or college every day (even though Norbauer offers a $180 ballistic brief that will allow you to do so.)
Every single keystroke feels deliberate - the added rigidity of the chassis seems to slightly increase the feeling tactility in the Topre switches, especially on bottom out - the sounds of which resonate with a deep tone. If you’re the kind of impassioned typist who bottoms out, this will easily resonate into a desk surface. The Heavy-6 makes itself known not just by its own sound, but the resonance it creates in things around it. It’s loud enough where the noise gate on my microphone has to be set higher than normal to prevent the THOCK THOCK THOCK from being heard by all of my teammates while playing Destiny, Rainbow 6 or Apex Legends. Perhaps this could be tamed by adding Sorbothane or a similar sound-dampening material to the inside of the case, but IMHO a board like this deserves to create its THOCK sounds unhindered.
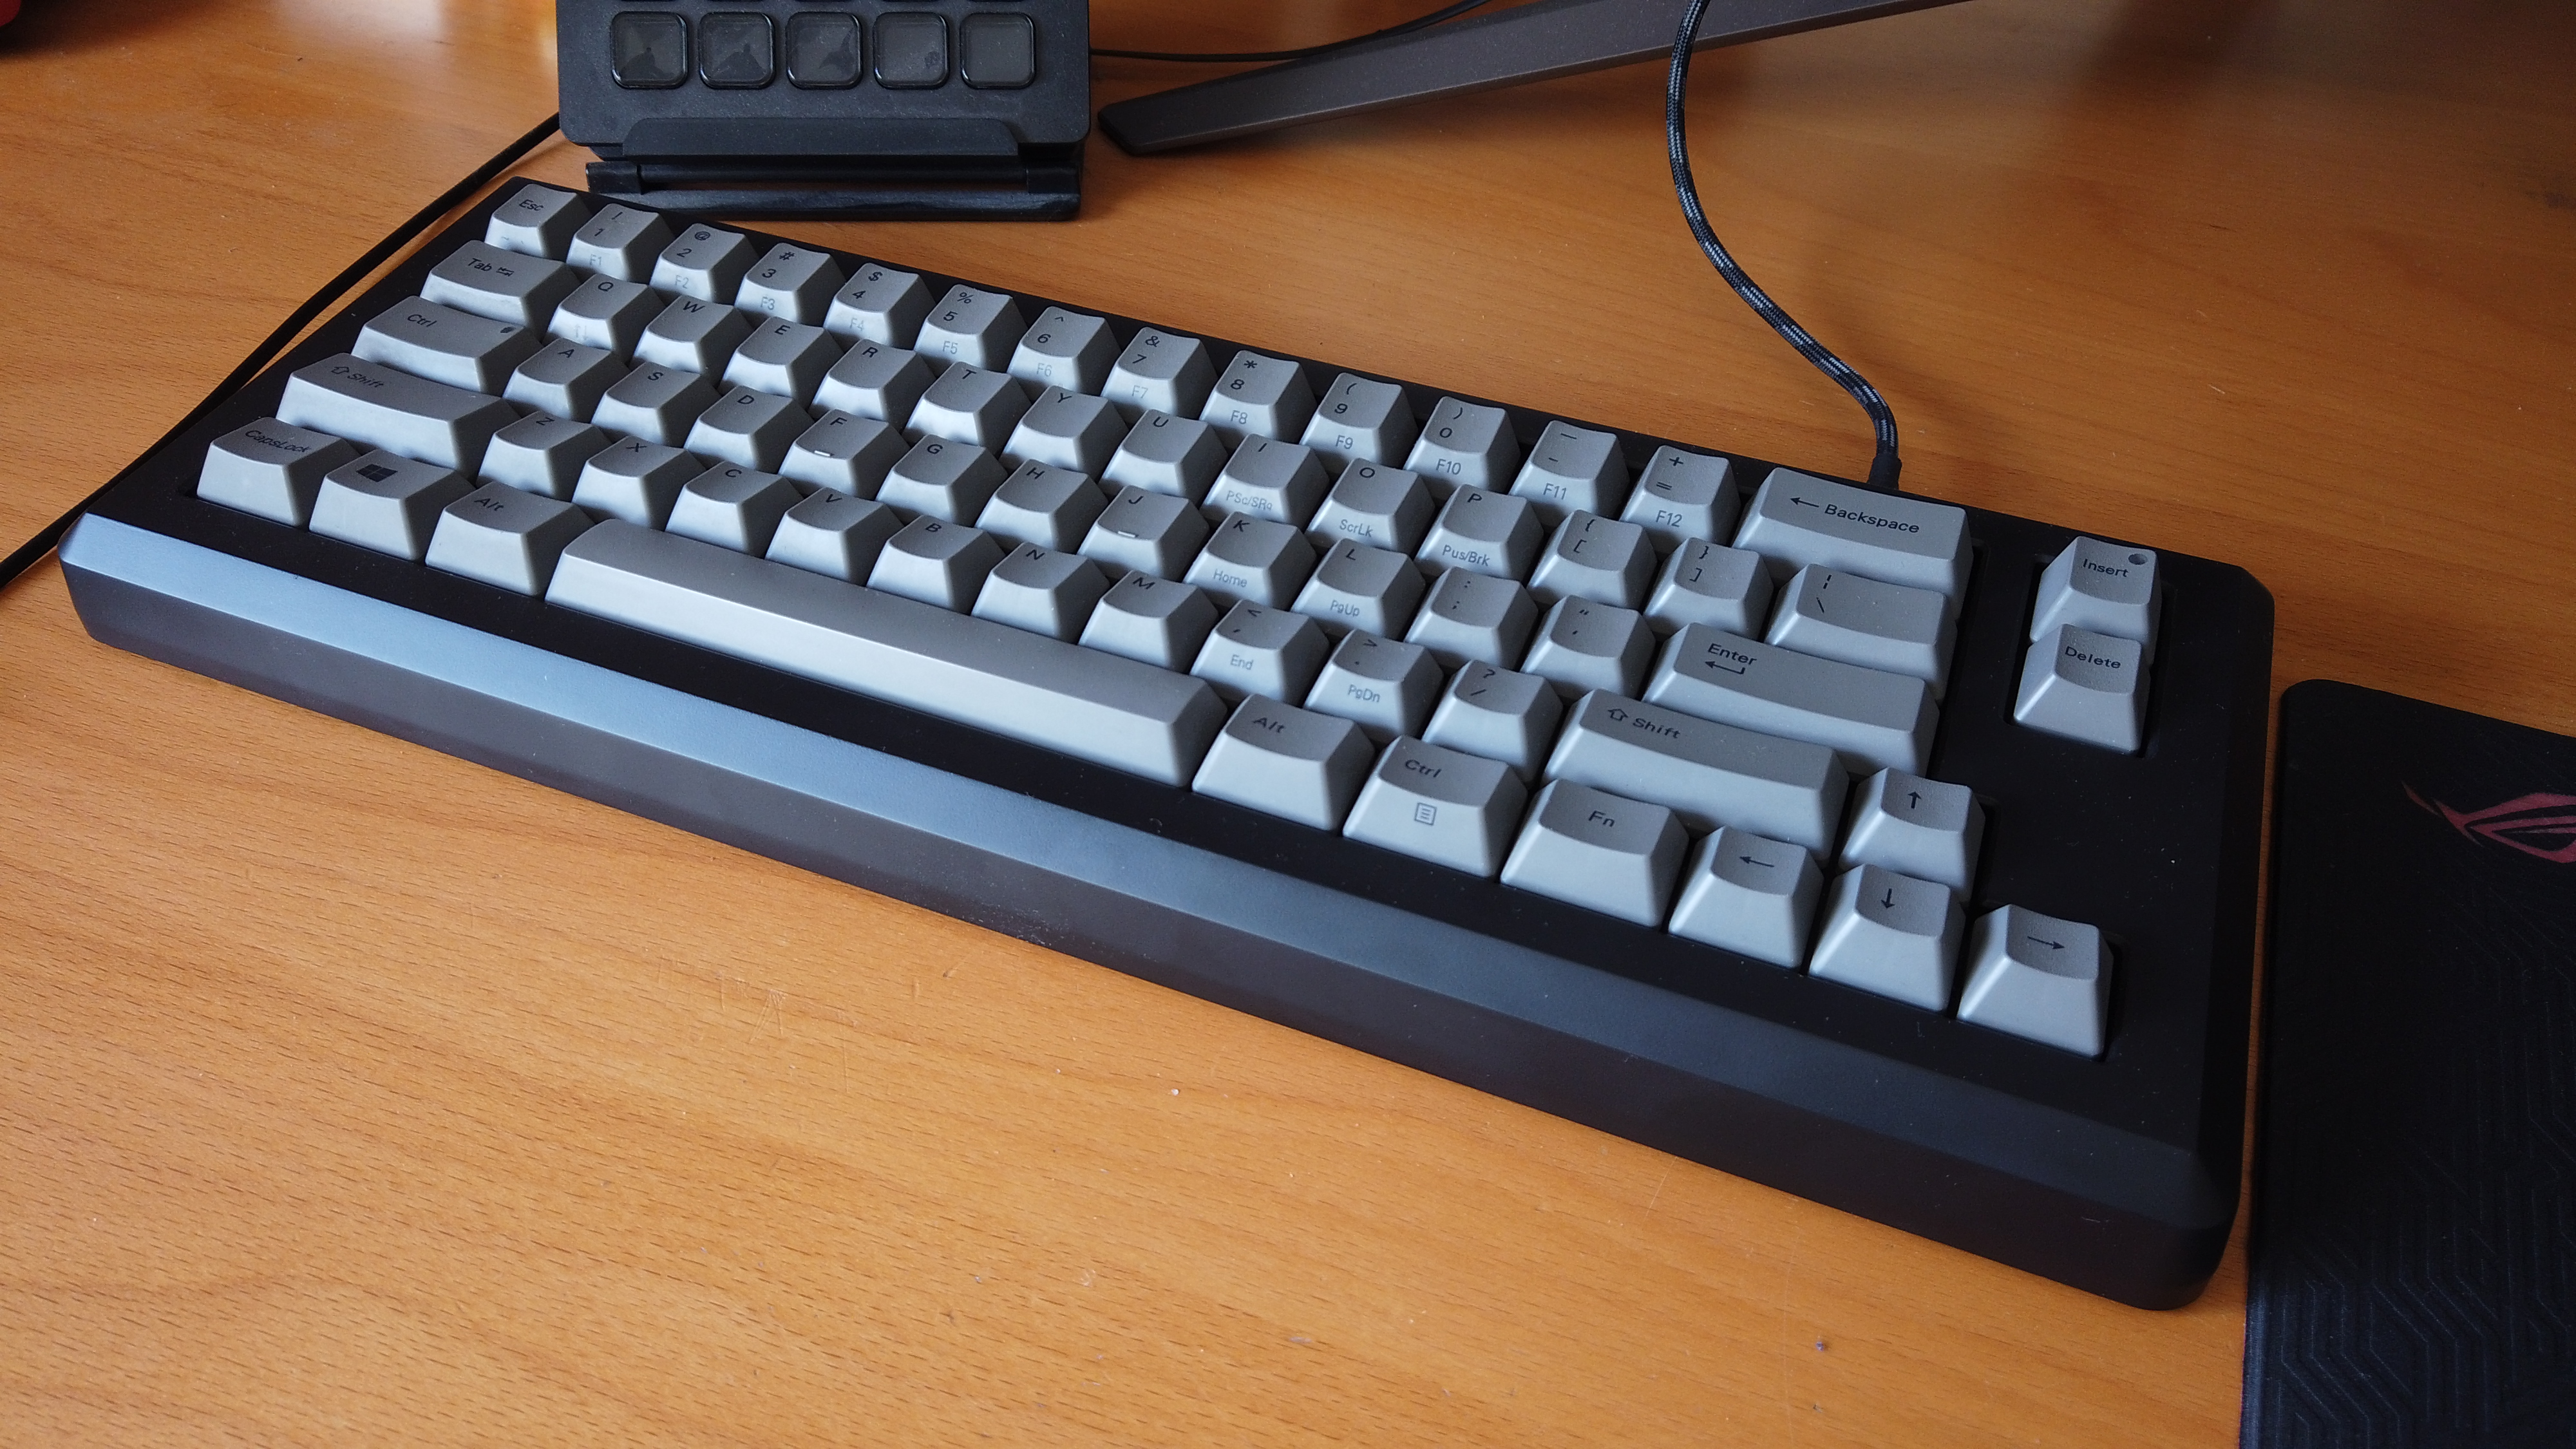
The Heavy-6.
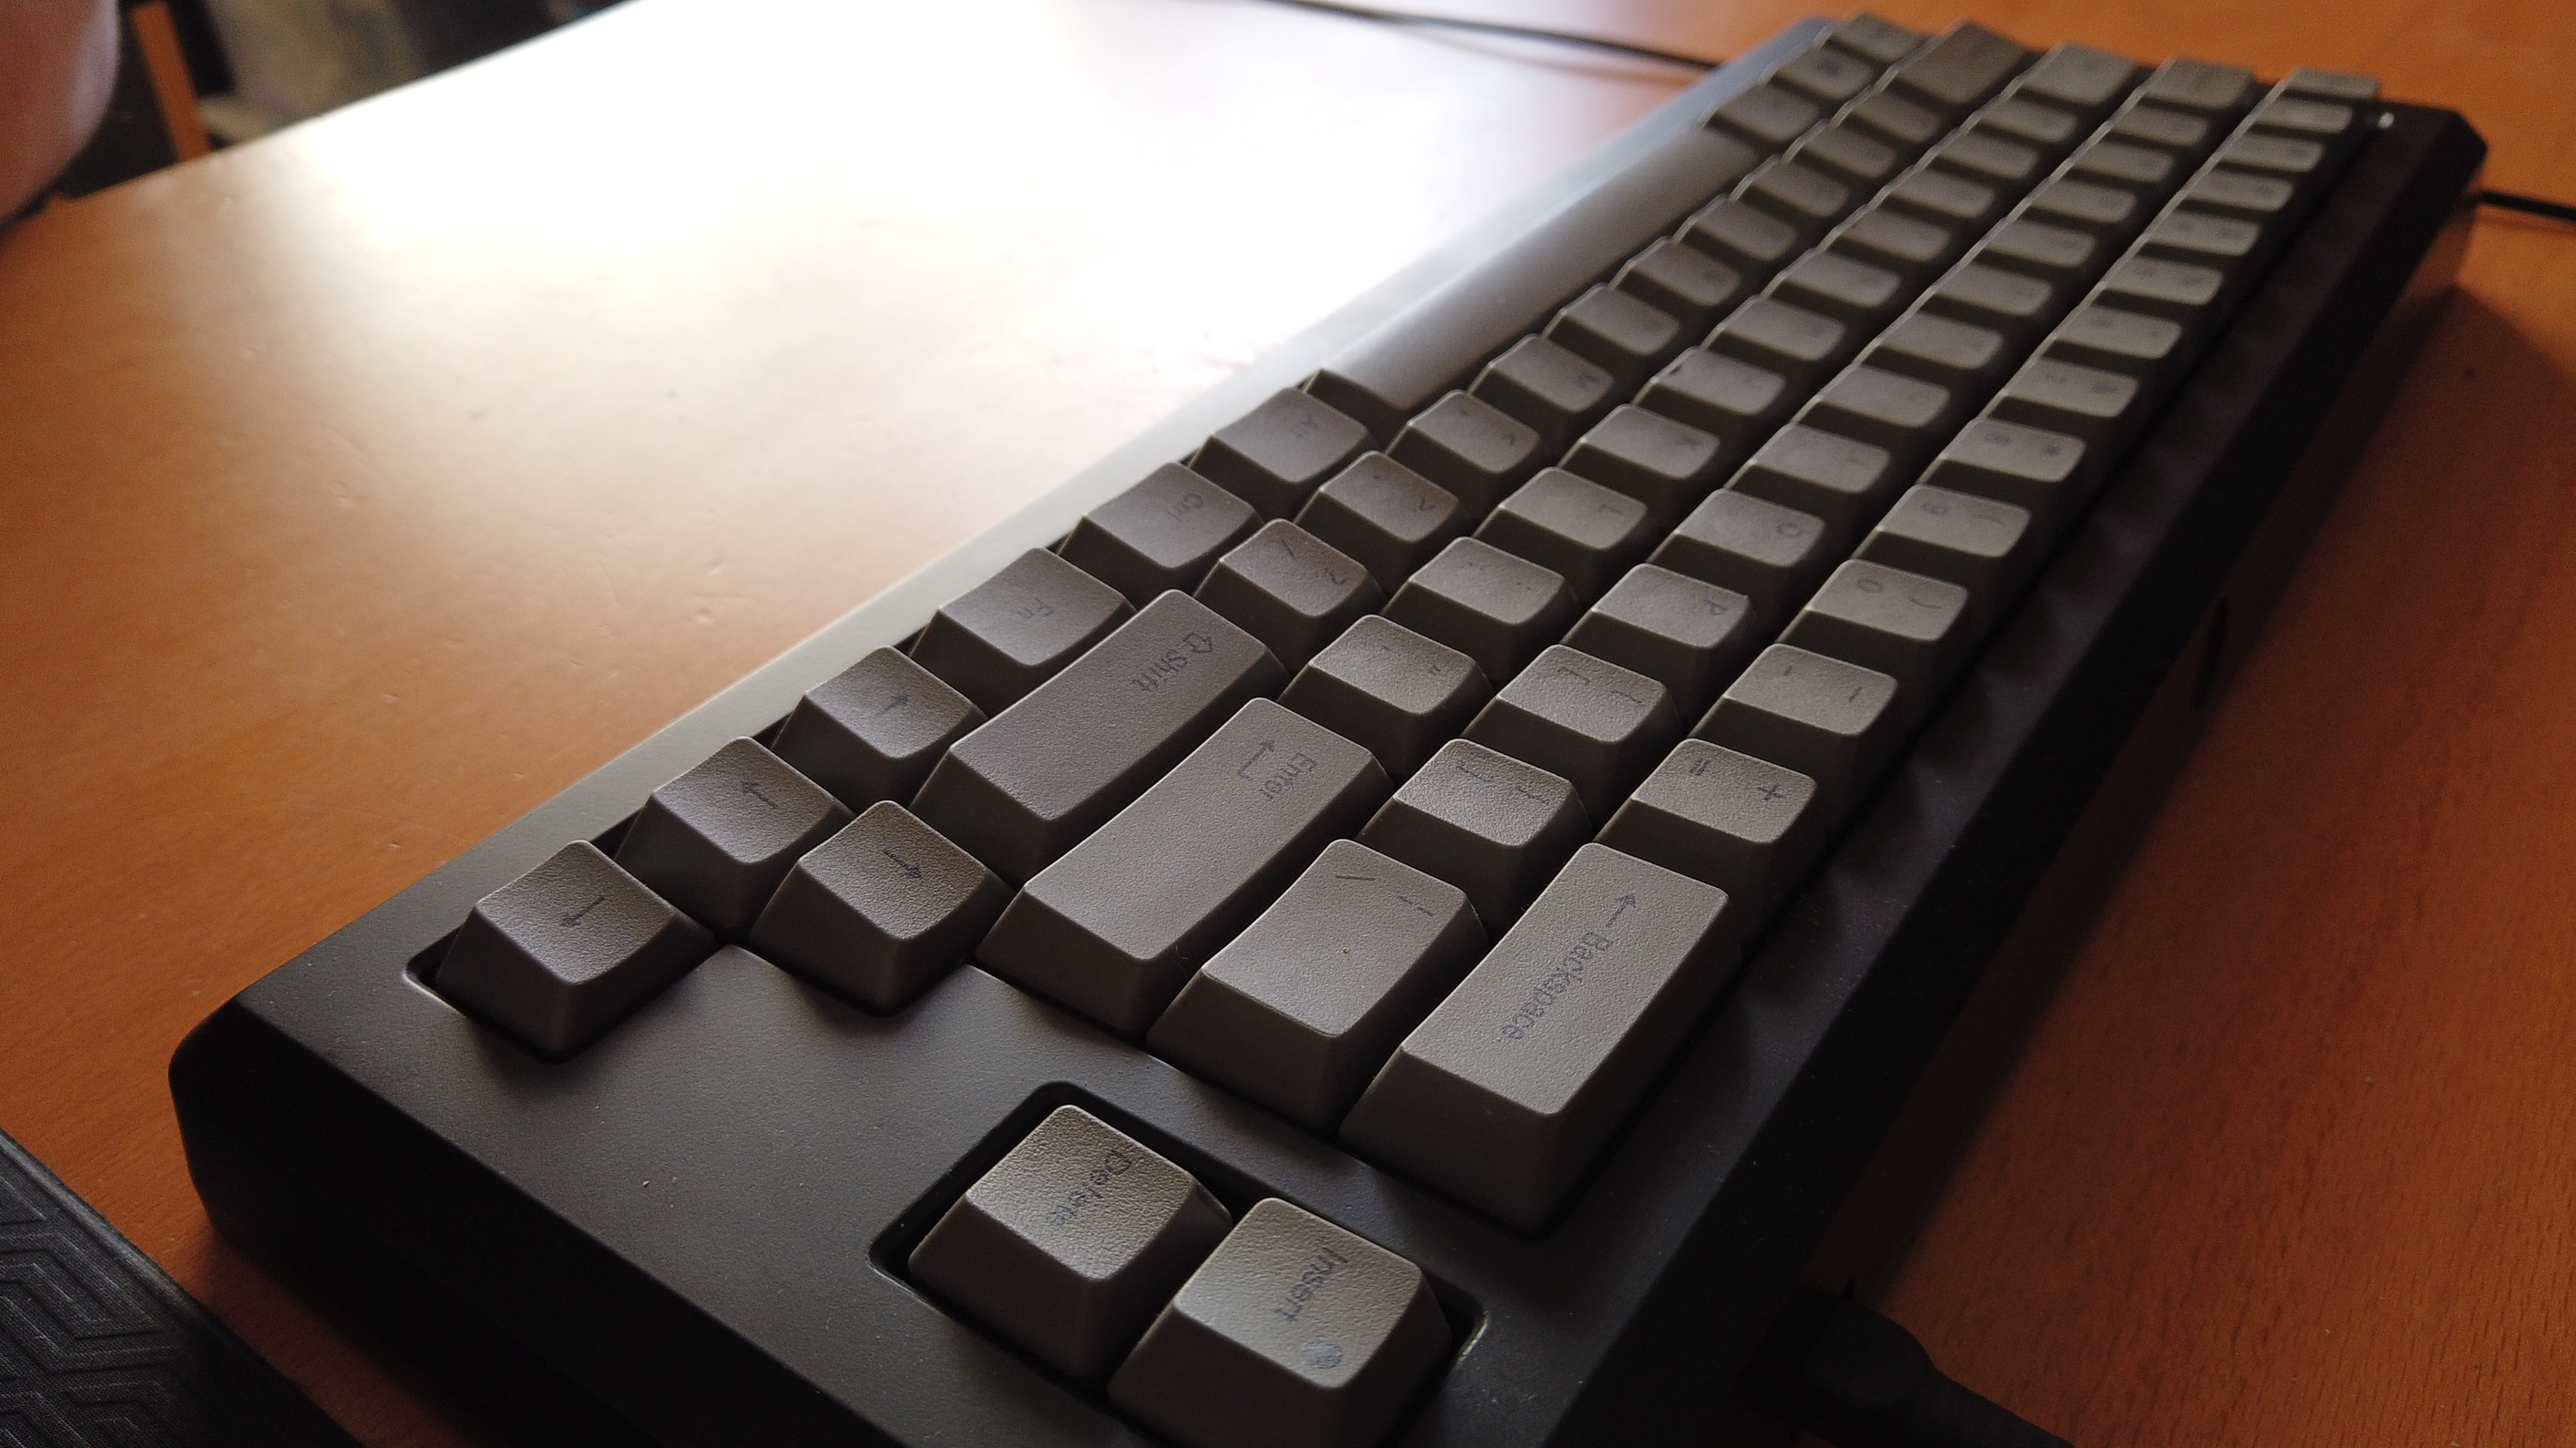
The typing angle of 6 degrees is rather low compared to the HHKB, and almost looks flat in this picture
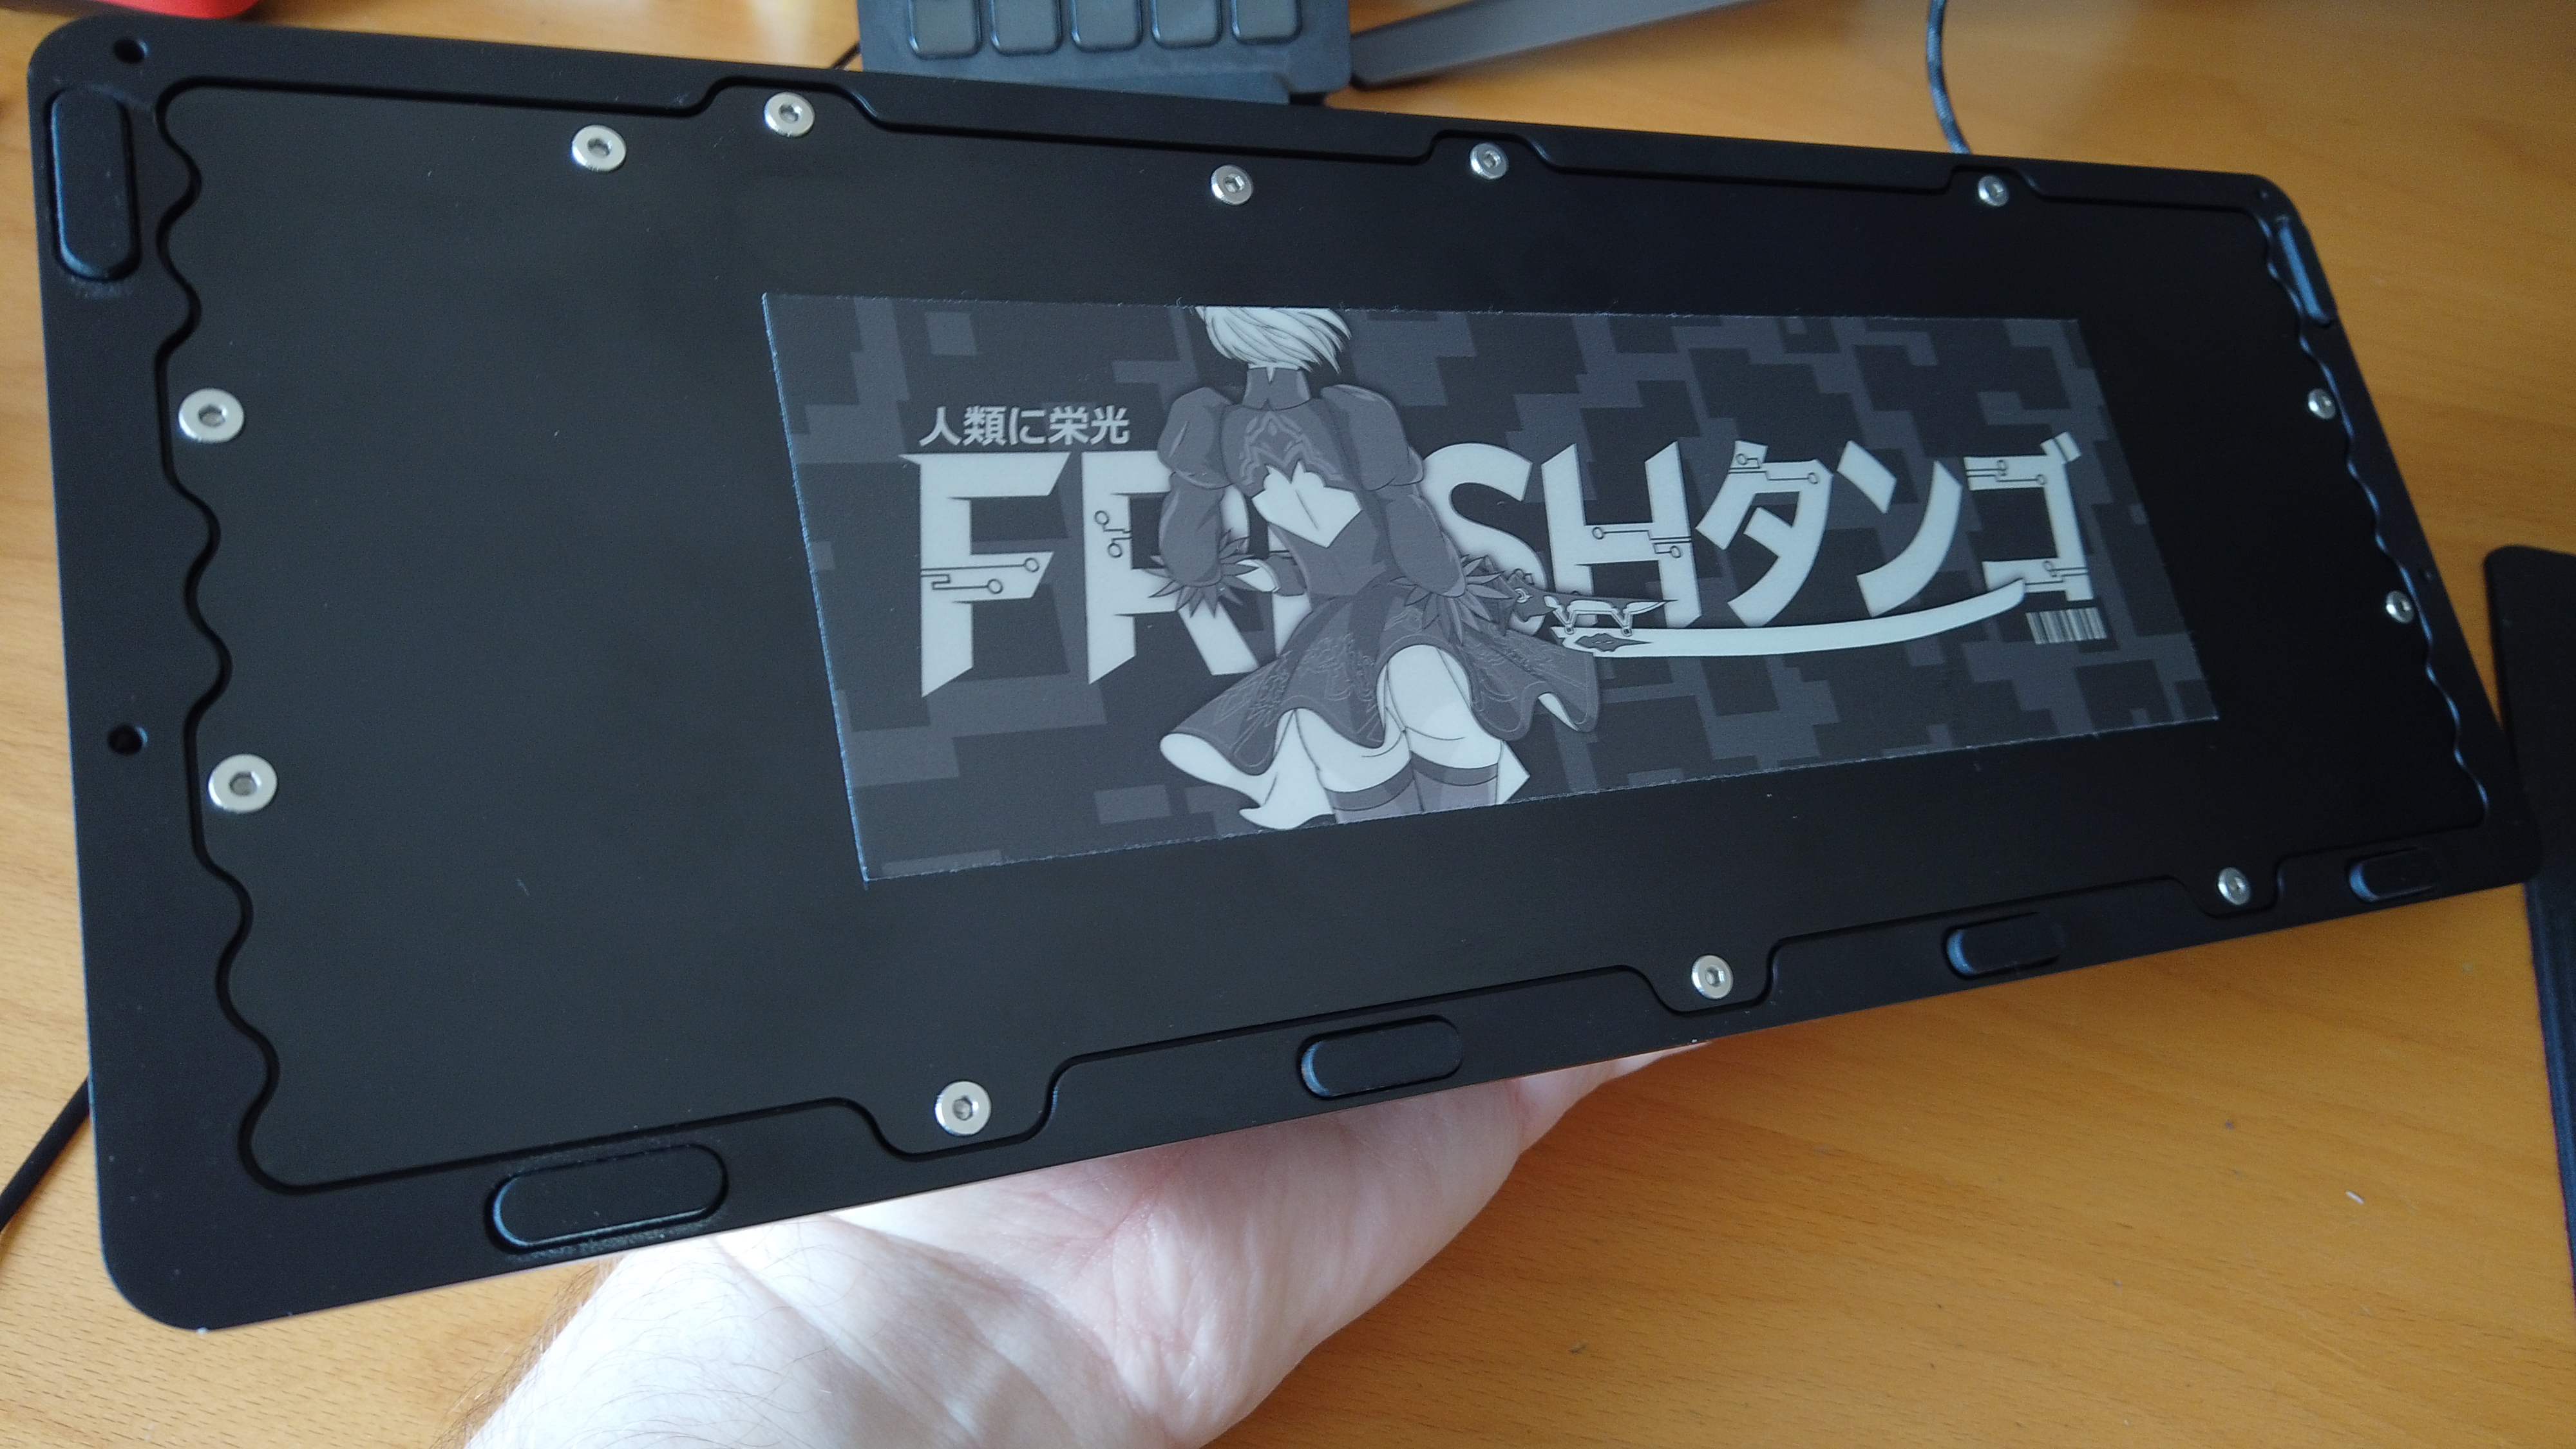
Of course, the perfectly flat underside plate was the perfect place for this sticker. Personally I think the grey on black scheme of the caps and case match both the aesthetics of 2B and Yohra, making this one a perfect fit.
Conclusion
The Heavy-6 is not a board for the faint of heart, or wallet. In taking a $250 sub-compact board and adding a $380-$1000 solid aluminum (or stainless steel) housing, you create not only a hole in your wallet, but also remove one of the most attractive features of that keyboard: portability. However, the end result is something which is both familiar, yet entirely different; if you’re looking for the ultimate custom Topre keyboard, this is definitely something you should consider.