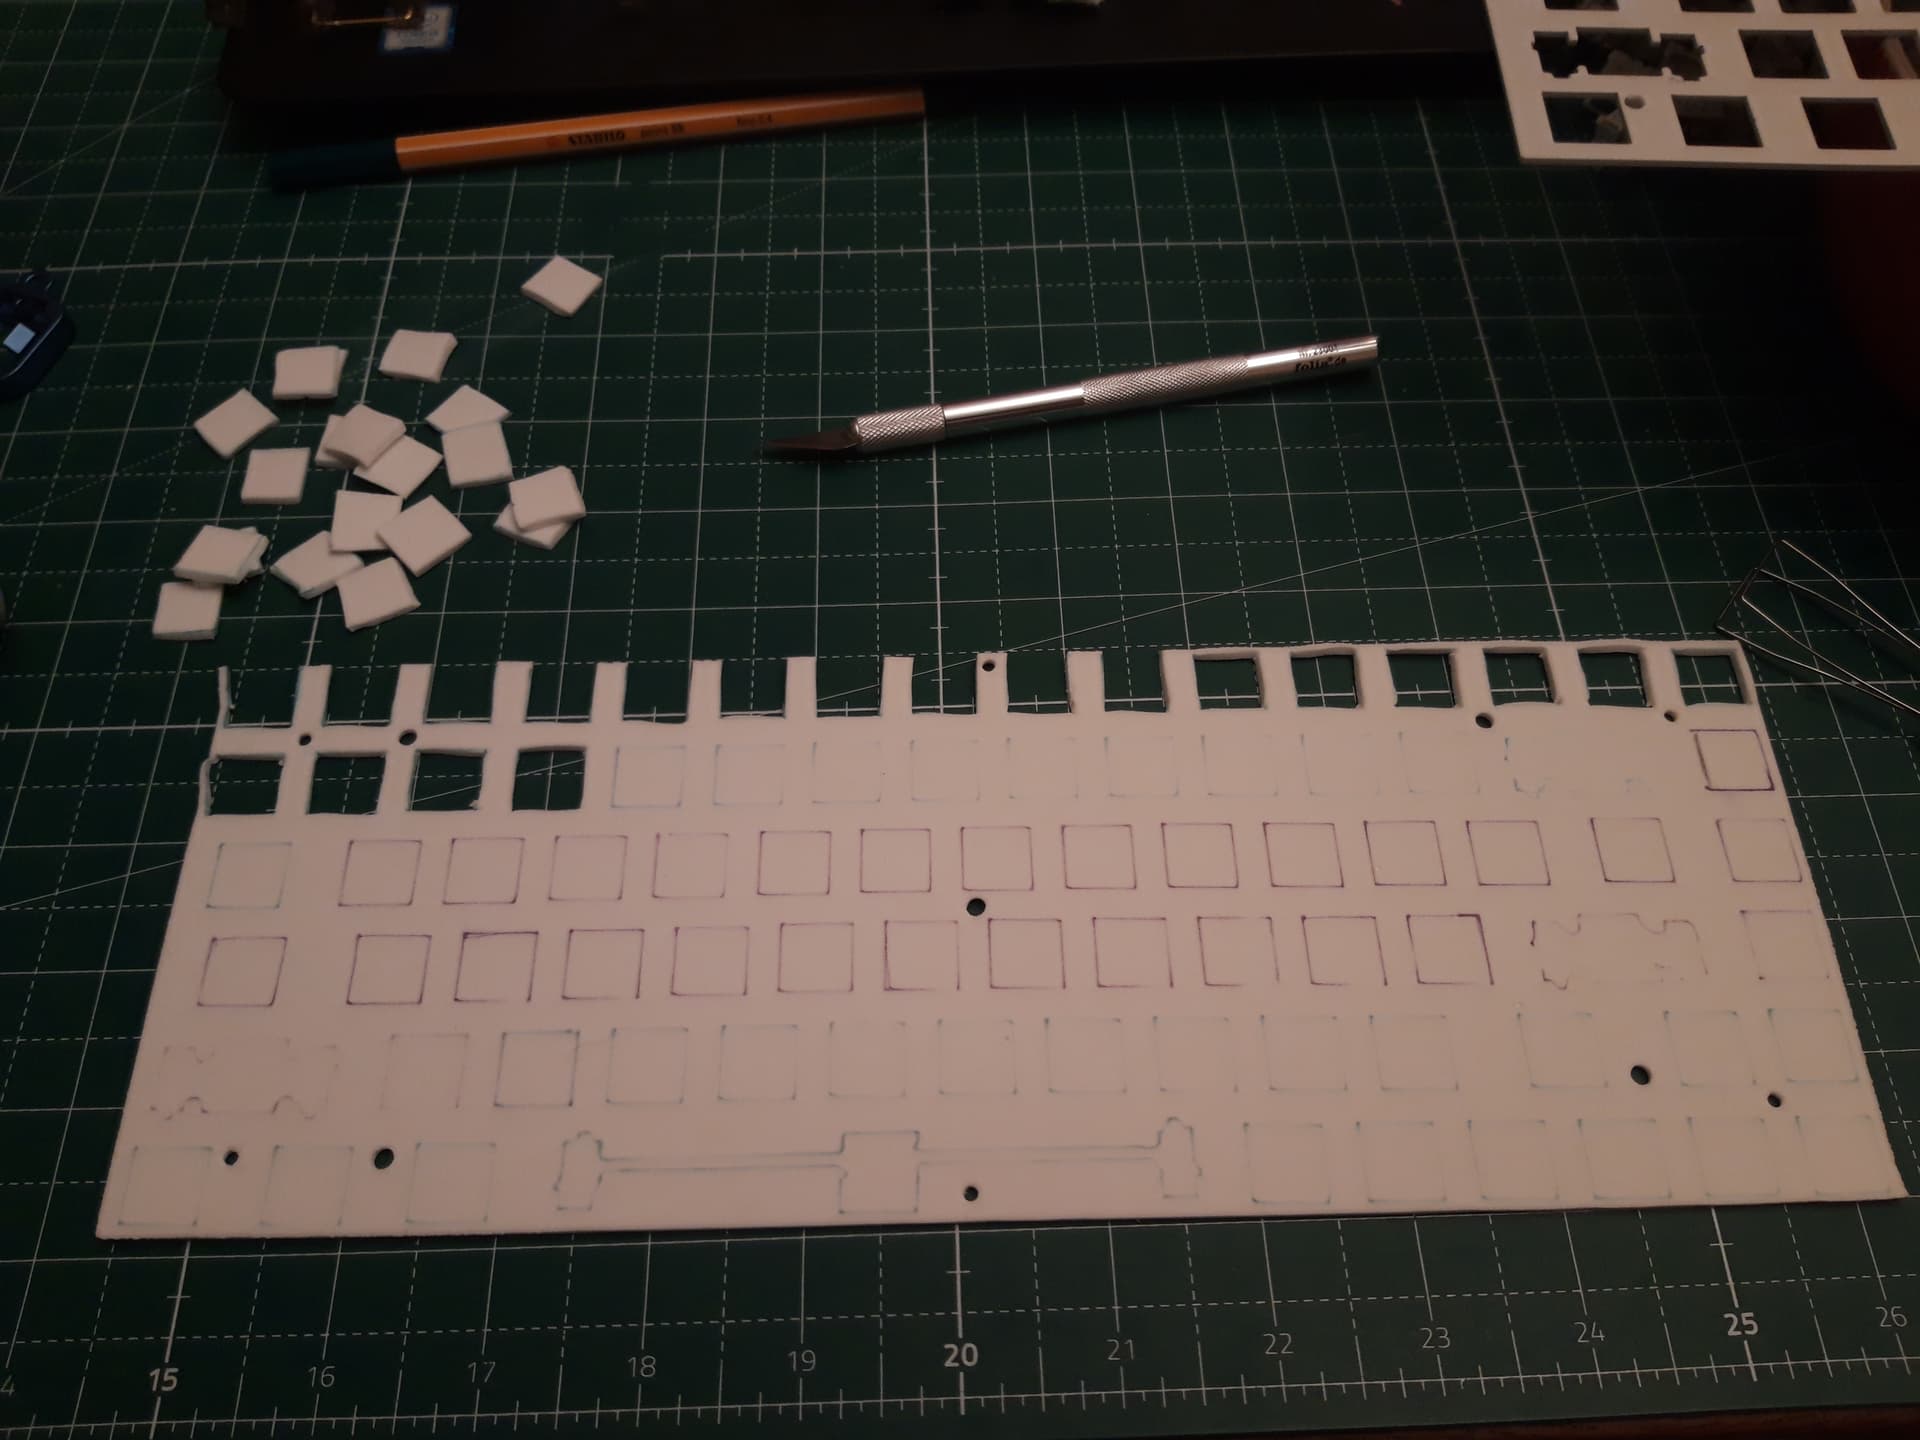
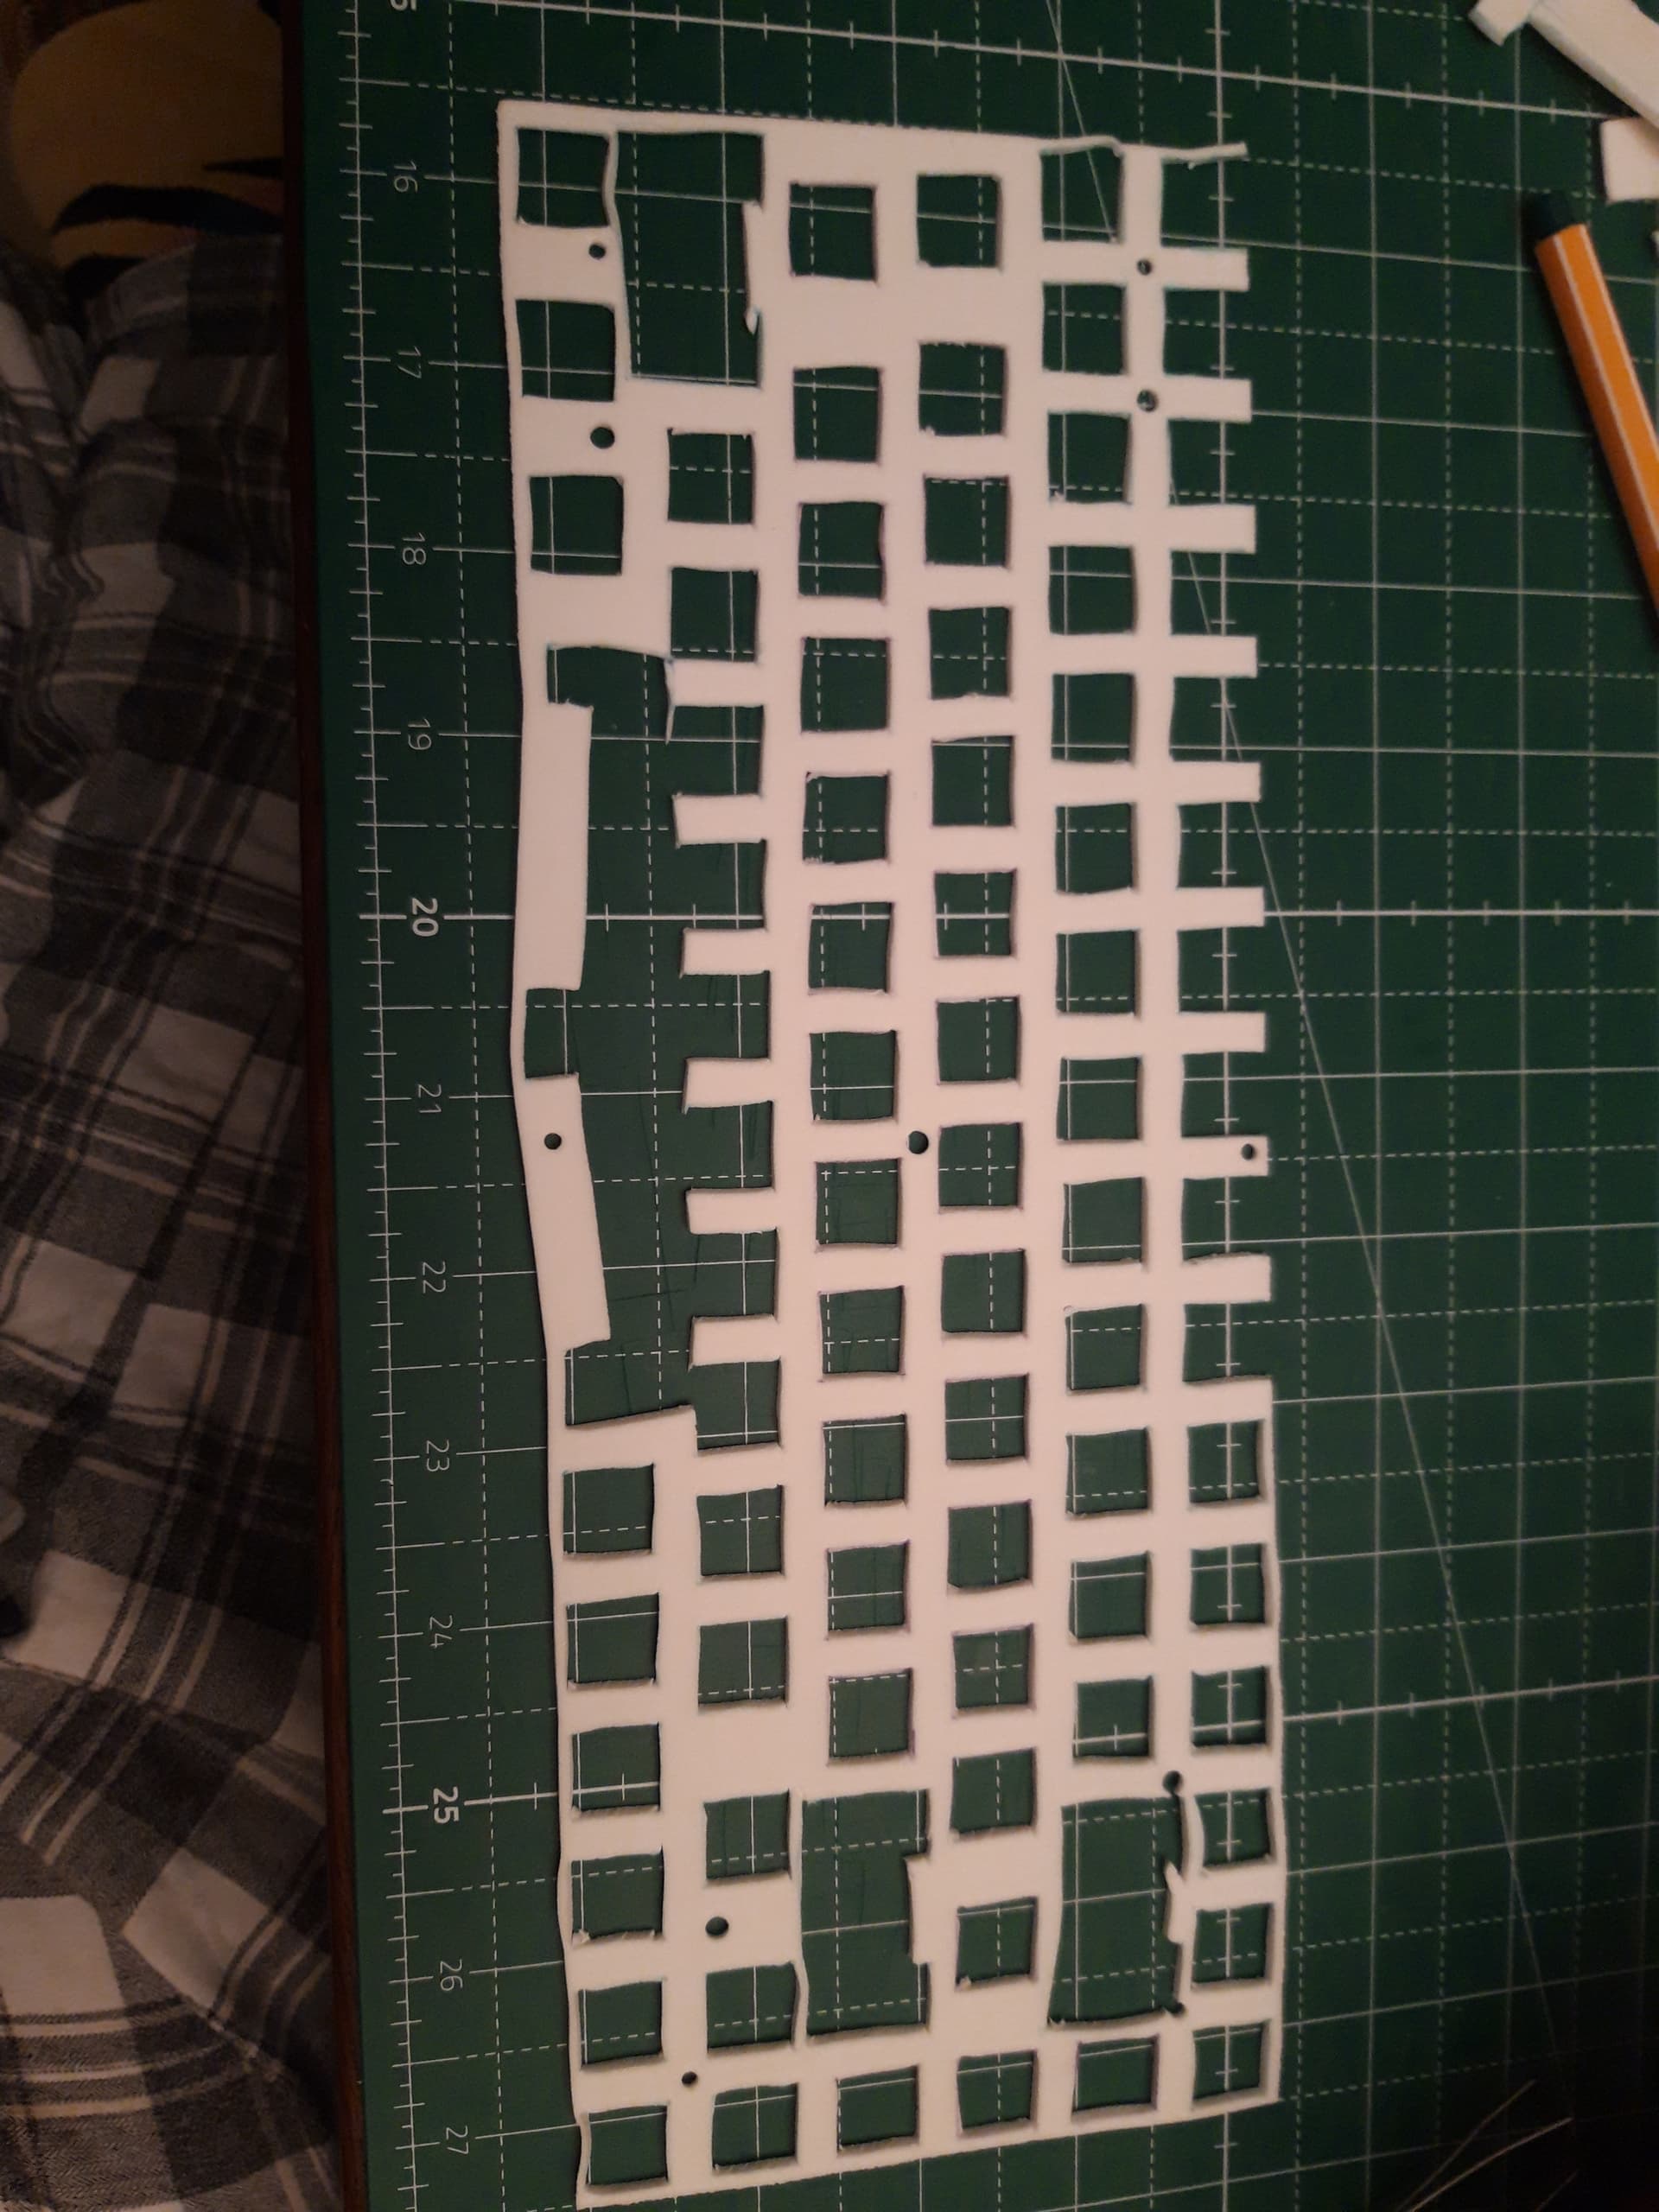
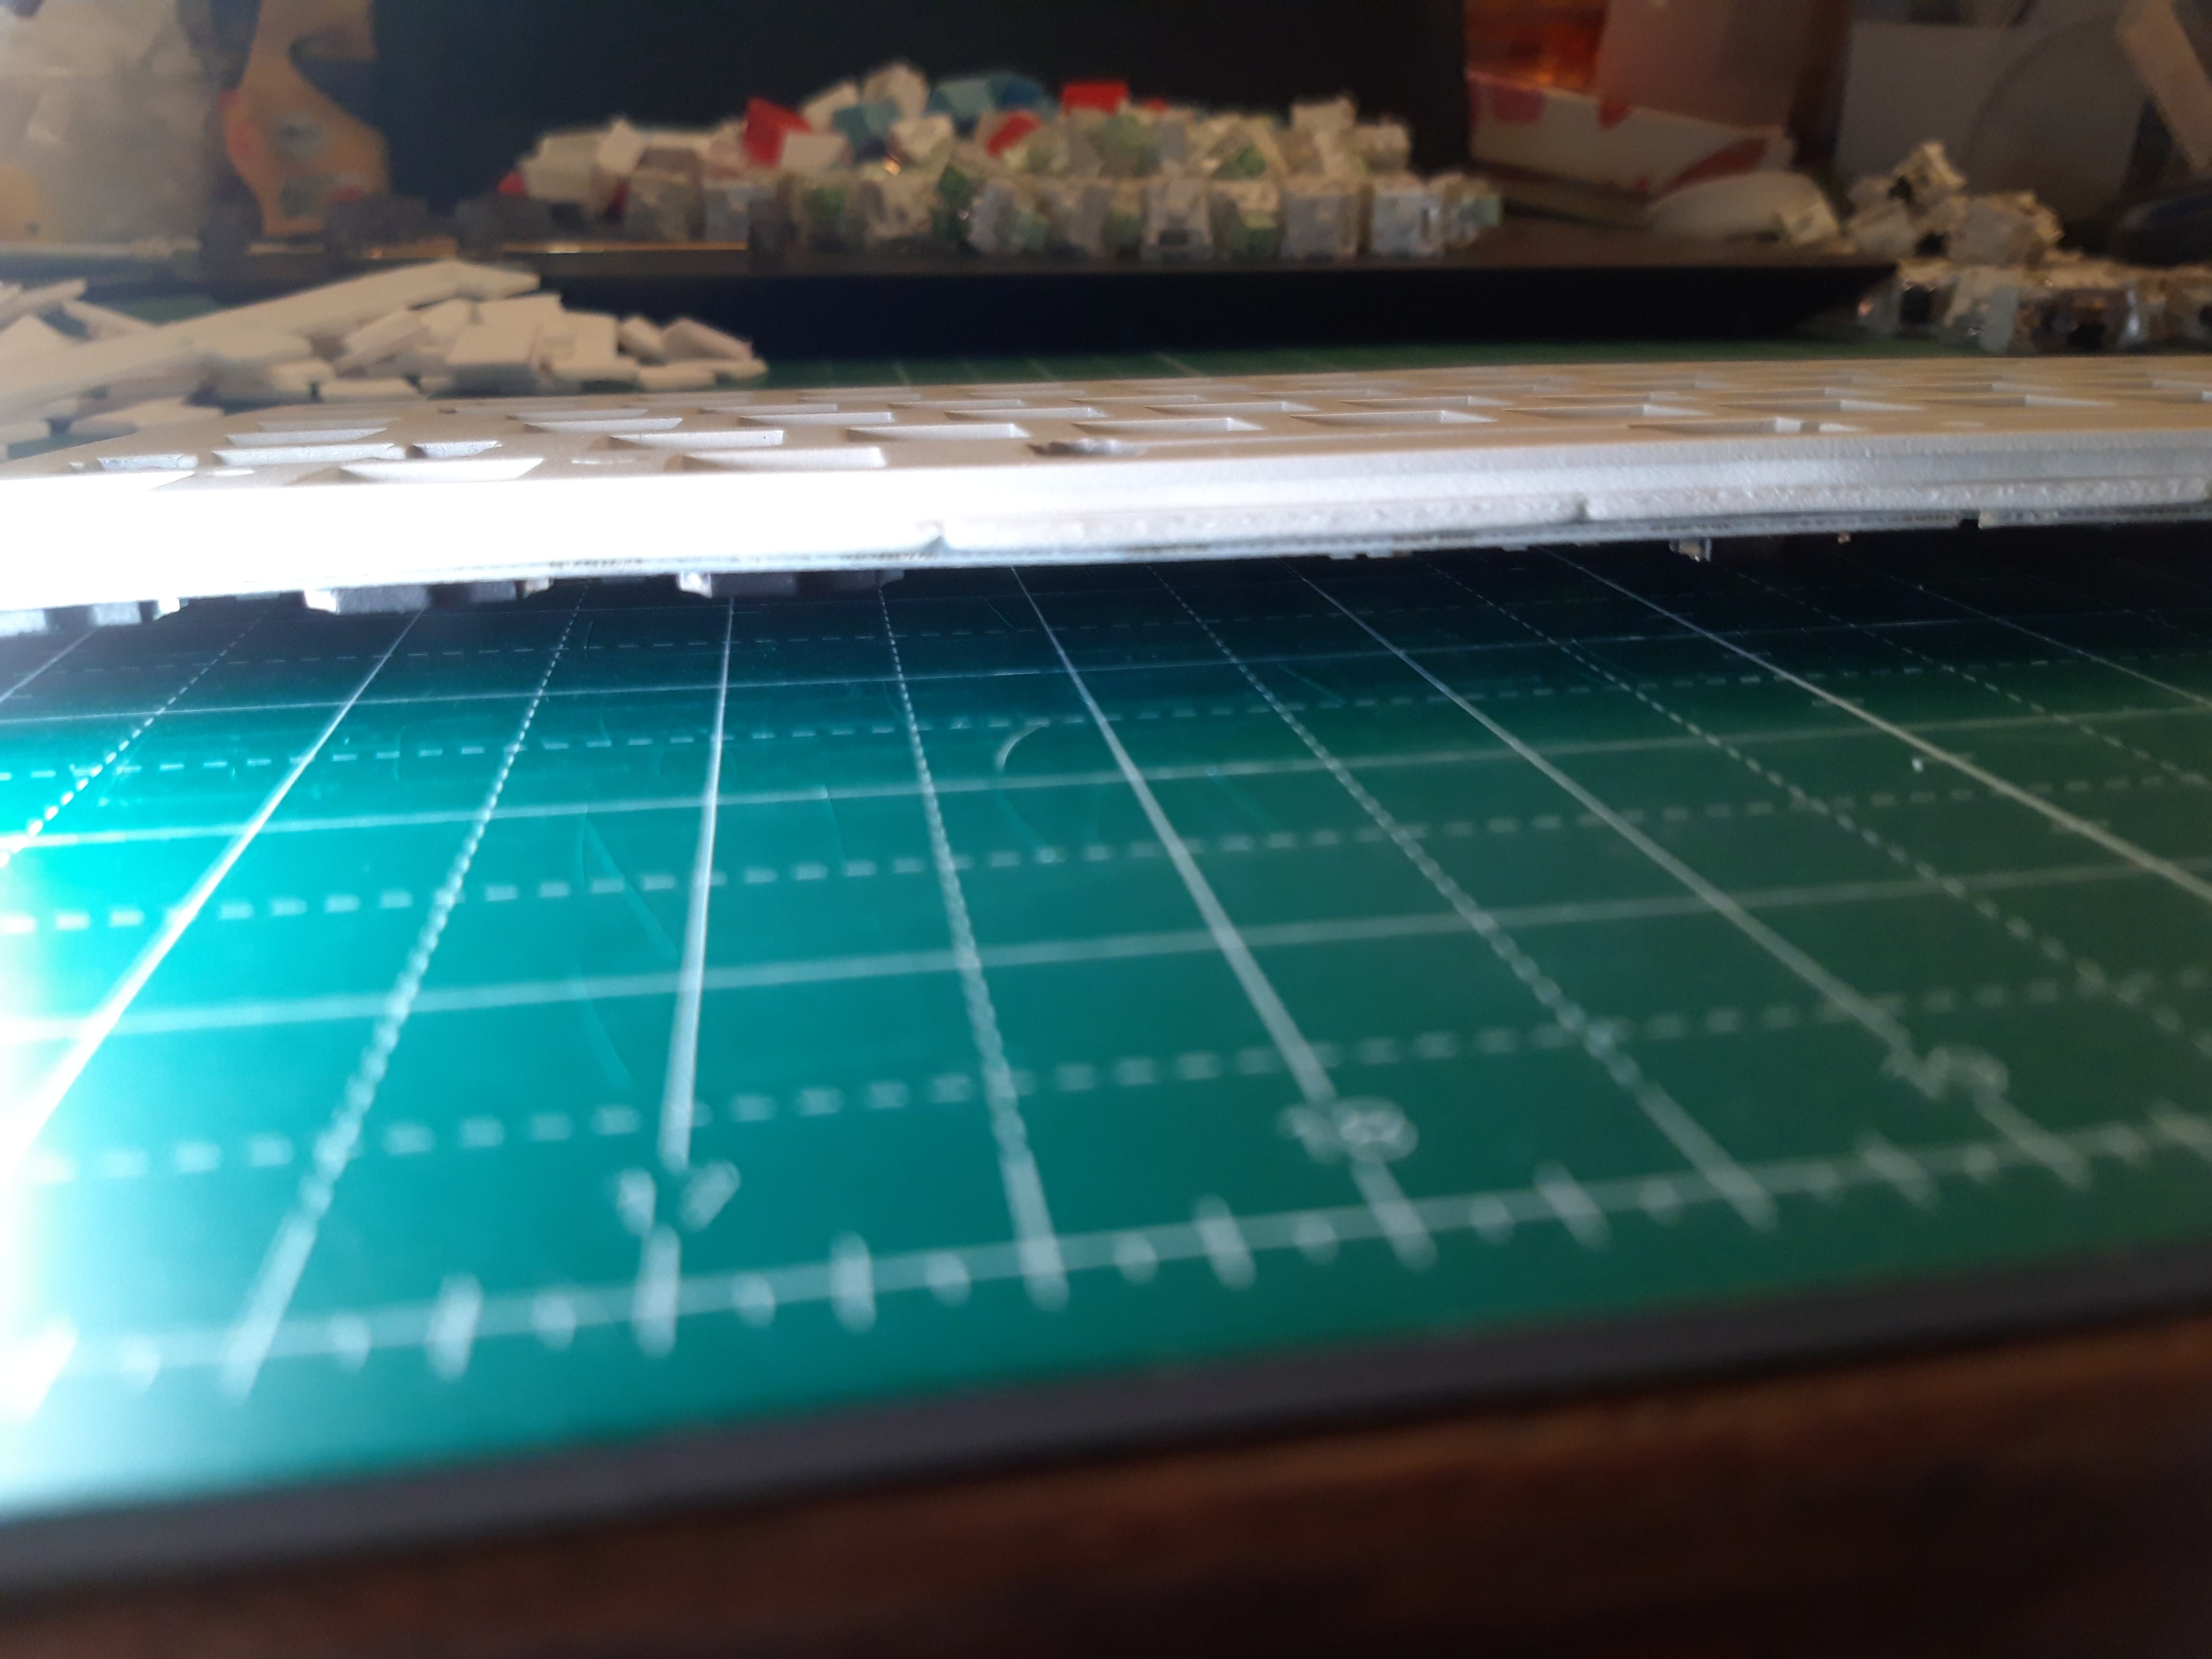
I was wondering… being the lumpy, lazy, cheap, person that I am… could I make myself some own PCB foam dampening? You know, cheap and efficiently? Cutting foam rubber in the right places to be seated between the plate and PCB? Turns out I can.
So I did.
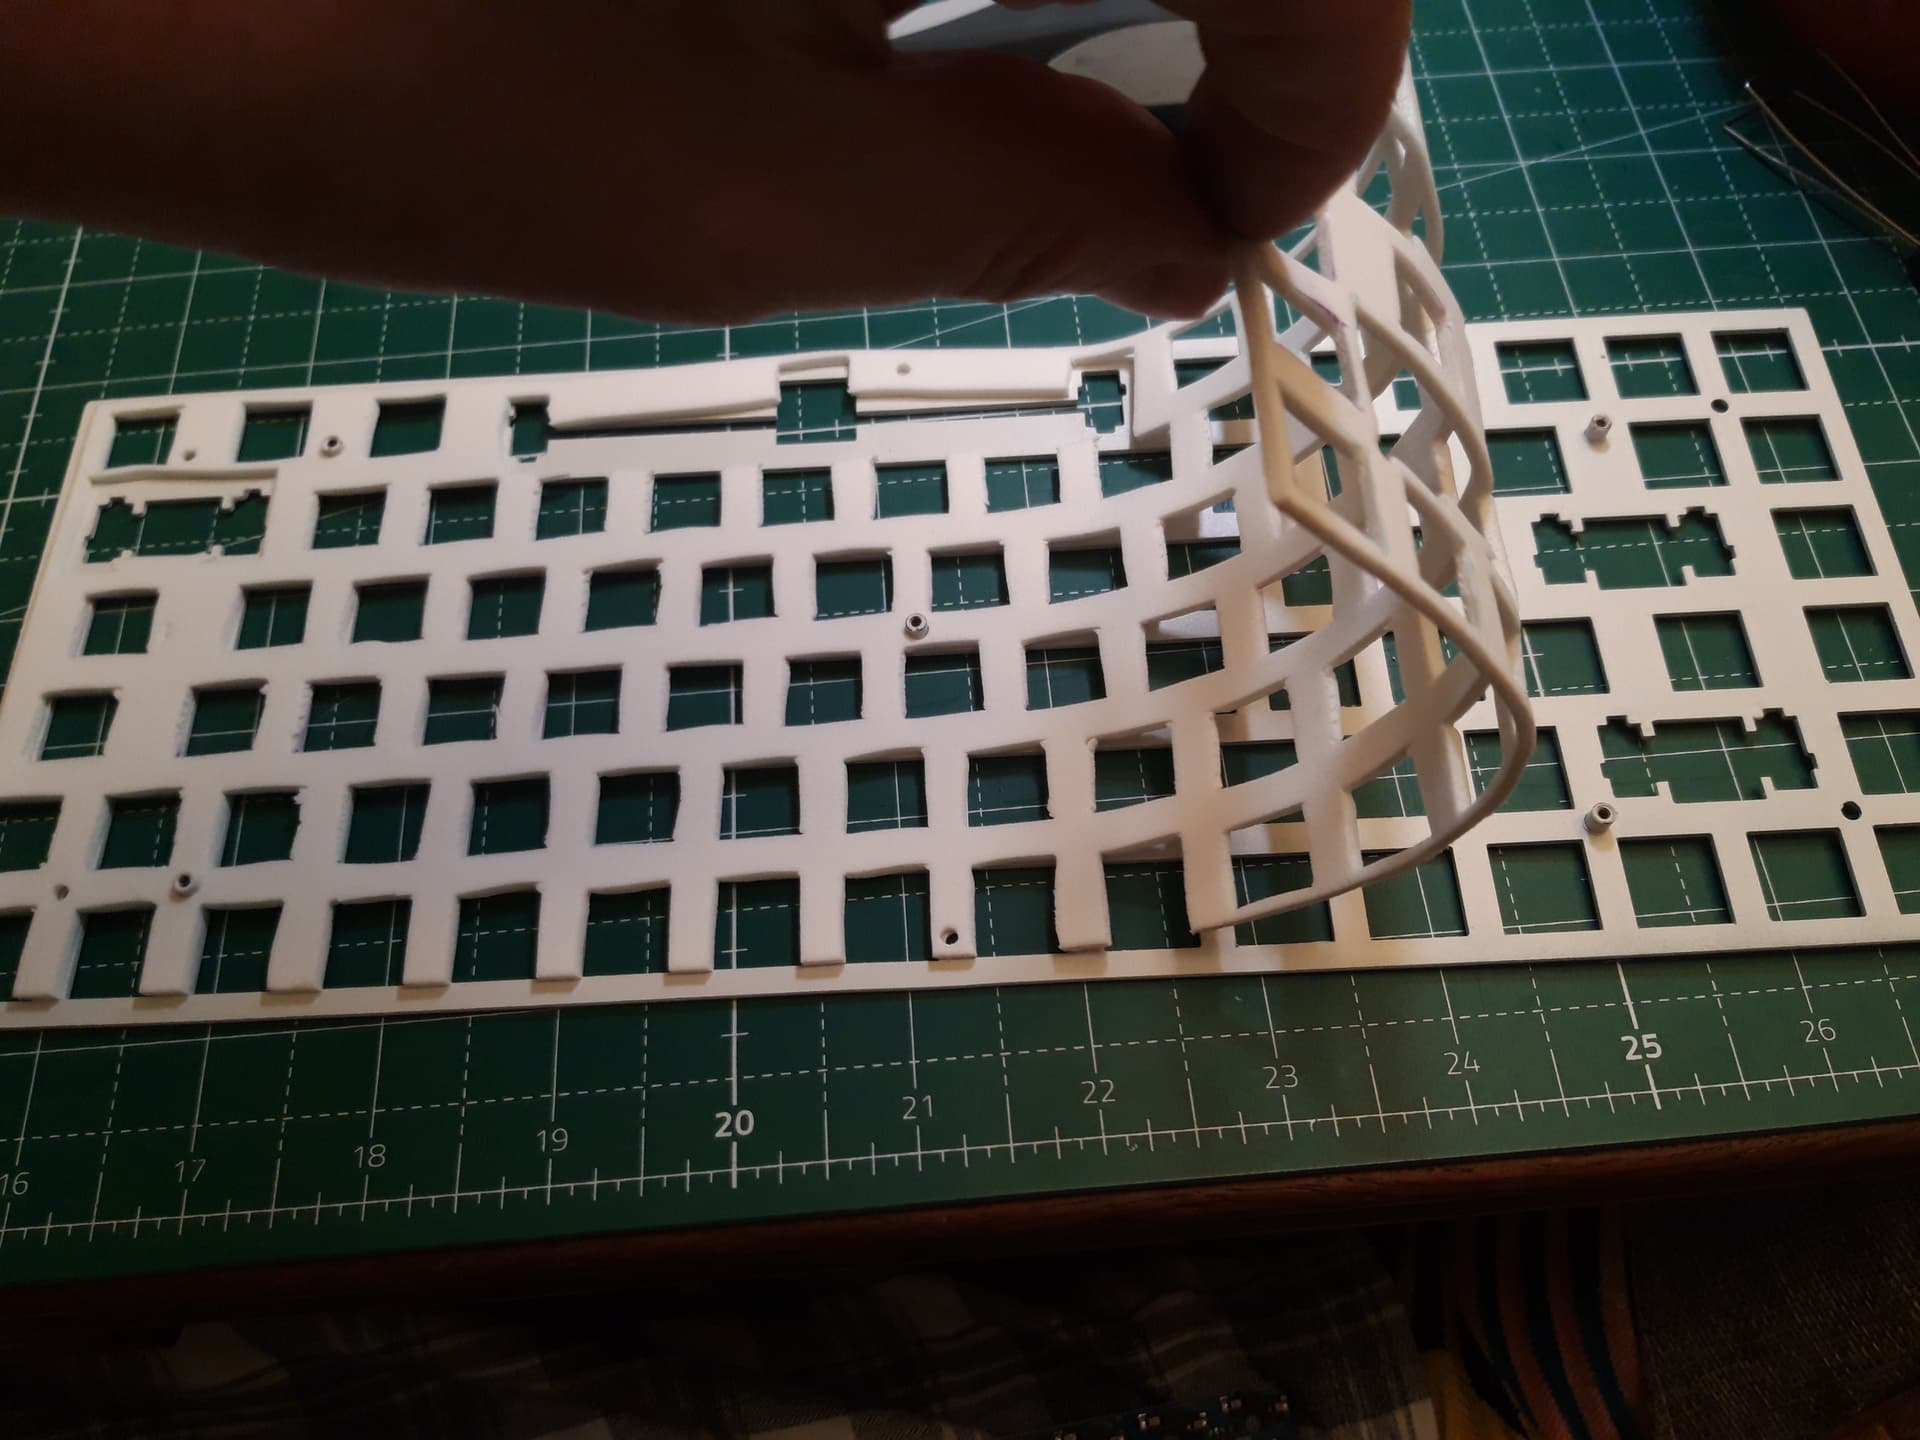
It creates a little bit of strain on the switches and it feels like this also increases the tension on the stabilizers, even though the stabilizer bodies as well as the wires do not come in contact with the foam. This moved the acoustic profile towards a more saturated and richer nuance.
But there is room left between the foam and the plate. However I went with this setup for two months trying the RK brown switches (“tactile”), the epsilons (linear) and the Box Jades (“orgasmic awesome tripple power god like clickys”).
On the backspace I needed to remove it since somehow it prevented the stabilizer from rising. It is one of some factors that has a negative impact them.
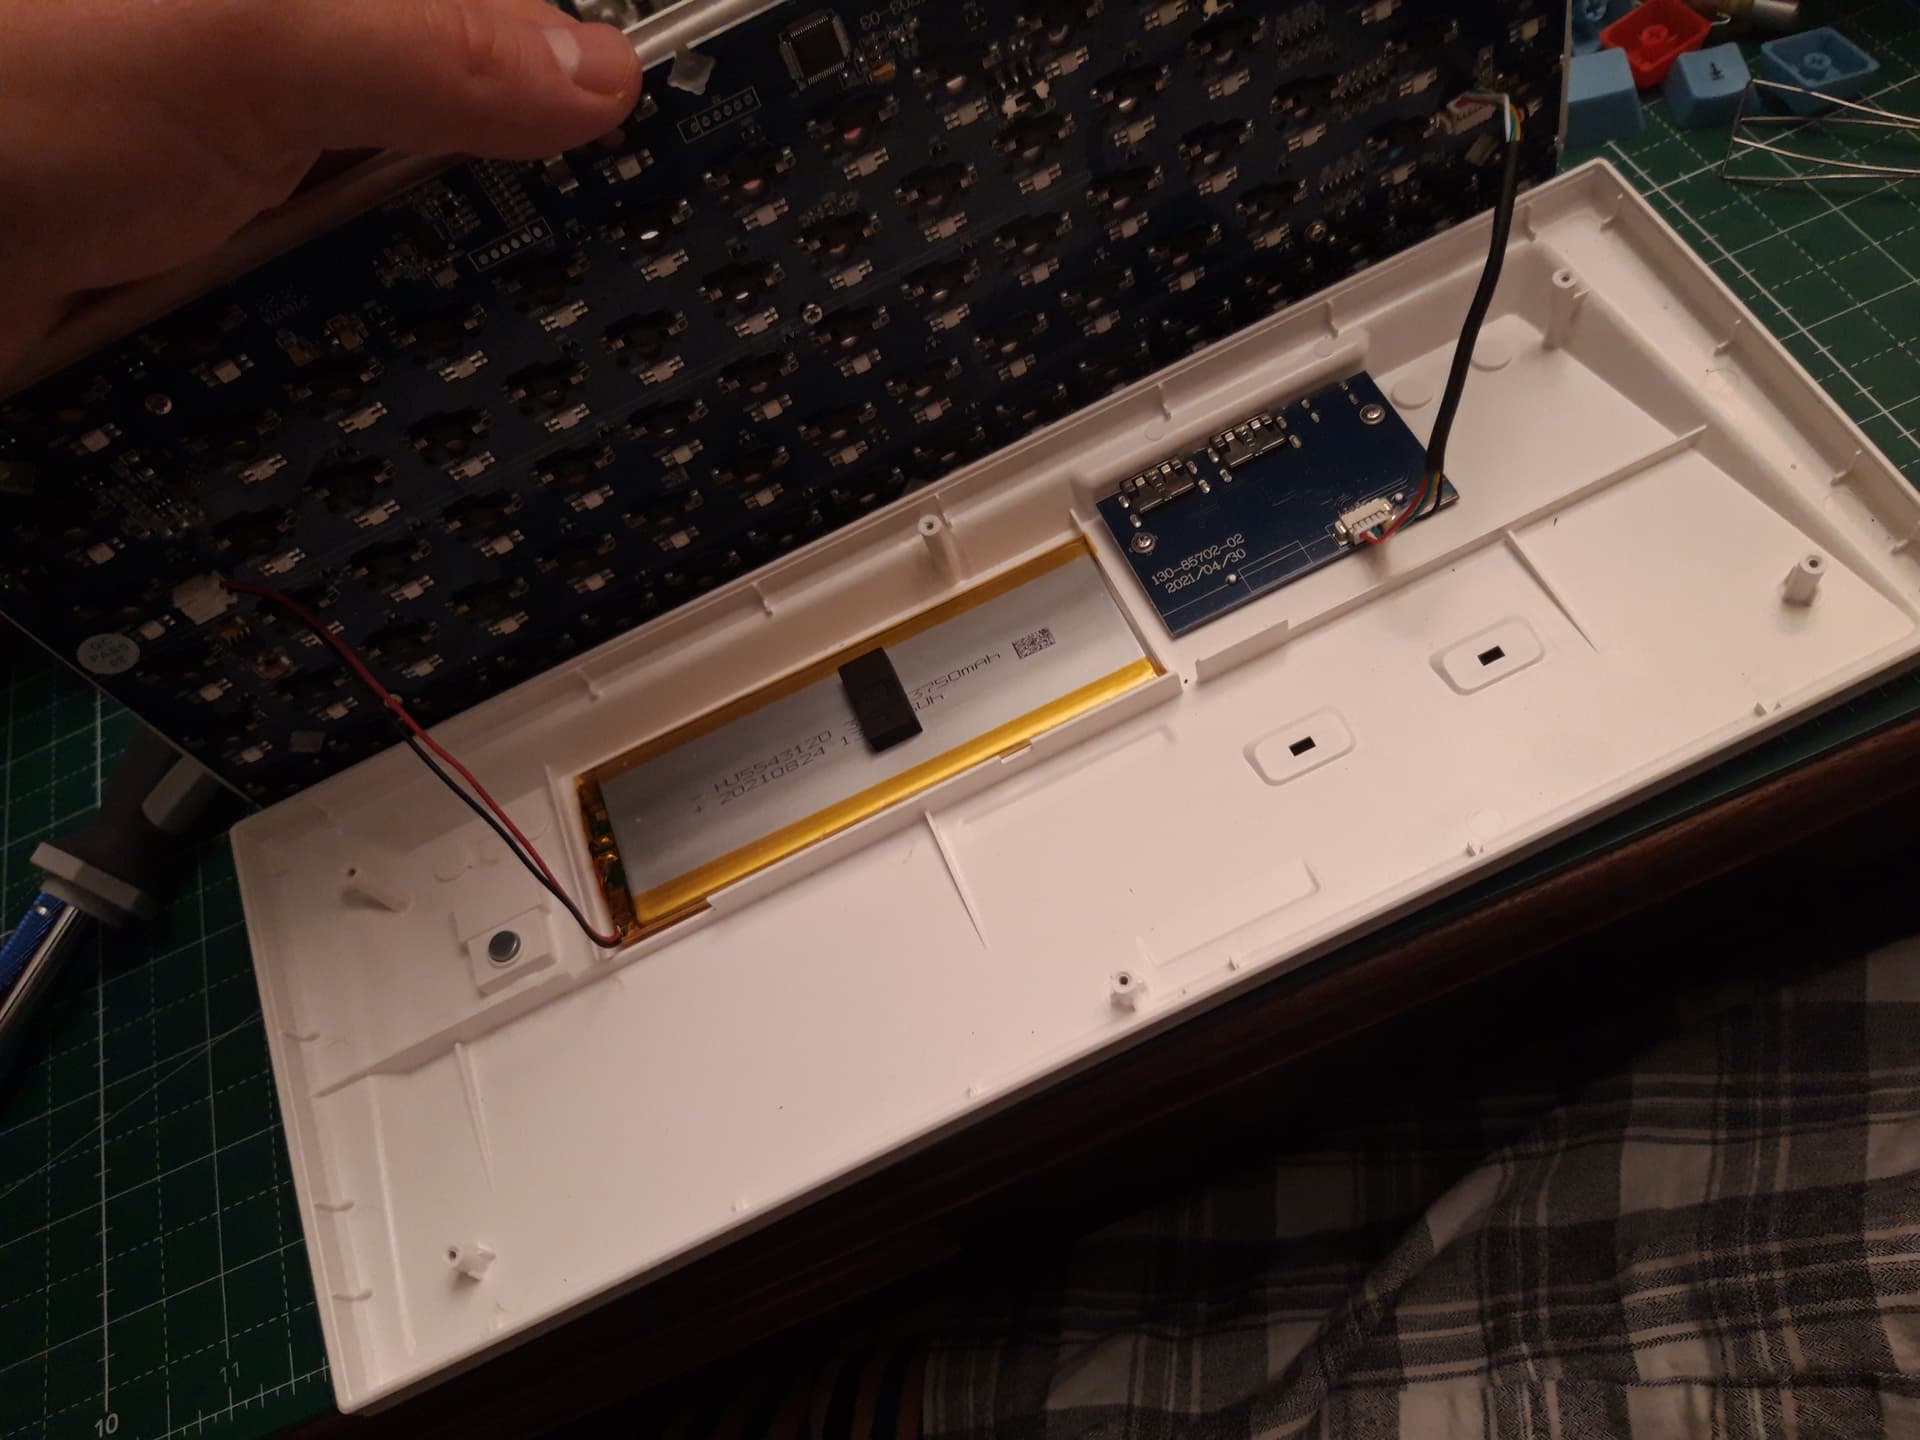
I’ve left the case hollow since I don’t want to increase the POTENTIAL heating of the battery any more than I already did with the foam. Since my current desk is actually my wifes old kitchen table and about 90 to 100 yrs. old.
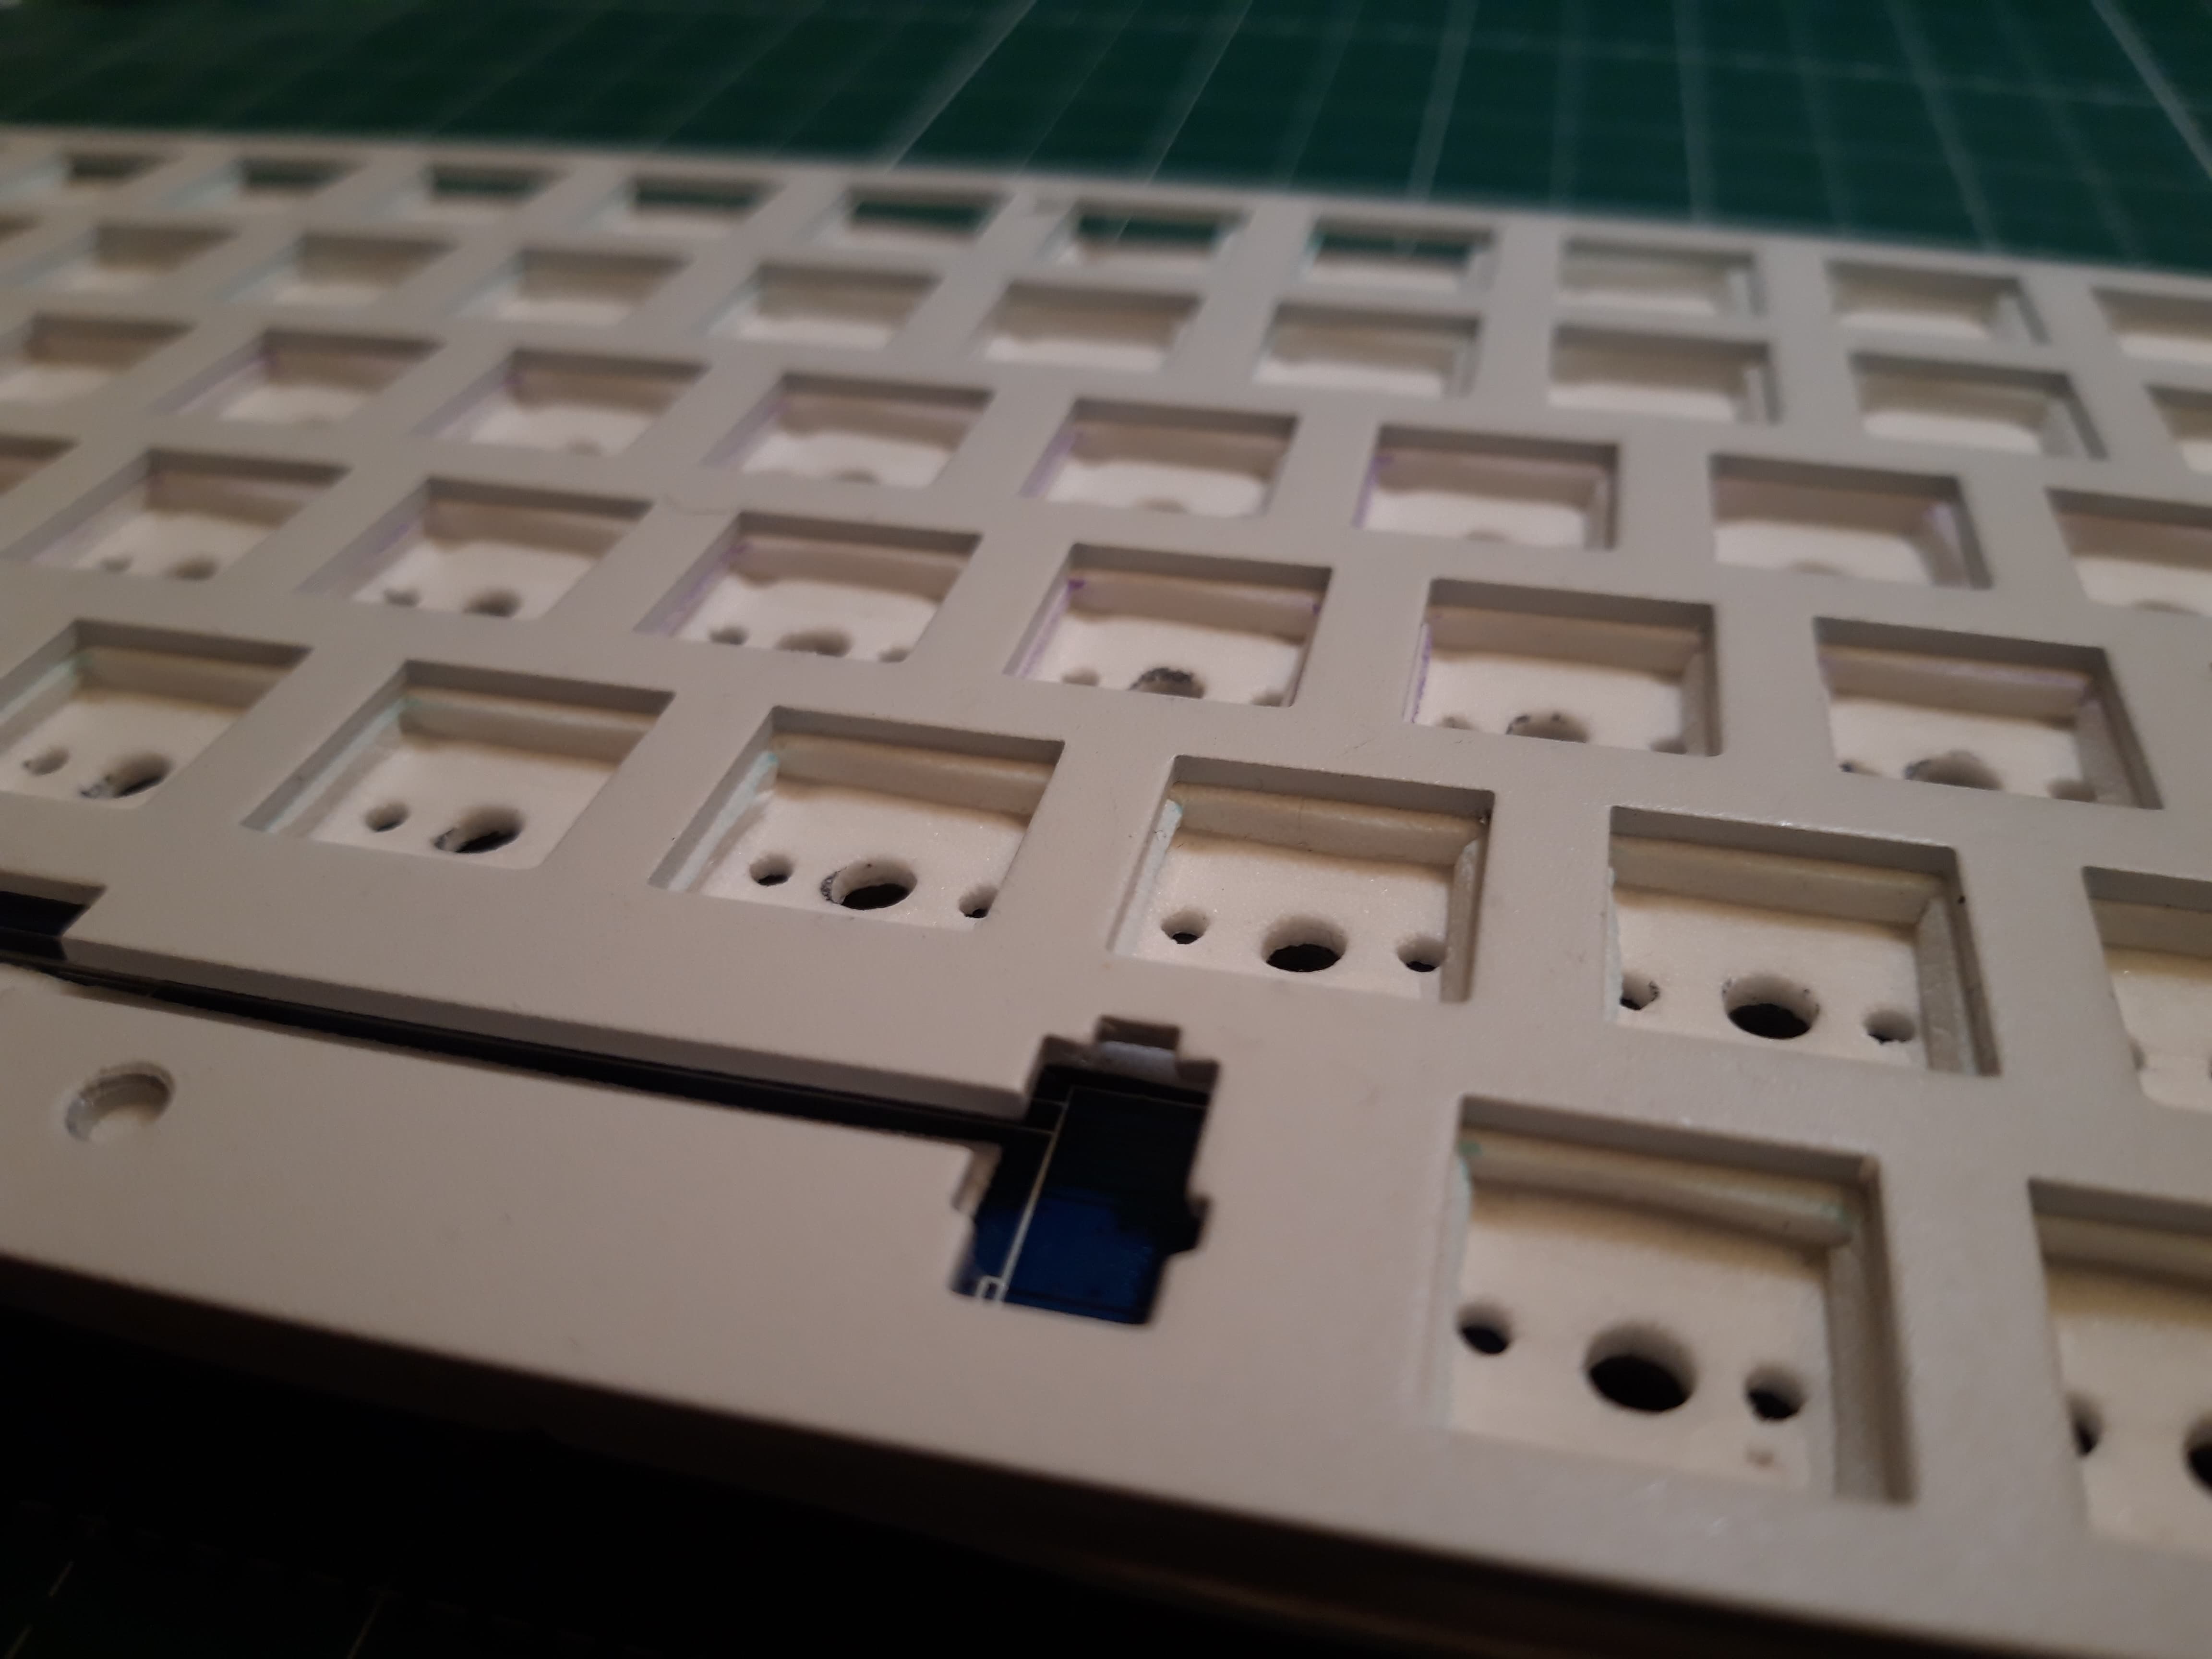
This setup worked fine and I removed and replaced the switches several times. Some pins were bent but straigten them up and reseating the switches always worked fine. Now I know that it is suggested not to use a whole sheet of foam or similar since it makes it much easier to bend the pins or uncontrollably damage the hot swap sockets. But I believed I was thorough and careful enough… oh what a misperception. But more on that later.
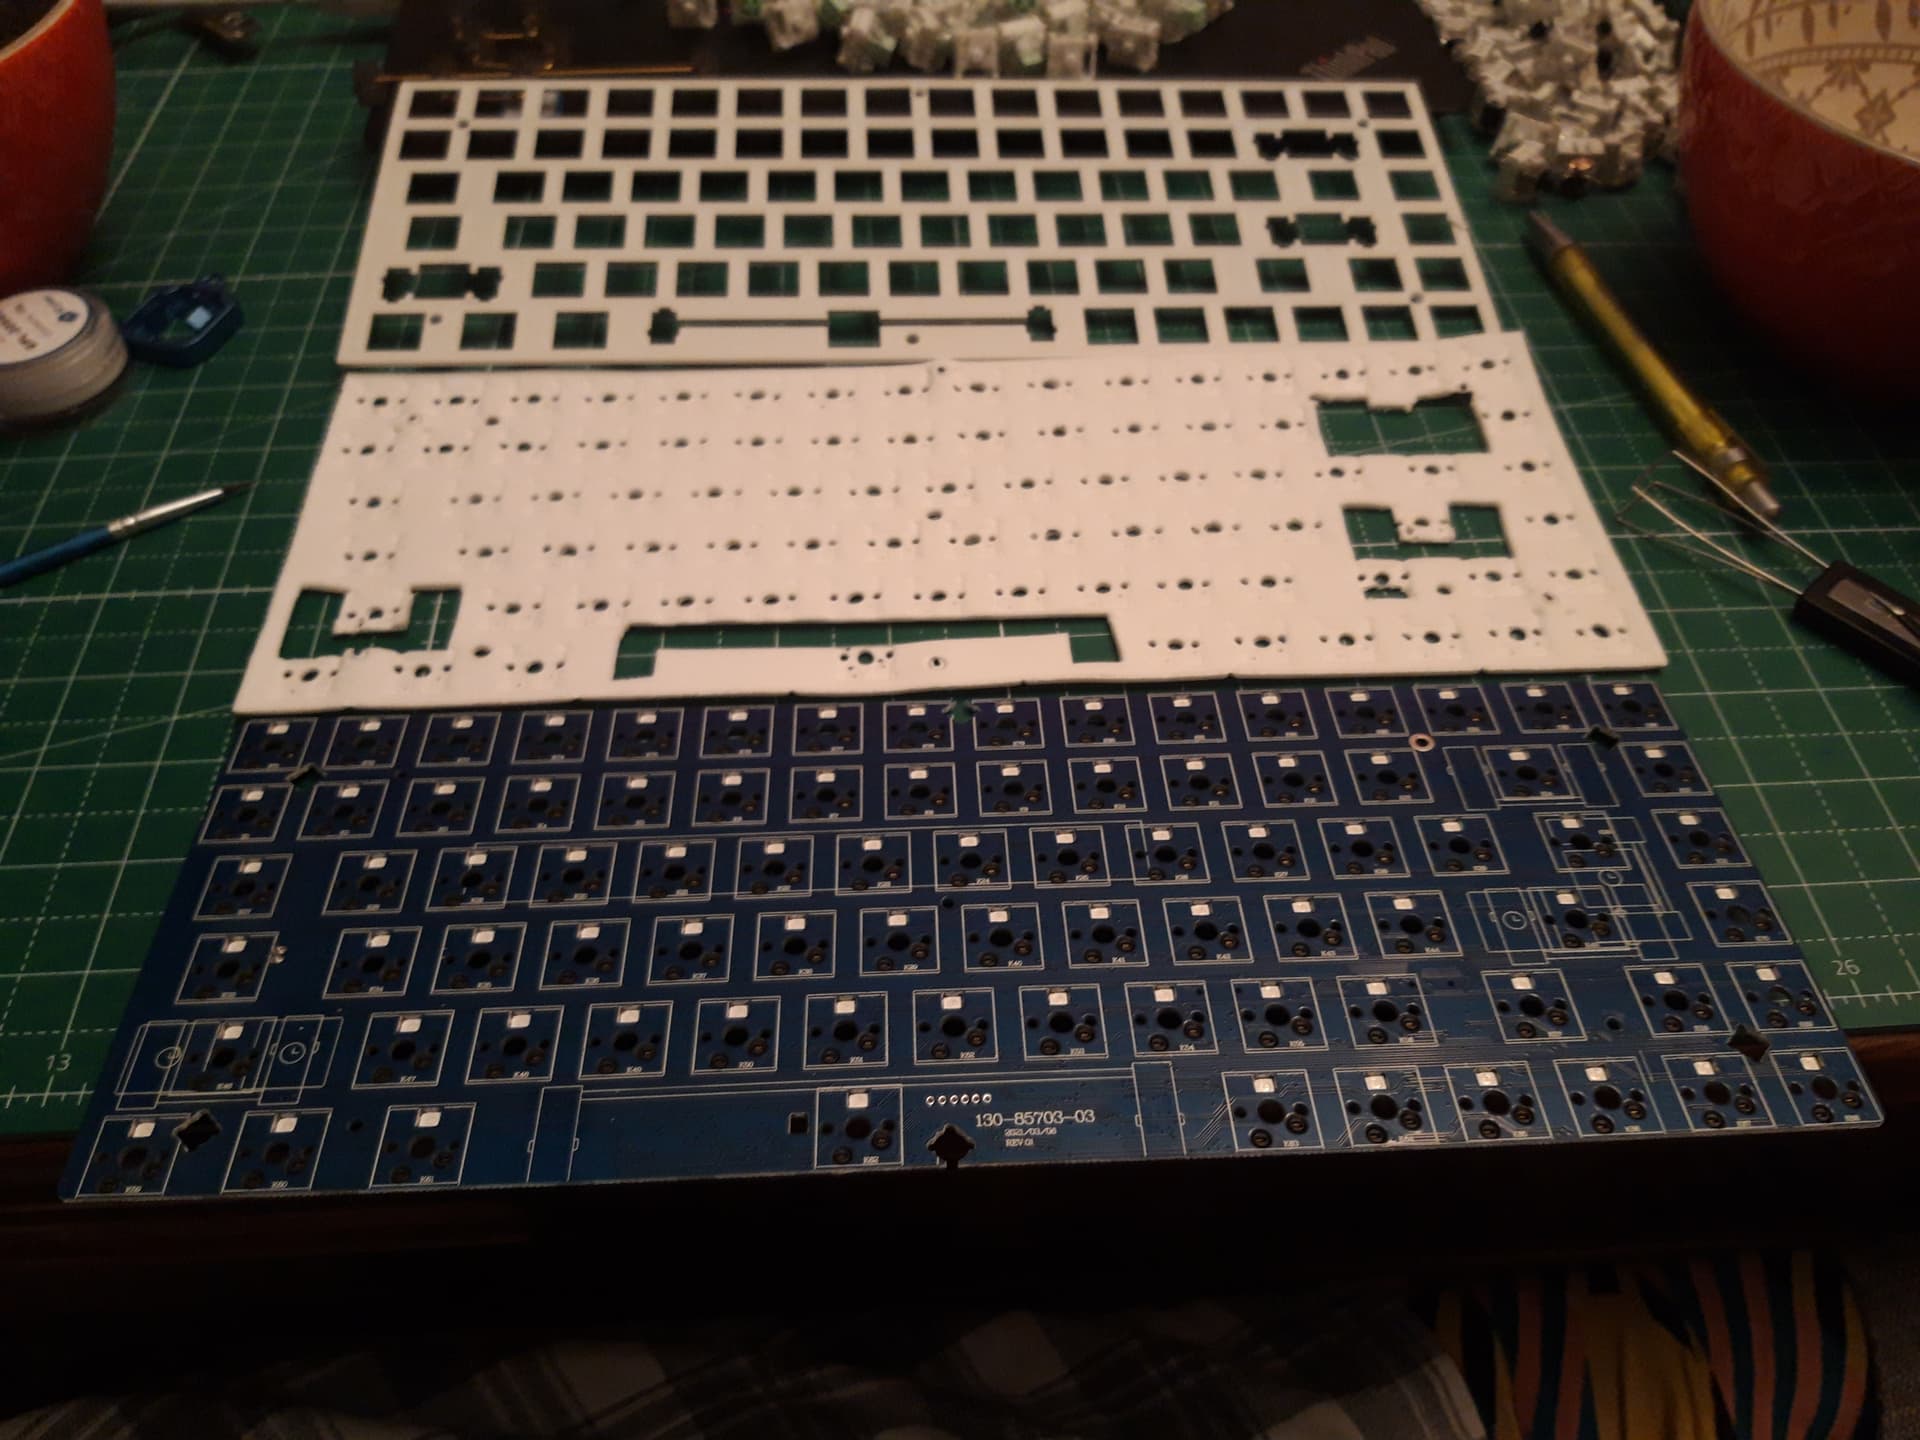
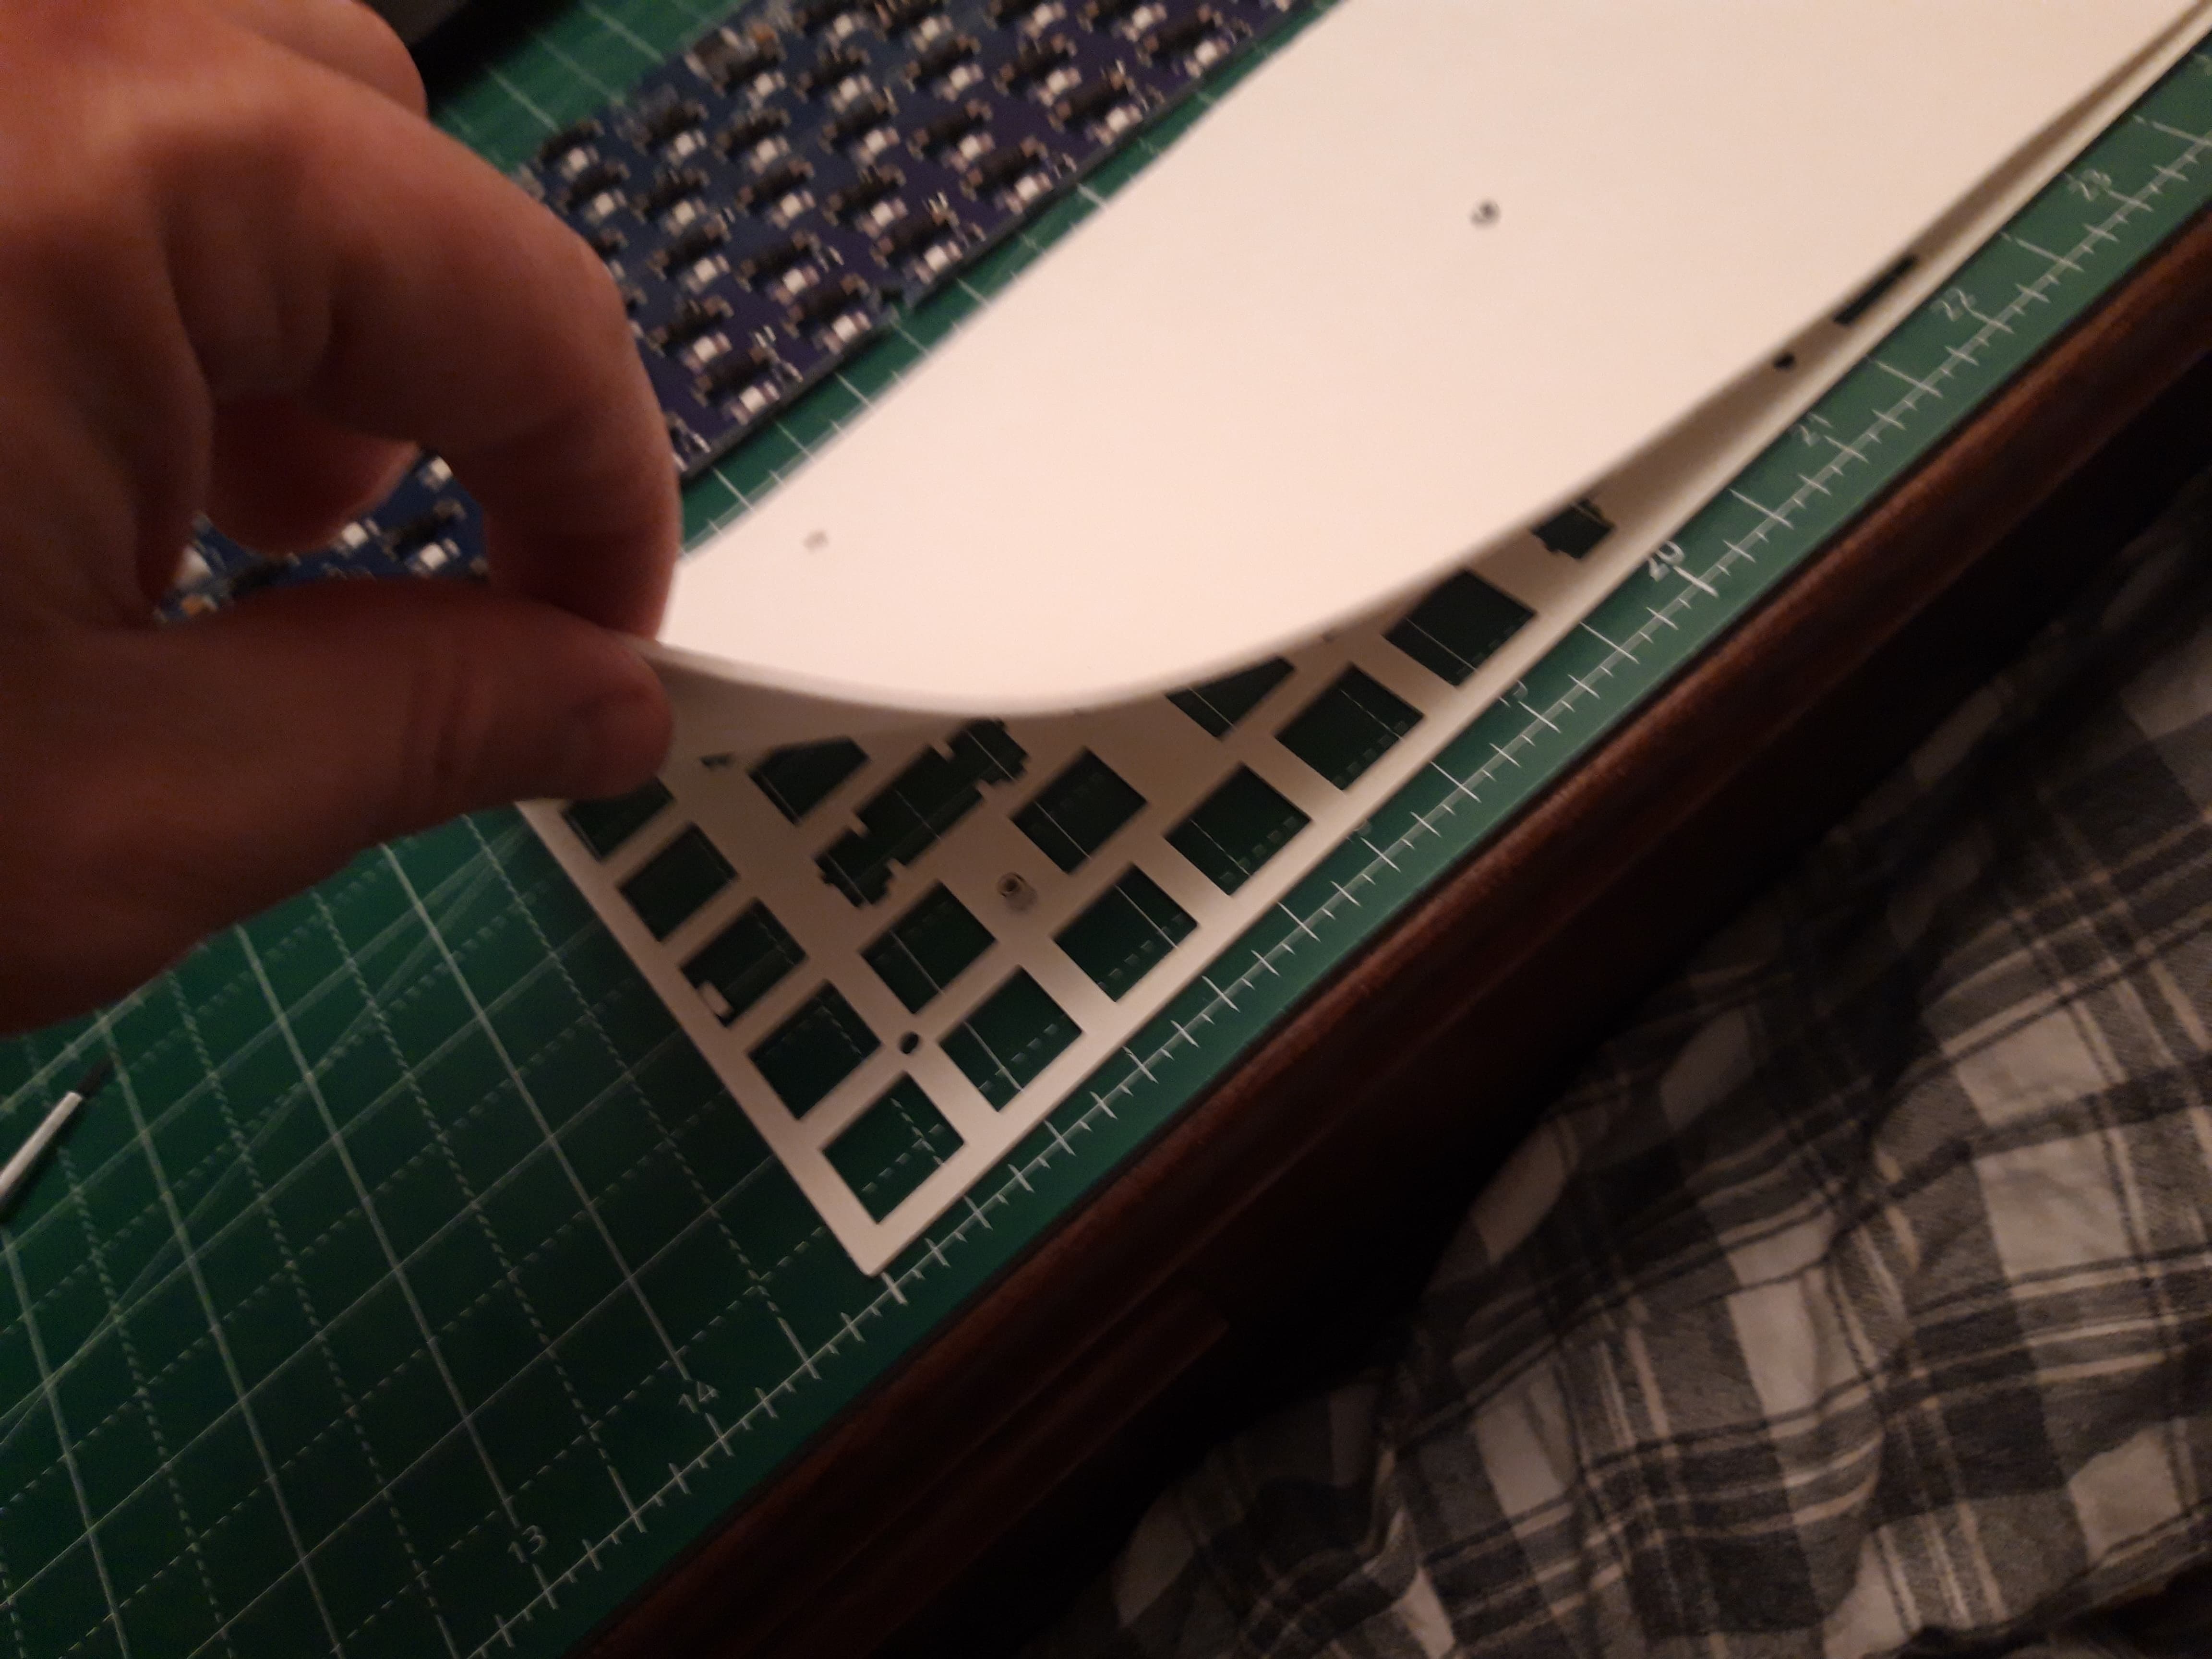
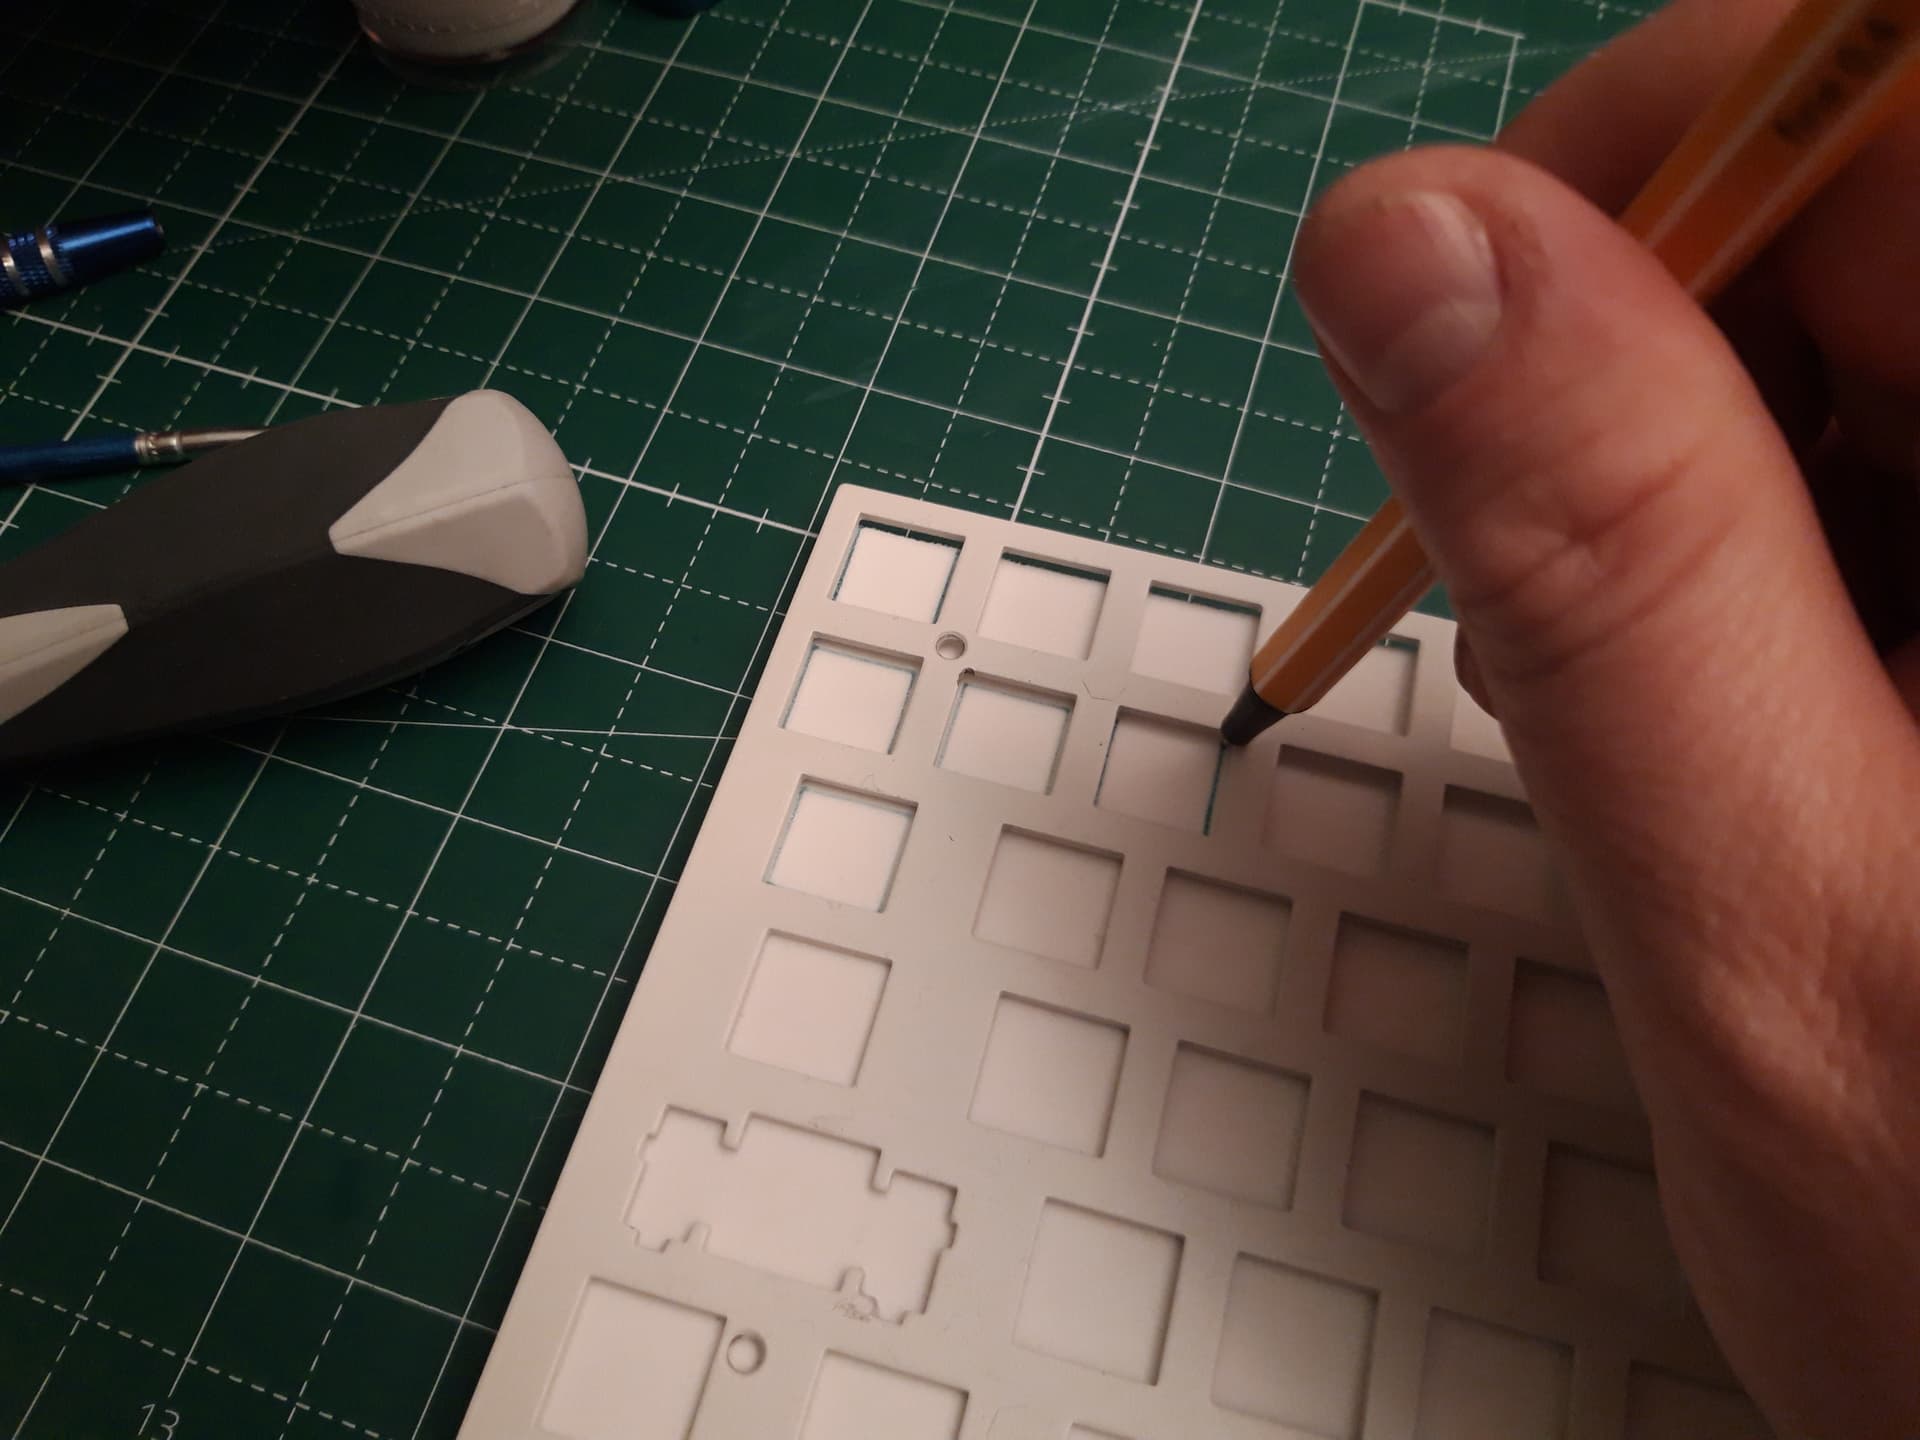
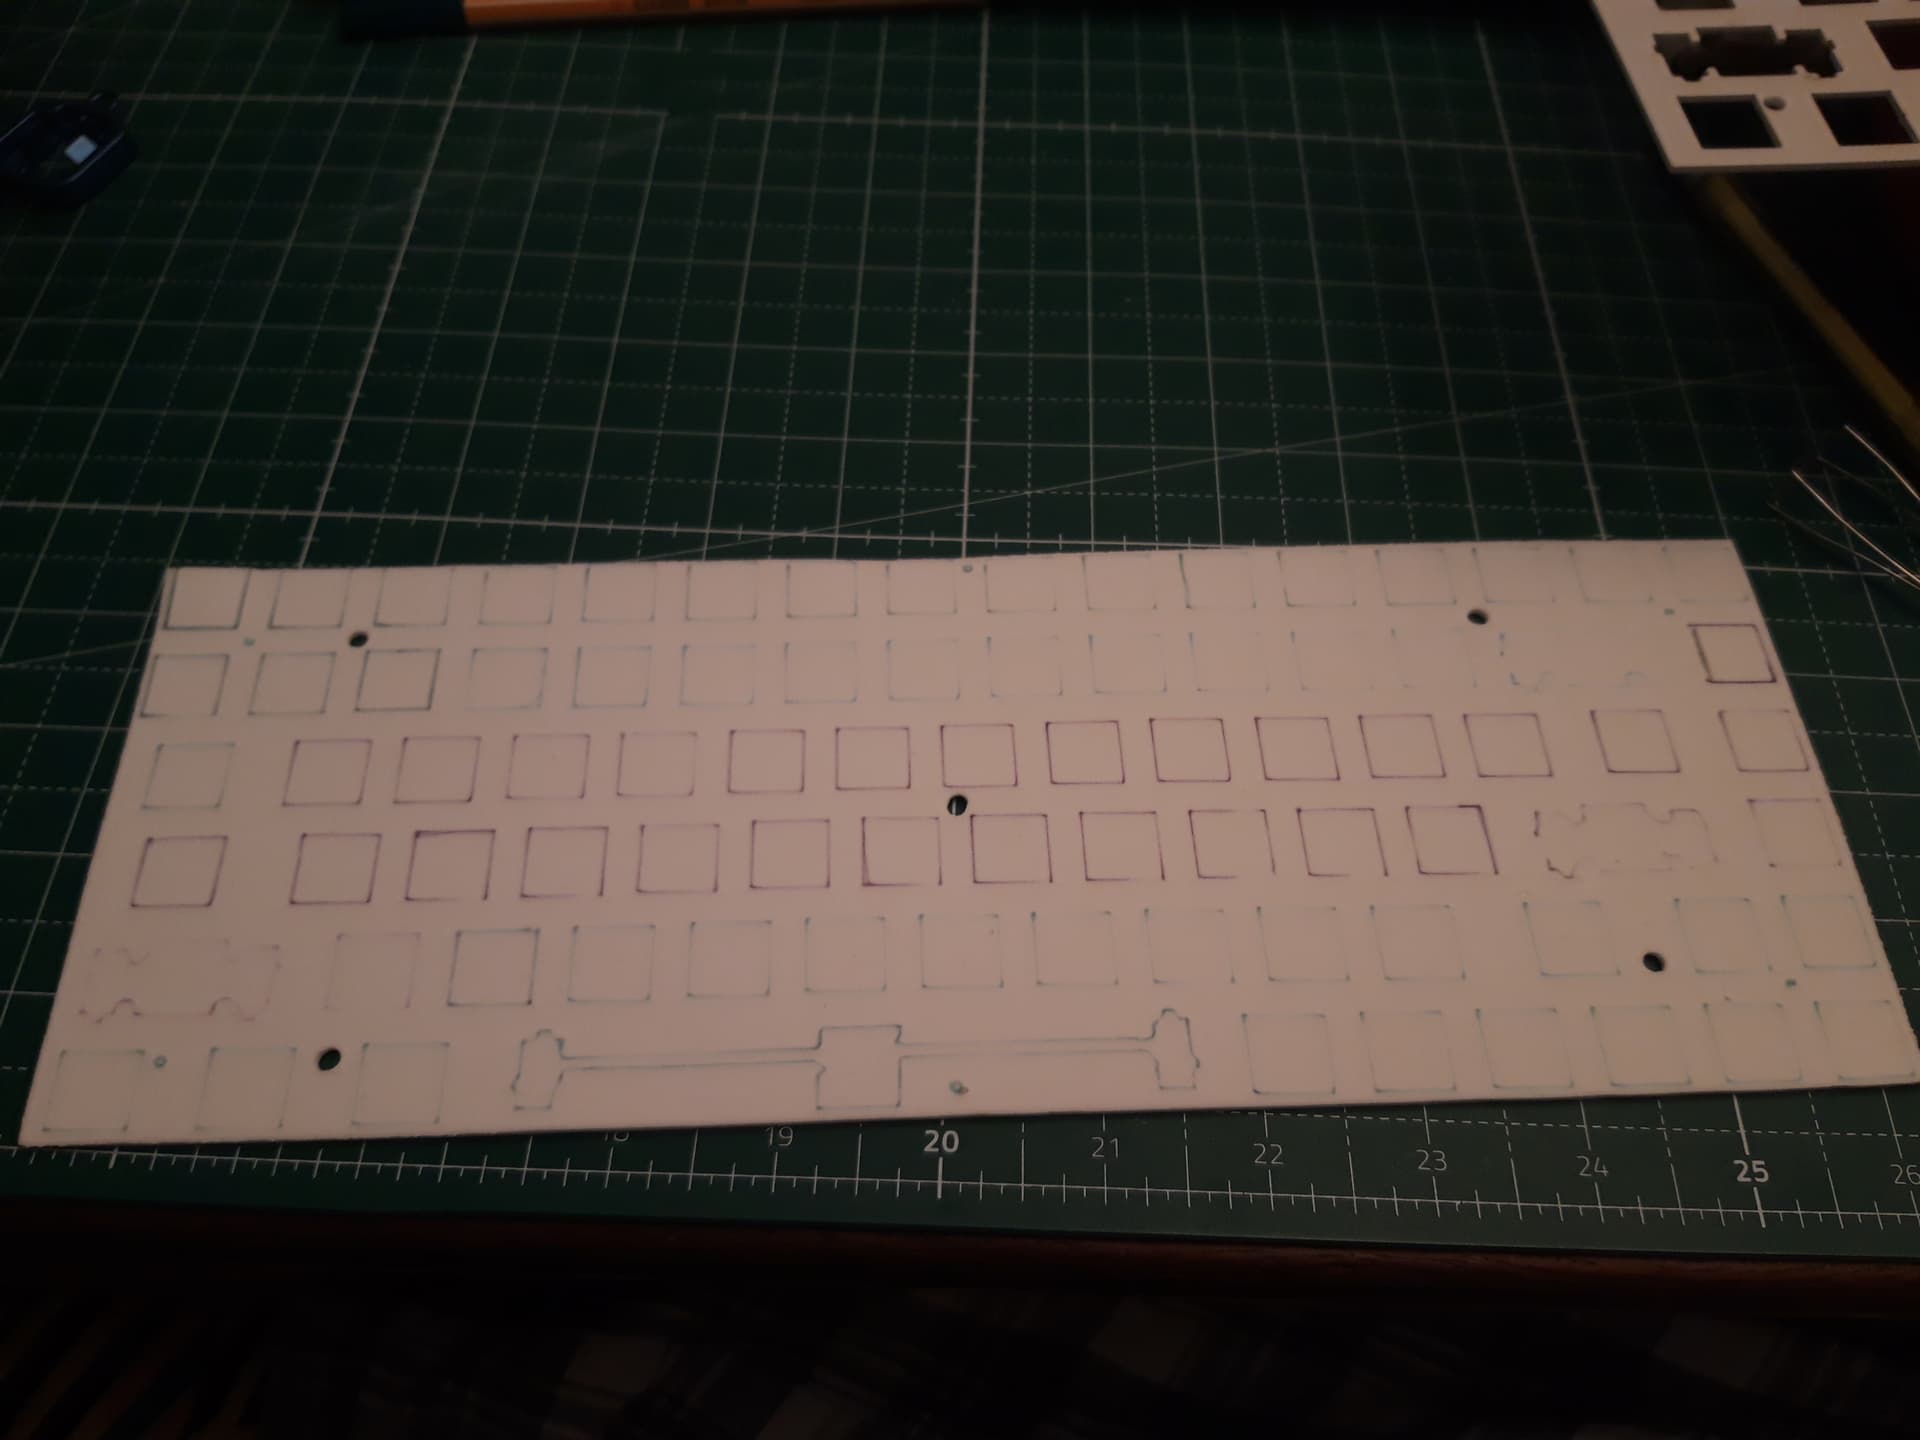
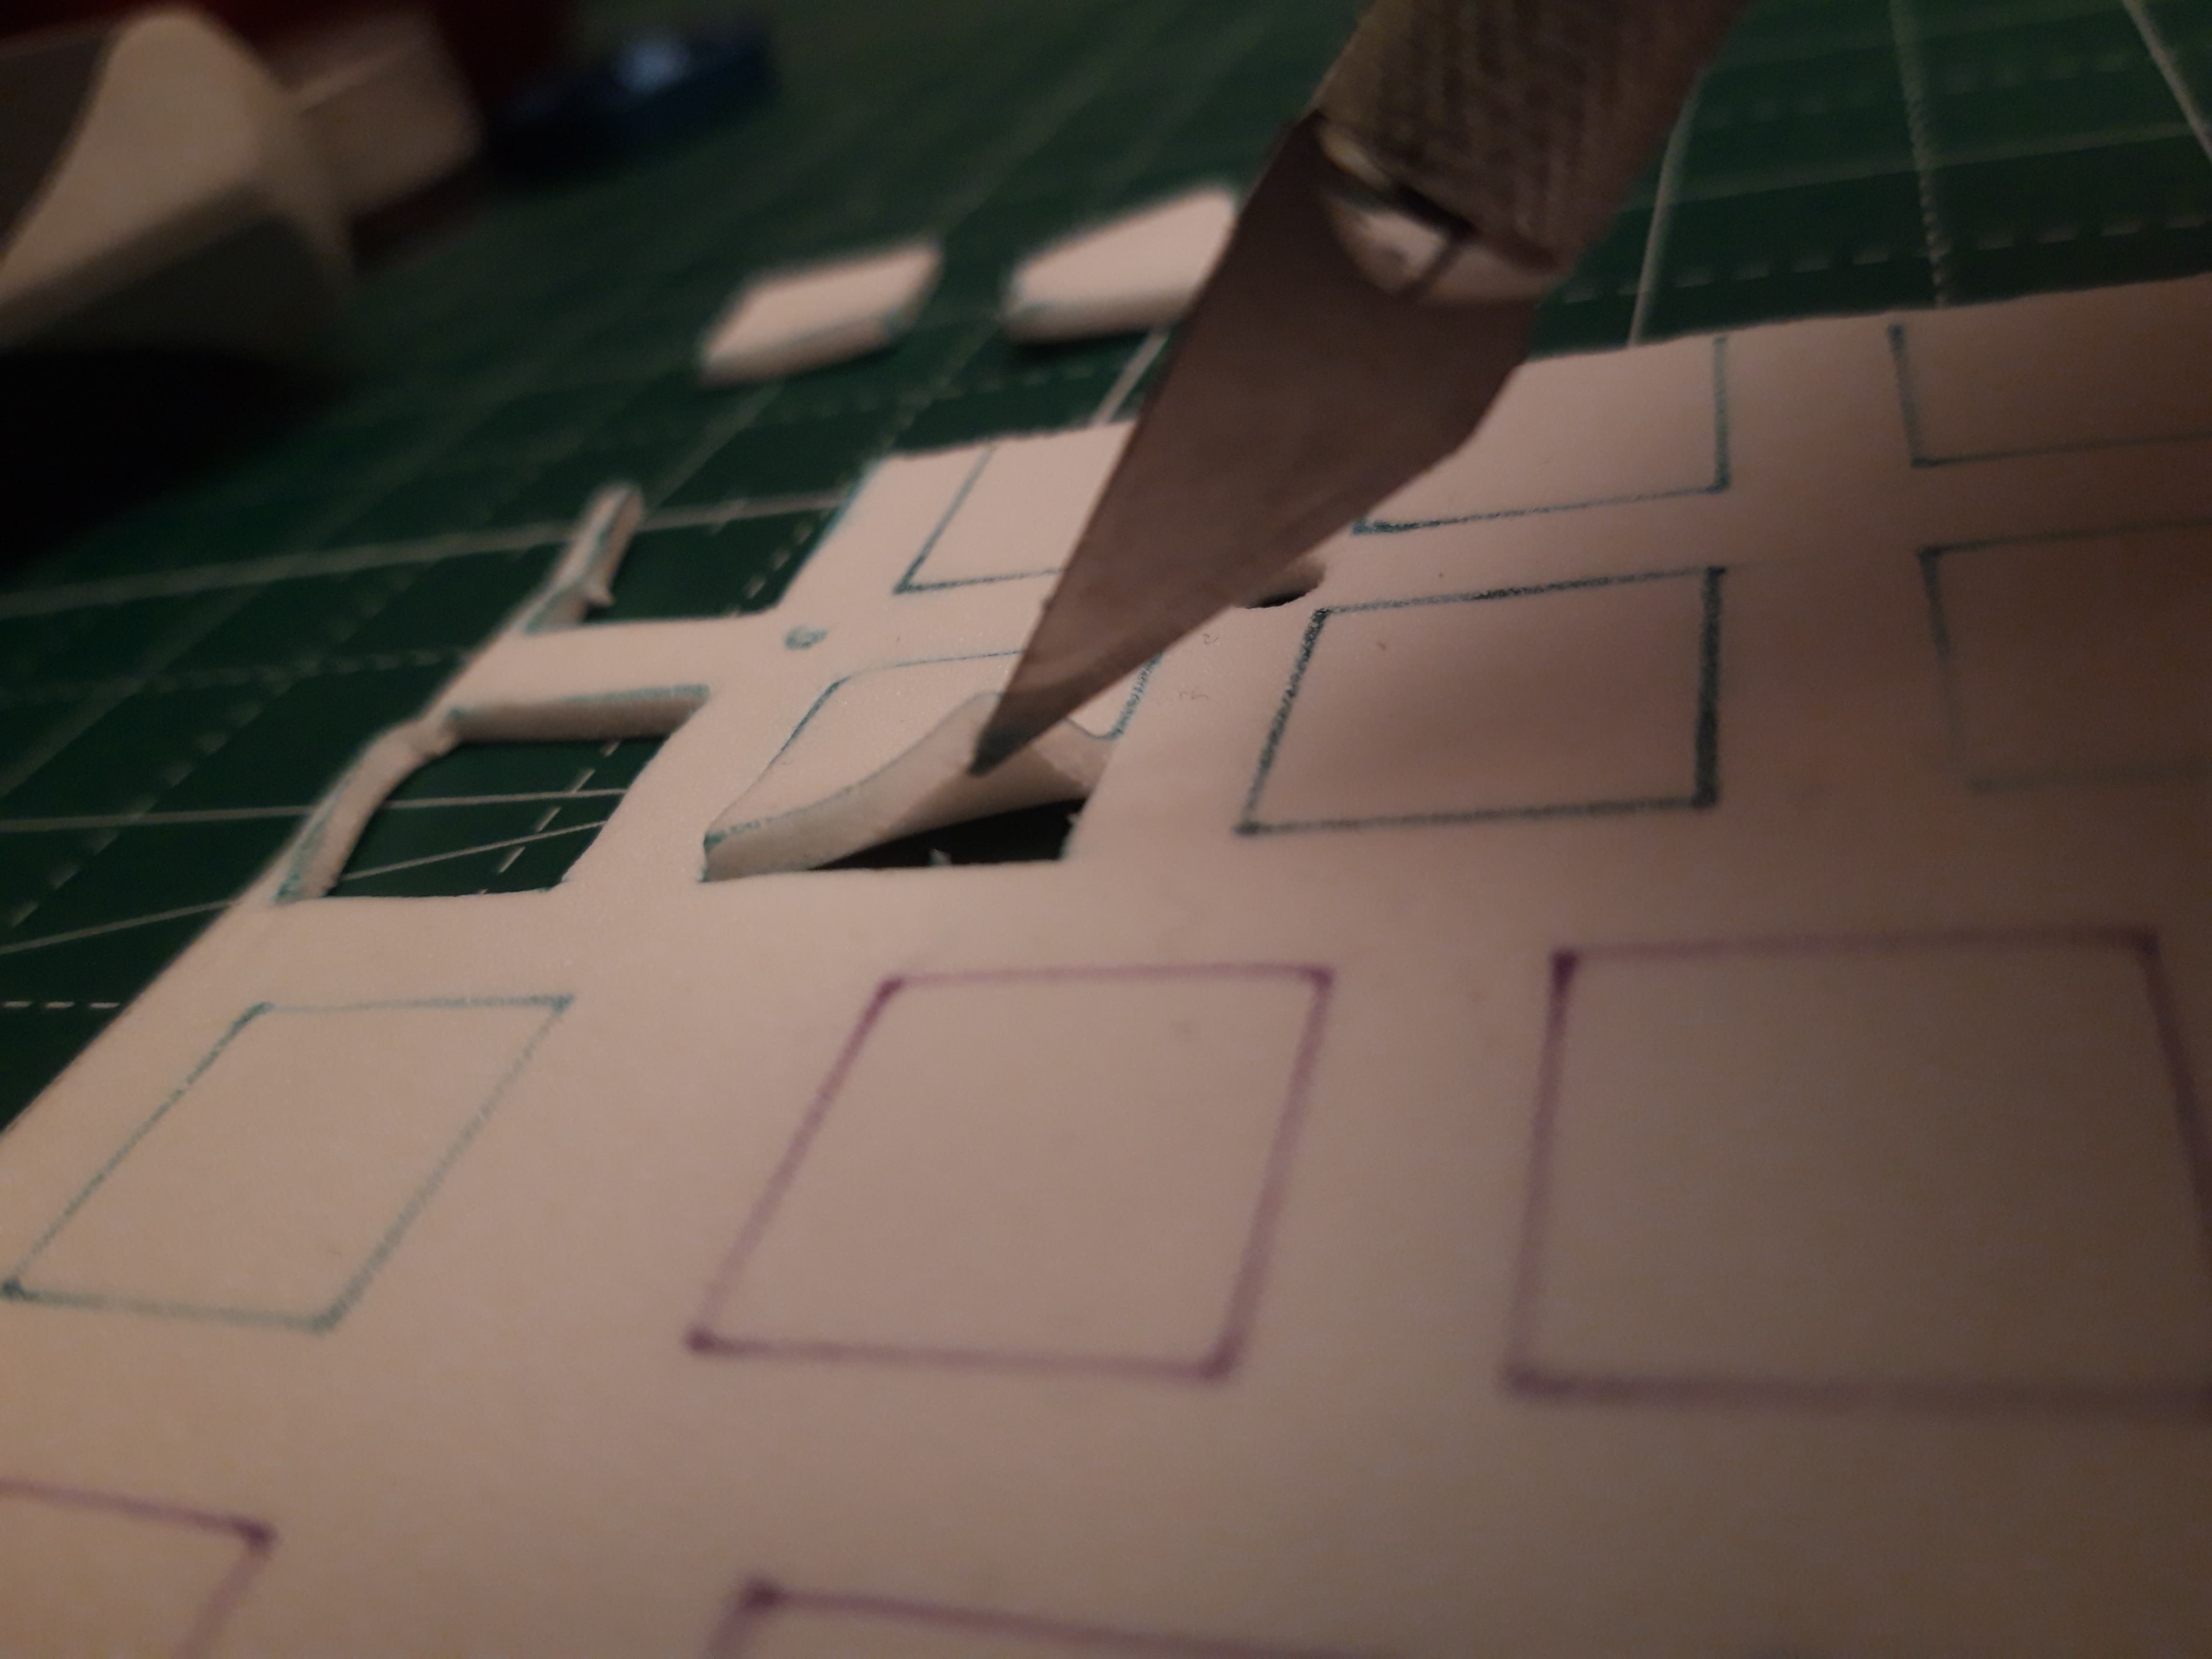
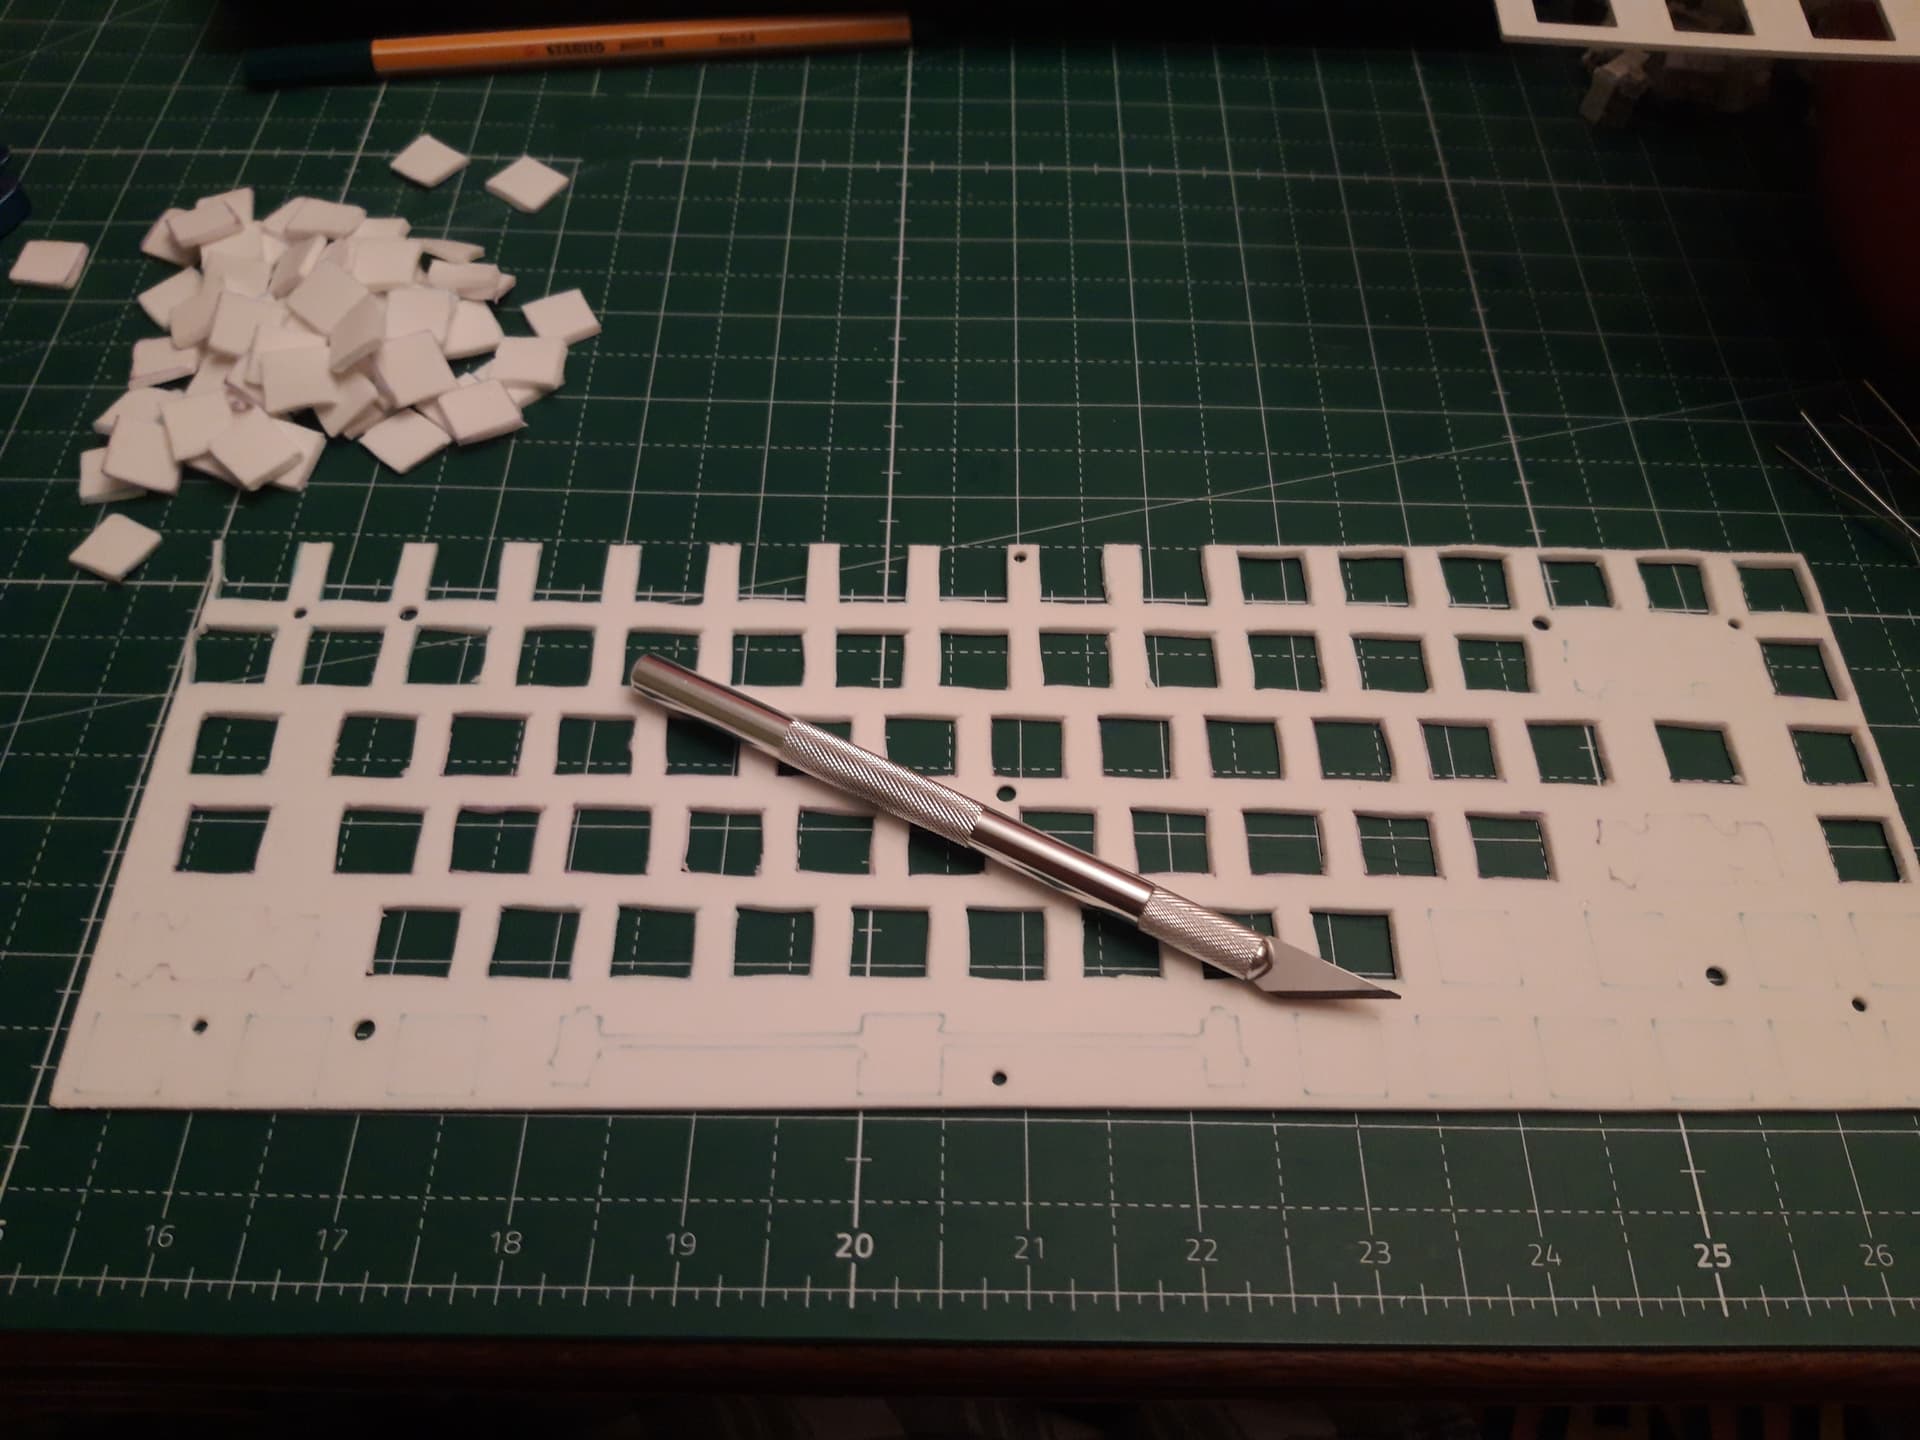
So, after two months I was checking and cleaning again the keys when it hit me. The gap between the foam and the plate can be closed by another layer of the foam. So the dcision was made to fill it up. I knew I need to make cutouts for the switches since the first layer was putting up tension enough on them.
Needless to say the cutouts for the stabilizers and their wires have to be made generously to prevent dozens of tries to fine tune them and expanding small but neat cut outs.
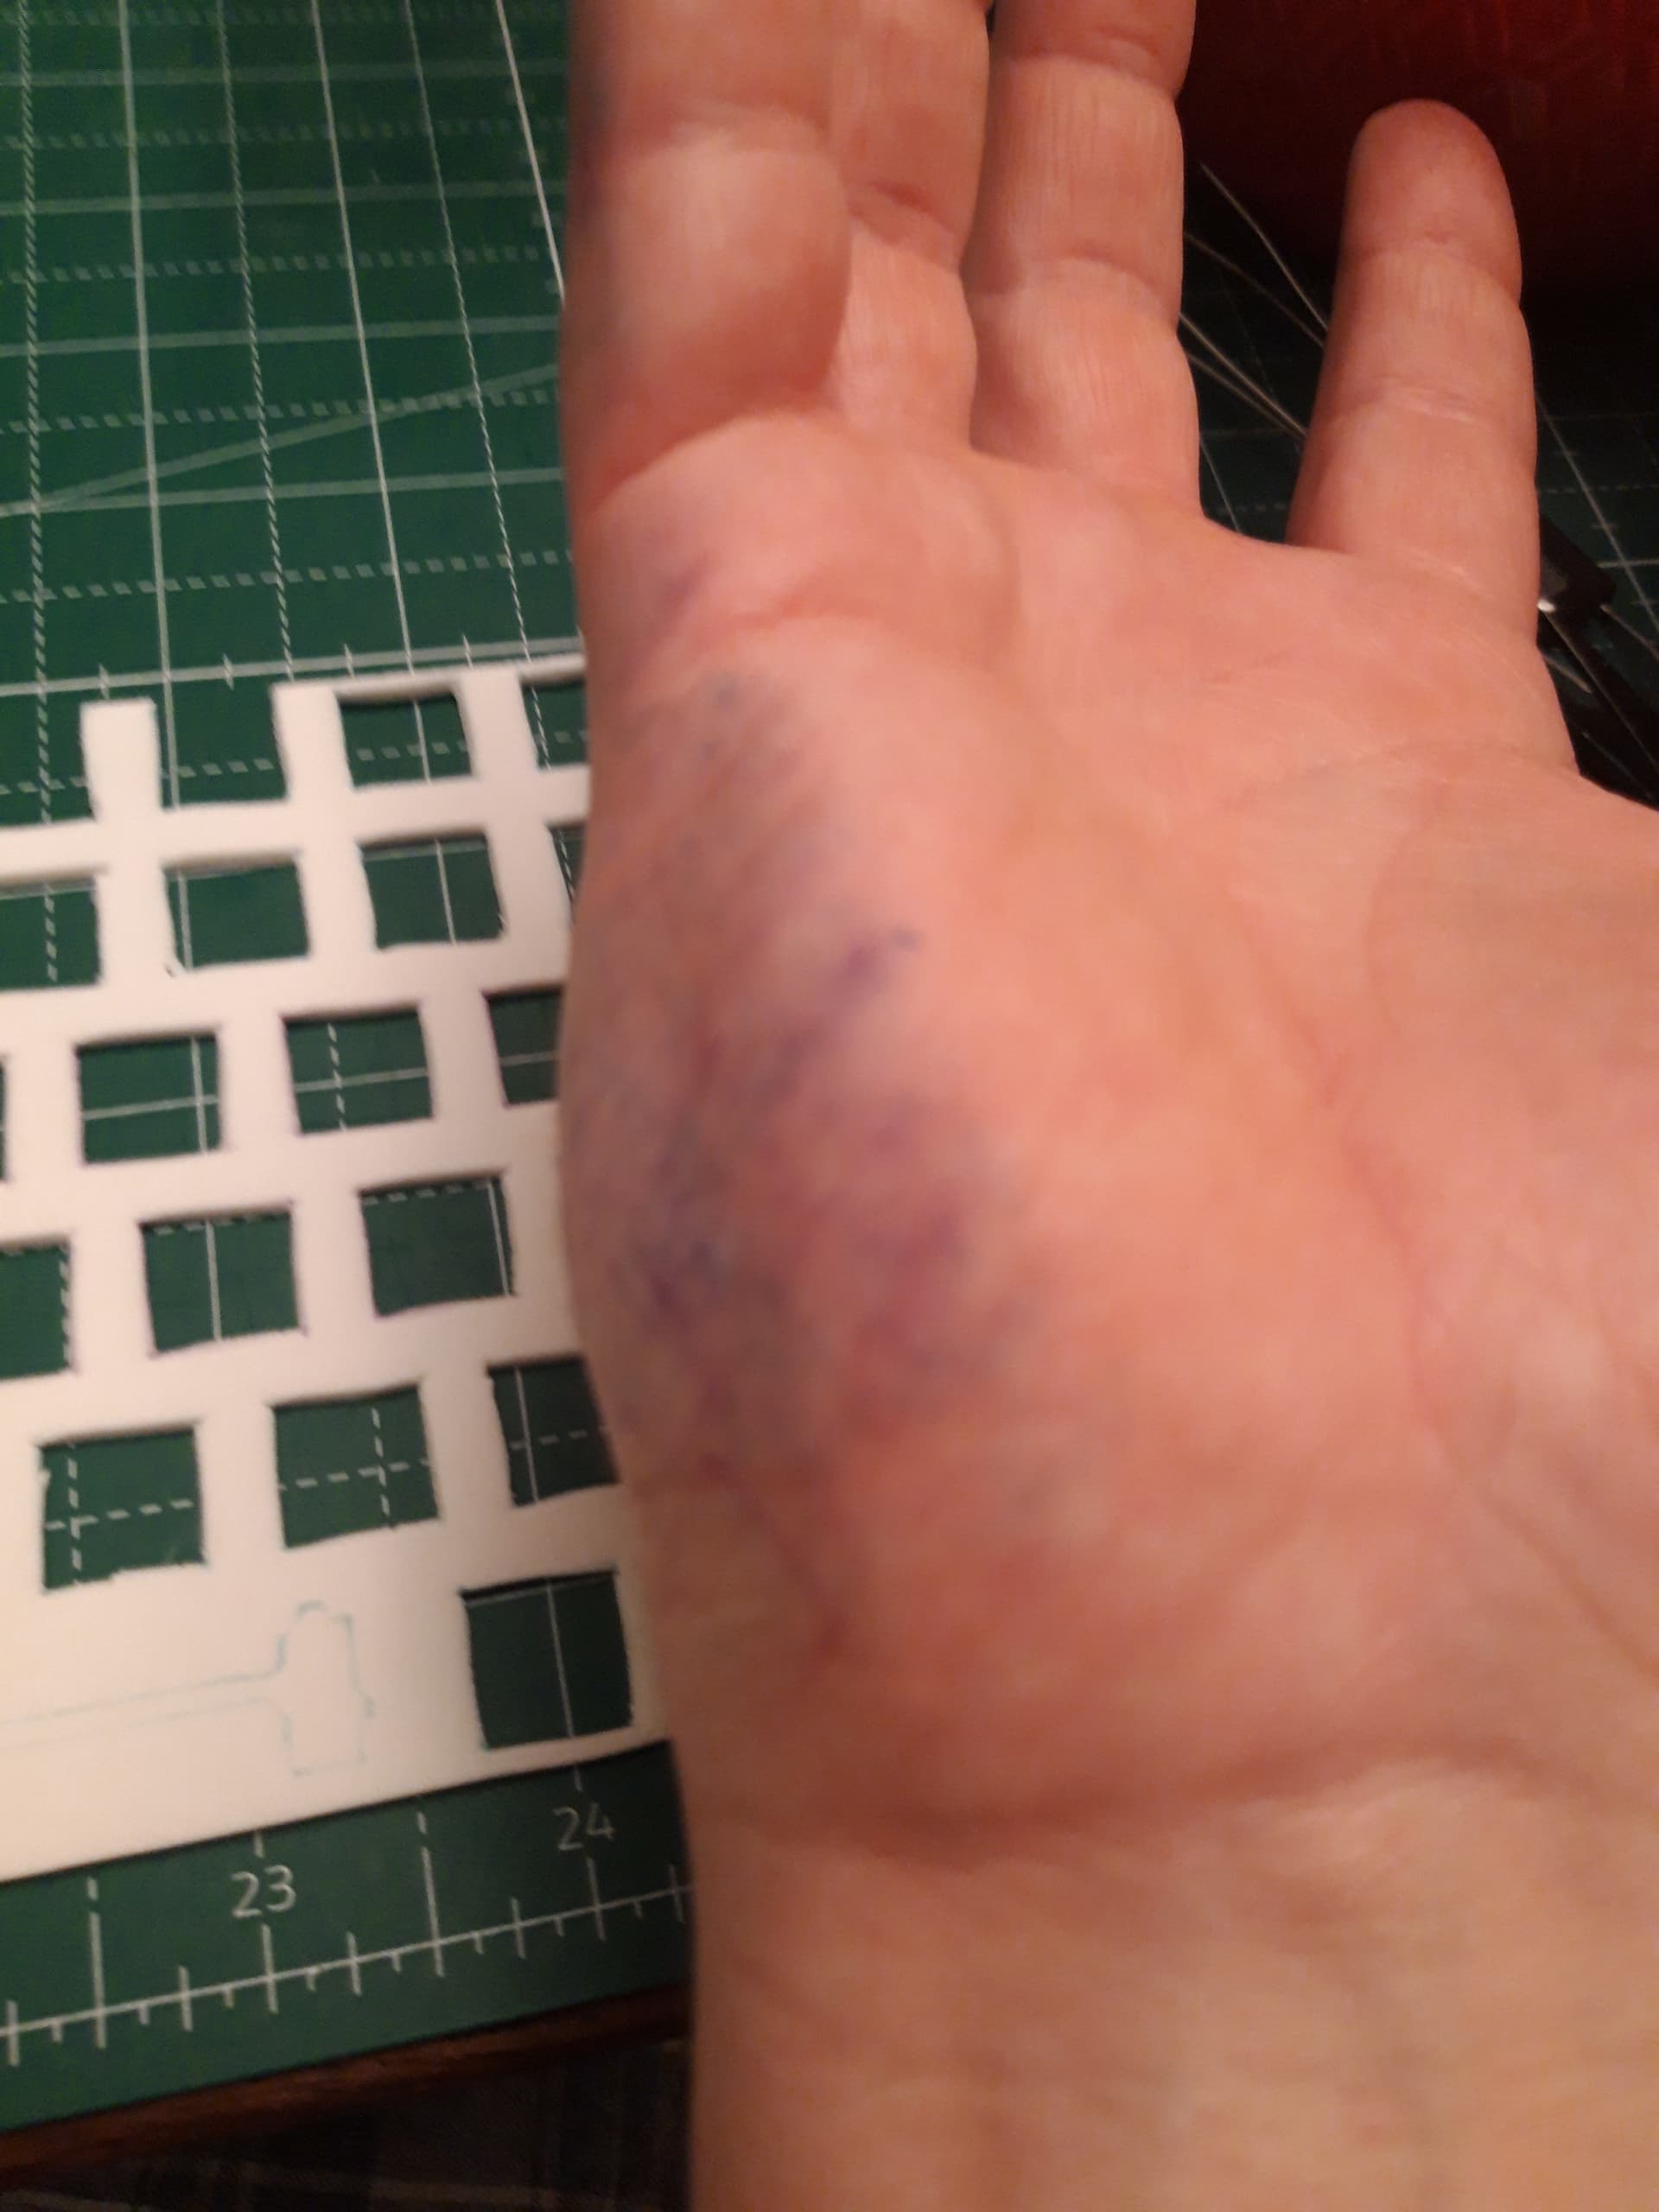
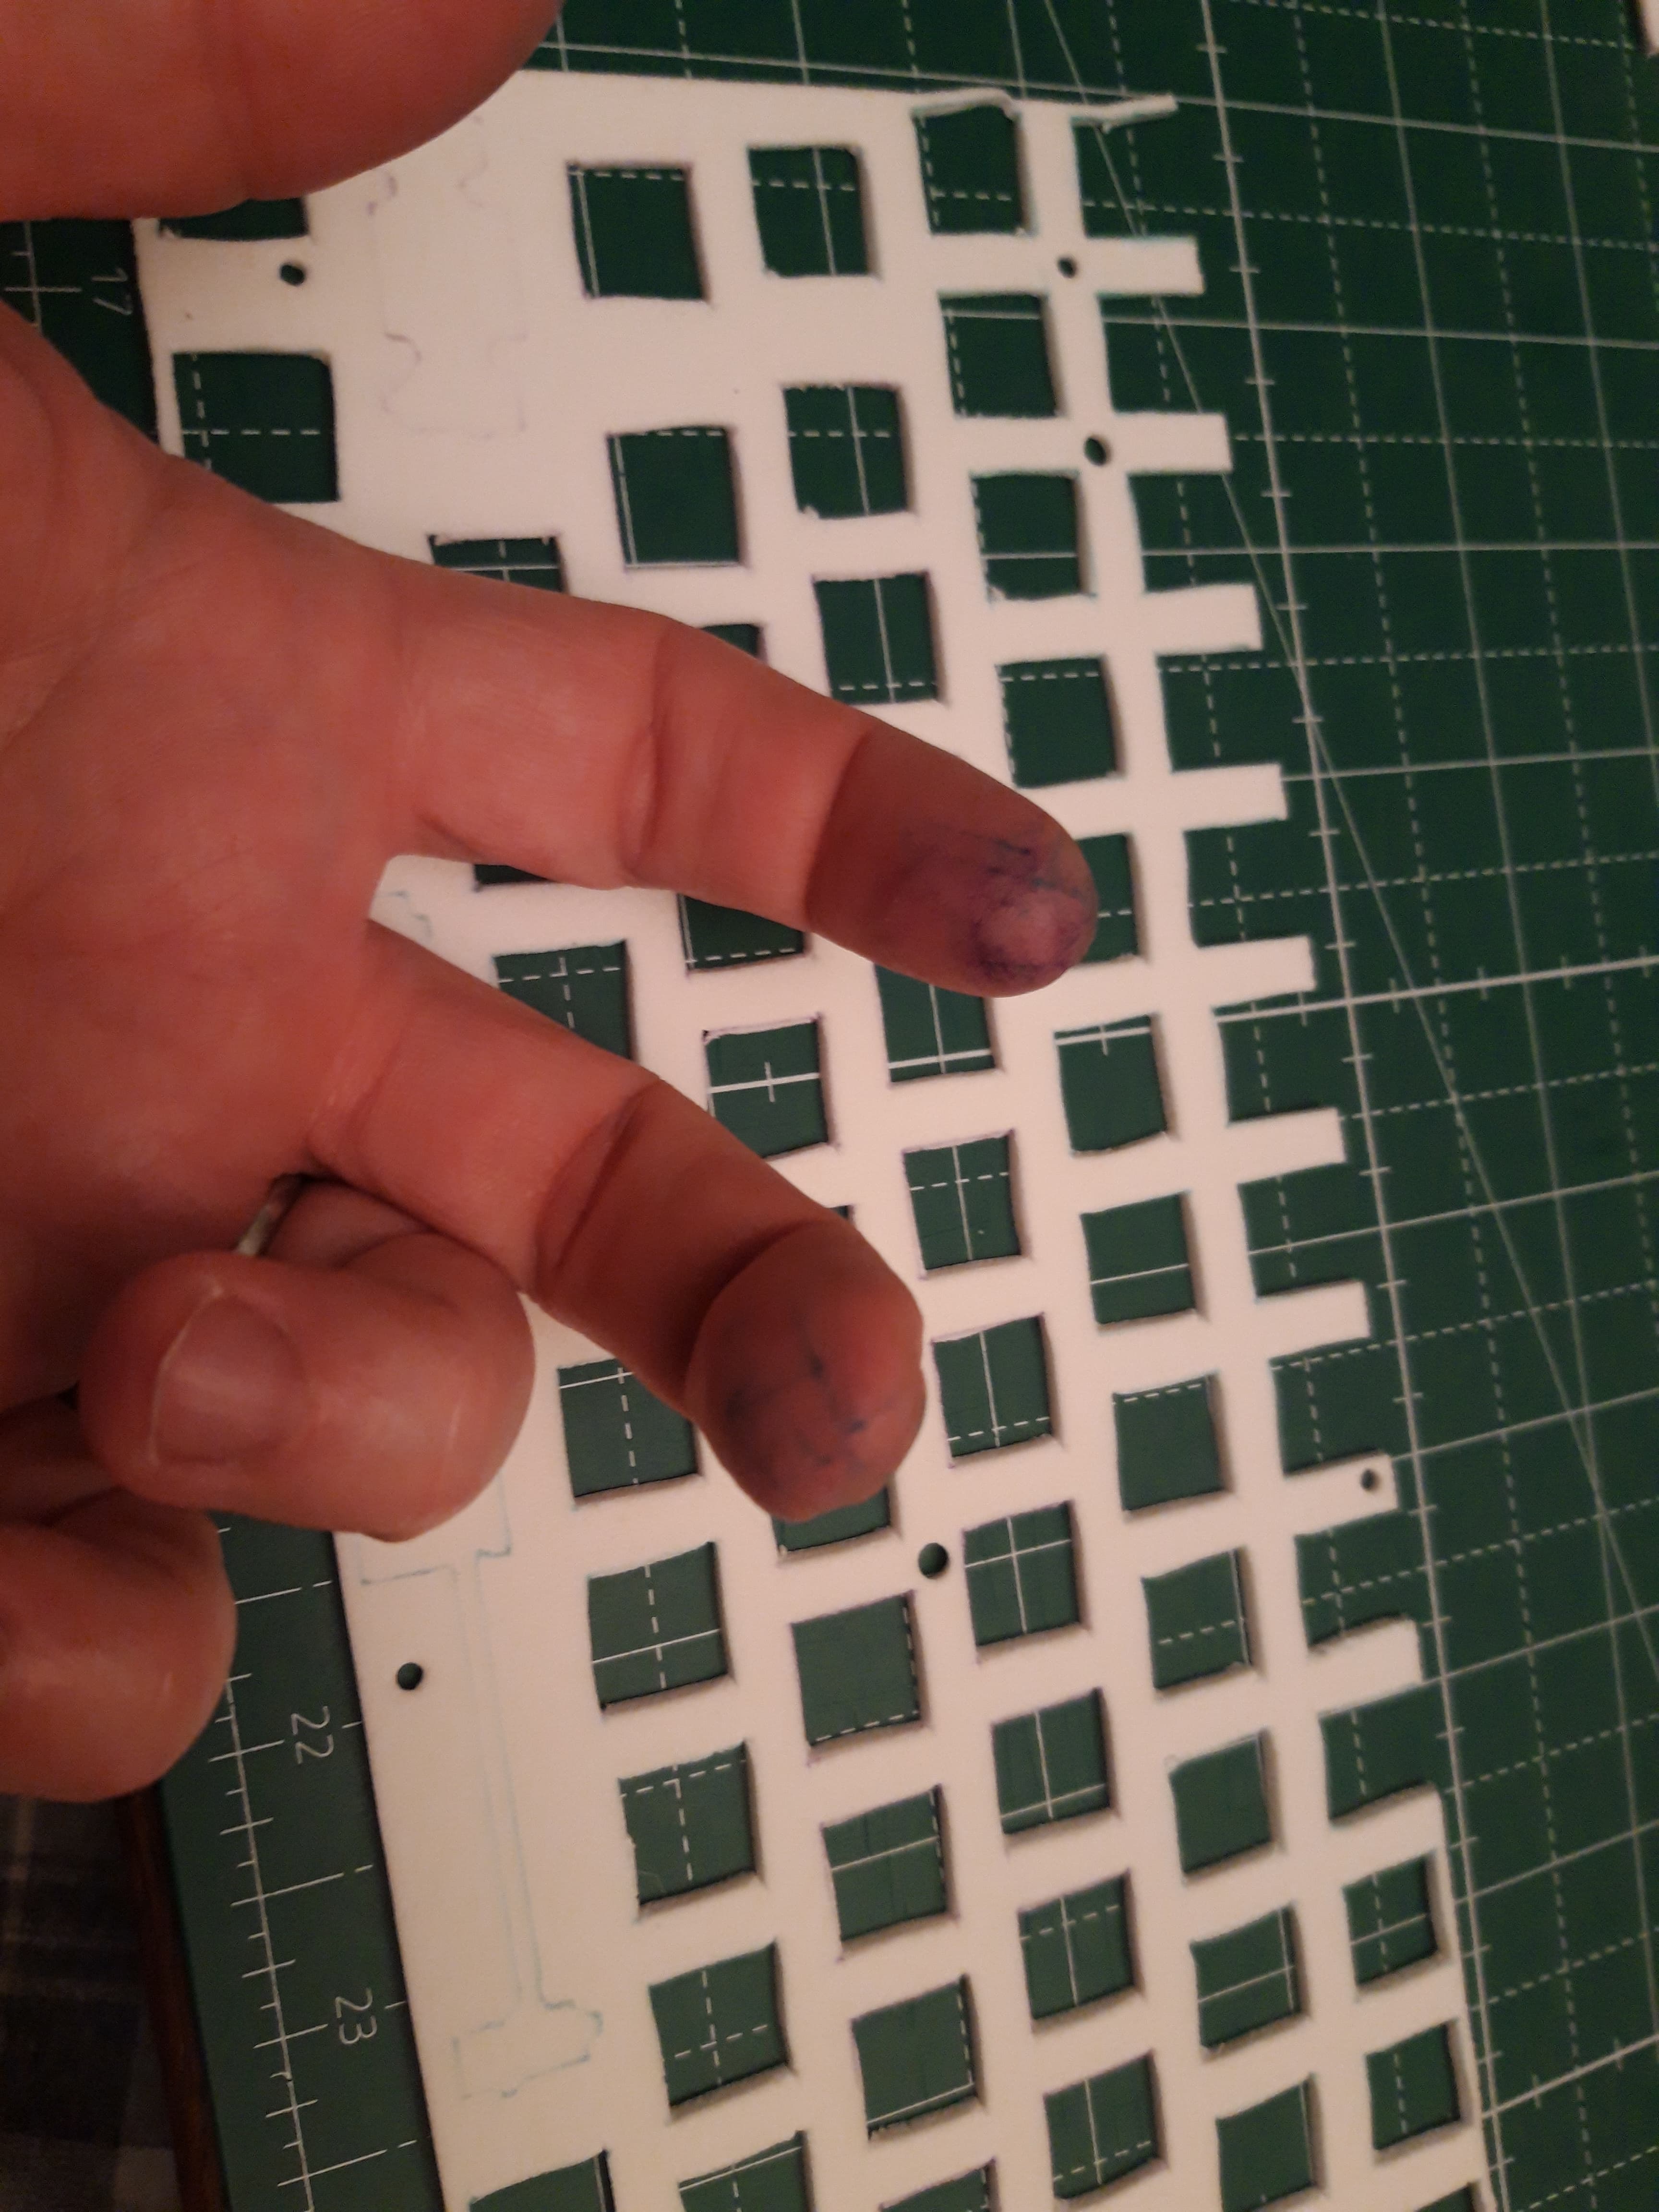
-= this one has no photos as I can only remember that night as part of a feverish nightmare. With salty, salty, tears in my eyes =-
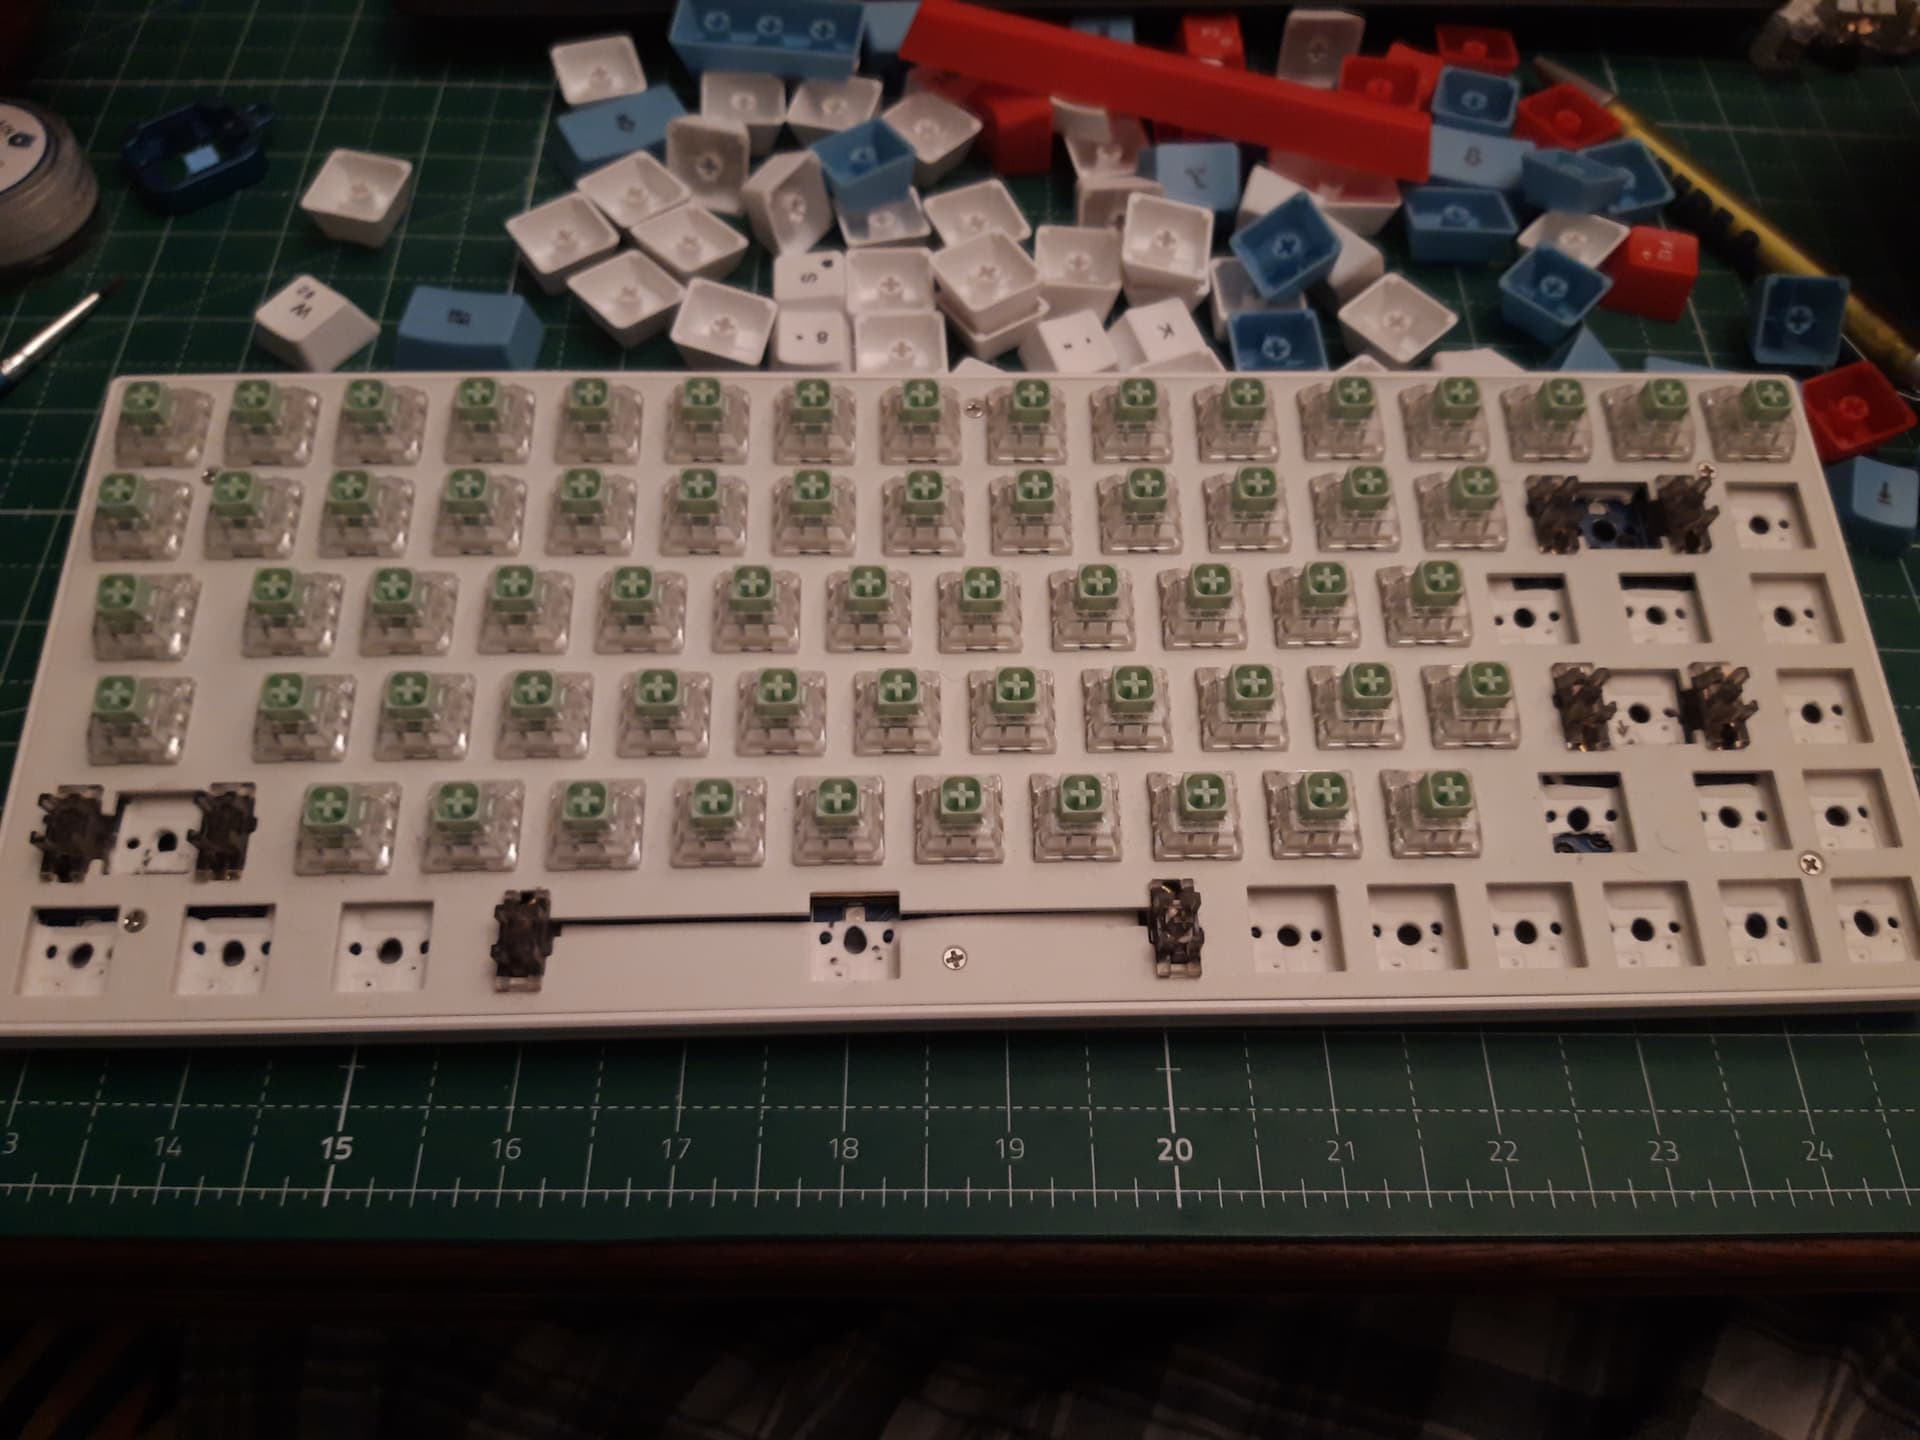
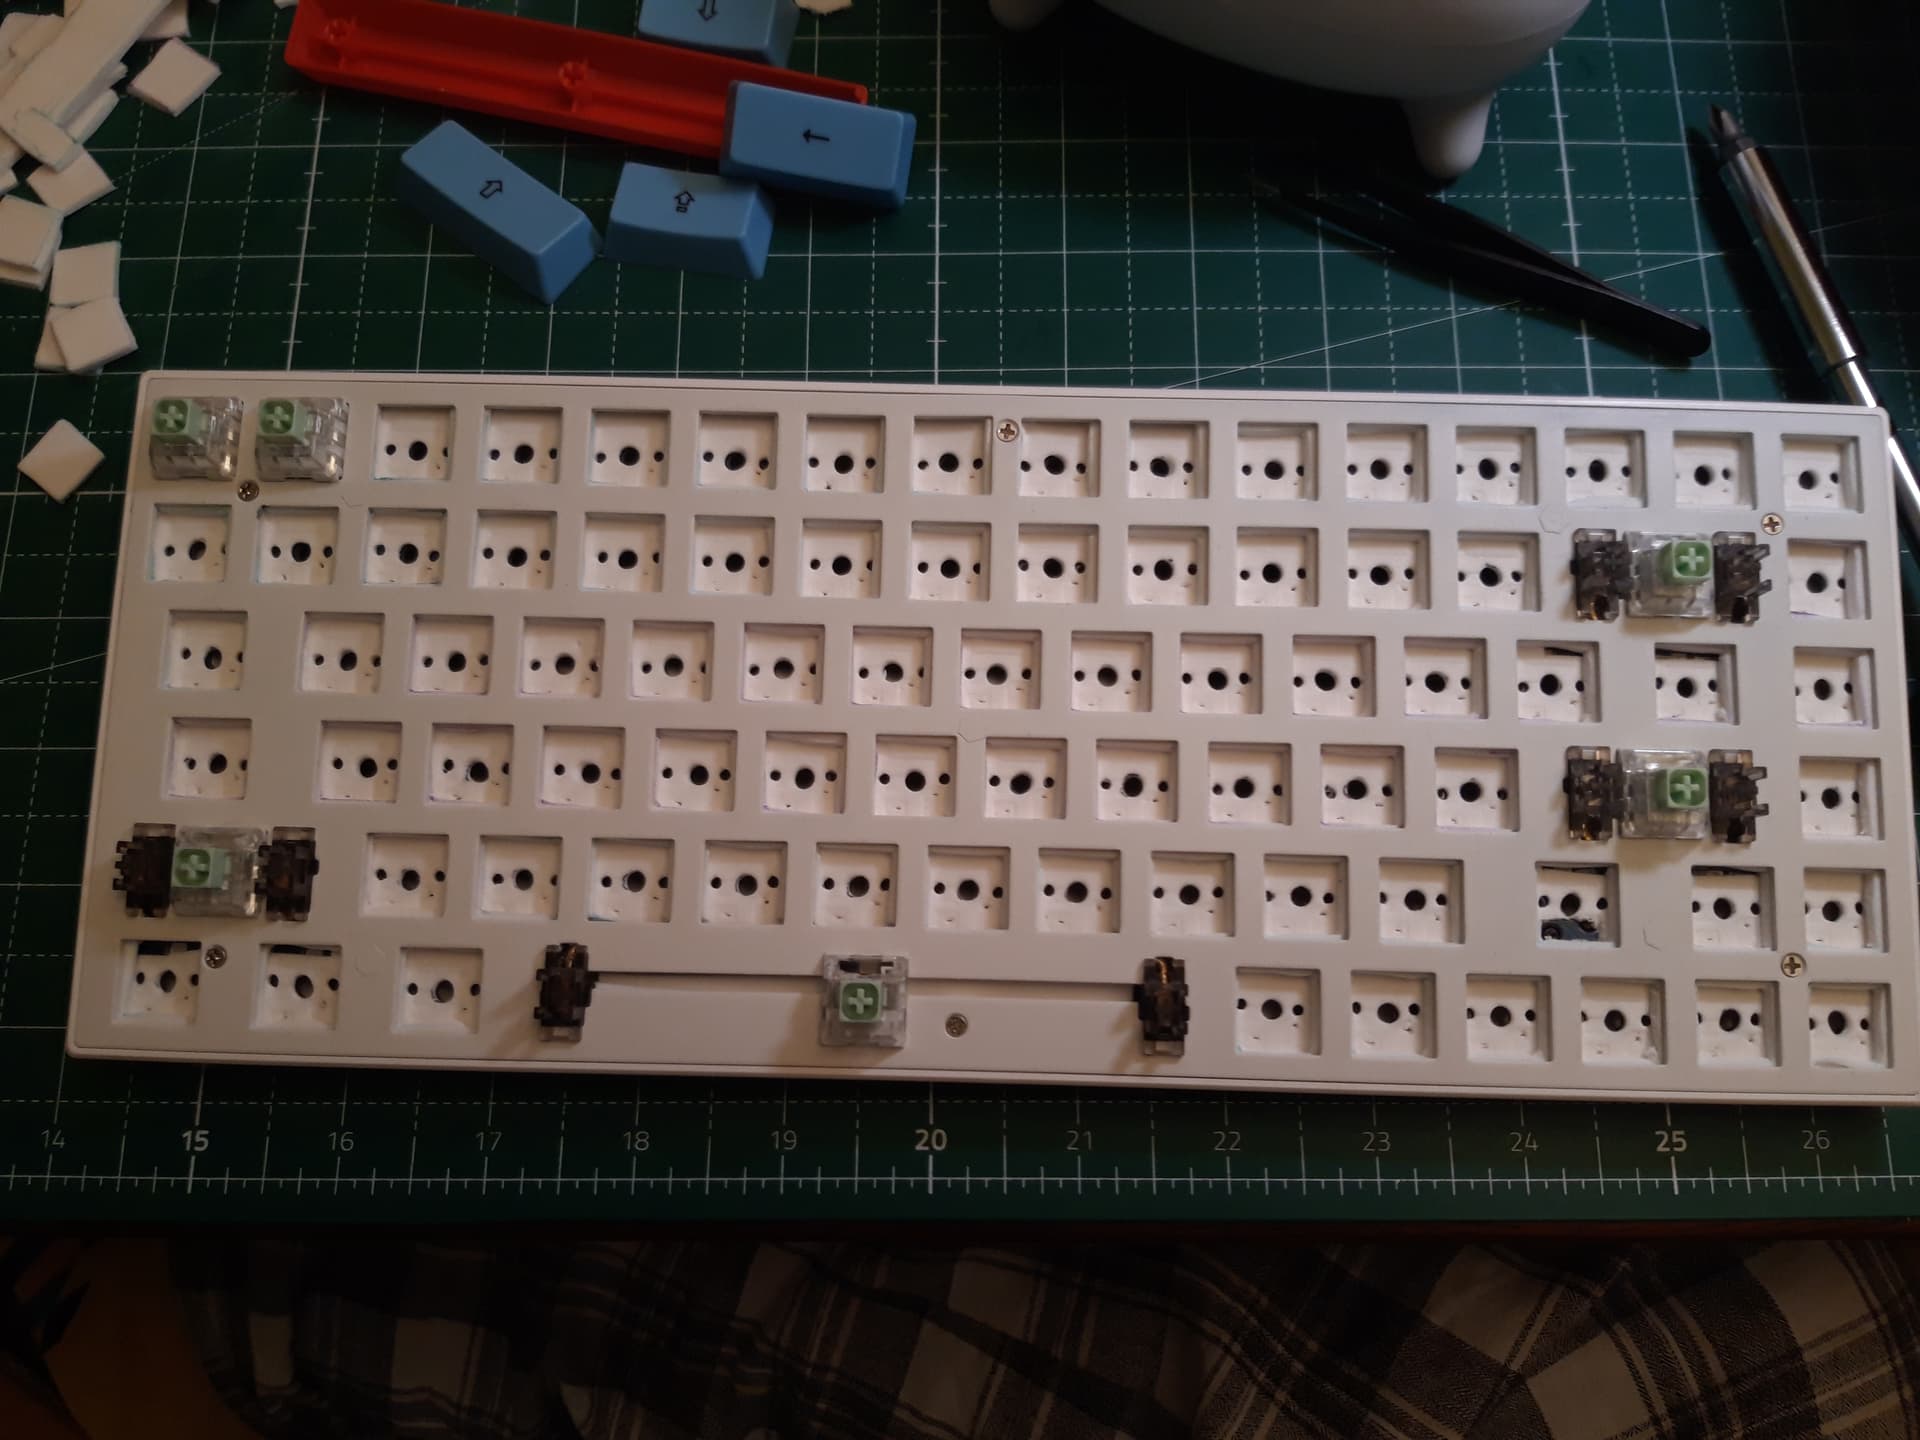
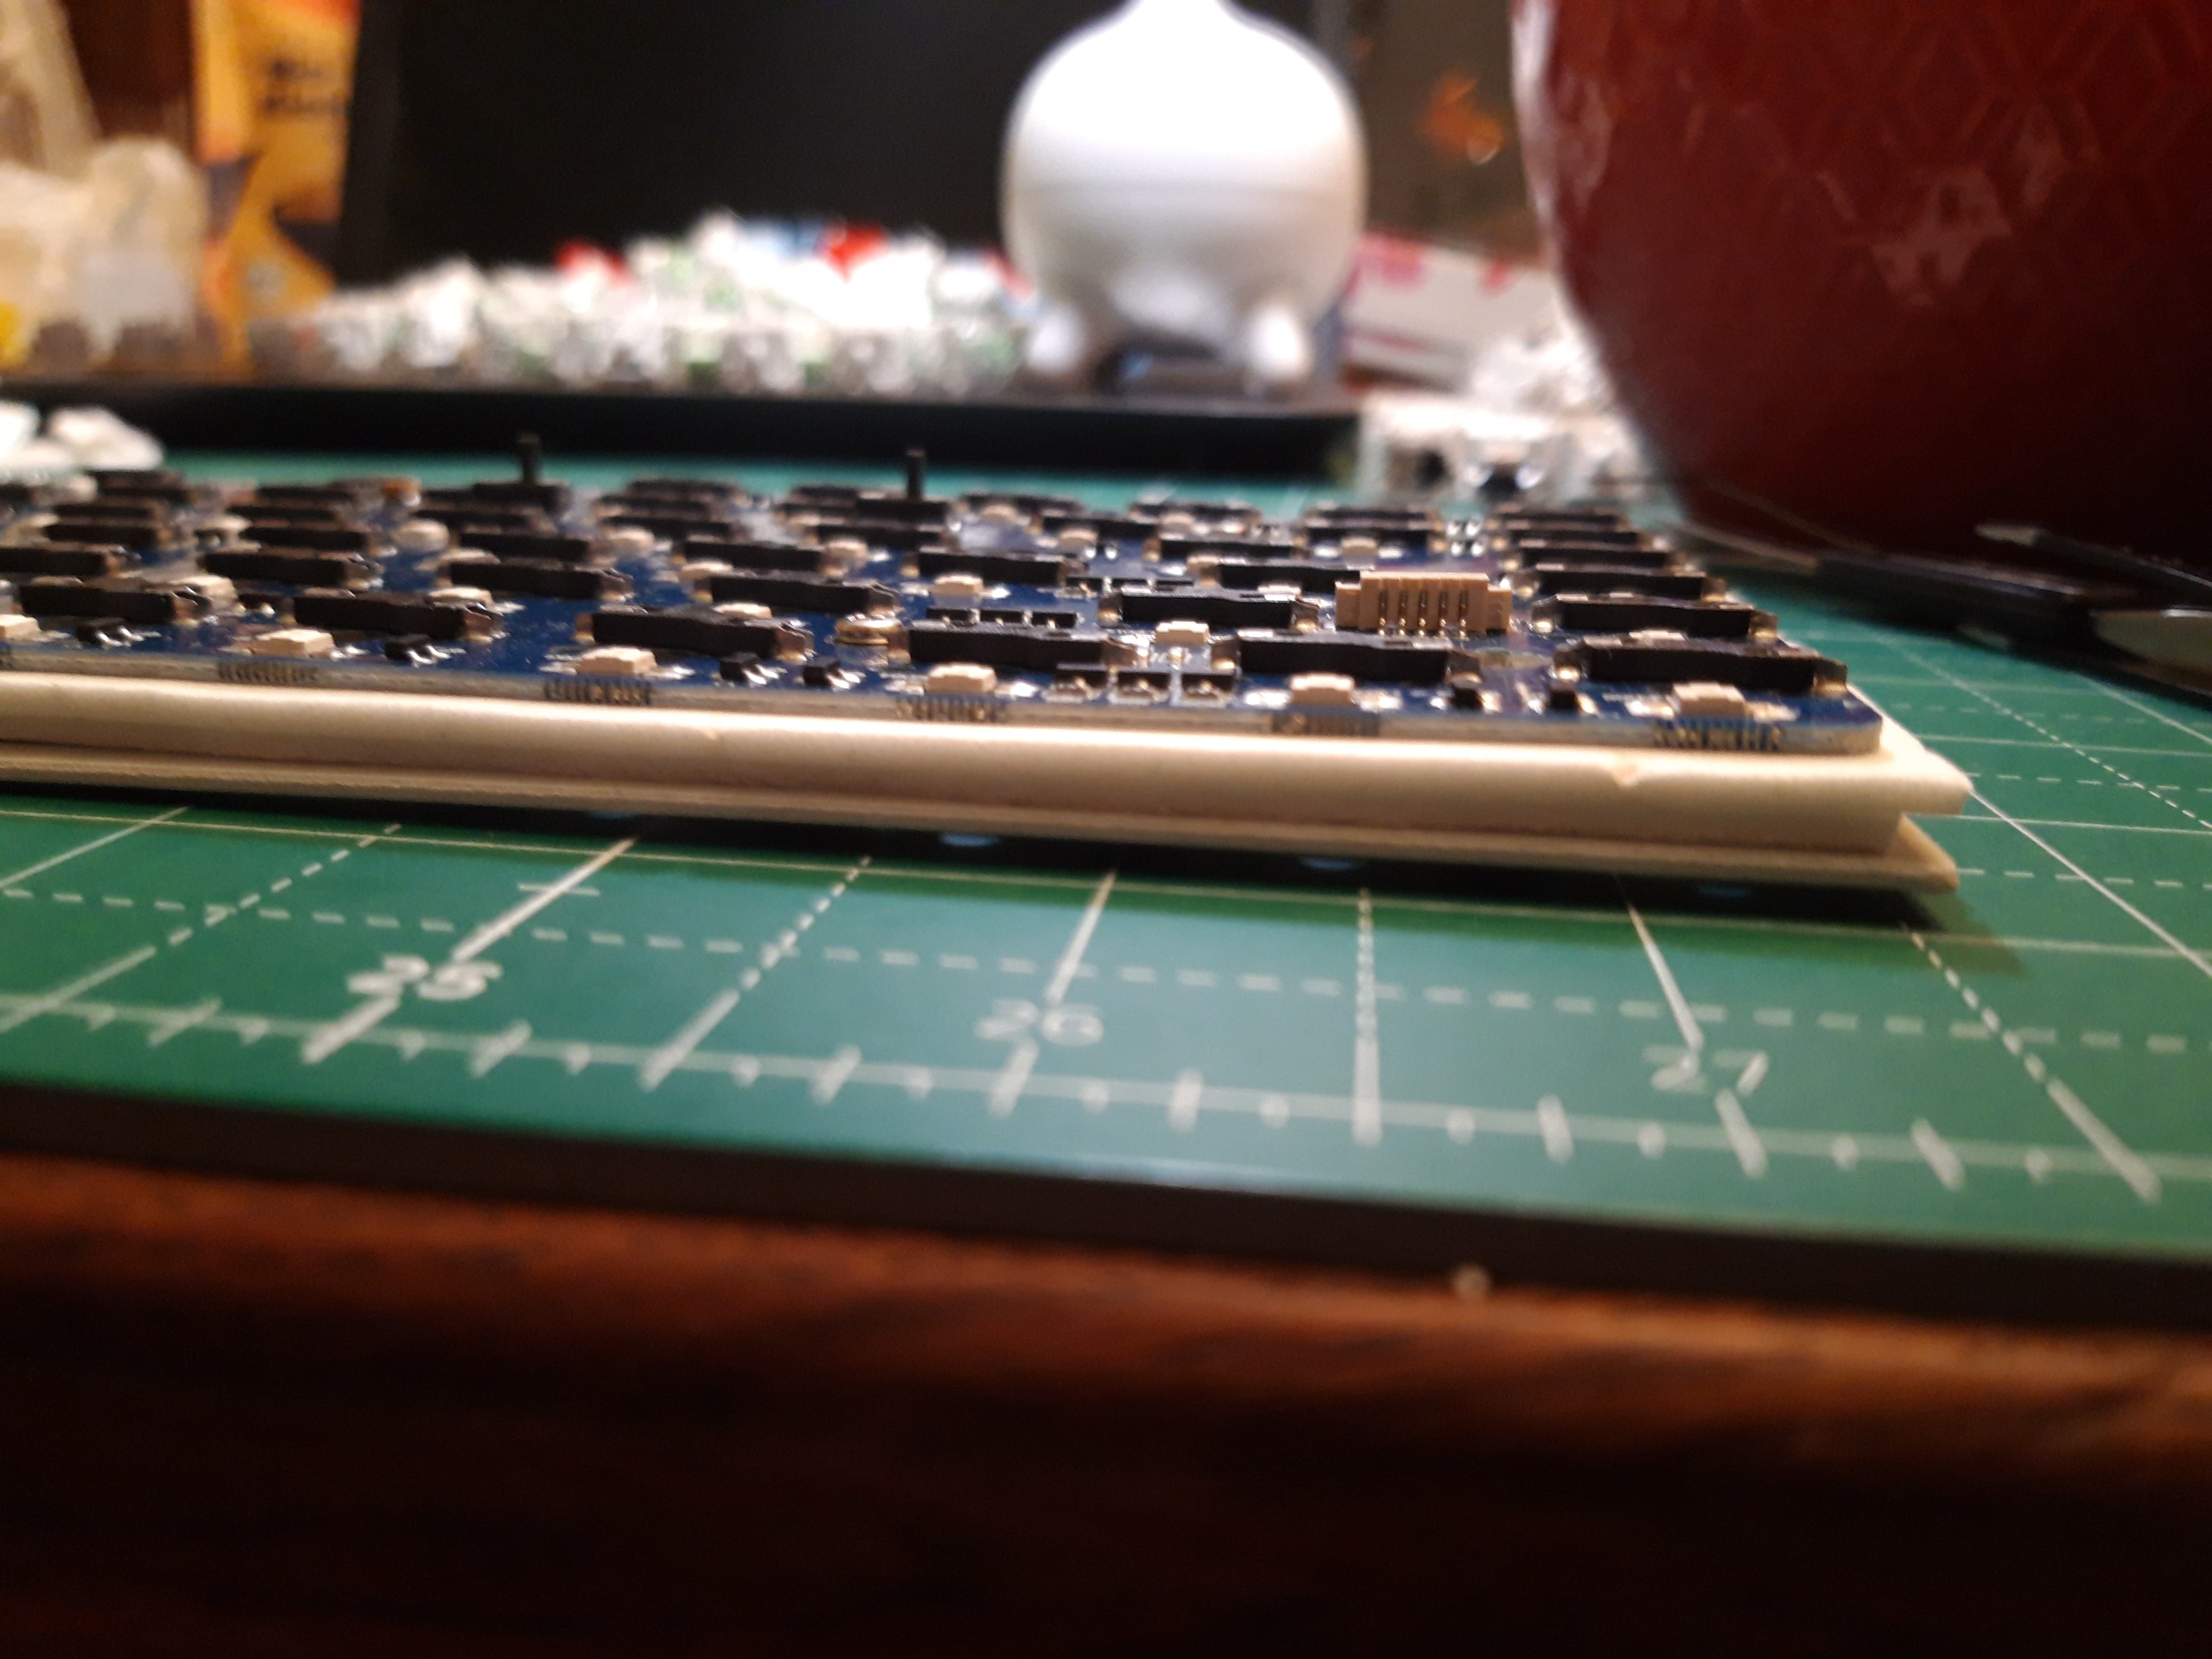
Inserted all the switches for about the 6th time of the short lifespan of the RK84
Bent about 12 pins back in shape and straightened them up
Found still 2 keys not working (F8 and 8)
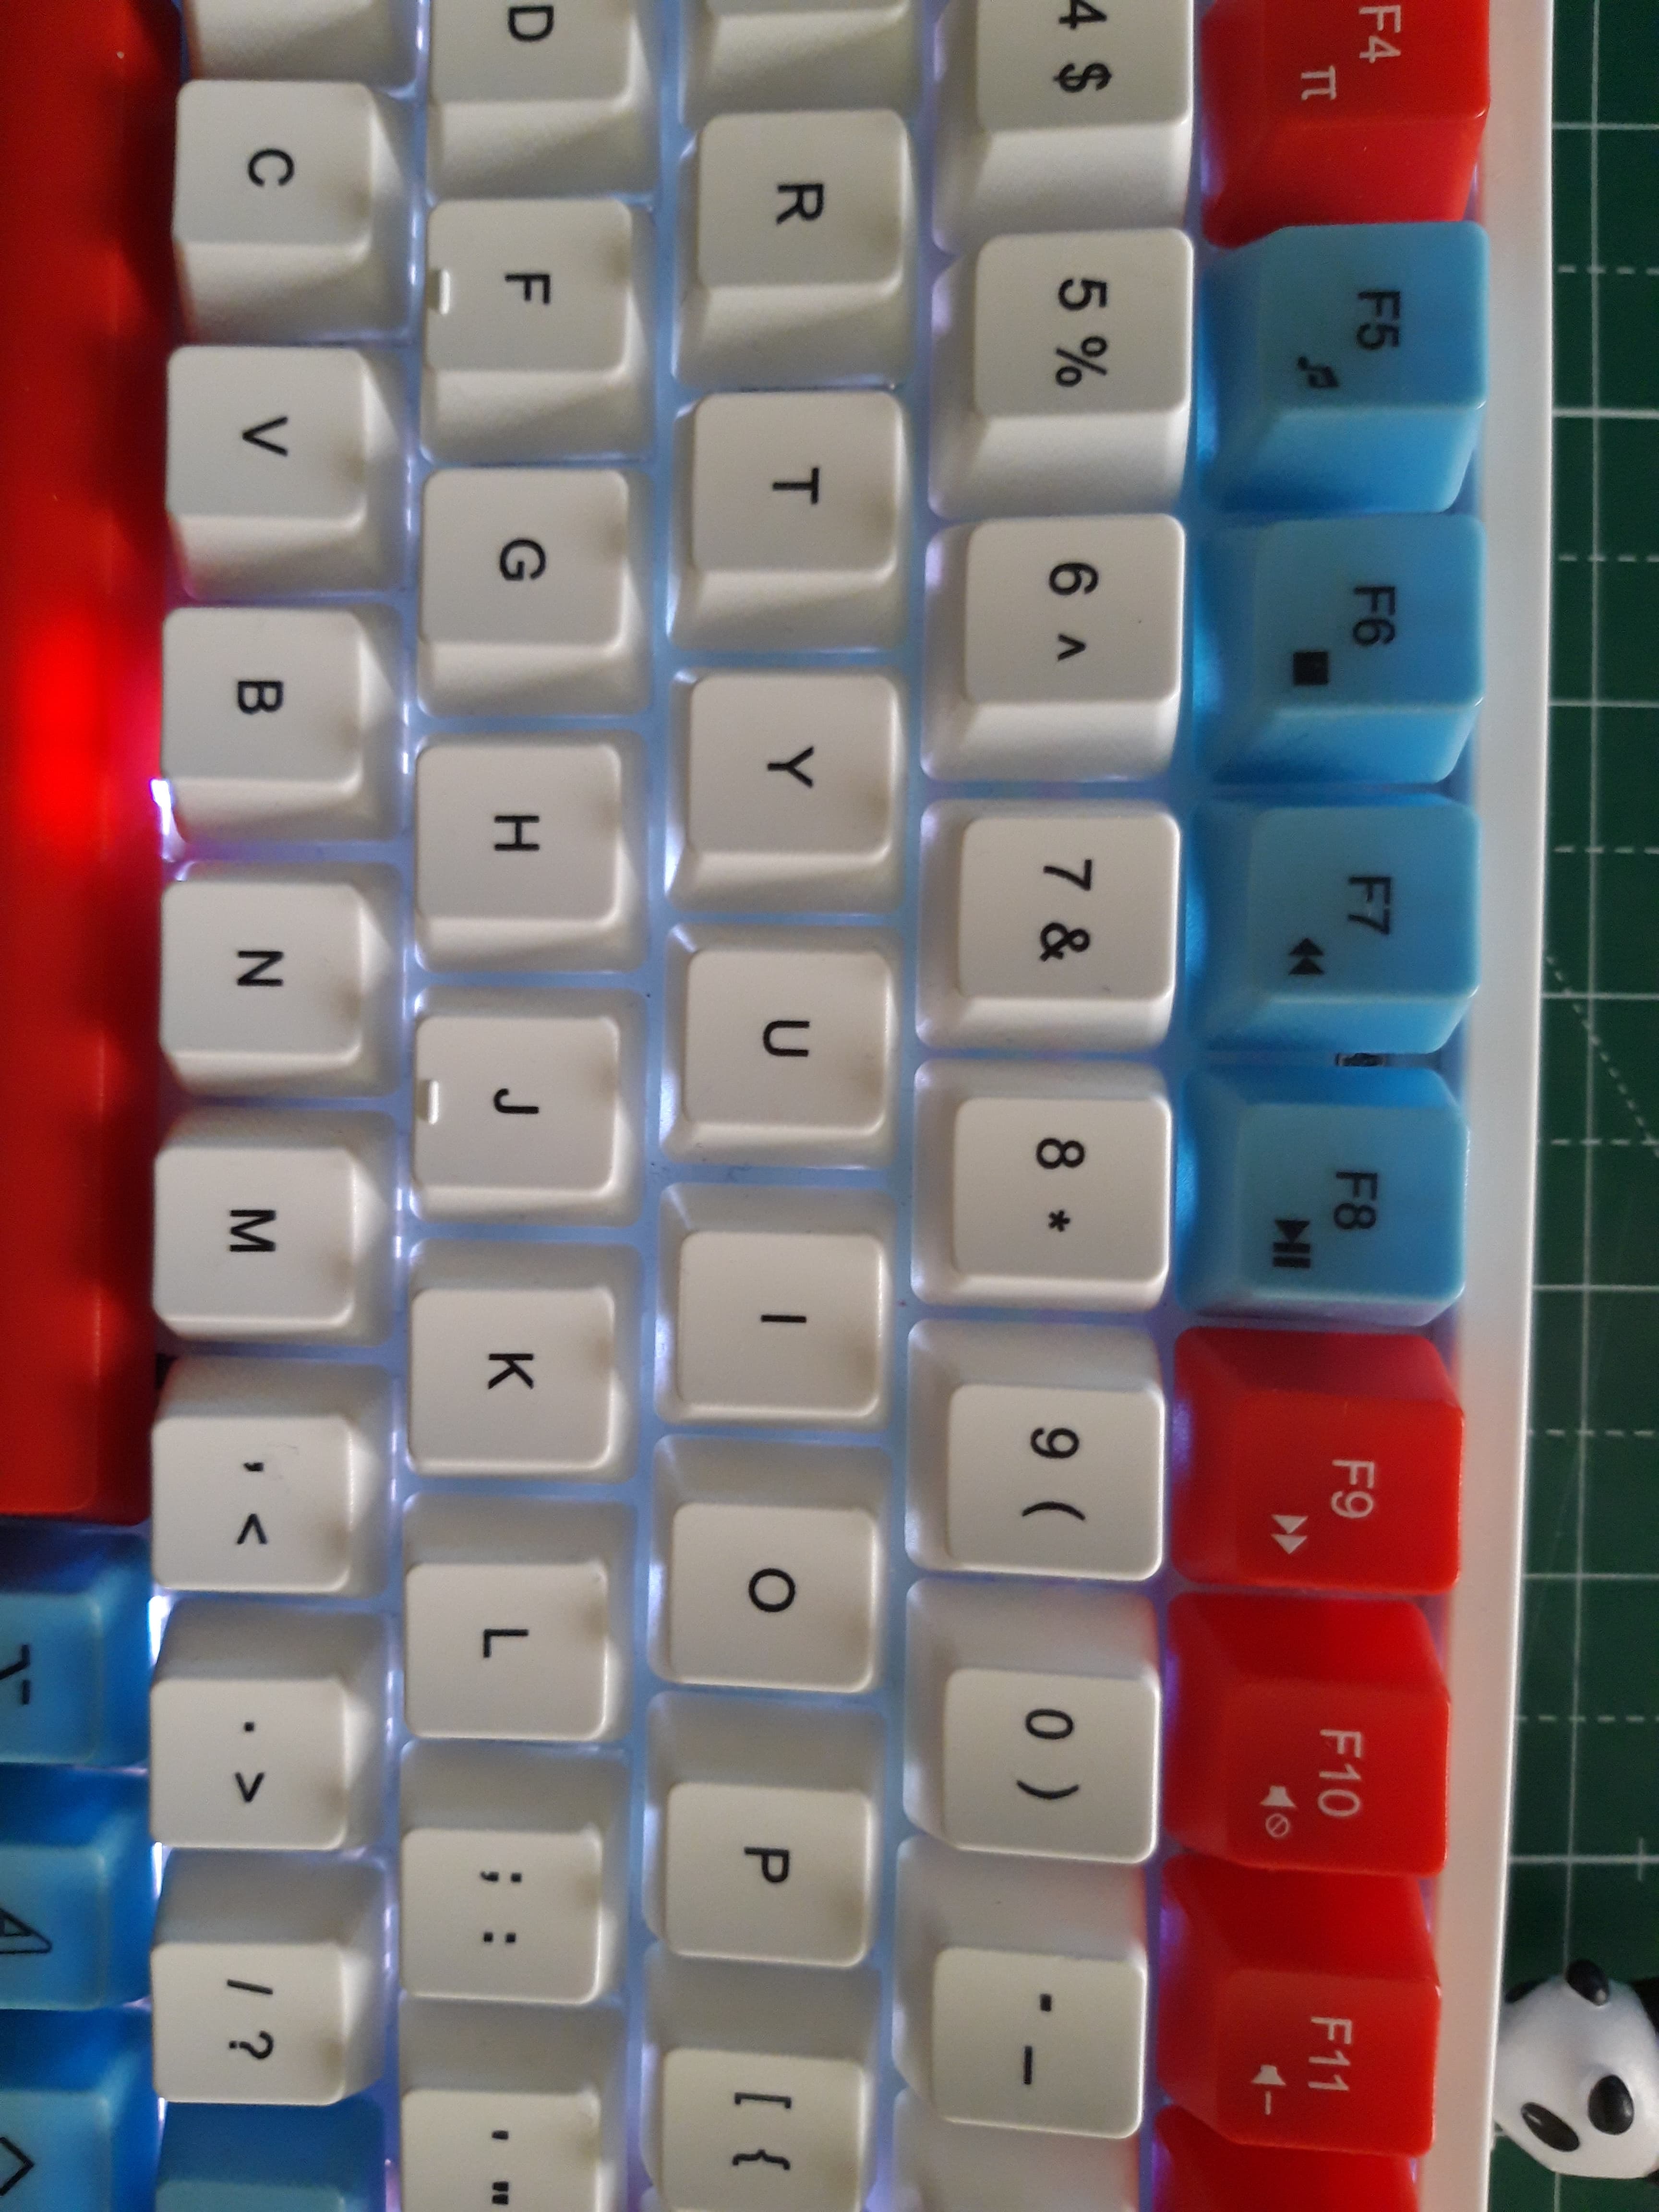
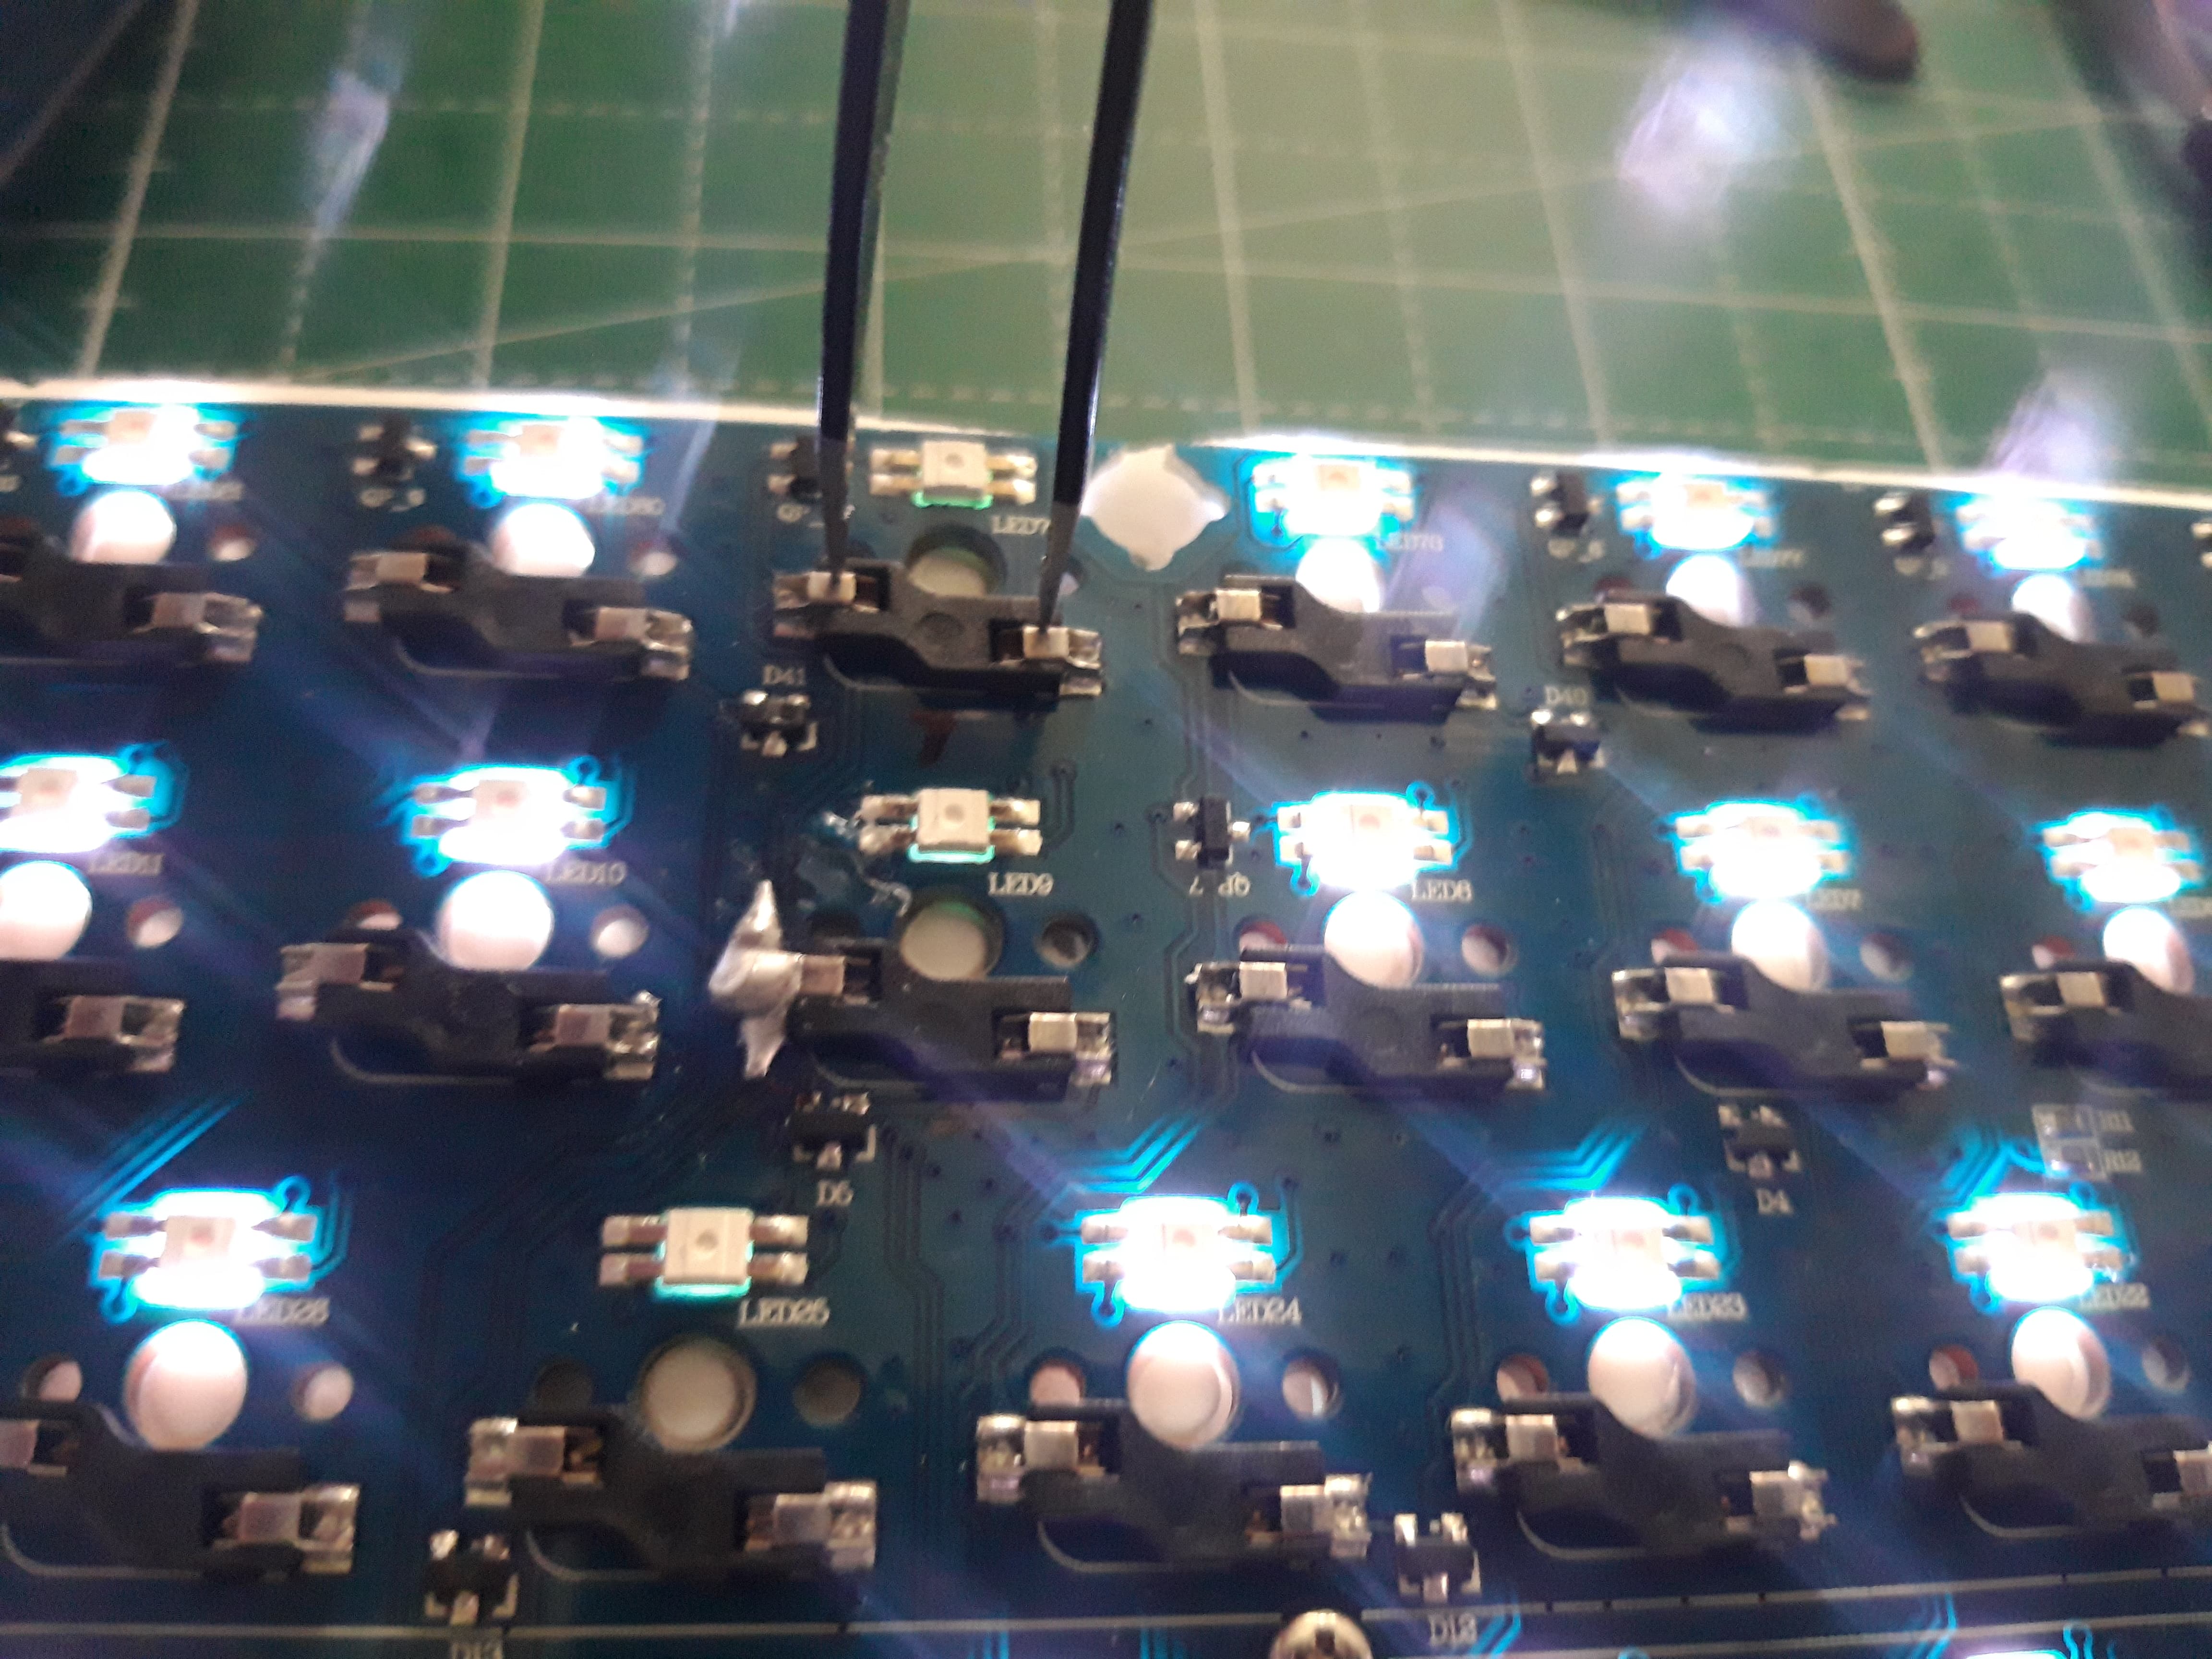
Found the LEDs for the column with F8, 8, I, K, Comma, and Option keys completely failing
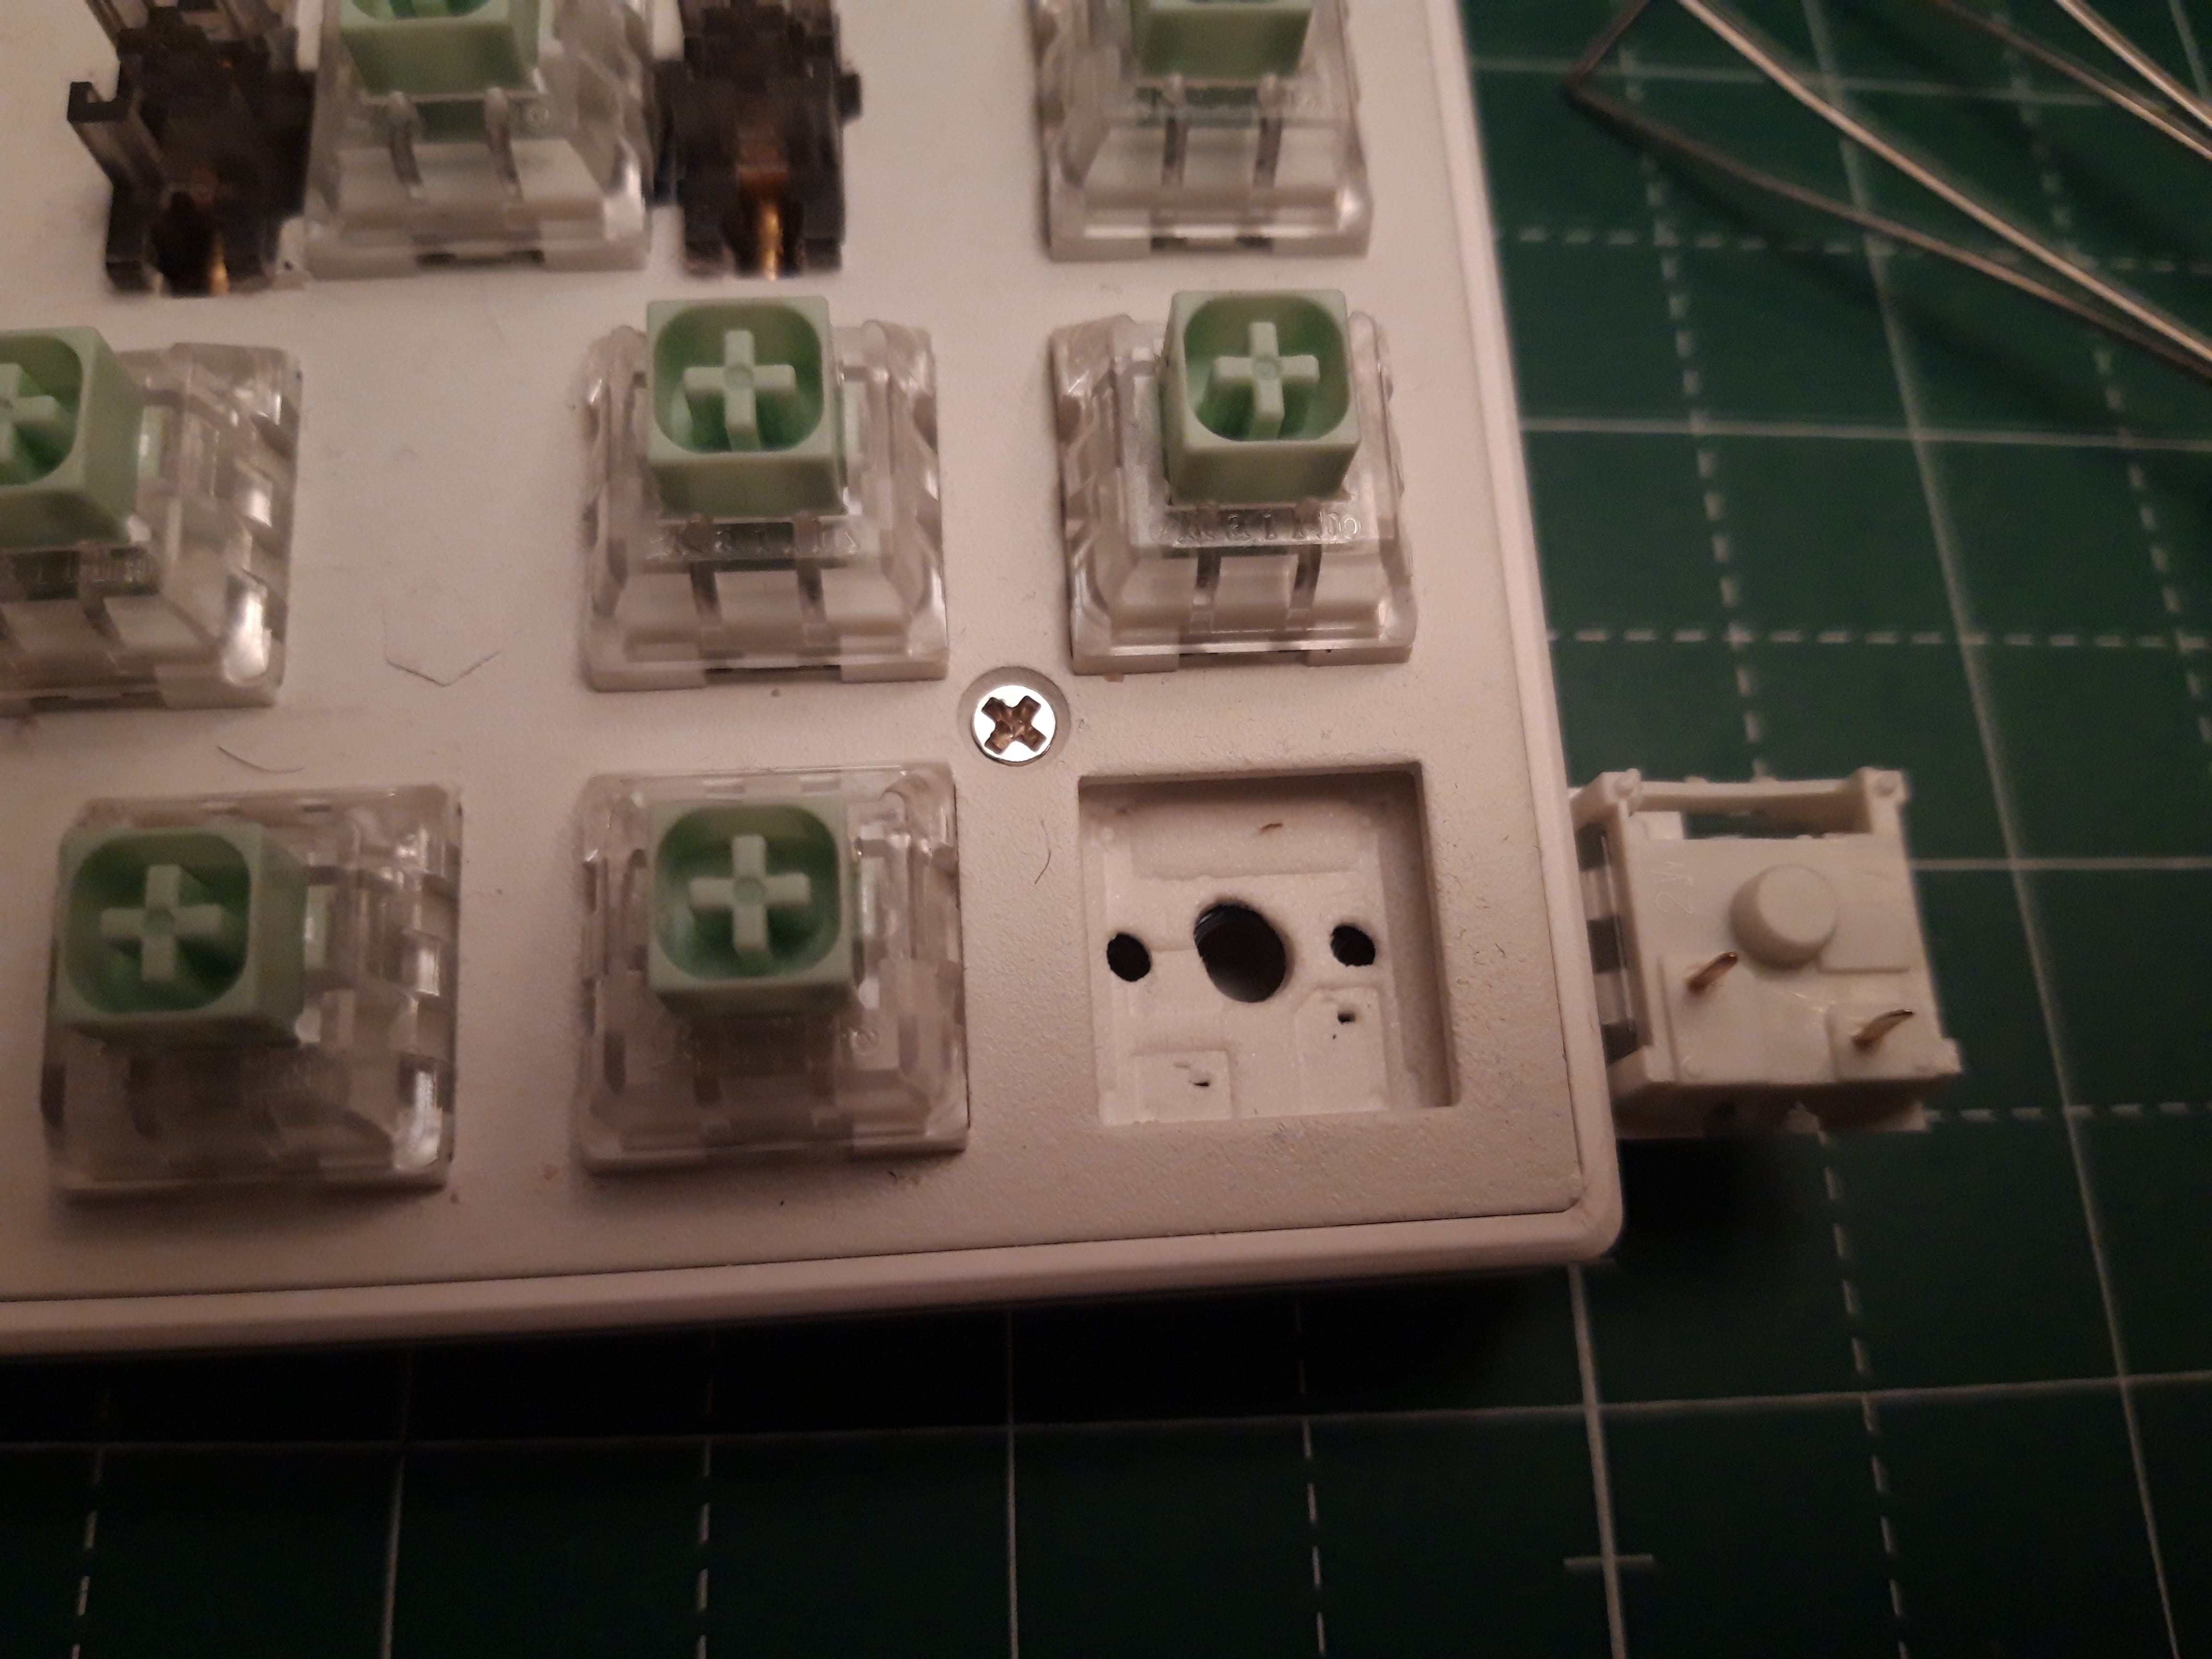
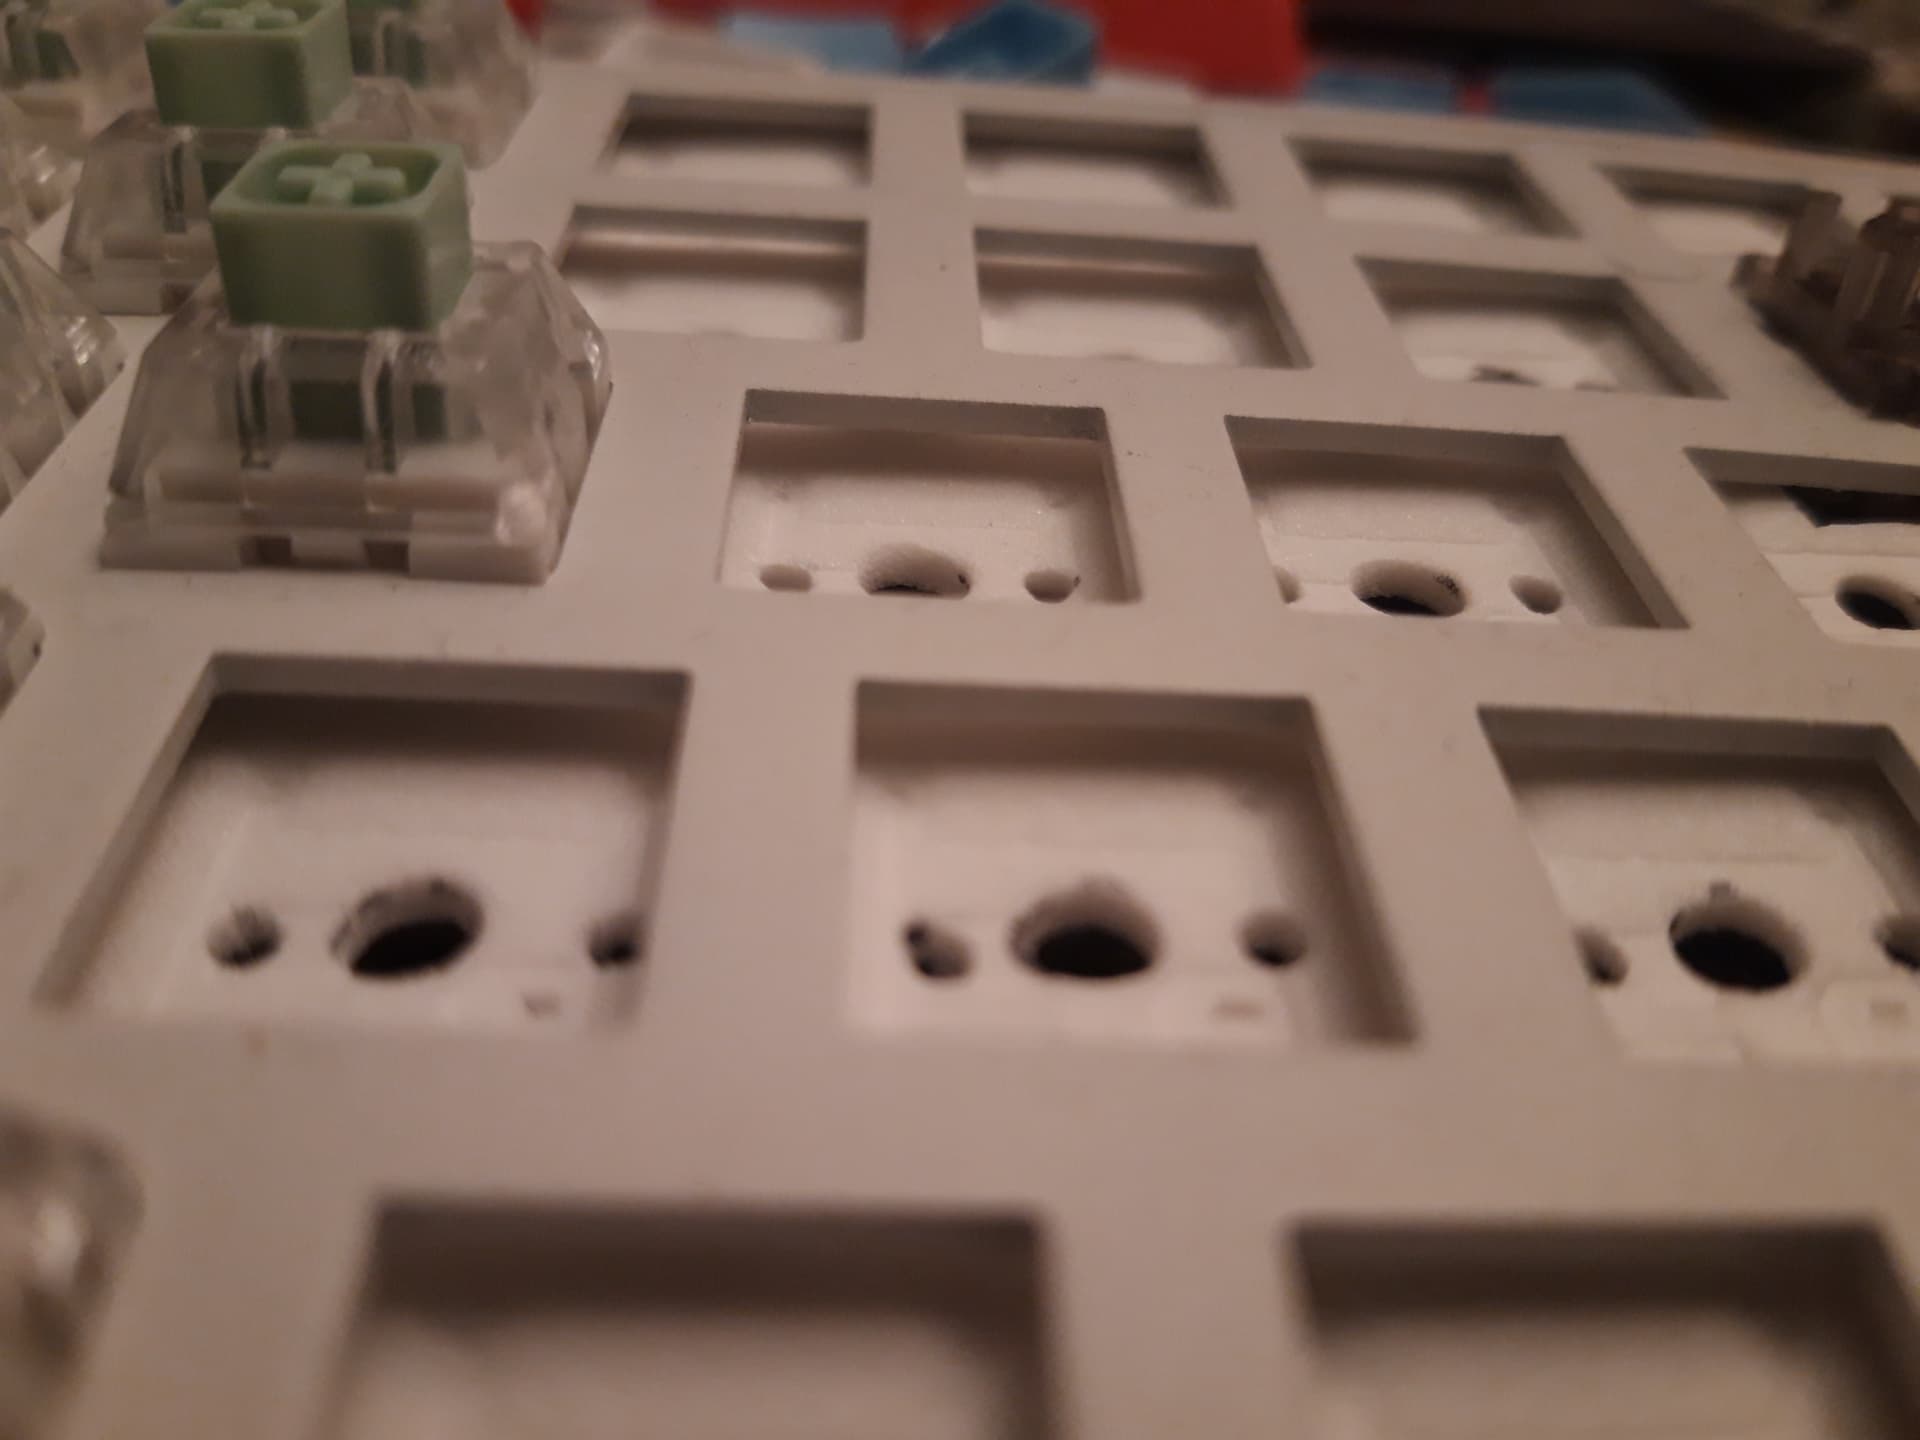
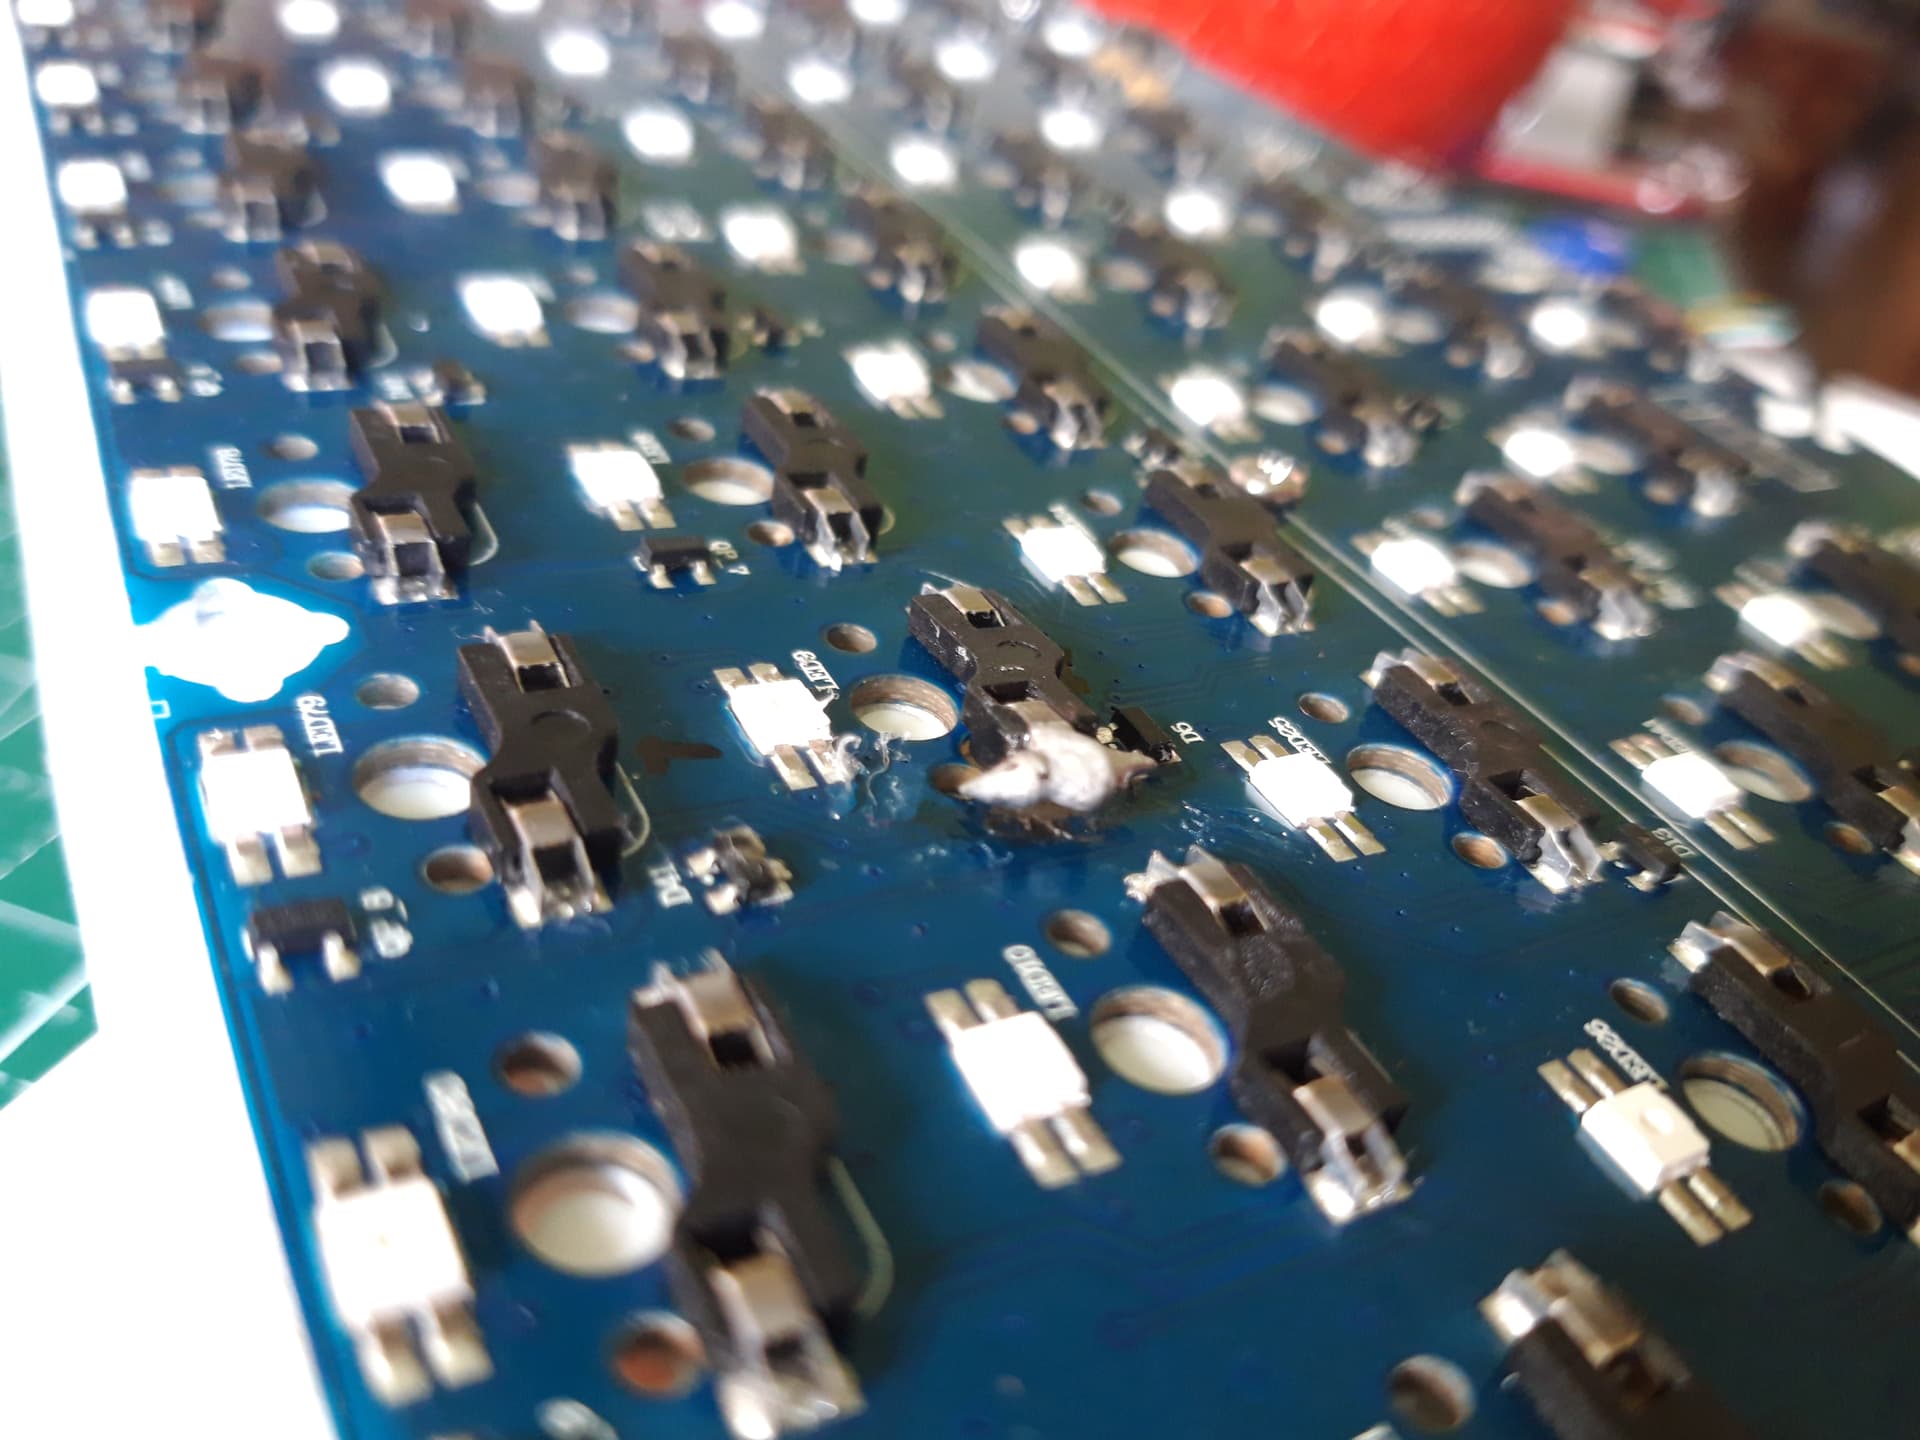
Found the hotswap socket of the 8 key to be loose on one side
Spent about 30 minutes trying to resolder the socket
Spent about 1 hr looking for flux
Spent about 2 hrs trying to resolder the loose socket joint
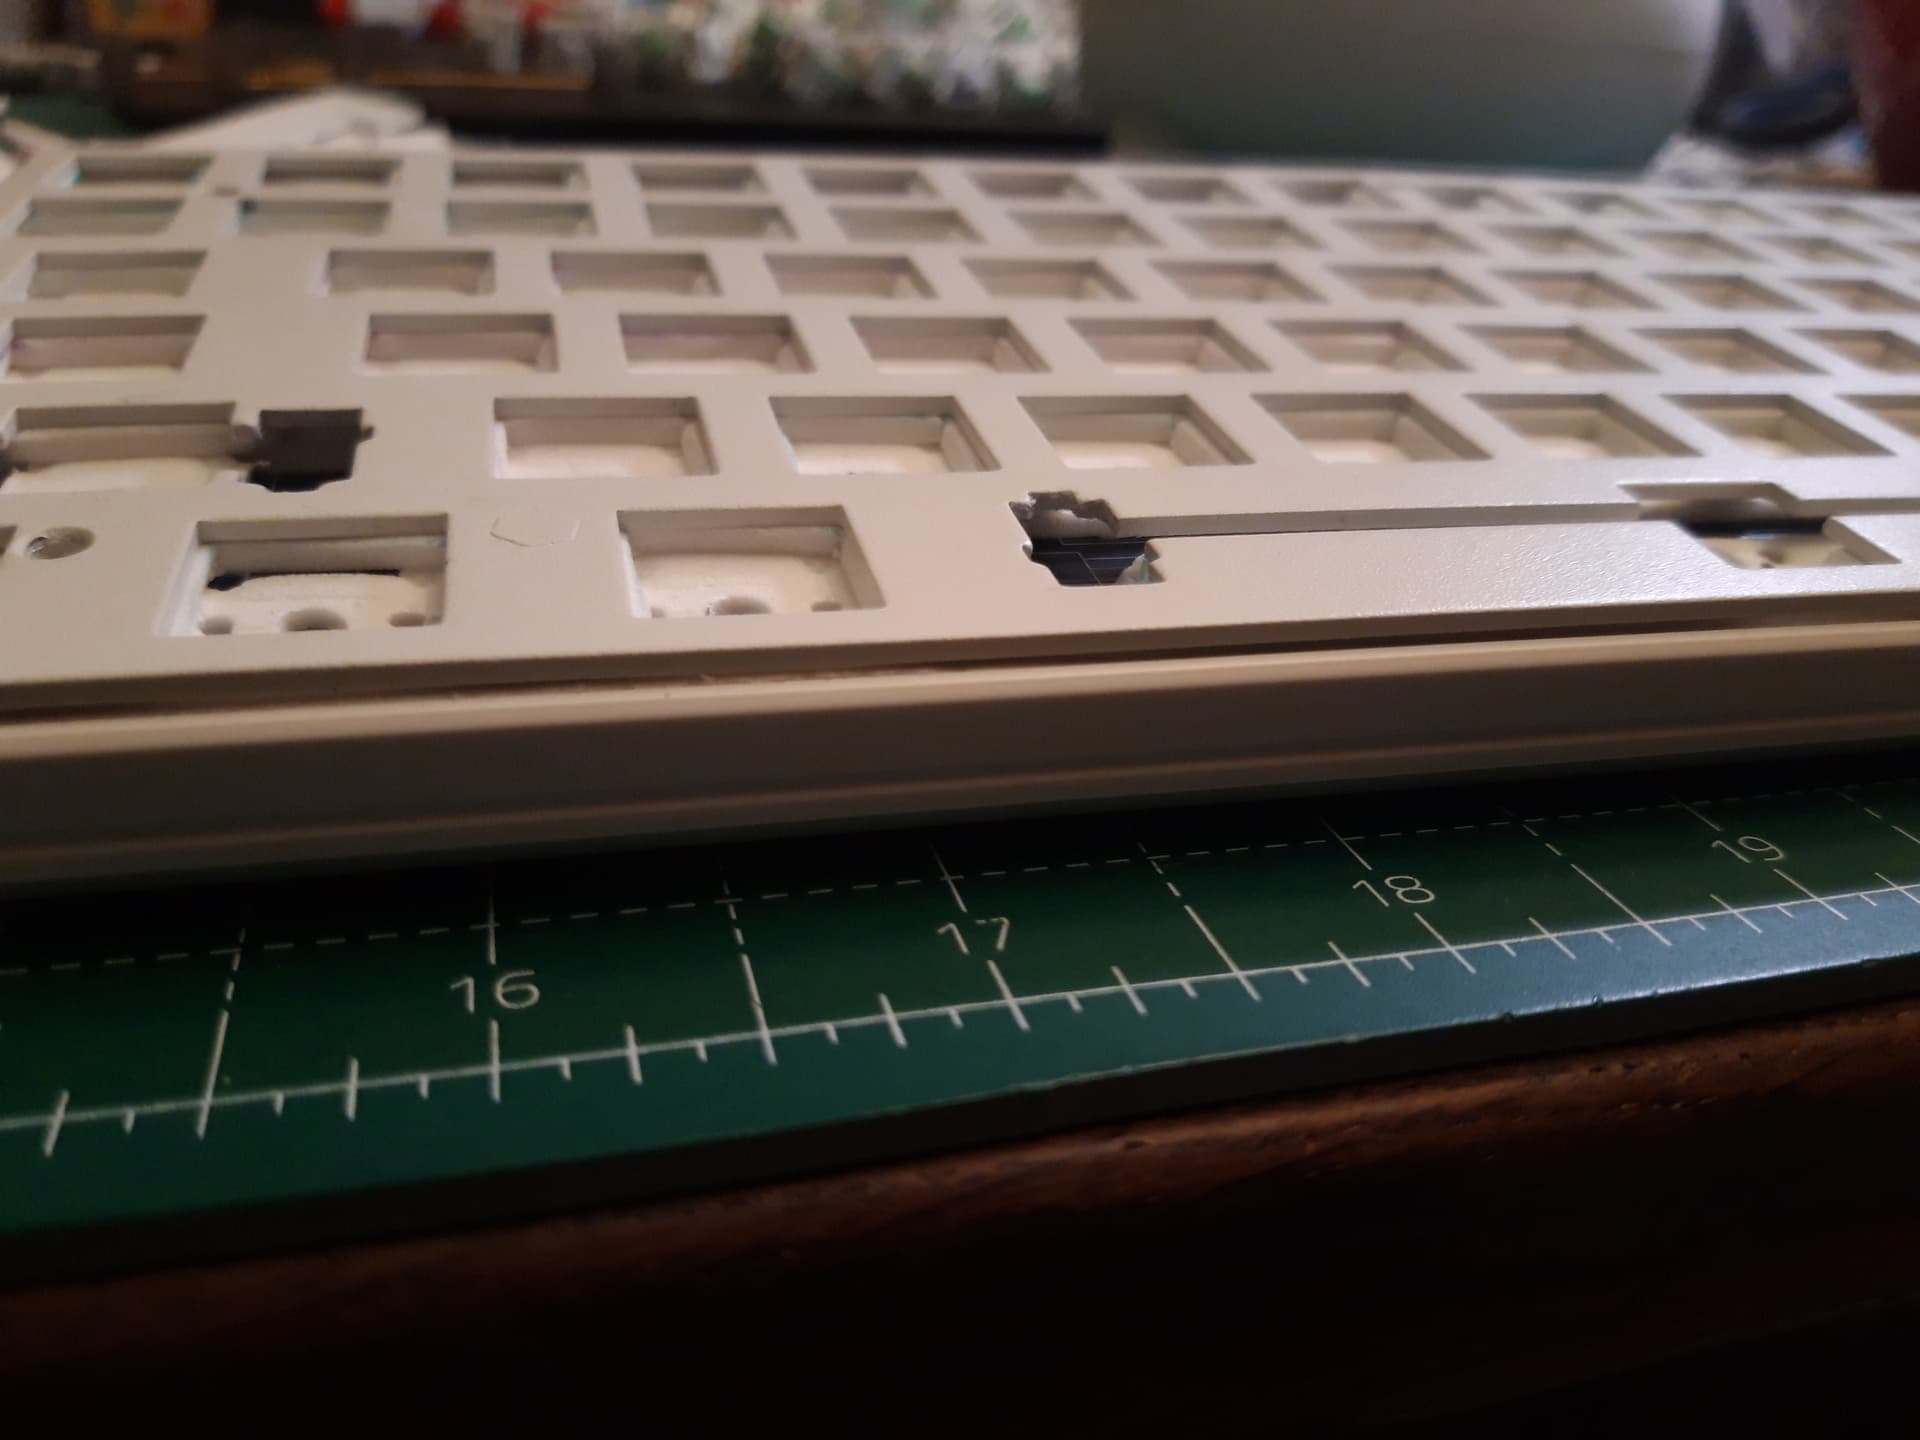
Spent about 10 minutes swearing because I burnt the pcb and because solder would only stick to the soldering iron and the metal contact on the socket BUT NOT on the copper contact below the socket
Spent some more minutes of finding more creative curse words since the copper wiring on the pcb was ripped out for about 3 mm in length alongside the solder joint.
Put some more solder on it and finally had it stick to the pcb for once
Tested the socket w/o switch → worked
Tested the socket with switch → failed
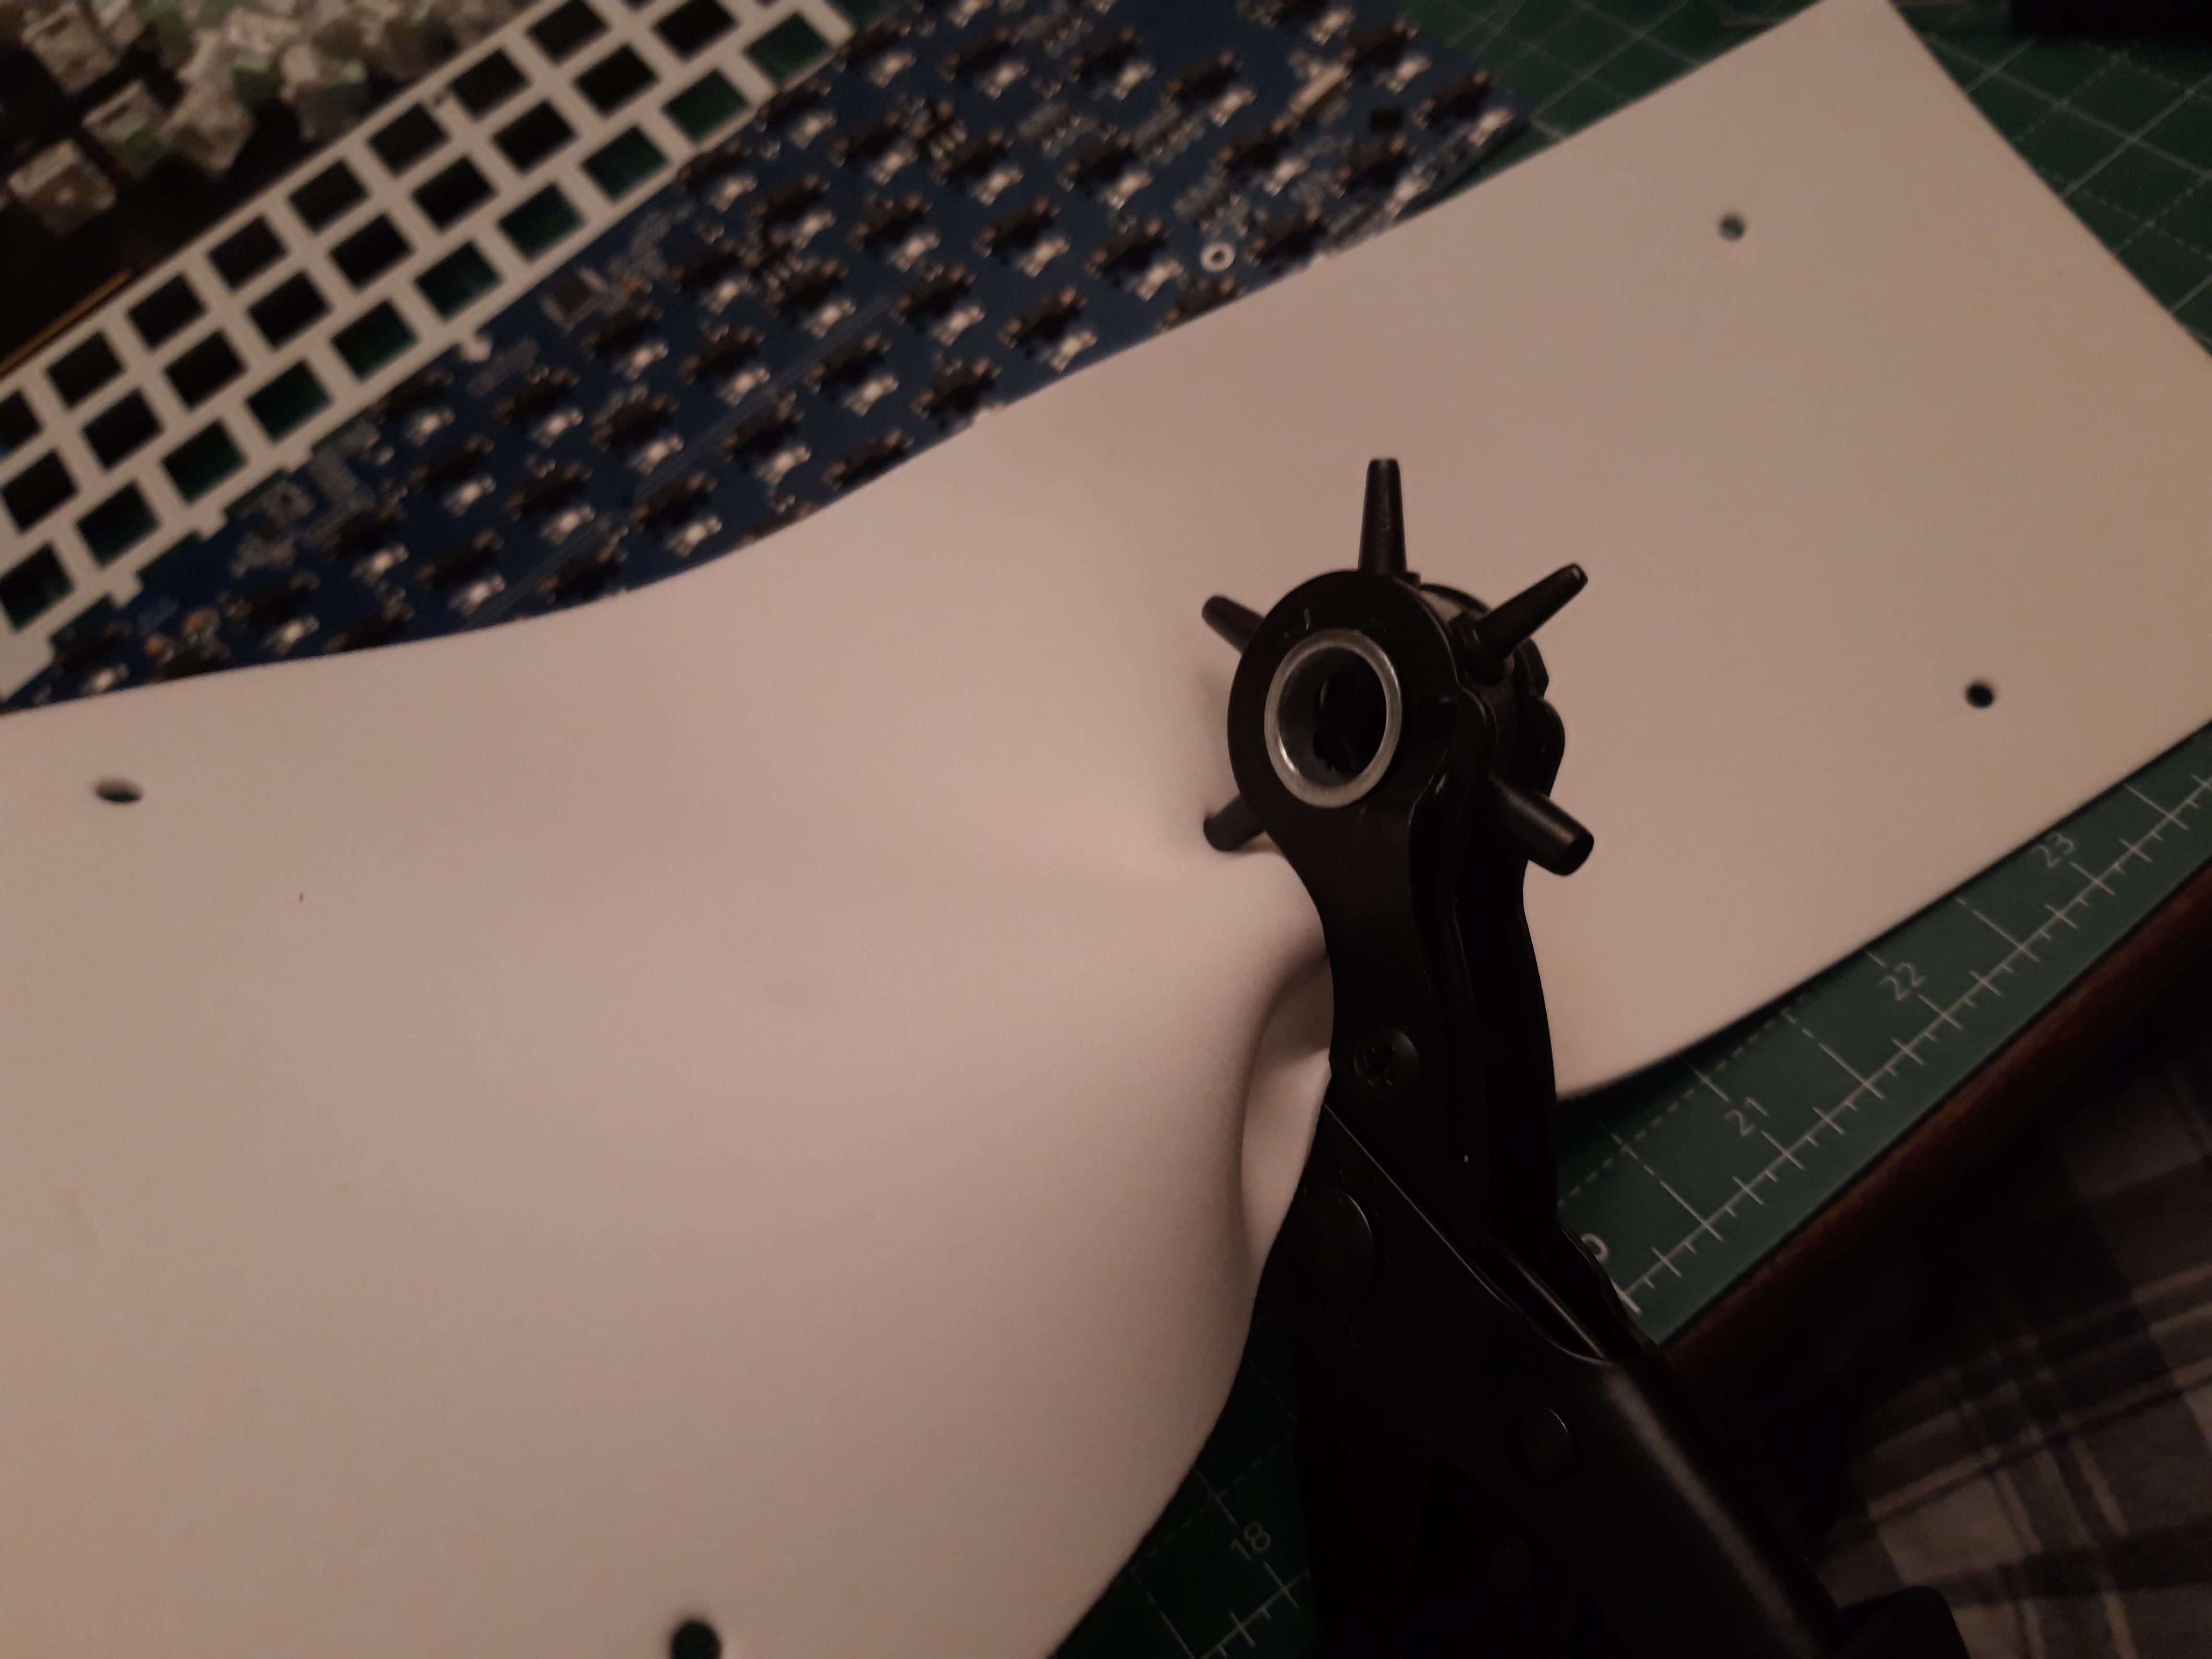
Unscrewd plate and pcb for the 6th time this evening
Did some more soldering with the switch already plugged in the pcb
Used hot glue to keep the pressure on the again and again detaching solder joint
Cleaned the plate and pcb from tears and sweat of anger and punishment
Cried
Cried some more
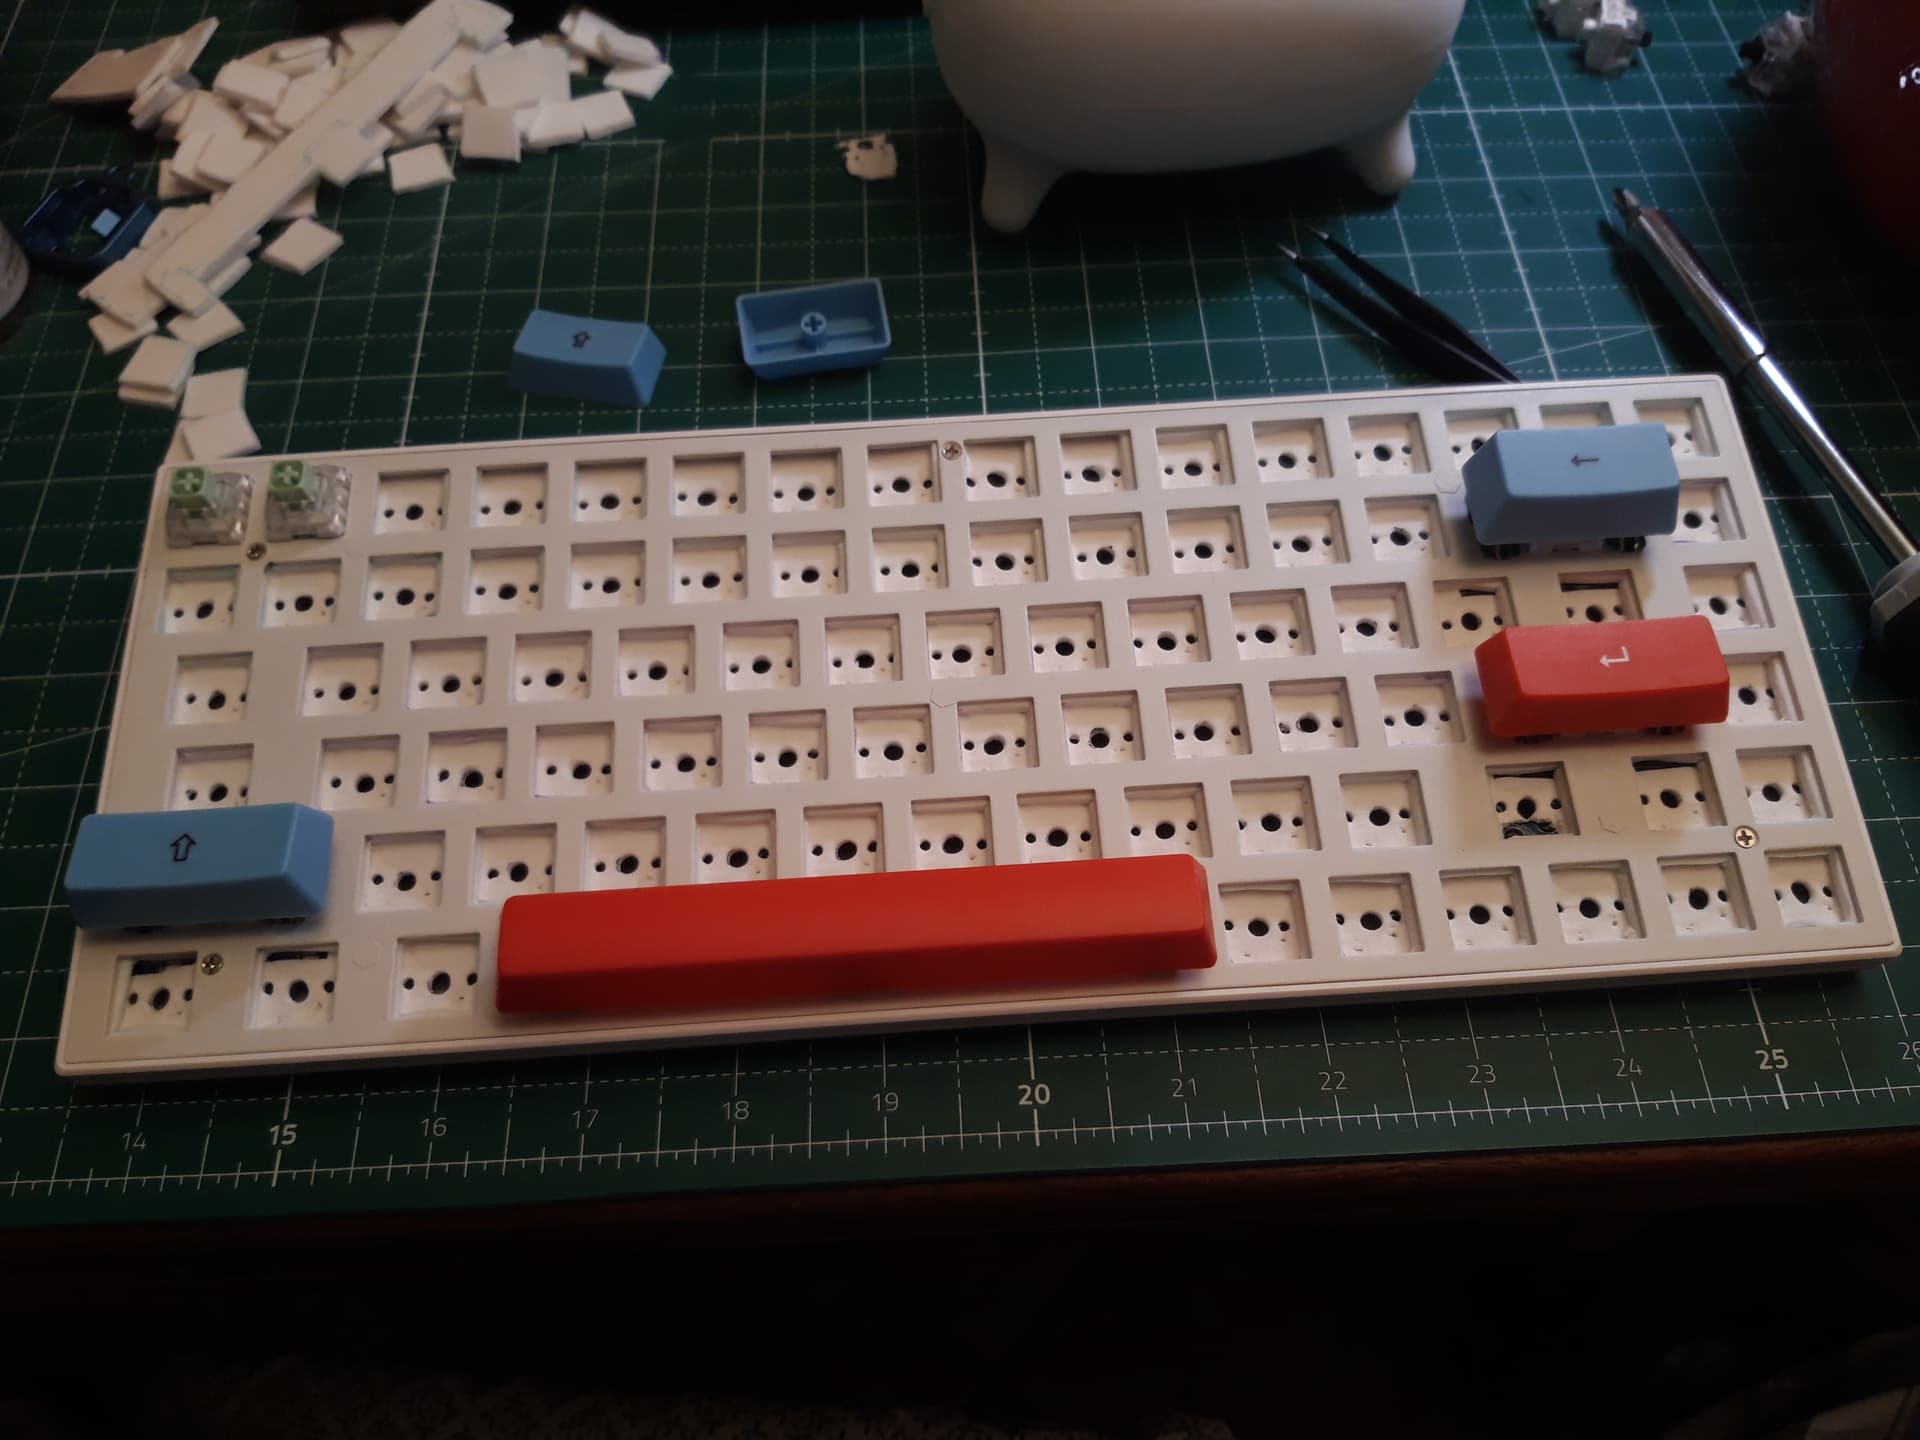
Screwed everyting back together
Contacted RK support if they’ll sell me a replacement pcb
Started to hate the part of my life that is our hobby
I’ve done this once and you’re absolutely the opposite of lazy for taking this one. It’s slow, tedious work to make your own plate foam. Did you have the PCB lying on your working surface when you were reinserting all of the switches or was it installed in the case?
Thank you for the kind words. Of course I had plate and PCB seated in the case. It’s only after you make an error, you learn. Isn’t it? Not in advance. From now on I will always administer counter pressure with the other hand onto the sockets towards the switch. Big promise.
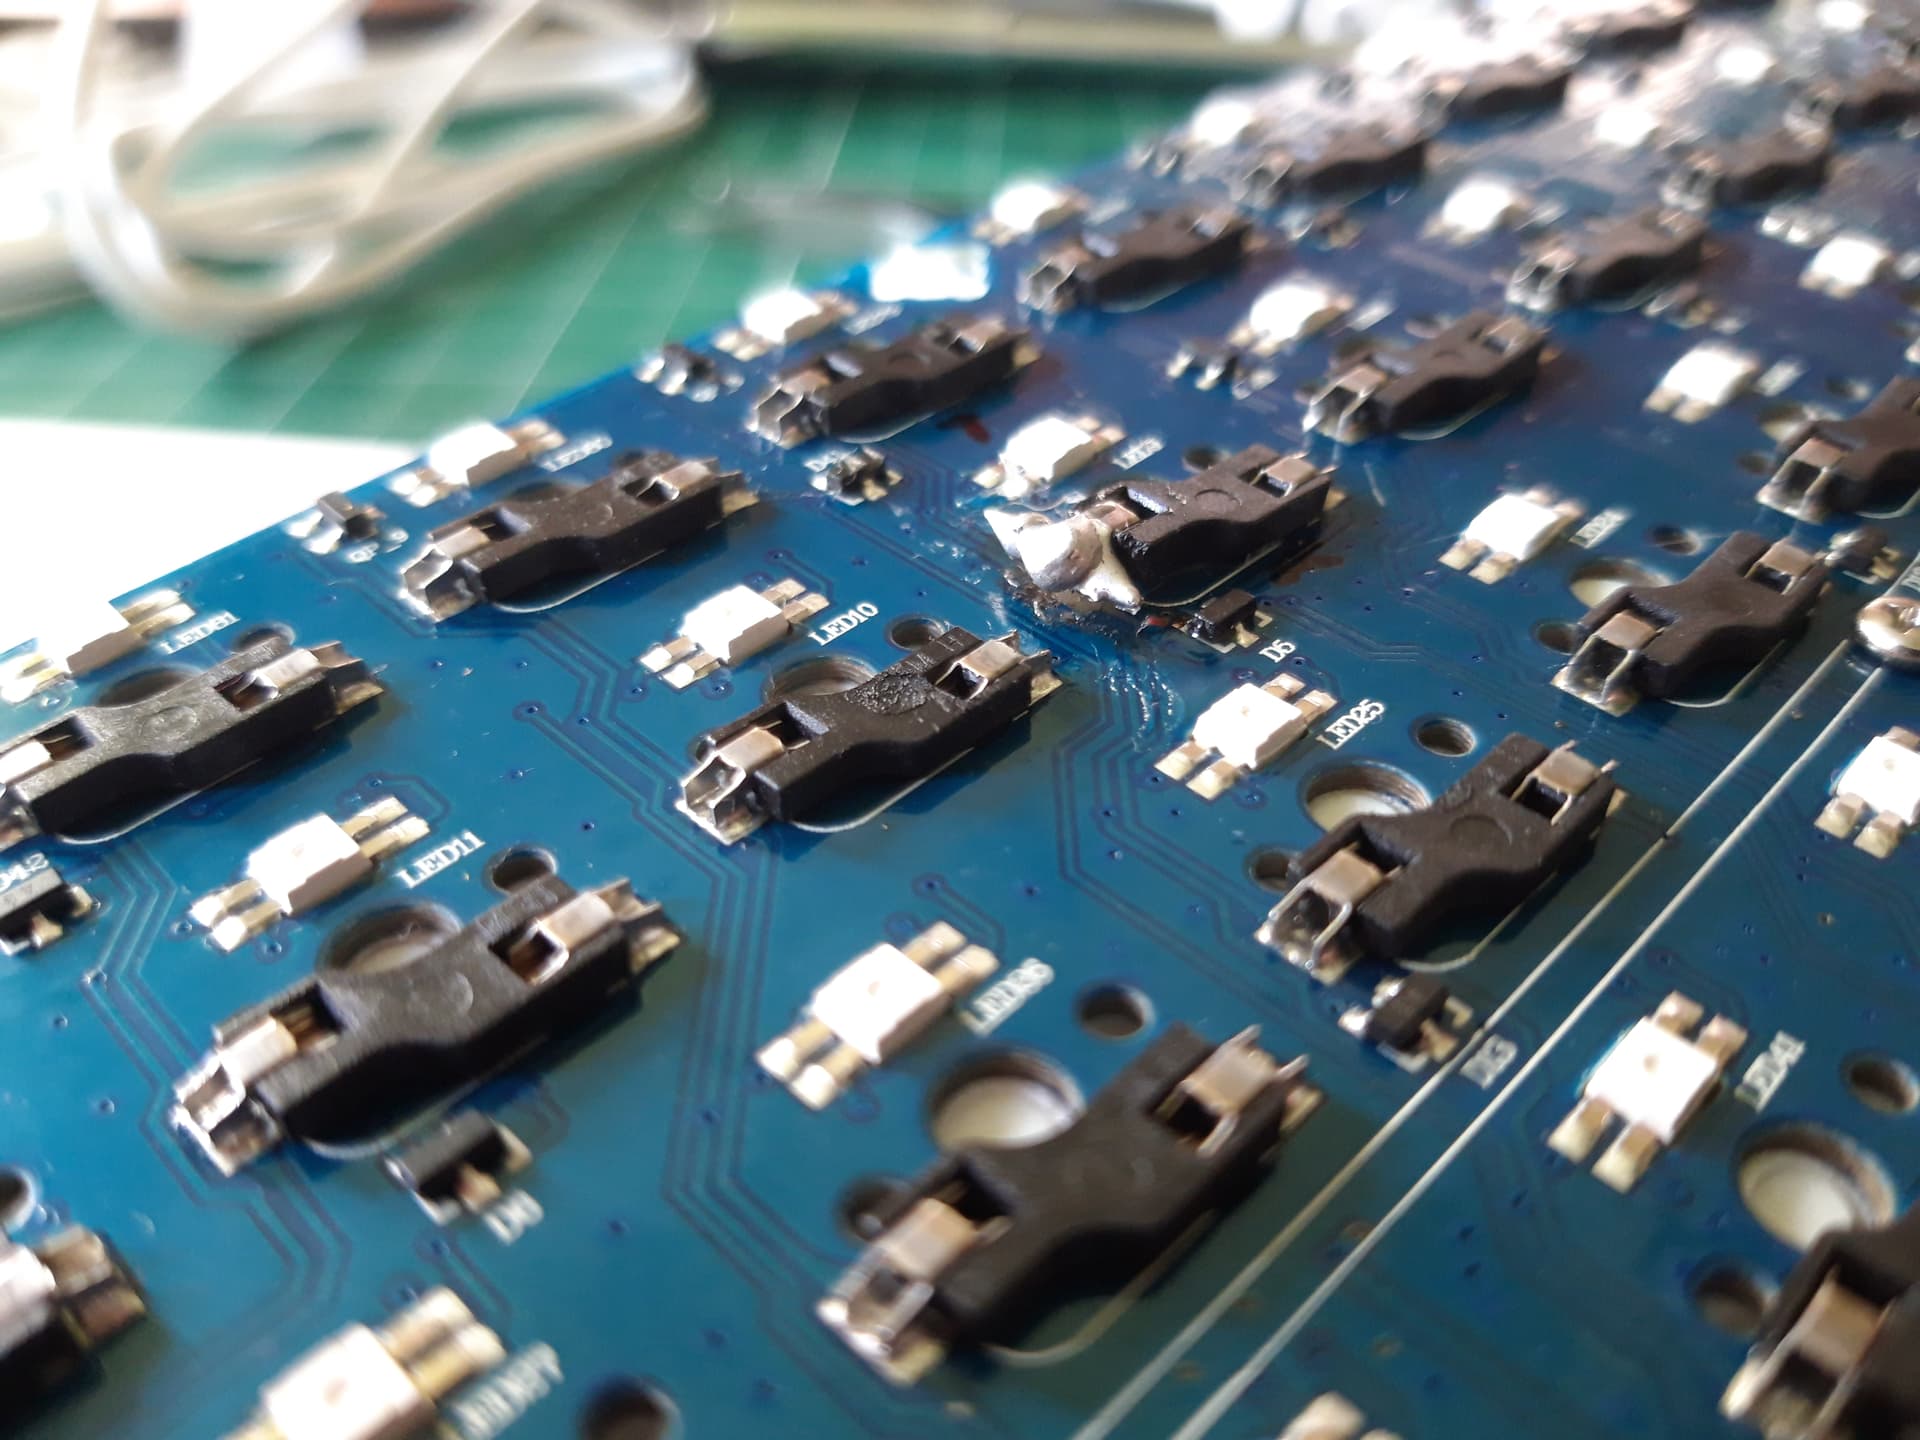
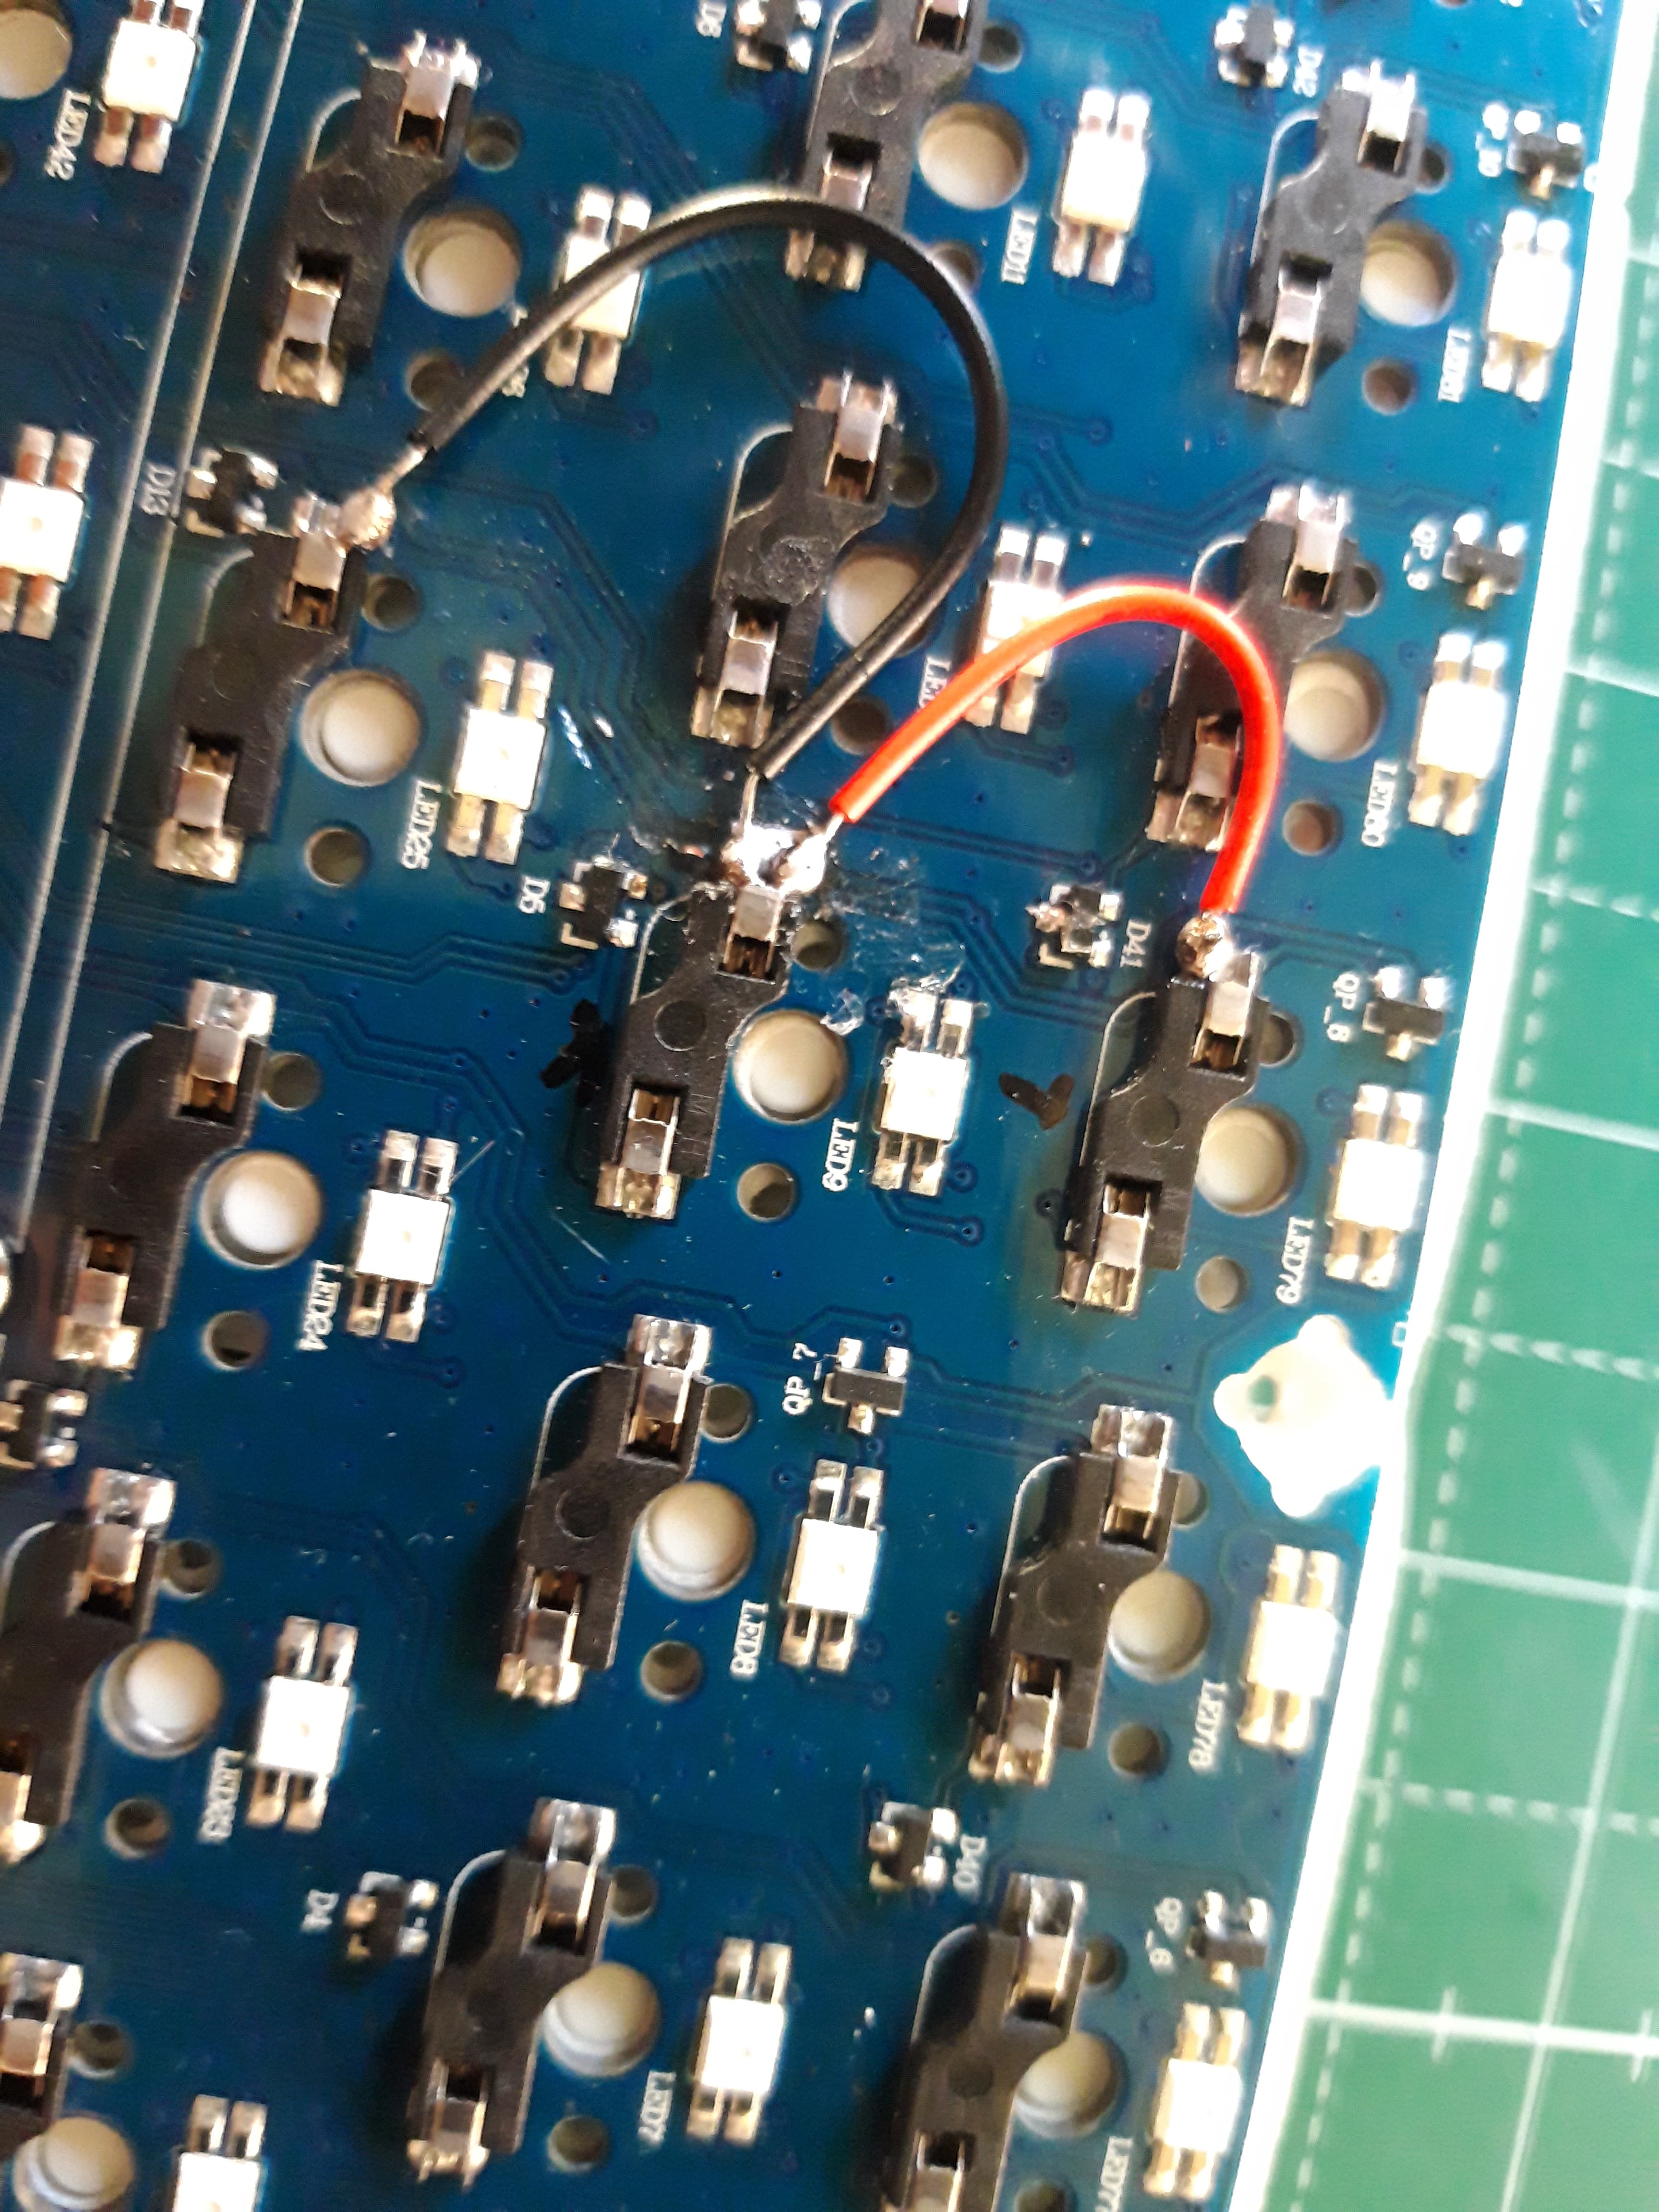
Ok. Some dude on reddit read my story and told me to use wire since I couldn’t be able to repair the broke copper lane from the hot swap socket. So I gave it a shot.
When I was removing the blob of solder that I have left there previously, the mother loving hot swap socket stuck again to the PCB all of a sudde. Within seconds of accidental treatment… Don’t know why. But the F8 still wouldn’t register when manually bridging them and the former loose 8 key was still registering only when I manually bridged both pins from the bottom. So no key press register when actuating the switch.
I went on and soldered the red and black wire as pictured (or depicted???) above and suddenly everything worked again.
8 key bridging
F8 key bridging
8 key key stroke registering
F8 key key stroke registering
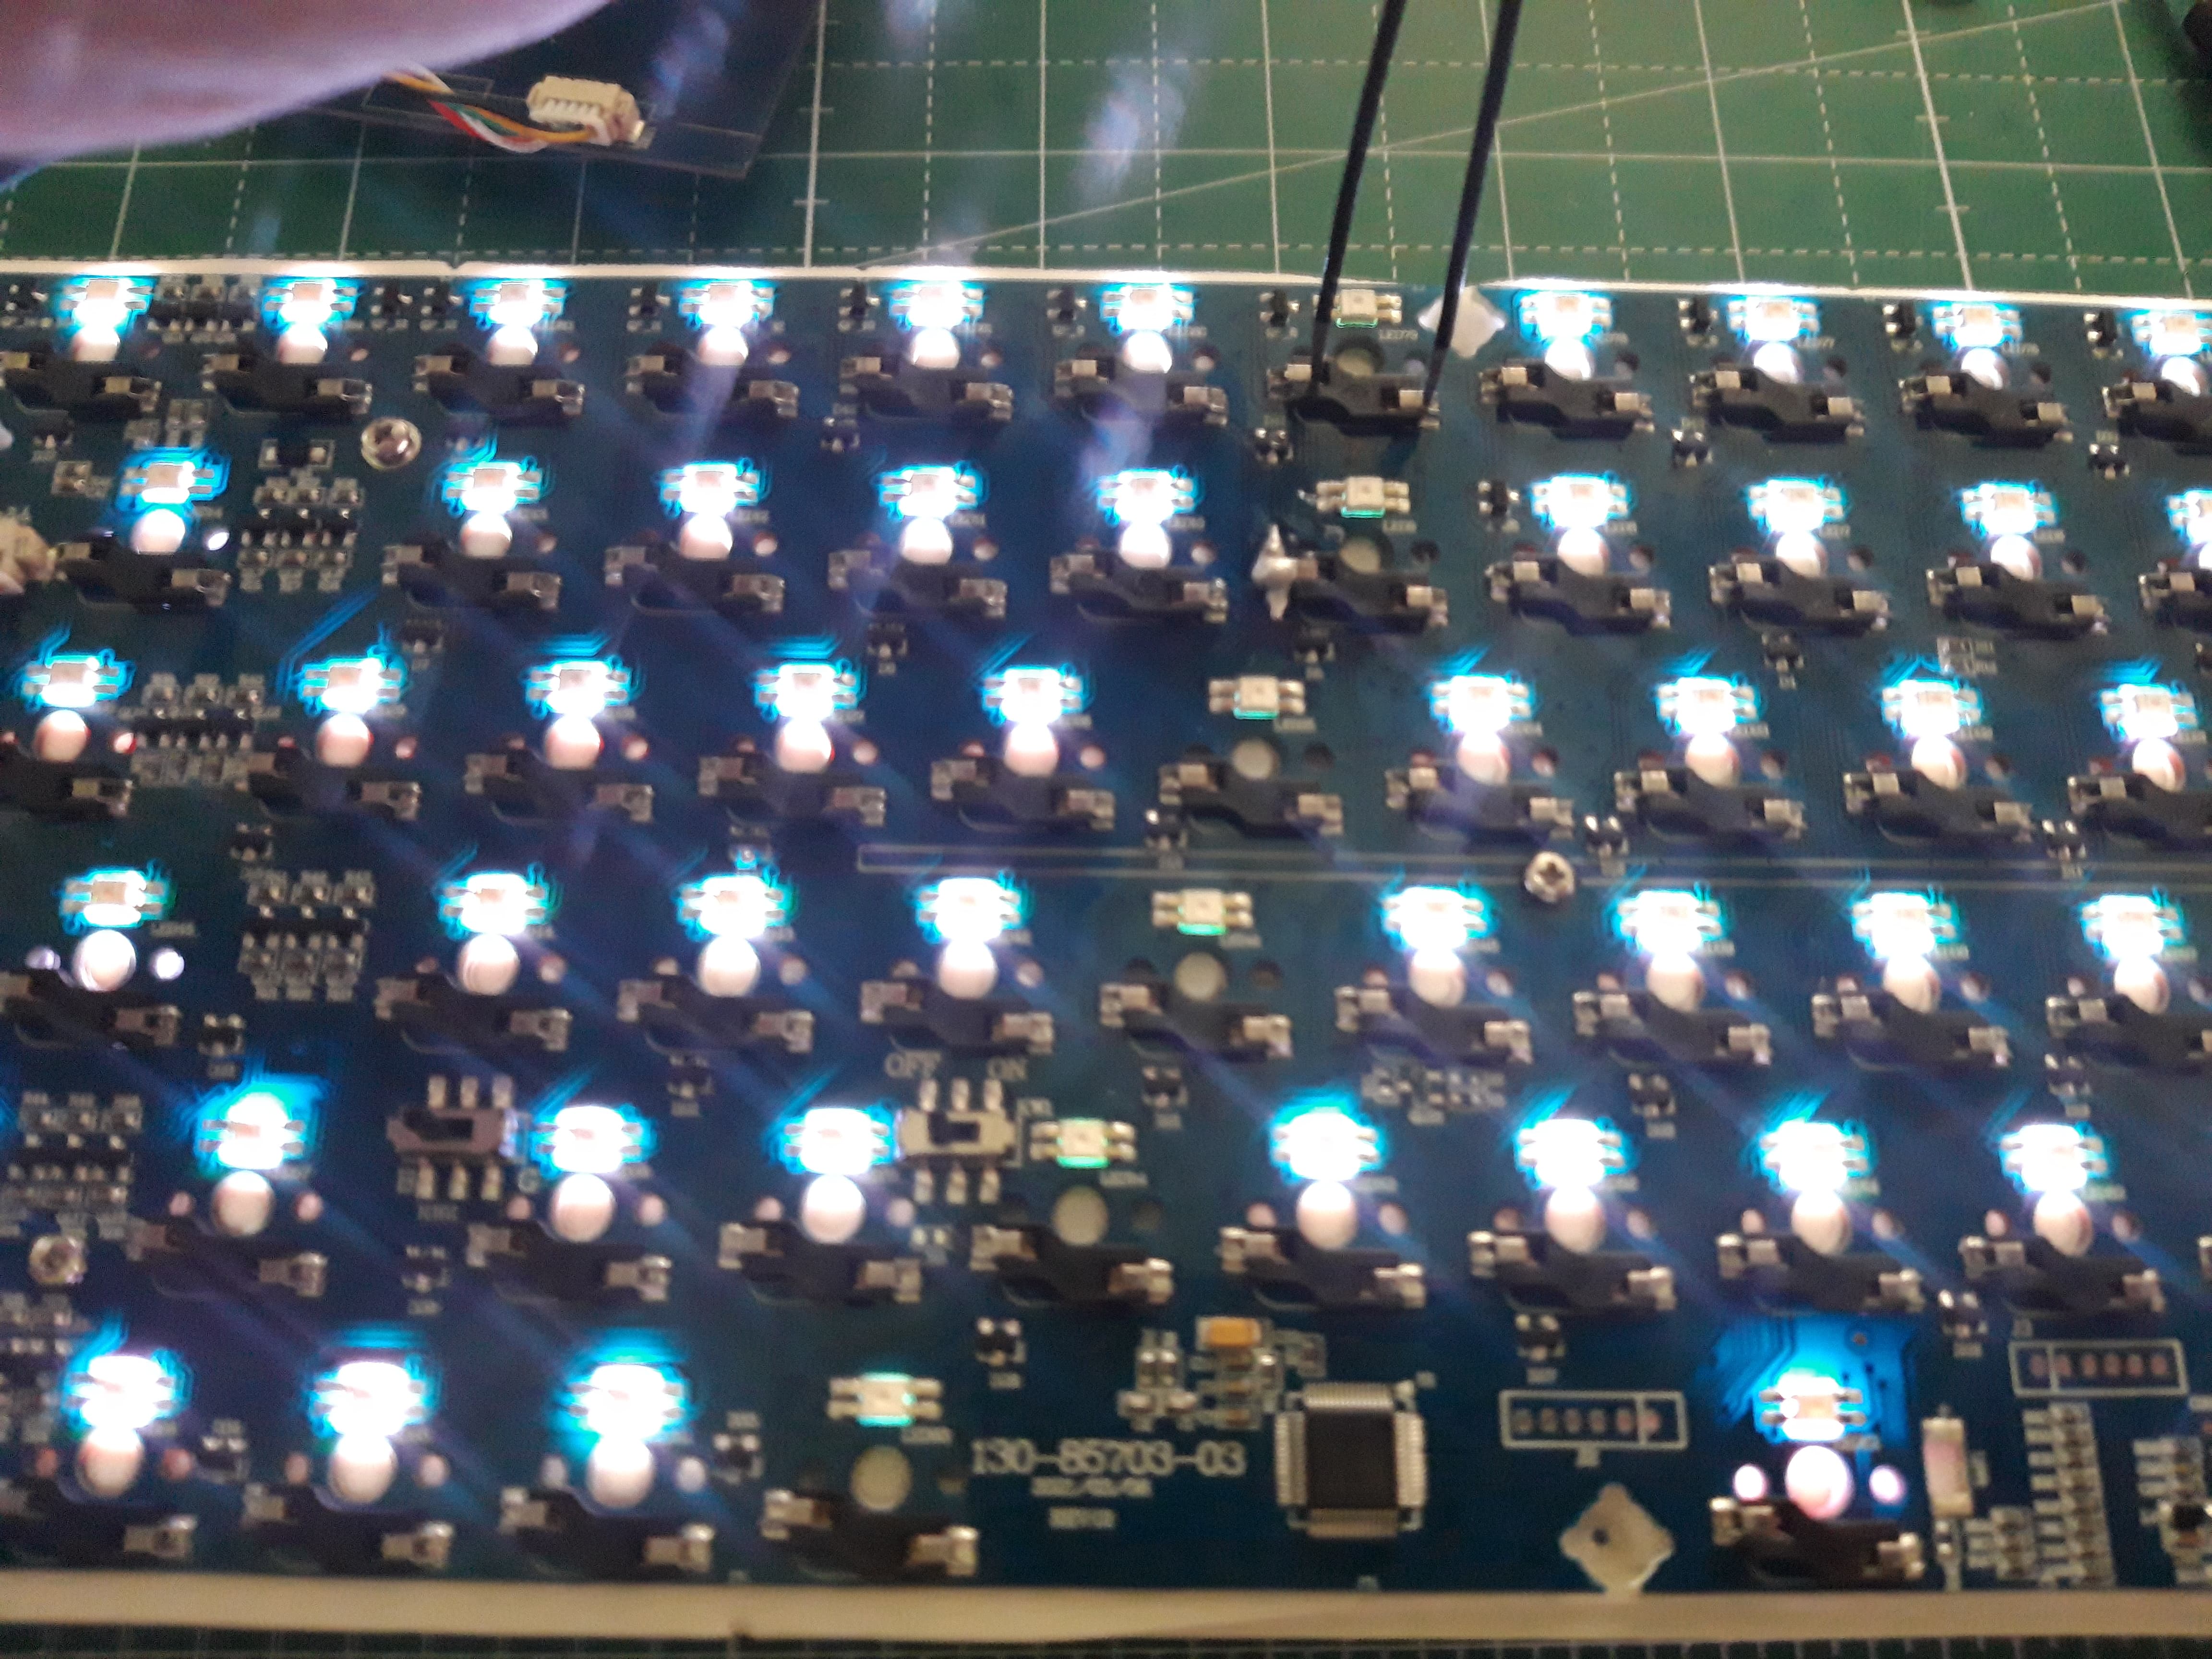
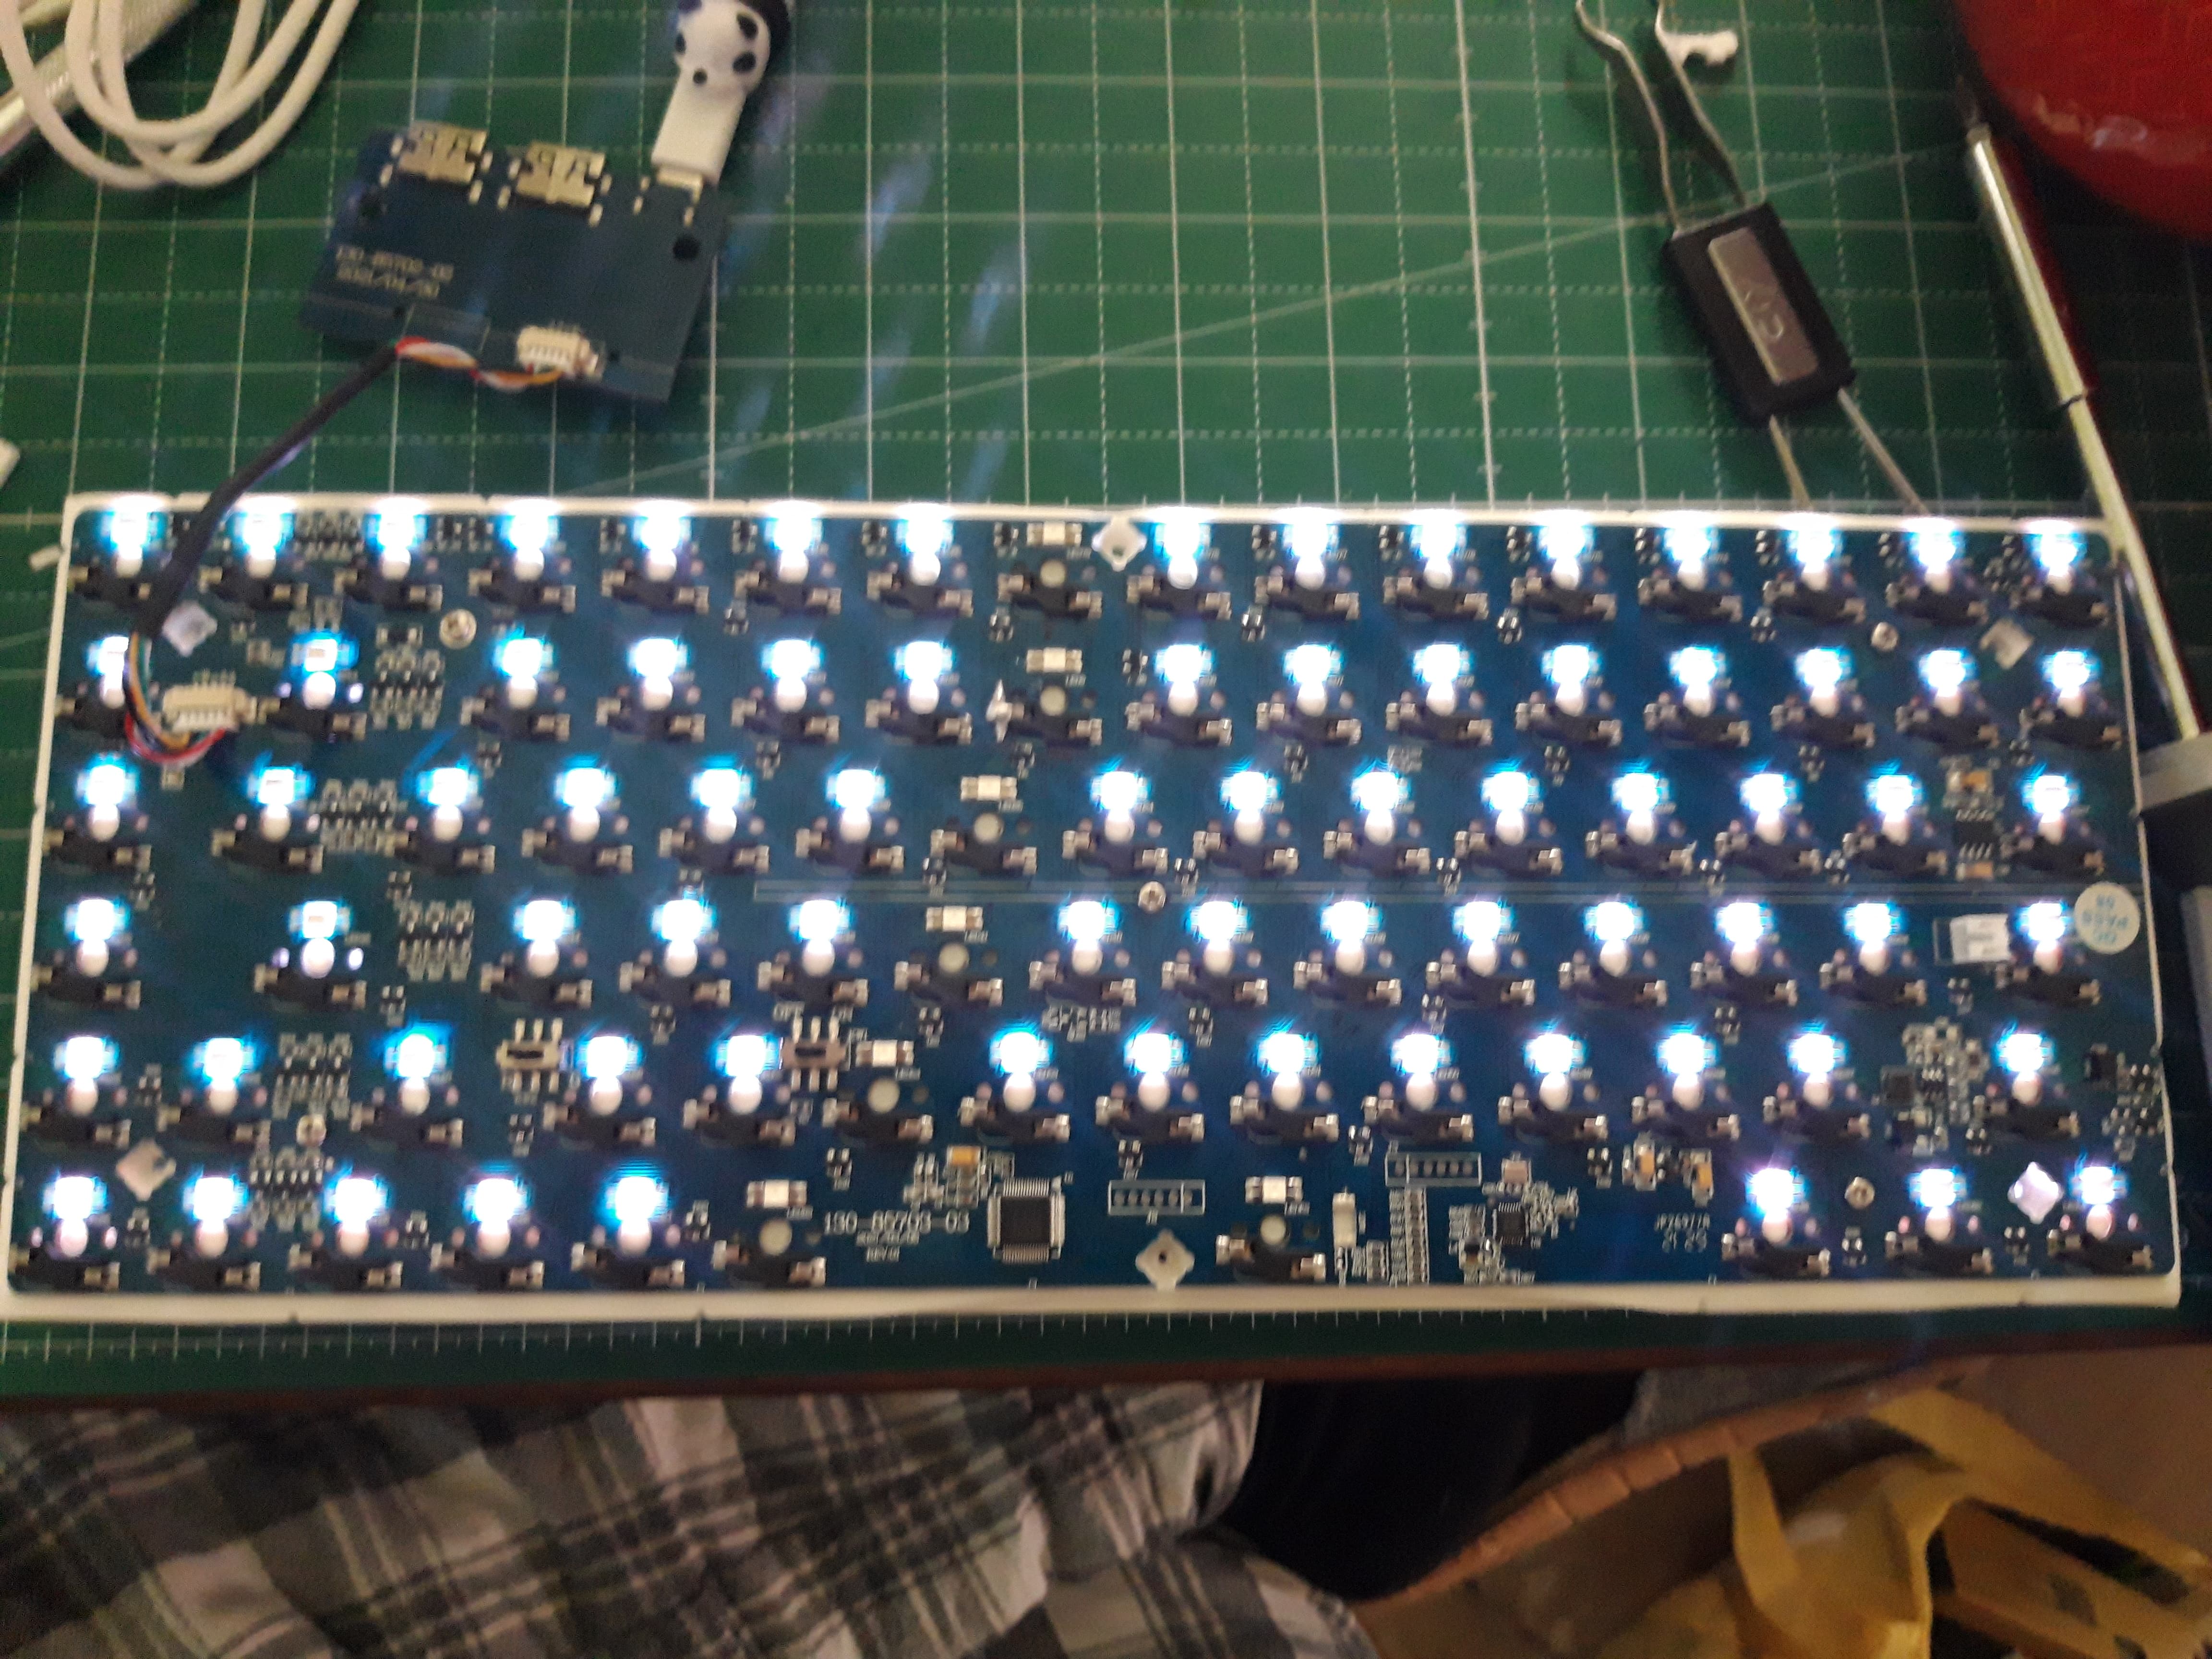
Led column
I’m not very religious and I certainly don’t want to offend anyone but… thank you happy easter bunny god. I’ll praise your name on this shiny sunday afternoon. My little, beloved, productive, clickitty-clackitty, thingy is working again as specified.


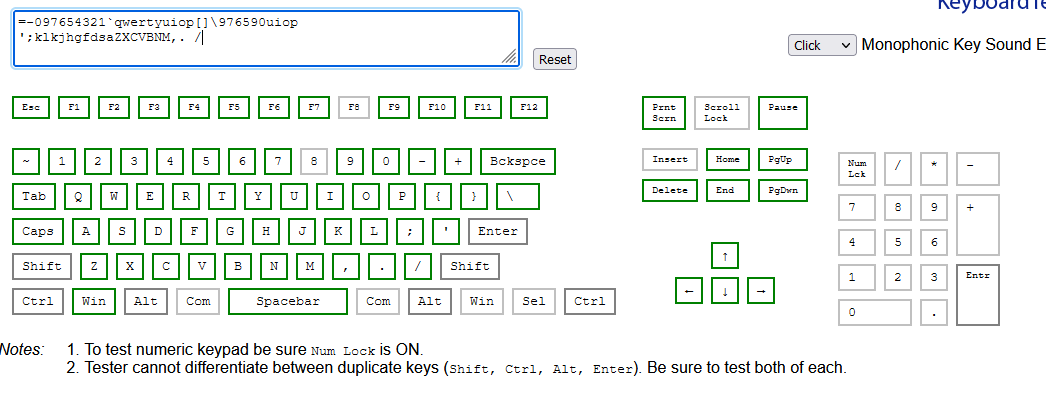


 But the F8 still wouldn’t register when manually bridging them and the former loose 8 key was still registering only when I manually bridged both pins from the bottom. So no key press register when actuating the switch.