Finally got my Space65 kit a couple of weeks ago. I’ve never posted anything like this here before, so here goes… ![]()
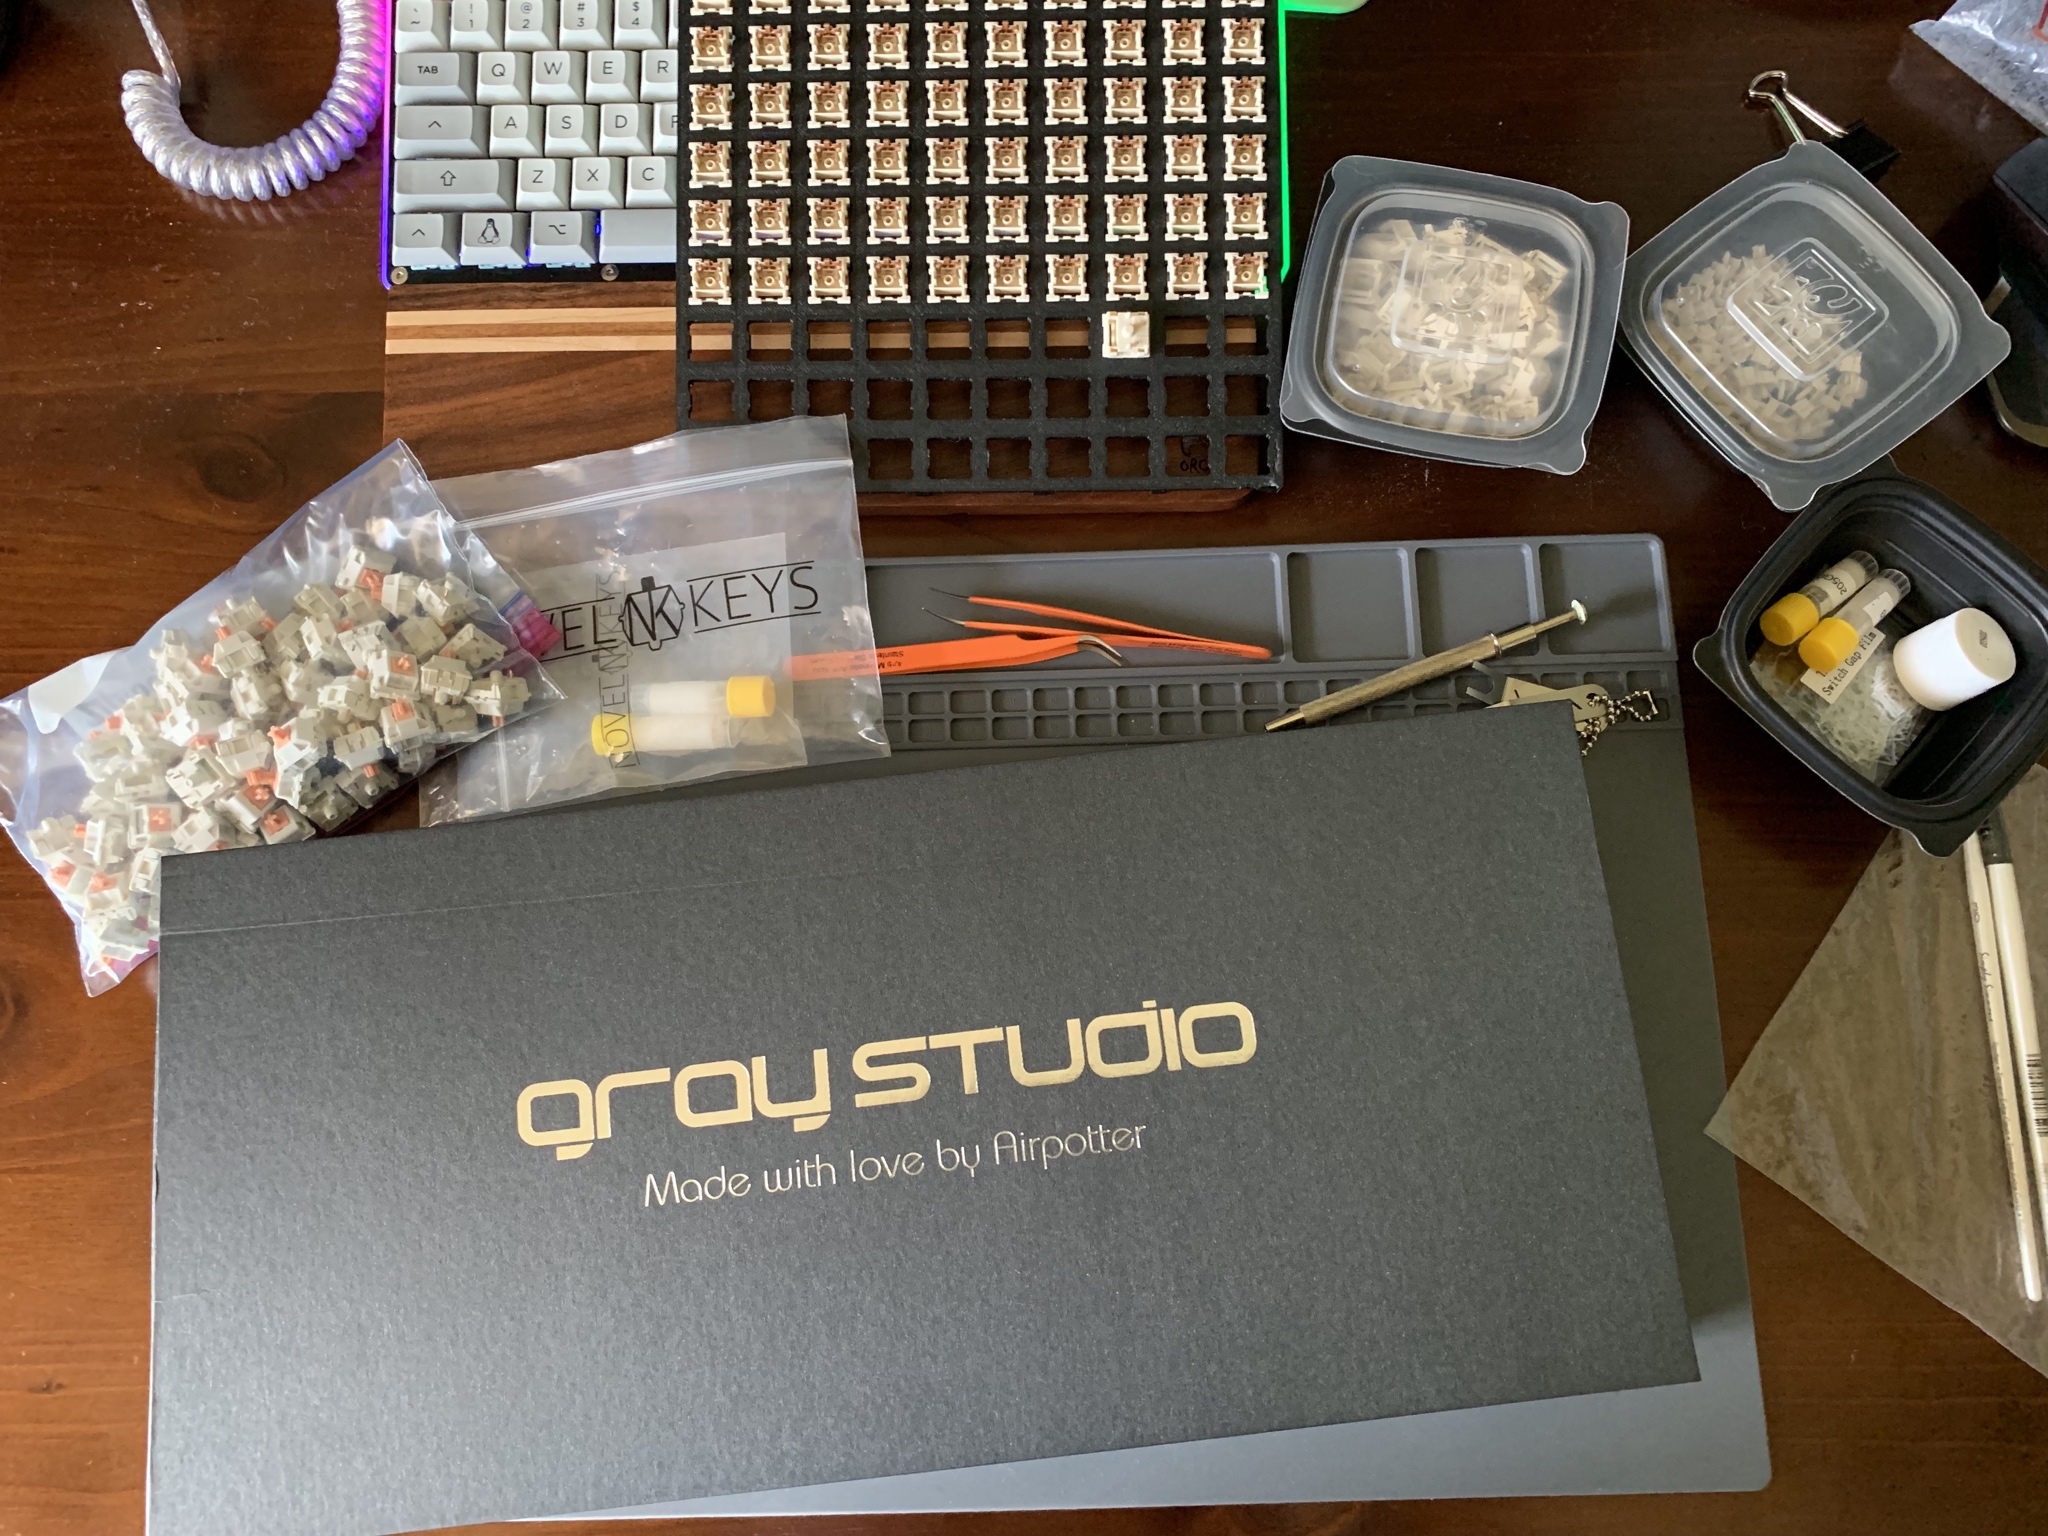
THE PARTS
The kit itself contained:
- Space65 case, anodized gray
- Carbon Fiber plate
- Brass Plate
- 2 x PCB
- Brass badge
- Silver aluminum badge
I had been collecting parts for a while in anticipation for the board coming in:
- Zeal Stabs - Never tried these before, but heard really good things and wanted to give them a shot.
- 205G0 and 3203 from switchmod.
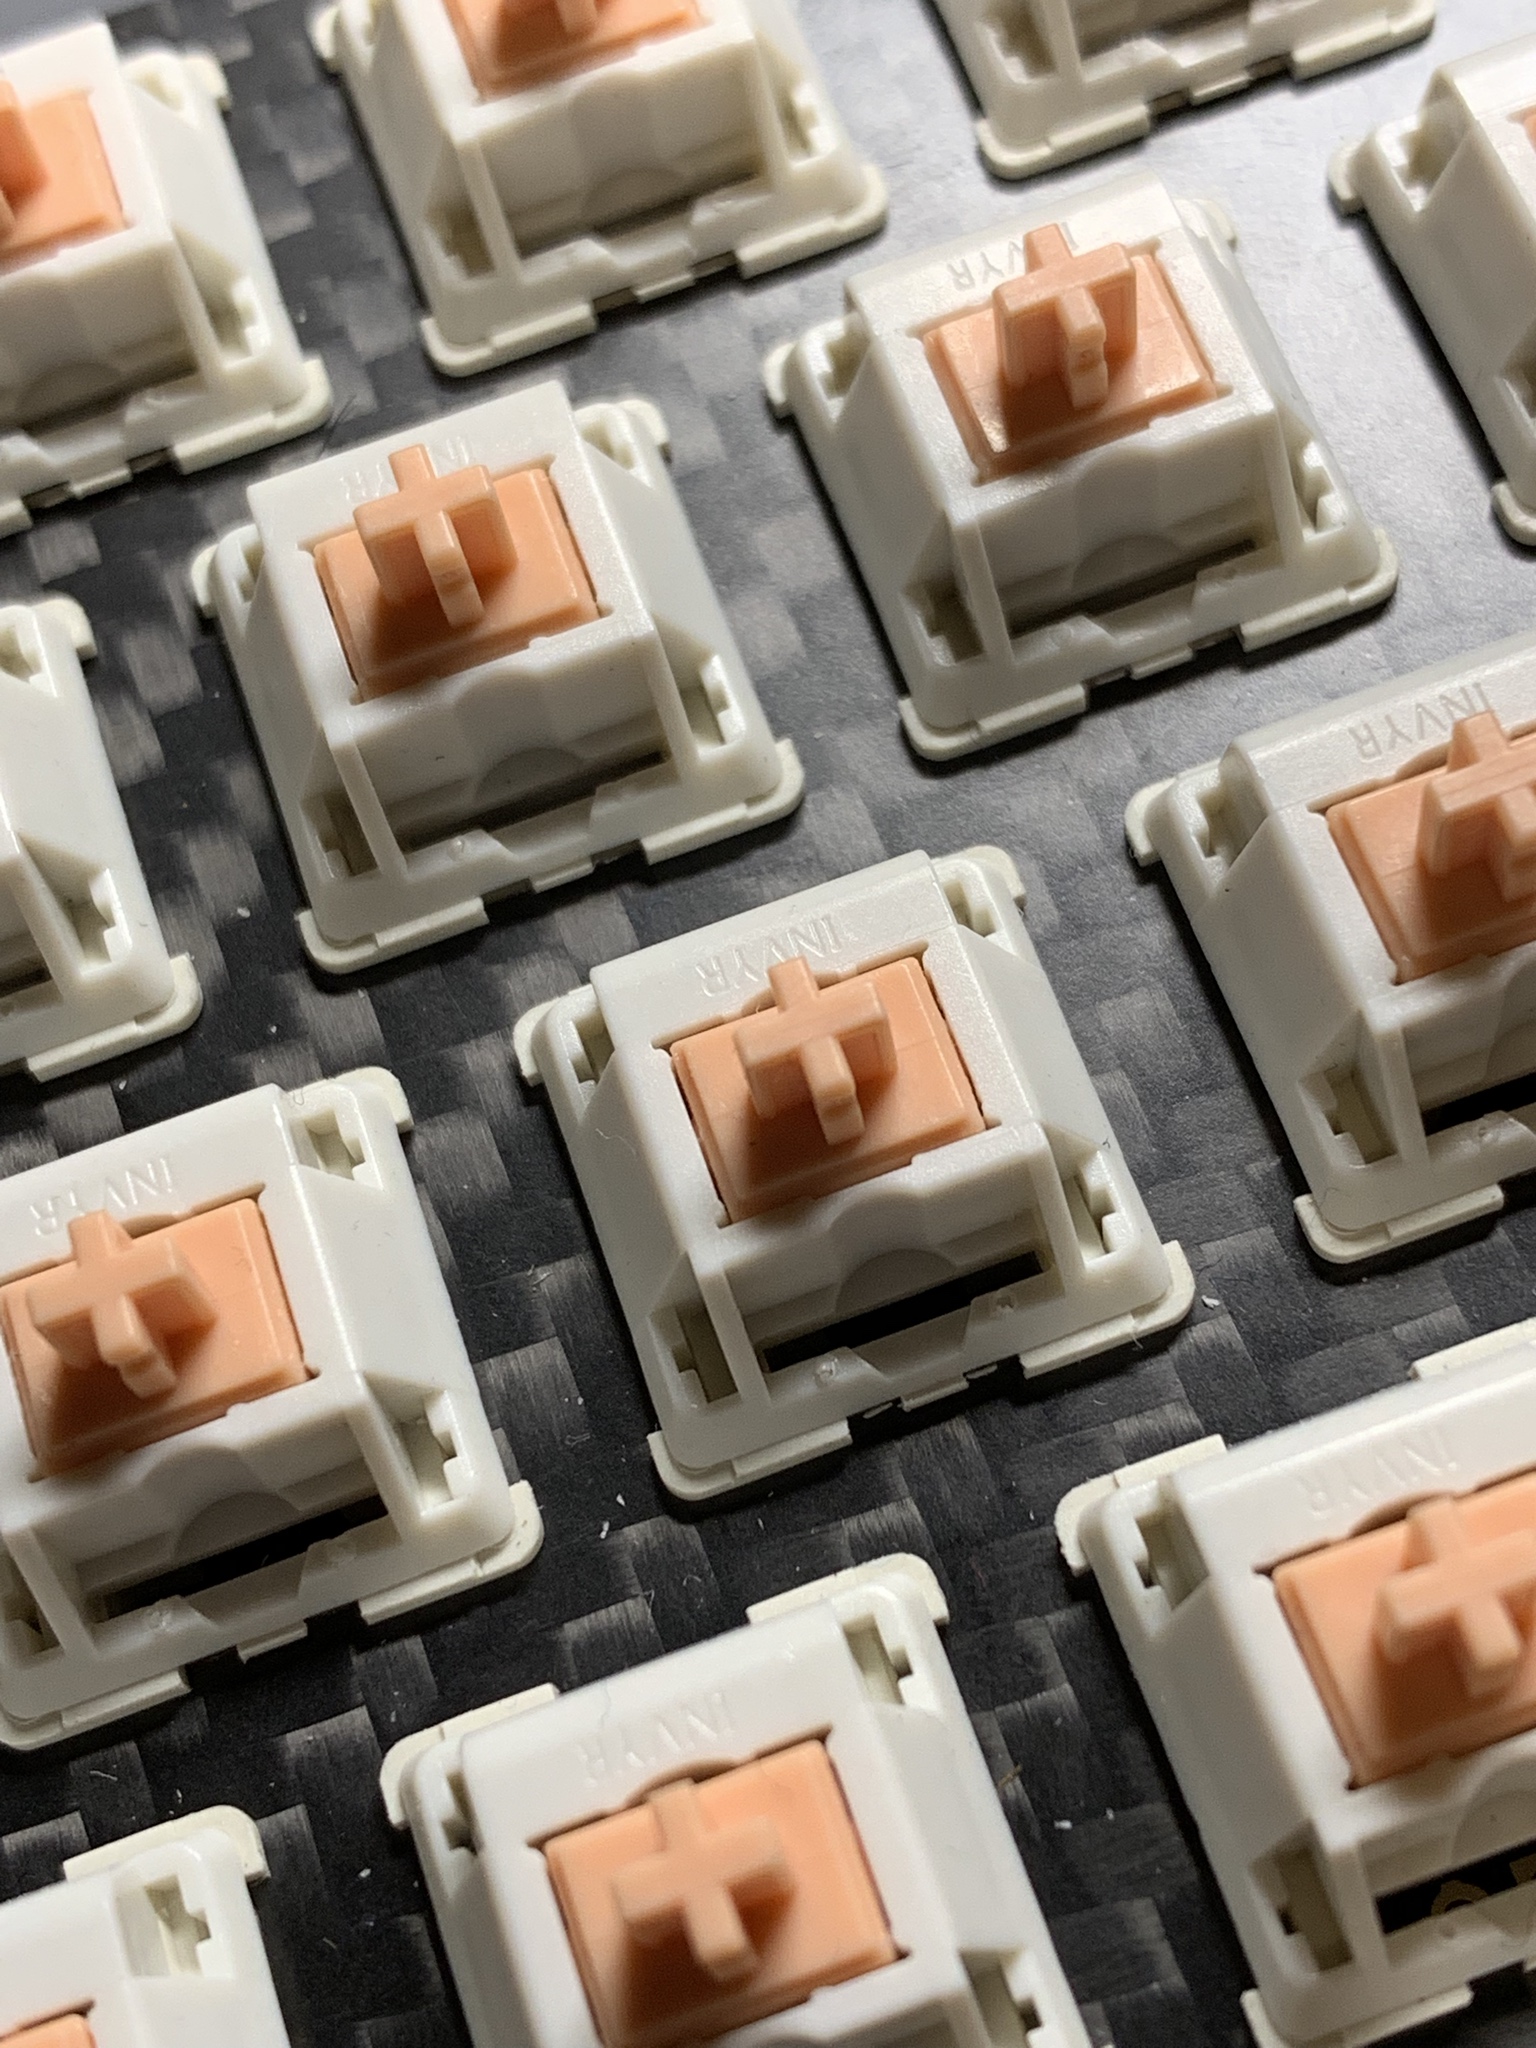
- OG Holy Pandas that I had the pleasure of building and lubing myself, springs lubed with 3203, stems very lightly lubed with 3204.
- Novelkeys Cream switches, filmed, lubed with 205G0, stock springs lubed with 3203(I’ll post about these later…).
THE BUILD
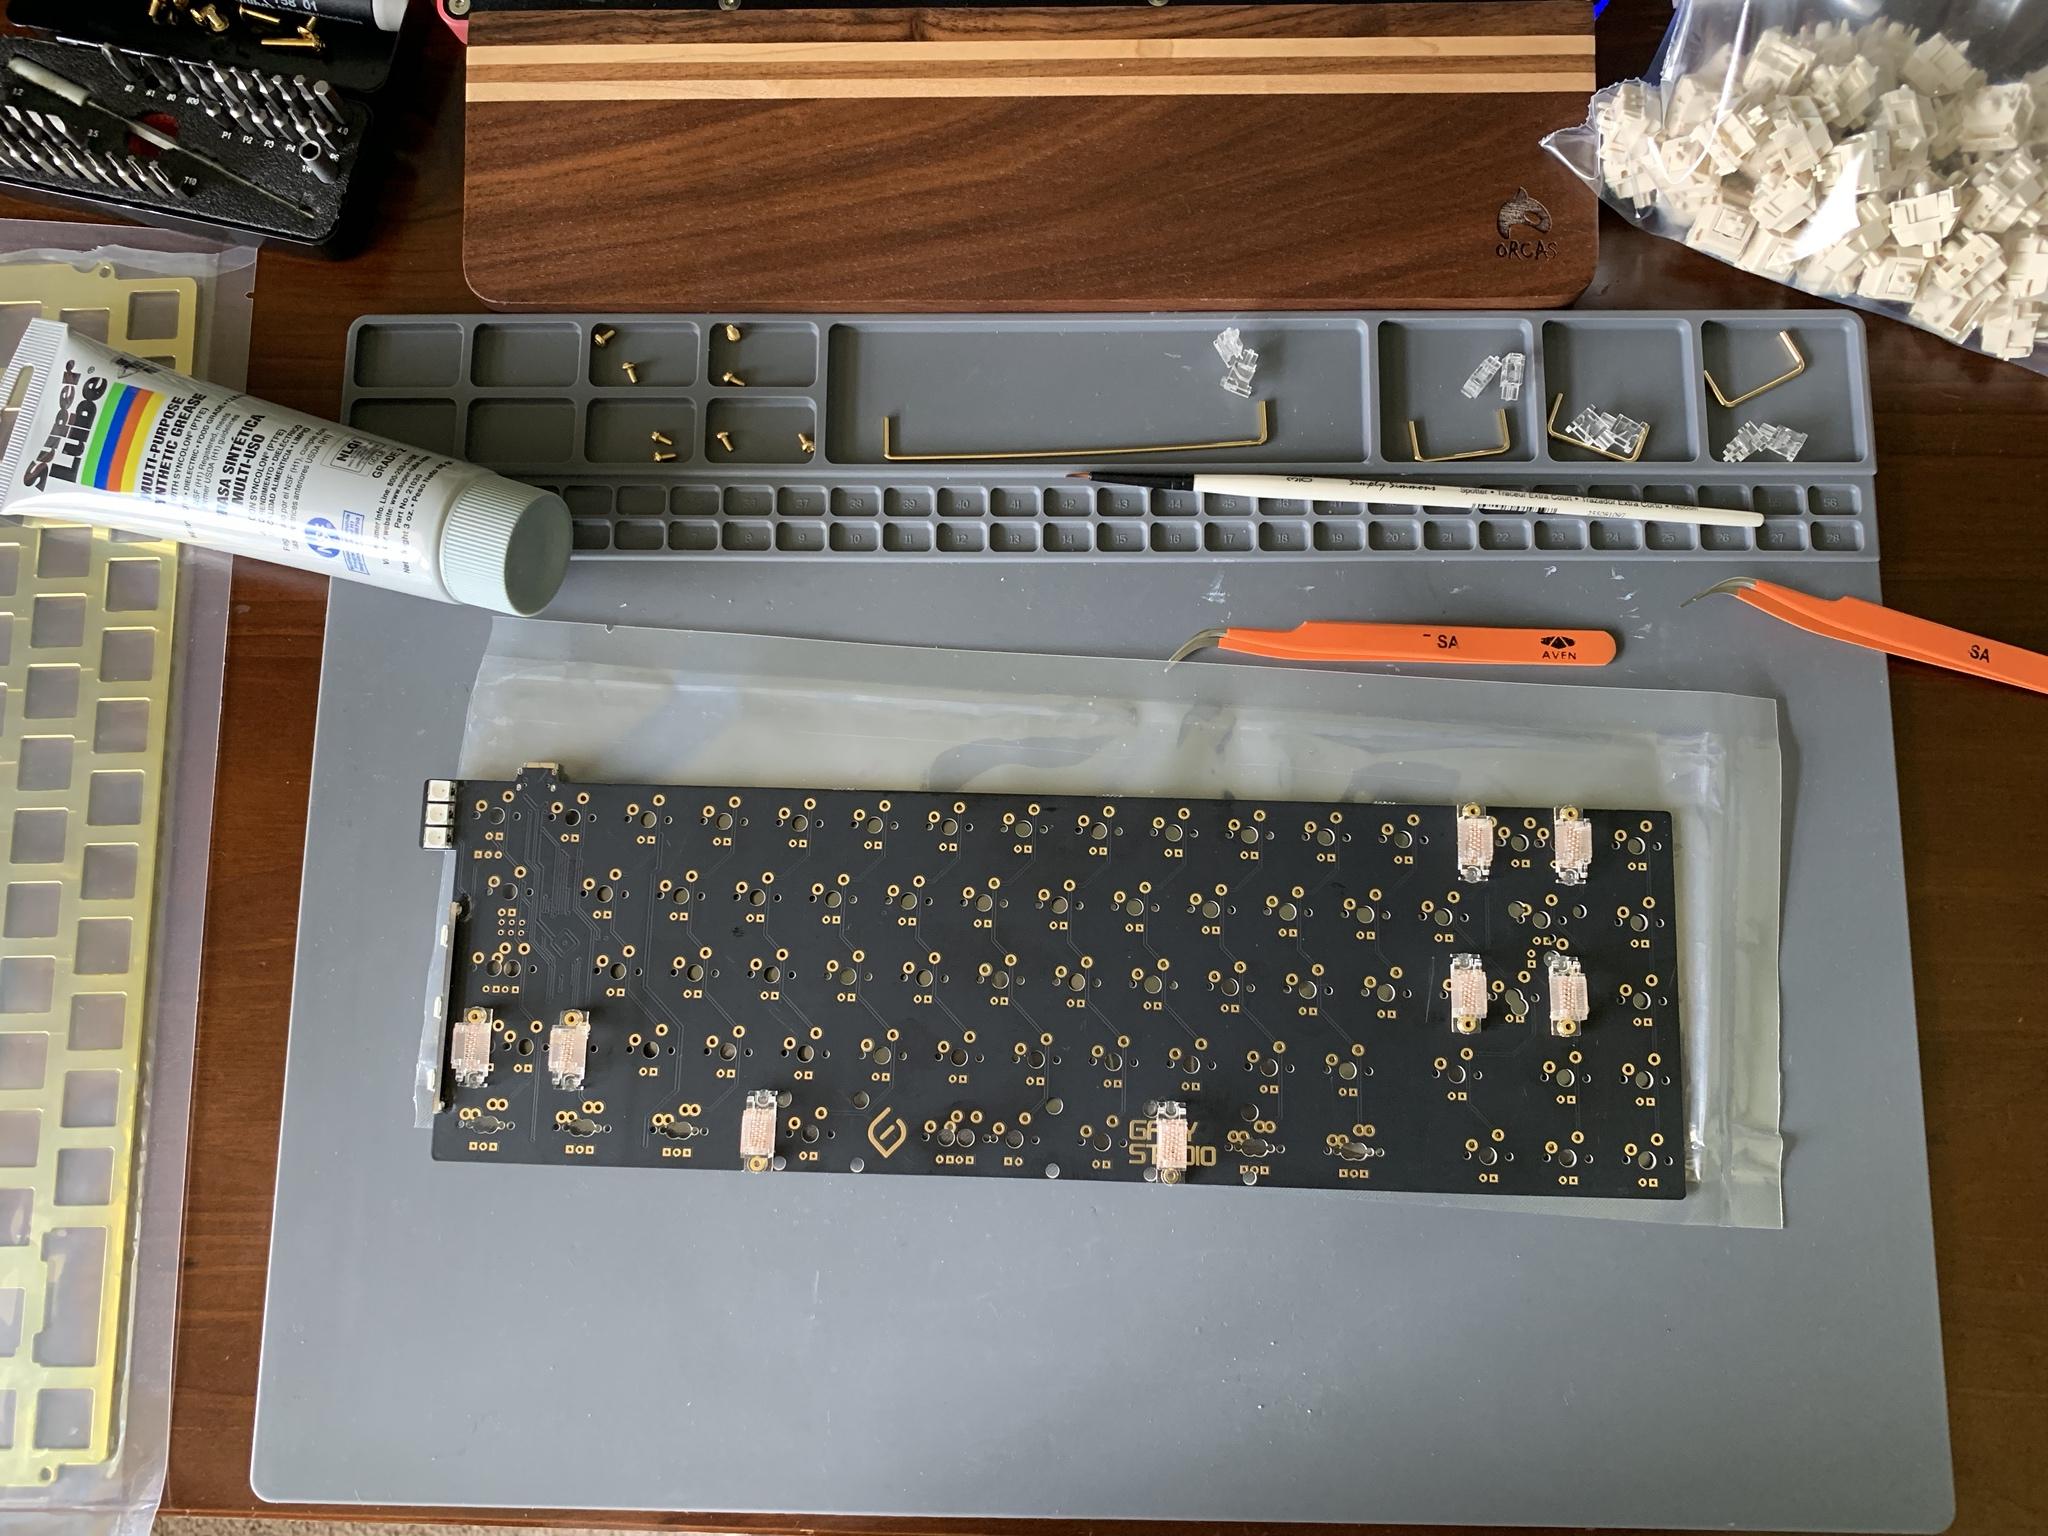
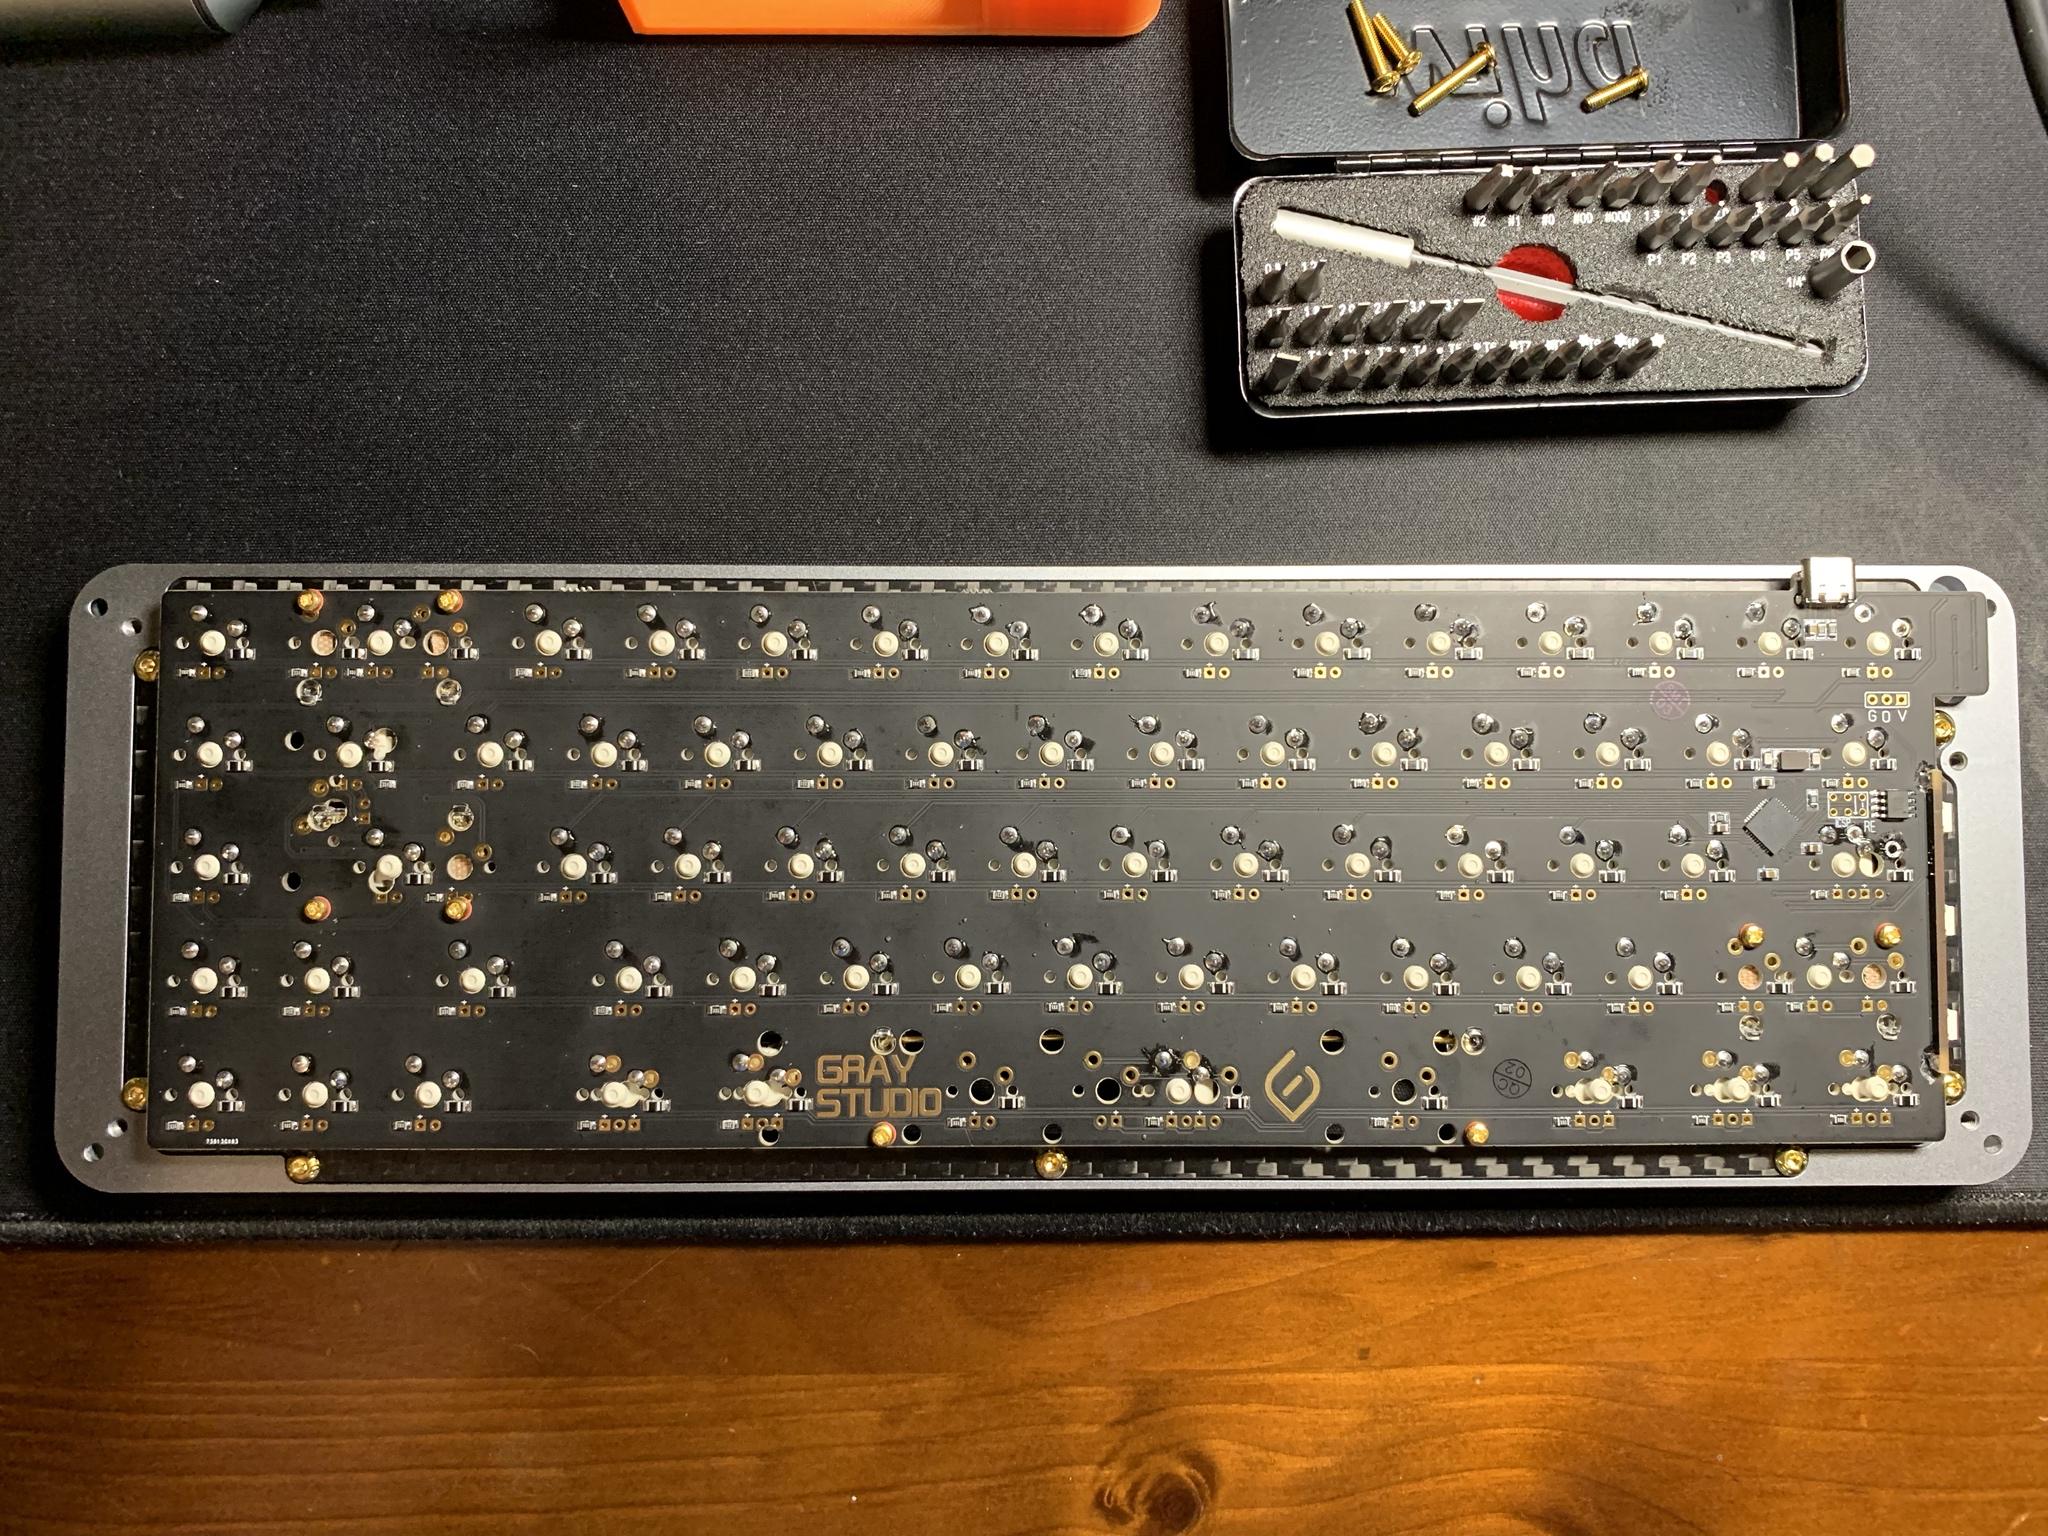
The first thing I did was test both PCBs, just to be sure everything was working as expected. Since elitekeyboards.com no longer exists, I used the new and excellent tester provided by QMK. The next step was to prep and lube the stabs, put down some “precision-cut” band-aids and screw in the stabs. I missed taking a picture of it, but I always use those tiny red washers when mounting screw-in stabs - pretty much a necessity.
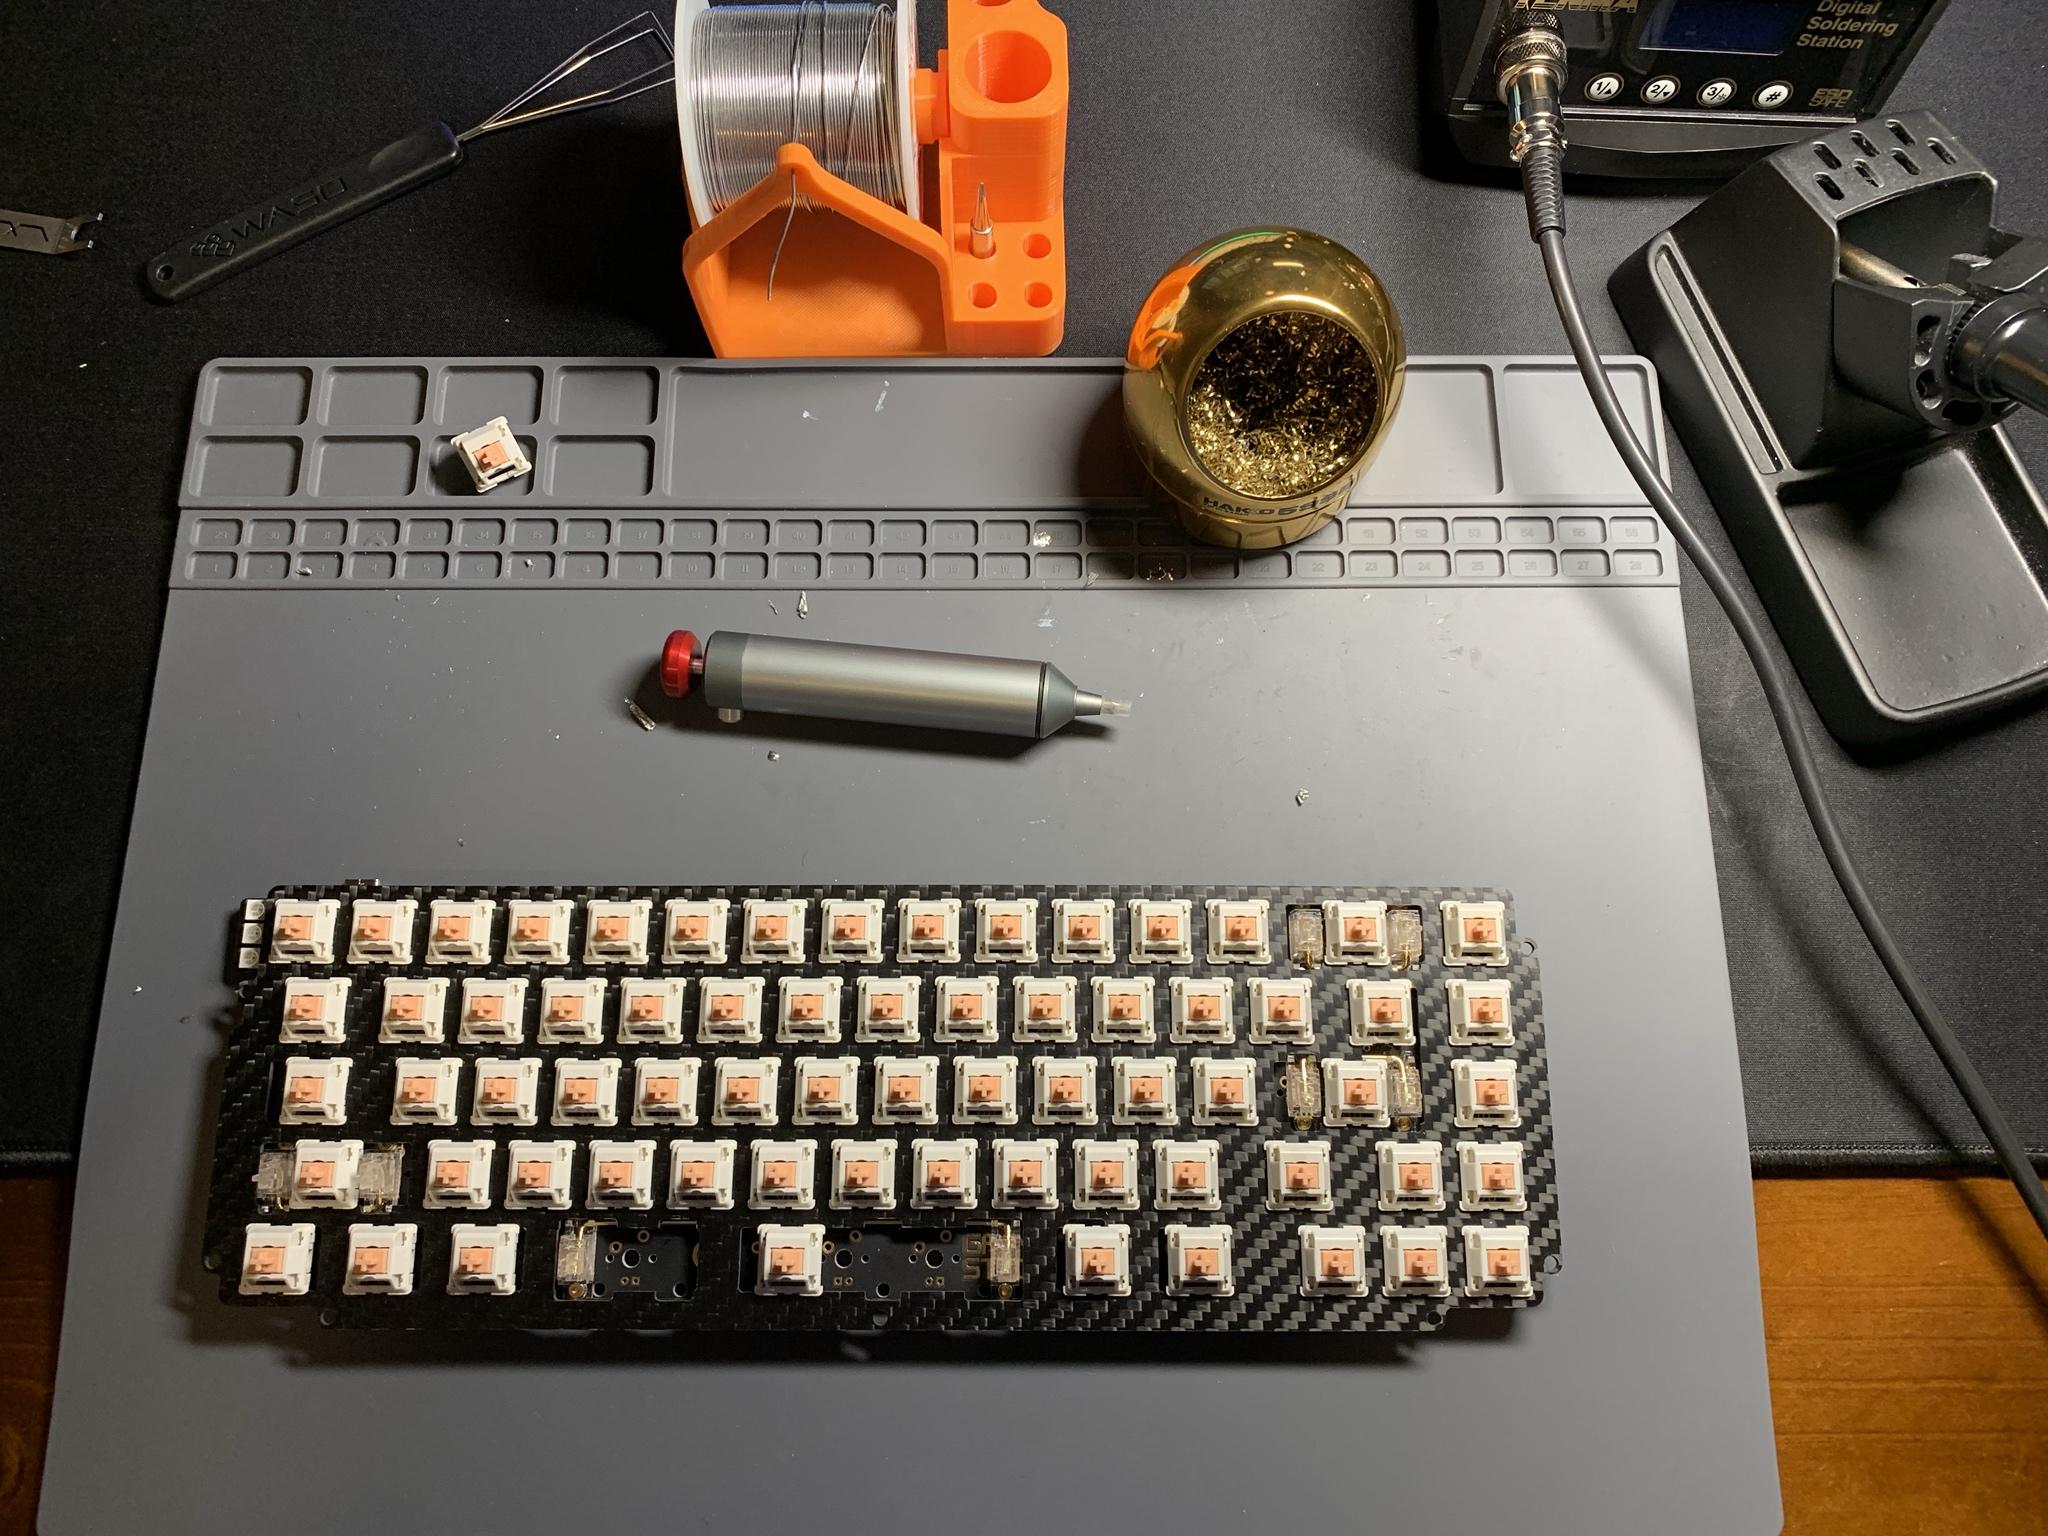
I got engrossed in my work and forgot to take pictures of the soldering process, but we all know what that looks like. Here is the plate and pcb with the switches all soldered in.
At this point in the build, I actually put the board together, took it to work and tried to use it for a day. I say “tried” because I immediately hated the sound. My particular board has some bowing in the top half of the case that, when combined with the empty inside of the case, made a pinging sound that I disliked very much. I took the board home, did some measurements and ordered some sorbothane from Amazon.
Once the sorbothane came in, I cut it to fit neatly into the bottom of the case. Looks like my measurements were pretty good! This stuff is amazing. It completely changes the sound of the board. I’ve used it in other boards in the past, but it completely removed the echo and pinging noises from this board. Now it sounds like a million bucks.
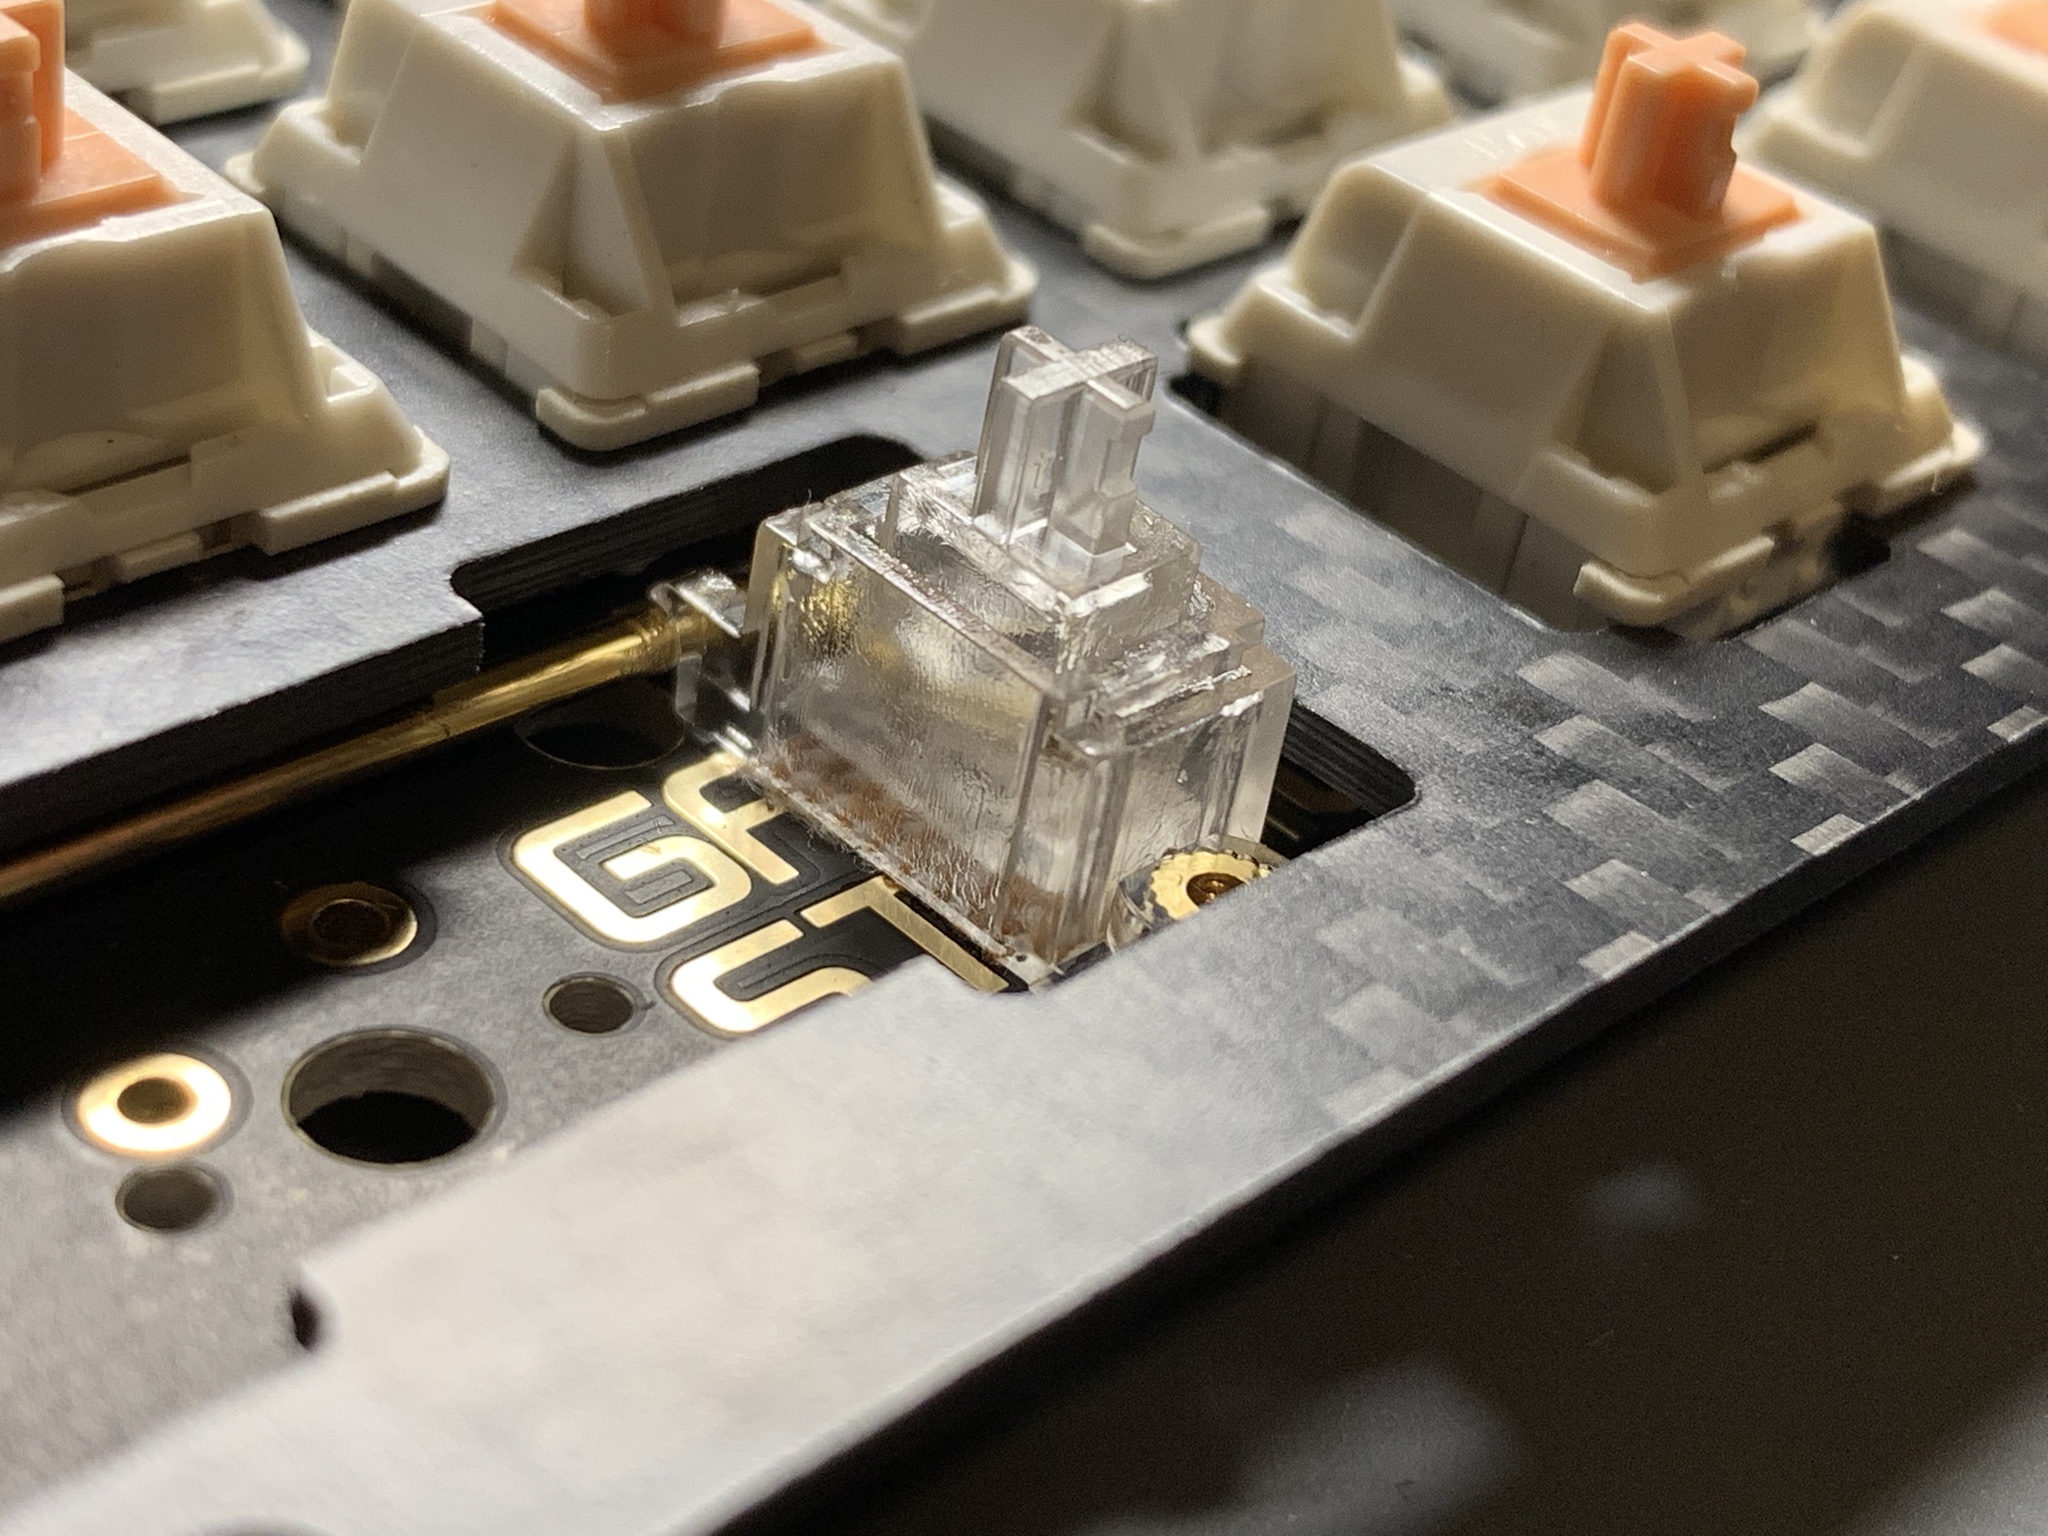
With the dampening material sorted, it was time to re-assemble. Here I’ve mounted the plate to the top half of the housing. If I have one complaint about the design of this board, it would be the lack of screws. As you can see in this picture, there are no screws at the top of the housing/plate. There are also only four screws attaching the two halves of the housing together. This allows the case to bow in the middle and is what I think caused my pinging noise issues. The PCB does look nice though and I’m glad I went with the Zeal stabs here since the gold screws match the rest of the gold hardware.
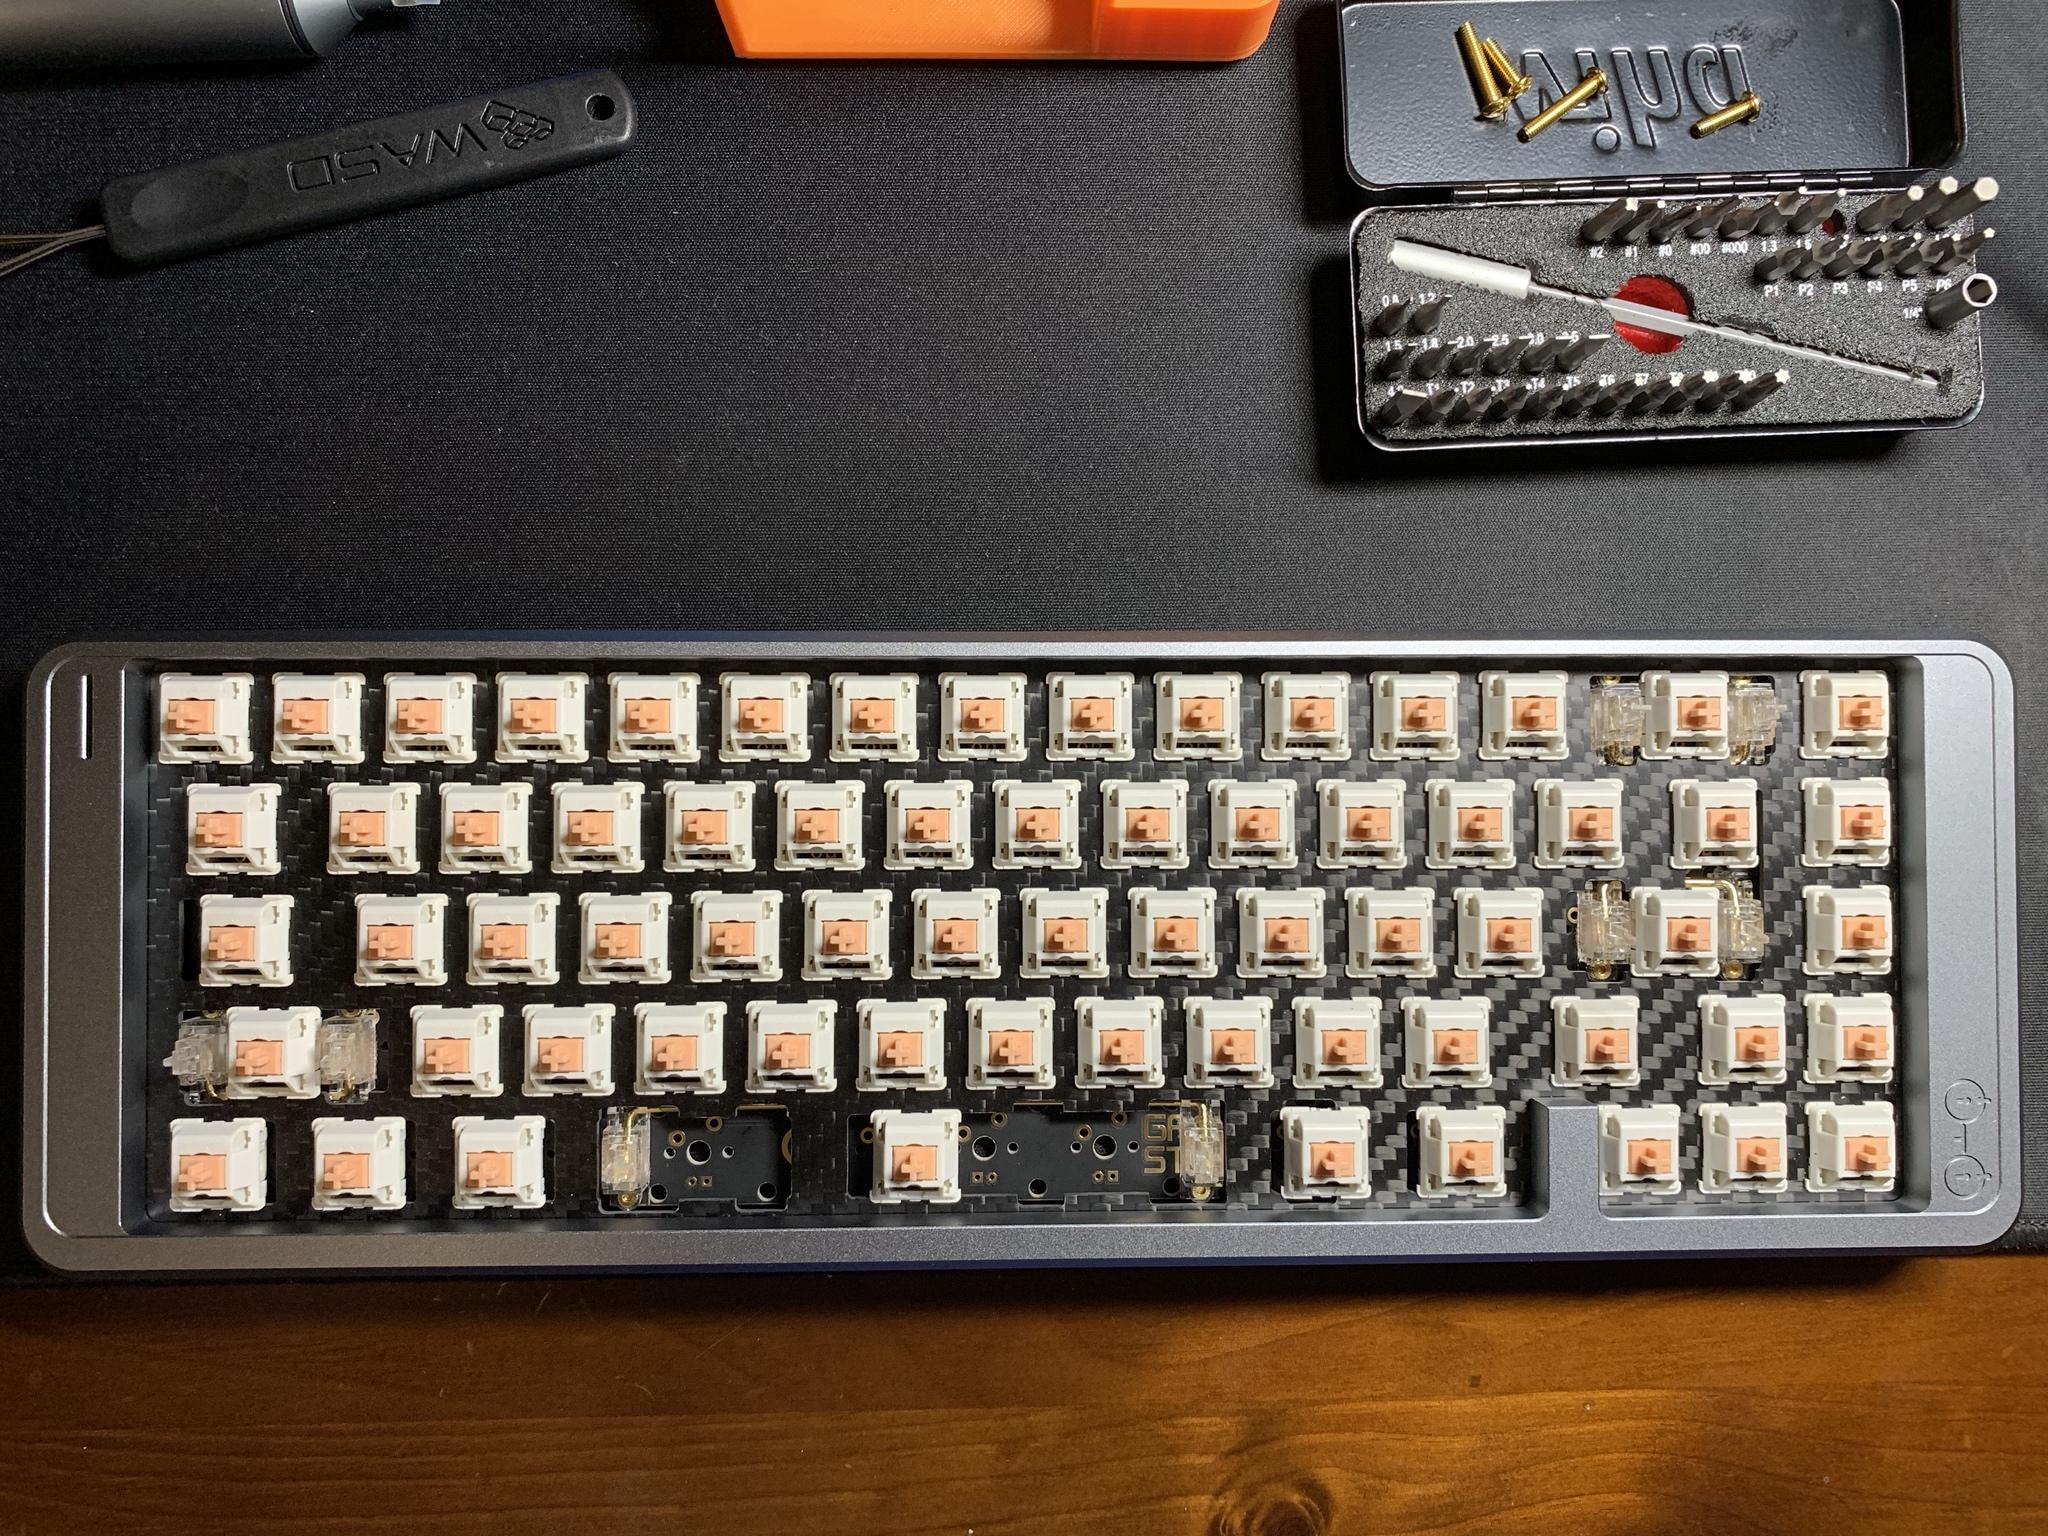
Here is the plate mounted in the top housing. Carbon fiber plate looks nice with the HPs.
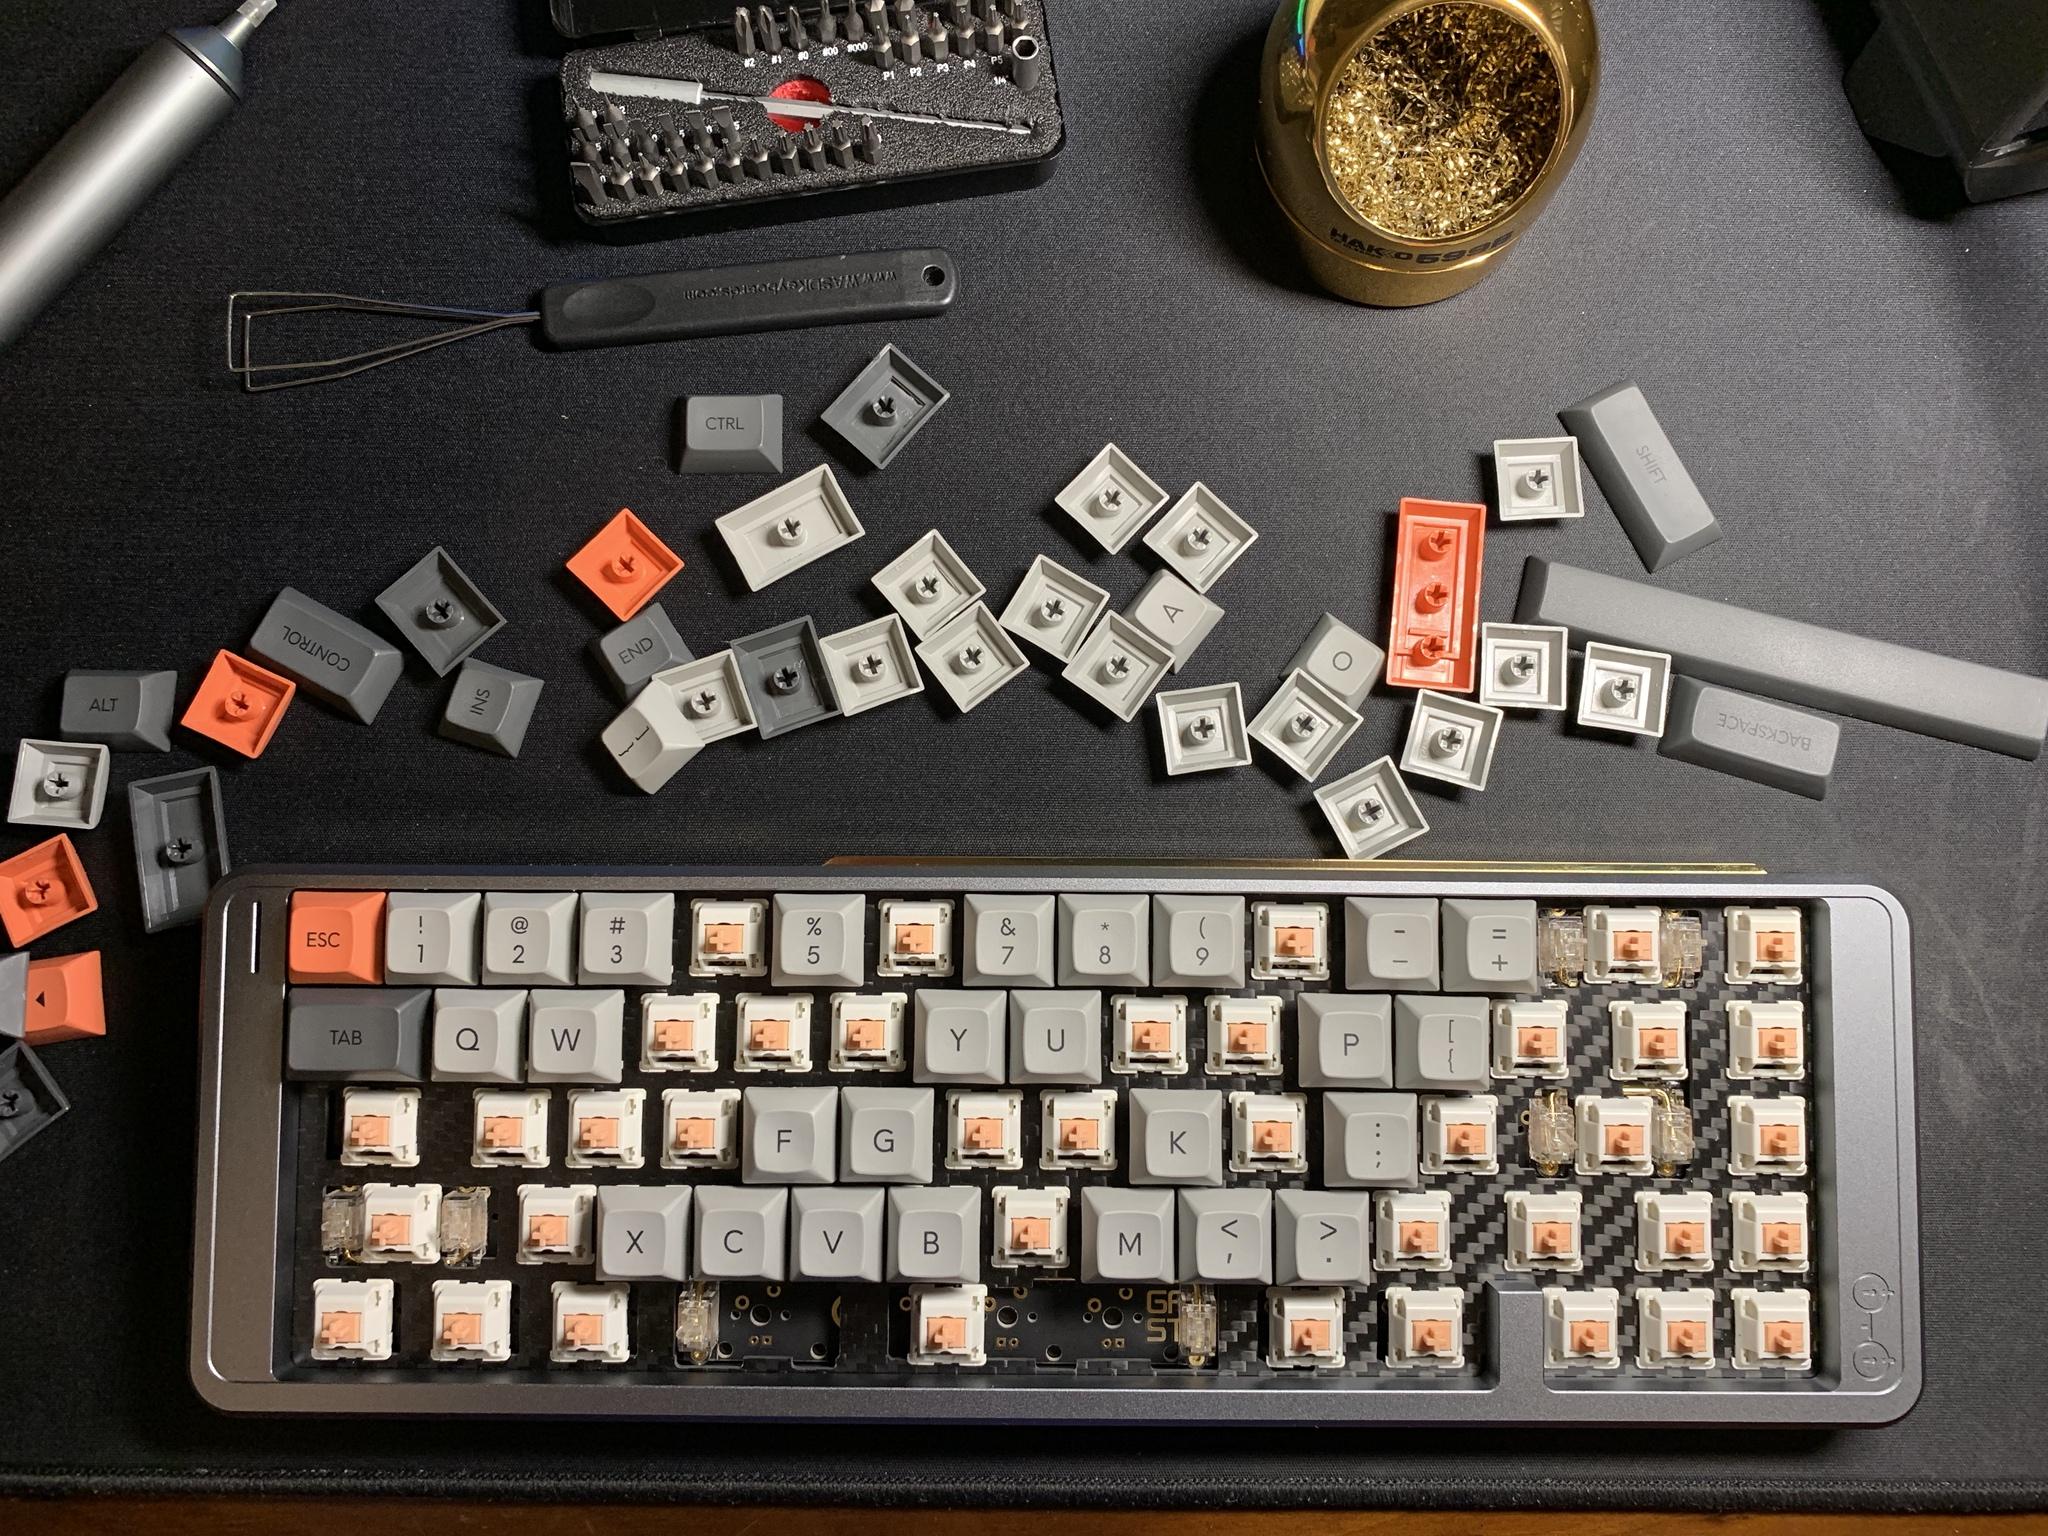
Mounting the new caps I bought for this build - DSA Ferrous. I’ve come to really love DSA - I think it might be my favorite profile. I love that the caps are uniform and still have a slight scoop. Makes me happy.
Closeup shot of the HPs in the plate - looks nice!
These Zeal stabs are very smooth right out of the box. As you might be able to tell, I did lube them, but not too much. The one thing I have noticed about them is that the stab wire has a tendency to pop out while changing keycaps. It’s happened a few times already and its super annoying.
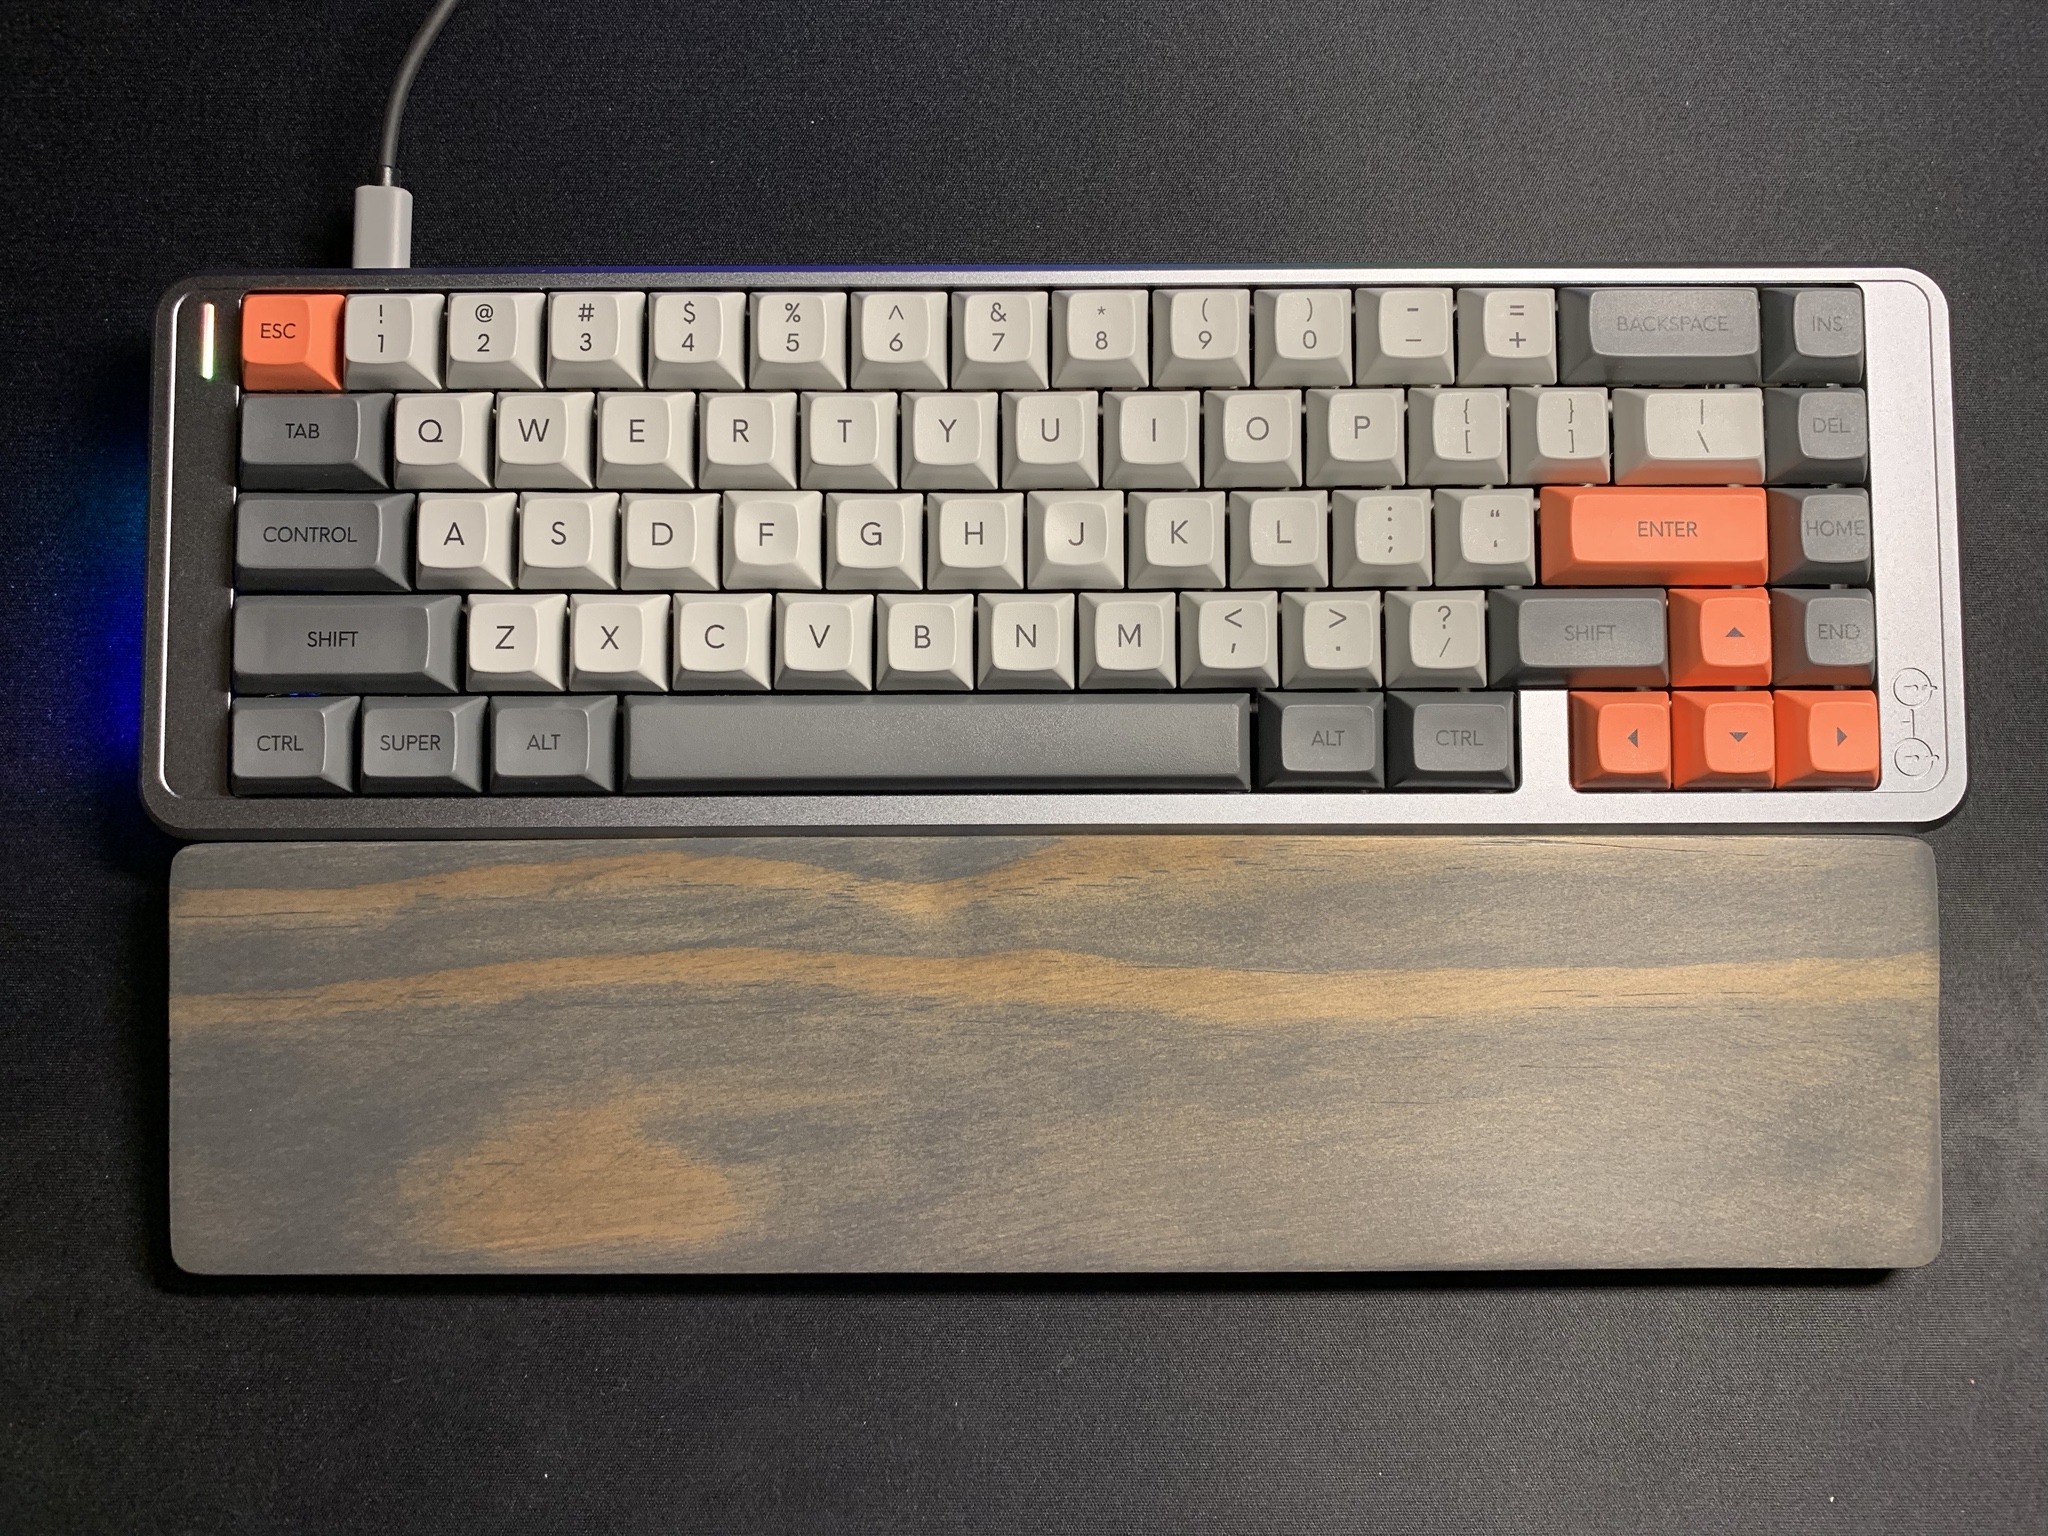
And here is the finished product! The only thing I don’t have yet is a new cable from SpaceCables. The wrist rest is a fairly cheap on I bought from Amazon. I couldn’t find one that suited me. The 60% one I already have seemed too short and I really wanted something gray to go with the board. I cut and hand-sanded this one with some carbon gray stain. I think it turned out well and complements the colors in the board and caps nicely.
Here’s a shot of the brass badge on the back. These badges attach to the case with magnets, which is probably the only other gripe I have about the design of the case itself. The brass one stays in well, but the aluminum one has a tendency to fall out if you bump it.
THE PROBLEMS
All this has been pretty standard so far and I already mentioned a couple of issues with the case bowing and the noise, but now we come to the really interesting part (for me at least).
After using the board for a day or so, I noticed I was having far more errors when typing than I normally do and that all of those errors were two spaces being entered instead of one. I disassembled the board, looking for issues. The stabs seemed fine, the switch seemed fine, the space bar seemed fine - everything seemed fine. I desoldered and replaced the switch, thinking that it might have been faulty somehow. This did nothing to resolve the problem. The problem was so bad that I was spending more time removing extra spaces than I was actually typing.
At this point, for some reason, I decided to go check out the QMK source for this board, thinking I might find something there that would help. And I did! Turns out, there is a feature in QMK called Debounce. From their documentation, (which I believe is slightly out of date), it seems that the default debounce algorigthm is:
sym_g - debouncing per keyboard. On any state change, a global timer is set. When
DEBOUNCE_DELAYmilliseconds of no changes has occured, all input changes are pushed.
The default value for this was 5 milliseconds. I decided to change this to 10 milliseconds and see where that took me. I pulled down the source, made my modifications, added the keymap I had already built using the online configurator, and compiled. Flashed it to my board using QMK toolbox and…
FIXED! I’ve been using the board for most of the day yesterday and so far today with absolutely no issues. This makes me want to really dig into QMK and learn more about it and what other awesome things you can do.
I also encountered an issue with the second PCB I ordered, but I’ll update this post with more information about that later on when I (hopefully) figure it out.
Thanks for reading!
