Nice, where can I get some sorbothane sheets?
Wow. Beautiful work @norbauer - I love my Aerospace! The finish is gorgeous, the case is satisfyingly heavy, and the attention to detail is superb. Thank you for making this case a reality!

12 Likes
Just assembled mine, and I think that this is actually one of the best keyboards that I have ever seen, the heft is amazing and the feel overall is great. I love the colors and the sound it makes is actually a 10/10. Would recommend this and any of his other products at any time. Will be purchasing more at some point.
1 Like
Where did you get that particular sheet/what thickness is it?
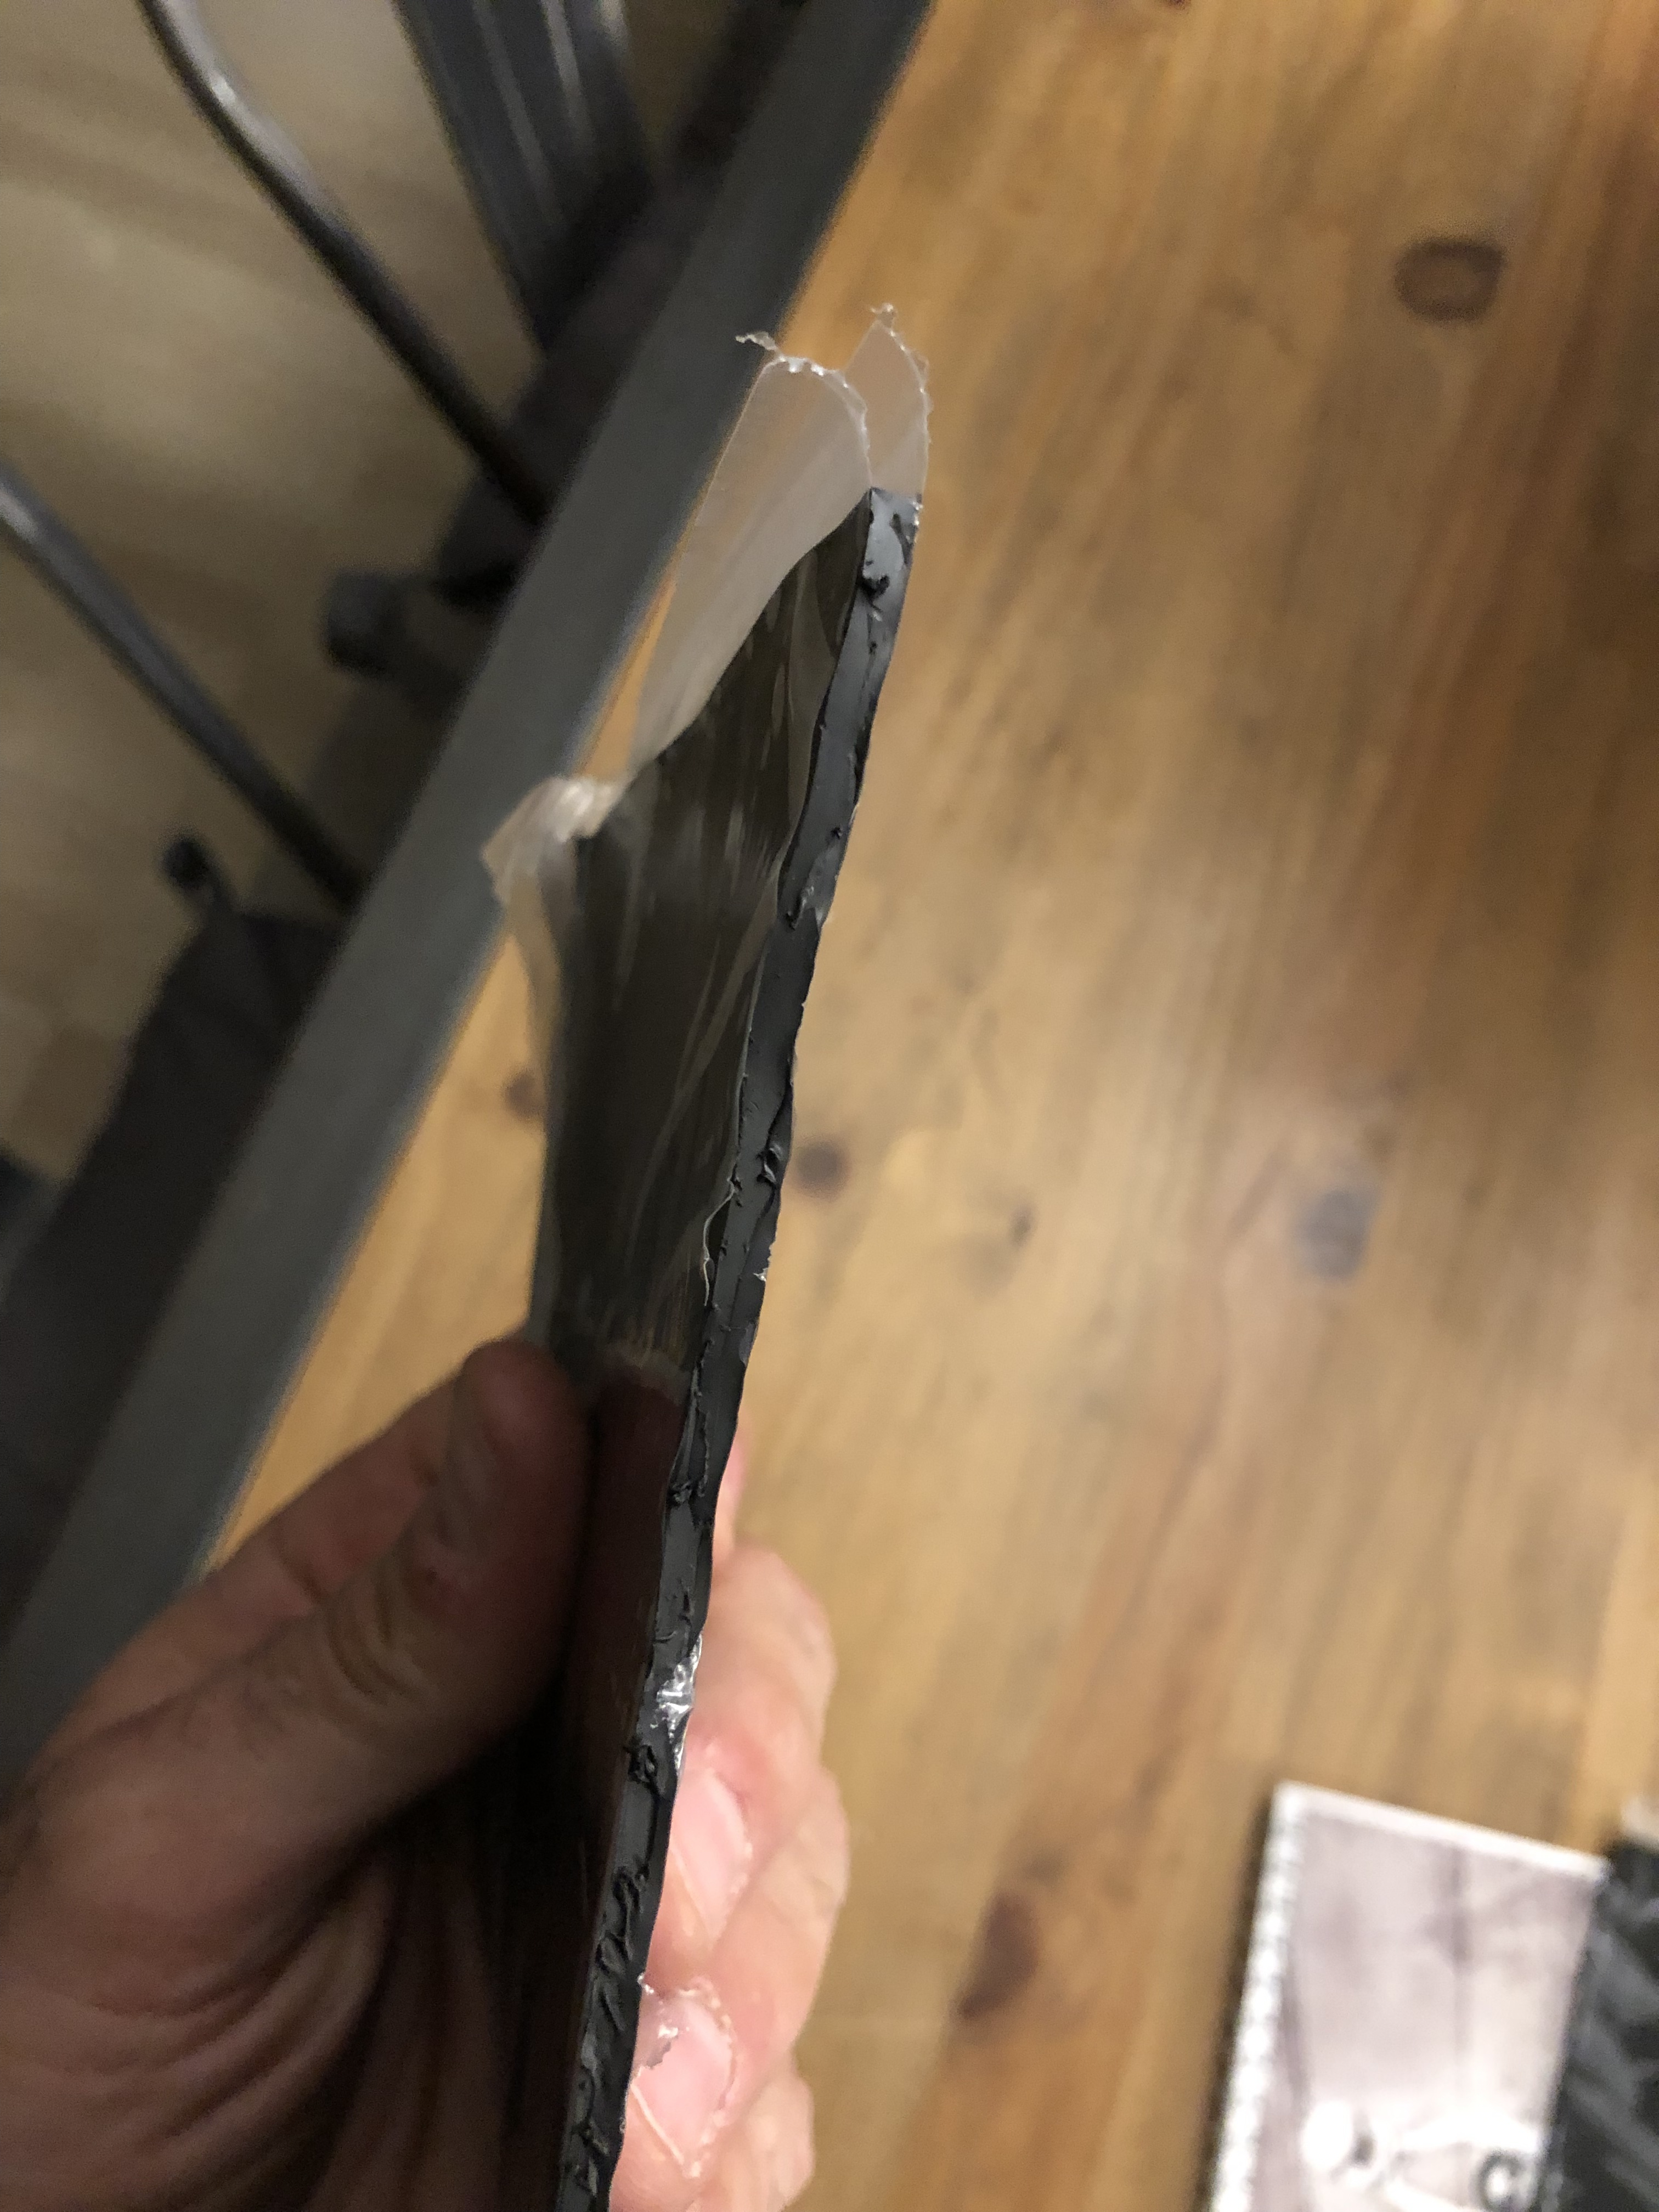
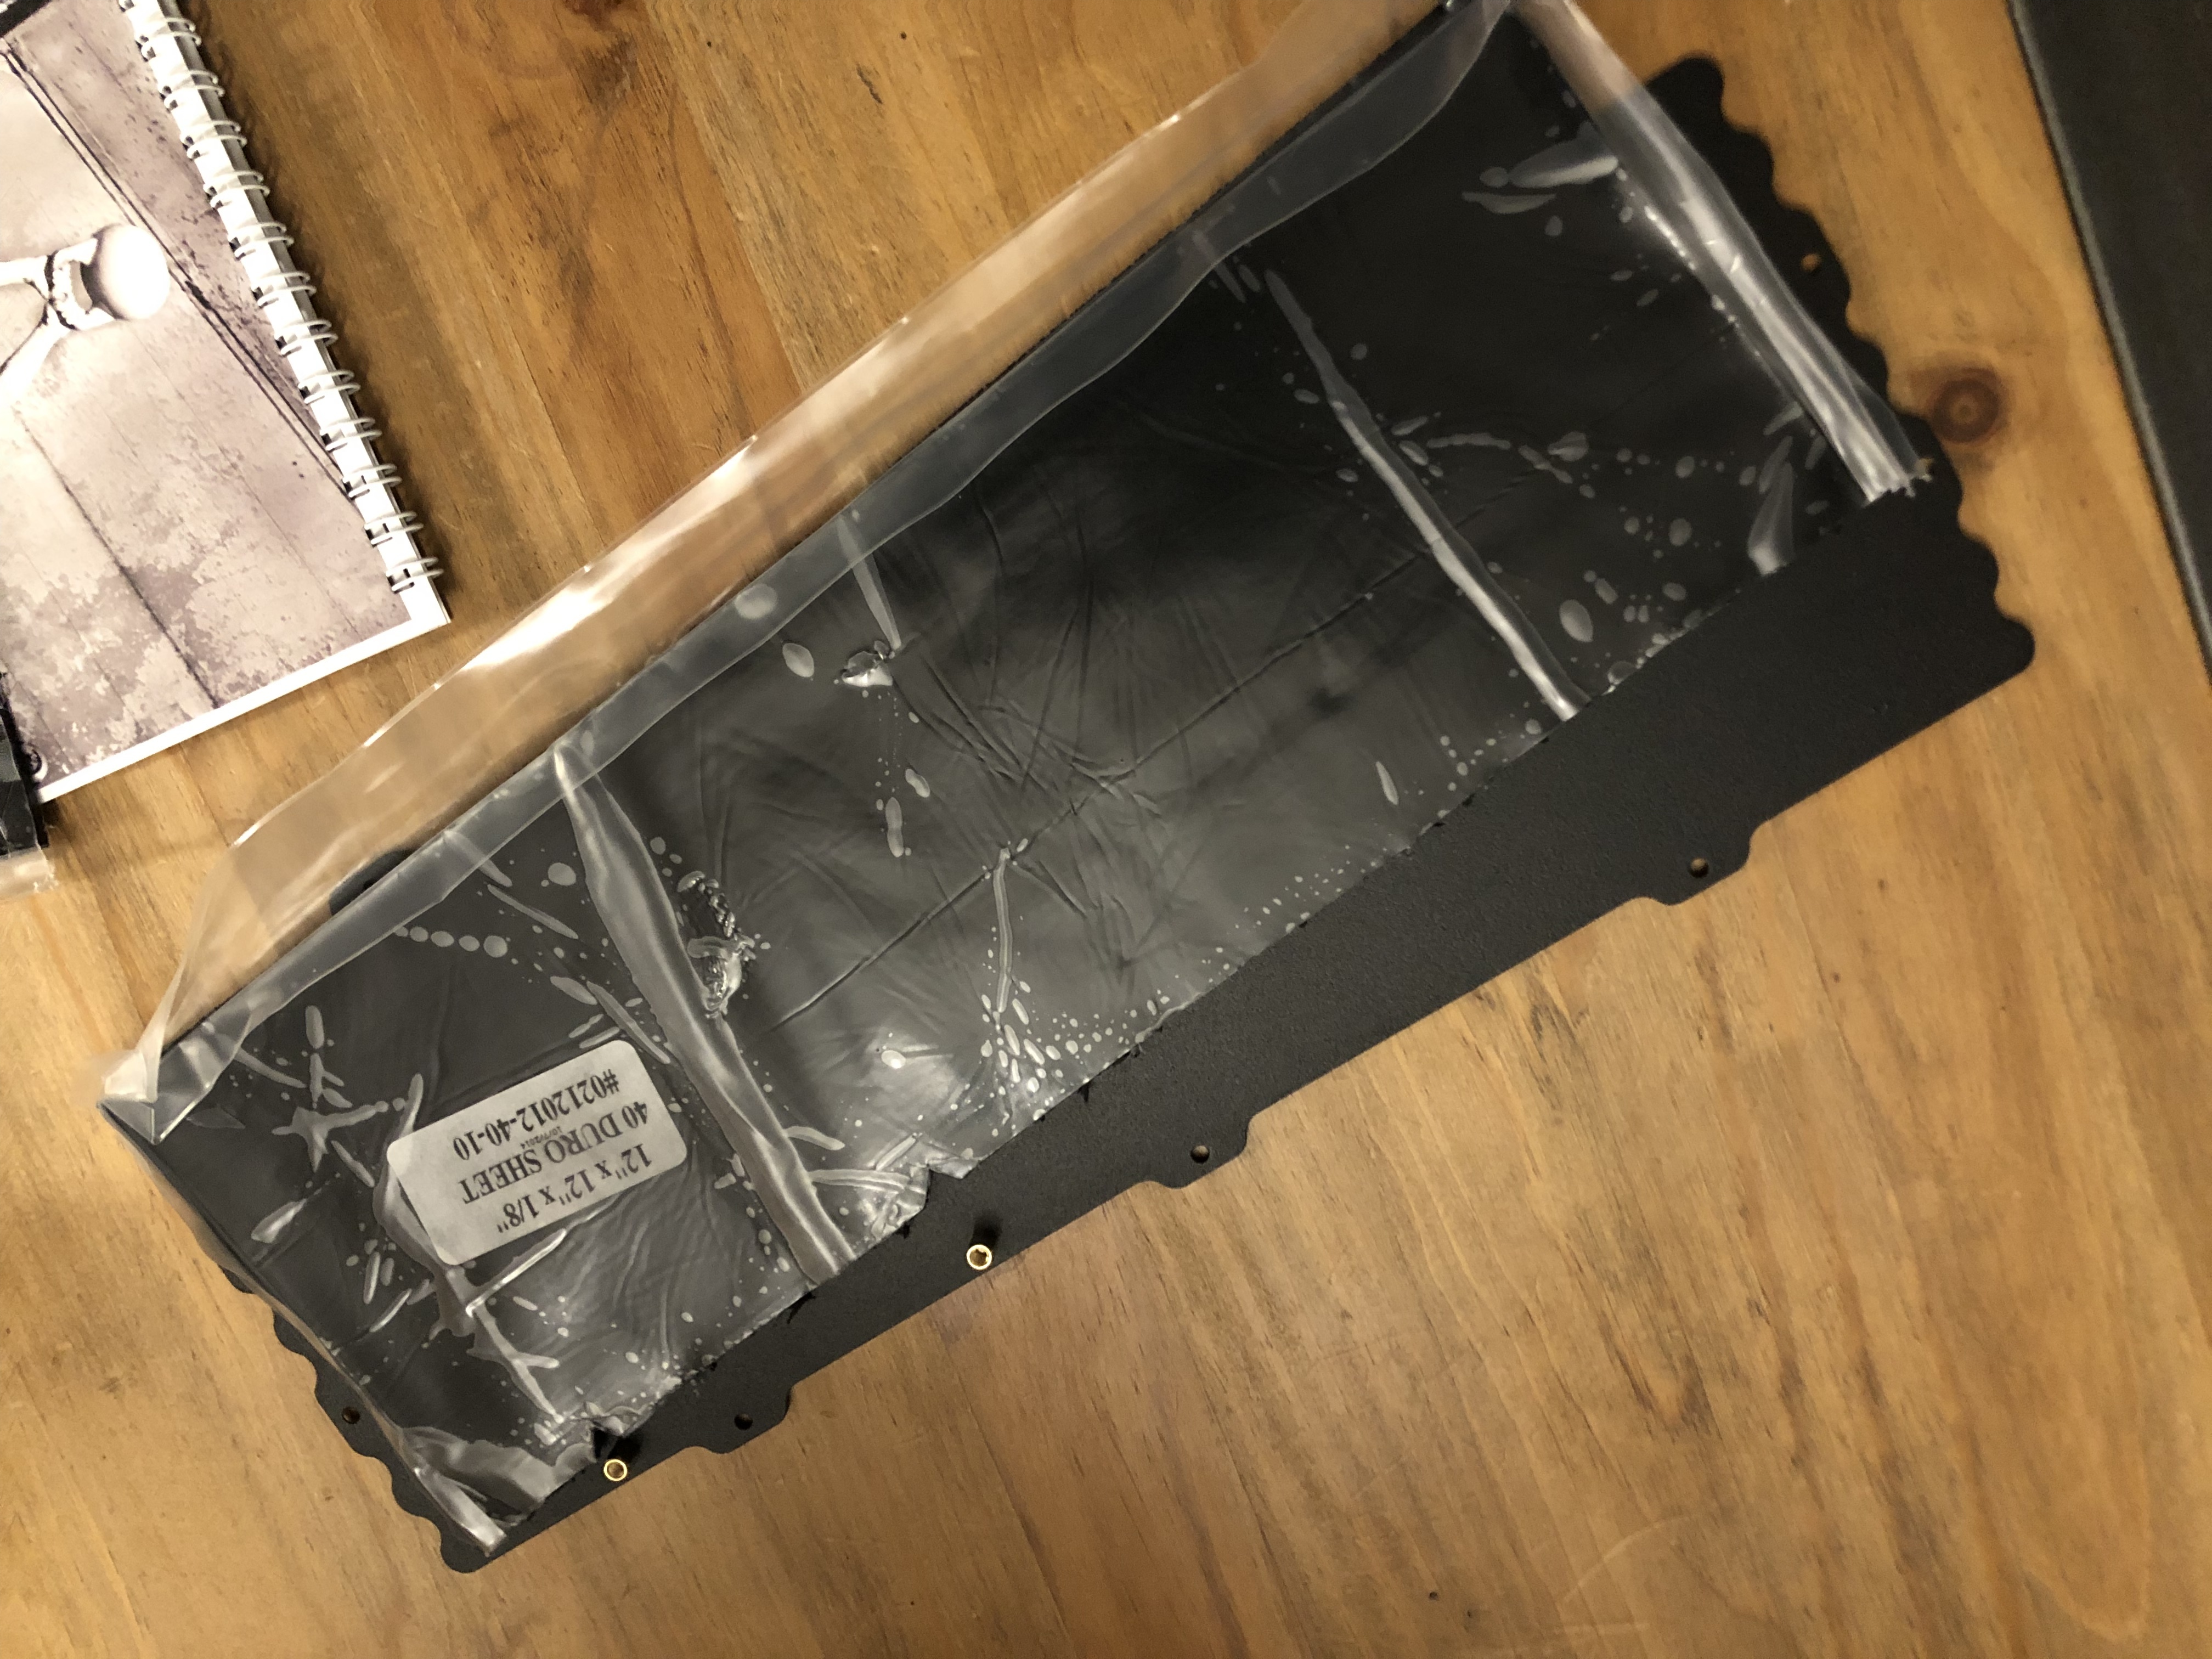
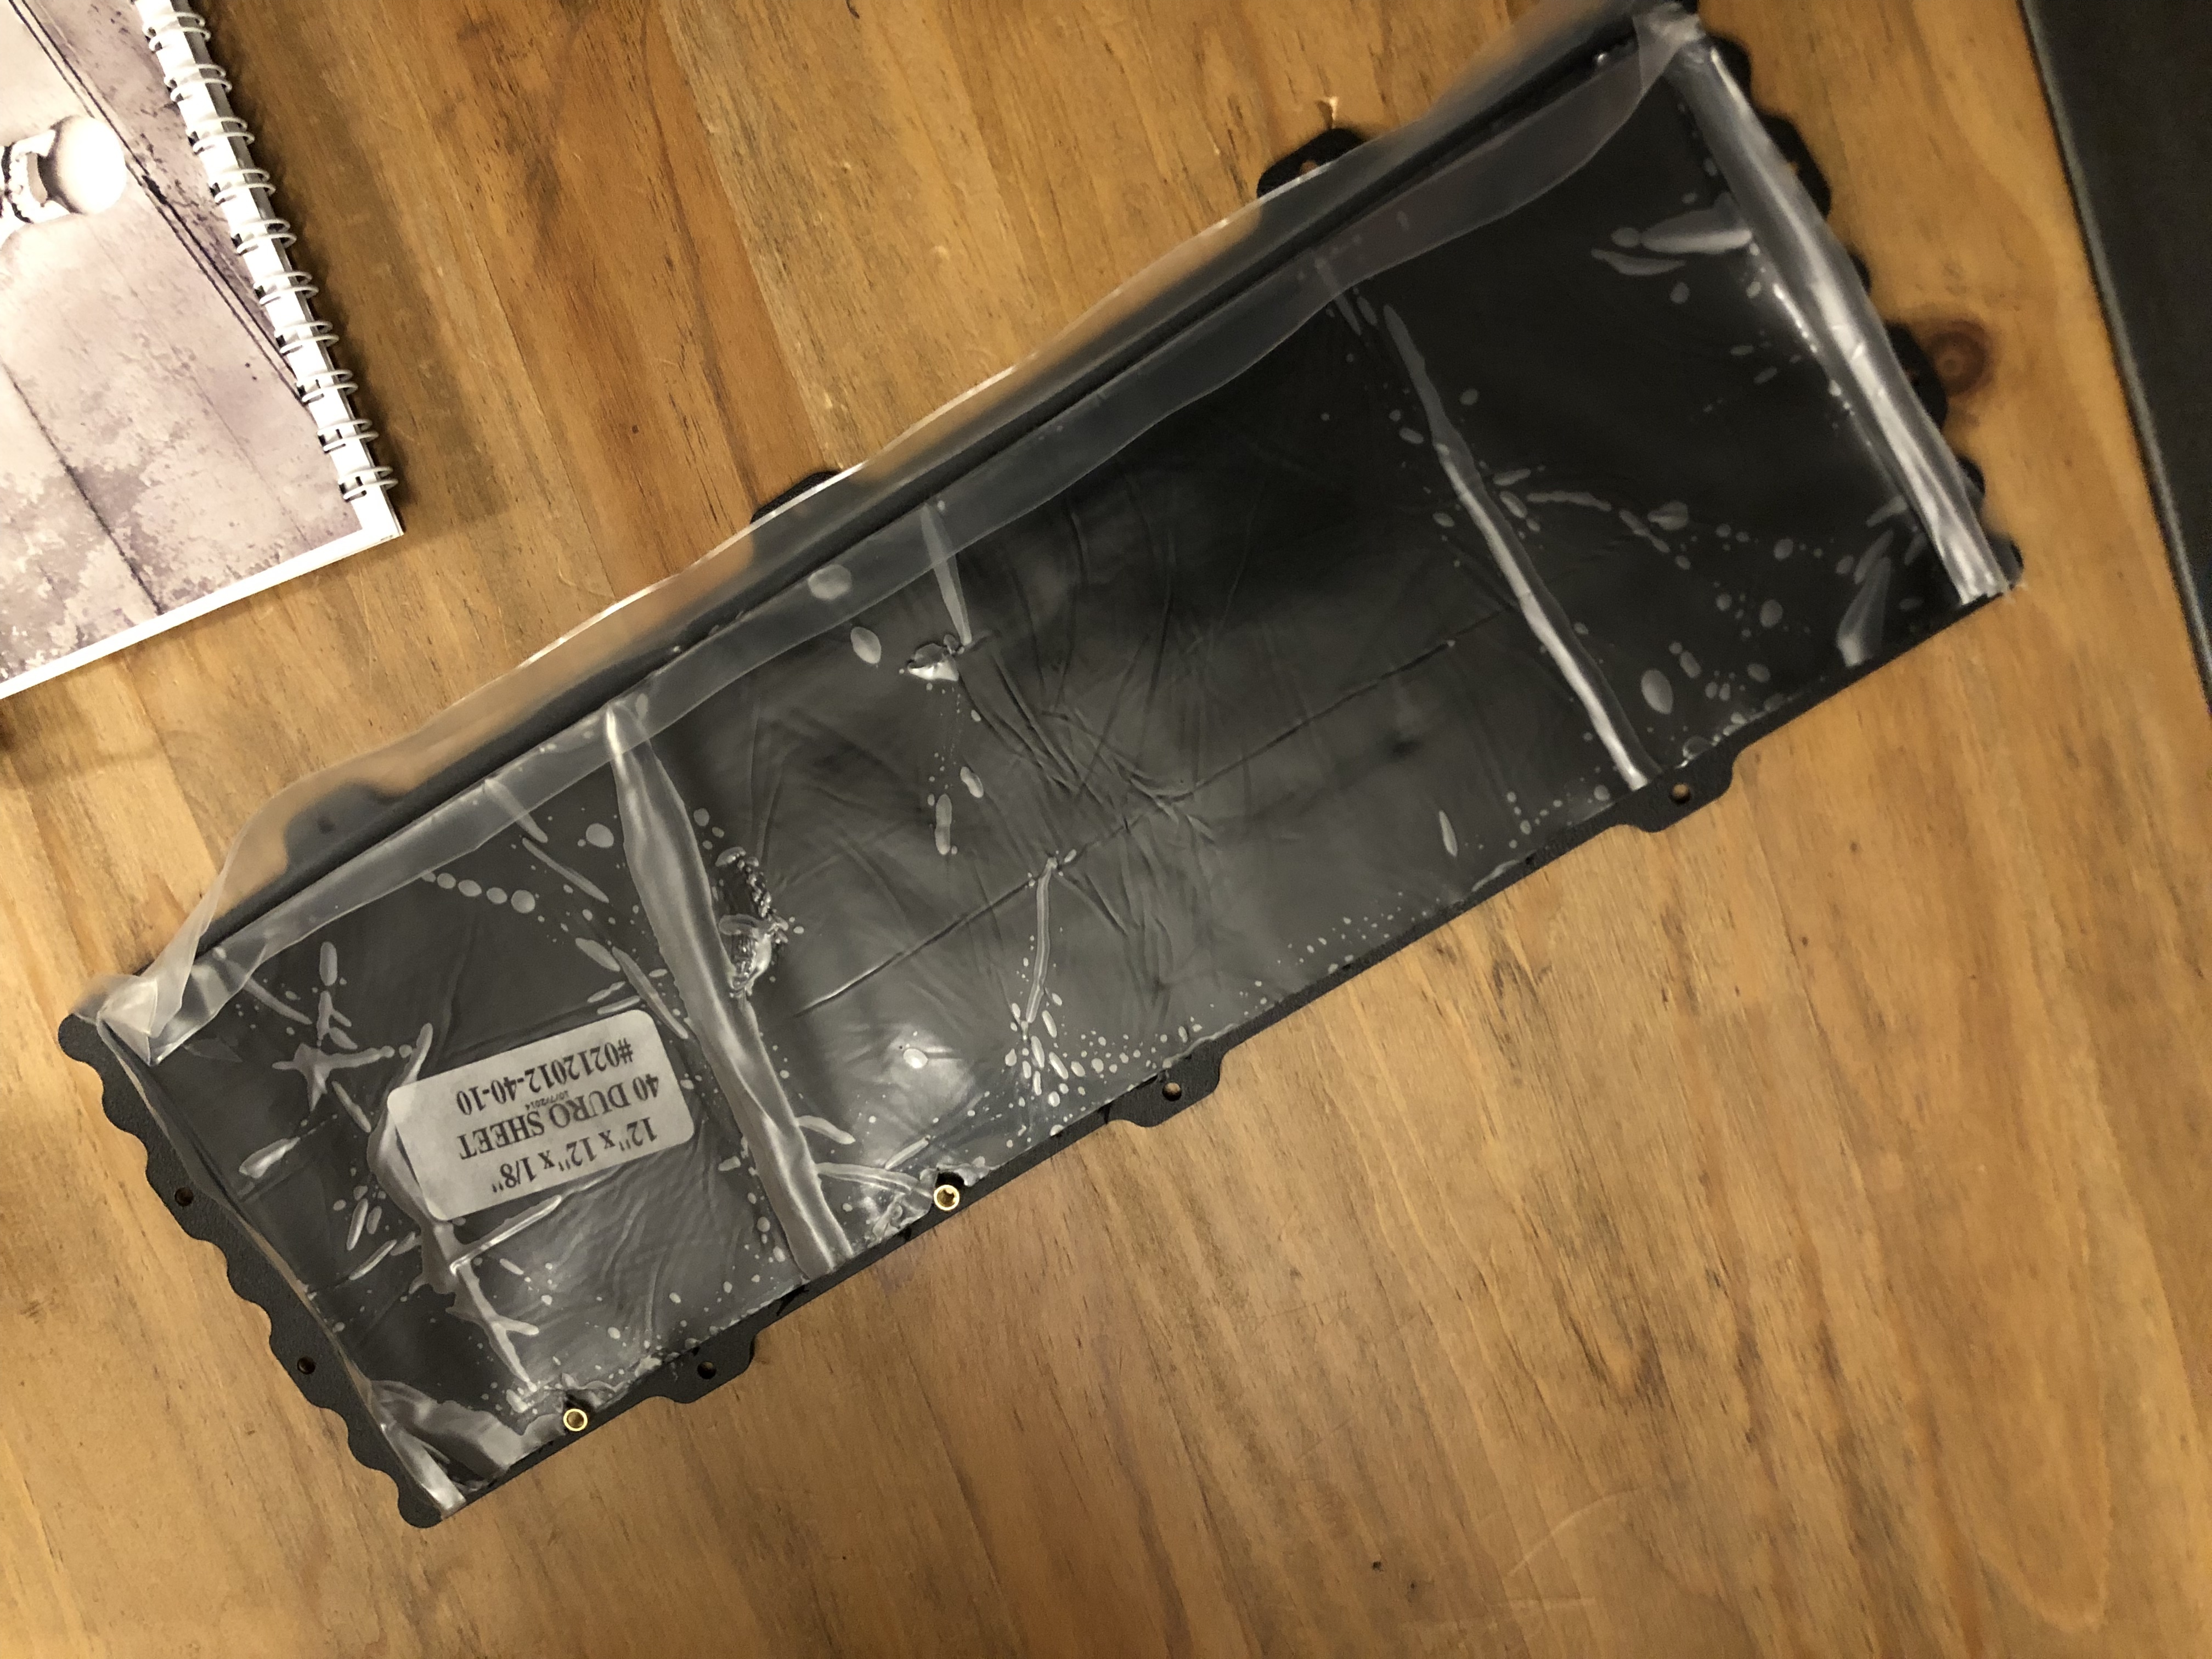
No link is allowed here. Bought it on Amazon ( Isolate It!: Sorbothane Acoustic & Vibration Damping Film 50 Duro (0.188 x 6 x 12in) - 1 Sheet)
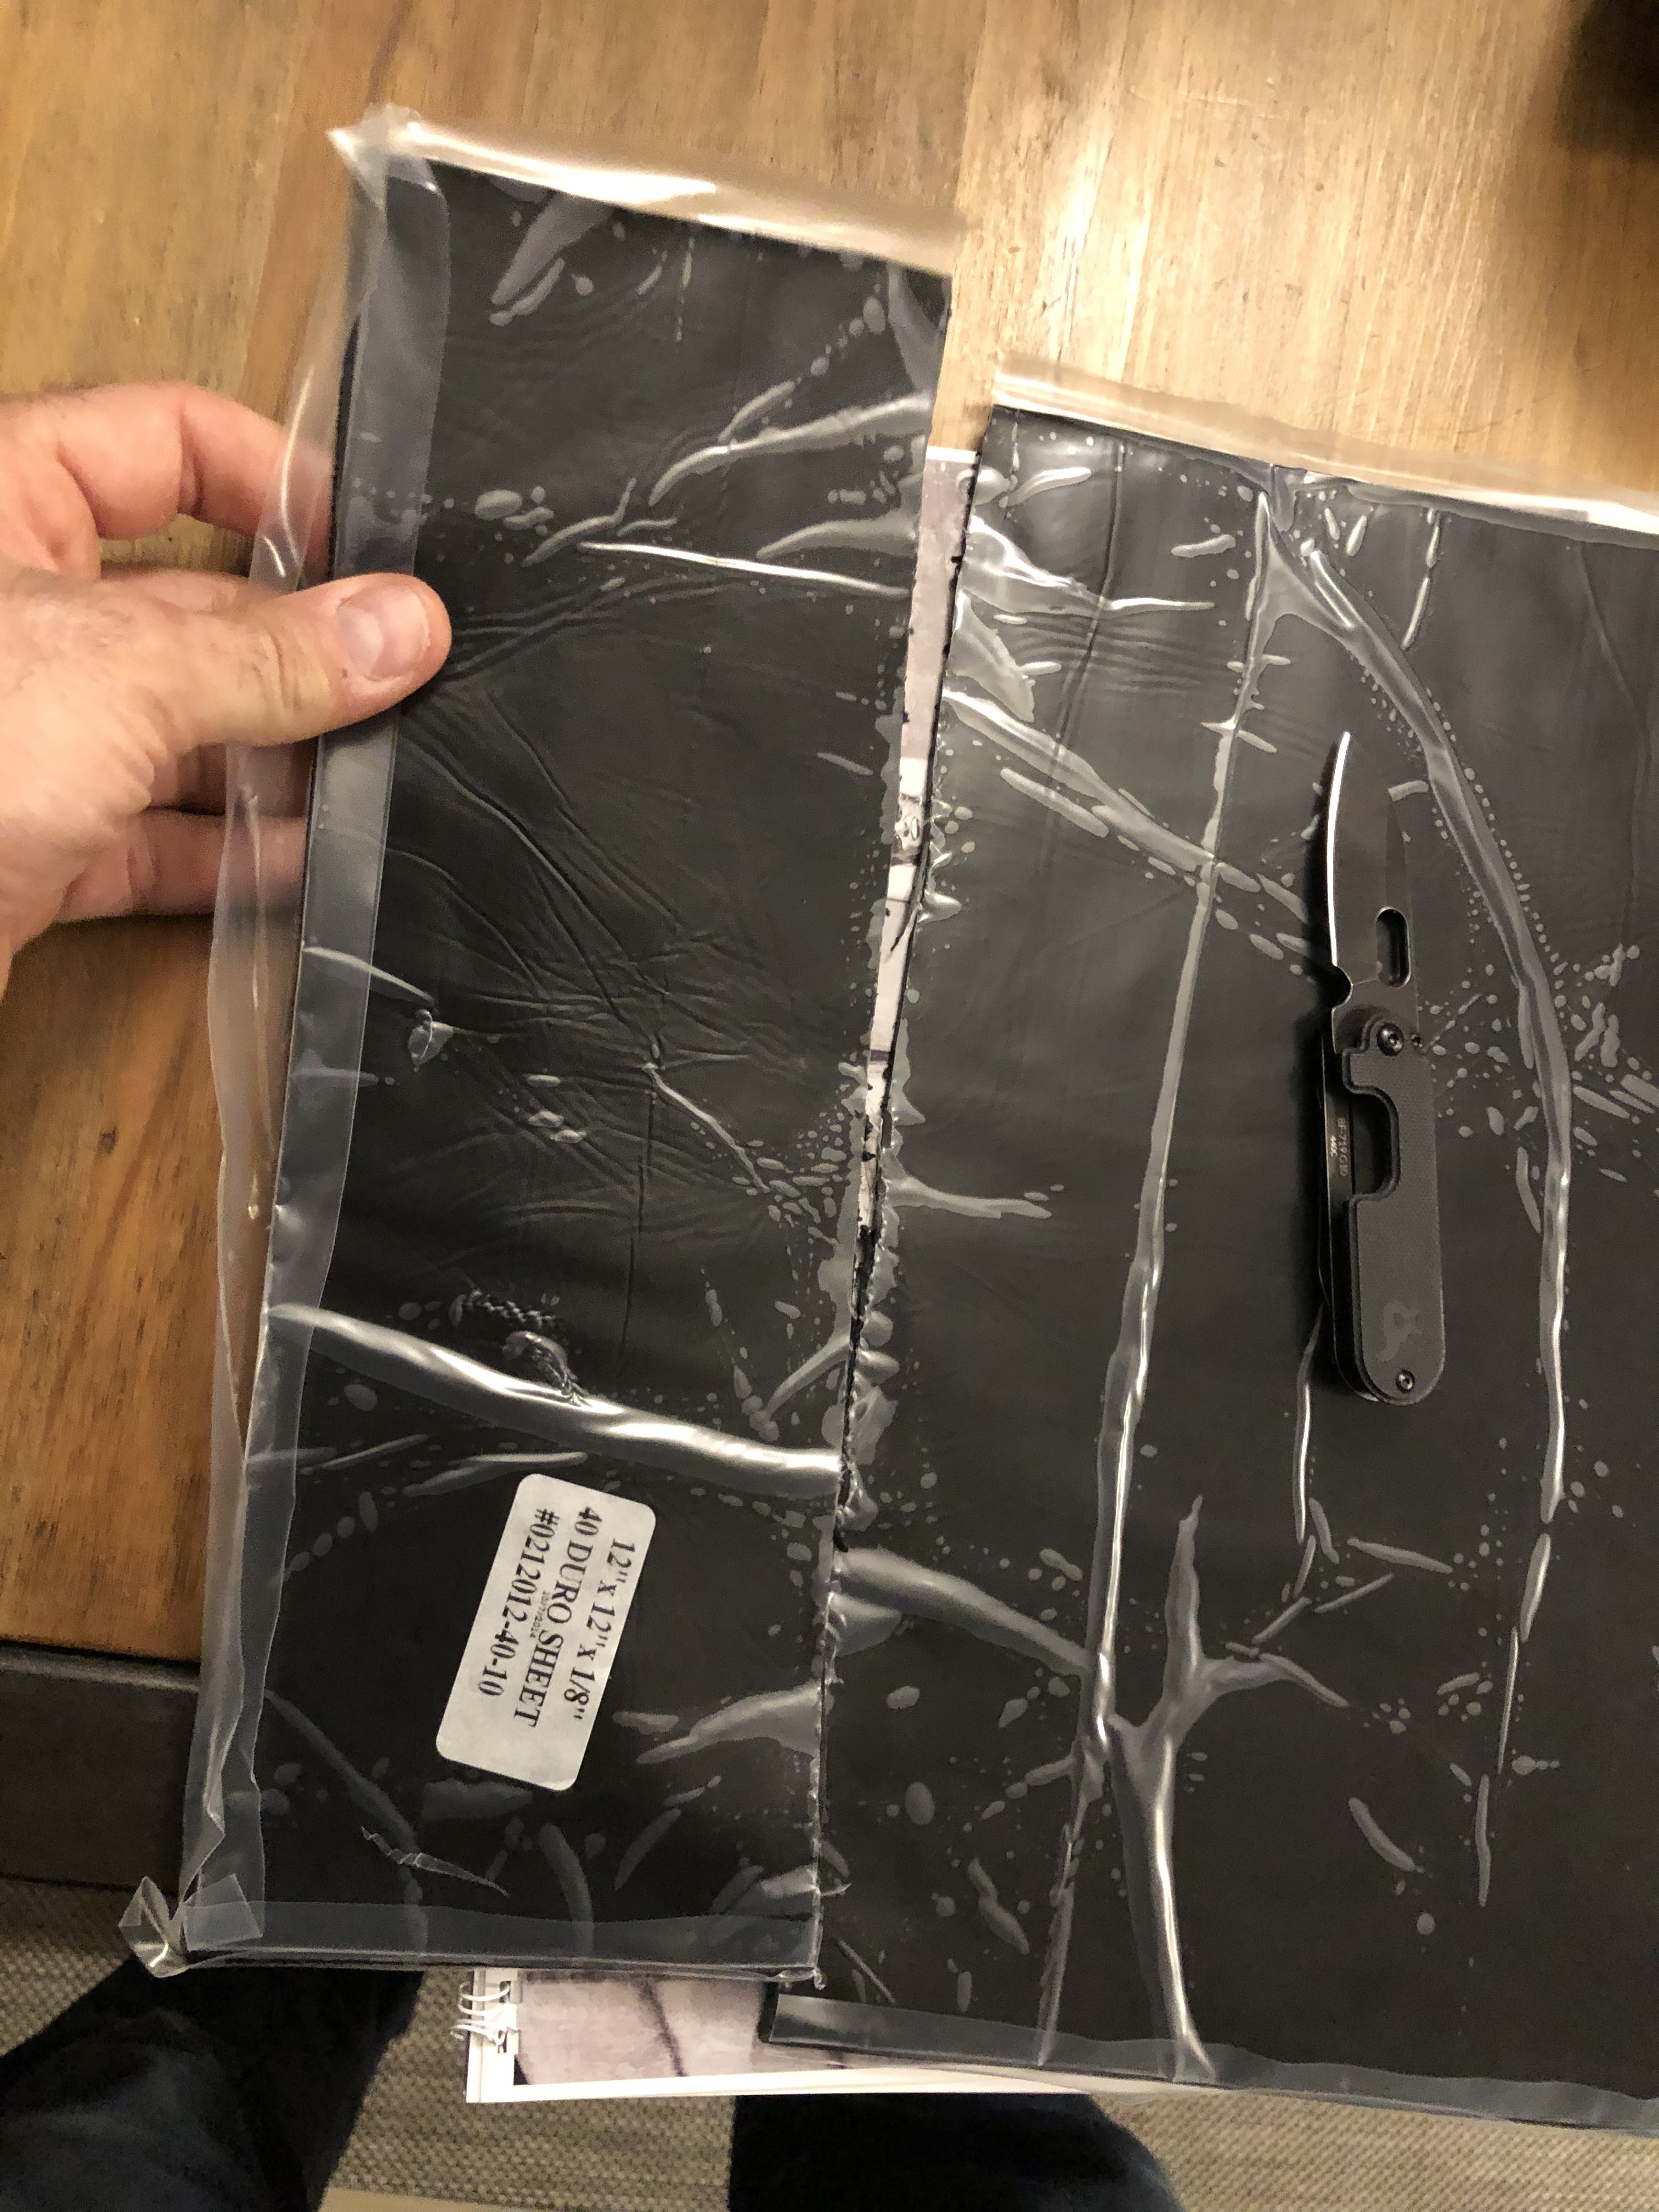
I cut it in half for 2x 3"x12" from a 6"x12" sheet. It’s 3/16" ~0.1875" thick.
It won’t stick to the production matte bottom plate. I am using my prototype PVD bottom plate and it’s perfect. However, this thickness is perfect for the space between the plate and PCB. It should hold in place once the plate is installed.
1 Like
Are there instructions somewhere on how to assemble the Heavy-6? I wasn’t able to find any.
@HighNoon I actually never wrote any instructions up because I realized that, compared to the Norbaforce, assembly is quite trivial and mostly self-evident. Most people seem to have worked it out on their own, but of course I’m always here to help with any questions. 
Speaking of instructions, though, here is some info on how to maintain the Monolith, which is shipping this week. The Monolivias are still being coated.
10 Likes
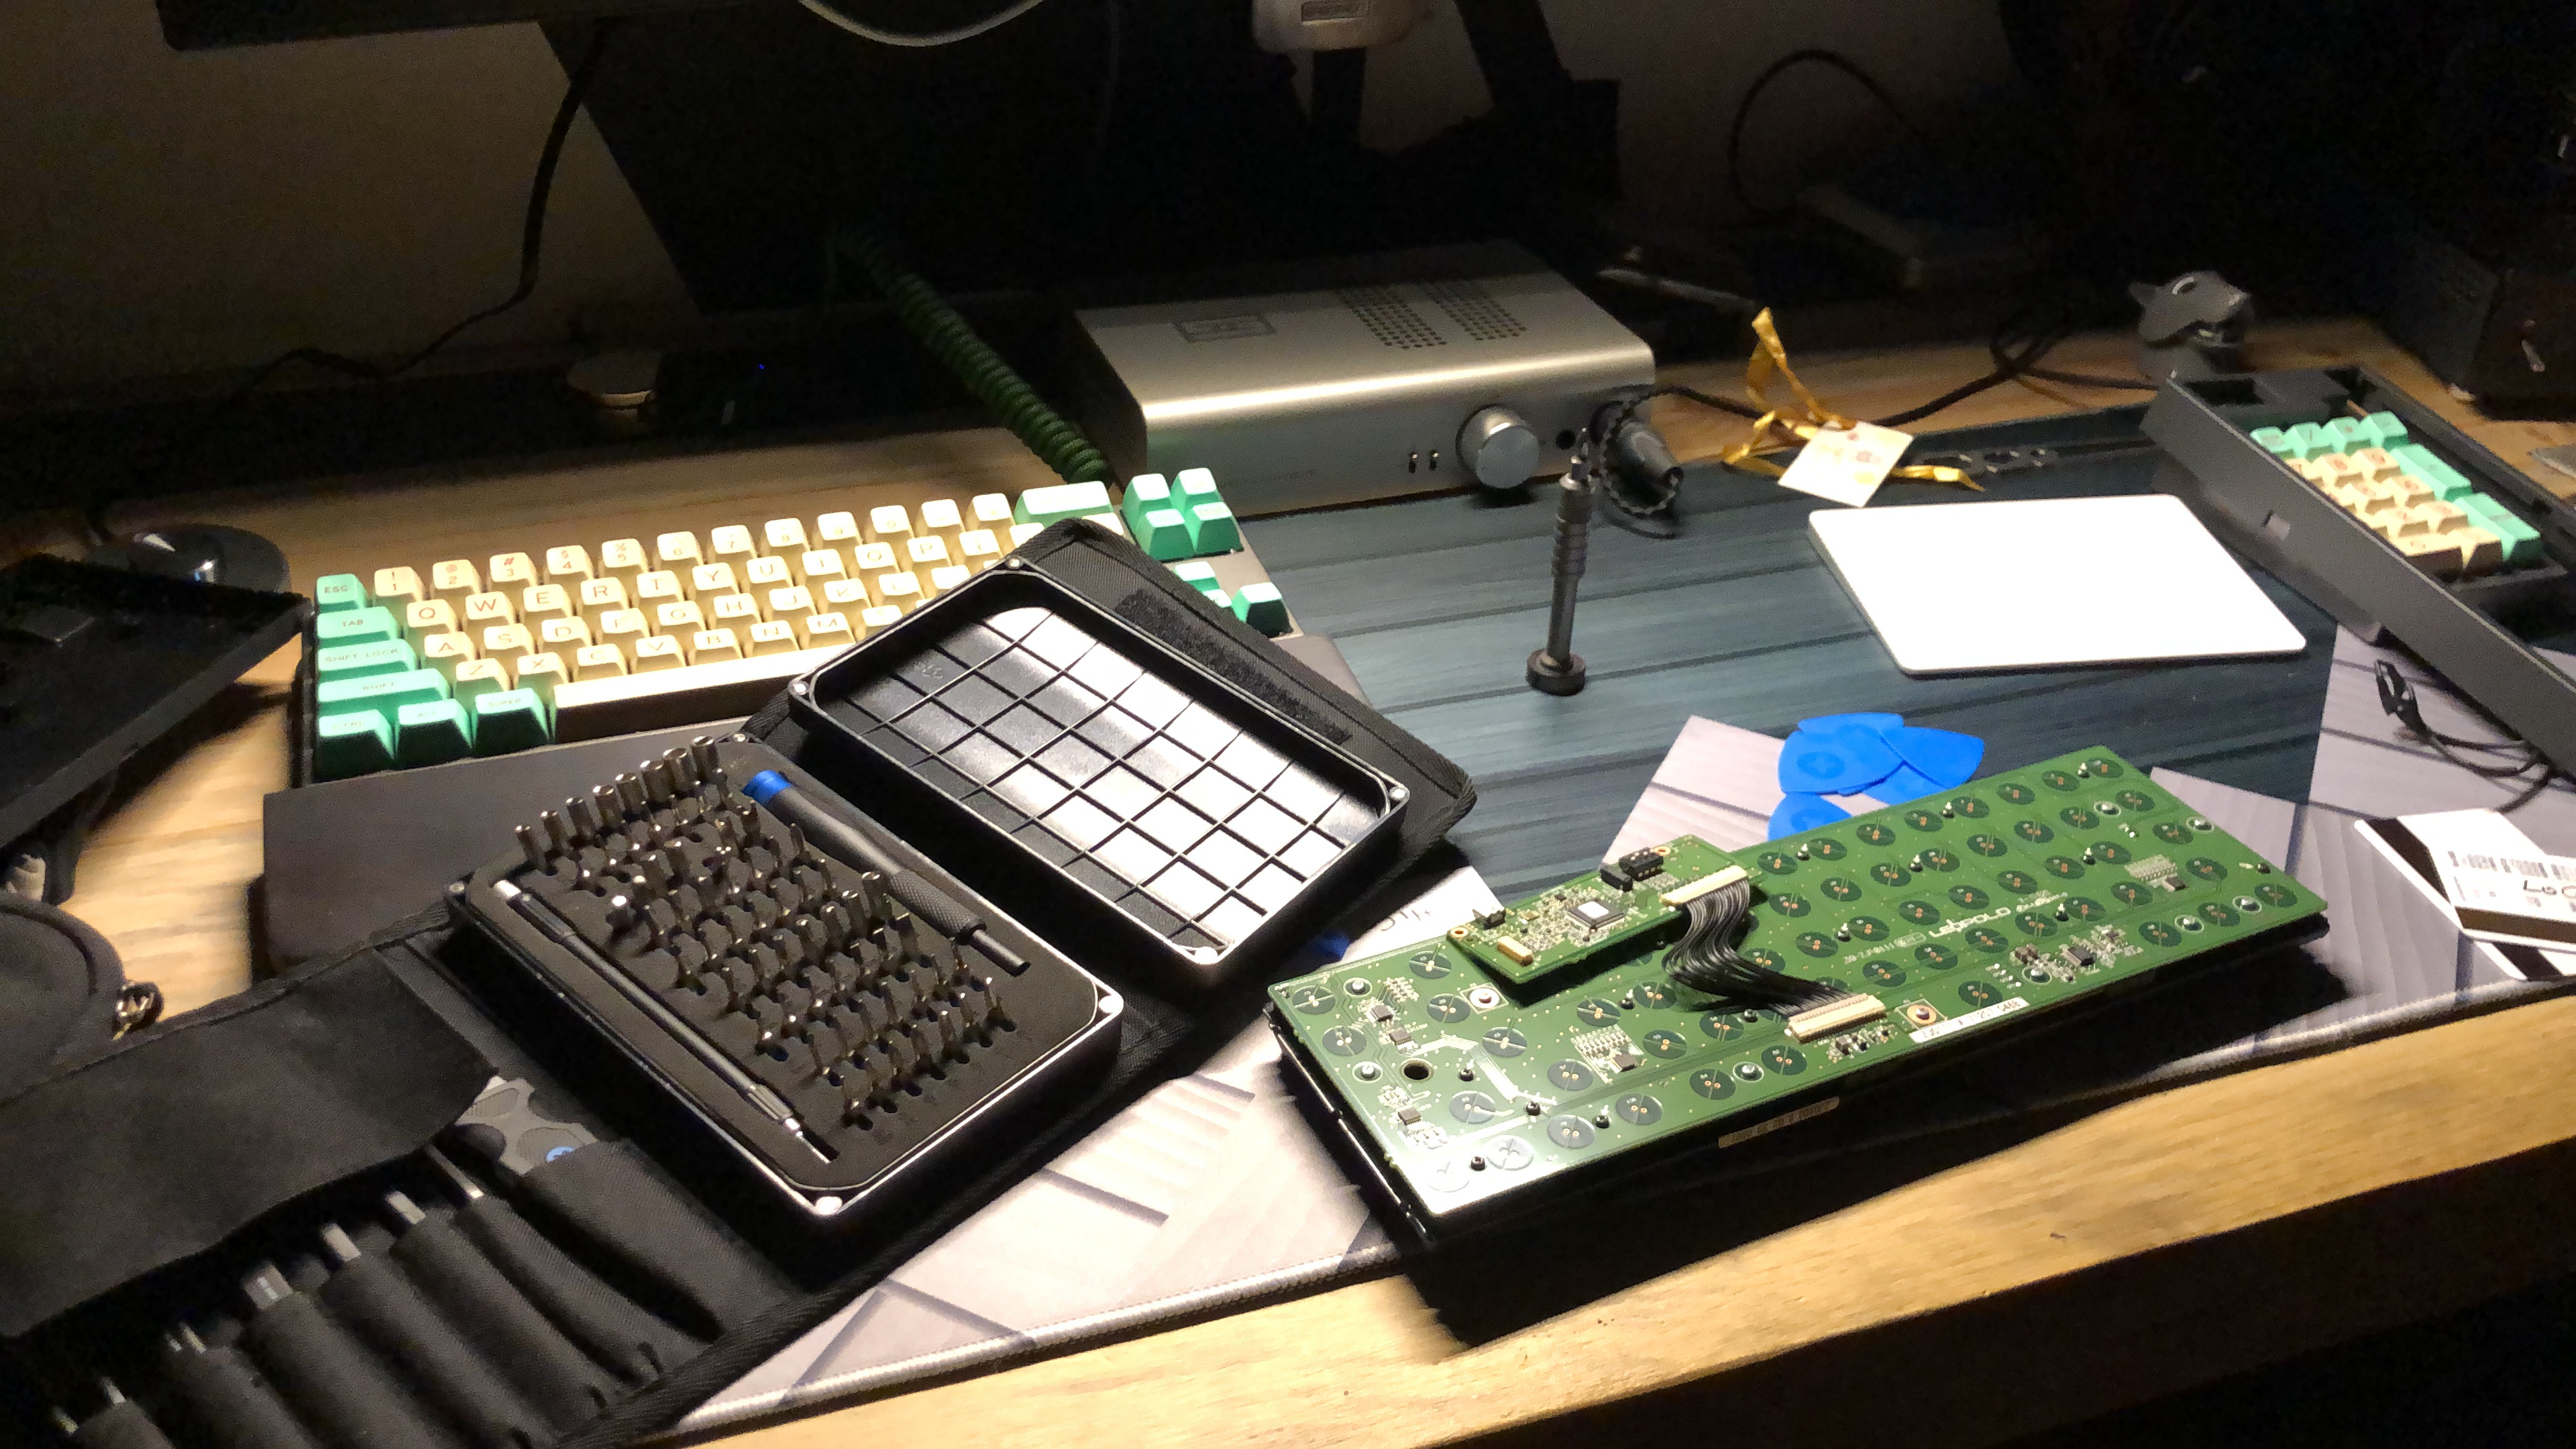
I think the only part that was a little confusing and made me pause for a moment was the spacers. The spacers screw onto the USB daughter board and the bottom plate of the heavy 6. Let us know if you have any trouble!
1 Like
Yes, the brass standoffs are spacers that lift the daughter board off of the steel rear cover plate. On the plate site, use the countersink screws (the ones with a head that is conically shaped). On the daughter boar side, use the button-head screws. Note that I’ve included extras of everything, so don’t be confused when you have a spare spacer or screws; it does’n’t necessarily mean you did anything wrong. ![]()
No worries. I figured it out shortly after I posted. Really only annoying part was getting the 6 screws that hold the board in place in position since I don’t have a magnetic screwdriver handy. One thing I did differently from the ManOfInterests video was that I didn’t disconnect the ribbon cable from the daughterboard since it didn’t seem to be necessary and I hate messing with ribbon cables. The case is amazing and goes nicely with my Norbaforce and Norba…MasterkeysProS. Thanks!
3 Likes


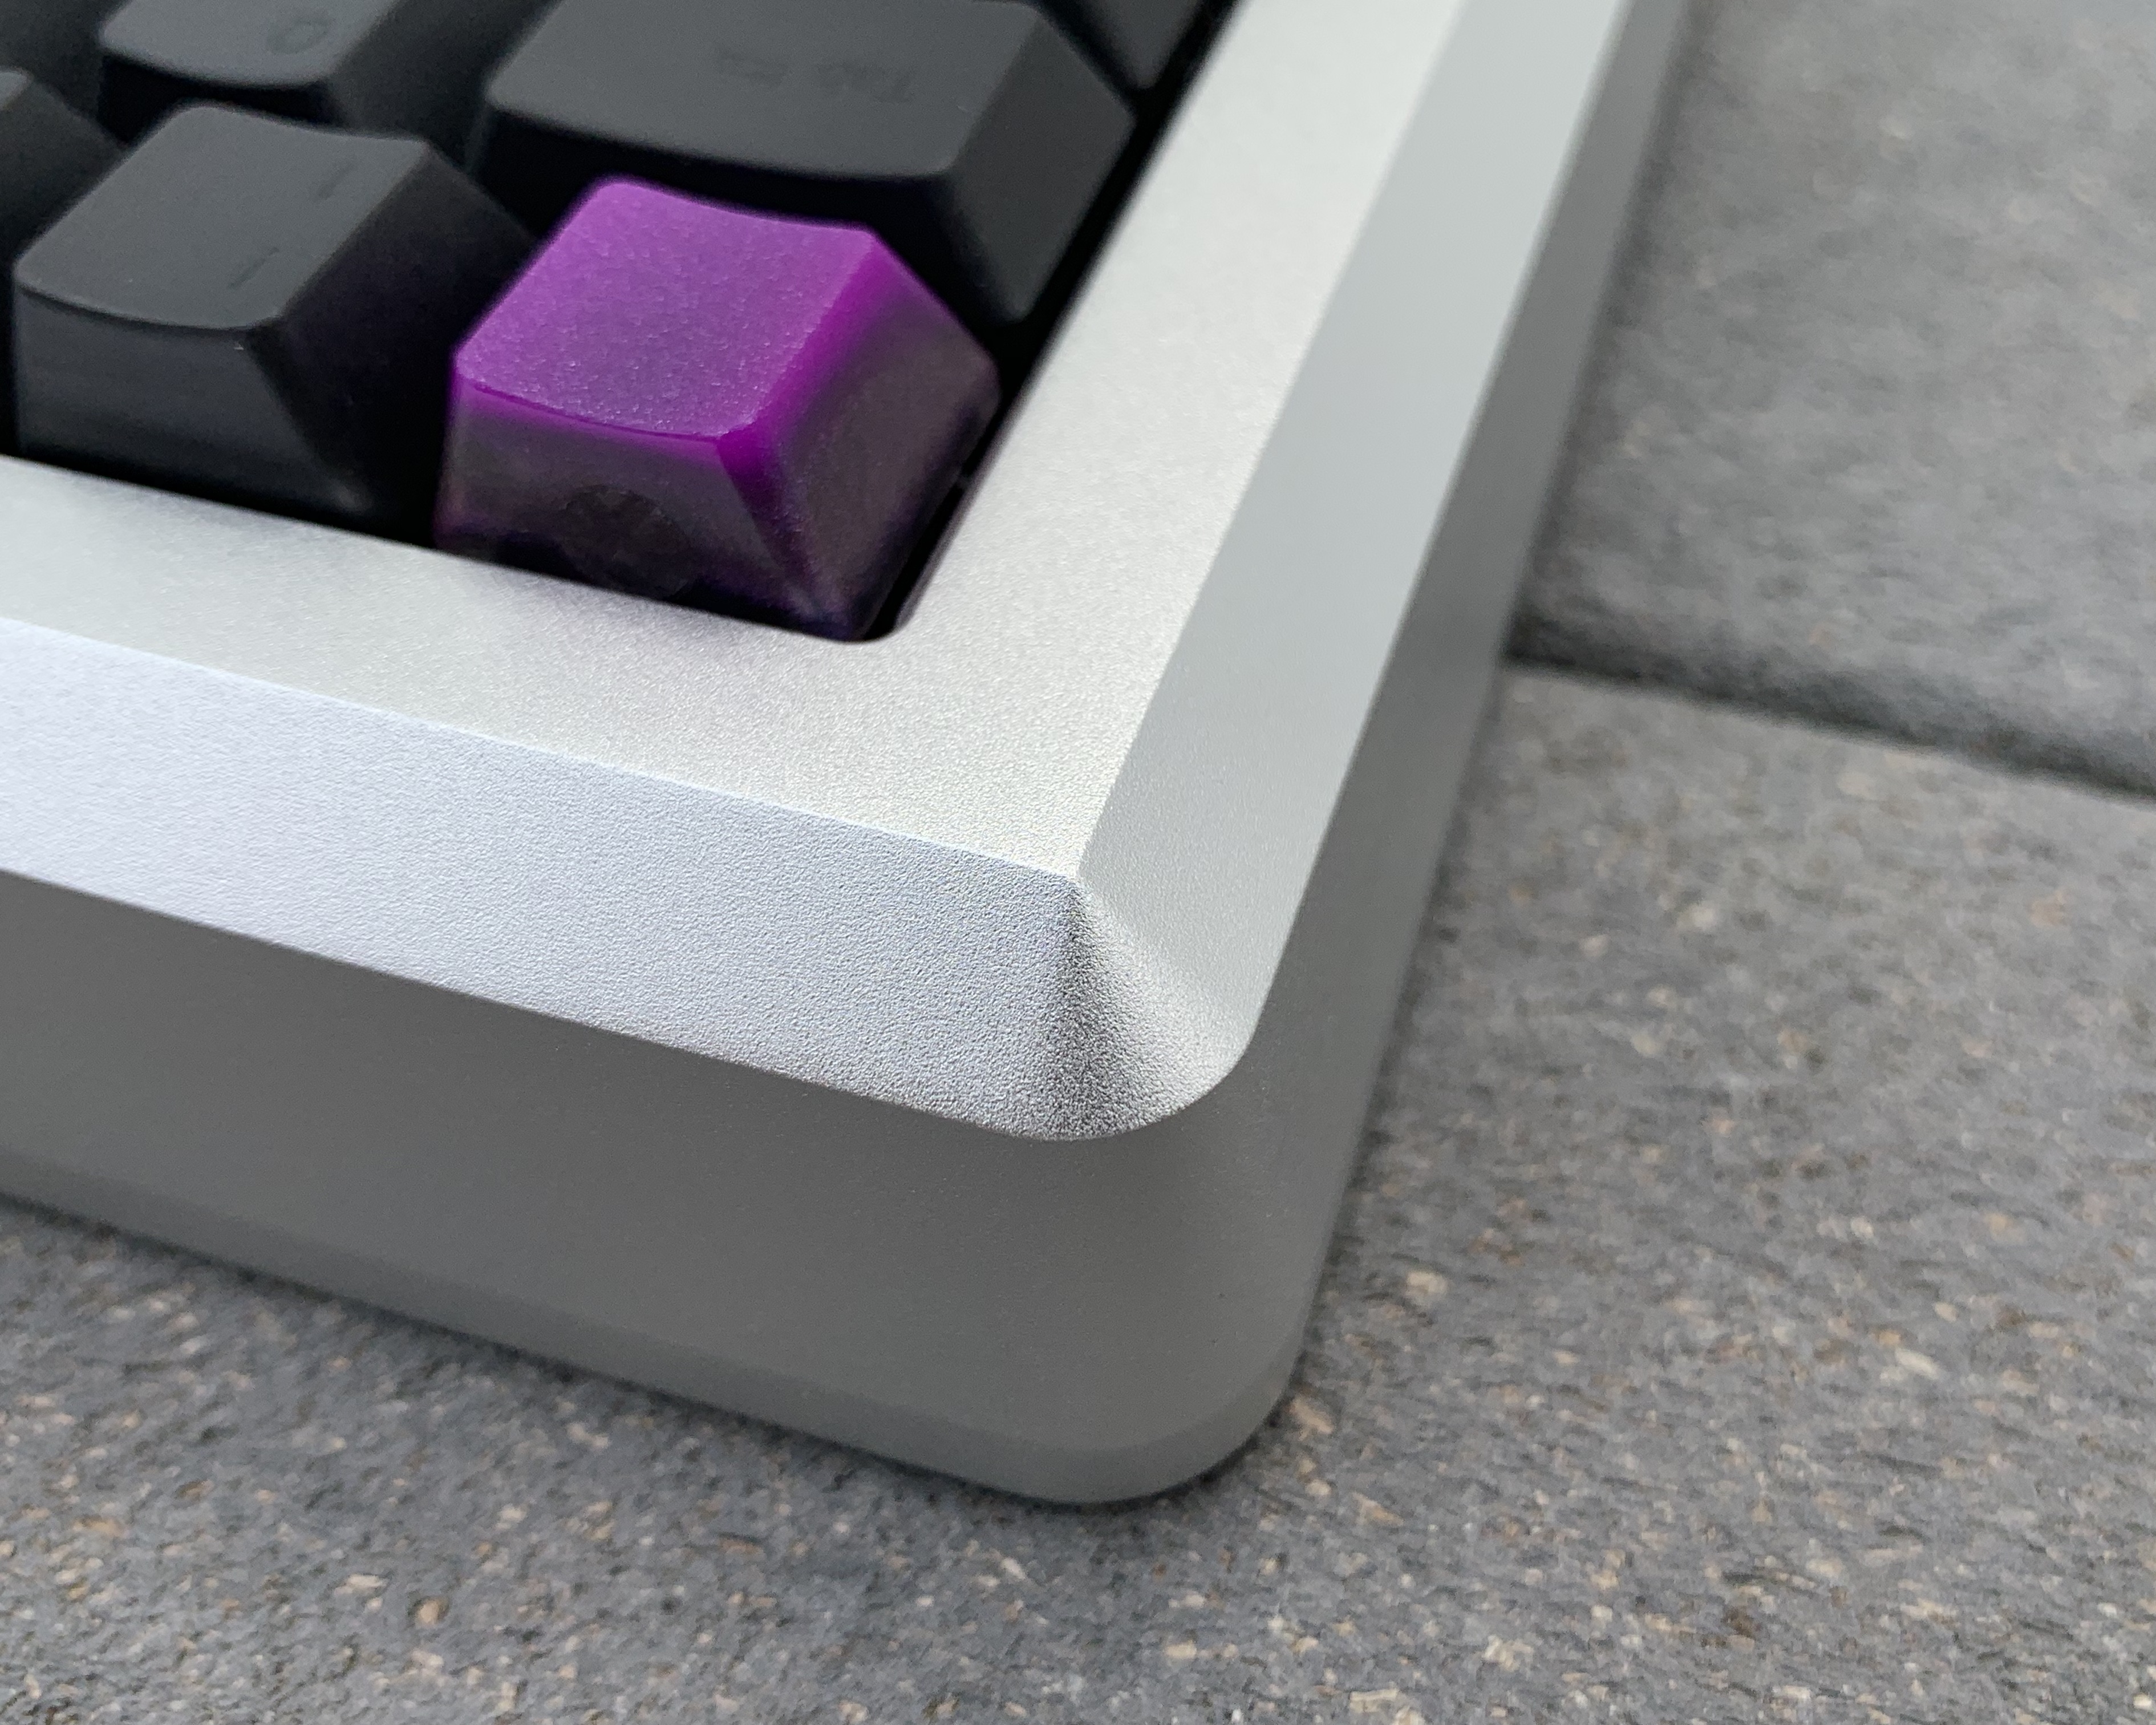
The moment after you applied the wax was beautiful!
1 Like
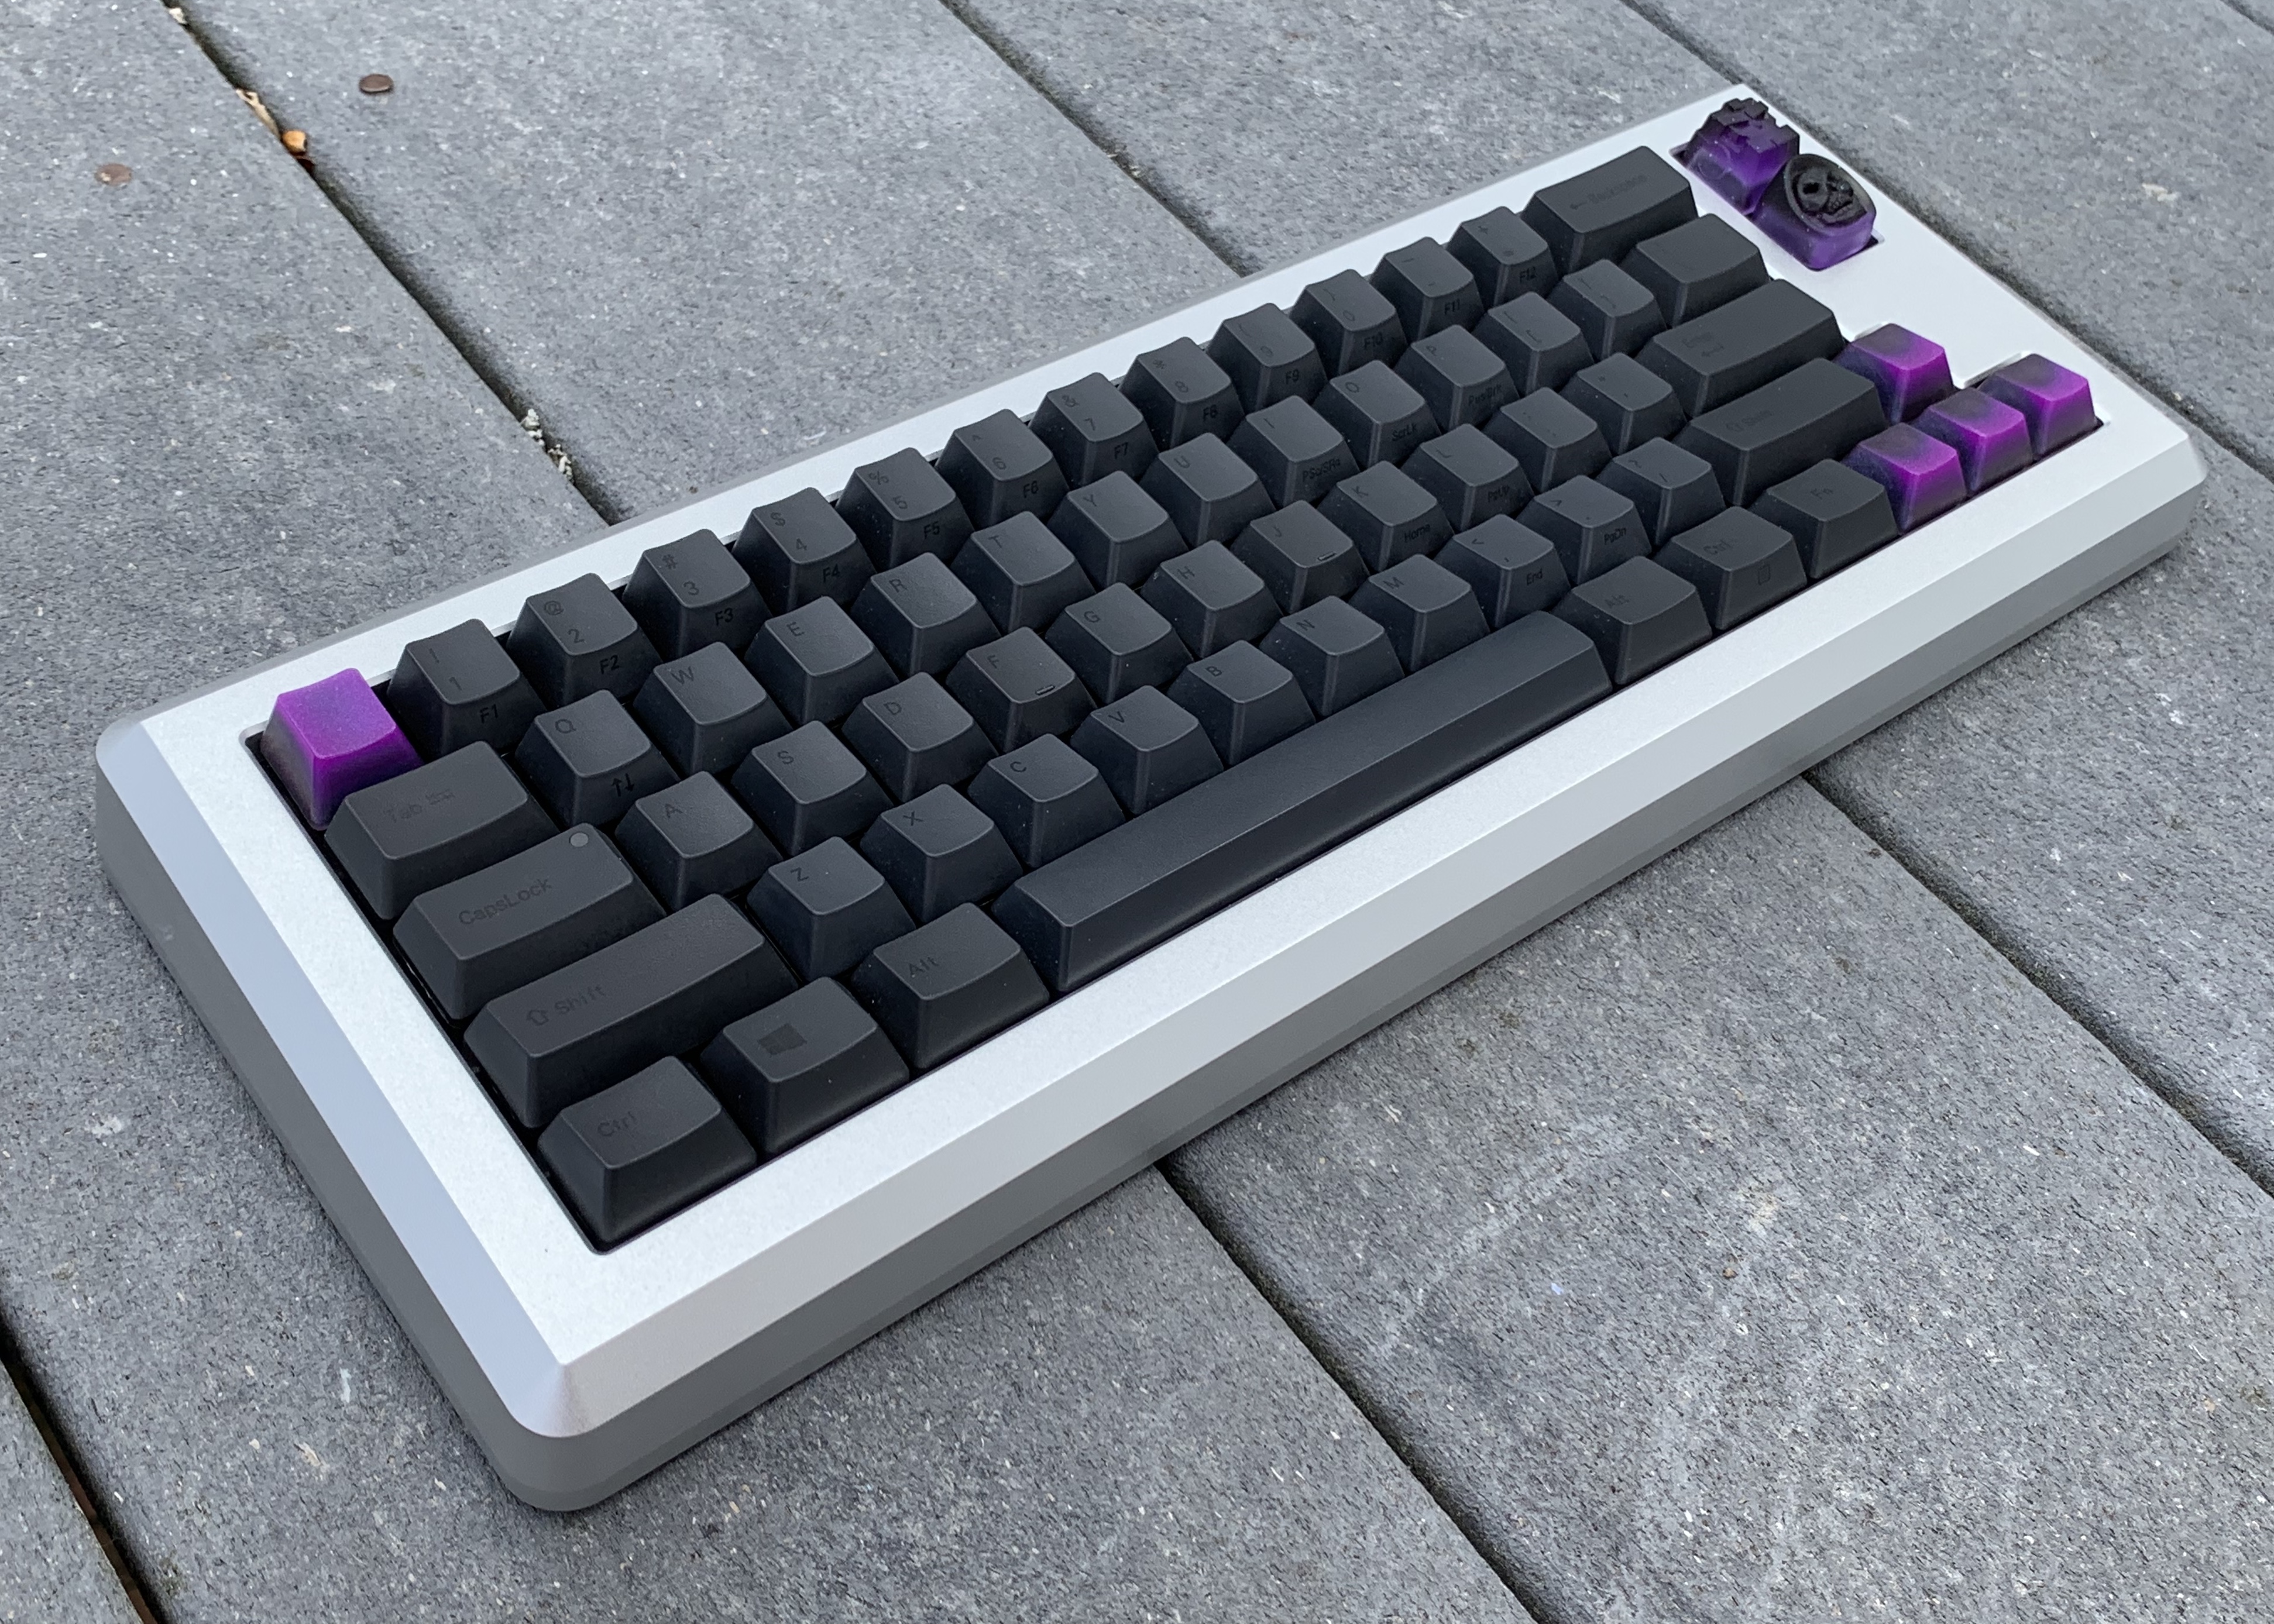
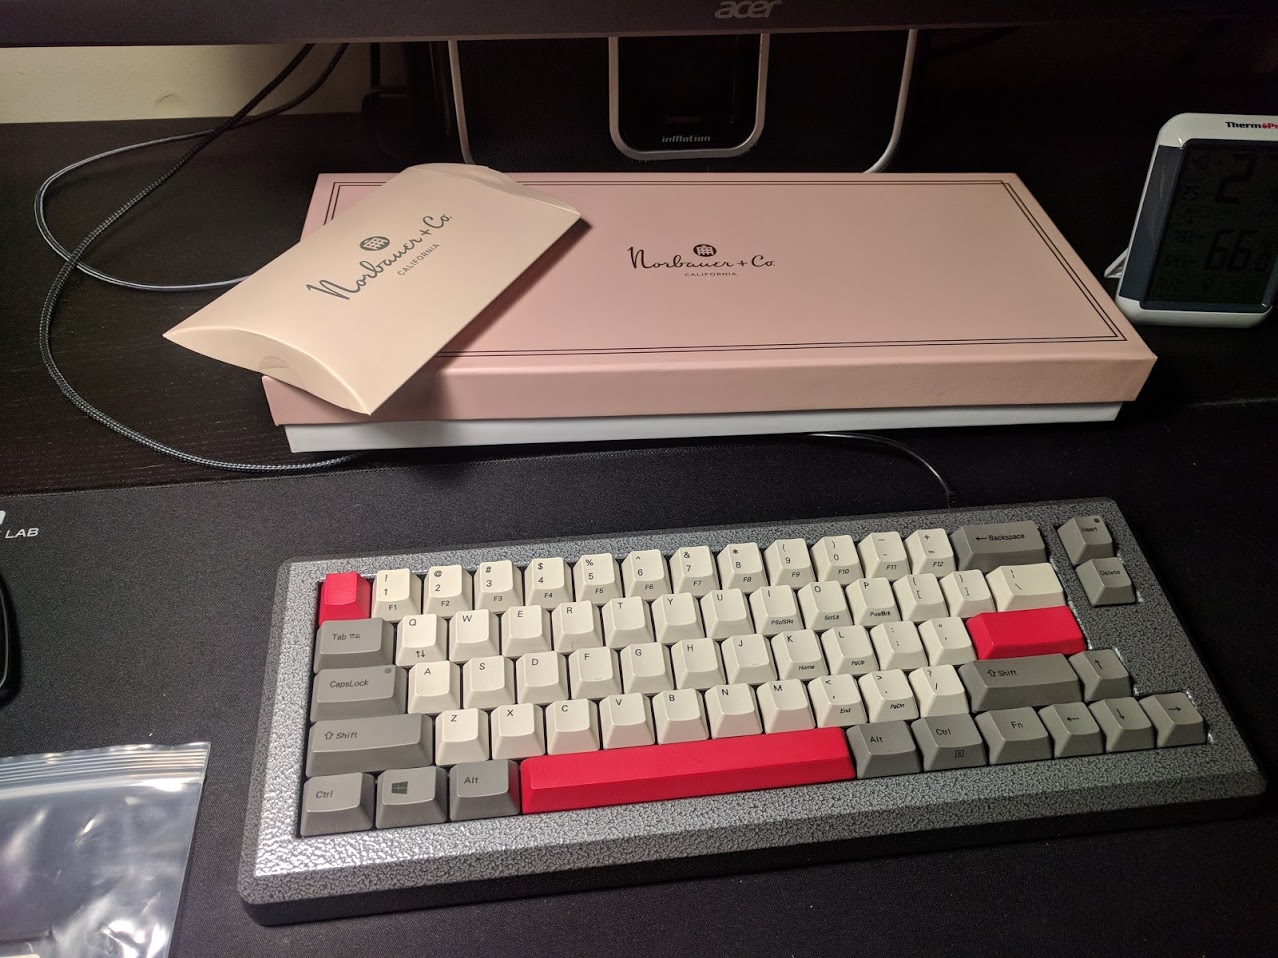
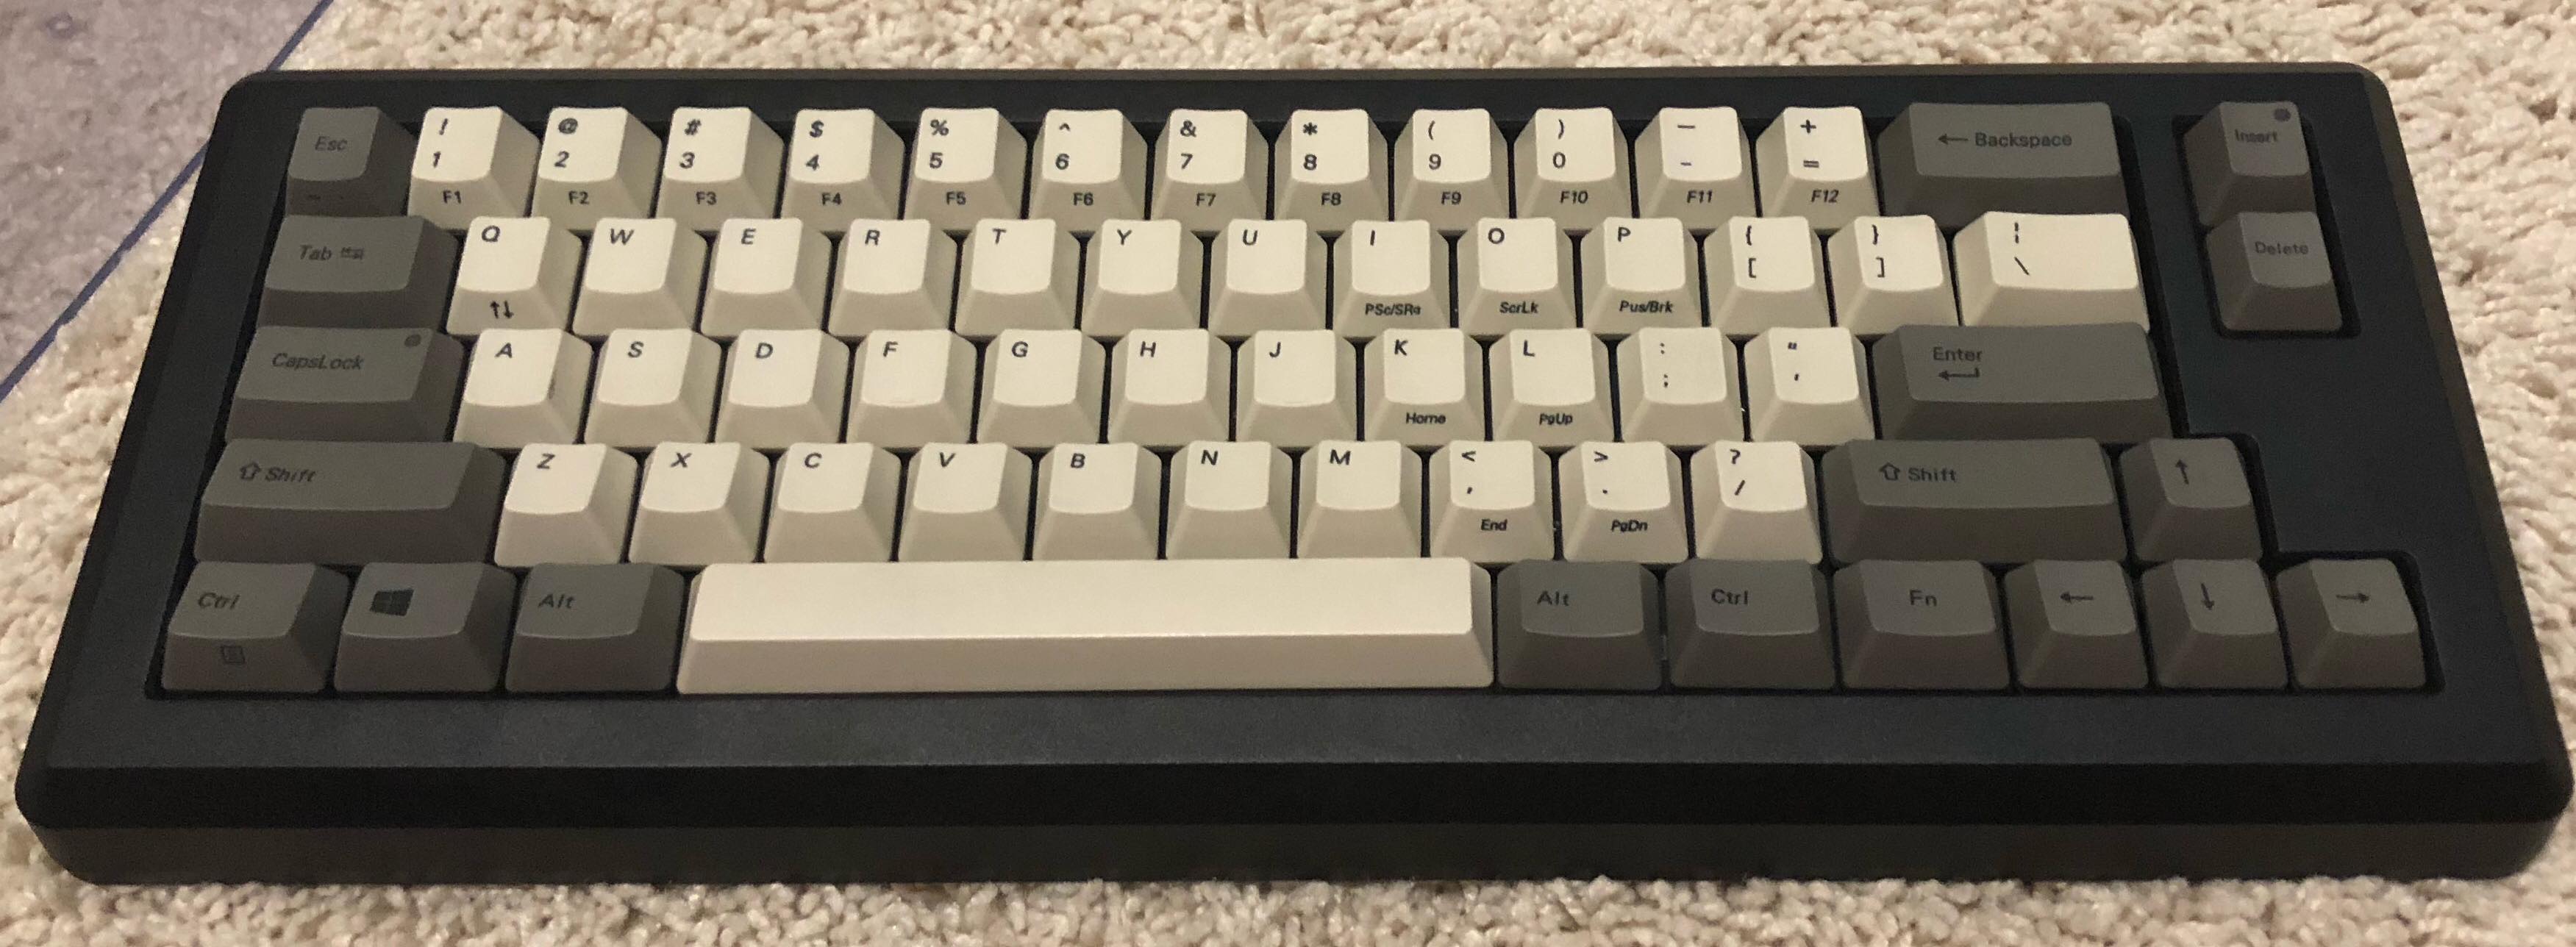
That dark gray CA66 looks great. Also really love the MT3 on the retro fridge heavy6

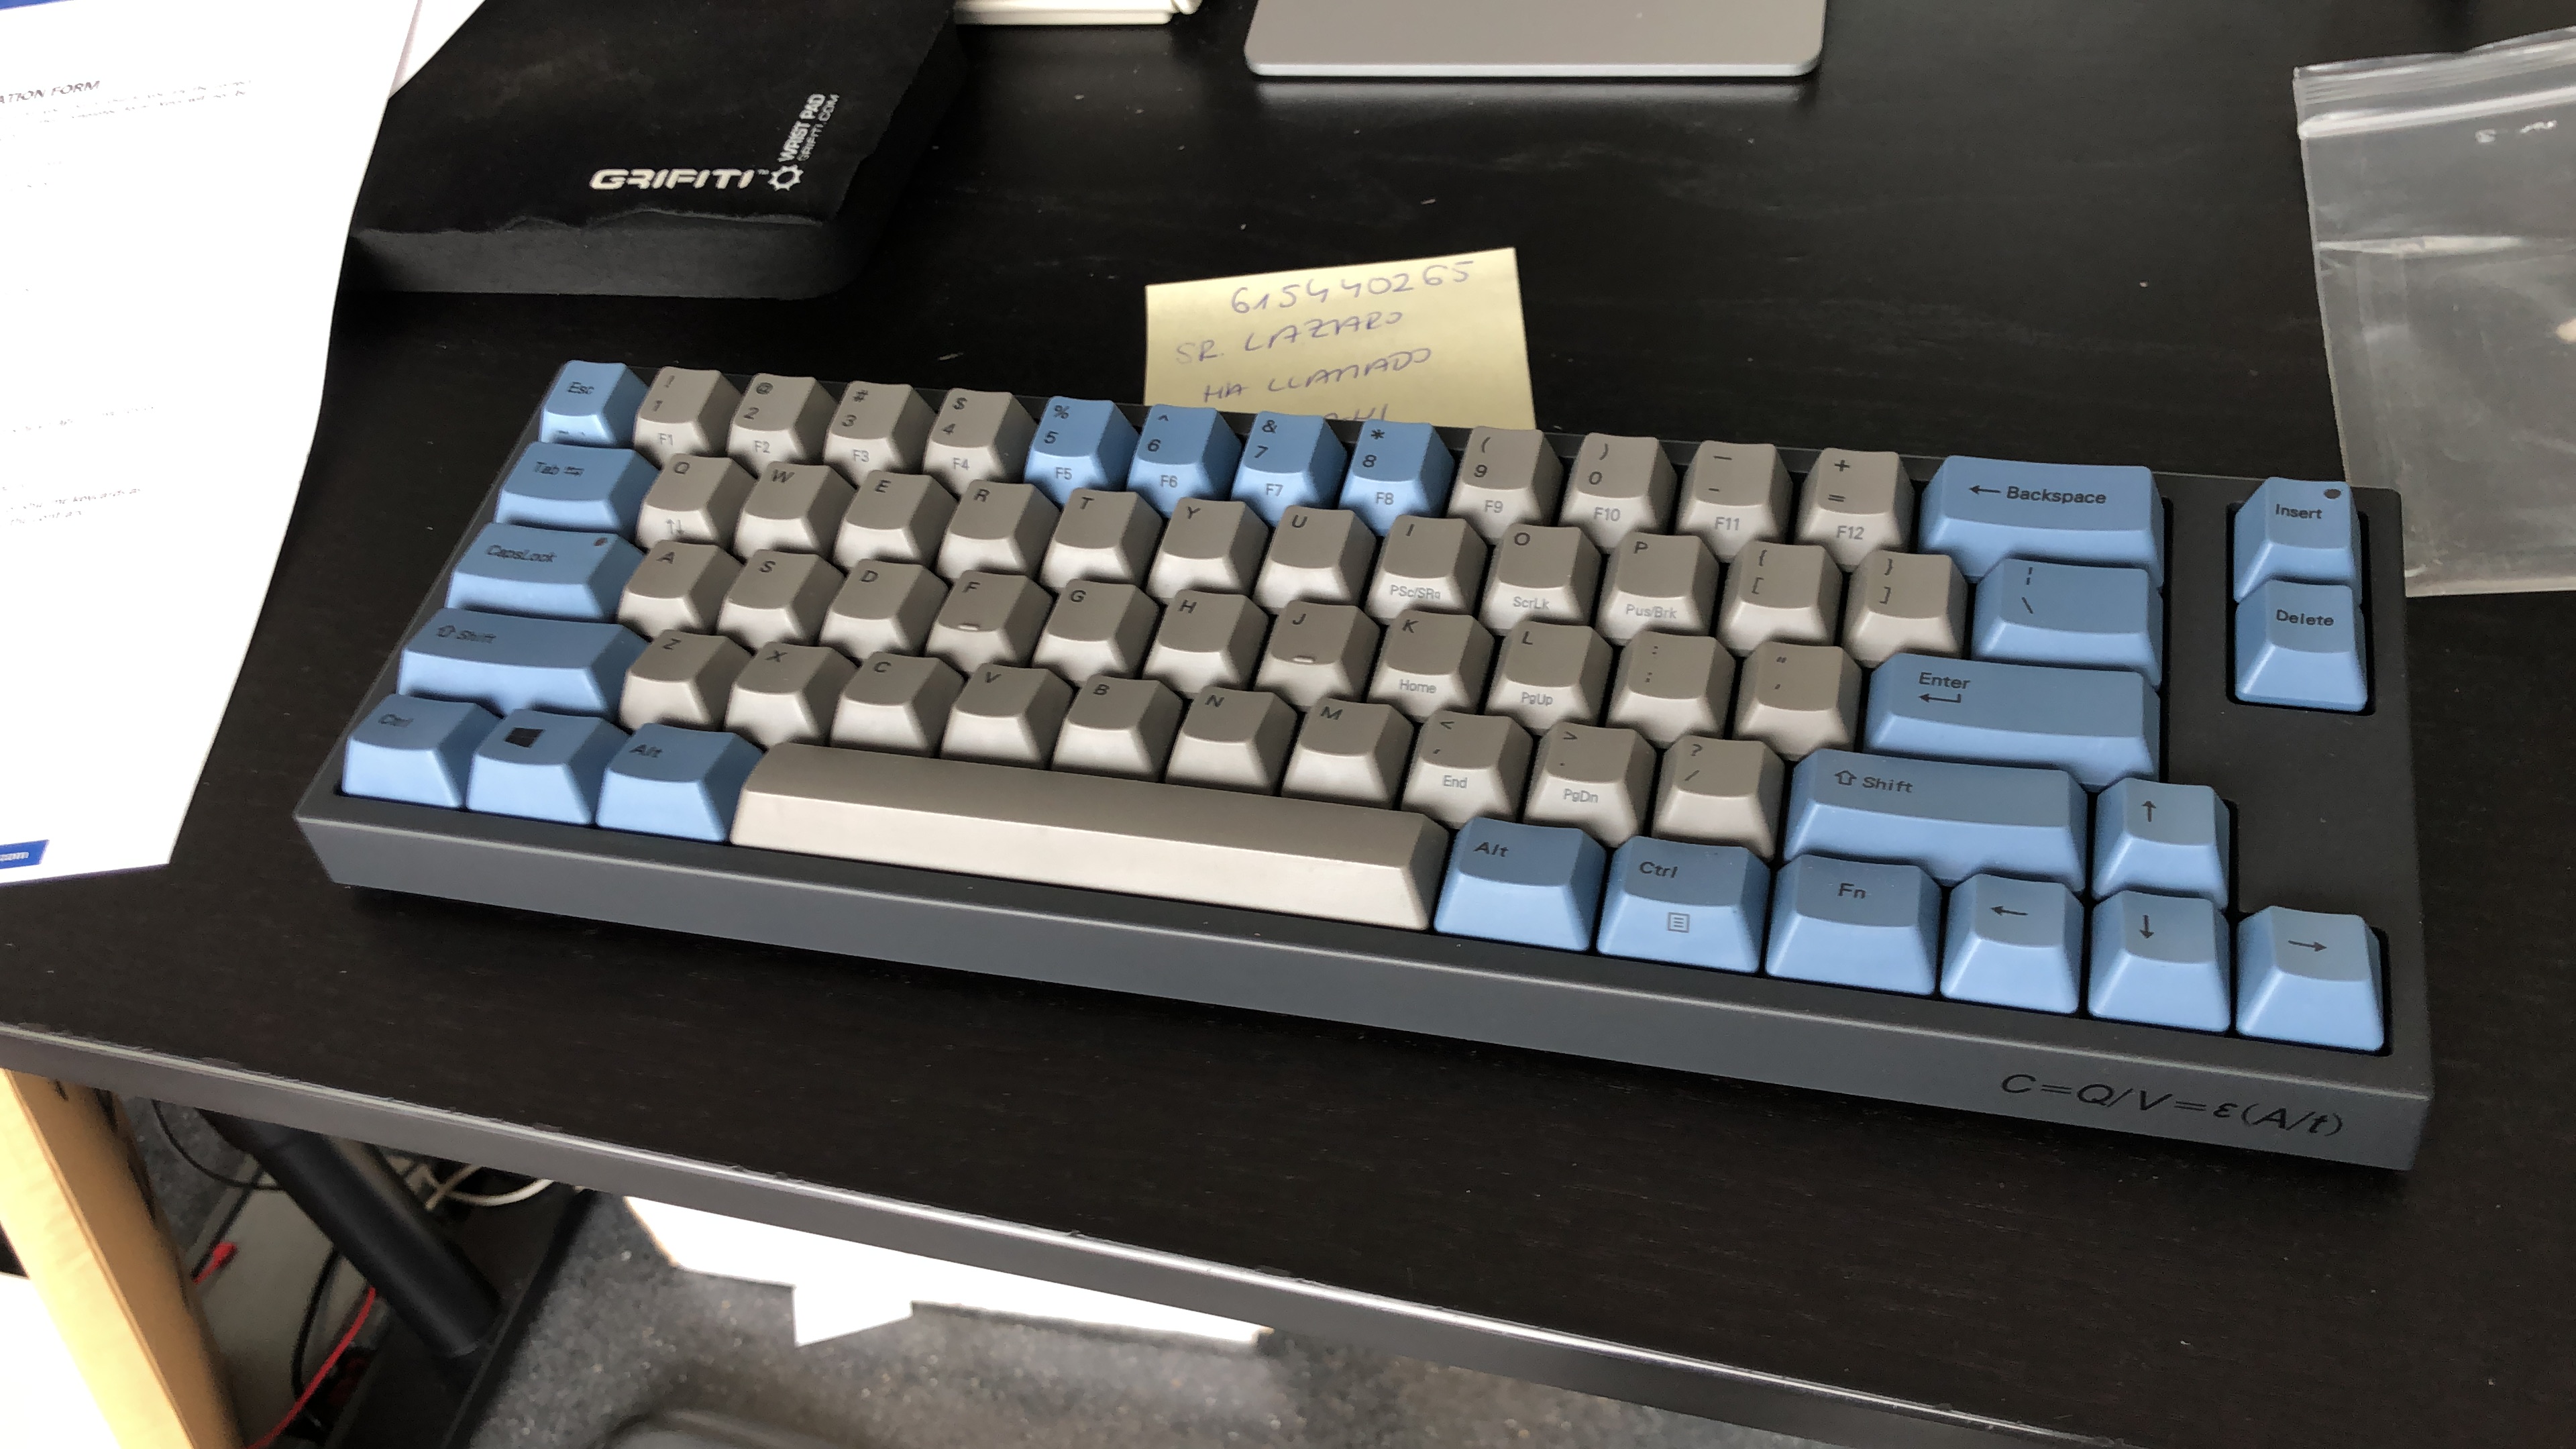


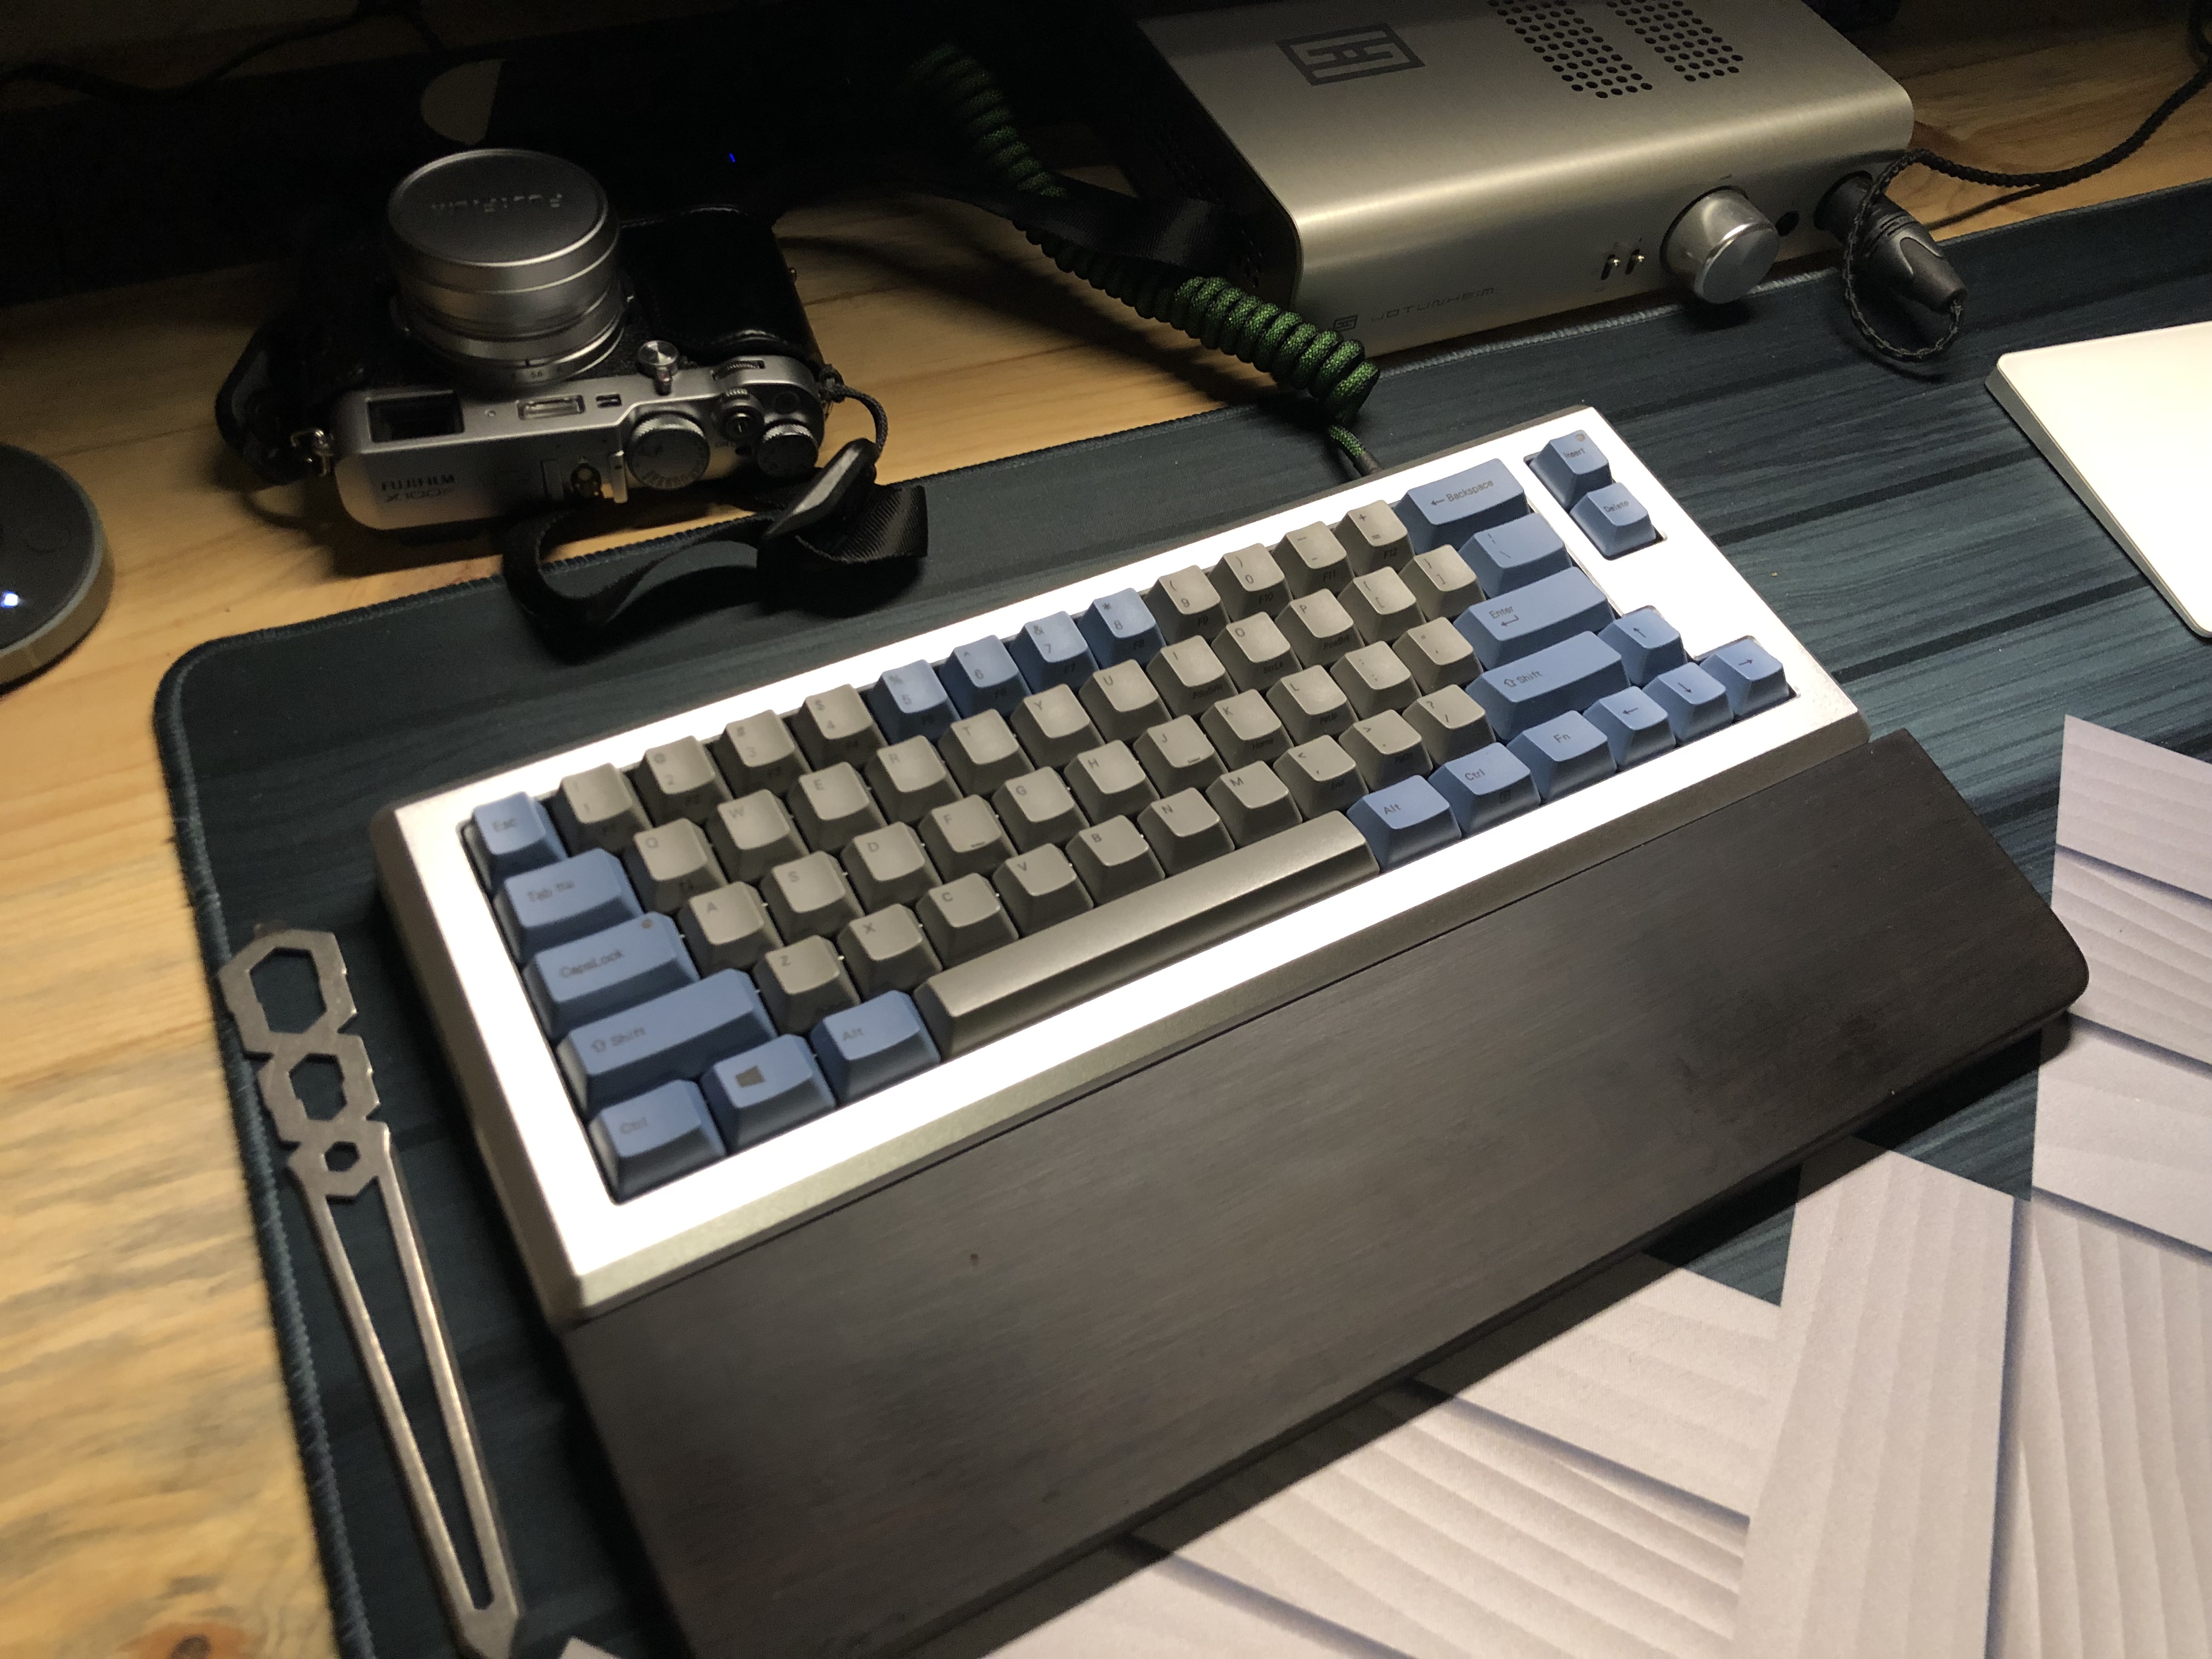
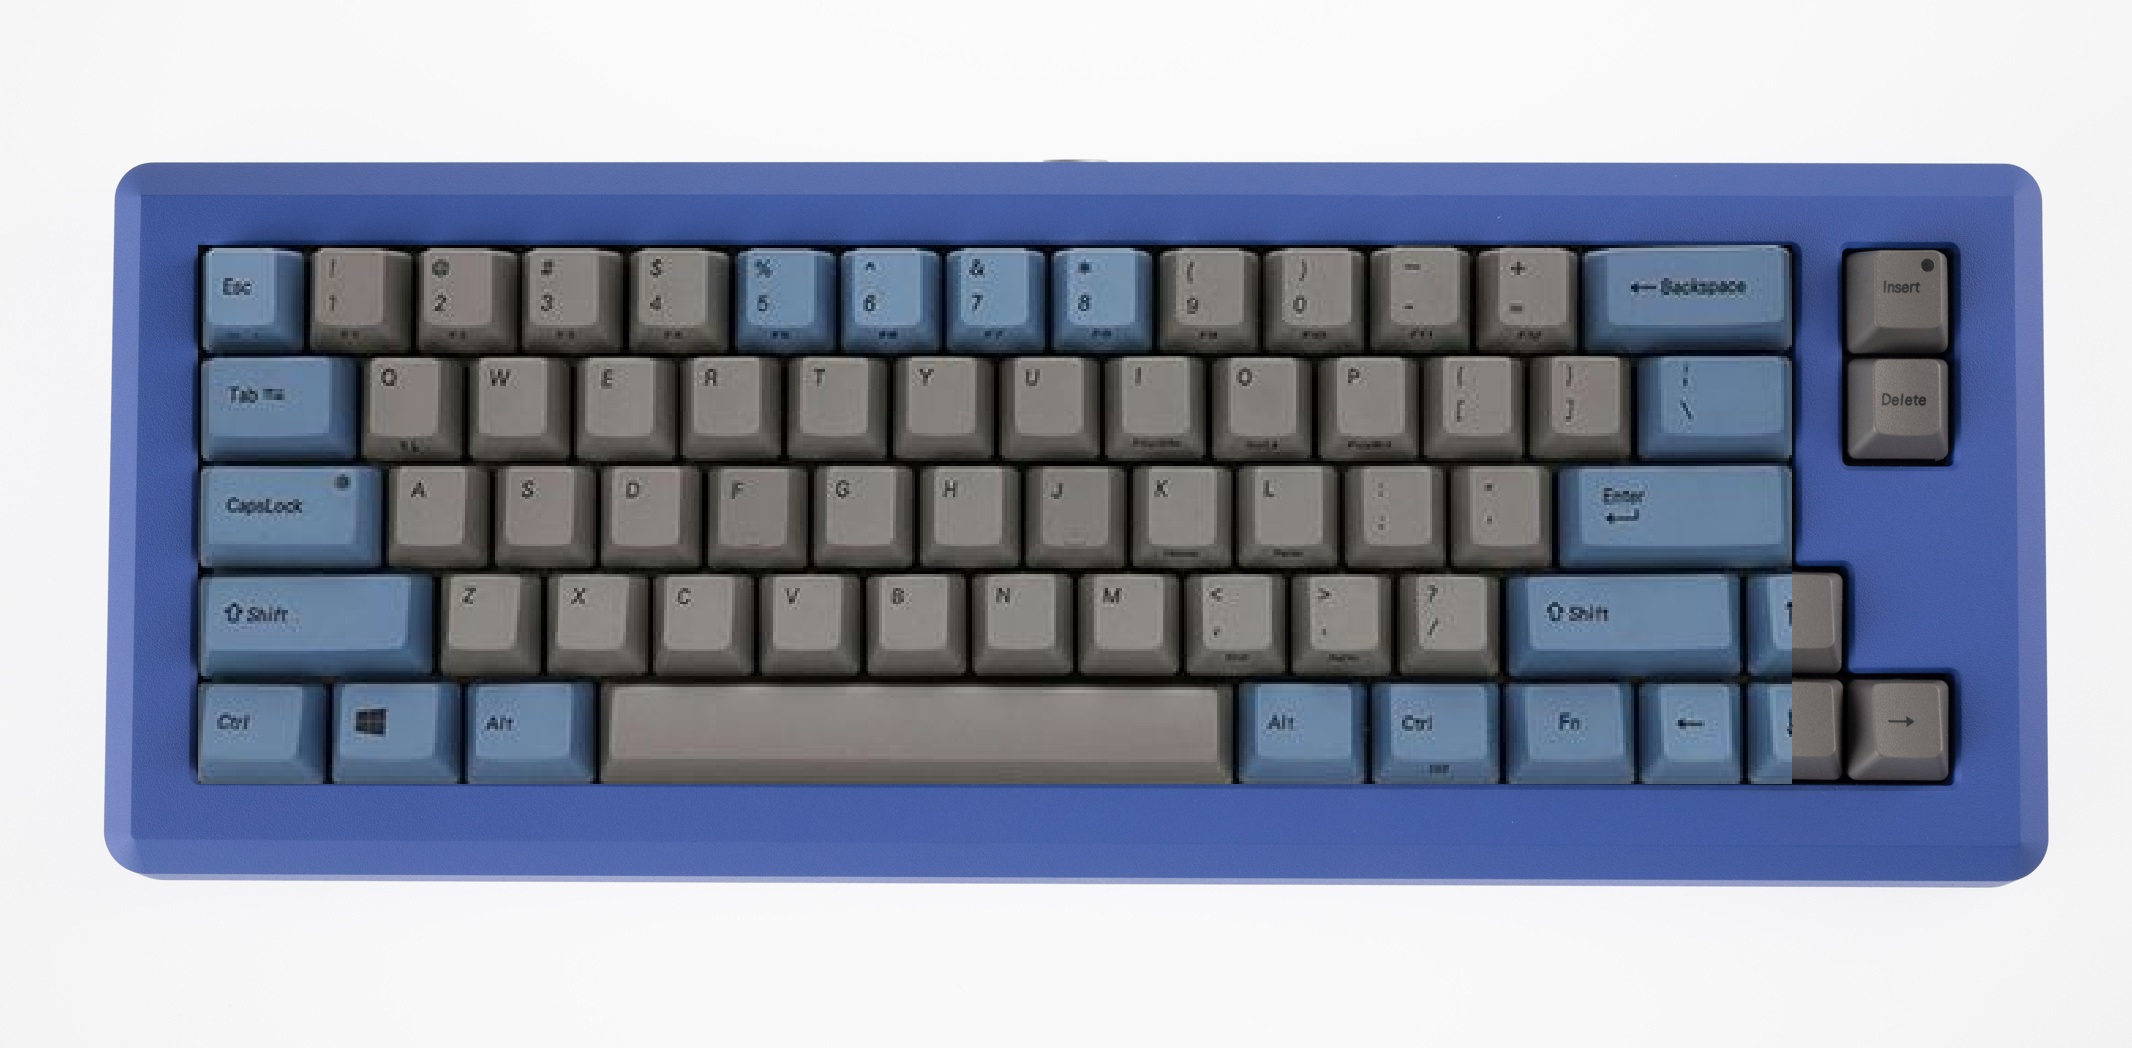
Can someone mock up the gray and blue fc660c with the Maritime case? I’m wondering how that would look.
HOLY COW, this combo looks incredible. The teal matches really well. You’ve really pulled off that retro look you are going for. Stunning.
3 Likes
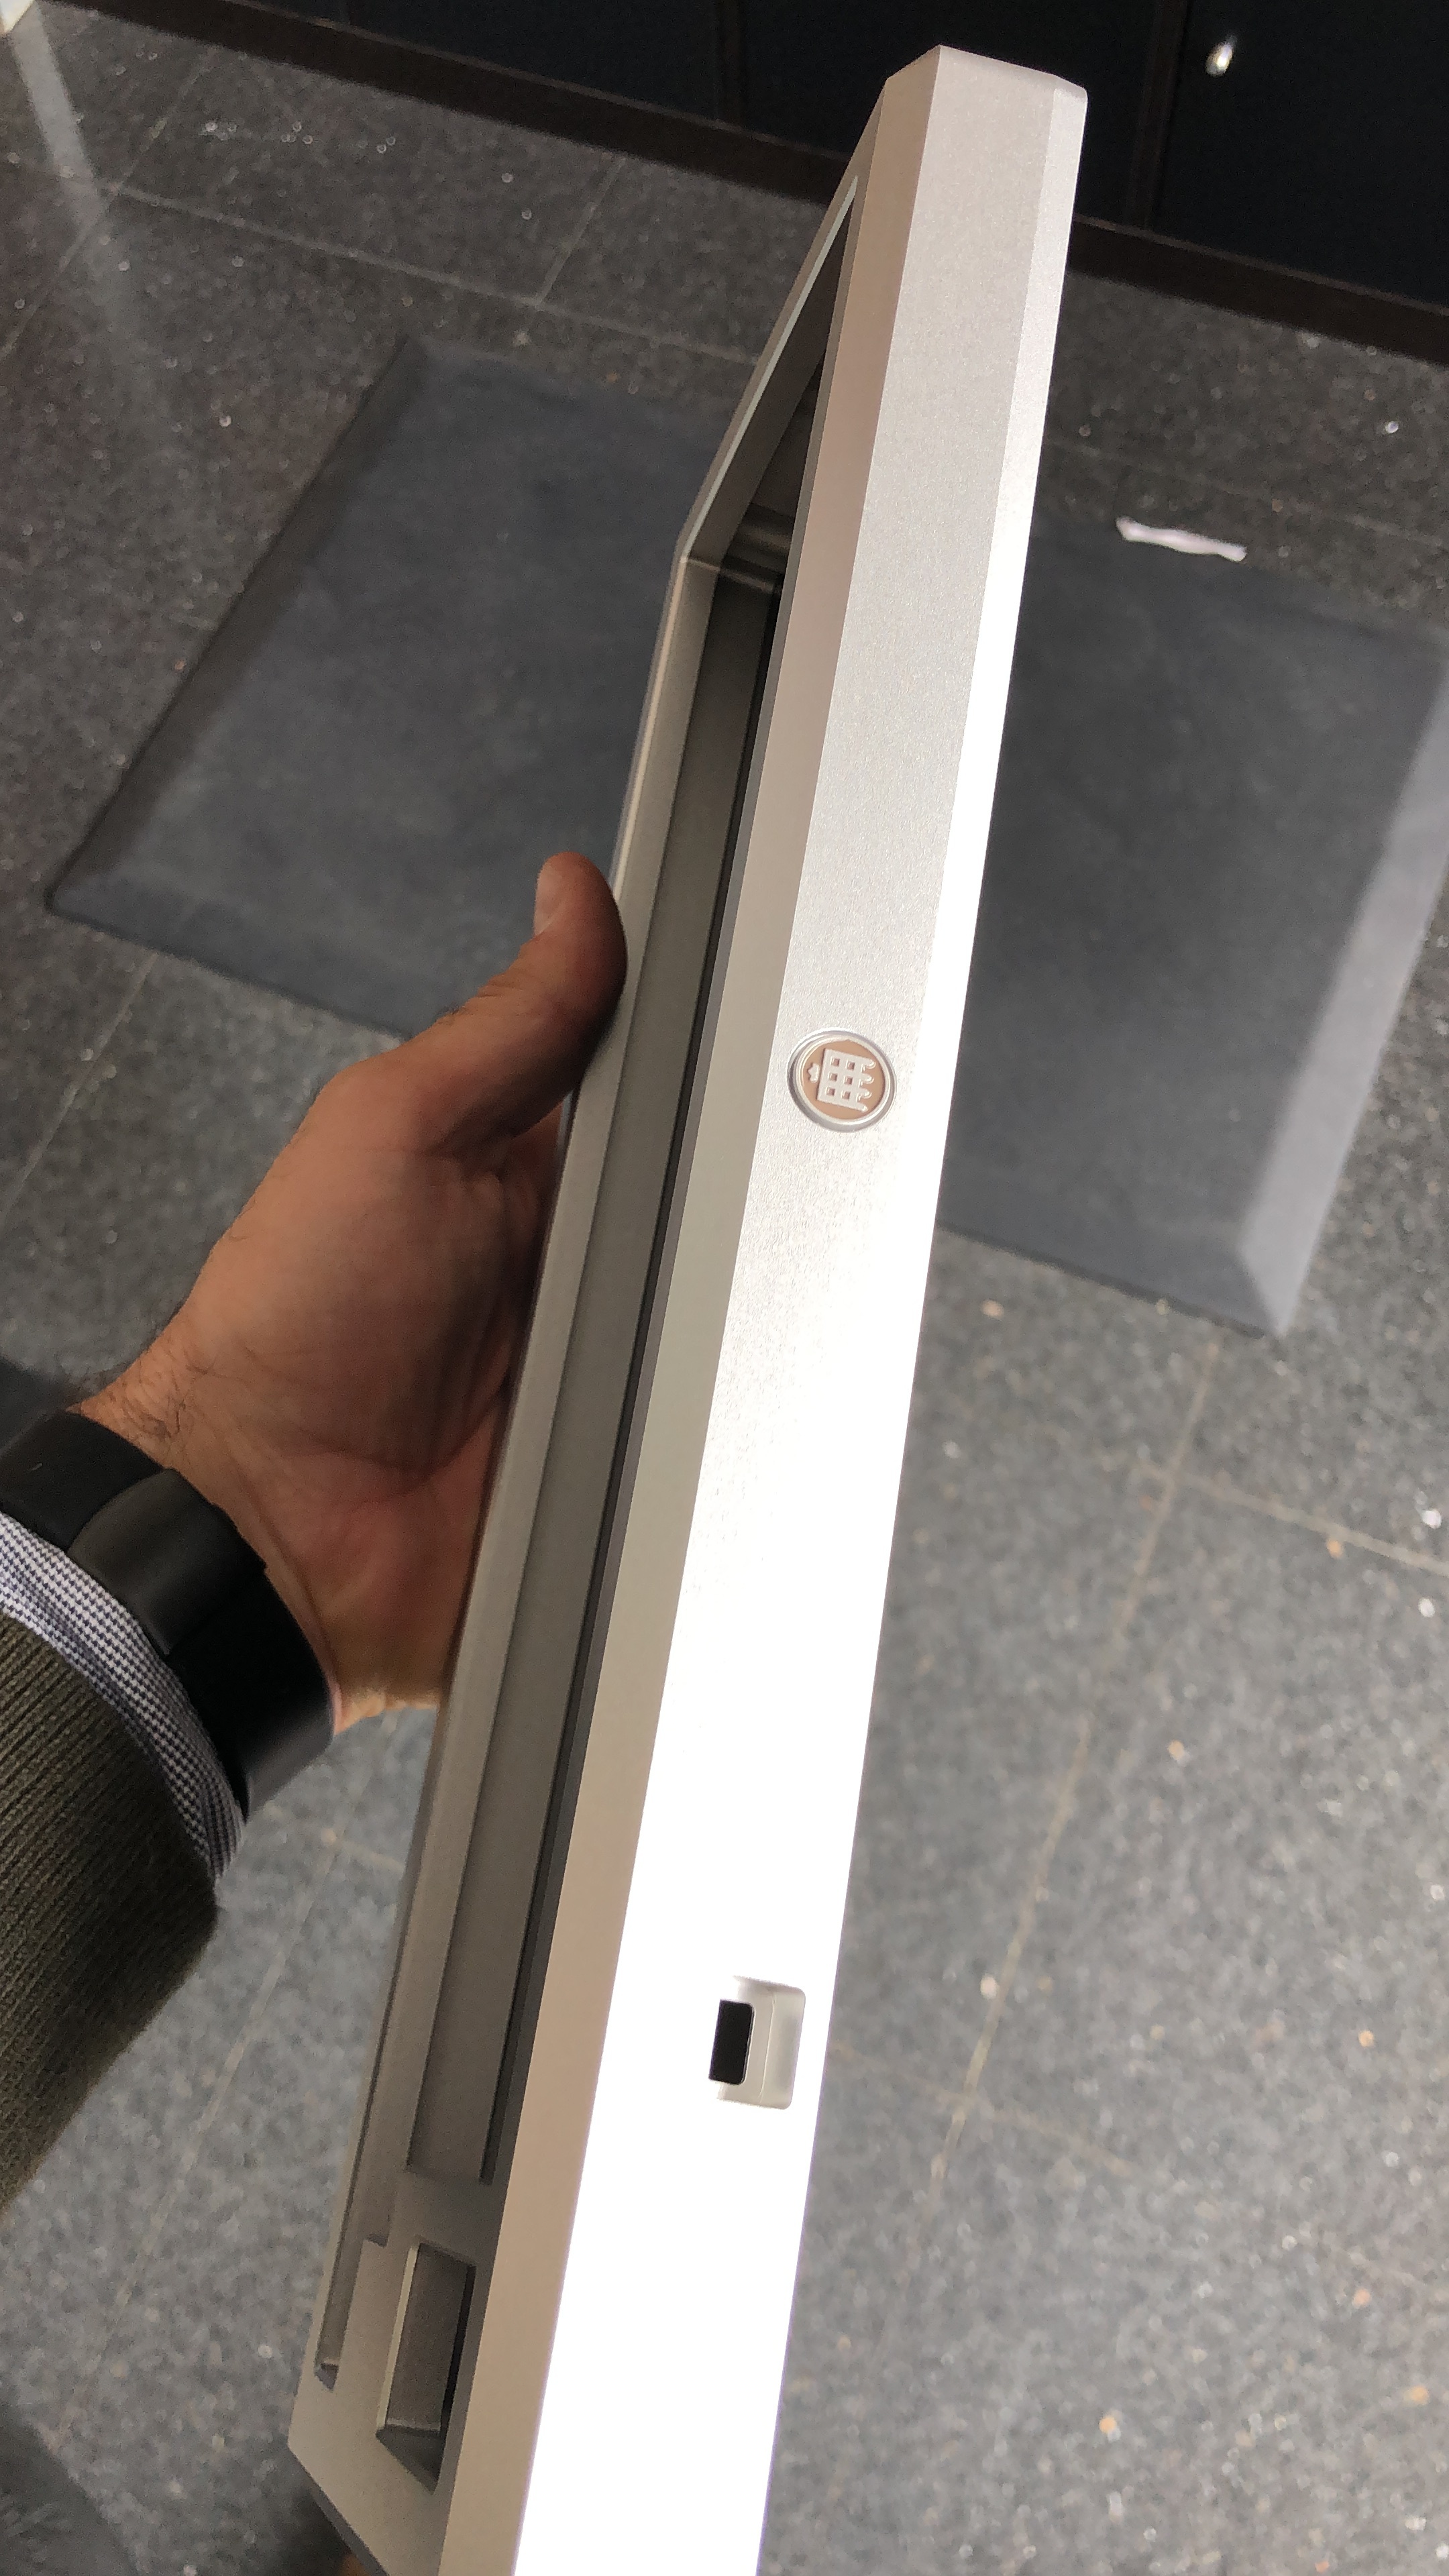
this is the only man that can carry a monolith with a single hand.
can’t wait to get this <3
Thanks! That helped me make my decision. I think I’m gonna go w/ the enigma gray.