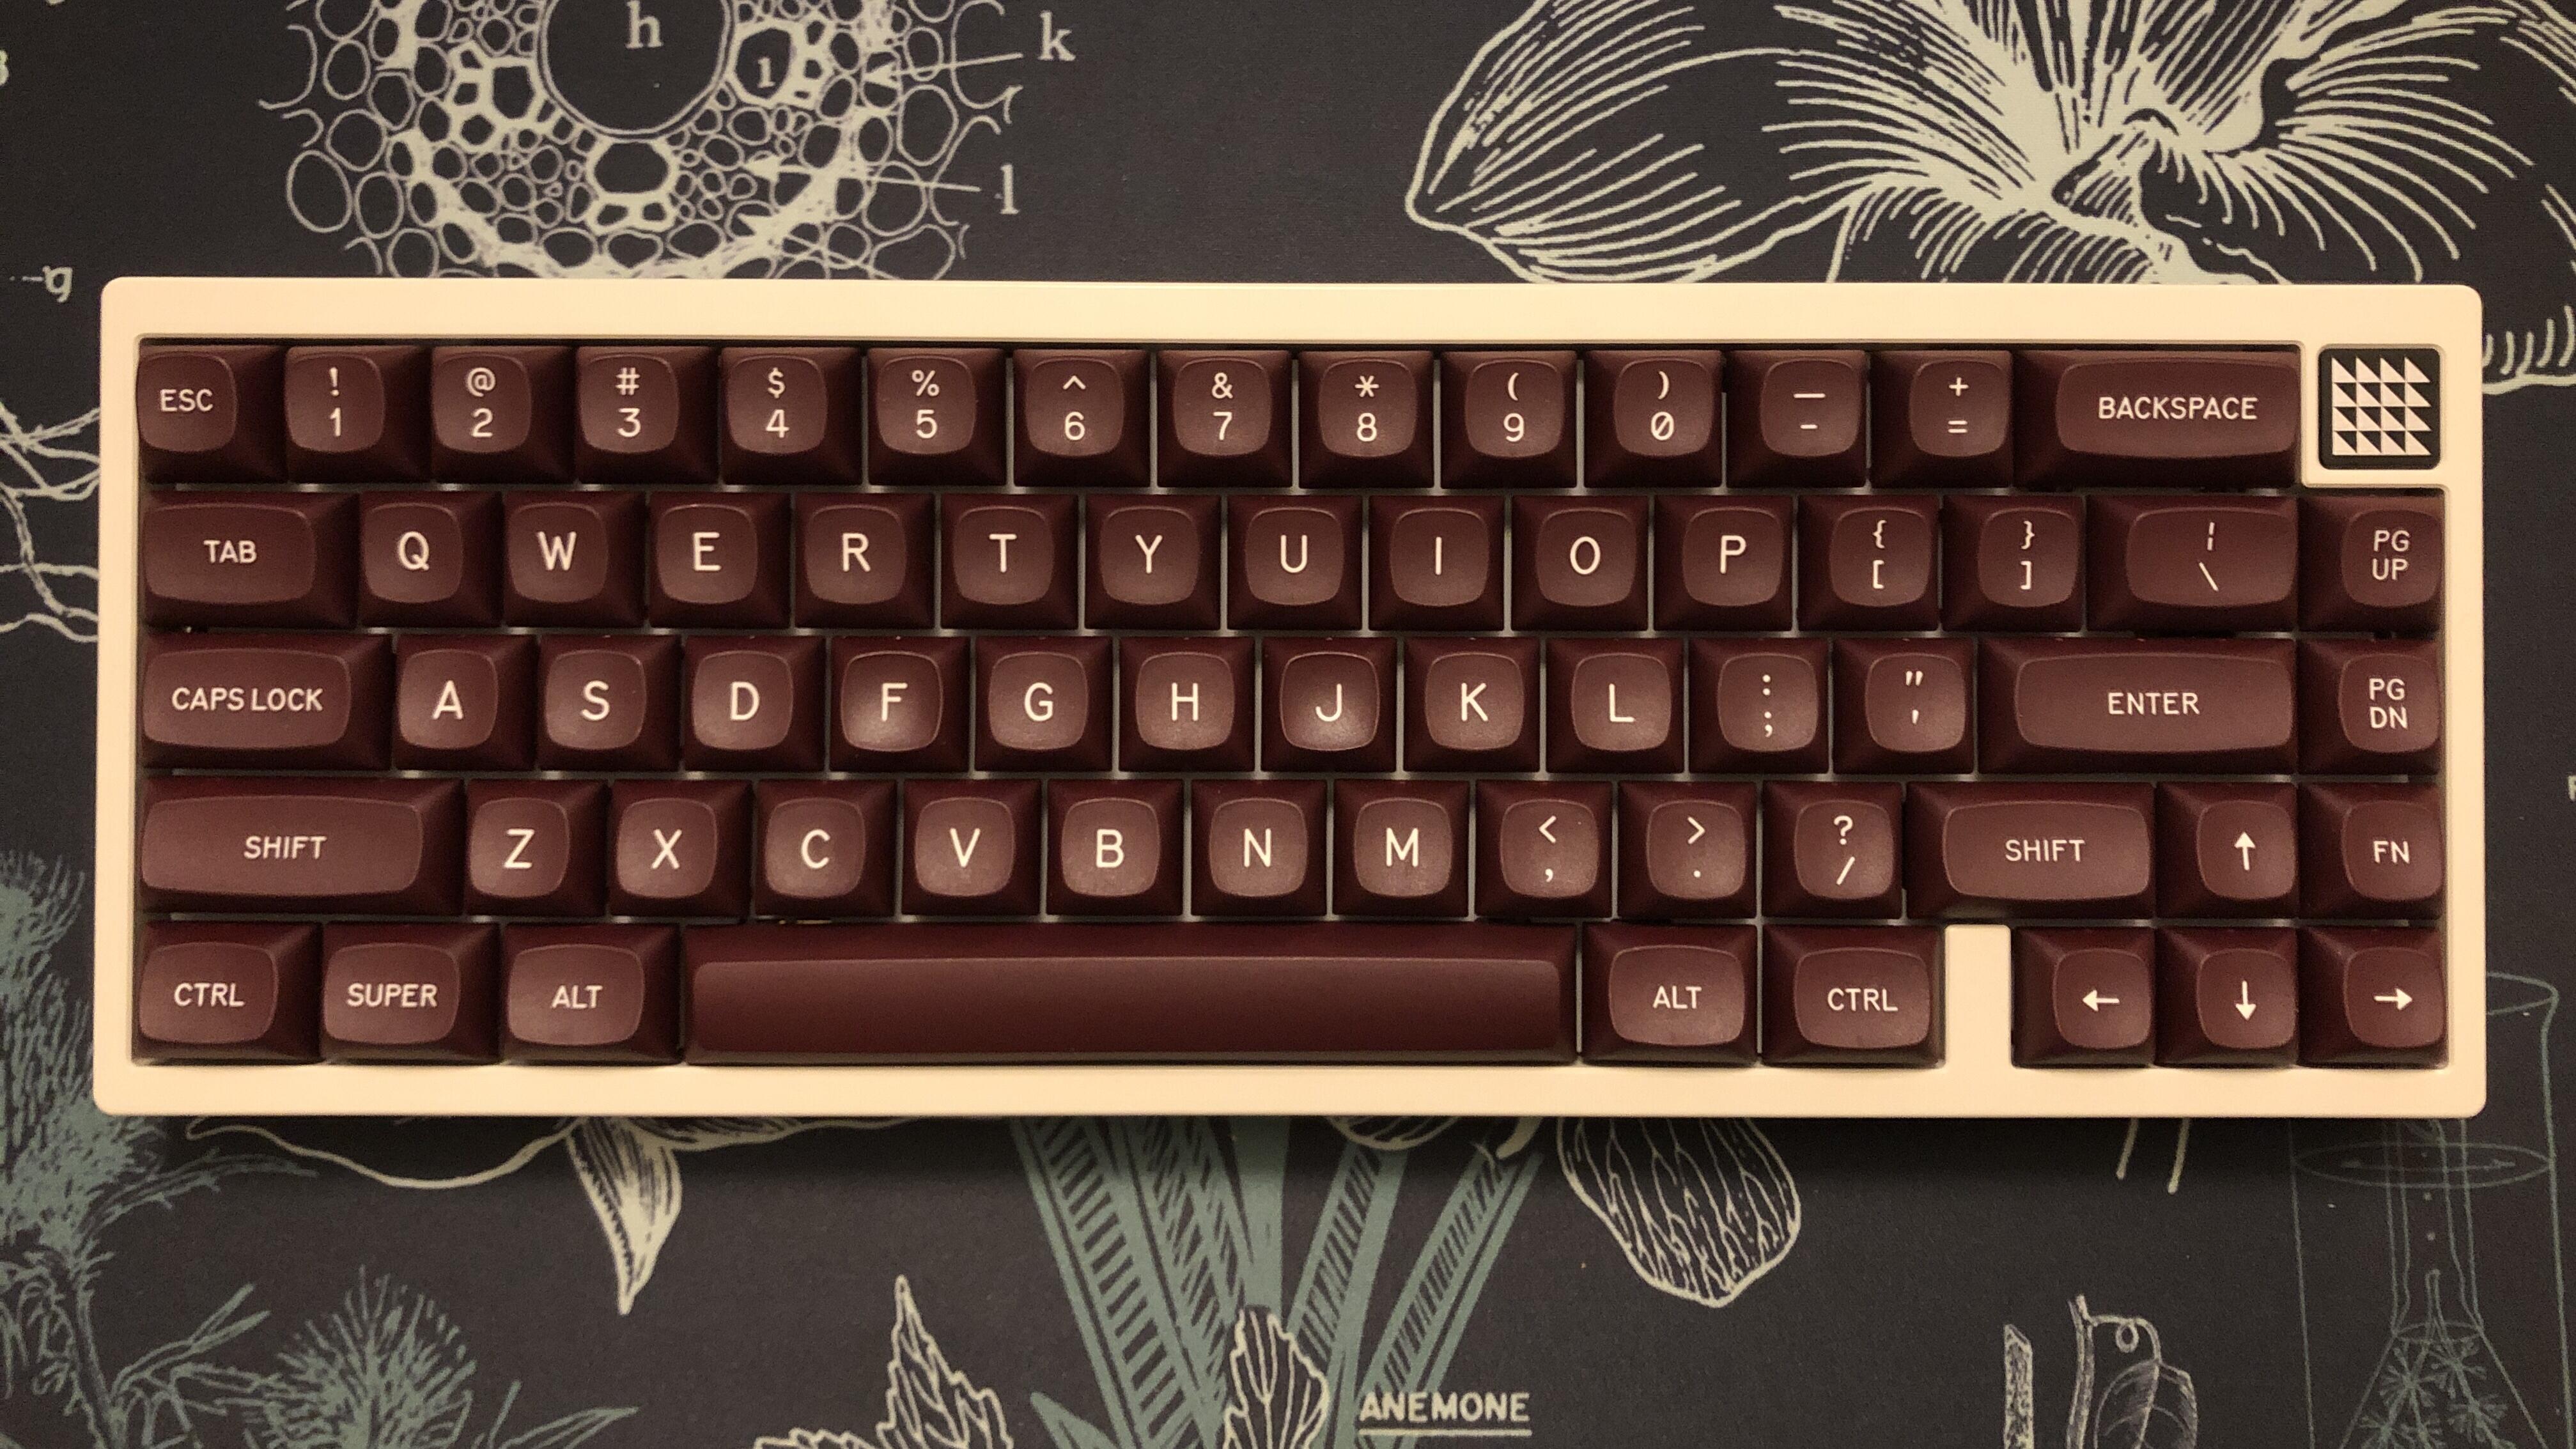
Divinikey × Modokeys Tess65
- MTNU Rascals
- Gateron Type-R tactiles*
- Designer Studio Adaptive stabilizers
- Polypropylene plate
- Tadpole-style gaskets & all foams
@ThereminGoat since you asked a while back what I planned on mounting Rascals to; not the most premium chassis out there, but punches way above its weight in terms of price, and I think the creamy beige looks gorgeous with these keys.
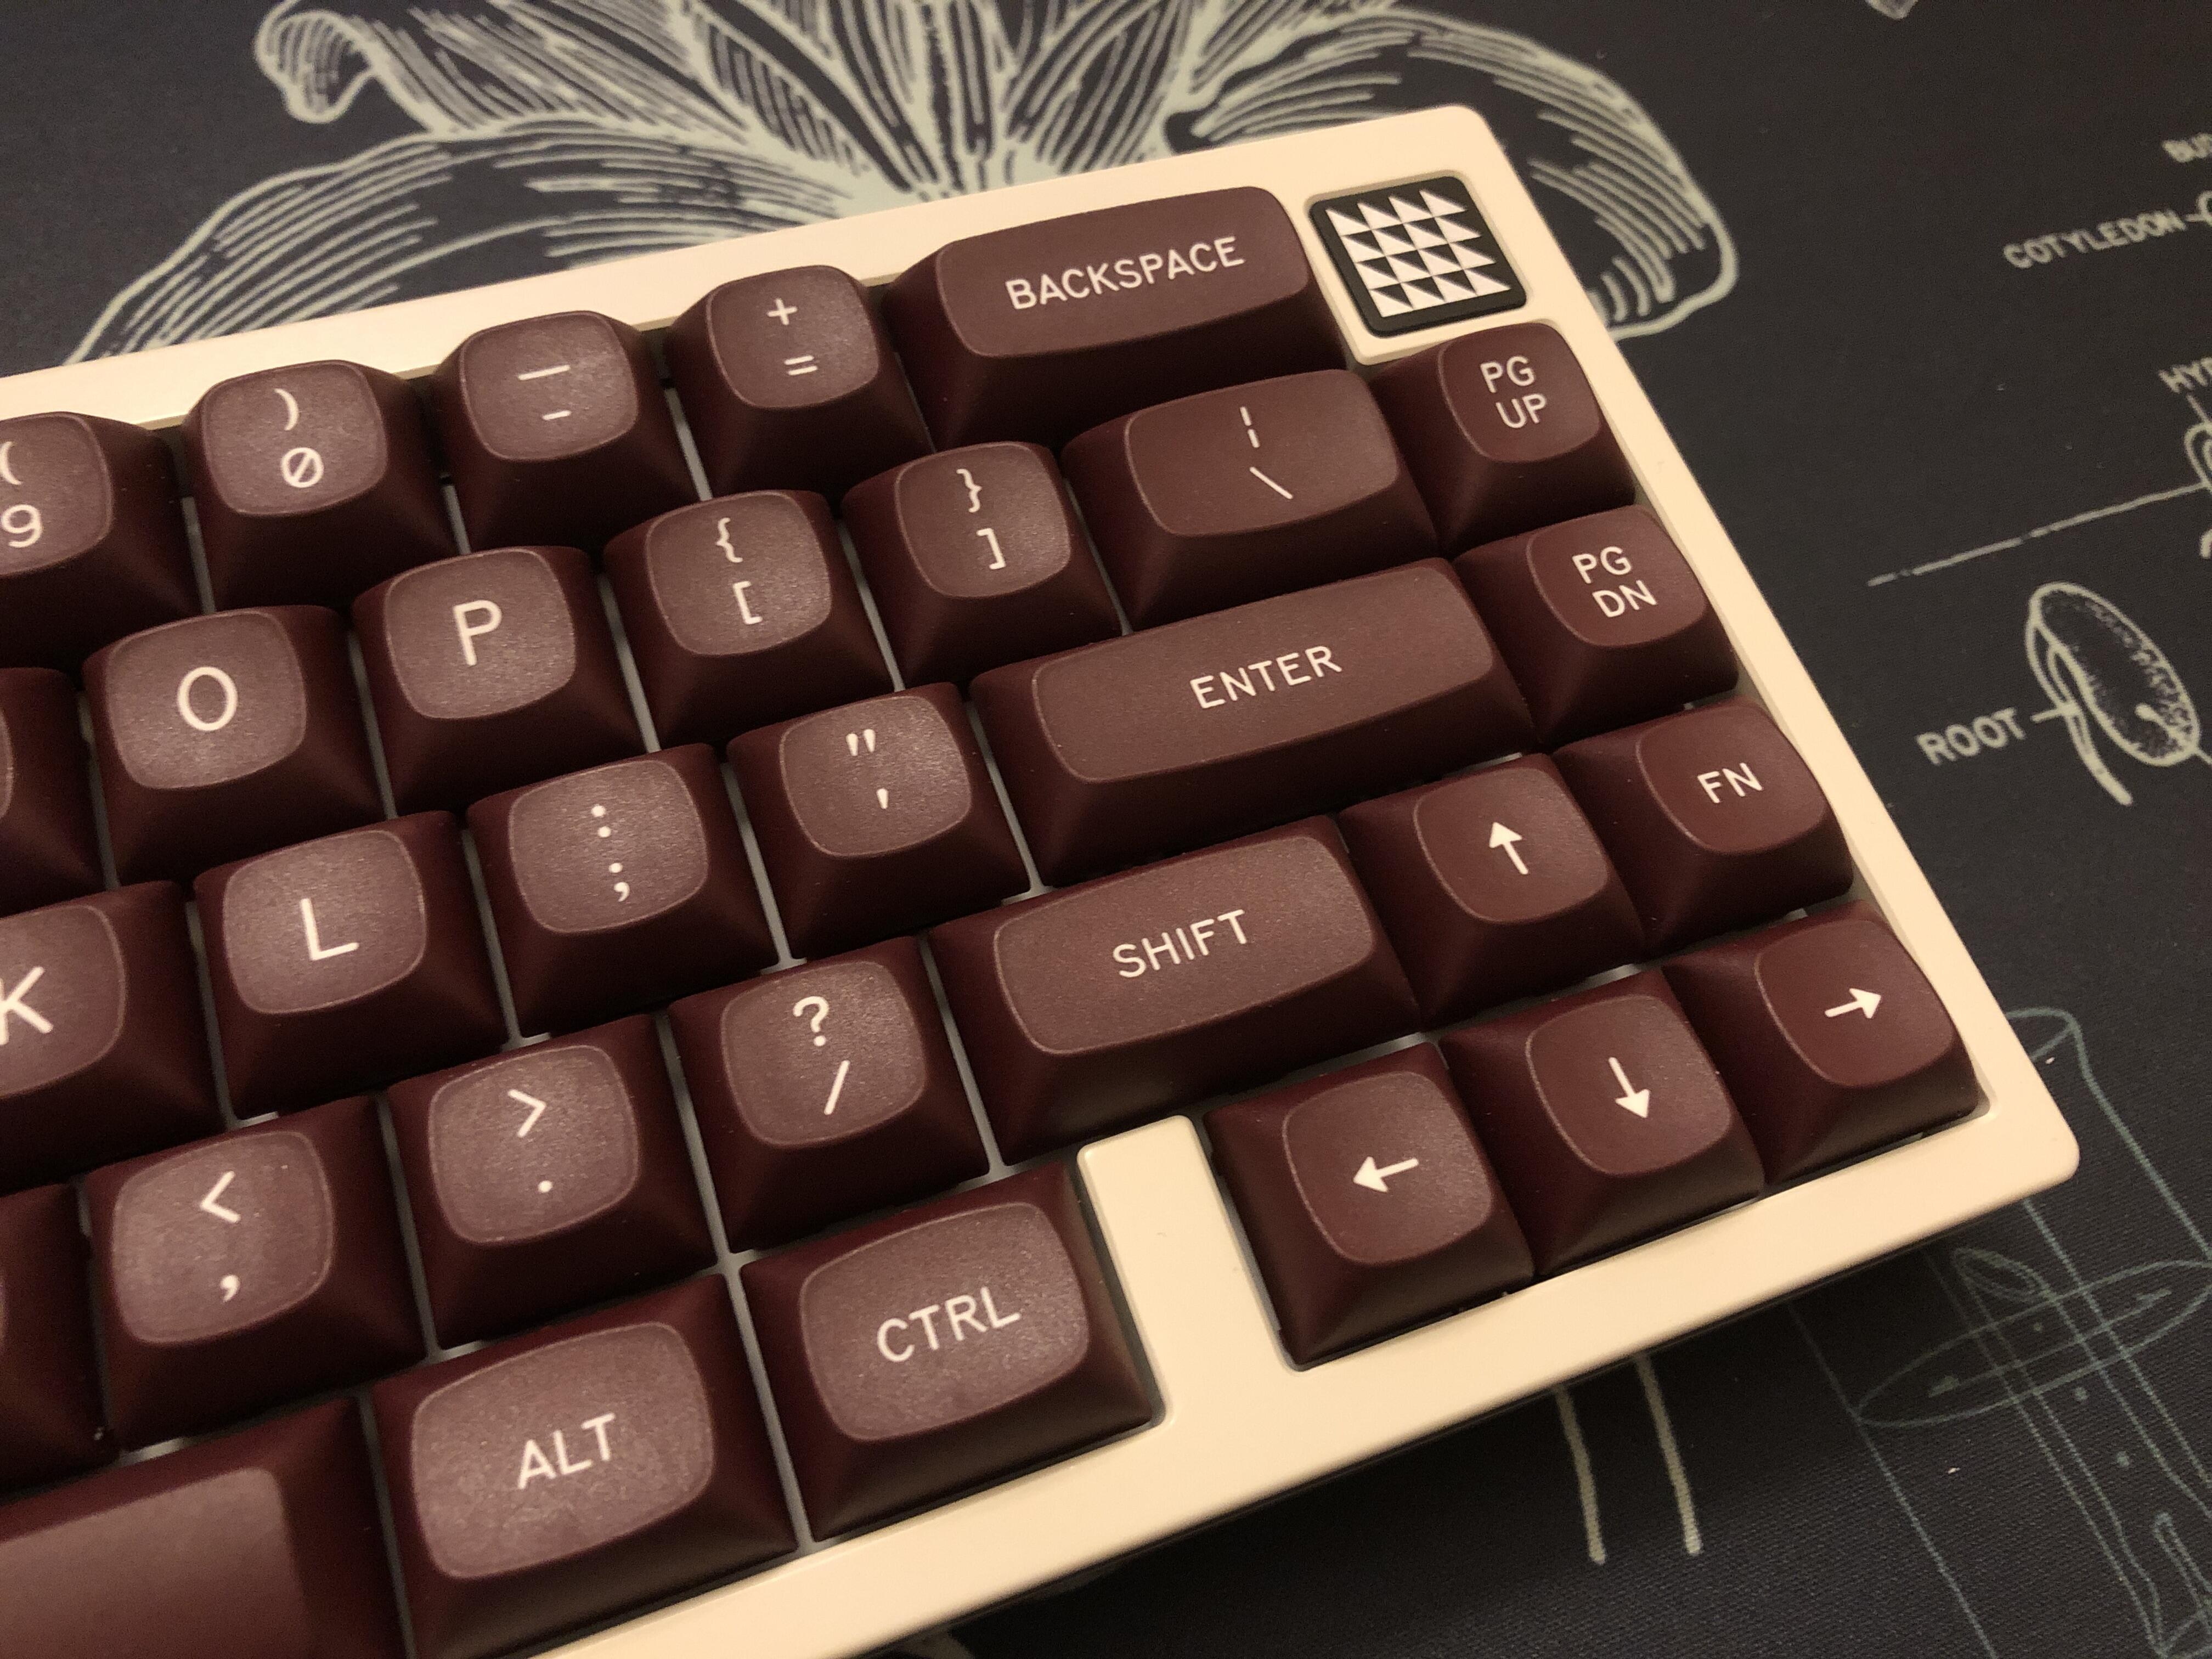
A few more photos
I love this. Really vibing with the color combination.

I also really appreciate a nice, intentional-looking seam - but you want to know something funny? It’s purely decorative! The actual seam is hidden on the bottom.
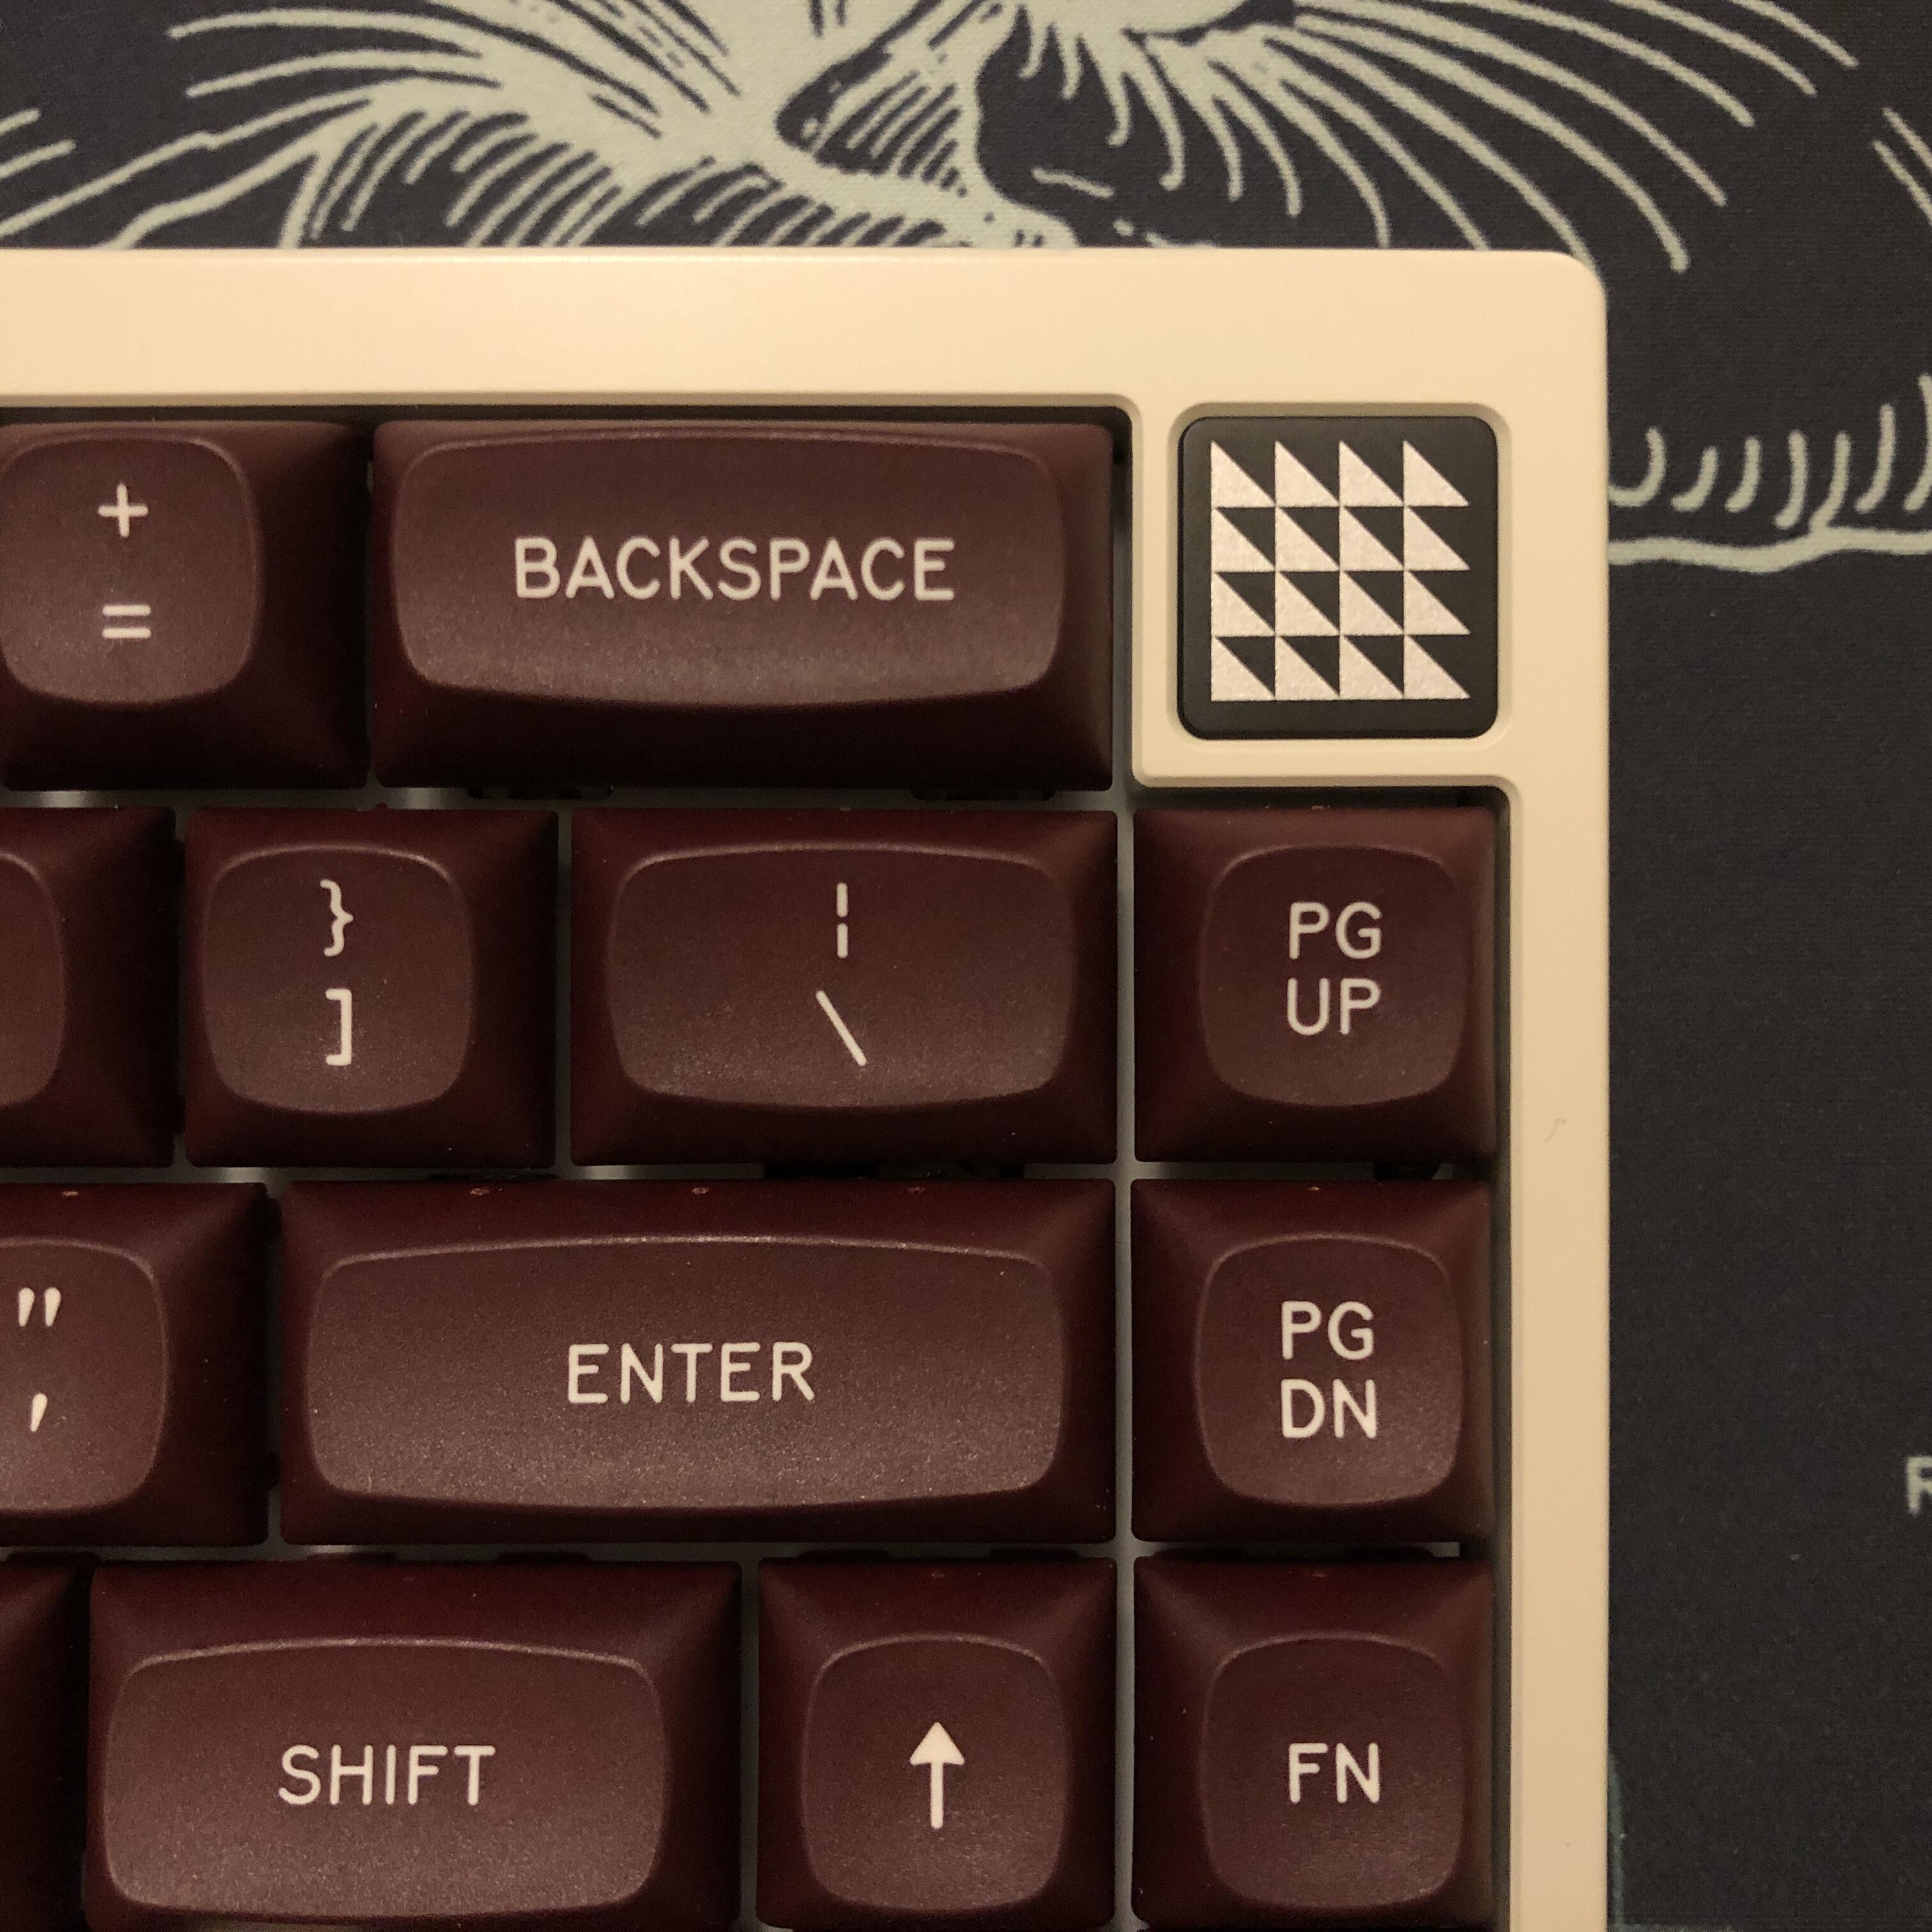
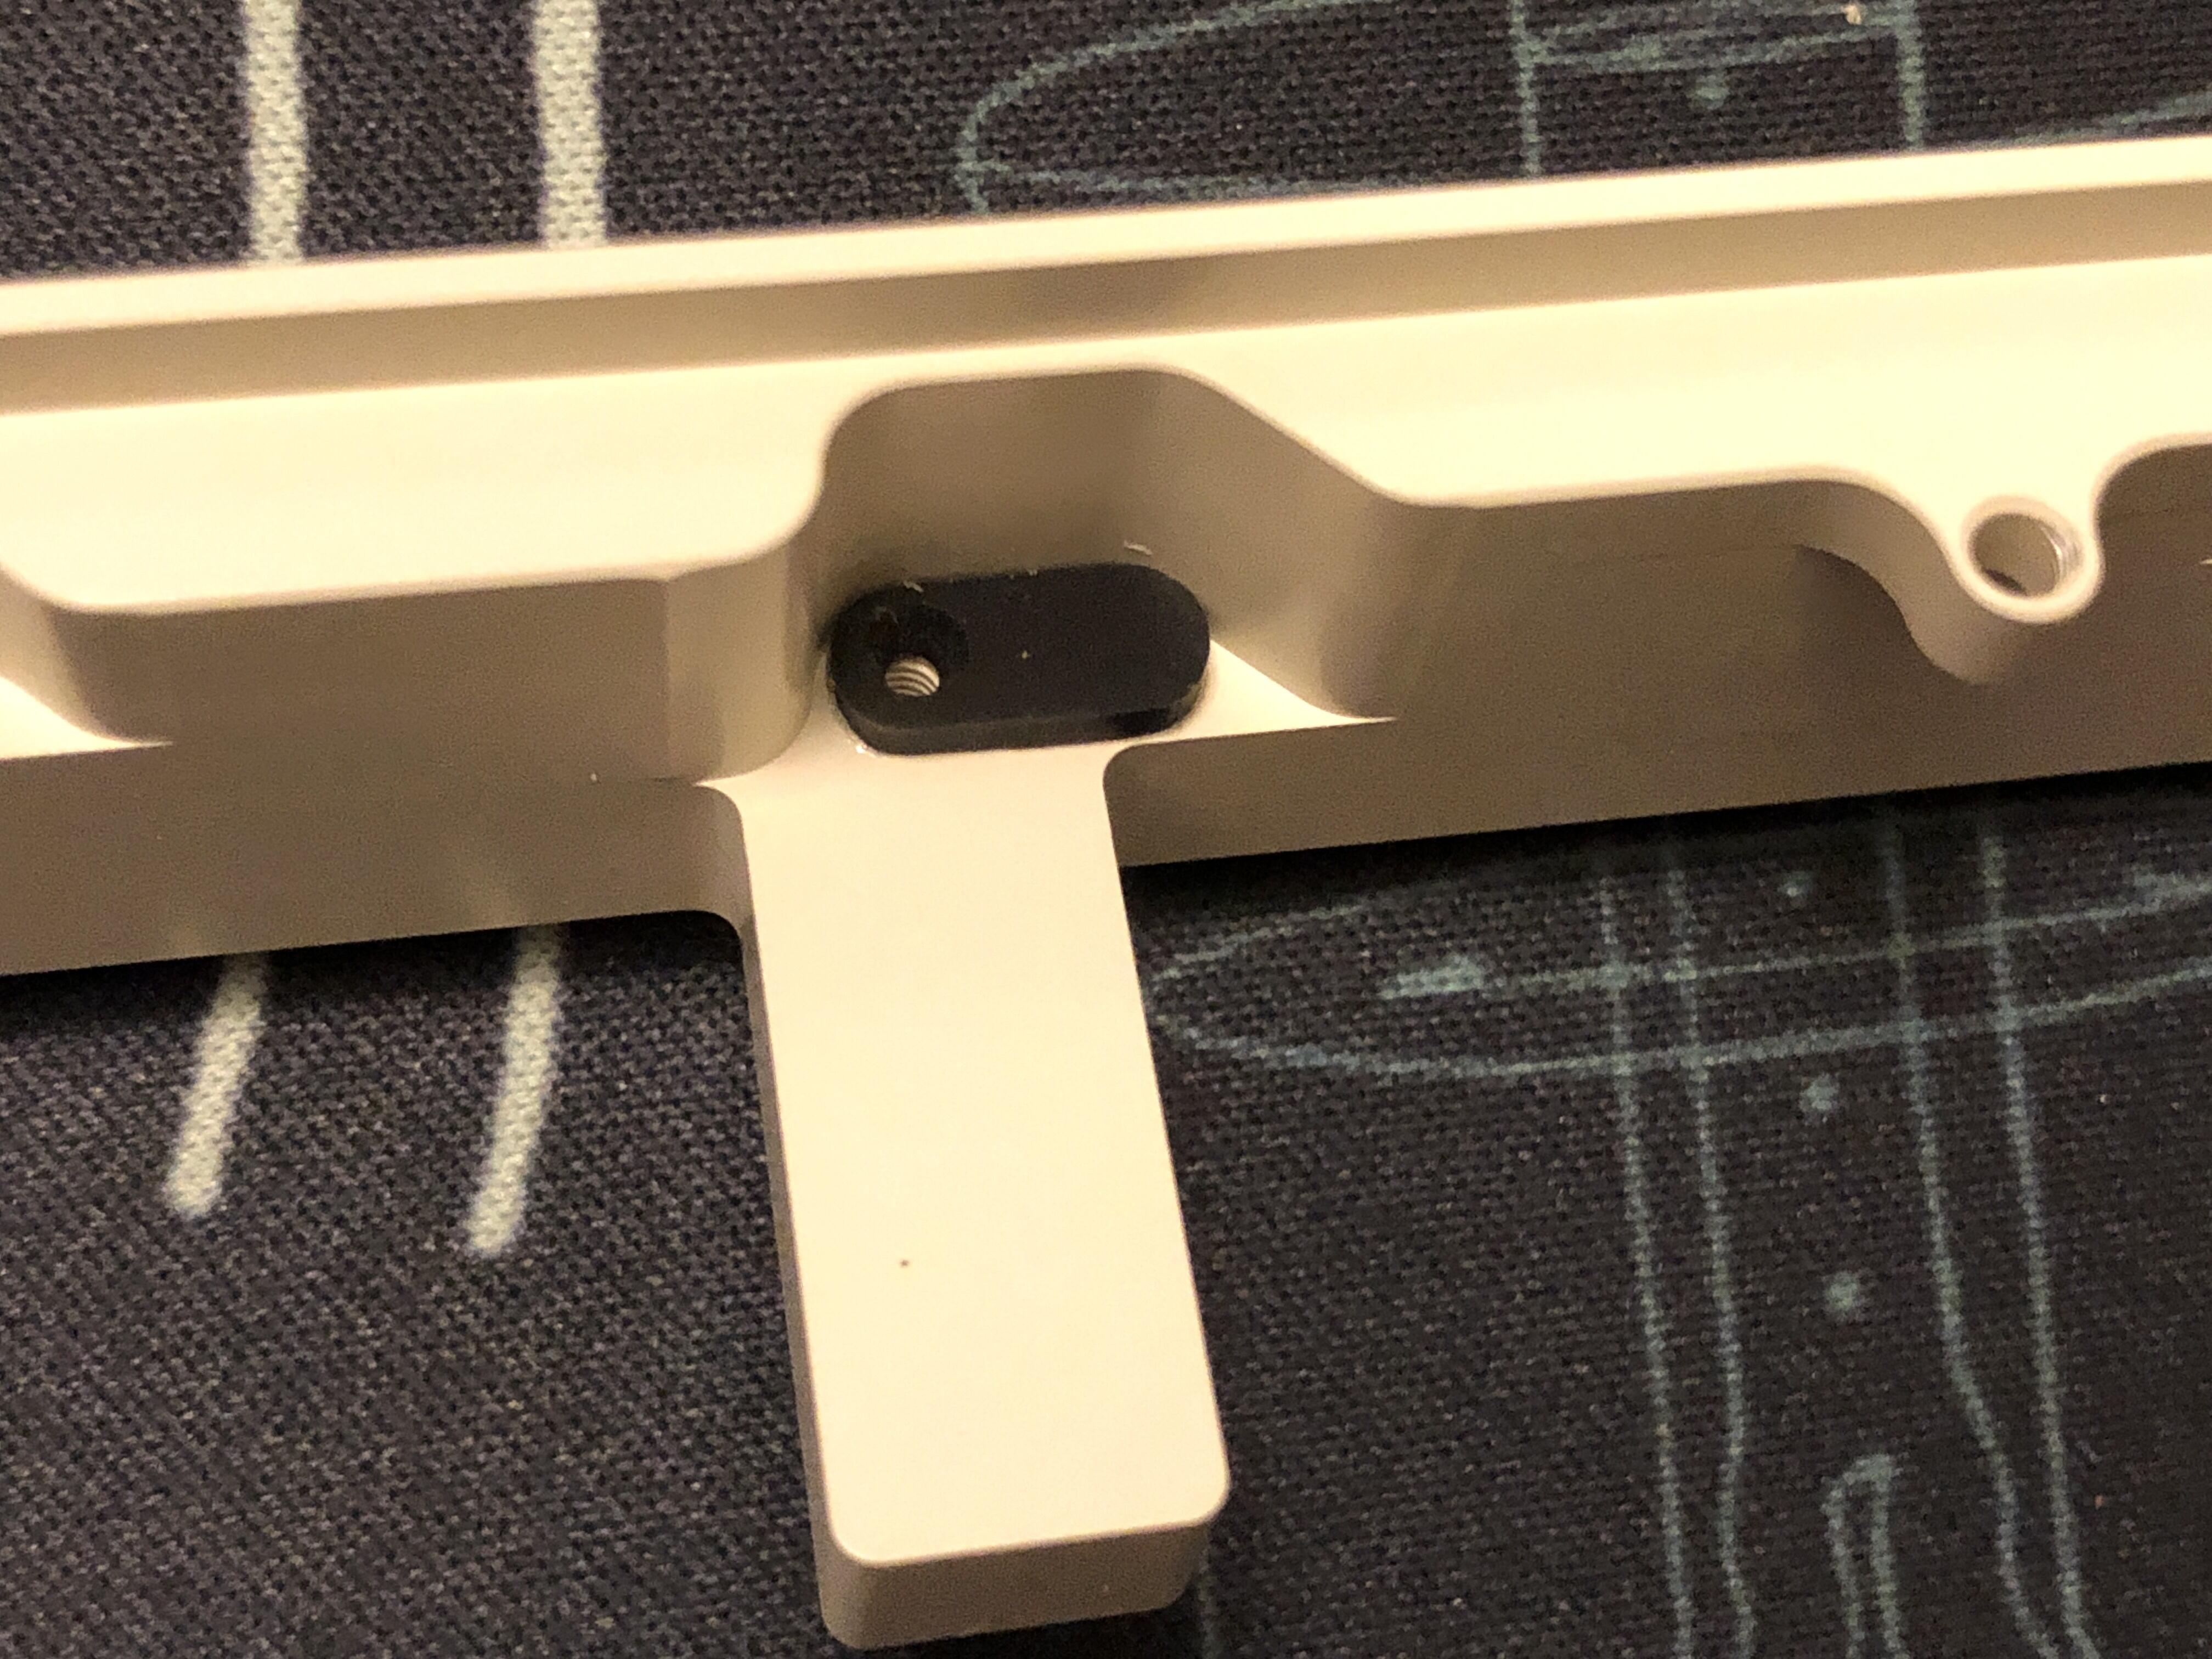
The badge, with matching weight on the underside (not shown).
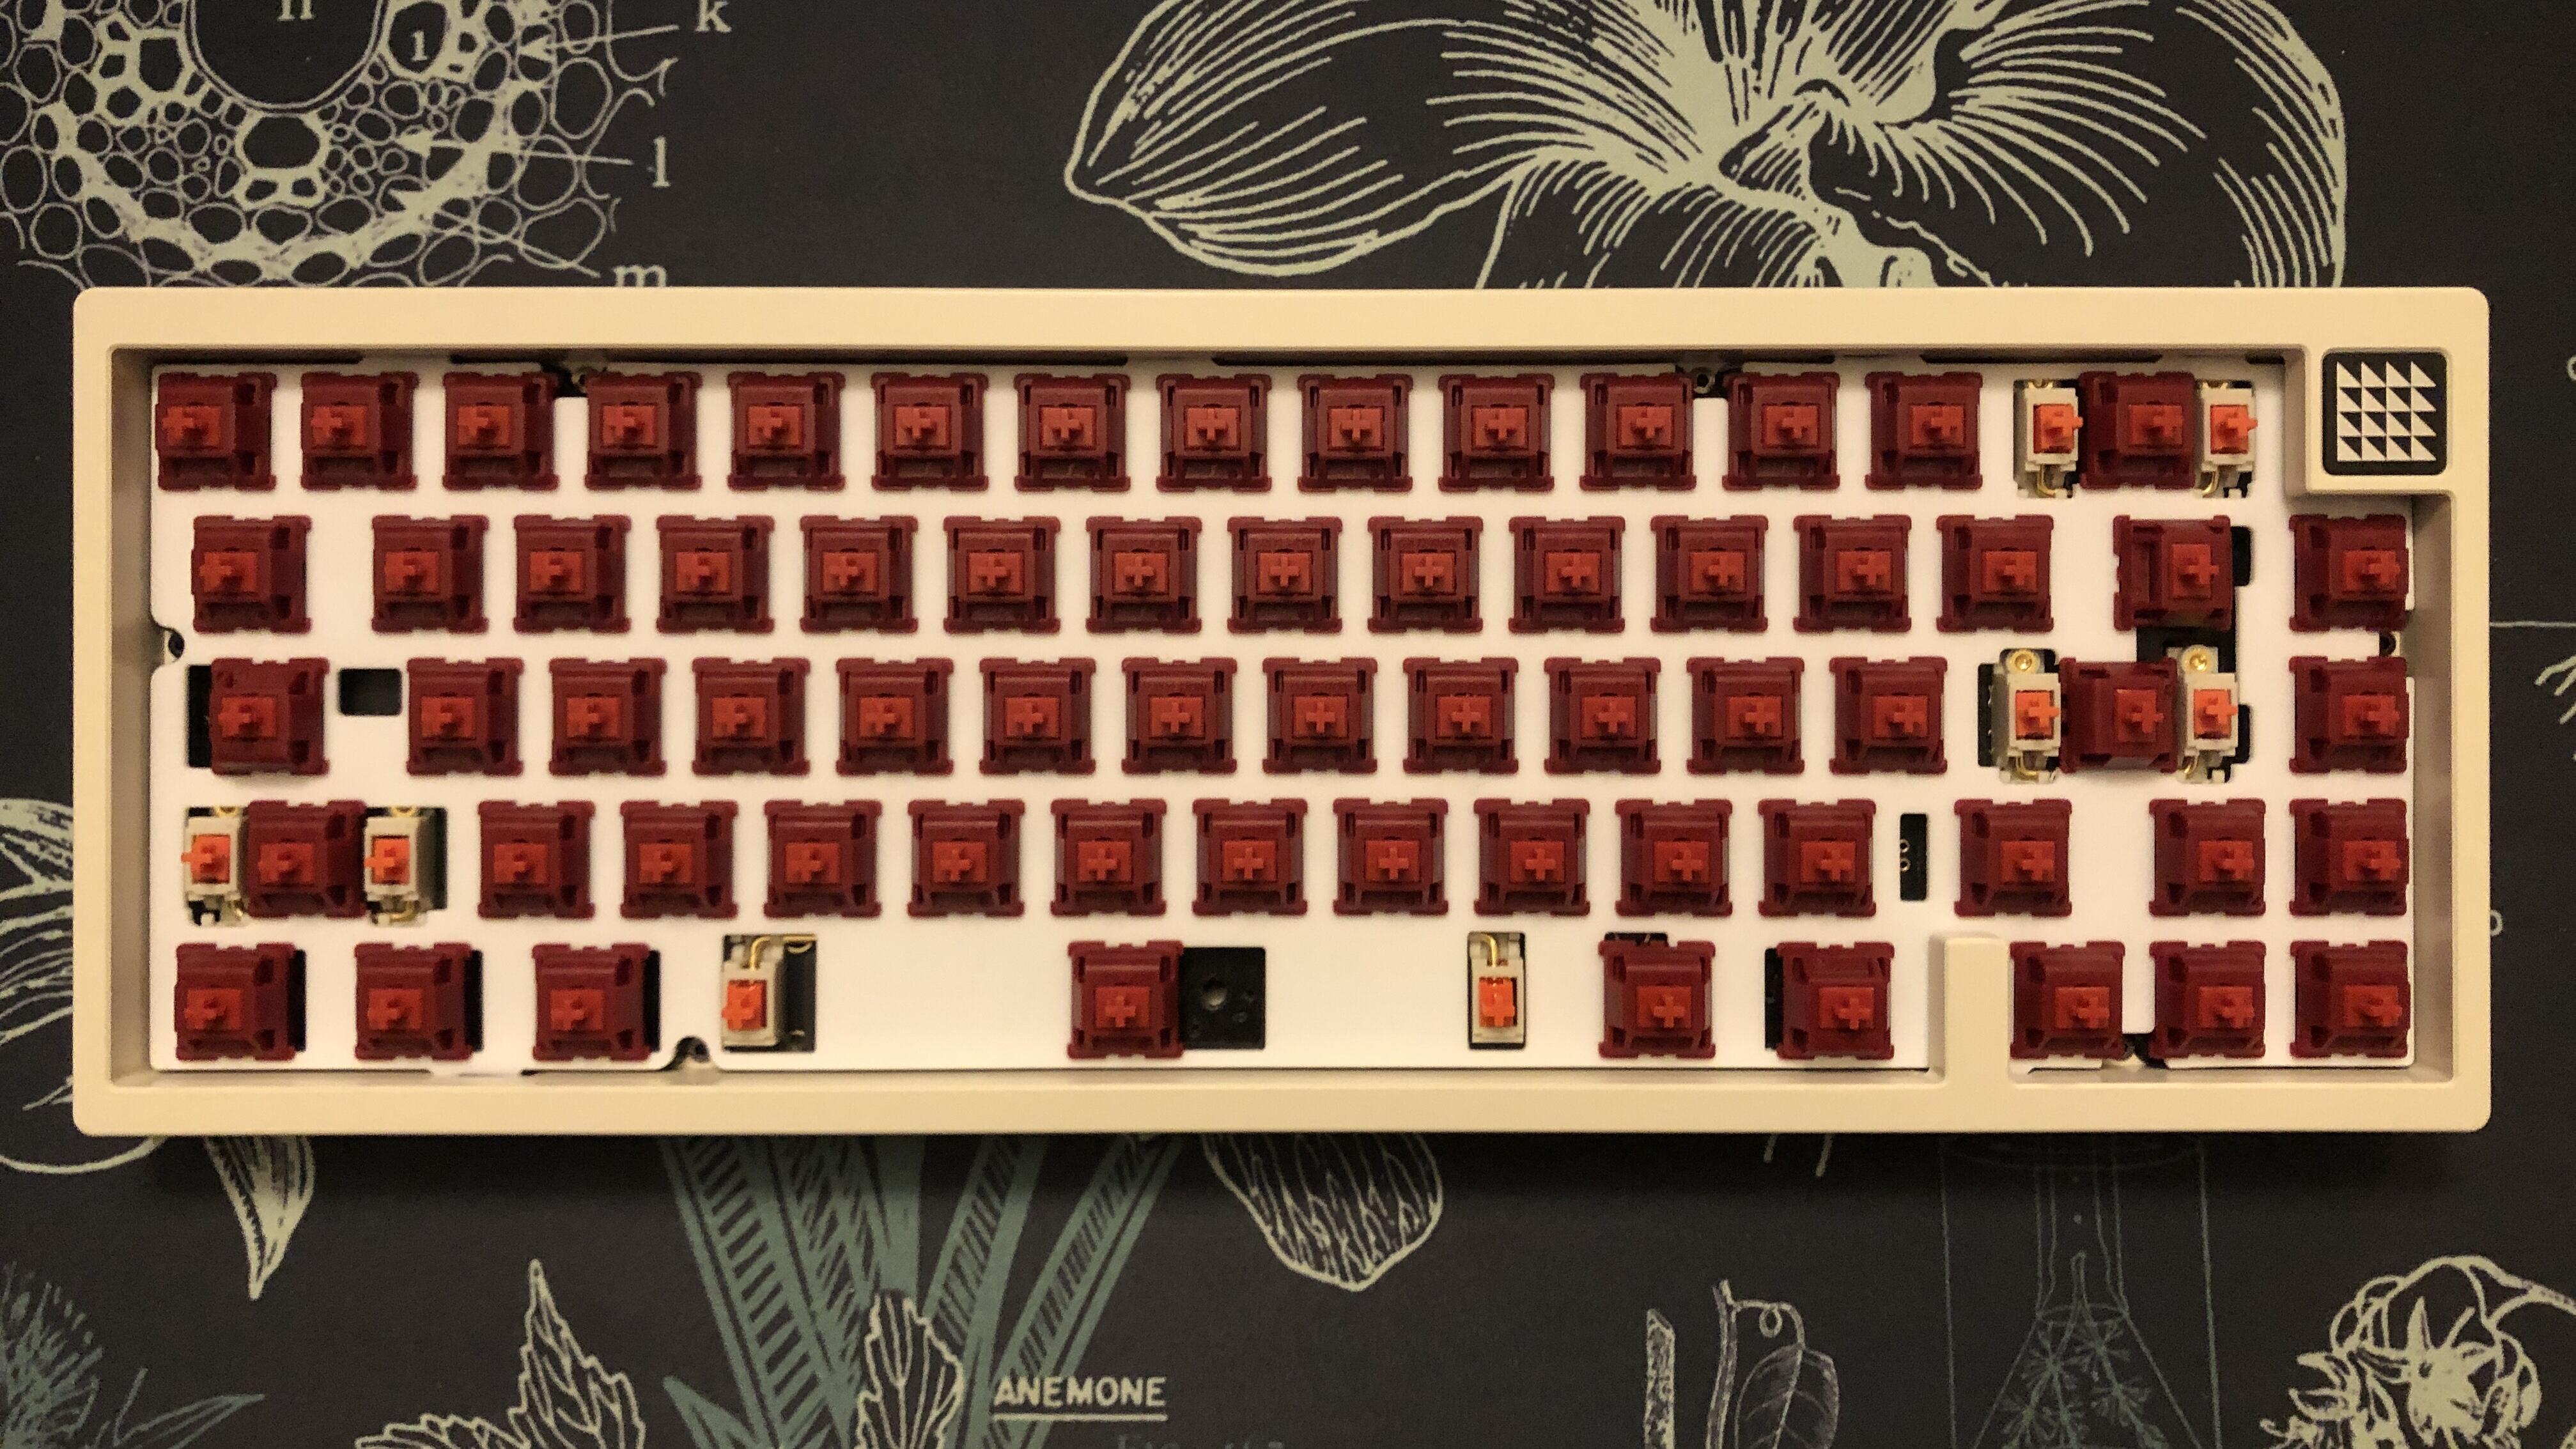
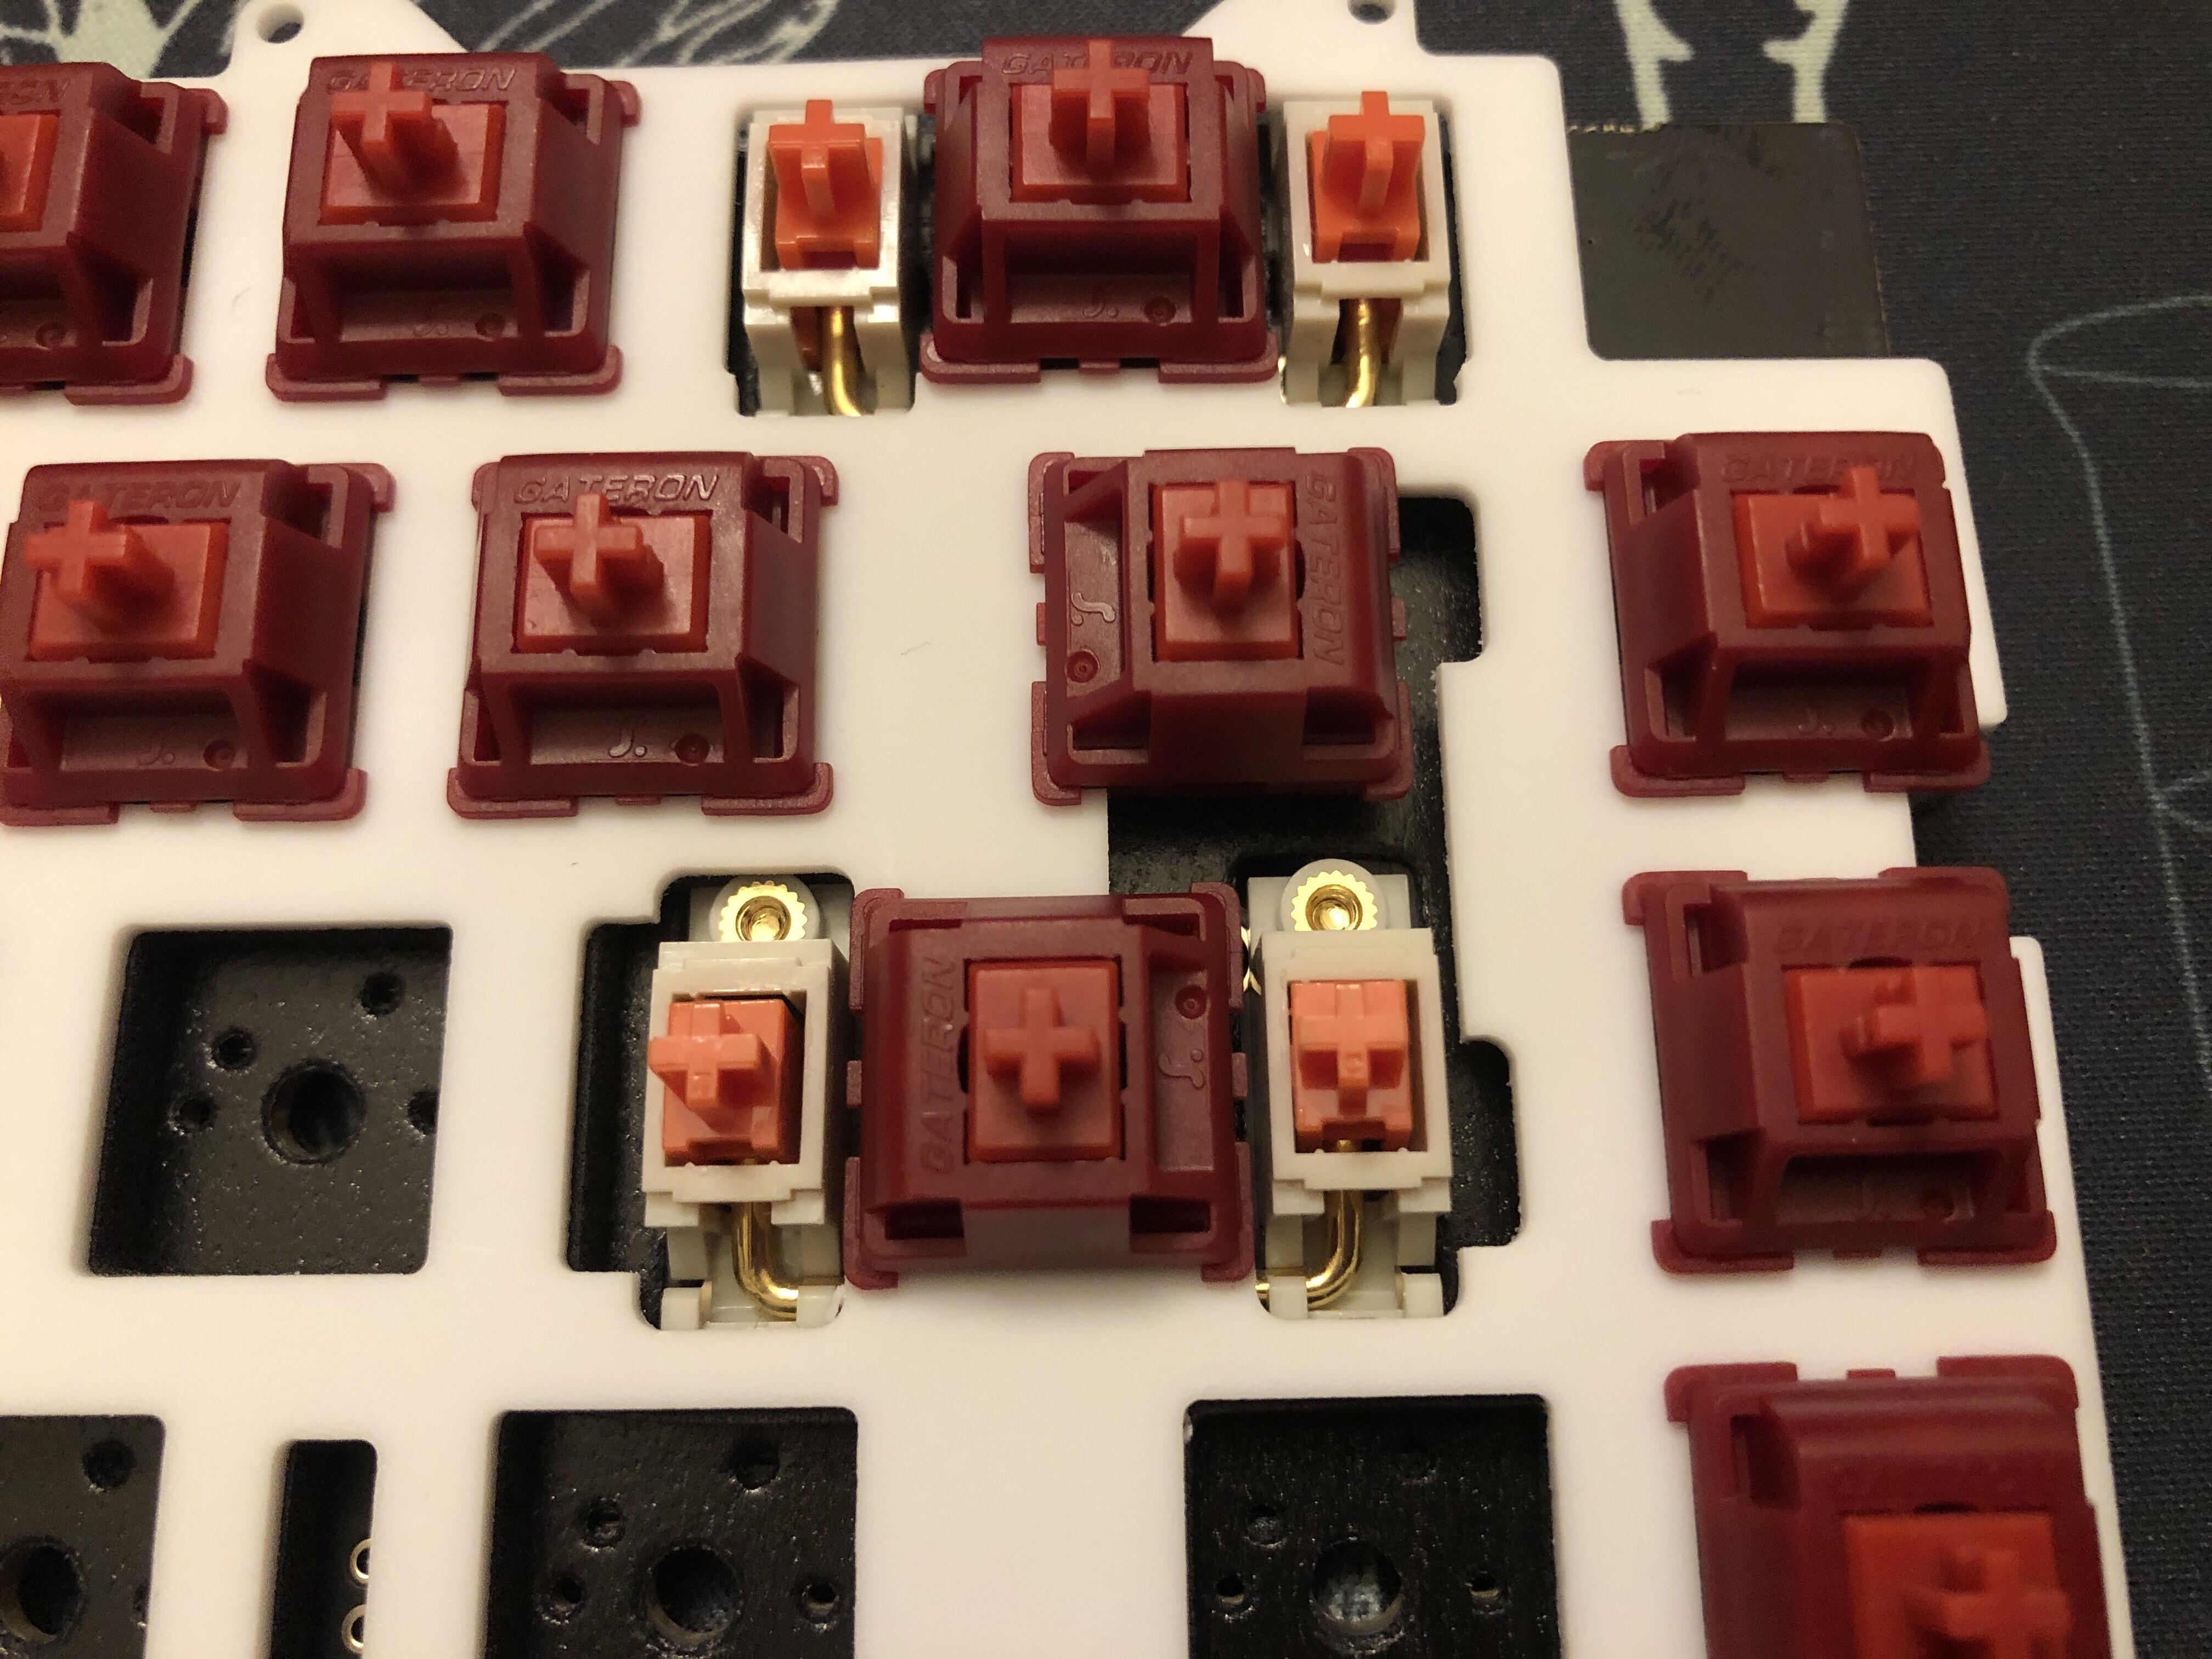
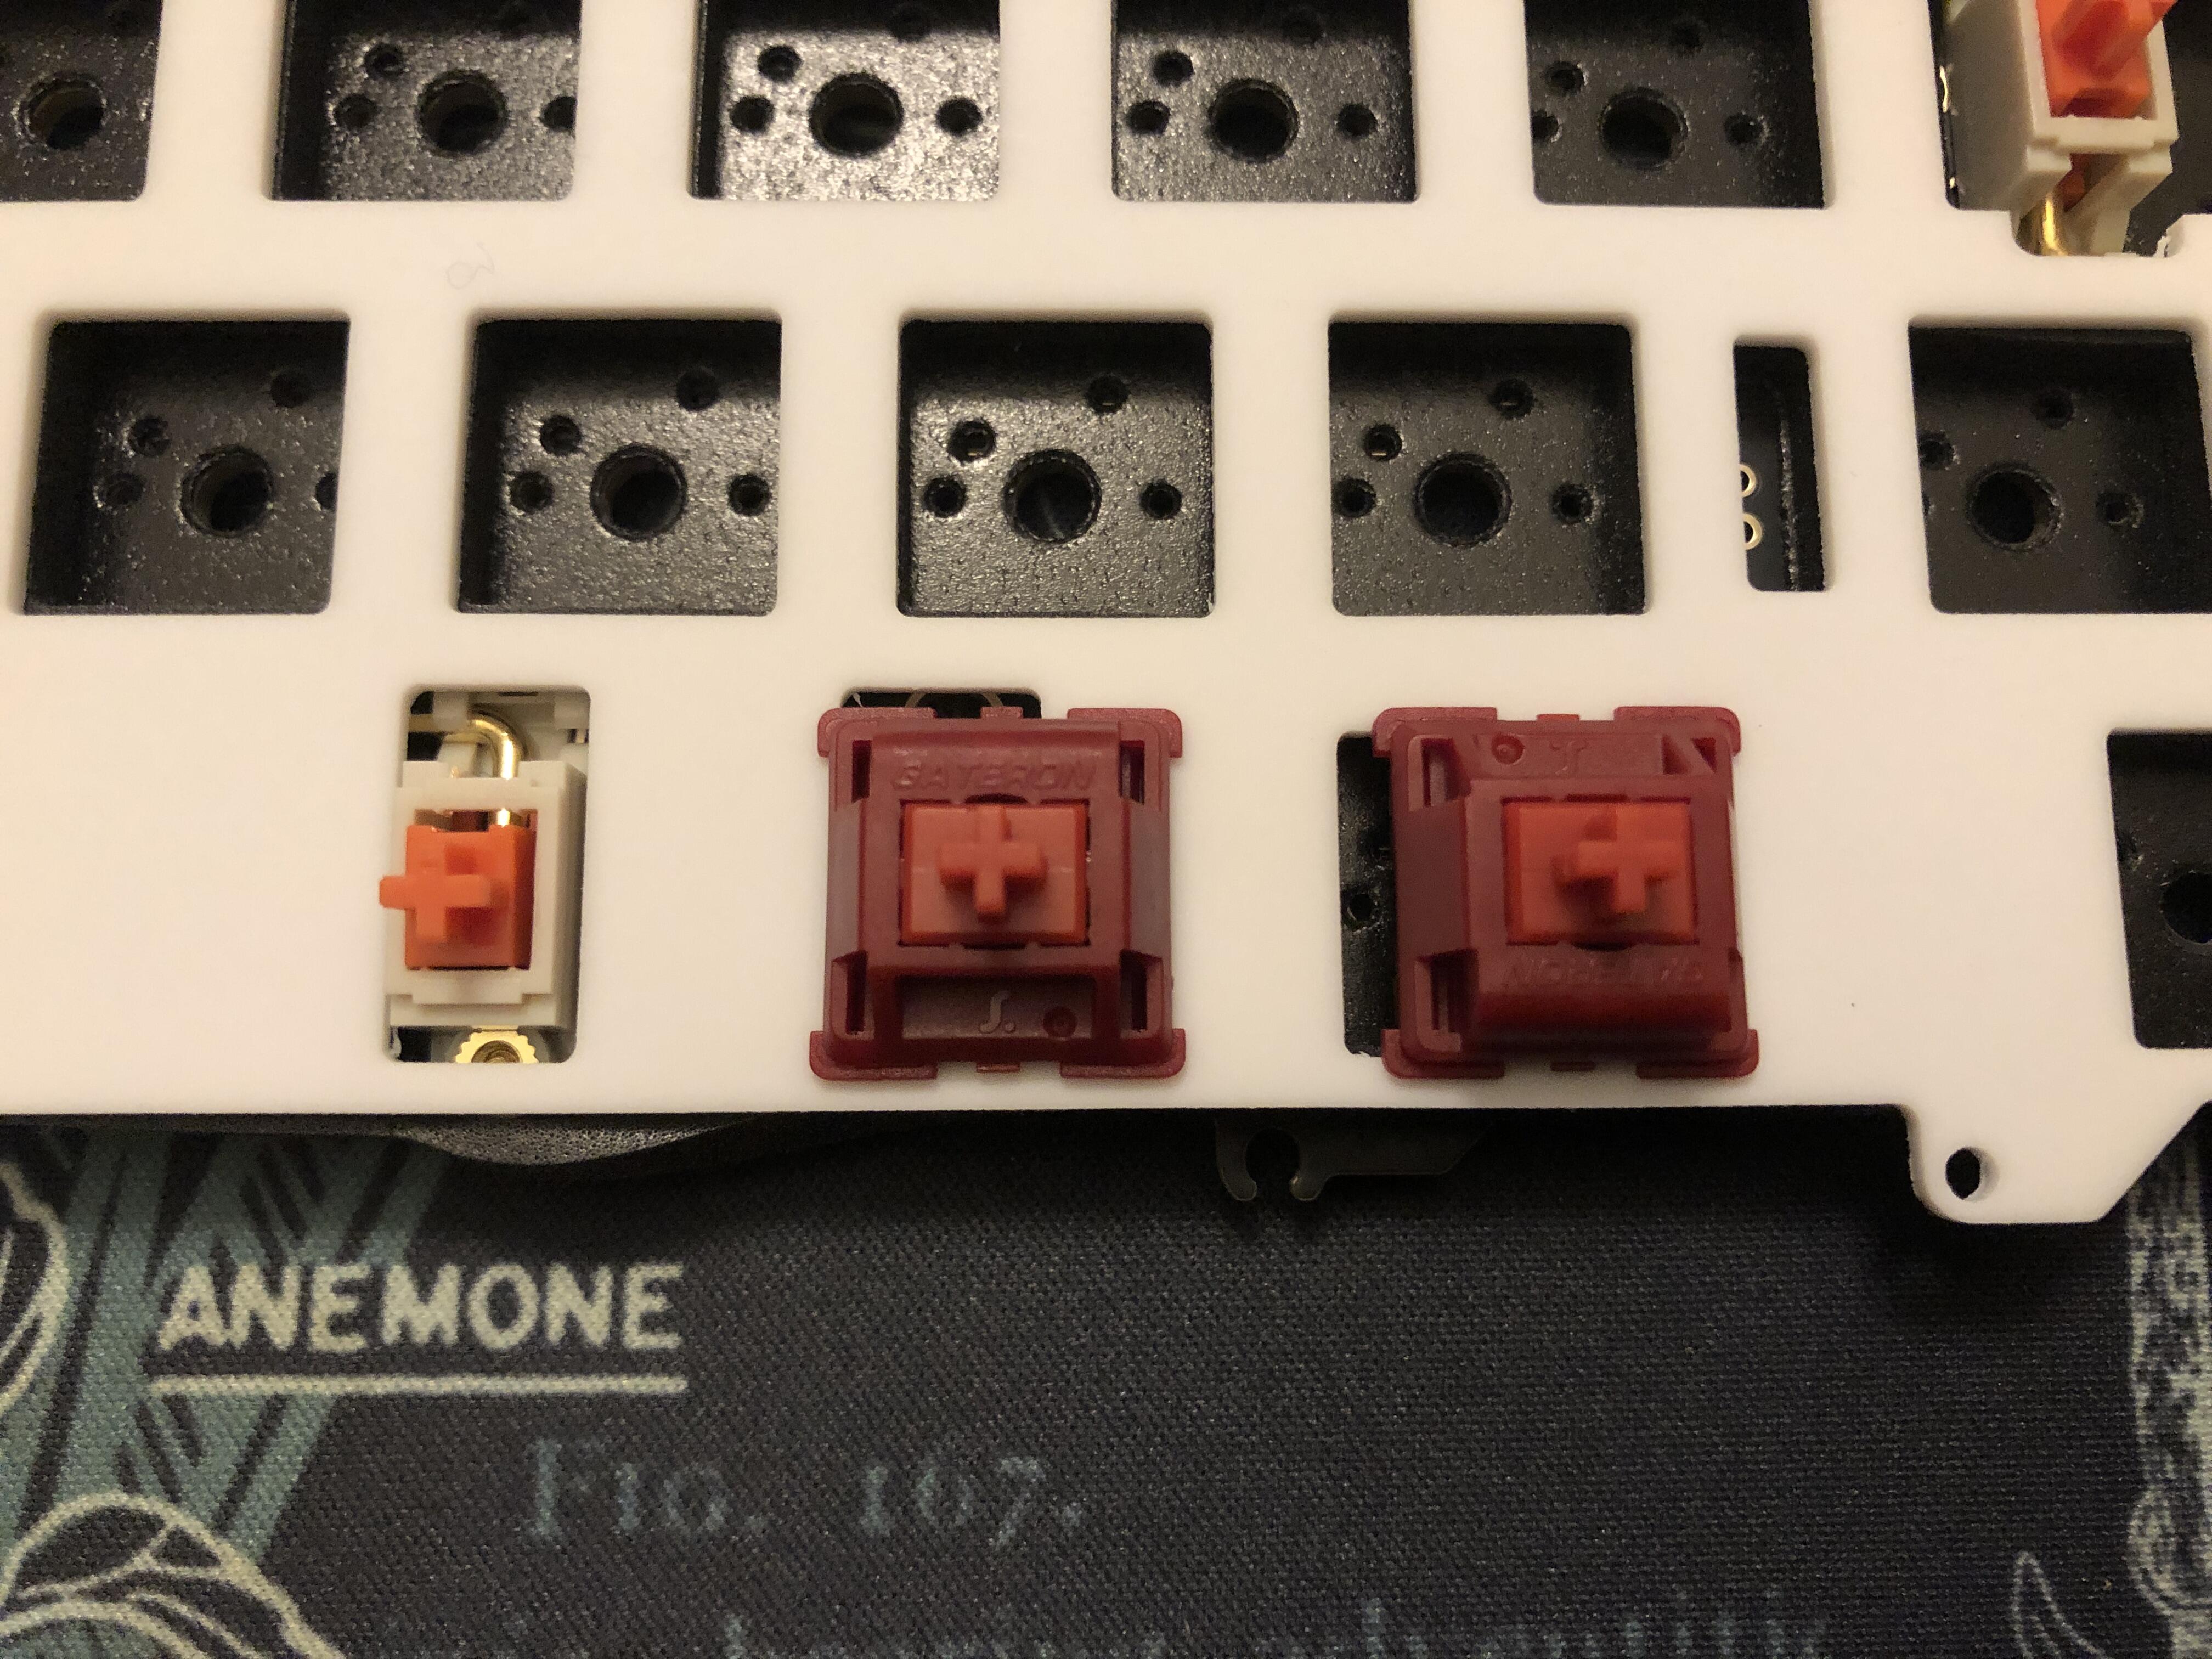
The PP plate, Type-Rs, and Designer Studio Adaptive stabilizers in all their glory.
Build notes
Generally speaking the build was quite easy, though it was a little challenging getting the final screws in-place, if only because they kept falling off of the tool, down into the case. It’s a pretty smart and straightforward construction with two mounting options; gasket (tadpole style) and top (with optional pads). There are plenty of layout options with the PCB and nothing was too complicated. It was a little fiddly getting the case foam in place with the ribbon cable, but not bad.
*So far my only real complaint about this build is that the Gateron Type-Rs seem to be chattering fairly often. ![]() I’m otherwise loving typing on them (and love the sound they make in this build), but I don’t think I’ll keep using them because of all the double inputs. (I had to edit lots of them out of this post, and there still might be some.)
I’m otherwise loving typing on them (and love the sound they make in this build), but I don’t think I’ll keep using them because of all the double inputs. (I had to edit lots of them out of this post, and there still might be some.) ![]() I’ll report back if it ends up being this keyboard, but in my experience it’s pretty much always the switches when this happens.
I’ll report back if it ends up being this keyboard, but in my experience it’s pretty much always the switches when this happens.
Since the Type-Rs aren’t full 4mm travel switches, I used some of UPKB’s spacers (as usual) to prevent any potential teetering on the stabilizers:
I’m currently using the tadpole-style gaskets, but decided to go ahead and apply the top-mount pads just in case:
A few minor complaints;
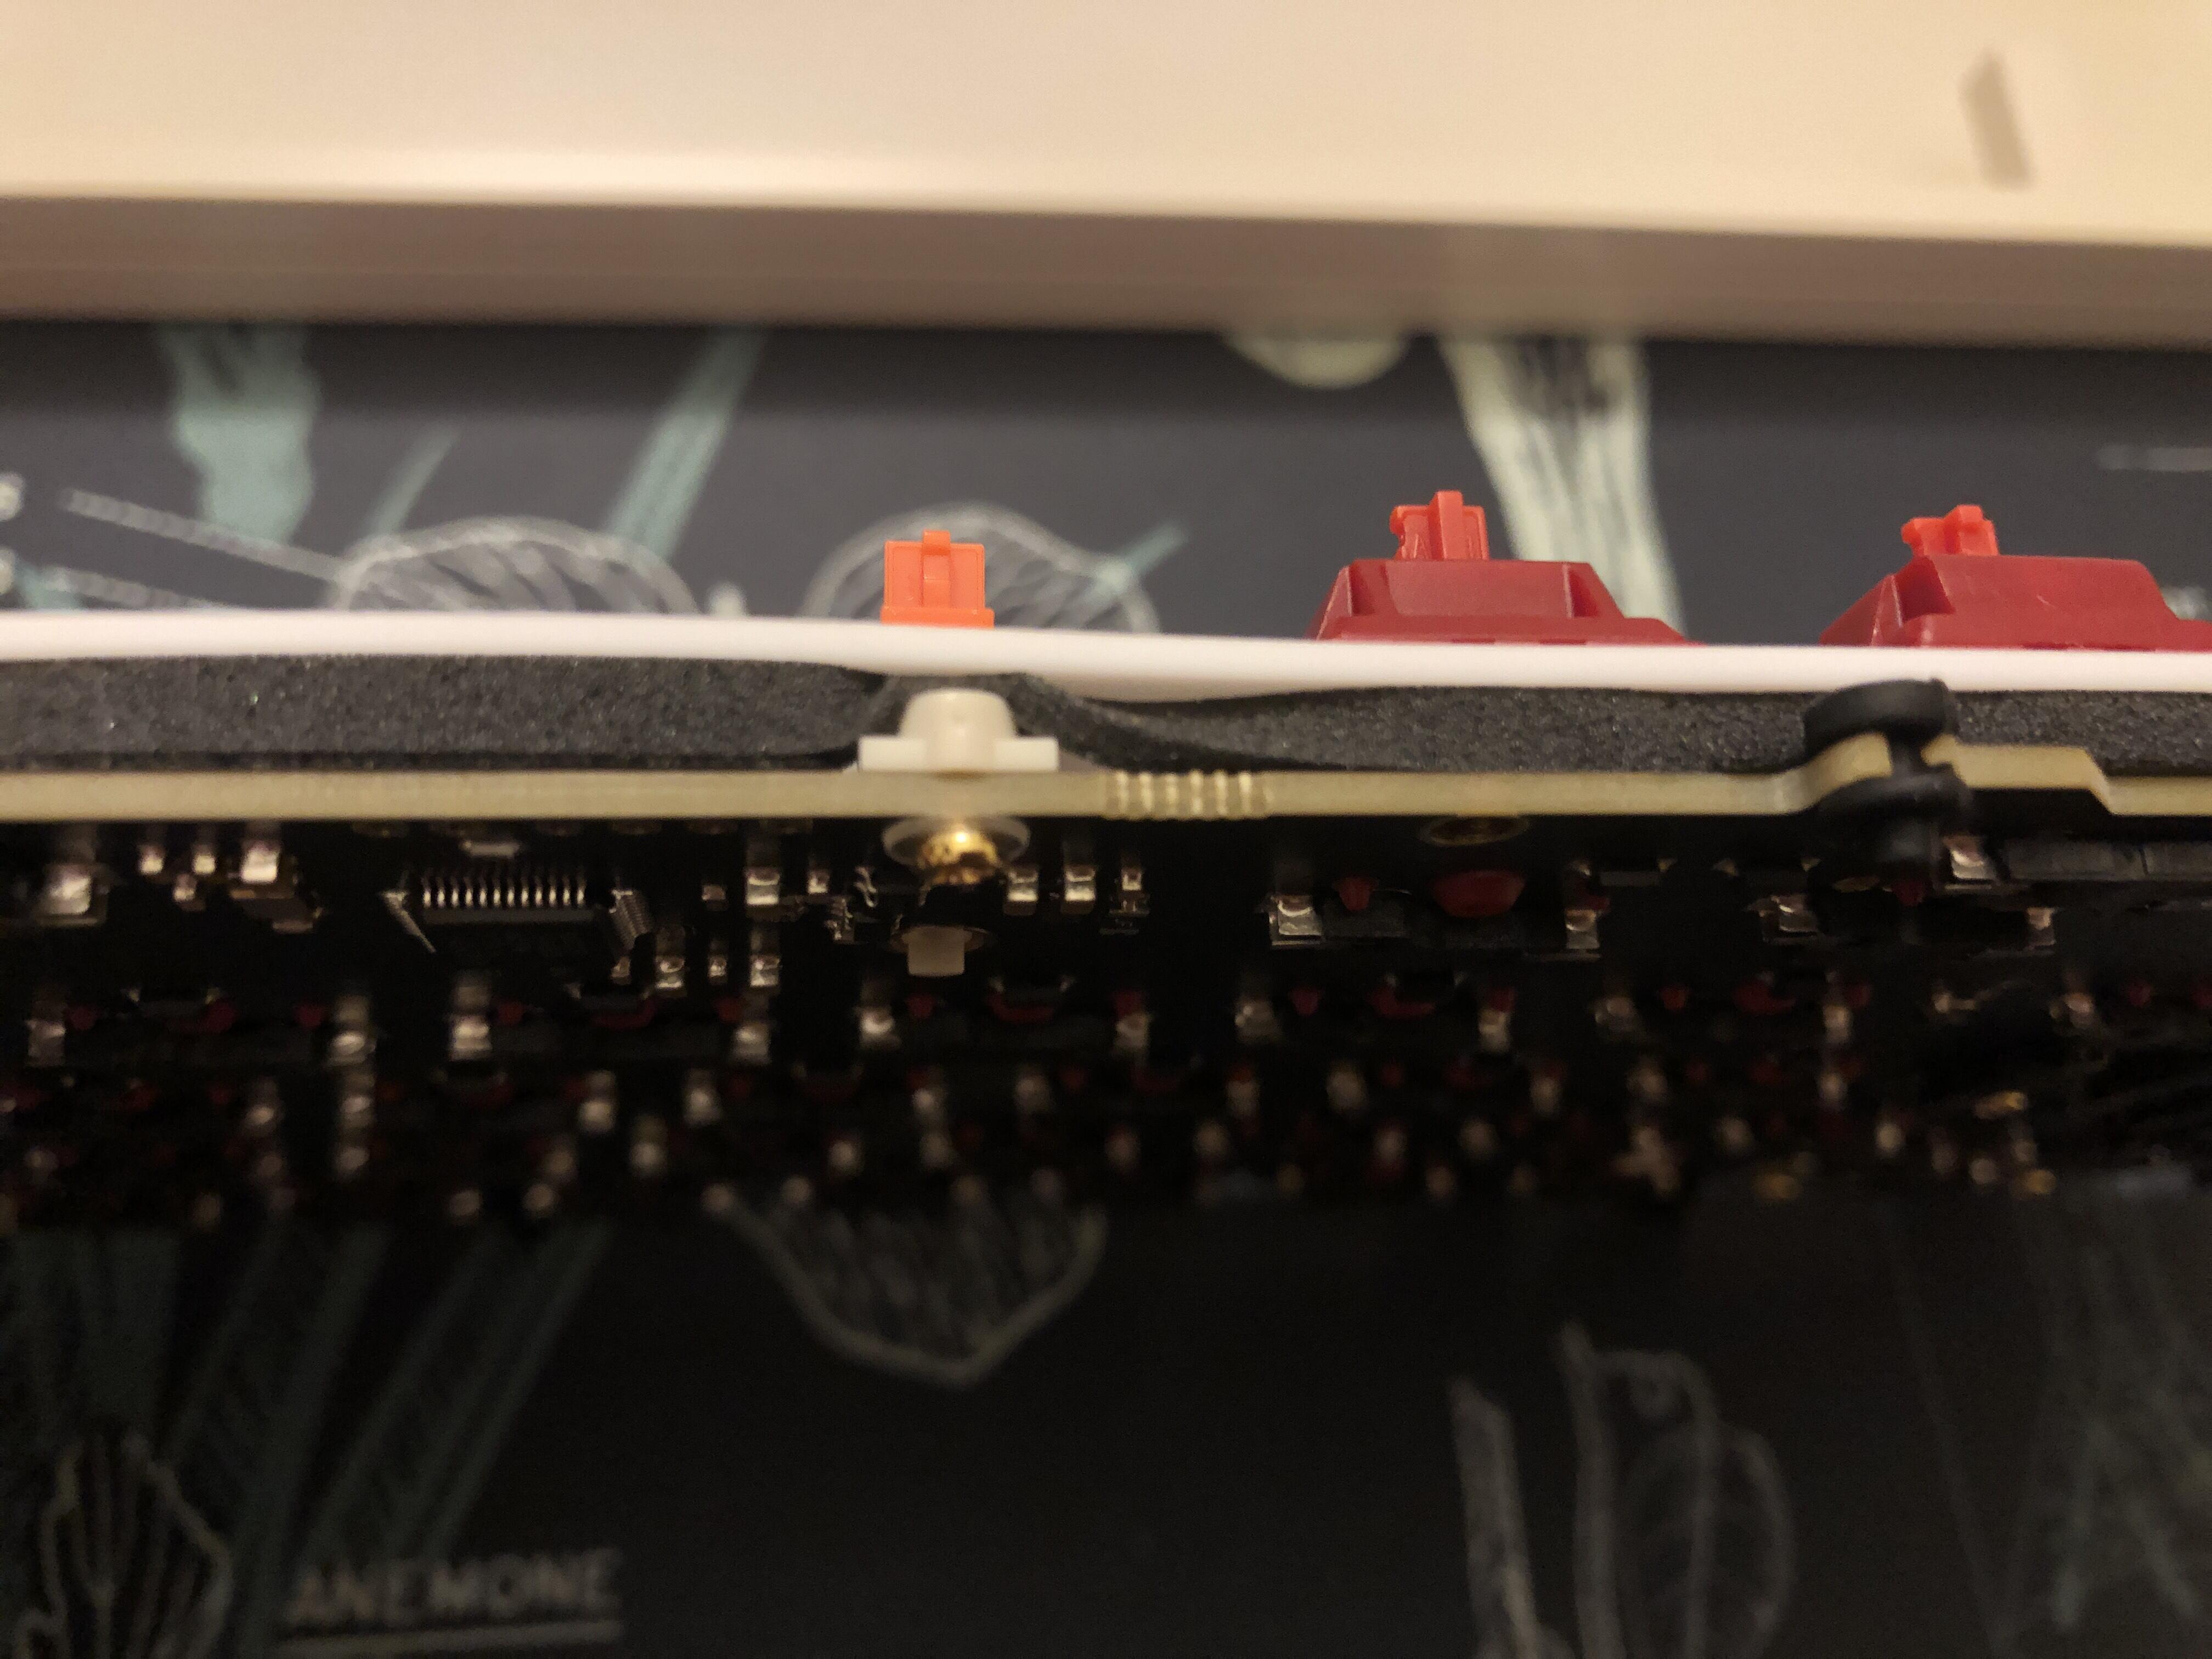
A.) The plate foam sticks out at the bottom where the stabs screw-in, so I just tucked it in there. It makes a slight bow in the super-soft polypropylene plate, but that’s only visible from the side like this:
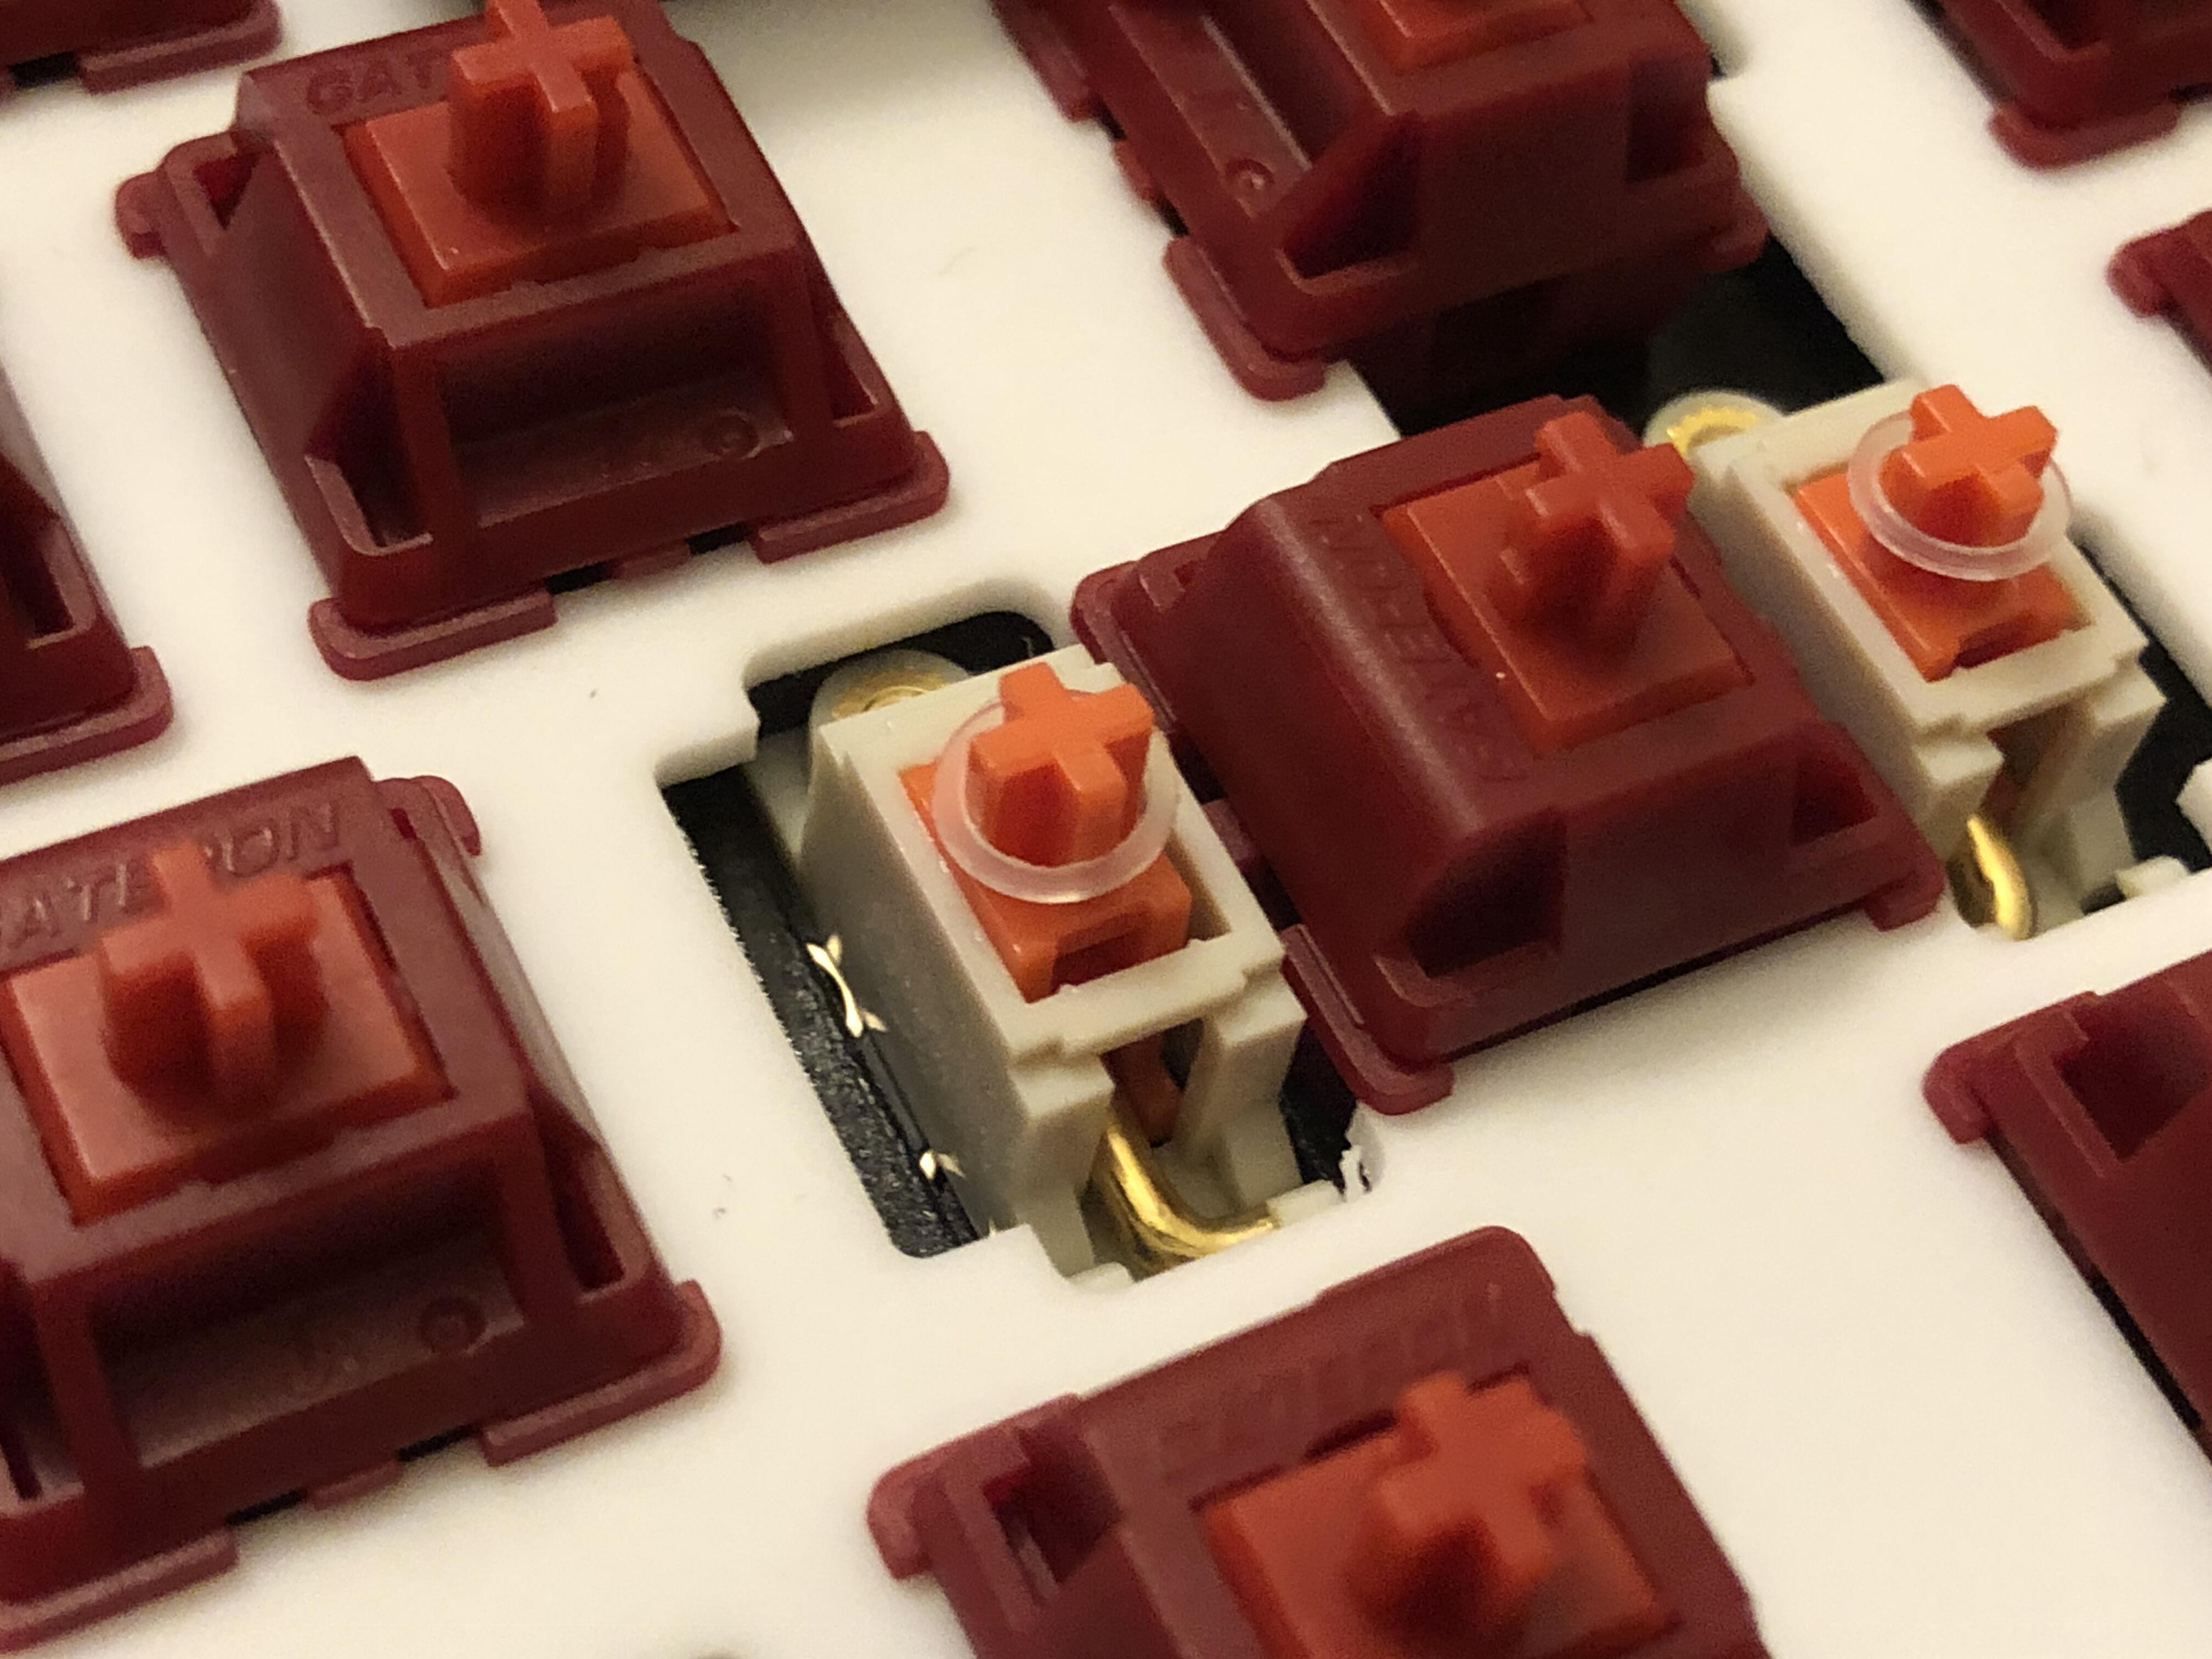
B.) I’m not a big fan of sideways switches, usually done to accommodate both ISO and ANSI enter keys on the same PCB, but it actually seems to work fine here:
Edit: the pipe key does sit a little tilted; I might try swapping-in a Roller switch and see if that helps.
C.) Also not the biggest fan of flipped switches vs the rest of the row, usually done to accommodate both Tsangan and standard bottom rows on the same PCB - but again, it seems to work fine here:
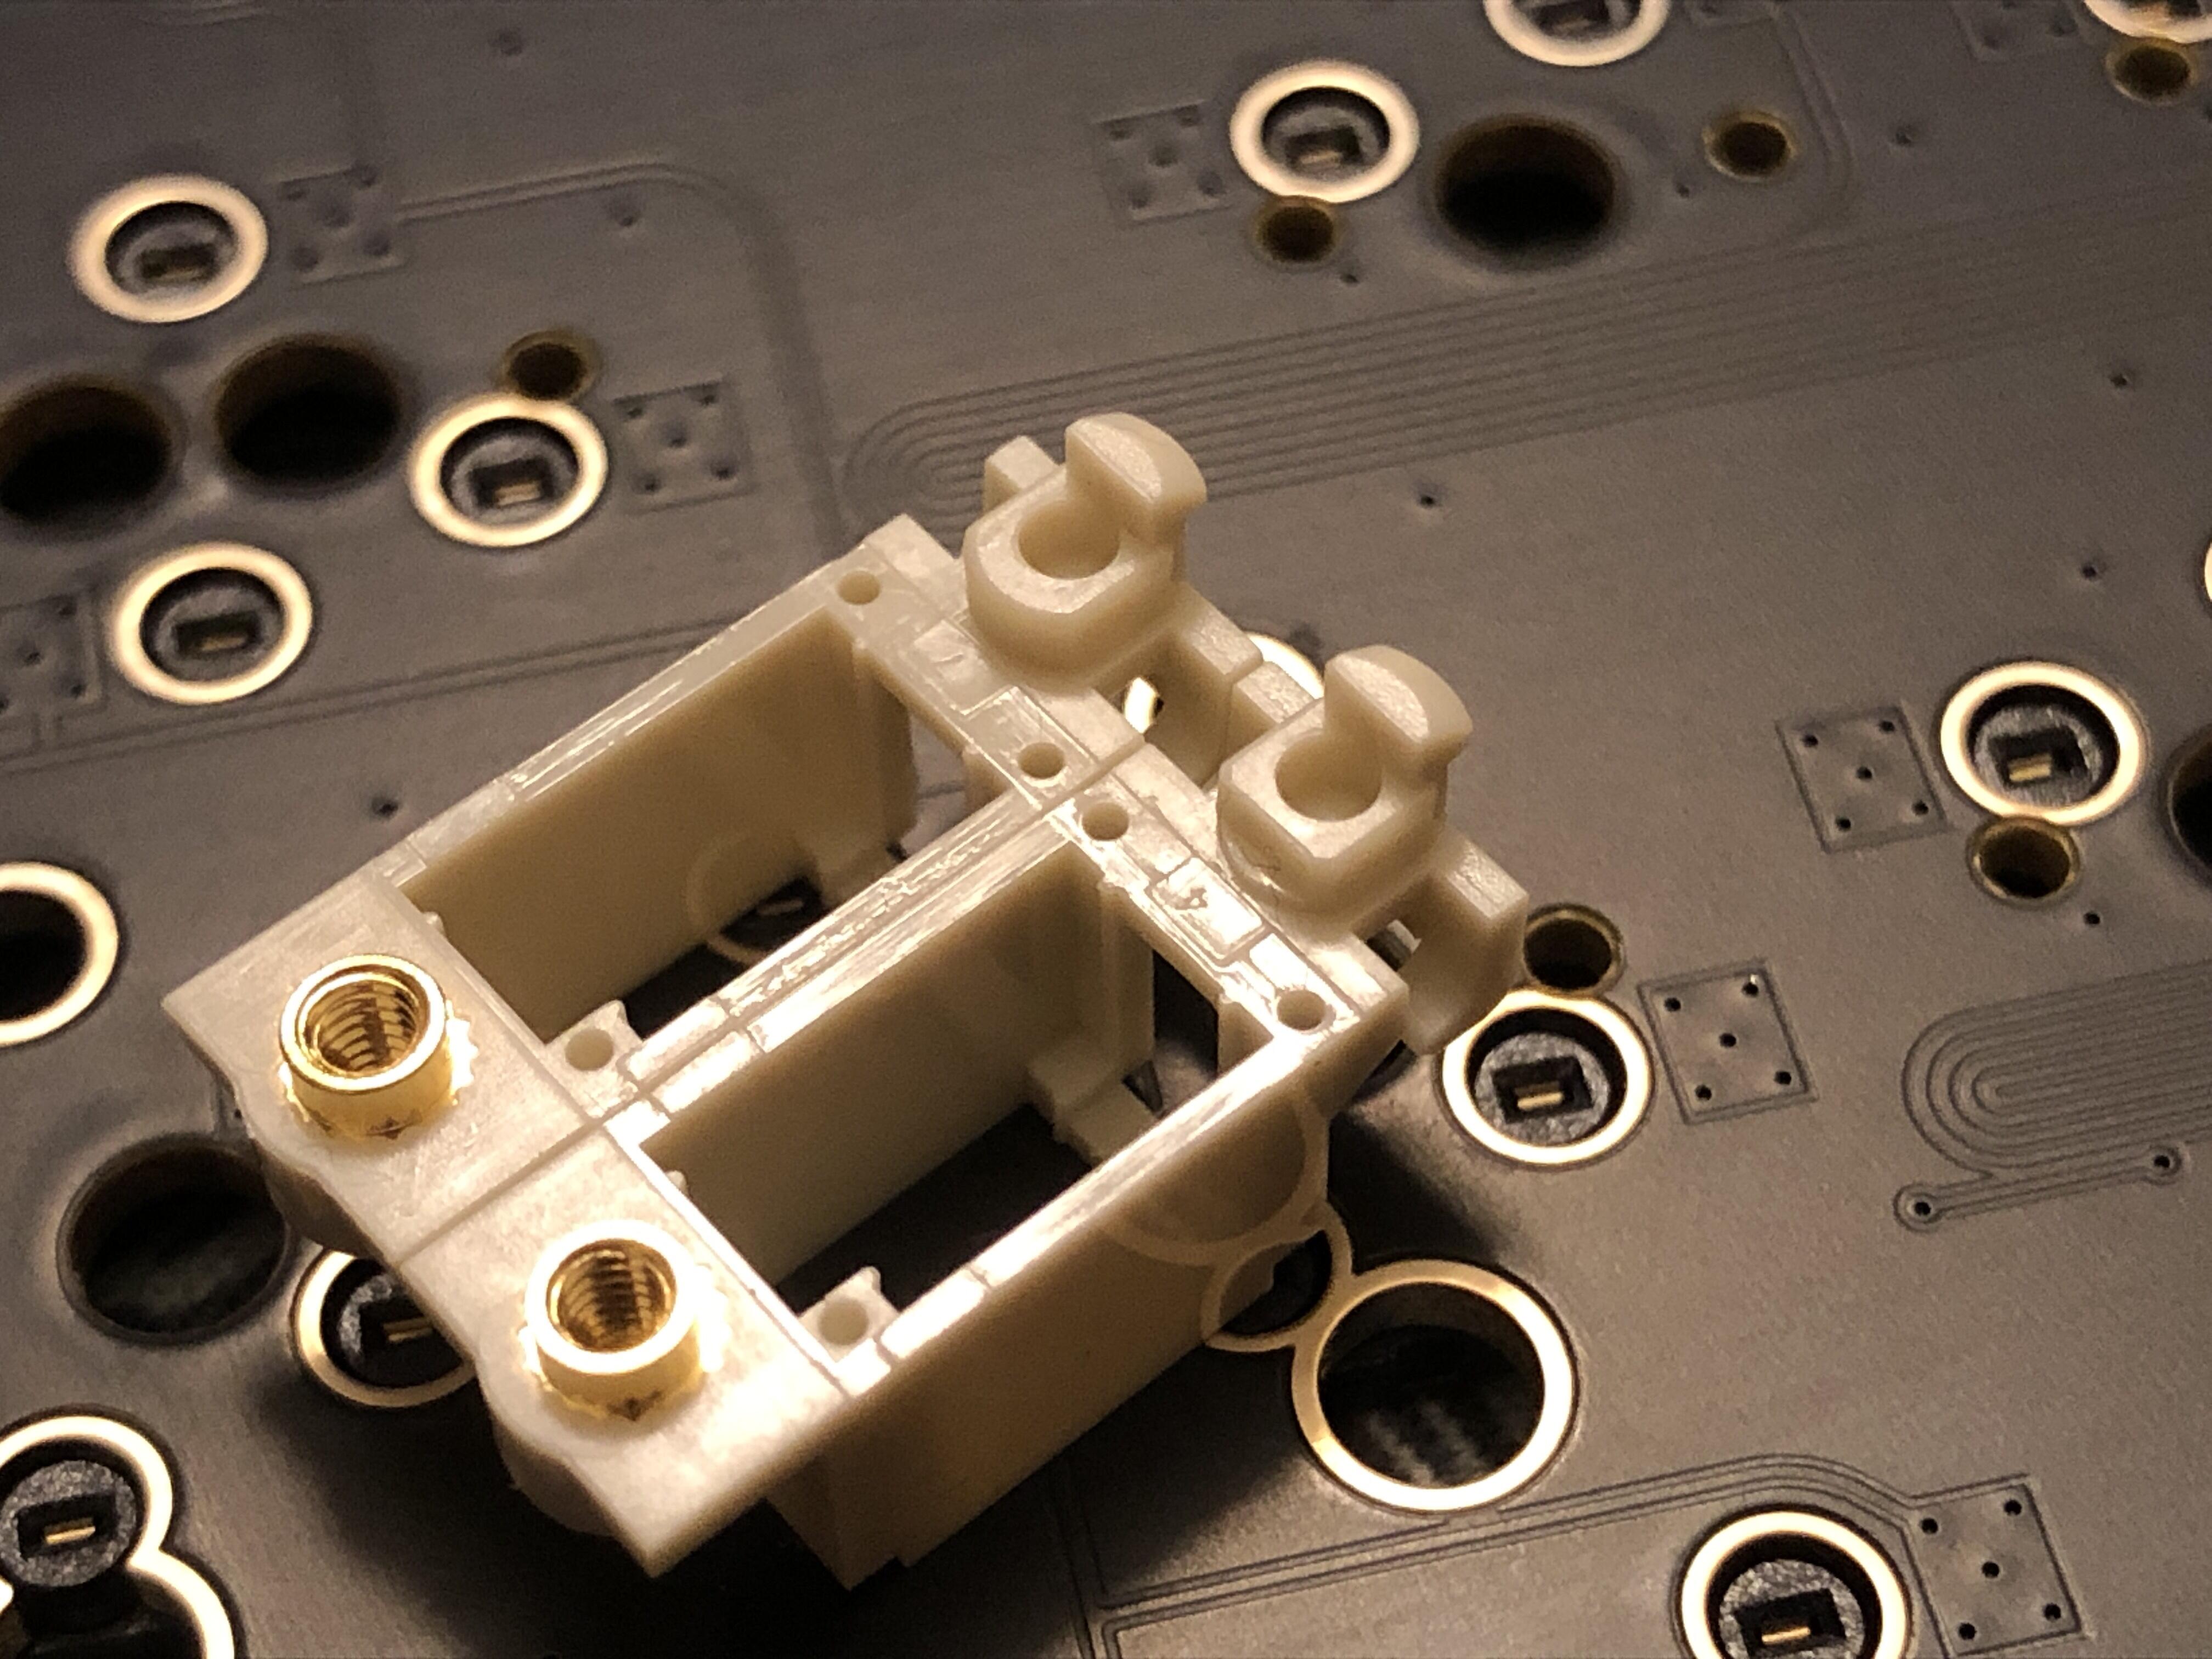
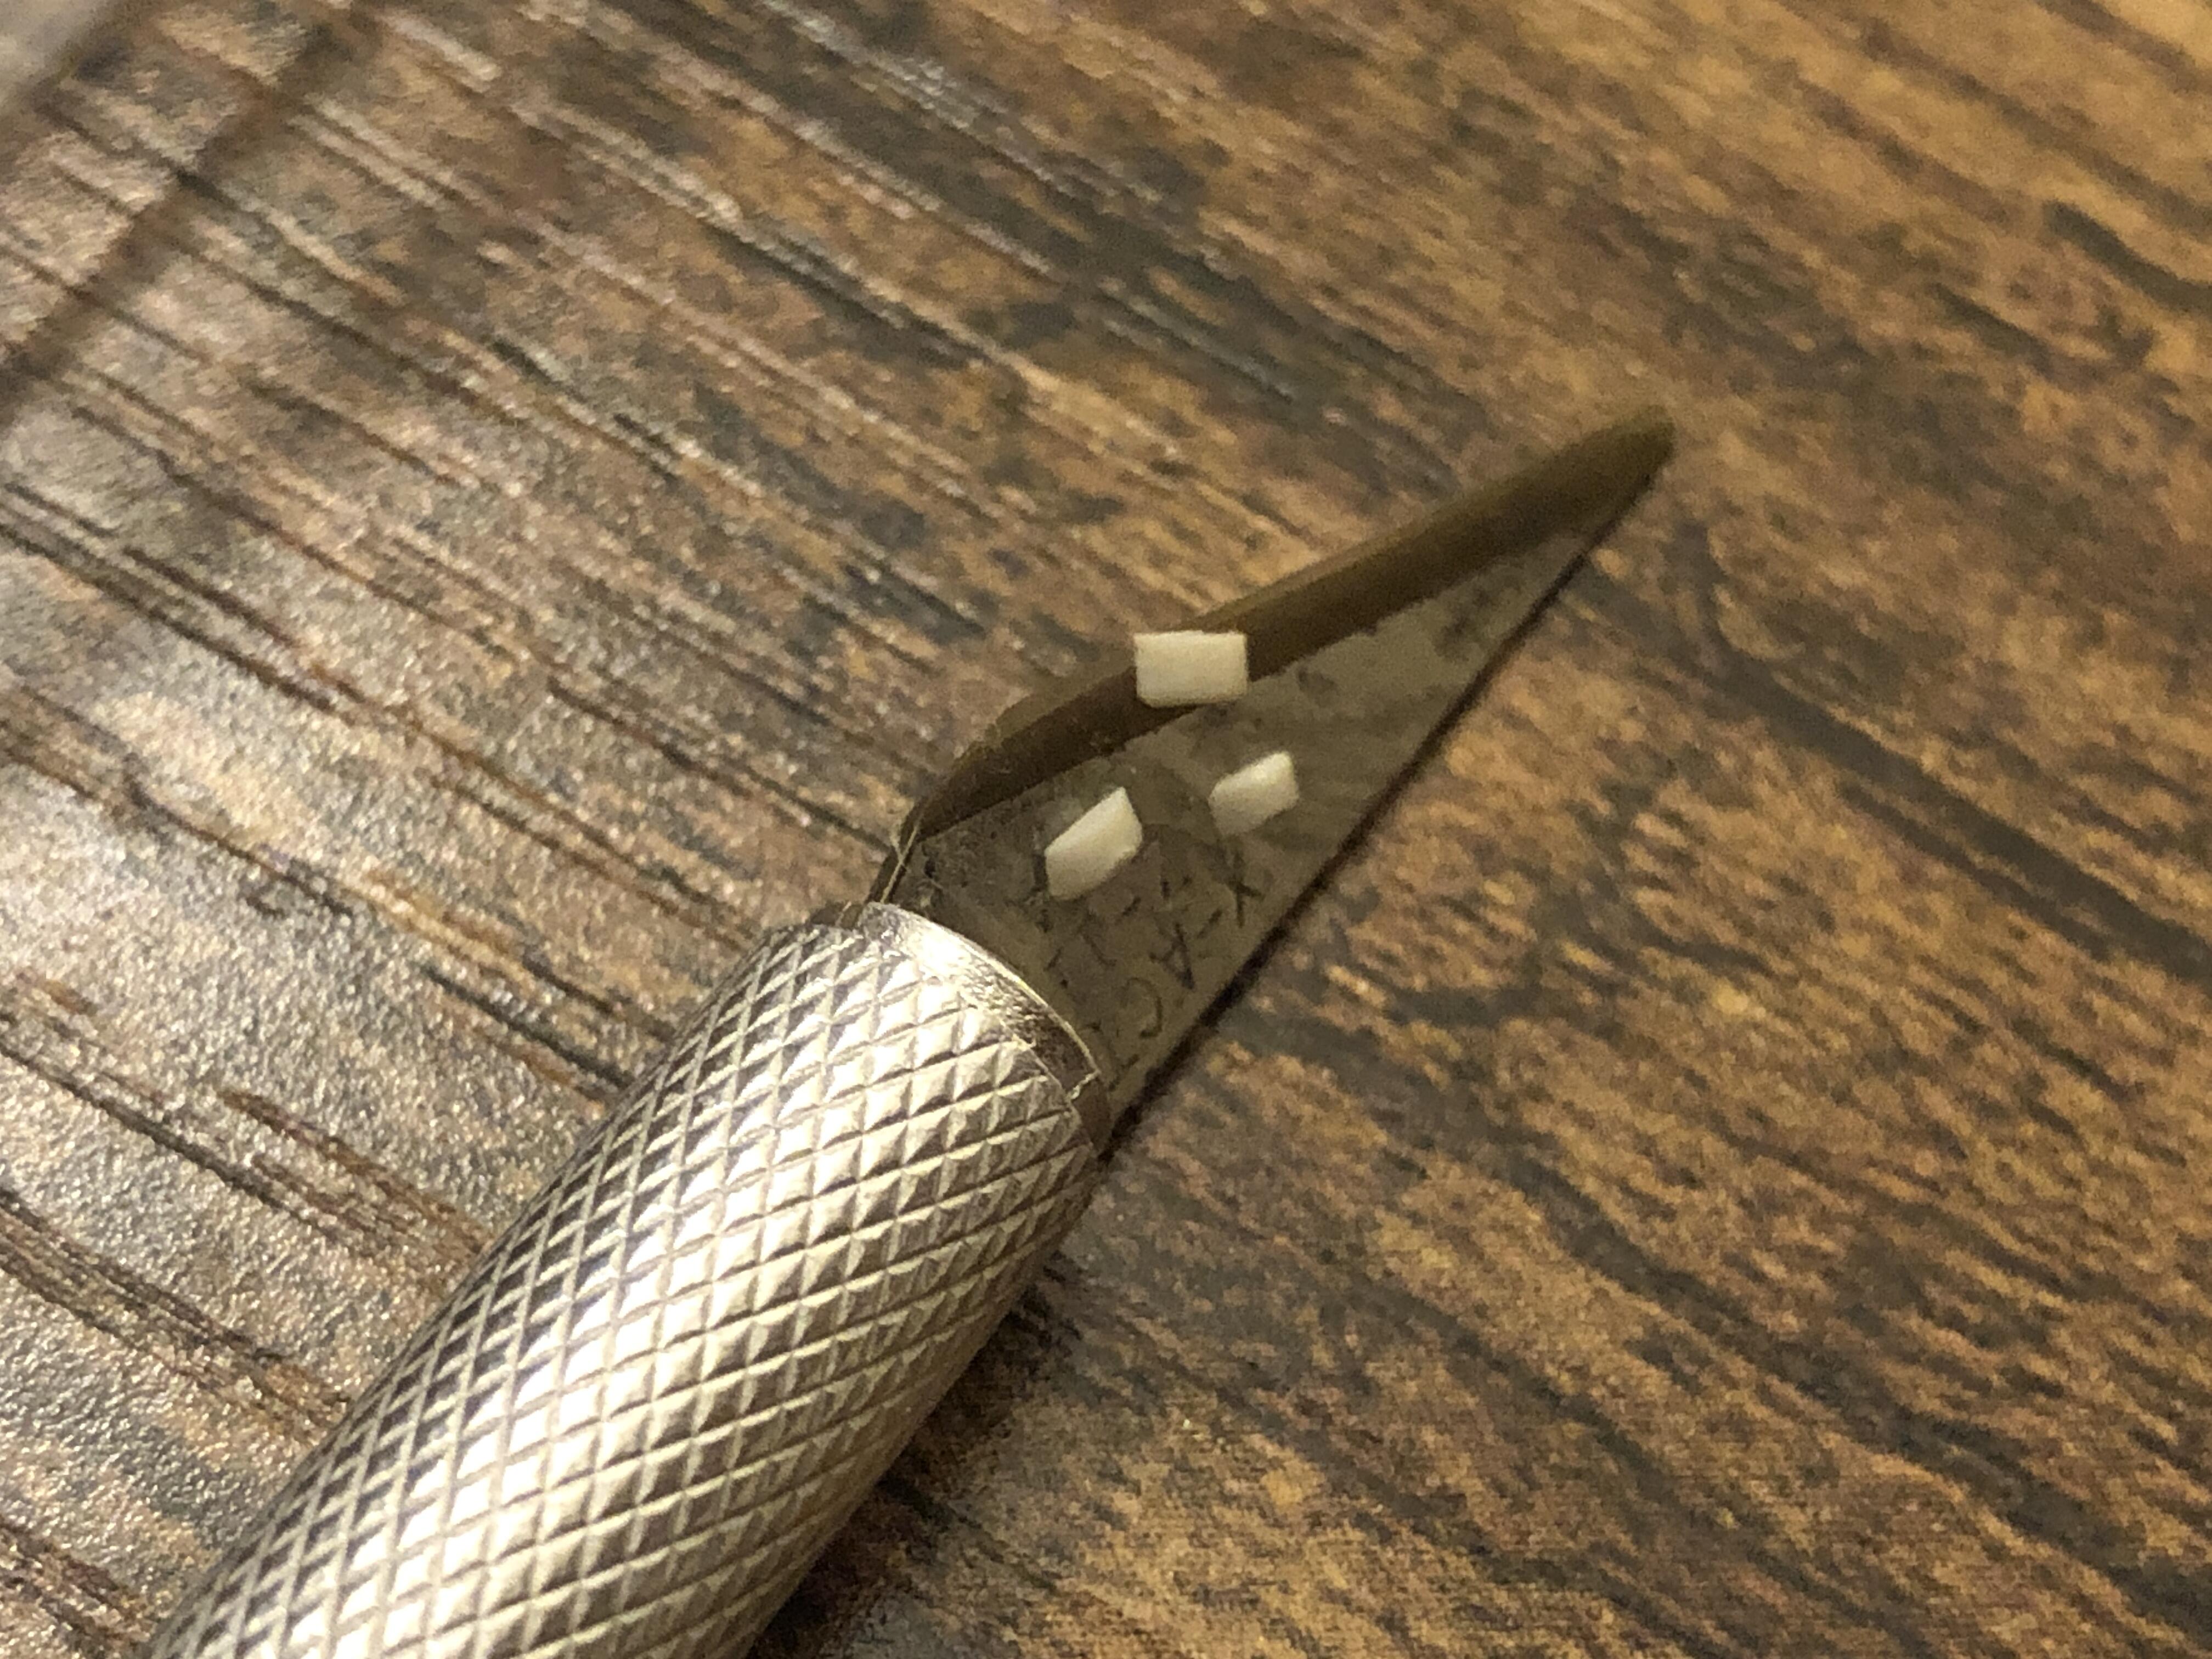
D.) I had an issue when installing the Designer Studio Adaptive stabilizers, in that the left side of both the Backspace and Left Shift didn’t want to seat-in. It turns out that these slots are close enough to some hot-swap sockets to interfere (bottom-left corner of photo below). This might not happen with every model of stab, and it was also easy enough to fix in this case; I simply took a utility knife and sliced a bit off of the hooked stud that interfered with the socket, shown below - modded version closer to the camera:
Modded stab in-place; I probably could have gotten away with shaving-off less than I did, but it works great:

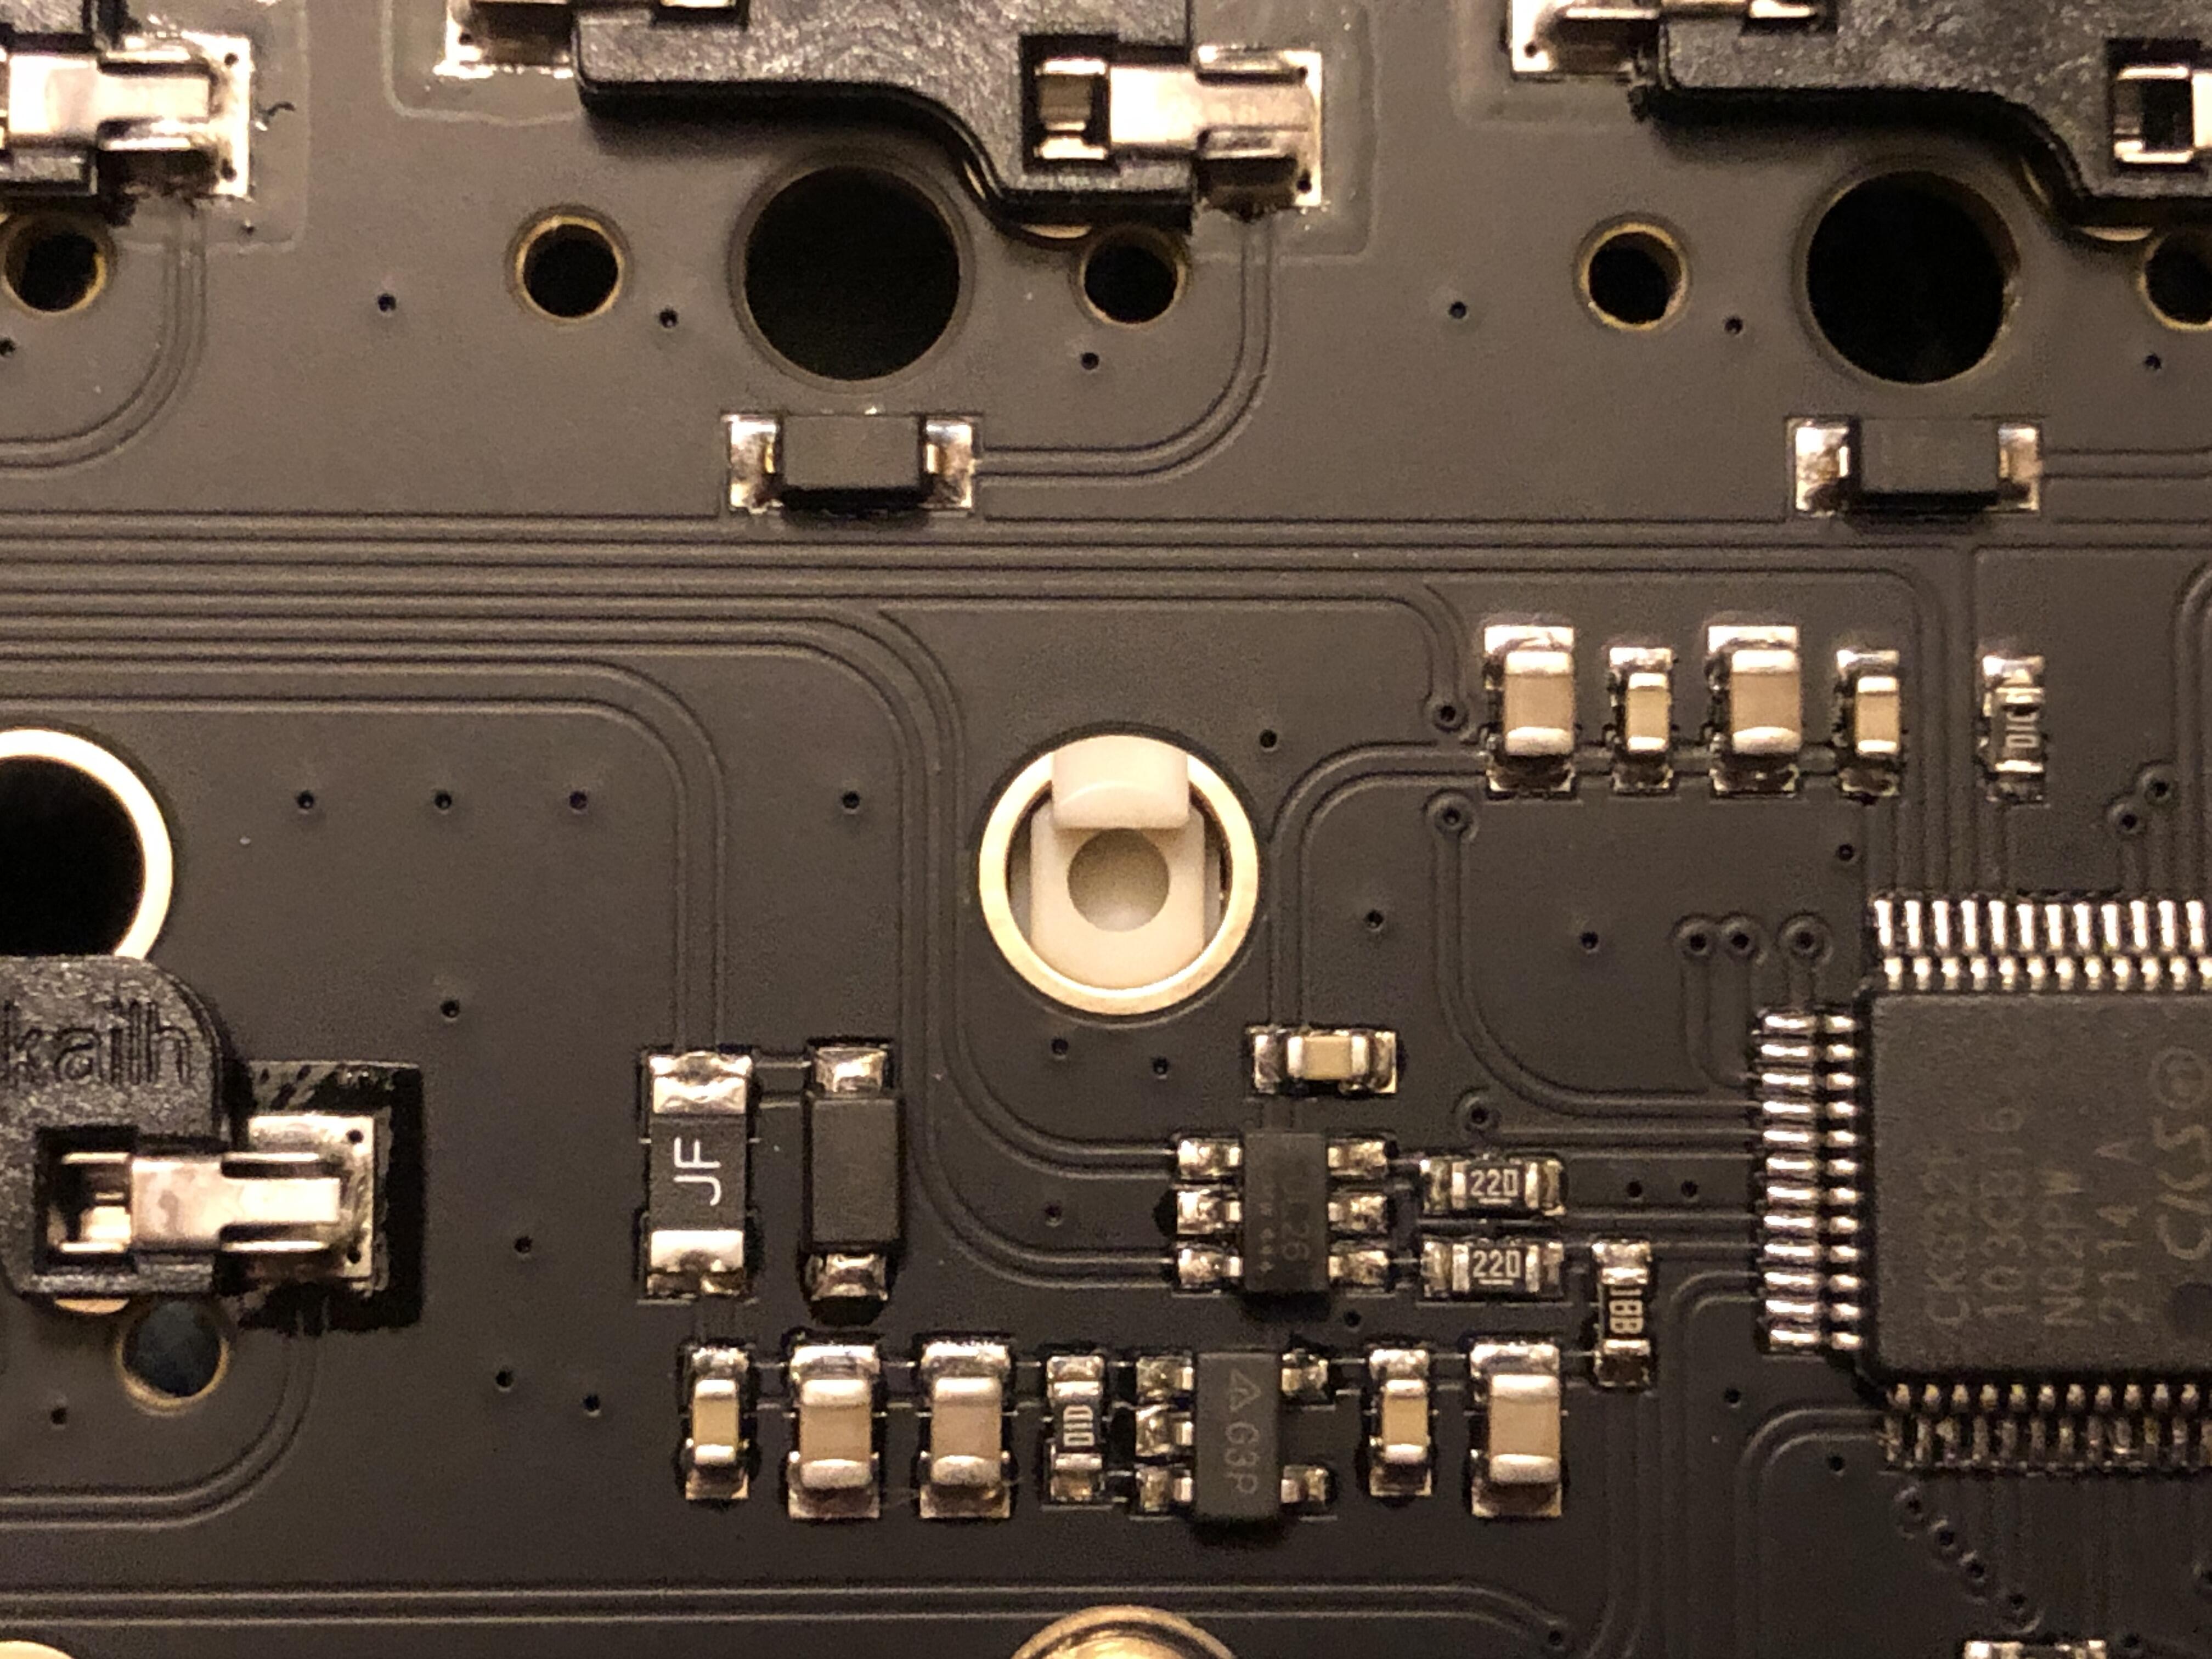
Un-modded stab in-place; here you can see the rounded side sitting flush with the circular slot:
Crusty utility knife with the two + test shaving bits still on it:
Overall a fun build that I’m really satisfied with, especially considering the price of the kit; $75 as-configured. Just gonna need to find some more suitable switches…