What's on your workbench today?

SP SA Chocolatier :chocolate_bar:

Decided to give C3 Equalz v3 stabs a try tonight.

They come with a gasket kit, with a selection of thicknesses and materials. Since this is a work keeb, I used the thick ones.

I also used the included Teflon strips for the stems.

From there, I just put a sheen of 205g0 on the flat sides of the stem and on the ends of the wires up to just past the bends where they clip in; very minimal. (Switches are TTC Silent Bluish Whites.)

I also decided to finally try one of the silicone case inserts I’ve had laying around for a while.

They’re quite snug.

I’m really happy with these Nylon stabs so far - way more my speed than the polycarb KBDfans ones I had on here before. I can definitely say I’ve never had stabs sound this good with this little lube.

I decided to do this after not using this keeb for a while and forgetting how bad the stabs sounded; floppy and clunky. Definitely a good idea, and definitely worth the leisurely hour or two I spent on it with YouTube in the background.

Here’s what the keeb sounds like now:

9 Likes

Had the same impression when I first tried those C3 v3 stabs. Sounds great!

5 Likes

Dang, I’m gonna need to try these now.

1 Like

Discipline on the bench today. People do some fancy artsy shit with silk/mask on boards and I really need to get inspired to try it on some of my stuff.

9 Likes

Decided to give my new little light box a try with some quick phone photos.
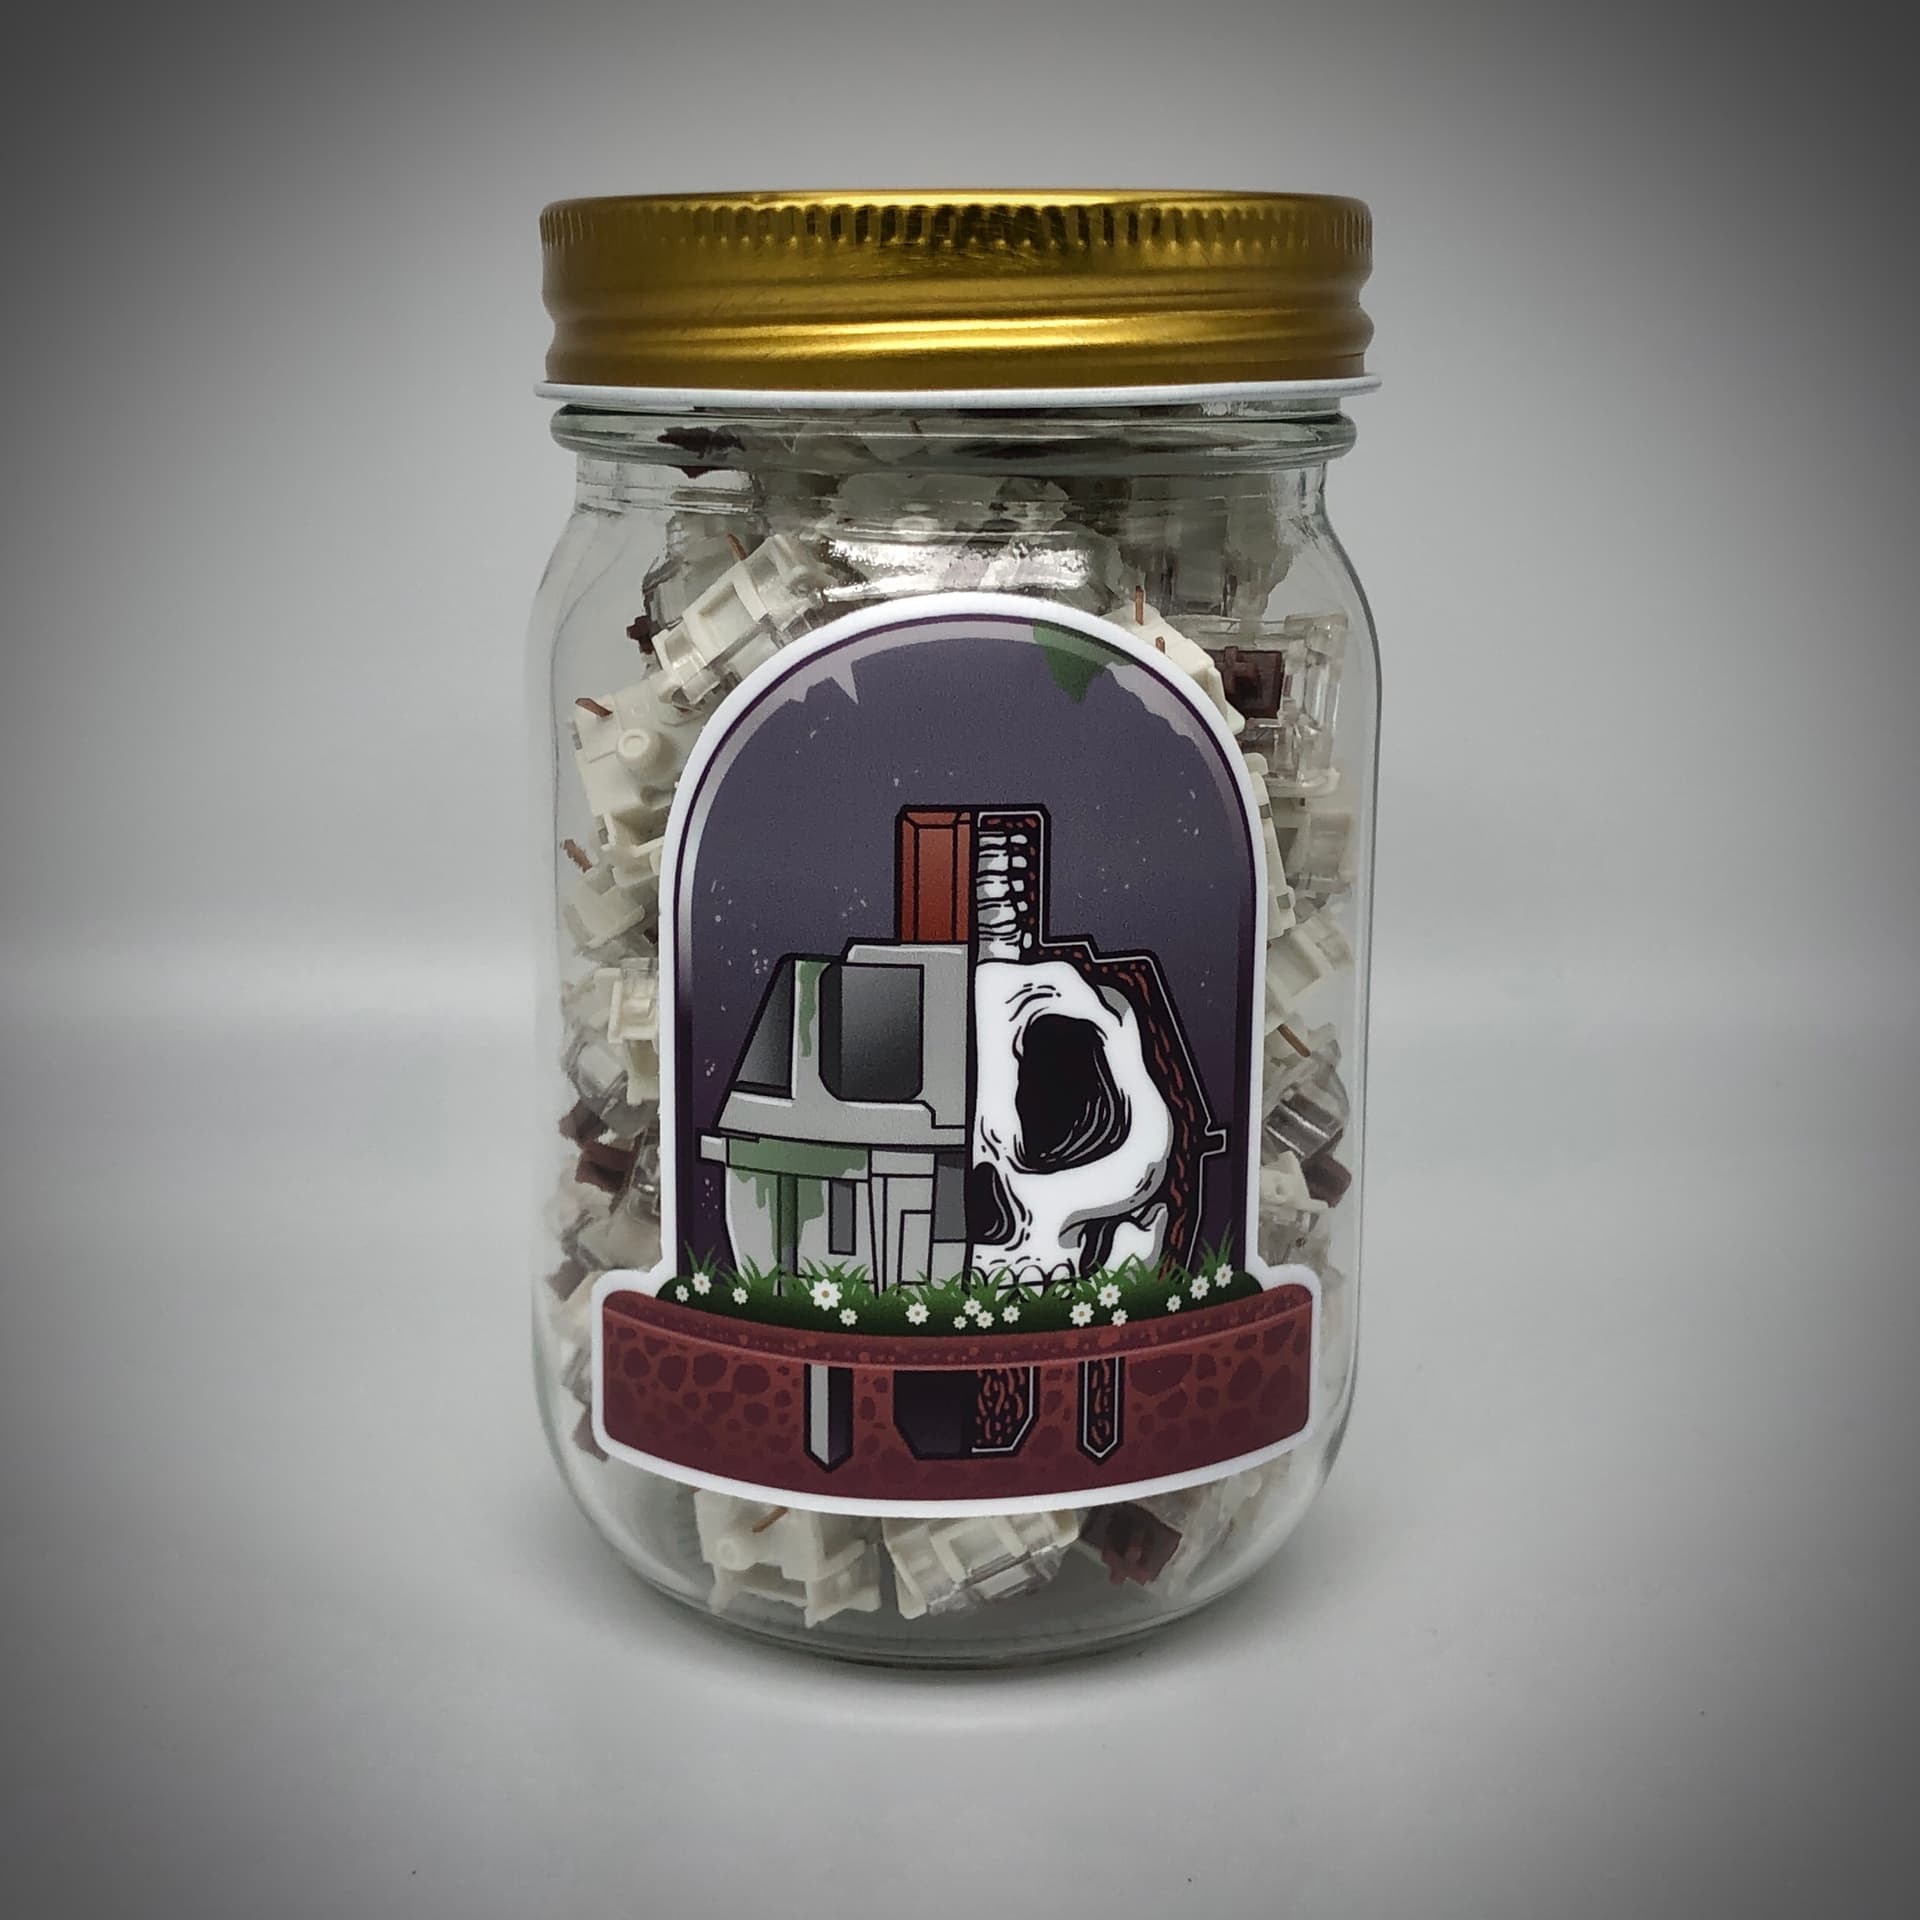

Gateron Browns


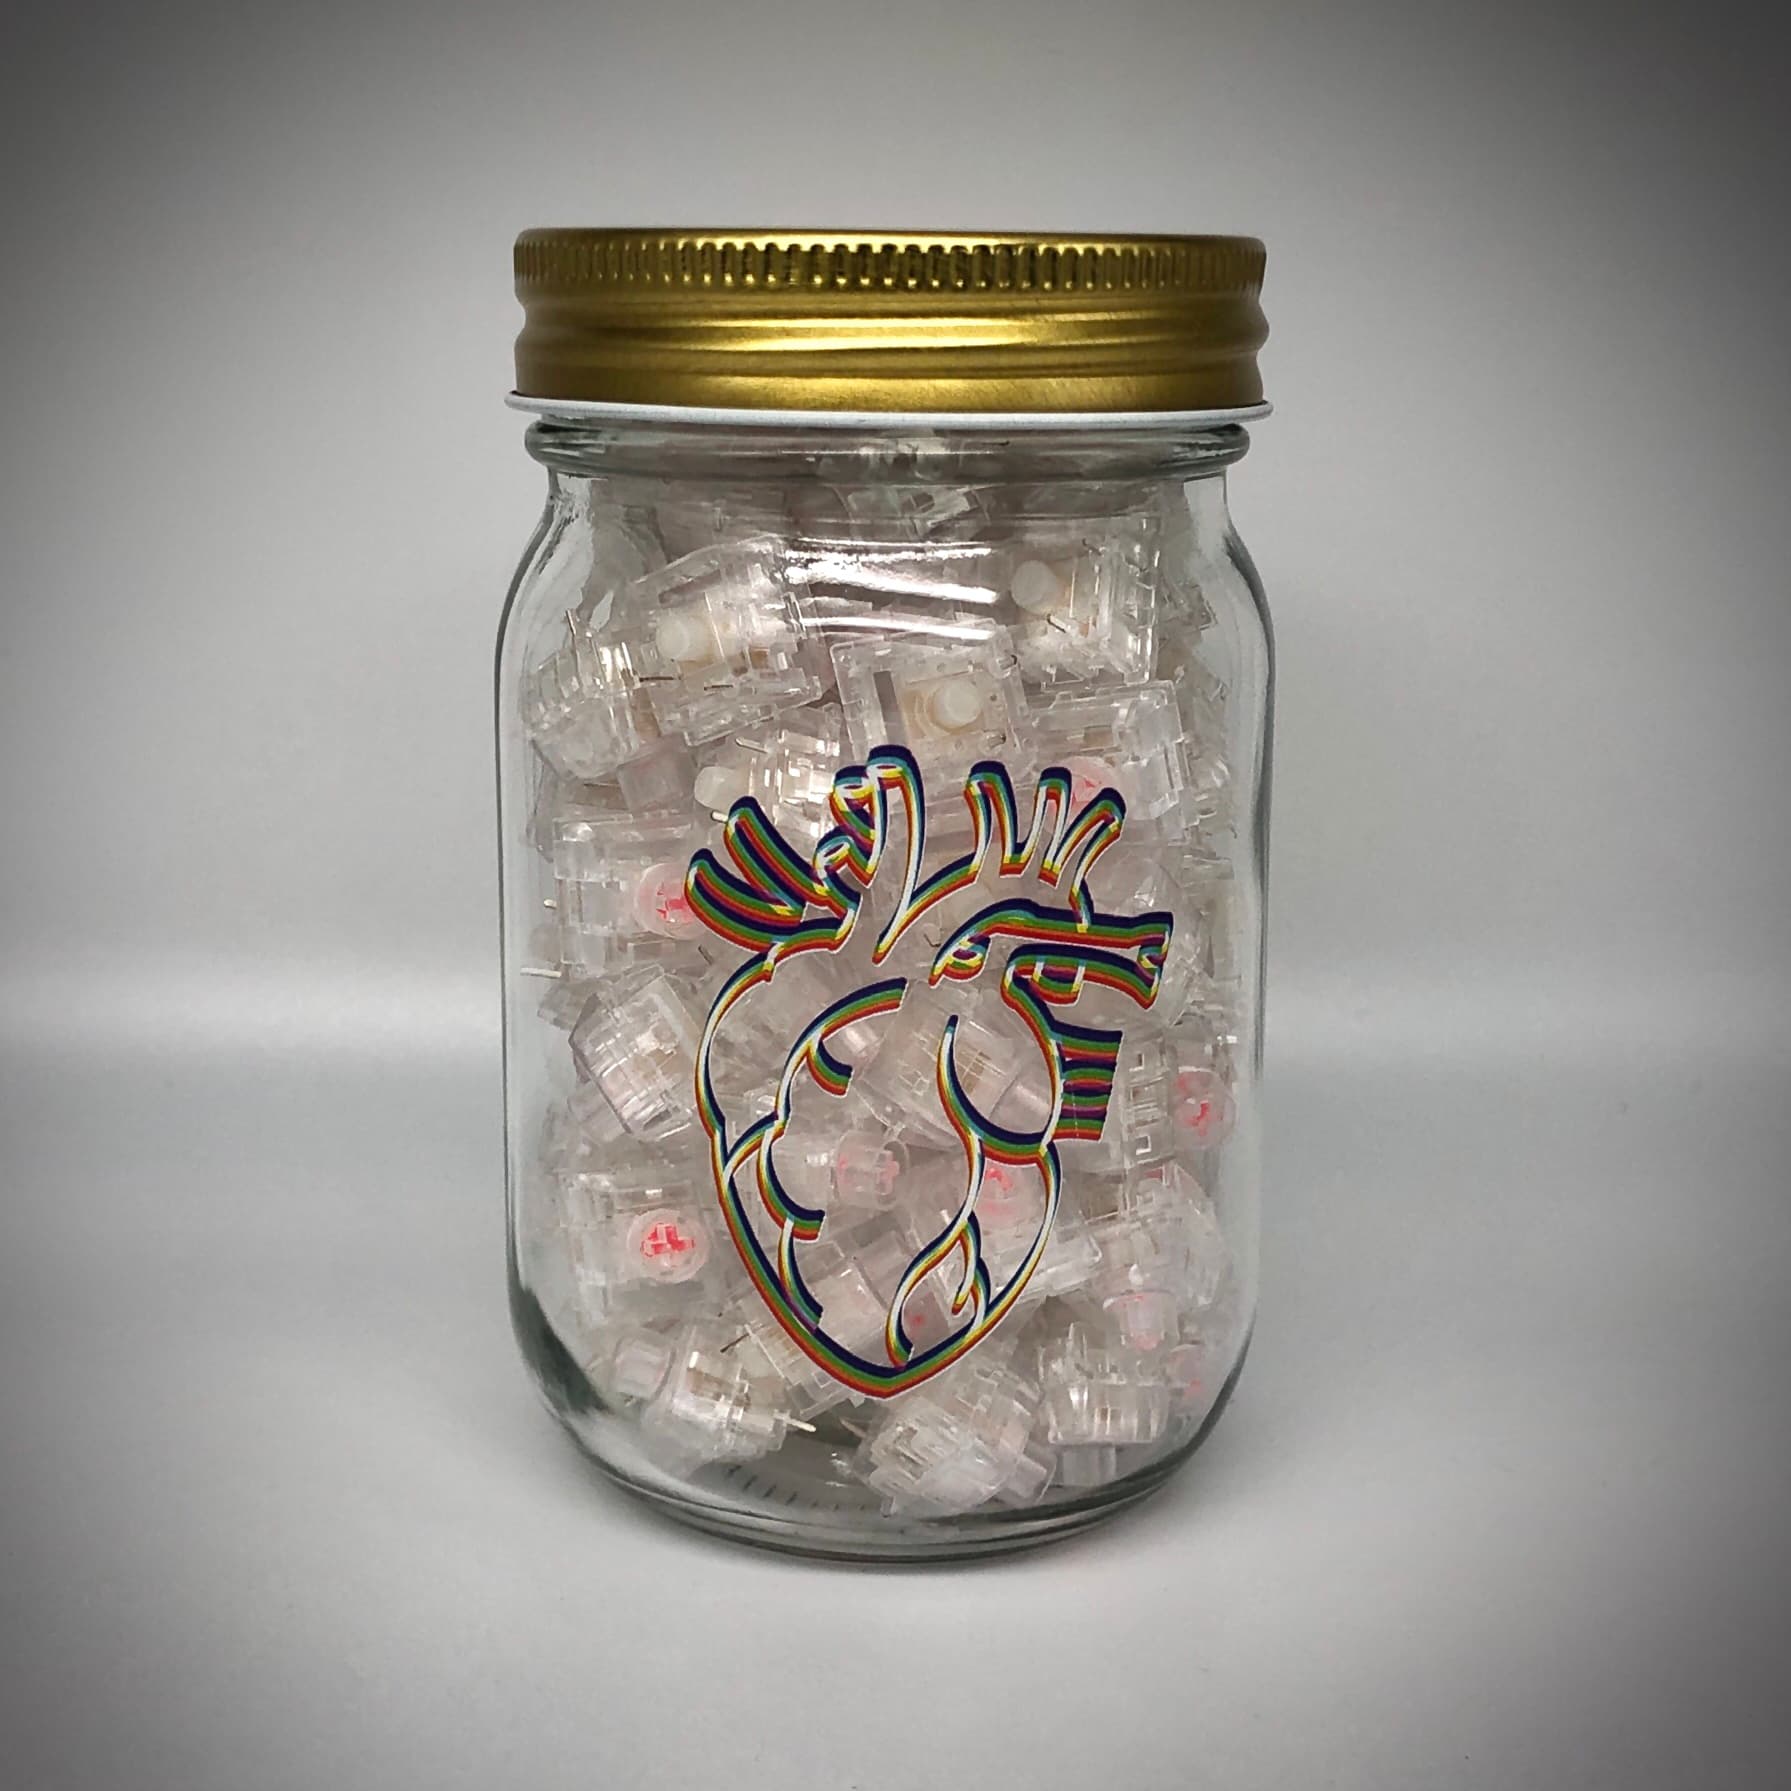
TTC Heart / Honey / Love
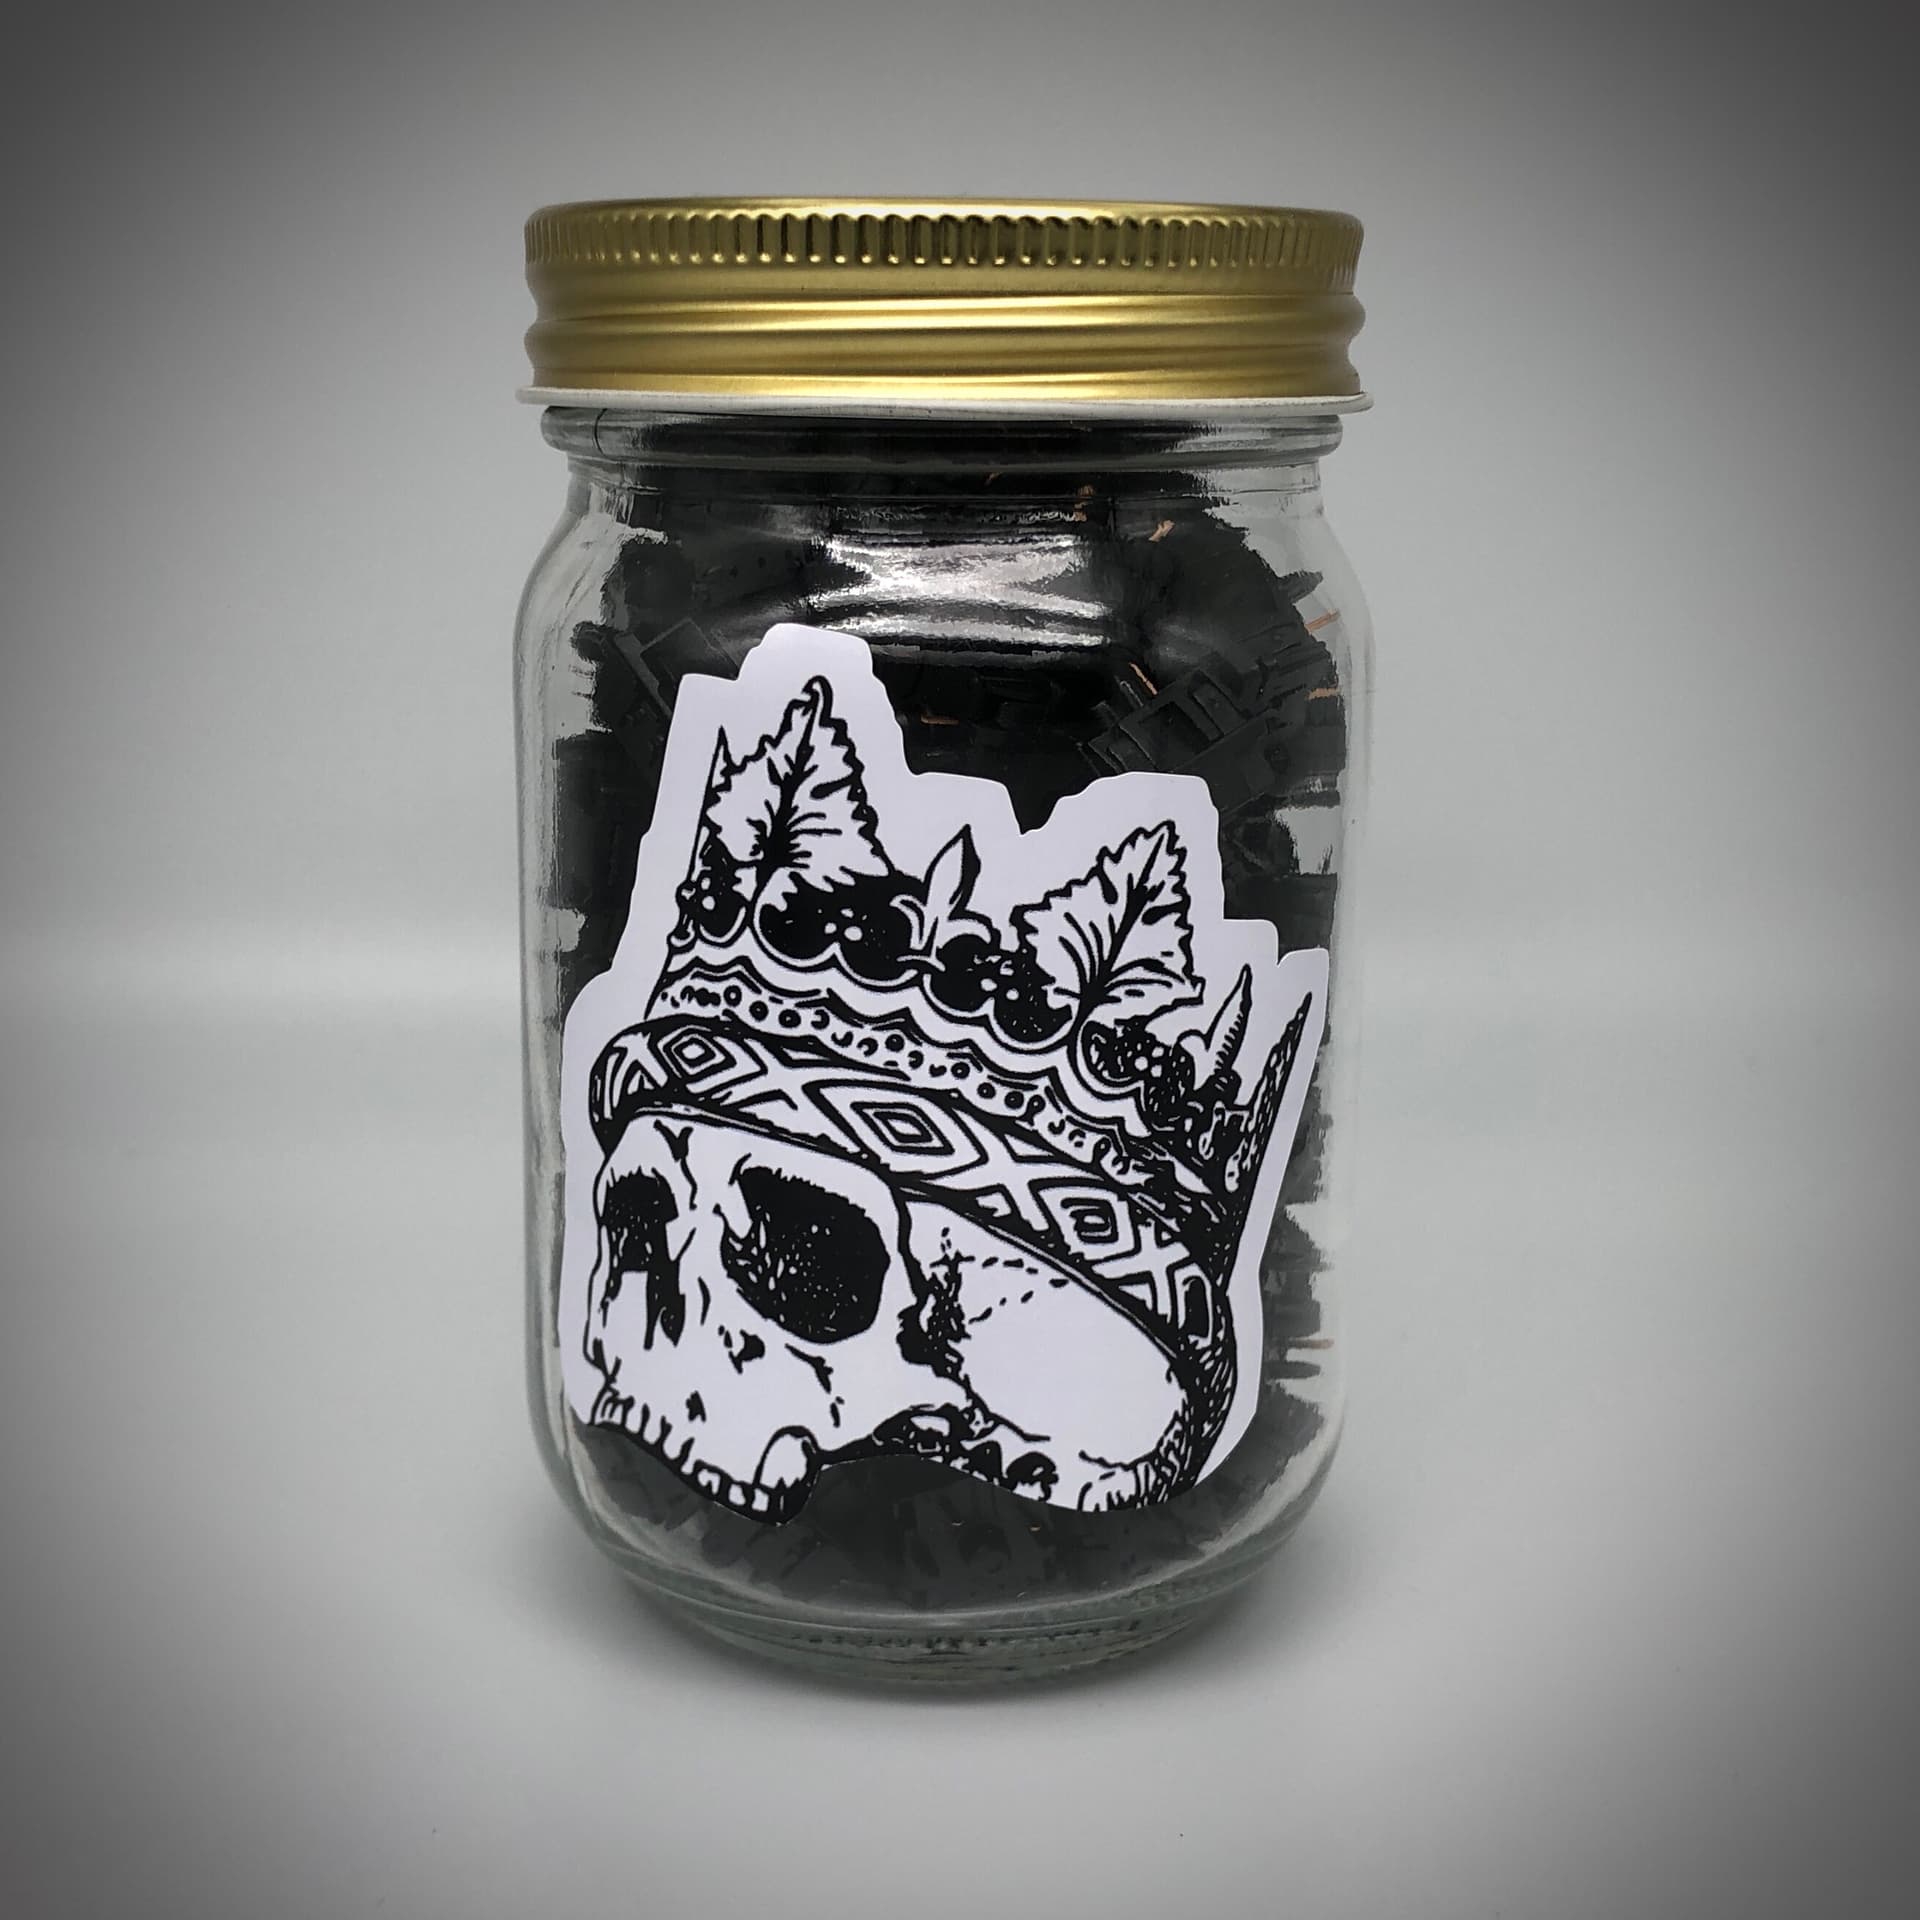

Gateron Oil Kings


Once I get a setup all dialed-in I’ll be photographing my whole collection with my DSLR.

10 Likes

I missed out on where those stickers come from.

I can’t remember where the gravestone one is from; a sticker pack someone here pointed out to me. They had a handful of MX-related sticker packs; kind of expensive but really cool designs.

The see-thru heart is from a sheet that came with an LP, Aesop Rock’s Spirit World Field Guide

The skull king came from Redbubble, where most of the ones on my jars are from.

1 Like

Doing some science!

Experimenting with speed curing RO-59 with a heated food dehydrator. Ideally it would cure around 175-200F, but the circulating air and a little more cure time seems to do the trick.

As a bonus, I get to avoid any awkward conversations with my wife as to why I’m cooking plastic in our oven. :dizzy_face:

7 Likes

whatcha coating?

I like your style :grin:

I’m working on some Topre housings from a Realforce PFU TKL. I’m applying the RO-50 to the contact surface on the housing for the slider stems.

I’m working on a theory that if these are the fixed contact surfaces, I could save time and materials by only apply to these surfaces versus the entirety of the moving stem. So far things are looking promising, but we’ll really see once the keyboard is fully re-assembled.

3 Likes

You ever install a set of switches into a board and it sounds nothing like what you expected? It’s been an interesting day experimenting with one of my Prophets. First, I installed Creams in it and honestly, I was underwhelmed. I realize that Creams improve over time but the combination of the shuffling sound of the key press and some leaf ticking contributed to what amounted to an underwhelming overall sound experience. It wasn’t something that I was going to look forward to typing on so out they came.

Enter: my Gateron Ink Black reclamation projects. I acquired these when I purchased my Polaris and they sounded…ploppy. Two ultrasonic cleaning rounds later, I gave them a fresh, much lighter coat of lube and also swapped in 60g TX mediums. At first pass, I’m really excited about these springs. They’re more of a linear feel than the longs but still have enough weight at the top to prevent most accidental key presses. So I got the Creams out, the Inks in, and come to find out that I have two switches that no longer function. And since these came out of a different board, I only have exact count. Bummer.

So for the purposes of typing this comment I’ve swapped the two dead switches into less important spots on the board but unfortunately it looks like these will also need to come out until I can pick up a couple of replacements.

3 Likes

All the time.

I think this is the main-line Cream experience. They aren’t bad switches and can be tuned into quite nice switches but IMO don’t live up to the hype surrounding them. The POM housings do have a unique sound, but personally I’m not that big a fan of it.

However… one of my favorite frankenswitches is the “Creamy Ink” - Cream stems in Ink housings. They’re kind of redundant these days with all the long pole stuff available stock, but if you already have the parts and want to try shortening the travel of your Inks and adding a bit more impact to the sound, it’s an option.

If you don’t mind some degree of careful tinkering, I have some left-over Silent Inks with clipped legs; I’m not sure what’s wrong with the dead ones in your board, but both contacts / the leaf are swap-able with a little care. I can send you a handful of those clipped Silents, from which you can harvest working contact / leaf parts.

1 Like

Now that, I think you may be onto something. I don’t know that I’ll use the Creams in their current form and I happen to still have all those Kangaroos sitting around. Those housings sound nice with Kailh black stems so I can definitely see Creams doing that too. I think long pole stems brighten up the sound signature of Inks in a really enjoyable way so I think that may be what I do.

For the deadbeat switches, I’ve shuffled a few around and it’s down to one, which makes me think that it’s the contact legs somehow. I’ve never swapped contacts before but I figure that’s the final frontier in my switch modding experience :sweat_smile:

And I appreciate the offer! Nothing looks out of place at first glance but I’ll open it up tomorrow and see if I can figure anything out. I’ll DM you with what I find!

1 Like

I decided I needed to make some legs to support the metal switch plate for my Realforce. The finding of random objects to prop it up on was proving irritating. Anyway, these are super simple, designed in about 30 minutes and put into action. Could they be improved, oh fer shure, but they’re doing a reasonable job of holding things off the work mat for assembly and lubing.

https://www.printables.com/model/189408-topre-switch-plate-support-legs

14 Likes

This is what the world needed. Brilliant idea!

2 Likes

If you don’t have a 3D-printer, you can make one easily out of foams used to package keyboard cases like I did. Simplest but not the prettiest method:

  1. cut the foam in half diagonally.
  2. use the halves to prop up opposing corners.
  3. use whatever you have around to keep the halves in position. I used toothpicks. Not the cheap kind mind you. I only use highest-quality tools…within arms reach.
6 Likes

Another one up for sockets today. Got tired of trying to get the sockets to sit in where they needed to so drew up and printed some clips to space the PCB above the desk.

6 Likes

When I built a millmax board, I used 5-pin switches and plate to keep them in place until sockets are fully soldered. I tried using tape before that but they didn’t quite keep the sockets straight.

1 Like