So cool !
2 Likes
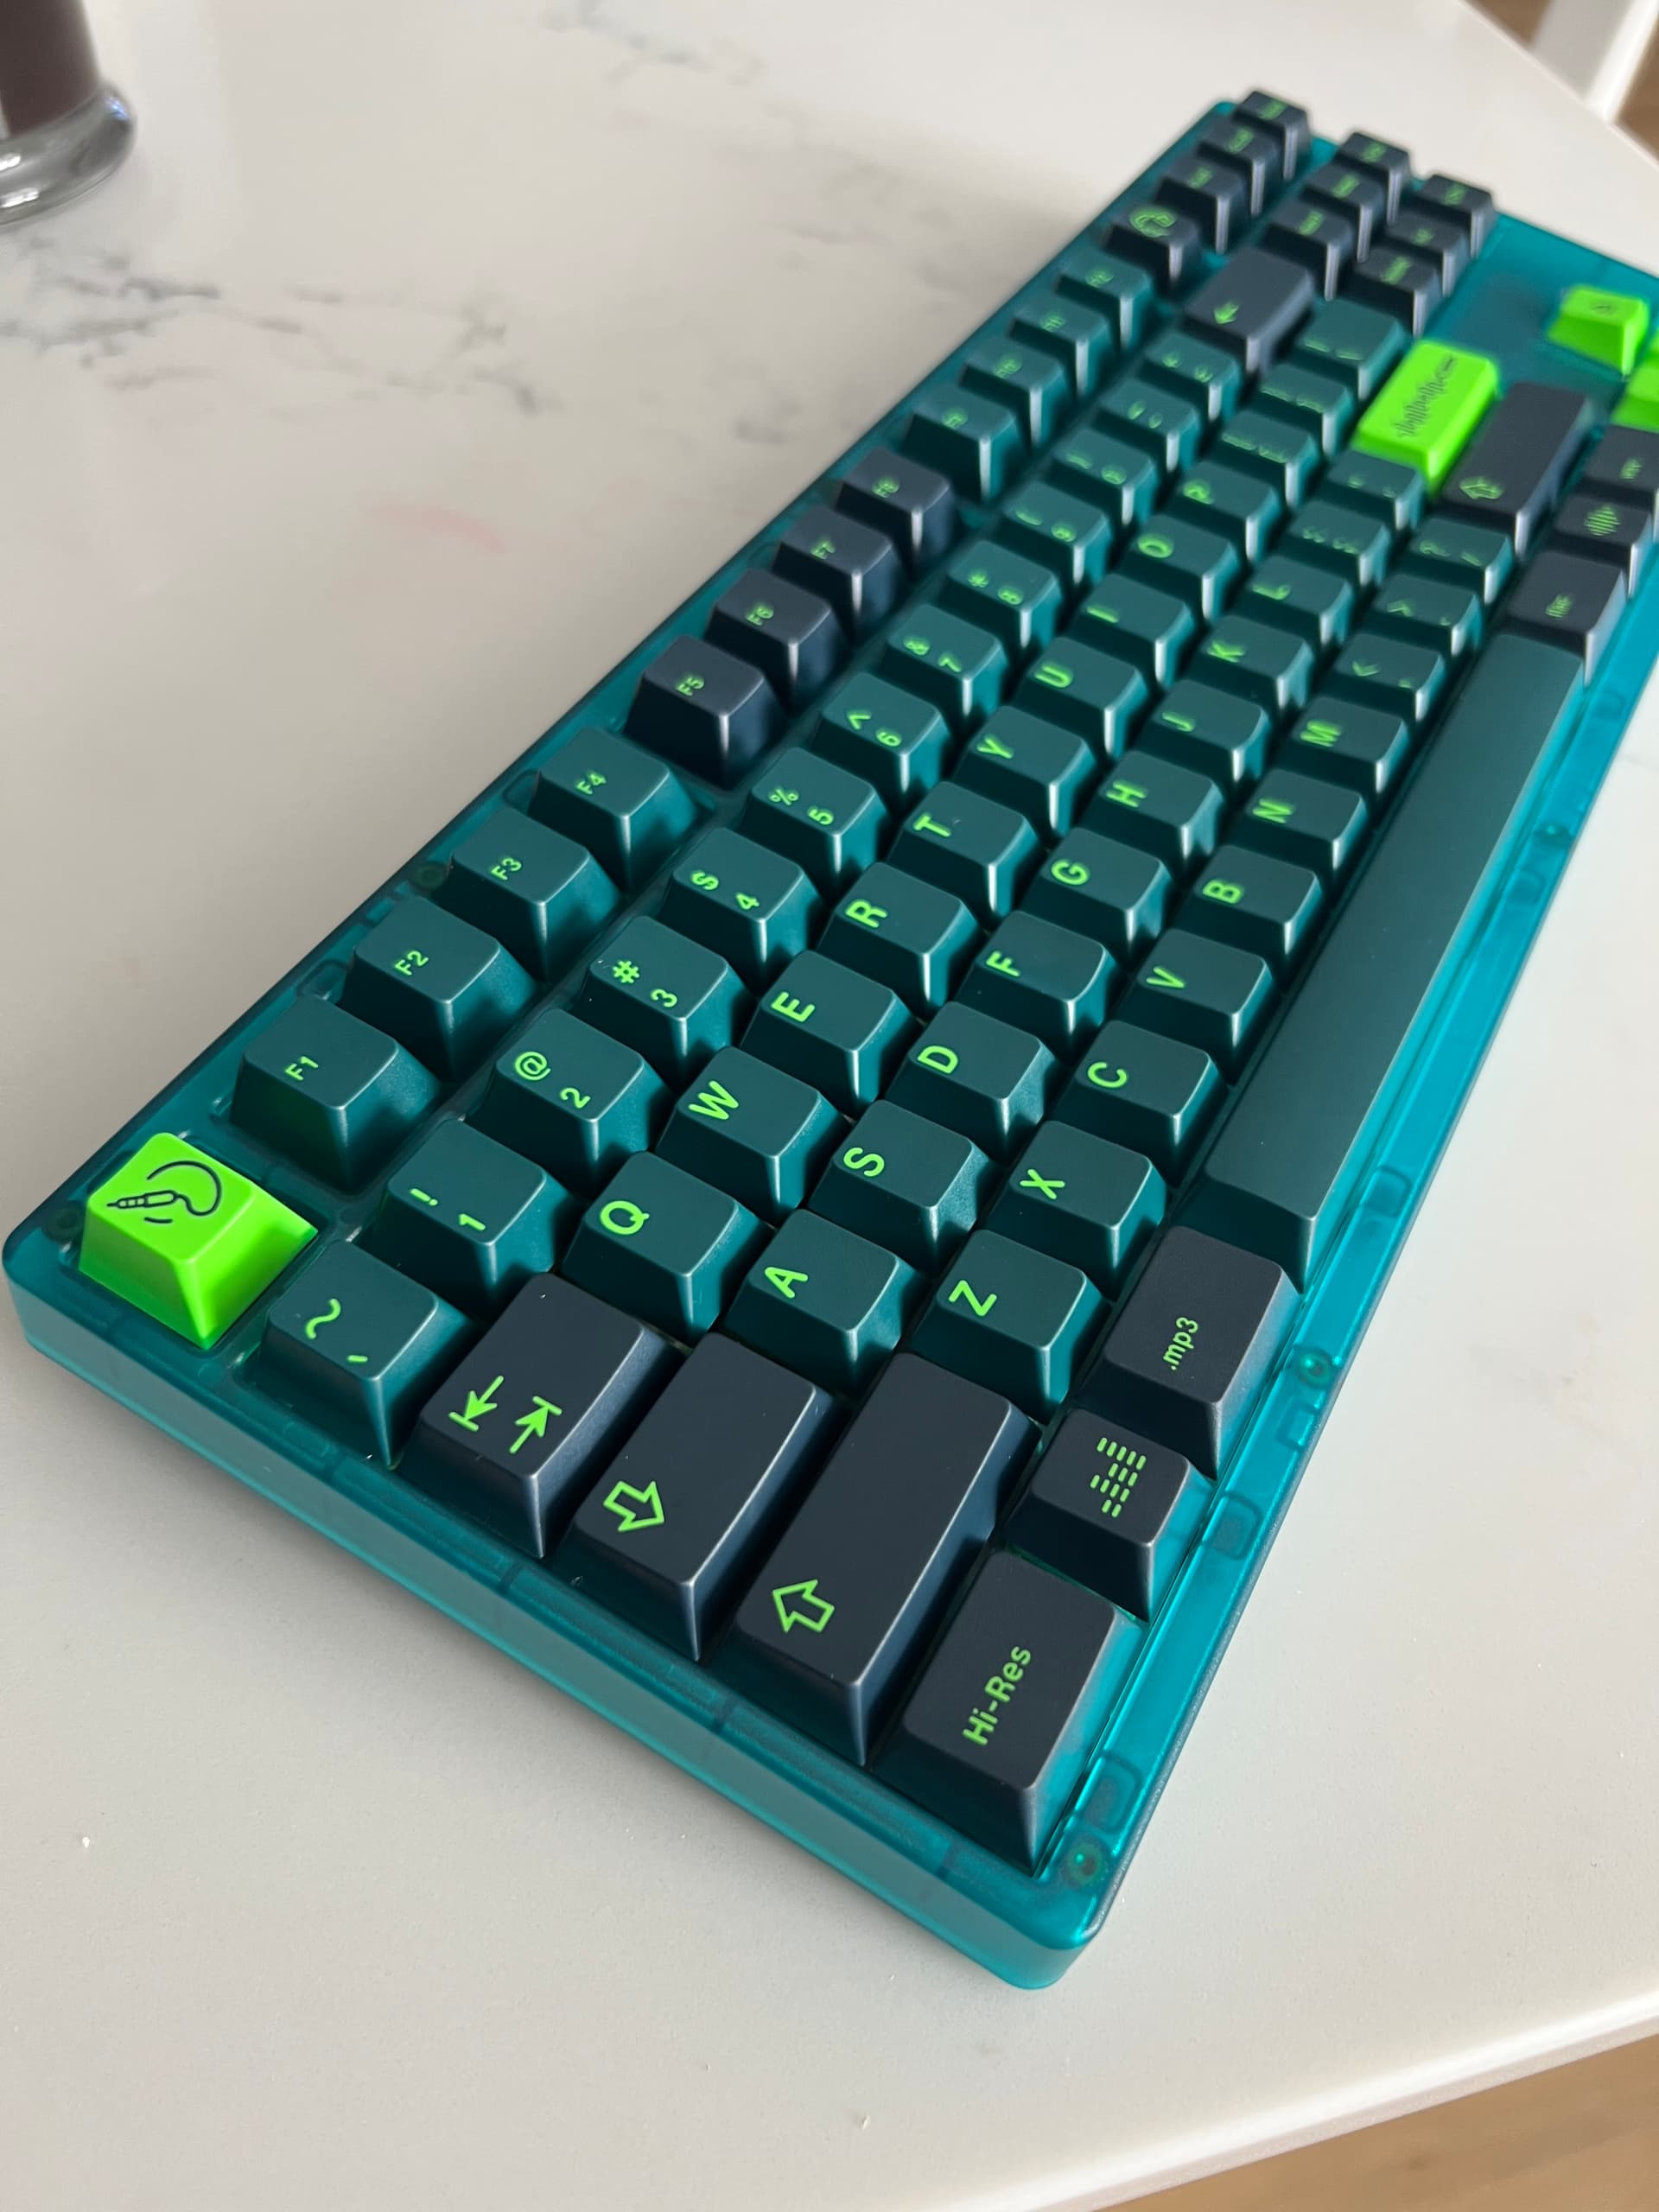
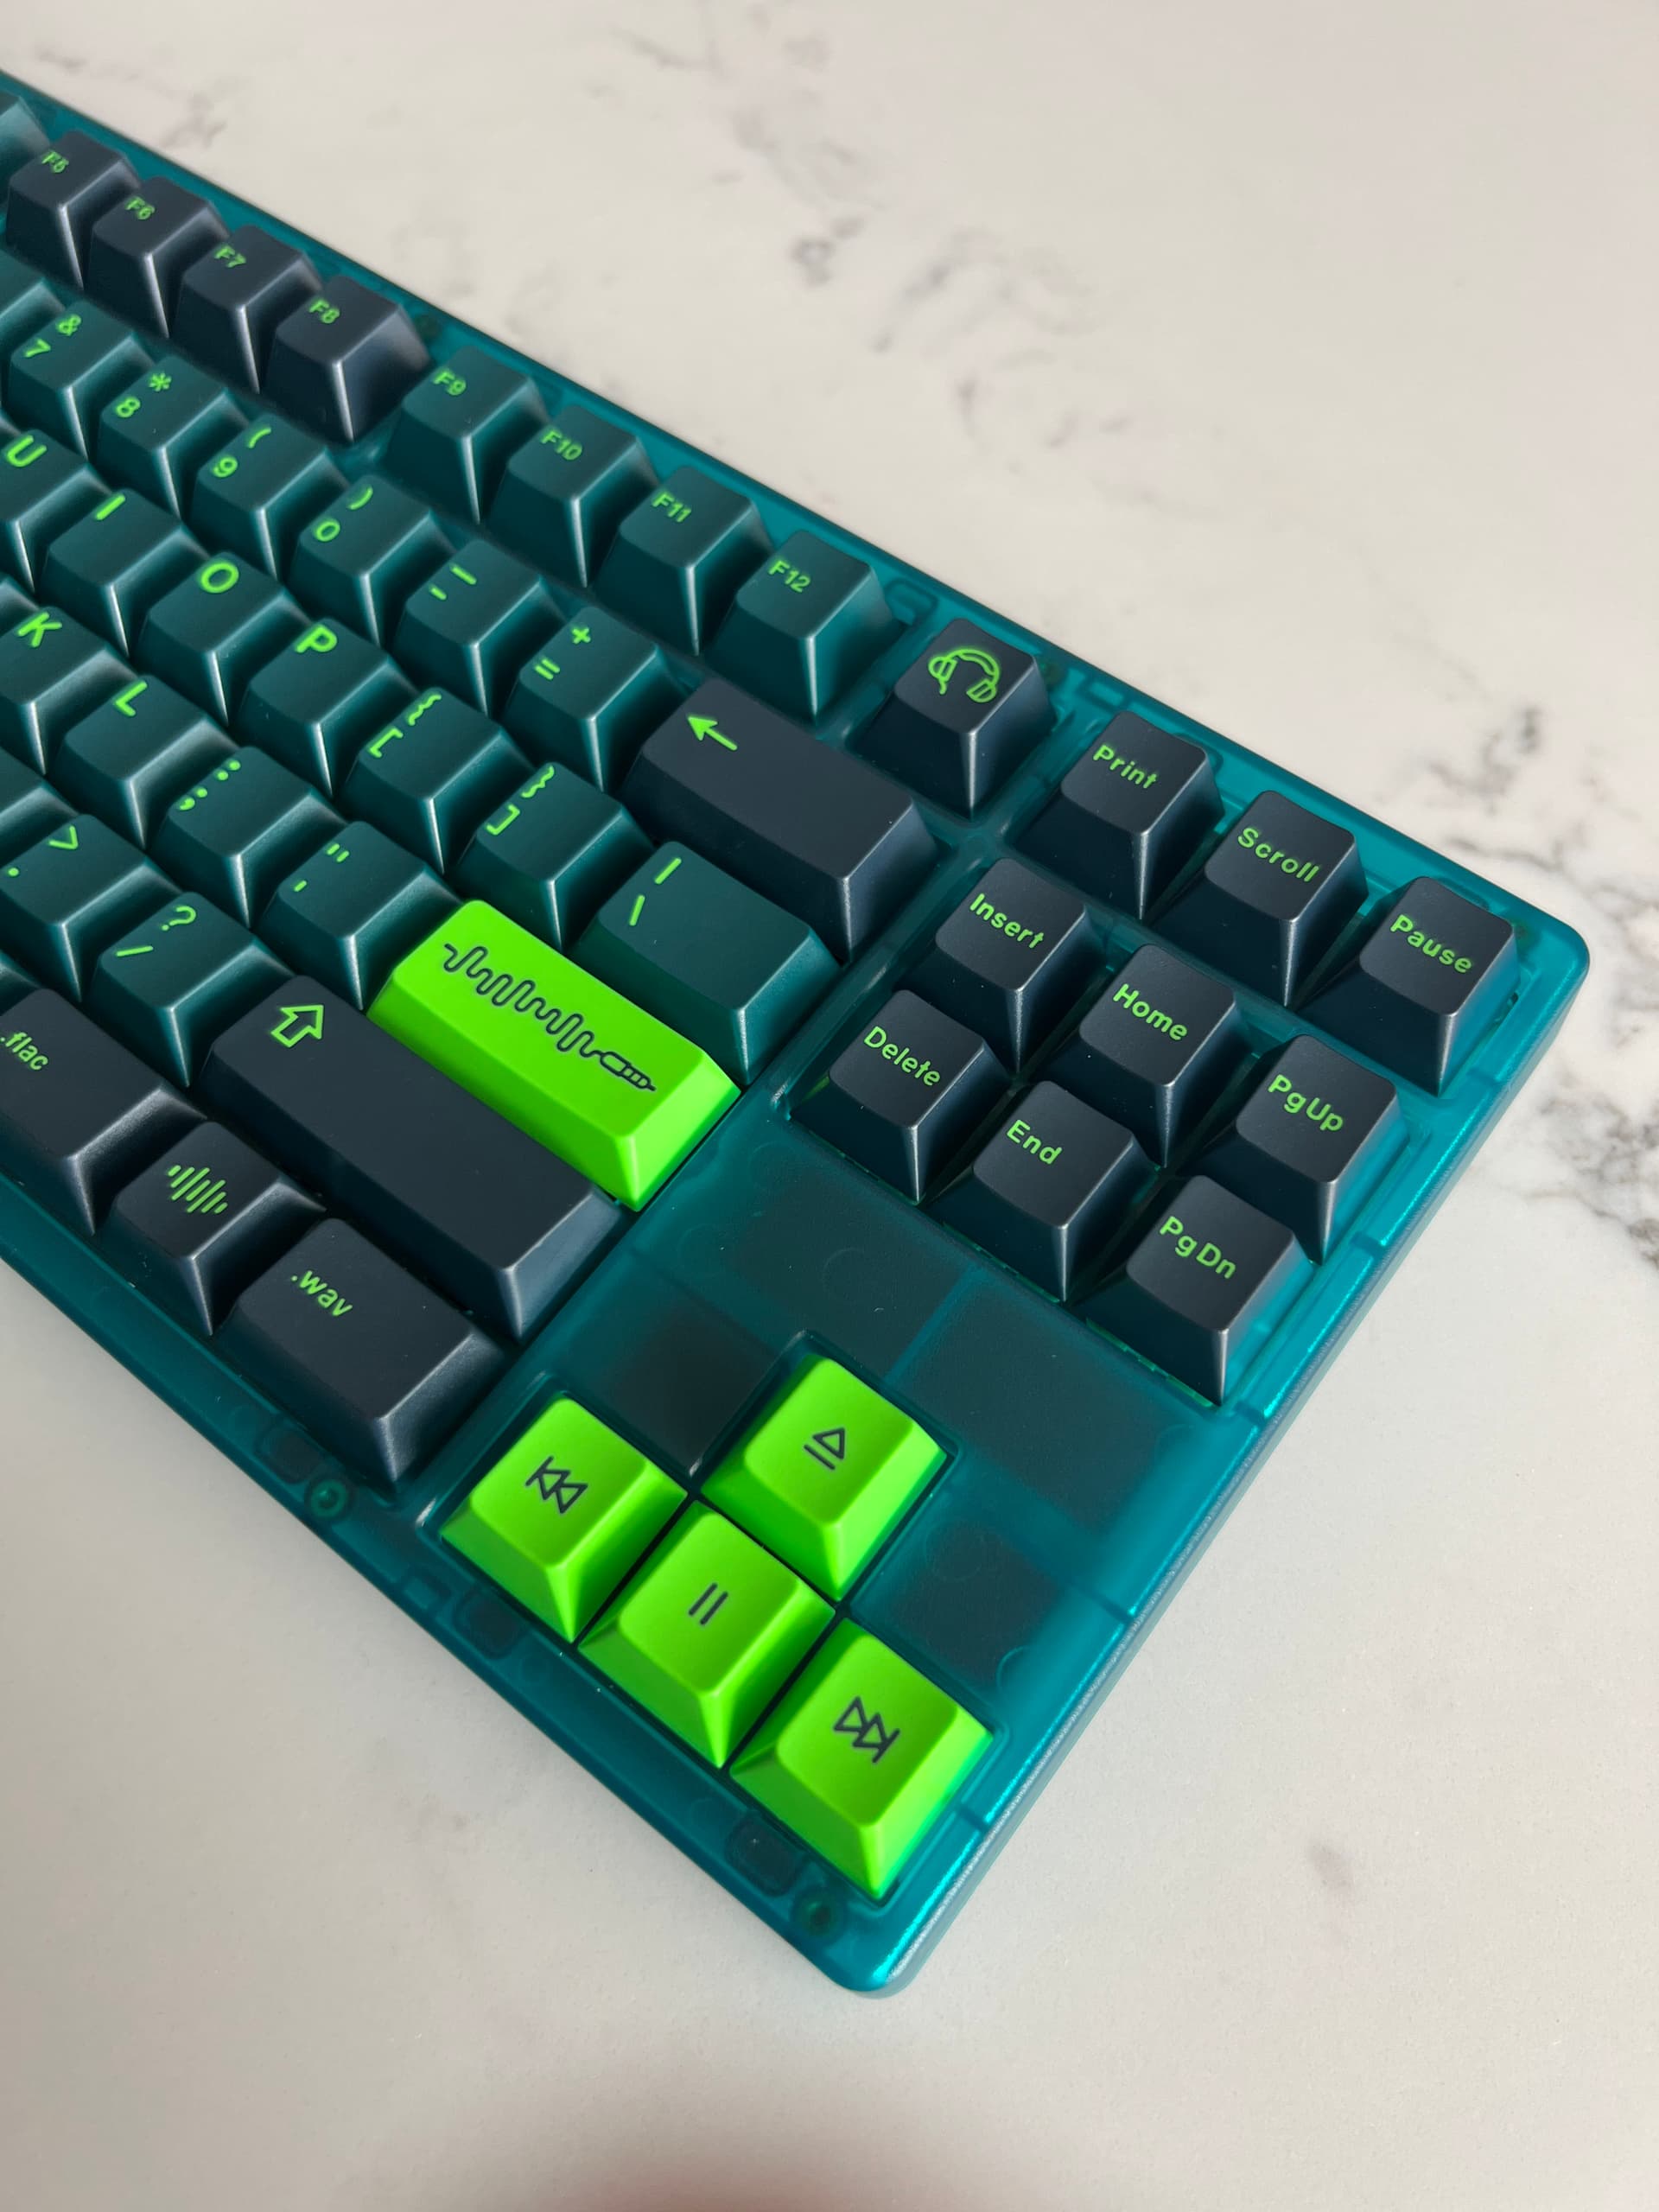
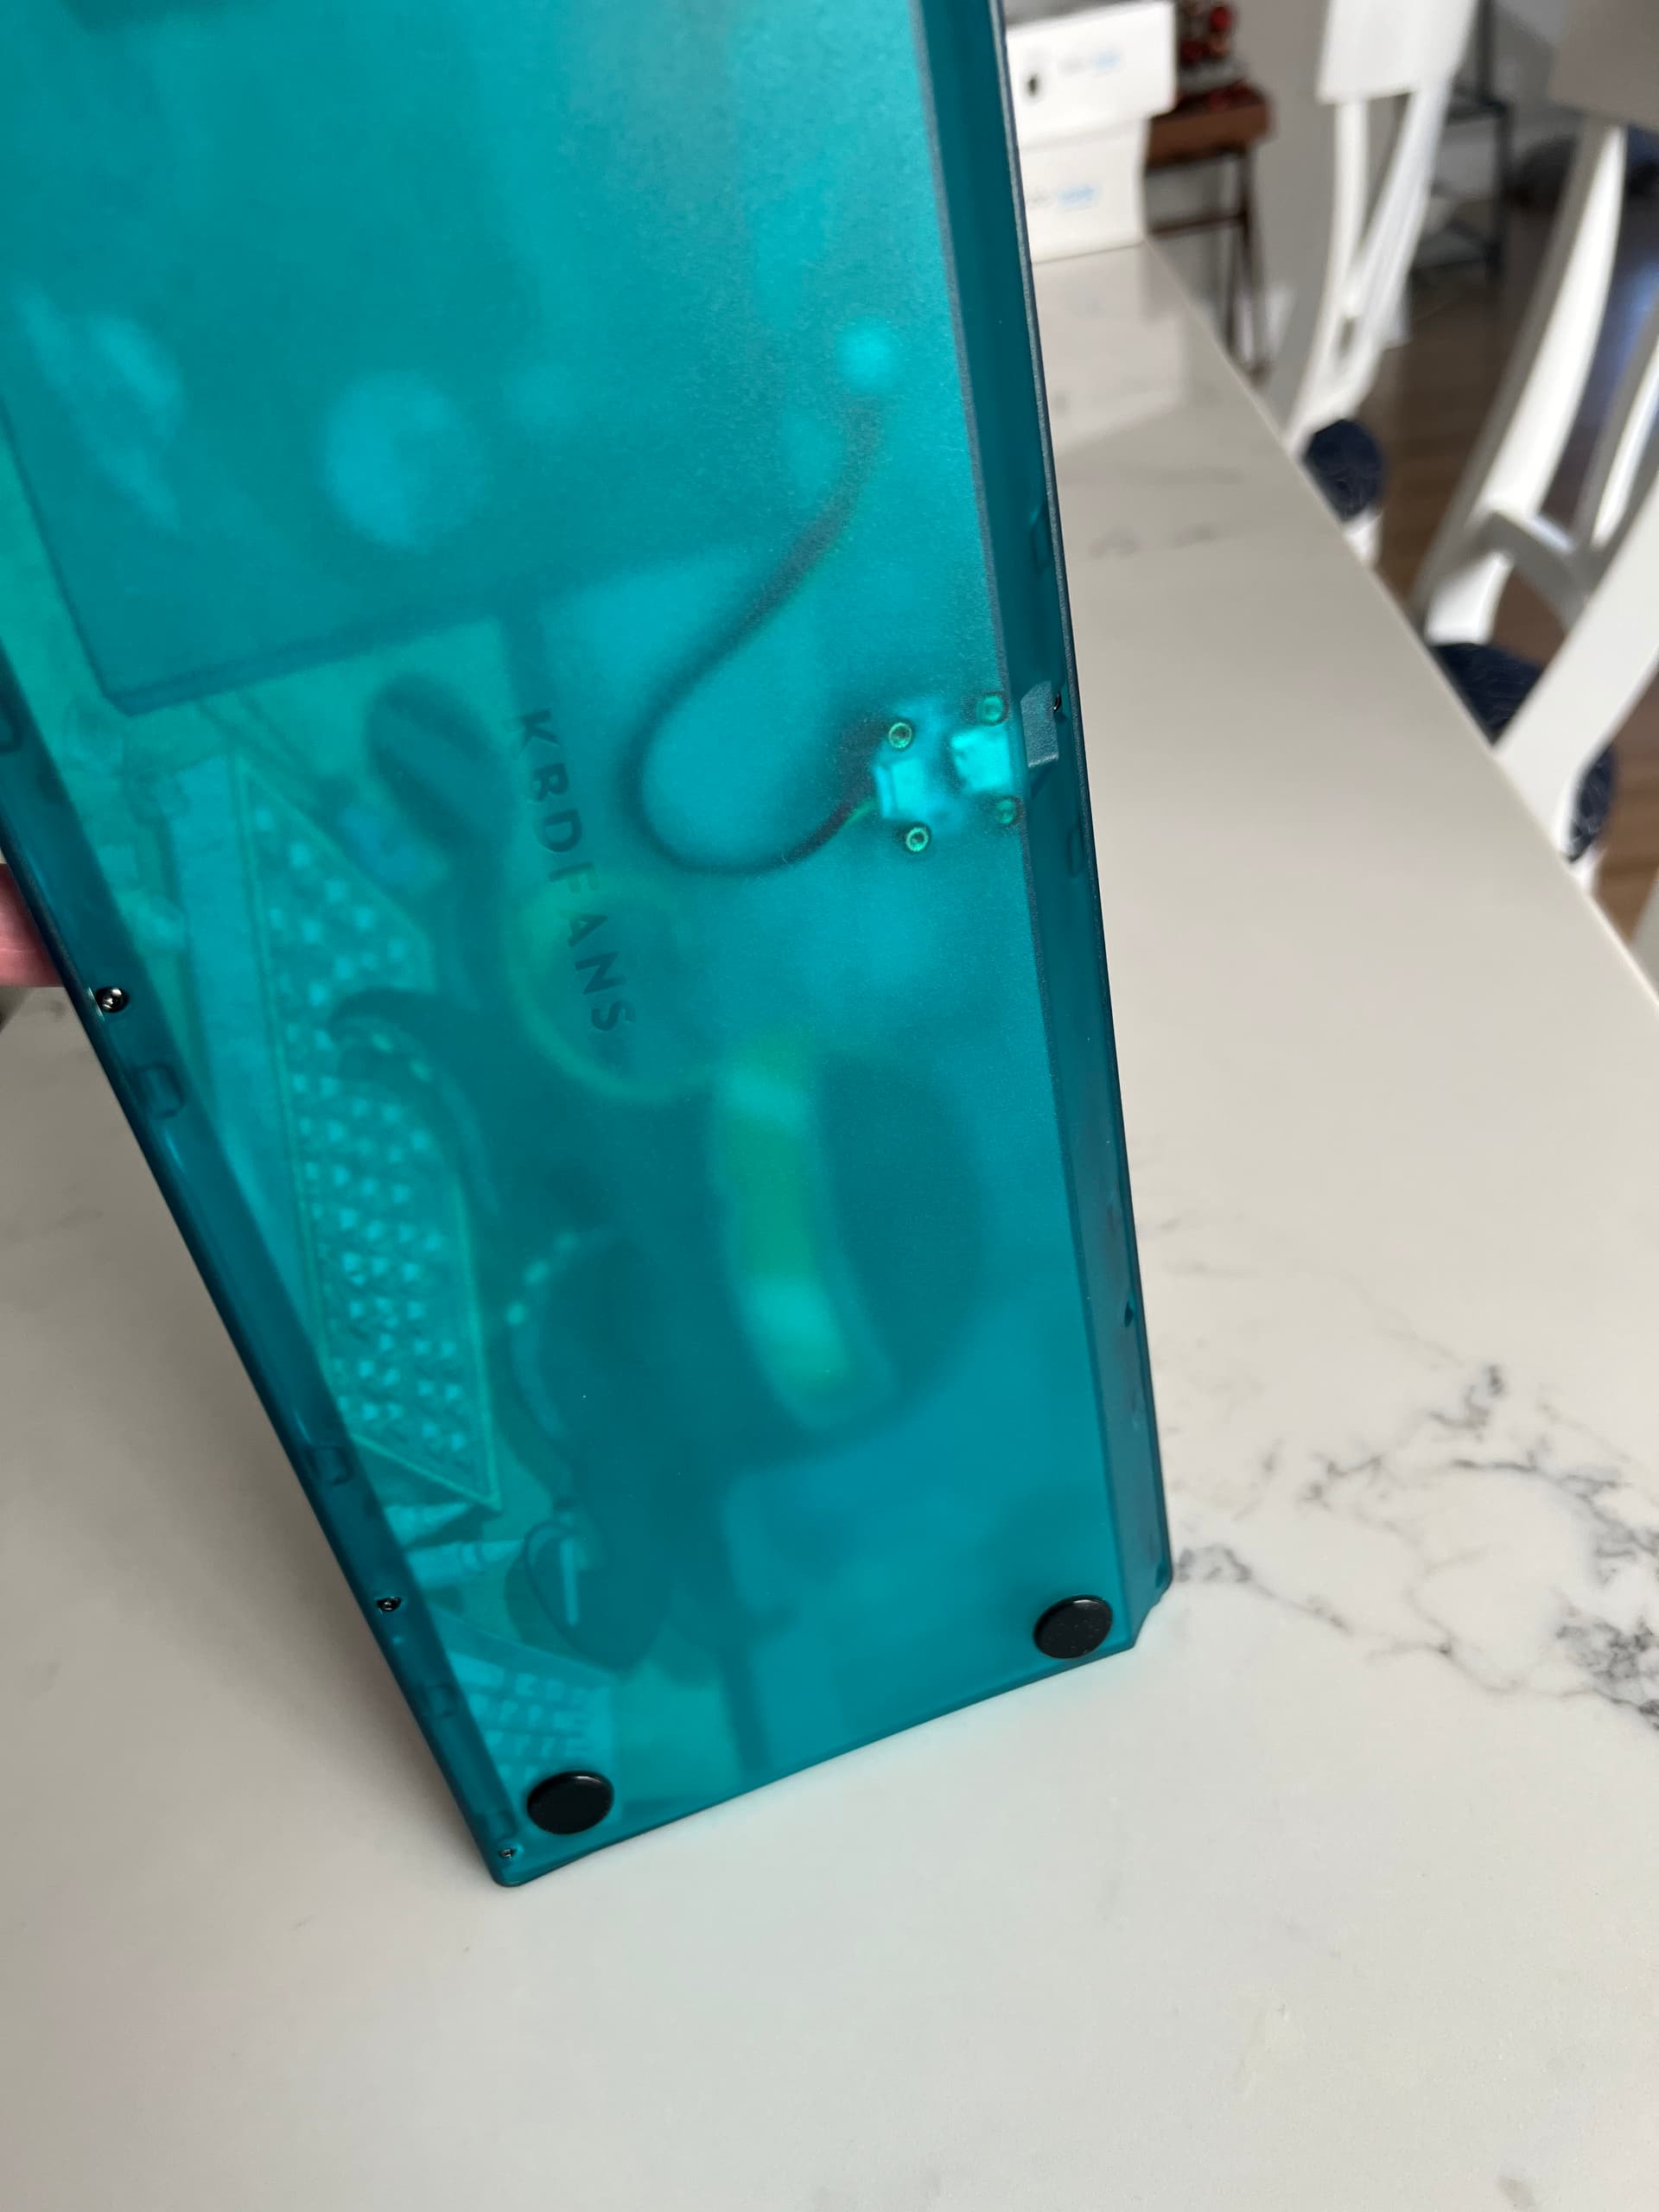
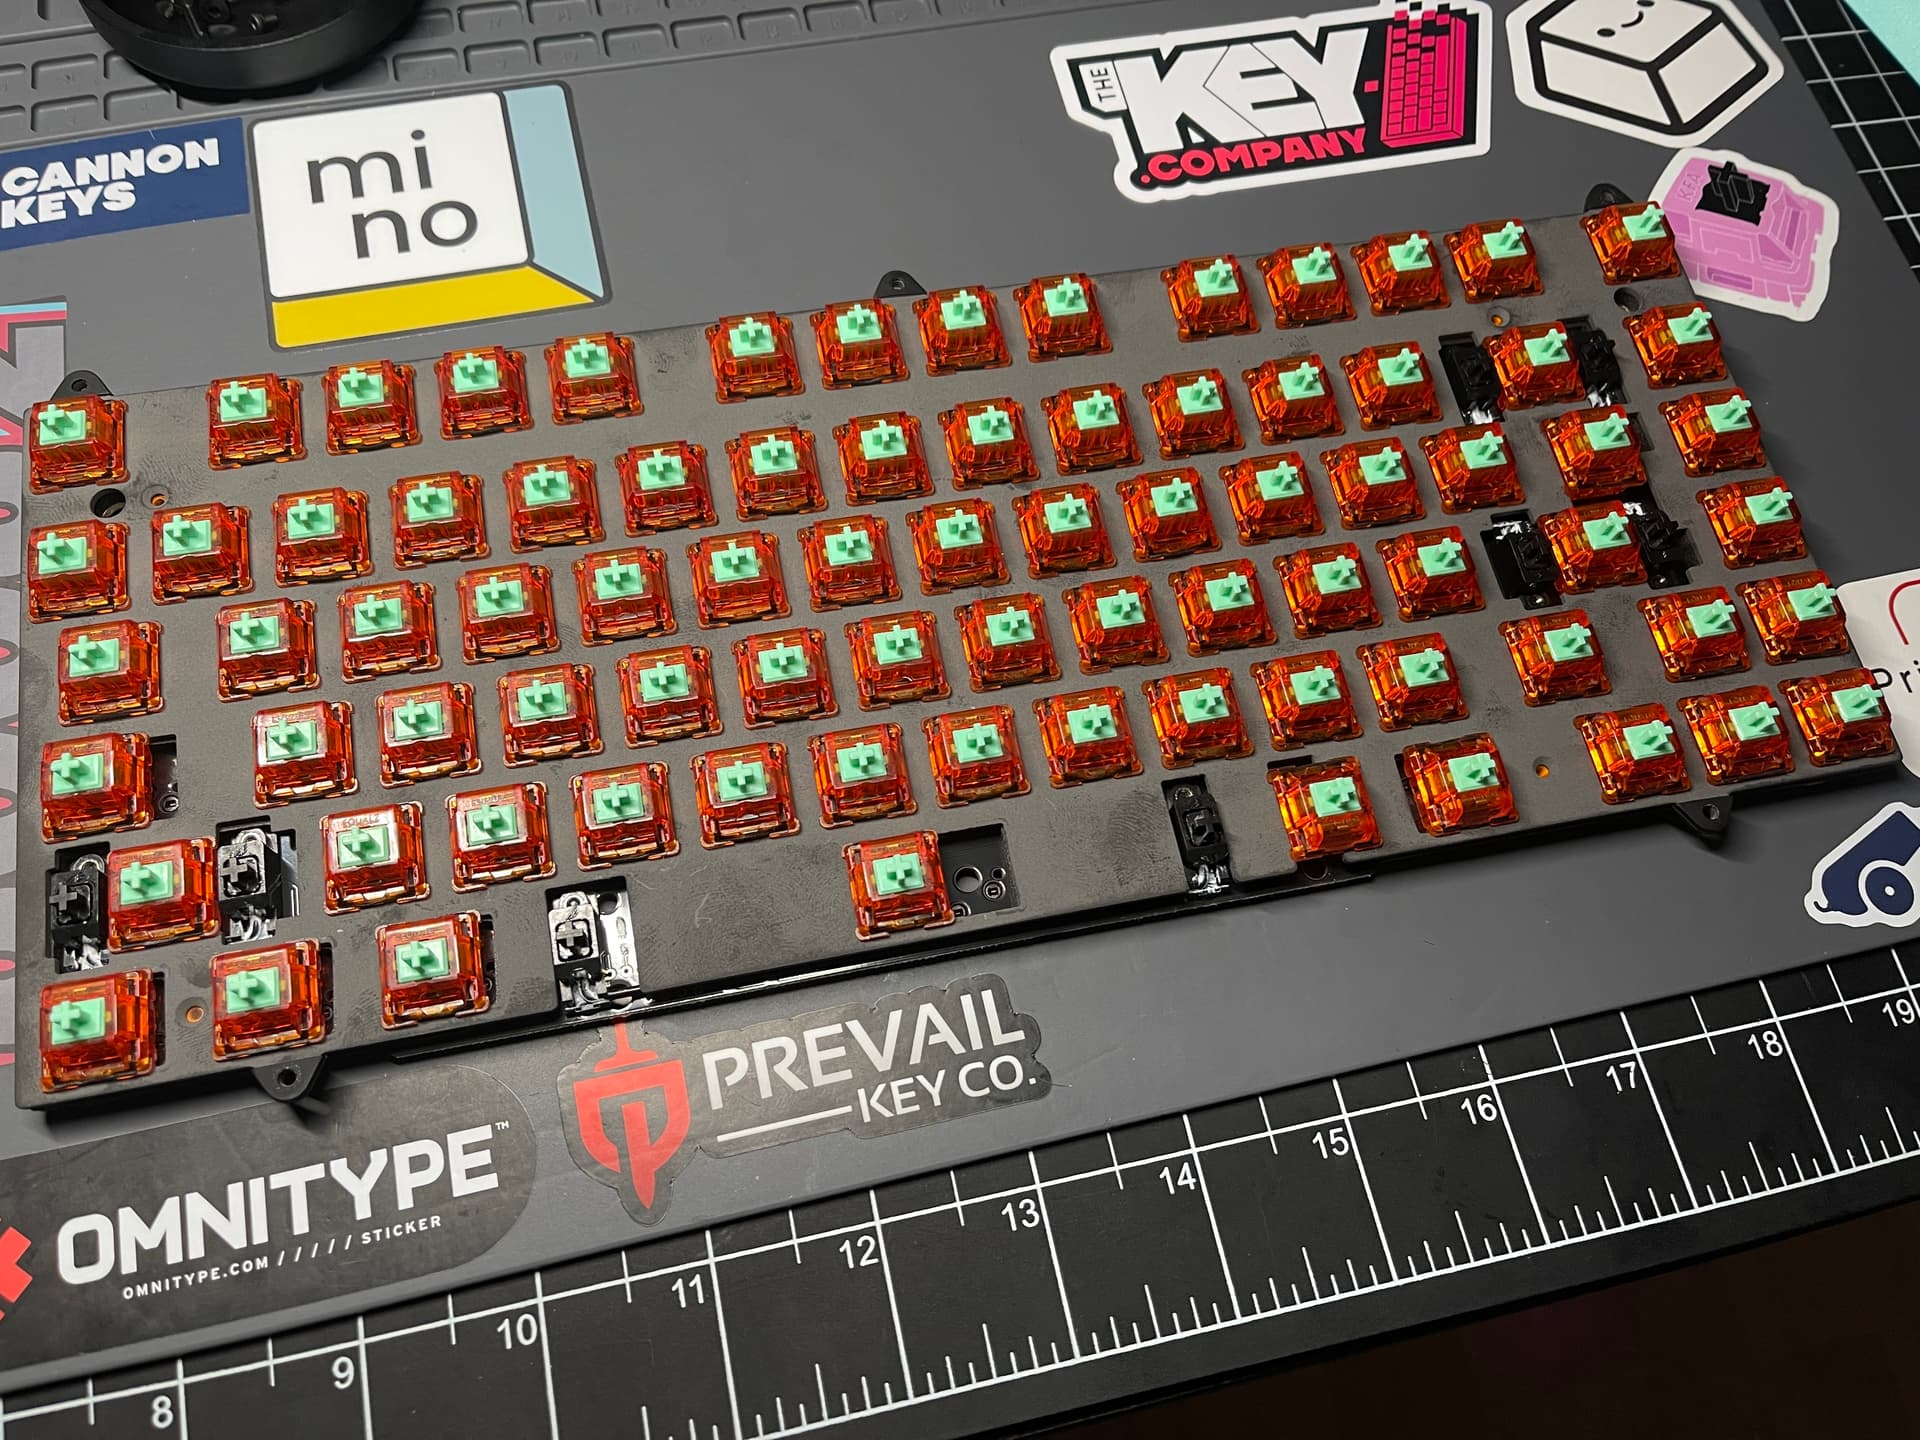
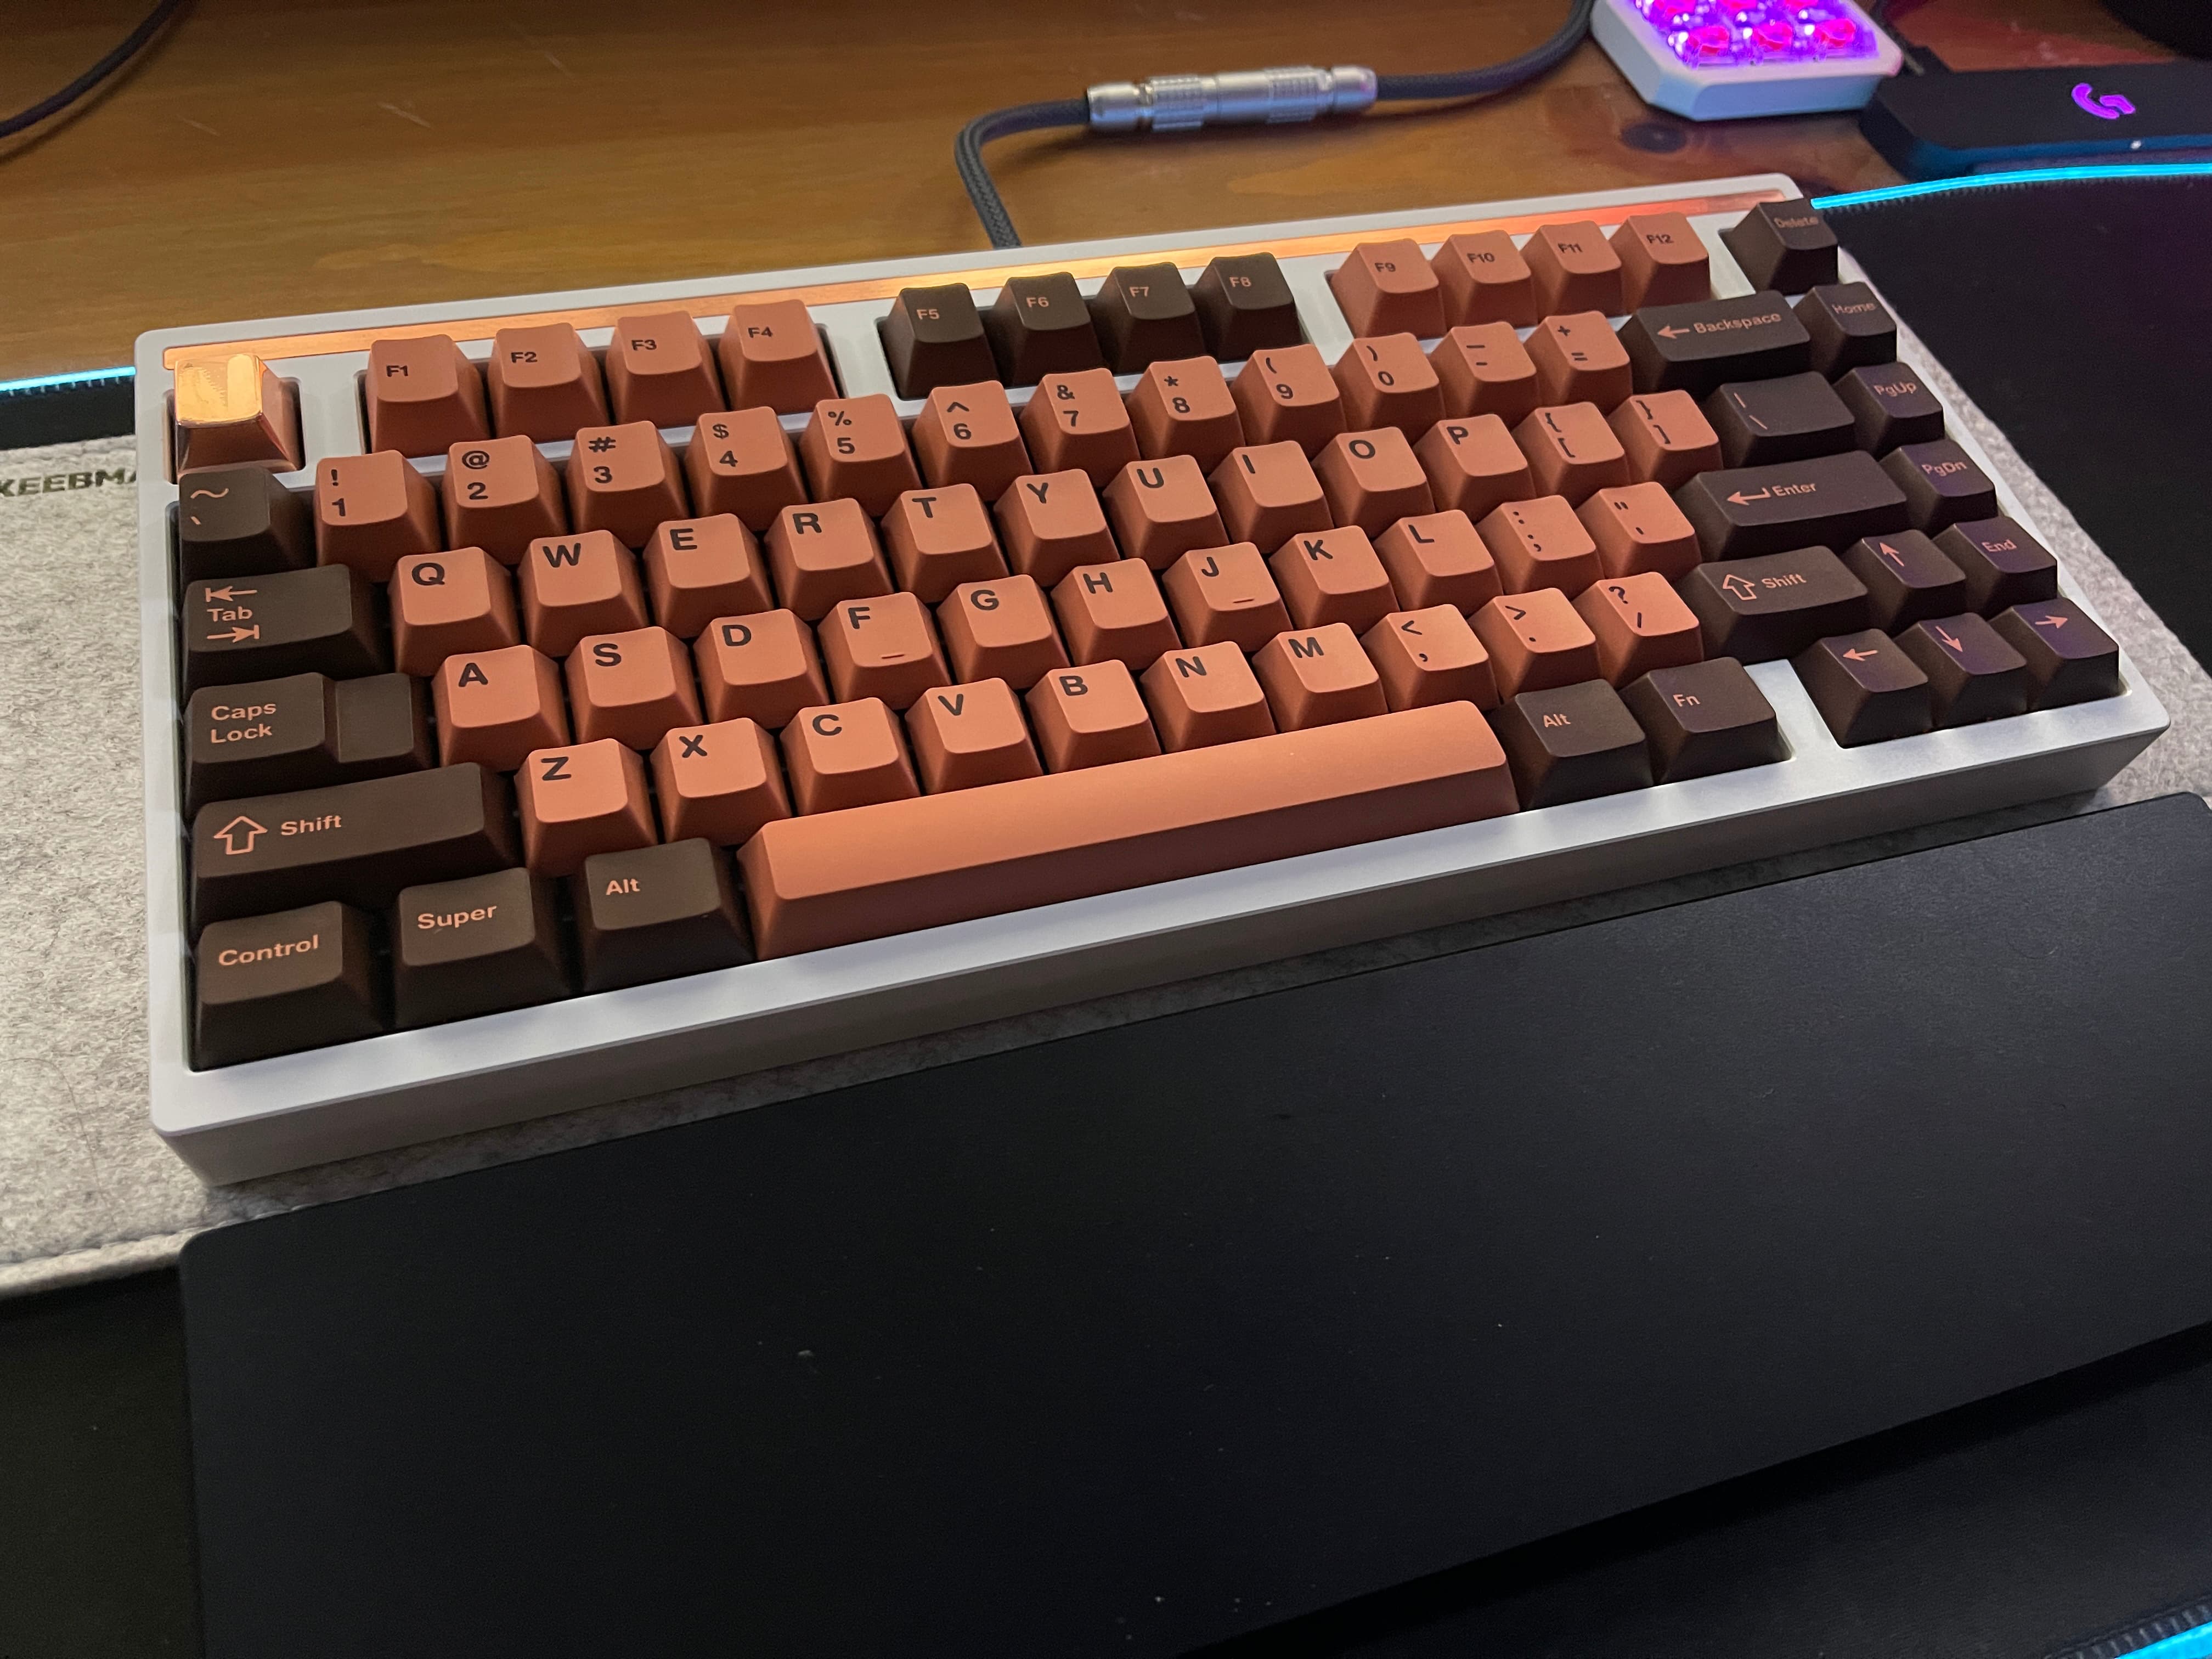
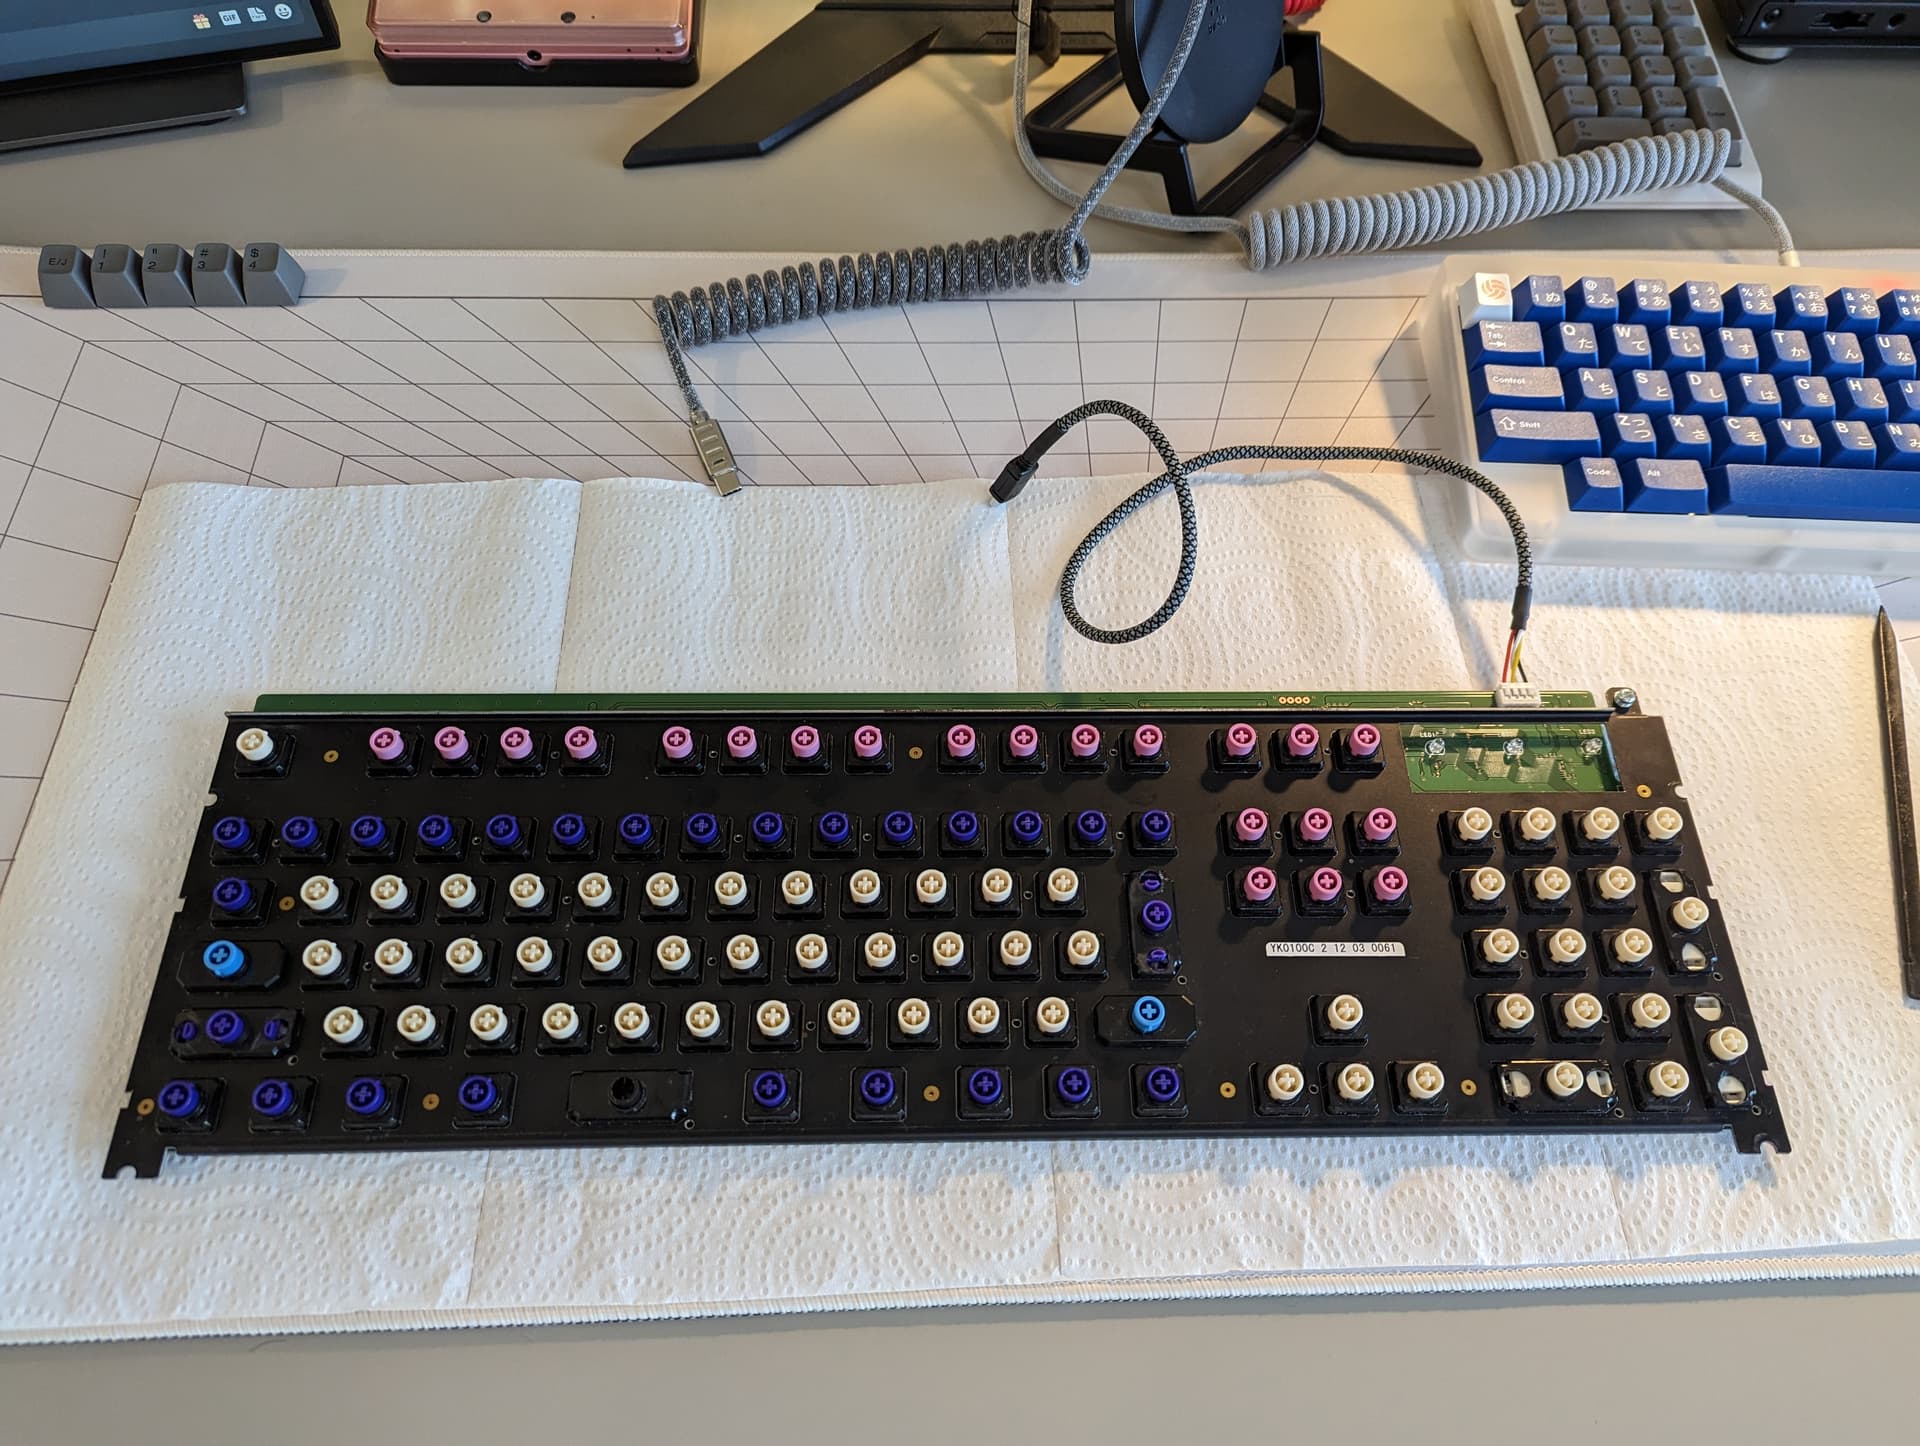
Built my Mode Sonnet today!
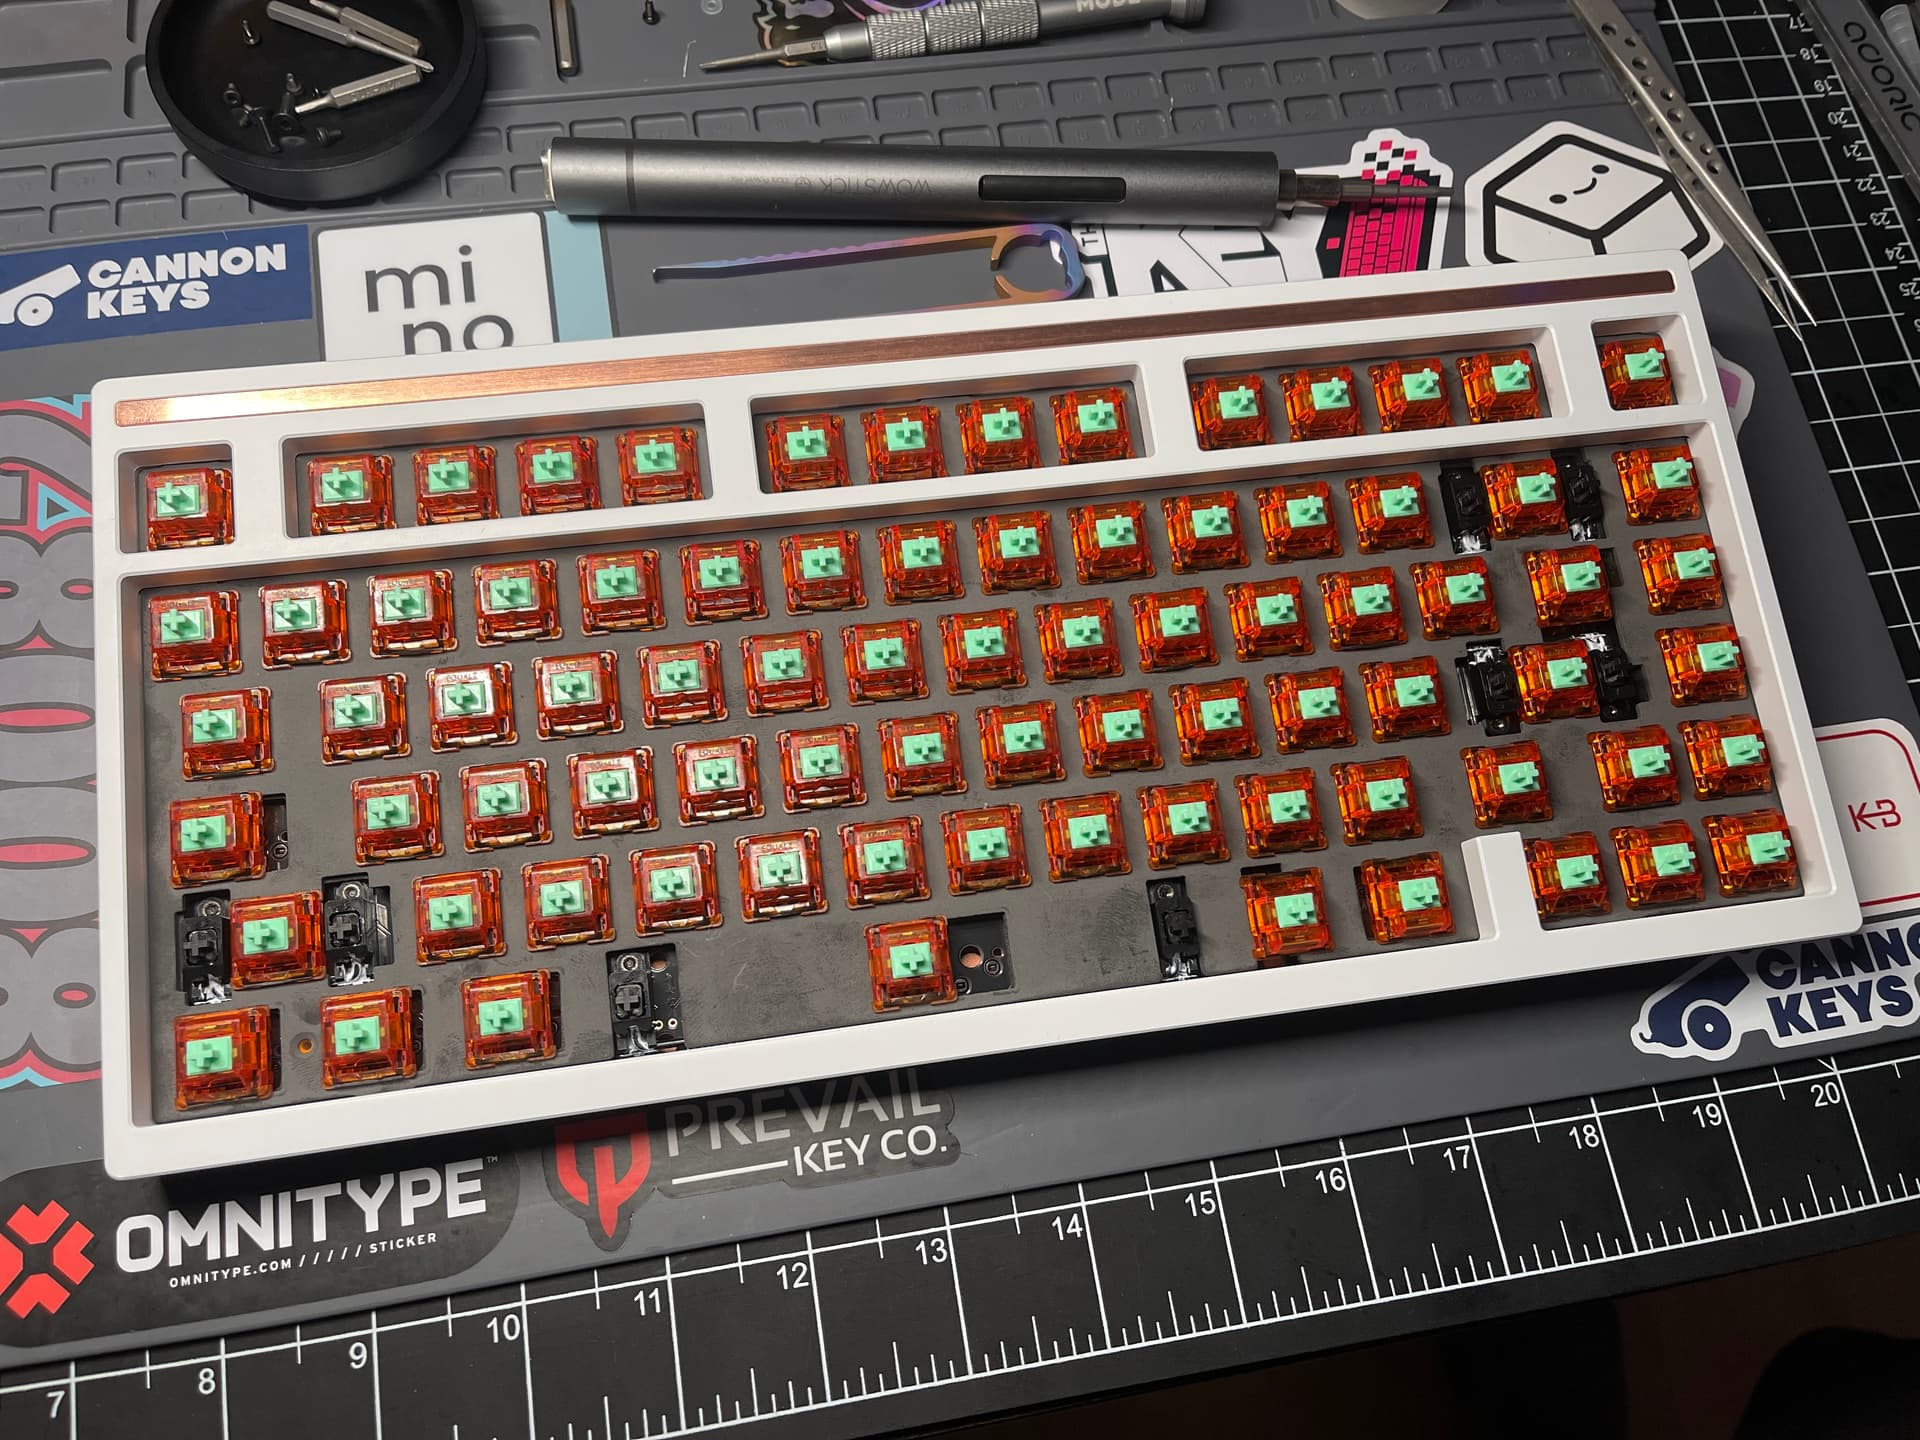
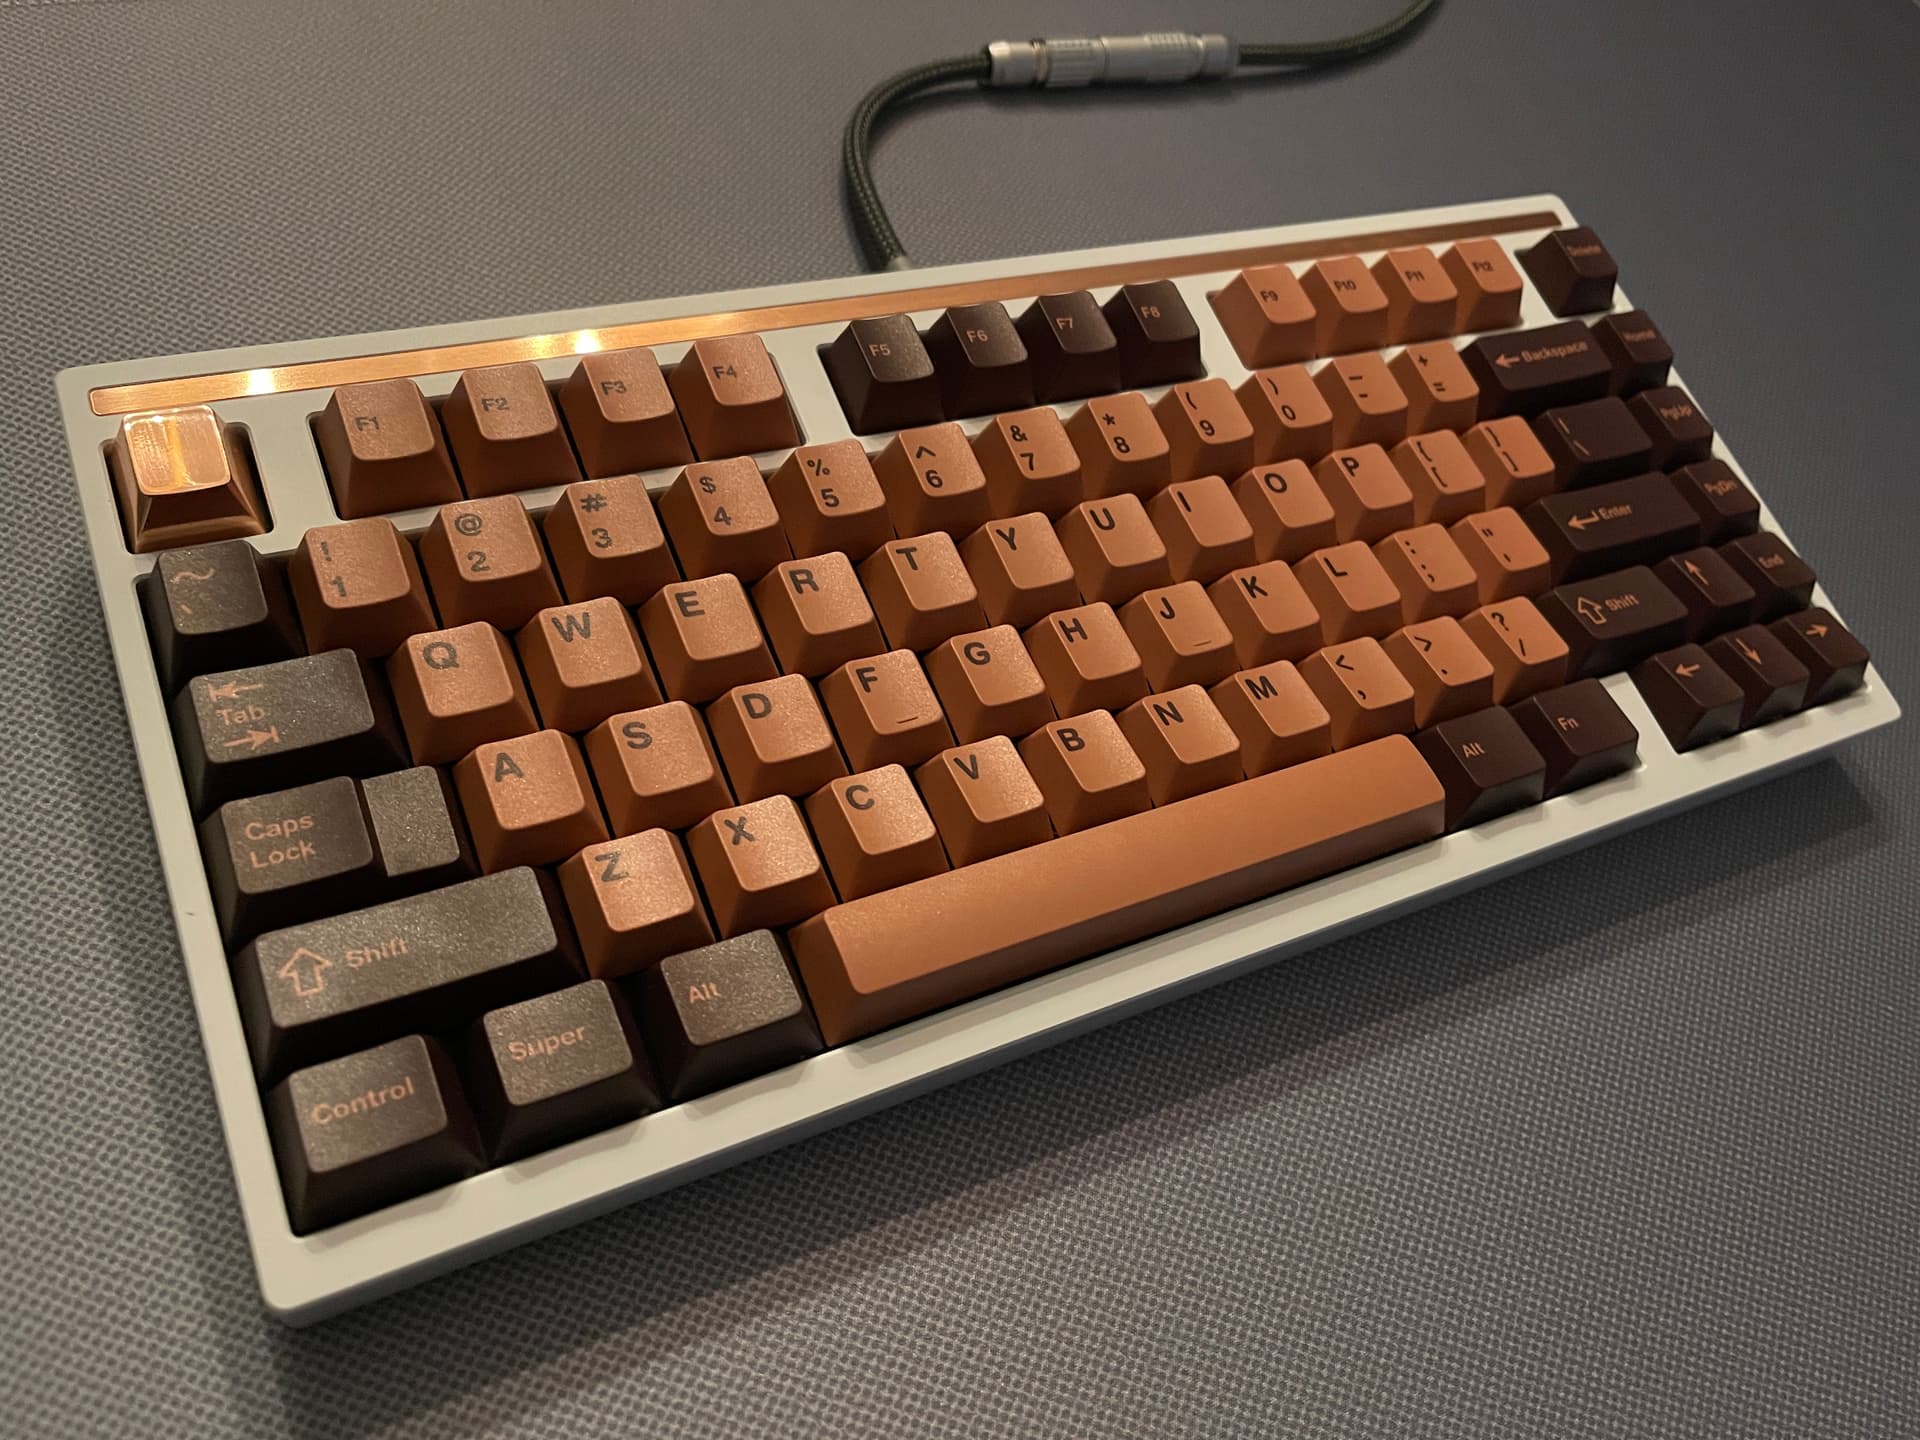

It’s a bit of a chonker! 

This is now my new favorite board in my collection!!!
Specs:
- E-White with solid copper bottom, copper weight, and brushed copper accent
- C3 Tangerines (Lubed & Filmed)
- POM plate with foam
- Staebies Nylon/POM (Krytox 105/205 mix on housing; XHT-BDZ on wire)
- NK Cherry Copper PBT keycaps
- Polished solid copper artisan
19 Likes
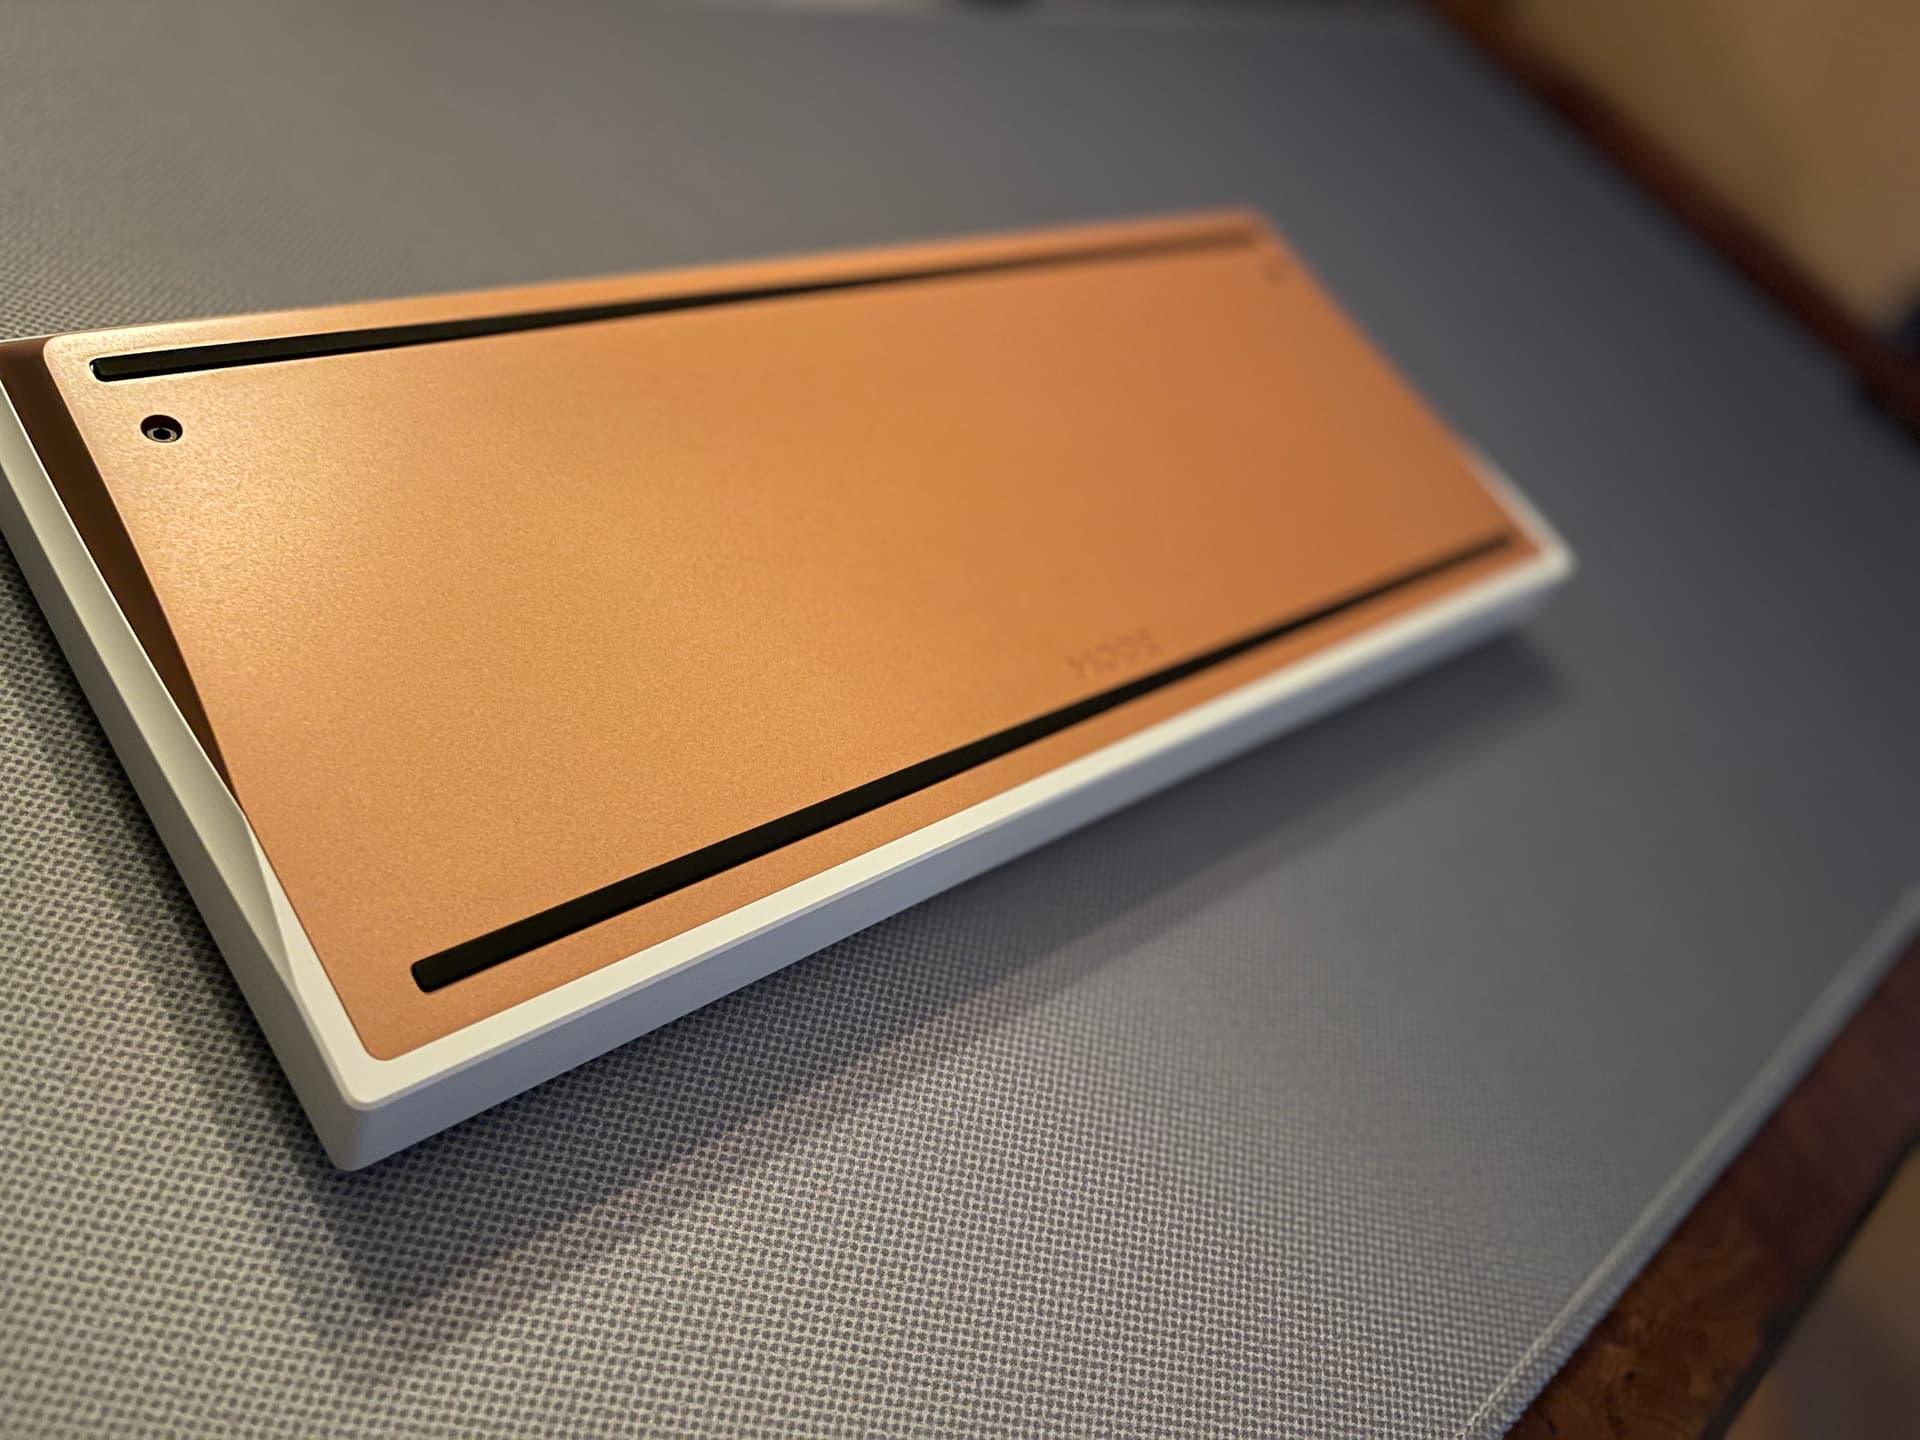
I love it. I think you should use the blue accent somewhere though 
1 Like
I agree with @pixelpusher. A blue accent or maybe blue patina’ed artisan would tie it together nicely.
Thanks to @insolentpotato and @techbeezin; this board was given a second chance at life.
13 Likes
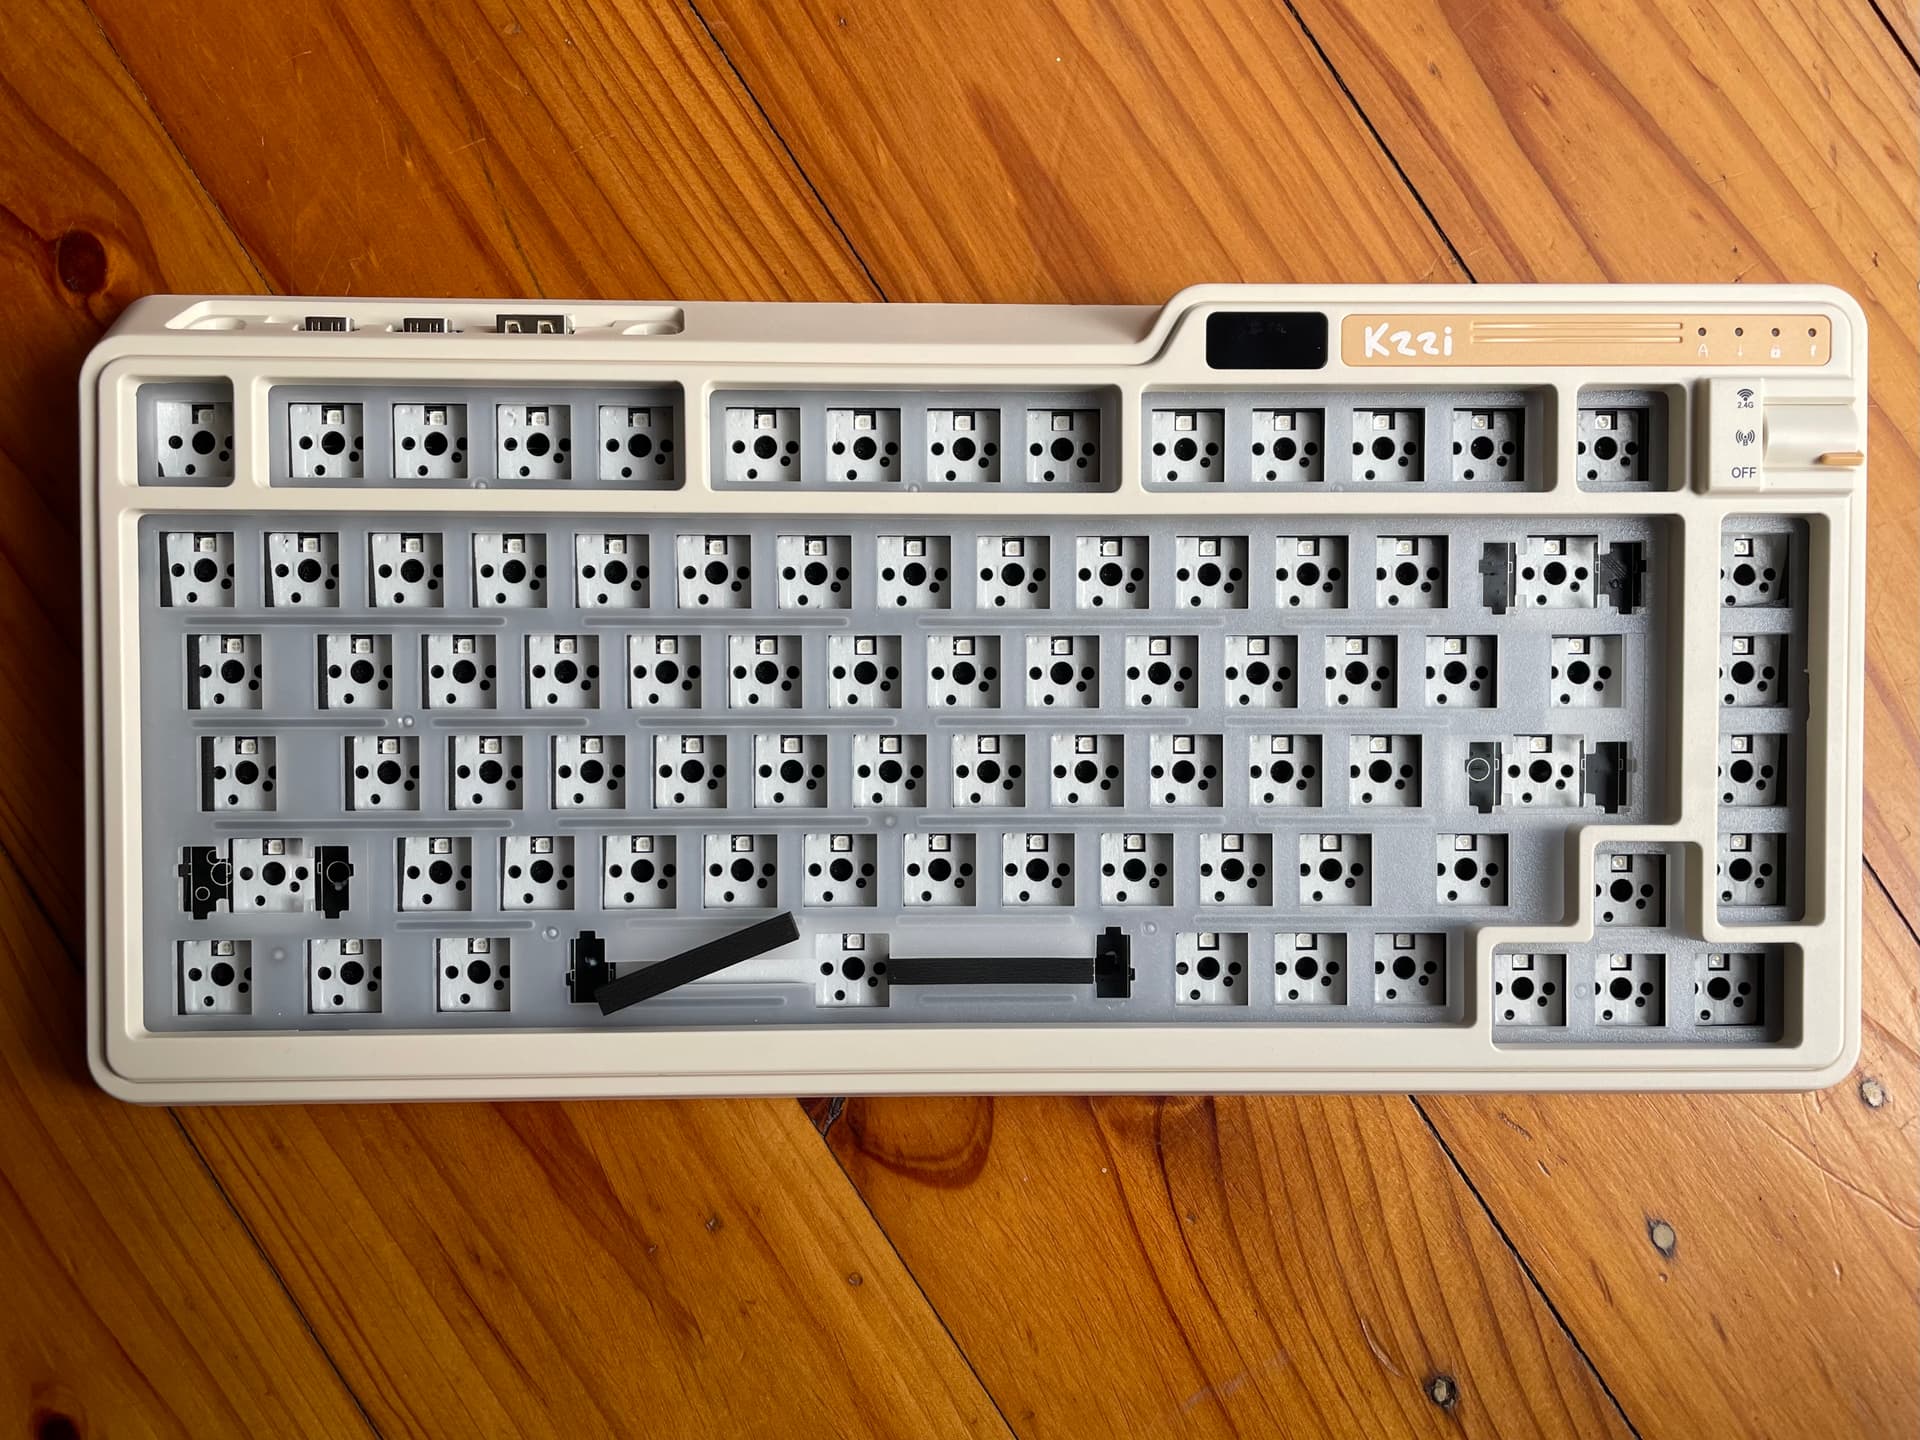
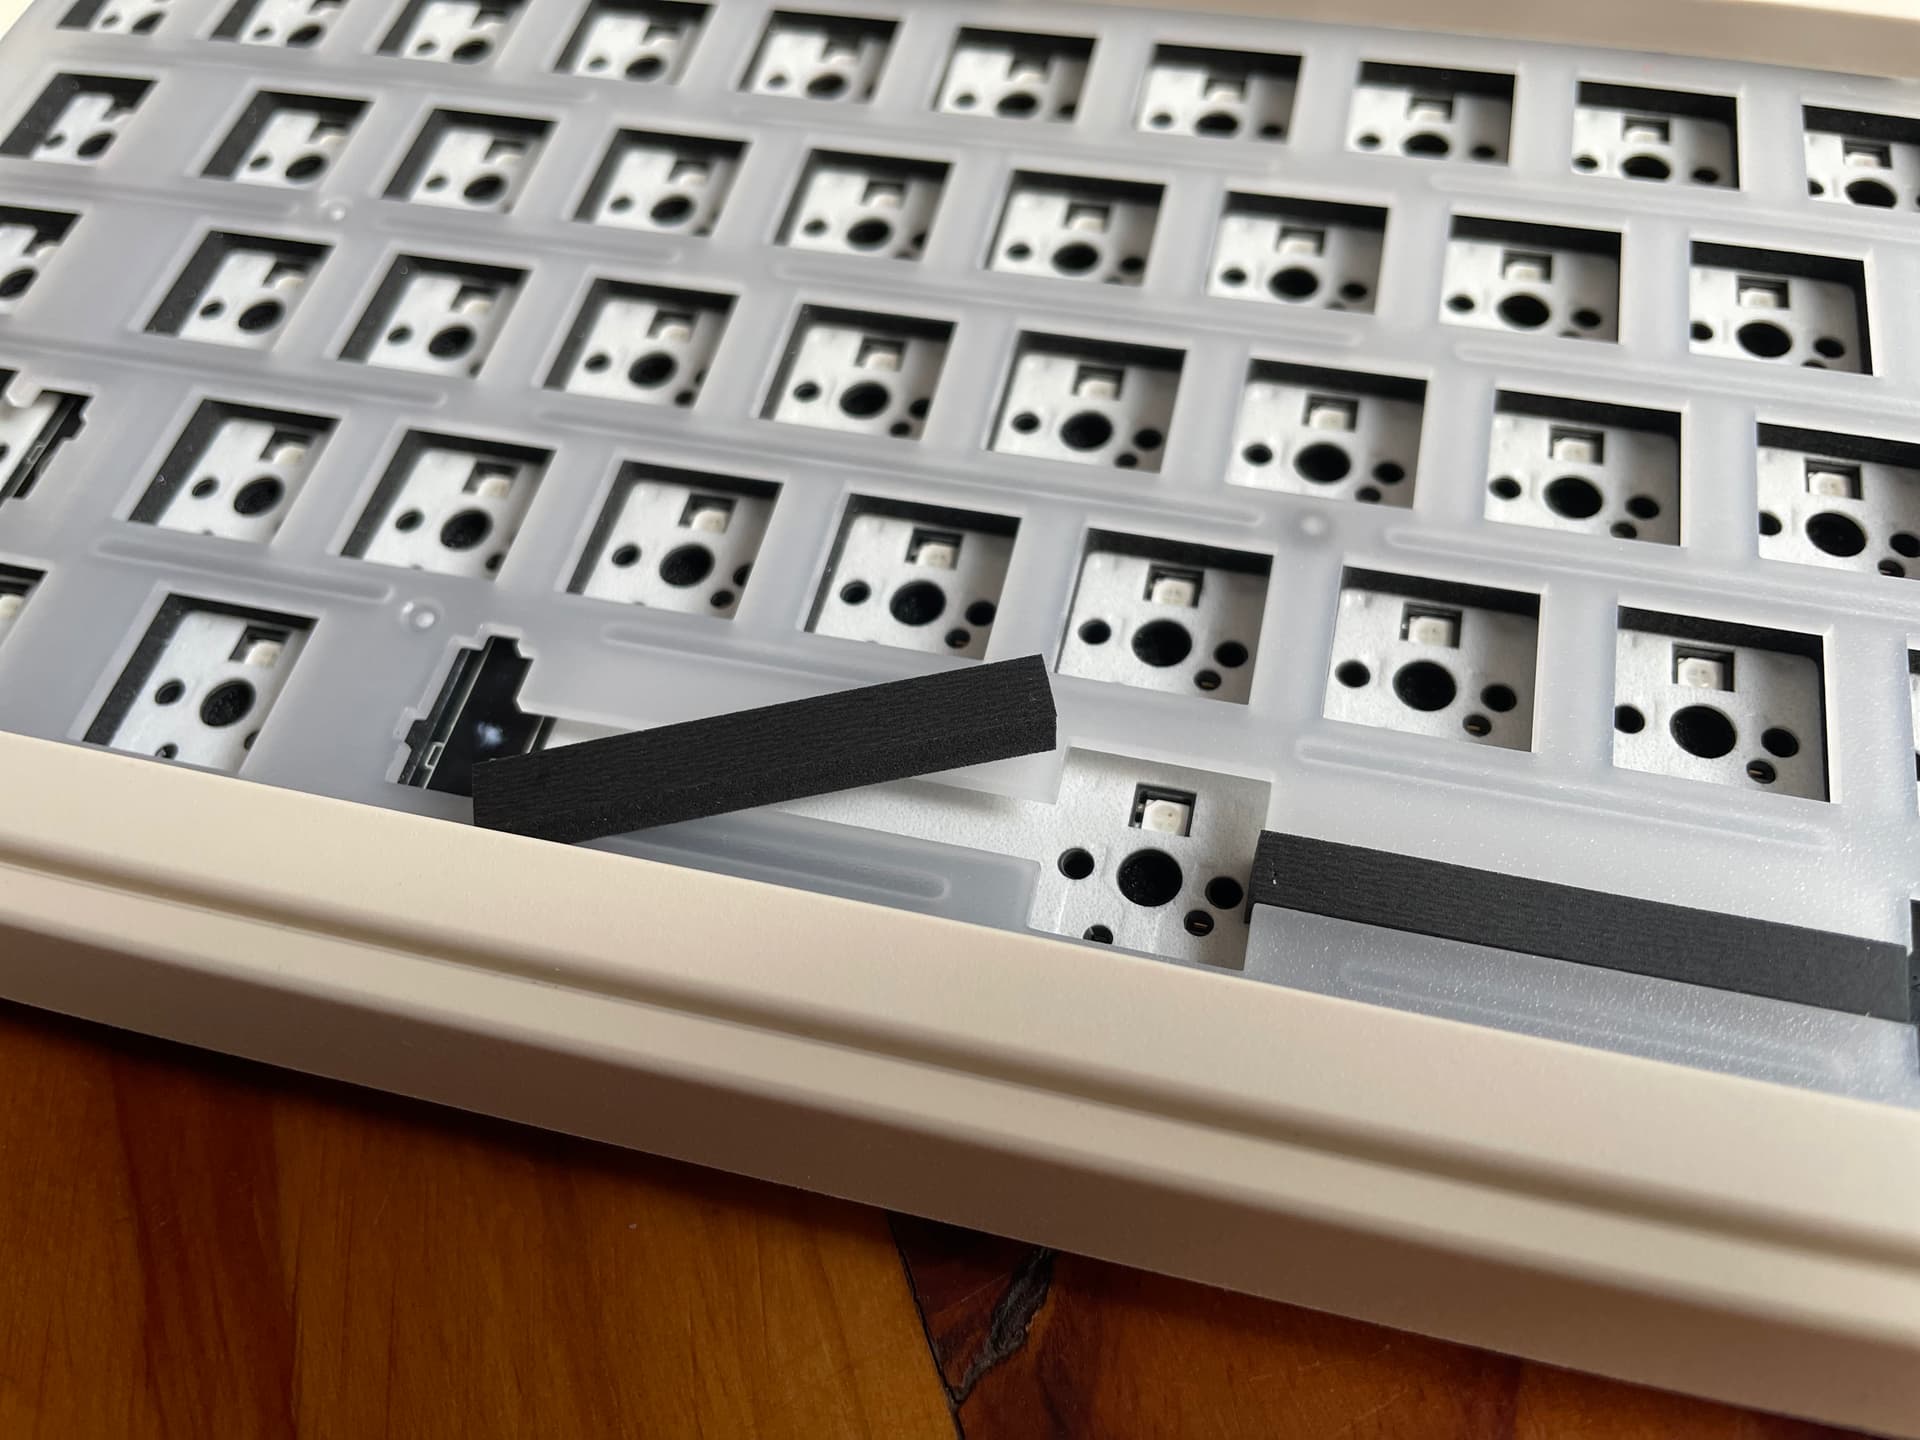
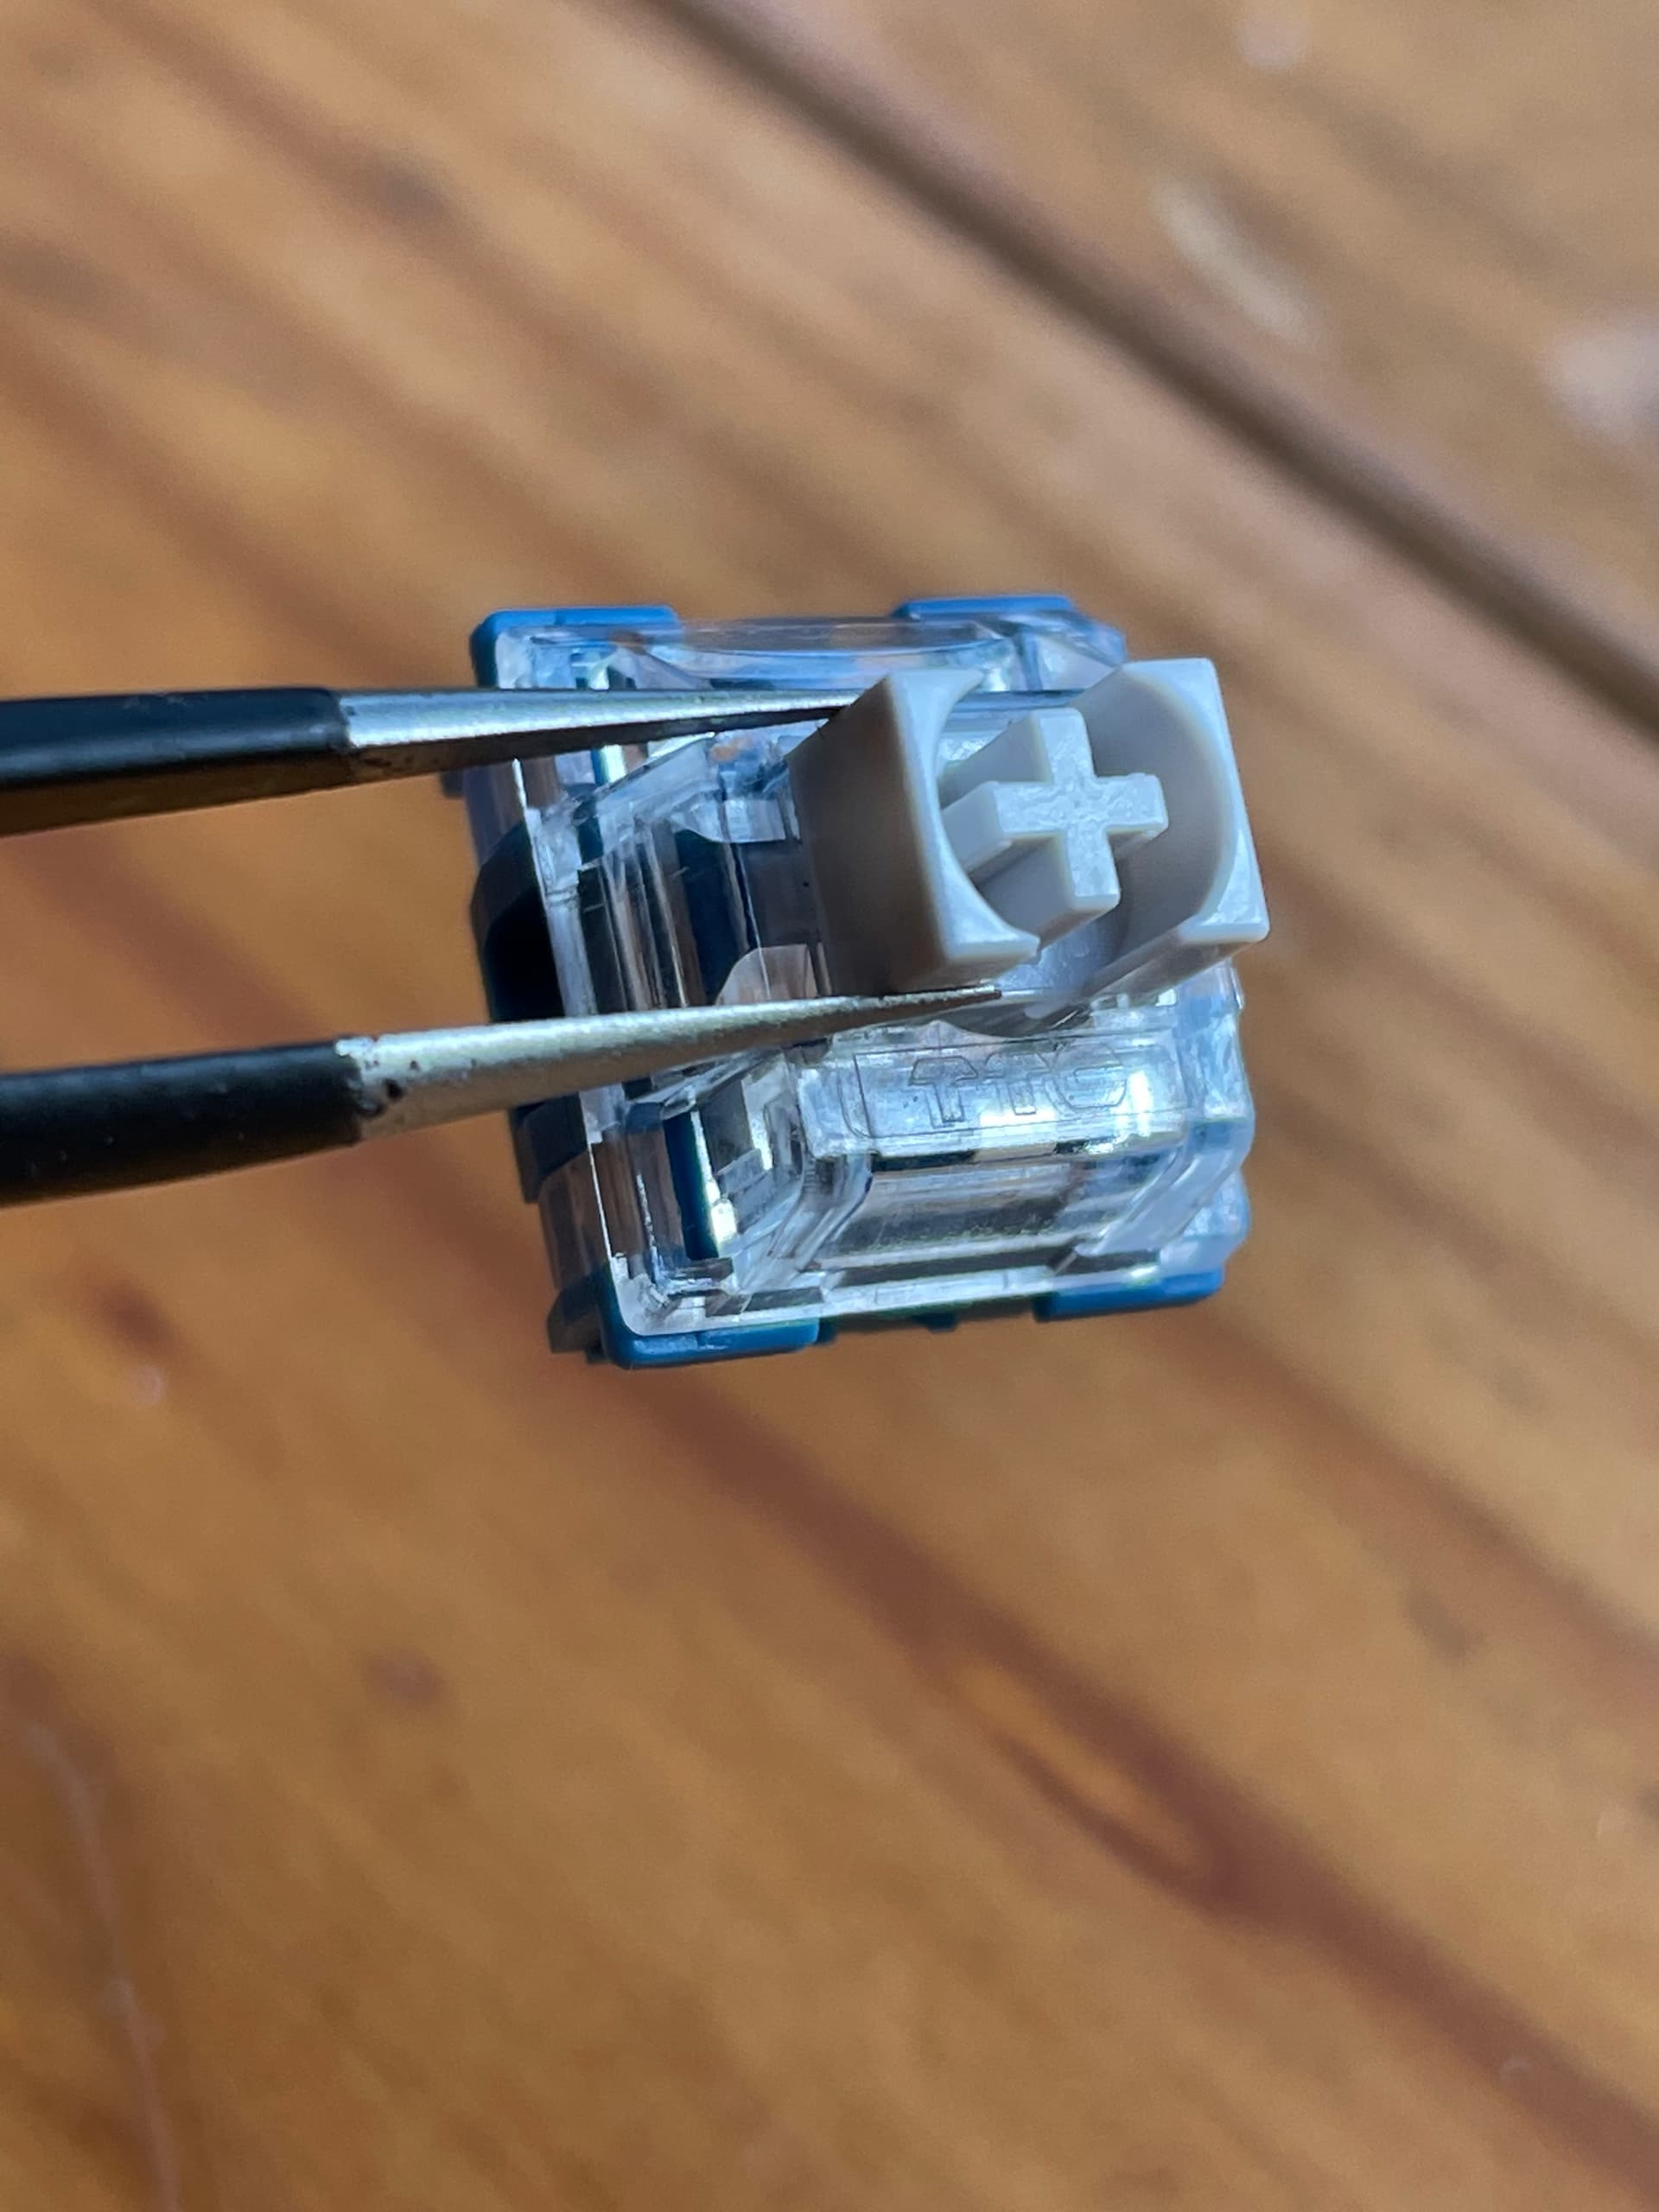
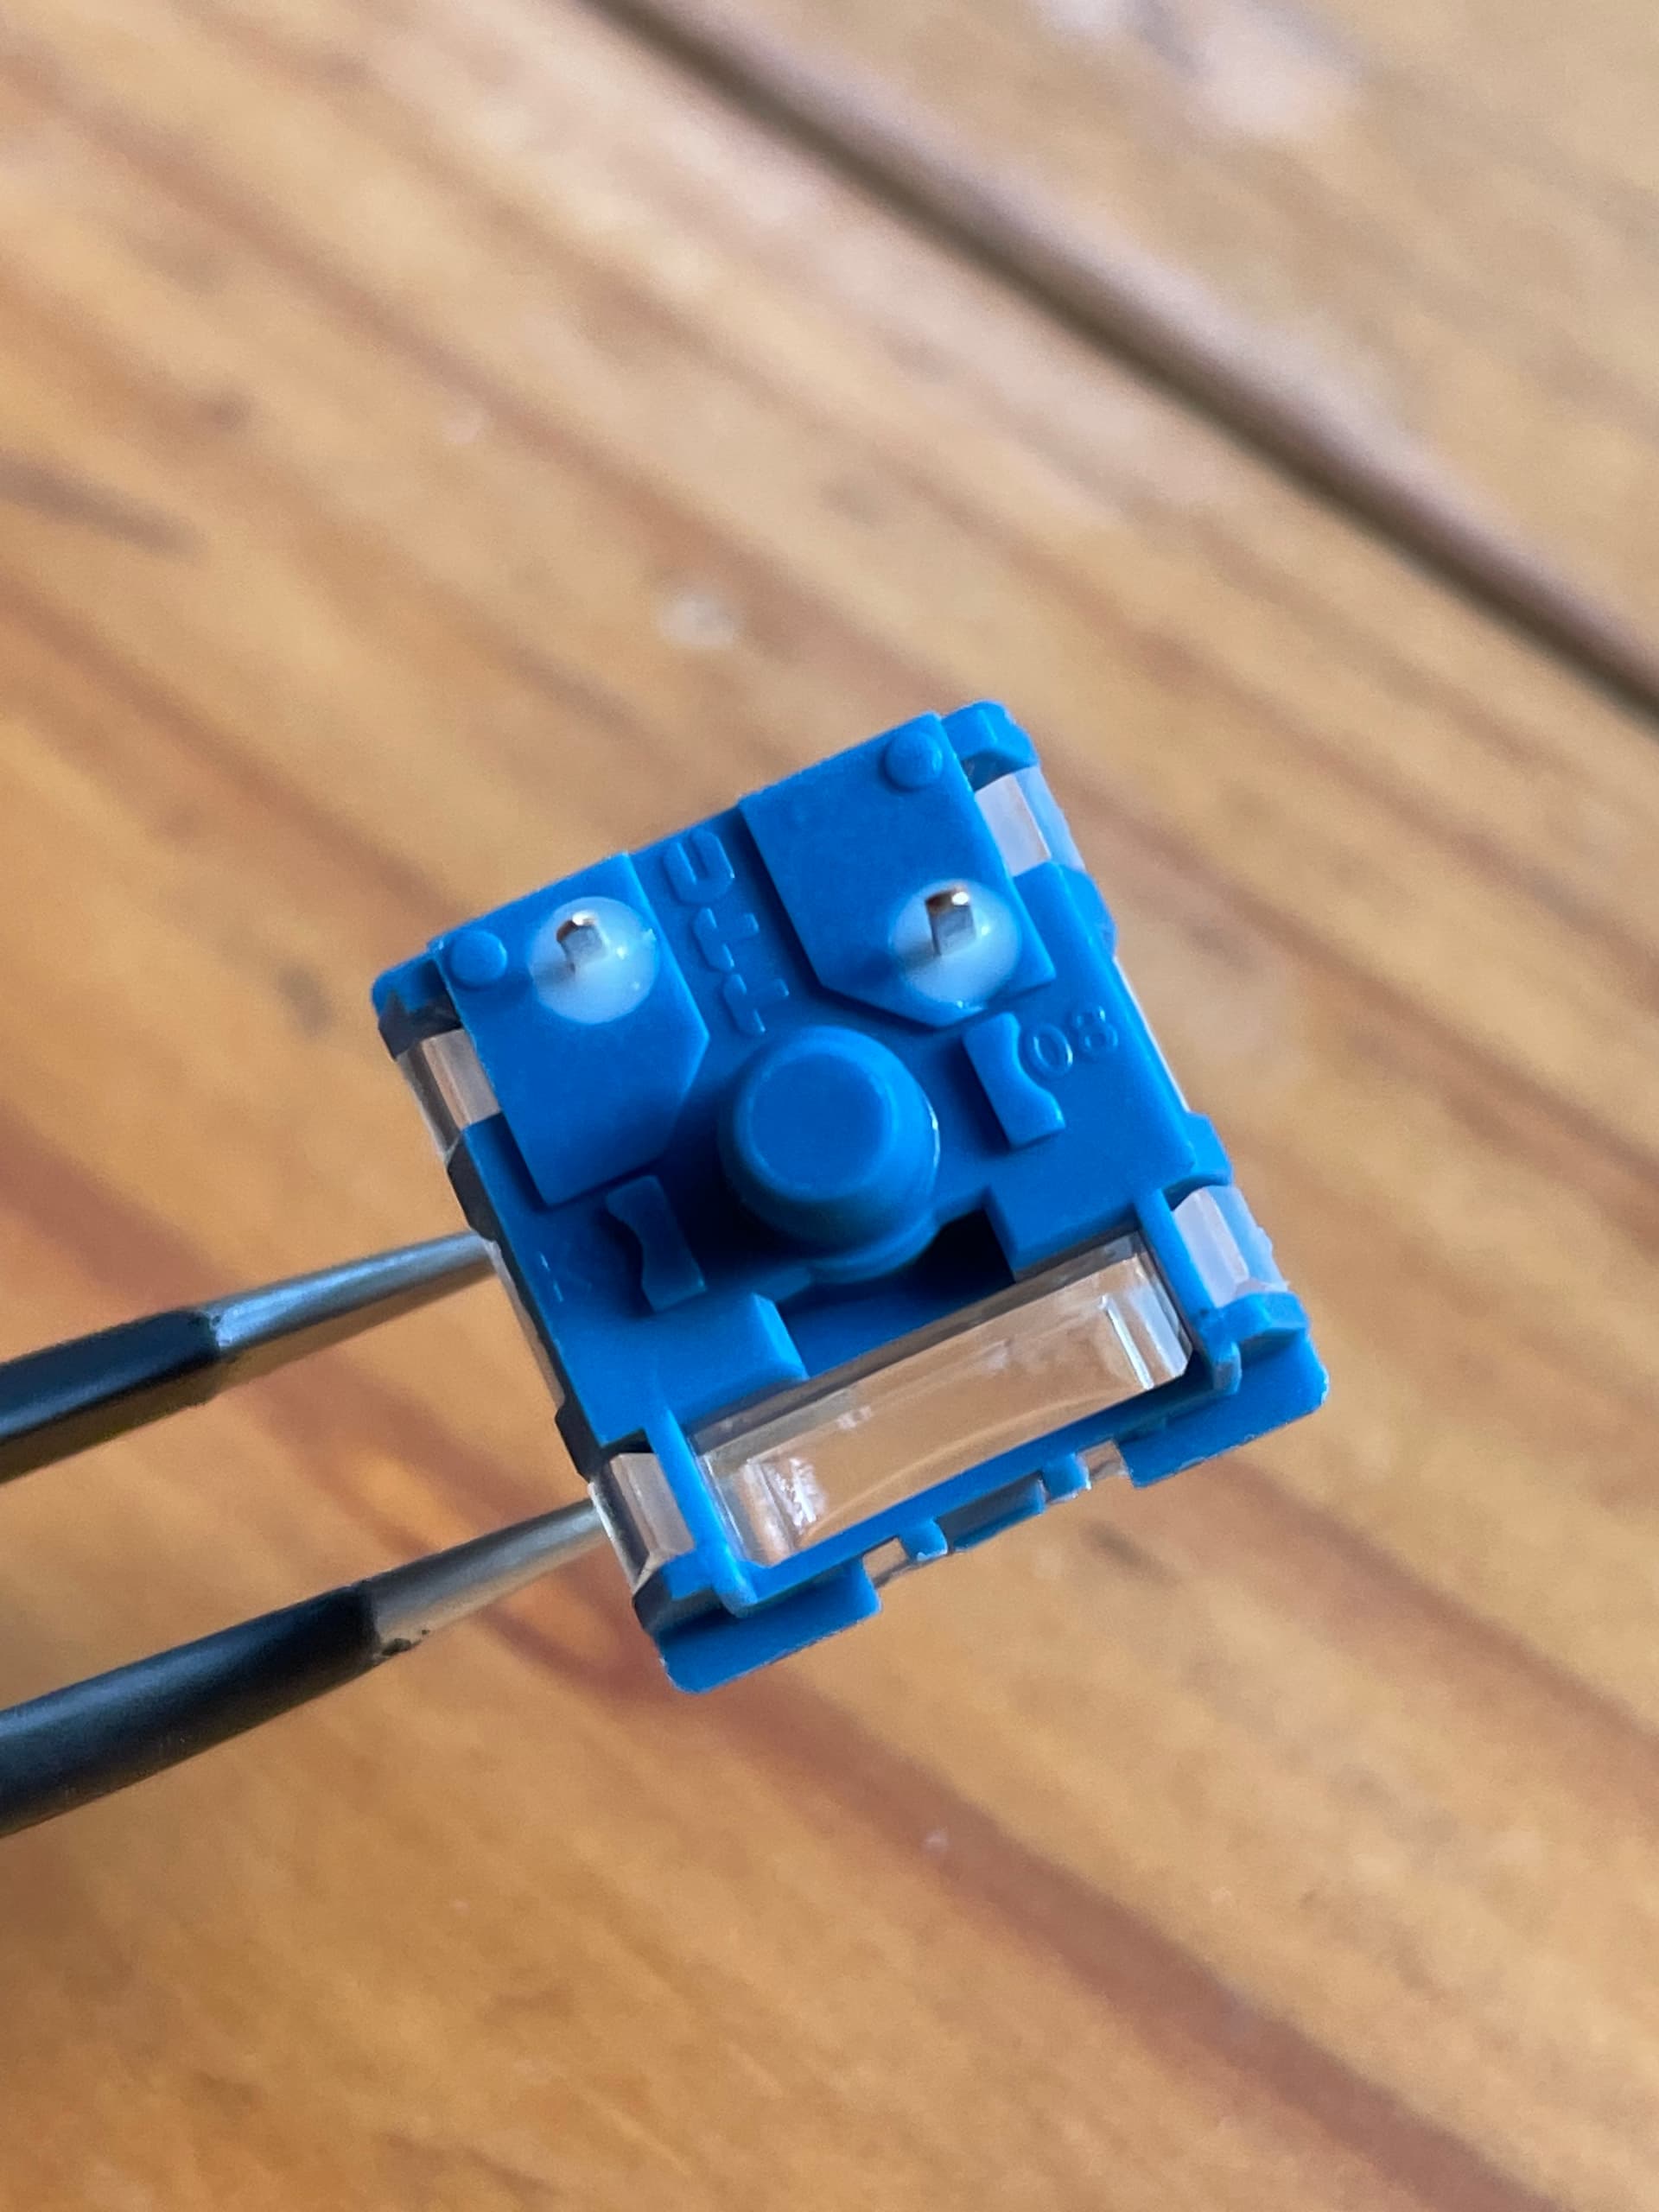
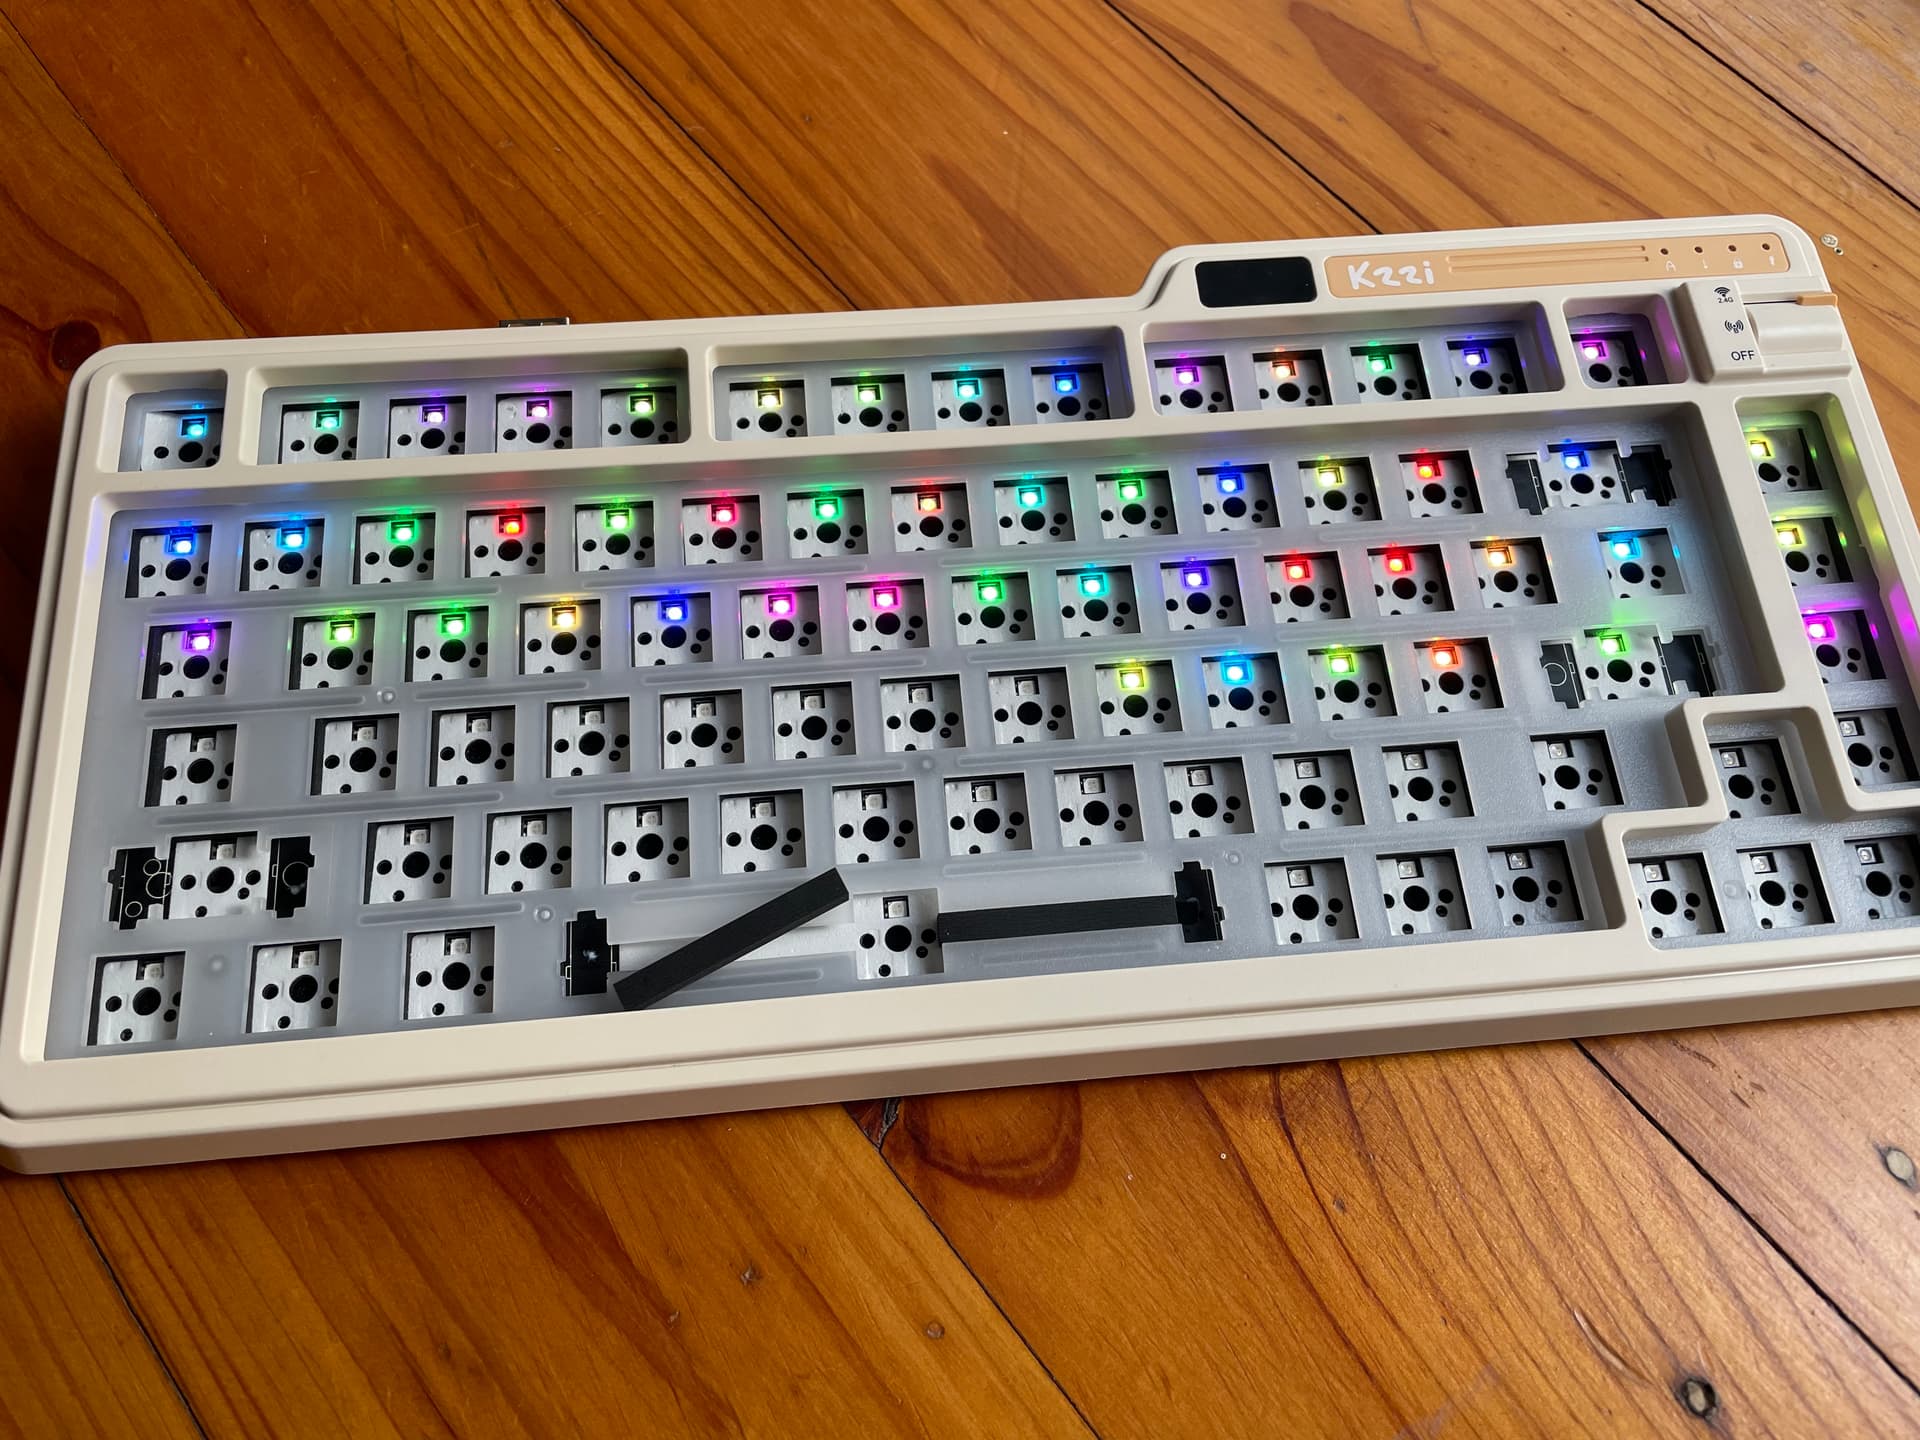
Trying to take the Keebmonkey Cozy75 apart and failing…  but discovered that it has plate-mounted, pre-lubed stabs that are surprisingly non-rattly, a PC plate, what looks like thin PE pcb foam, poron foam not just between plate and pcb, but also under the spacebar and TTC Speed Silver long pole switches. Ok, some of that I could have remembered from the spec sheet, but where’s the fun in that?
Reason for trying to take it apart was a) curiosity and b) trying to make it sound less…plasticky? Clickety? But it’s already got all this foam…so, now I’ll try the Momoka frog switches and see what that does 
Will gladly accept the secret squirrel handshake necessary for opening up this baby…

 🪩
🪩
4 Likes
I’d take a guess at plastic tabs / clip around the edge. Something flat but not sharp is helpful - there are kits for taking apart controllers that are great for keebs.
1 Like
Yes! TIL the word spudger thanks to @badmark and I’ve procured one, too…that’ll be on my workbench tomorrow - wish me luck 
2 Likes
Operation study/shelf cleanup is under way…
A new home for the switches, and below space for tools and tidbits. And a 3D printed keycap tray prototype…
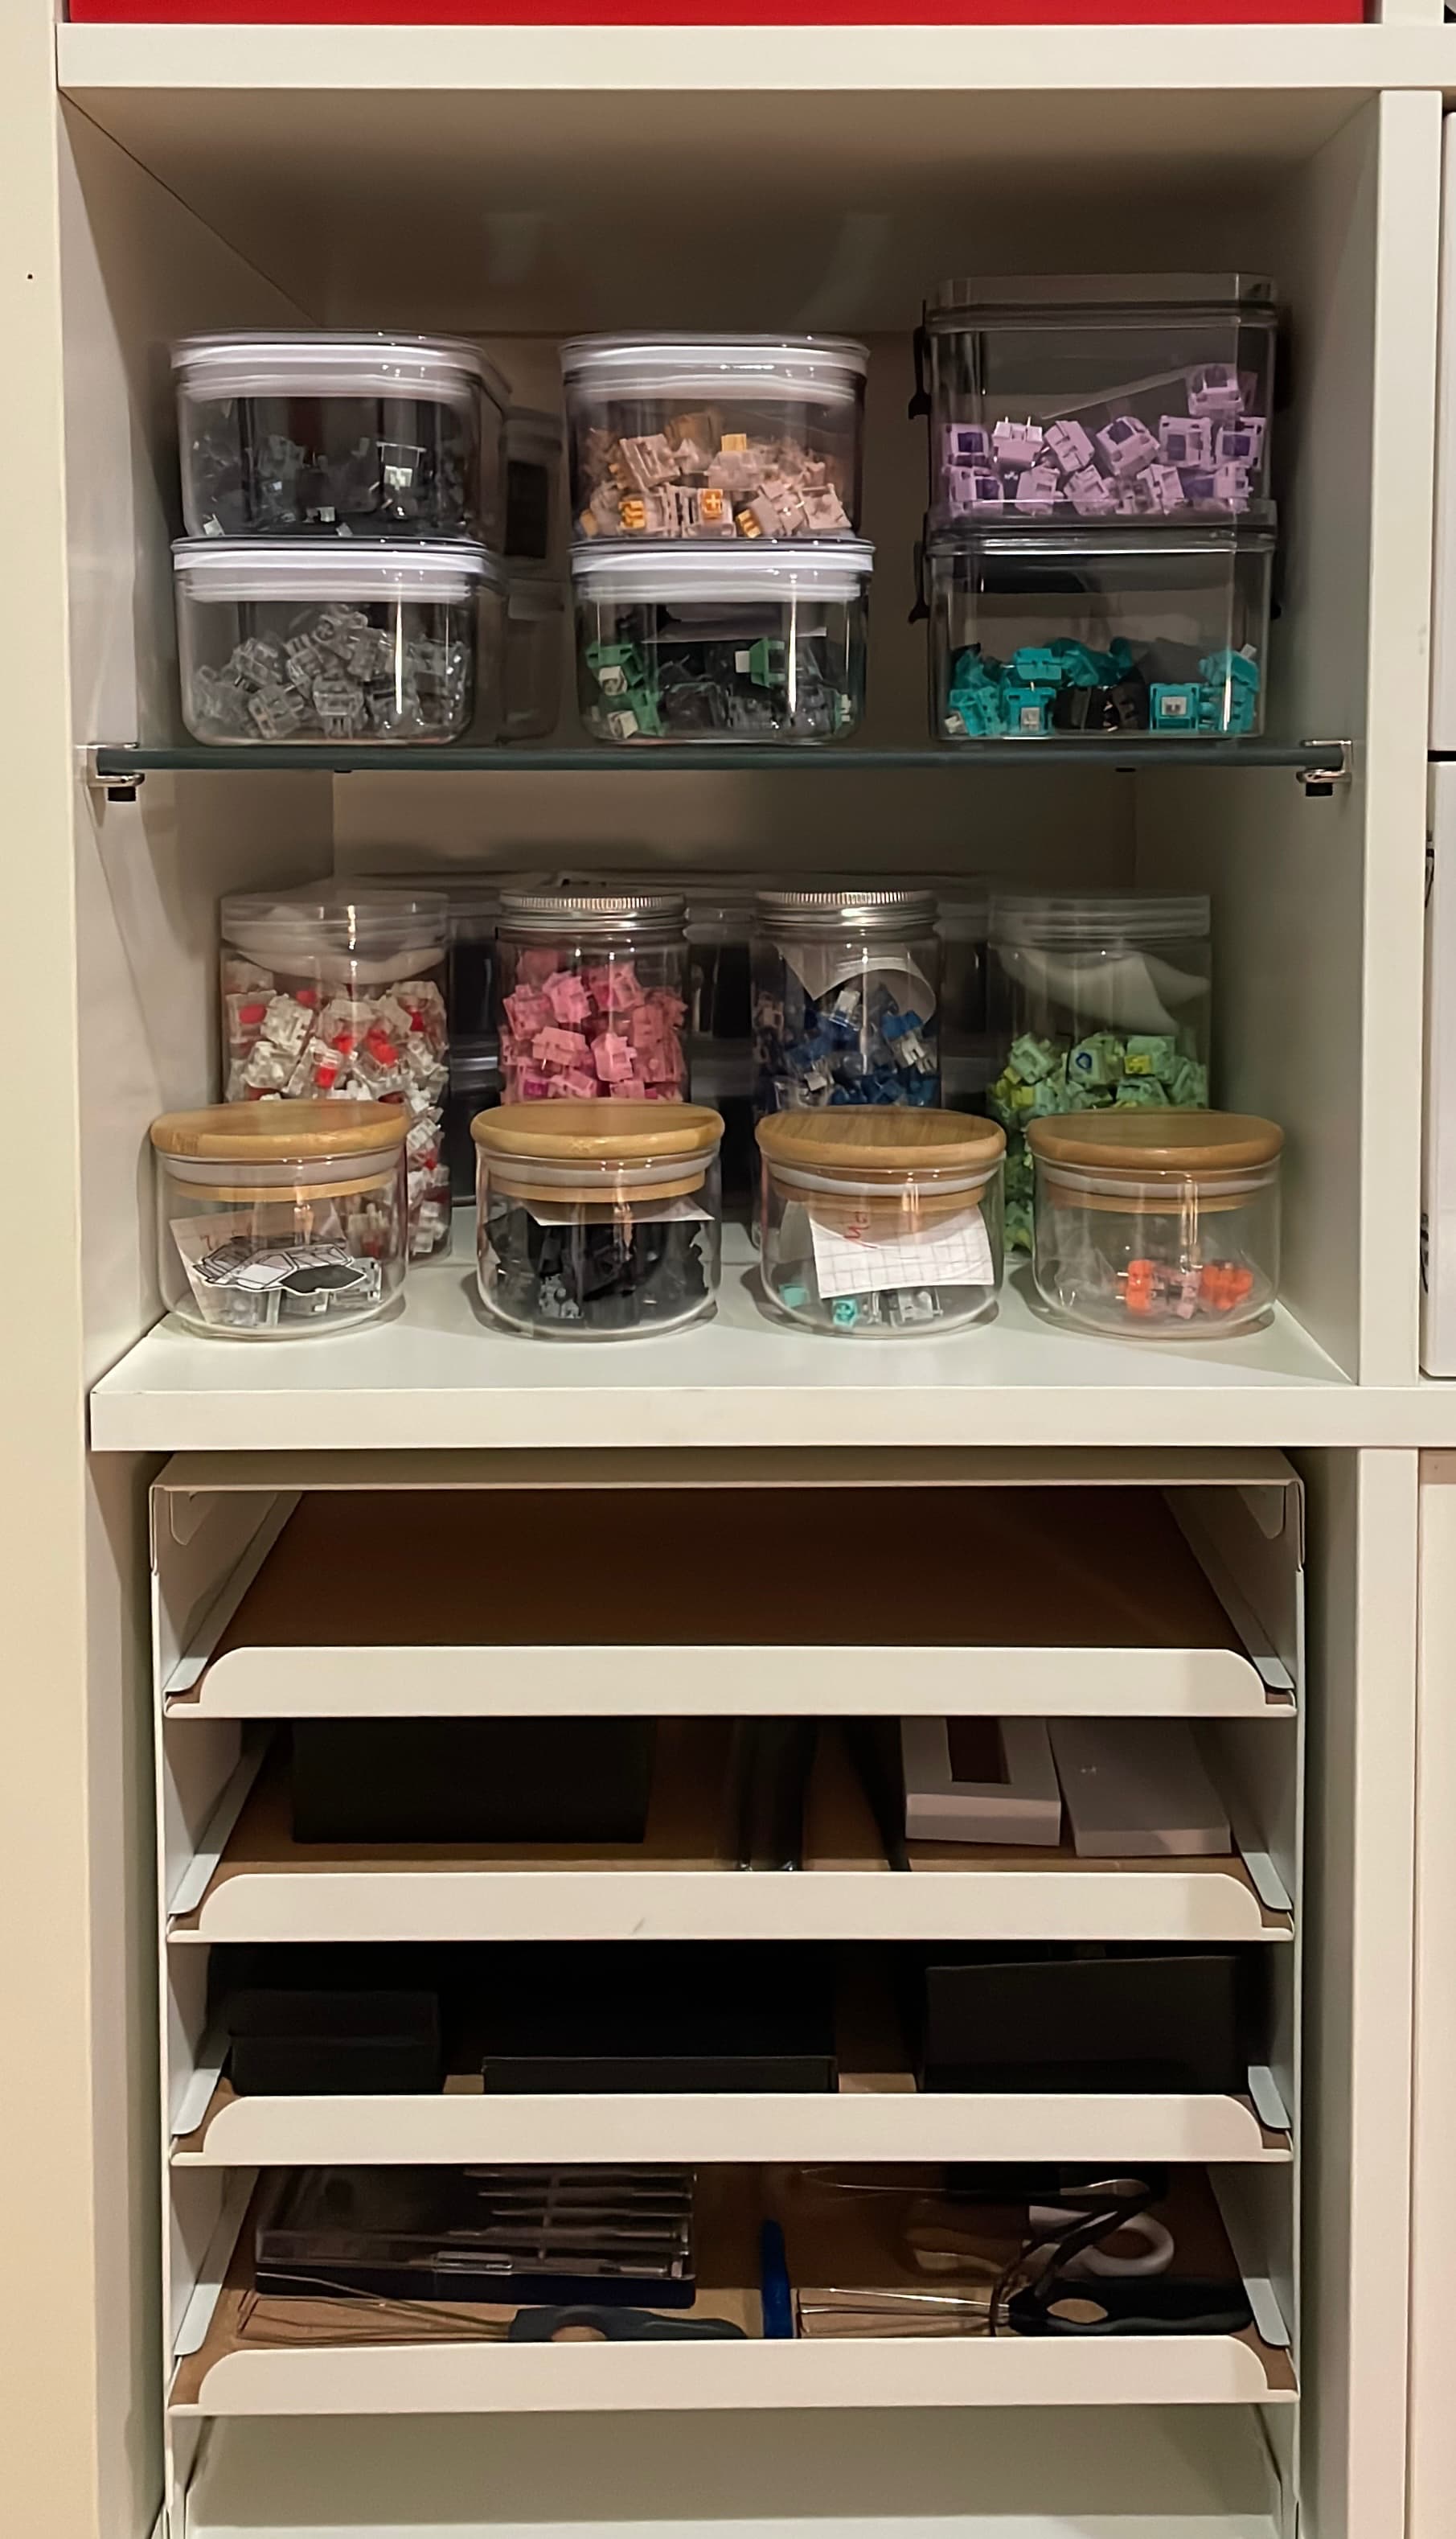
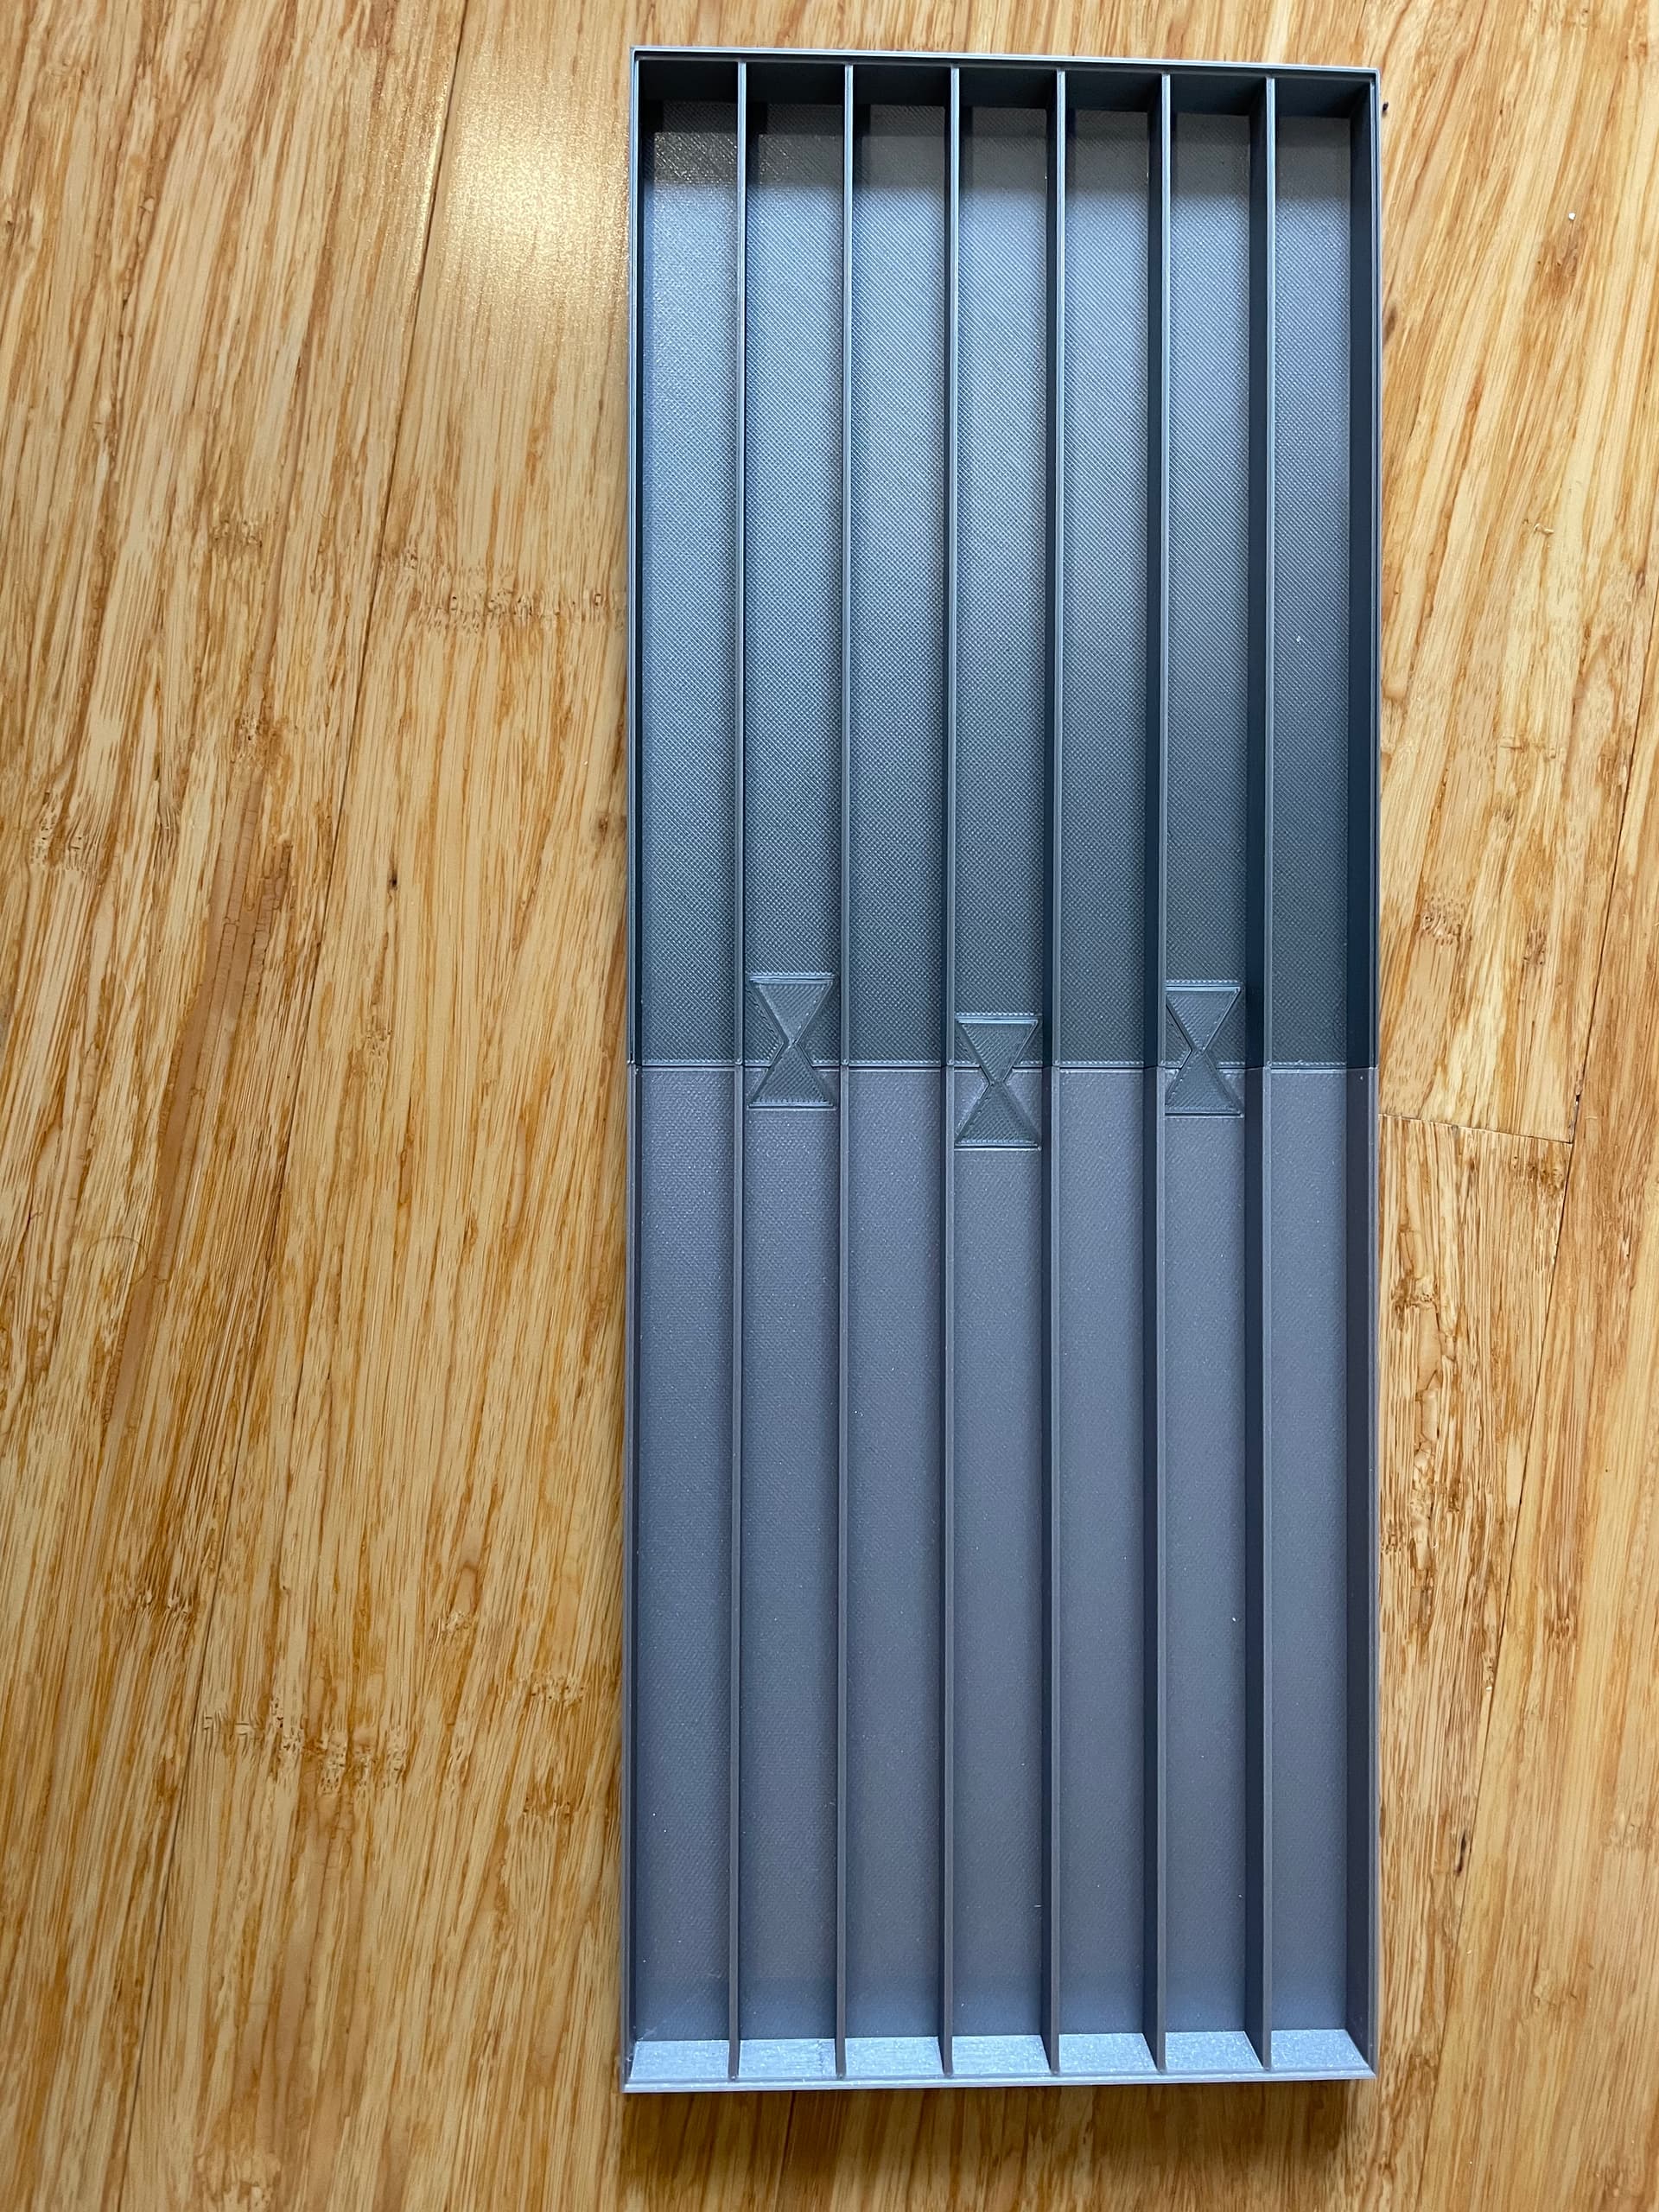
9 Likes
That was a clever way to join the two halves of the print. Looks good!
2 Likes
It works with a bit of glue, but would need to be a bit longer to really support it. I was mainly glad that they fit  and with the superglue it works fine!
I didn’t realise though that each half would take about 9 hours to print…I think I can reduce the inside walls in thickness and overall height.
1 Like
Wouldn’t it be enough with some edges the trays rest on? 
I’m not sure I understand what you mean…?
But if you mean to reduce the inside wall height drastically (eg 1-2mm), so they’re just edges, that’s a great idea! Simple and brilliant - doh! 
All I want, after all, is for the keycaps to stay in their lanes…
2 Likes
Well that to!
I have to admit that I thought it was a “cabinet” for the trays to slide in to. 
1 Like
Woodworking butterflies are usually glued in too, so I think that’s a perfectly acceptable solution. I’d be pretty relieved it worked after 18 hours of printing too!
2 Likes
Ah, I called them bow ties and you’re right, took two days and I was rather relieved…not sure it’s worth it, but it’s fun.
@skepp no worries, it helped me have an epiphany
1 Like
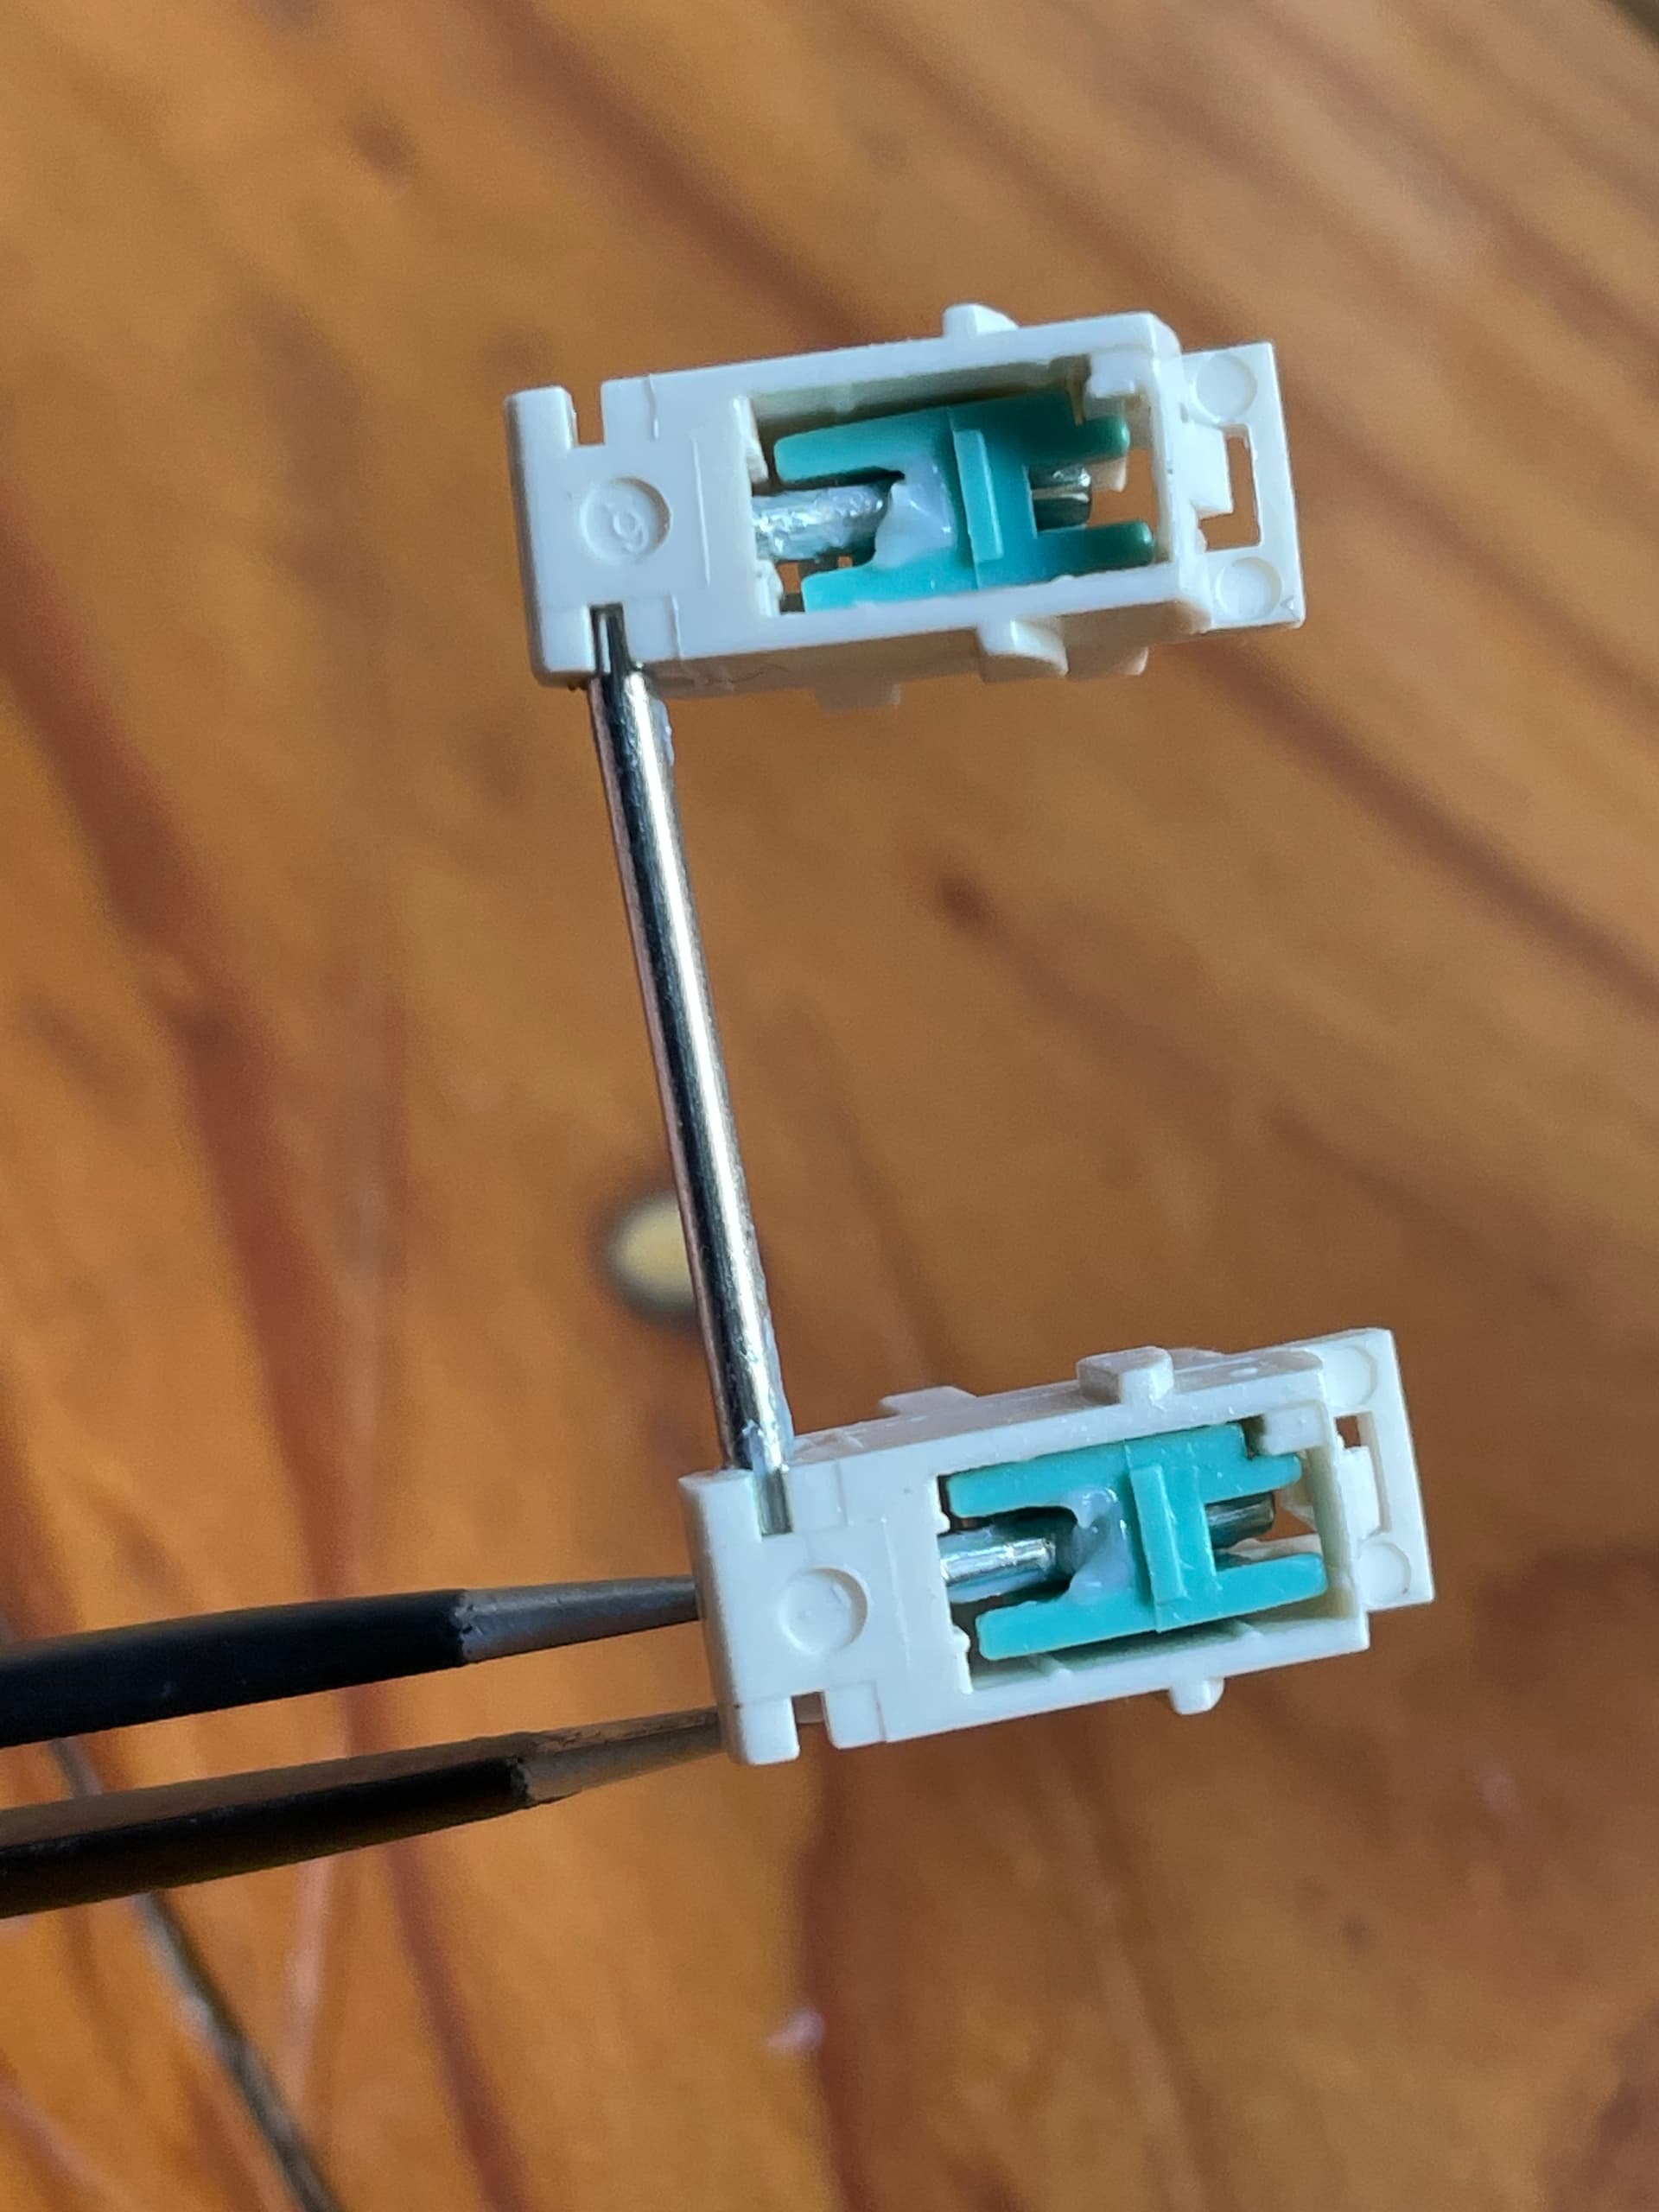
Hi Extra fox, thanks for your contribution to make this a thing.
I tried printing the V2 today but it doesn’t seem to pop the housings out haha.
Do you have any tips? Maybe i’ll try printing the V1 instead
1 Like
It’s sorta amazing how these all have the same weight, but their sound and feel differ in every way possible. Right on.
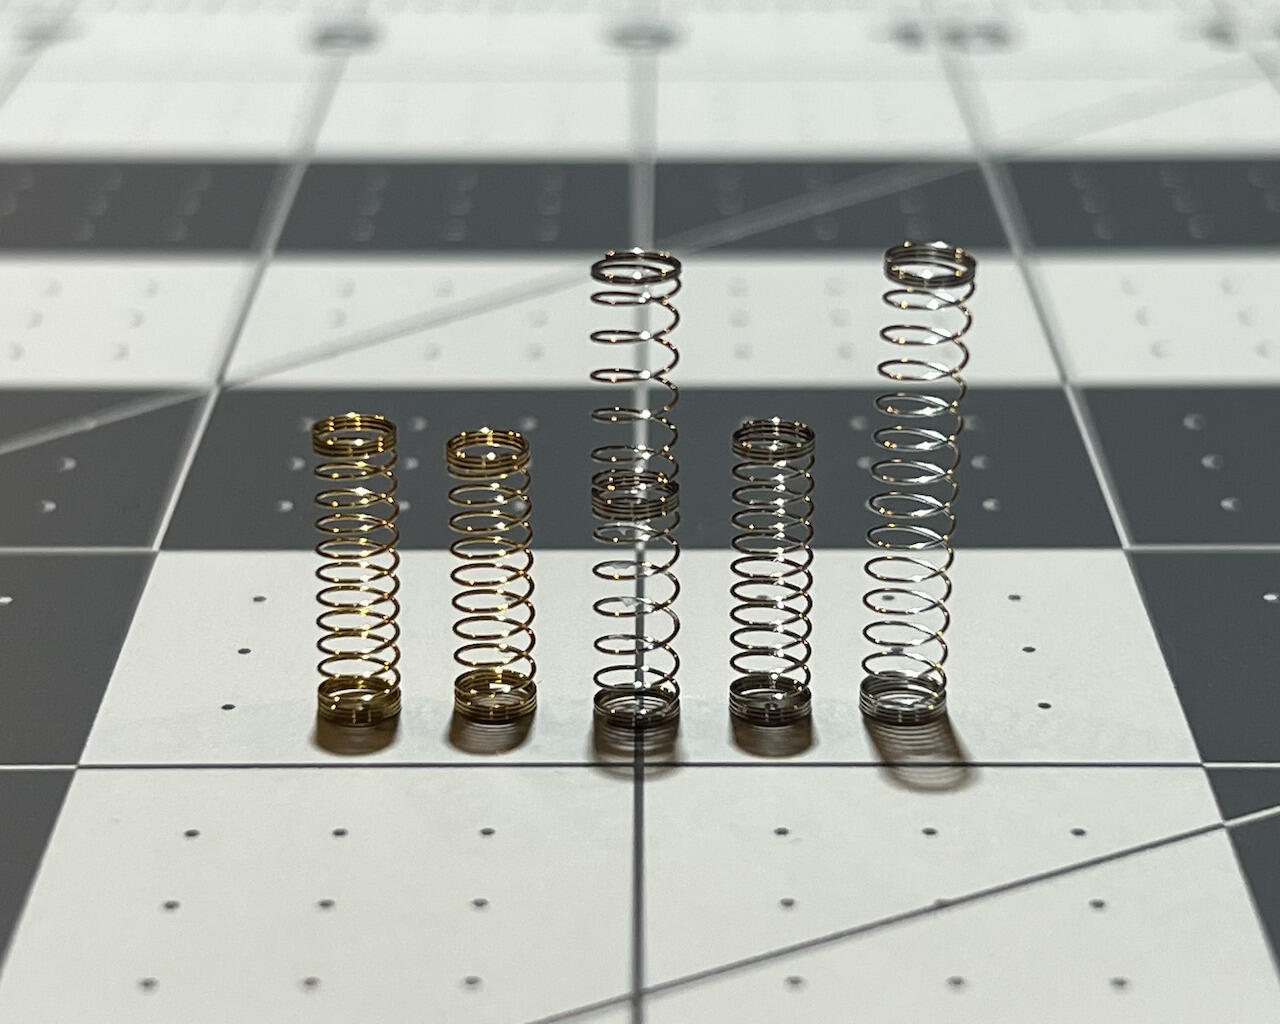
7 Likes
Actually both the V1 and V2 have the same geometry. You’re aligning the groove to be up and down when pressing down on the housing?