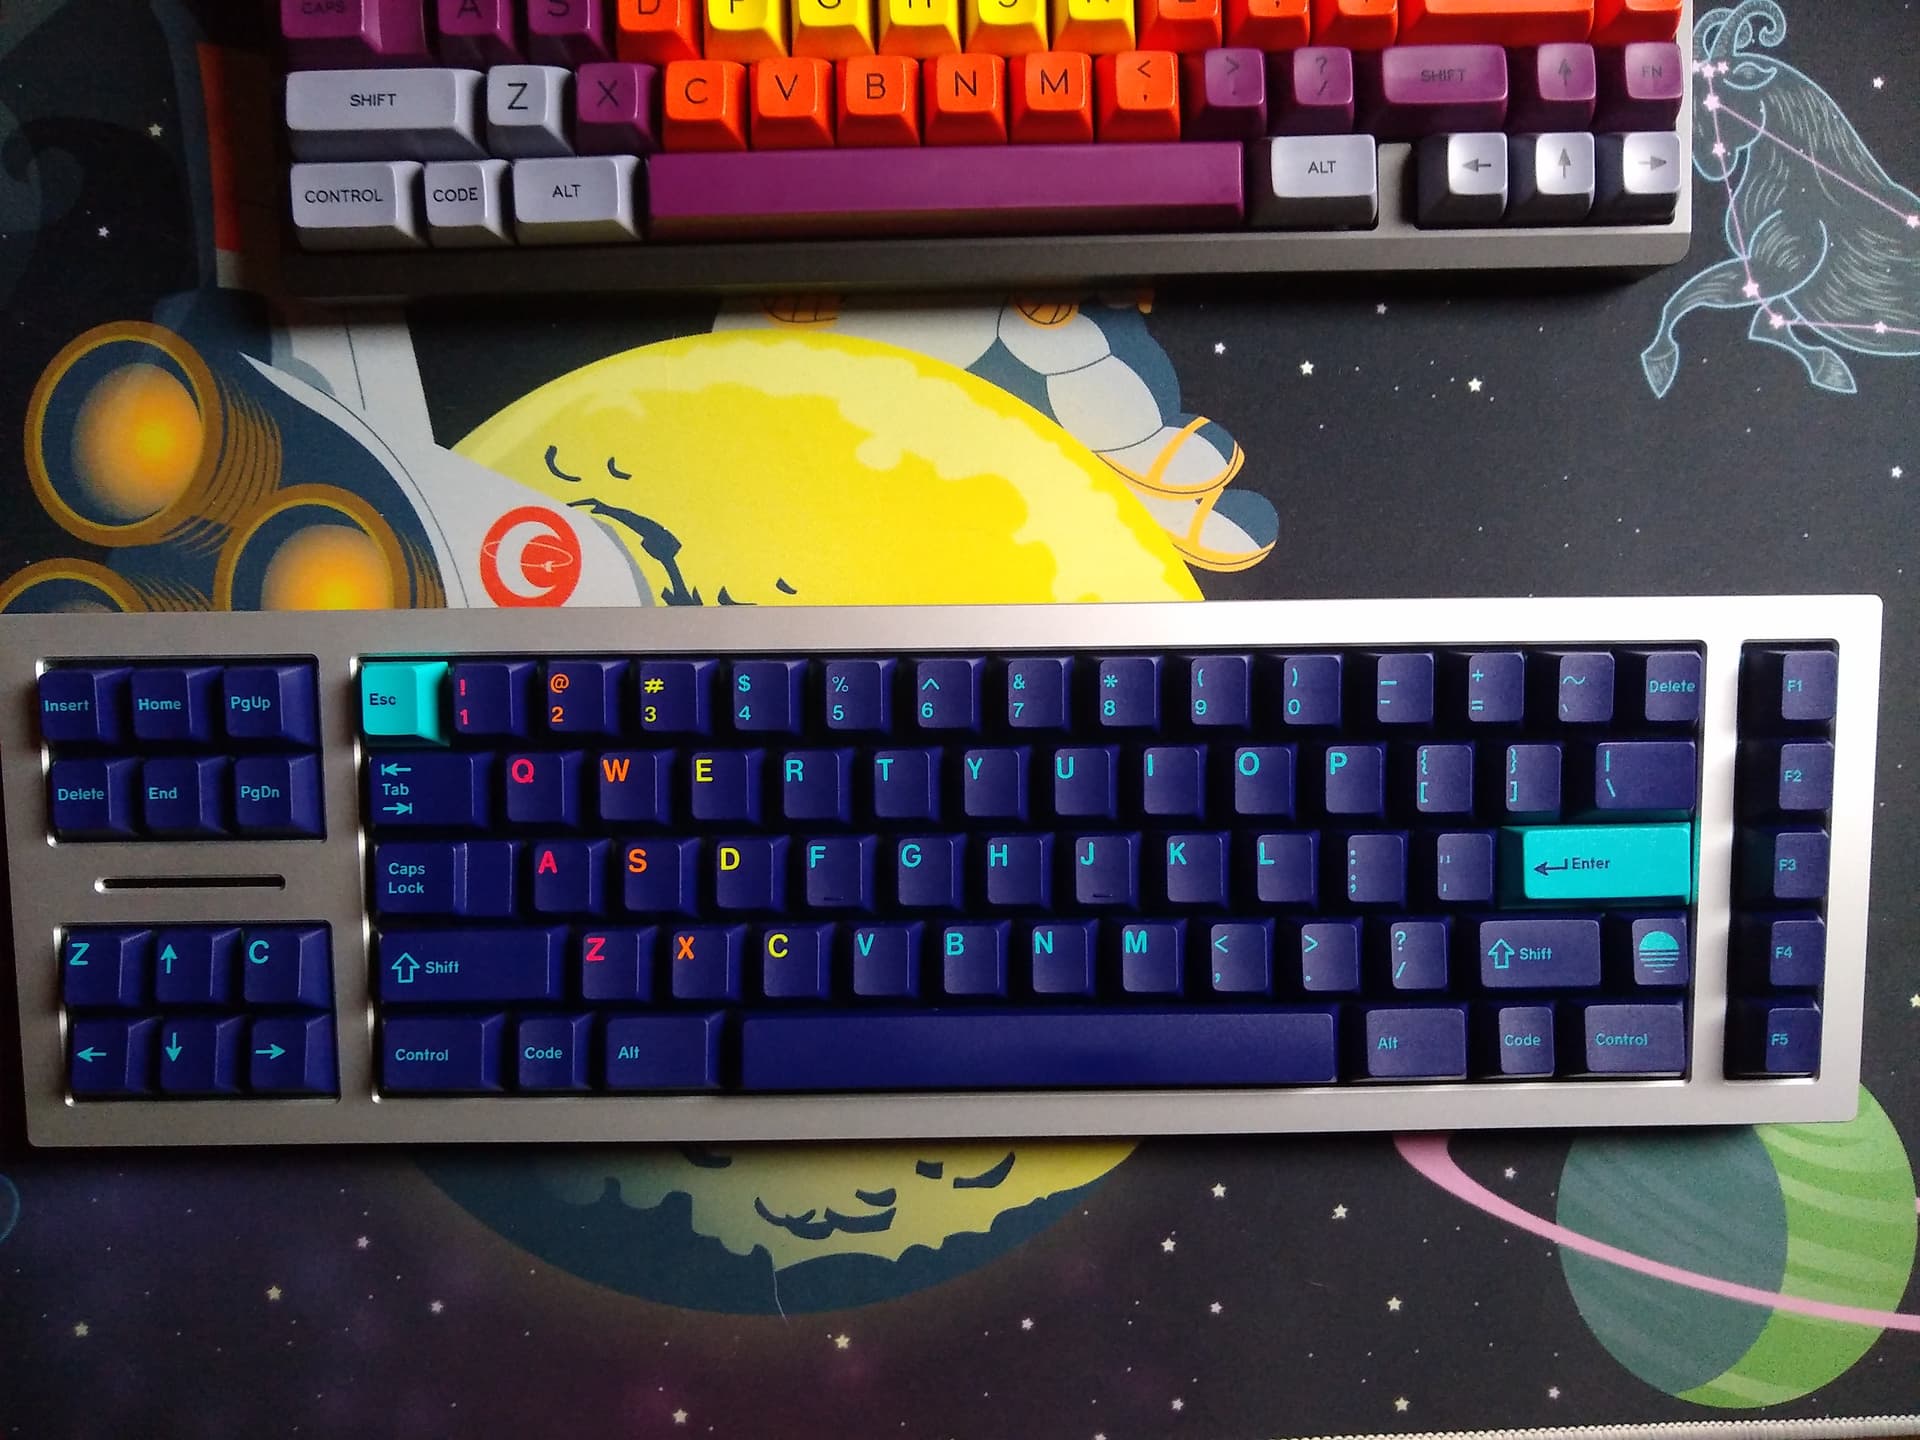
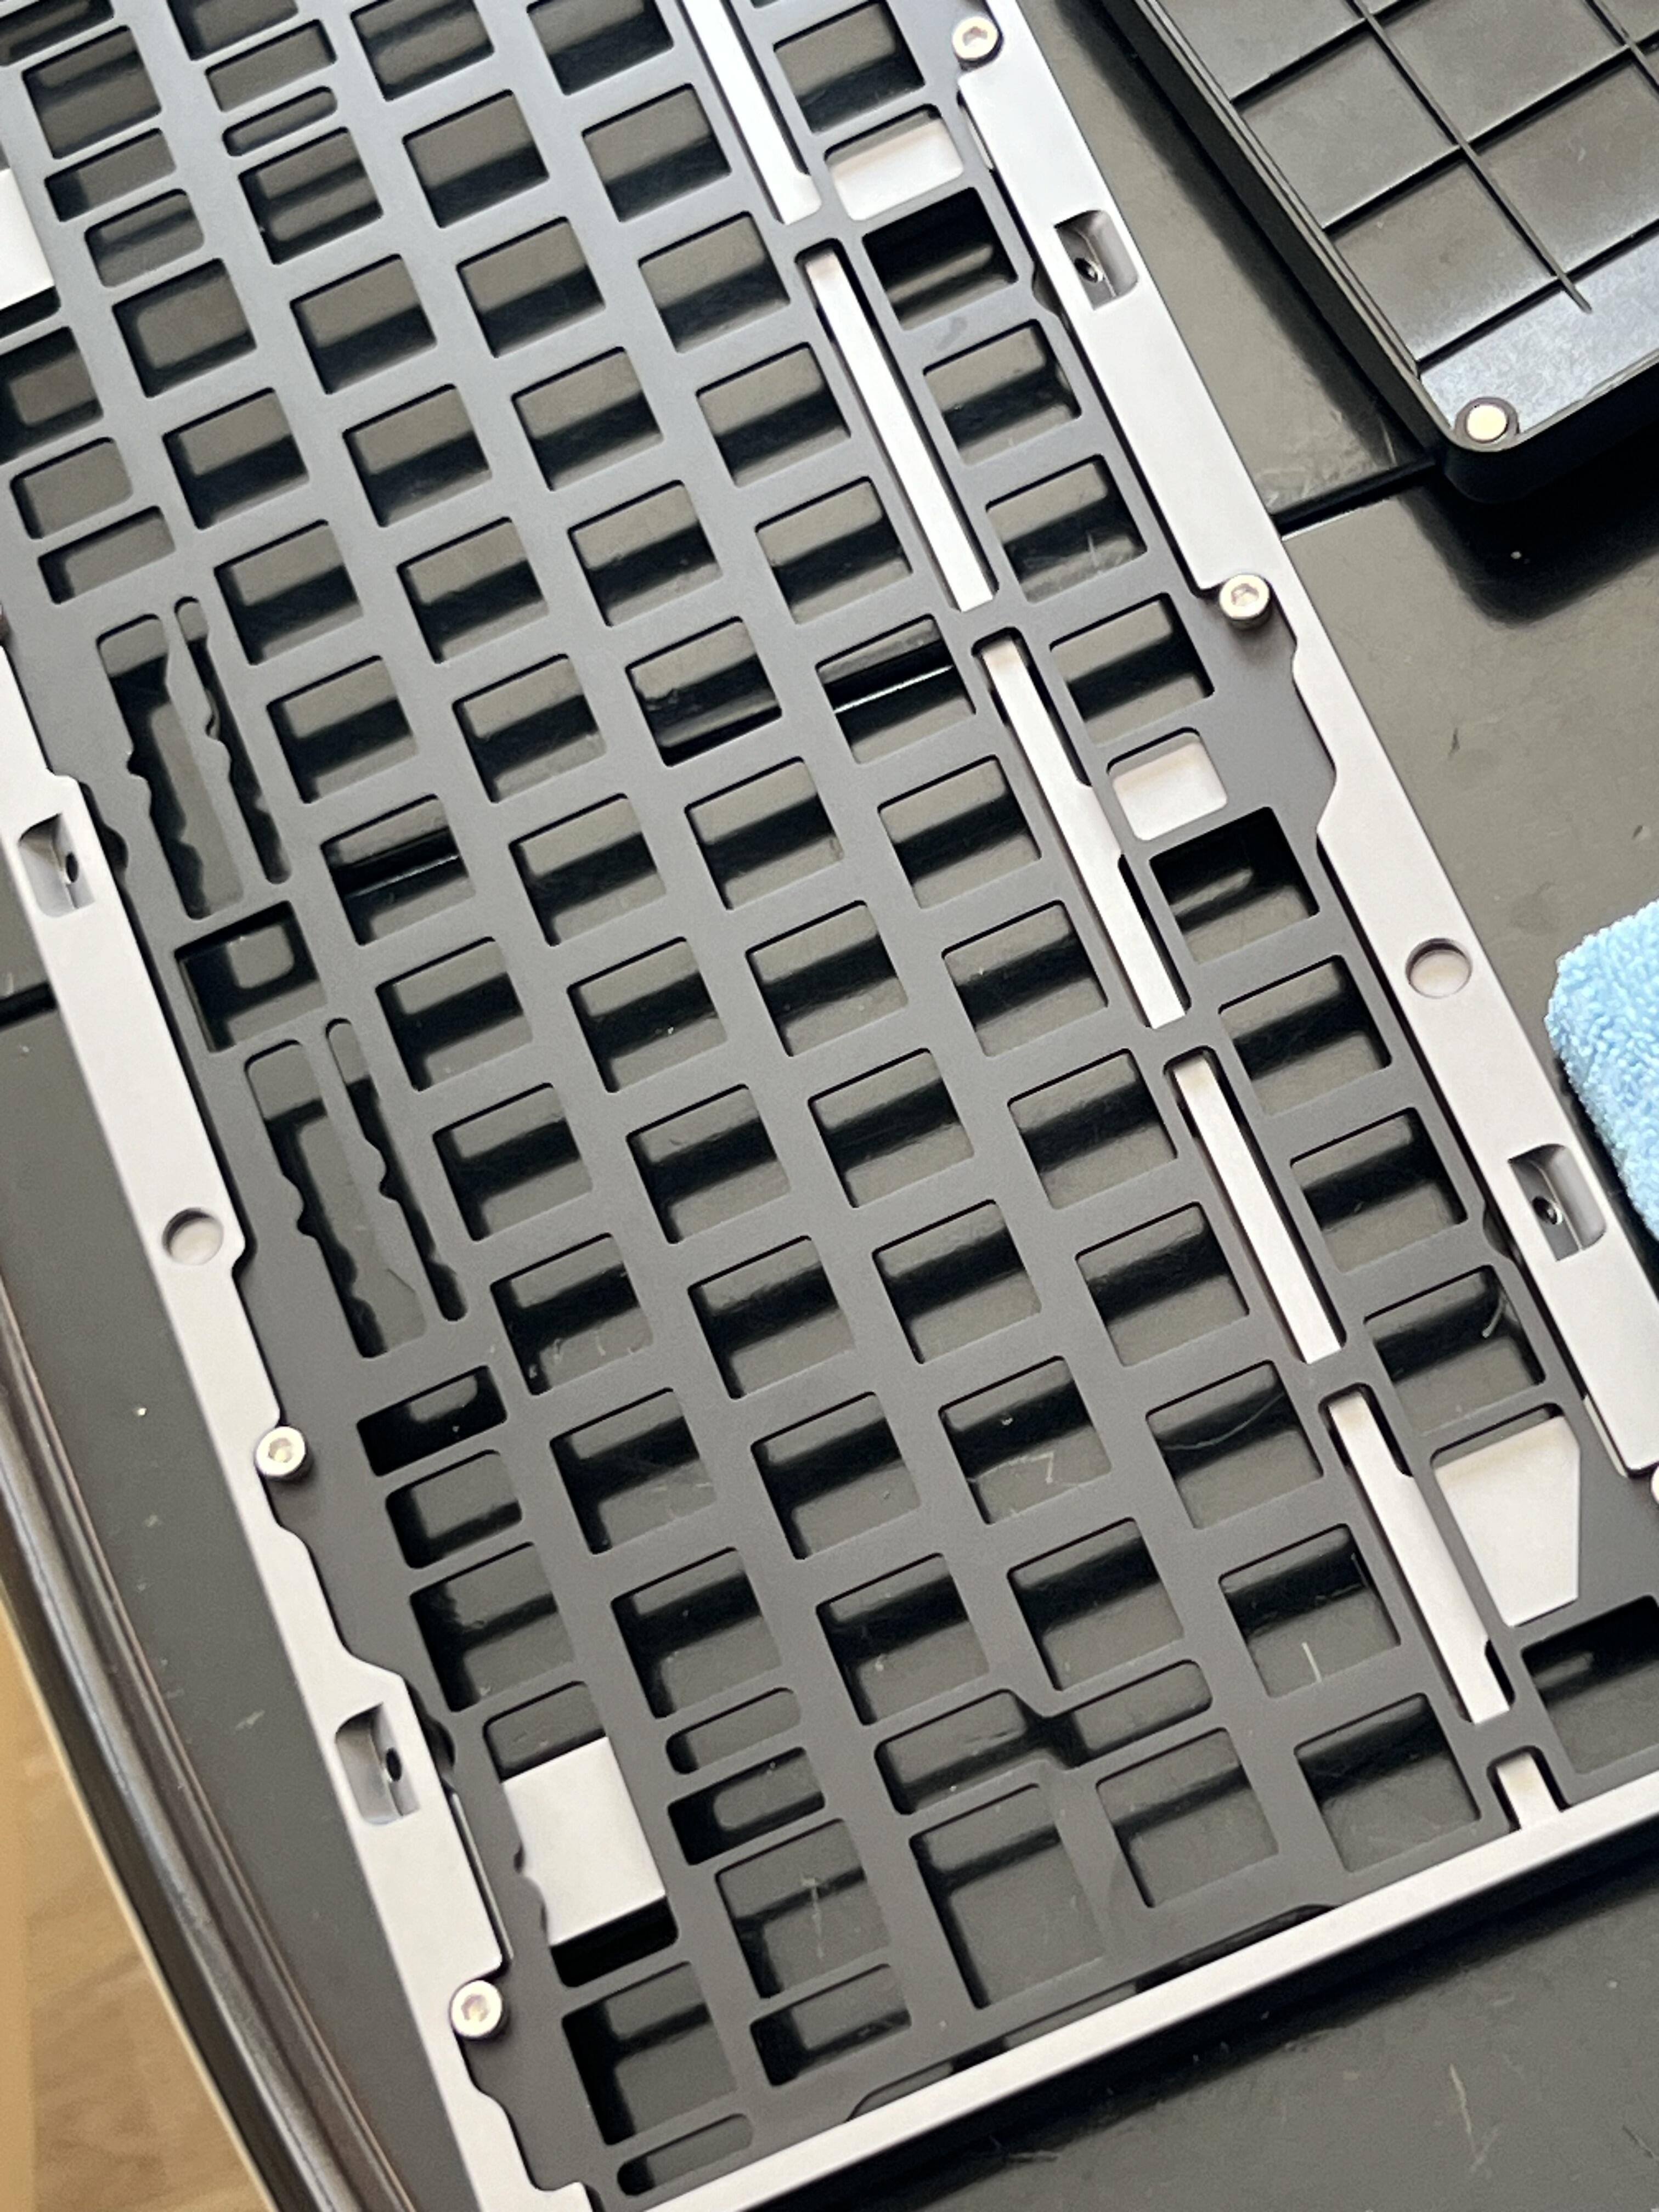
I’ve been working on trying to find the right set for this board - or at least one that I want to settle on for now…this is my third try! Built with green jacket tactiles on PC plate gasket mount no foams. I might put the thin layer of case foam in there because it sounds a little hollow. Also need to try sandwich mount soon! That’s the one I really want to hear.
I think I got that idea from your post! I don’t know if you tried other configs with the foam? I tried plate foam, but didn’t even finish installing it - it just didn’t feel necessary. Maybe it will be for the sandwich mount though.
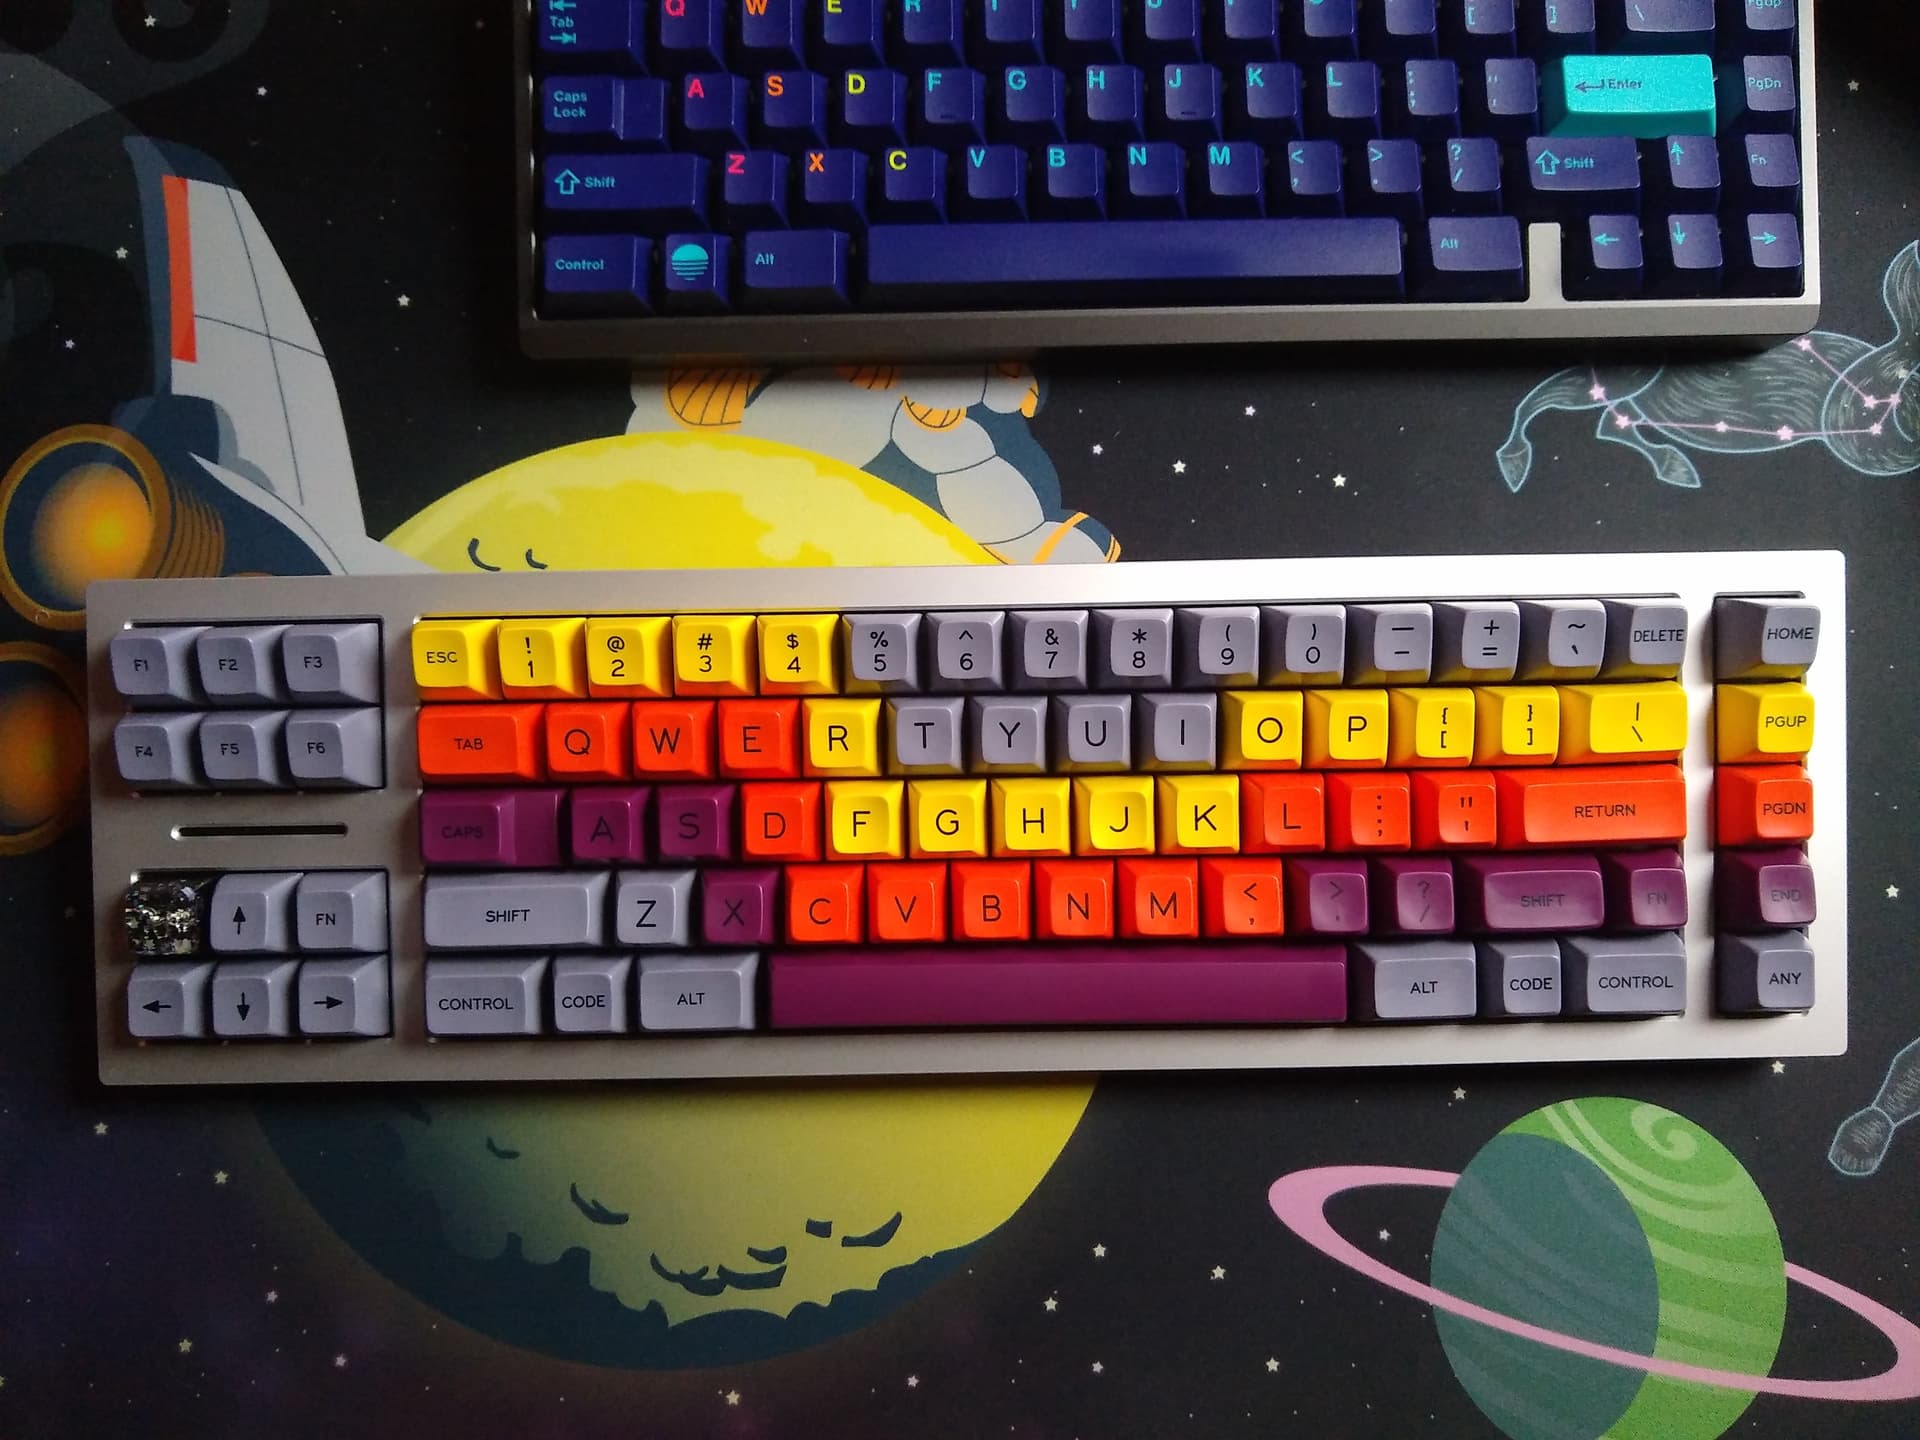
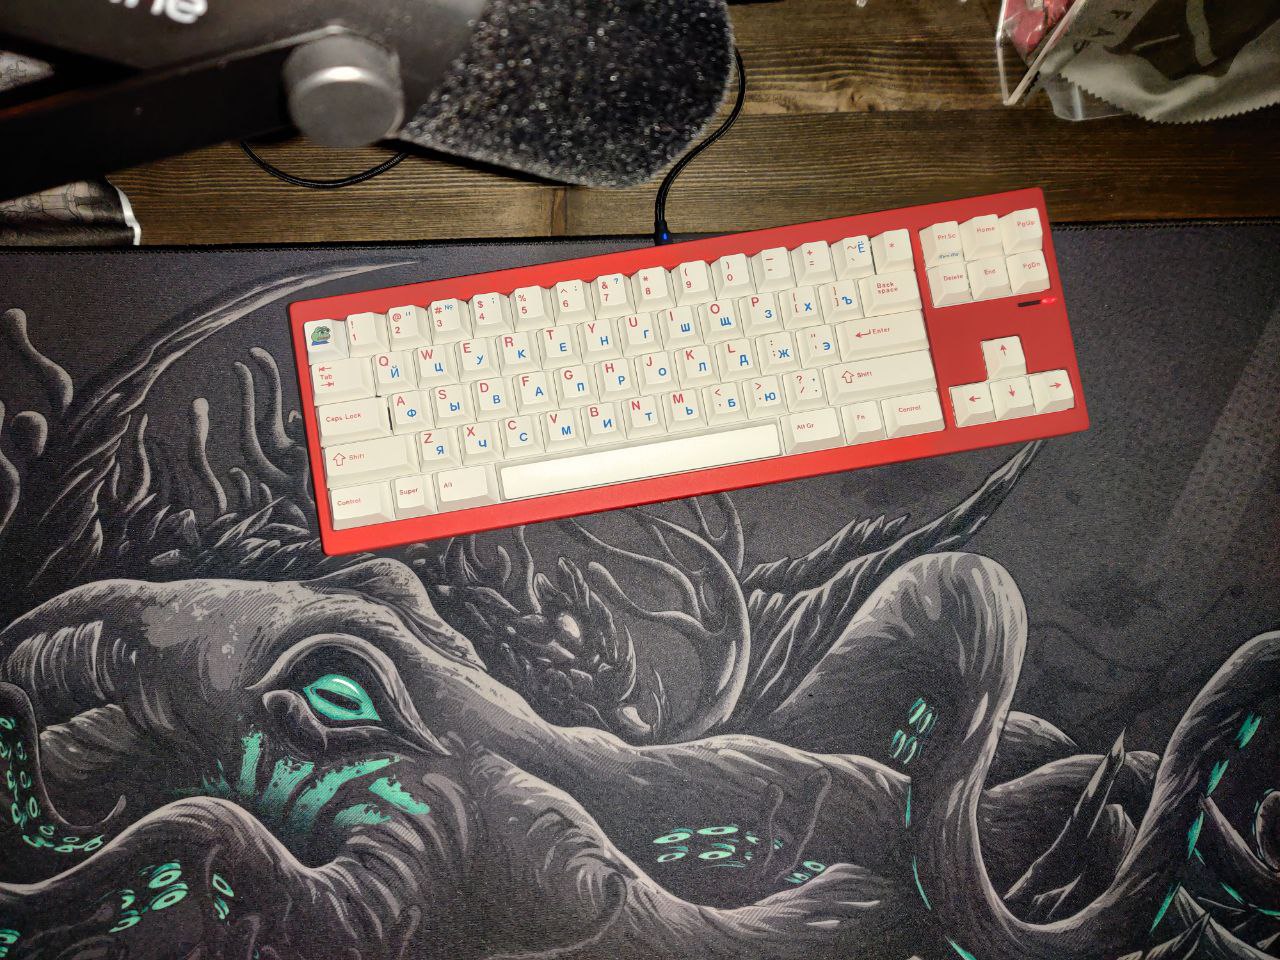
Thanks! /dev/tty was my largest kit so I started there, and it was fine, but yeah, I wanted more color and contrast. And, I didn’t love Synthwave on my dark grey board so double win!
Yep. Just a couple light coats of clear. It’s held up pretty good so far!
Definitely an easy way to make the board unique. Almost impossible to get it wrong, and you can let it go for as long as you need to get the look you want.
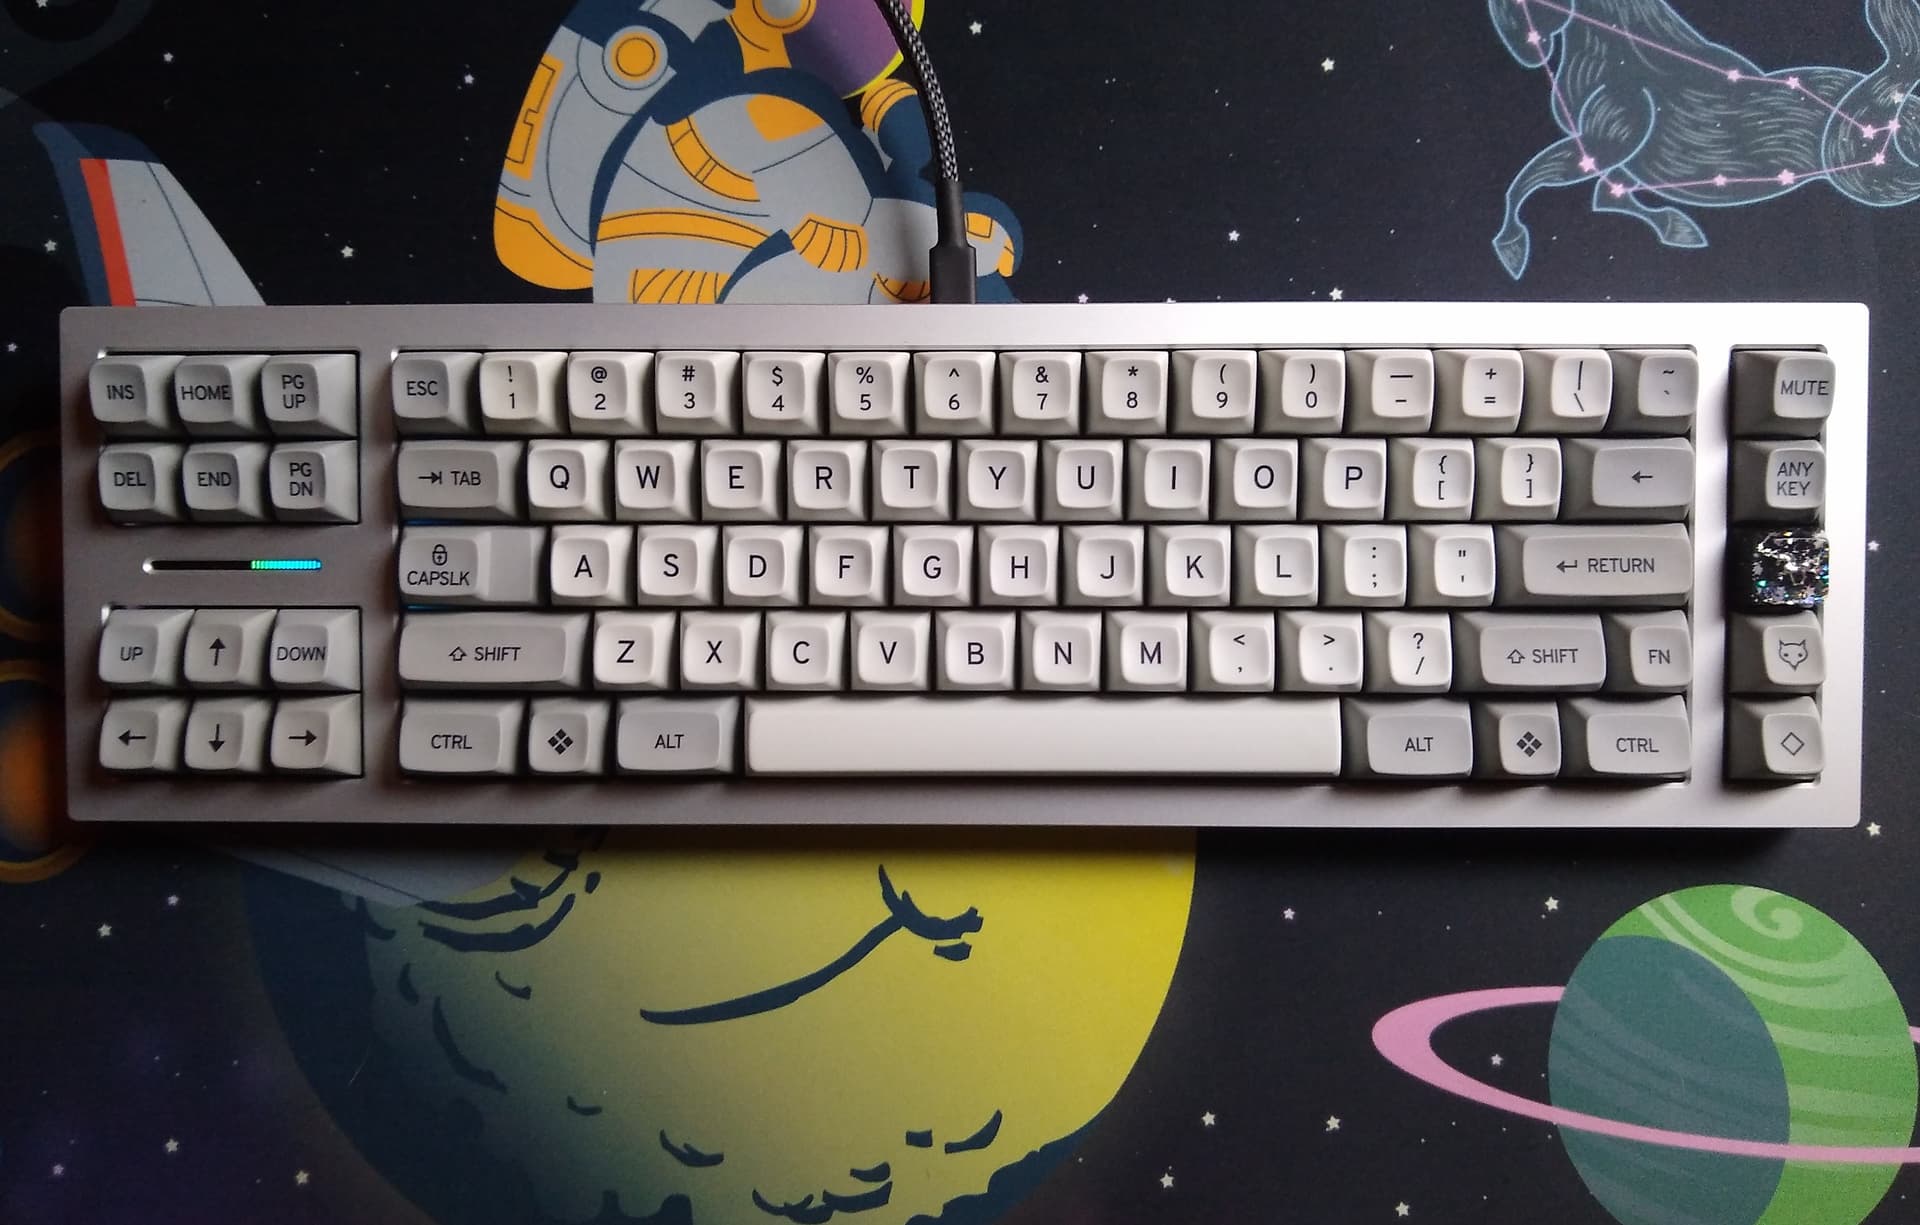
Clear Poly TKL One with Gateron Lunar Probe and TX AP stabilizers. I put my iron up a bit hotter for the last few builds. Faster build time but more little flux lobbies everywhere.
Newbie here,
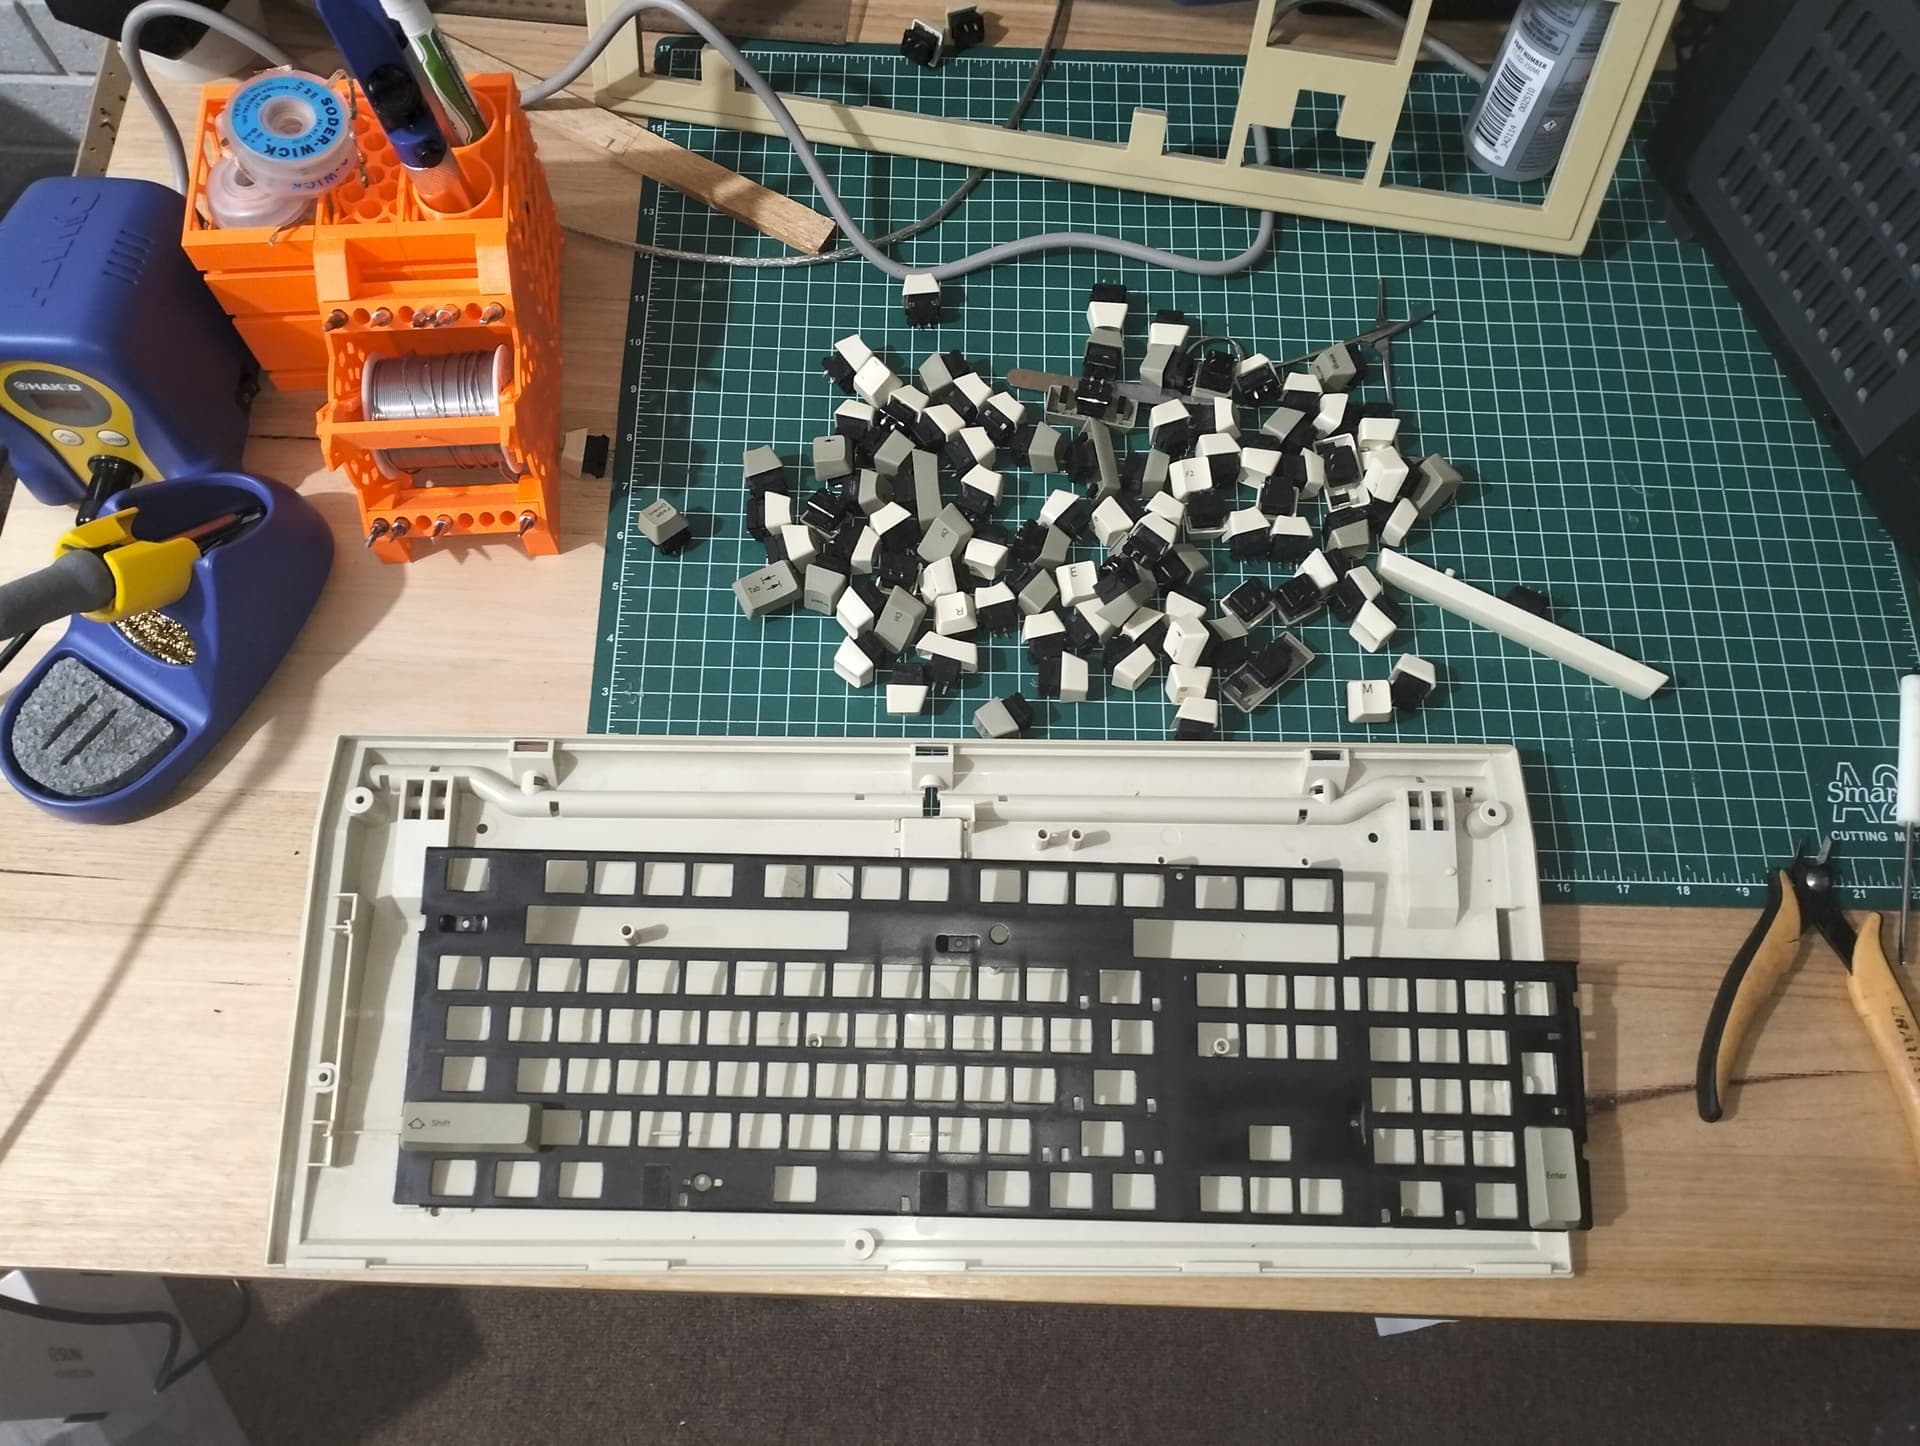
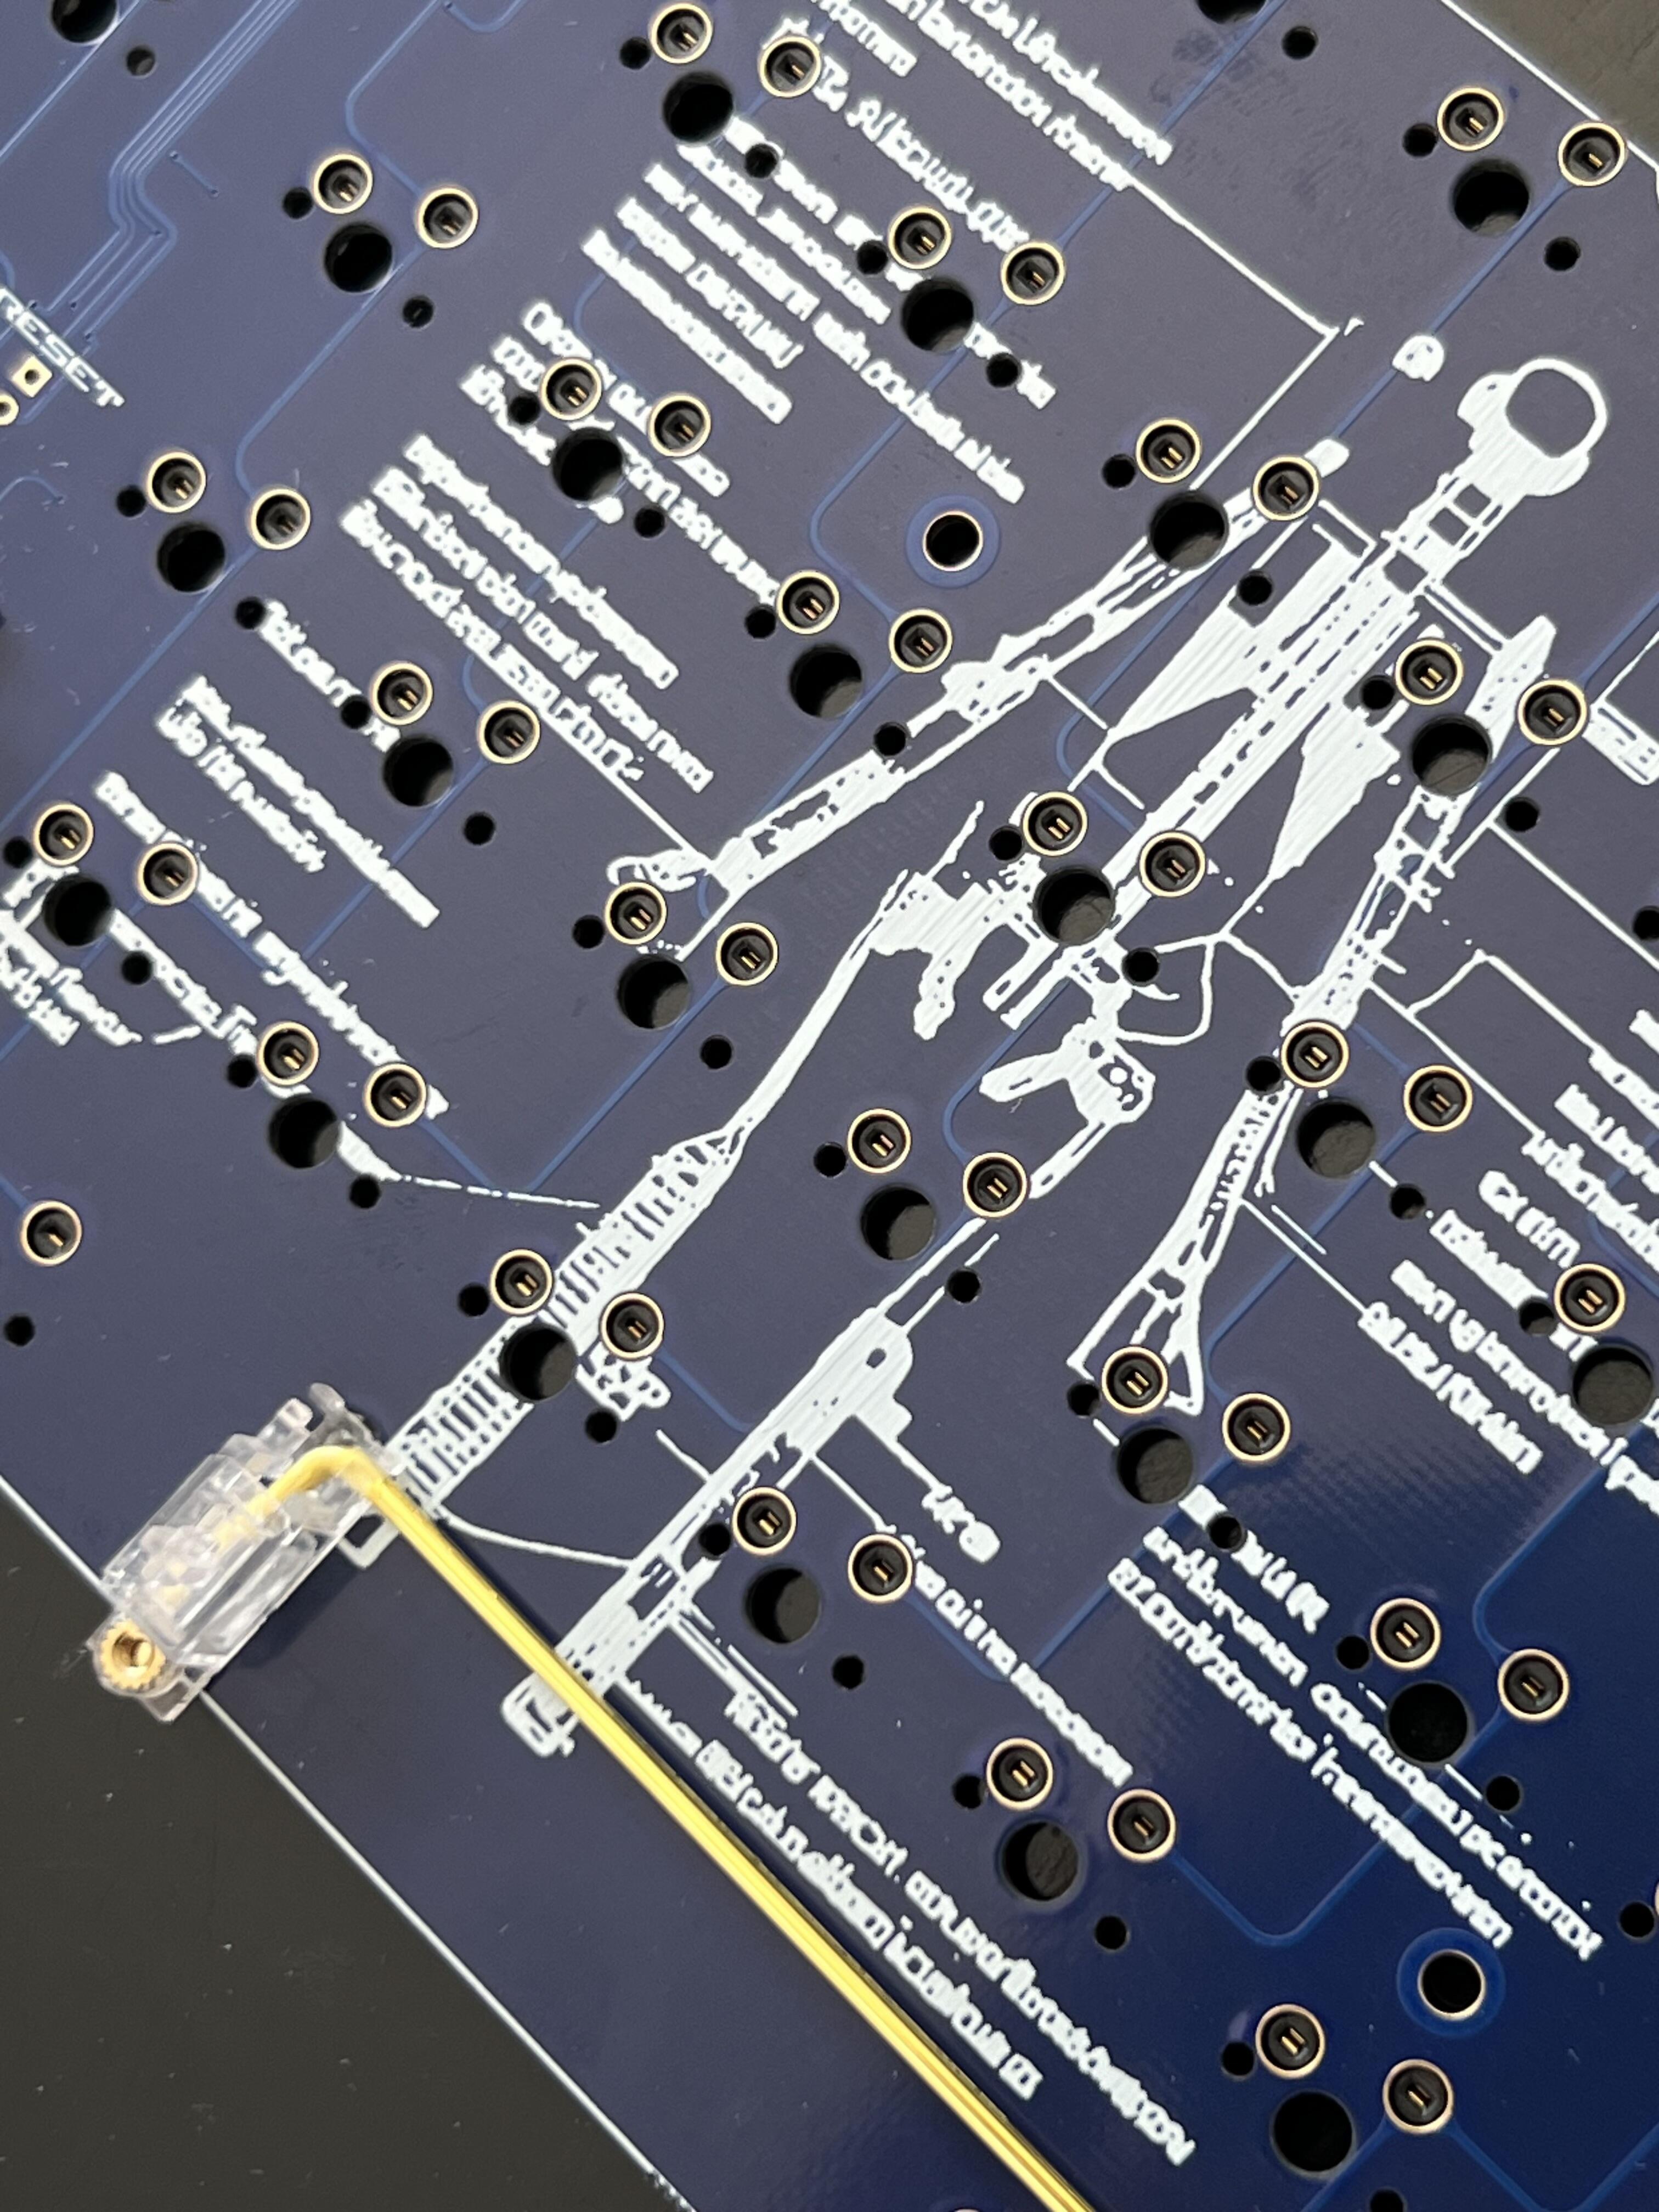
I have a disembowelled Fujitsu keyboard circa 1990 that I plan to make my first hand-wired keyboard with.It has really nice ‘clicky’ keys (brand unknown but I suspect Alps)
Micro will be PI Pico (because I have a few). Currently trying to work out the best matrix to fit 105 keys into the 26 pins I have available. Any suggestions or tools for this are appreciated.
Software will be QMK unless I want to try bluetooth in which case KMK seems better set up
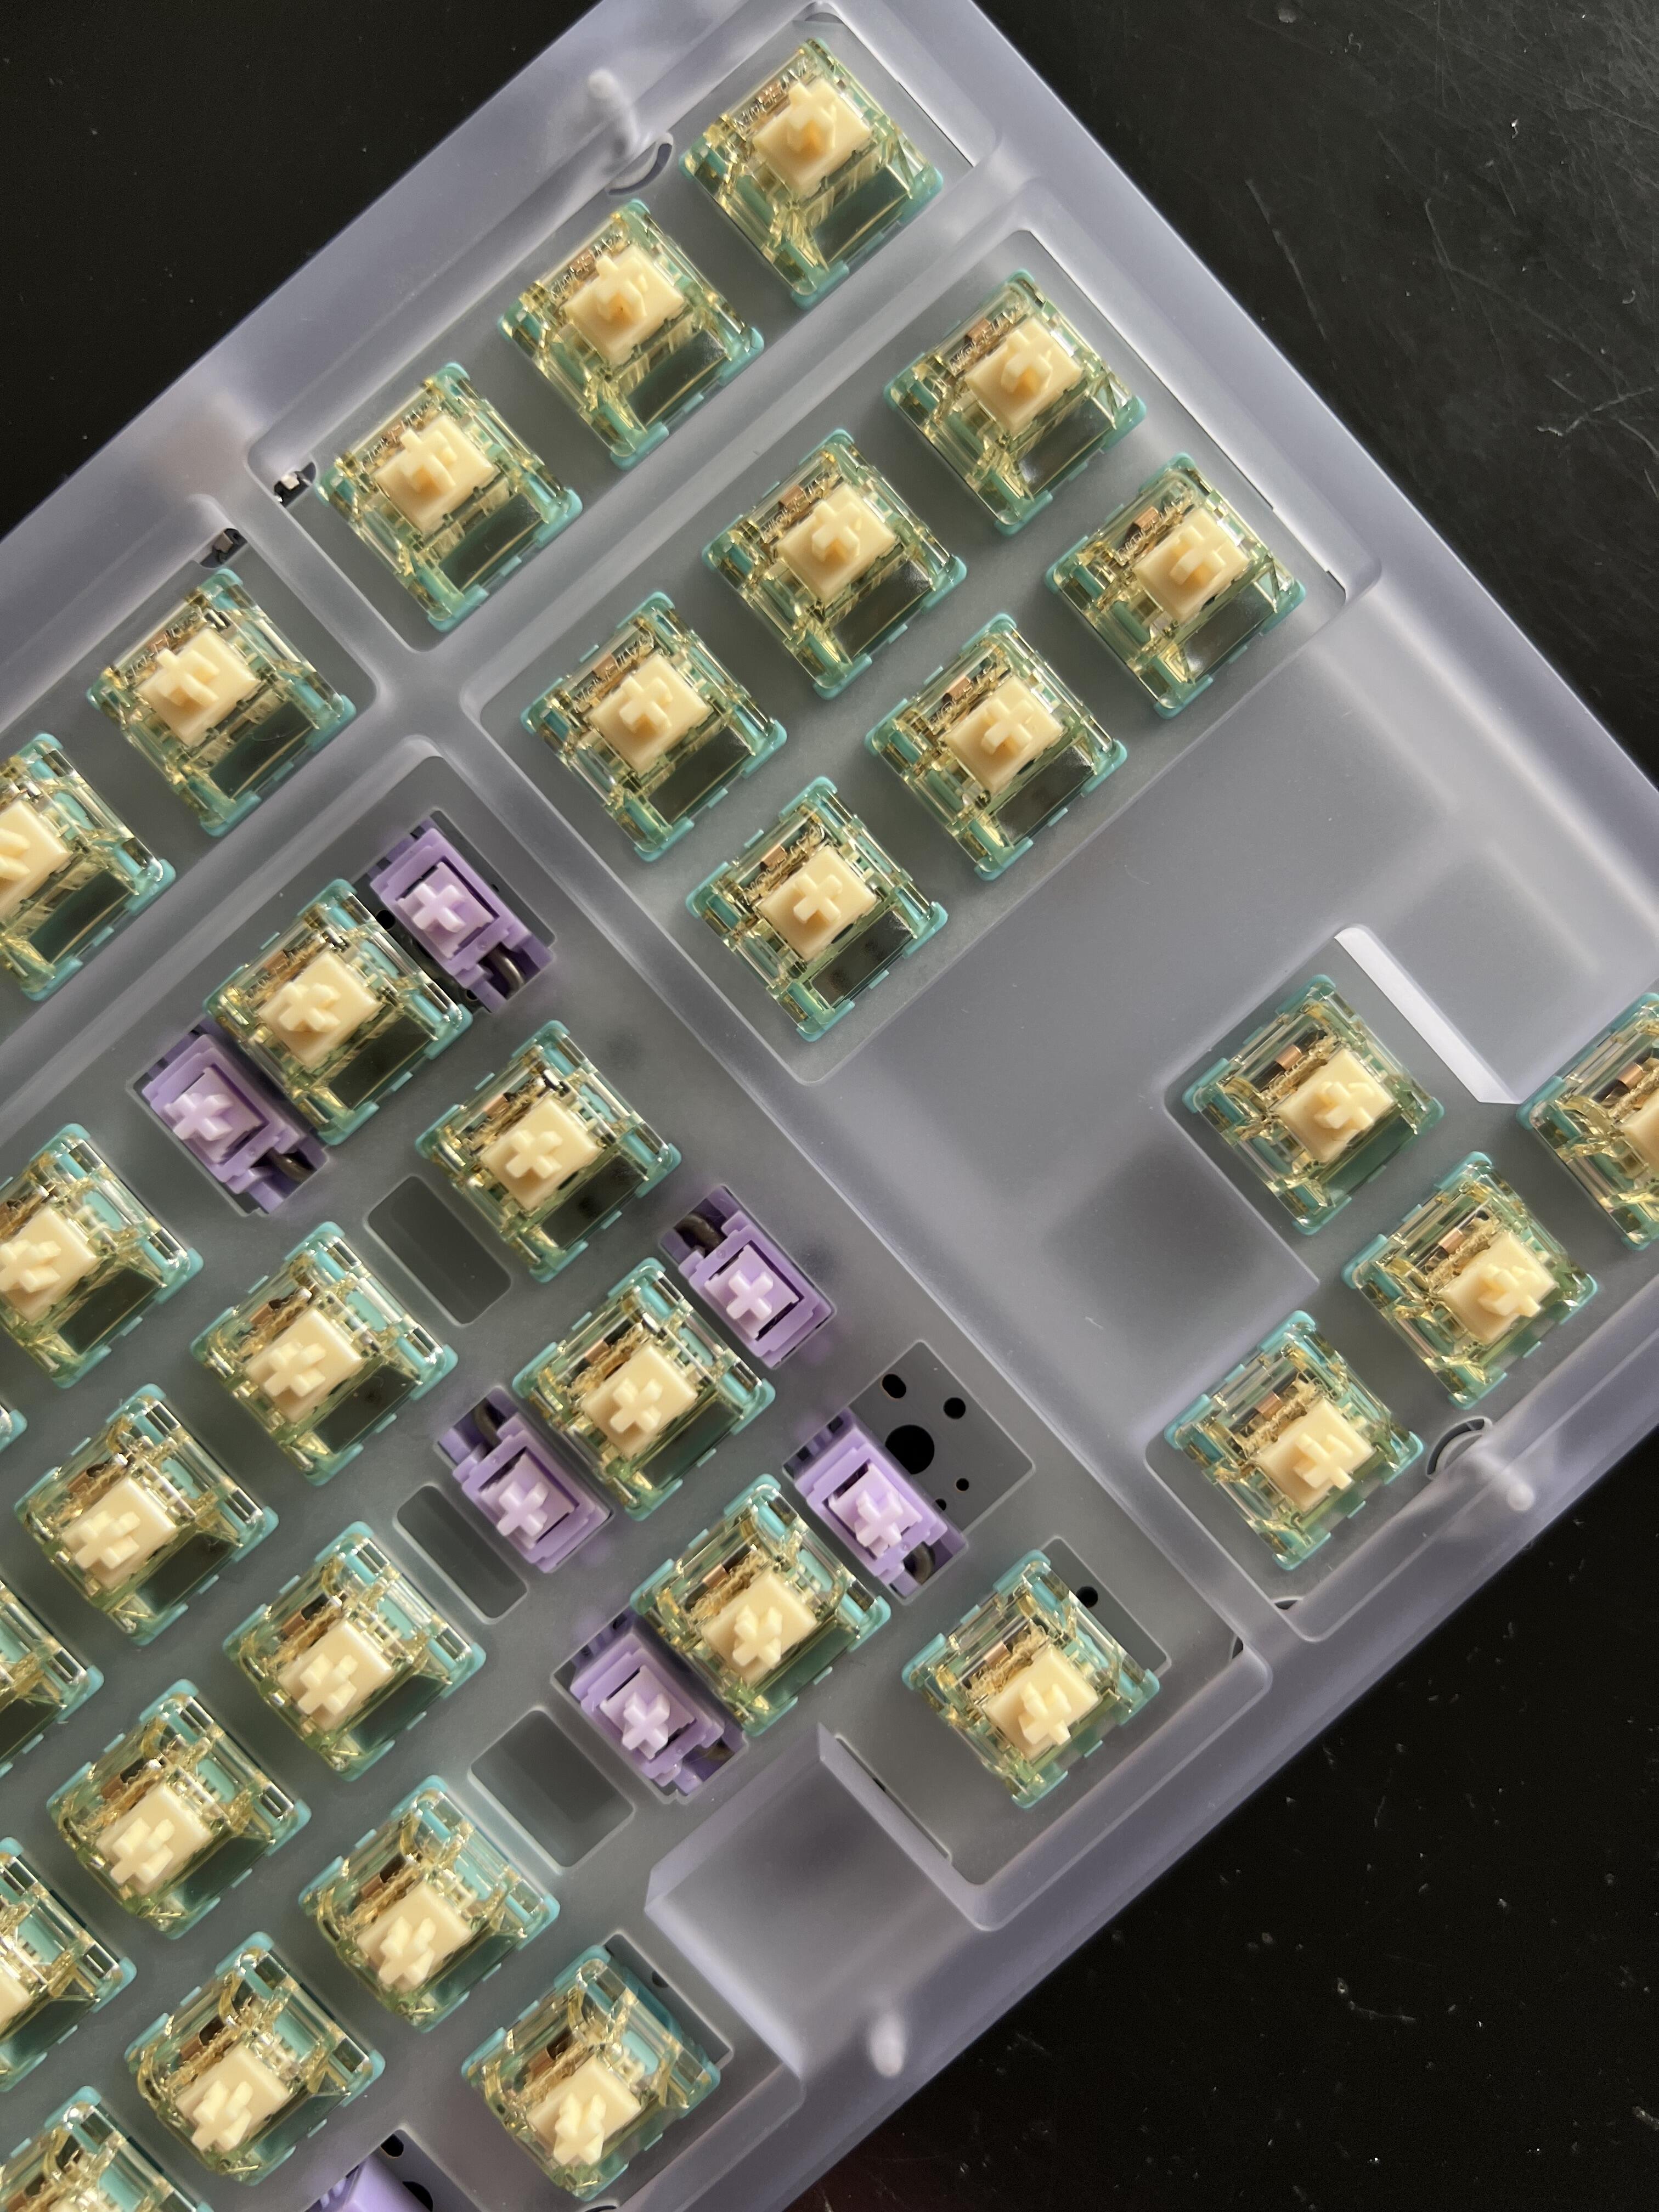
Graingold mint bubble gum switches and Knight stabilizers. I think these switches would be even nicer if they had a longer, heavier spring and additional thick lube.
So, 102 is my biggest handwire, but it was much more compressed than a standard ANSI layout. I did a “normal” 1800 handwire tosalvage a broken board and practice, which was a bit of a mess but works fine, except that it has light linears and I now know I’ll never pick light linears over any other switch type. Strictly speaking, you should be fine with your current MCU, as you can go as low as 21 GPIO pins without doing anything unusual like a Japanese matrix.
That said, you’re going to have to get at least a tiny bit creative, since you’ve got 6 rows and the densest of them has 21 keys. Something like wrapping numpad enter, plus, and minus into R1 with the Spacebar and modifiers would, strictly speaking, be enough, but wouldn’t leave you any spares for LEDs, etc. Having things hop up and down a little can work to balance out the number of columns per row, and a horseshoe or “rainbow” configuration would leave you with 12 “columns” and probably a max of 11 “rows” if my mental math is correct. If you do that, make very sure to take lots of pictures and/or diagrams before starting and while in progress, because troubleshooting can get VERY annoying.
One could also learn KiCAD, lol, but what’s the fun in that? Soldering a handwire is literally like tying fishing flies, except more finger burning and you’re huffing solder fumes instead of glue.
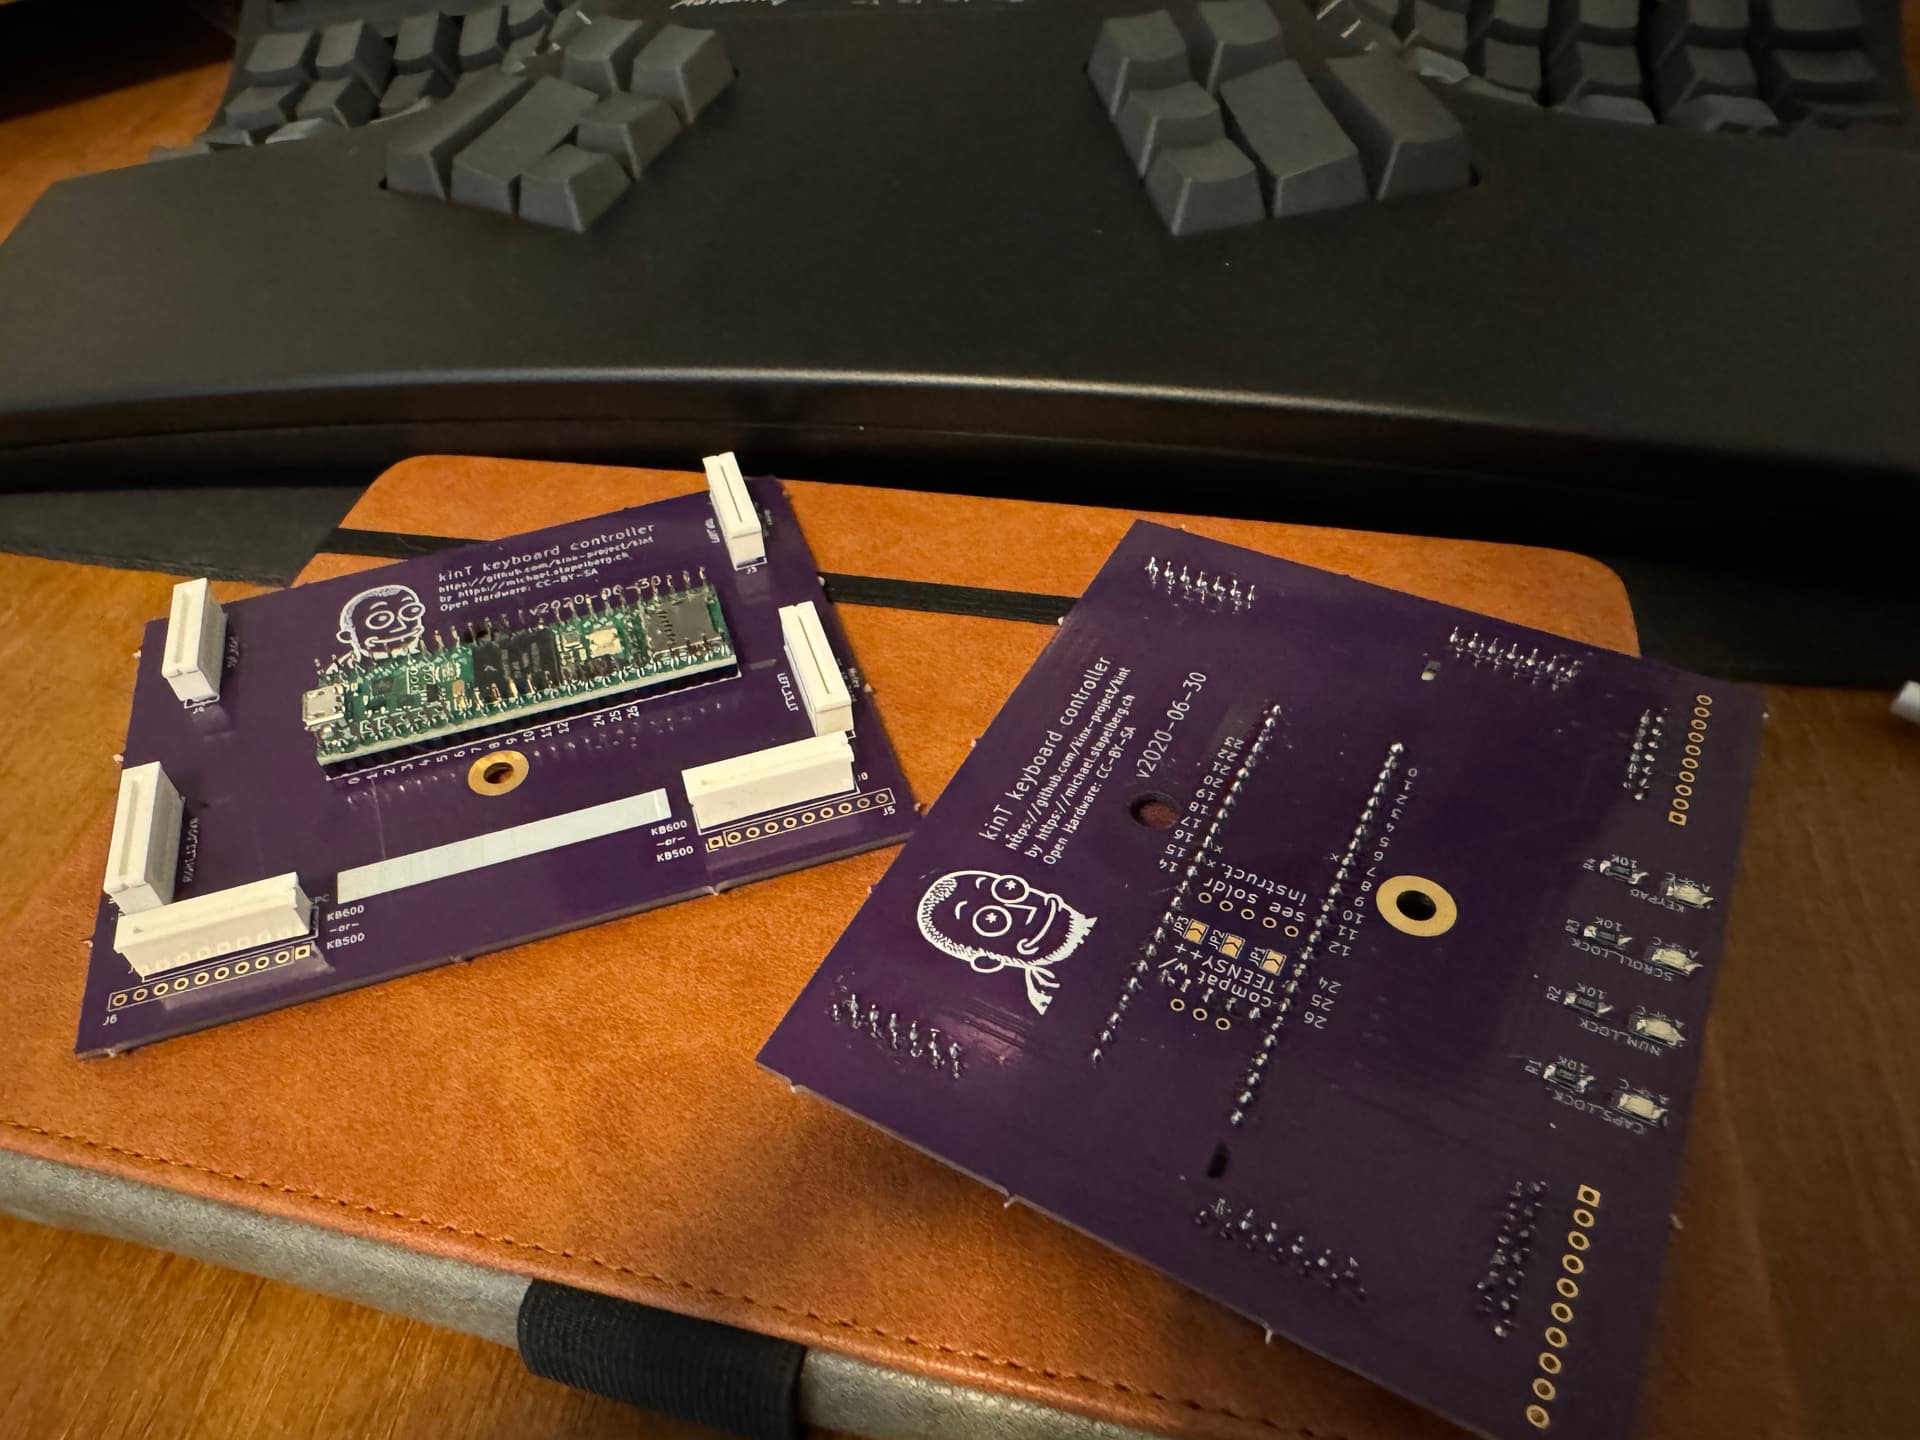
Built three more KinT controllers yesterday and installed one of them in the new custom advantage with black hyperglides that arrived.
I was curious how much soldering that was and (unless I miscalculated) my final tally for each board was:
184 Through hole solder joints
– 53 joints for the top of the Teensy controller headers.
– 53 joints for the bottom of the Teensy controller headers.
– 13 joints for each of the 6 molex connectors.
16 Surface mount solder joints
– 2 joints for each of the 4 resistors
– 2 joints for each of the 4 LEDs
So, for building three of these, I’m looking at:
552 Through hole solder joints
48 Surface mount solder joints
600 total solder joints
Now that I’ve built 6 of these in total, that’s a total of 1200 solder joints just spent on making KinT controllers.
All of this ridiculous number crunching actually has a point… When soldering, make sure you are taking proper precautions to protect yourself.
When making these I am using a fume extractor to pull all fumes away from my face. I used to not take this precaution and after soldering a simple 60% board, I’d have lung issues for at least 3 days because of all of the fumes I breathed in irritated my airways. Getting older and smarter and using tools to protect myself, I was able to do all of this soldering without a single hint of breathing issues.
The separate point I want to make is… Surface mount soldering is a PAIN. Takes me no time to get a ton of nice looking through hole solder joints done. Takes me forever to end up with ugly, but functional surface mount joints.
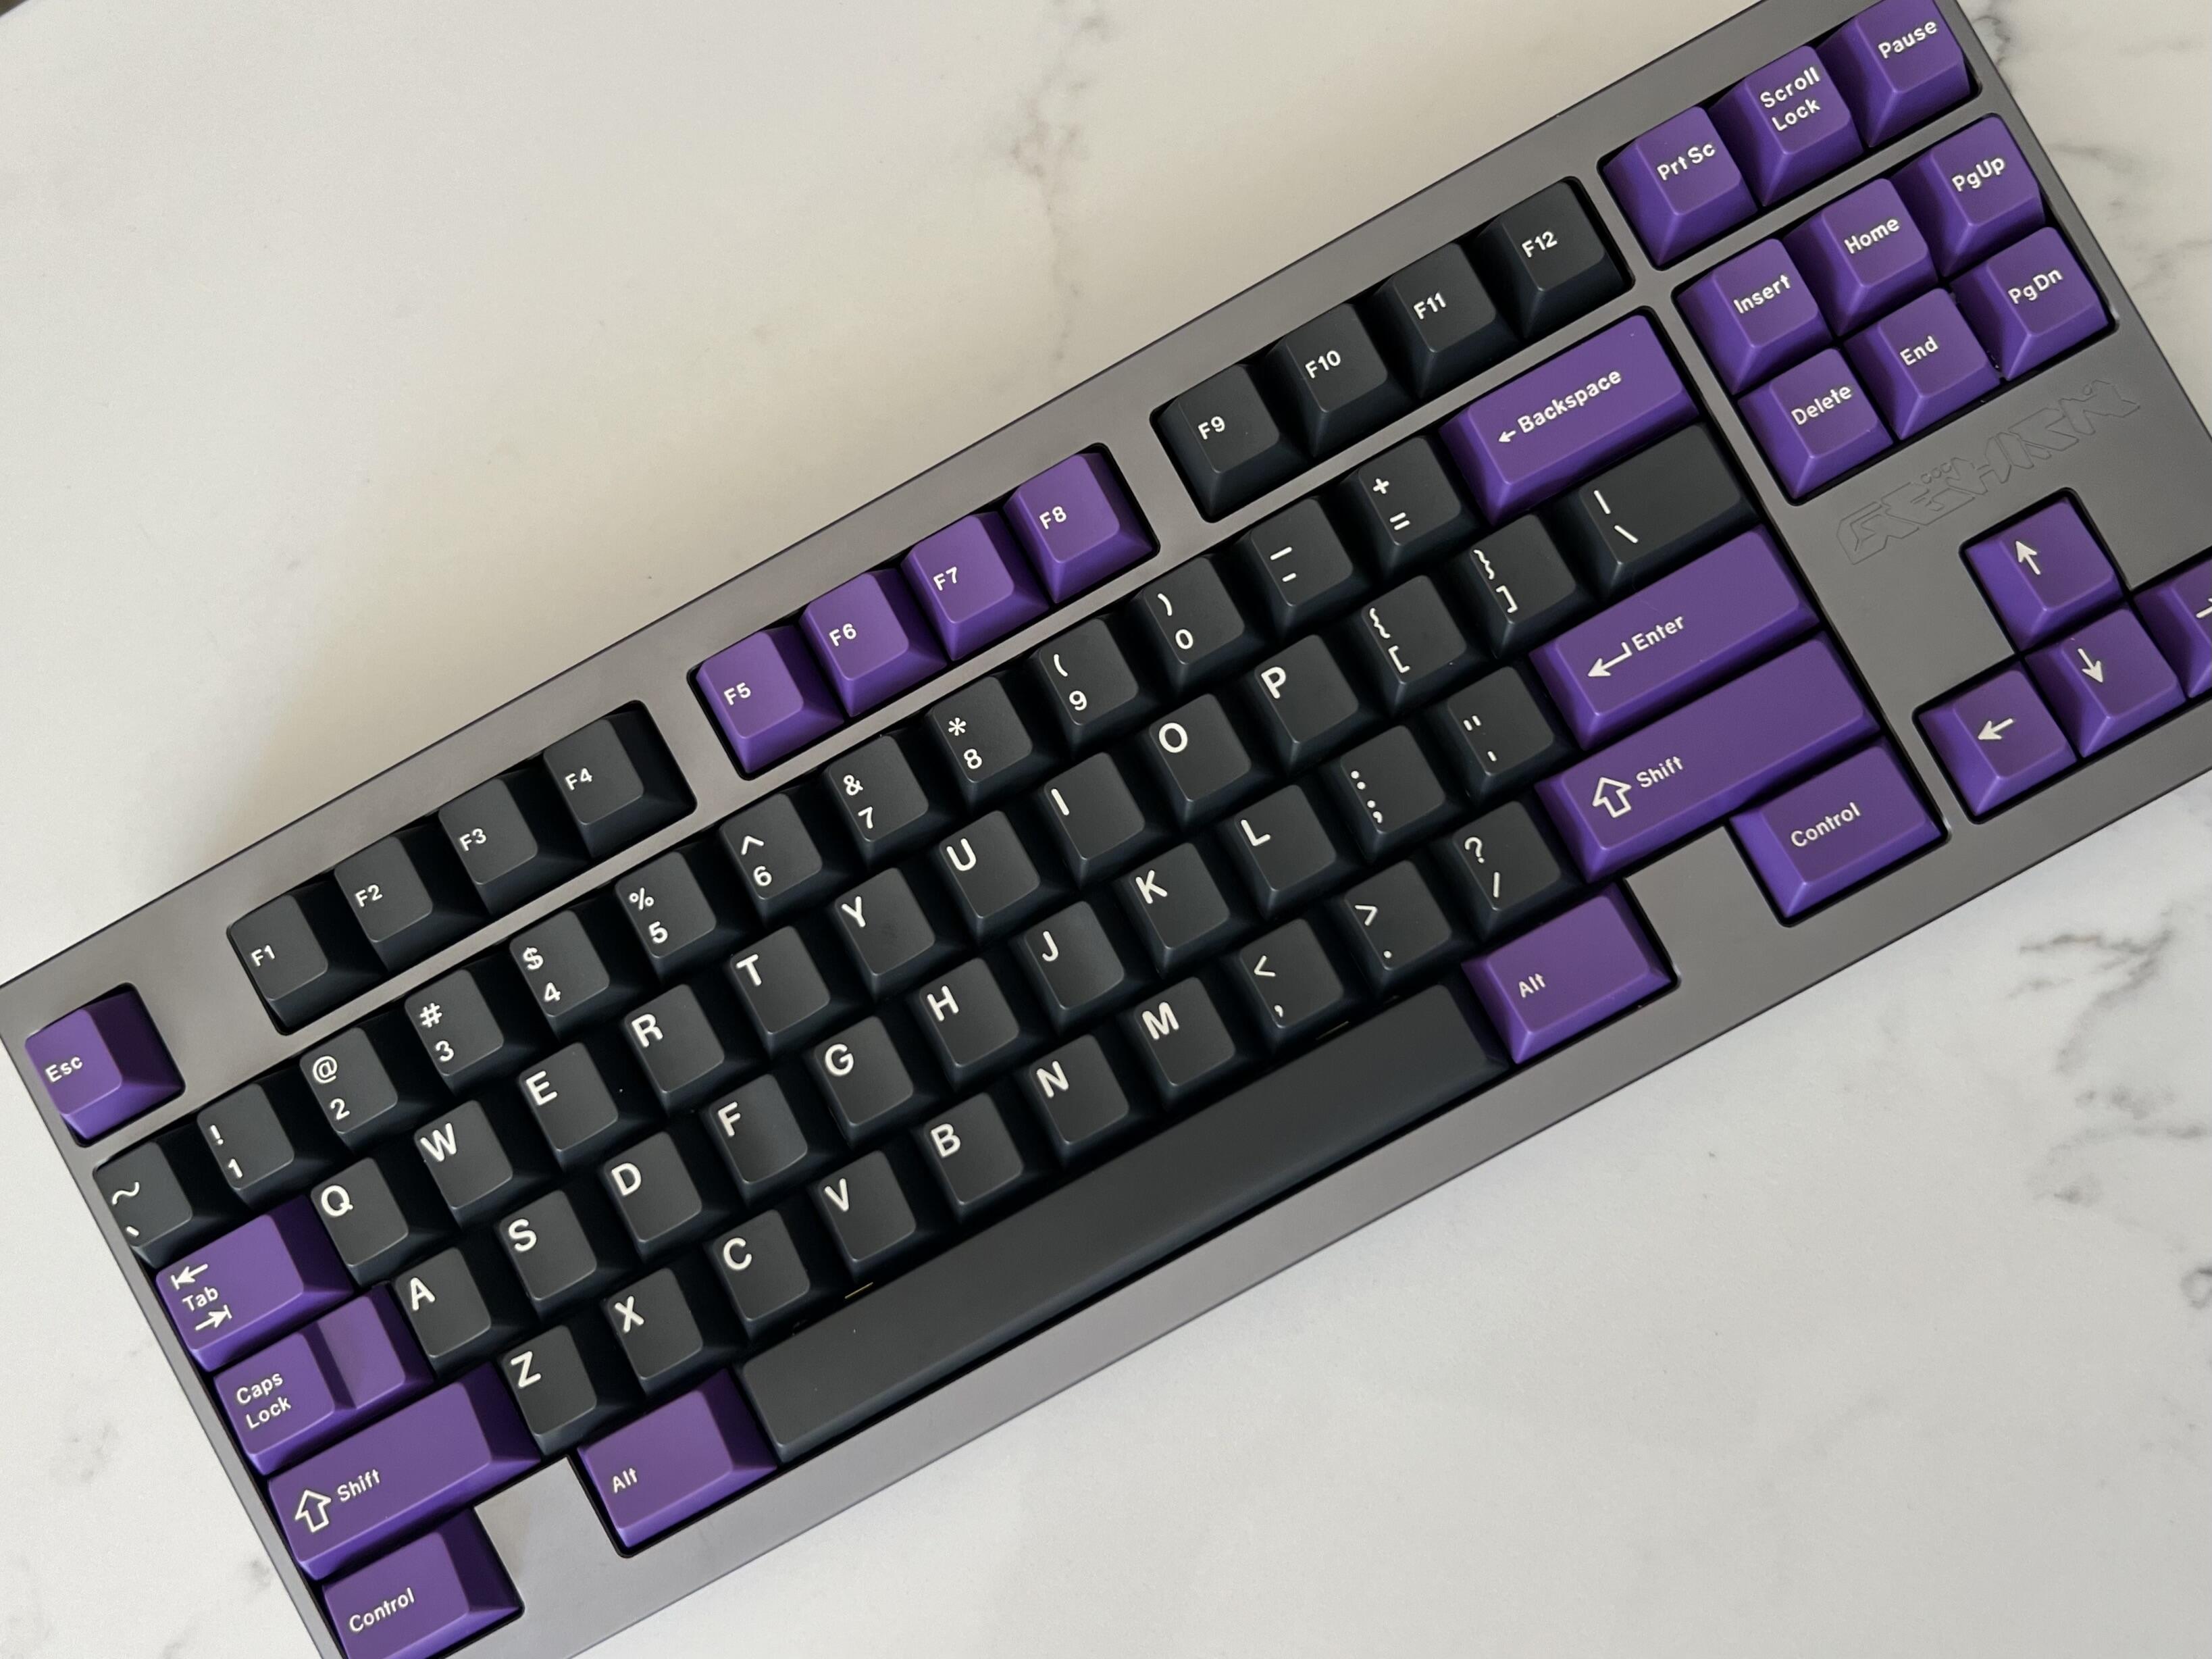
More workbench adjacent, but I just decided to throw my CRP R4 set on my TKL One & wow does this board shine with PBT! It adds just that extra little bit of deepness to the sound to make it pretty close to perfect IMO! Would add some pics, but my phone is on the fritz & taking really blurry photos all of the sudden. Gonna have to get a new one this week I guess, anyways back to the point. It just blows my mind with all the crazy mounting methods we’ve come up with that good old top mount properly implemented still seems to be the best mounting method overall!
Edit: So I got curious after trying the PBT out what DCS would sound like. Threw Dark Skies on the TKL One & it’s another winner in my book! Definitely much brighter sounding than CRP or even GMK, but still sounds very good in it’s own right. This board is turning out to much more versatile than I originally thought it would be. Really gives me high hopes for the ALPS build I’m gonna do for this. I’m still on the fence about switch choice though.
I got a batch of SKCM Browns for it, but the more I think on it, the more I feel like linears would be the way for me to go. While SKCM browns are my fav tactile switch I find myself barely using any of my tactile builds be they ALPS or MX builds. I also have a really smooth batch of SKCM oranges I took the tactile leaves out to make linears, starting to lean towards using them…
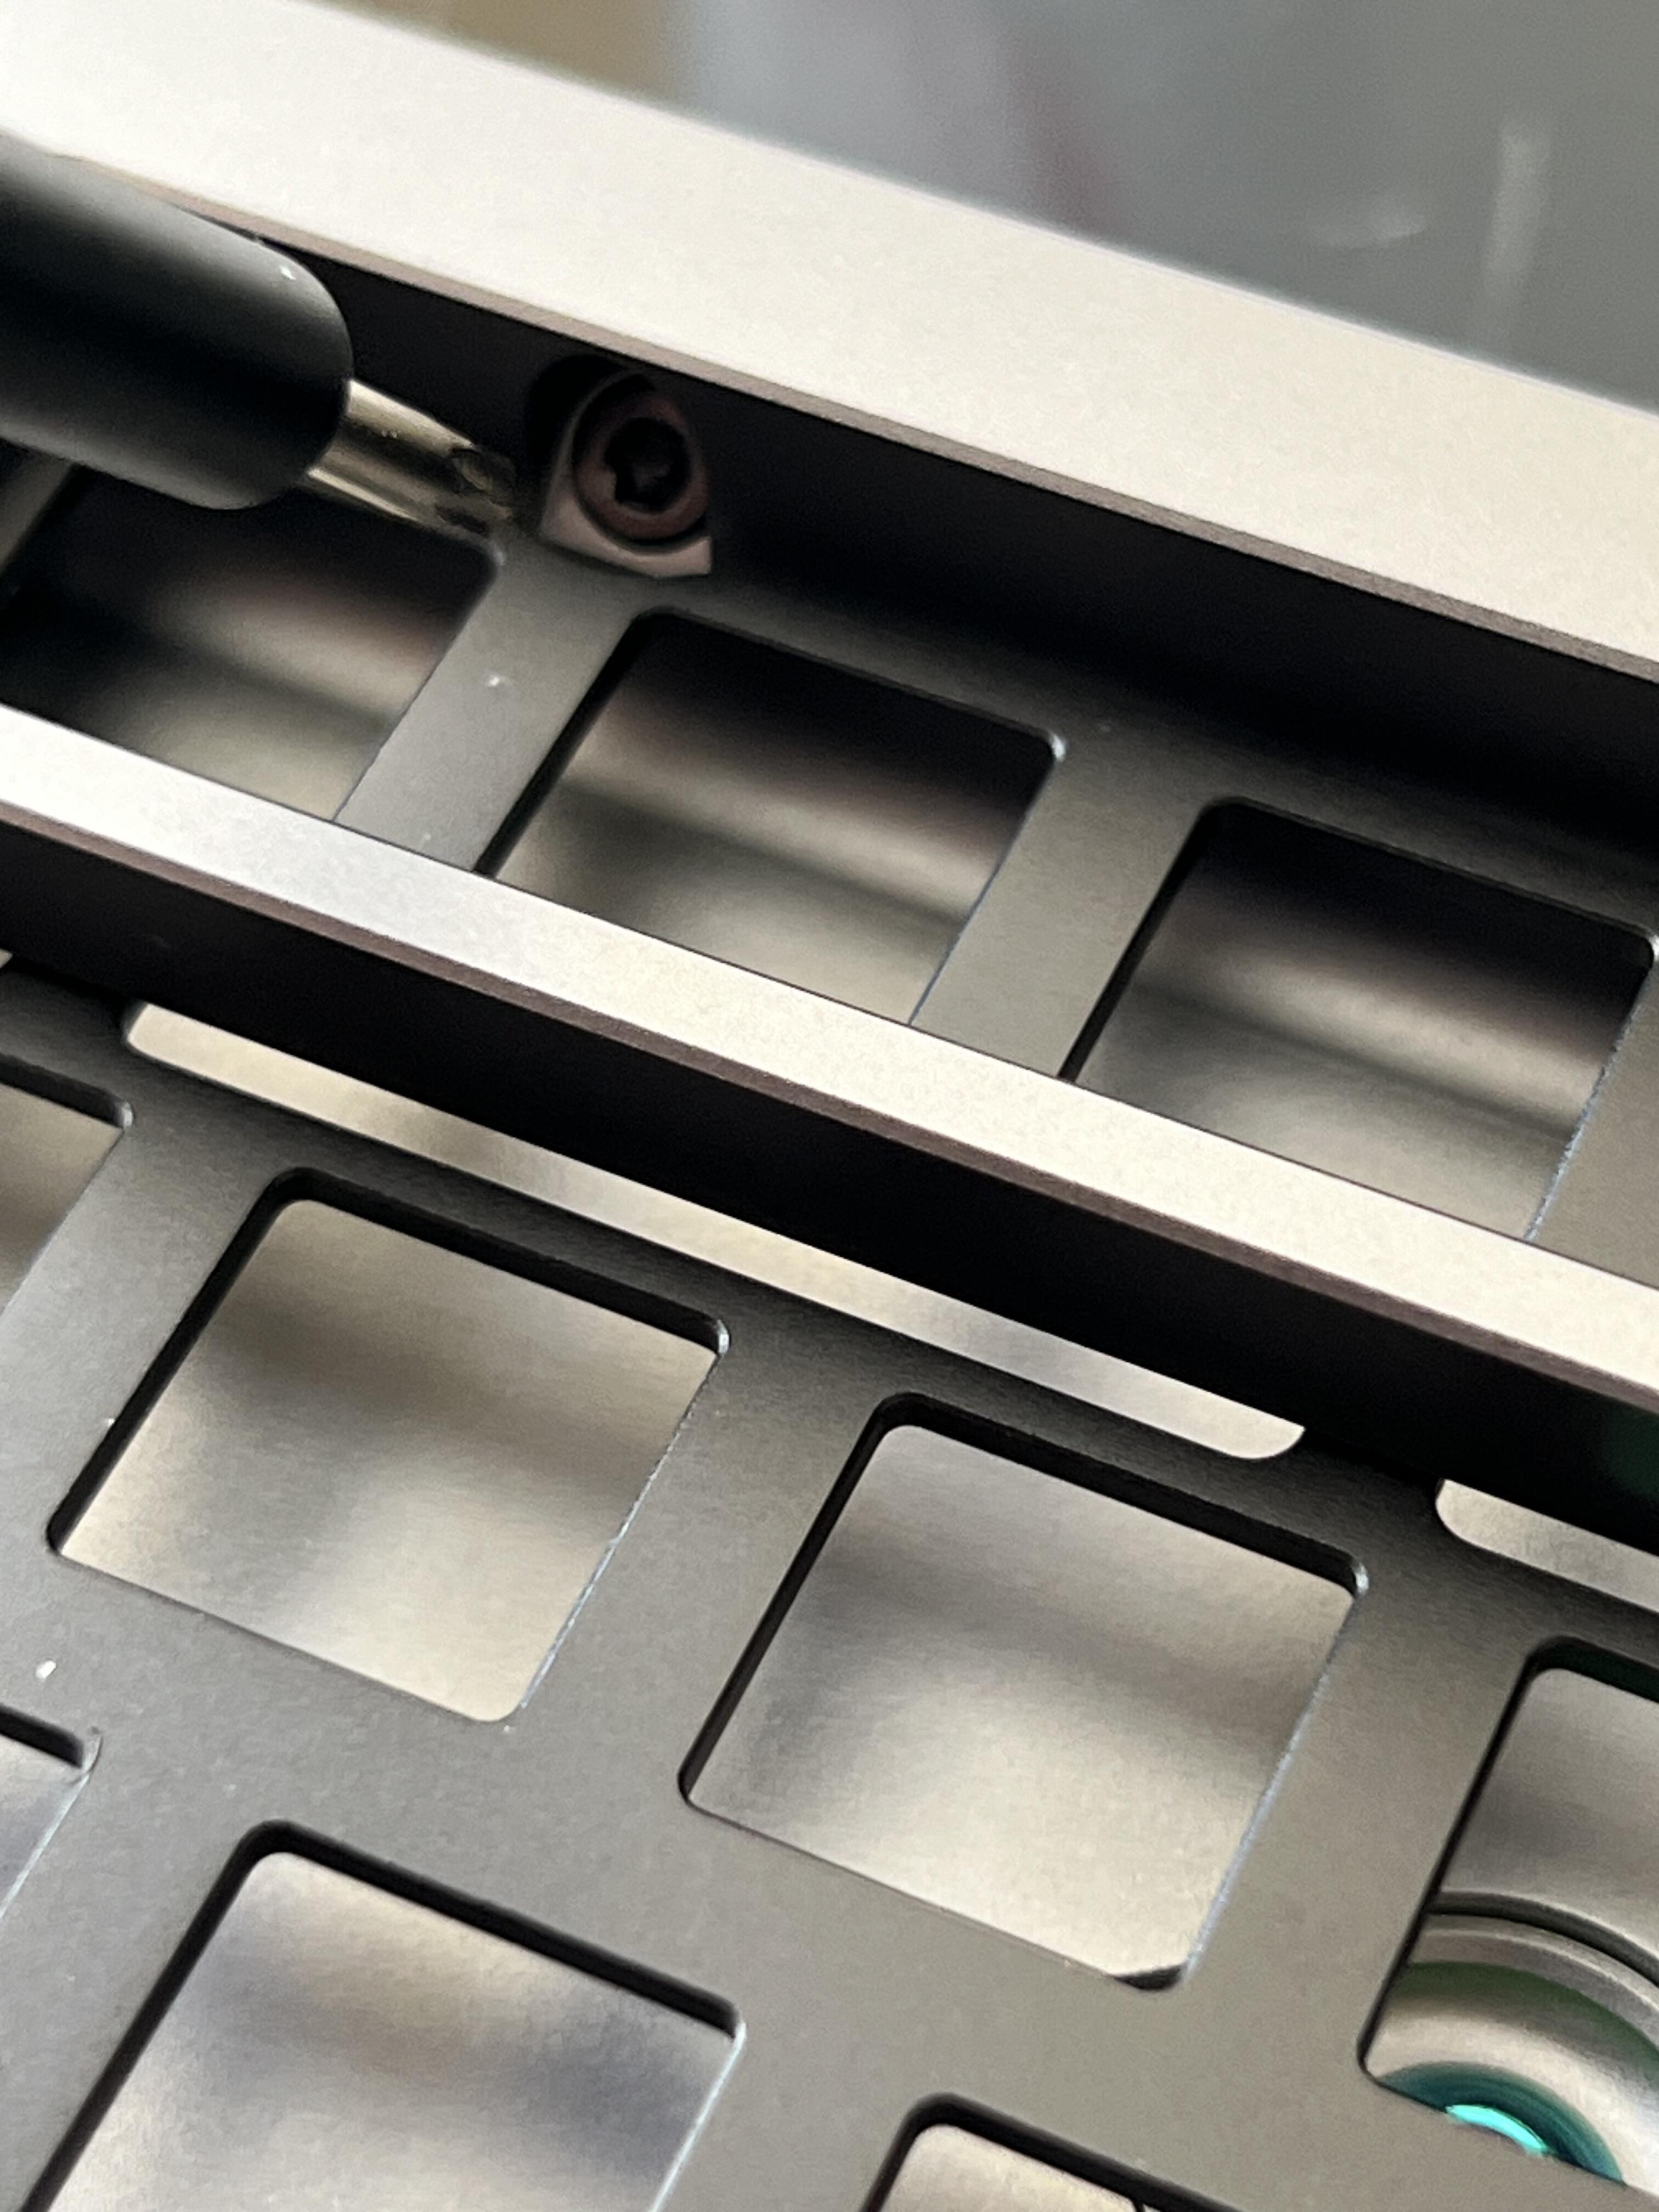
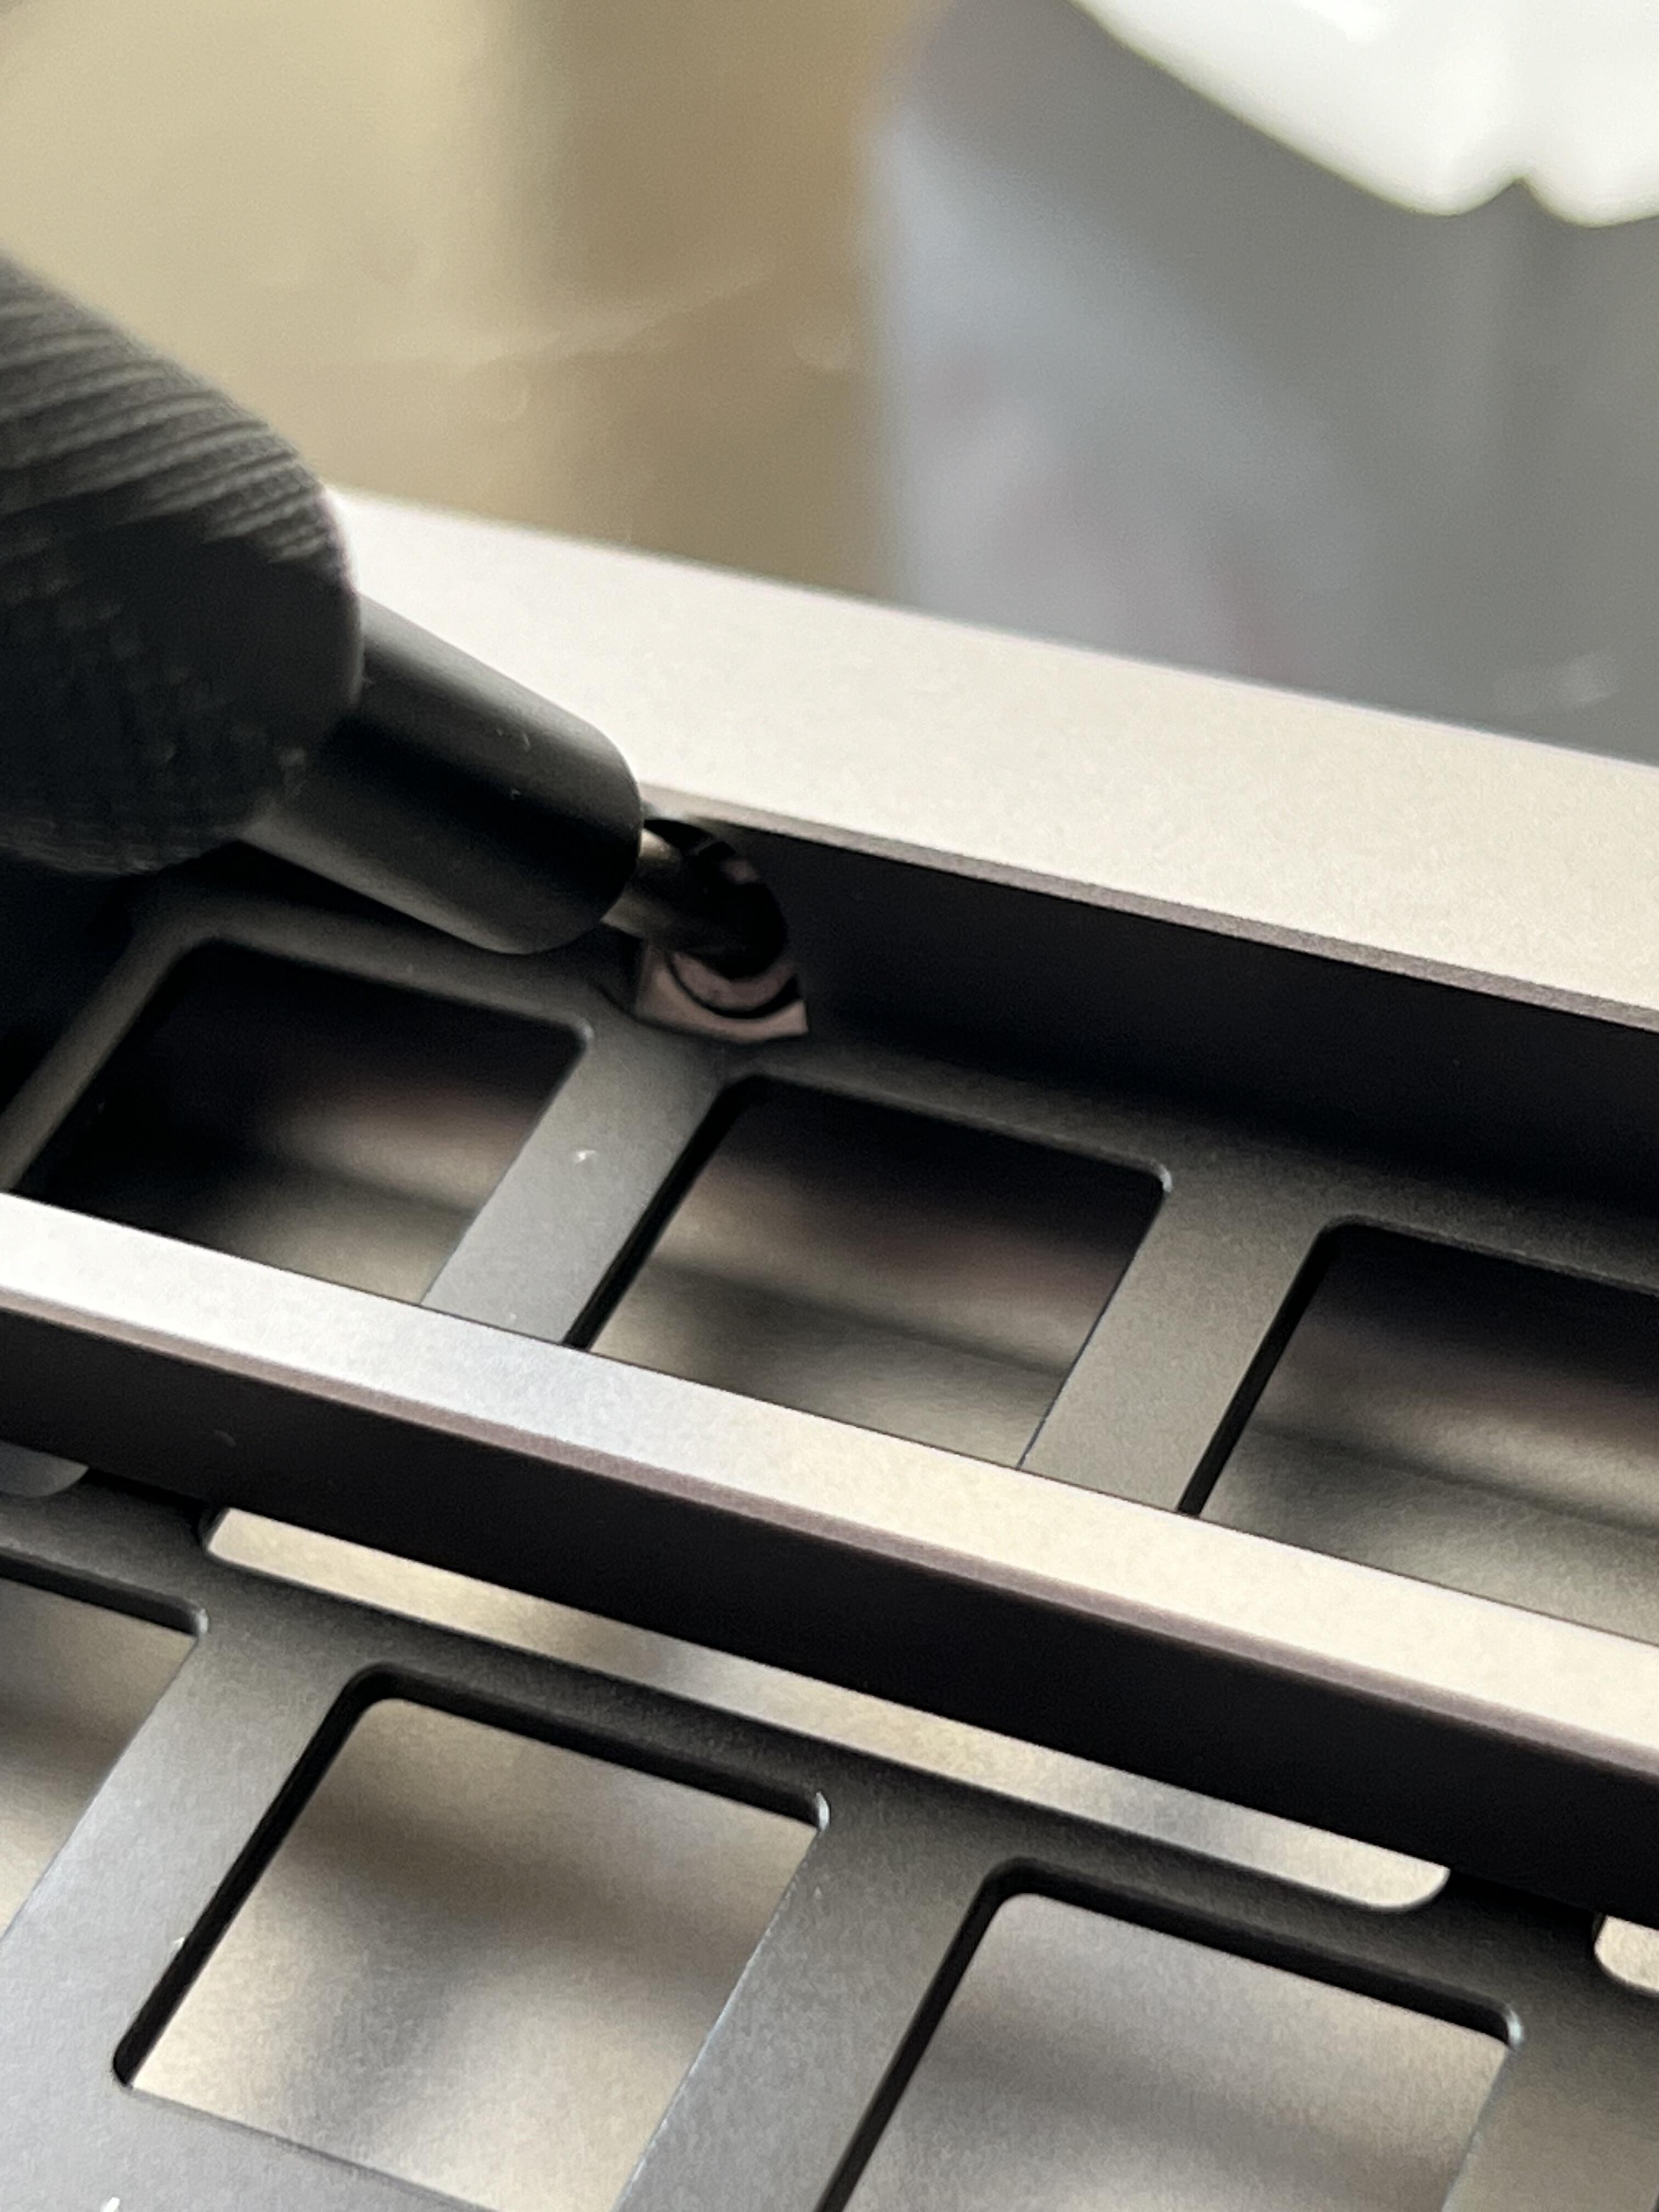
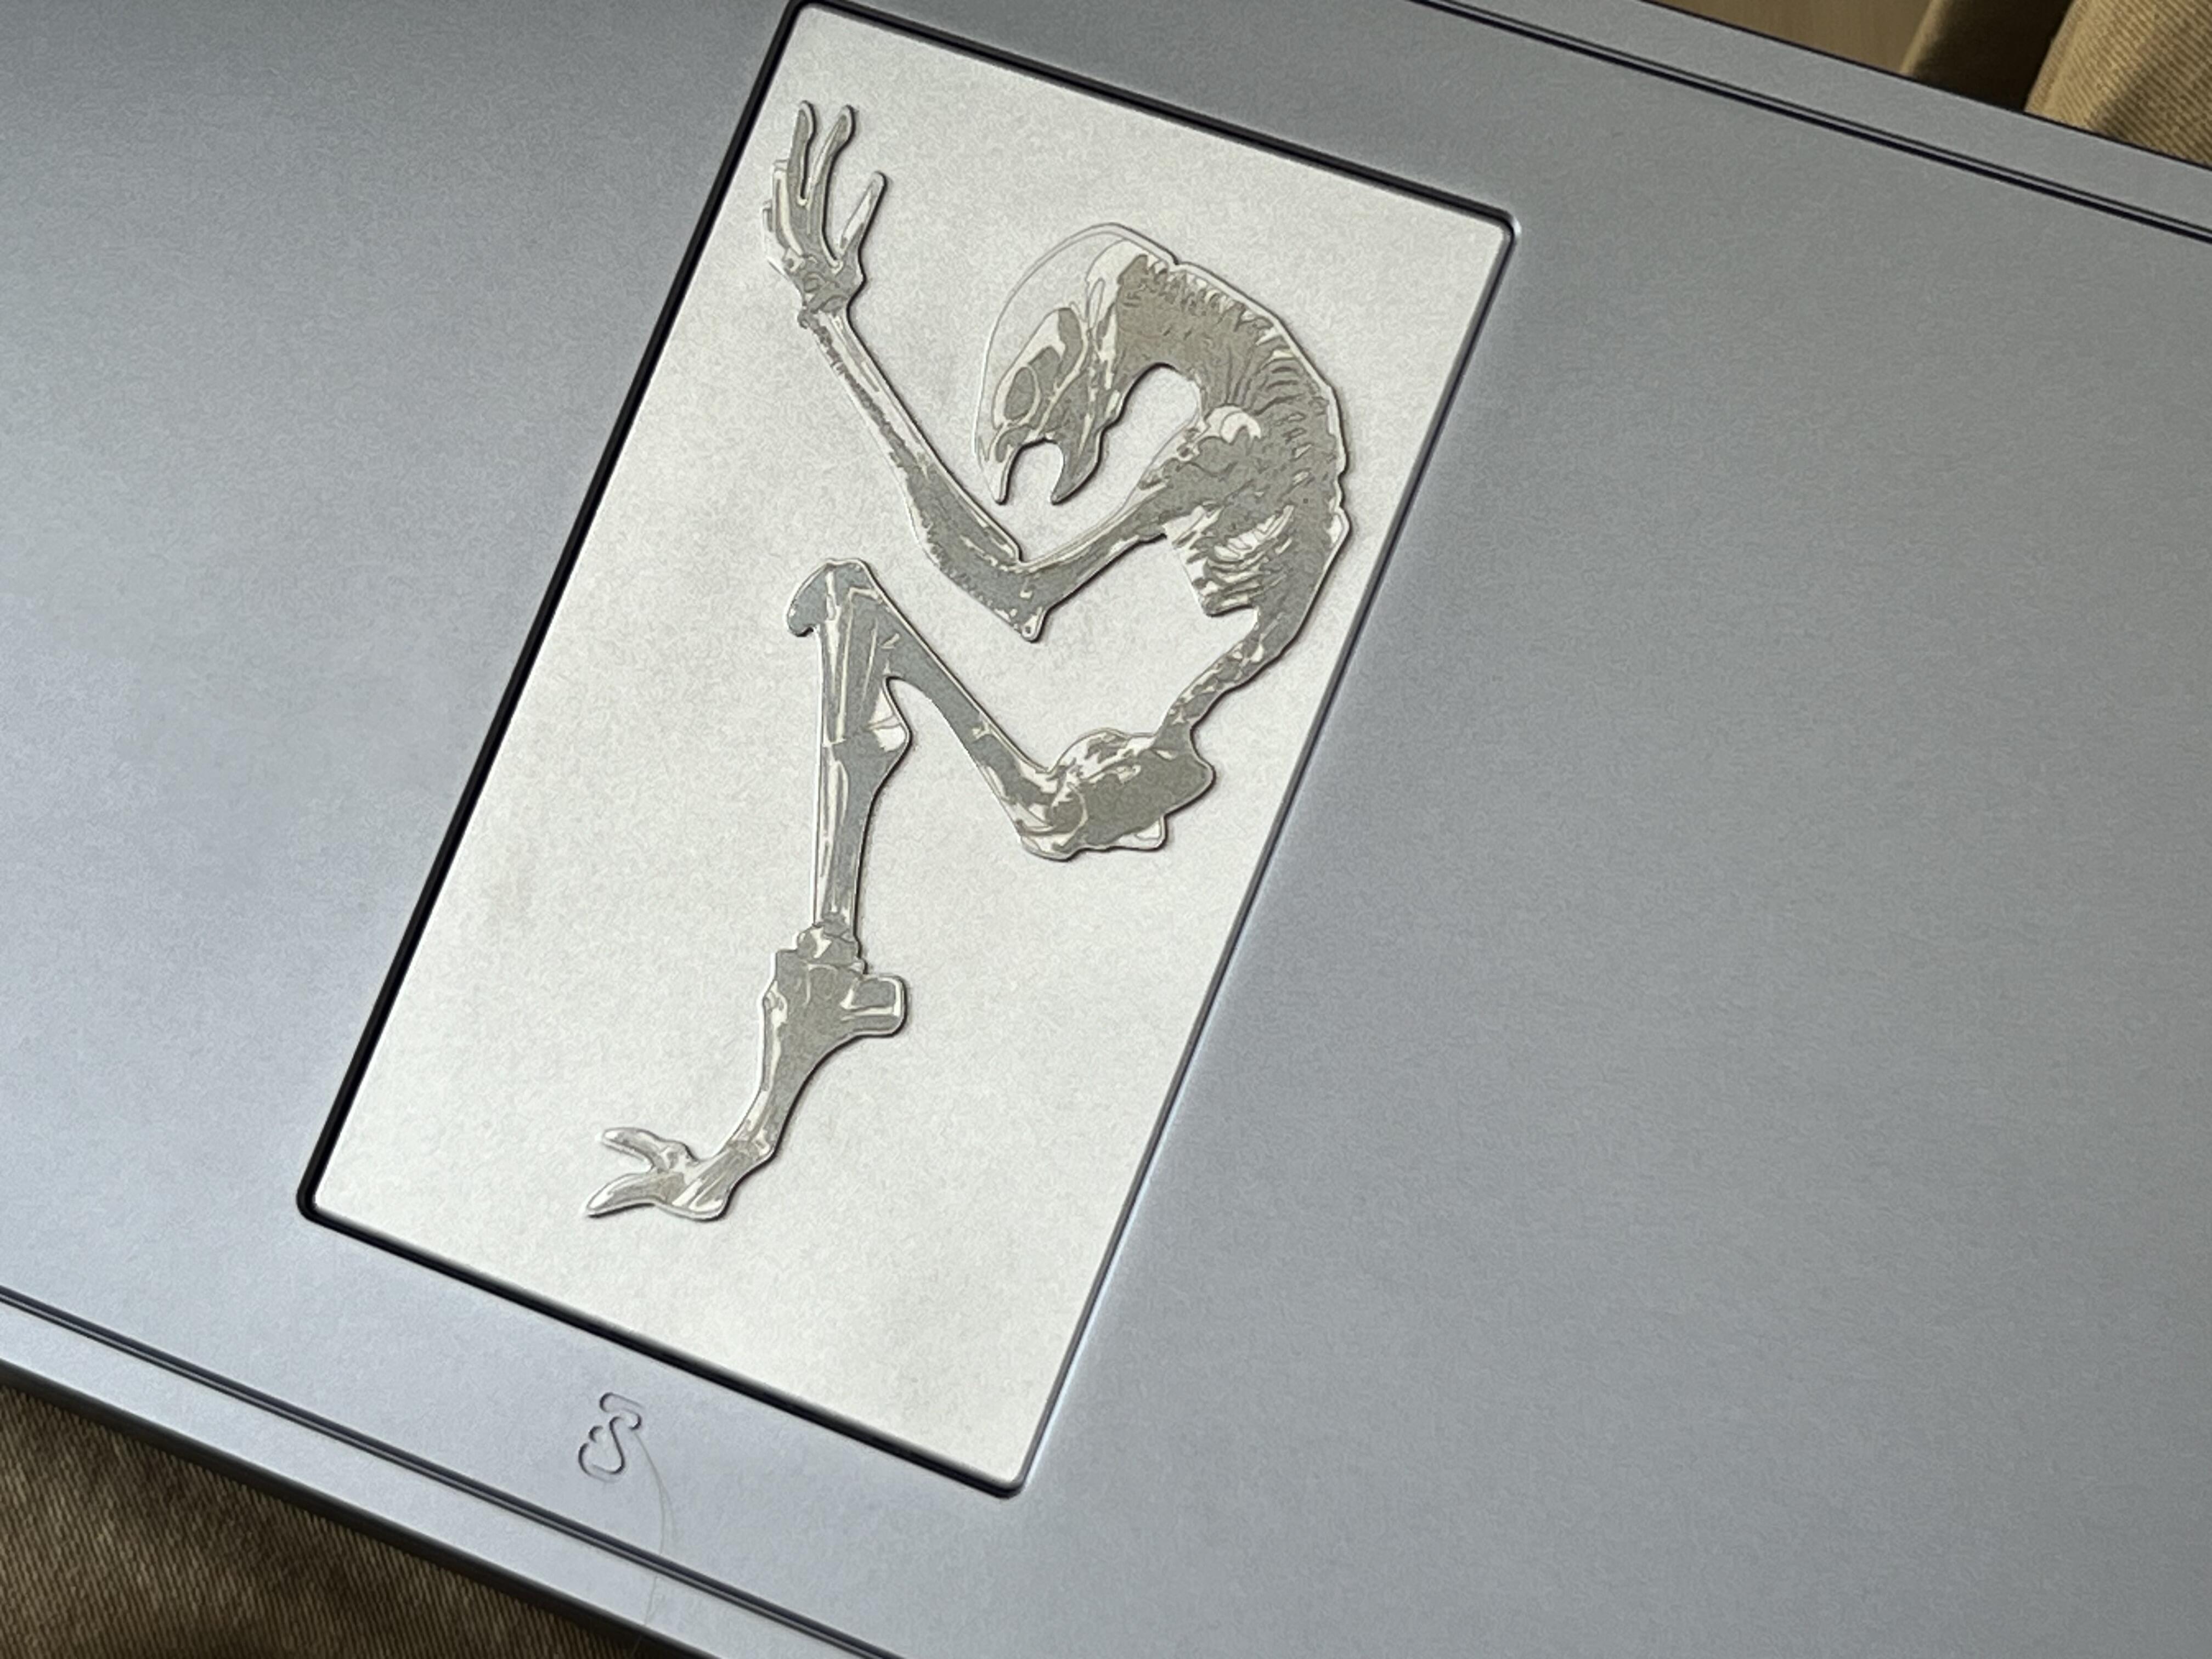
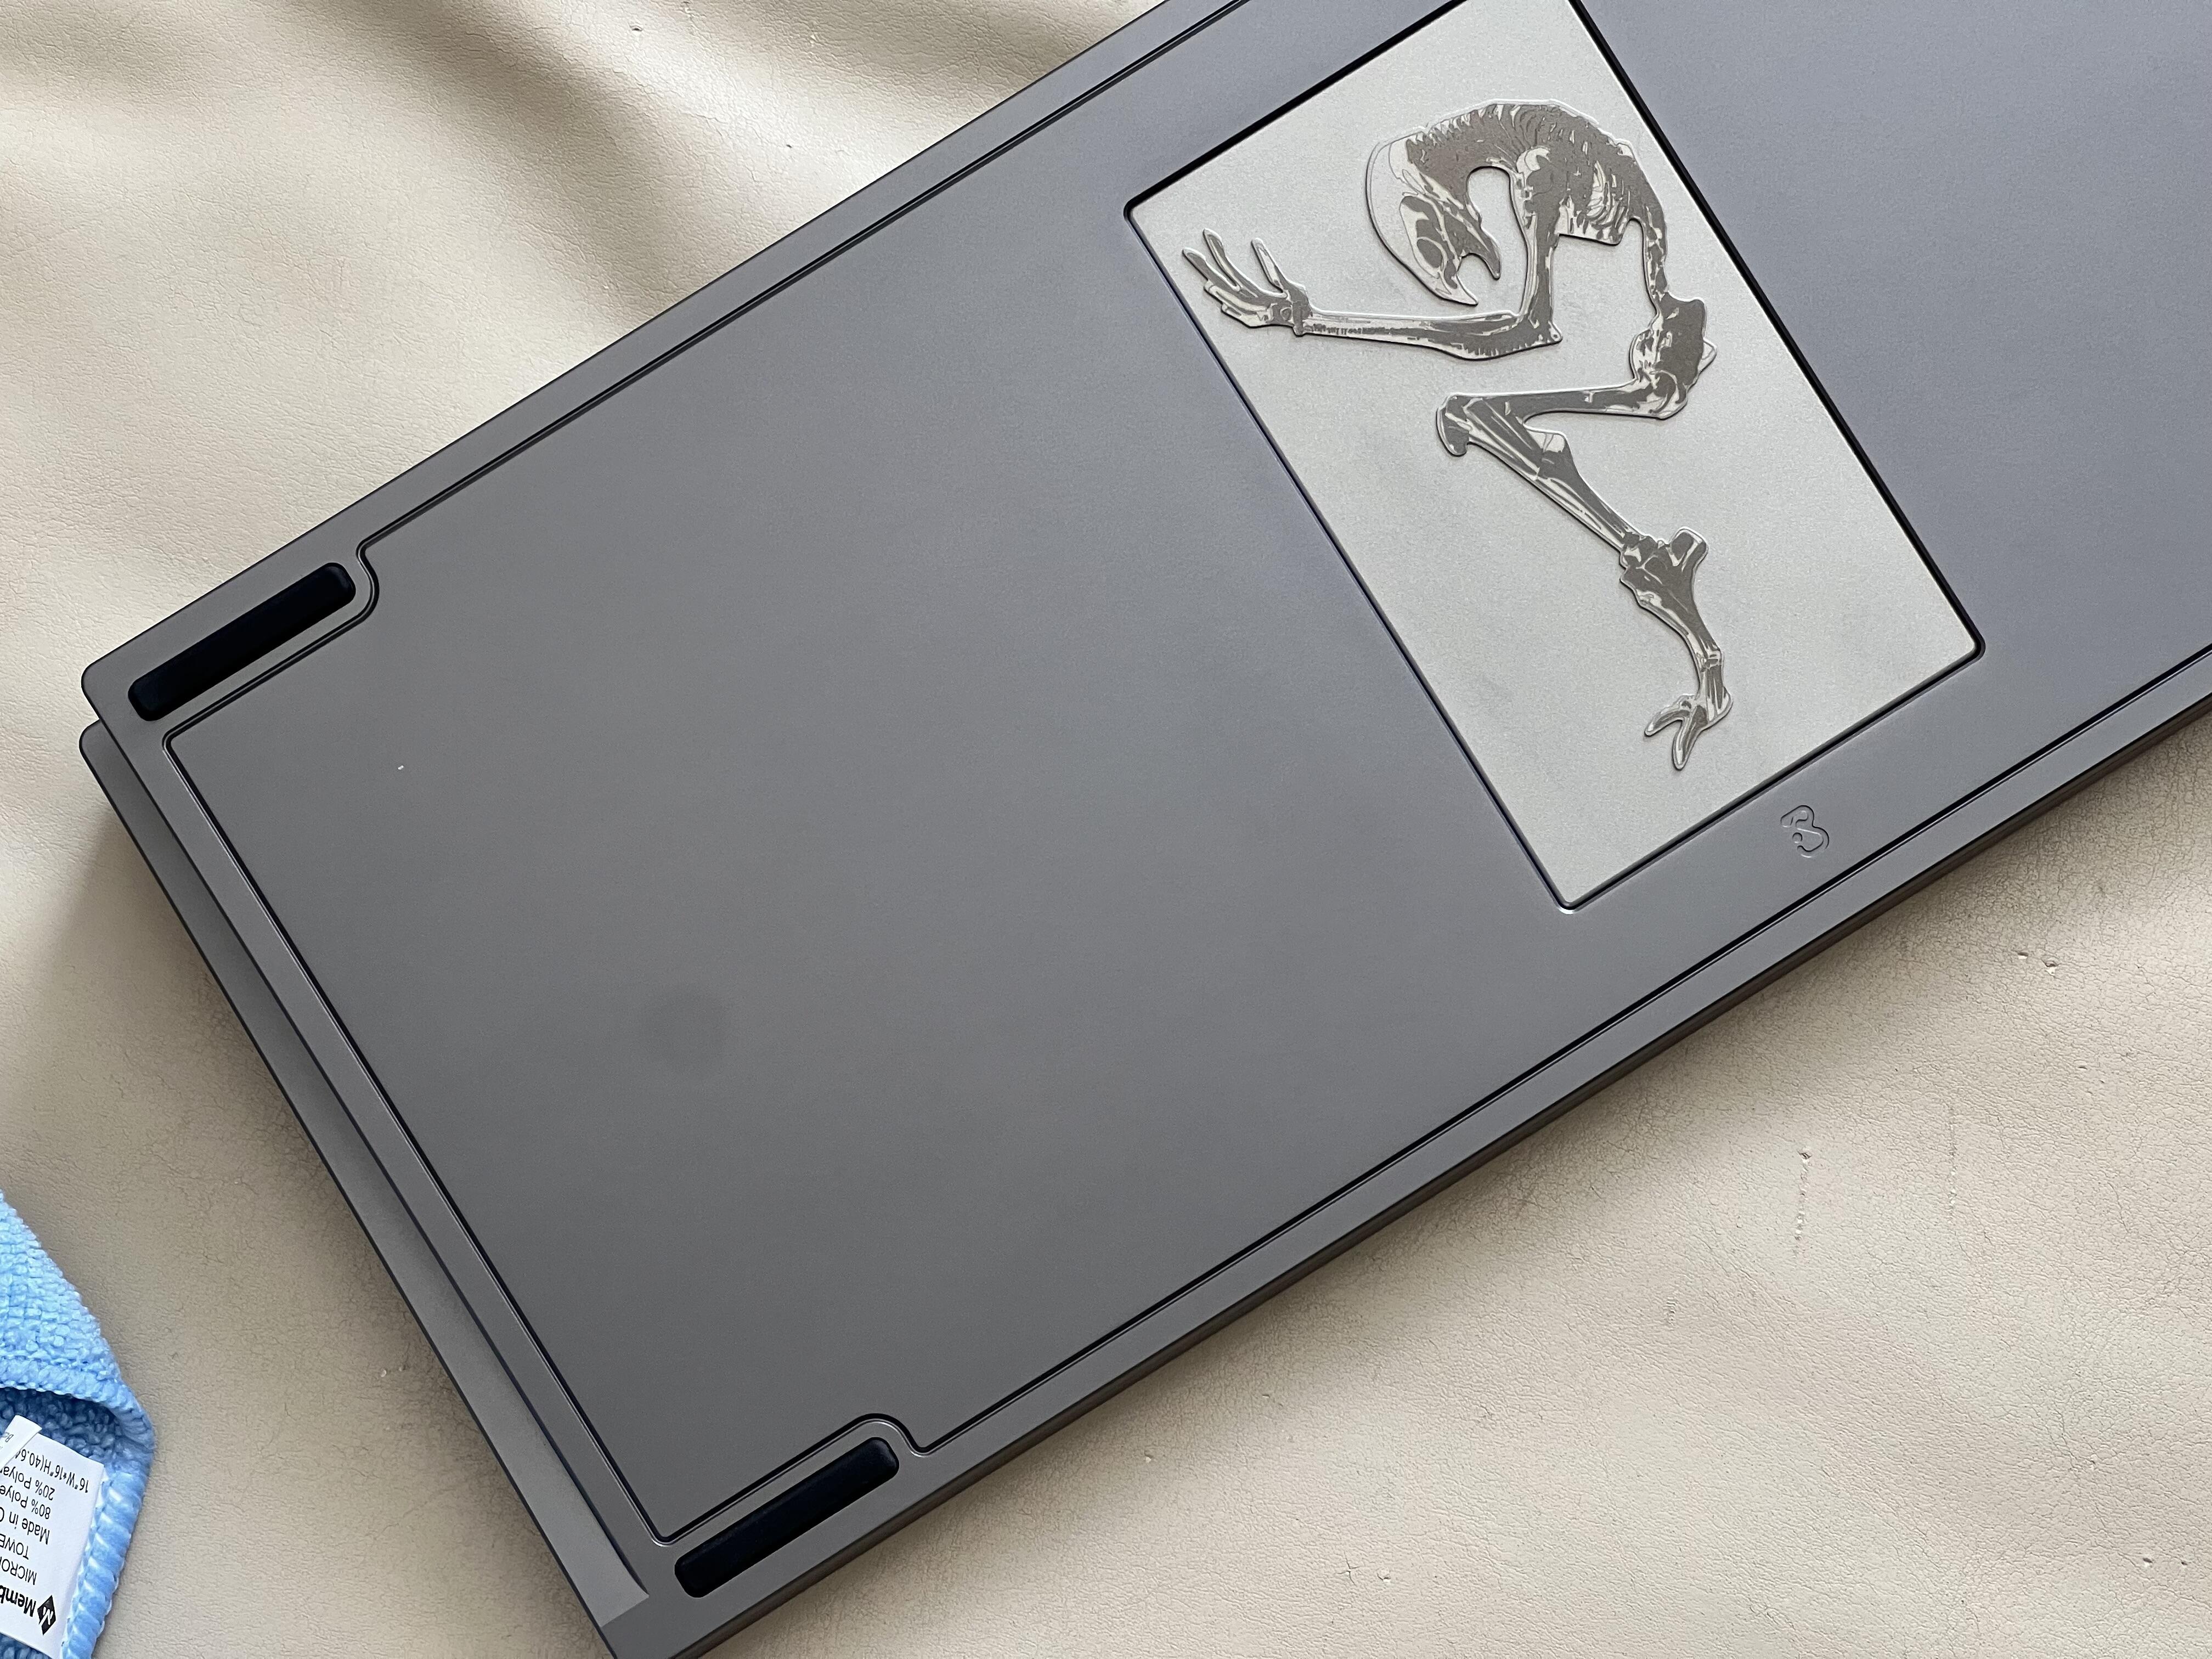
This “Biomechanical” keyboard has a hotswap PCB so that cuts the build time down by a good 20 minutes. Using Knight stabilizers for this. Lubed with 205g0 on stems and Nyogel on the wires.
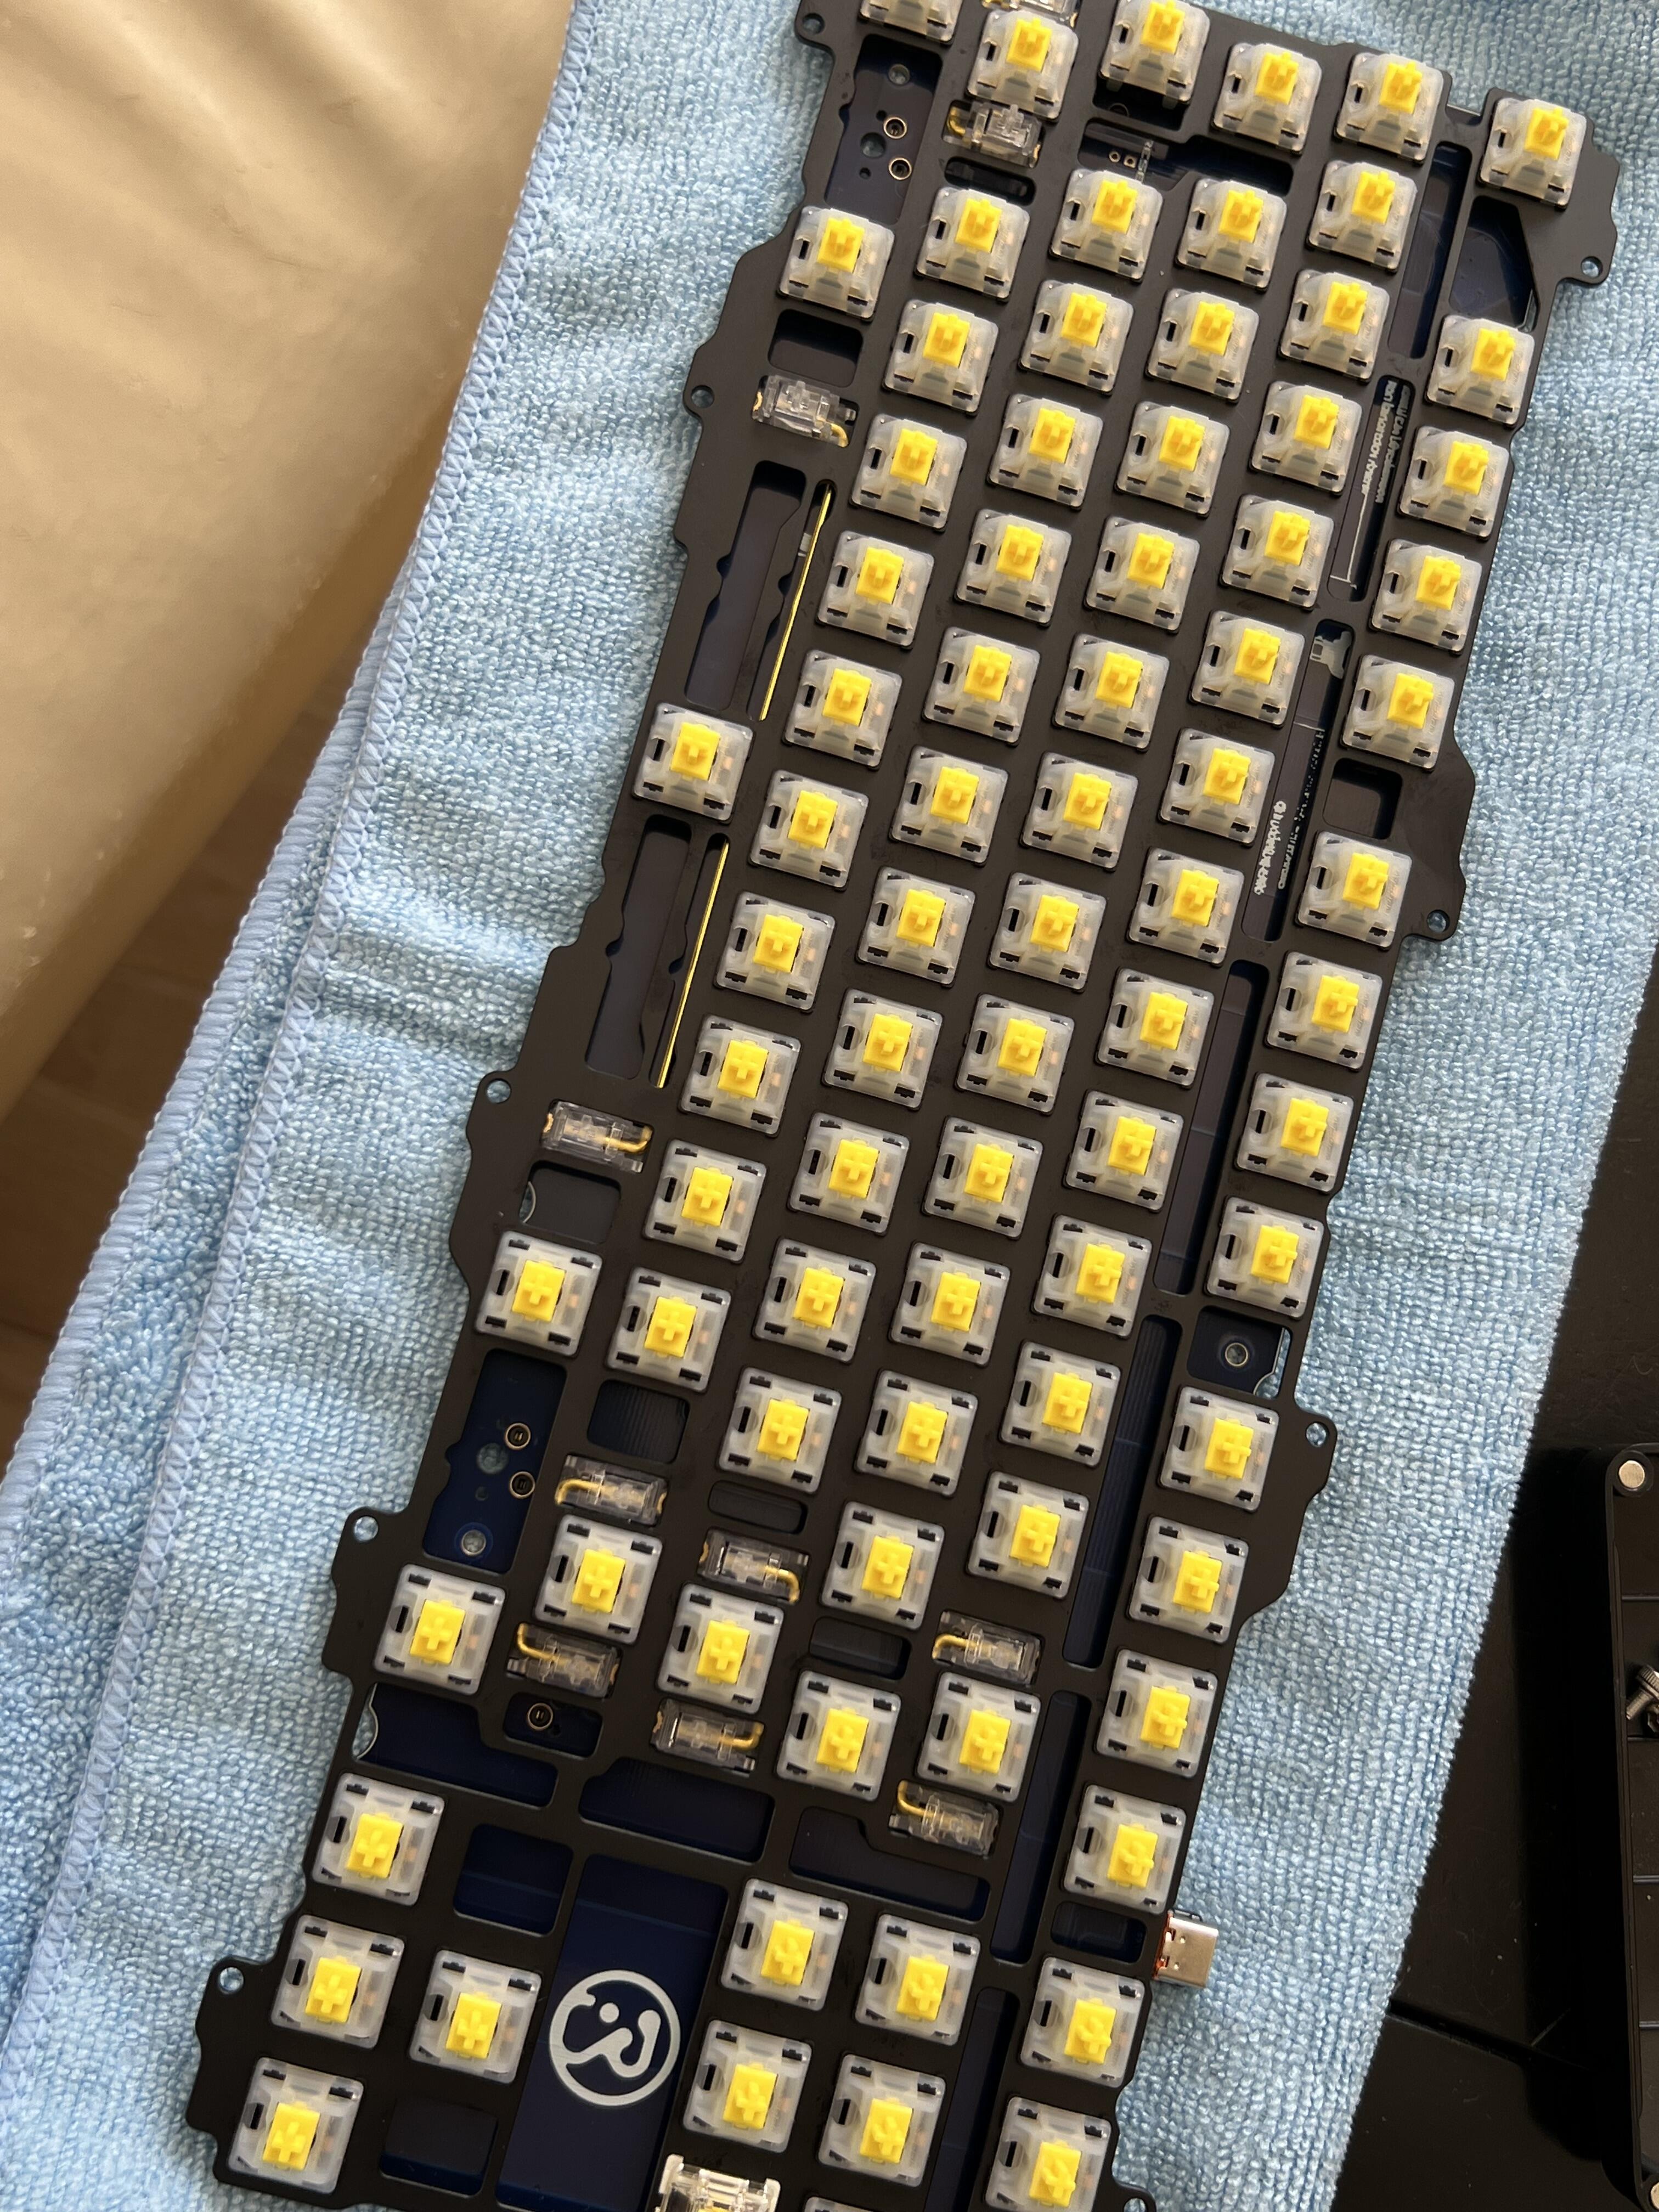
Trusty Geon fork plate makes quick work of getting the recently lubed Gateron X yellow switches. (205g0). These feel quite nice on the board, but now that it’s finished and I’m typing on it, I think they would benefit from switch films. That will be a project for a future date.