The tongue can be pressed or raised. Something like tweezers or a knife, like the “wildcat” did.
This doesn’t help with wobbling.
But this will give you another trick) If you raise your tongue too much, then the wire will hold tighter. even the stem will not slip off. Then the “stem” jumps up stronger. The tongue presses it upward.
3 Likes
Bench-lighting warning:
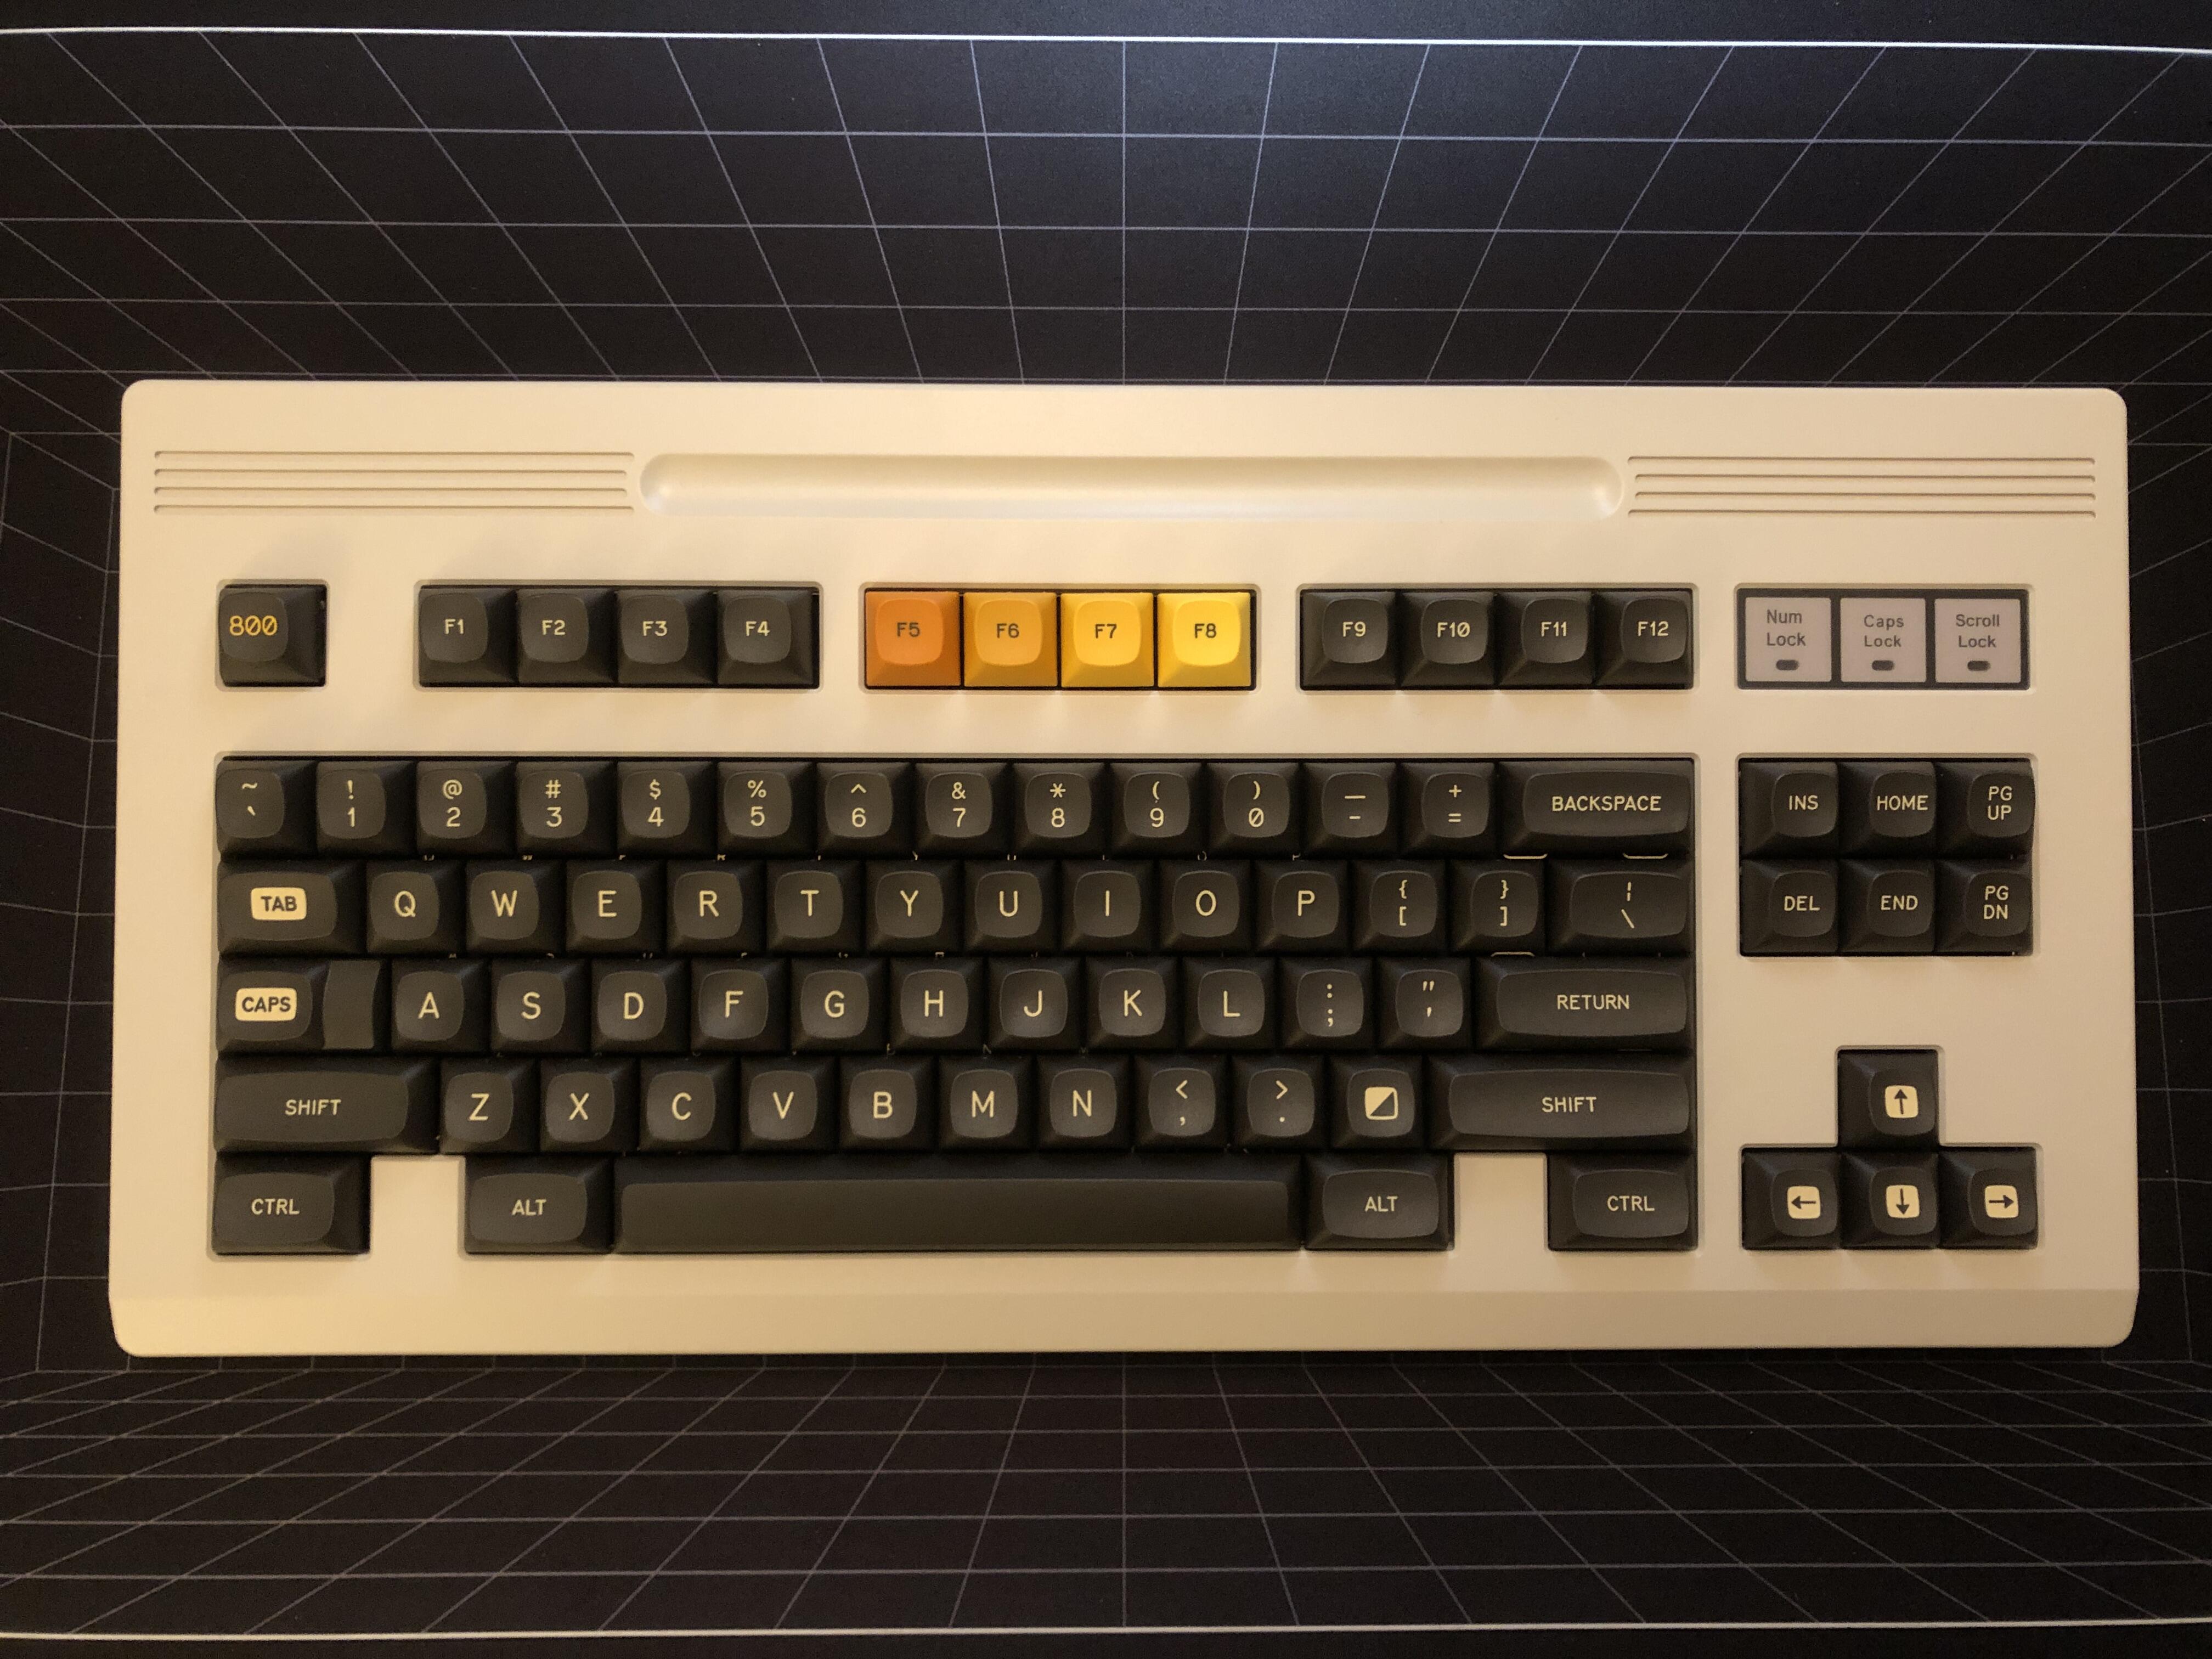
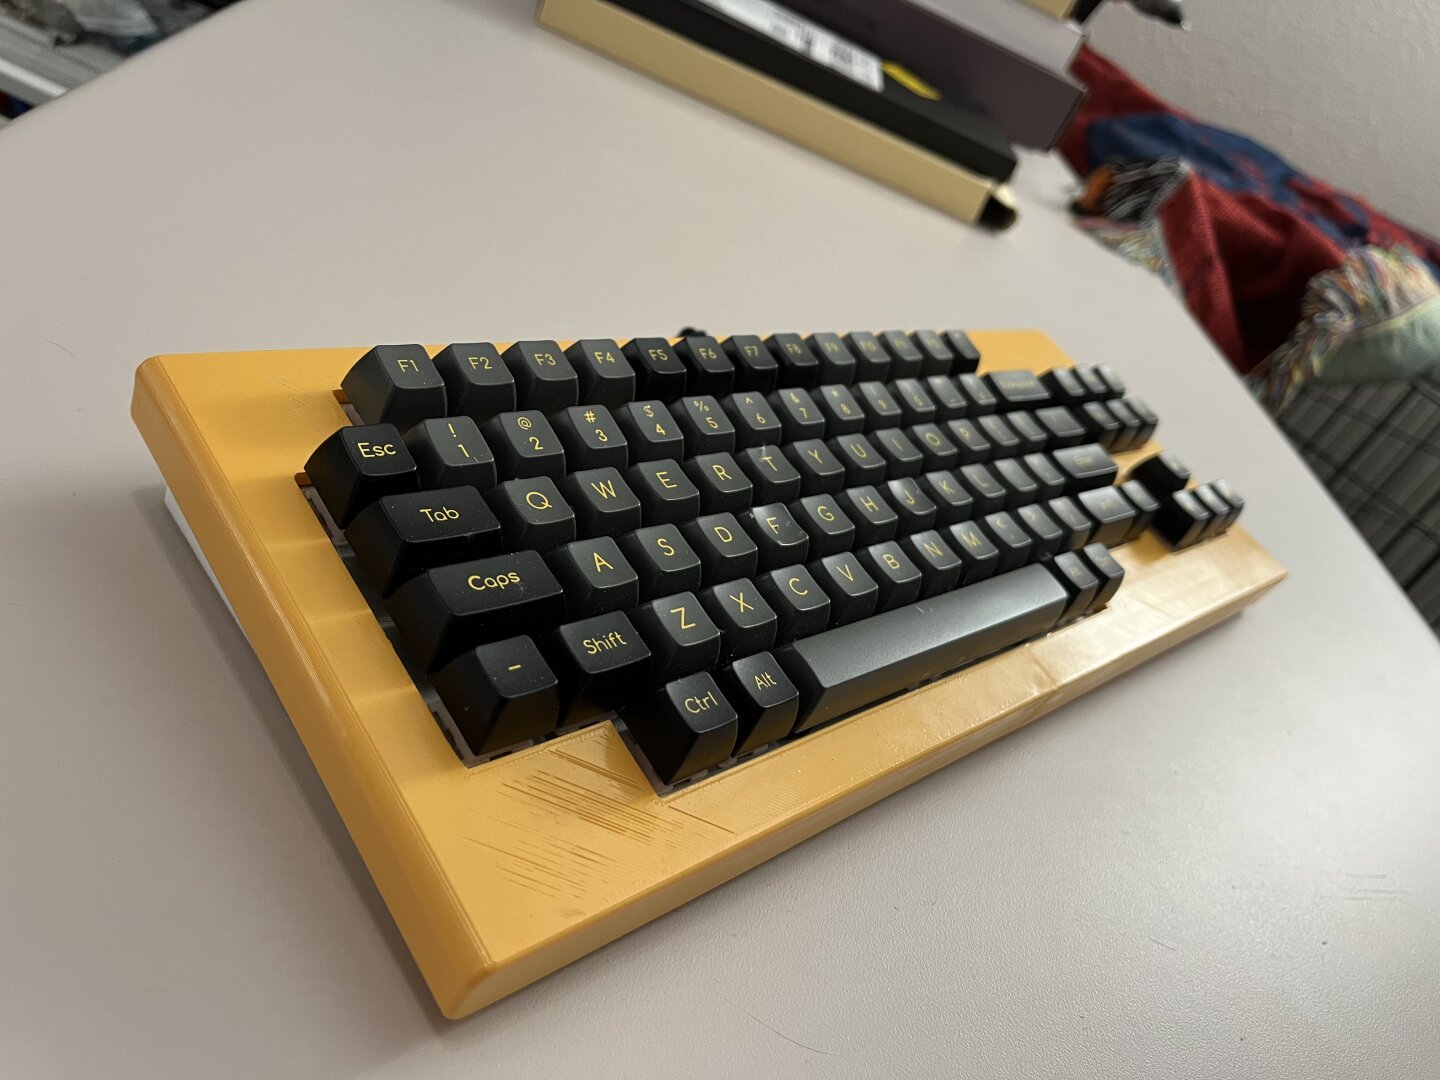
Rebuilt my Class80 R1 with SwagKeys stabs and MTNU 800, and added some custom light gels above the indicator LEDs to match:

The yellow one is a bit on the green side, I might replace it with a warmer one.
My (busted) Atari 800 XL for reference:
Not a layout (or profile, personally) that I’d want an exact match for, but I’m delighted with this homage. I’m also pretty delighted with these stabs so far, but I’m interested to see how I feel about them in a couple weeks and with a few different switches. (This build currently has Gateron X linears)
21 Likes
that’s amazing. The leds are icing on the cake and perfect!
4 Likes
It’s even more on-point for the original 800. I’m really fond of the Atari 8-bits, though I didn’t have a 400 or 800. My first general computing device was the XE game system, though as a 10 year old kid I didn’t realize I could have pestered my parents for a standard 1050 floppy drive that would have made it a proper “computer” and probably would have saved them a ton of money versus when I did start asking for PC compatible stuff a couple of years later.
5 Likes
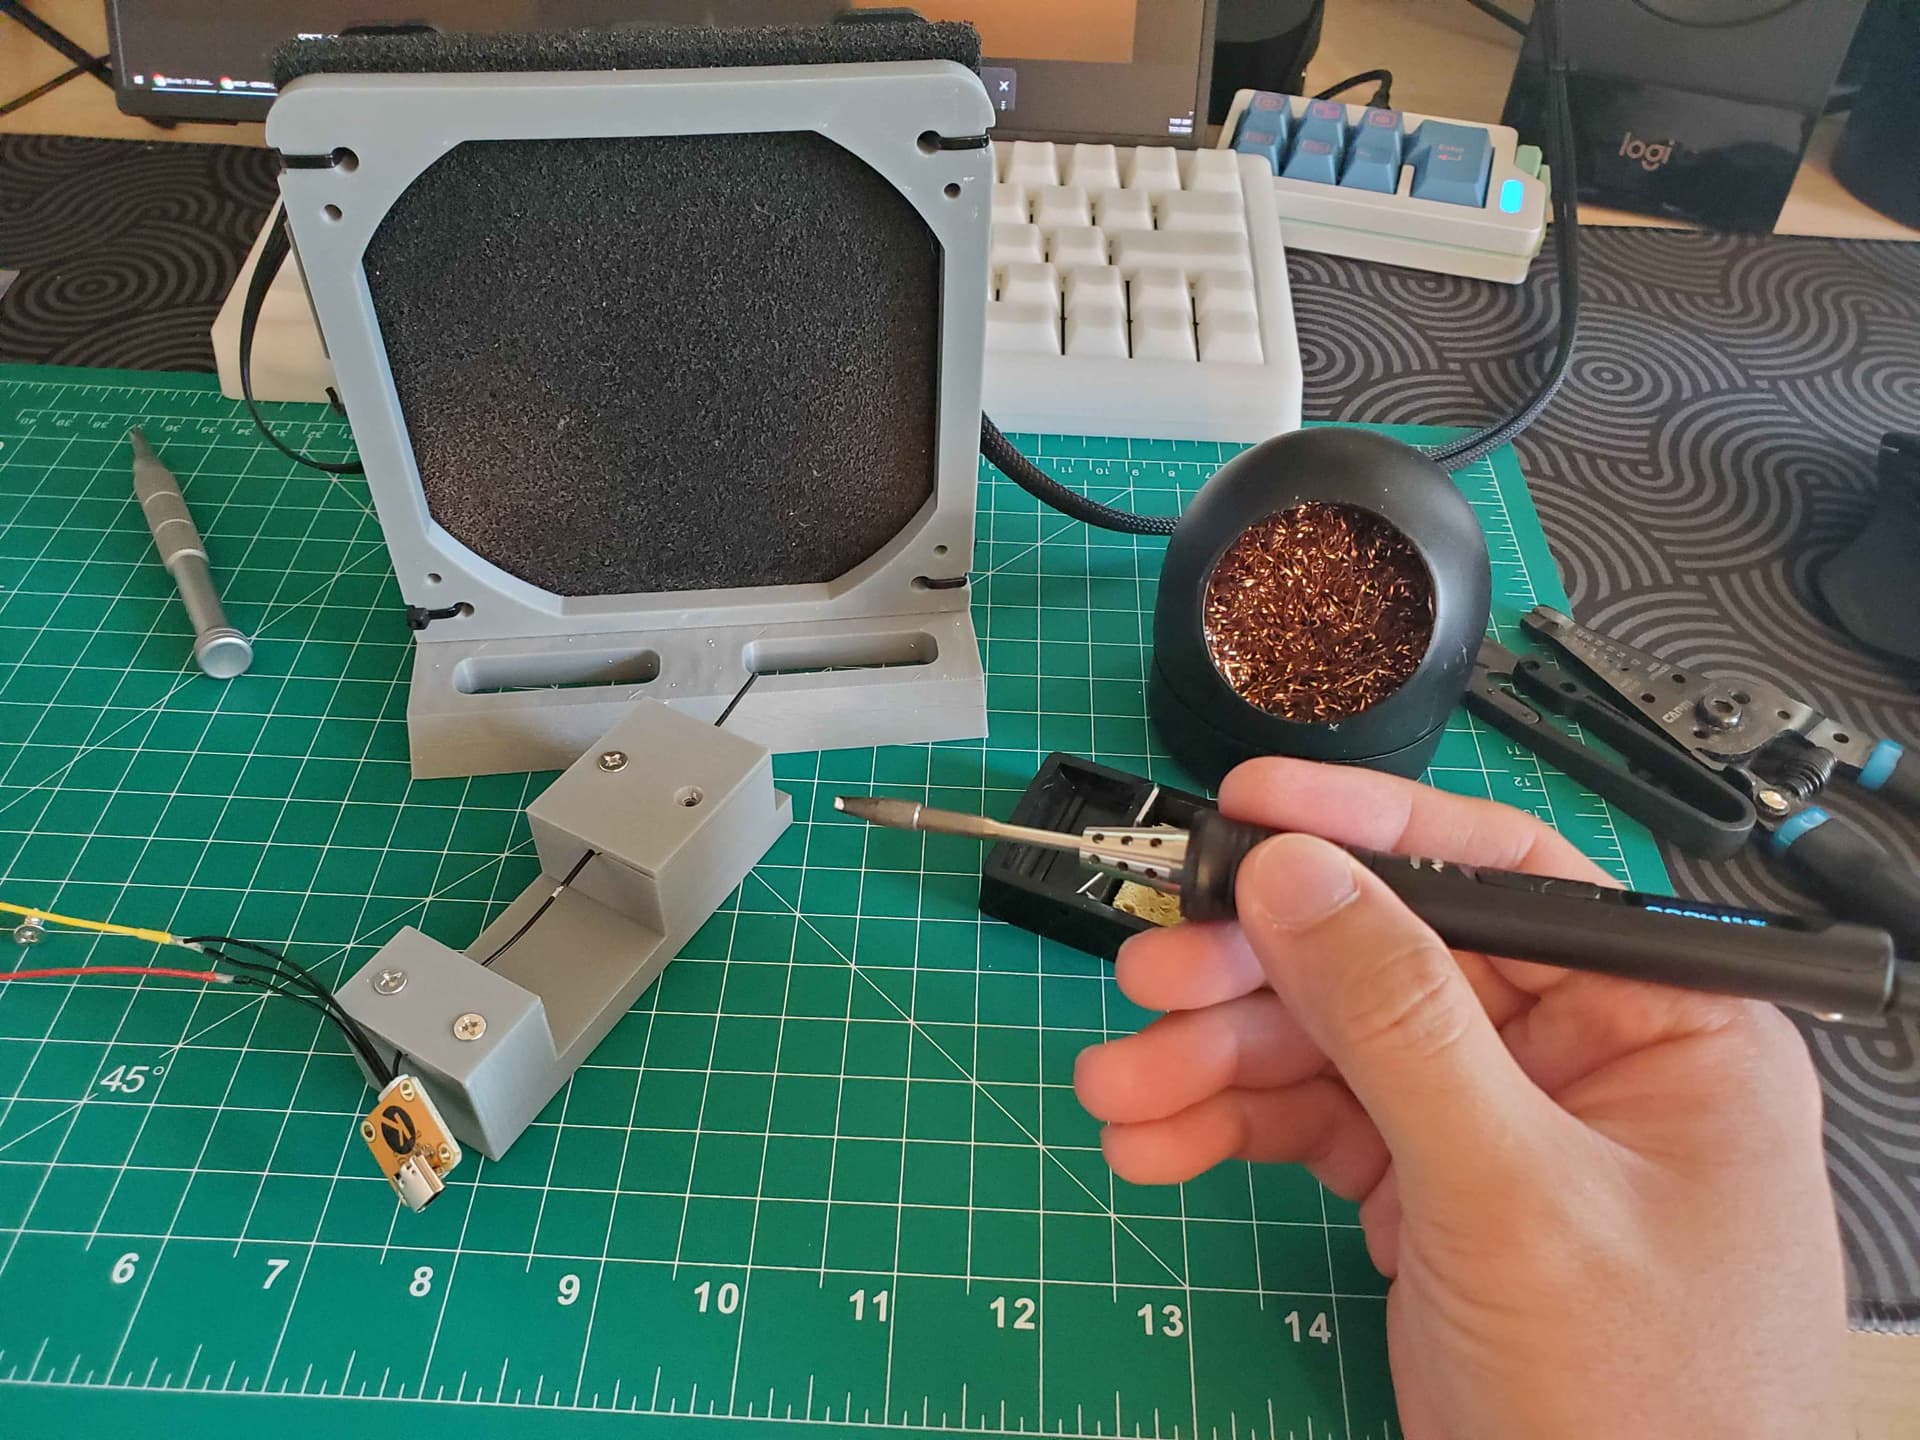
3D printed a jig to join wires together.
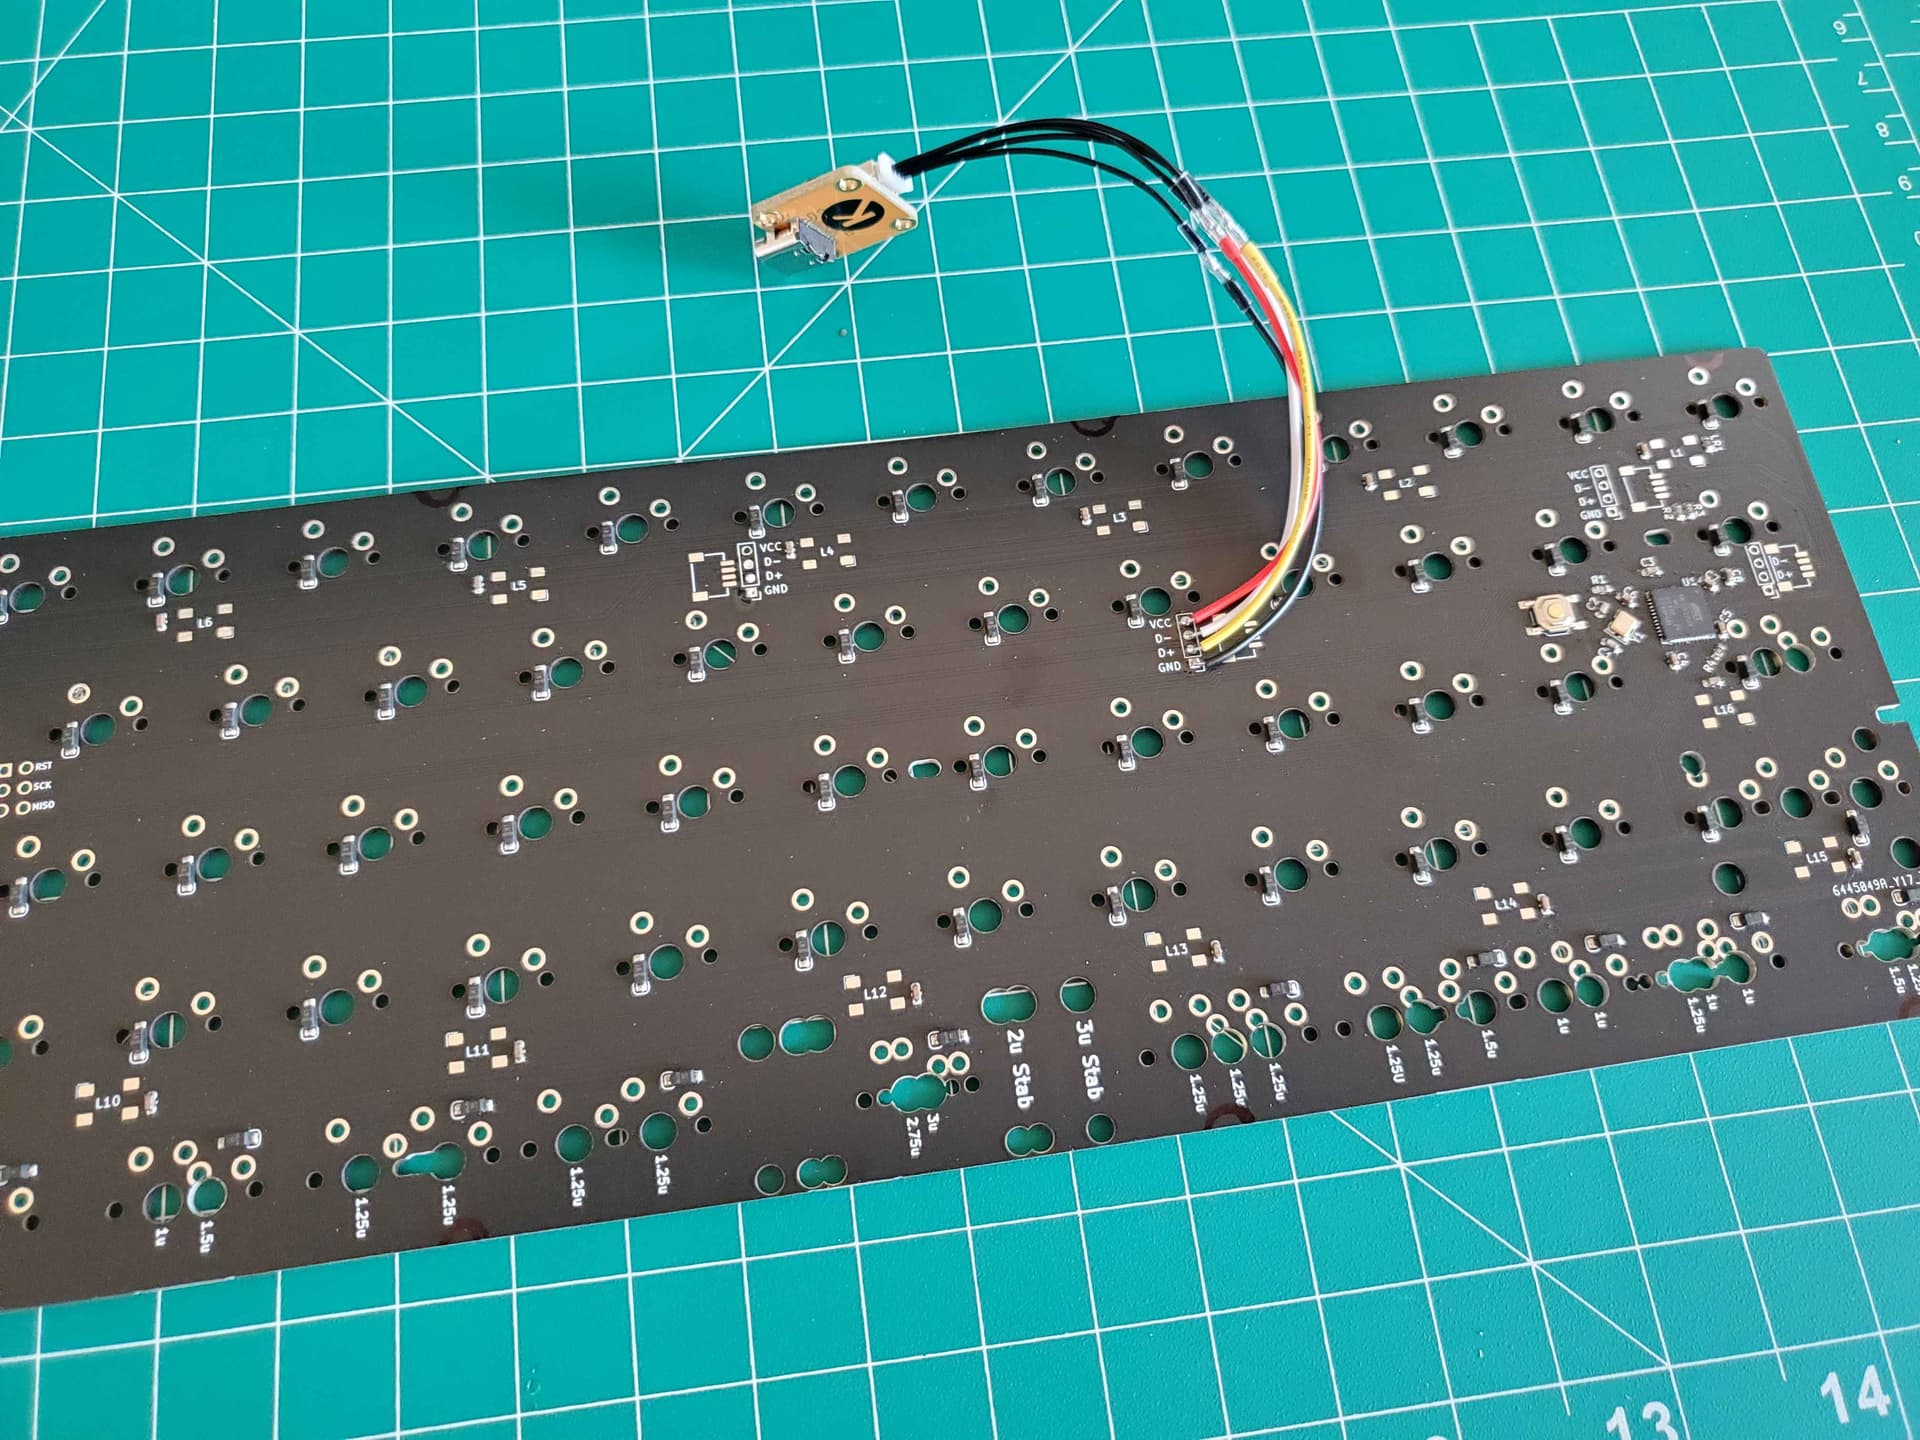
Finally tested this new pcb, works wonderfully. I’ll be able to use my dumb layout in DB cases now.

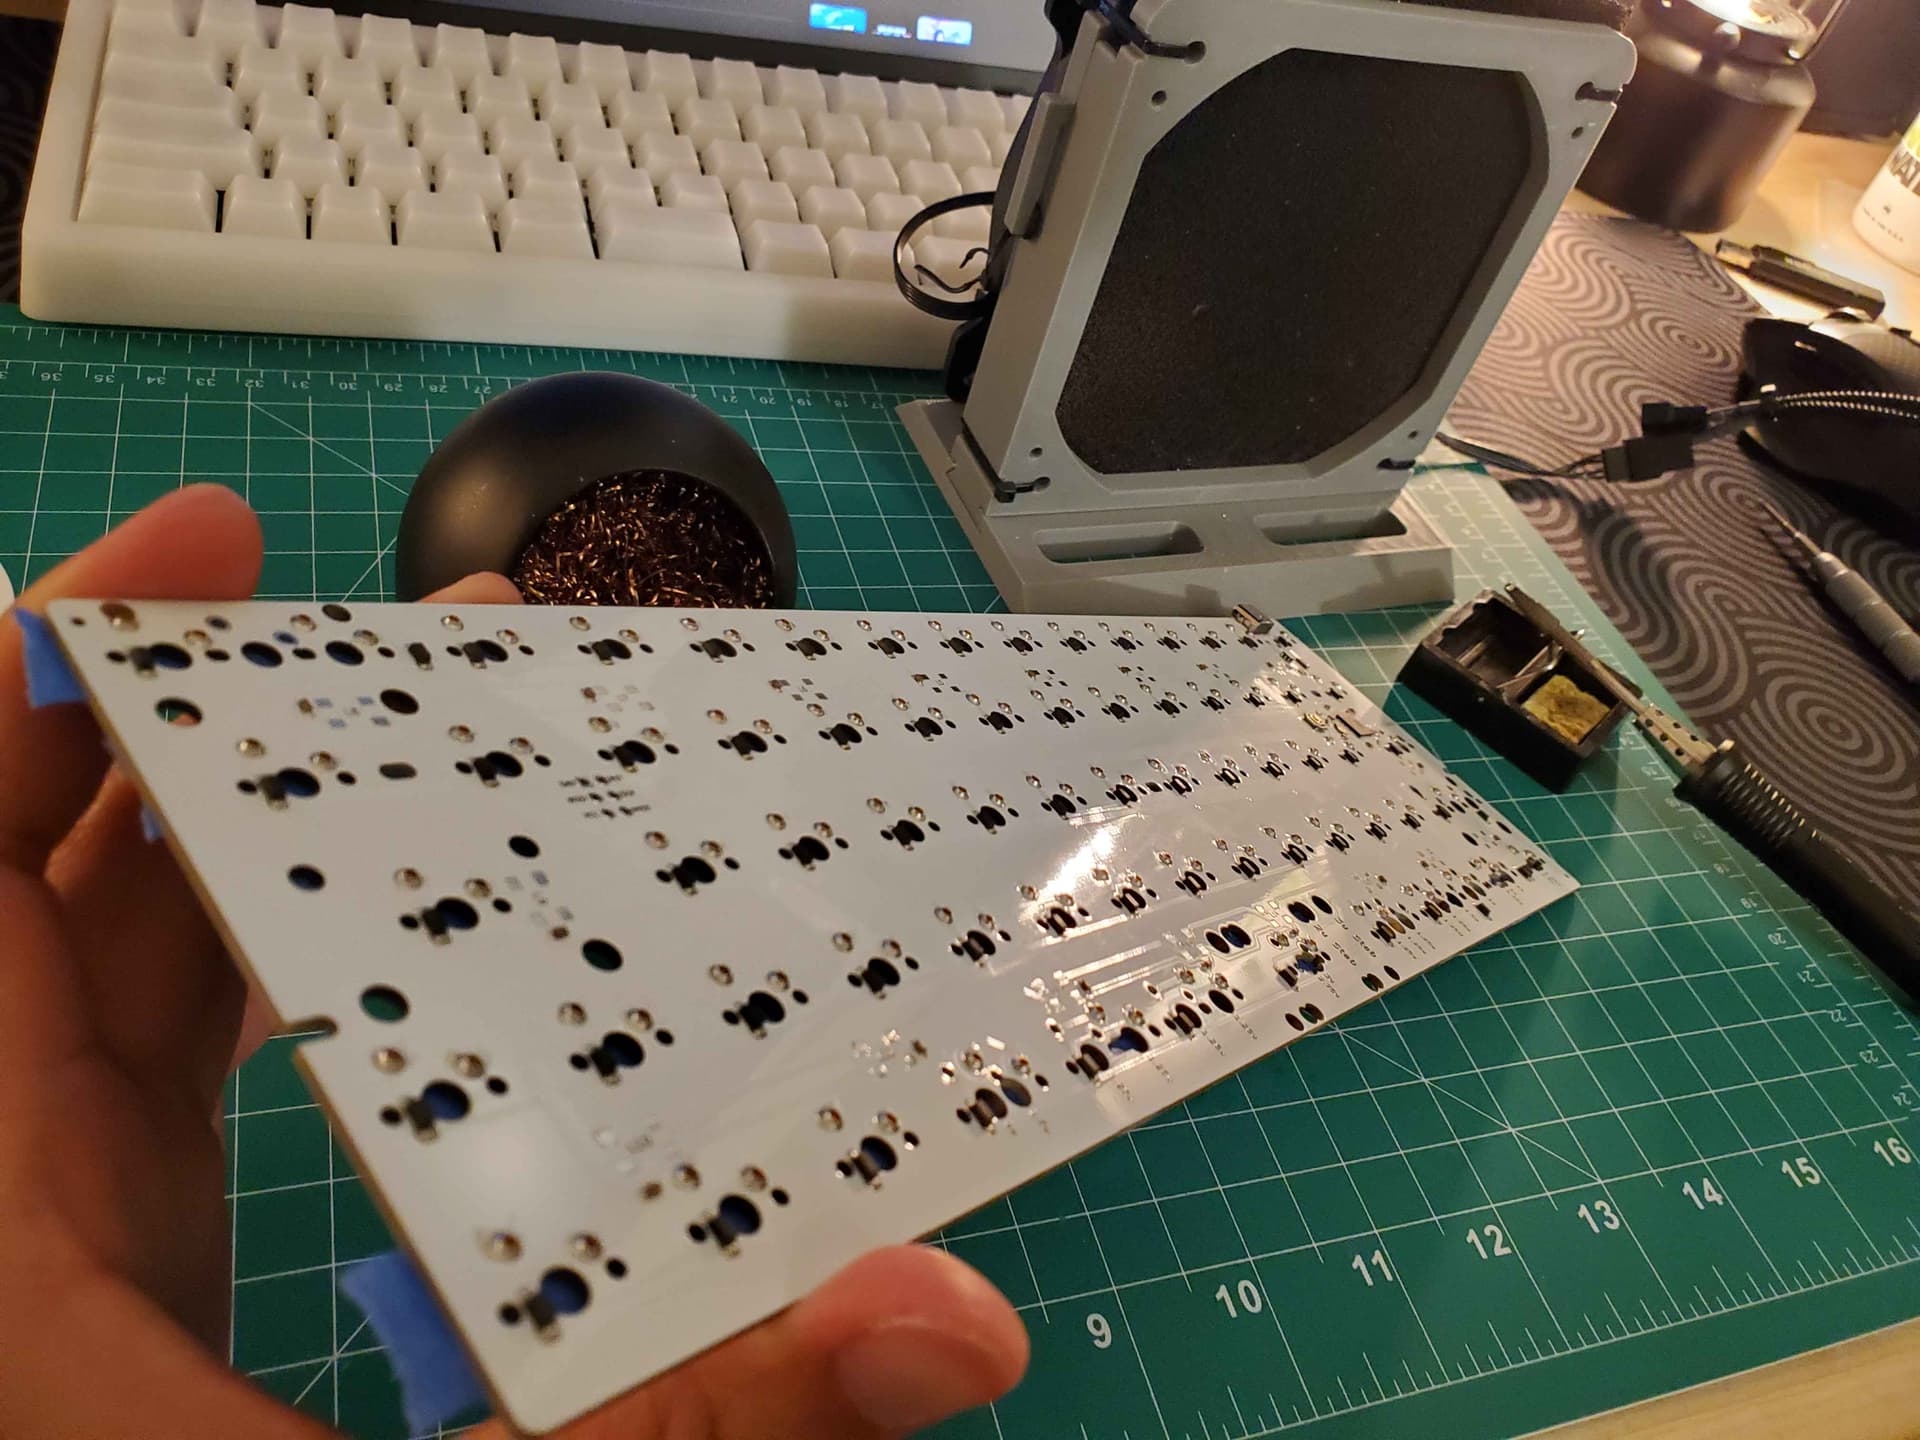

Mill maxed 2 PCBs today. This white one took just under an hour to tape them down, solder, and wipe clean with IPA. The white PCB cleaned up nicely
14 Likes
Sexy AF
2 Likes
Sexy AF
3 Likes
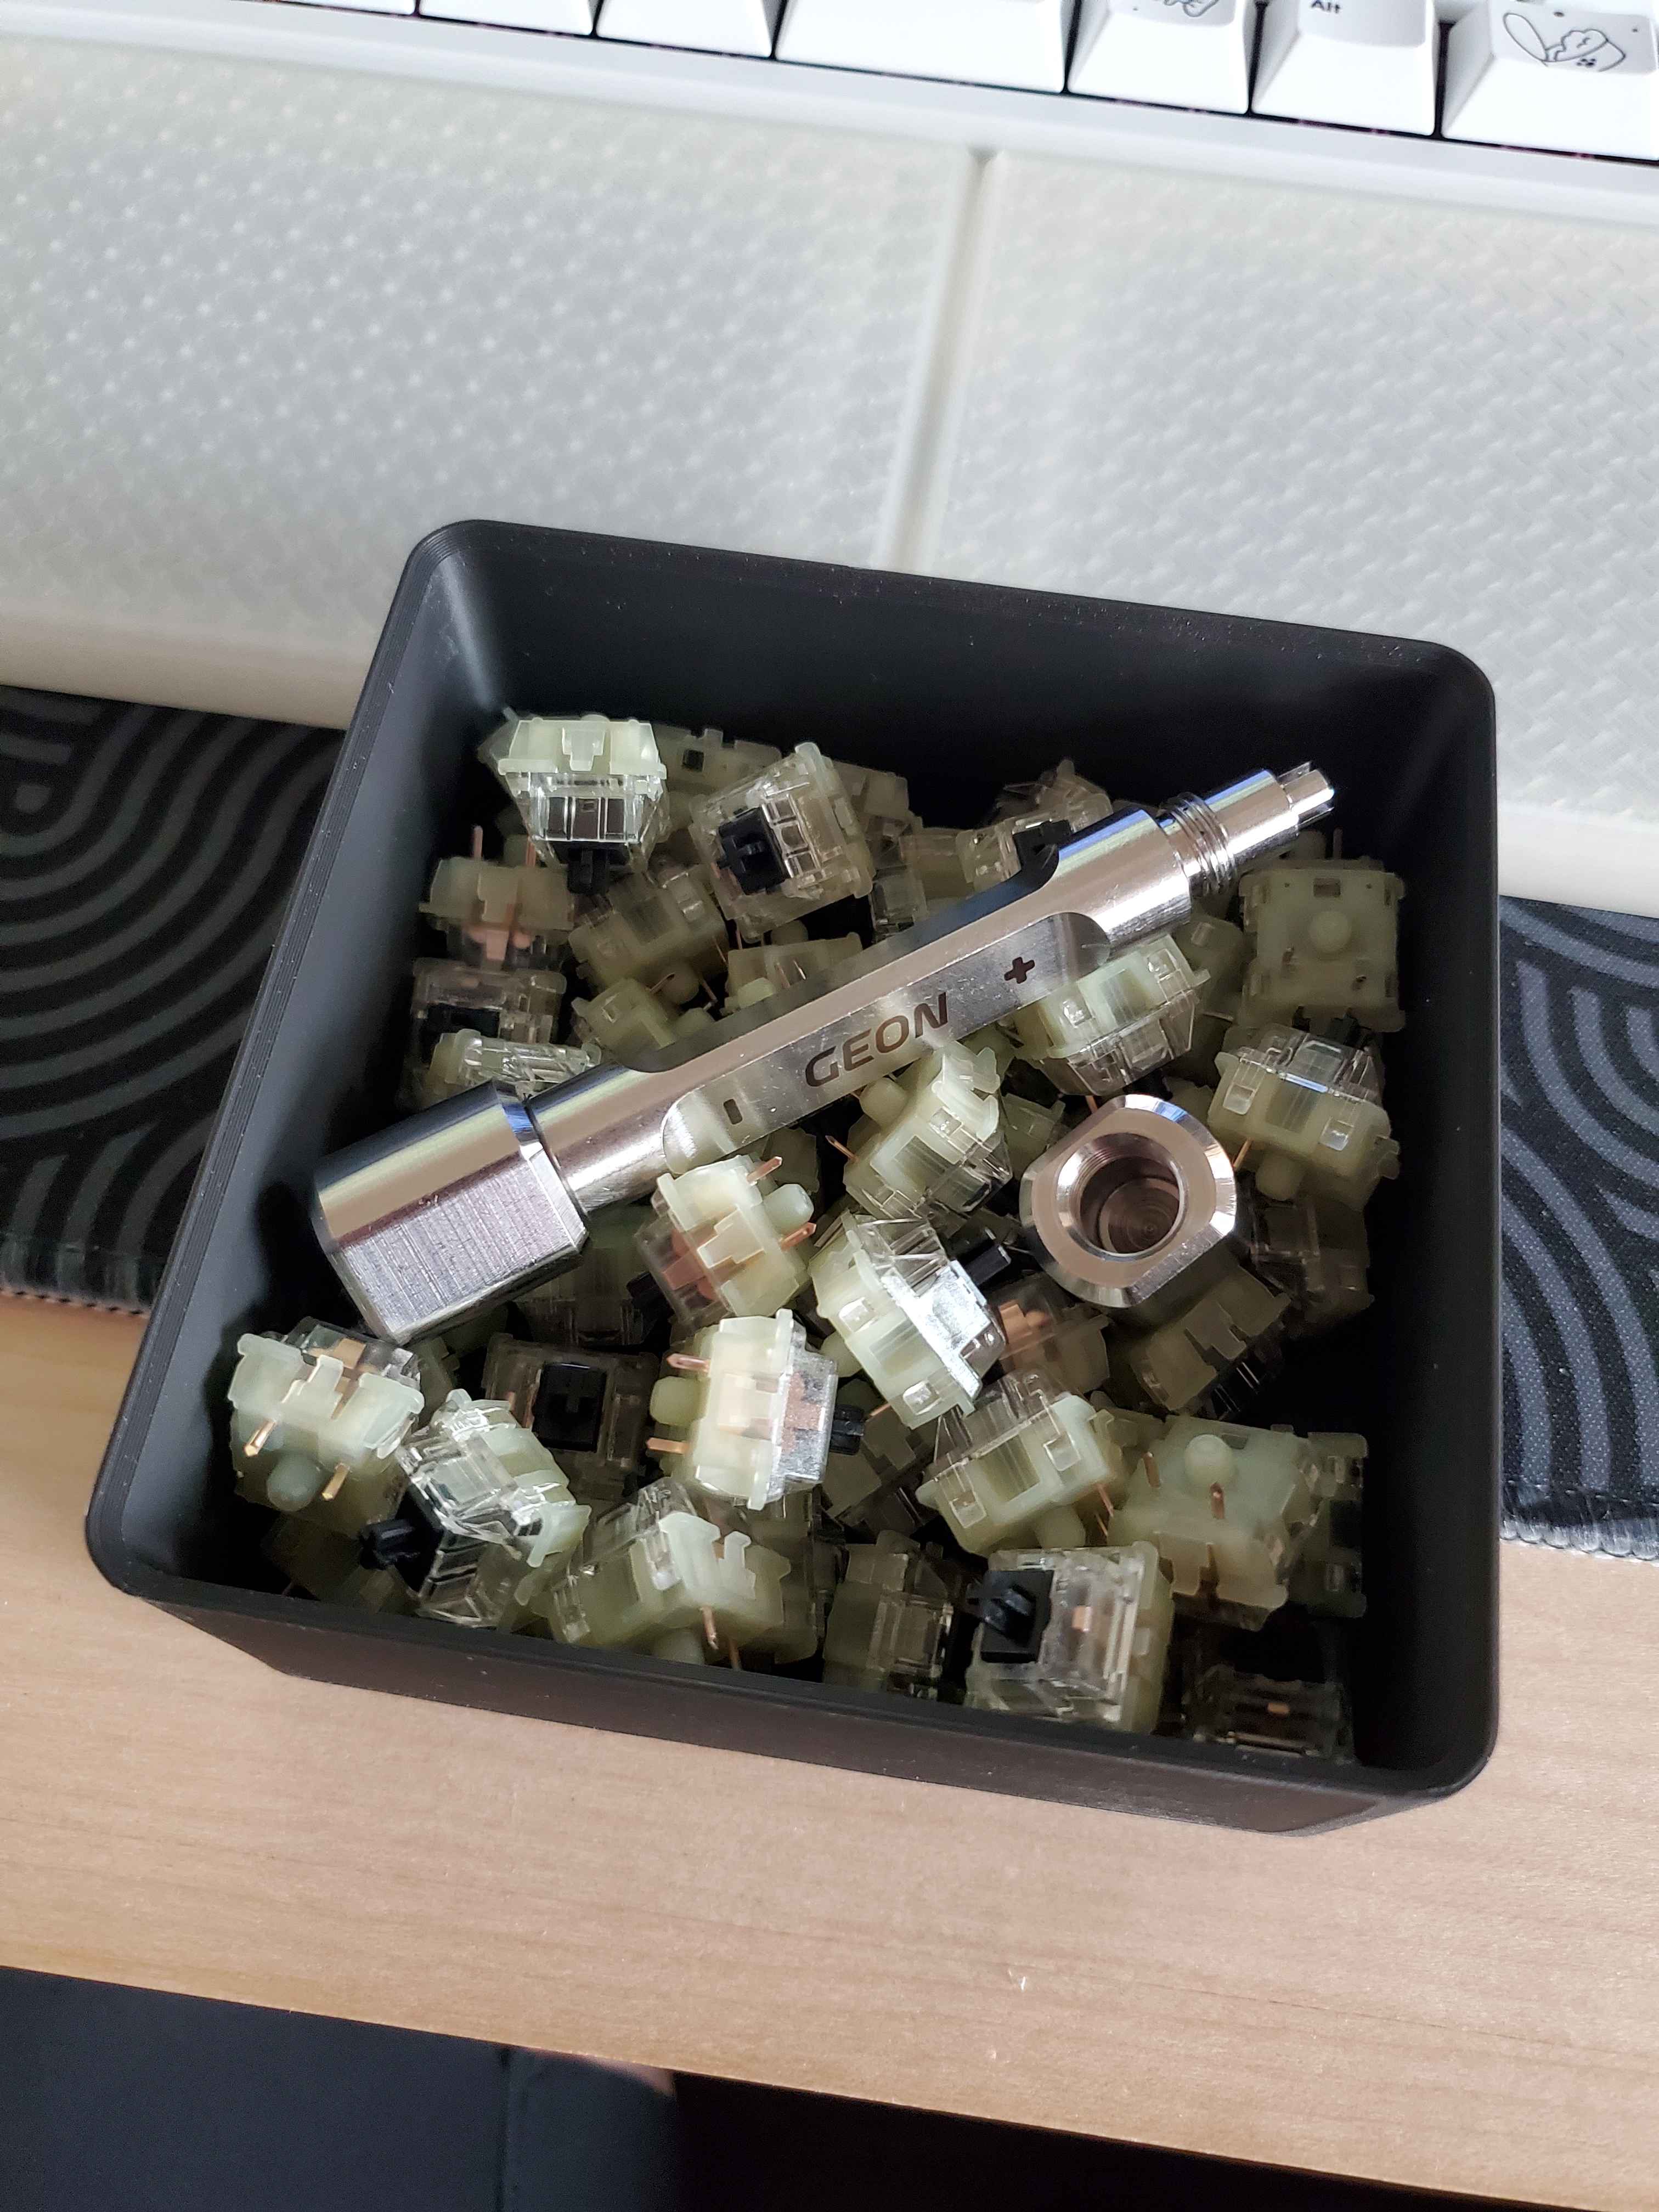
I was surprised by the heft of this trimmer. I guess for $22 it’s a good price. Shipped and looks like a 1/2" router bit lol. It looks in rough shape I don’t know why, there’s a bunch of scratches on it everywhere, but it’s a solid piece of steel…
And it’s making quick work of my oversized stems. These Aliexpress “cherry blacks” have some of the largest stems I’ve encountered, would have really stretched out my keycaps
Trimmer worth the buy 100%
8 Likes
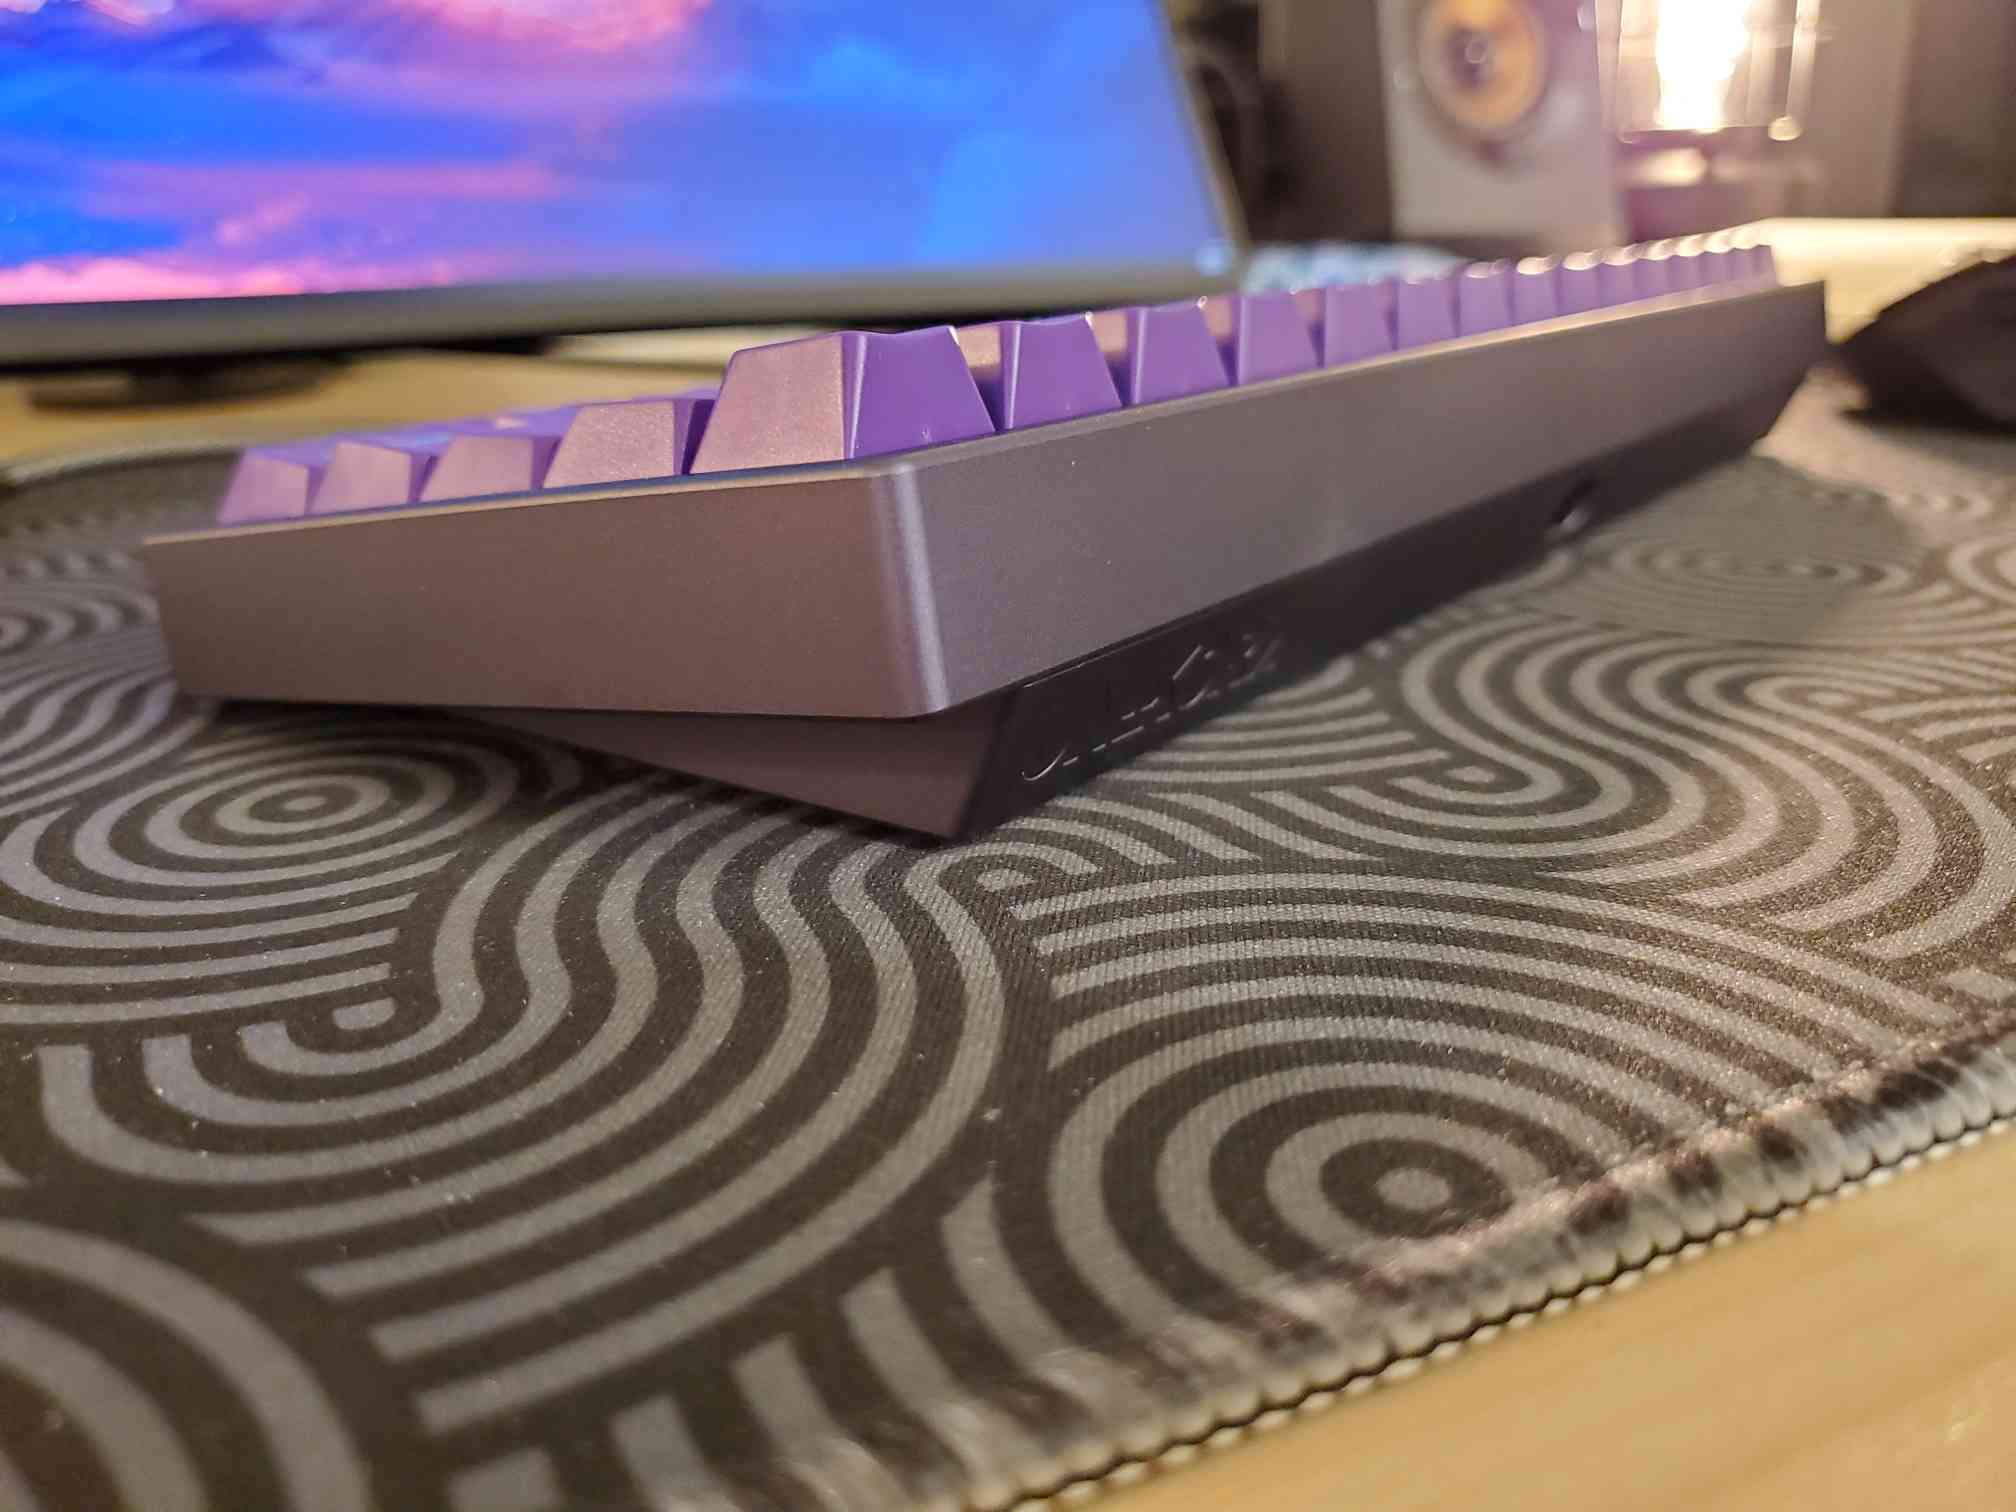
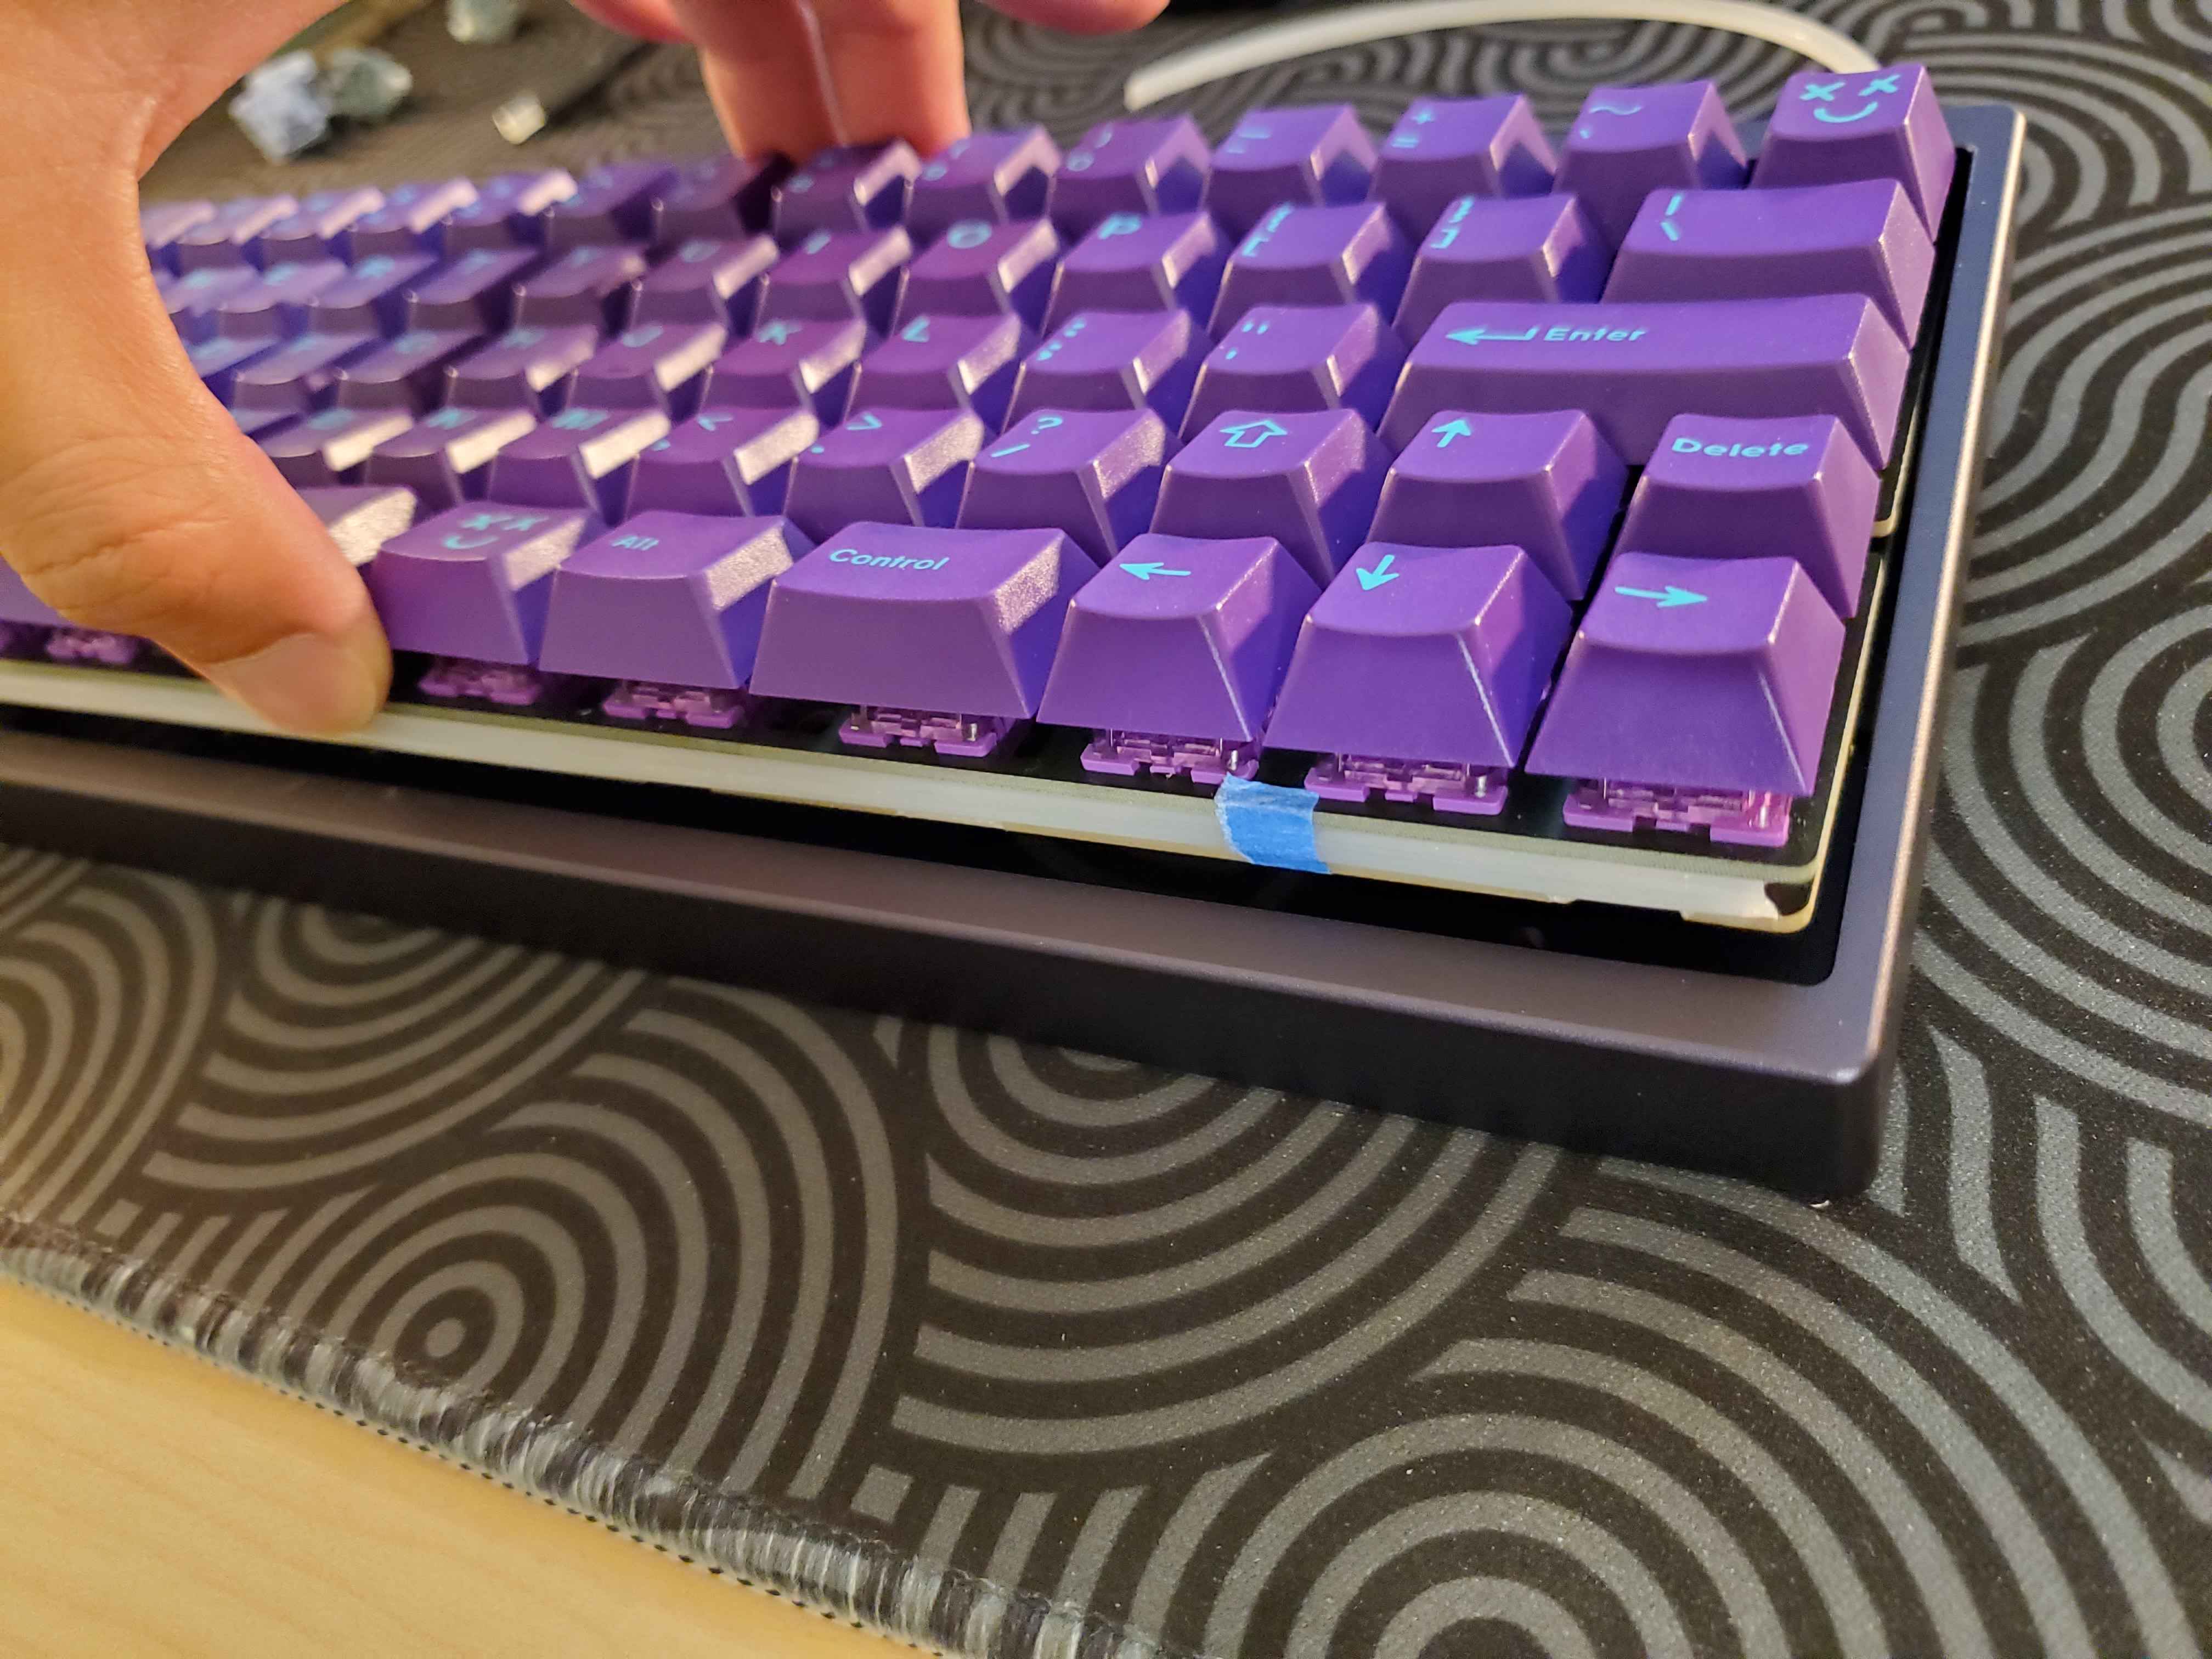
I finally built my purple Kalam Korn with my cursed layout.
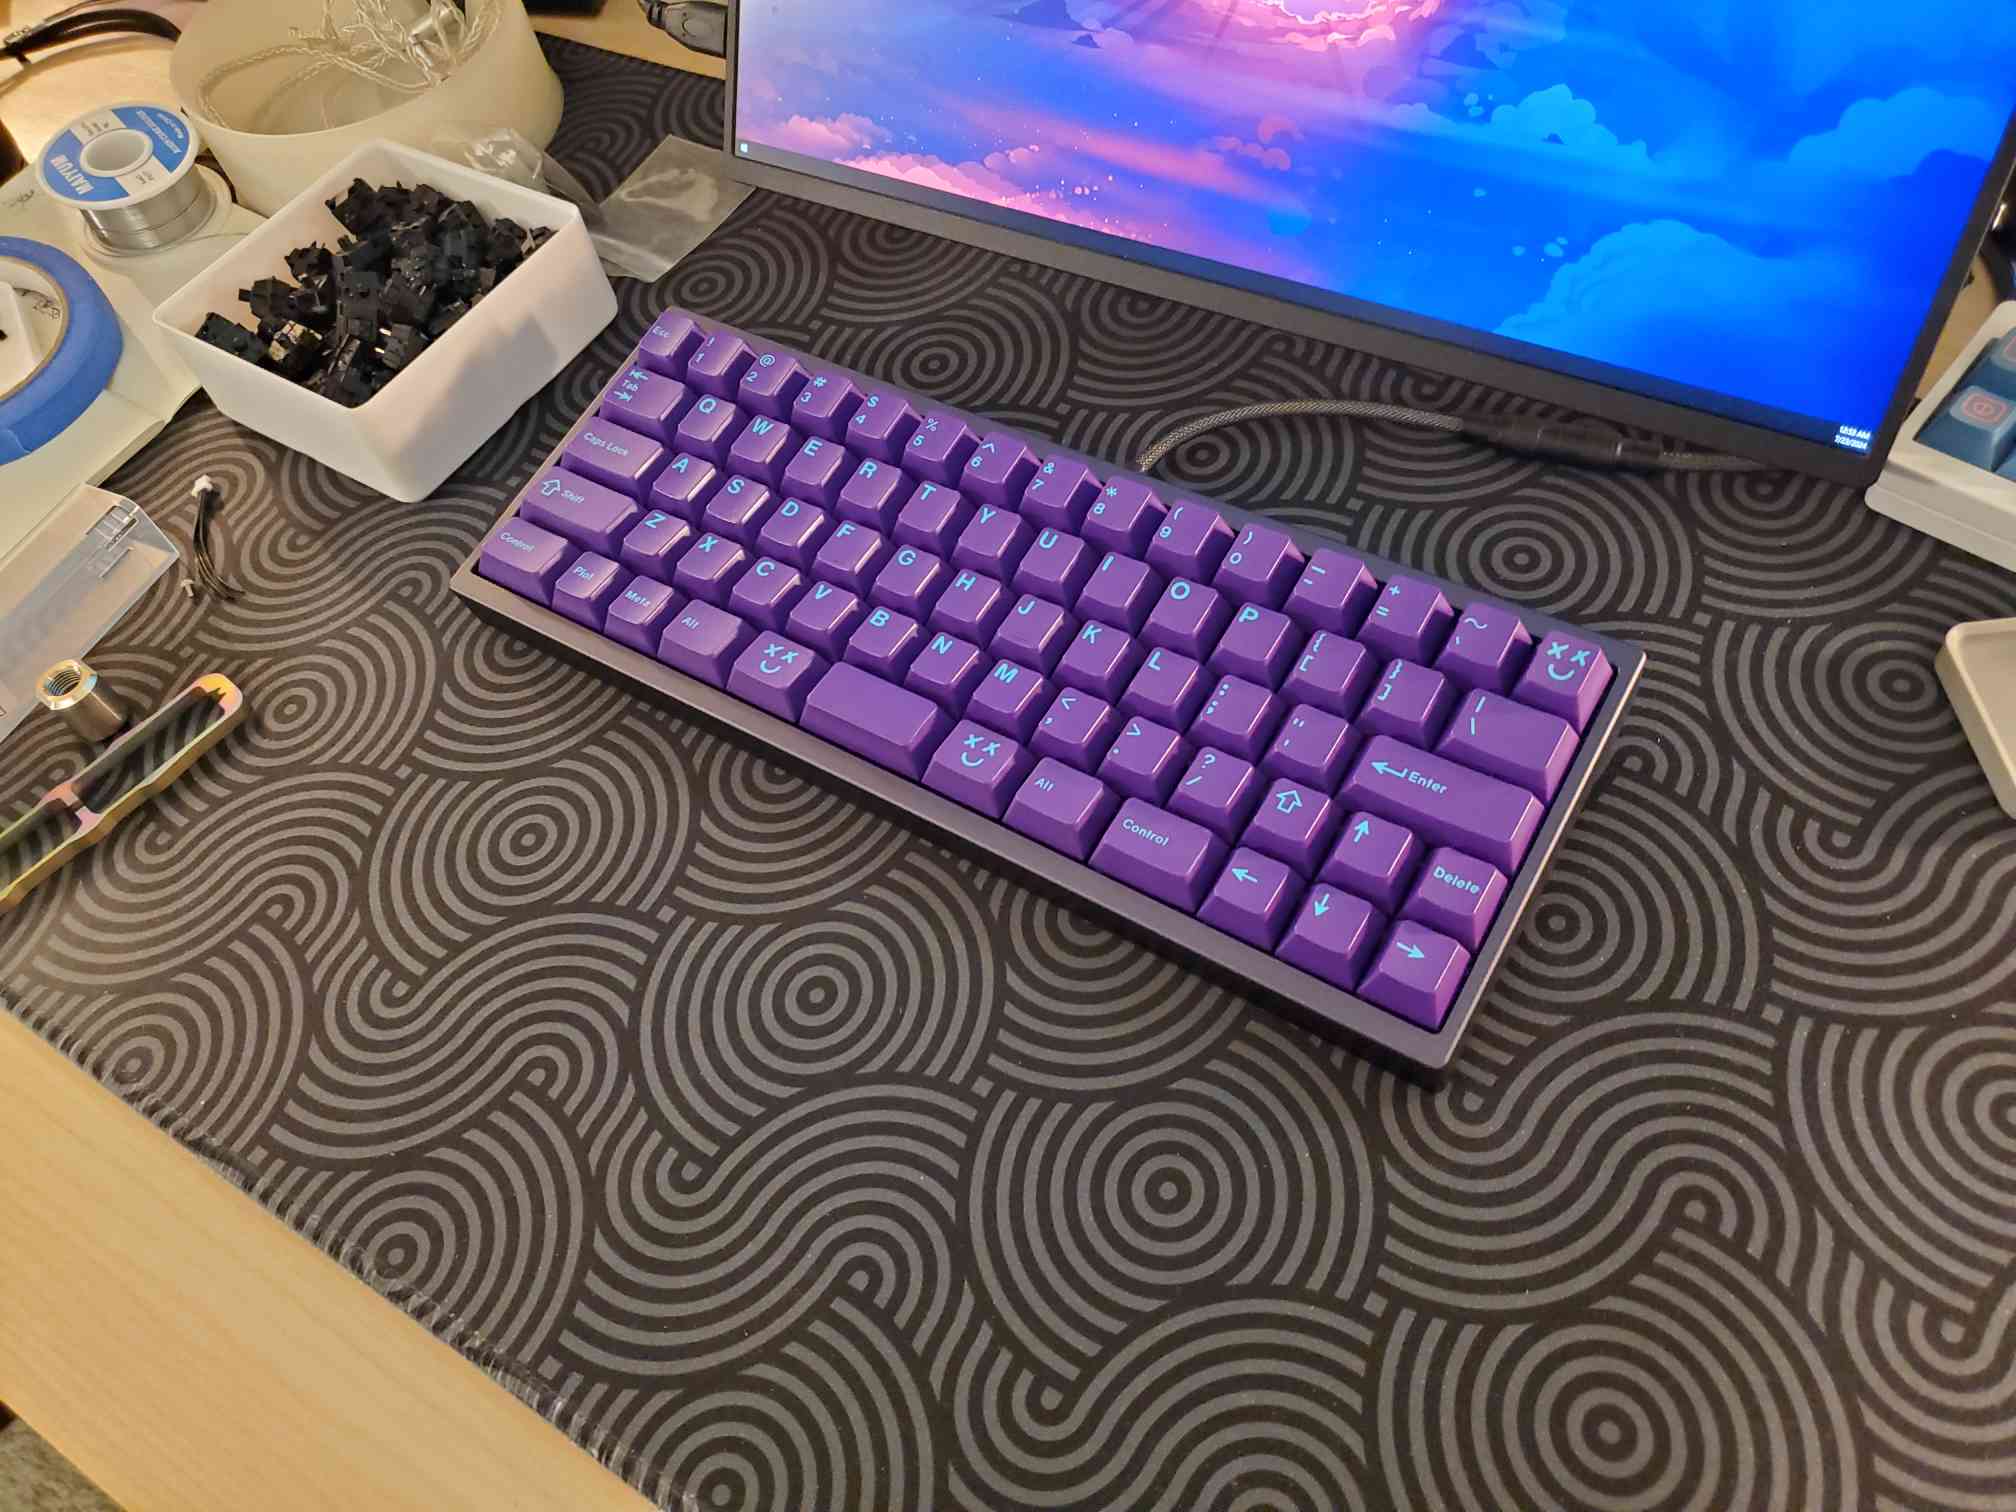

Super not a fan of the gummy oring mount, especially since it doesn’t play nice with mill max hot swap mounted switches (I hate soldering down switches) and IMO well done gasket/tadpole/top mounts sounds just as good without the incredible hassle. I’m just waiting for my corner switches to pop out while typing one day
Hope this doesn’t upset anyone. I’ve always wanted a Korn and this was much more “accessible” than the original. No intention of reselling or any of that shady business.
7 Likes
Keep in mind, you can always solder in the four corner switches so that the o-ring will play nice a little better ![]()
3 Likes
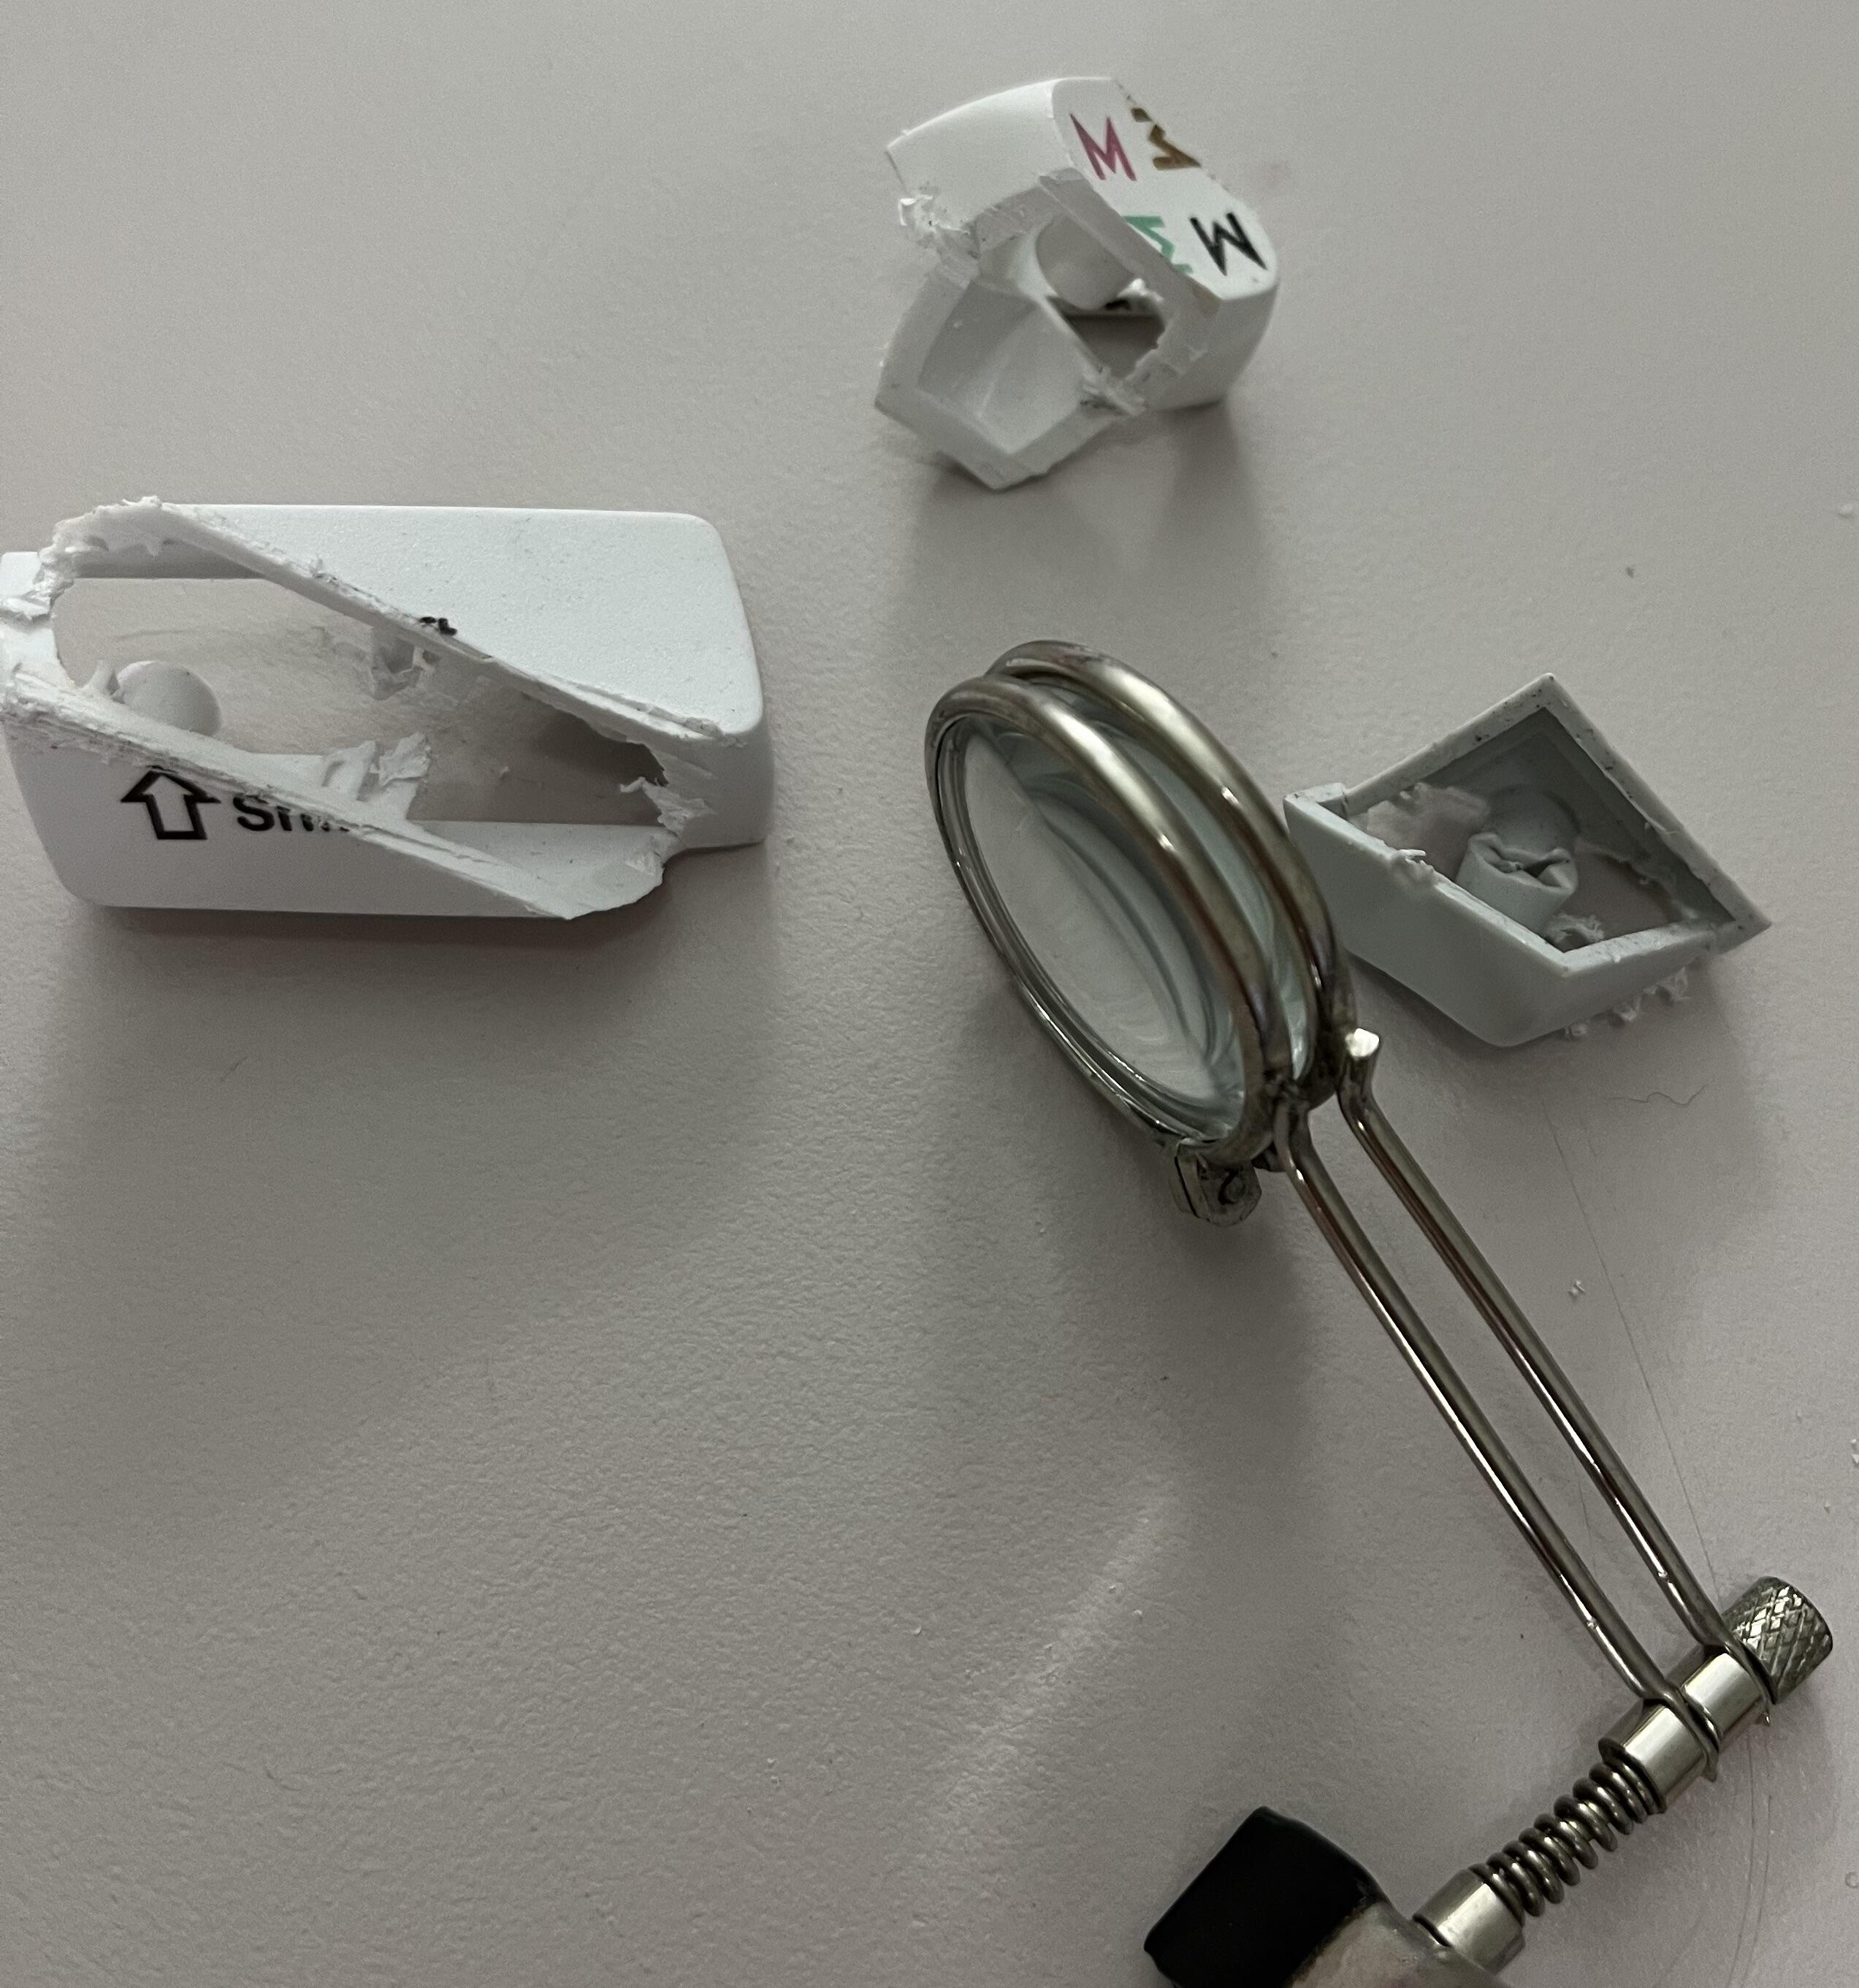
Was curious how my home DIY dye sub keycaps really compared to cheaper factory sets. So, I dug up a couple of test pieces I made from blanks and a 2u shift from a very cheap XDA set. Then I grabbed a flush cut utility saw and went to town.
I think I might have learned more by getting my scroll saw back in working order, but PBT (mercifully) is not brittle, and the saw was still reasonably sharp. It’s a little hard to tell, but I feel fairly comfortable saying that I am actually dye-subbing the caps. Trying to hold them up exactly horizontal in the sunlight, I can see a faint sliver of color through the jewelers loupe (from my fountain pen alignment/repair kit).
That said, on the factory-made keycap the sliver is still very thin but a bit easier to zero in on. I would say I’m probably getting to about 1/3 the depth, and the laser lines can mean things are a little less regular. I think I will see some fading over time and use, and indeed the on the board I did where things came out a bit faint overall, WASD are showing a bit more fading. I suspect that as I wear down the PBT blend just a bit and get something close to the shine on ABS, the dye-sub is thin enough that lighter spots may not be penetrating much farther than the “grain” of the plastic.
Now, on the plus side, if I do get a really good zap, I think they will last quite a while, and even ones that don’t hold up well will never get fully obliterated like cheap pad printing. I’ve also done four individual caps since I last made a full board, and cleaning the caps with IPA immediately before zapping seems to have helped a lot. The markers getting older and drying out just slightly may also be helping, if they are depositing more pigment than solute, but I ain’t running a lab here, so that hypothesis may have to remain untested.
4 Likes
I was trying to hold off doing that. I mean I even have a Hakko desoldering gun, but I just want hot swap.
The top right corner popped up already not even 30min into using it today. It looks like I can’t escape soldering it down…
I really don’t like gummy oring wow lol
I wonder if I could cut up some oring and just press fit it in pieces…
What level of hardness is that ring - 50A? You could try one that’s not as hard - like 40 or 30A - and see if it applies less pressure…it will sound different though I’ve found.
2 Likes
It’s whatever came with the KalamKorn (70a maybe?).
I just tested with some oring I bought off Amazon and it seemed to work perfectly, so I cut up the Kalam oring into two pieces for the top and bottom rows.
Had to cheat and use a tiny pieces of blue tape to hold them in place, but it seems to be working just the same.
I’m assuming without the tension it won’t pull the corner switches up anymore.
UPDATE: So far so good! Guess I found a cheat for the gummy oring builds ![]() yay
yay
5 Likes
Rebuilt my Sessantacinque with MZ Y3 switches. Quite nice.
Also, this is the first time I’ve mounted GMK Maroon
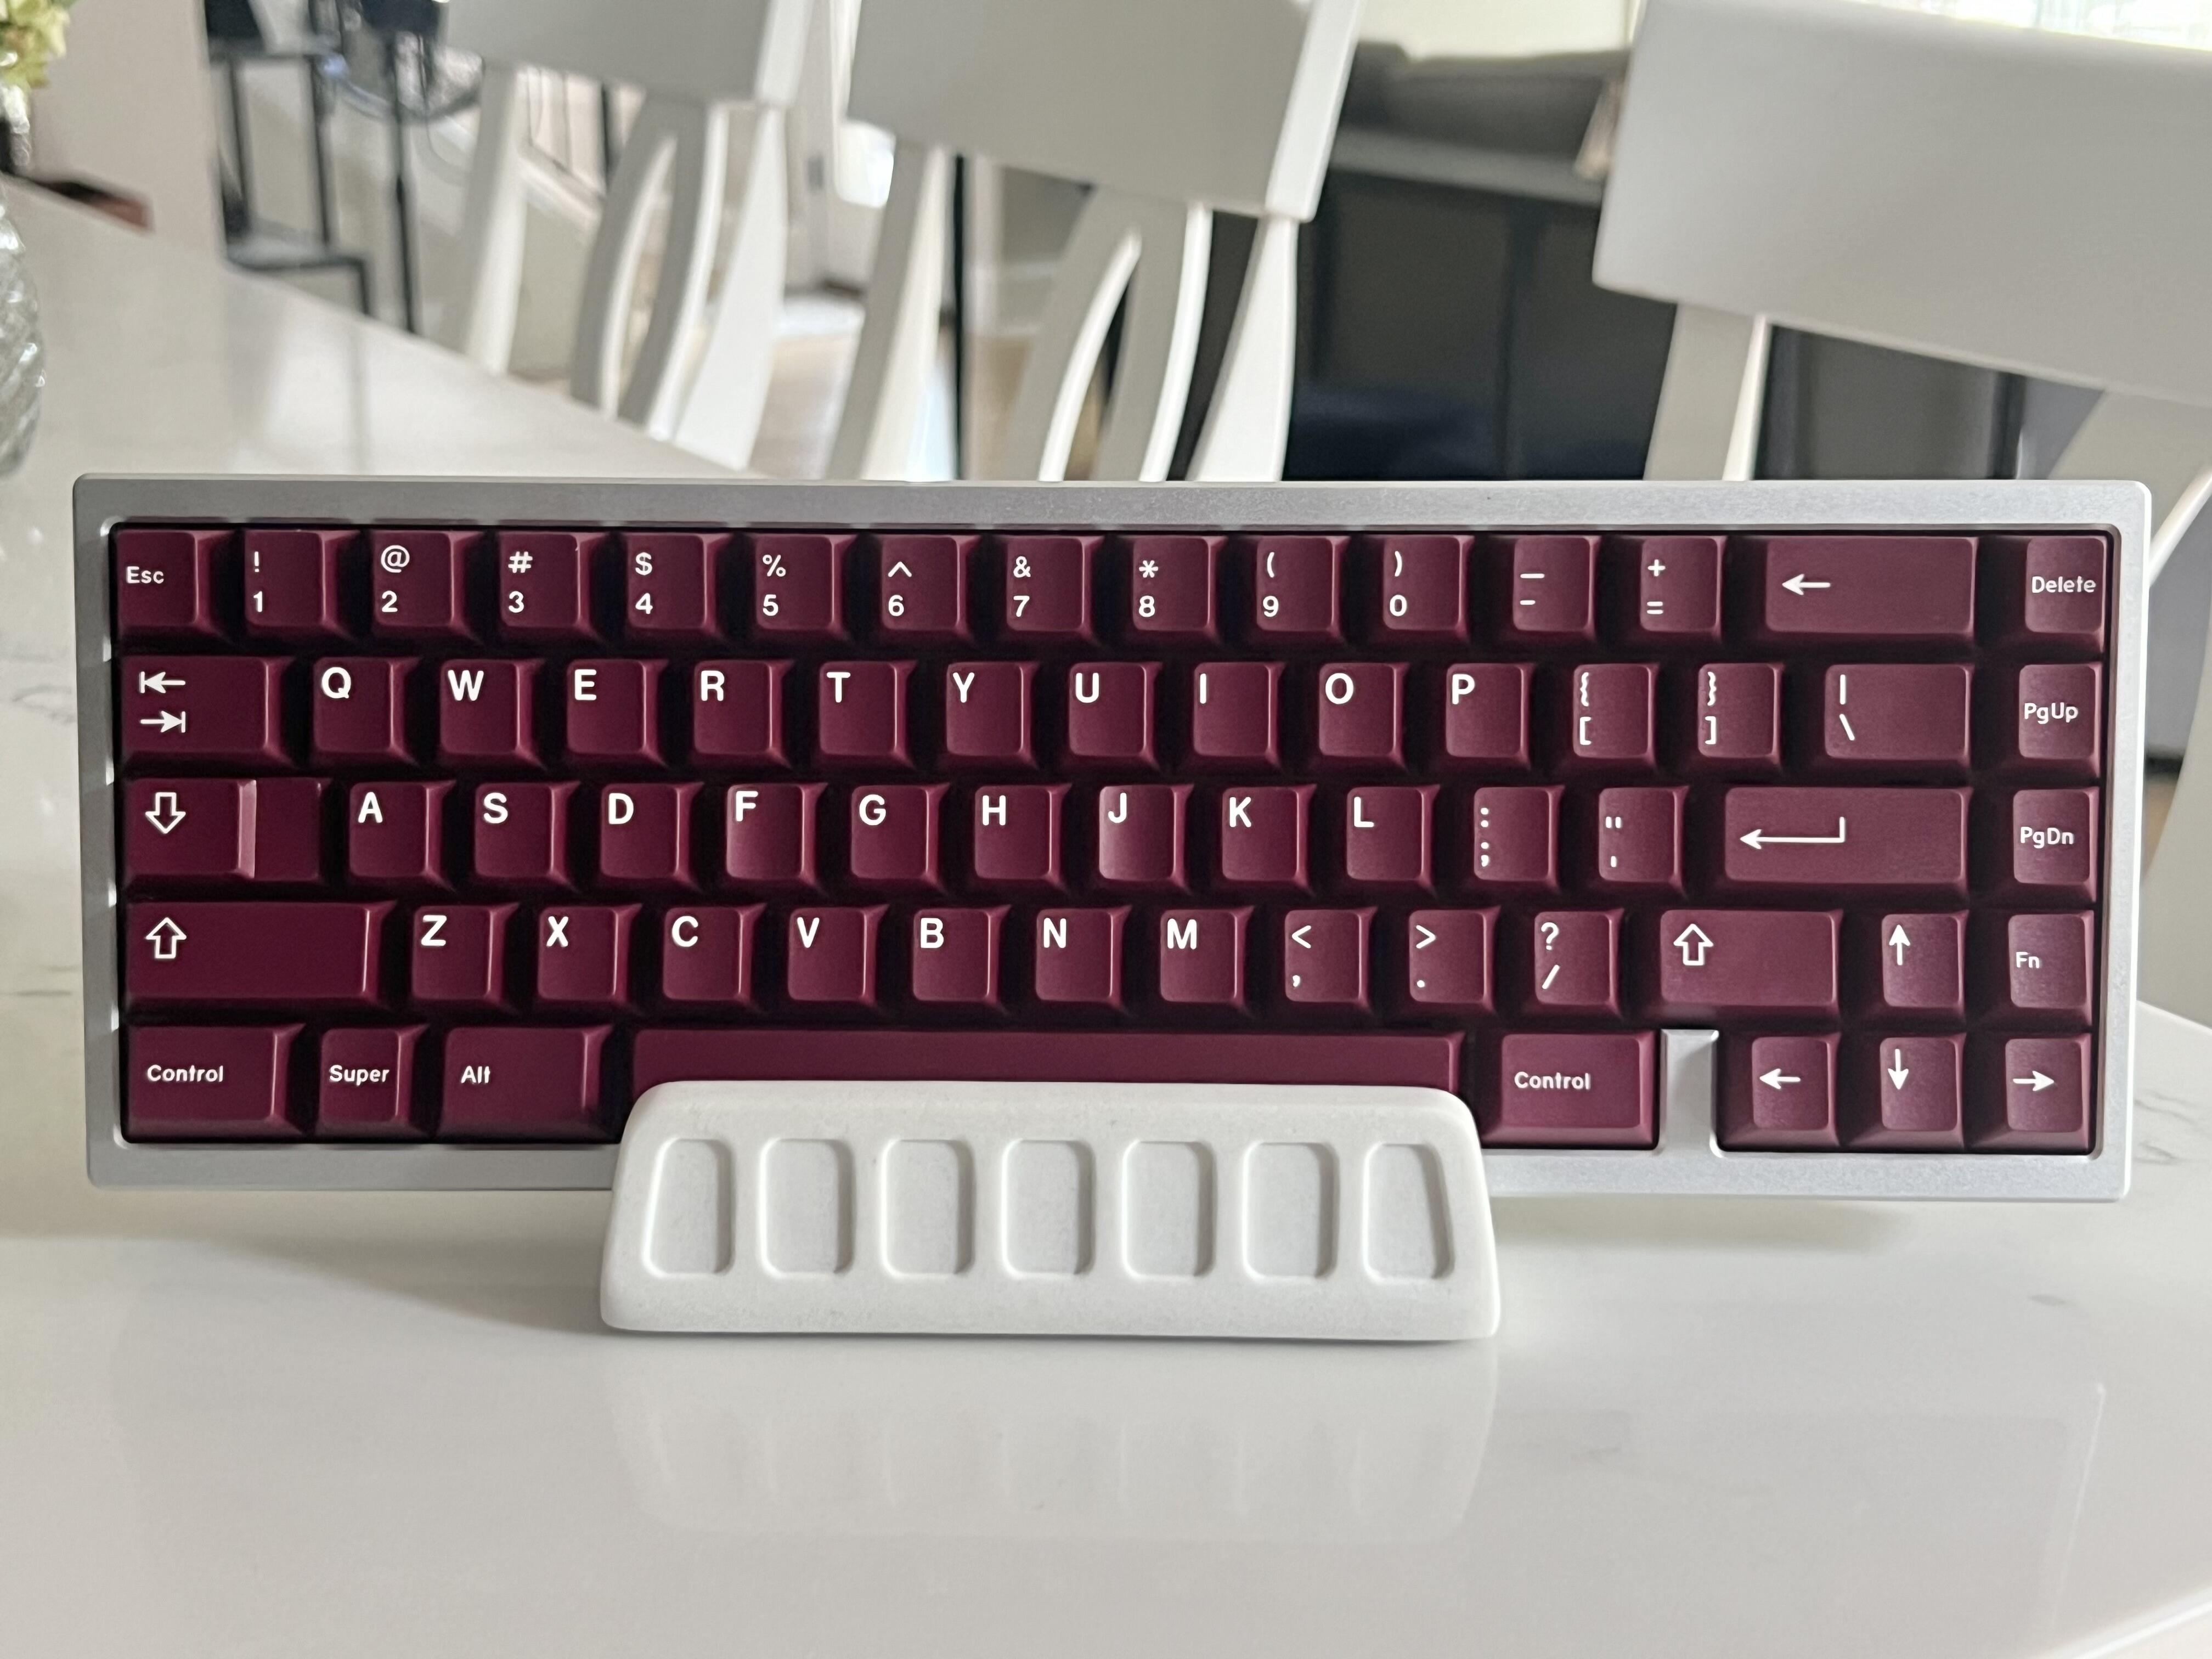
16 Likes
God I love that color
1 Like
Yeah, it’s very nice indeed. Even the alternate alpha set looks quite nice.
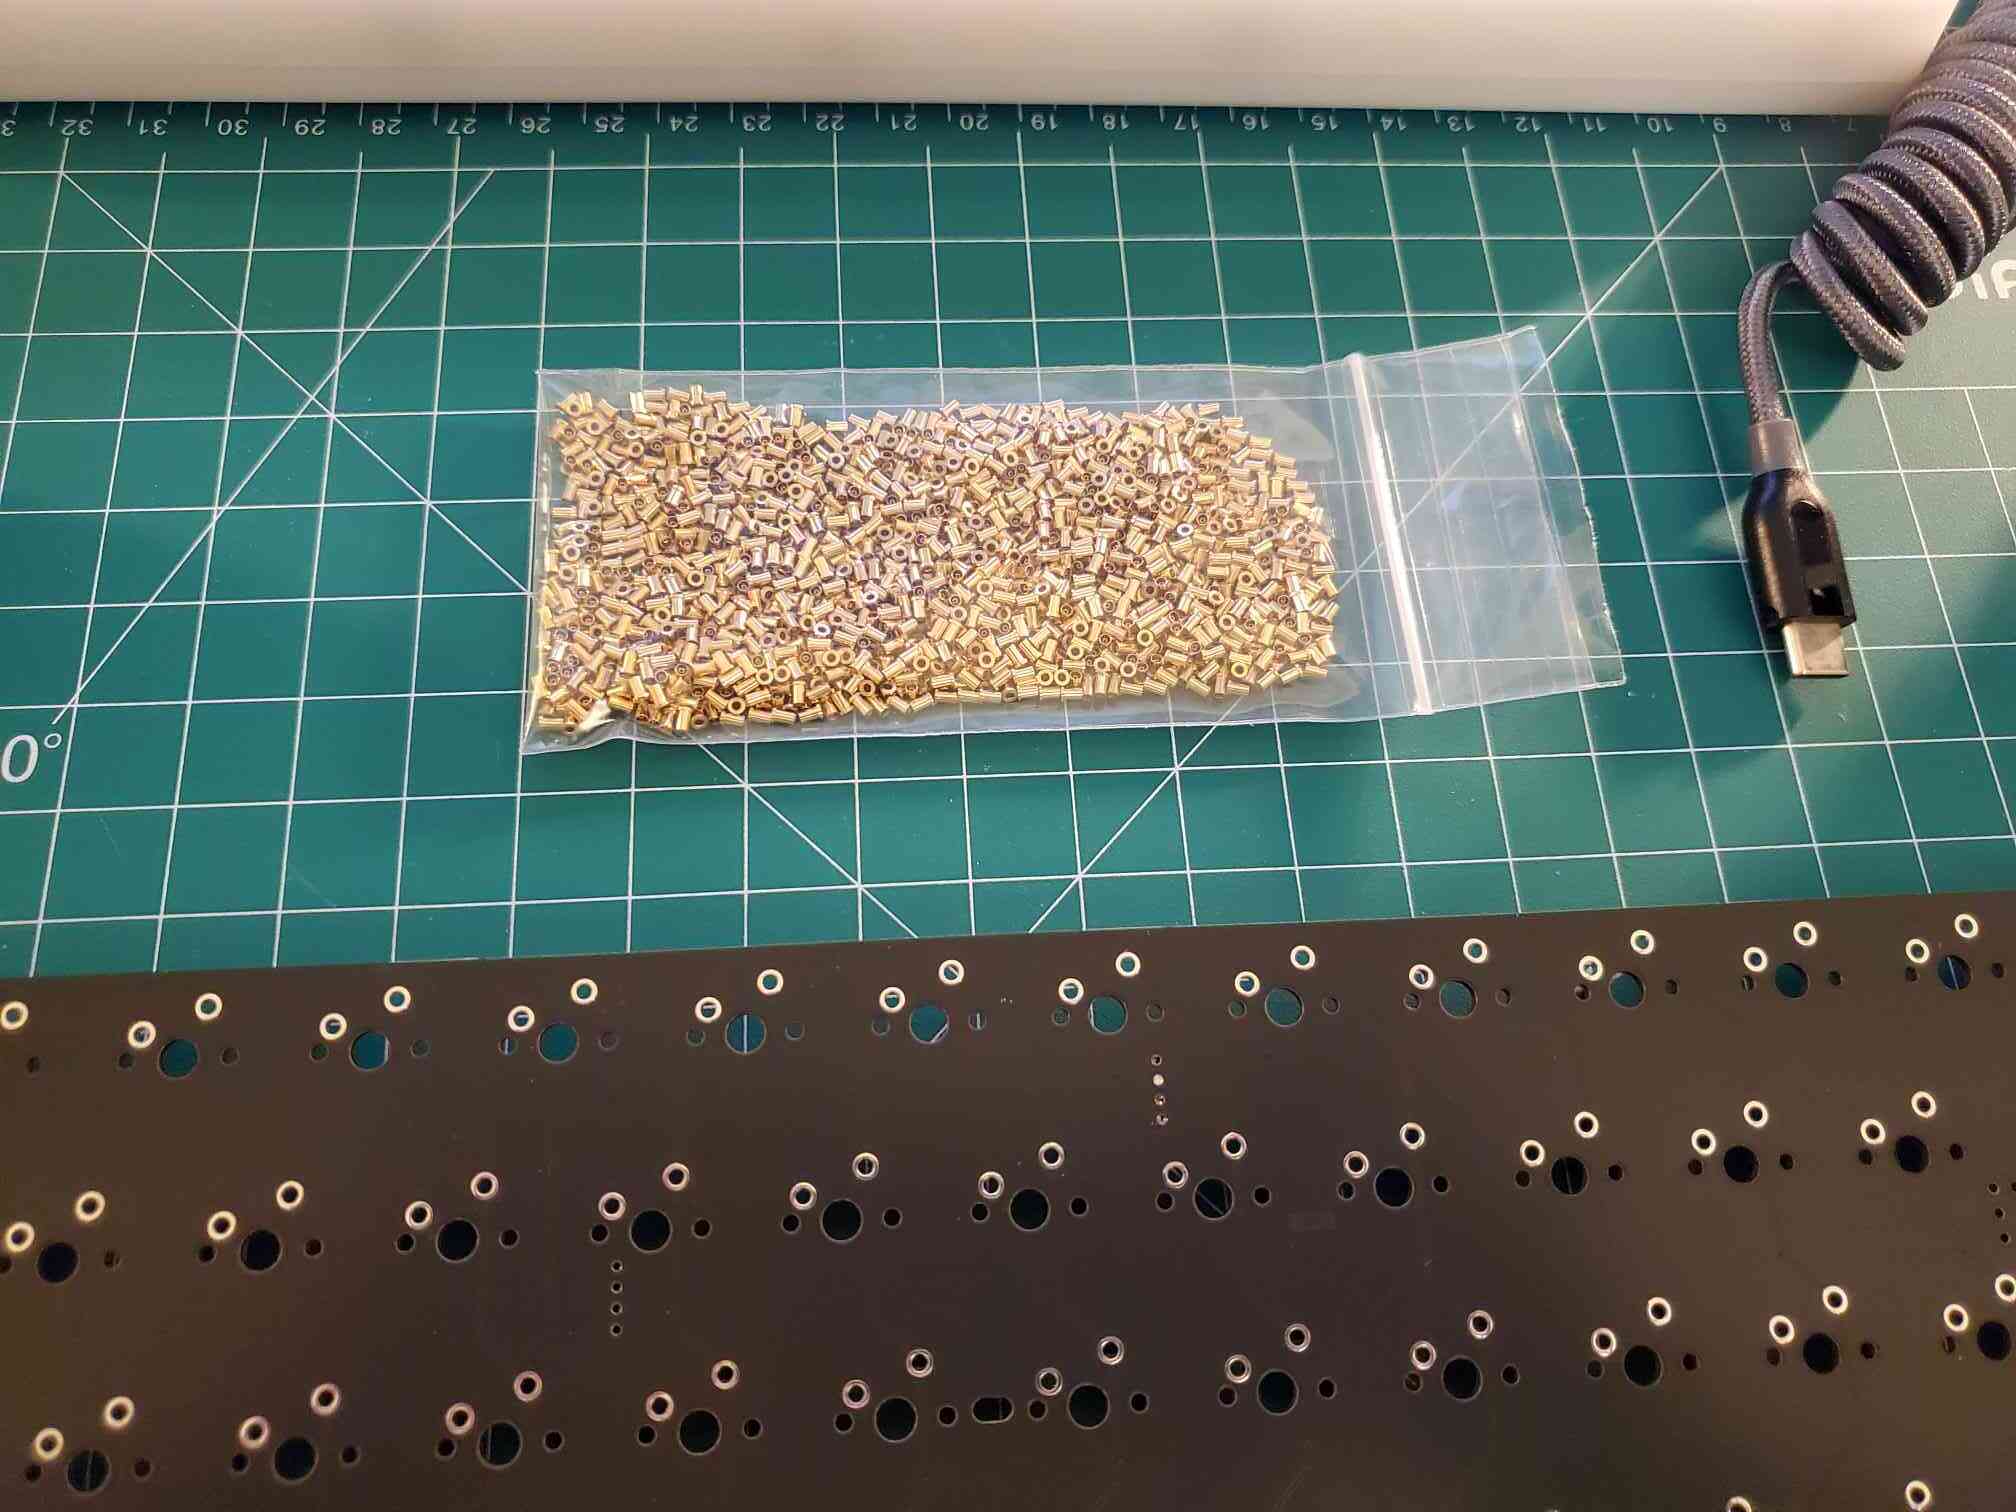
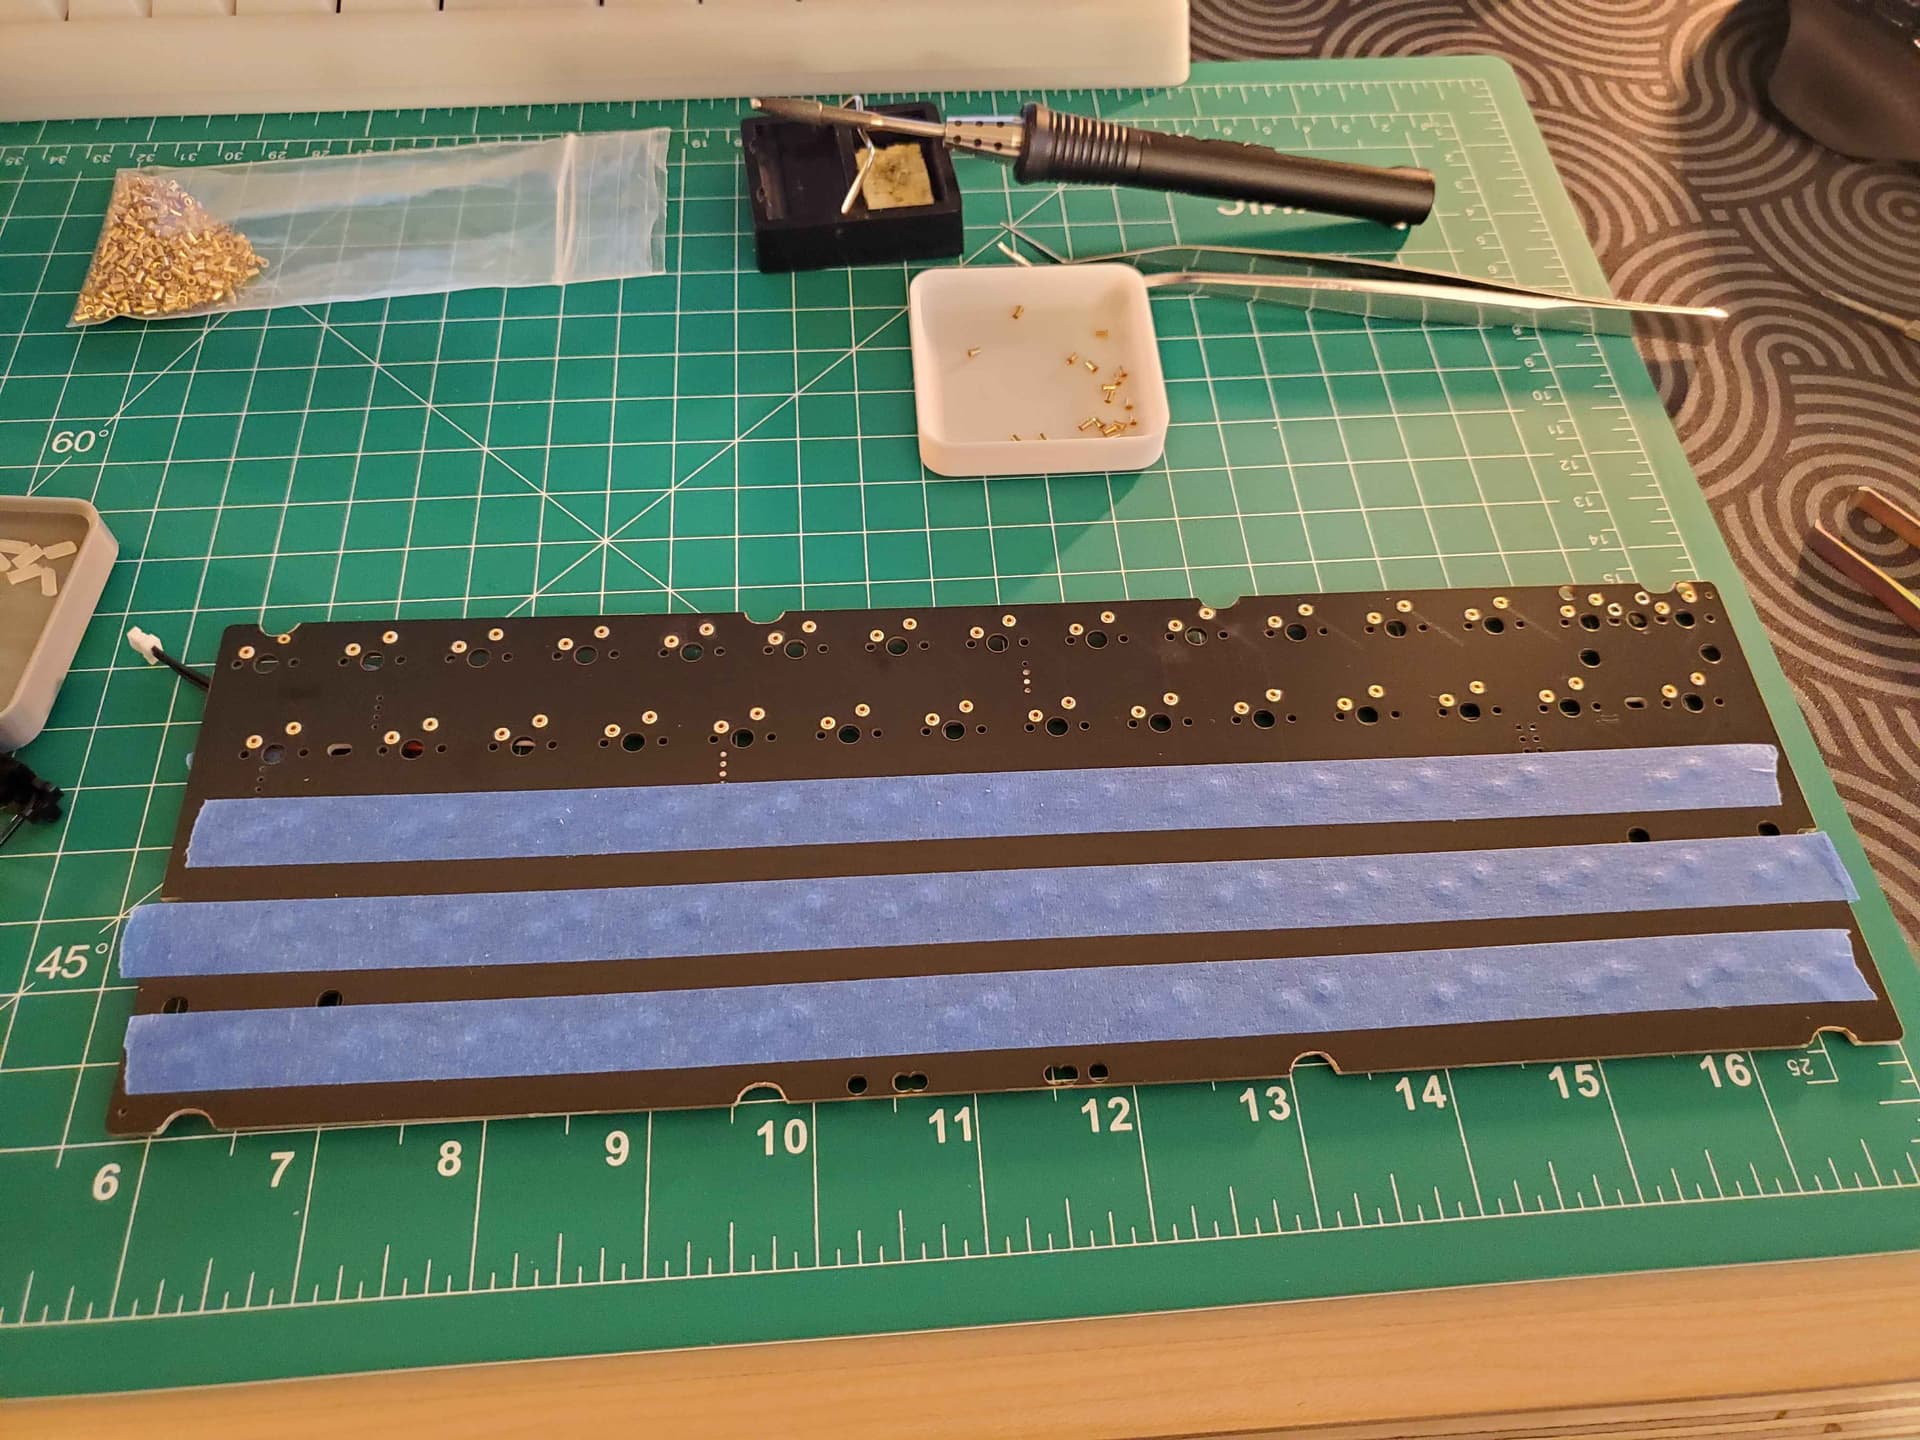
This is what about $300 worth of mill max sockets looks like. I love/hate this shit…
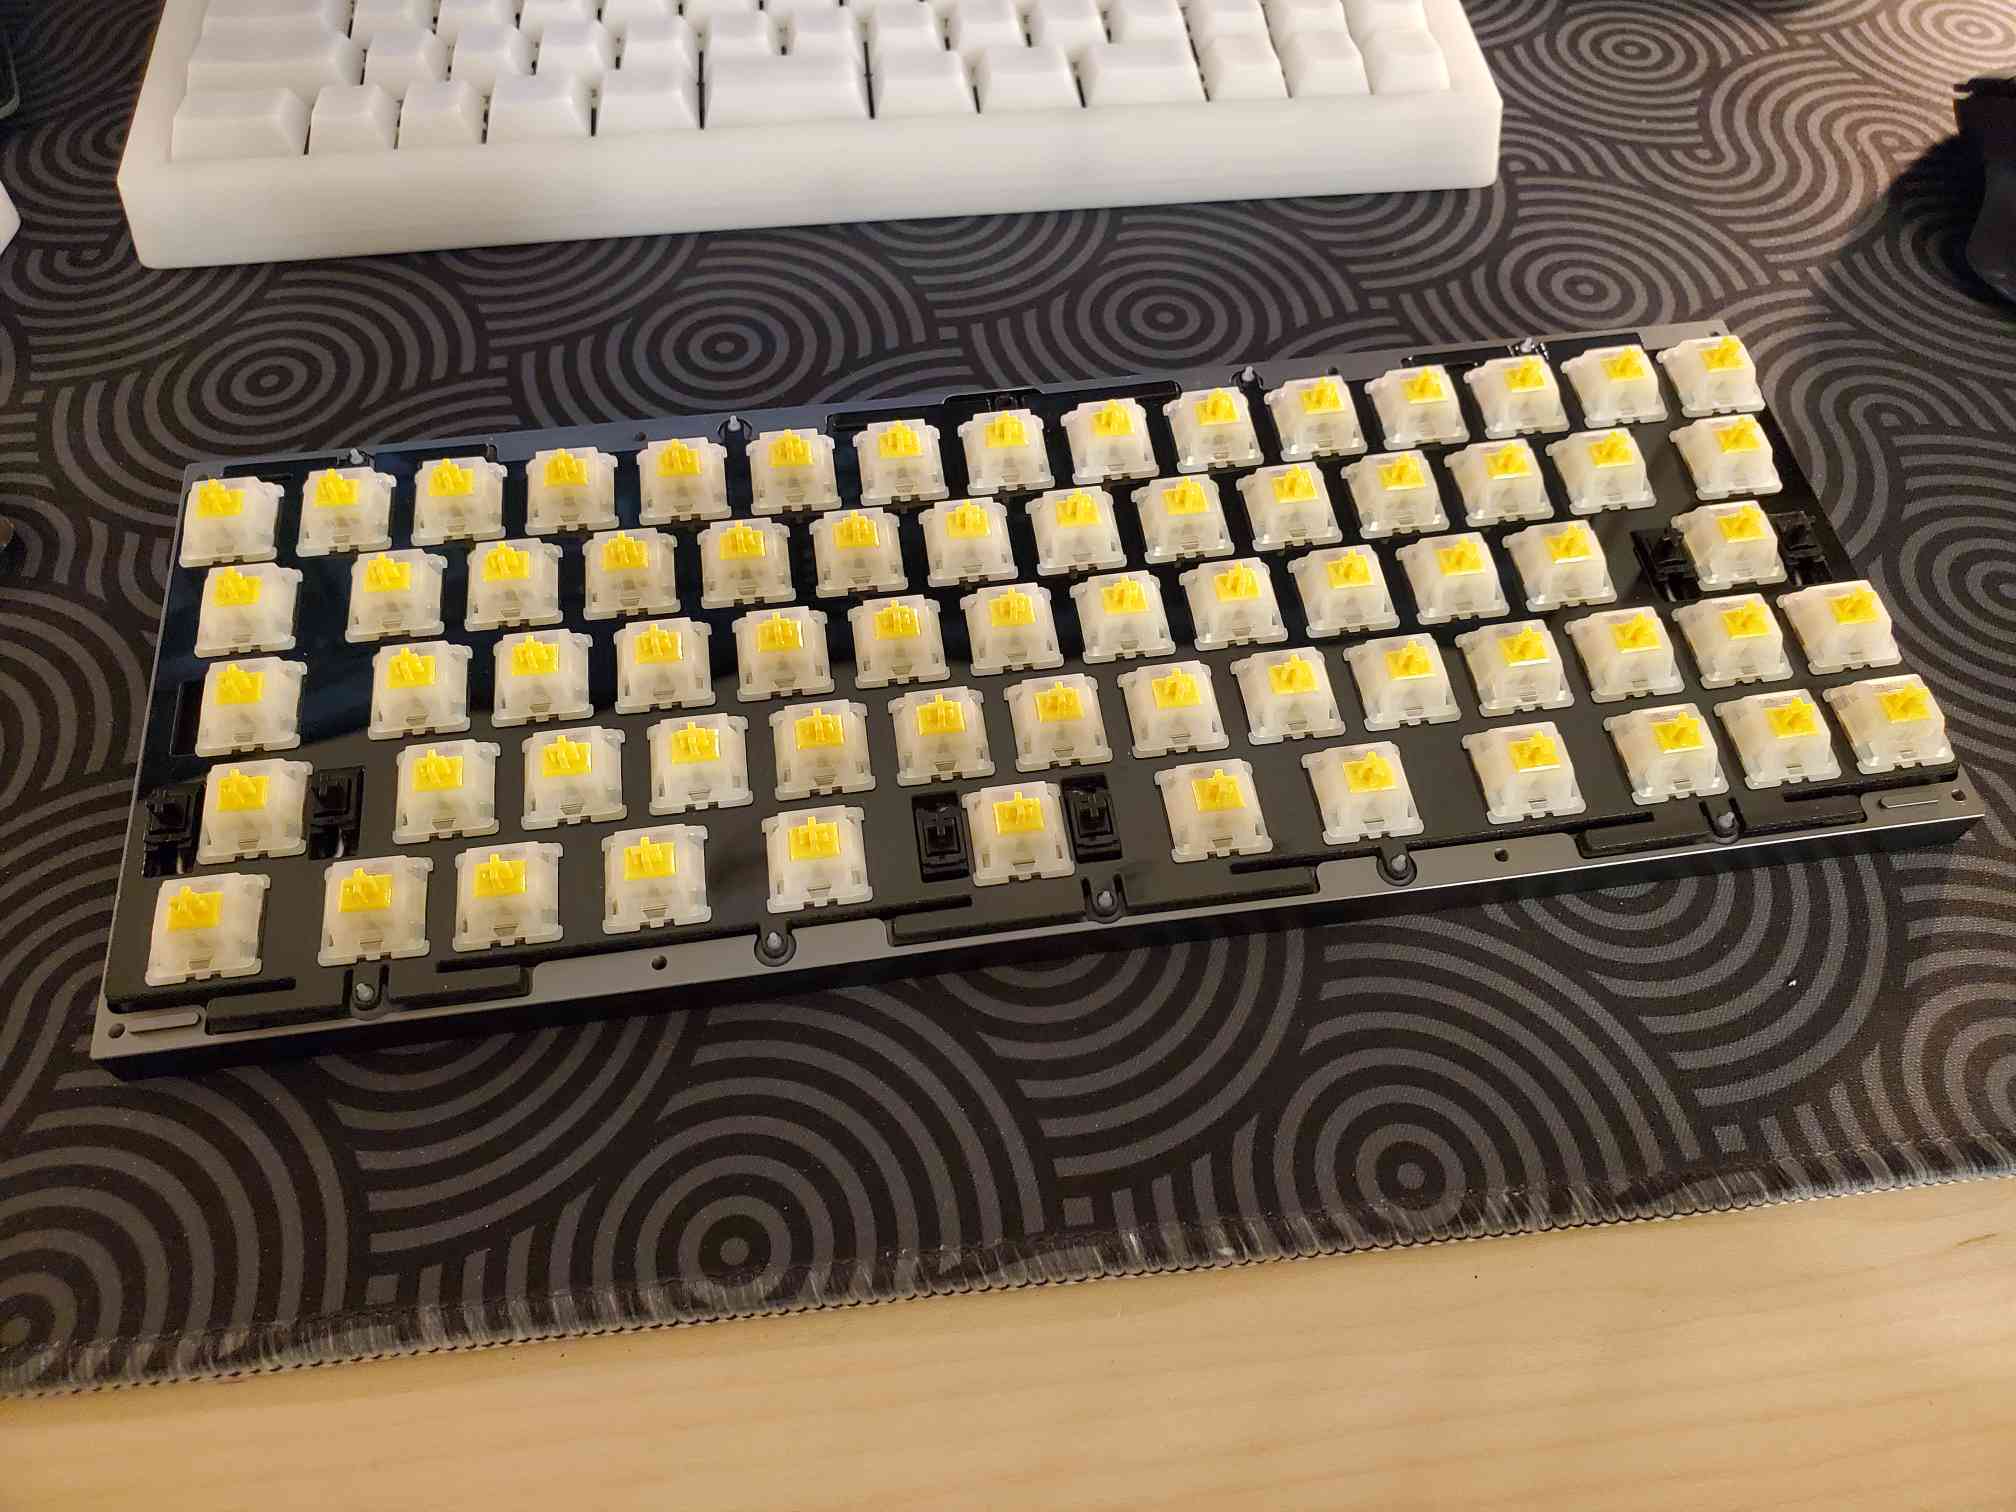
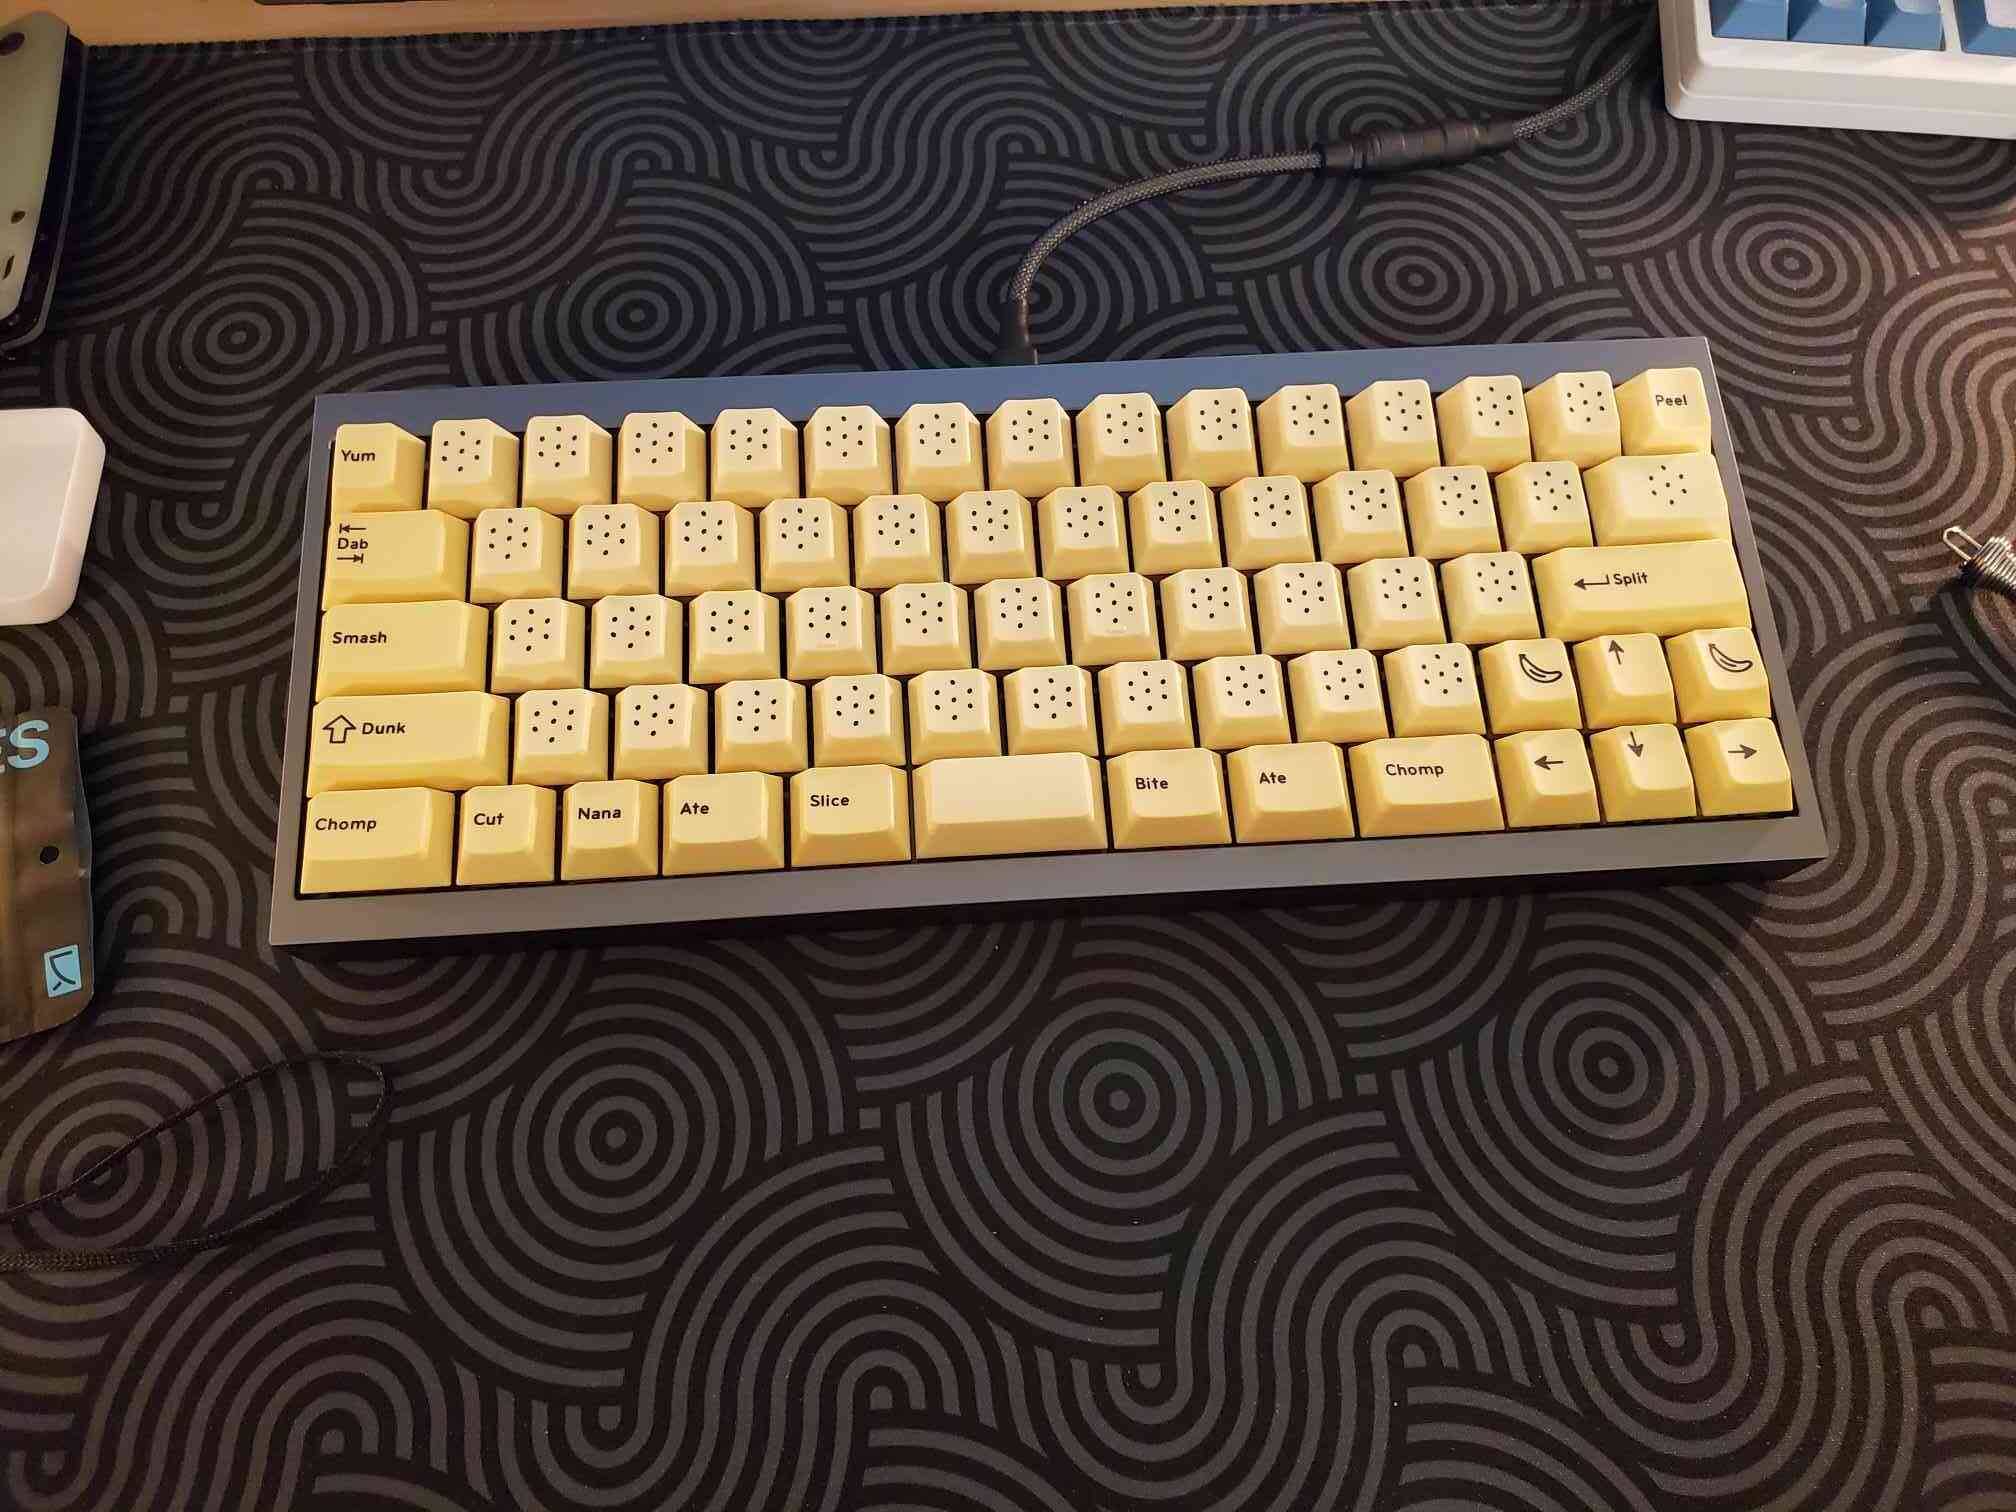
Mill maxed a pcb and built one of my Tofu 2.0s. Love the gray and I think DCD Banana looks alright on it but I wonder if a different set would look better.
The bowl mount is actually pretty spectacular but I definitely got pretty frustrated trying to keep those stupid little bowls seated in the bottom case while trying to hook up the jst connector. I’m getting a tiny bit of hollowness in the mods I may add a touch of polyfill. Otherwise, damn the Tofu 2.0 sounds and feels so much better than the original and the Redux, they’re completely different keebs (obviously).
11 Likes
Have you tried also socks gasket mount?
3 Likes
Nope, I may try it but I’m kinda digging the bowls. I expect the socks to be a bit stiffer but I may be wrong–I’m currently enjoying the soft bounce of the bowls. I’ll give it a shot on my second Tofu lol a;sdlfkja;sdlkfja
3 Likes