Hello all big newb here. I recently bought an XD84 Pro, and everything was working fine until I plugged it into a Windows 10 machine. None of the keys work whatsoever. First I tried to flash the keyboard with the instructions provided by KPrepublic, but realized I still had no clue what they were trying to tell me what to do. (drive google com/drive/folders/1CVmRb5L1zILntsZTWsJpJZc3-TkE-BWO) So I tried to flash the keyboard with QMK Toolbox. The flash was successful at one point after installing the drivers through zip, but even so the keys still do not work. Any assistance is appreciated! Thank you!
Ahoy there, Kugirea!
It sounds like you might need to download a configured keymap to flash onto your board. If you haven’t tried this already, you can download one here:
Let me know if you have any other questions and I’ll do my best to help you out!
Hi thanks for the reply, but I have downloaded a config as a hex file, and tried to flash that if that’s what you are referring to.
I believe the .hex file is only half of what you need to flash a fully functioning keyboard - it’s like the skeleton for the keymap, if I understand correctly.
After opening the .hex file in QMK toolbox, you’ll then need to load the .json keymap file from the link above. (You can download it with the left-most green button just above the representation of the keys.)
From there, you should be able to flash it onto the keyboard.
I’m sorry would you mind explaining that step by step.
Sure, I’ll do my best! I think I was wrong about needing anything other than the hex. So starting fresh,
1.) At this link, press the “Compile” button at the top-right.
2.) Once it’s finished, download the compiled .hex file using the “↓ Firmware” button.
3.) Open QMK Toolbox
4.) Using the “Open” button near the top of the window, select the new .hex file.
5.) At the top-right of the window, you’ll see a drop-down menu labeled “MCU” - if you have the regular XD84, I believe you’ll want to select “atmega32u4”.
5.) It sounds like you’ll need a magnet to activate the reed switch near the bottom left of the keyboard to put it into flashing mode. It’s the little black bar with a wire on both ends.
6.) Once the keyboard is connected over USB and in flashing mode, all you should have to do is press the “Flash” button in QMK toolbox and wait for it to do its thing.
Let me know if you have any issues!
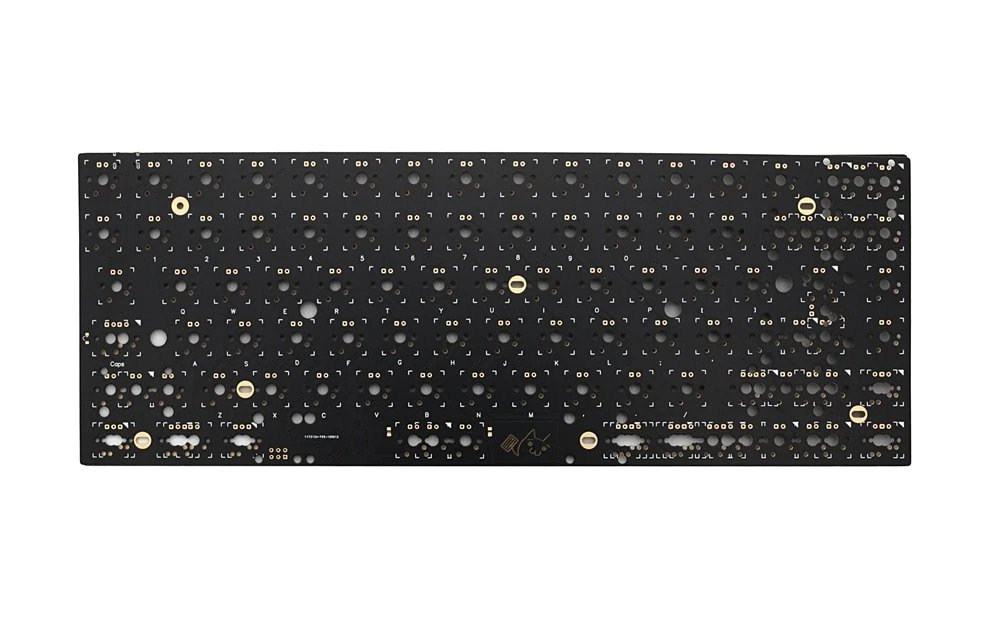
I believe that reed switch is on the other side of the PCB - it kinda blends right in, but I found this video that shows the location, shown around the 1:50 mark:

If your PCB does not have that component and instead just has contacts there, bridging the contacts with something like tweezers while it’s powered should put the board into flashing mode.
The video also looks like it can walk you through the whole process assuming your PCB is like his. I hope that’s helpful!
Thanks!