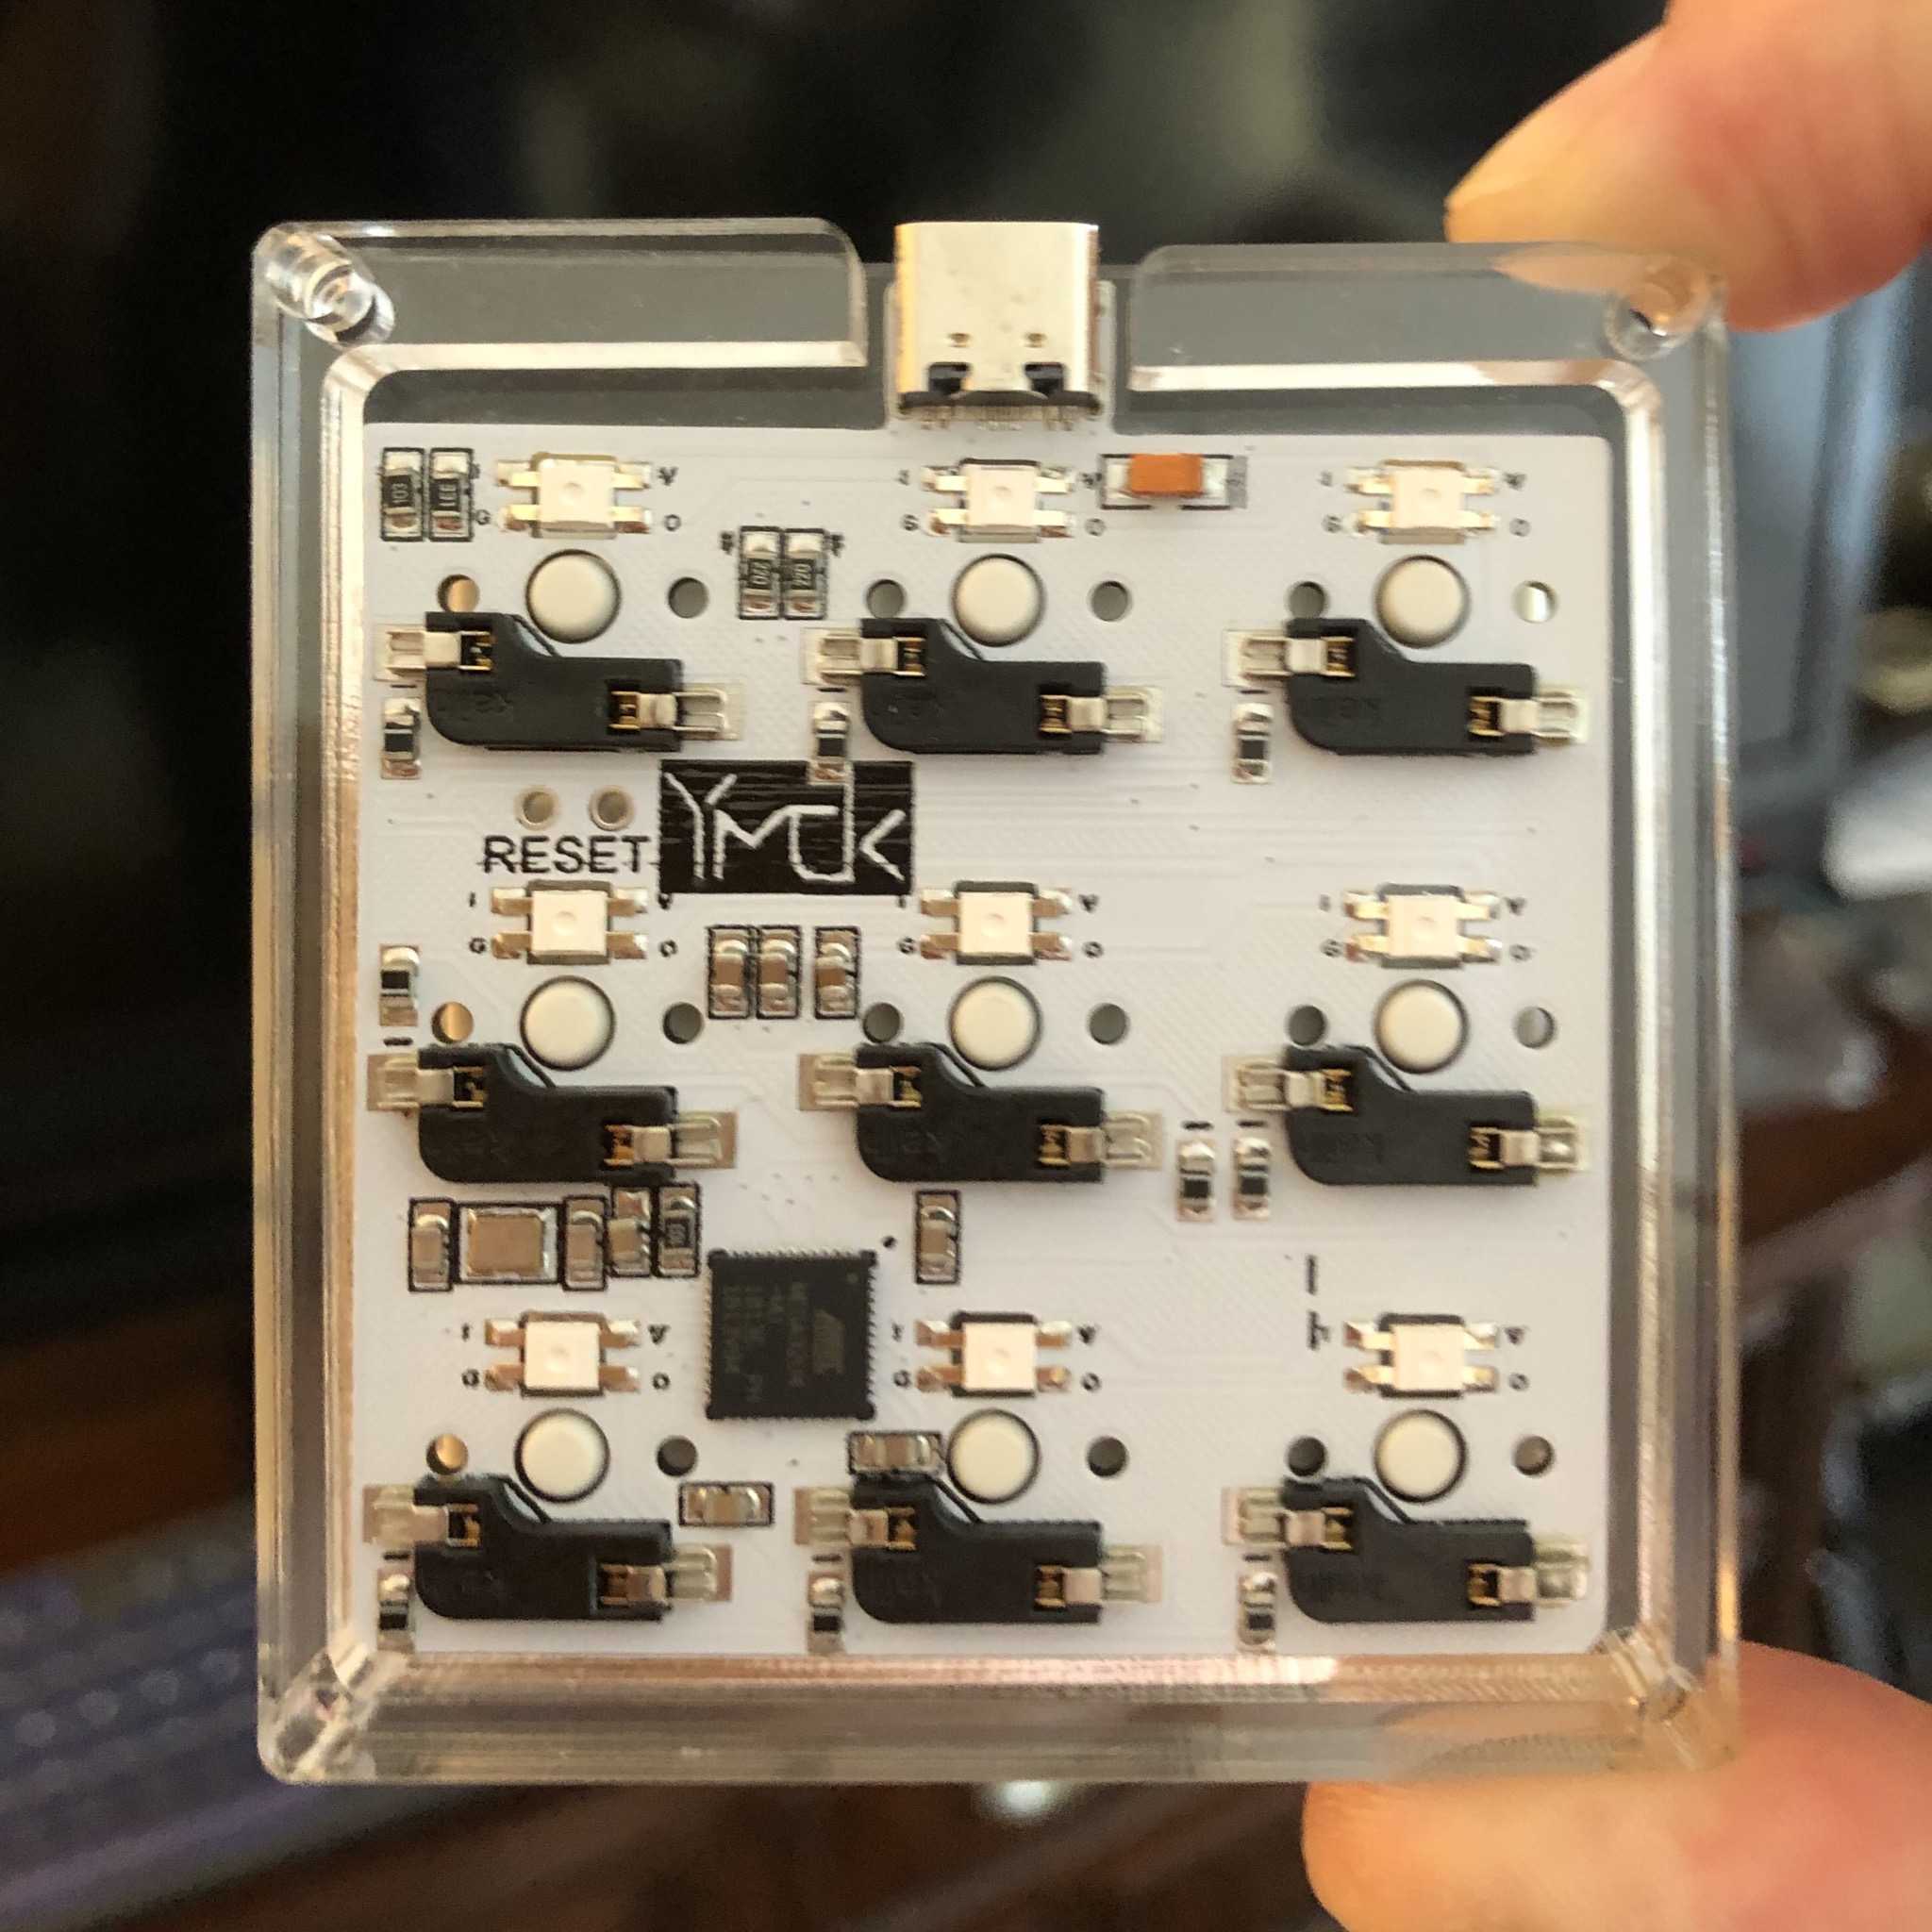
Recently, I got my hands on a neat little hot-swap 9-key macro pad from YMDK. It comes with the PCB and a layered acrylic enclosure.
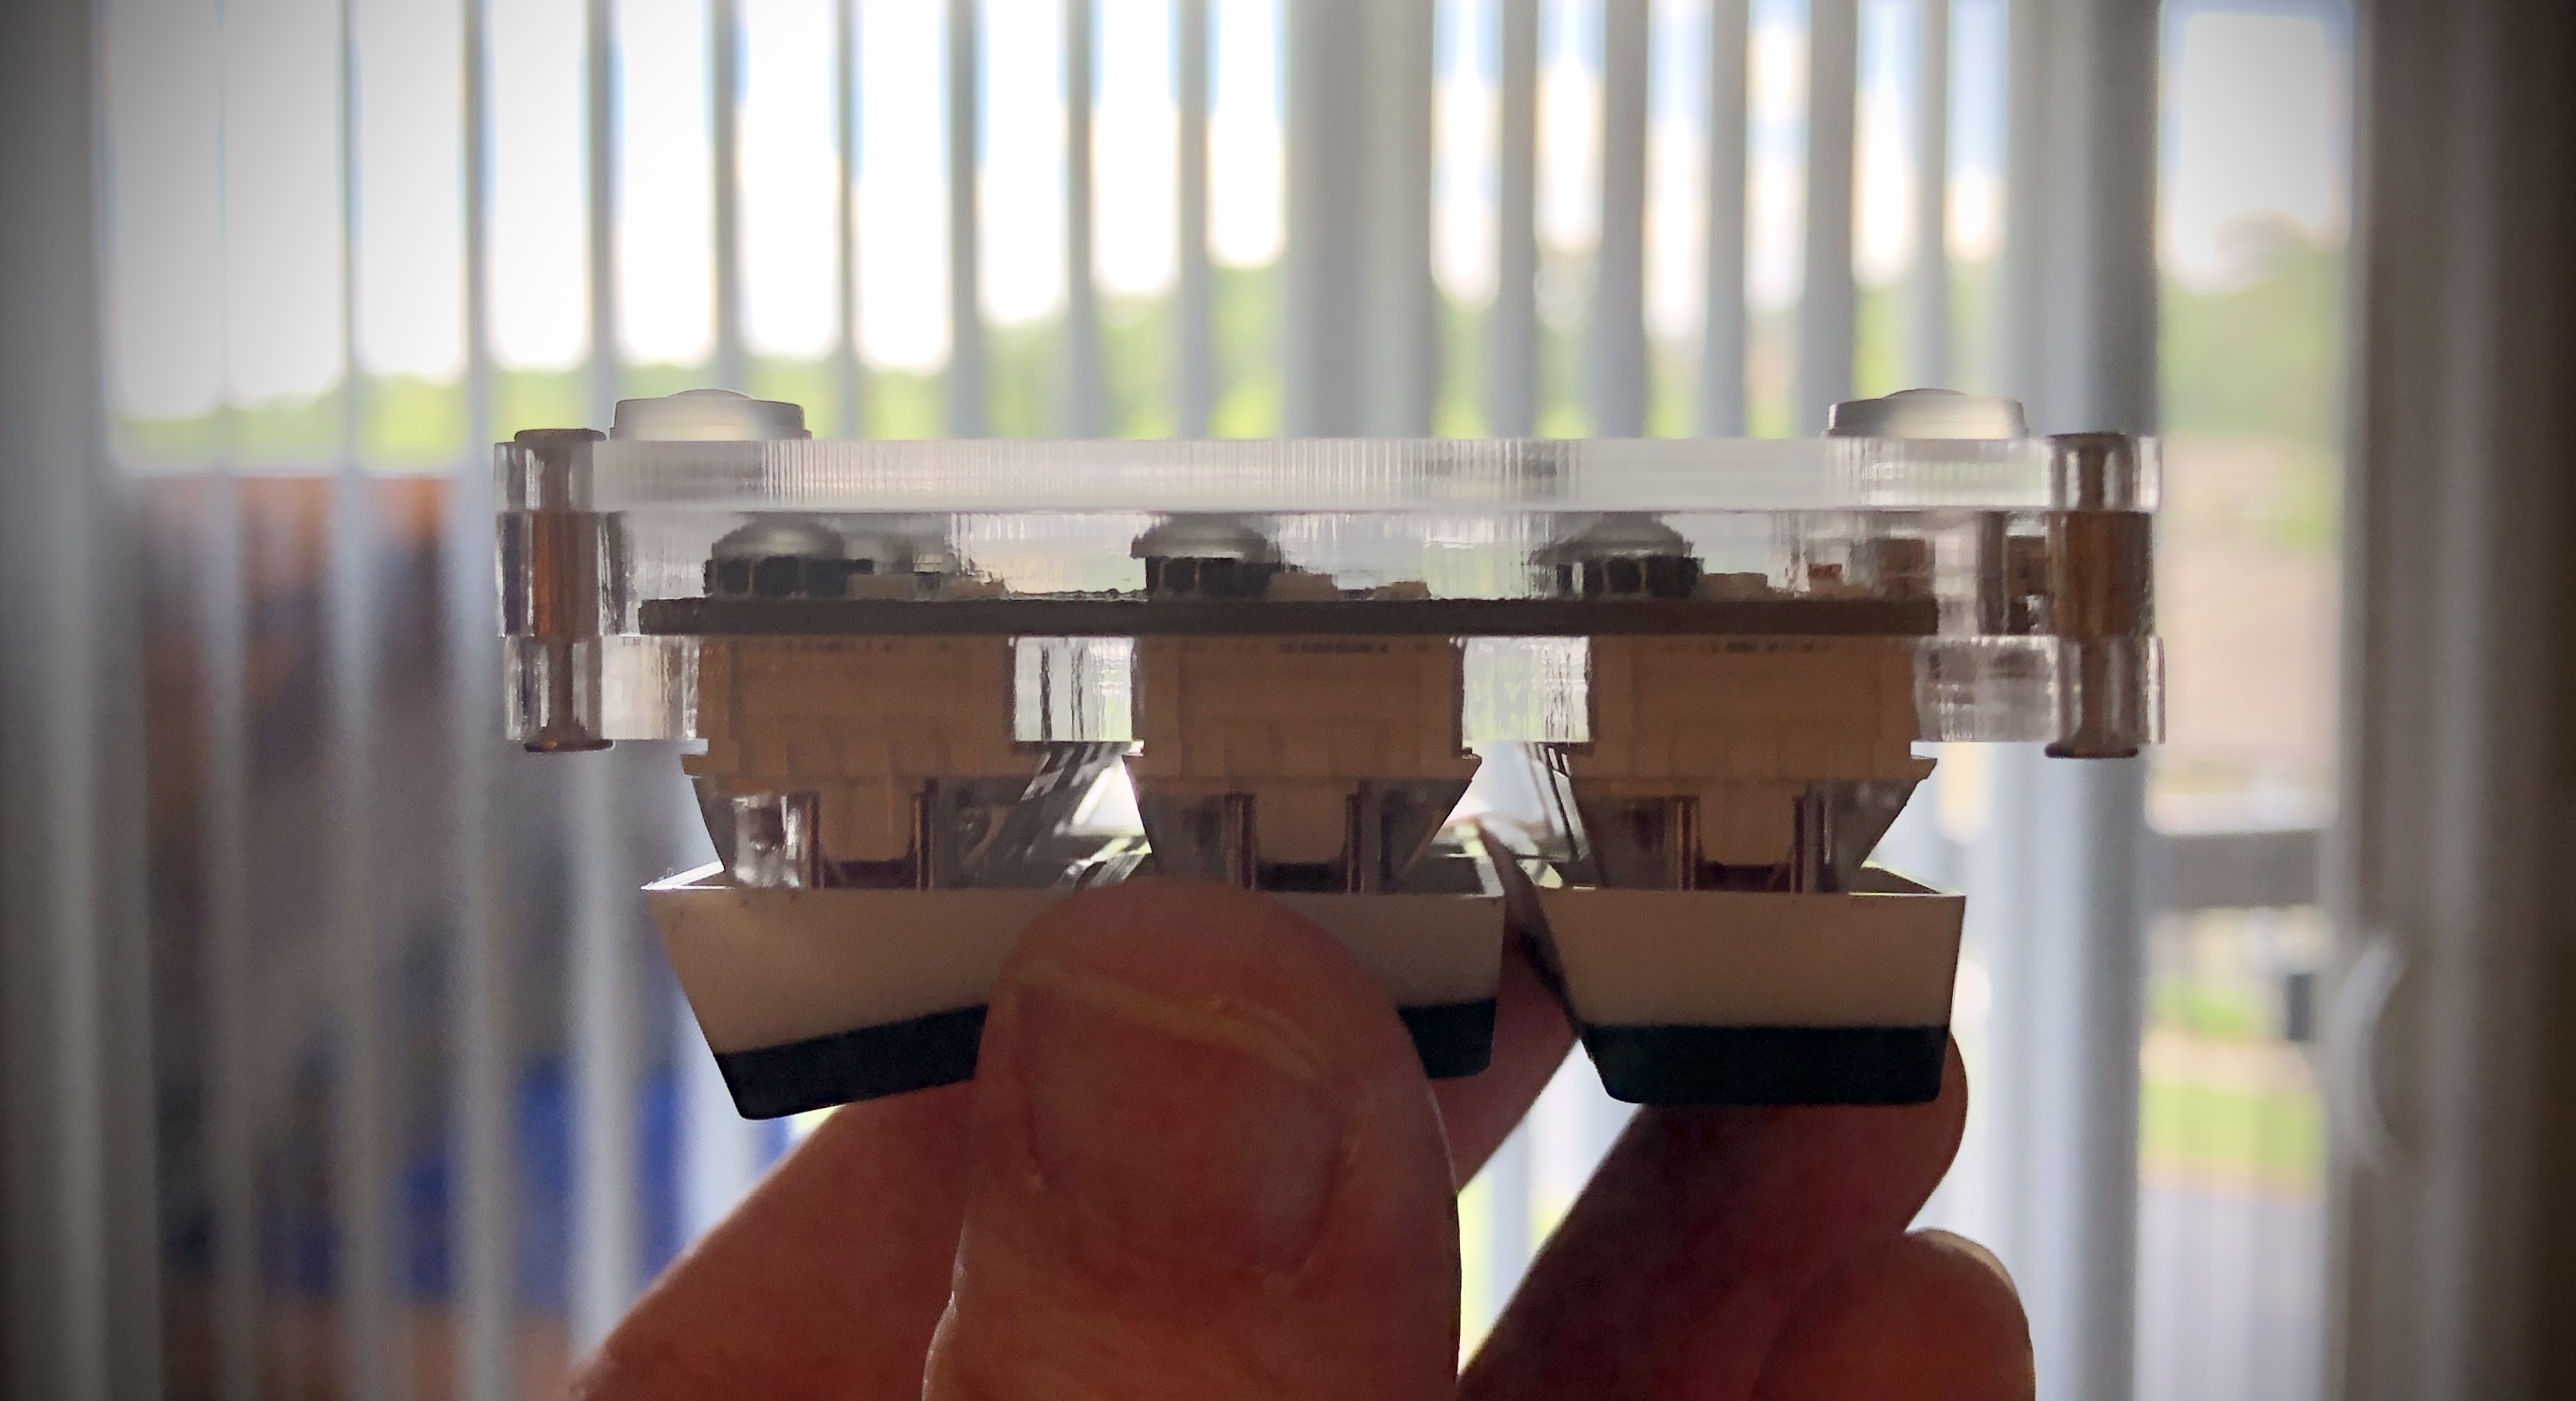
However, the only thing anchoring the PCB with this design are the switches themselves - which can be a problem when you want to change them out, especially when there’s some room for the PCB to rattle around:
Another issue with this is that the switches will end up not plugged-in all the way, and likely un-evenly between switches:
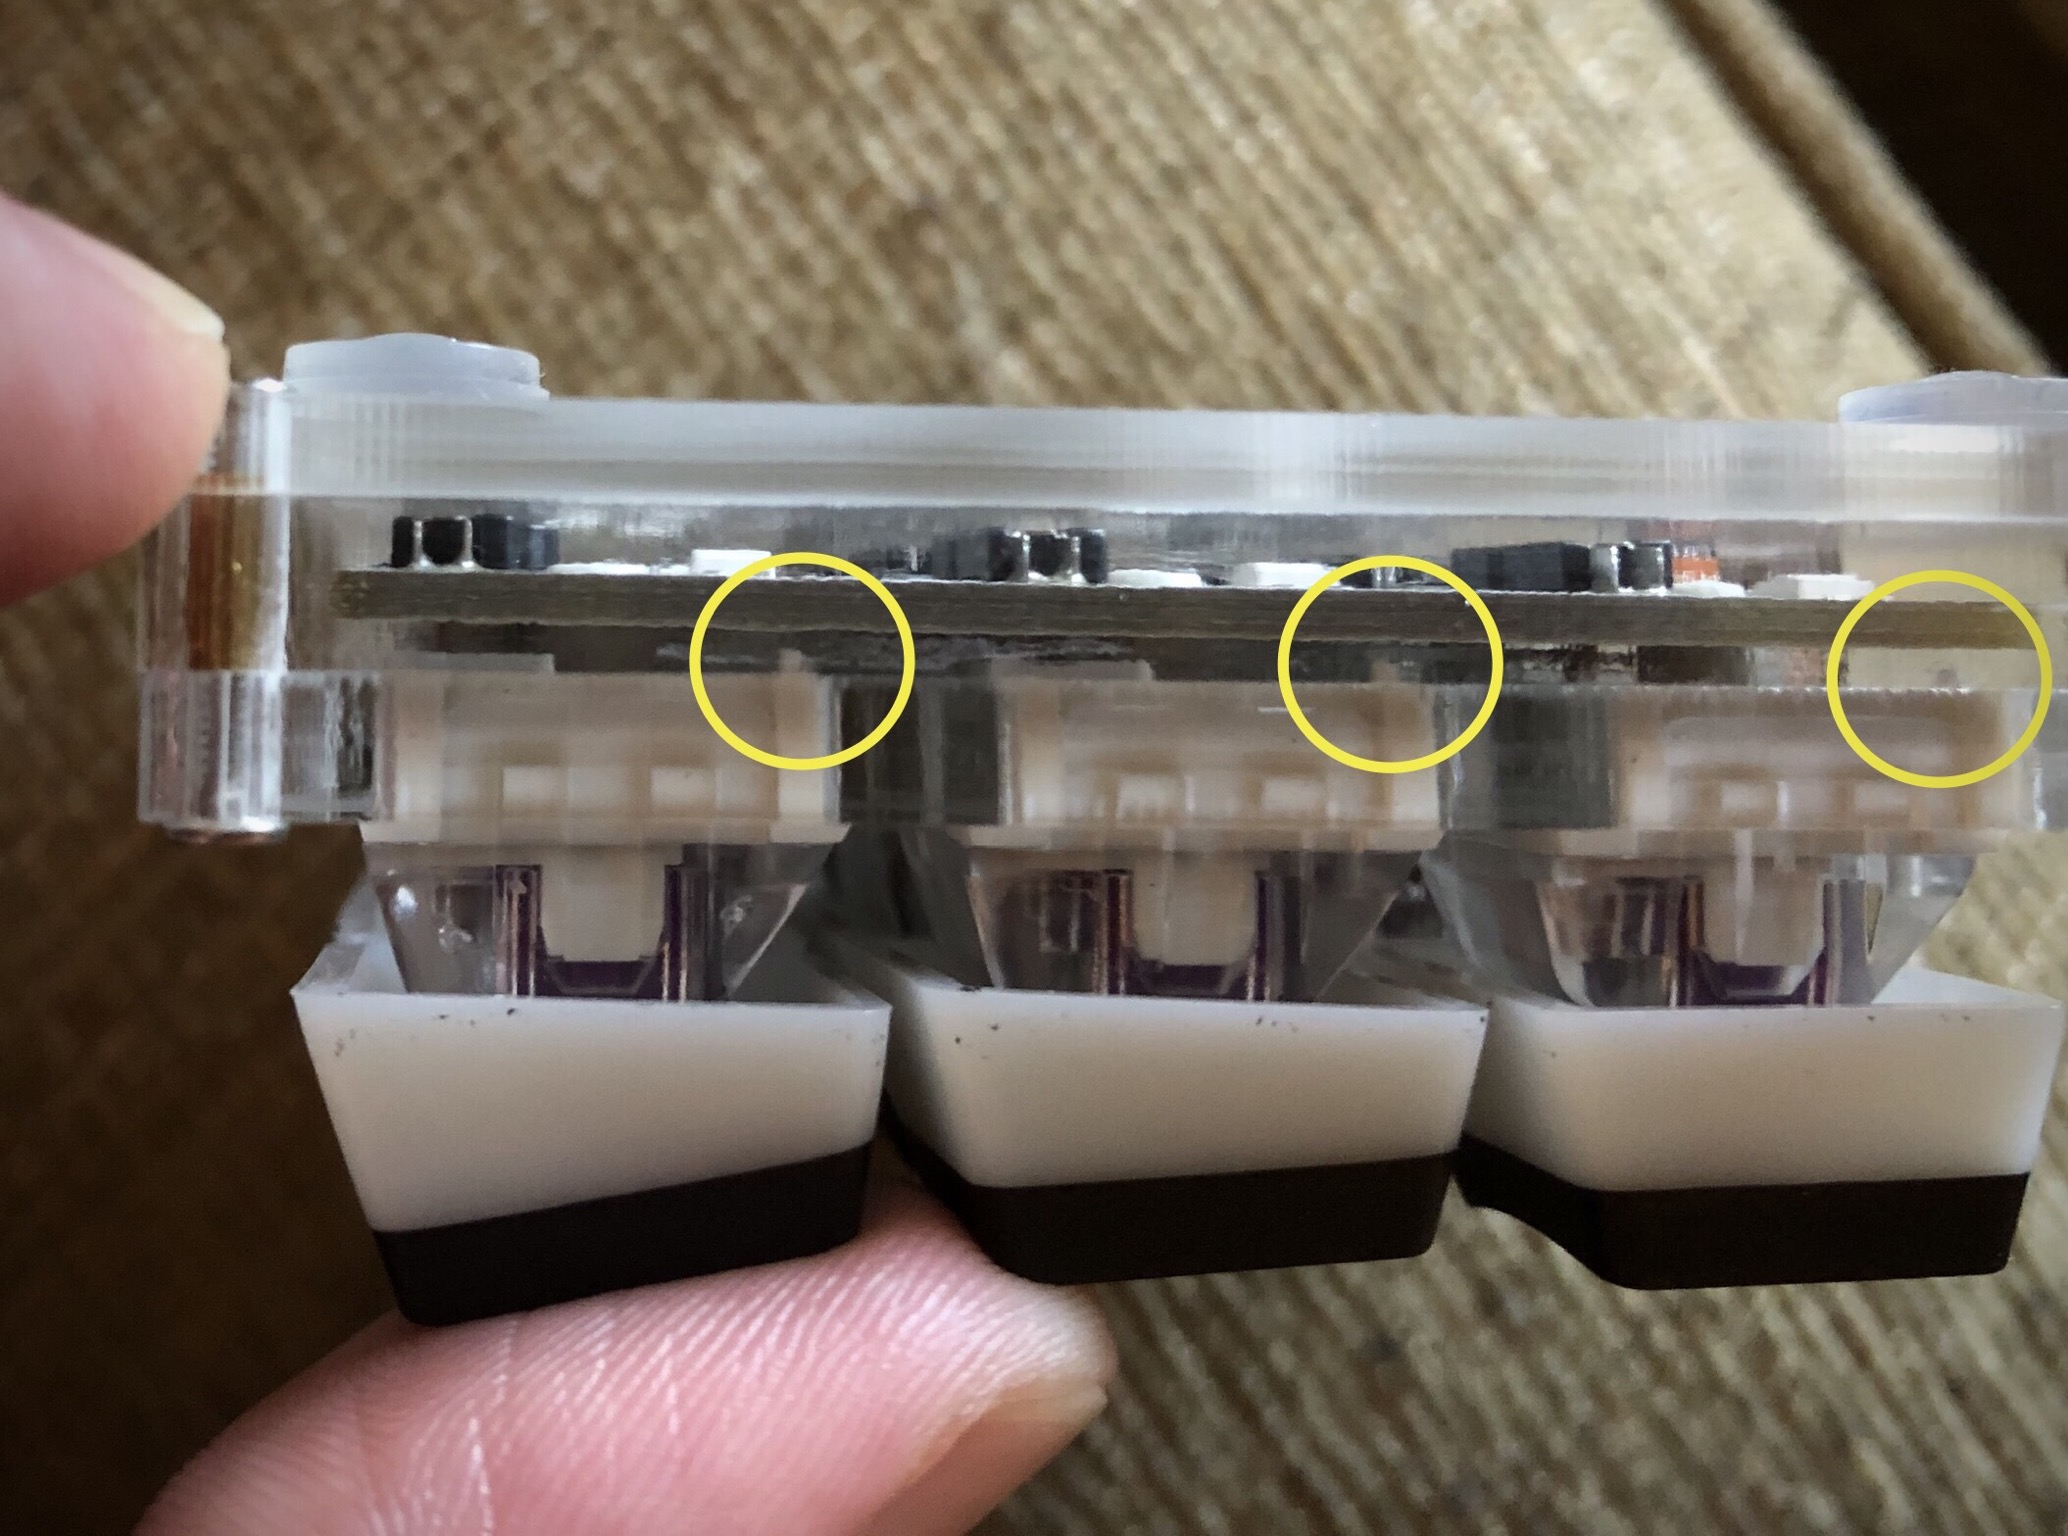
With the PCB essentially dangling by the half plugged-in switch pins, I was concerned about pressure on them when plugging in the USB cable.

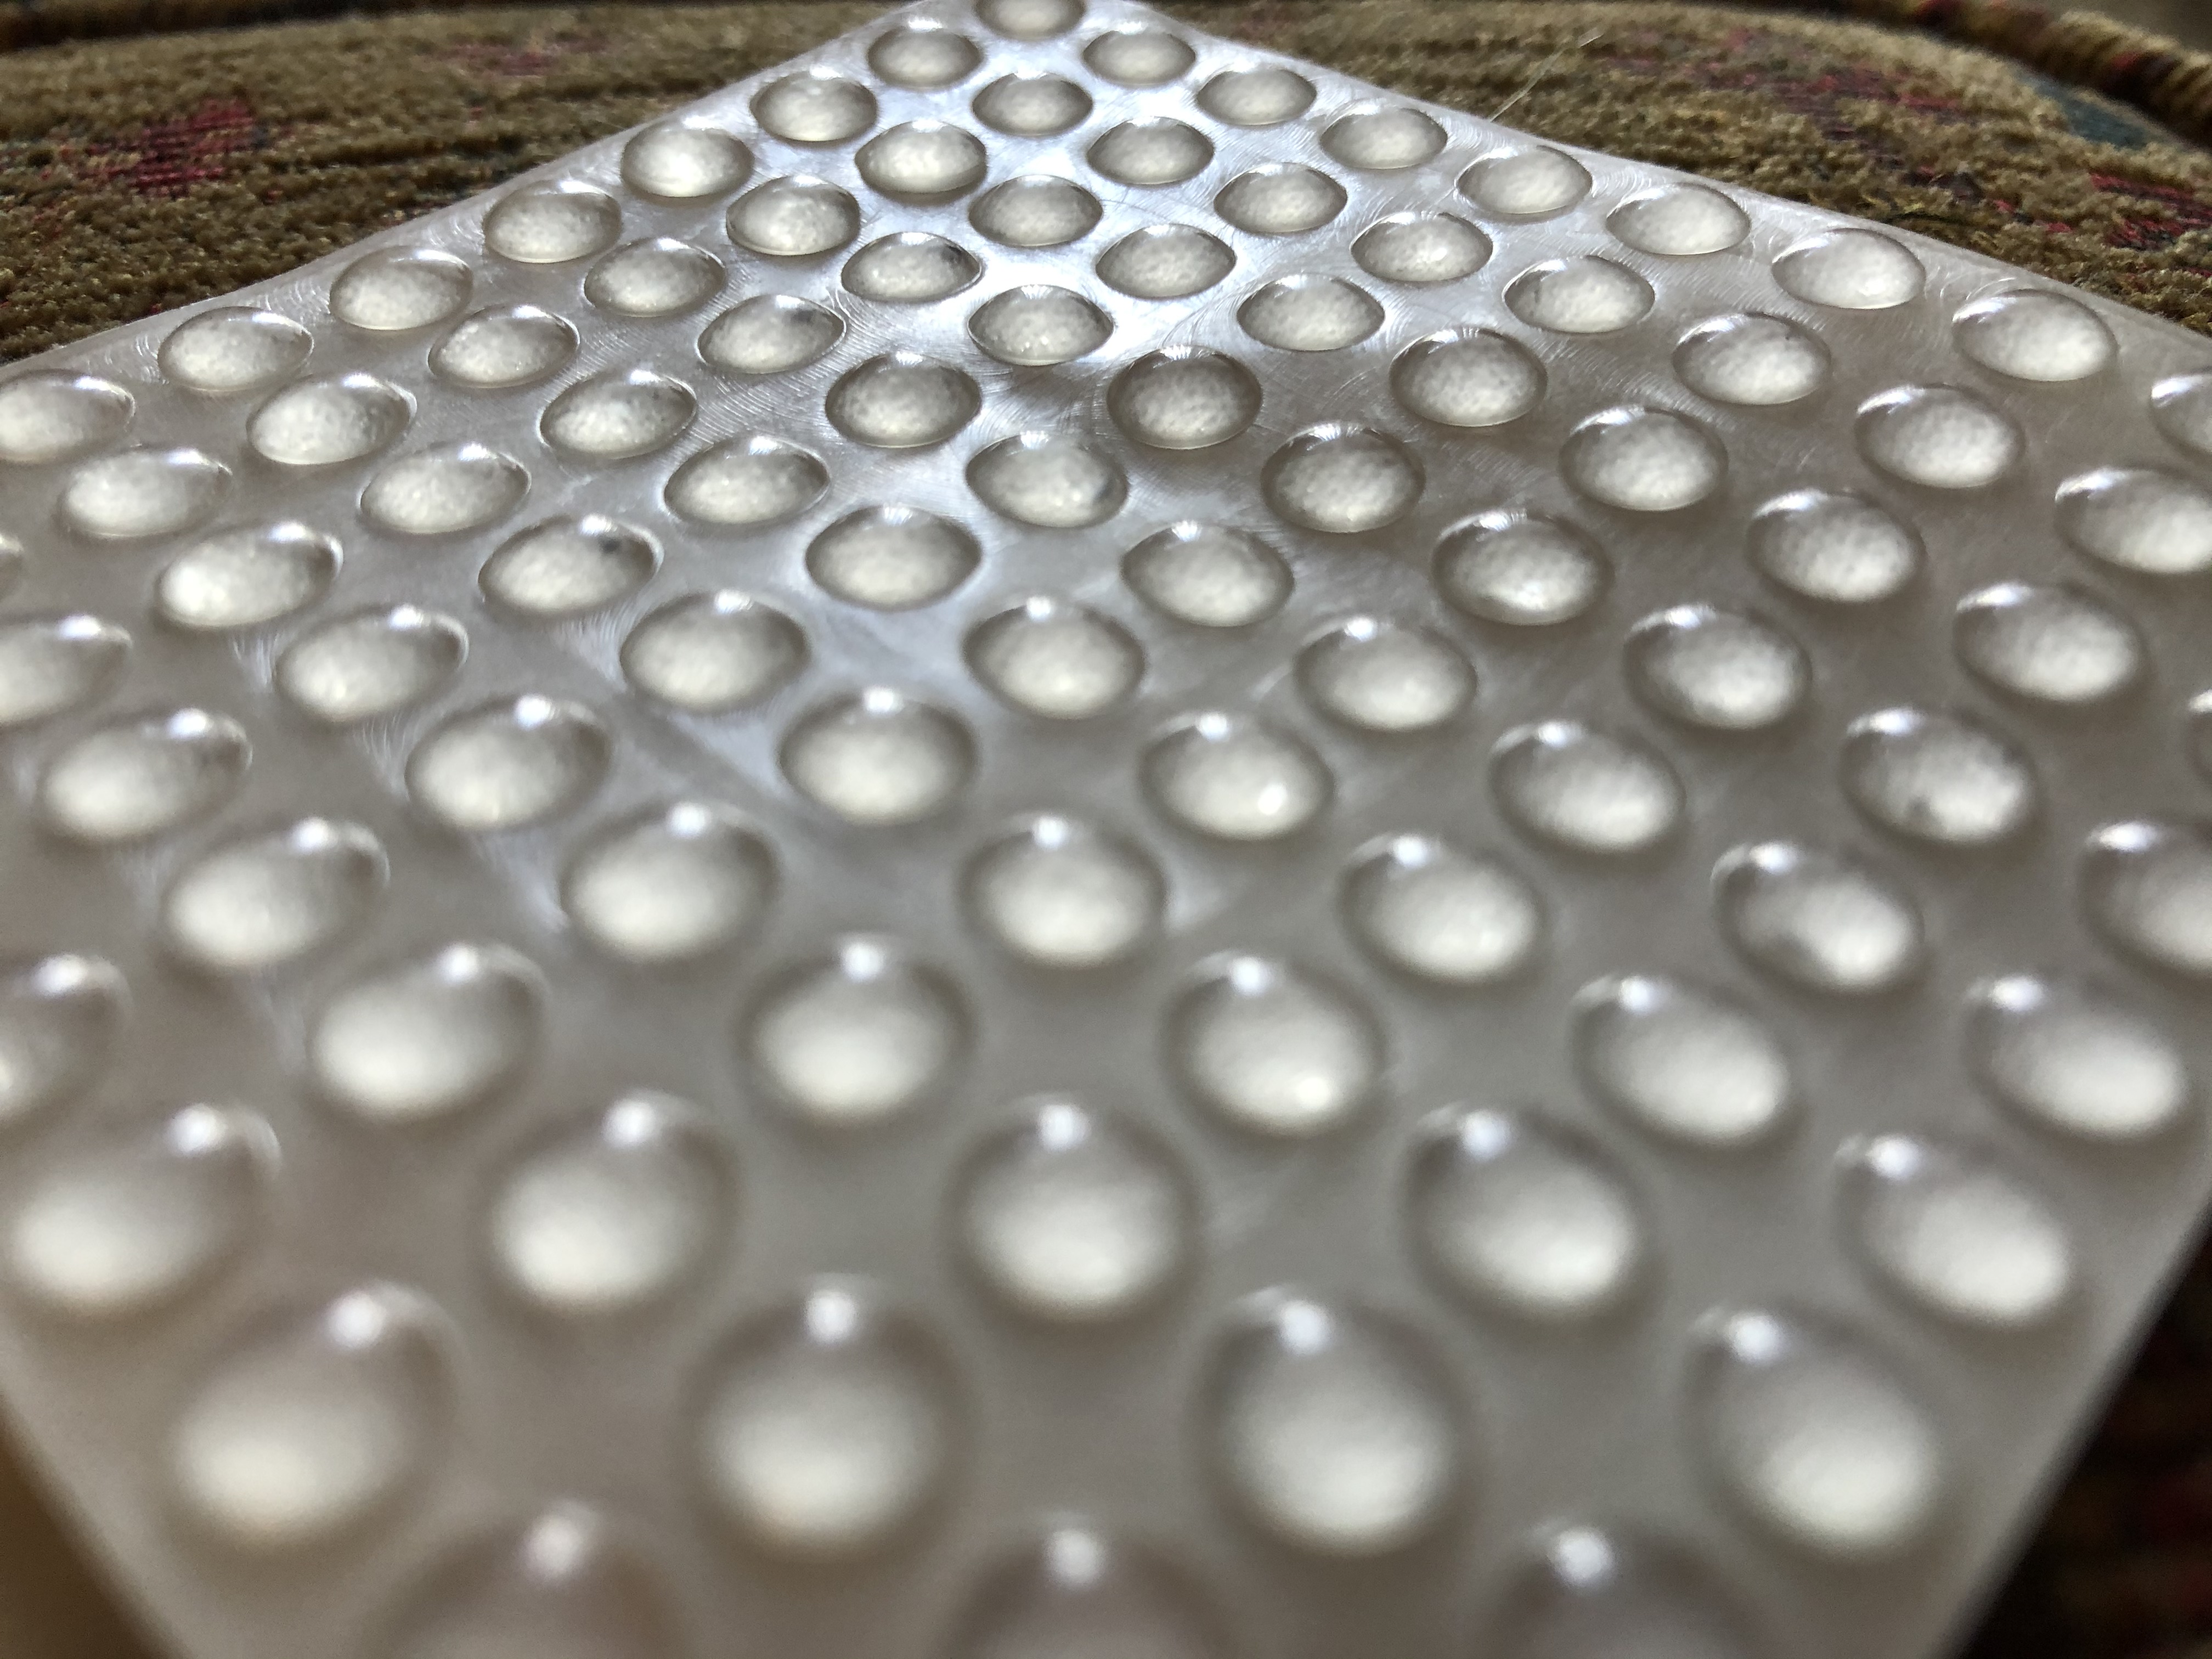
To me, this enclosure setup kind of defeated the purpose of a hot-swap macro pad, but the problem also seemed easy enough to solve - and it was. All I needed were a few of these little guys:
After finding the size I wanted to use, I placed one on each of the hot-swap sockets:

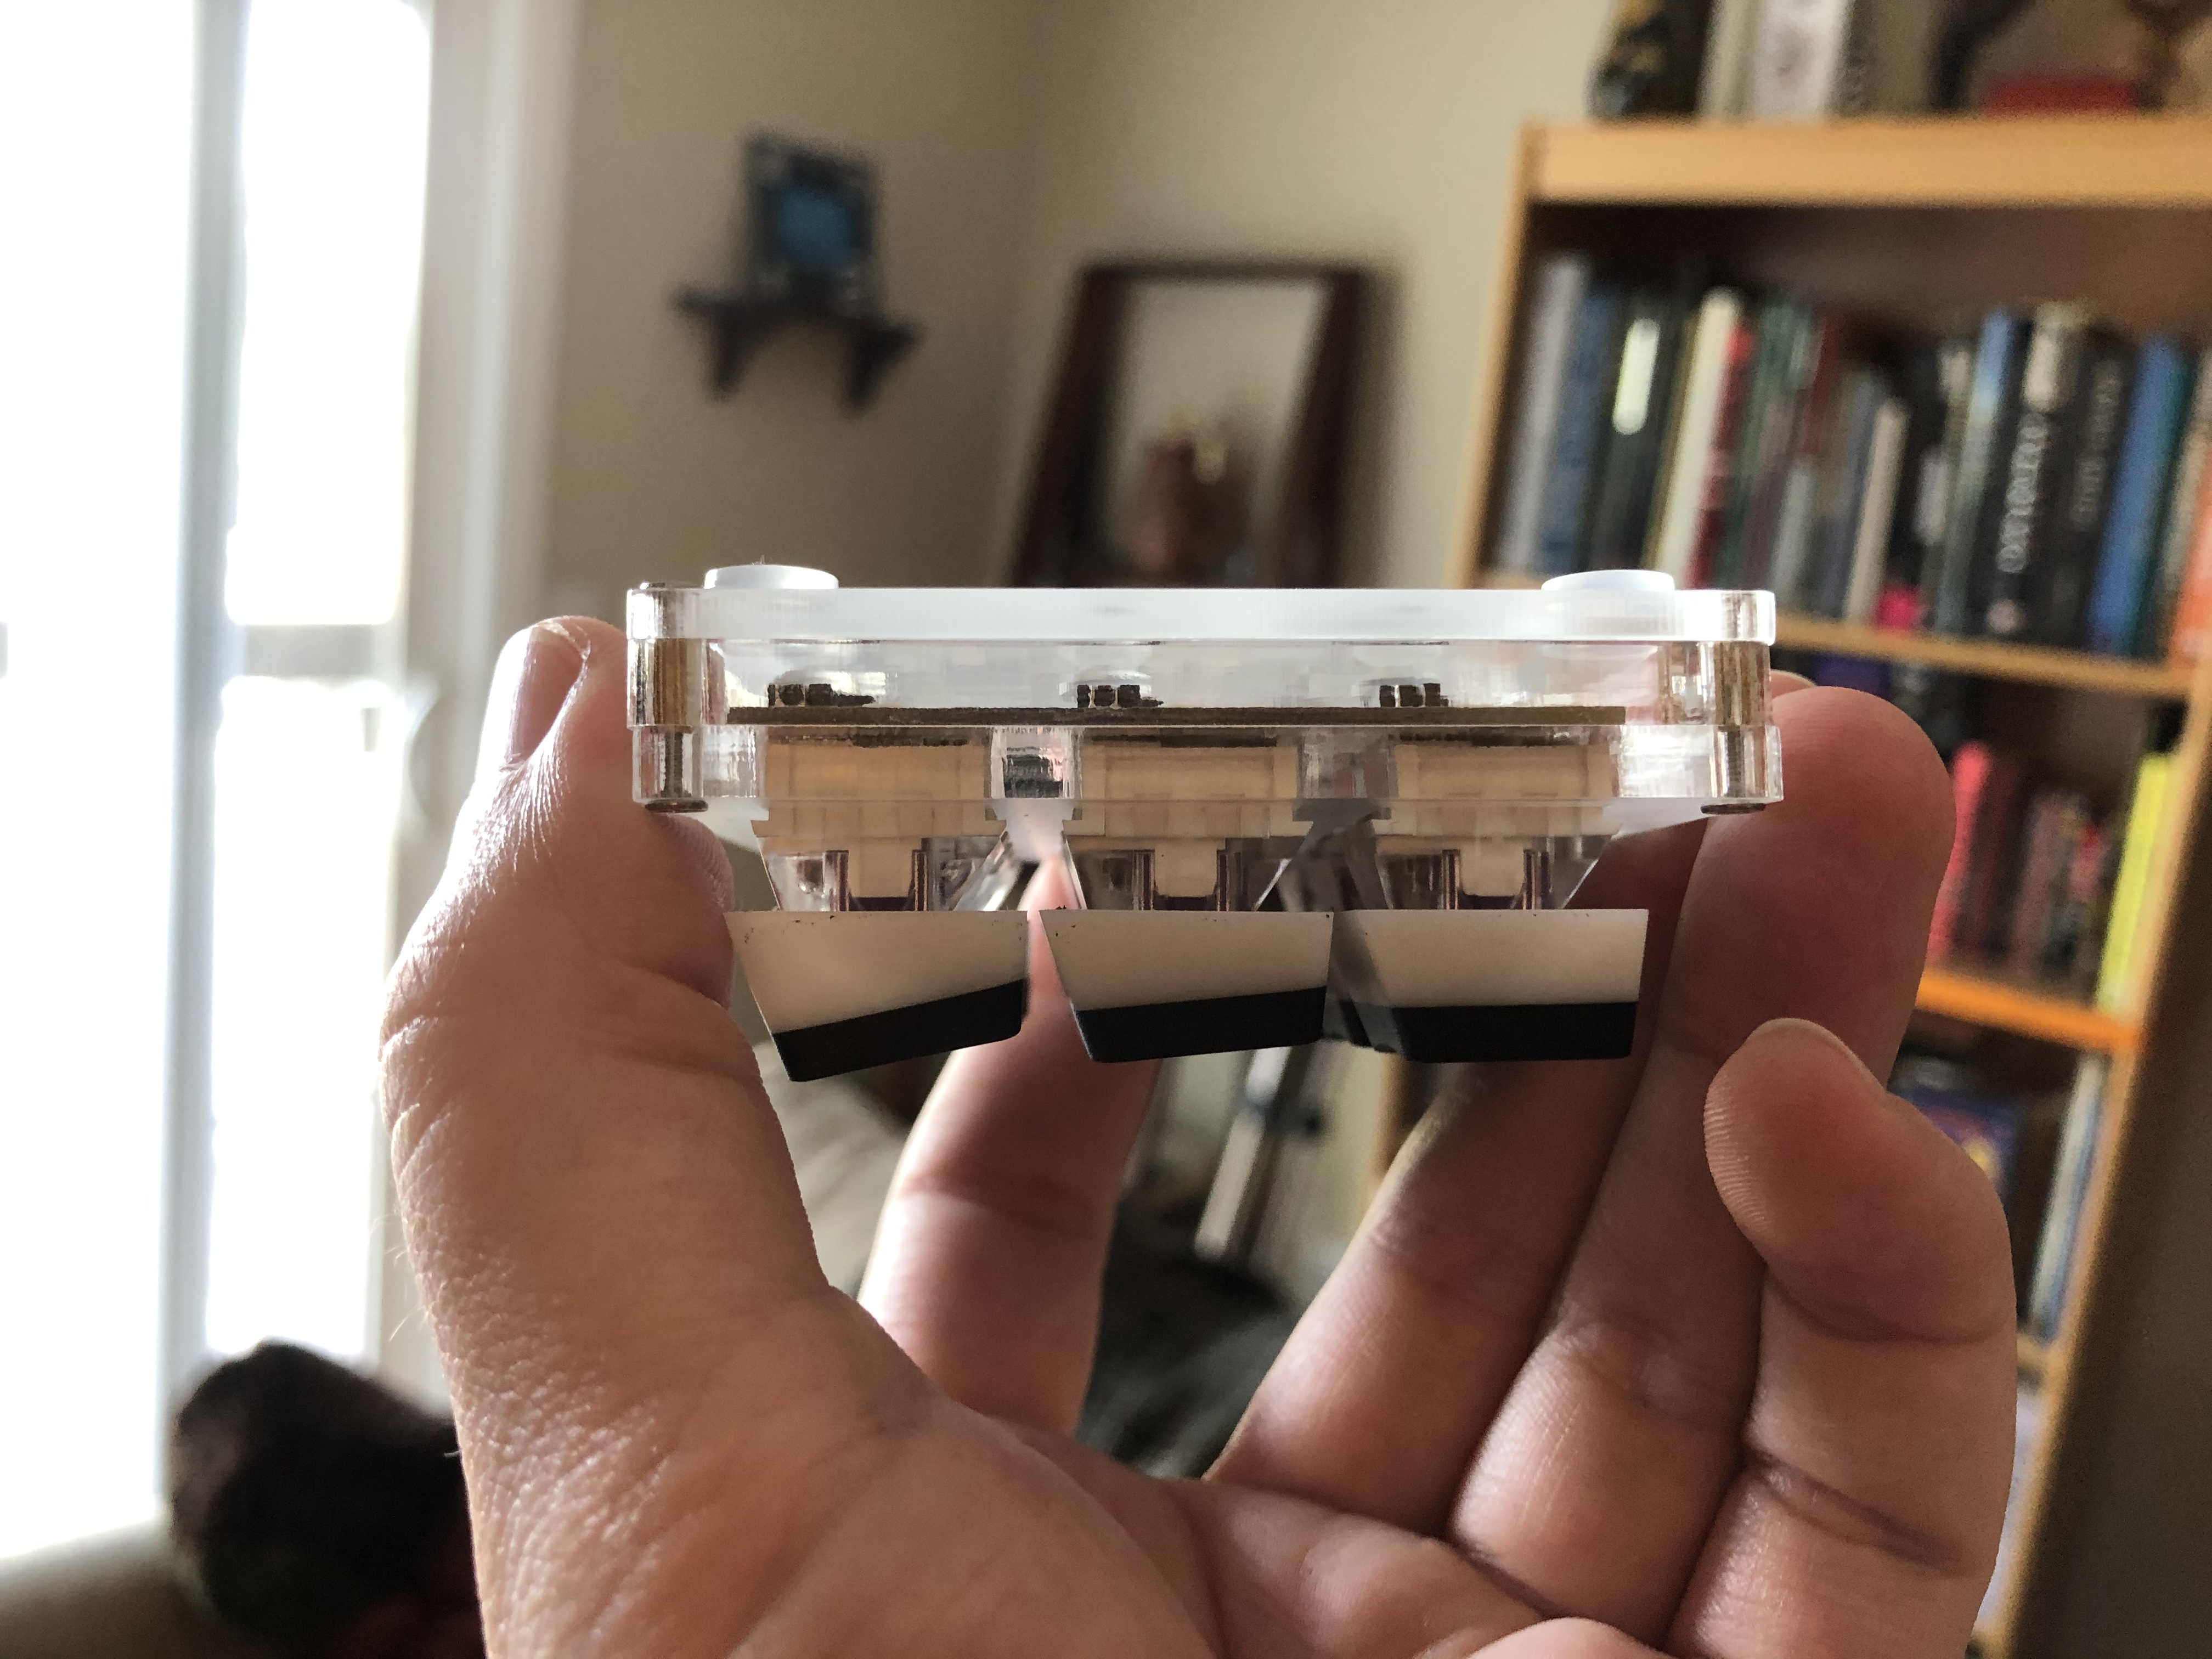
Not only does this keep the board sufficiently anchored in the case, it also provides dampened support to the hot-swap sockets, reducing stress on their solder joints as new switches are installed.
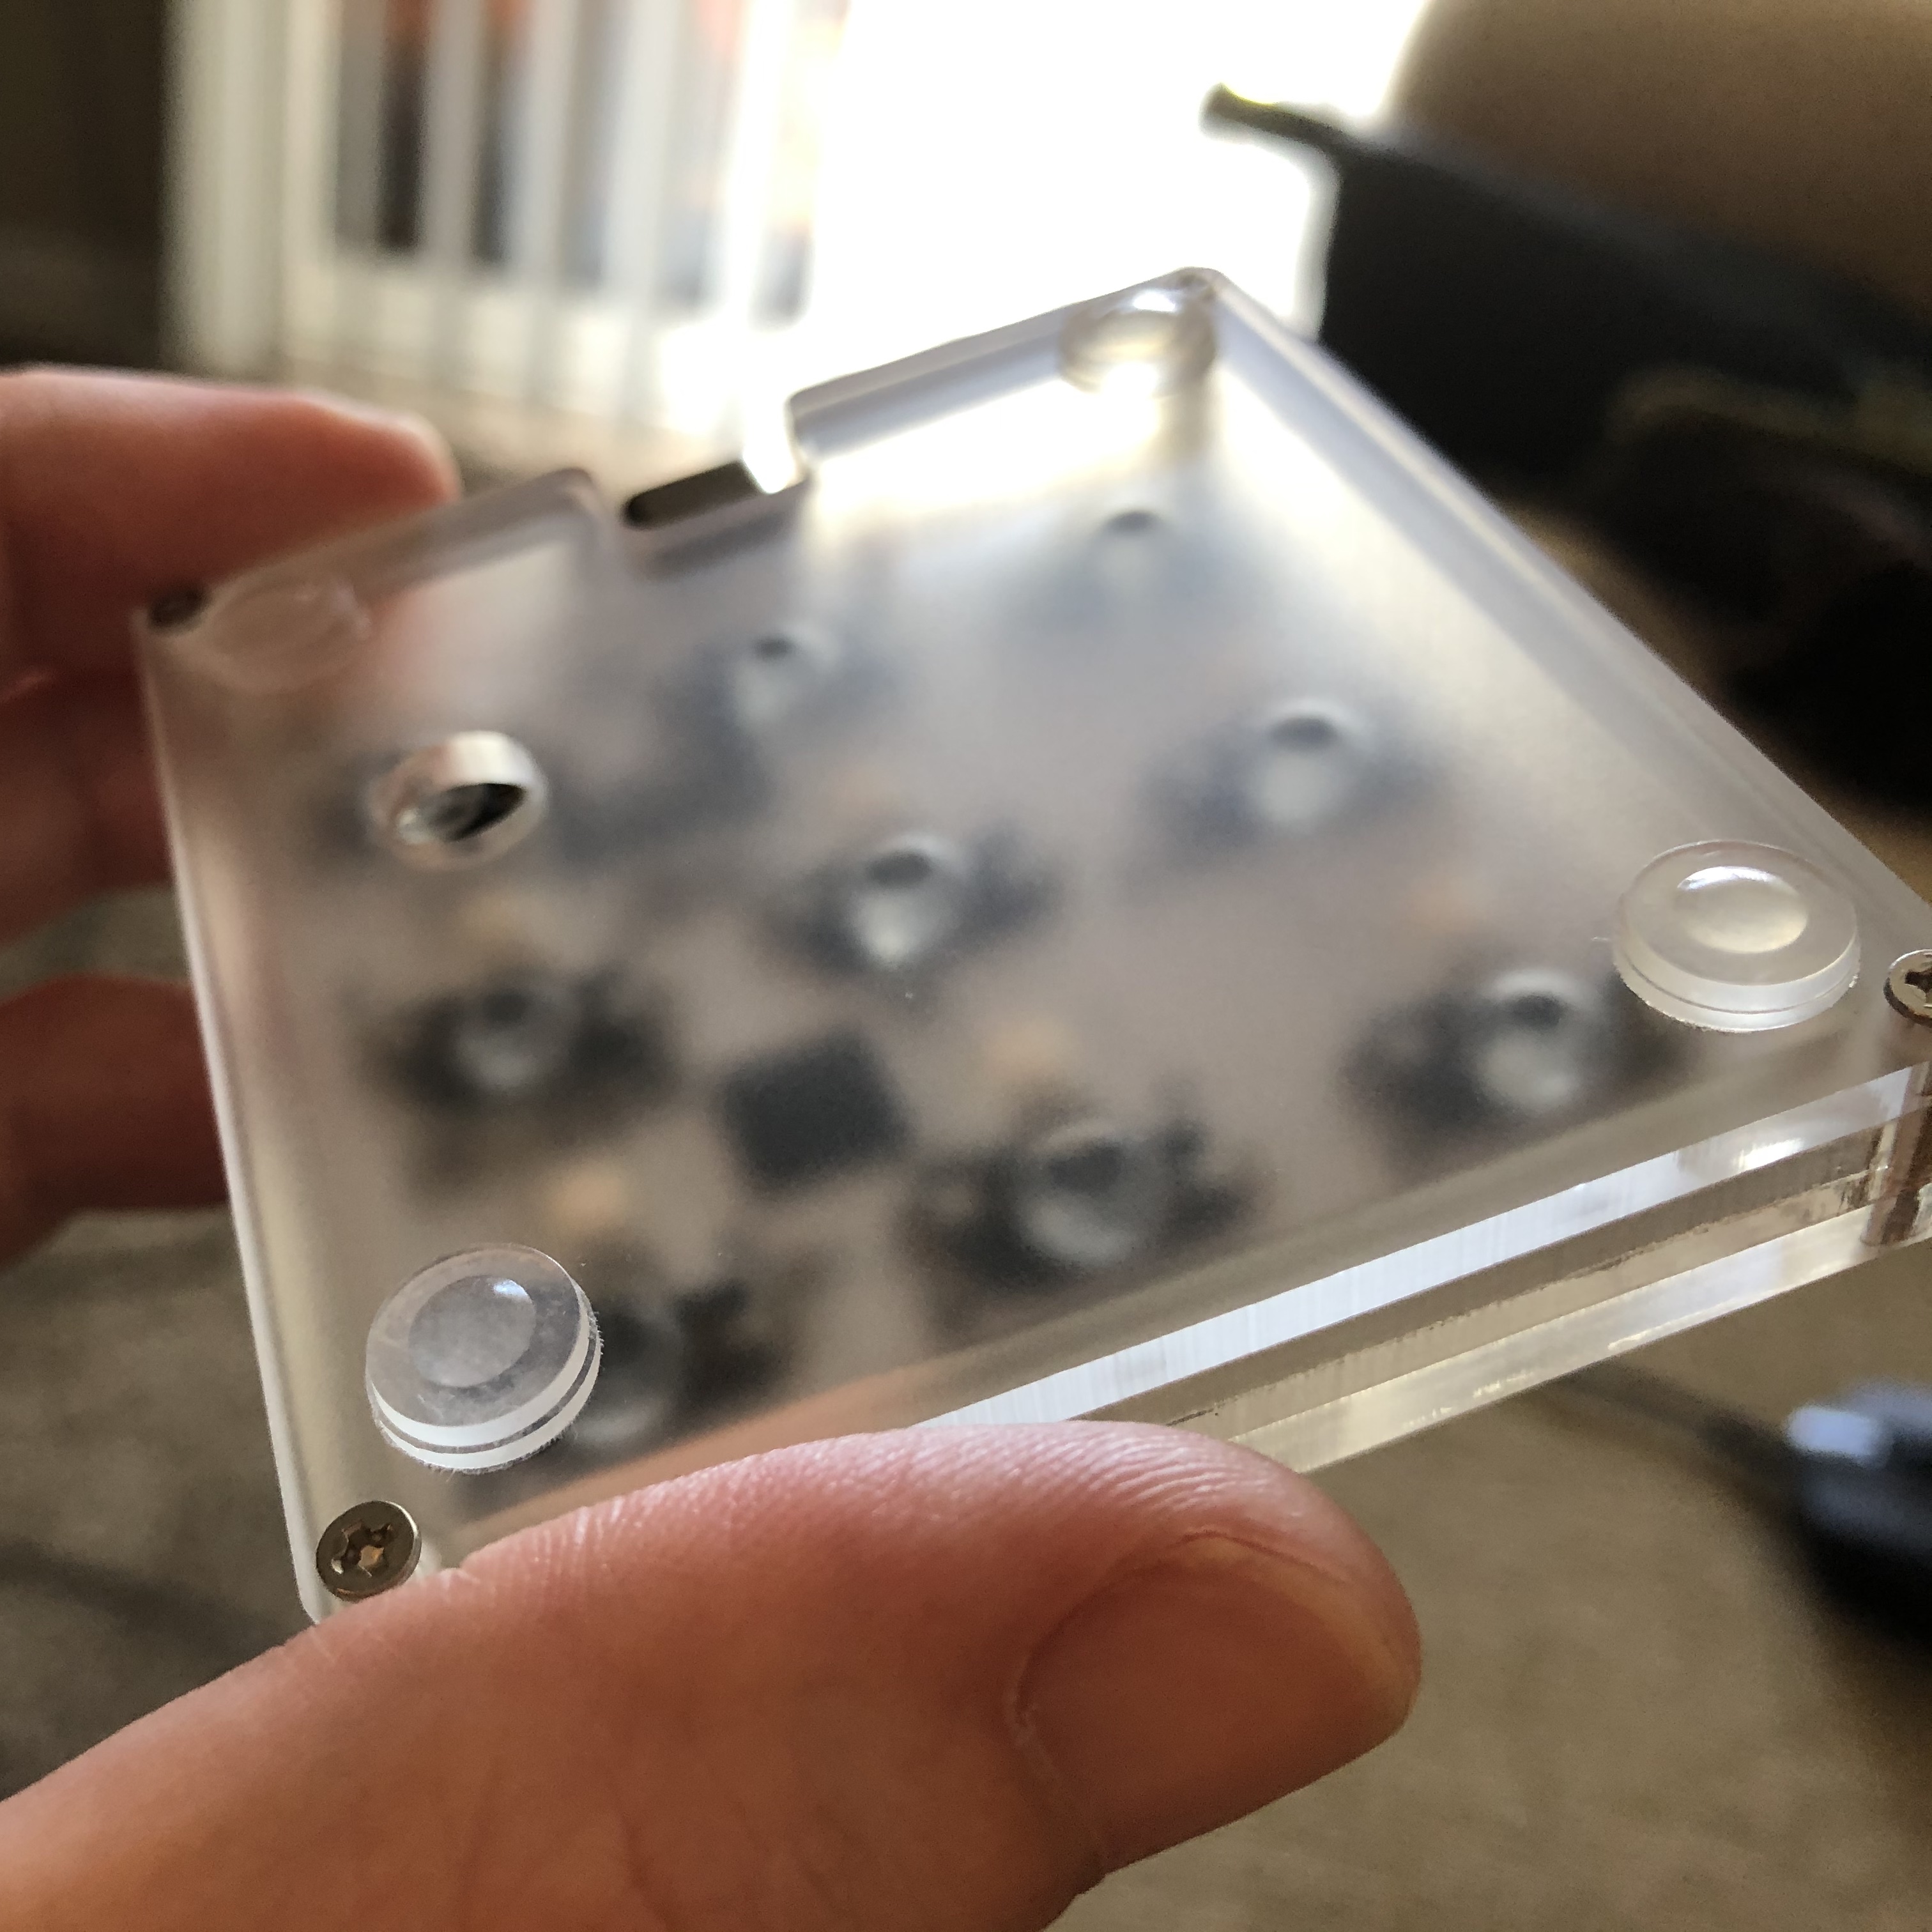
I kind of lucked out with the spacing here - these little rubber feet were just the right height, and they appear to be a very common size.
After testing, it looks like installing these fixed all the issues I had with this kit - no more sketchy switch swapping, no more pressure on pins, no more dangling PCB. You can see here the board is essentially flush with the thick acrylic top plate:
This one’s just to show that they blend-in reasonably well - and you might be able to make out my copy of Romly’s second switch guide there on the wall:
Sometimes cheap and simple solutions are all you need for a satisfying result.