Hey everyone! So I need some help.
So I FINALLY got my Neo80. It seemed like from their website it should have been delivered in about 4 weeks-ish total time from the end of my mini group purchase. That’s what all the other orders were showing. But for some reason mine took almost 2 months to get to the US ! And I ordered it right before ding dong walking cheeto dump put his tarrifs in. So not sure why it took SO long, but finally got it. It’s SOO amazing looking. And I had no idea how crazy heavy it would be. This is going to be a VERY solid keyboard 
So I’m going through with videos and putting it all together and it was going well until the part where I need to start putting all the switches in the board. I DID NOT want to proceed as this seems like I could ruin the board or the switches without further assistance.
So I’m very confused by the switches and the board. I ordered the TTC
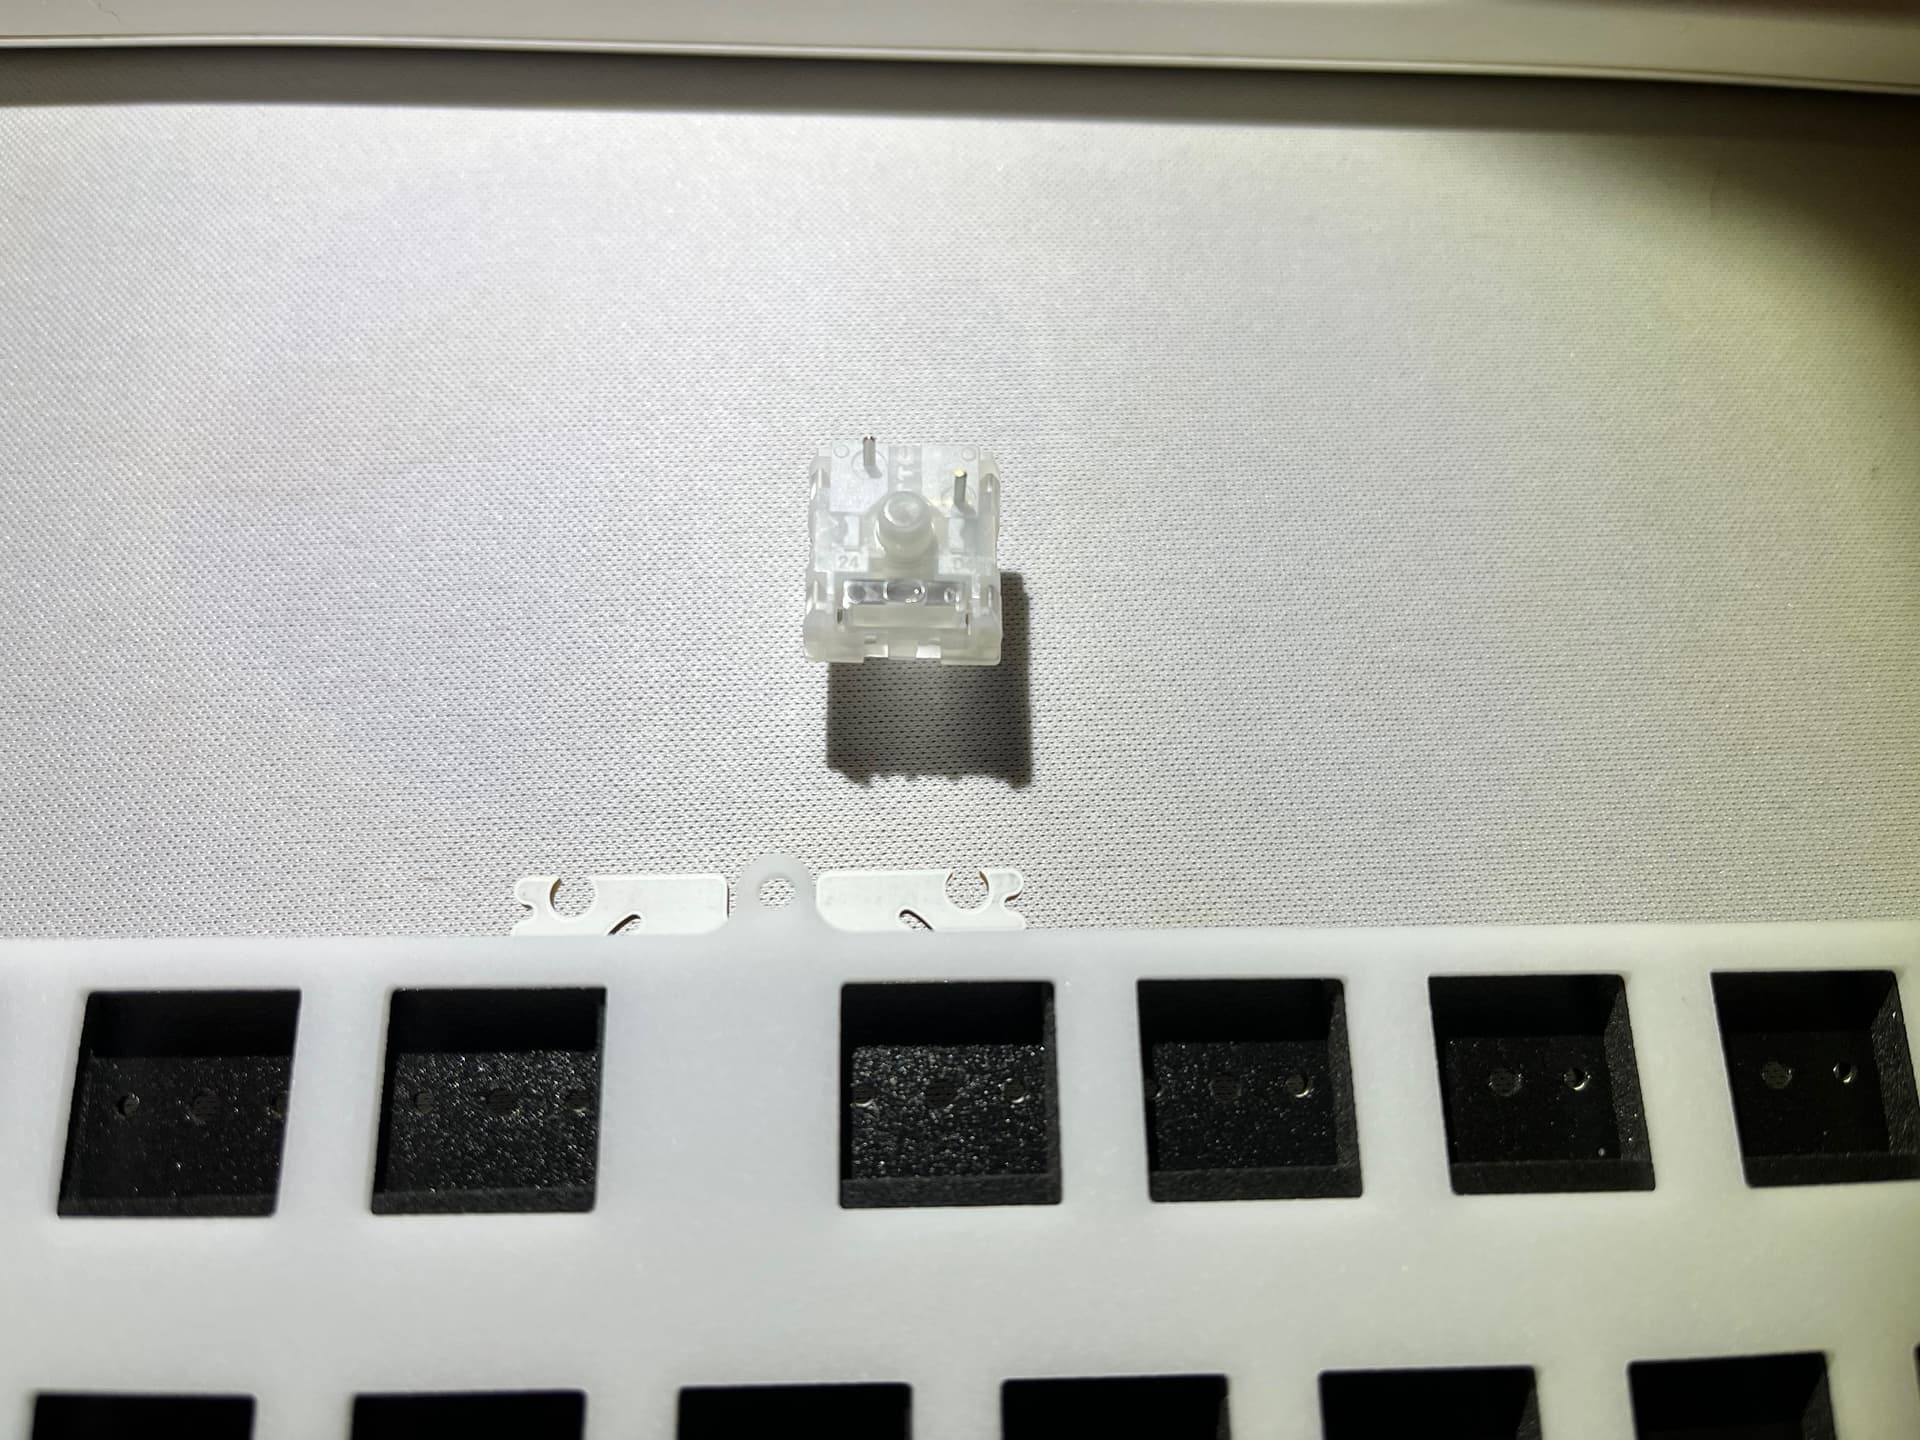
Silent Frozen (V2) Silent Linear Switches. They look exactly the same on the back where the pins are as other switches I have laying around. Just normal hotswapable 2 pin switches. Two metal pins that are sort of off center at the top and then one main large round plastic tube down the middle. But the Neo80 keyboard PCB just has 3 small holes that are all inline, right in the middle. NOT offset like the 2 metal pins on the switches. And no main large hole in the middle. Just a small one. So I’m kind of freaking out here thinking I may have ordered something wrong? Or maybe it works, I just don’t understand how? Any help would be much appreciated.
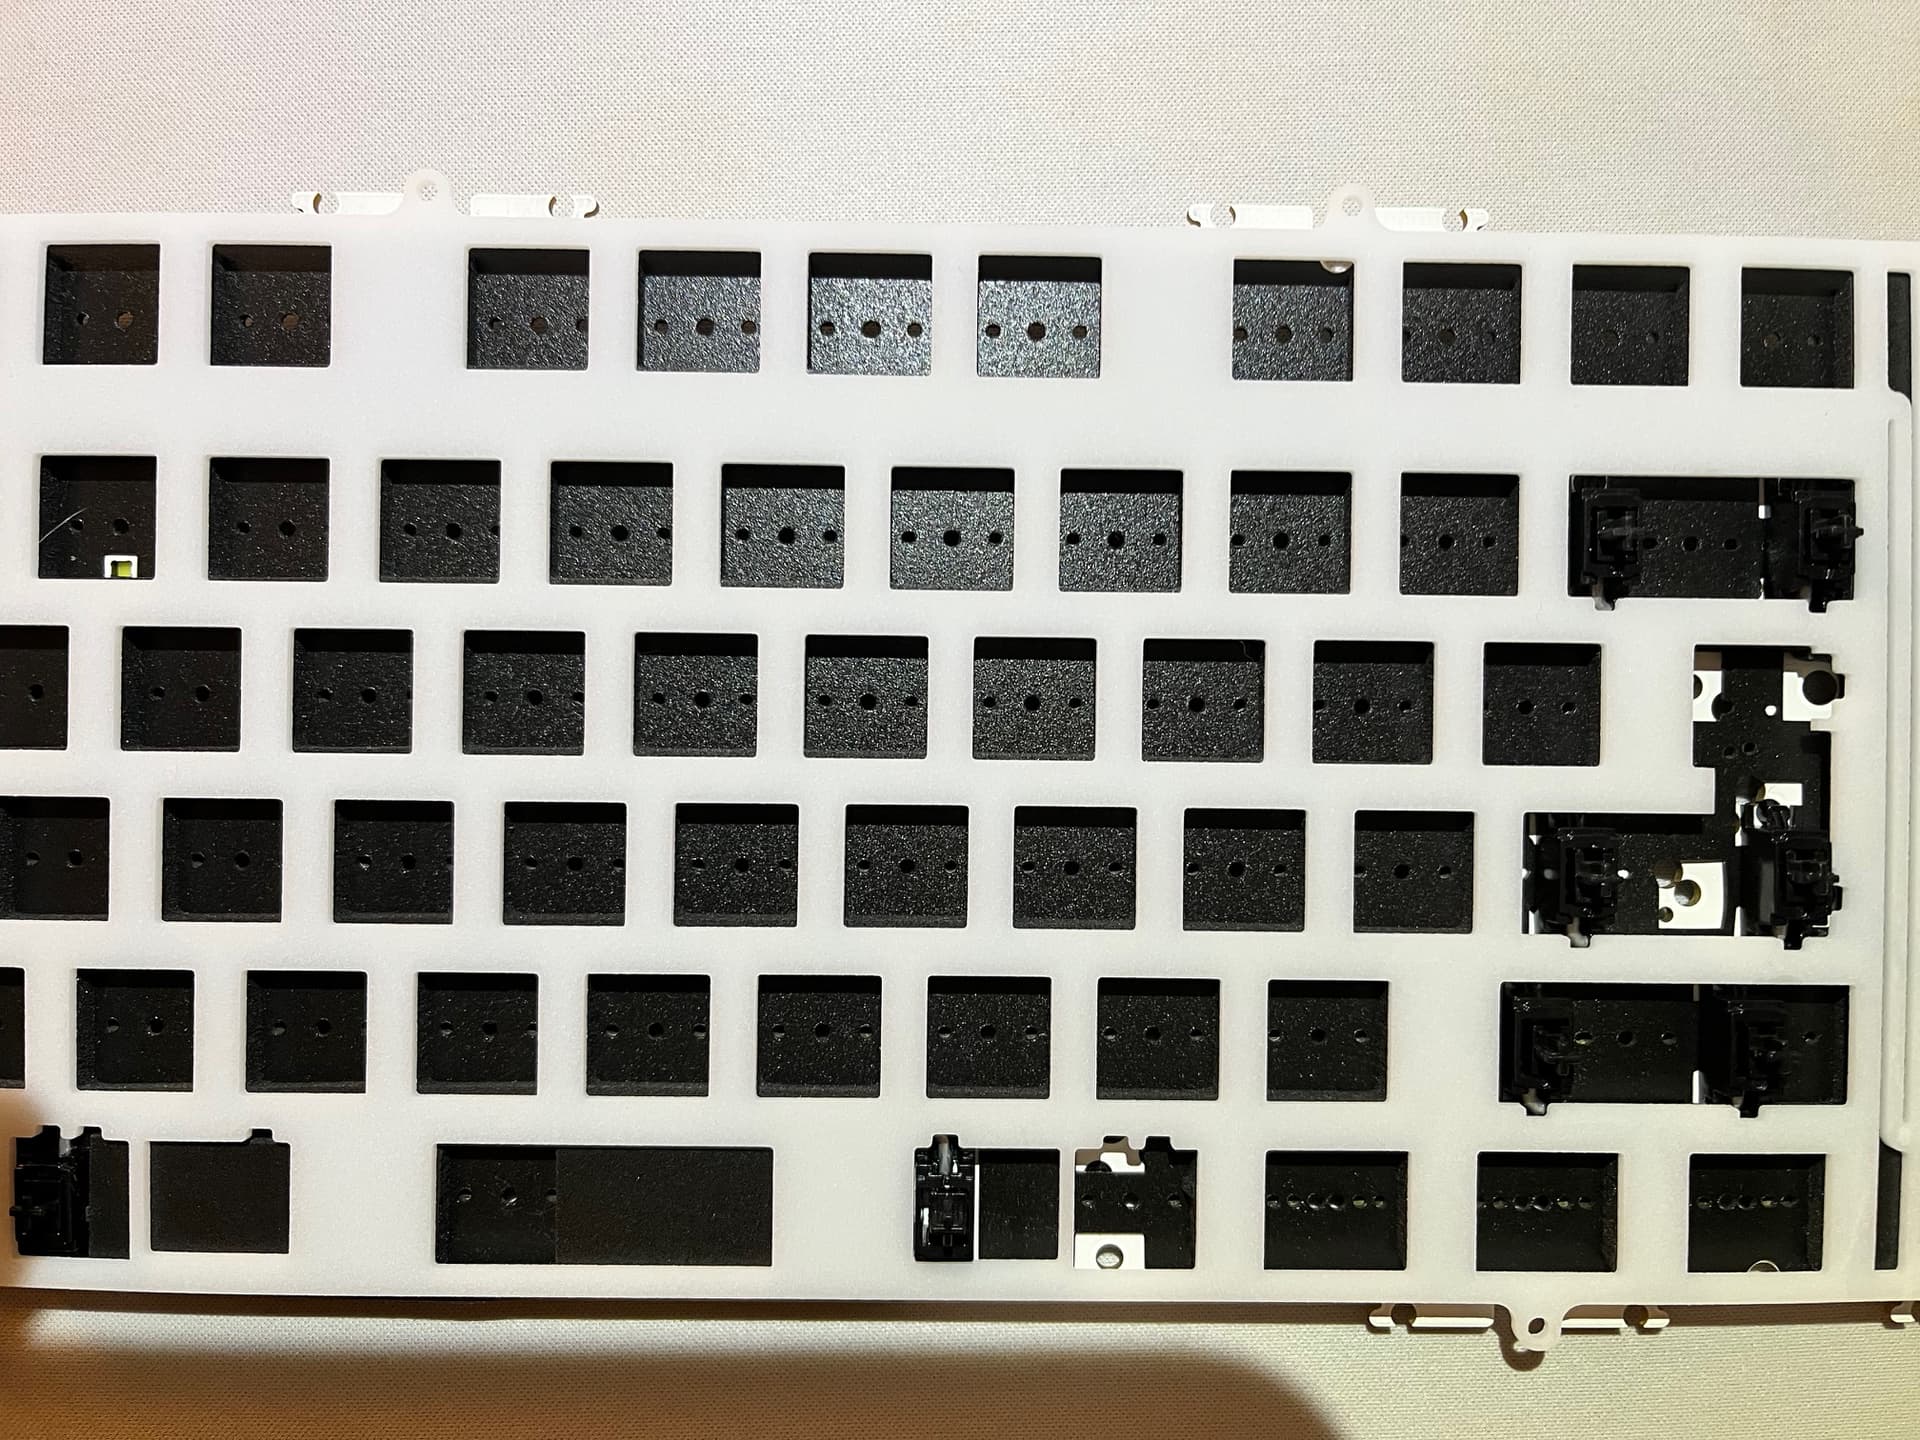
Here are the photos of the PCB with the POM plate on top, the PCB foam next, and the PE sheet on the bottom, all sandwiched together so you can see what I’m talking about. And then two photos to show the switches and how the metal pins are offset and do not line up with the holes in the PE sheet. Hoping someone can help me with this. I was thinking I was going to get it all put together and using it today, but not now. And those little miniscule tiny clips they want you to “snap” or "push into the back of the stabs were the BIGGGGGEST pain in the ass in my life!!! I don’t have a jeweler’s loope and those things were SOOO crazy tiny and I can’t even see how they’re going in very well. Plus one literally will just not got in. I messed with it for 30 mins and no dice. I got the other side in, so I’m done trying. That is STUPID how that works and next time will look to see if I can get a stabilizer that just clips in or screws in or something better than this.
1 Like
That’s just the PE sheet. It has some “starter” holes for the main shaft and two plastic pins on the switch. The metal pins just punch through the sheet and into the hotswap sockets. You can remove that sheet if you want, it’s certainly not necessary. It’s only there to slightly modify the sound of the switches when you type
5 Likes
Also for the stabs, the tiny shim things are not necessary either. They help keep the stabs tightly installed in the PCB, but are honestly more an insurance policy you don’t pull the stab housing up removing keycaps if you’re using tight fitting keycaps than anything necessary to to the stabs operation. If you got the stabs clipped in the PCB right the the ones you couldn’t get the shims into will be just fine. TX now makes a version that the shim pushes down from the top & then there is screw in PCB mount stabs too. Might want to grab one of those in the future for sake of ease.
3 Likes
Oh ok. Geez, thank goodness, haha. I was SOO worried I had ordered something wrong or received the wrong thing. And with the keyboard taking FOREVER to get to me, returns are almost impossible for it, extra parts probably take forever as well and having already ordered and received the switches and keycaps well over a month ago (in anticipation of the keyboard coming in a month earlier), I wouldn’t be able to exchange or return anything! I was freaking out, haha. So thank goodness it’s Ok.
Thank you for explaining that. Much appreciated.

2 Likes
Ok, good to know. Thank you for explaining. I got all but 1 of those miniscule little clips into the back of the stabs. But, after realizing what a pain these are, and remembering I was going to order better ones, I think I’m just going to stop with the build for now, order the best stabs (that have screw in attachment) I had planned on getting (either the Wuque Stupid or Swagkeys Knight v3) and do it right once. I already waited 2 months for the keyboard, I can wait another few days to a week to get the best stabs and do this right. Thank you for your help and advice! Can’t wait to share the build when I’m done  All of you have been very helpful here and I really appreciate that!
3 Likes
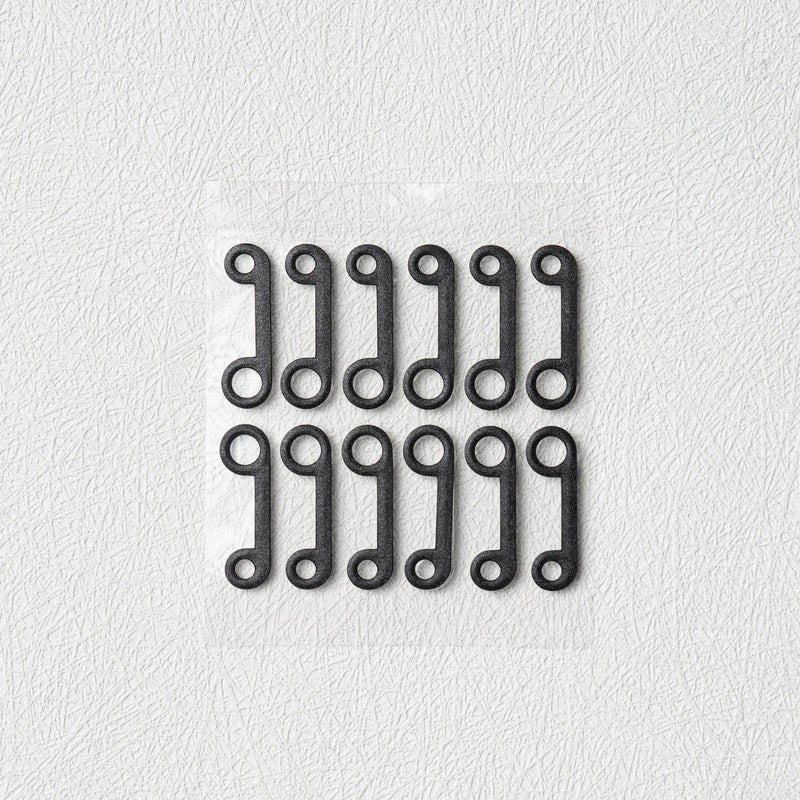
Ok, I got the Swagkeys Knight Stabilizers V3 in on Thursday and finally have some time to put these together. Everything “seems” explanatory, except the package came with these weird little flat black dumbbell looking stickers in the package and I can’t figure out what you’re supposed to do with them? Swagkeys has no info on their site and I can’t find a YT video that talks about them or even shows them.
Do any of you know what these things are? What they do? And if I want to use them, how do I install them? Thanks
3 Likes
Those are stabilizer shims. A standard PCB is 1.6mm thick. Stabilizers were made to accommodate that thickness. But a newer trend is to make a thinner, more flexible PCB (some people prefer the sound and feel). If you have a 1.2mm thick plate, there will be 0.4mm of space between the stabilizer and the PCB. These items shim up that gap. You apply them to the back, between the stabilize clips and PCB. I have actually used stabilizers on a 1.2mm PCB without shims and didn’t have issues.
I believe the Neo80 has a standard 1.6mm PCB, so you don’t need to use them.
4 Likes
Oh, ok. Thank you for explaining. I appreciate it
2 Likes
Alright! I got it all put together and am typing this from the new board! I went to a few different keyboard tester sites and no matter which one I use, the far bottom right CTRL switch is not working at all. I obviously checked the pin placement on the switch and board and installed it upside down so that it works for the 6.25u spacebar bottom row. But still nothing.
I’m pretty sure I need to get in touch with Qwertykeys and make them aware this one switch socket is not working. Which SUCKS if it isn’t. I’d have to take EVERYTHING apart and put this all back together and it was not quick. Even knowing what you’re doing, this takes a lot of time and really don’t want to have to take it all apart and then put it all back together.
I even took the board apart and tried a new different switch and same thing, nothing. Does this mean it could be a bum PCB socket? Or is there something else possibly going on?
2 Likes
Bottom right control is often set as a function key which won’t register on key testers. You can test this by holding down that key and pressing other keys to see if something like volume up, volume down, mute, play, etc… happen.
Go to
usevia.app
connect to your keyboard and see if that key is set to “FN”
2 Likes
Just tried that, doesn’t work still 
But, I did hold it down and press a bunch of buttons, it did turn up and down the volume! So is there a way to change what it does?
That’s so strange it doesn’t work normally standard.
EDIT: so when I press the right Menu key, it actually shows up in that VIA app as Rctrl
1 Like
Yes Using VIA, you can change what any key does. Simply select the key on the image of your keyboard, and then assign a key from the list below.
For the function key, you can just set it to Right Control if you like. But you’ll need to assign a key as a modifier to access additional layers if you want to do things like control volume and set up other shortcuts.
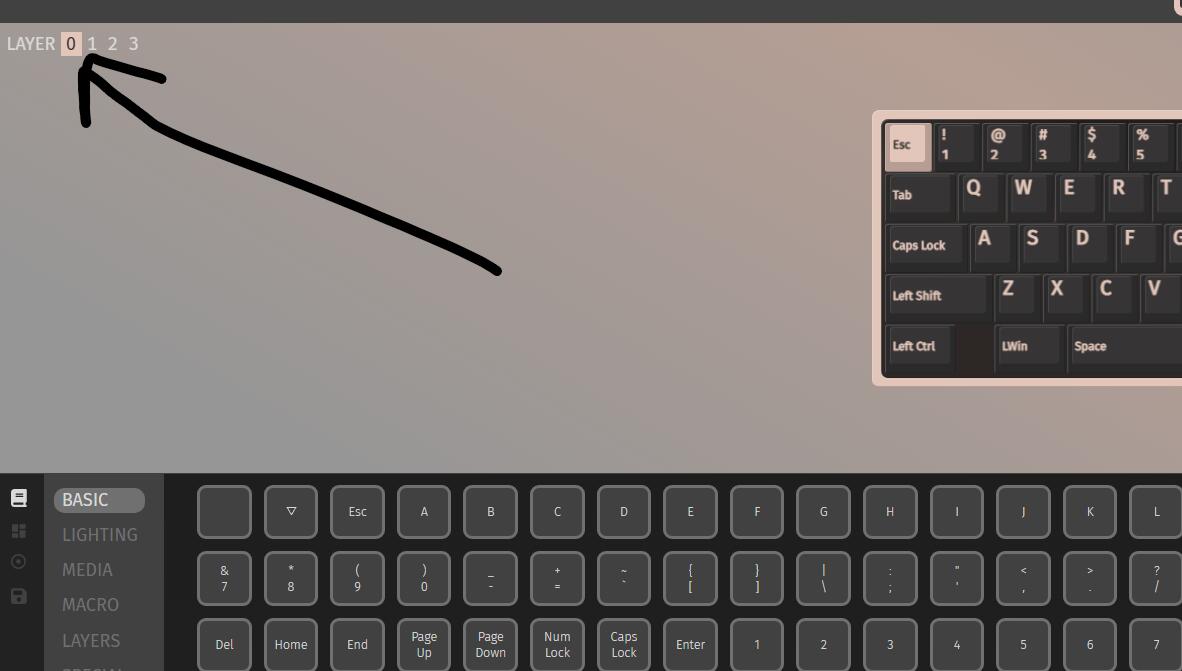
The base layer is layer zero. When you assign a layer modifier key (as it is now), you tell the keyboard to use key definitions on the target layer. I’m guessing right now it is set to MO(1). That means when that key is pressed, the keyboard will register presses from Layer 1 (remember, the default is layer 0)
You will see at the top where you can change layers to assign keystrokes and actions
To see what is assigned to layer 1 at the moment, click the layer 1 button at the top. These are the keypress that will happen when you are holding the right control (assigned as a function key currently)
5 Likes
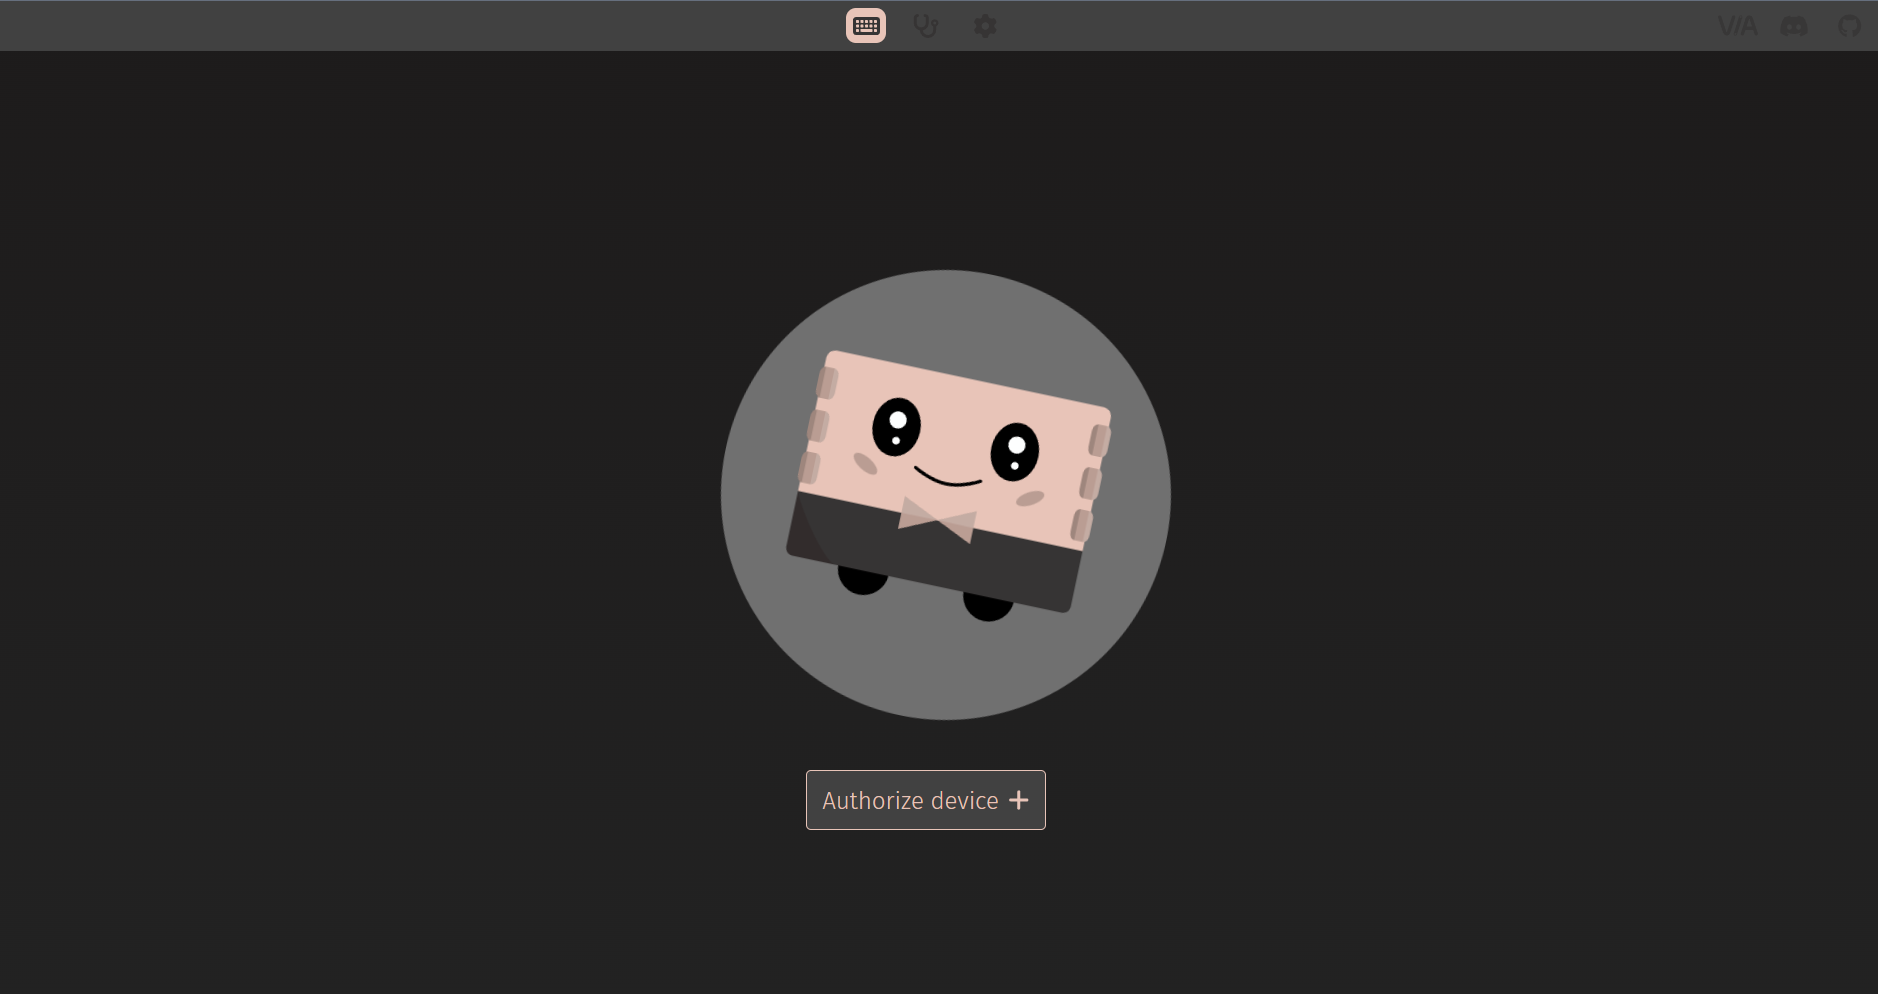
Soooo, I can’t even get that screen to come up on VIA. This is what I see:
And when I “Authorize device +” nothing ever happens. That little guy in the middle just dances around forever and the screen you show with the keyboard and ability to edit it never shows up
But when I “authorize device” it then says it is paired. But I can’t edit it?!? Same on vial.rocks. Say’s it’s paired, but then it doesn’t show up and I can’t edit it. It says NO DEVICES CONNECTED, haha
Try it with Chrome, if you aren’t already. I usually use Safari or Firefox, but Via doesn’t work on either for me so I have to swap over when I make changes to my layouts.
3 Likes
I just downloaded the newest version of Chrome and still does not work. I usually use Brave. I even tried Firefox. None of them are working, uggghhhhhhh
3 Likes
I don’t know what version of PCB you have. If you go to qwertykeys there is a section that tells how to update and program. But all of their boards are supposed to be QMK based and VIA compatible.
It sounds like you need to load the JSON definition file after pairing, which is a common issue.
I’m not home at the moment but I think the design tab is the paintbrush at the top.
You’ll need to upload definitions
The neo80 JSON file for VIA is here:
https://cdn.shopify.com/s/files/1/0508/8716/4061/files/neo80_wired_v3.json?v=1704792029
Save that to your computer and upload it in the design tab. Then you should see the keyboard
2 Likes
JC!!! Finalllllllllly, hahaha. Thank you so much. I tried like 5-6 different ways and finally found the correct json file to upload into VIA and now it shows the keyboard layout to edit it. Now I just have to decide how I want to layout these bottom keys. Thank you so much and I can’t wait to share photos of the new build and first impressions. News Flash: it’s CRAZY quiet, can barely hear anything, feels crazy solid and I absolutely love it. Even the huge SA keycaps feel really neat and already getting used to them. I “think” I might try a wrist rest though, but we’ll see.
Thanks again! You guys have been SO helpful and I couldn’t have done it without your help
6 Likes
This is a problem with some of the nicer new boards [Neo80, Transition-Lite, Cycle7].
You can get a really good board, something mid-tier from 3 years ago at entry-level pricing. But the PCBs are often not registered on the main VIA / VIAL lists.
So you have to go to the manufacturer or distributor’s website, download the special JSON file, and then manually side-load it into VIA or similar. I didn’t have my Transition Lite configured for a month, because I had to find out that it needed a special JSON, and where to get it.
I think it is a shortcoming among those selling these entry-level boards that they don’t make it super-easy to know what their VIA configuration requirements are. I know it would distract from the advertising on the Group Buy pages, but they should really provide links to the JSONs and instructions right on the page where they are selling them.
It is an extra hurdle for people building for the first time that they have to deal with VIA configuration issues. It goes against what the spirit of these boards are supposed to be.
Anyway, I’m glad it worked out. If I had seen this post a few hours earlier, I could have provided the VIA advice, as I have experienced these issues before. The Neo80 is actually a really great board, because of its ease of disassembly and customization. So once you get the software configured, dealing with a fully-built Neo80 should be relatively easy.
3 Likes
Yeah I agree with this take, these manus really should be having their PCBs whitelisted so they work with VIA right out of the box. The fact you have side load a JSON to get it make theirs claims of VIA compatibility feel borderline false advertising to me. Especially considering people new to the hobby are the target demographic for these boards.
5 Likes
Glad to hear you got the board all built & VIA working! Enjoy the new board man & post some pics up when you get the chance!
2 Likes