Just happened to stumble on this today and am really excited to see other people working on minivan plates!
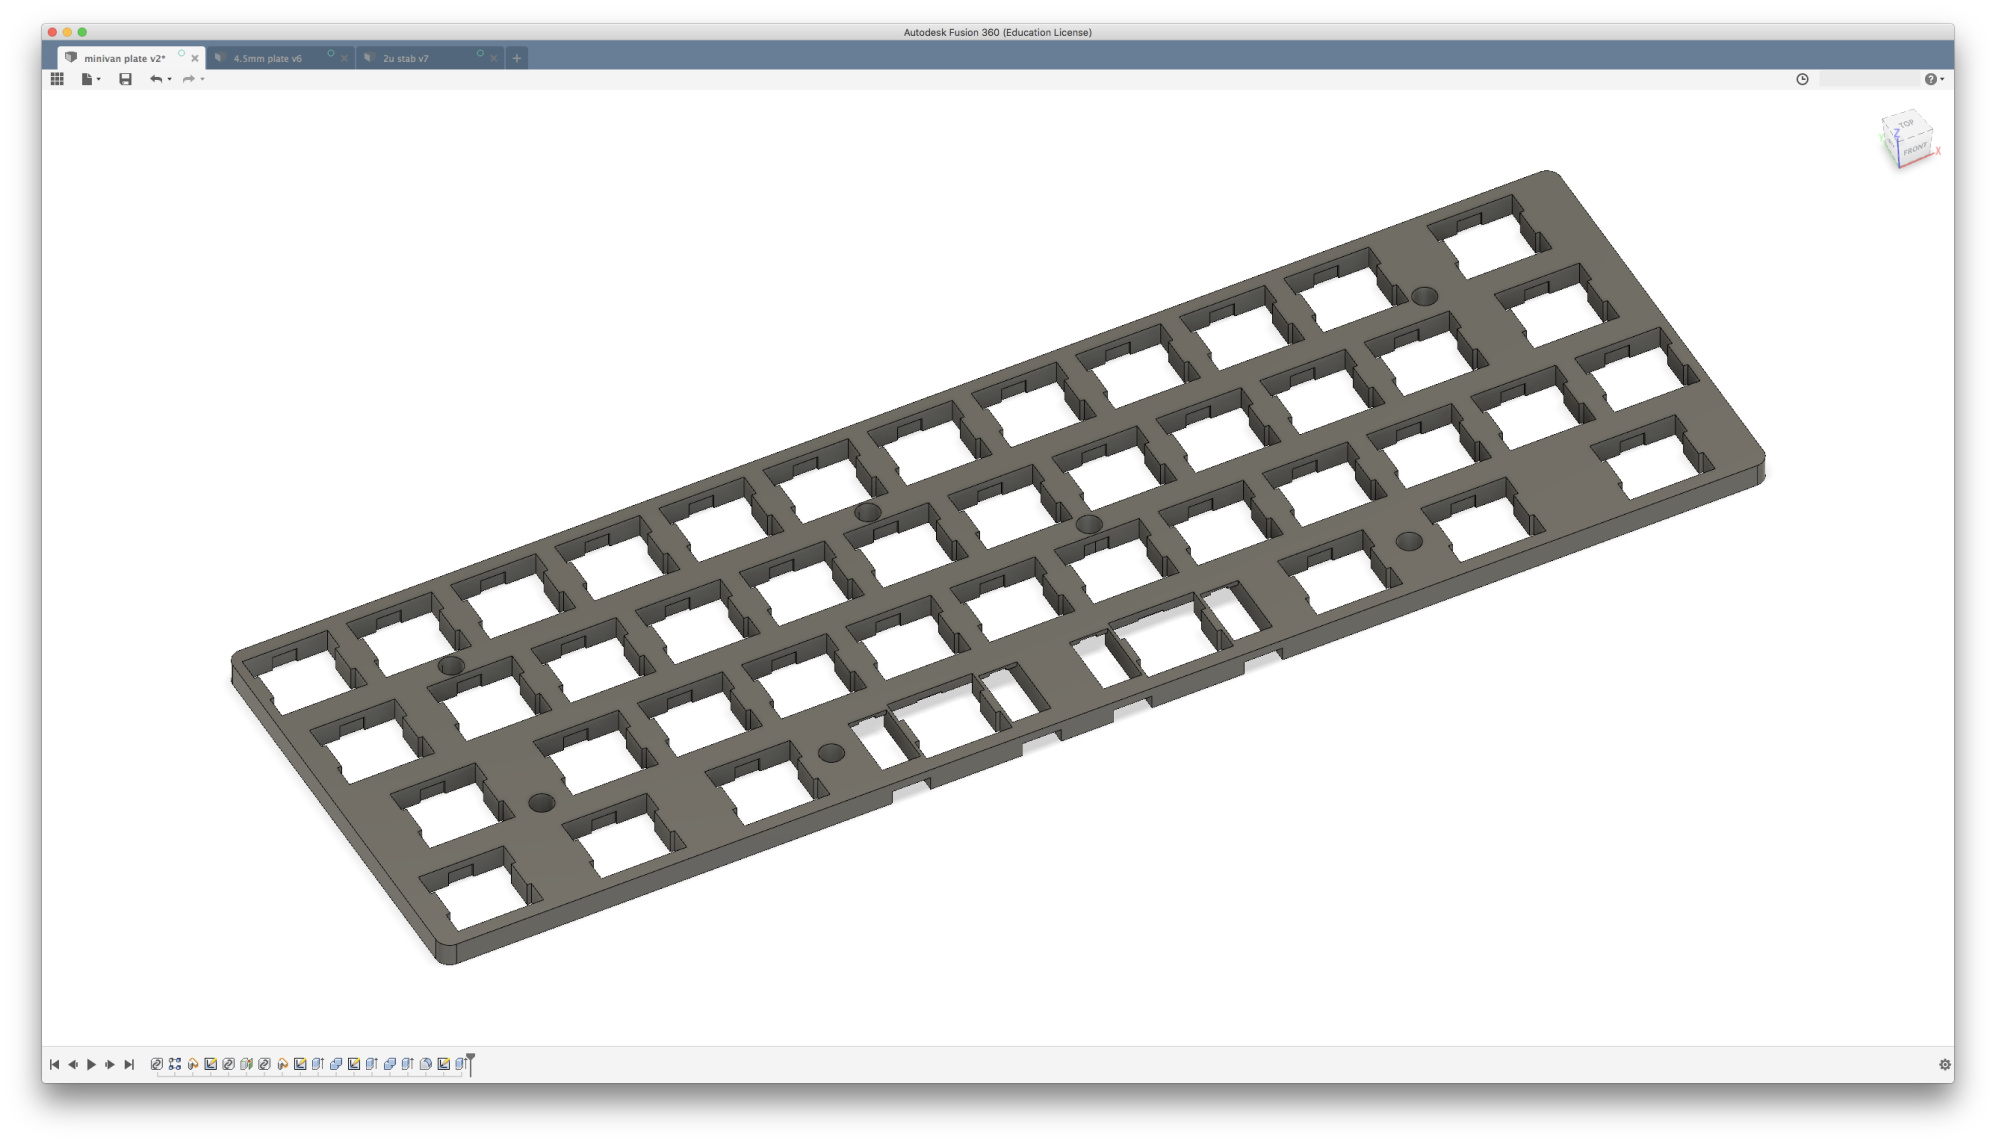
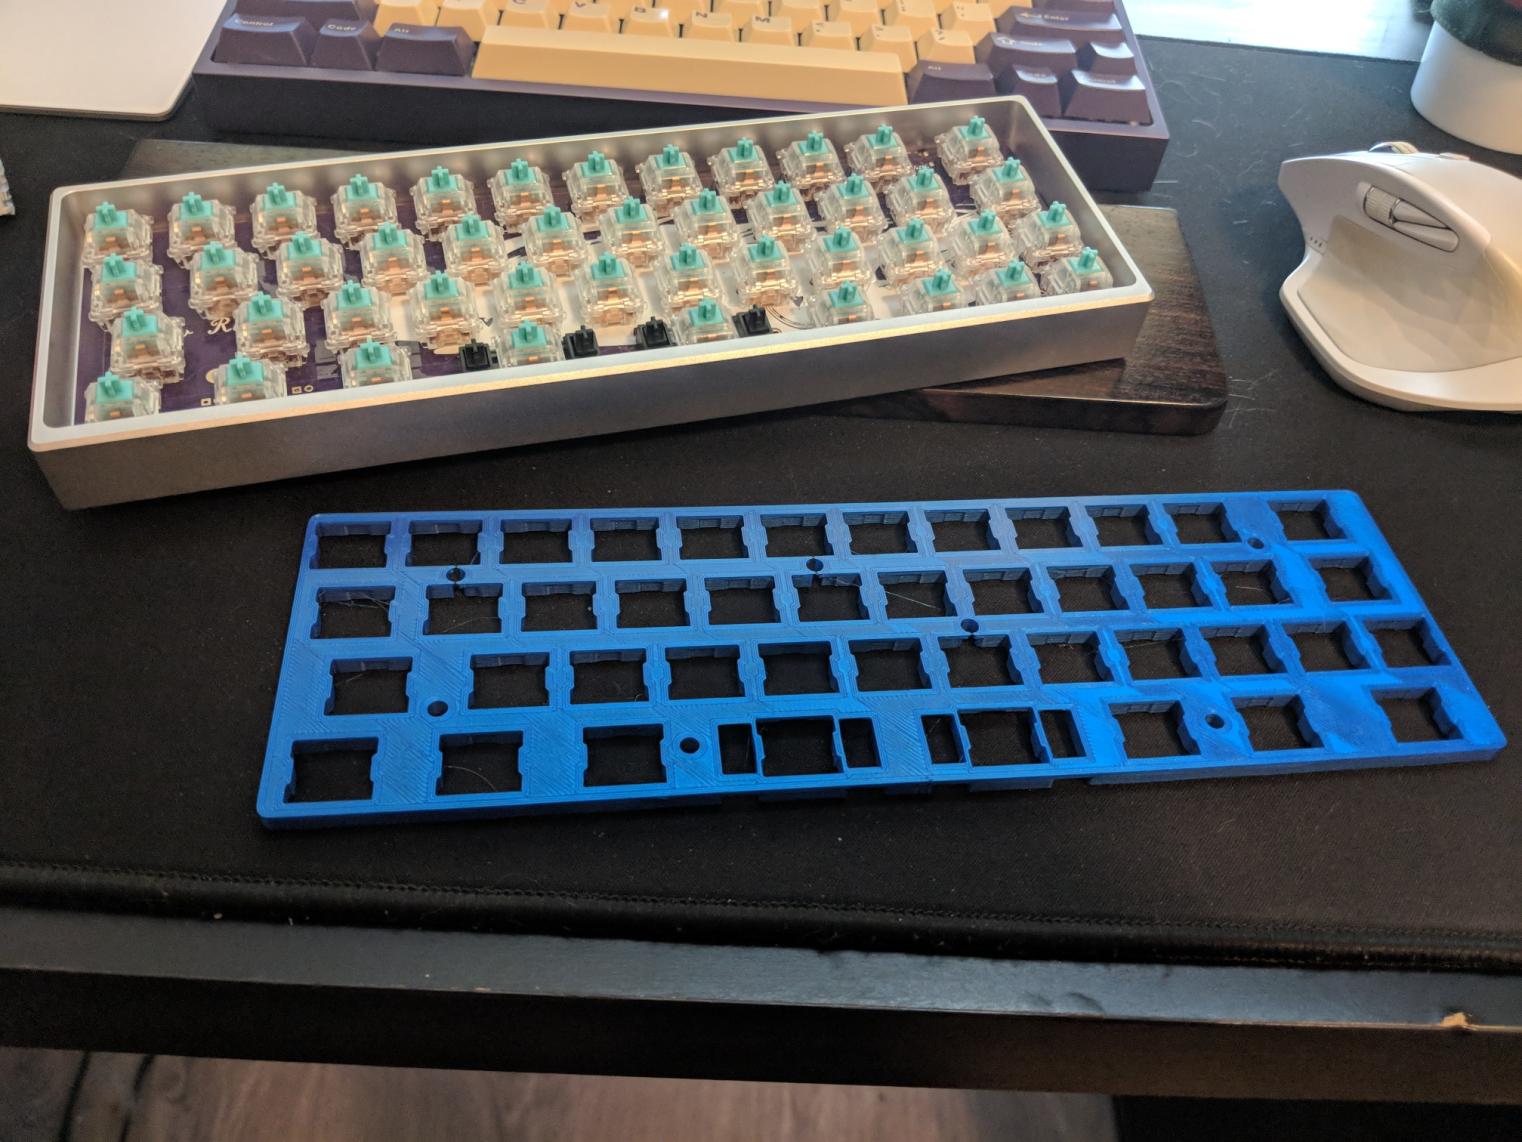
Just last night I threw together this plate for my minivan (standard layout) and 3d printed it. Overall pretty happy with how the print turned out and will probably be desoldering/rebuilding my minivan today with it.
Definitely want to say thanks to @evangs and TheVan for providing the plate files to help with mounting holes (measuring with calipers would have been quite tricky) and also help validate switch positioning before starting a multi hour print.
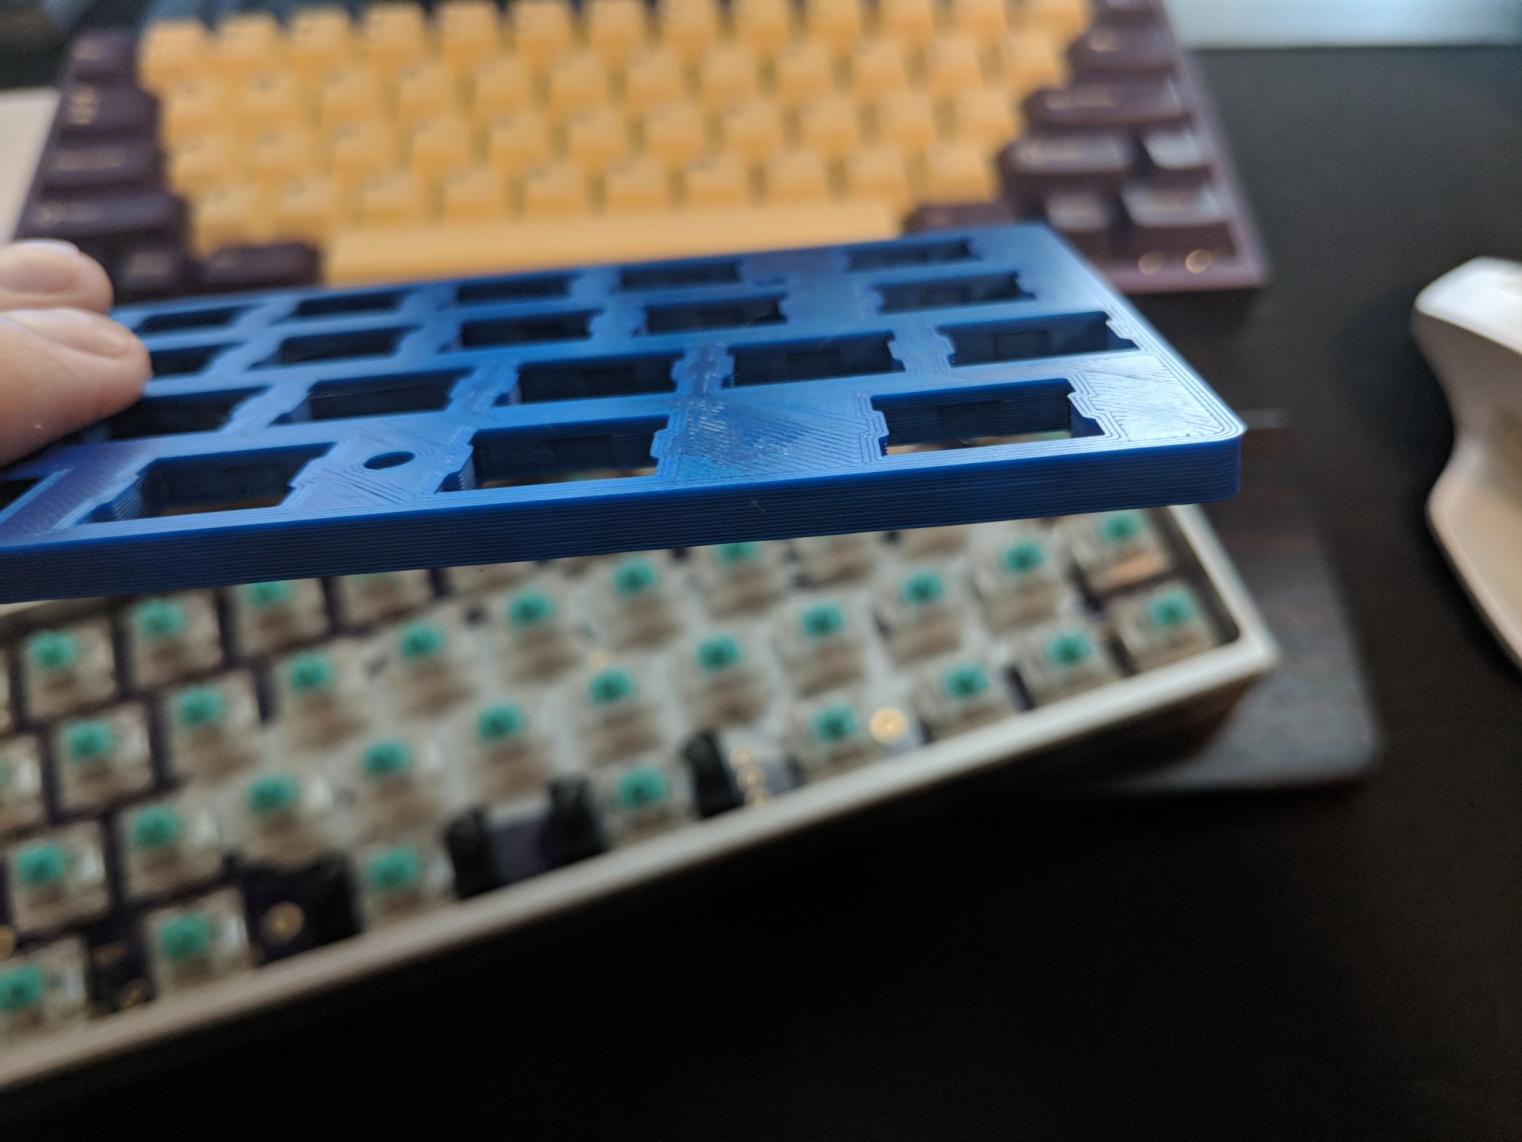
Total plate thickness is 4.5mm (I could have done 4.7 based on my measurements but didn’t want to push it) and printed in Filamentium noble blue PLA
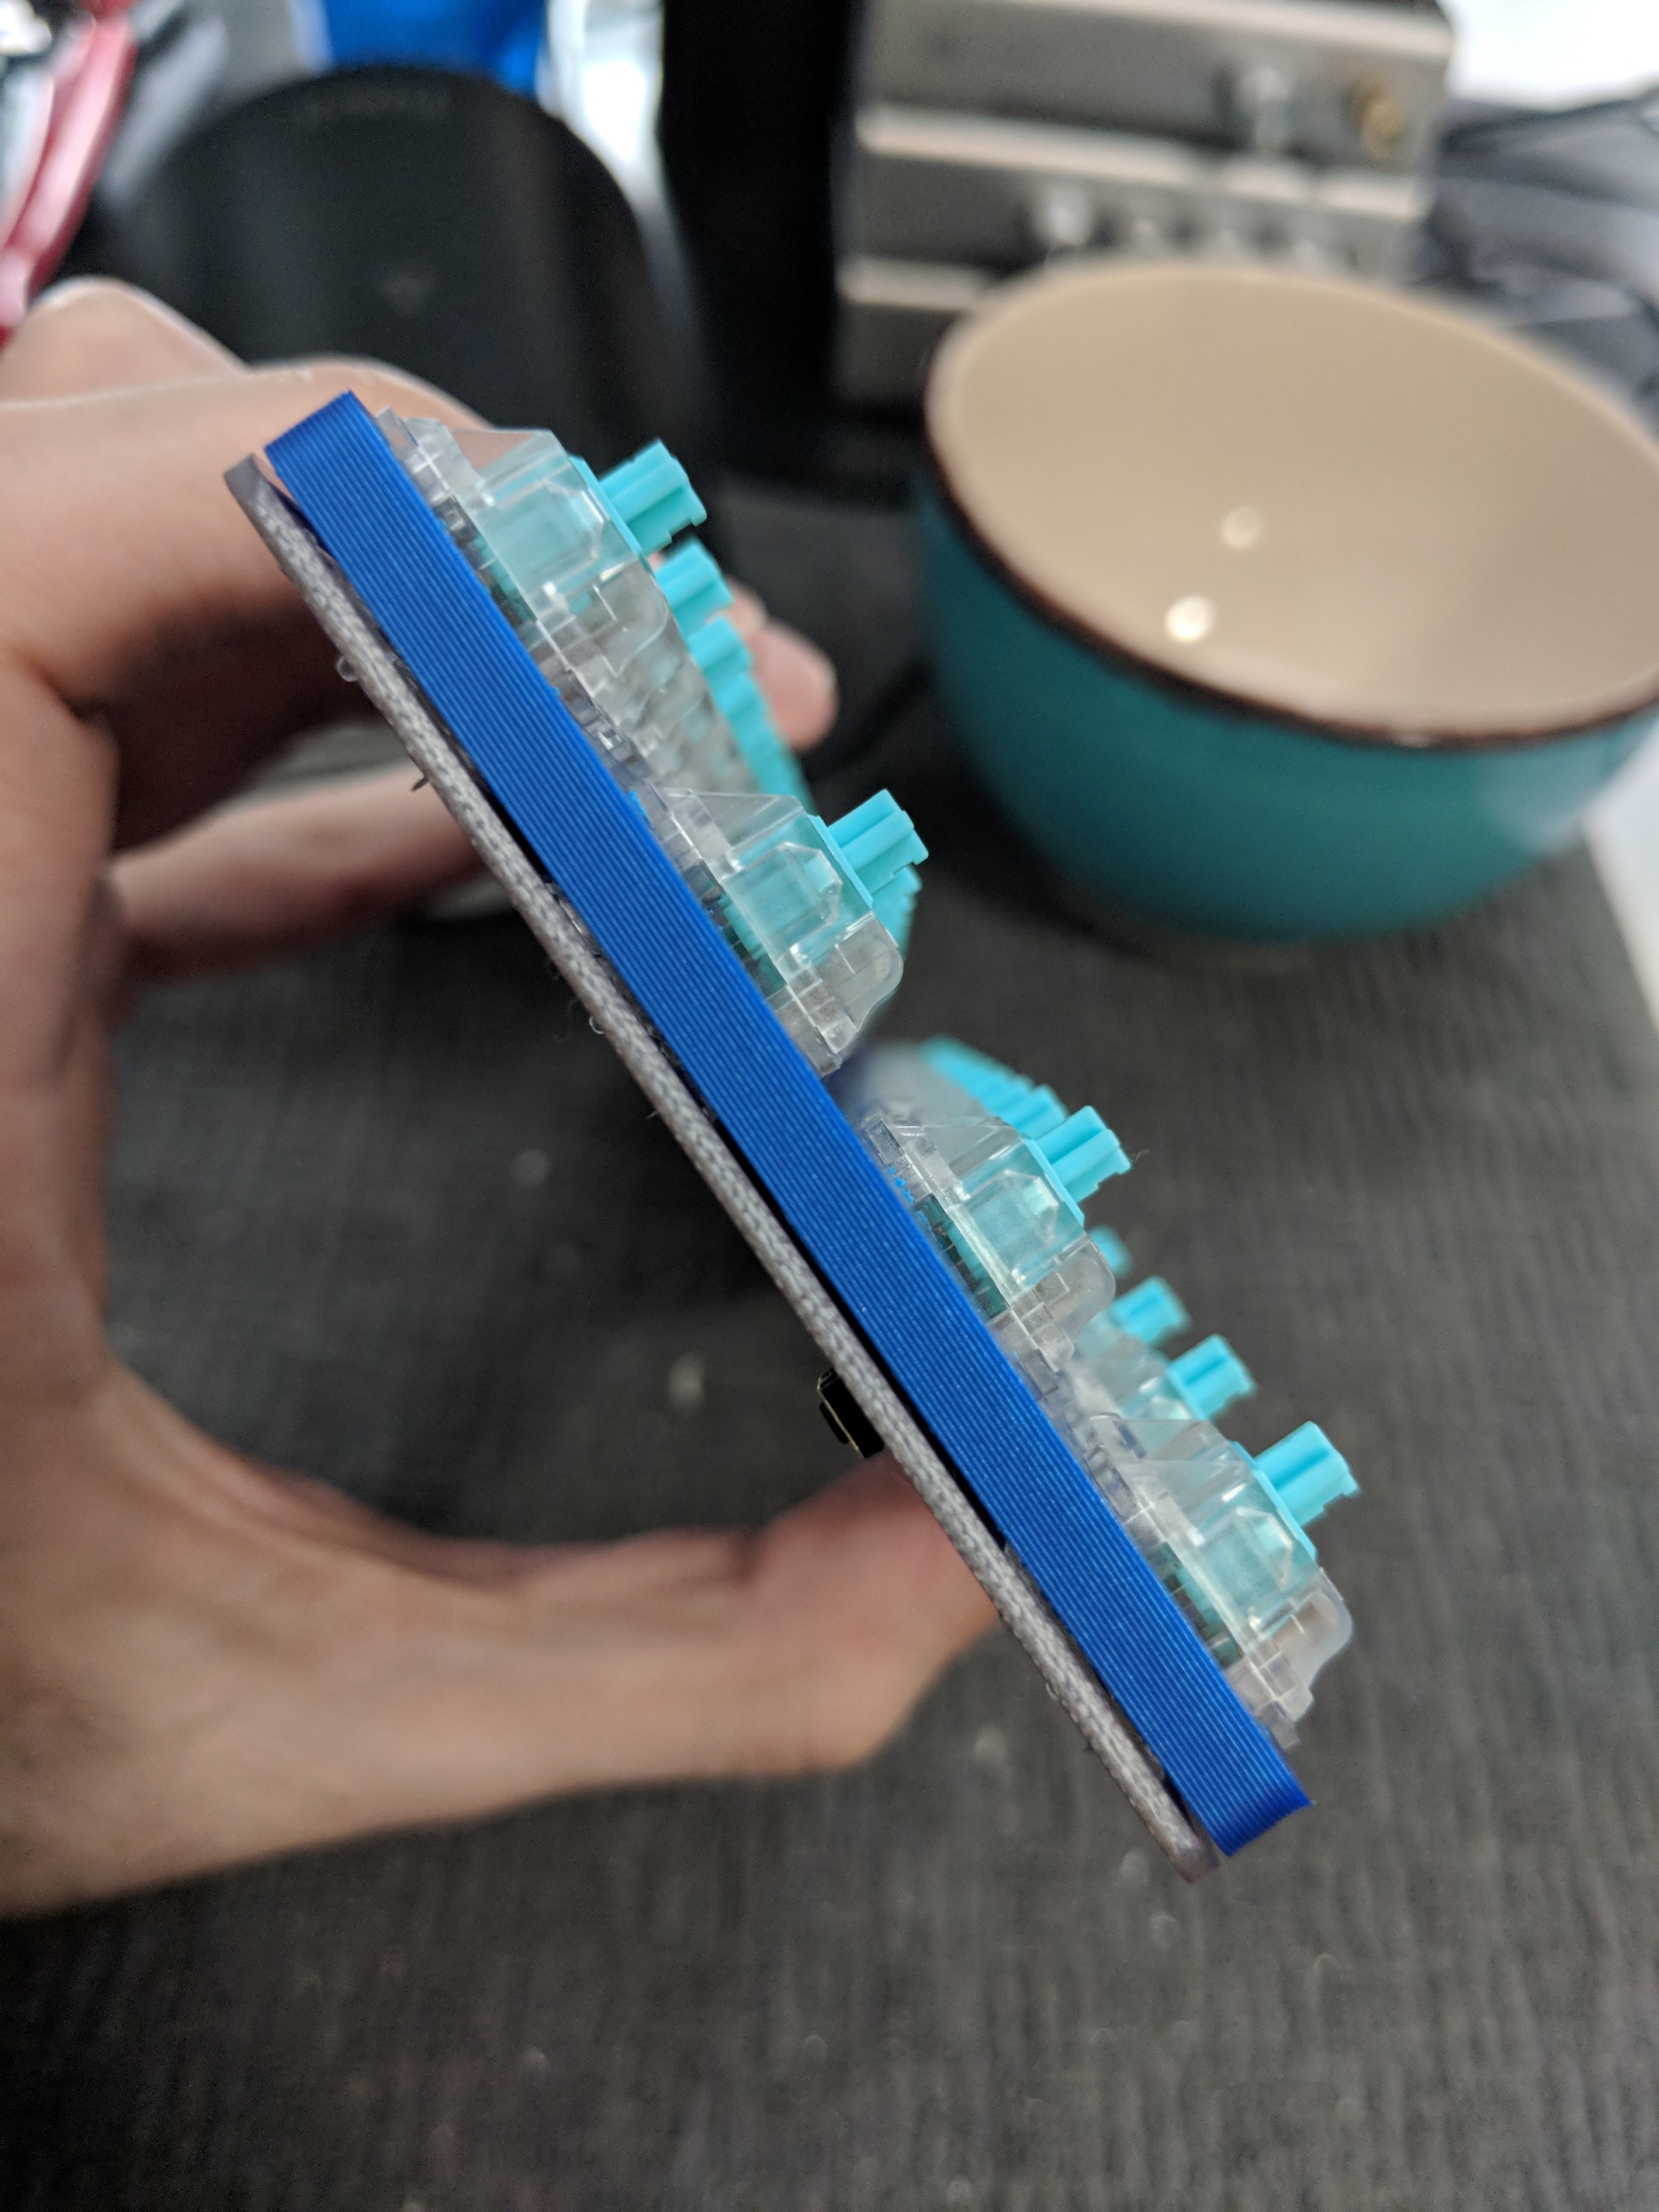
After numerous test prints/fits I’m happy with the results and expect that I will not be disappointed once I put this on my board. Switches have been tested and fit very snuggly while still having the ability to be opened up, and the housings around the stabilizers cover up as much as possible without interfering with them (tested both with screw in and snap in stabilizers). Really excited to eventually get some in-switch indicator LEDs on this and see how they look against the plate.
The only real issue I’ve run in to so far is that I have trouble with Gateron switches properly snapping in to the plate. This problem does not occur with any of the kailh or cherry switches I have lying around but all gaterons I have seem to do this. Does anybody have any recommendations on how to handle this? Since I’m printing these plates the imperfections between layers kind of makes up for it and will hold the switches in place but I would definitely not consider this optimal.
My printer worked better with a little bit of extra room for the switch fits. Start out adding 0.1mm to the fit, between 0.1mm and 0.3mm should make them work a little better across different switches.
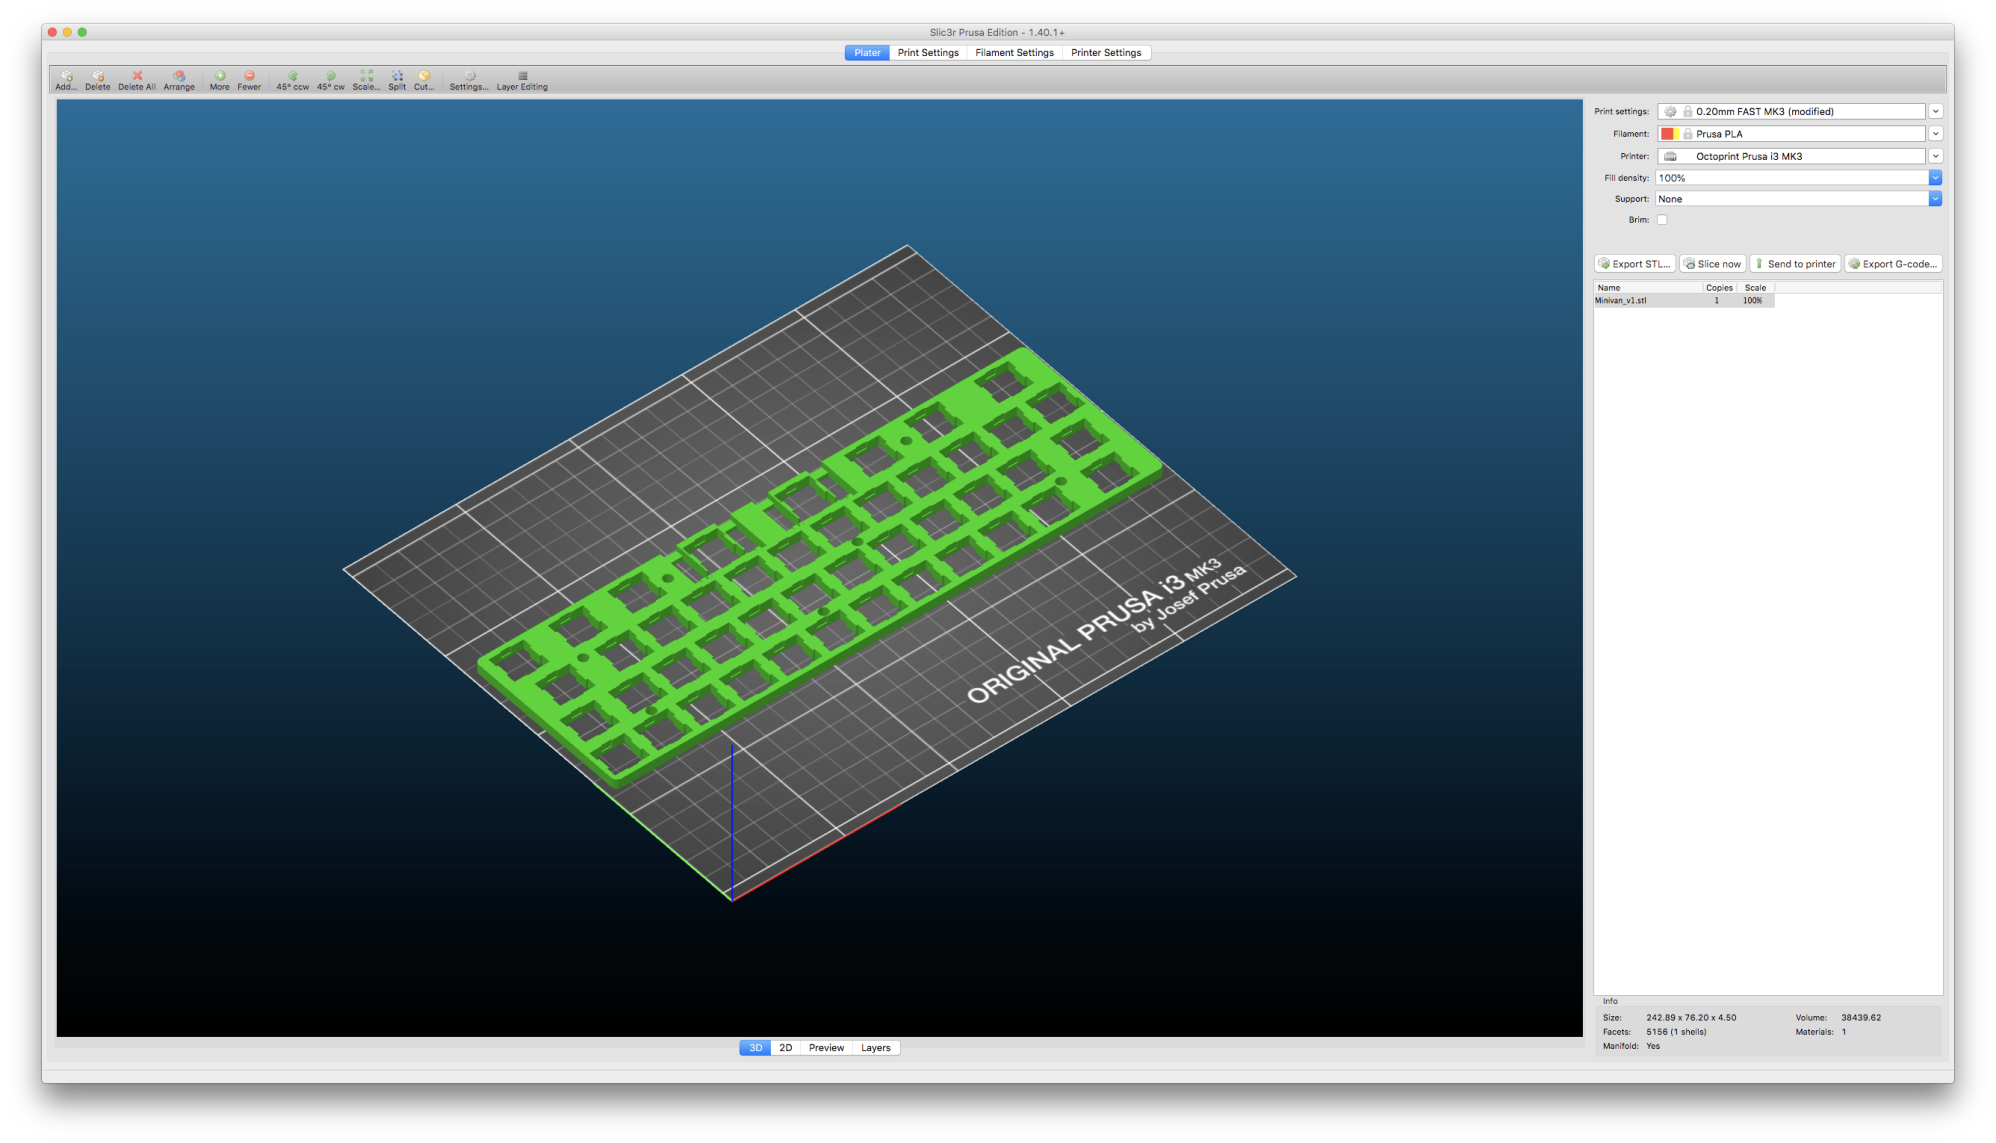
That size fits neatly on the Prusa though, exactly the right size!
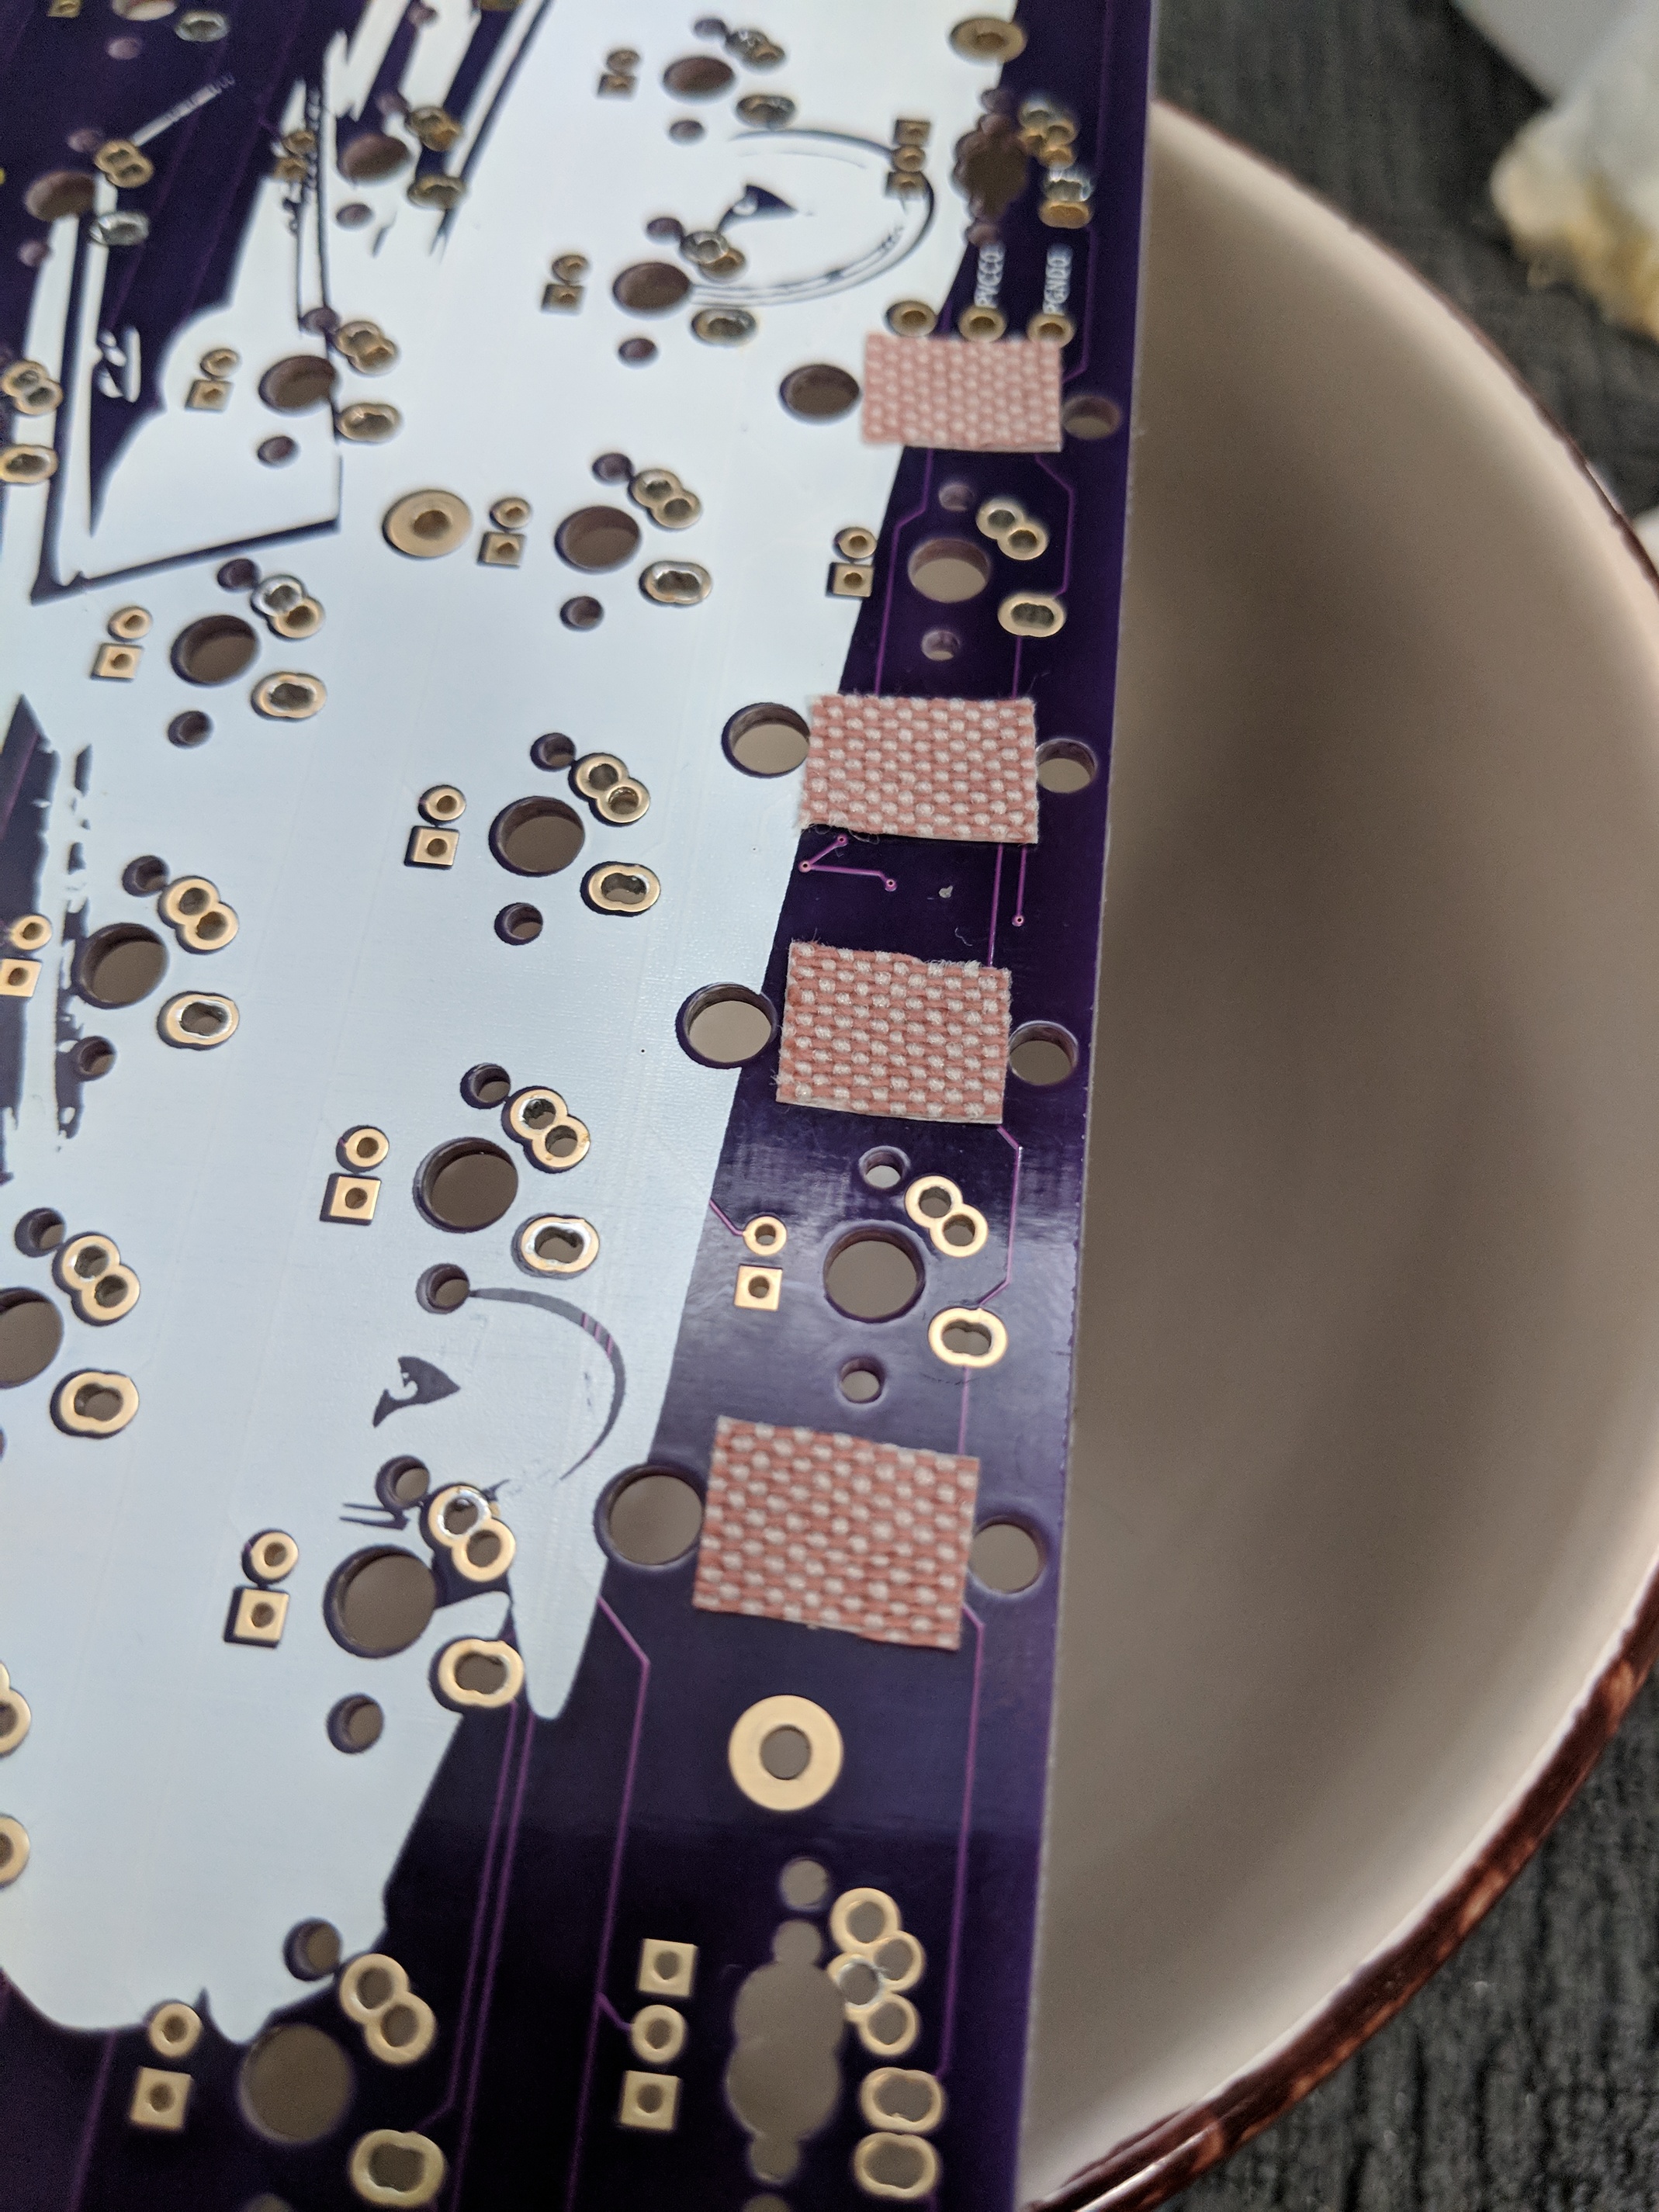
One issue I quickly ran in to while desoldering my minivan is that the fit is a little too snug. My first layer calibration wasn’t quite right so the first layer created just enough of a burr that some switches would be squeezed to the point where the stems would not return after being pressed. Fortunately since it was only the top layer that has this issue it’s been relatively easy (although tedious) to remove the burrs with some small files.
For future plates I’ll probably add a very tiny chamfer on the top side which should hopefully retract the burrs enough to not require any post processing.
@FSund Regarding the minivan plate, the current version I have is only for the standard (non-arrow) layout. If you’re interested I can certainly send you the STL but you might find that you also need to file a bit from the top layer. However something to note is that you need a pretty large print bed to fit this (it barely fits on the 250mm plate on my i3 mk3 and certainly will not fit on a 210mm plate (which I think is more common?))
On a side note I have a Quefrency split board on the way that I also am planning to have a nice fat plate with and case to go with it. Unfortunately it seems impossible for me to print a 60% plate, but for the split board like the Quefrency it shouldn’t be a problem
This is what I did for my integrated case. I think if the top flares out around 0.3mm to 0.5mm, it should work well, matching the thickness of the flare to the first layer height - it’s mostly to offset the first layer squish which is unavoidable. You could try flipping the plate and printing rafts and supports to account for the first layer as well.
I’ll definitely try out the chamfer, the smooth finish is really nice when the top is on the heatbed and I would definitely like to keep that. (With this specific filament the underside is pretty ugly and will conveniently be hidden against the pcb).
Once this is all filed/resoldered/etc I’ll be sure to take some more pics :3
Once I finish up with testing/reassembling my minivan I’ll be sure to do that! I did make some modifications (including the chamfers to reduce first layer nonsense) plus haven’t finished up with my own board so I can’t actually confirm yet that my plate is good
I’ll be sure to post updates when I’m done though.
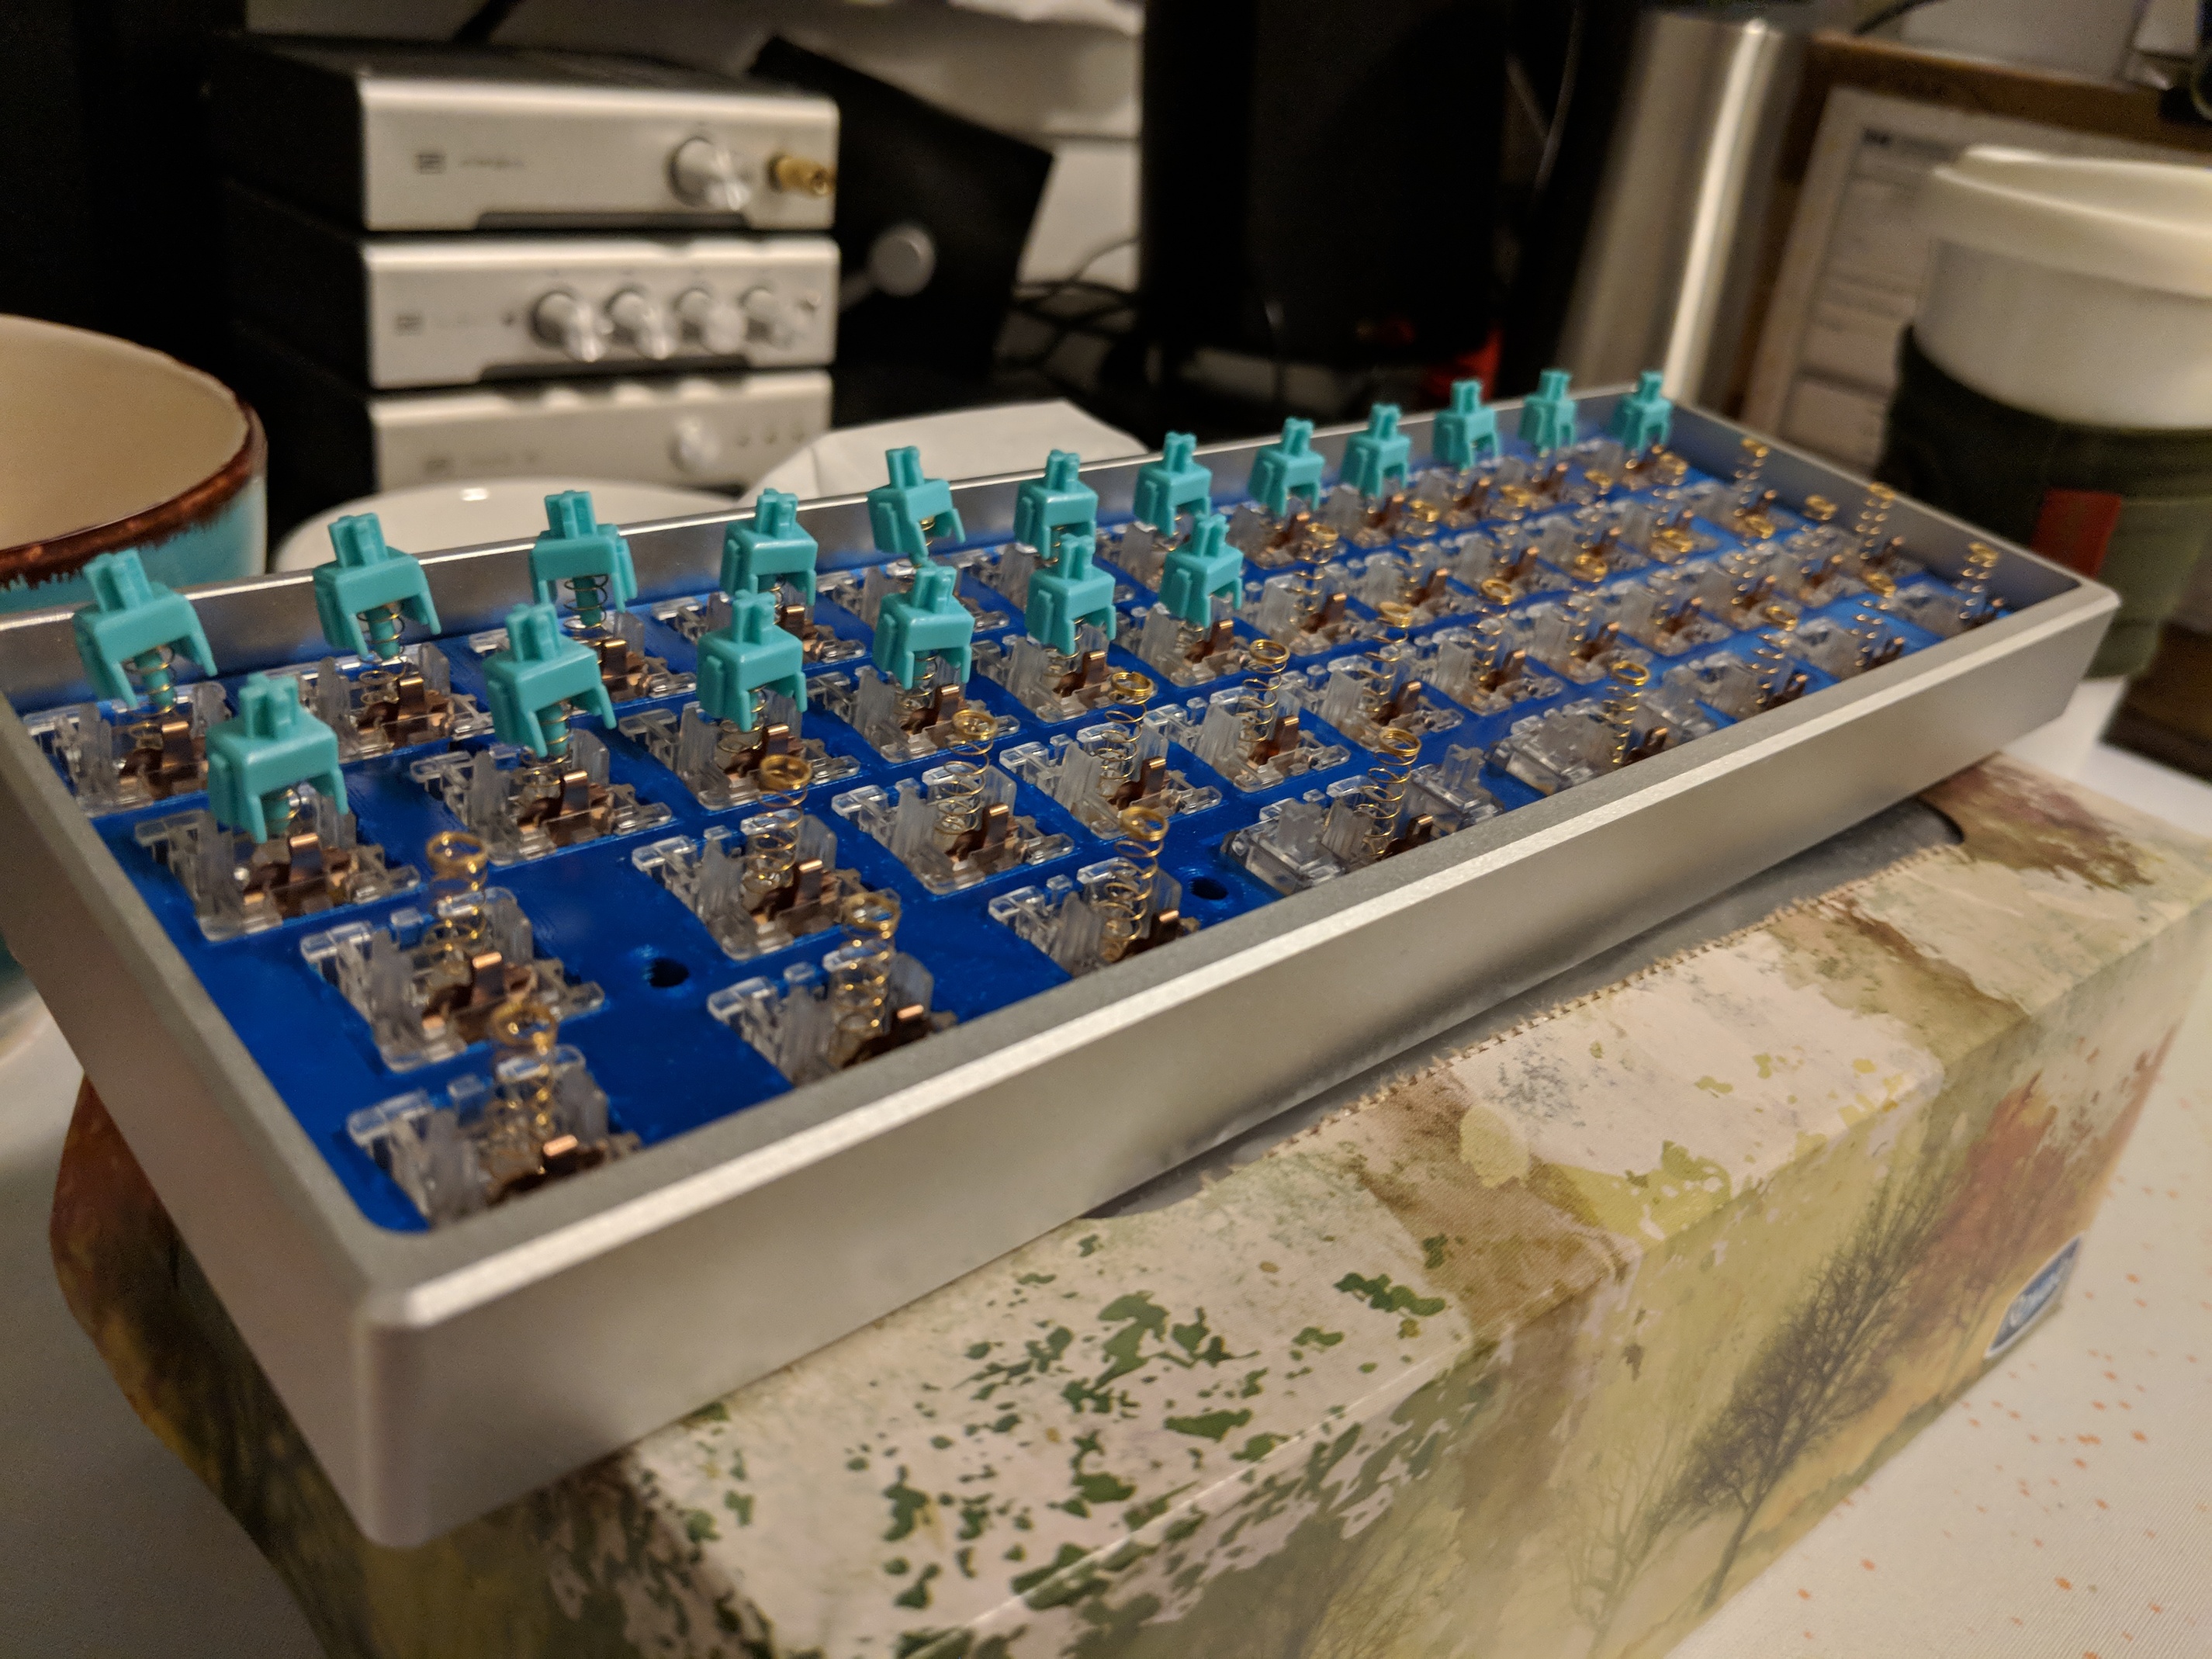
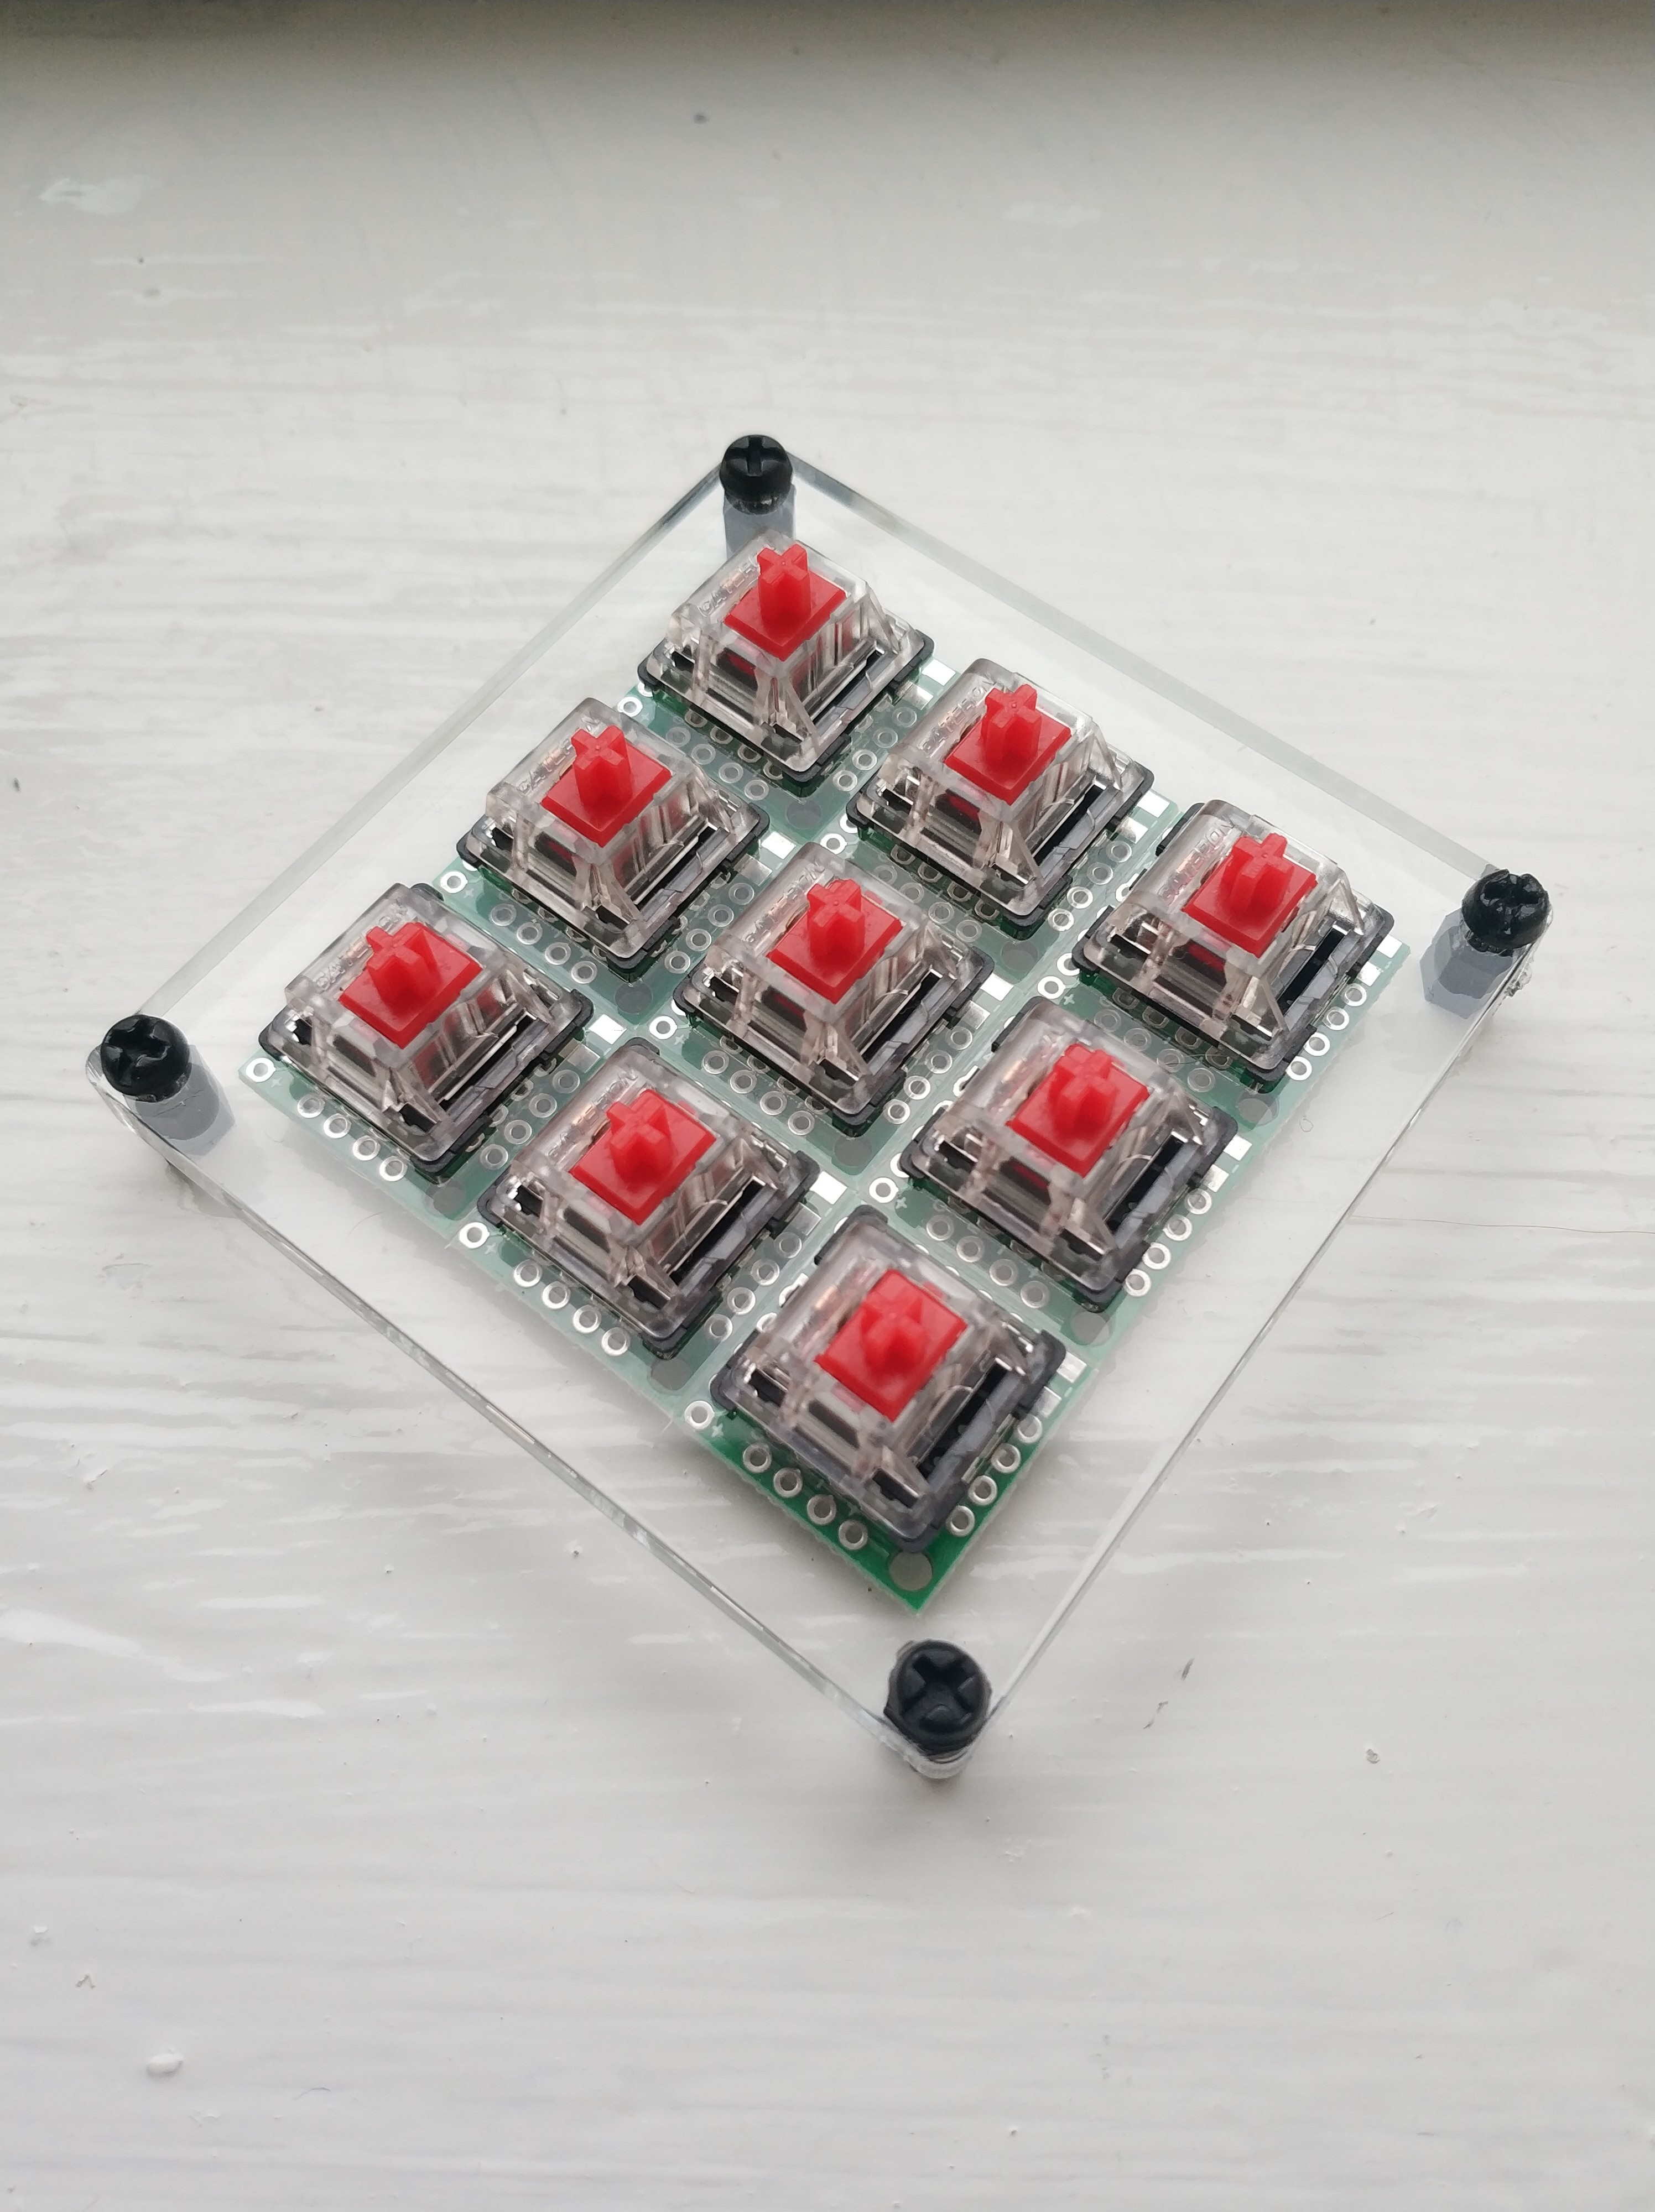
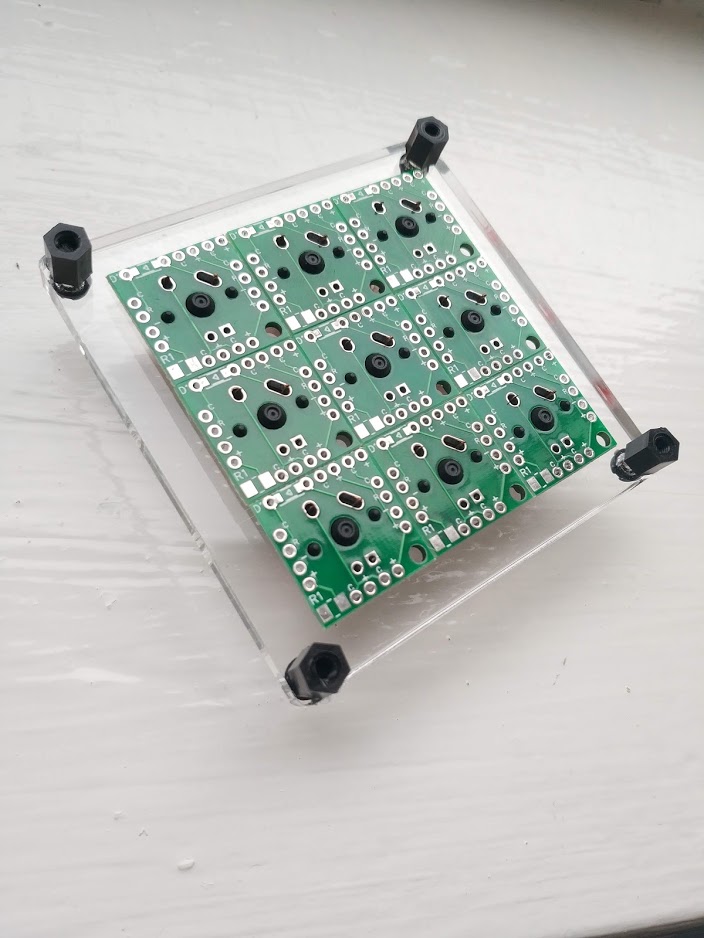
Alright after putting down the project for a few days I finally finished it up and everything turned out pretty good :3
The only issues I ran in to were some elephant’s foot which caused the switches to stick after being mounted. Some filing of the plate helped resolve this and since then I’ve also done a few test prints to help reduce this at the slicing stage. I didn’t end up printing a second plate just because I had something good enough already and didn’t want to wait another 4-6 hours and once the switches are mounted you can’t see any of the markings from filing.
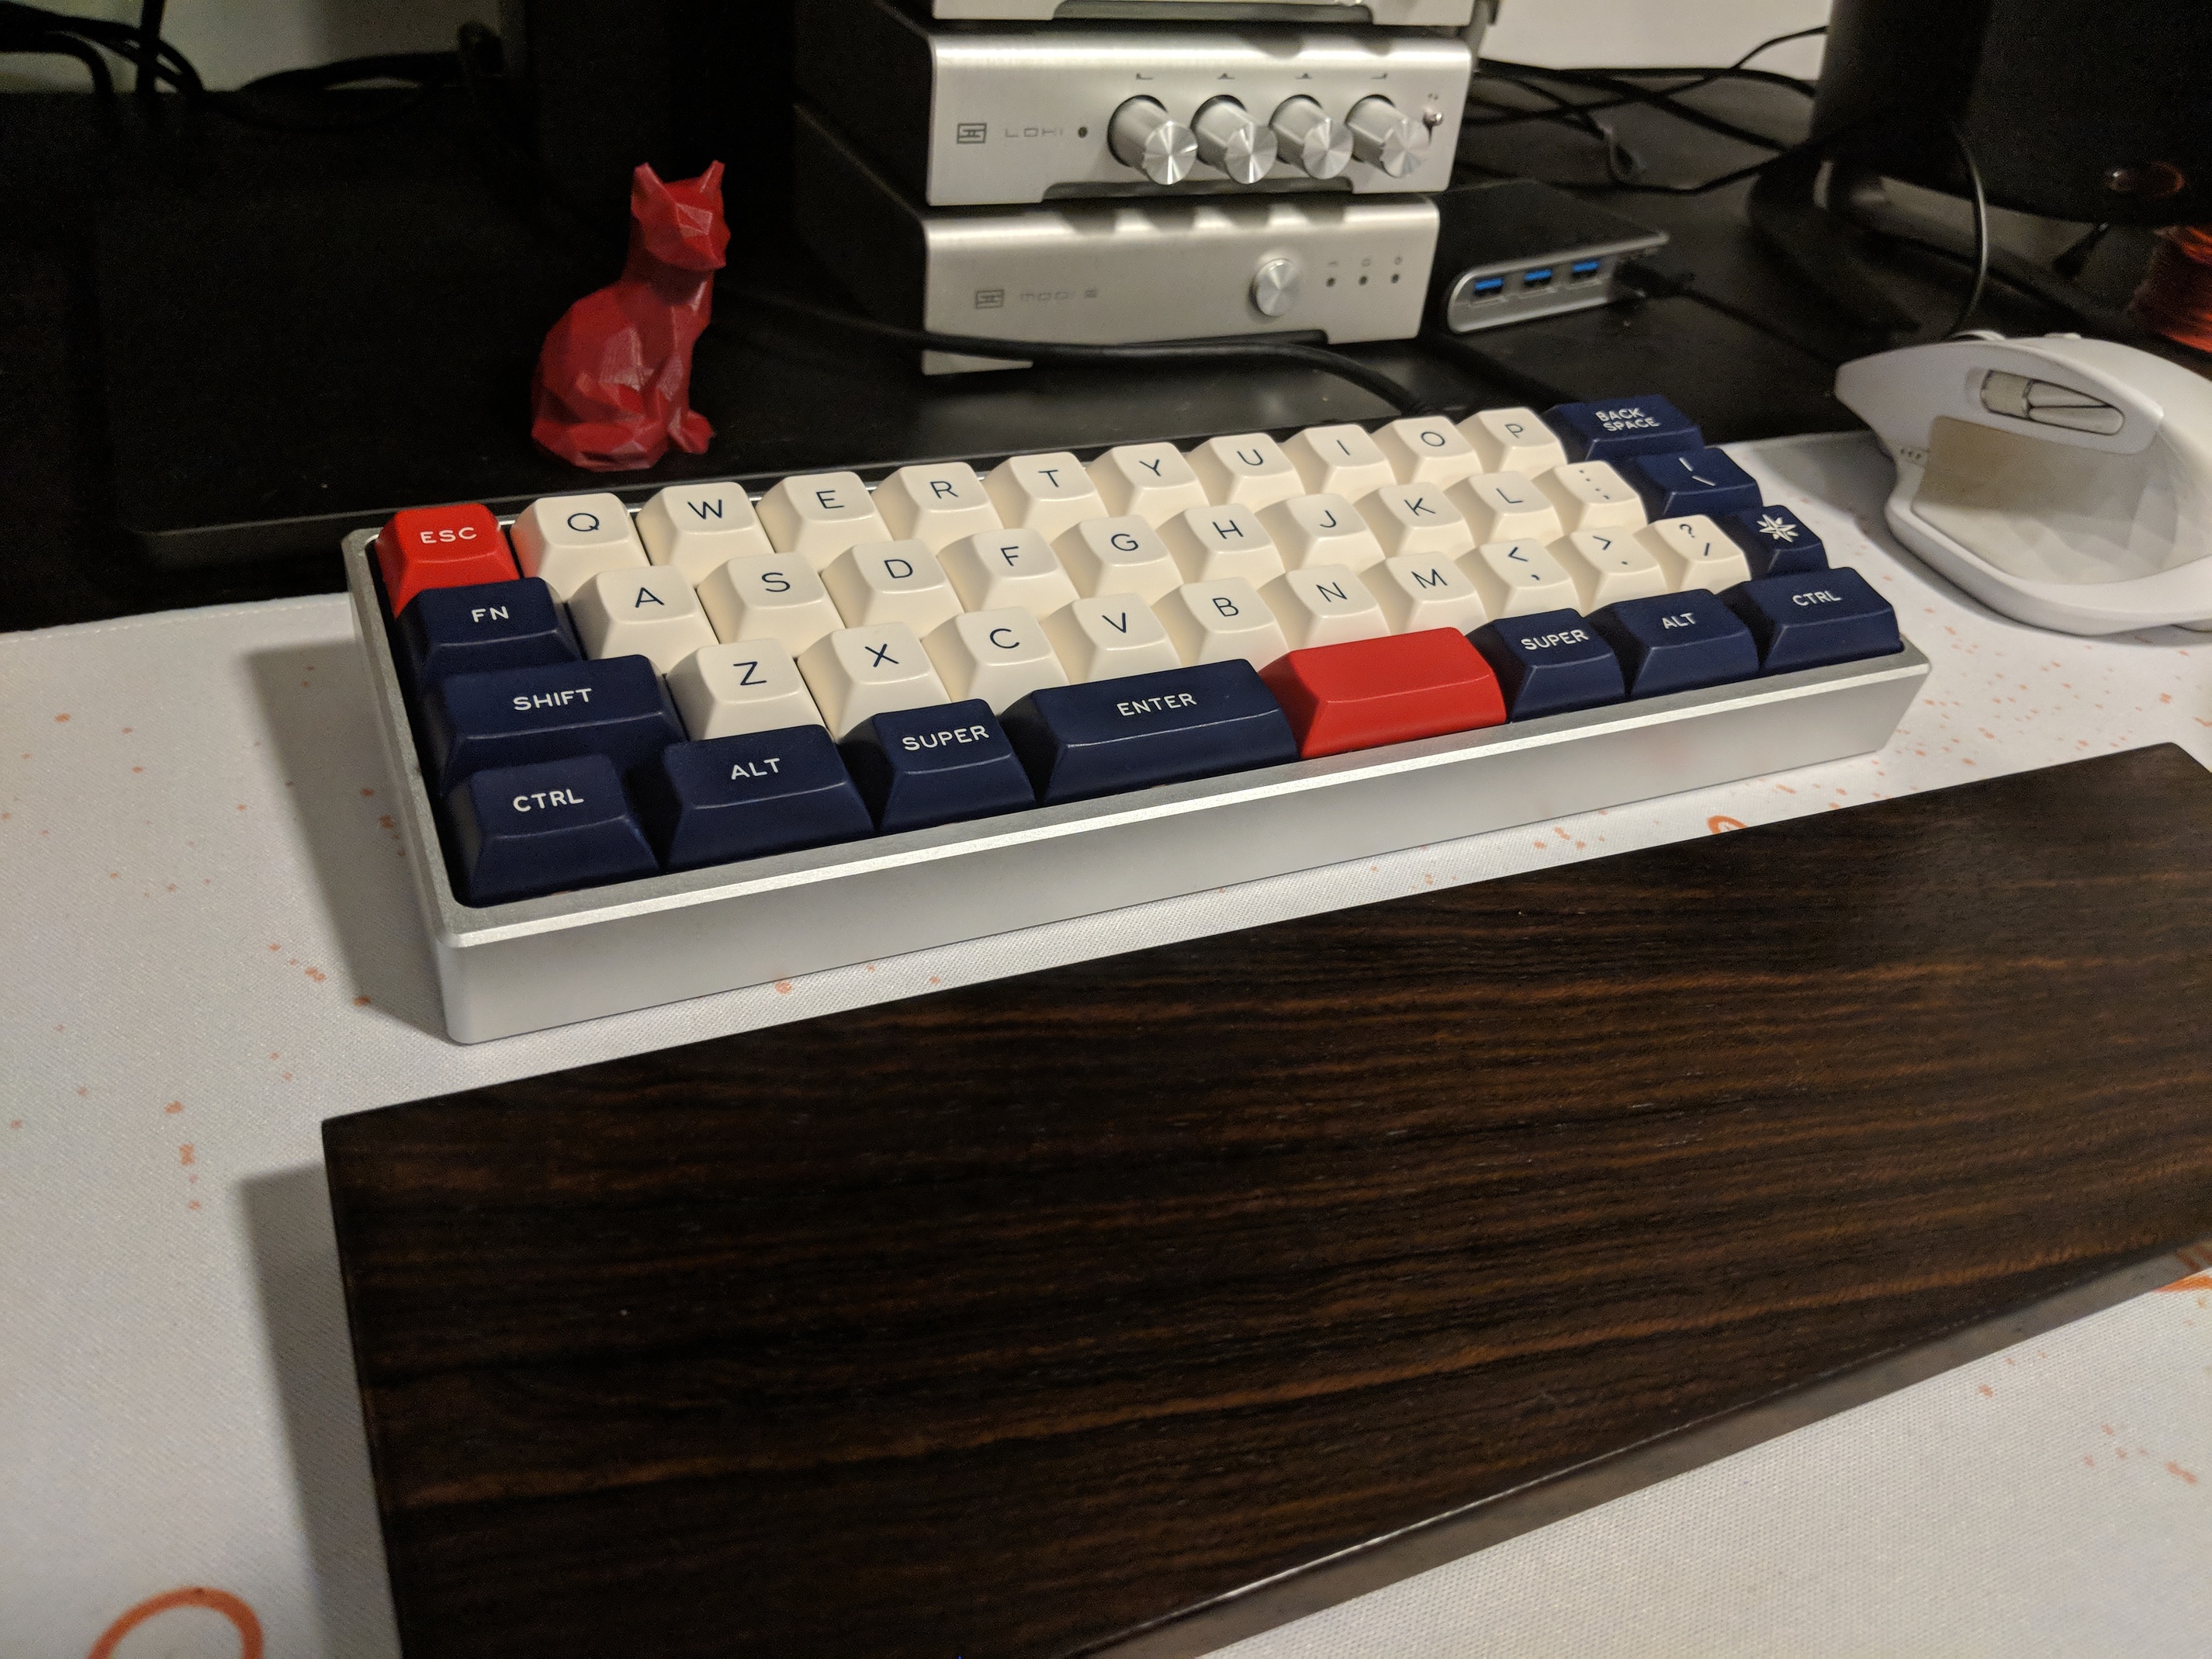
Overall very happy with how things turned out and I’ll certainly be doing this again with future builds. Just had a Quefrency kit come in and I’ll be giving it similar treatment with a fully custom plate and case that will both be 3d printed.
No, switches will not clip in on thick plates unless they are undercut. That is my issue with using a thick plate on a tray mount. When your build is finished, if there is any space between the plate and pcb, the plate can slide down the switches towards the pcb and there is no way to get it back up. I put rubber bumpons behind the plate I had laser cut for me but it’s not the most elegant solution
In my experience the max is just under 5mm, when designing a plate for 3d printing I tend to keep it at 4.5-4.7 but this depends a lot on what your board surface is like.
The plates I recently designed for my Quefrency had to be printed a little thinner to account for the THT diodes that come with it. These obstructions resulted in me thinning the plate to somewhere between 3.5-4mm (I honestly can’t remember right now)
Thanks for all the info @luma! I did a similar project to this one earlier this summer, with a 3.5mm (I think) plate for my DZ60 printed in Ngen. Pretty stiff, and no issues with cracking like what I had with my plate I printed out of PC Max.