Build Log IO-001: (Mass)Drop CTRL
(Okay, three digits might be excessive but who’s to say? Better to be safe than sorry, right?)
Overview
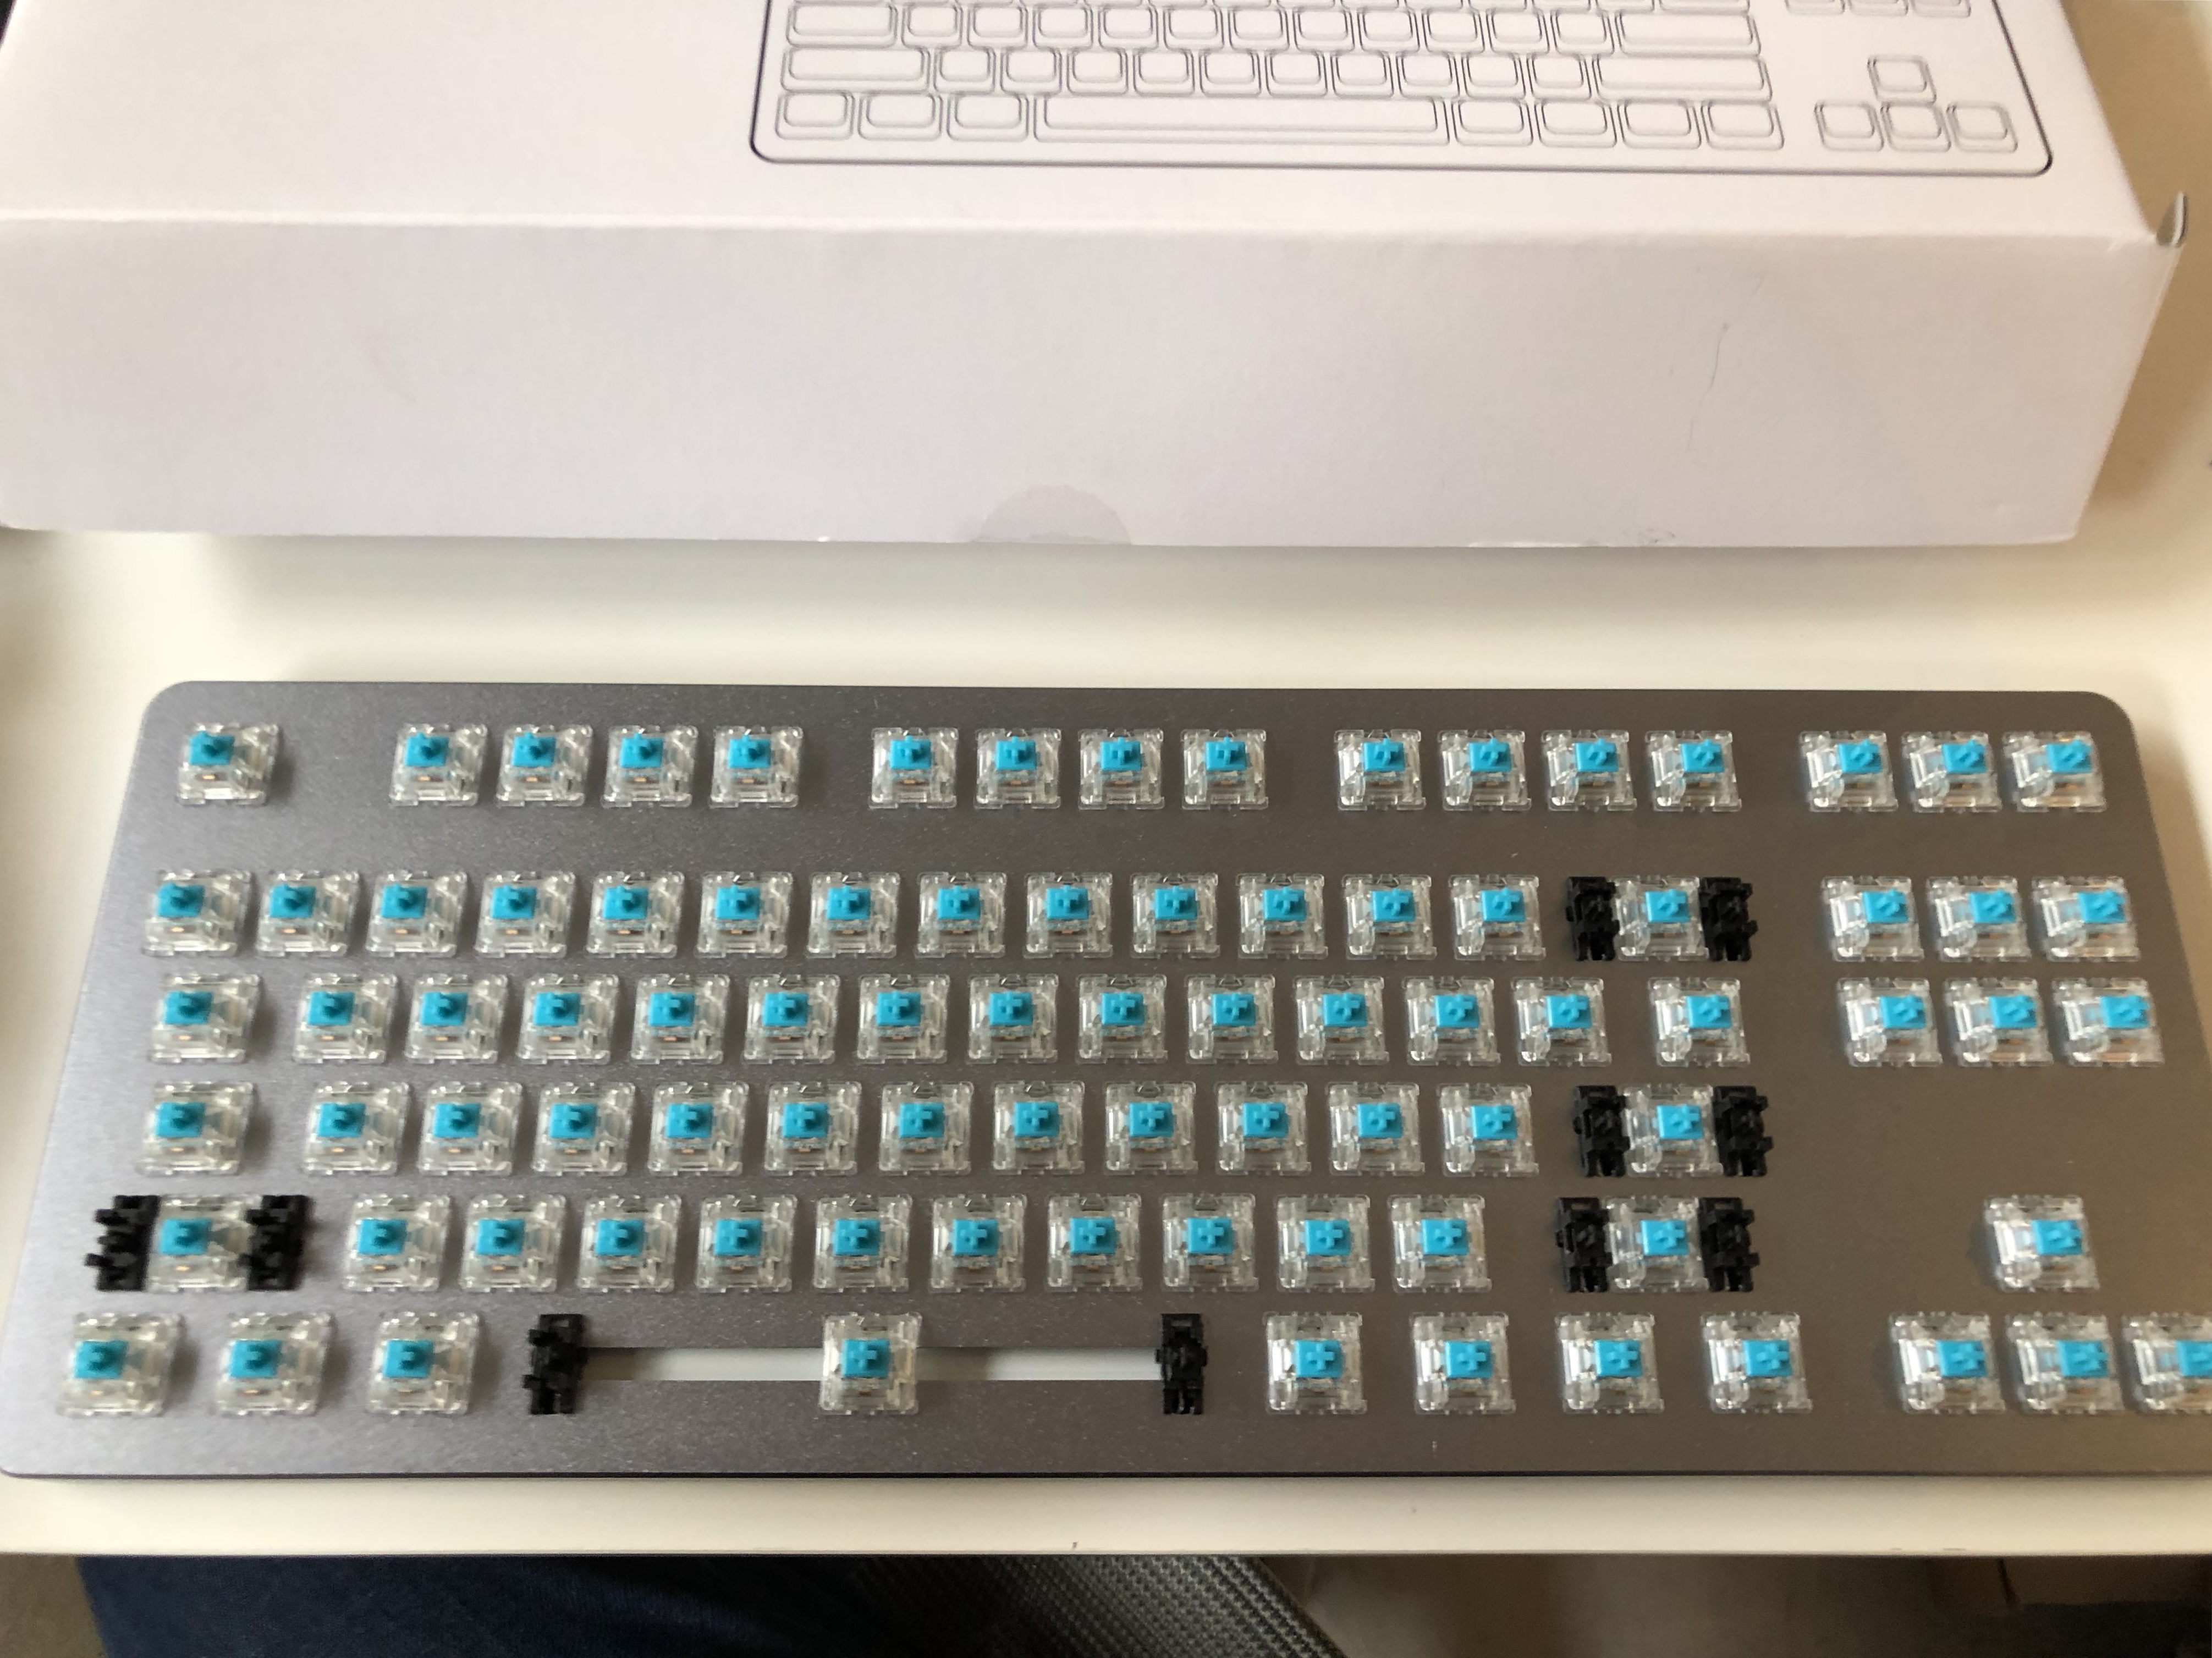
So, I have a Massdrop CTRL. This was my office keyboard up until I shifted to working remote full-time (just before the pandemic), but hasn’t really seen any use since then (my home office keyboard was my K-Type, which will be replaced by an Electrotype 87, but since I neither have the time nor the tools to deal with that right now it is on the backburner/a candidate to send to somebody better than myself to build), so it has just been collecting dust. However, the hotswap nature of it makes it a pretty solid platform for testing frankenswitches on a real setup in real use, so I wanted to make it a little bit nicer for my future self.
In pursuit of that goal, I grabbed two upgrades for it:
- An MK Ultra foam to place under the PCB
- One of the new cases for the Drop CTRL that Drop put up for sale as in-stock (with the LED diffuser add-on that brings my Massdrop CTRL in line with the Drop CTRL; a couple of changes happened between their cases that requires this, most notably moving the steel plates for the magnetic feet to be held in the diffuser layer rather than affixed to the case bottom for easy replacement)
Deconstruction
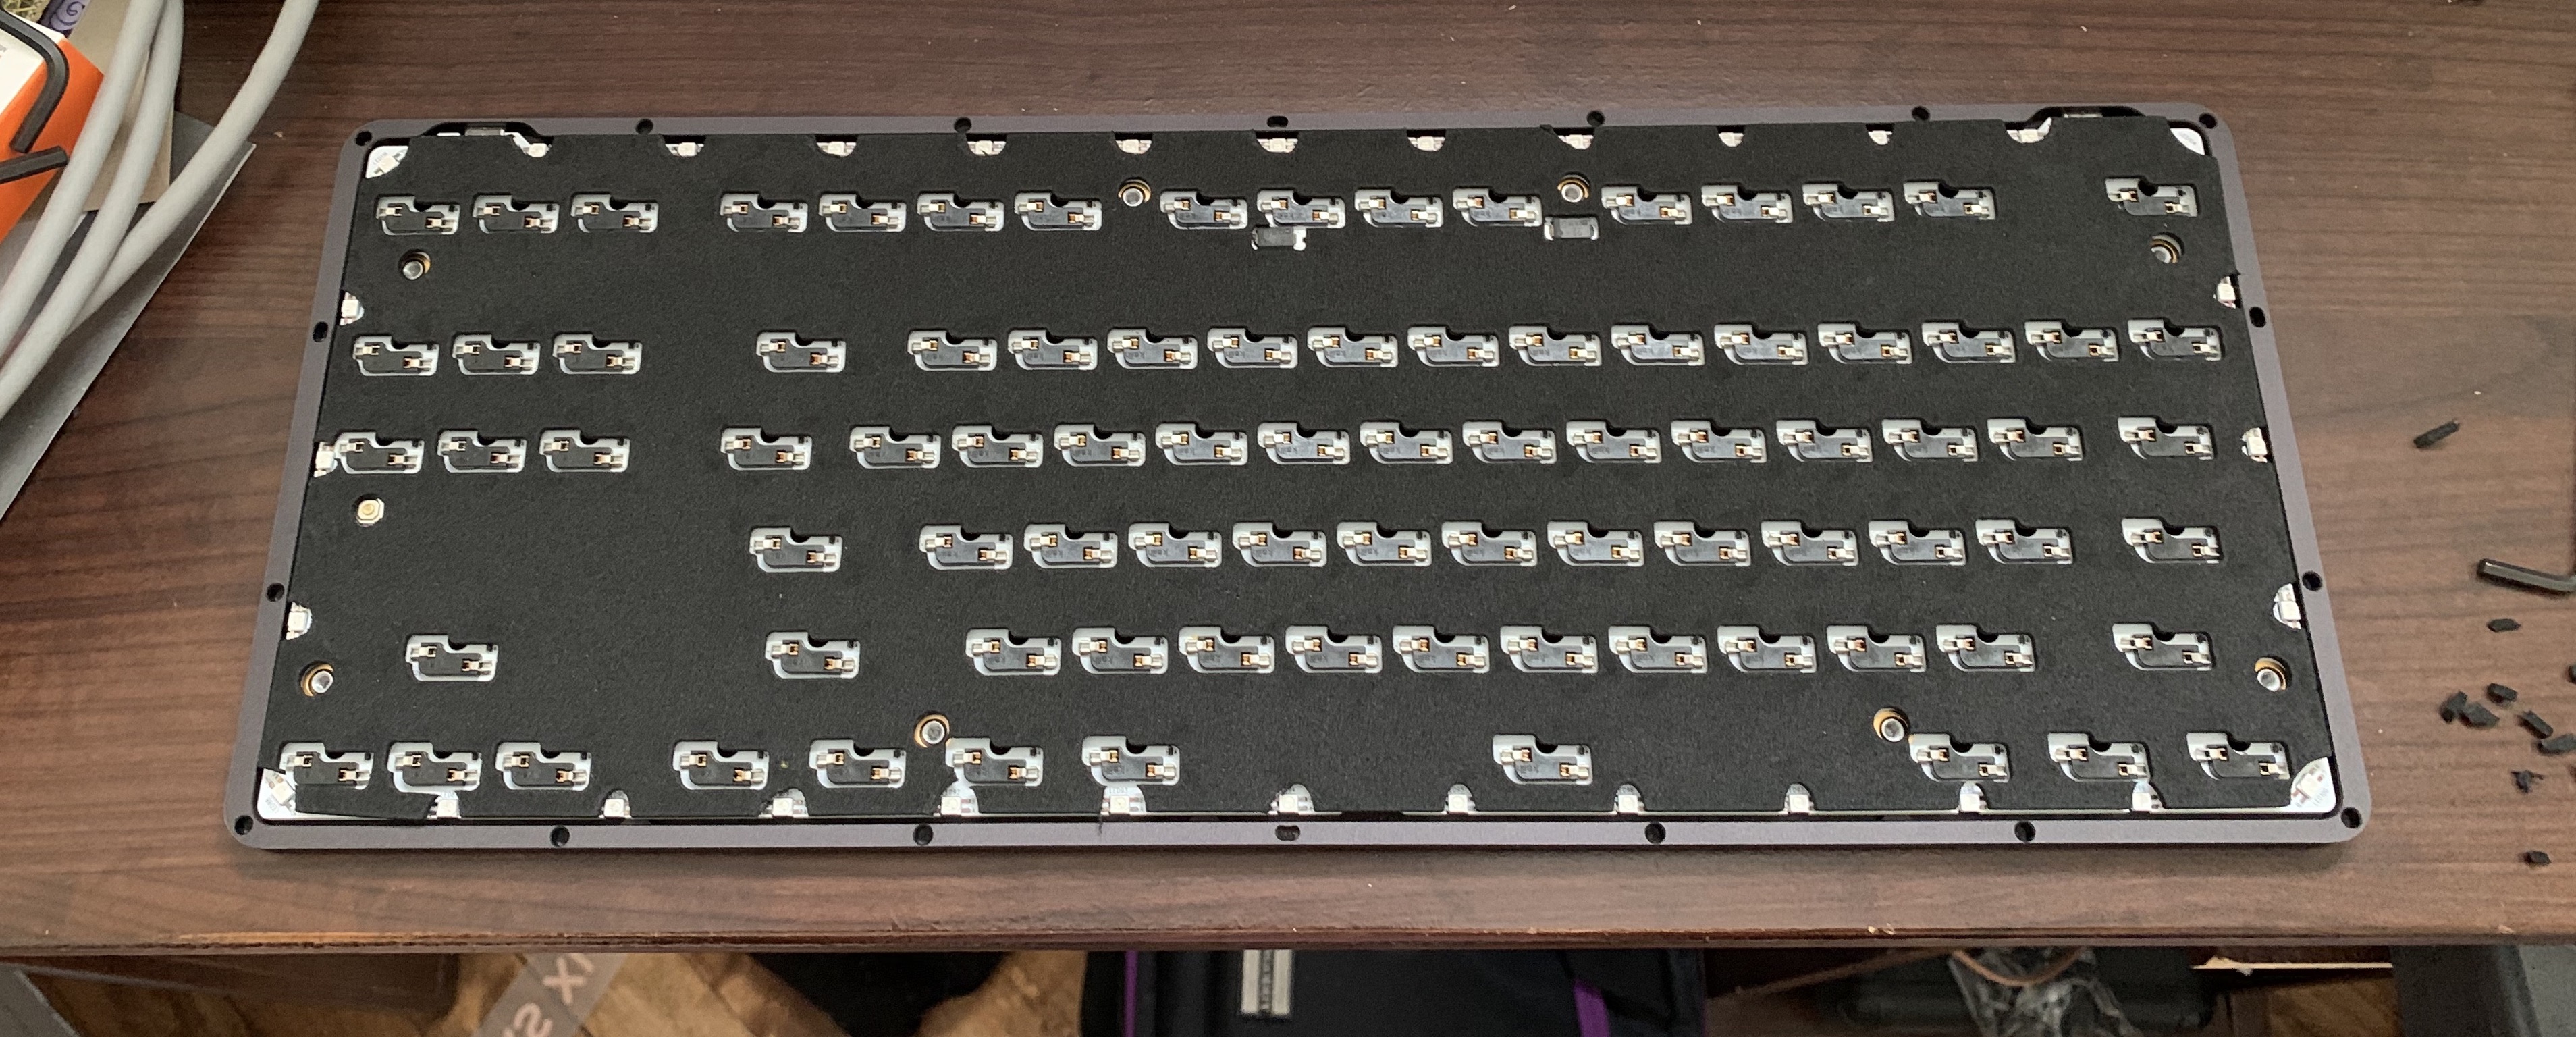
First step in this build was to unbuild the original board. Here it is without switches:
(I know, this case is dirty. Keeping it any degree of clean in the open office was… a challenge to which I did not rise)
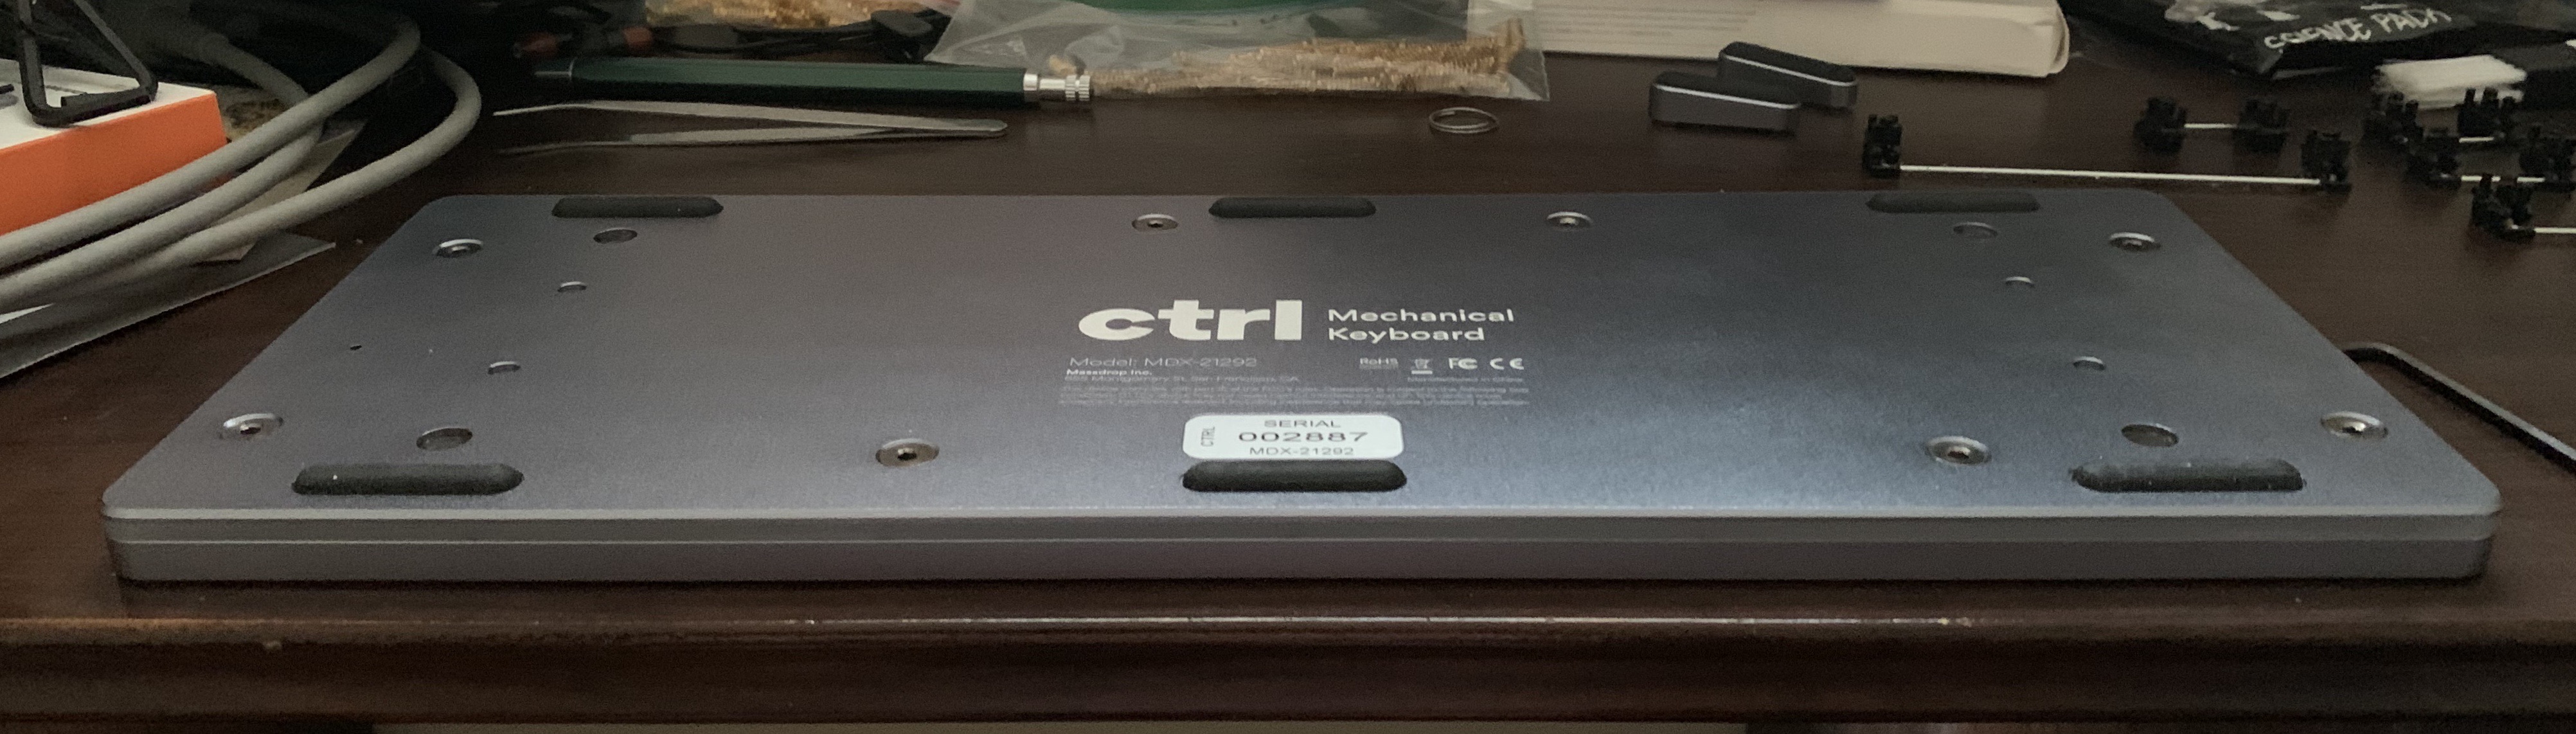
Here it is, ready for me to take off the back:
Now, the switch puller for the CTRL unscrews to become a tool you’re intended to use to unscrew the back, but frankly it’s trash. I used a much-better hex wrench I (thankfully) had from my PC-building toolset instead, and it was much better for taking these screws out.
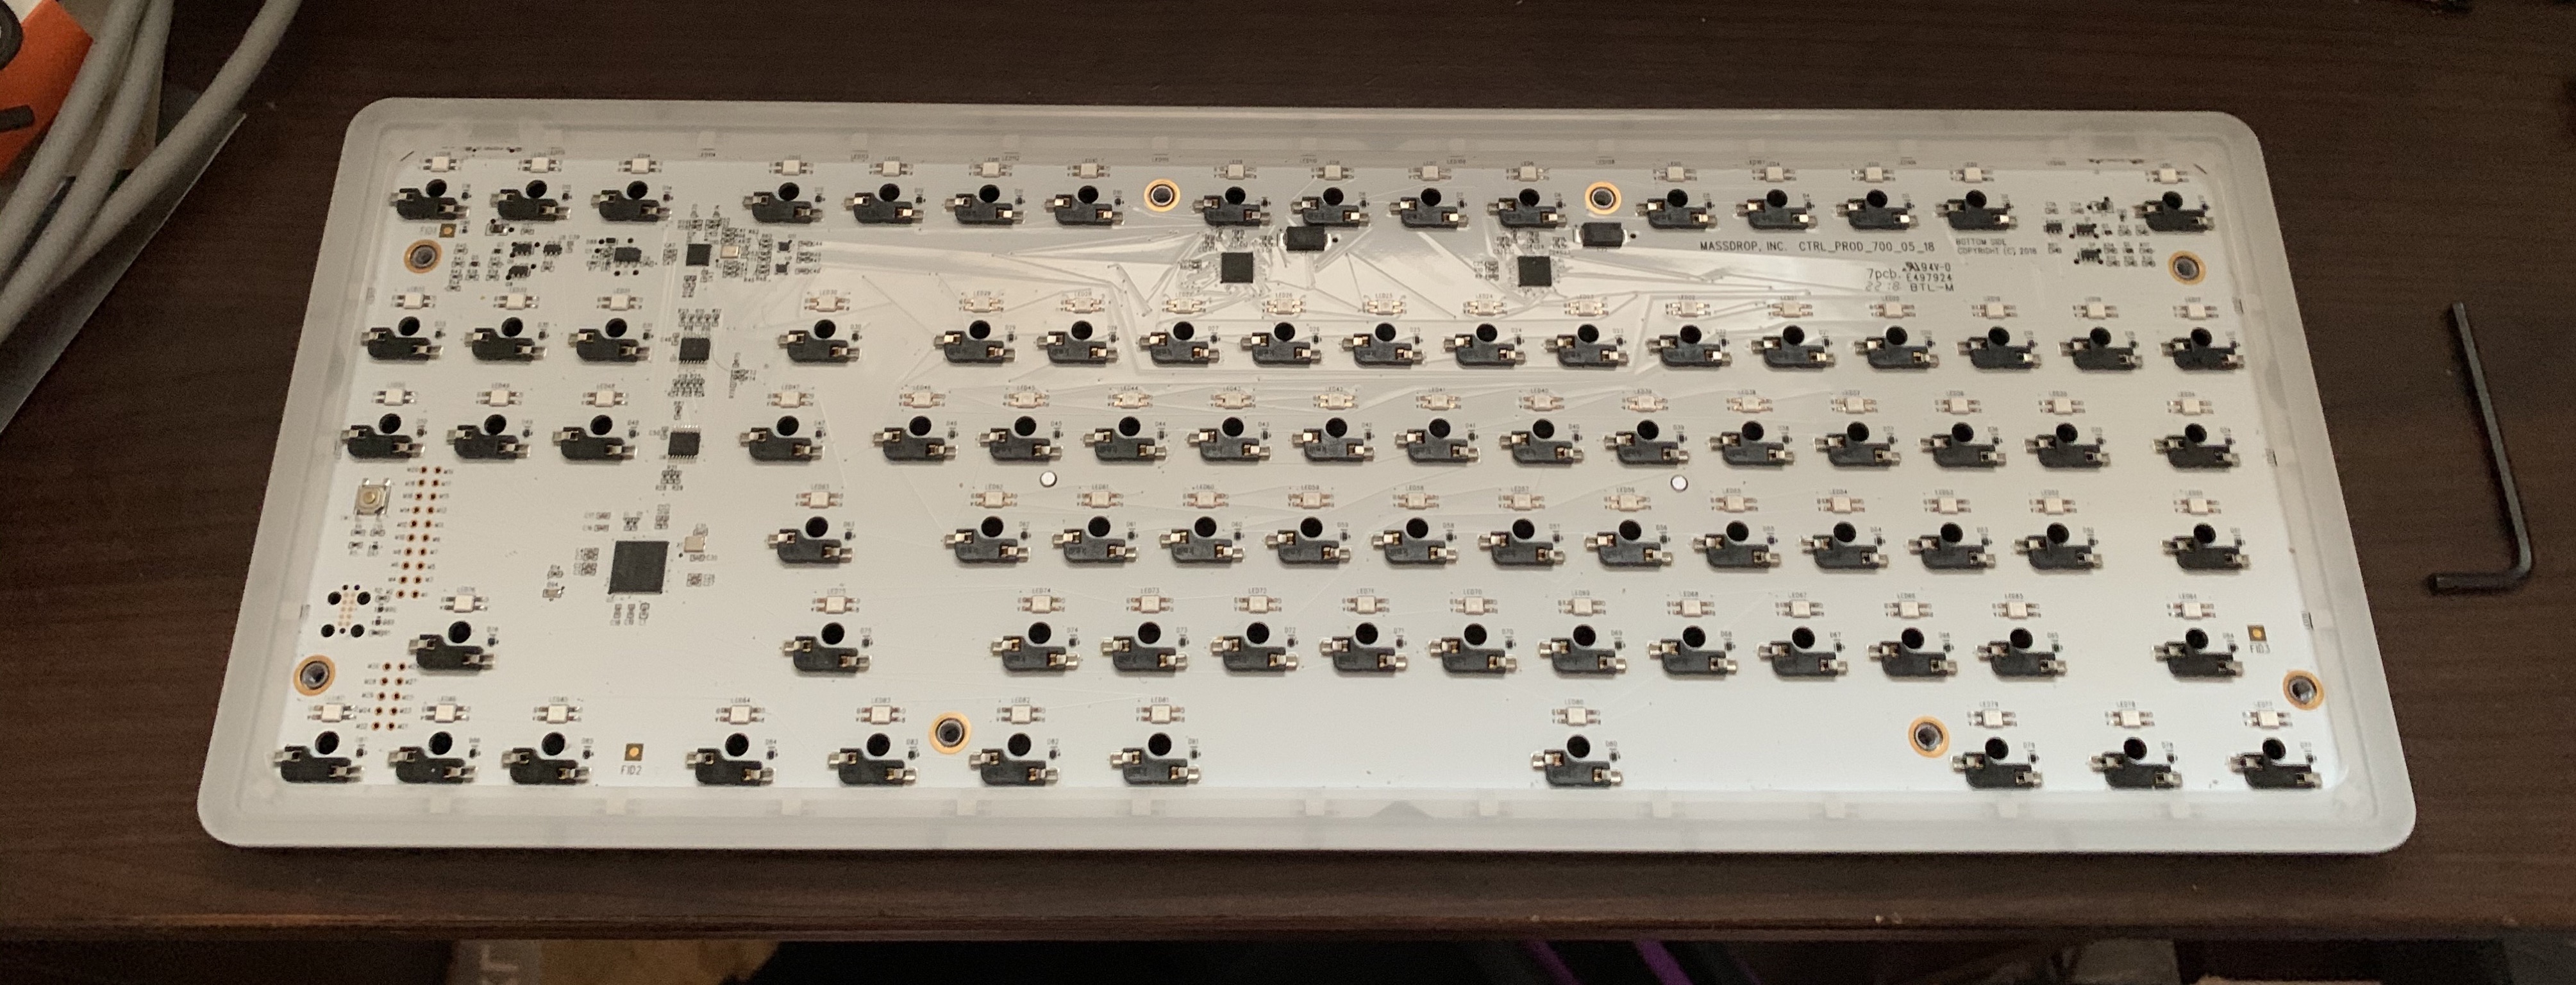
And here it is with the back taken off:
Sidebar: Diffusers
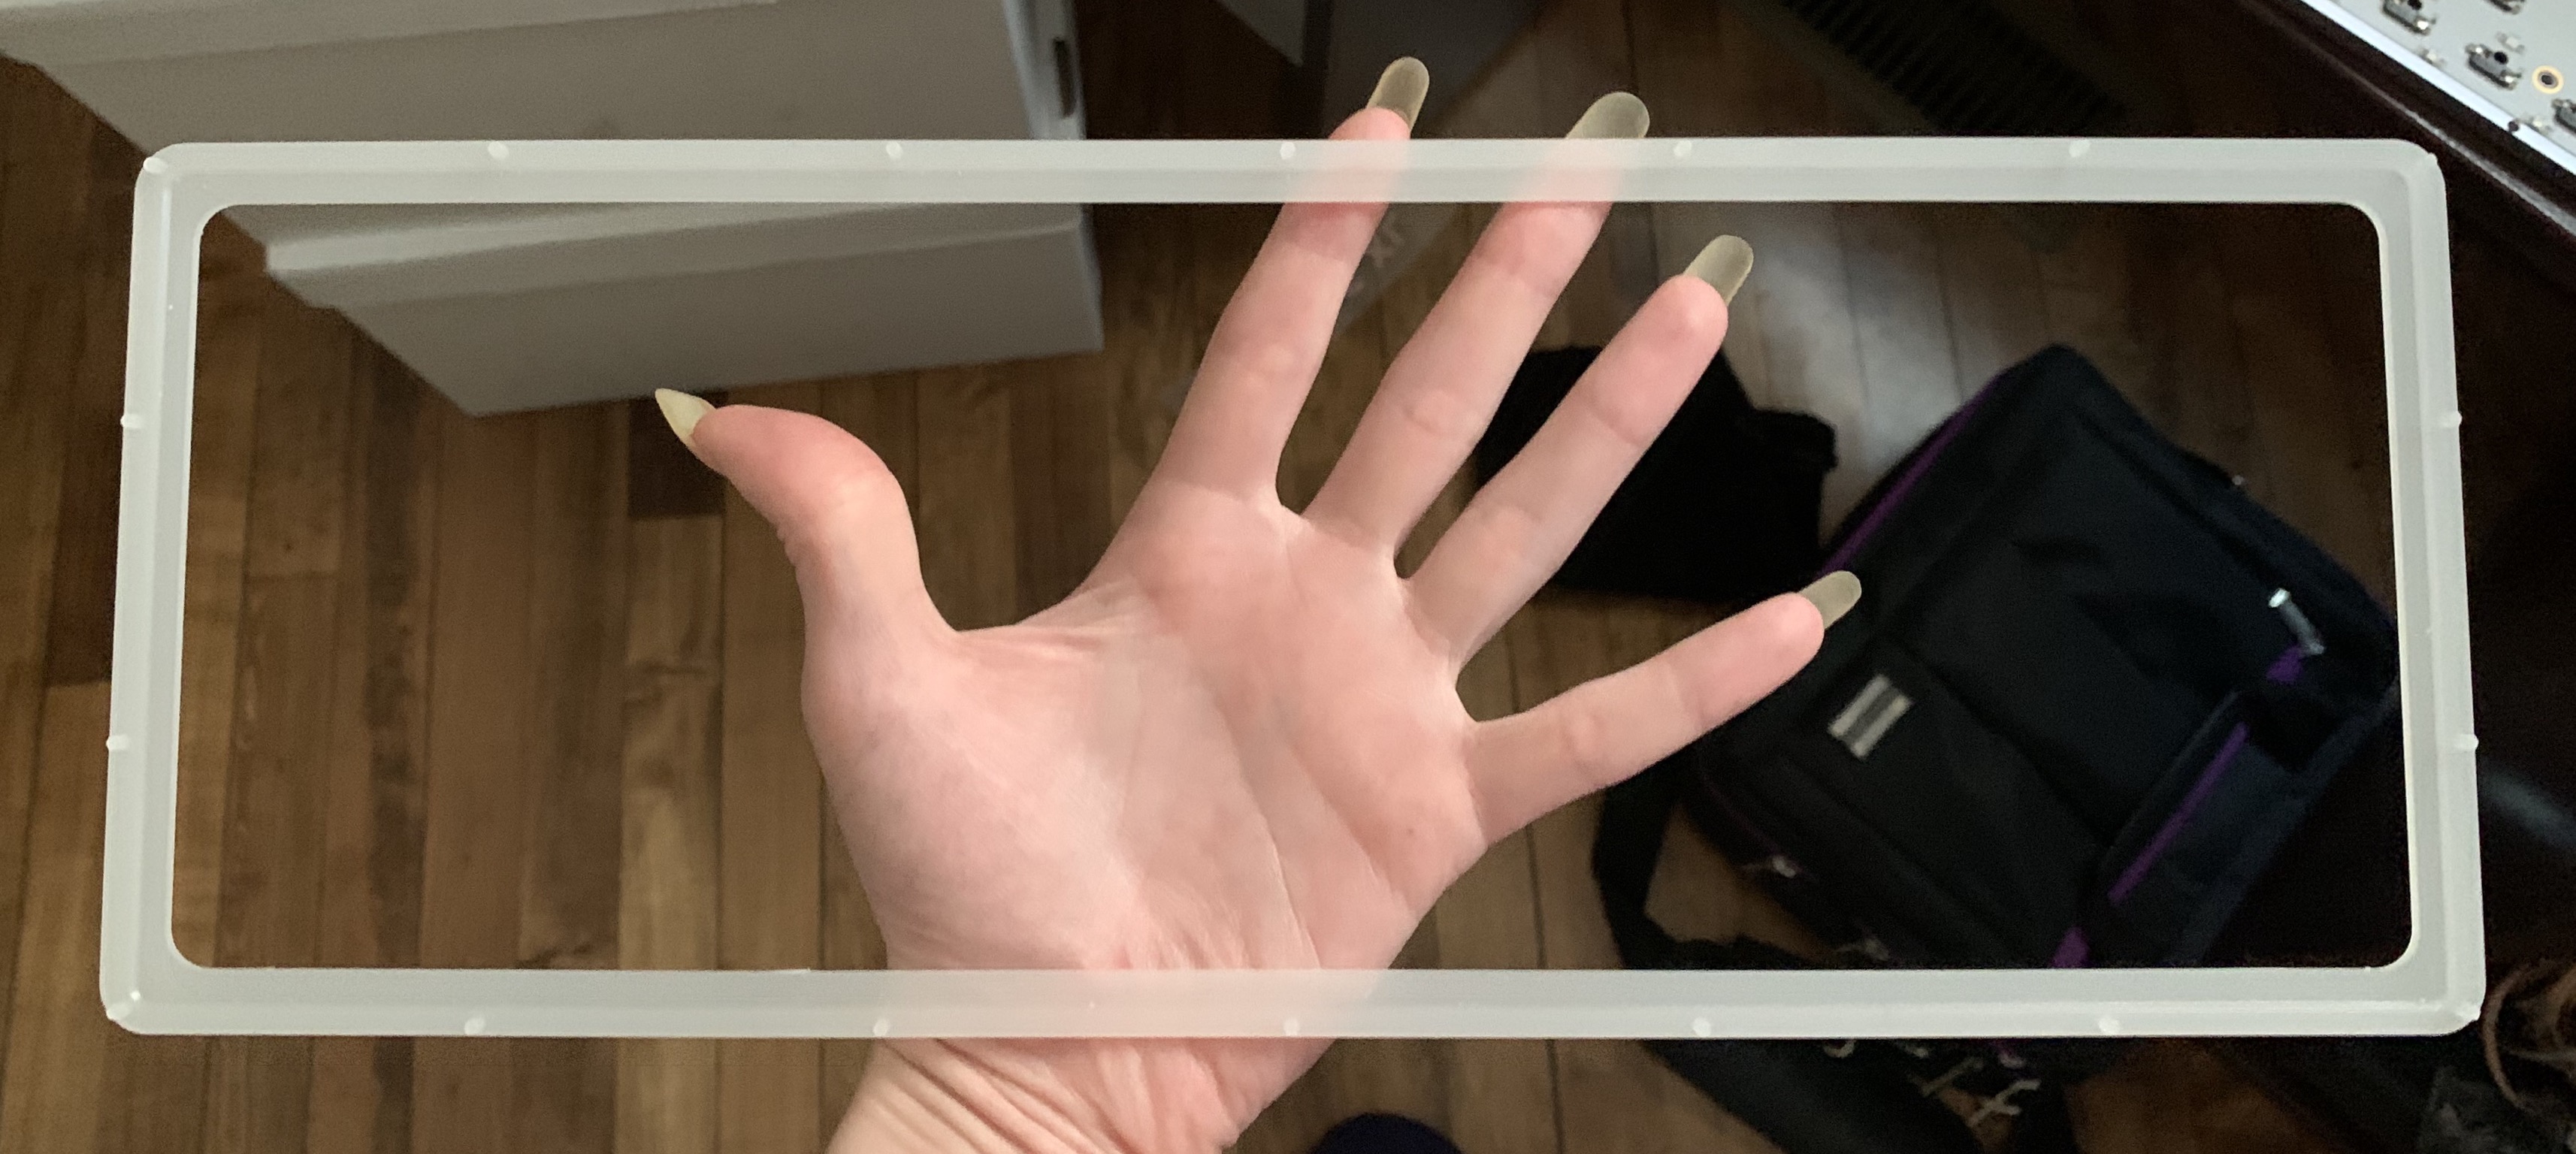
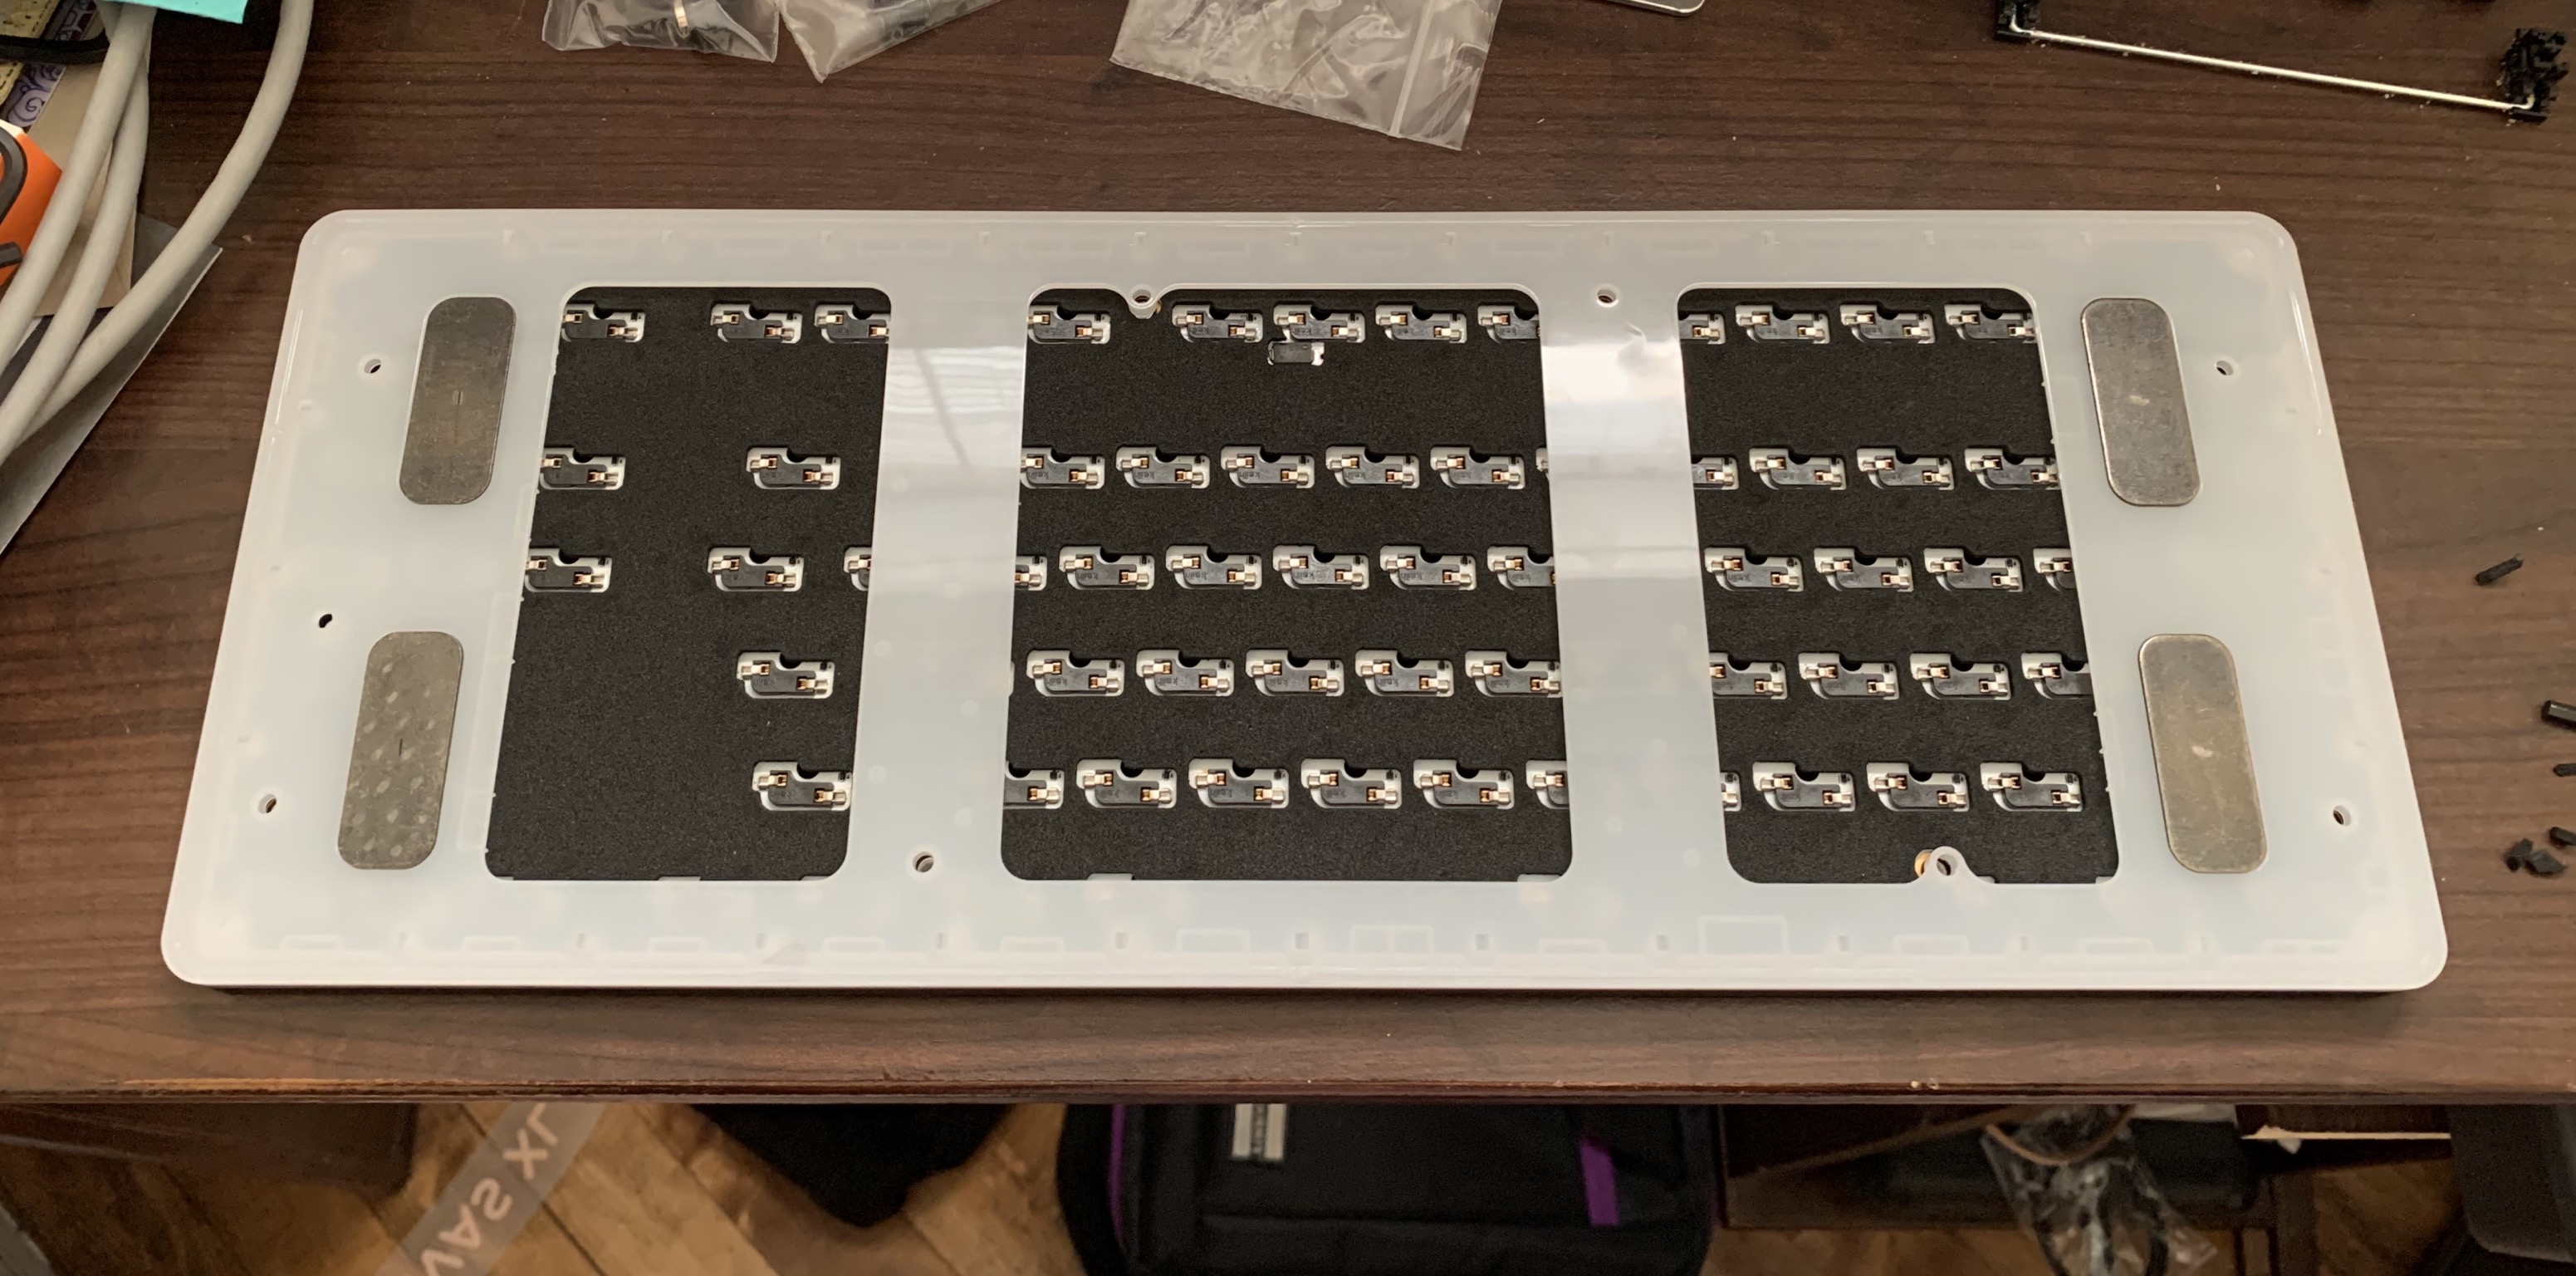
Here’s the diffuser layer for the original Massdrop CTRL:
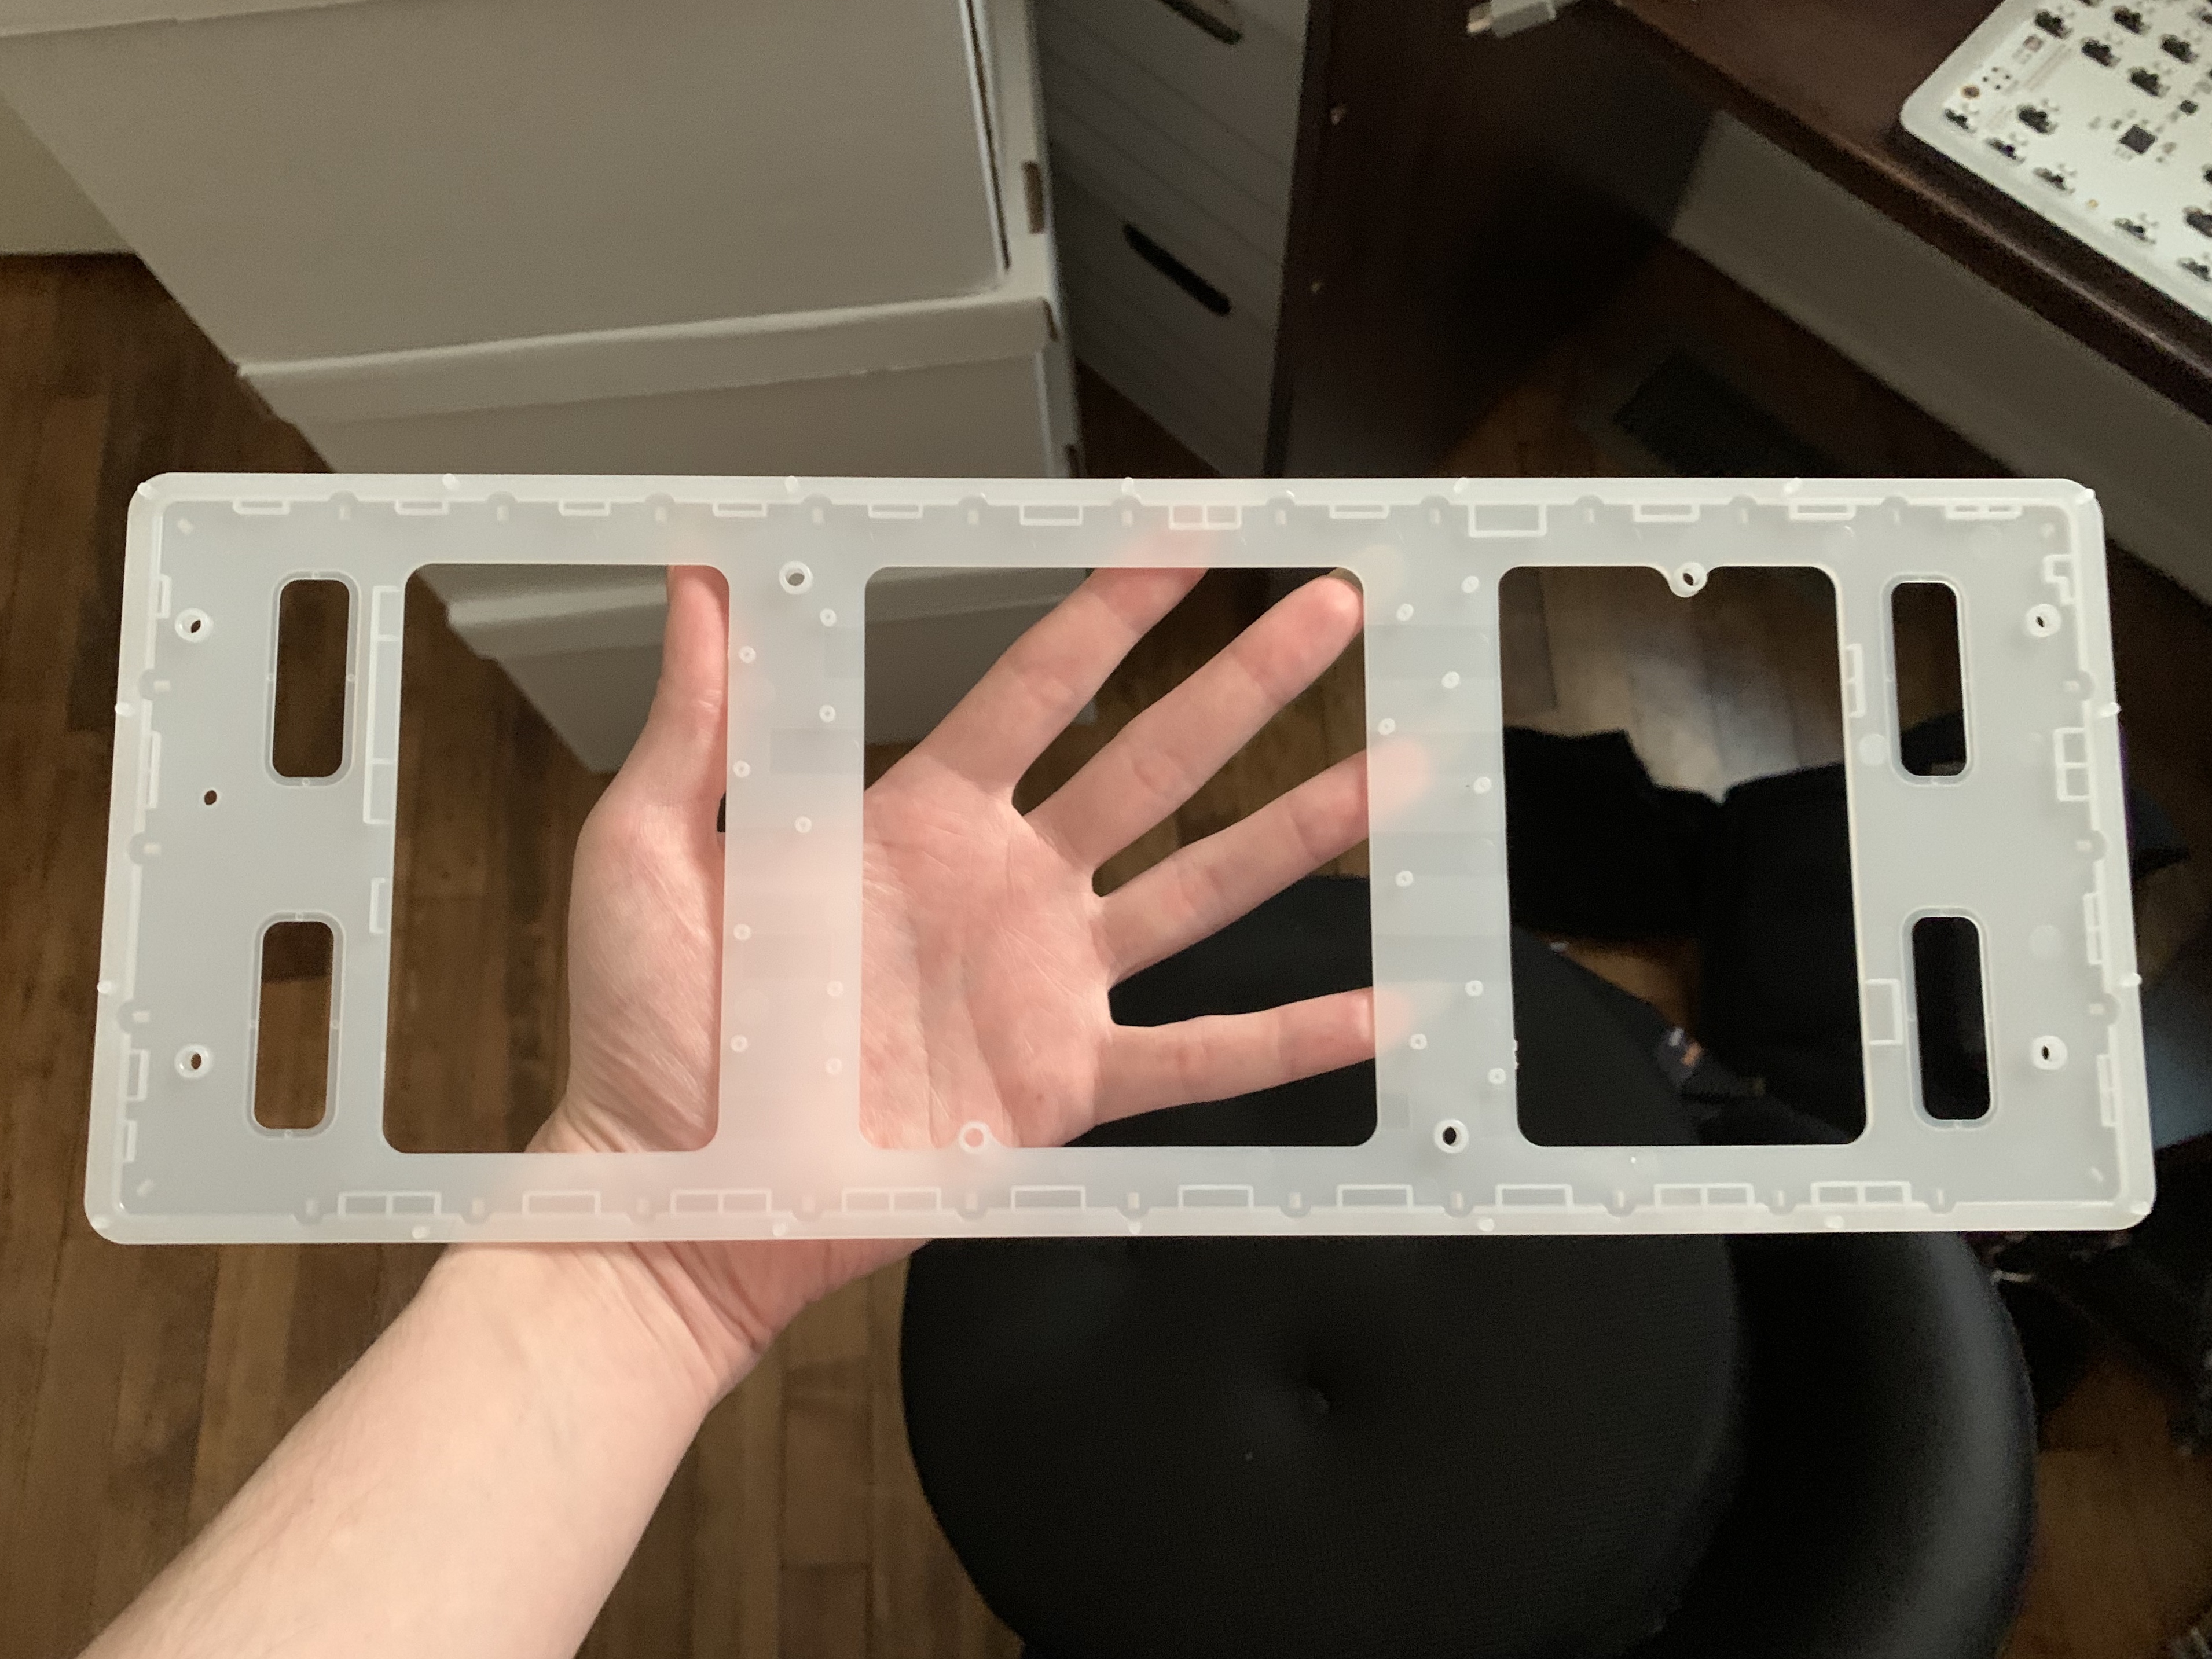
And here’s the diffuser layer for the Drop CTRL:
The latter is much more complicated, and has spots to hold the plates for the magnetic feet as well as a lot of structural elements that seem like they isolate and protect components from dust. Seems like some good changes to me.
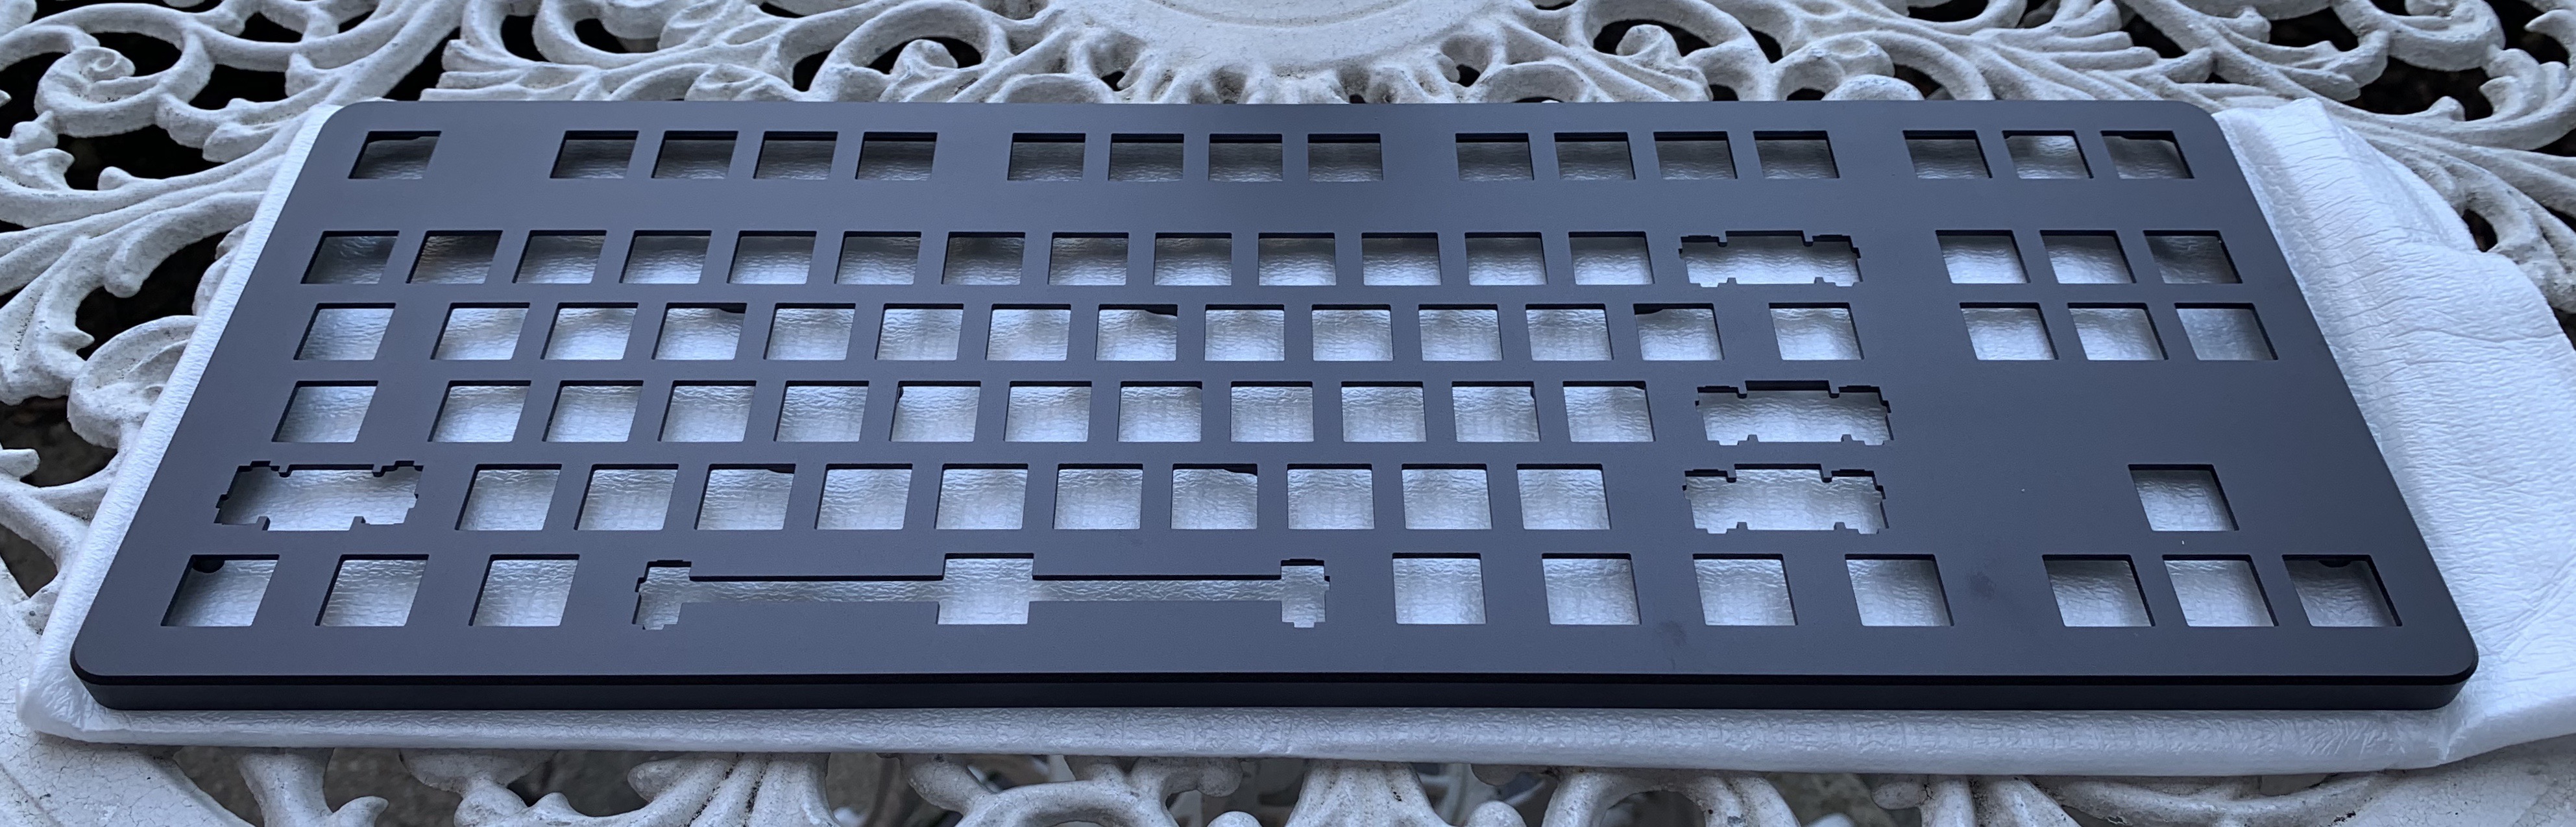
Unnecessary Stuff
After taking the PCB out, all I needed to do was rebuild. But, instead, I decided to compare the cases a little.
Here’s the Massdrop CTRL top case, outside:
And here’s the new one (which I got in “Almost Black”):
Grossness of the old one aside, the anodization on the new one seems a little smoother (although this could just be the change of color; I wasn’t a fan of the original silver, and the darker shade is definitely more forgiving). Still feels a bit thinner/flimsy than would be ideal, but this is Drop we’re talking about so my expectations were not high.
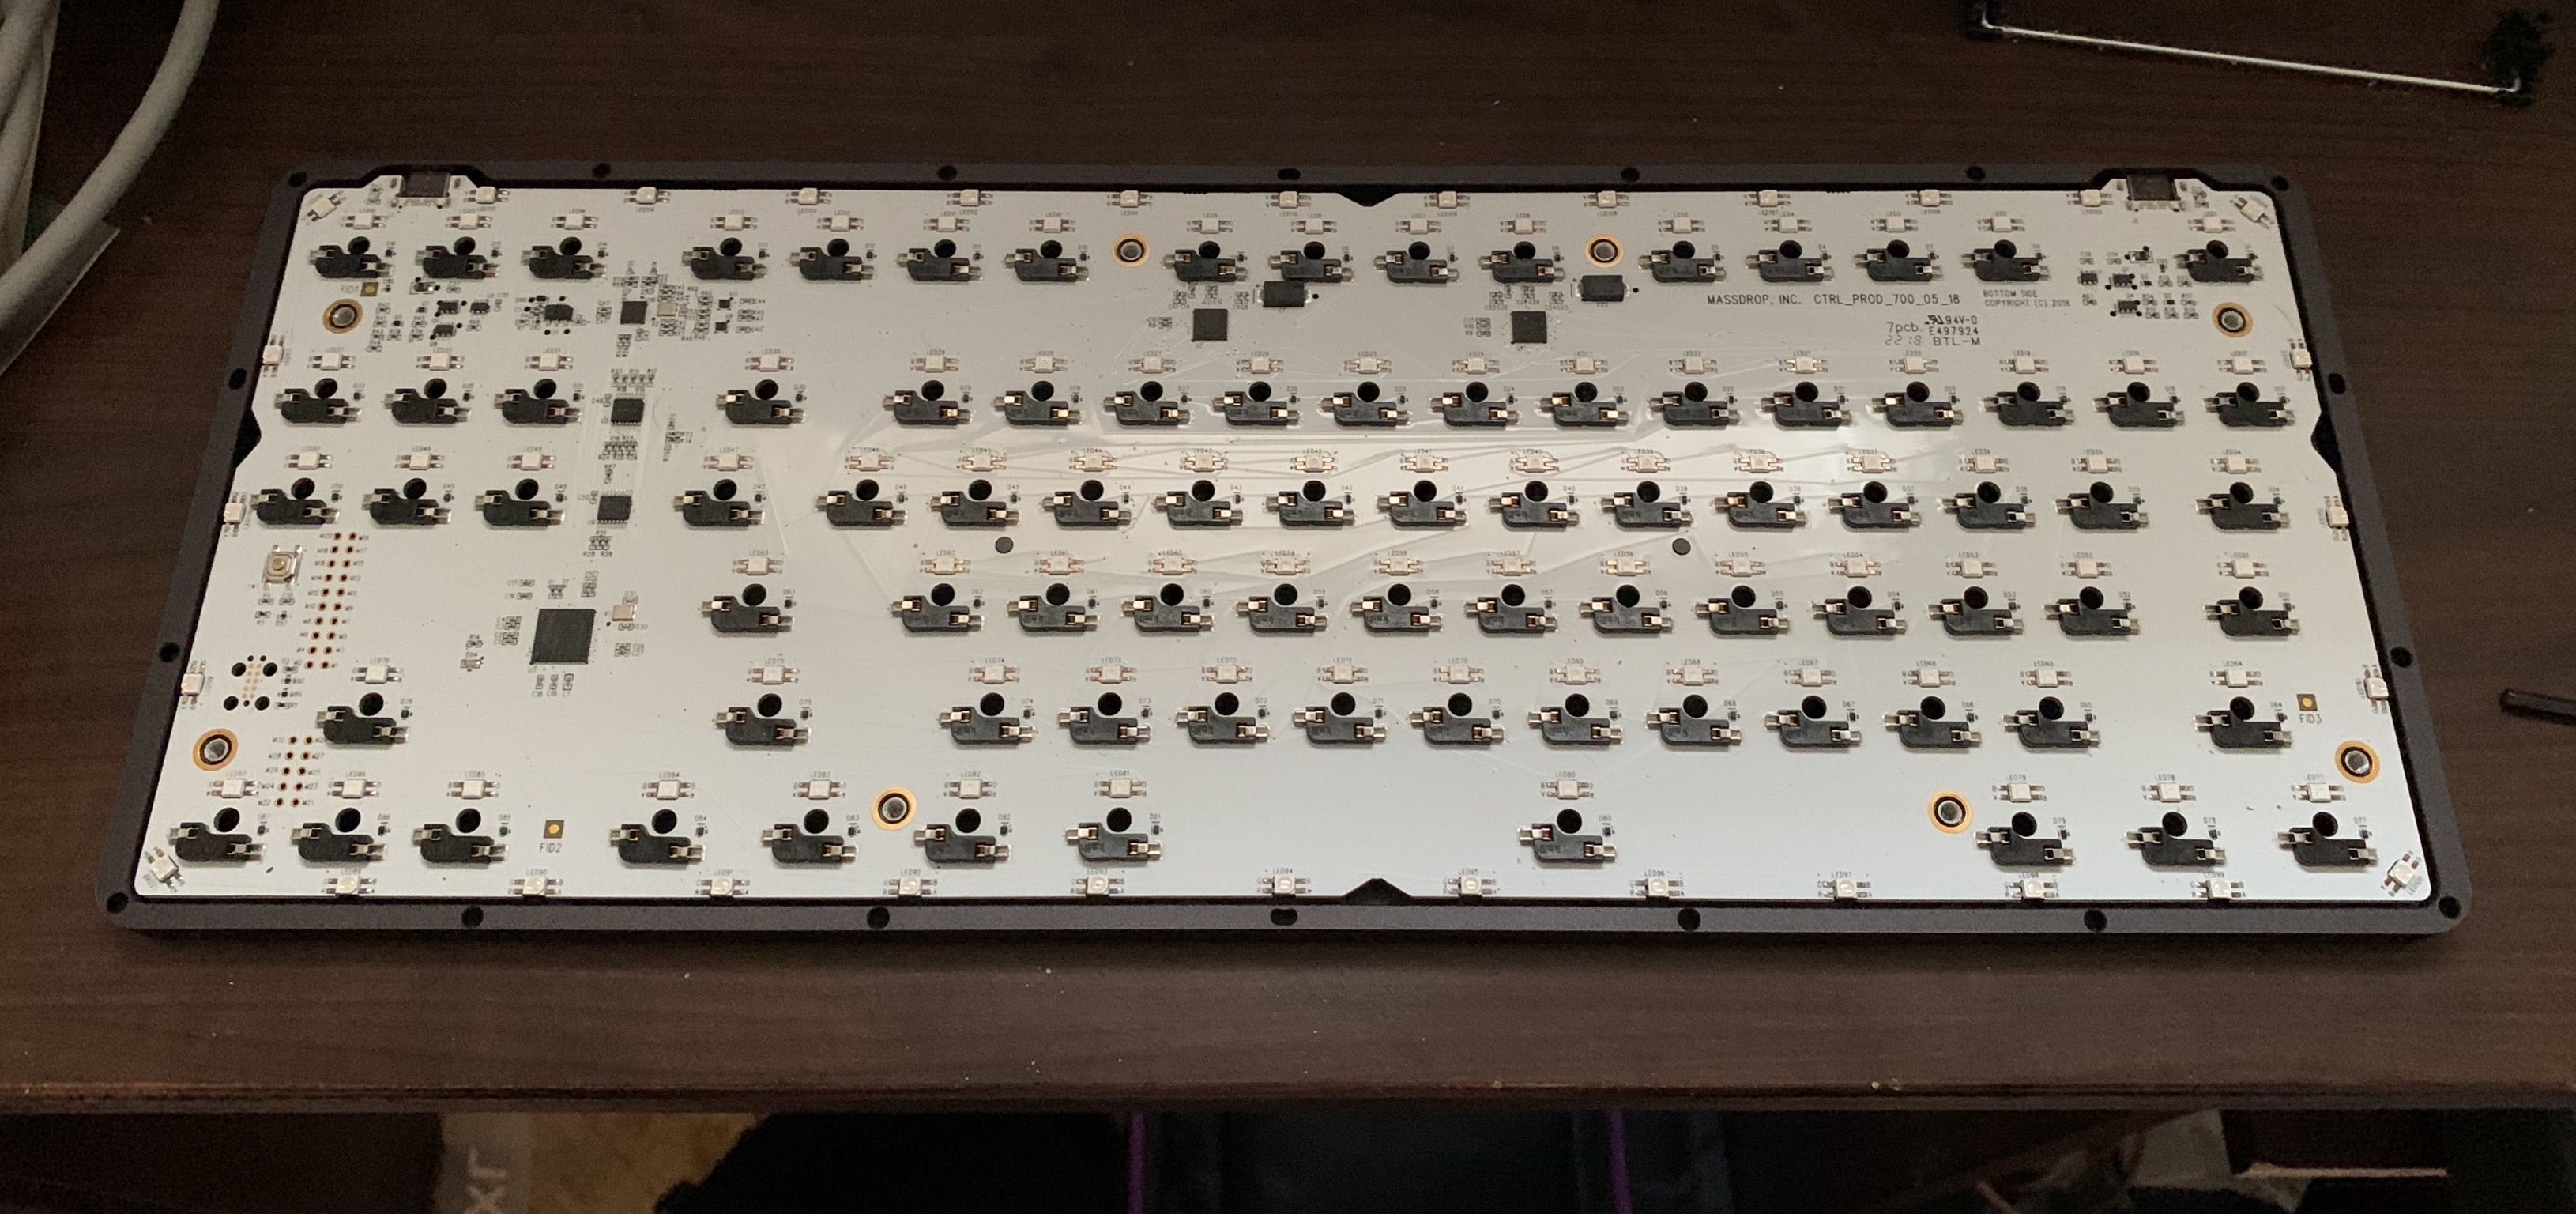
Rebuild
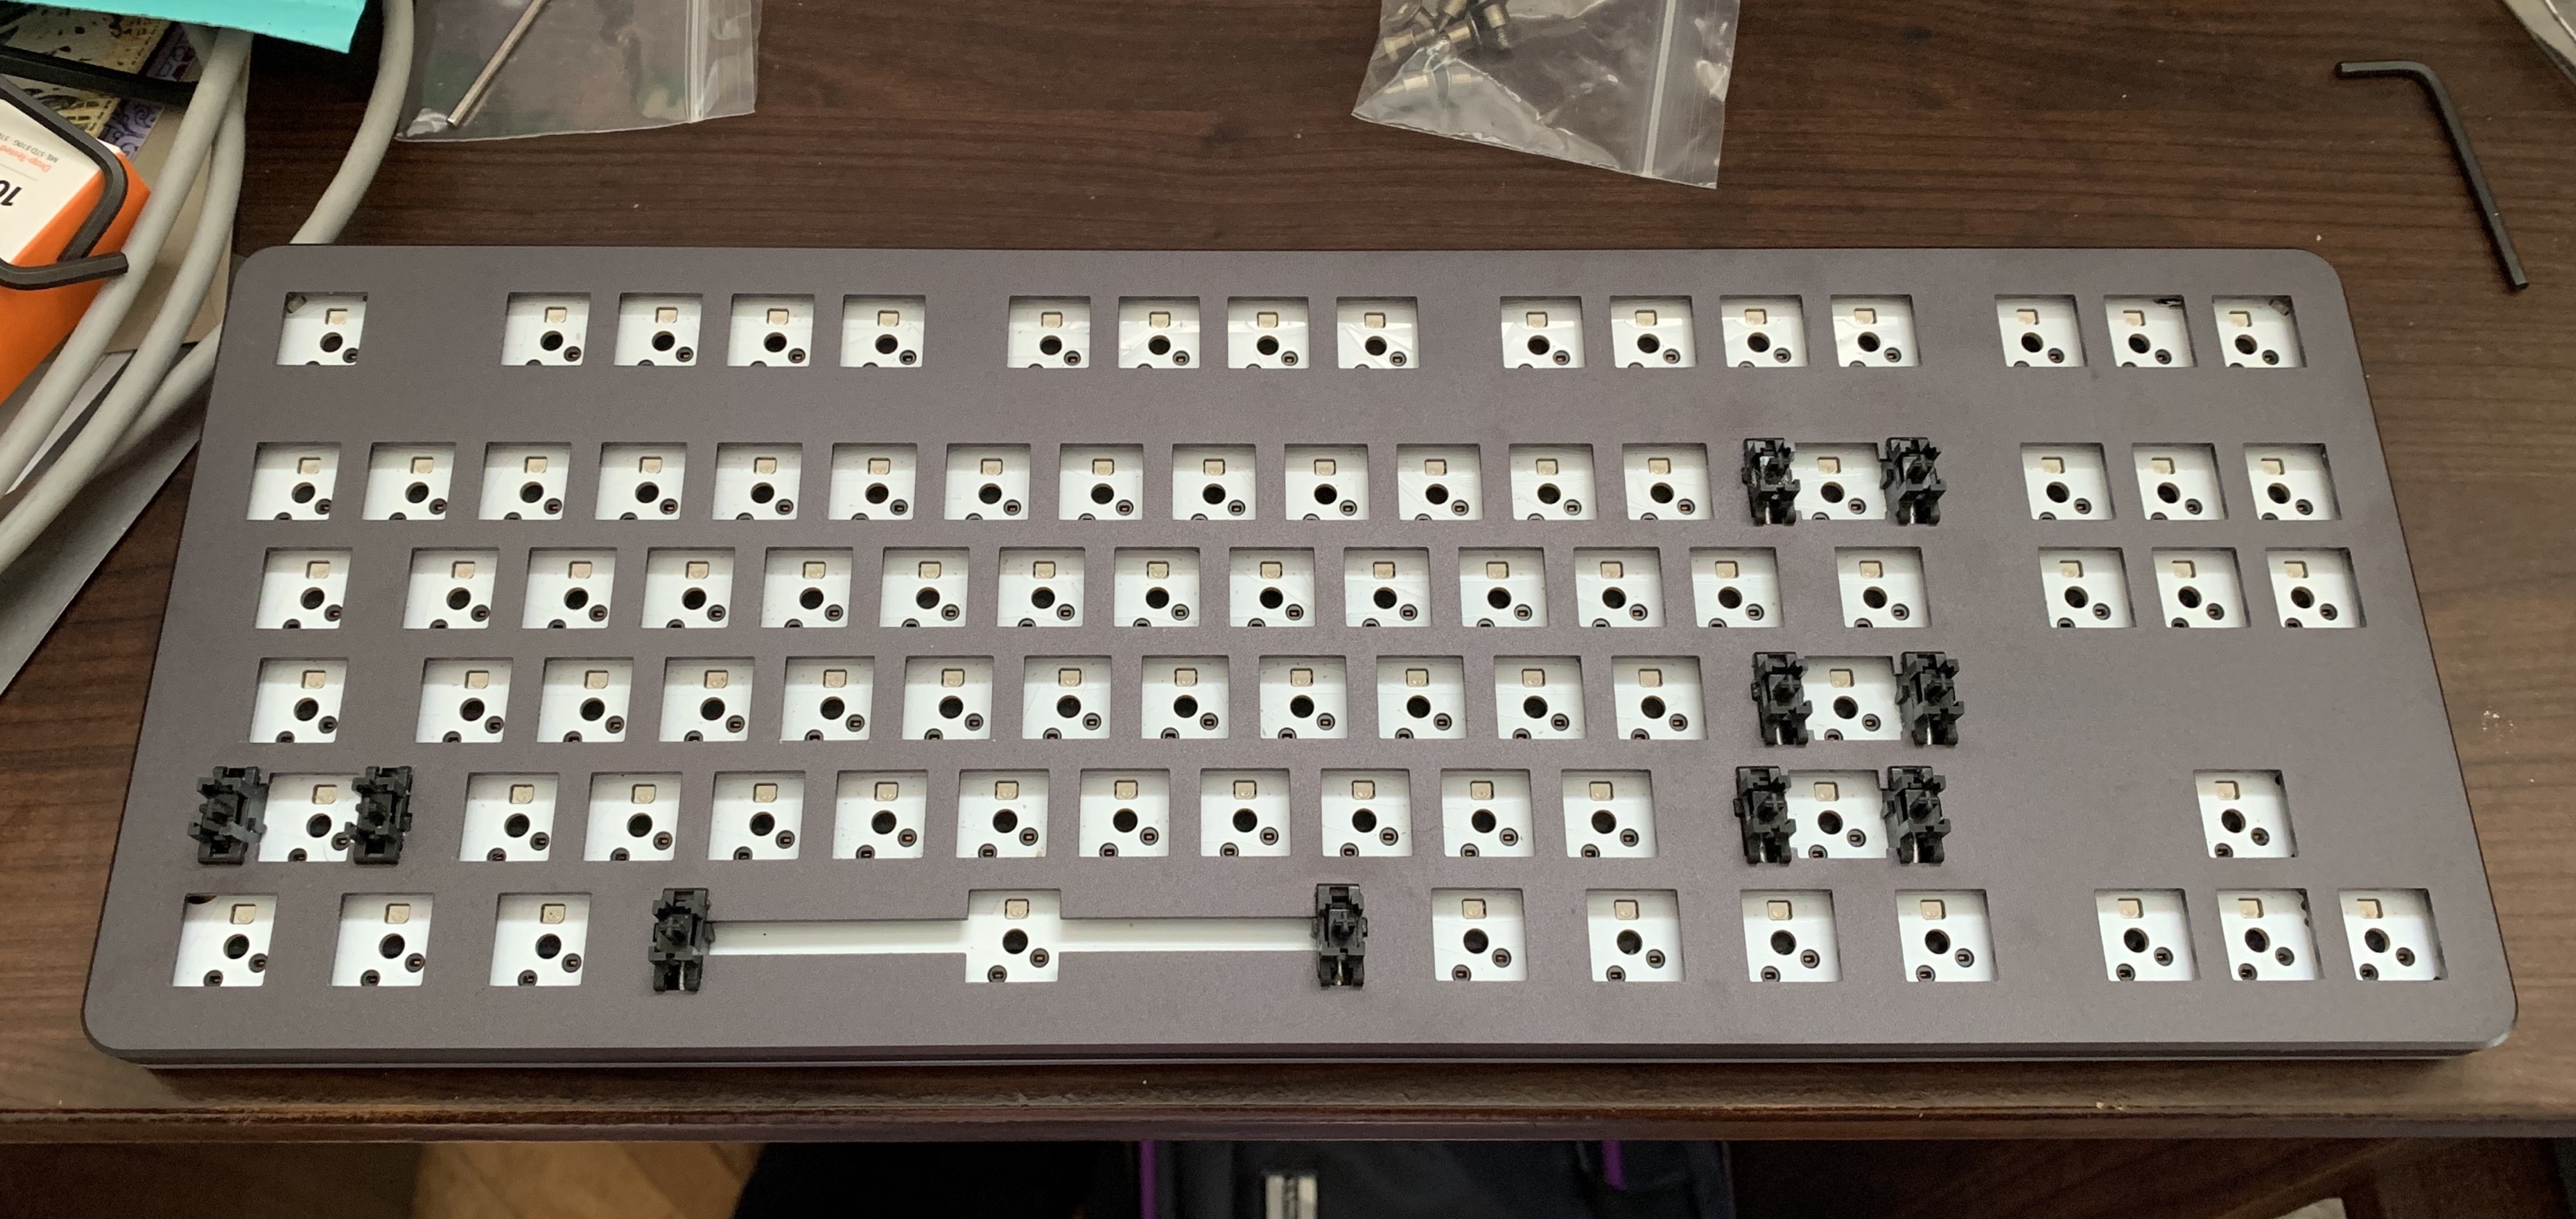
Okay, anodization shots aside it was time to rebuild. Here’s the PCB in its new home:
And now it’s time to install the foam!
I had to make some extra cuts to not cover some of the LEDs, but whether that’s due to my PCB being from the original run or due to the regular CTRL having a different PCB than the high-profile the foam is
supposed to be for or due to QC on MK Ultra’s part I do not know. This didn’t take much time, though, so that’s fine, even if my cuts aren’t as clean as the laser’s are.
Then the diffuser layer goes on top (with plates for the feet):
And then it’s just a matter of screwing the bottom back on, putting the new feet on, and putting the stabilizers back in (which I should definitely mod, but my partner was getting up and it was time to play some Animal Crossing):
All in all, this was pretty simple and nice. I get why other folks love doing these build logs and hope to do more (and more complicated ones) in the future. Still have to test this buddy out to see how it feels with the foam, but for now my animal neighbors await!
UPDATE: I have now used the board a little bit and I can pretty confidently say that foam is magic for a less-than-stellar board like this in terms of softening the overall feel and rounding out the sound of switches. Neat!
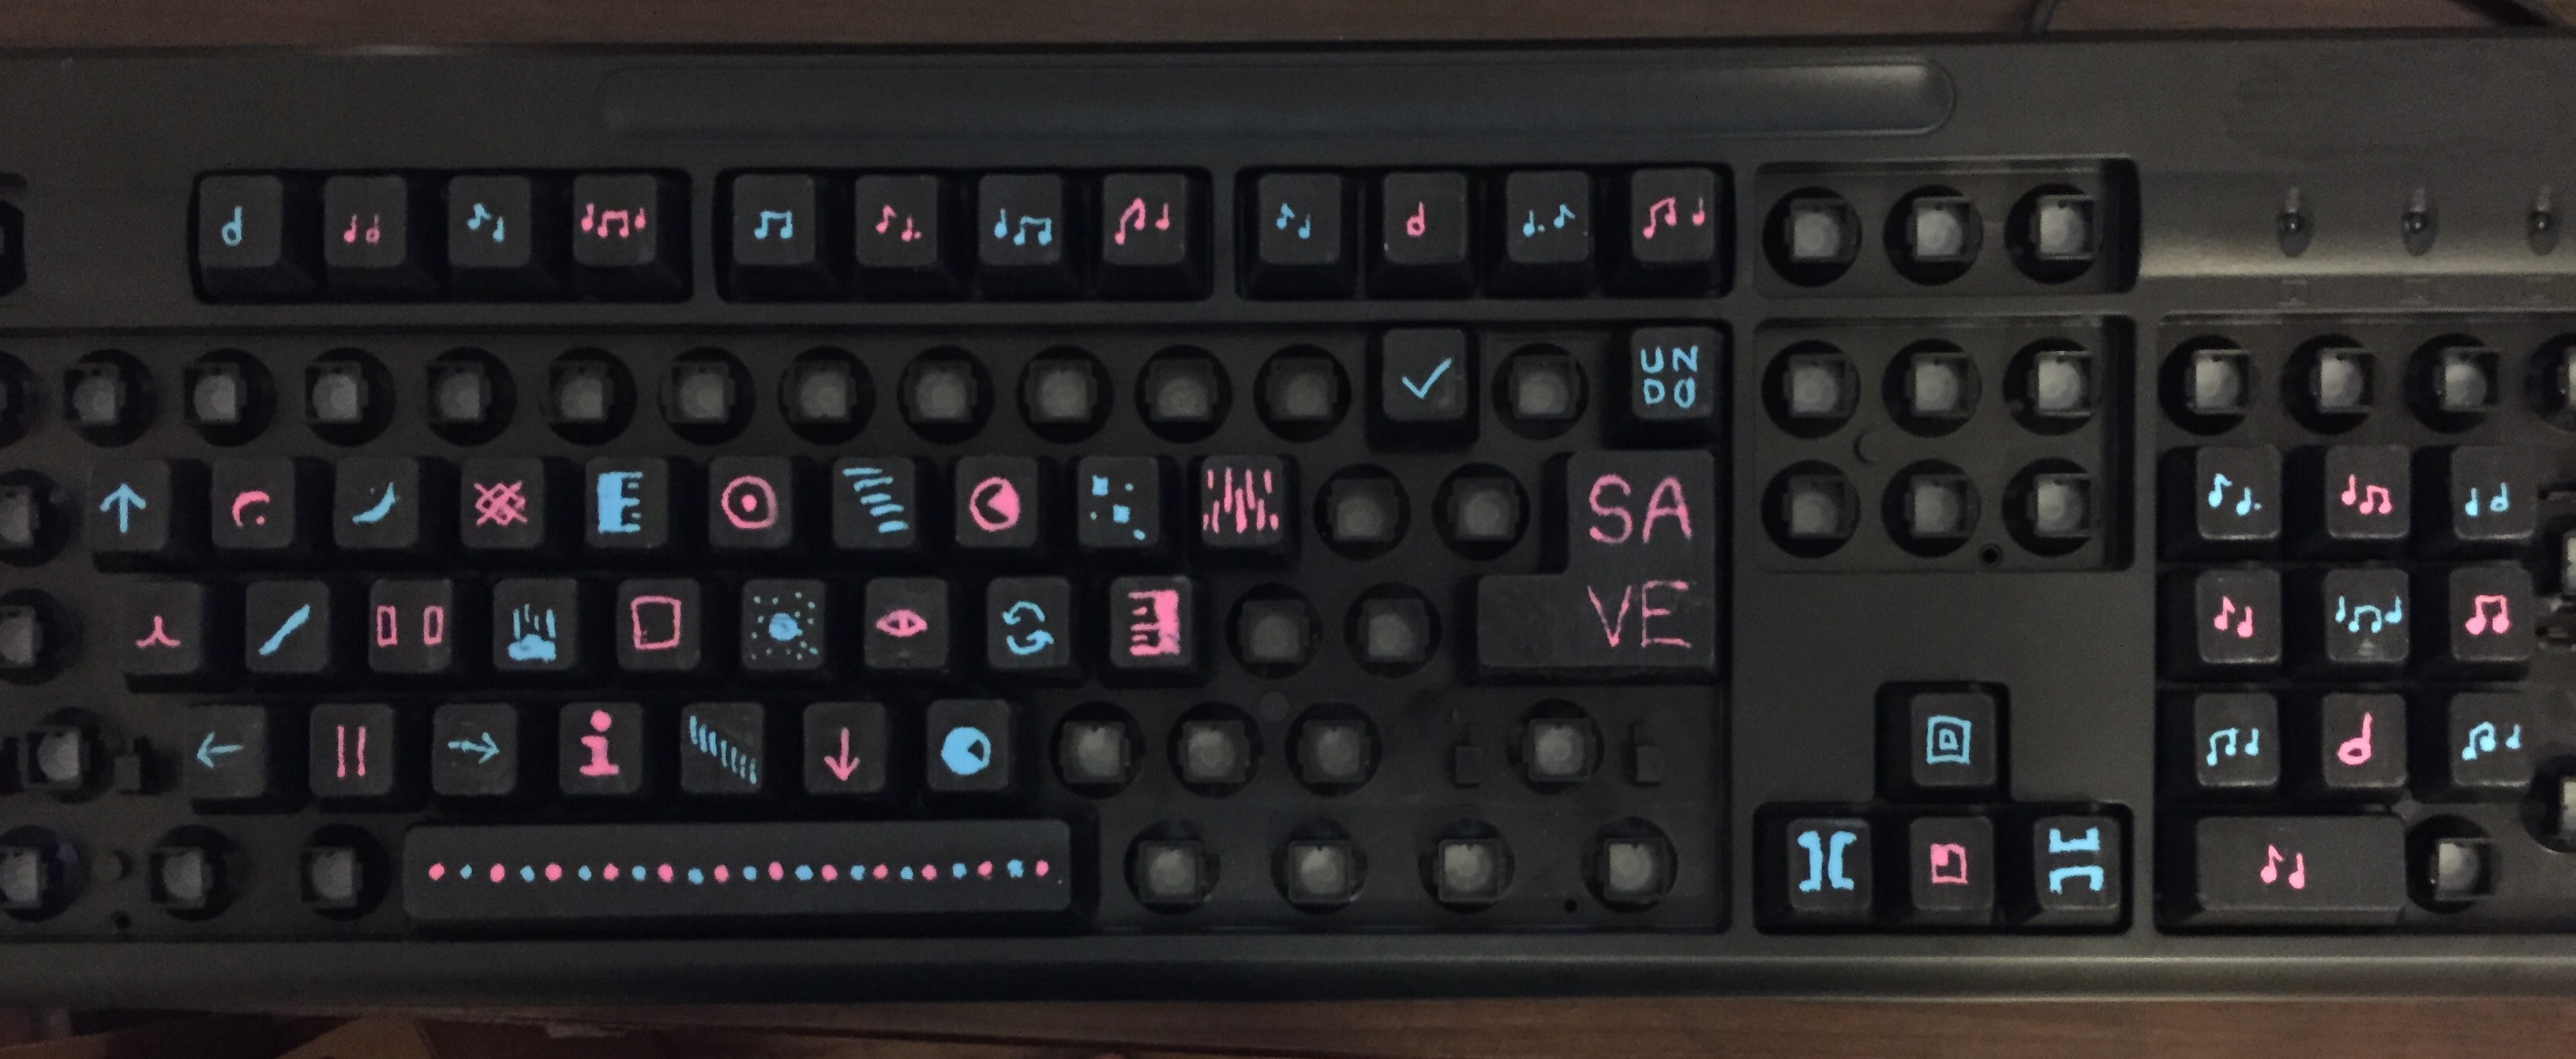
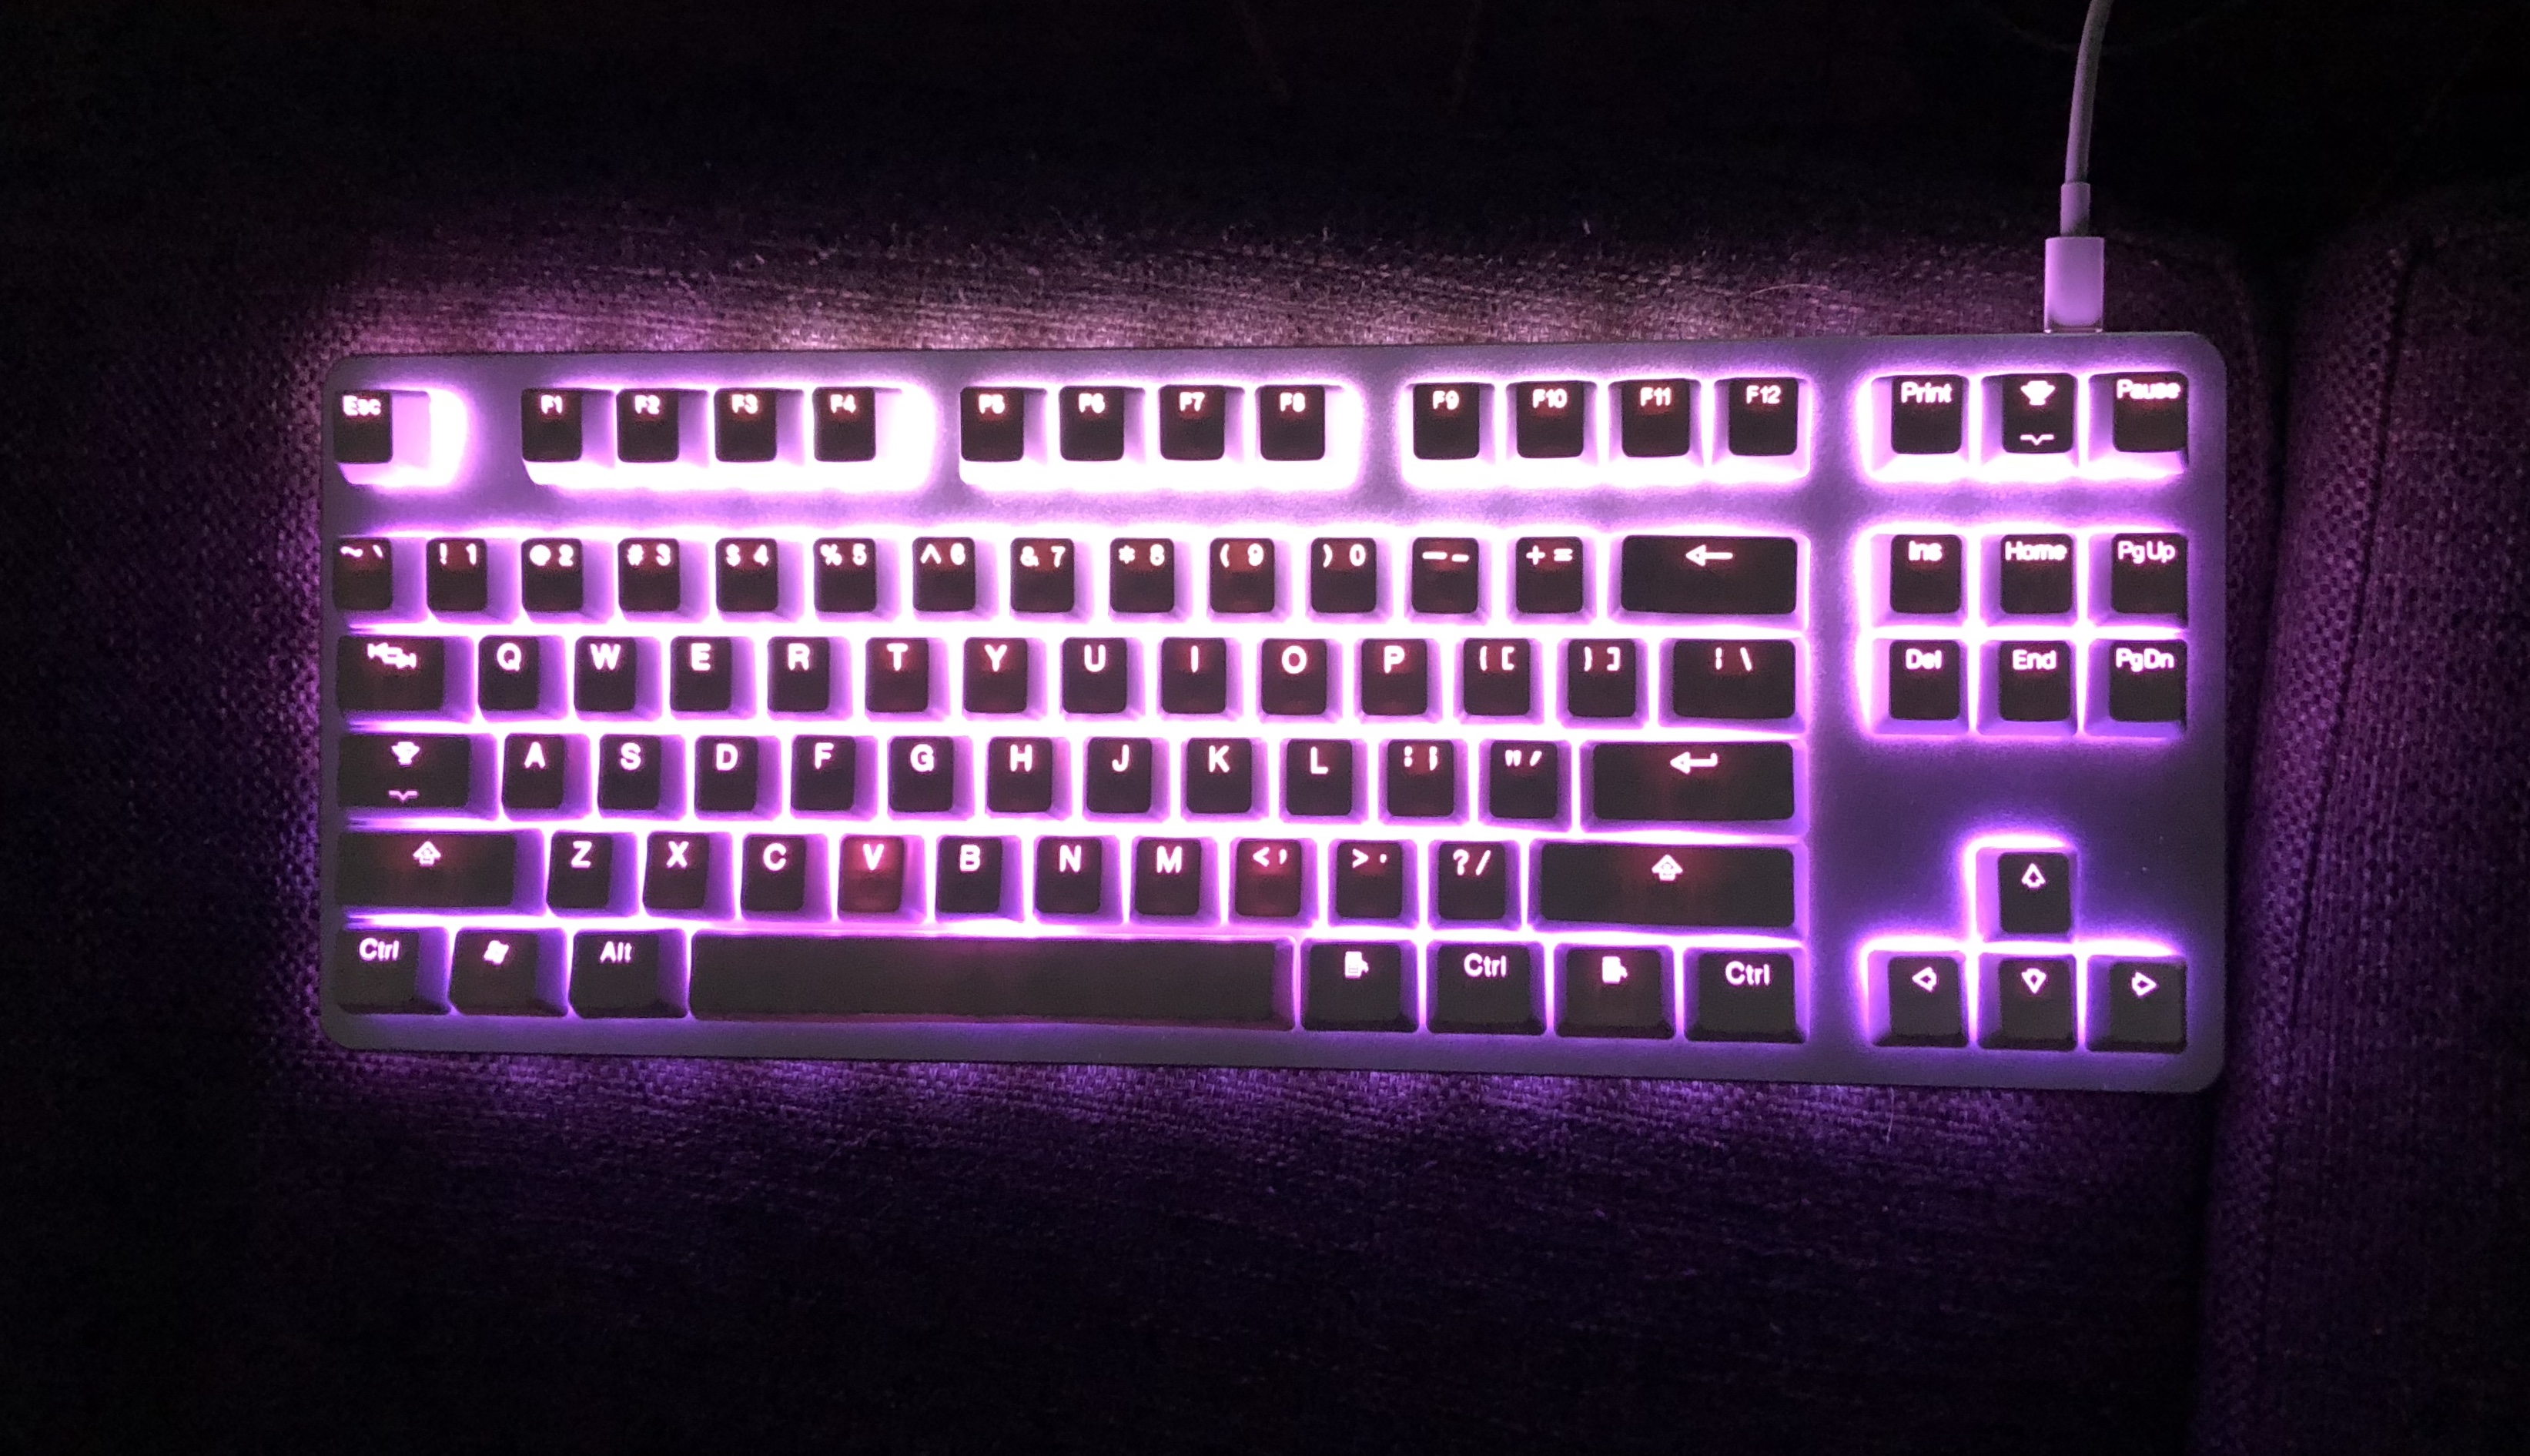
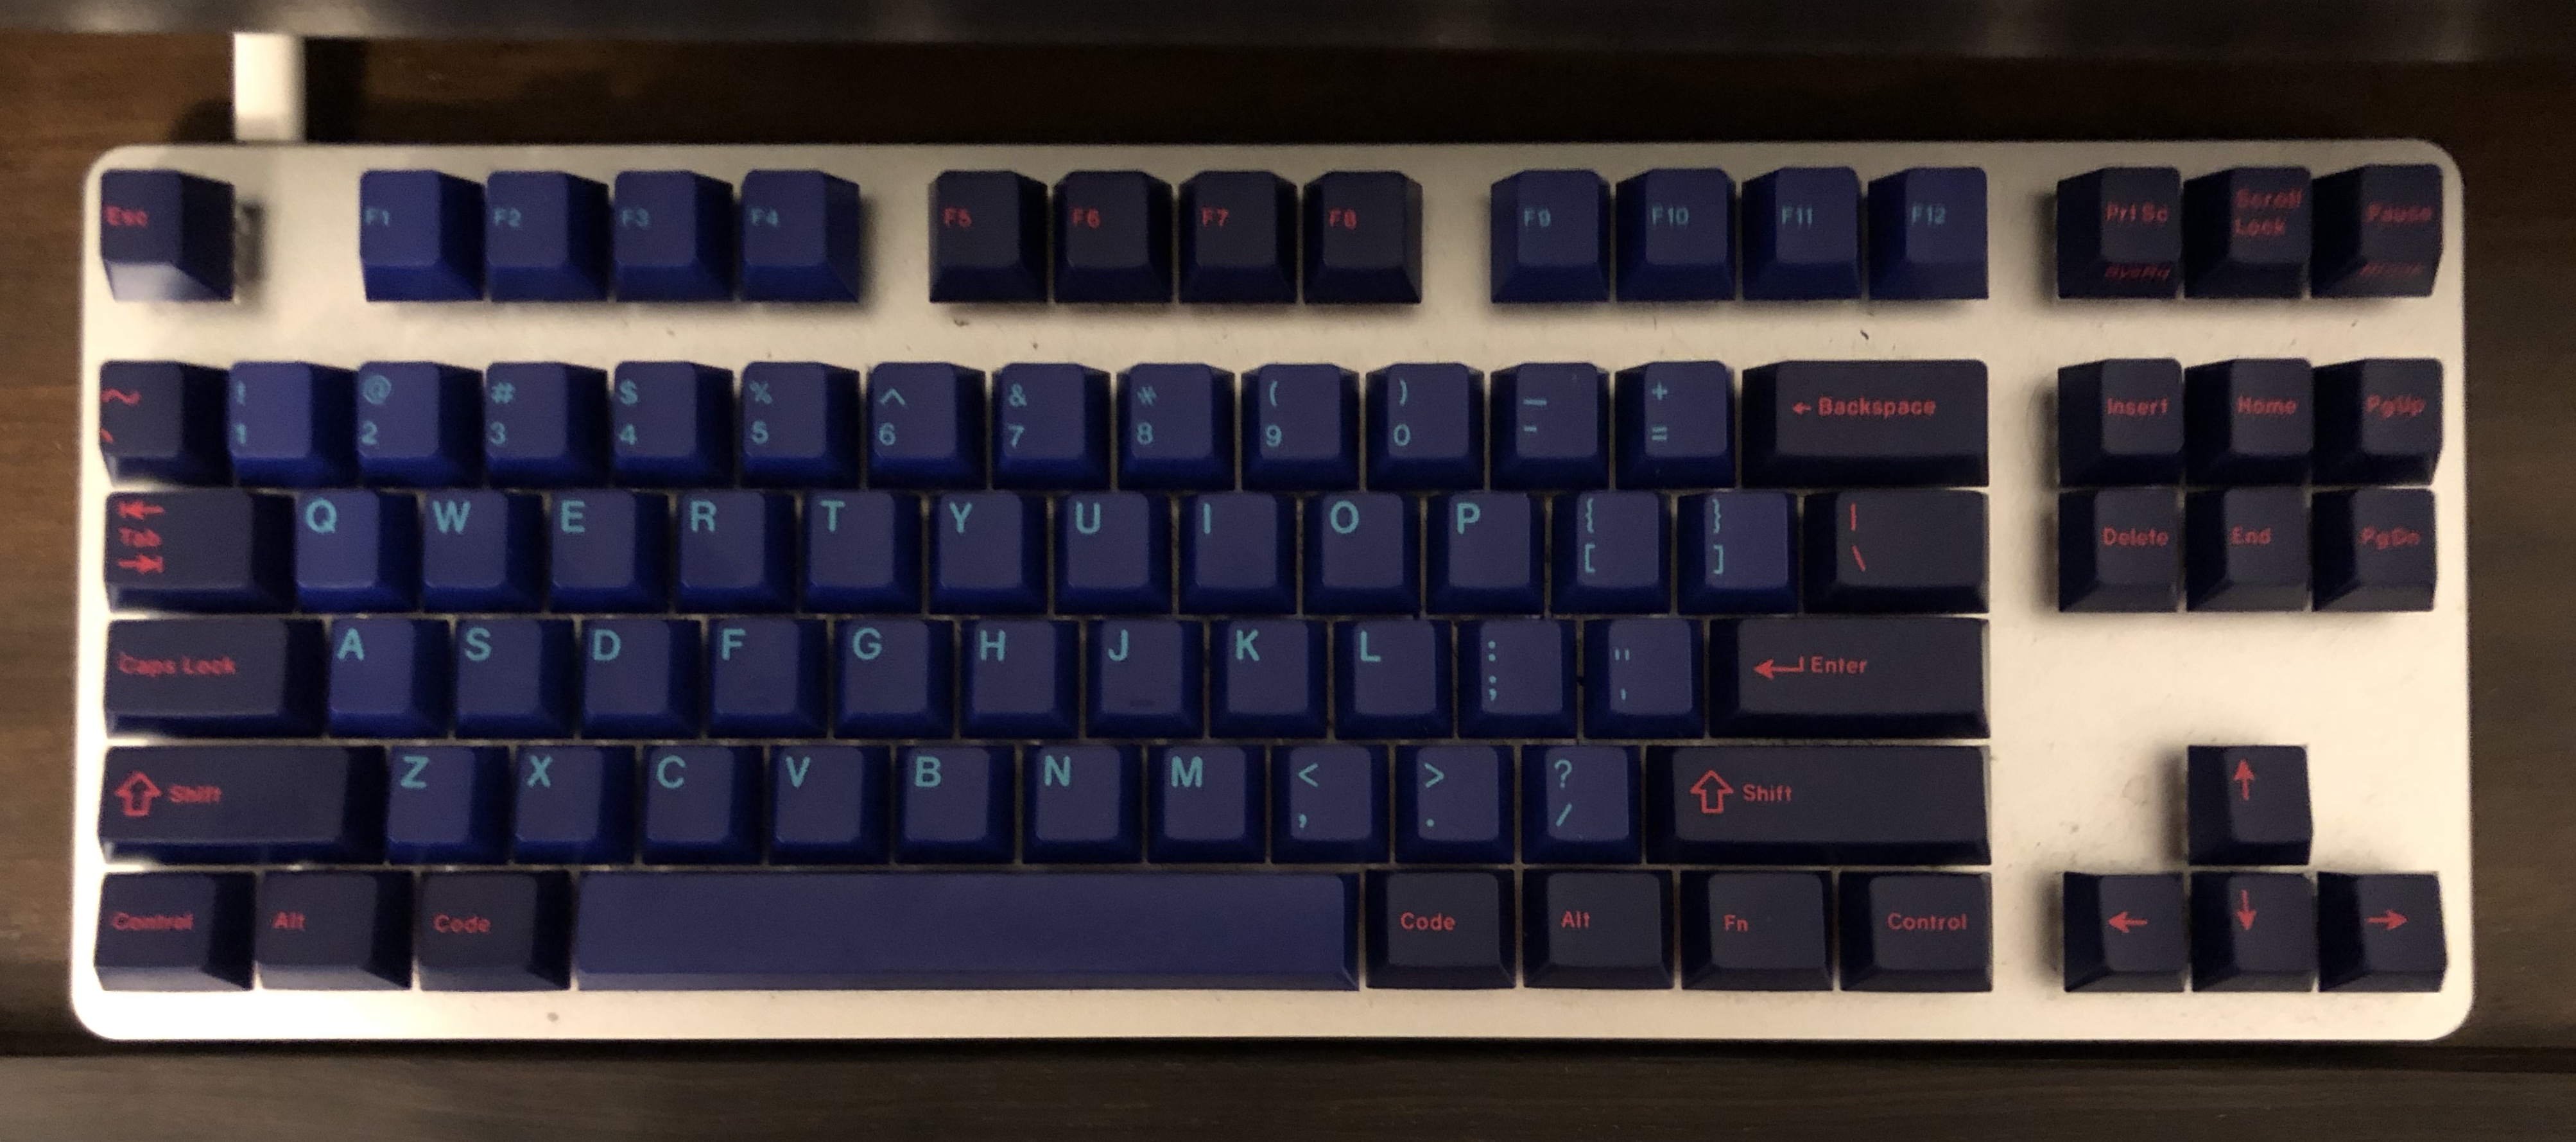
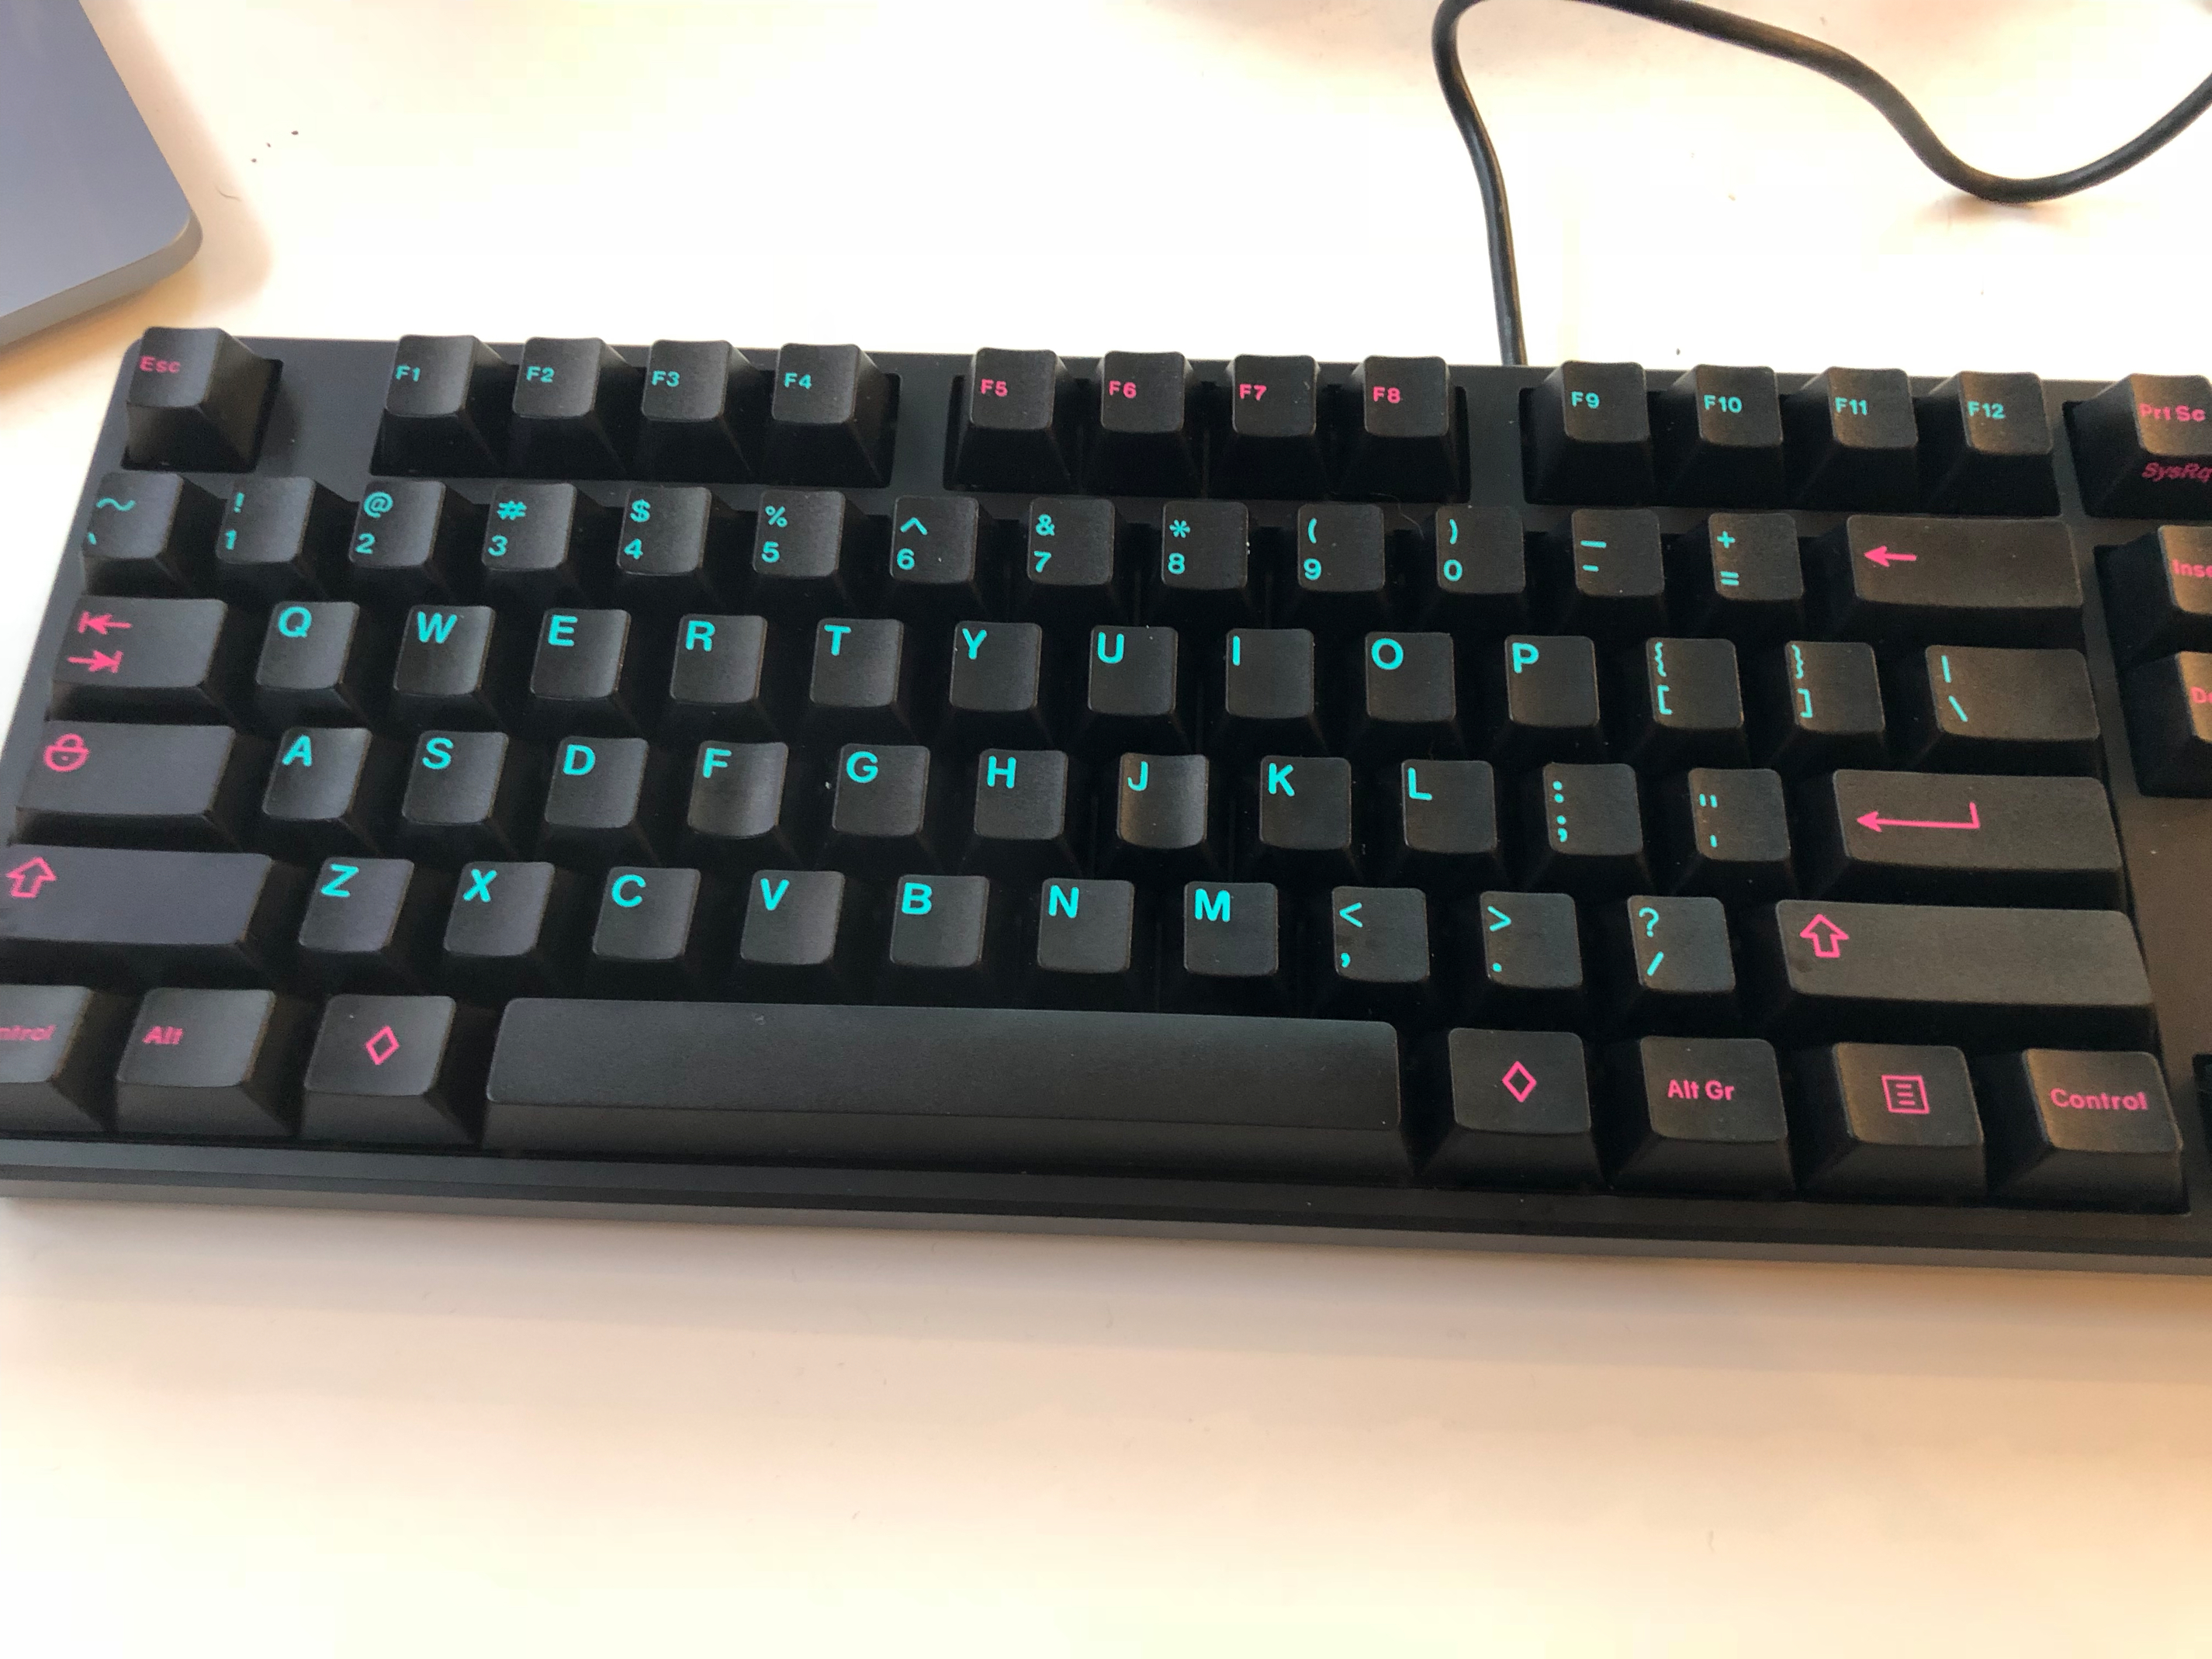
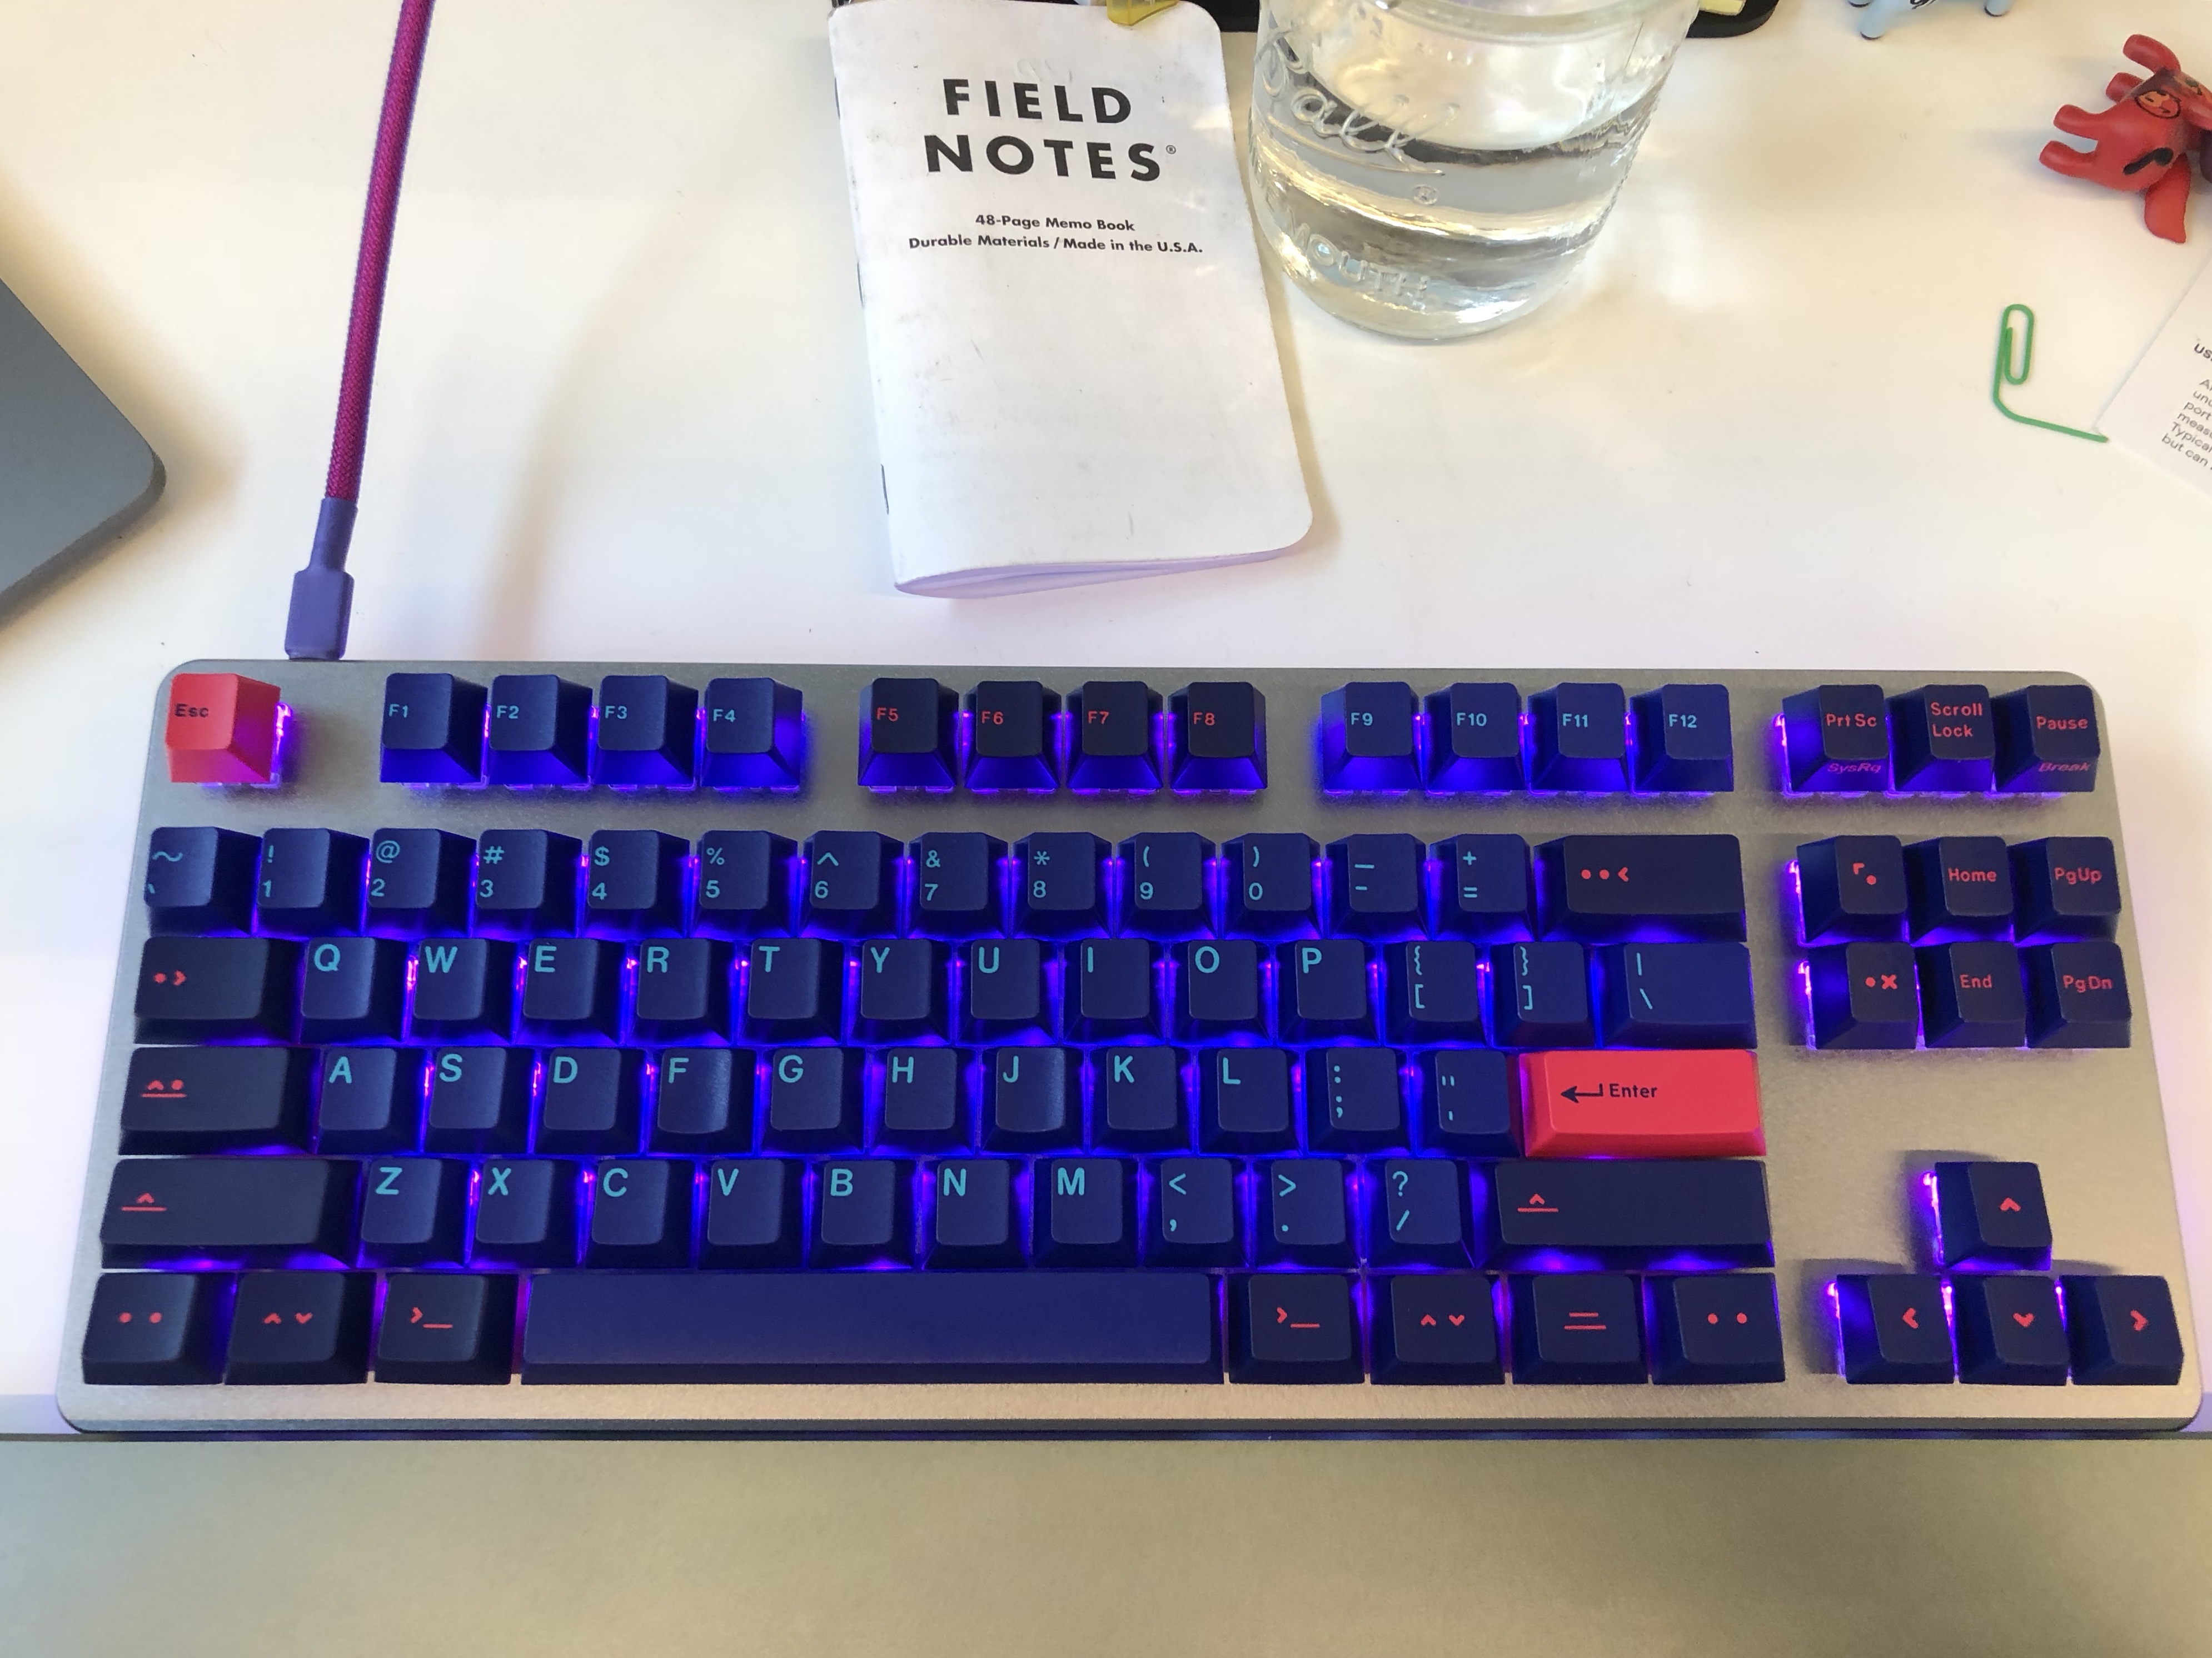
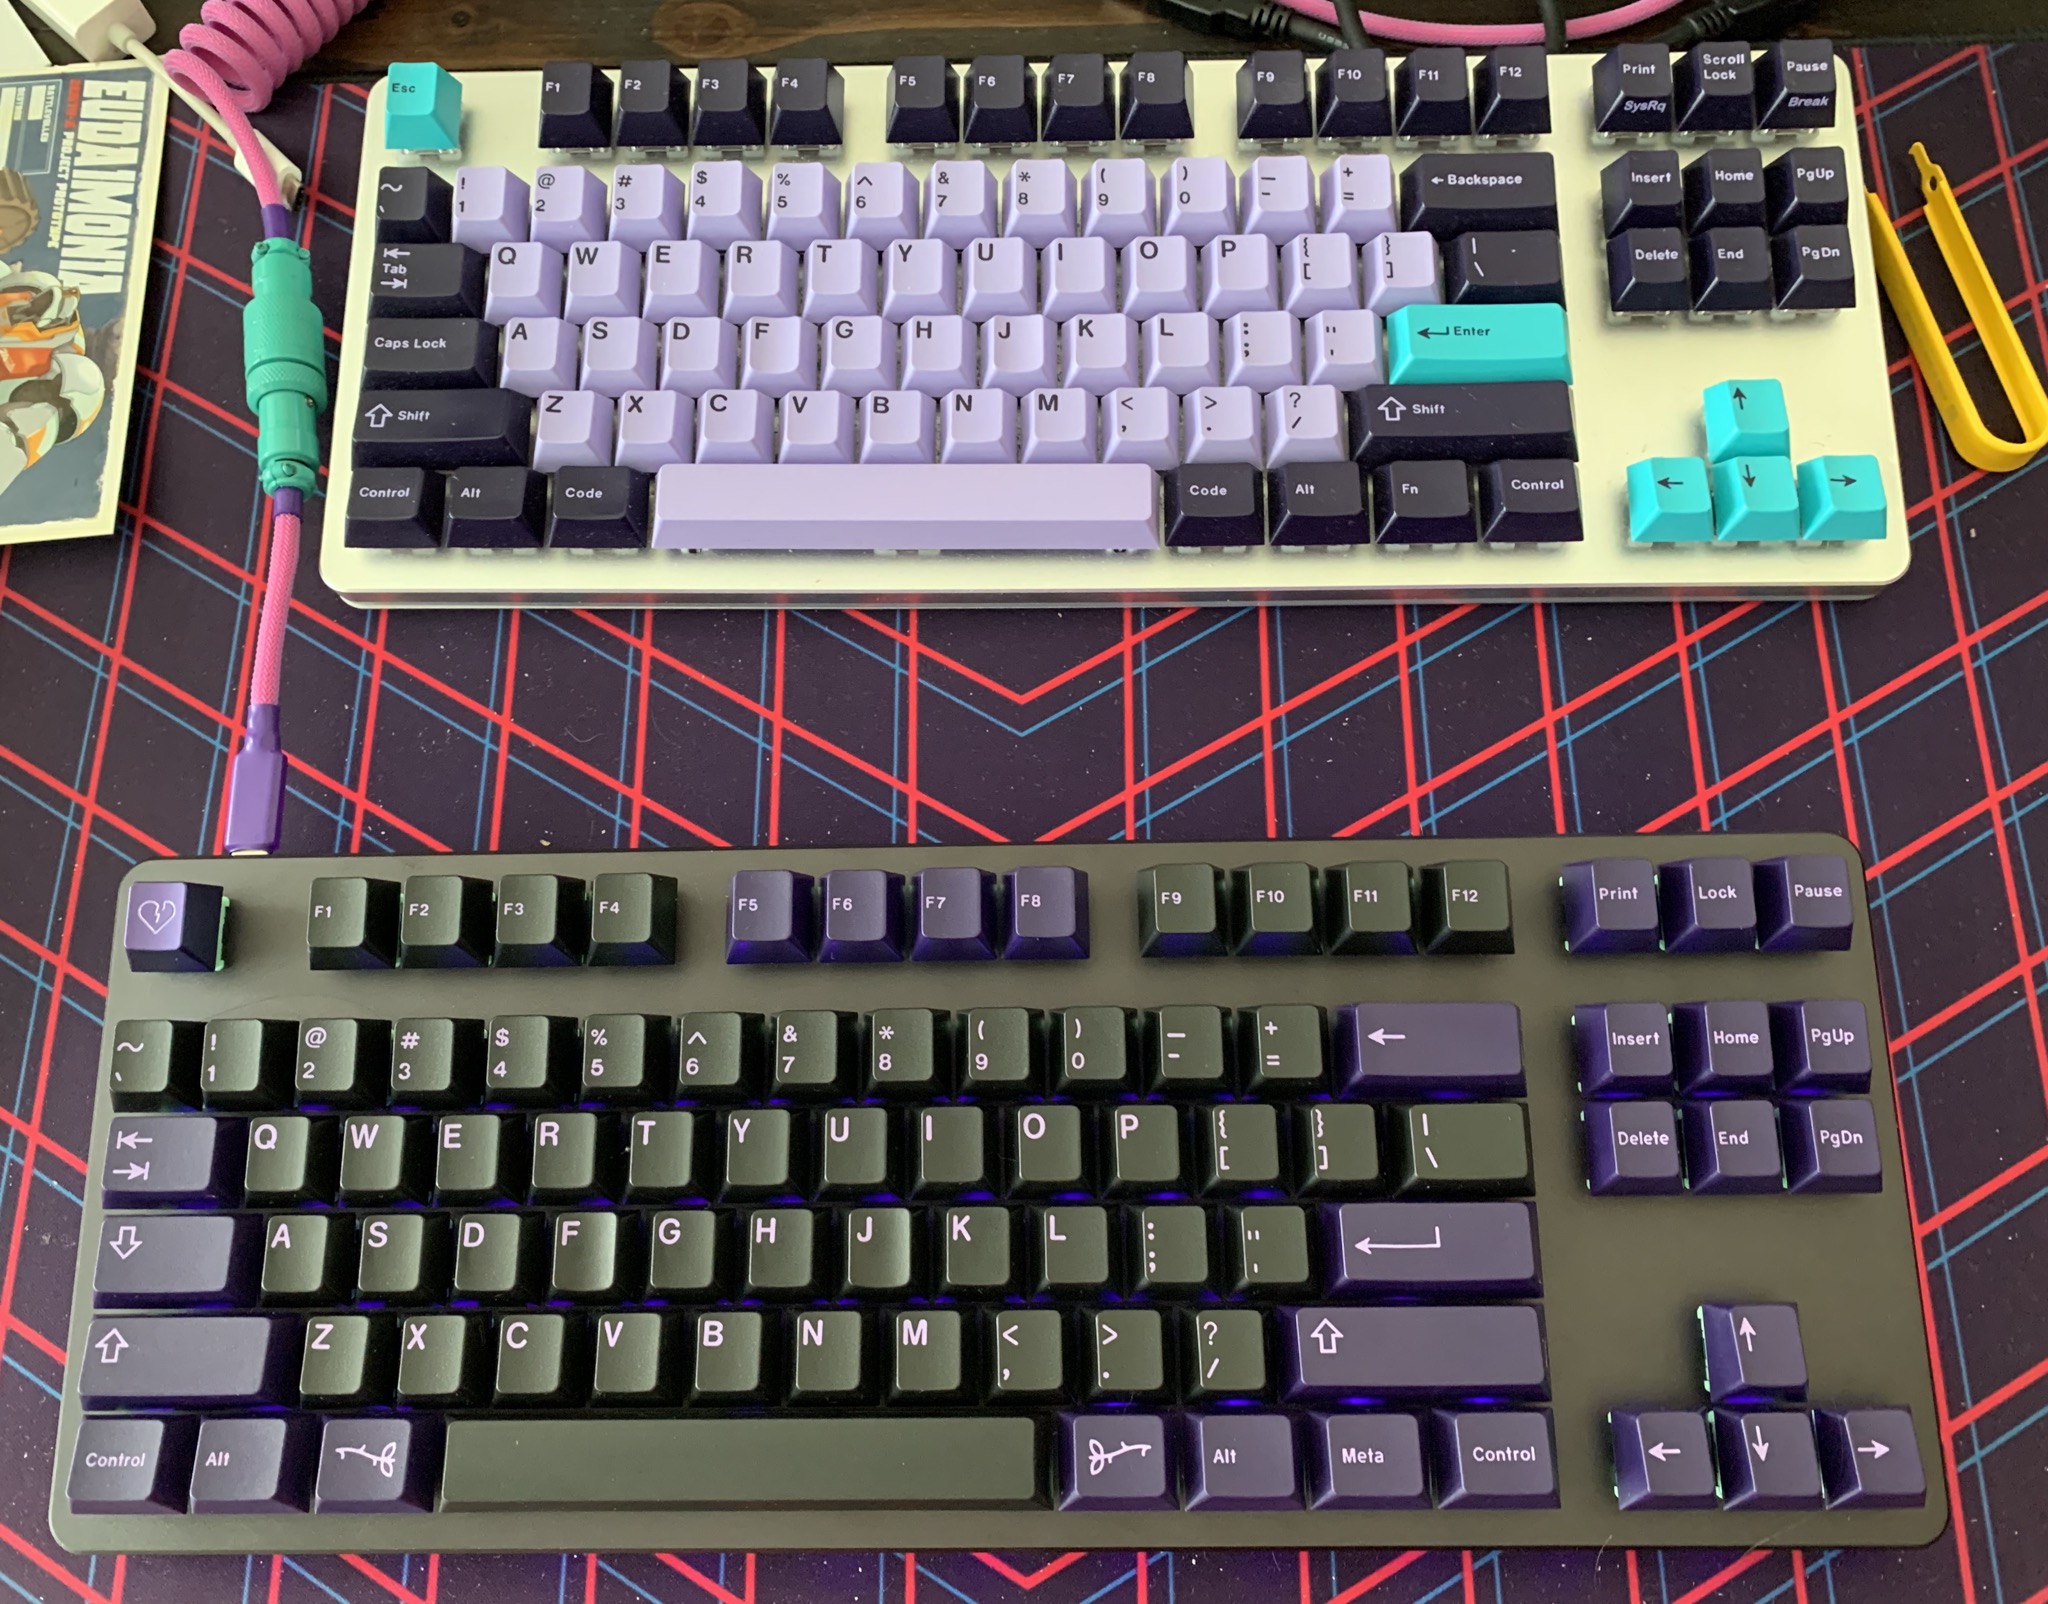
UPDATE 2: Thought I should include a photo of the family at the desk rn: