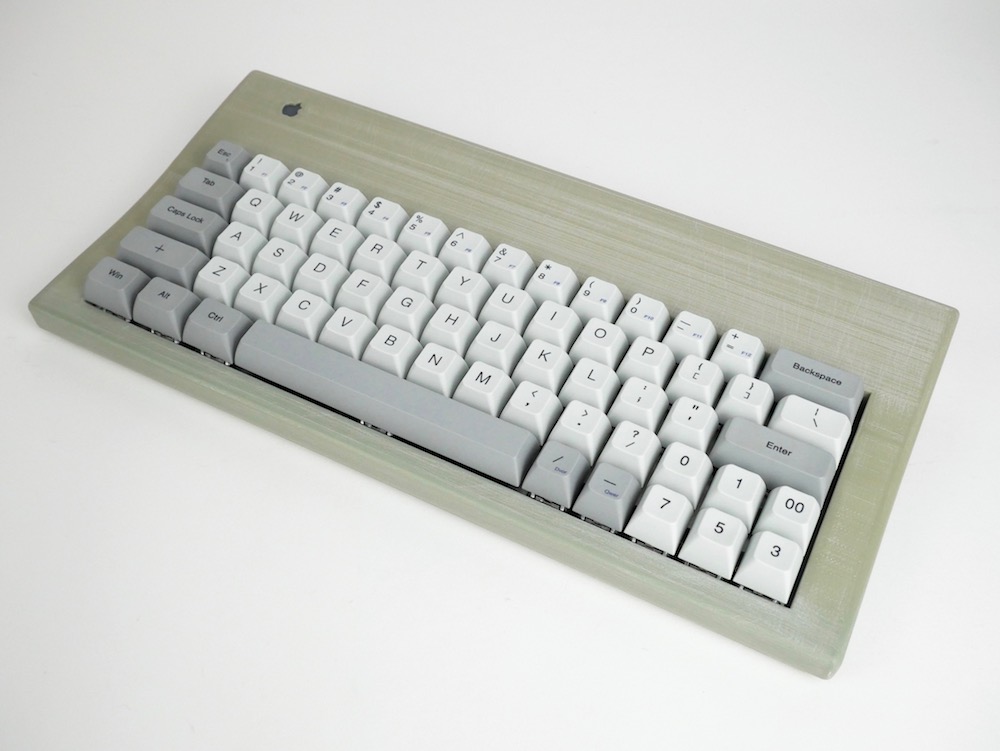
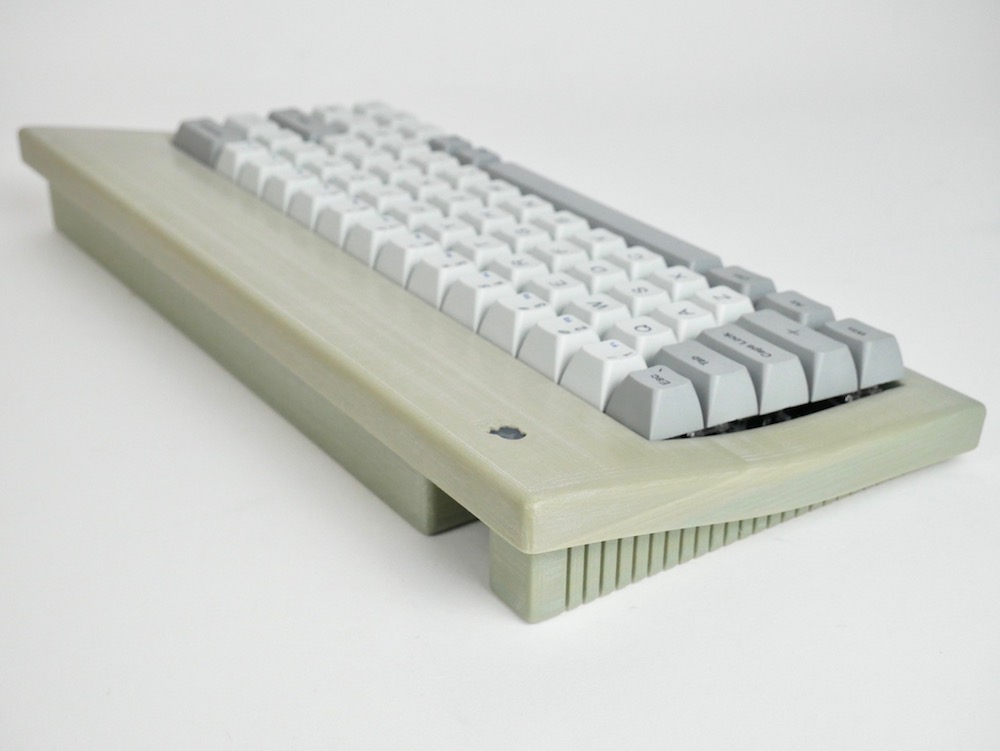
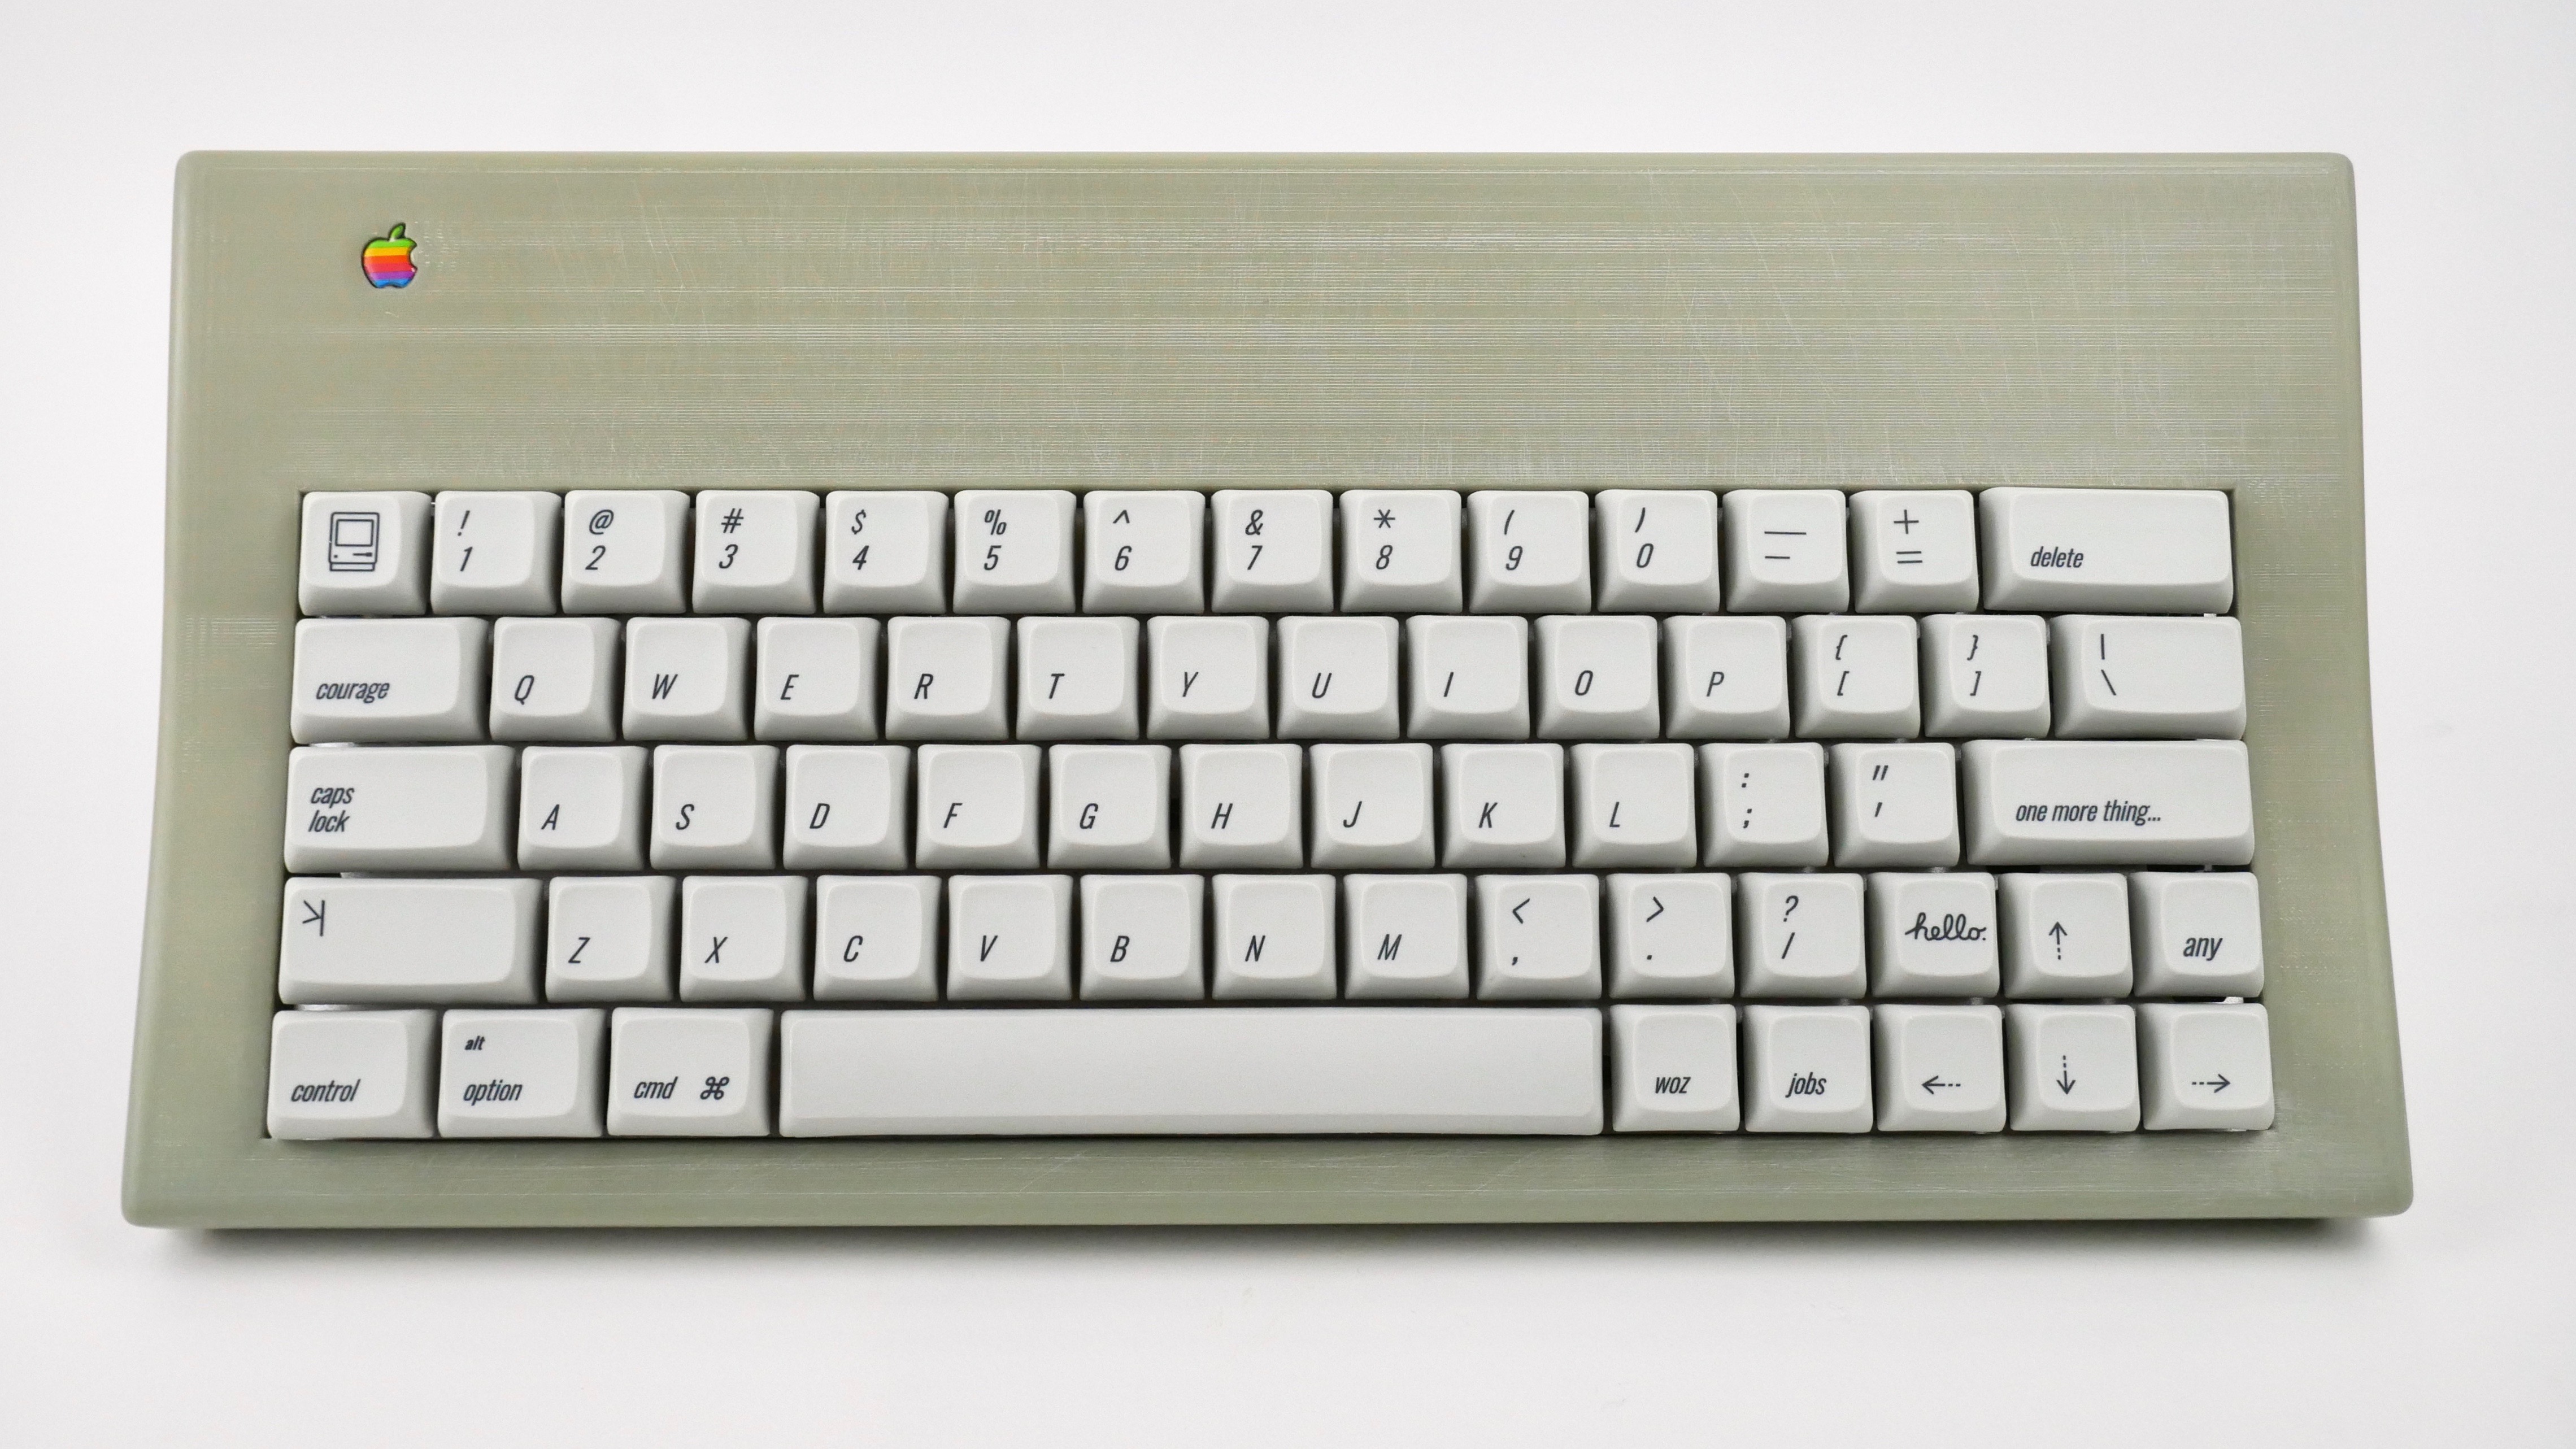
I do a lot of 3D printing, but have never printed a case, so I thought I would try an
Apple Extended Keyboard-inspired one I saw on Thingiverse. The printing went fine, but the case ended up being a tiny bit too small to fit my DZ60 PCB. With a little (okay, a lot) of sanding, I was able to get it to fit, but it was still quite tight. So instead of painting the case like I had originally planned, I decided to just sand the heck out of the case and make it really smooth. And that worked surprisingly well. It feels really nice and looks almost like jade or something. It’s an interesting effect.
I put the caps from Vortex Vibe on it just to test out the board and it worked fine, but when I went to take them off I found that some of the keys were extremely tight. Long story short, I apparently broke all but one pair of stabilizers just by removing the keys. At first I thought it was just the space bar, so I spent a lot of time trying to fix it with my limited skills, but didn’t have much luck. I’m really not up to trying to desolder the entire board to fix them. Does anyone have any input about what I should do with this? Even though it’s not an expensive PCB, I just got it from KBDFans a couple of weeks ago, so I’m kind of bummed.
12 Likes
Can you share a photo of the damage? I’m not sure how you “break” the stabilizer. Did you pop the wire out of it’s holder or actually break the plastic?
I’m not sure you could see anything in a photo, but the plastic part of the stabilizer that goes inside the keycap no longer moves the wire up and down when it moves up and down. I can’t tell if something inside is broken or the wire has just popped out
1 Like
Sounds like the wire has just popped out of the supports that are on the PCB. You can often get them popped back in with some fine tweezers.
The best way to avoid it in the future, at least that I have found, is to carefully remove the stabilized keys. I use a wire puller to get one side off, JUST off the stabilizer and no further. Then, I hold that edge up with my fingernails while I pull the other side with the wire puller, pulling up both at the same time to remove from the switch. If you pull one up too high, you can easily pop a stabilizer wire with leverage.
1 Like
Thanks. That’s pretty much what I do, but I wasn’t prepared for how incredibly tight these particular caps were.
The case looks great! I’m guessing sanded PLA?
Check out Hatchbox wood PLA, you should be able to sand it down completely smooth with a good wood / neutral base color that could be painted with chalk spray paint.
Chalk spray paint on top of Hatchbox wood filament will sand completely smooth and leave a perfect matte finish.
You can also use wood stain on the wood filament and the layer lines tend to pick up more stain than the other areas and it resembles wood grain.
Regular PLA always seems to leave the subtle scratch marks when I sand it, I’m not sure if that’s avoidable or I didn’t sand it enough.
Also, that model is super snug on Thingiverse, I had a printed one once, but I couldn’t even fit my 60% into it.
1 Like
Yeah I tried several PCBs and one wouldn’t fit at all, but the DZ60 barely fit after I sanded down the inside. I would print it at least couple of percent bigger if I were to try again.
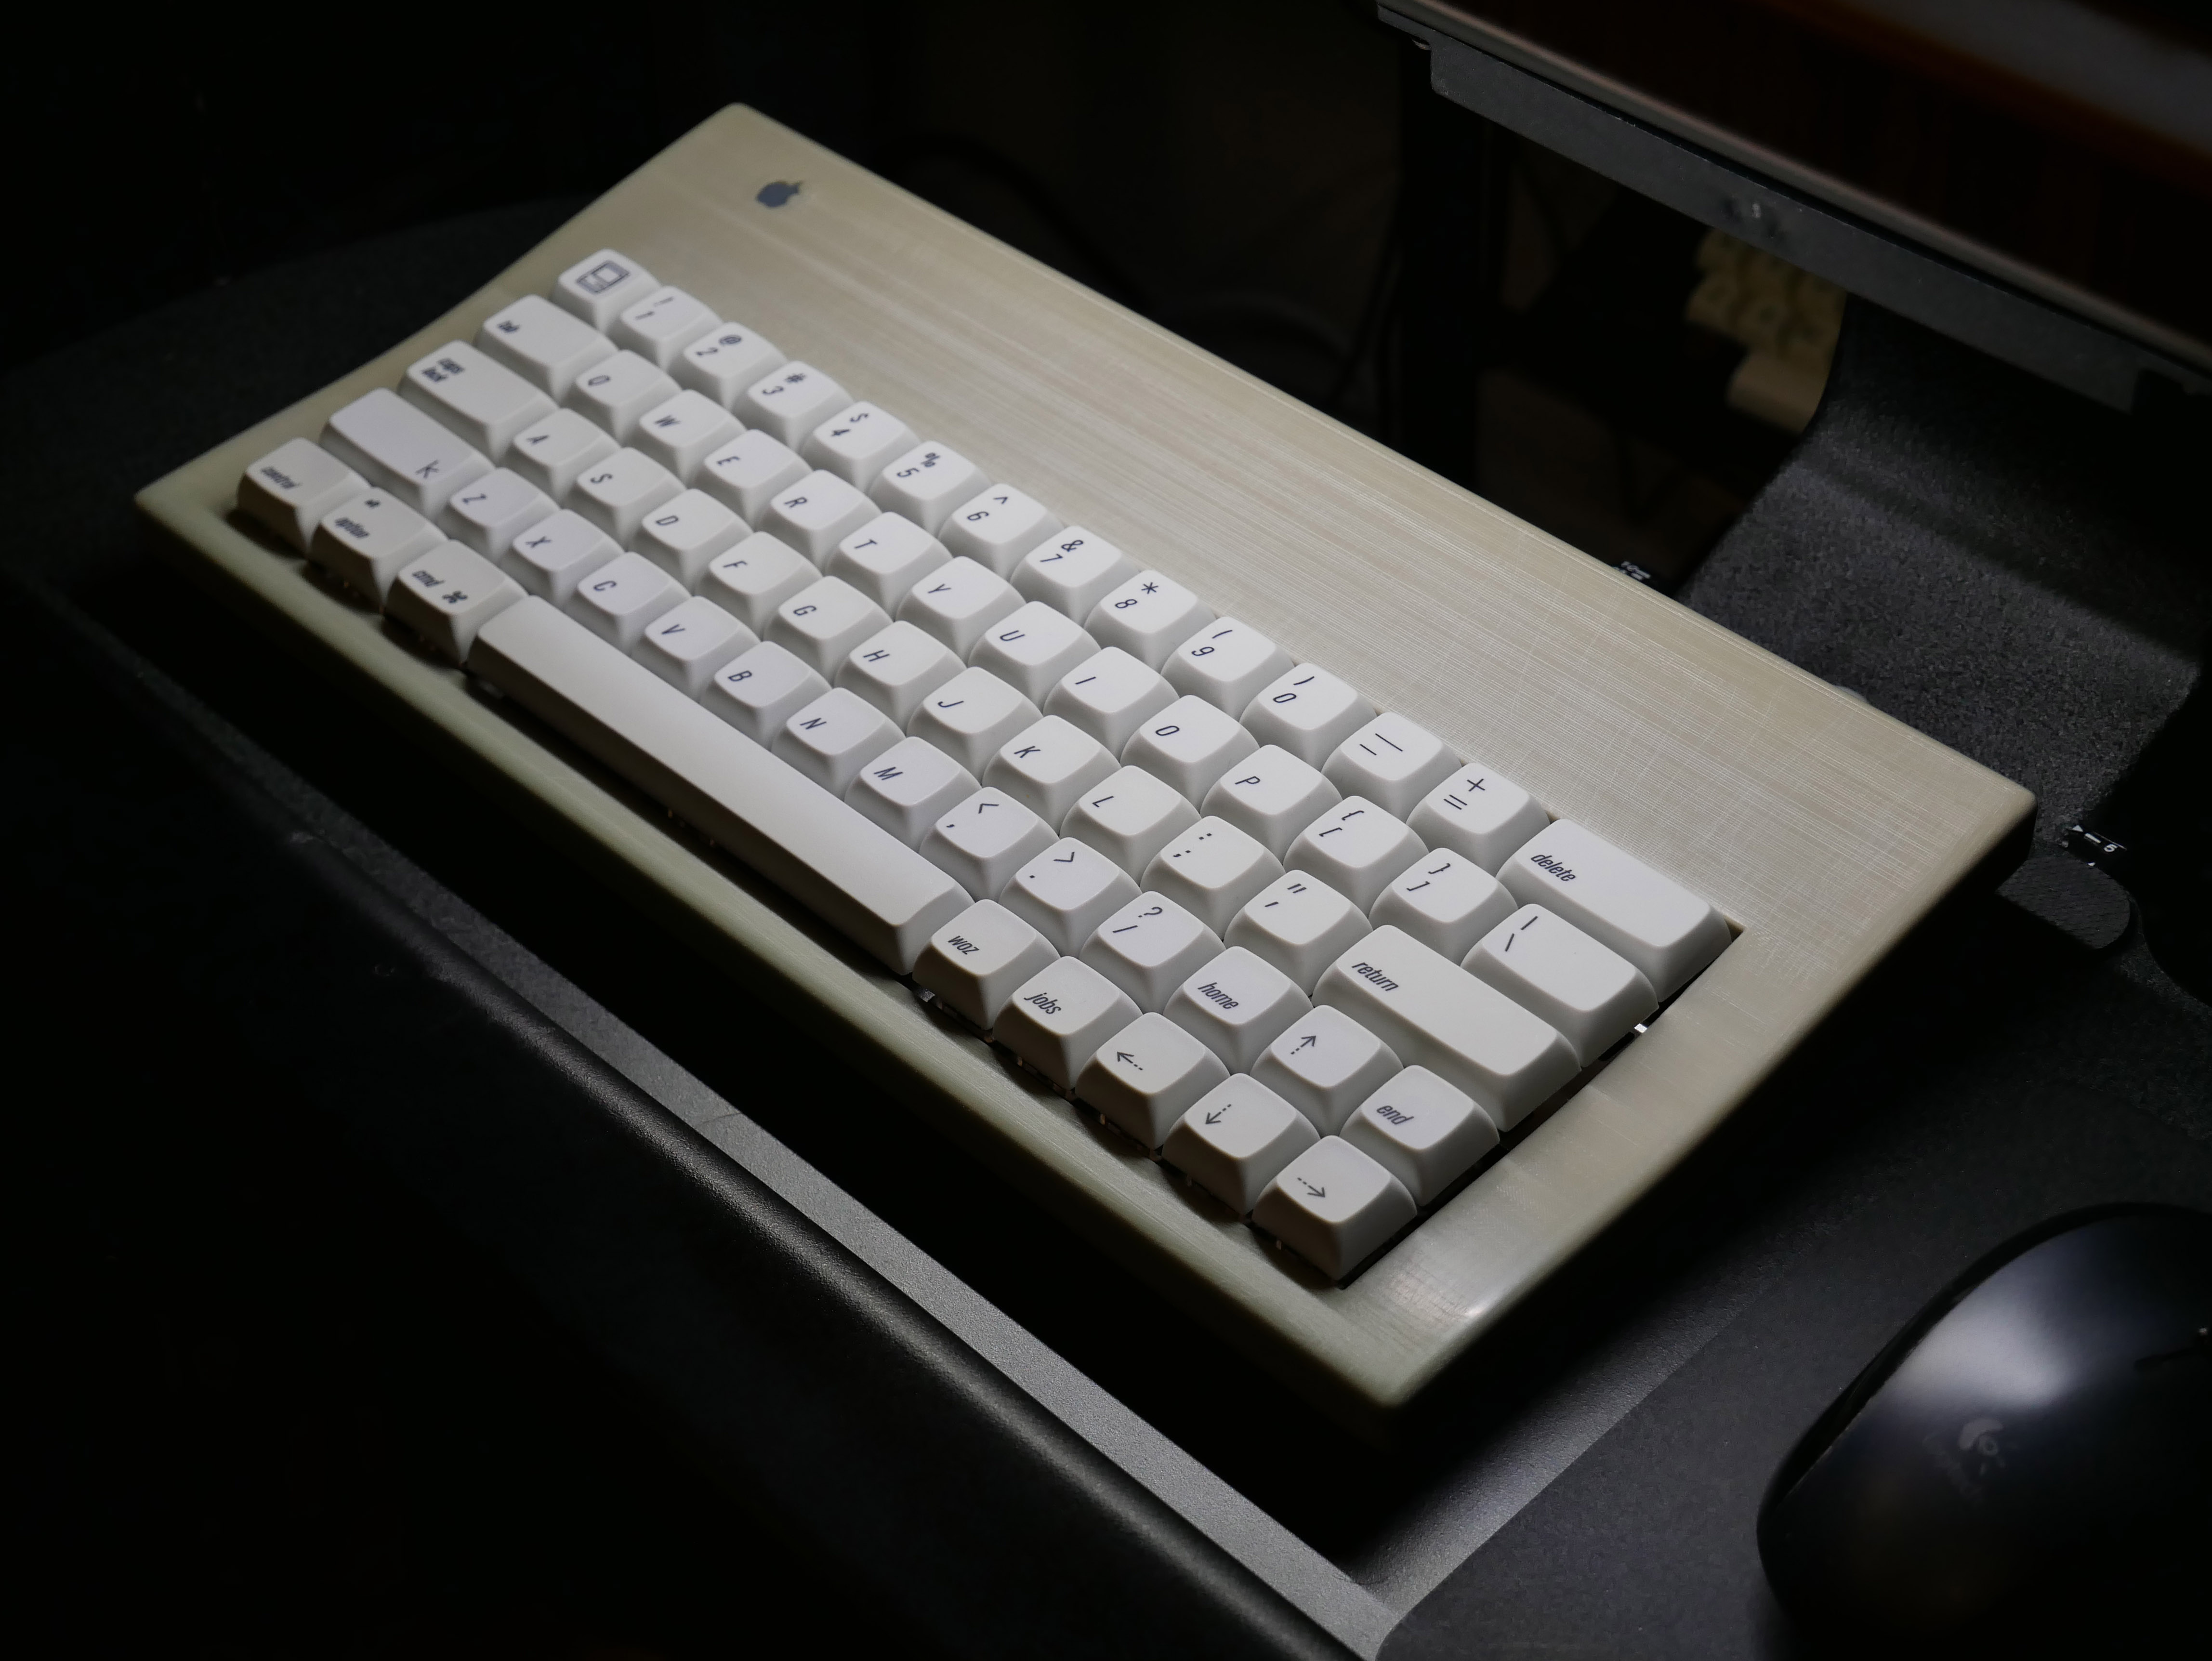
Good news! It turned out that the stabilizers other than the space bar were laughably easy to pop back in. I hadn’t really tried very hard, since the space had gotten me so frustrated earlier. I also revisited the space bar and managed to get that back in as well, although it was more challenging. So it appears that nothing was broken, and the board is now working more or less okay. I’ll post another photo of it in a bit with XDA Oblique.
1 Like
glad to hear it. also, the case looks awesome
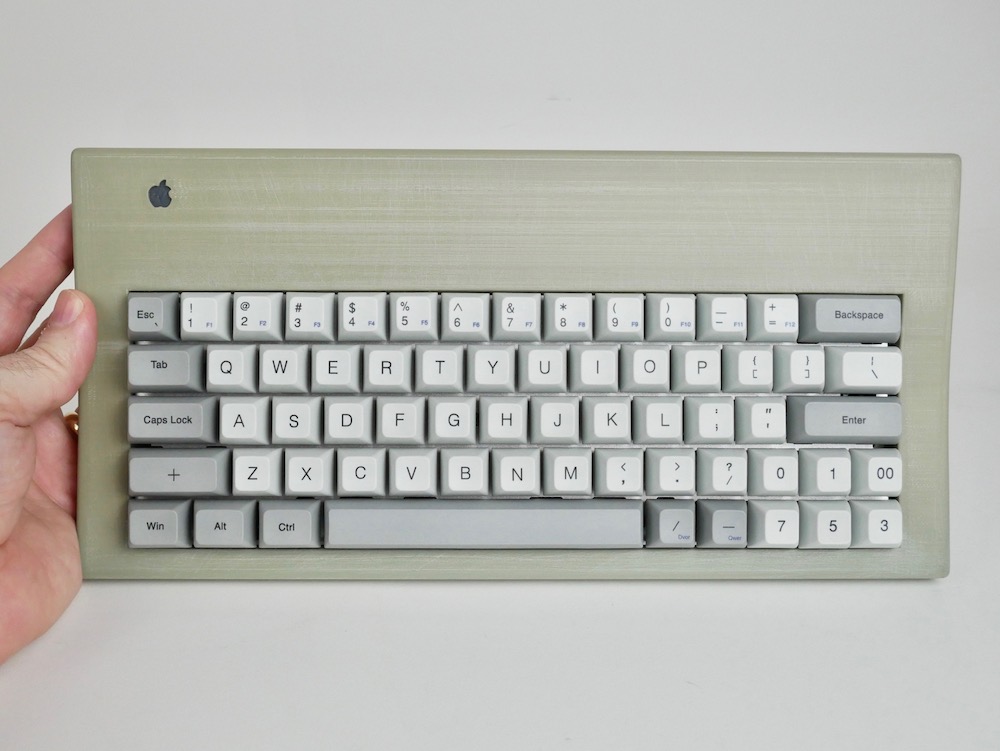
Managed to track down an original AEK badge to complete the look. Fit in the existing indentation perfectly.
2 Likes
what printer did you use?