I have been meaning to upload some build logs I got all the pictures of & finally got around to it today. I was gonna post it in my own personal thread like other have, but thought it would be better to start a community build log thread. So everyone please feel free to upload your build logs here! So that said I guess I have to kick this party off!
Rob27shred’s Duck Raven linearized SKCM orange build log
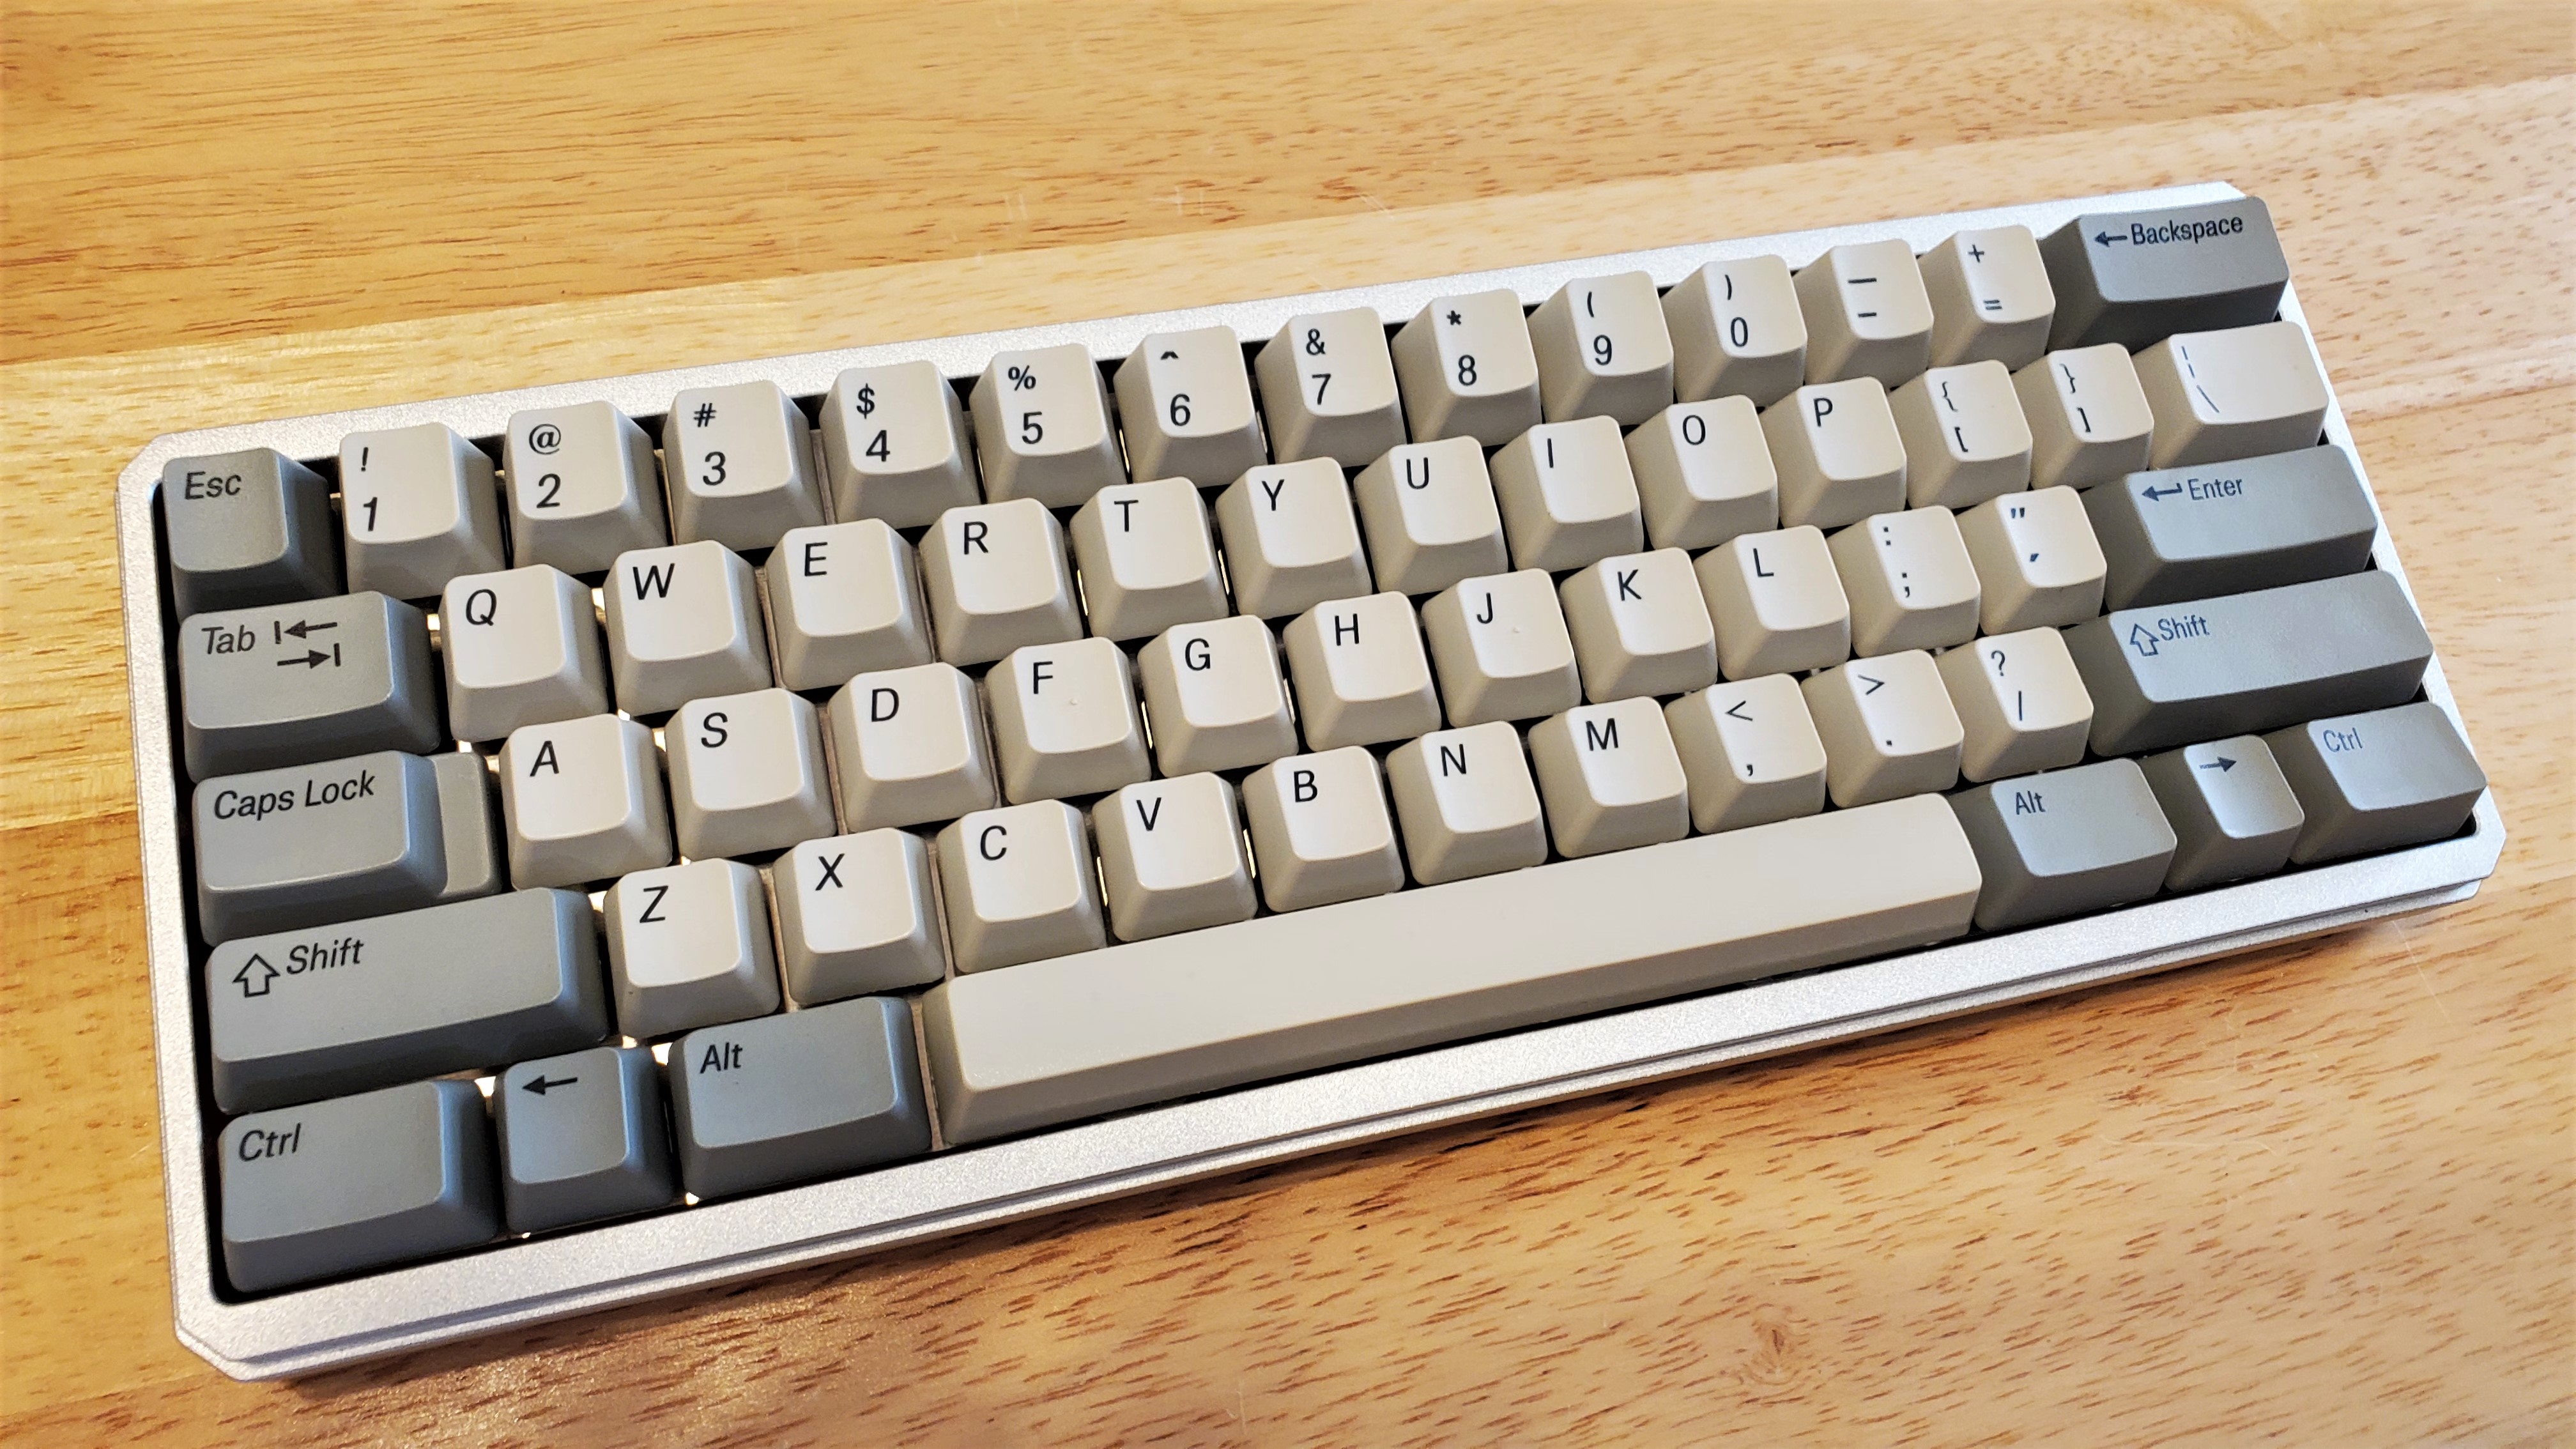
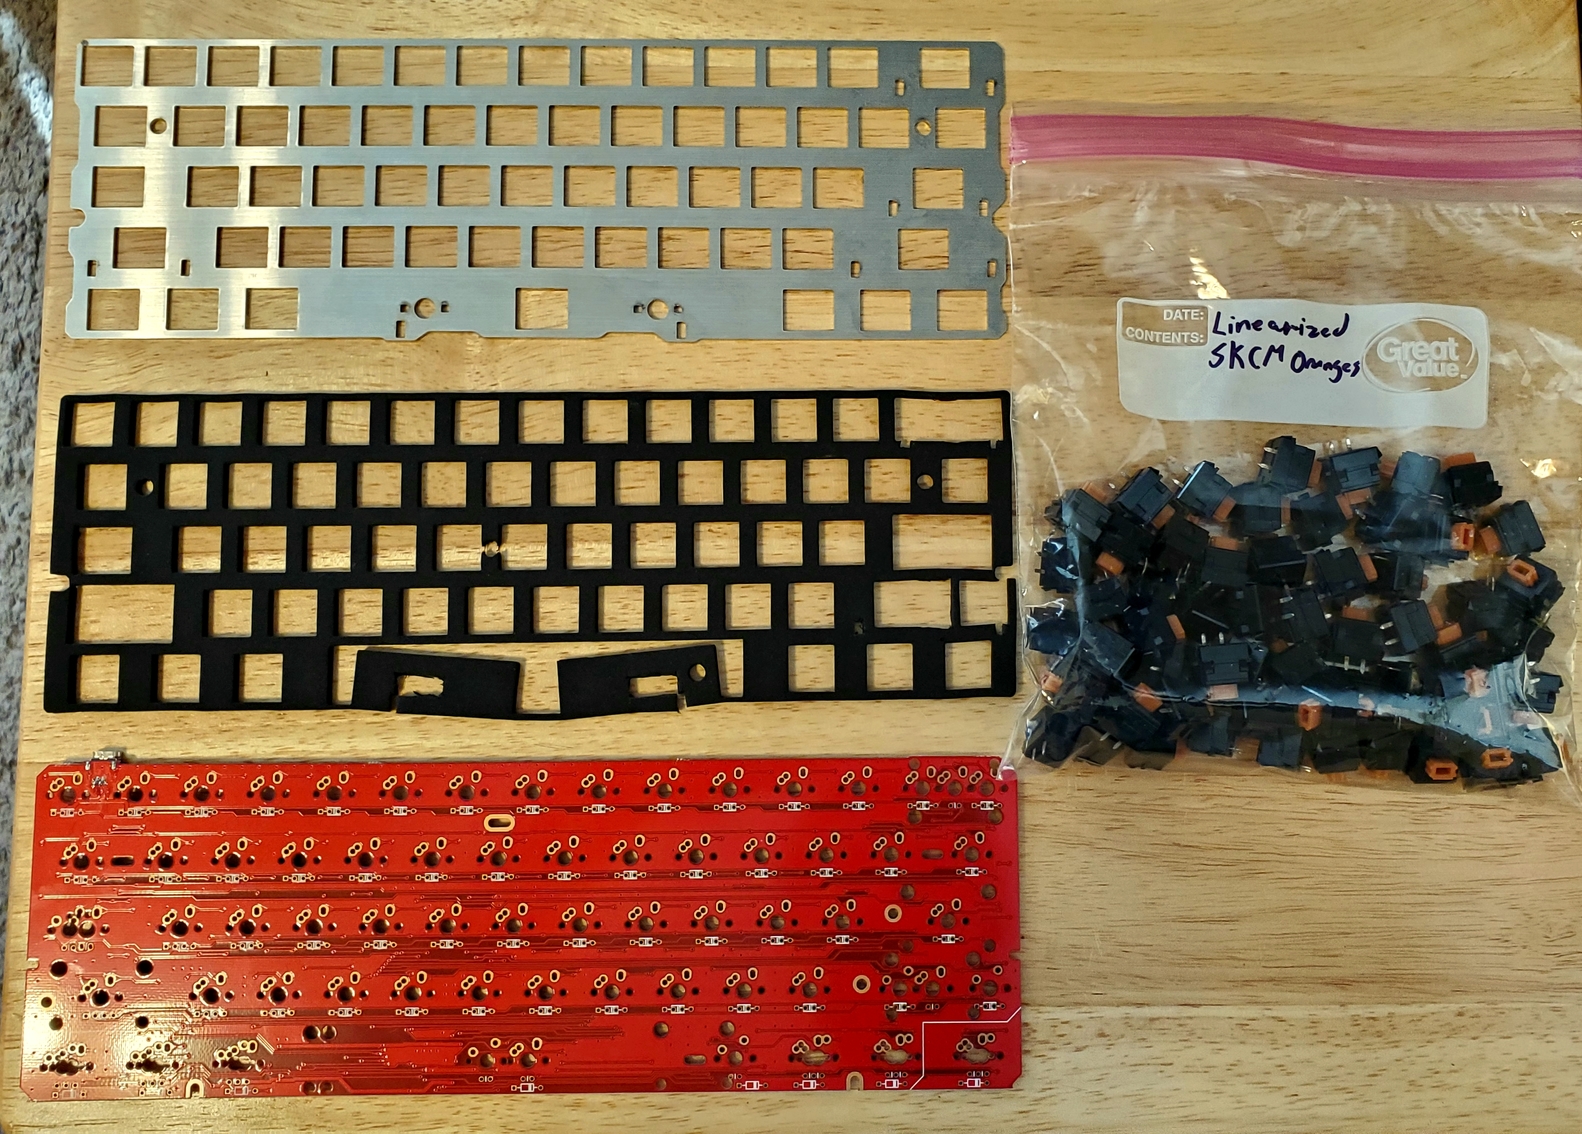
I have been wanting to use my SGI caps for a long time now, but was having issues finding a properly cut because the caps lock switch spacing is in an very non standard positioning (in line with the tab switch cutout). So when I saw the Raven & Sidewinder kits on PrimeKB & saw the ALPS plate was made for these keycaps I knew it was time.

First things first, it’s a tray mount case so sound dampening is a must IMO. I’m still waiting on the MKultra foams i ordered for this board so I stole a sheet of sorbothane I had in my 5° case. Not the best fit, but it’ll do the job for now.
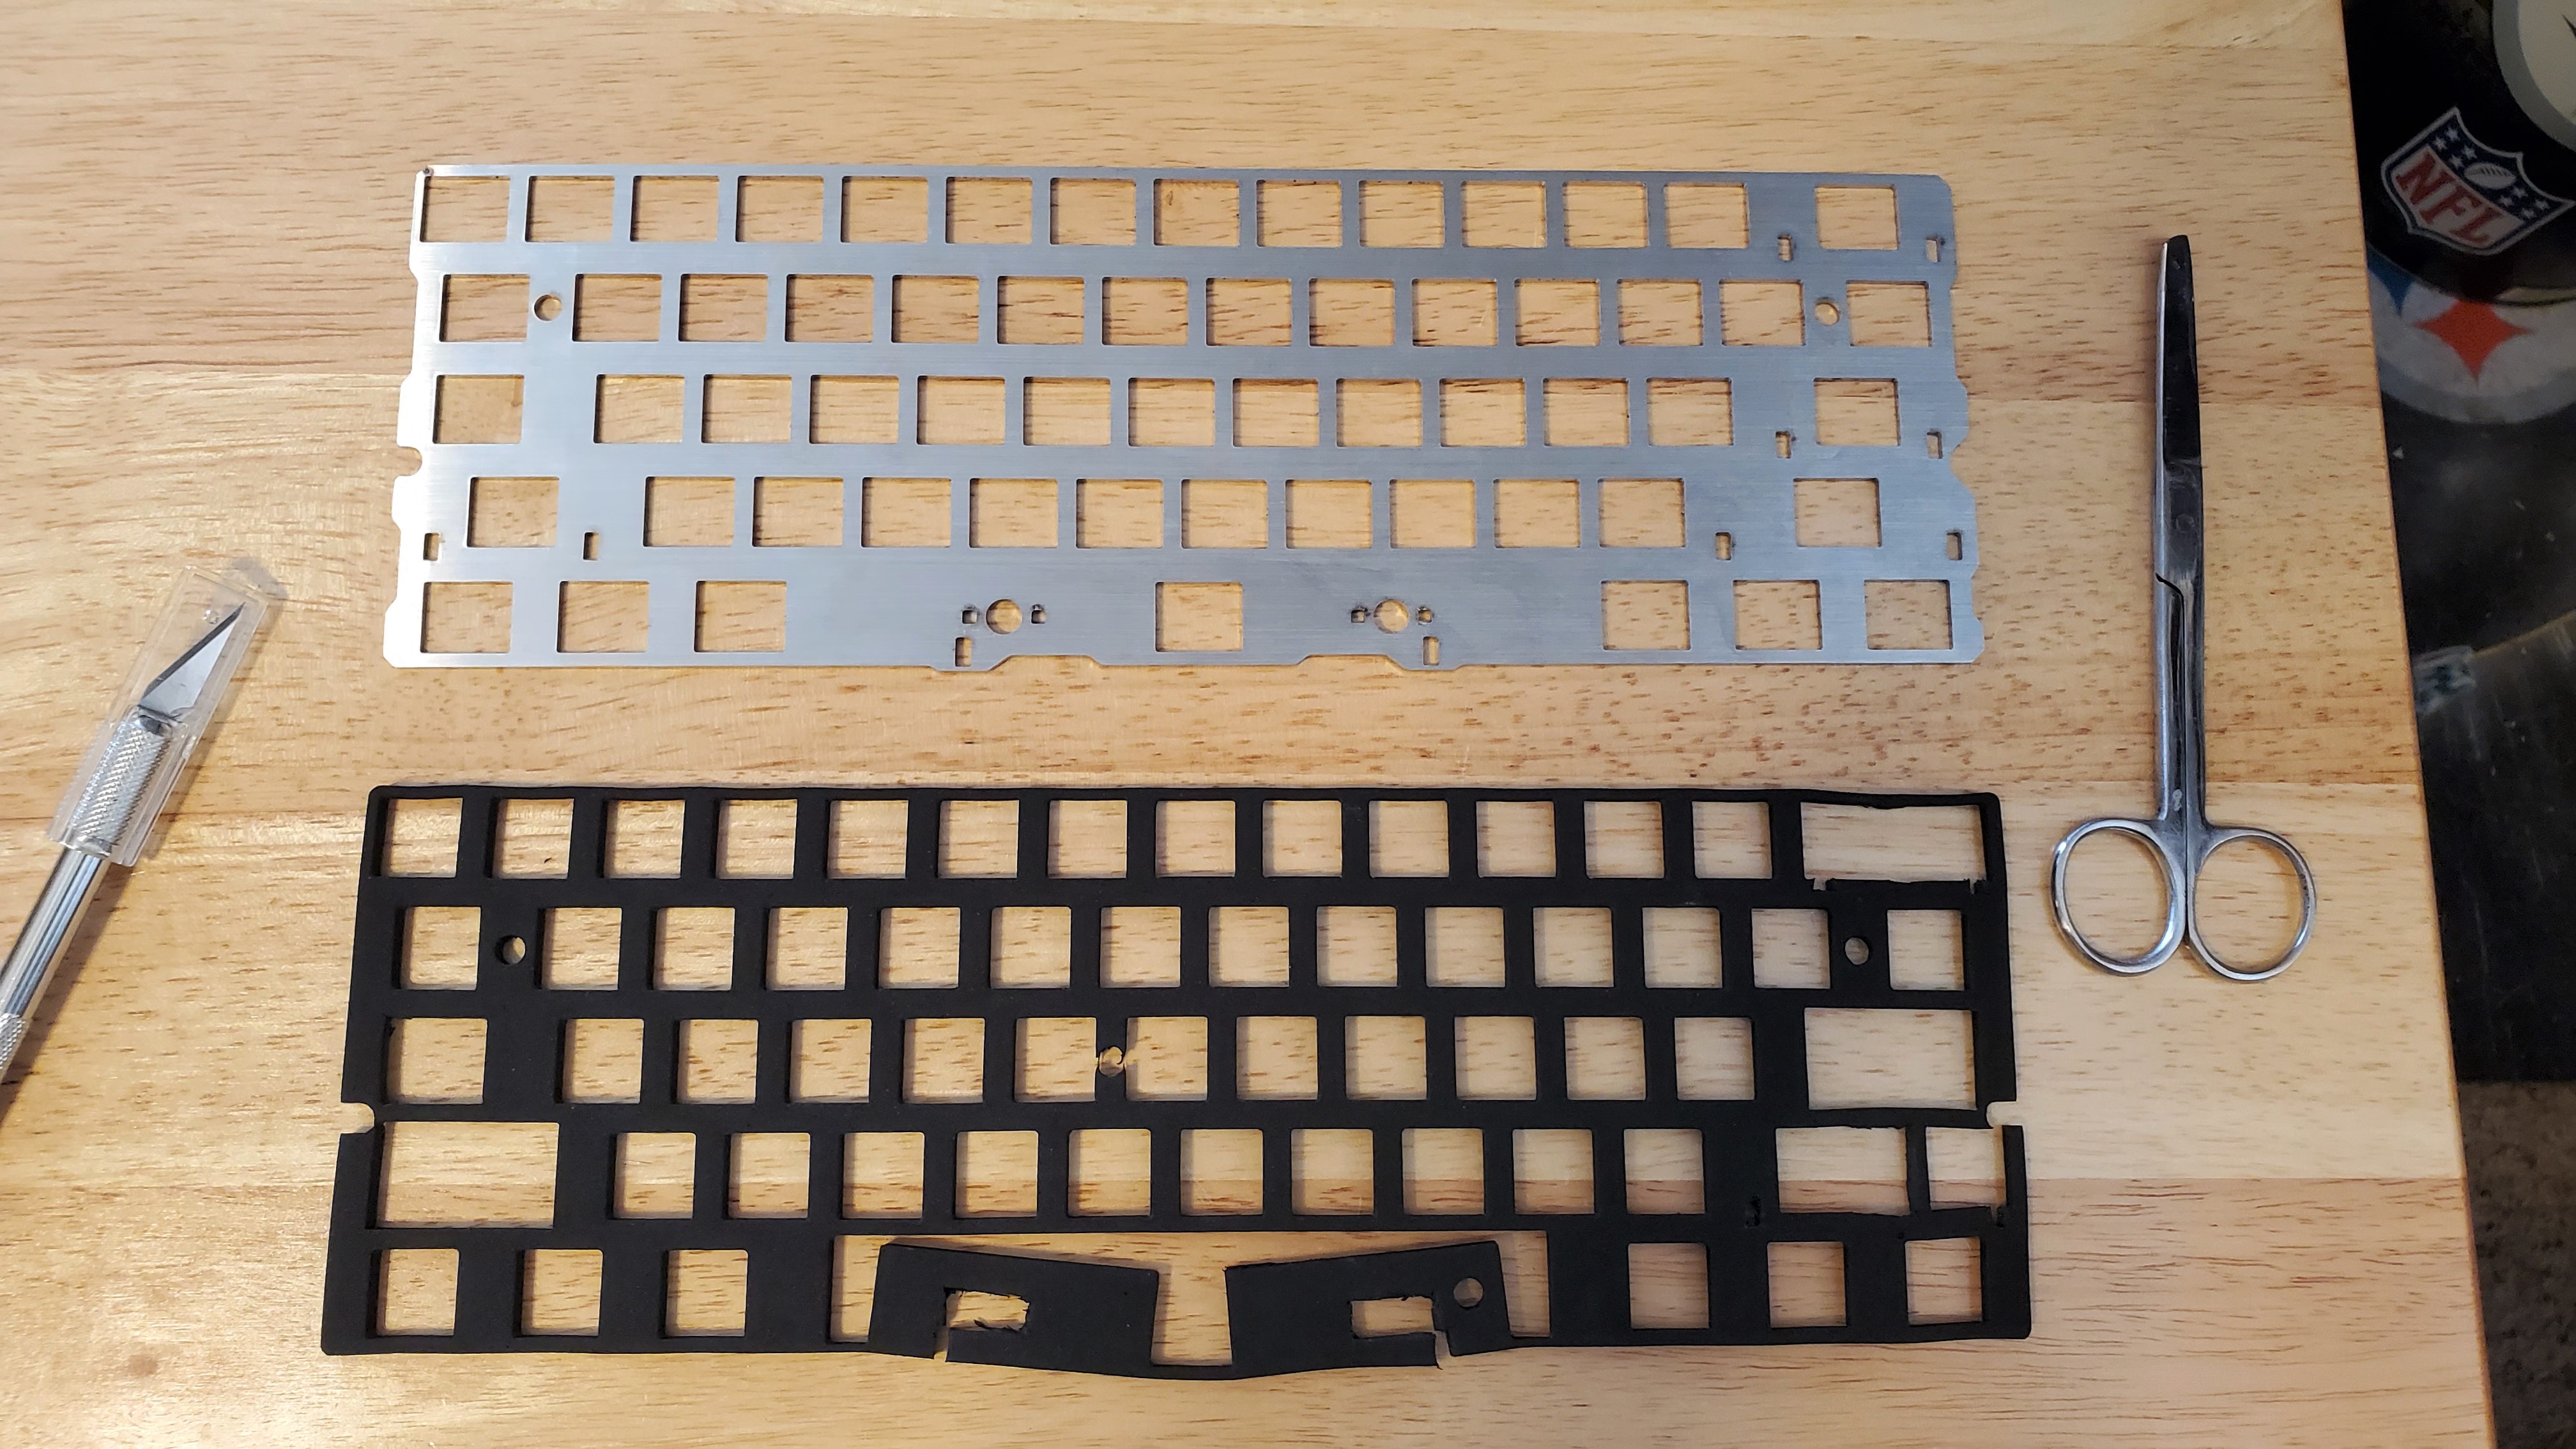
I wanted to use a plate foam & wasted a bunch of time cutting this tsangan one I had up to fit. In the end it did not work out (more details on that ahead) & ended up using sorbothane struts (sorry forgot to take pics of that part cause I was frustrated with myself).
The original plan.
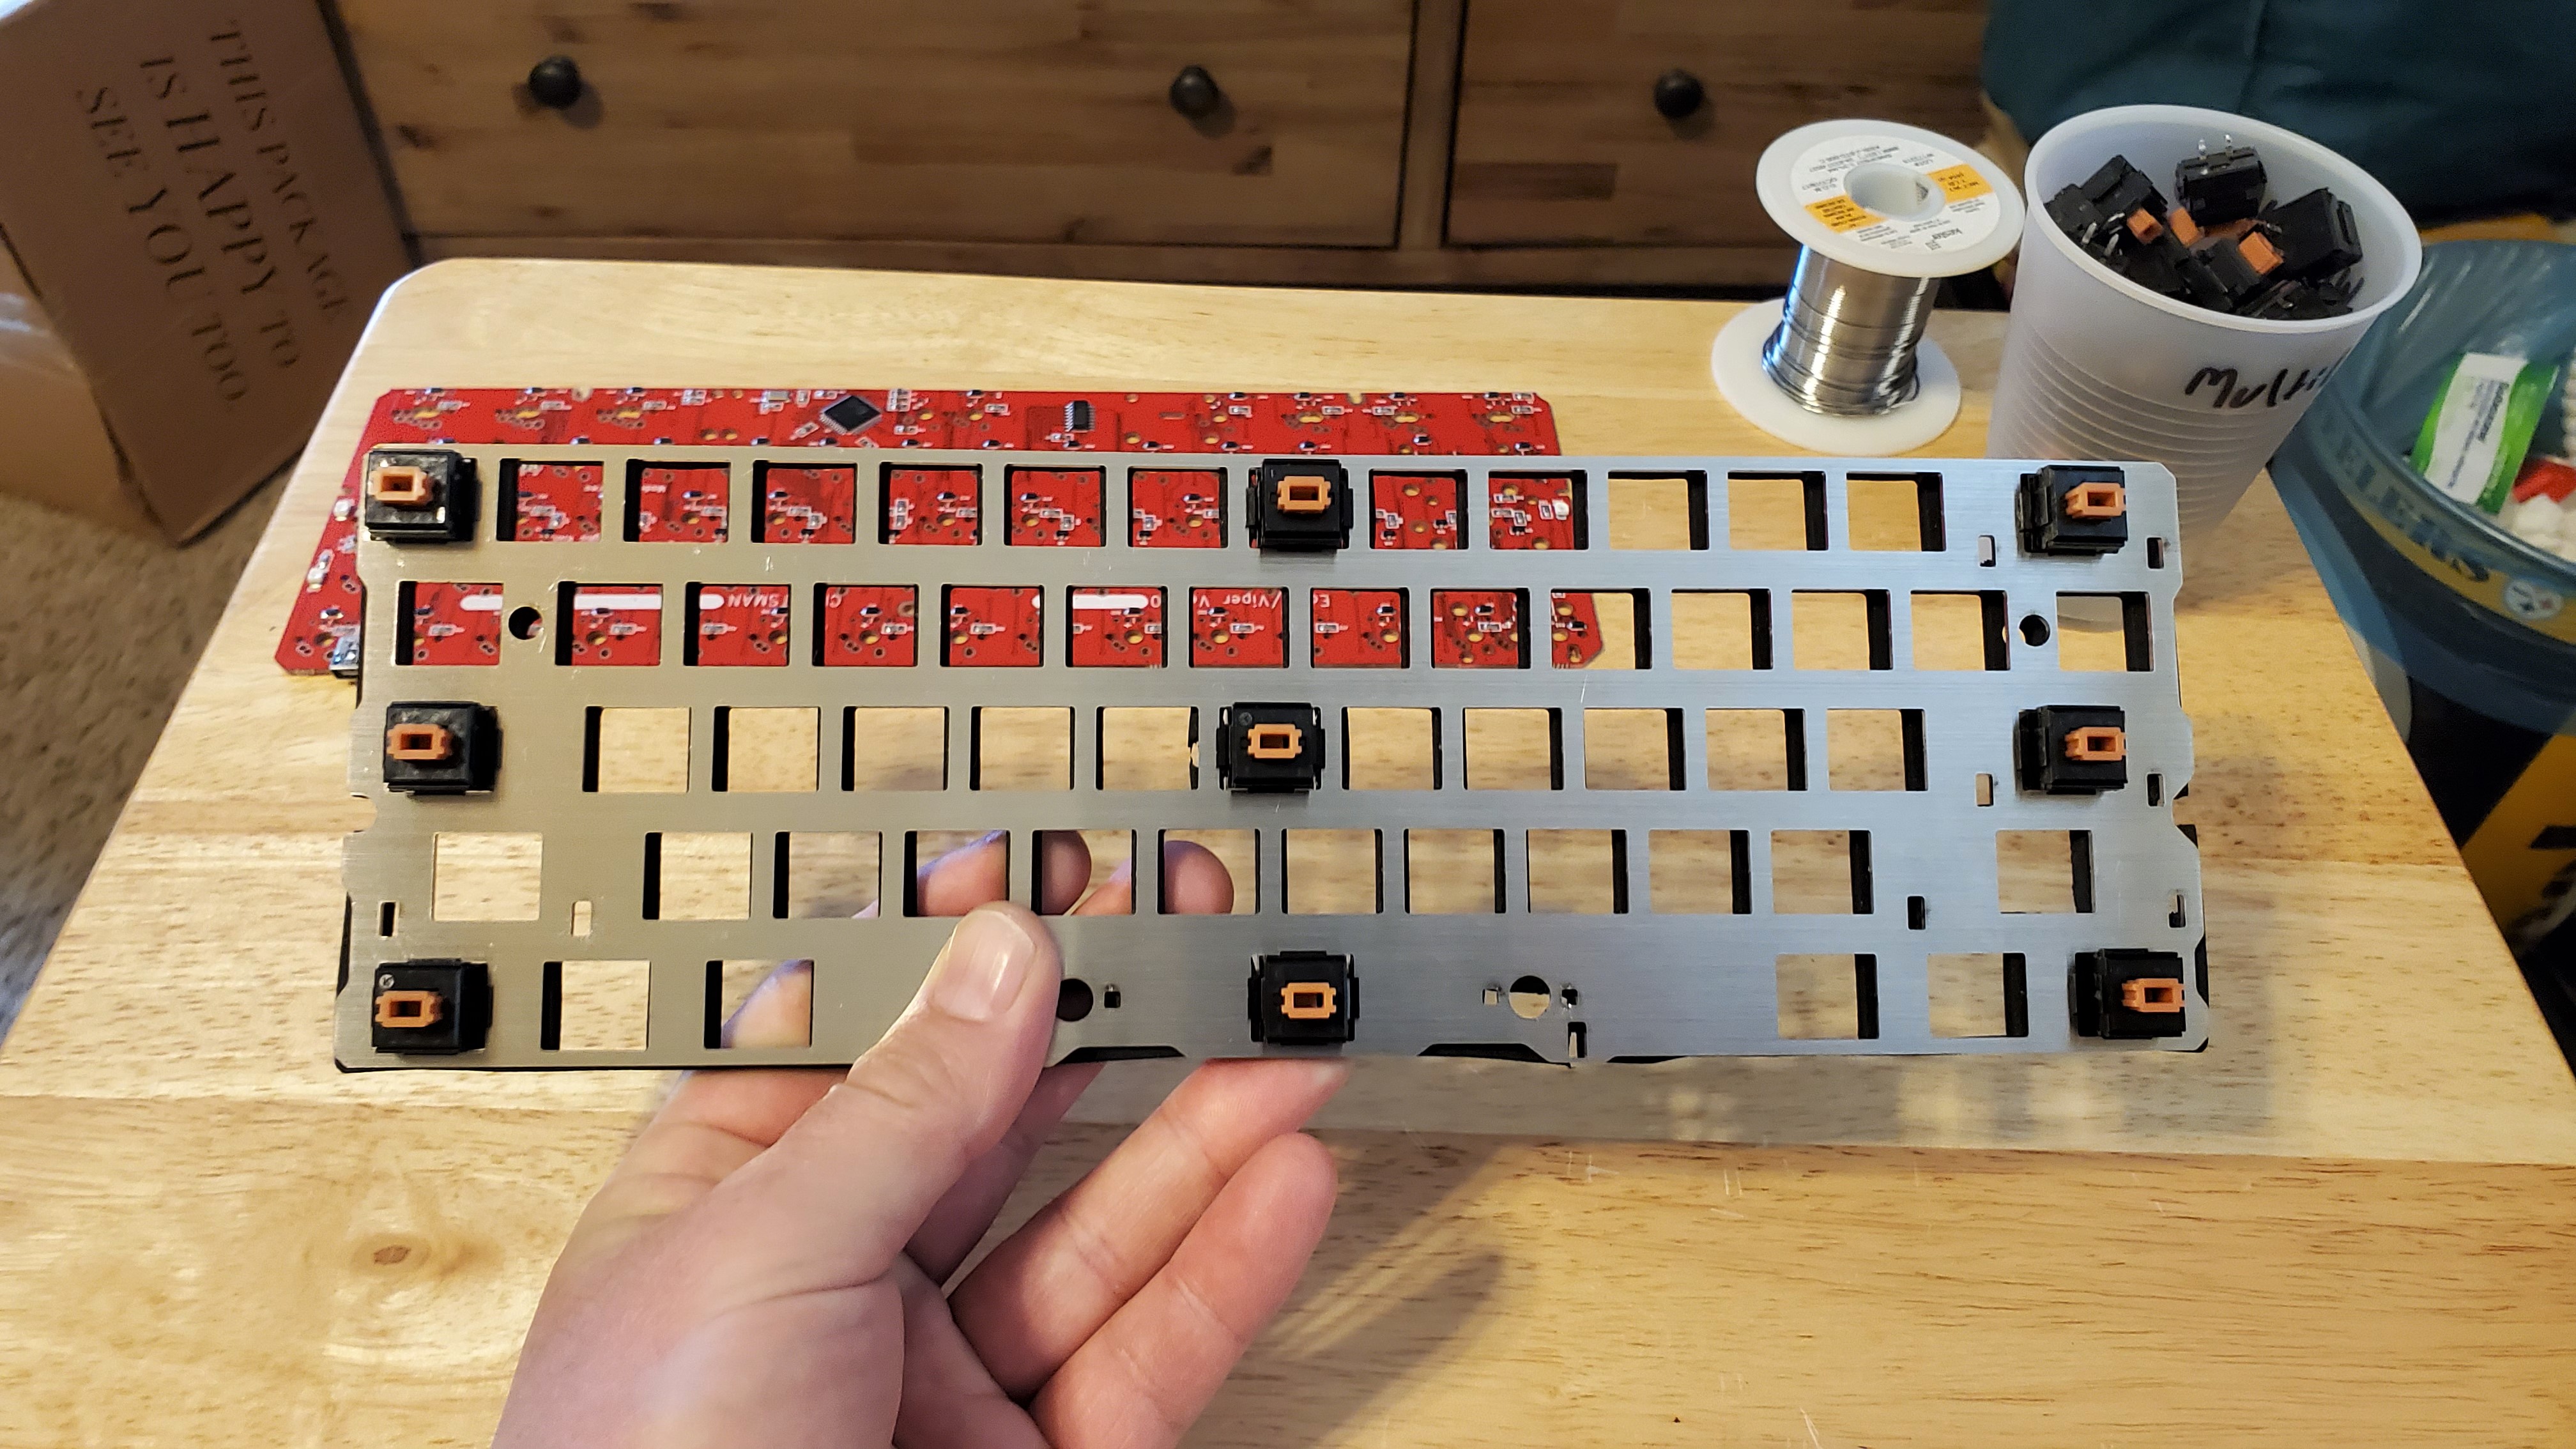
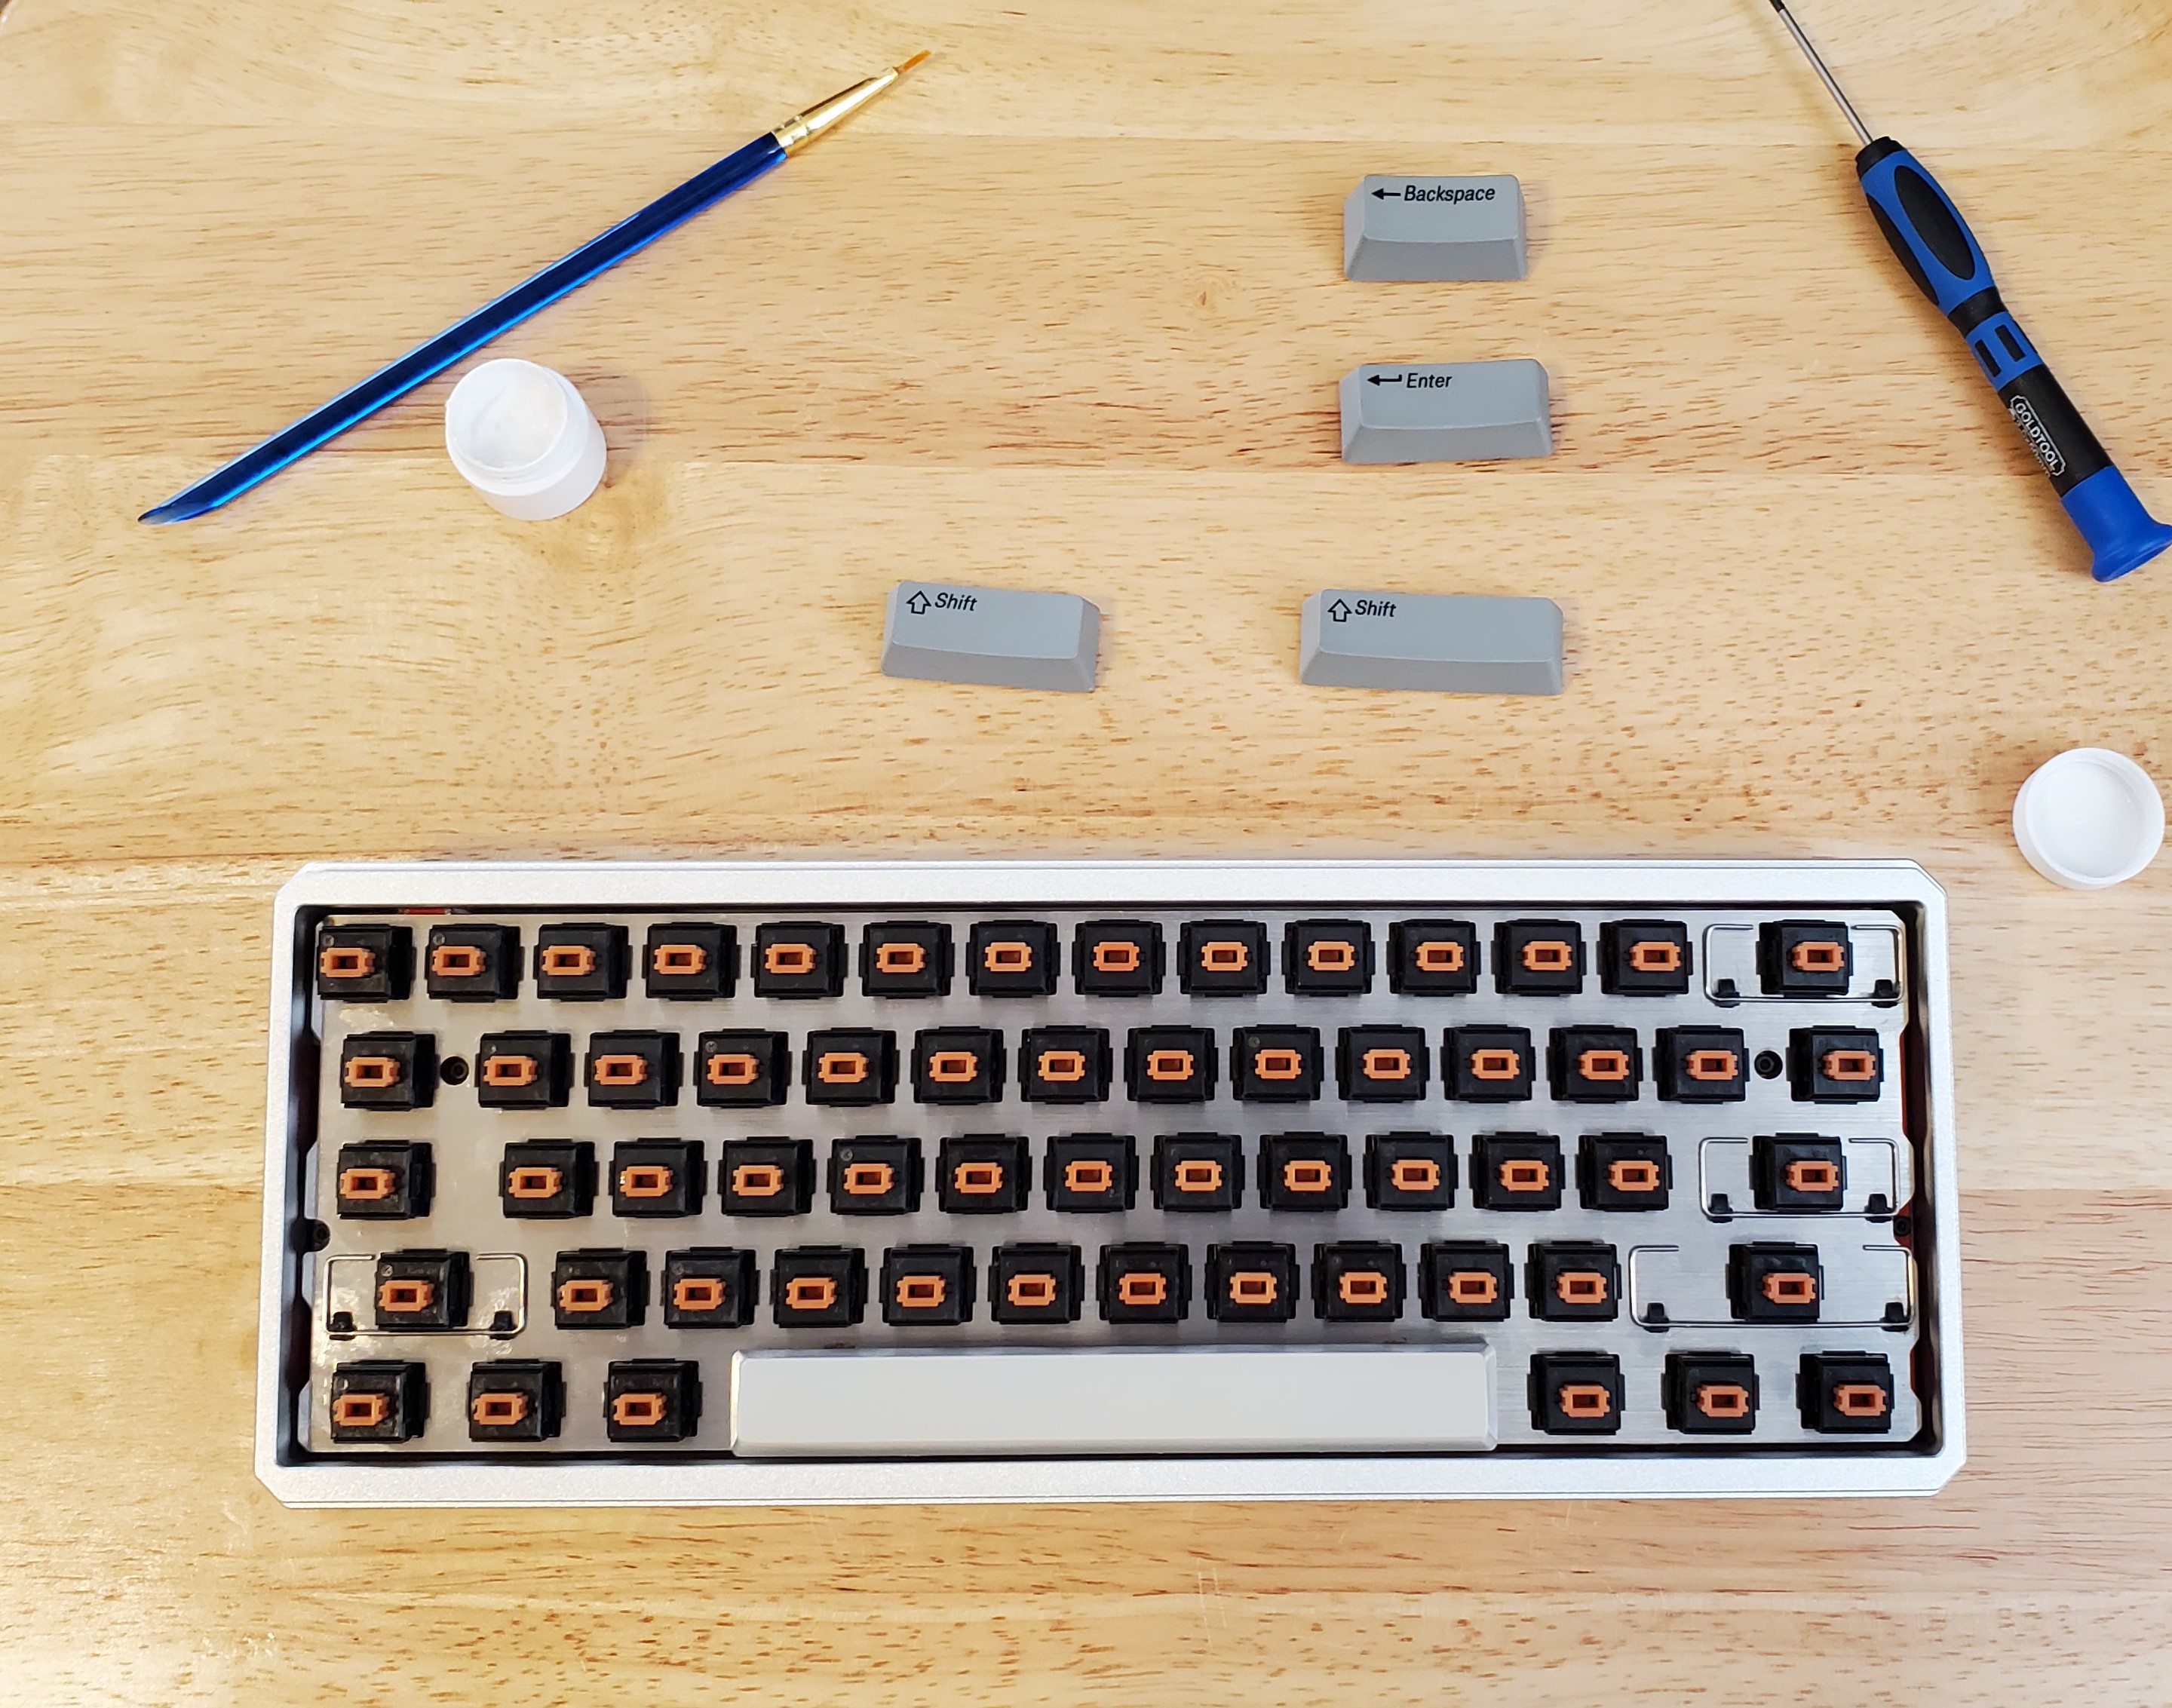
Placing the “anchor” switches in the plate. I like to solder a few strategically placed switches at first to ensure the everything sandwiched together properly, before installing all the switches. This has work very well for me to make sure all switches get completely push into the PCB.
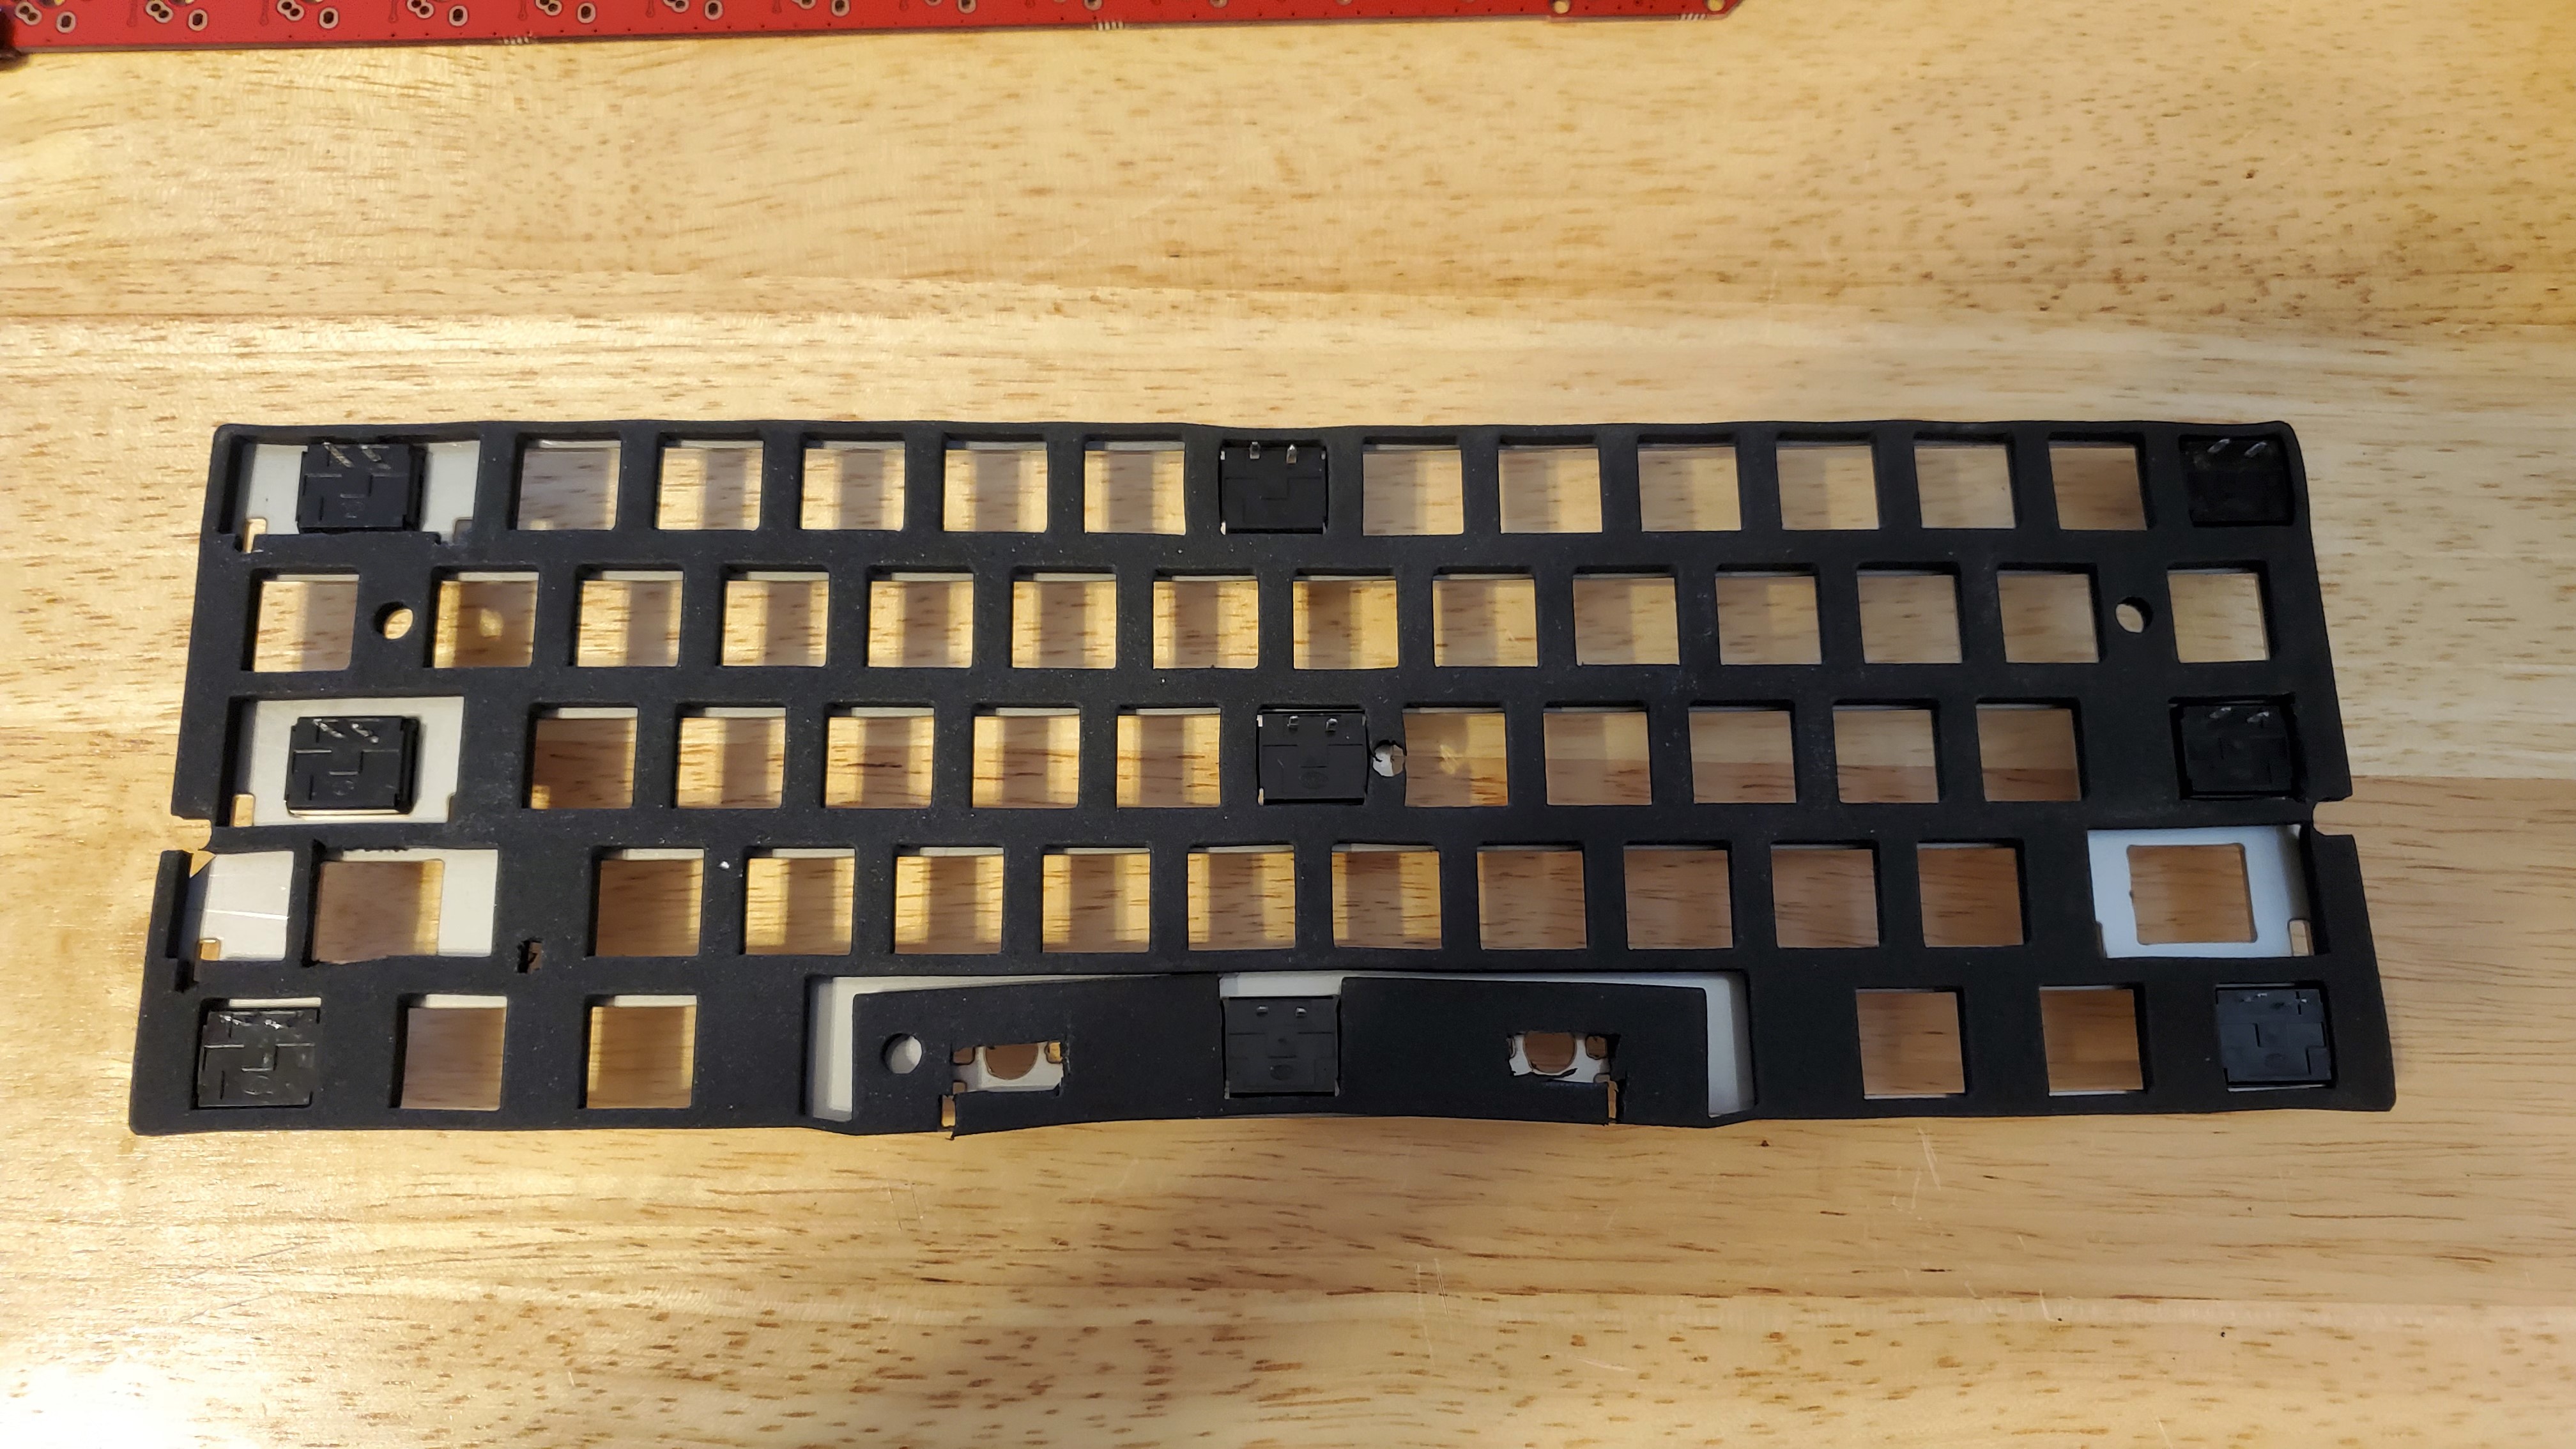
This where the plate foam plan went off the rails. Thankfully I noticed because the cutouts in the foam are slightly smaller than needed to fit SKCM/L ALPS switches & the switches were displacing the foam pretty good. I tried to fill the plate & foam up with switches before putting on the PCB & sure enough it wouldn’t have worked out without me cutting each & every switch hole bigger. This where I decided to abandon the MKultra plate foam in favor using sorbothane struts. I apologize i didn’t take pics of that part of the process, I was pretty frustrated with myself & the process at this point. @donpark wrote a great guide on how to do the [sorbothane strut mod(Sorbothane Struts mod) if you are curious as to how to do it.
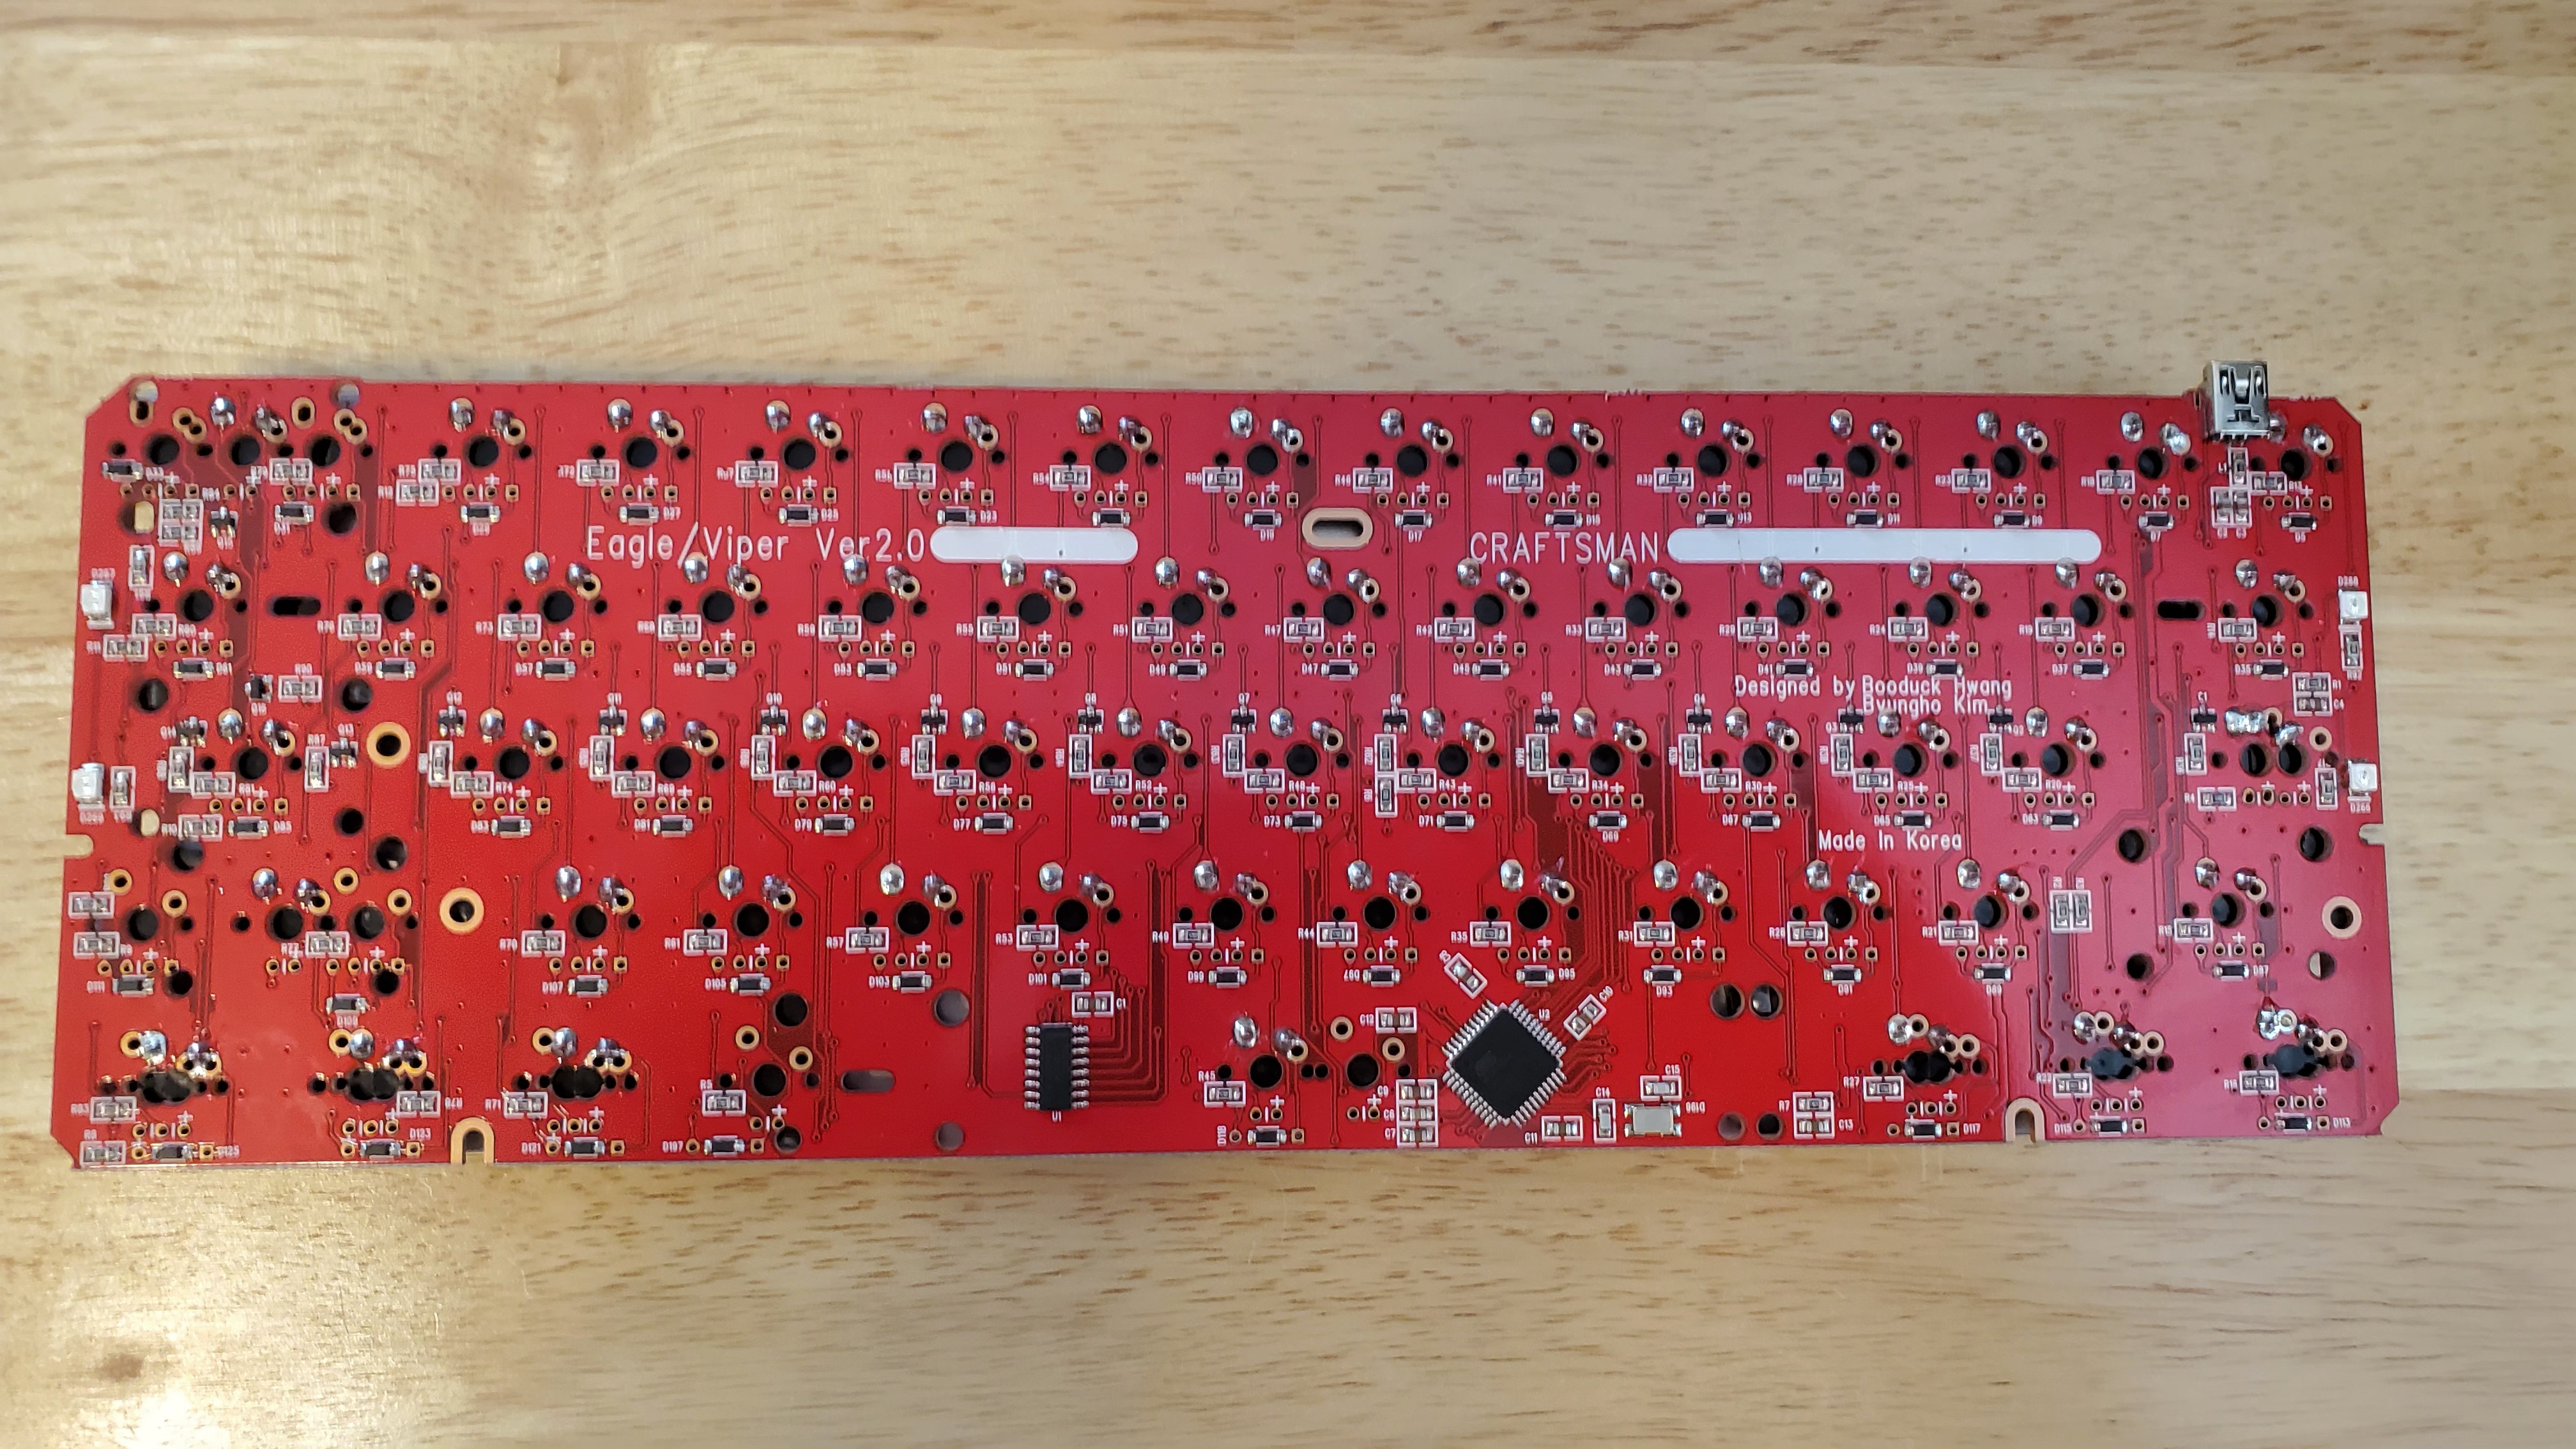
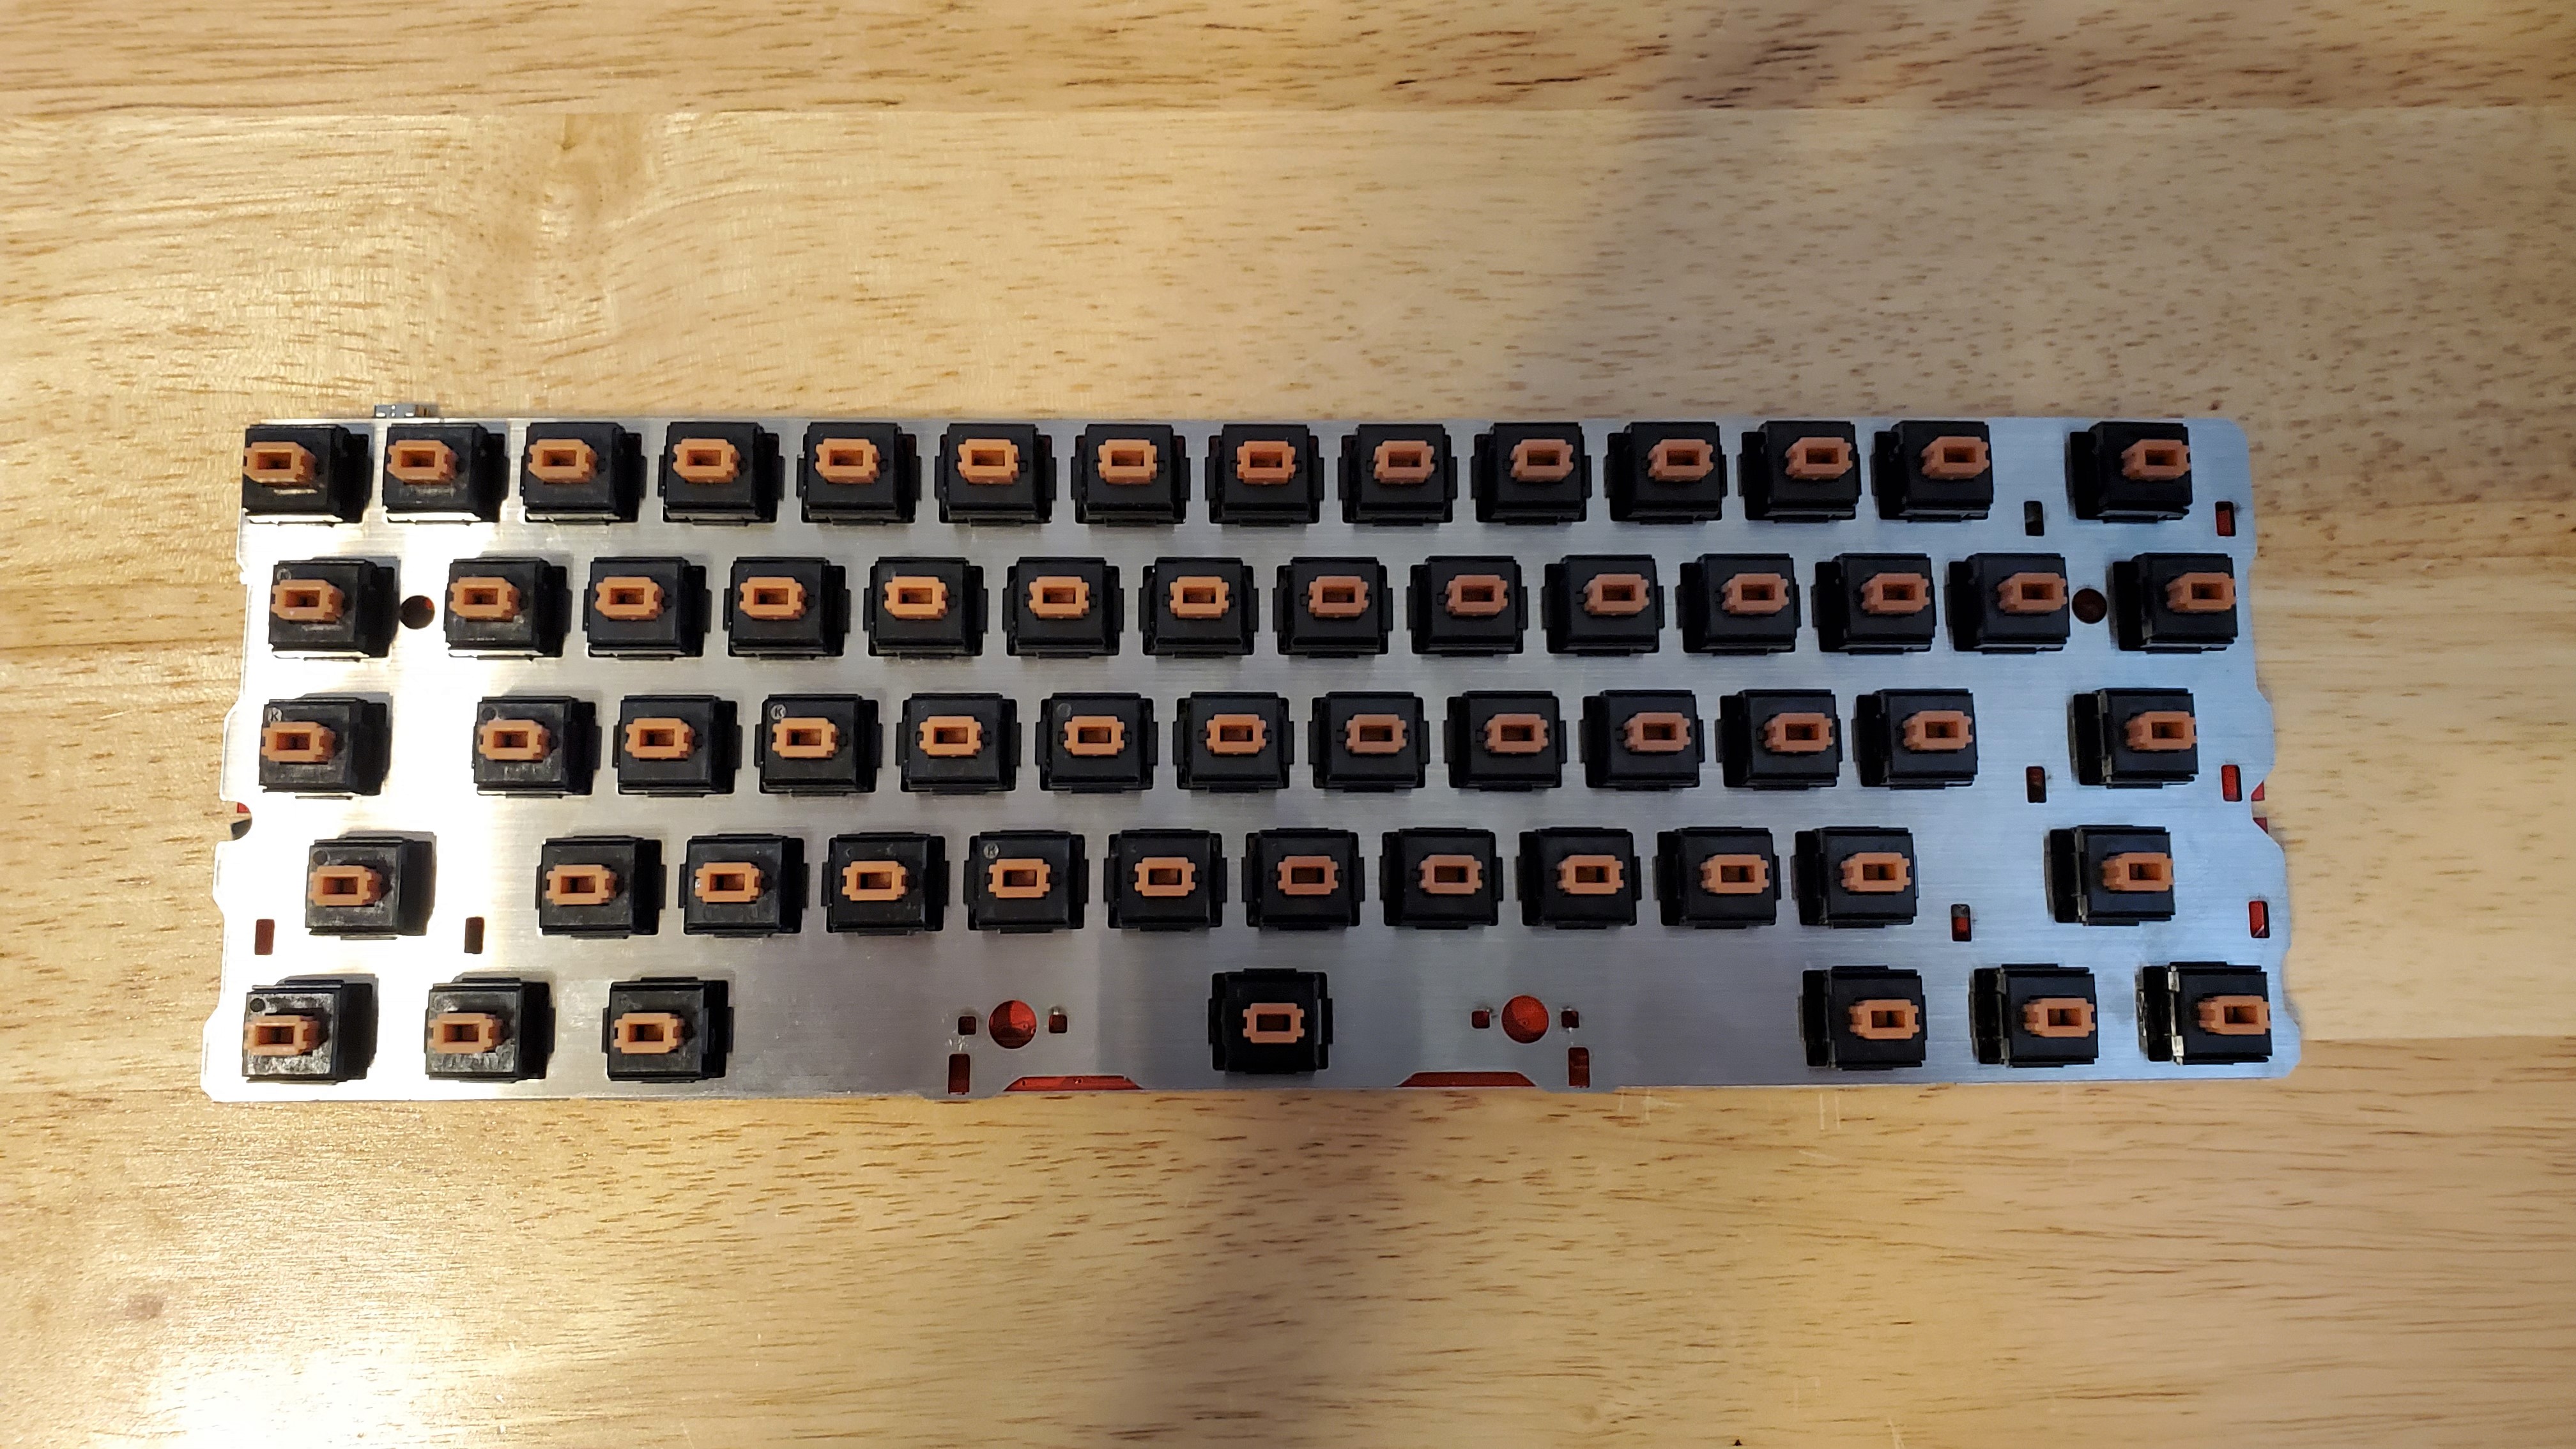
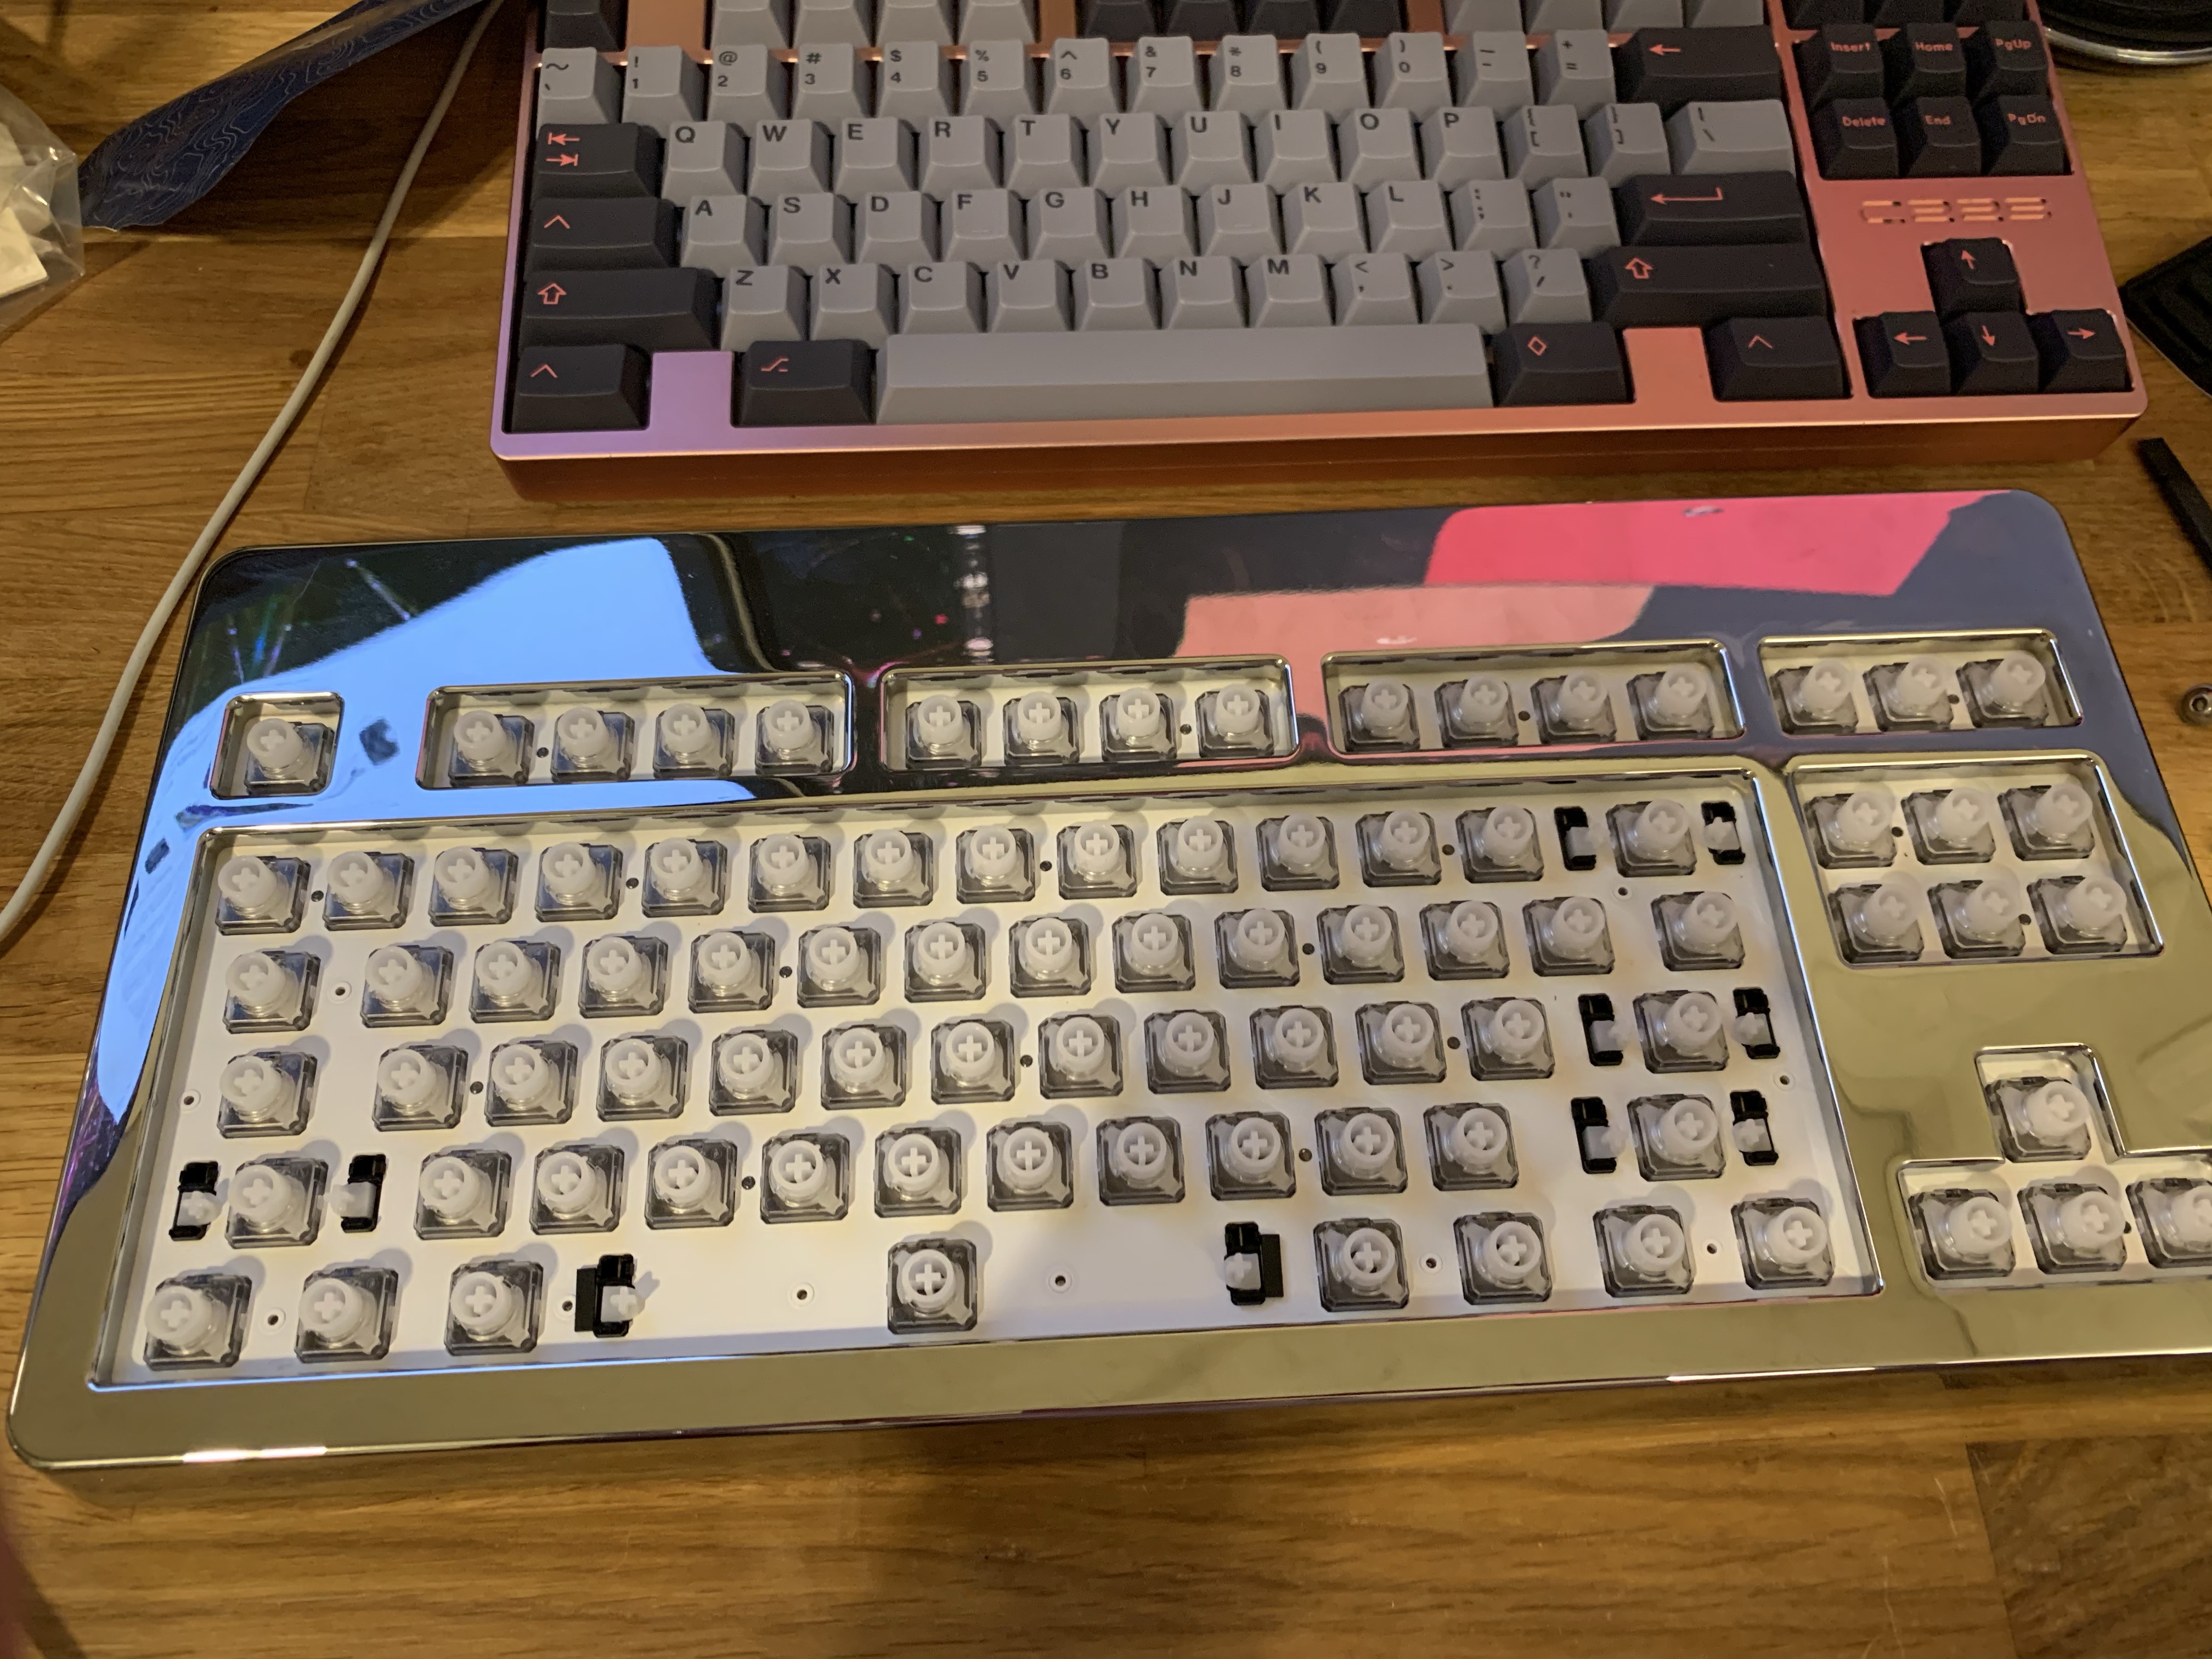
So with the plate/PCB sound dampening situation all figured out & taken care I got to soldering. Here is the build all soldered together. There was nothing to much special or challenging about this build, just straight forward through hole soldering.
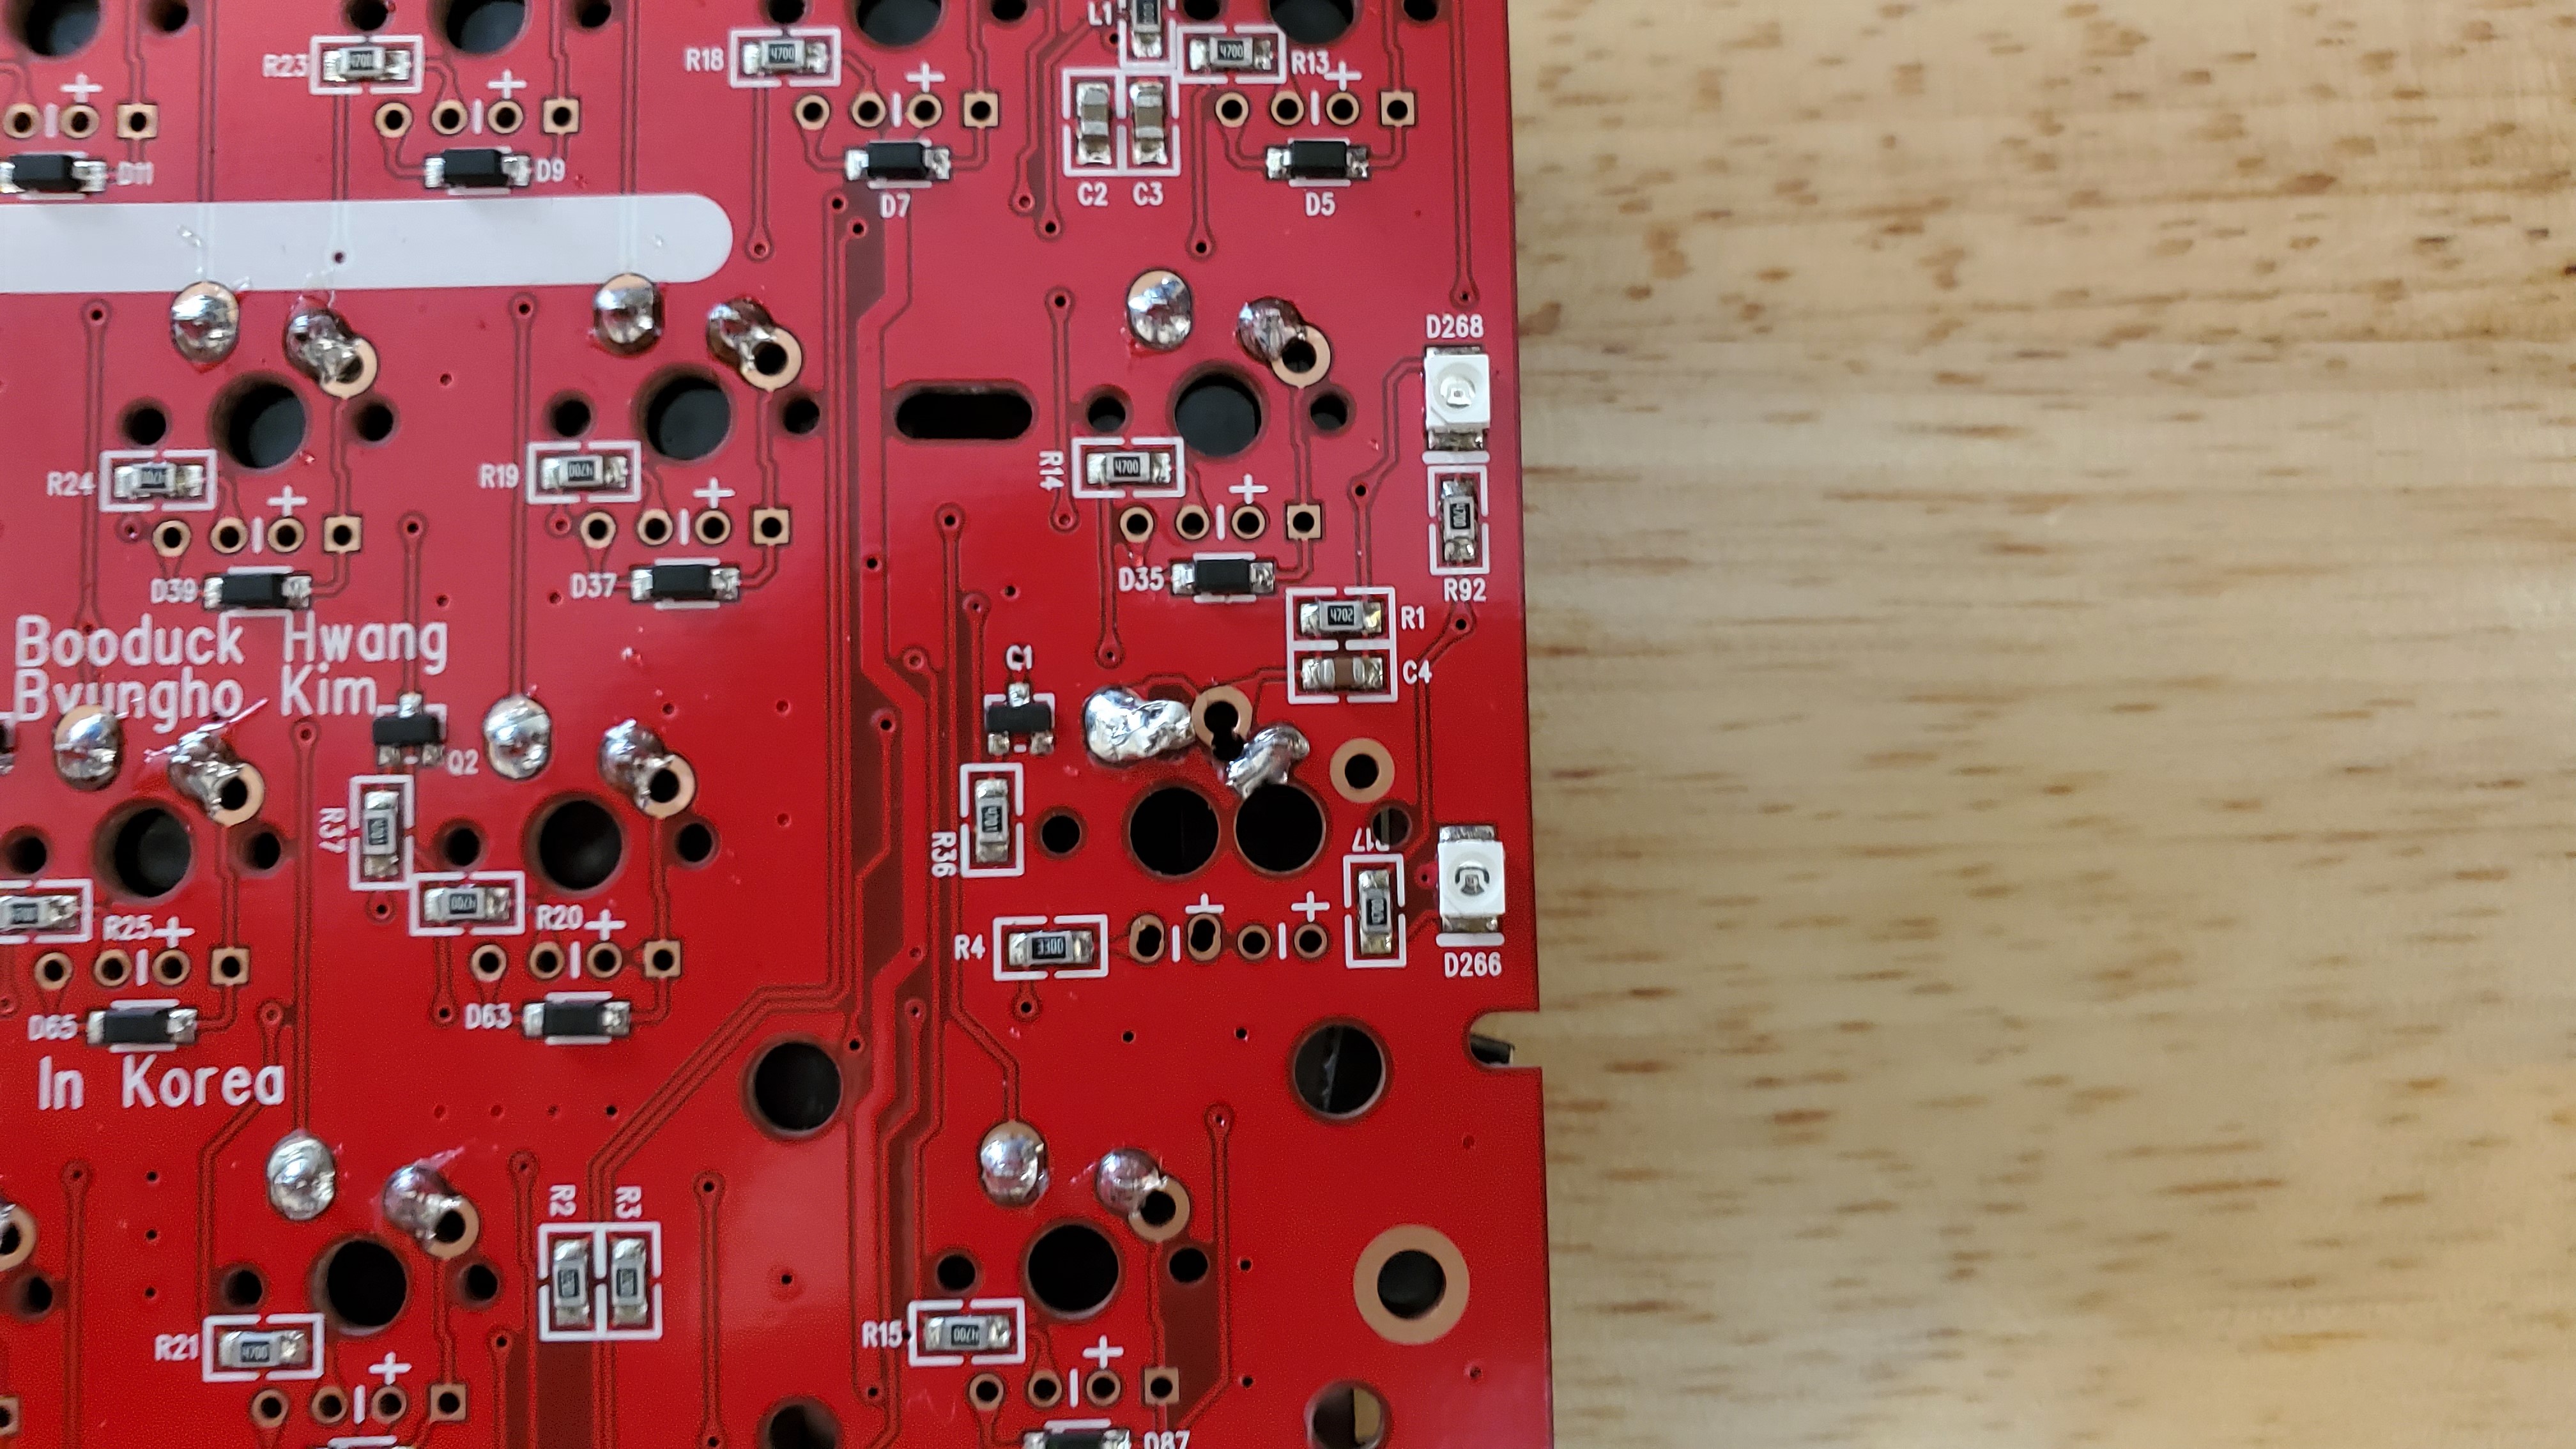
The one caveat to my above statement is the caps lock placement. Like I mentioned before the placement for the caps lock switch is pretty unique with the SGI AT101 set I am using. It’s basically centered in between the placement of a step caps & regular caps footprint. So on the PCB what they did was just drill out left side pin hole that don’t match up to stepped or regular placement. It did not have a copper pad for it so I had to take some fine wire & wrap it around that pin to make it wide enough that I could bridge a solder joint between that & the copper pad for regular caps placement. Kinda odd that’s how they chose to do it, I guess they want to bend the pin over. I did not do that though in case i need to desolder that switch in the future.
All soldered up & ready for stabilizers!
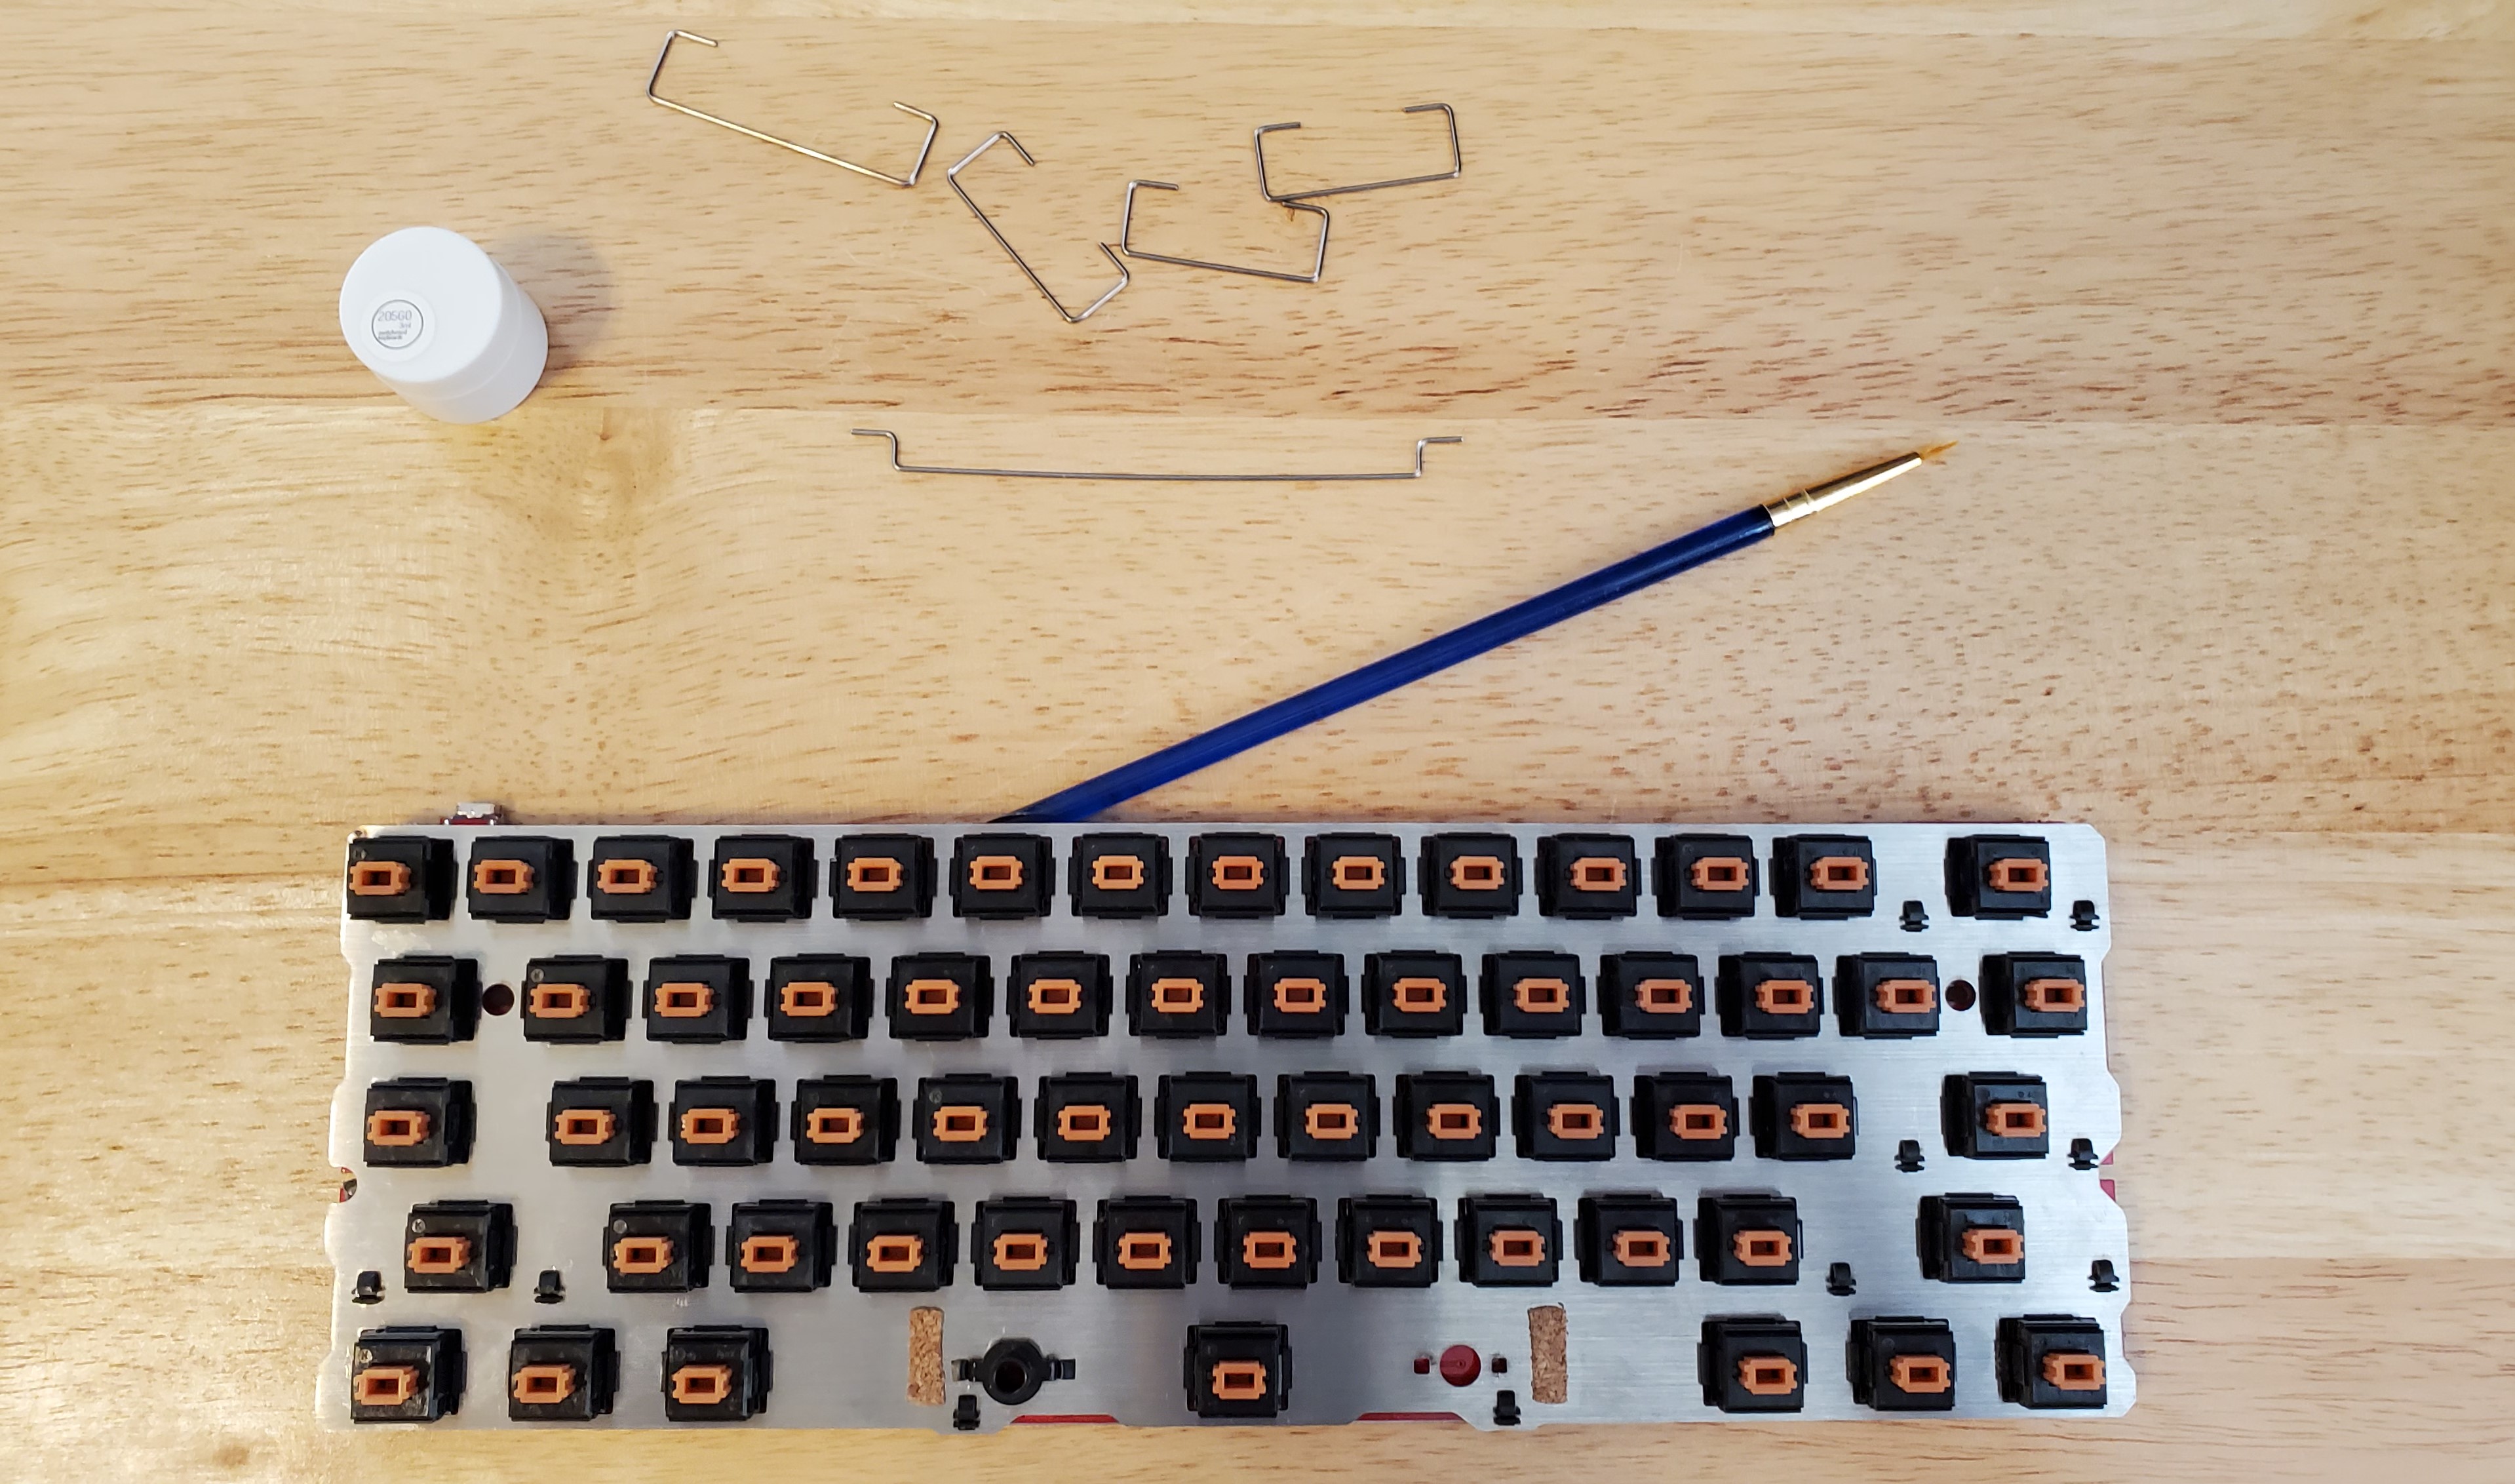
Clips & spacebar barrel installed & lubed. I recommend installing these & lubing them before you install the PCB/plate combo into the case, For lube I use GPL 205G0 on the clips, wires, & wire guides in the keycaps.
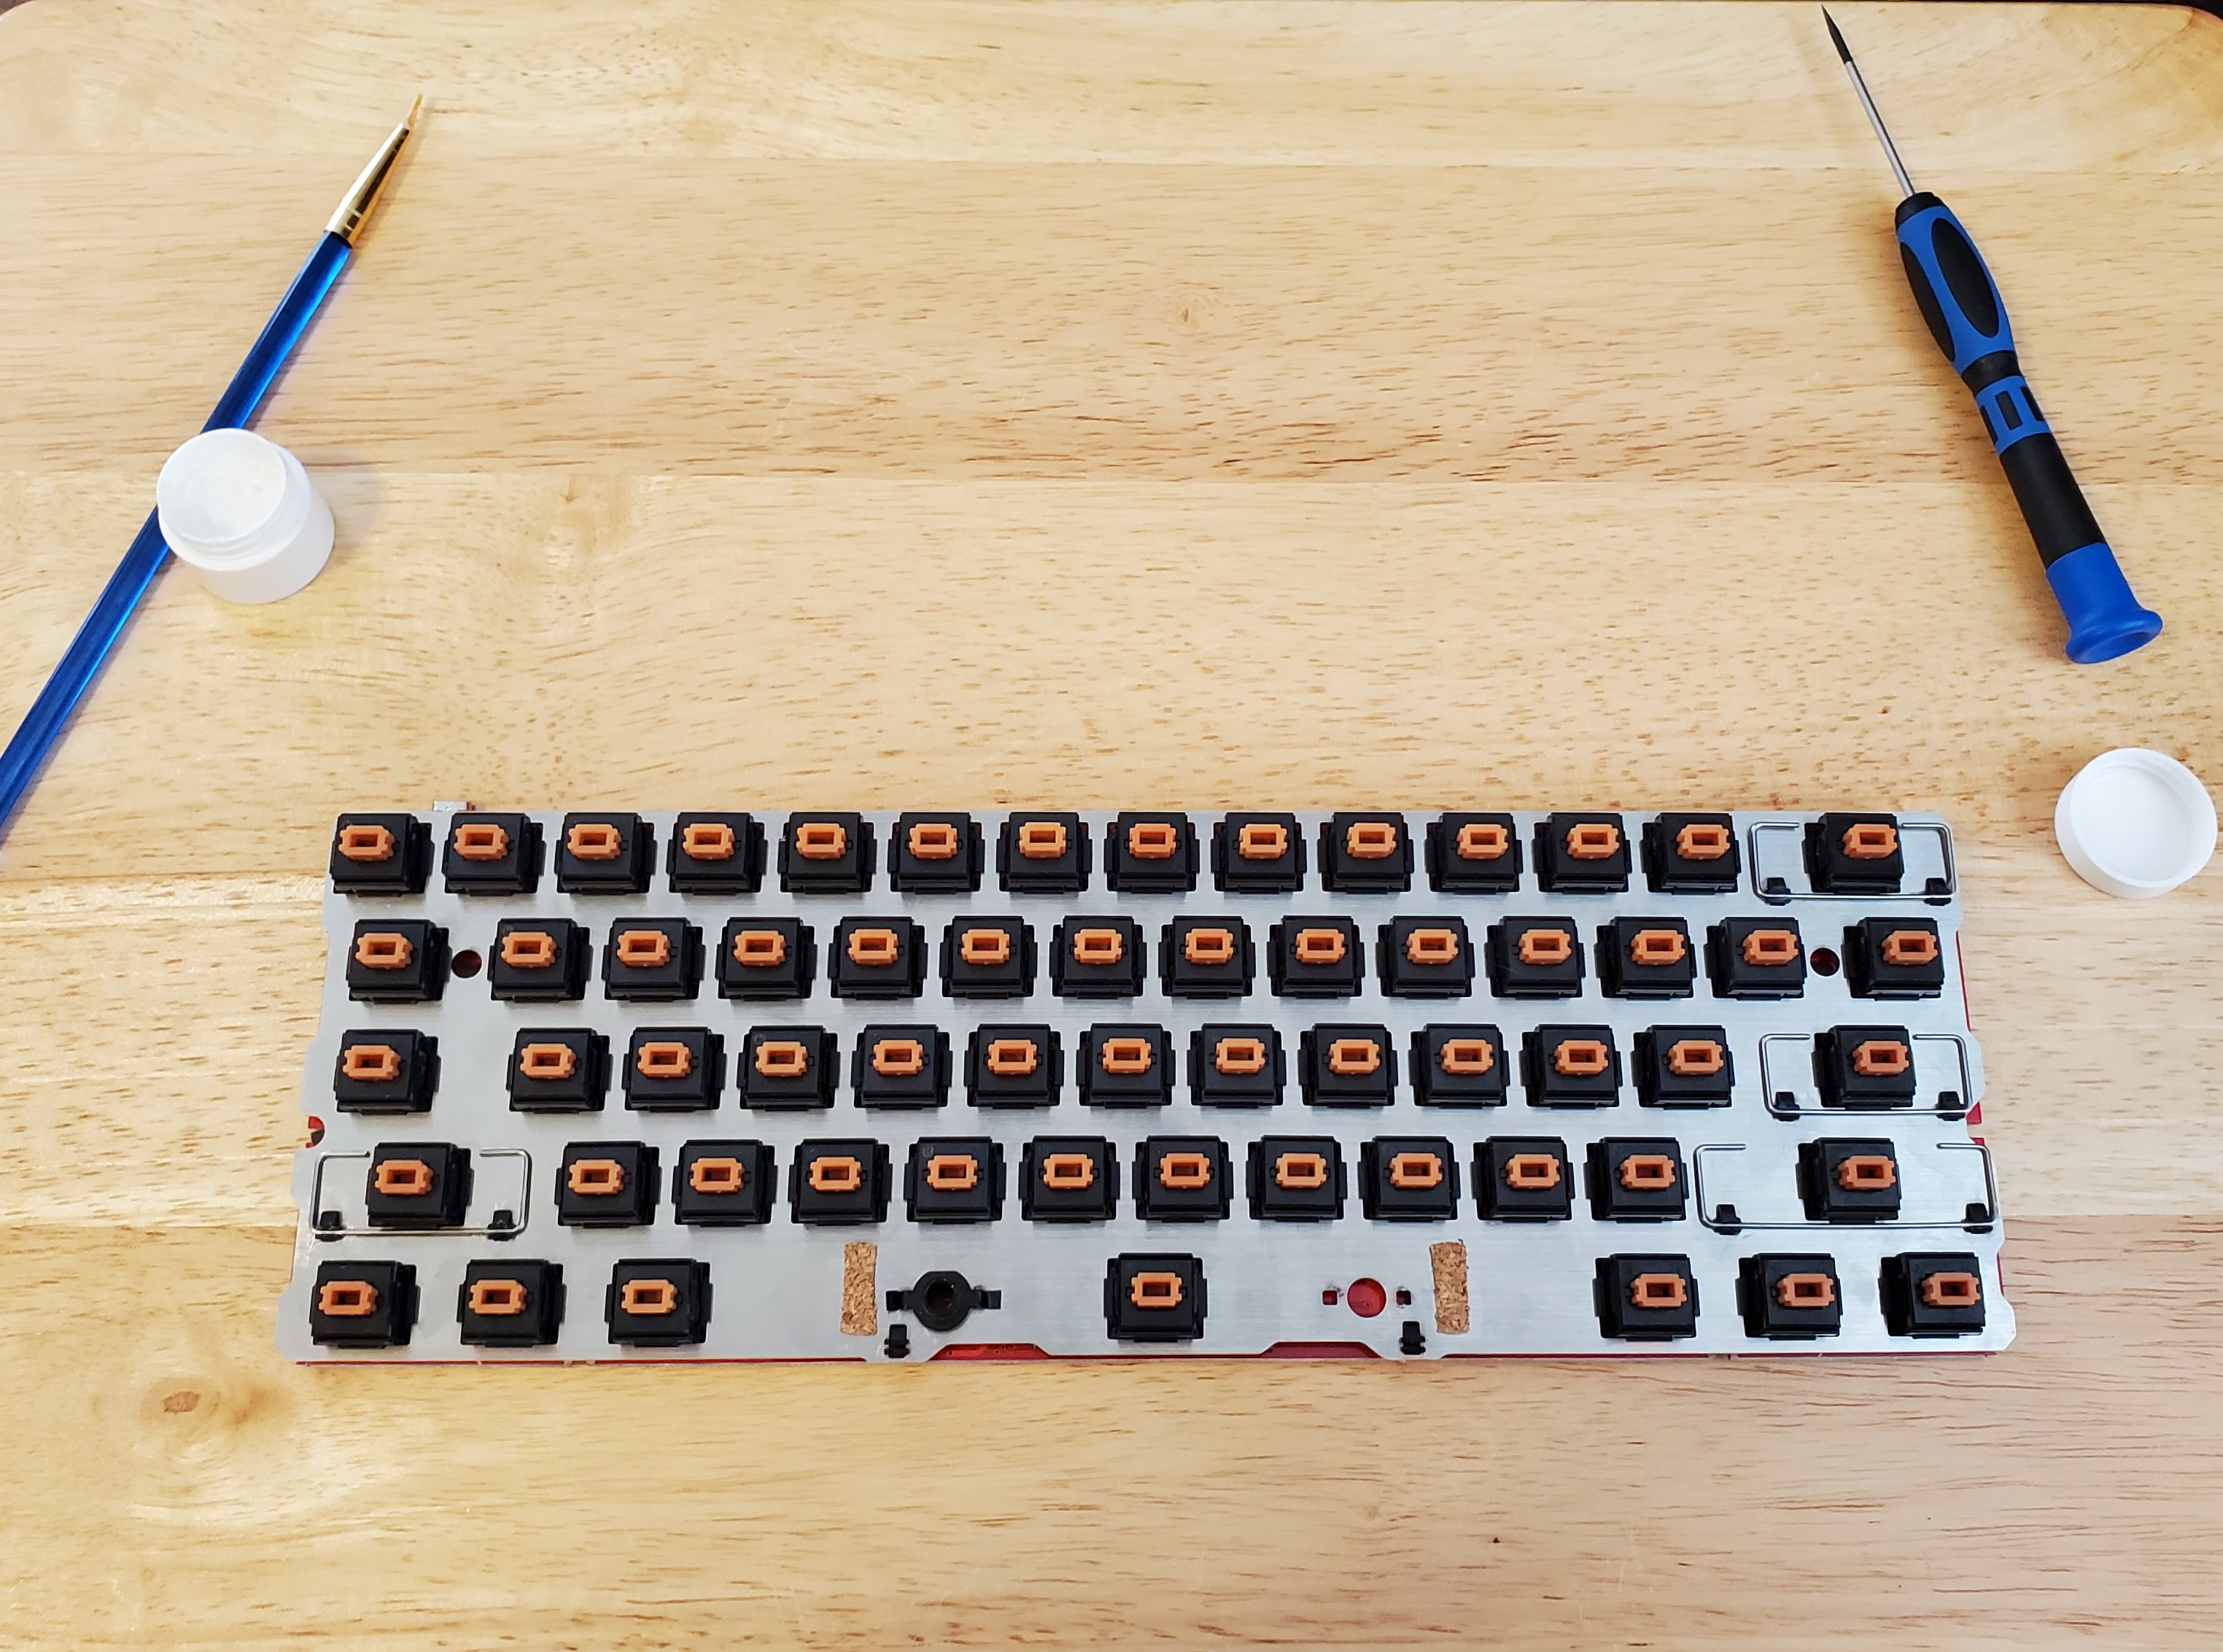
Wires installed, note that you do not want to install the space bar wire just yet to make your life easier installing the spacebar.
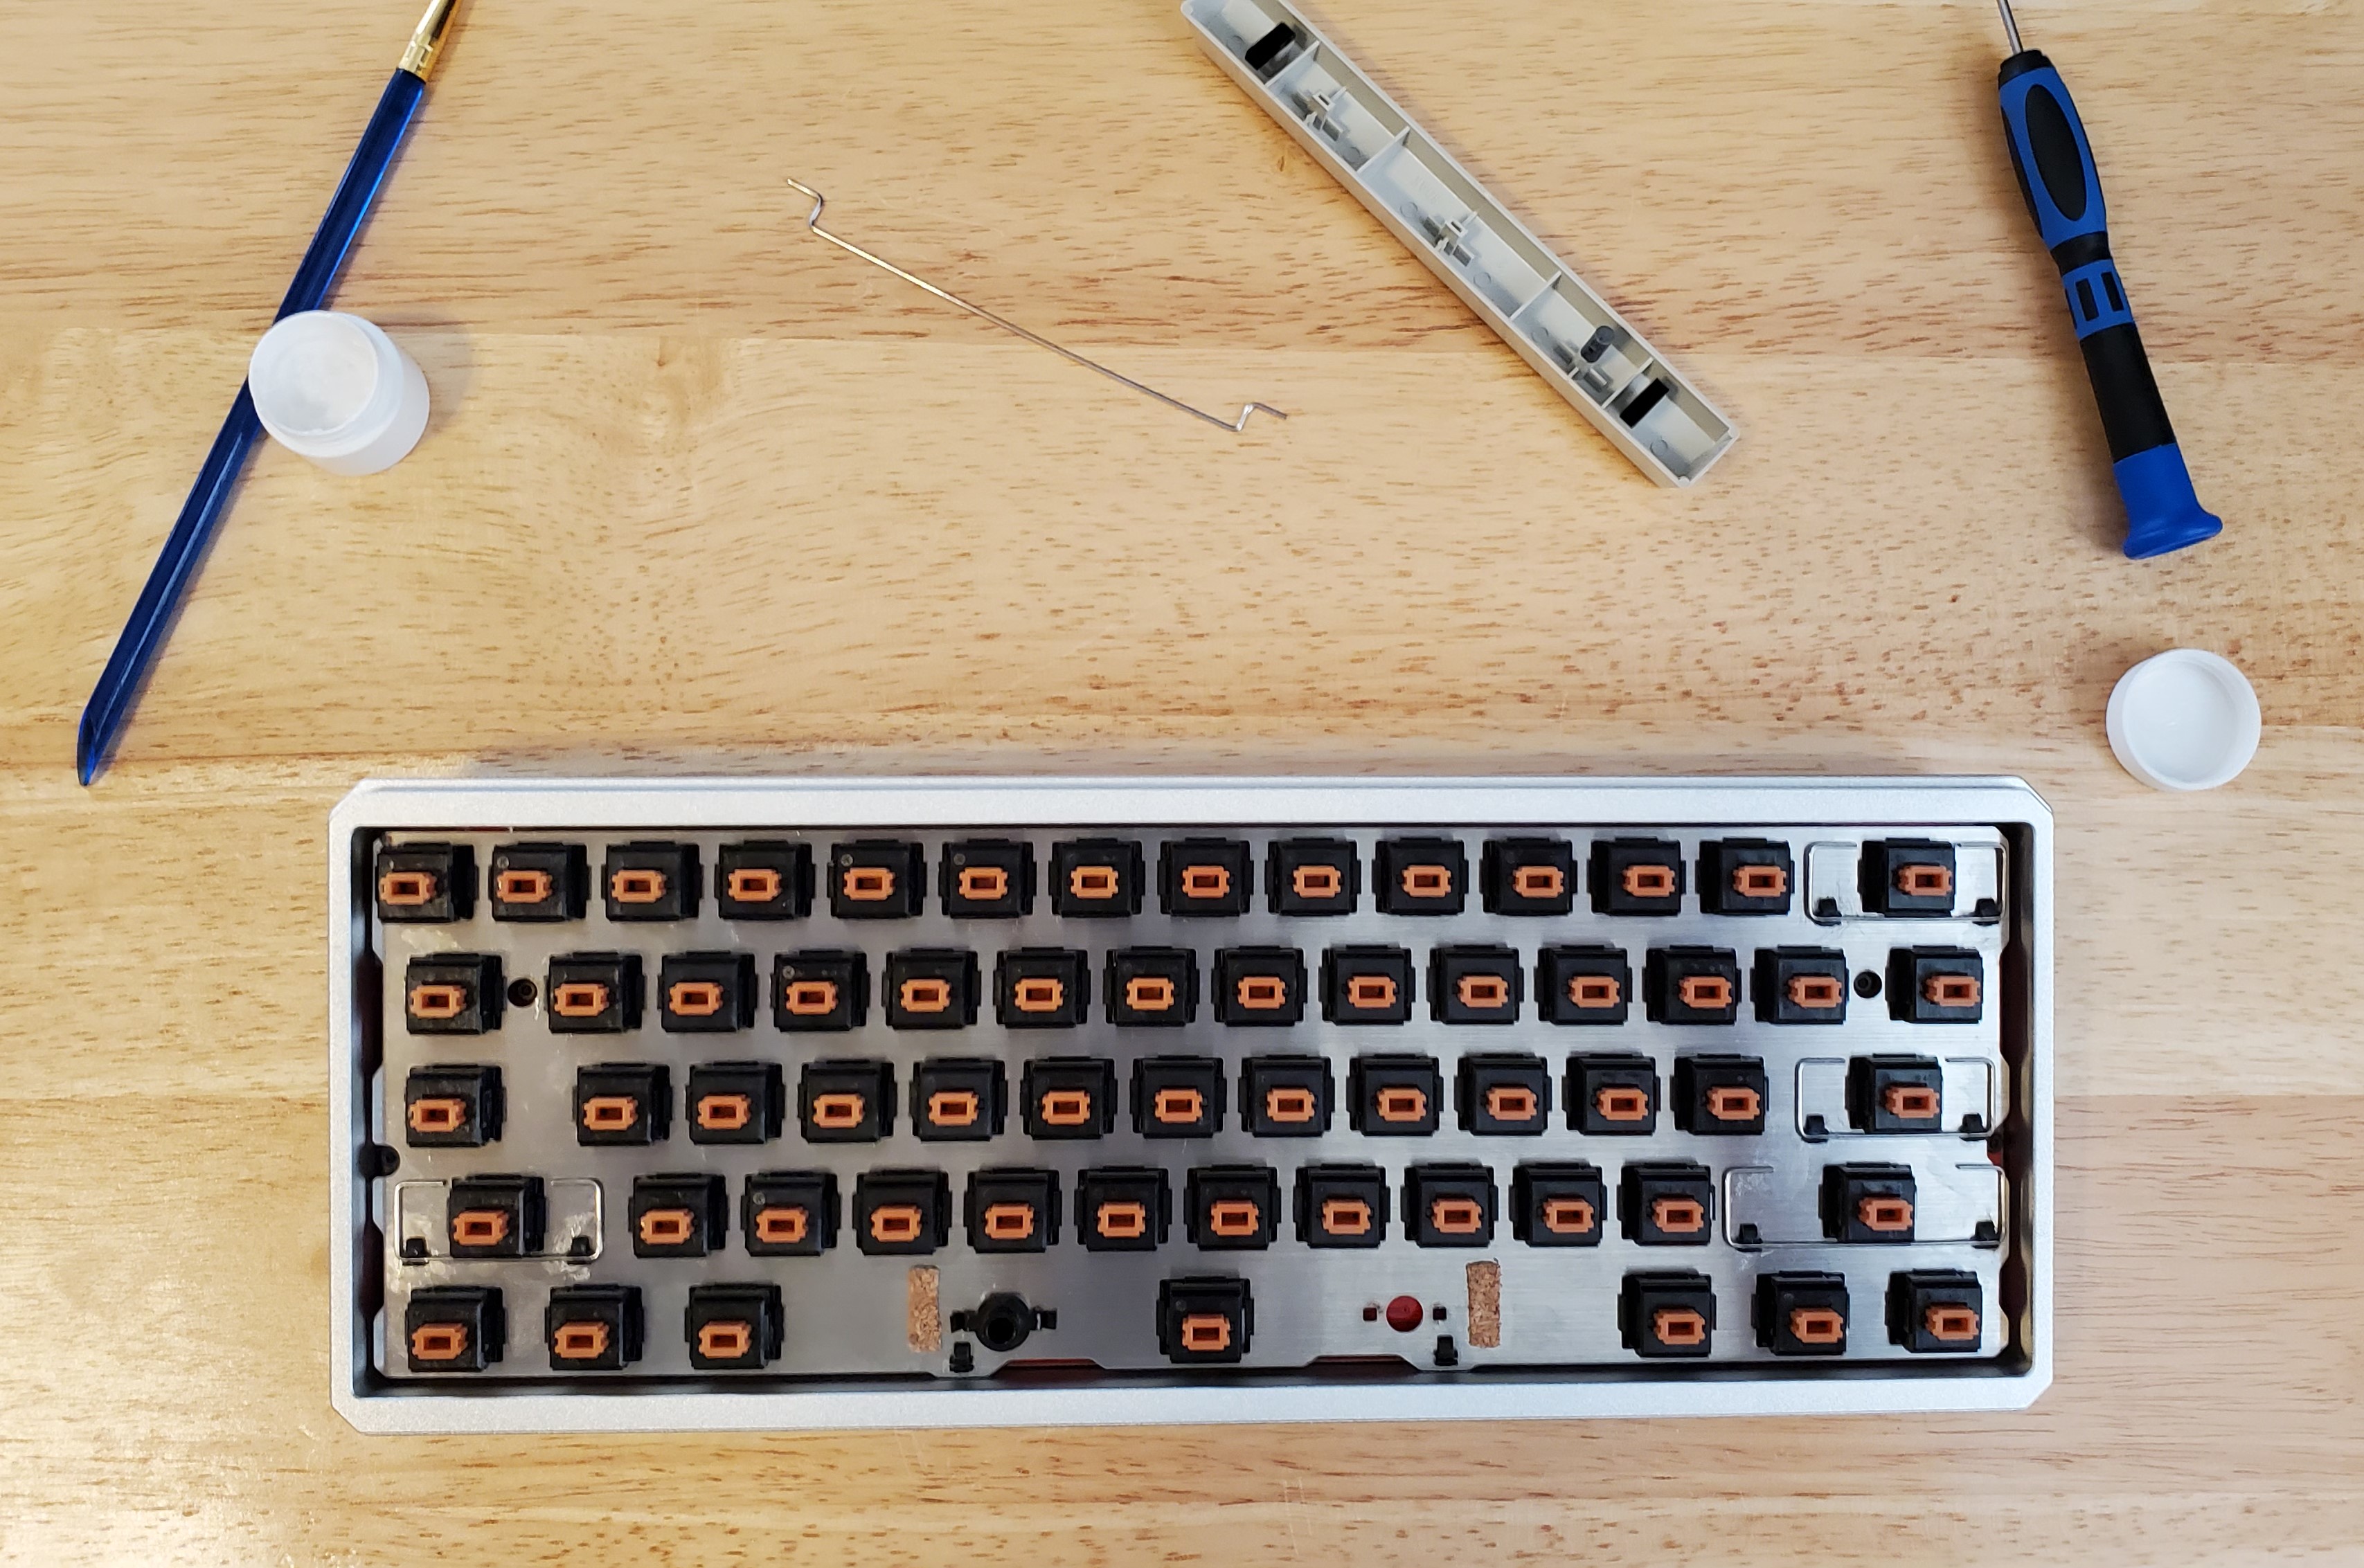
Now that i got all the clips, barrels, & wires (except the spacebar wire) installed it’s time to install the PCB/plate combo into the case
First cap I always put on SKCM/L ALPS builds is the spacebar so I have room to work & see what I’m doing. Remember how I said to not install the spacebar wire earlier, it was because it is easiest to install it at this step. I tried to take pics of the spacebar installation, but you really can’t see what I would want you to in them, So I’ll just describe the process. You want to lube the wire guides on the spacebar, install the wire onto the spacebar, then while making sure the wire stays in the guides on the cap & in front of the switch put the cap onto the switch (this will allow you to drop it straight down & get the plug into the barrel guide as well as the stem into the switch). After you’ve done that & made sure the wire is still in the guides on the cap & in front of the switch, take a small flathead screwdriver, slip it in front of the spacebar, use it to place the wire over the clip, then use it to push the wire into the clip. Repeat on the other side & you’ll have a properly installed spacebar with the plug & guide installed on an SKCM/L ALPS board!
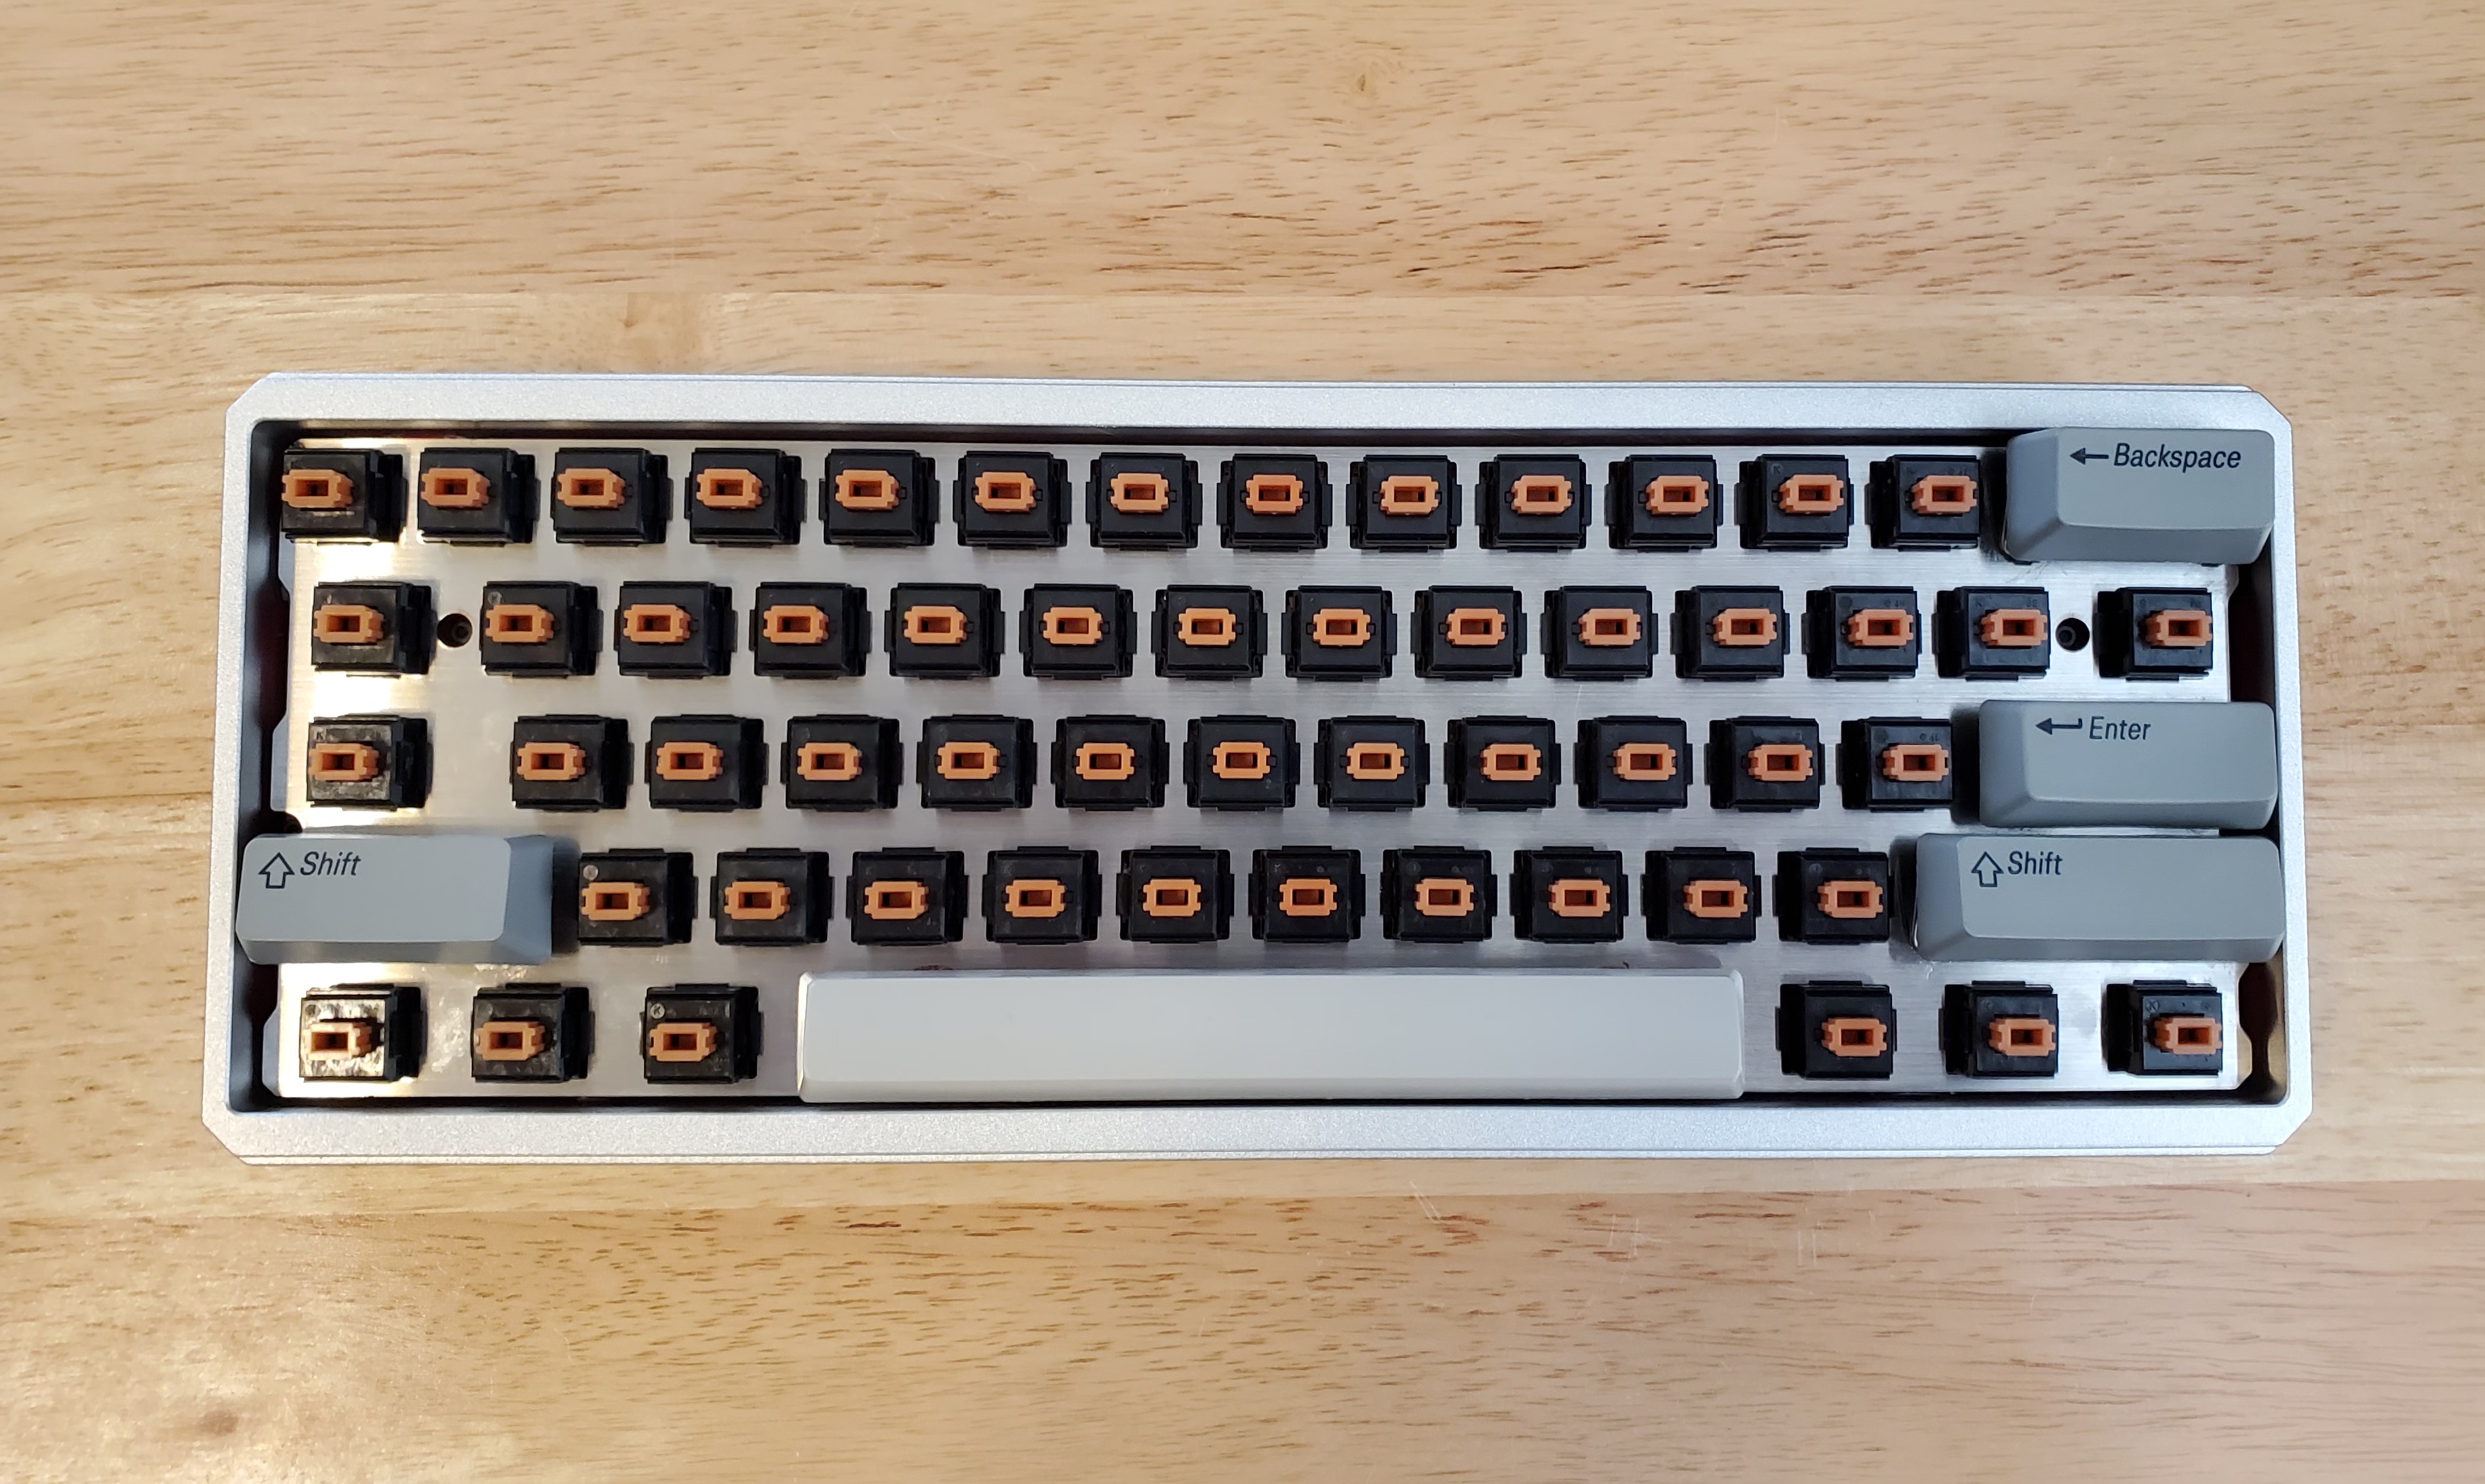
Next you’ll want to install the other stabilized keys, For these it is much easier than the spacebar IME. Lube up the wire guides on the caps, then flip up the wire so the ends are facing up towards you. Take the cap & hook the wire into the wire guides on it, at this point you have the cap attached to wires & sitting above & slightly in front of the switch. From here simply swing the key forward & down onto the switch while keeping the wire in the guides.
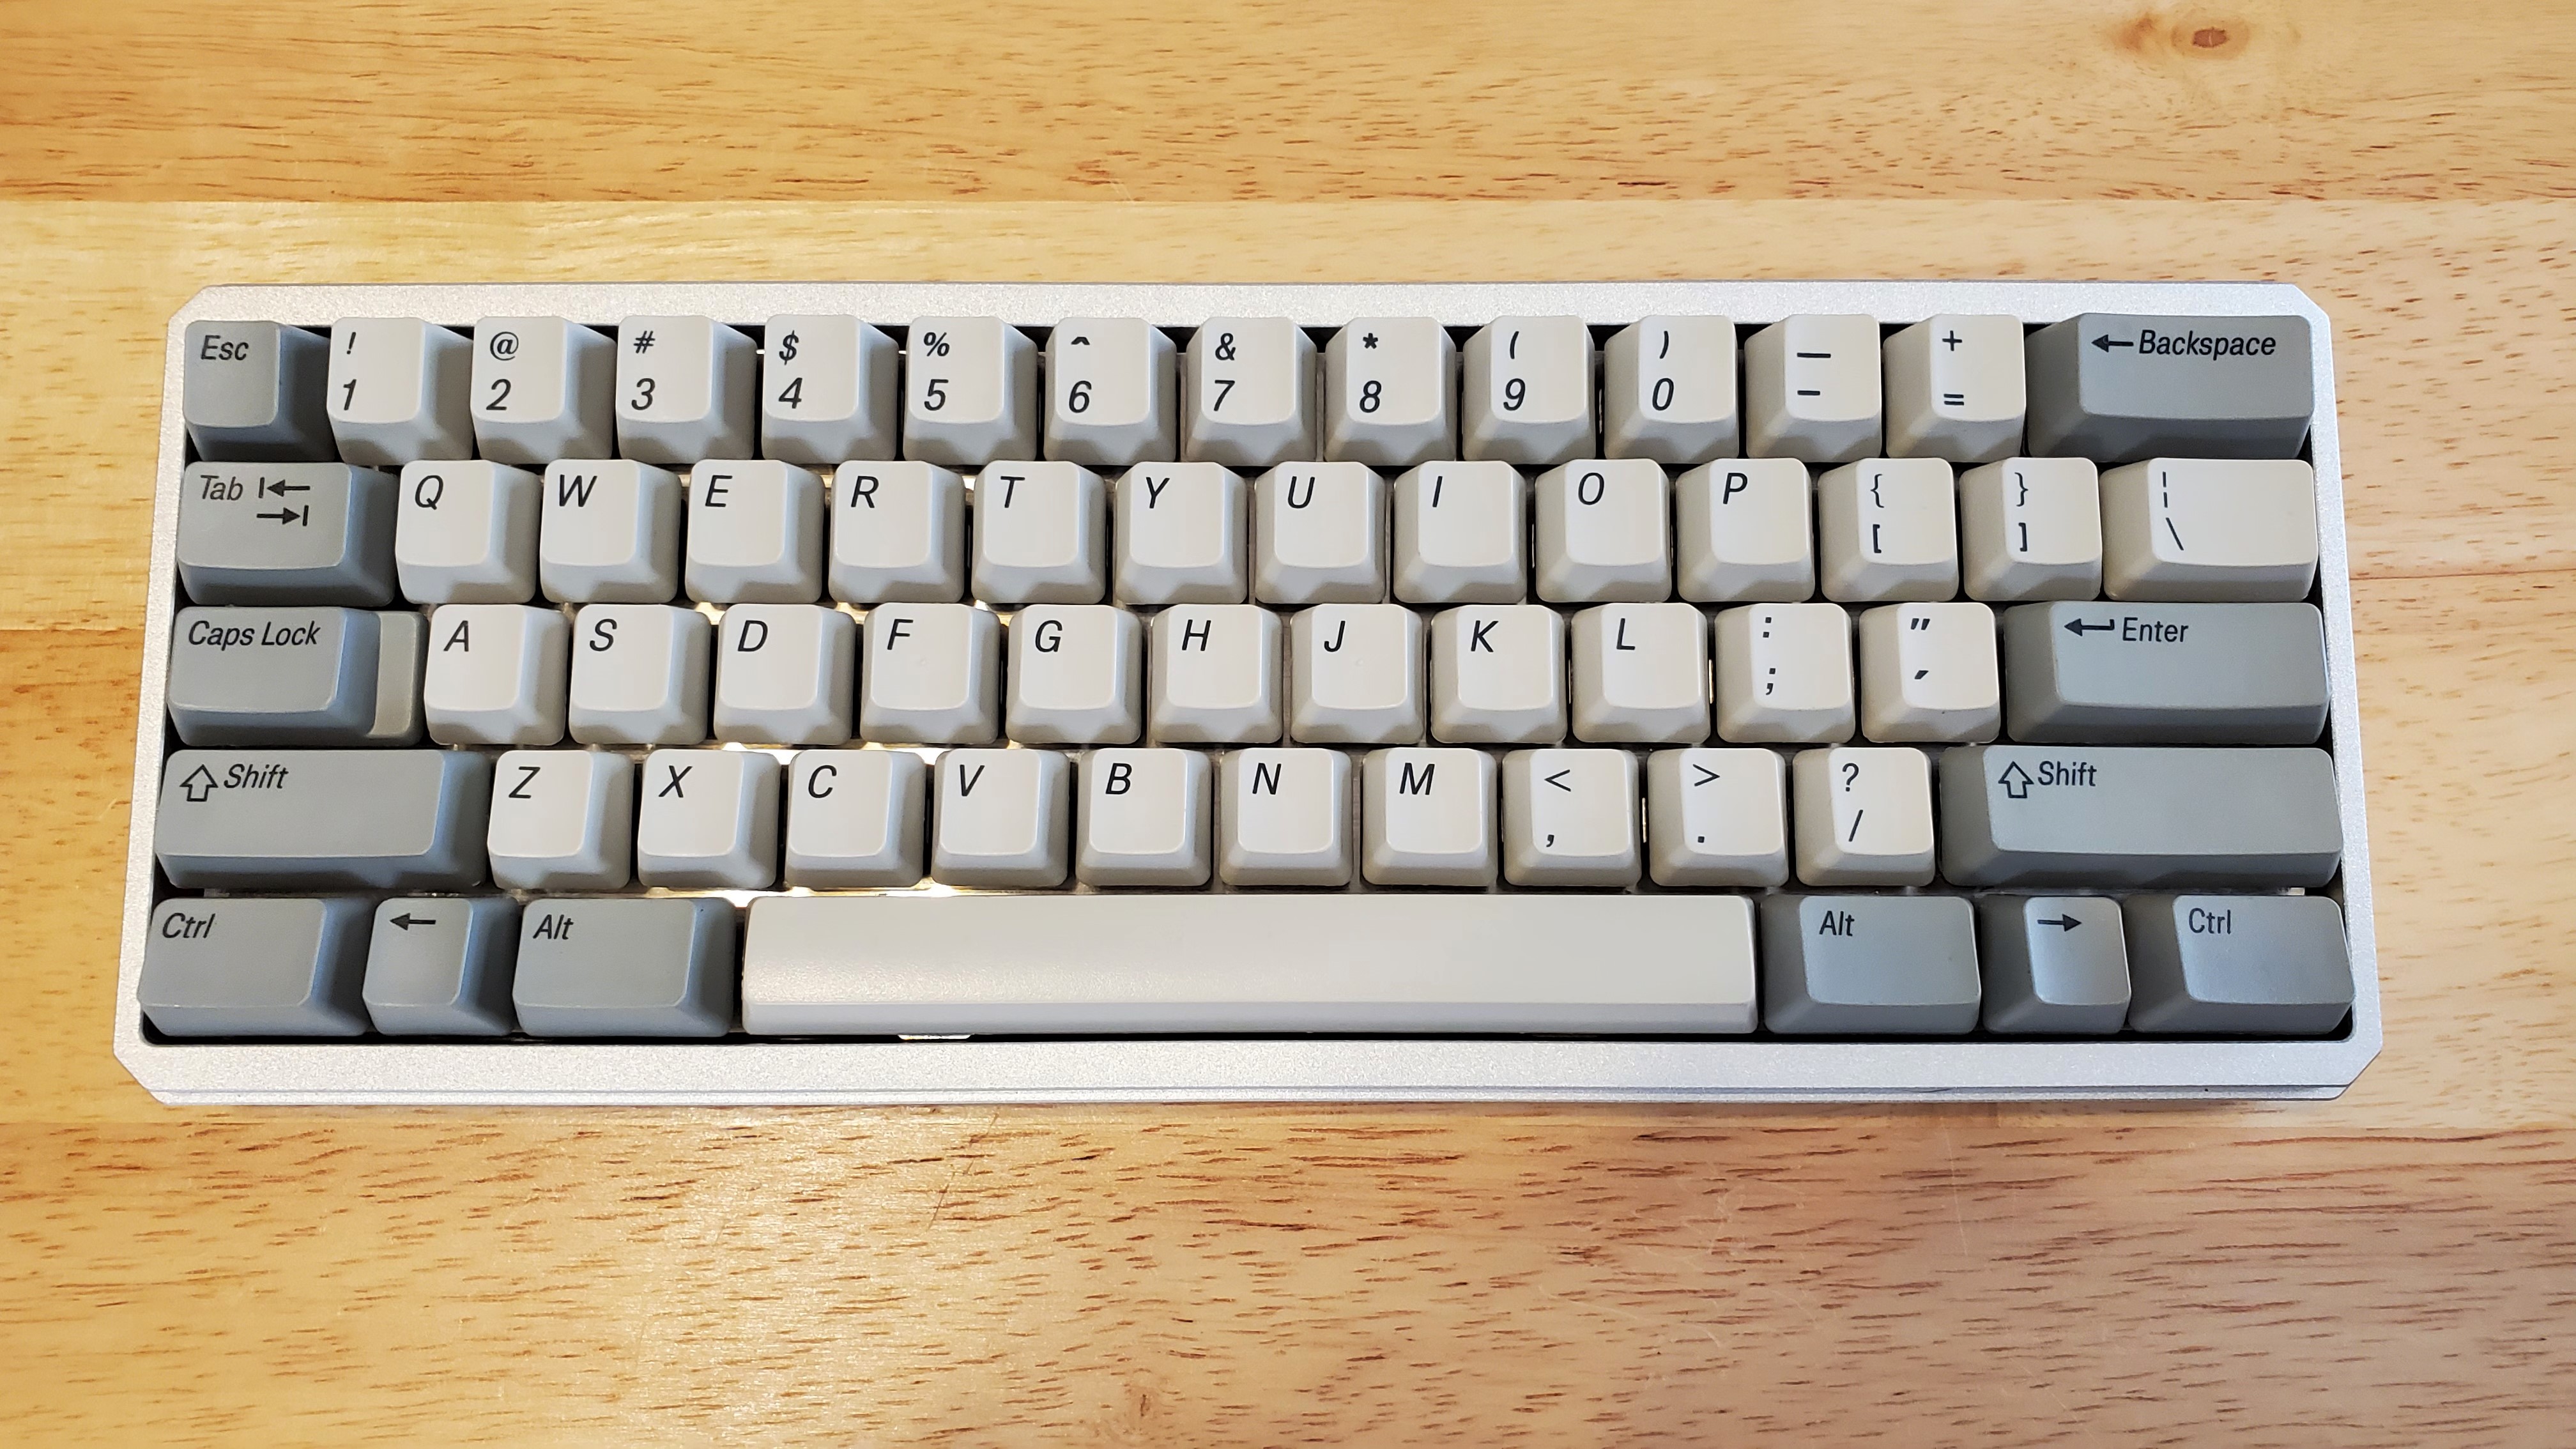
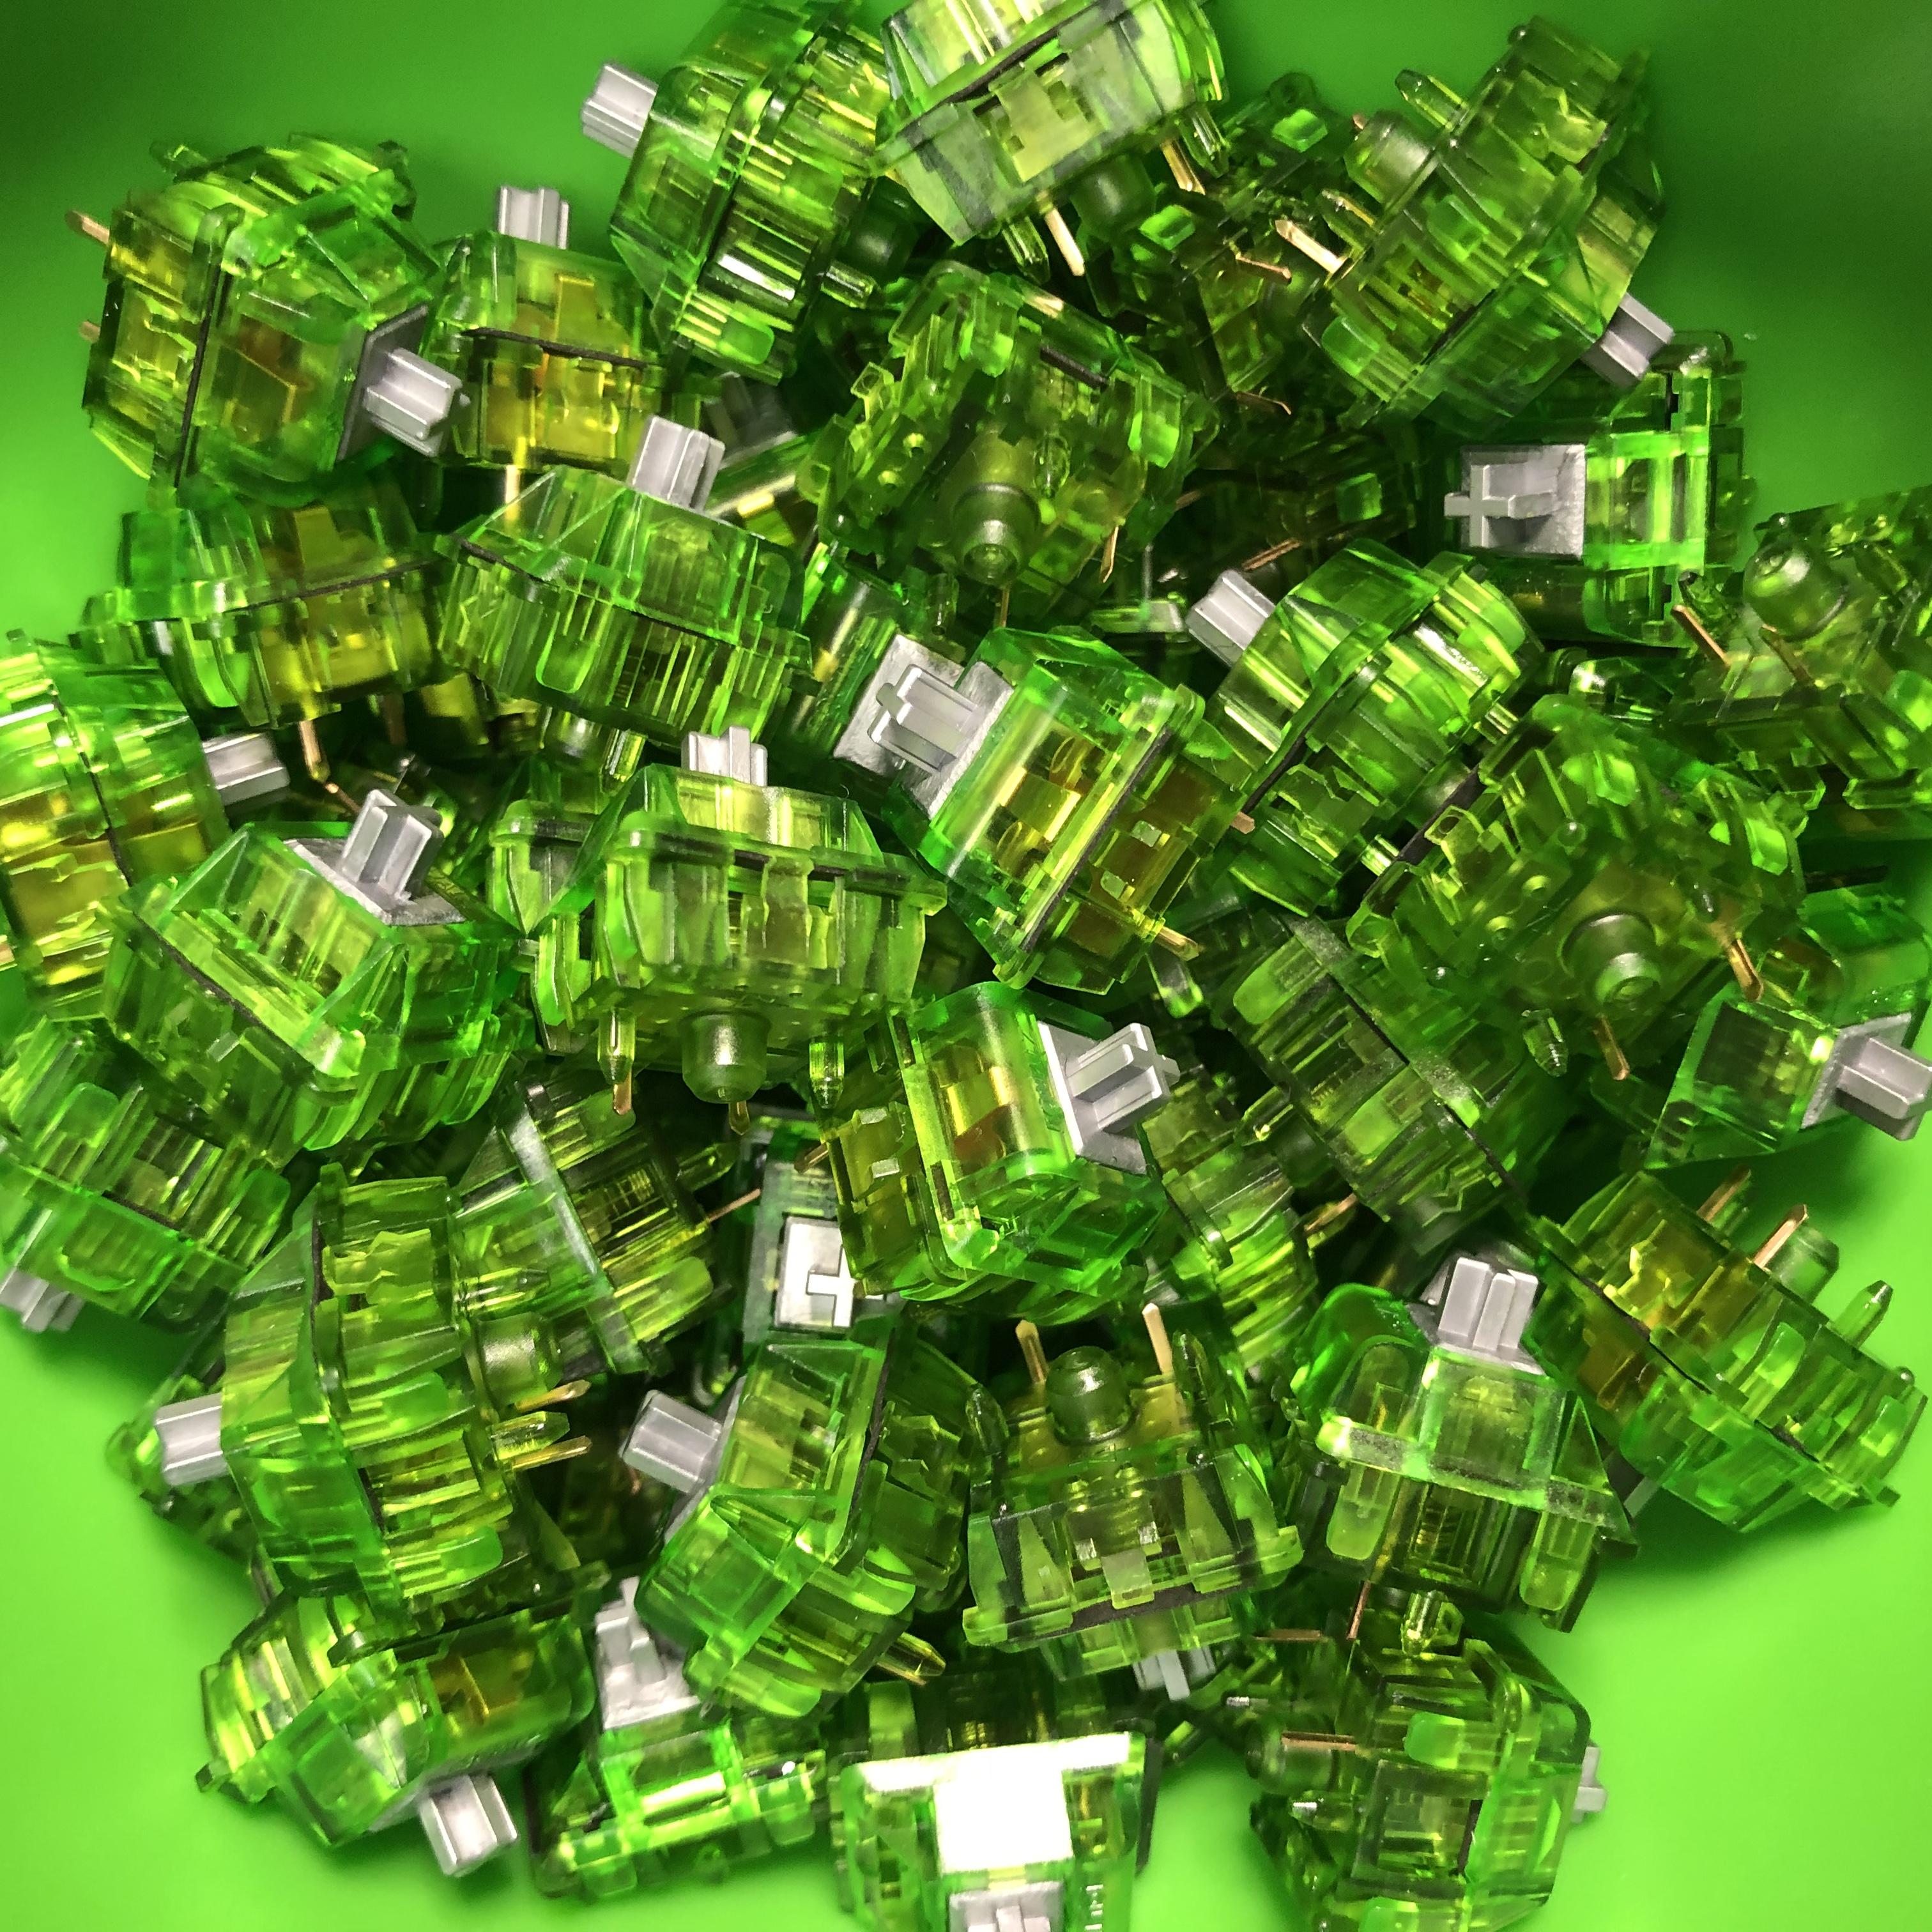
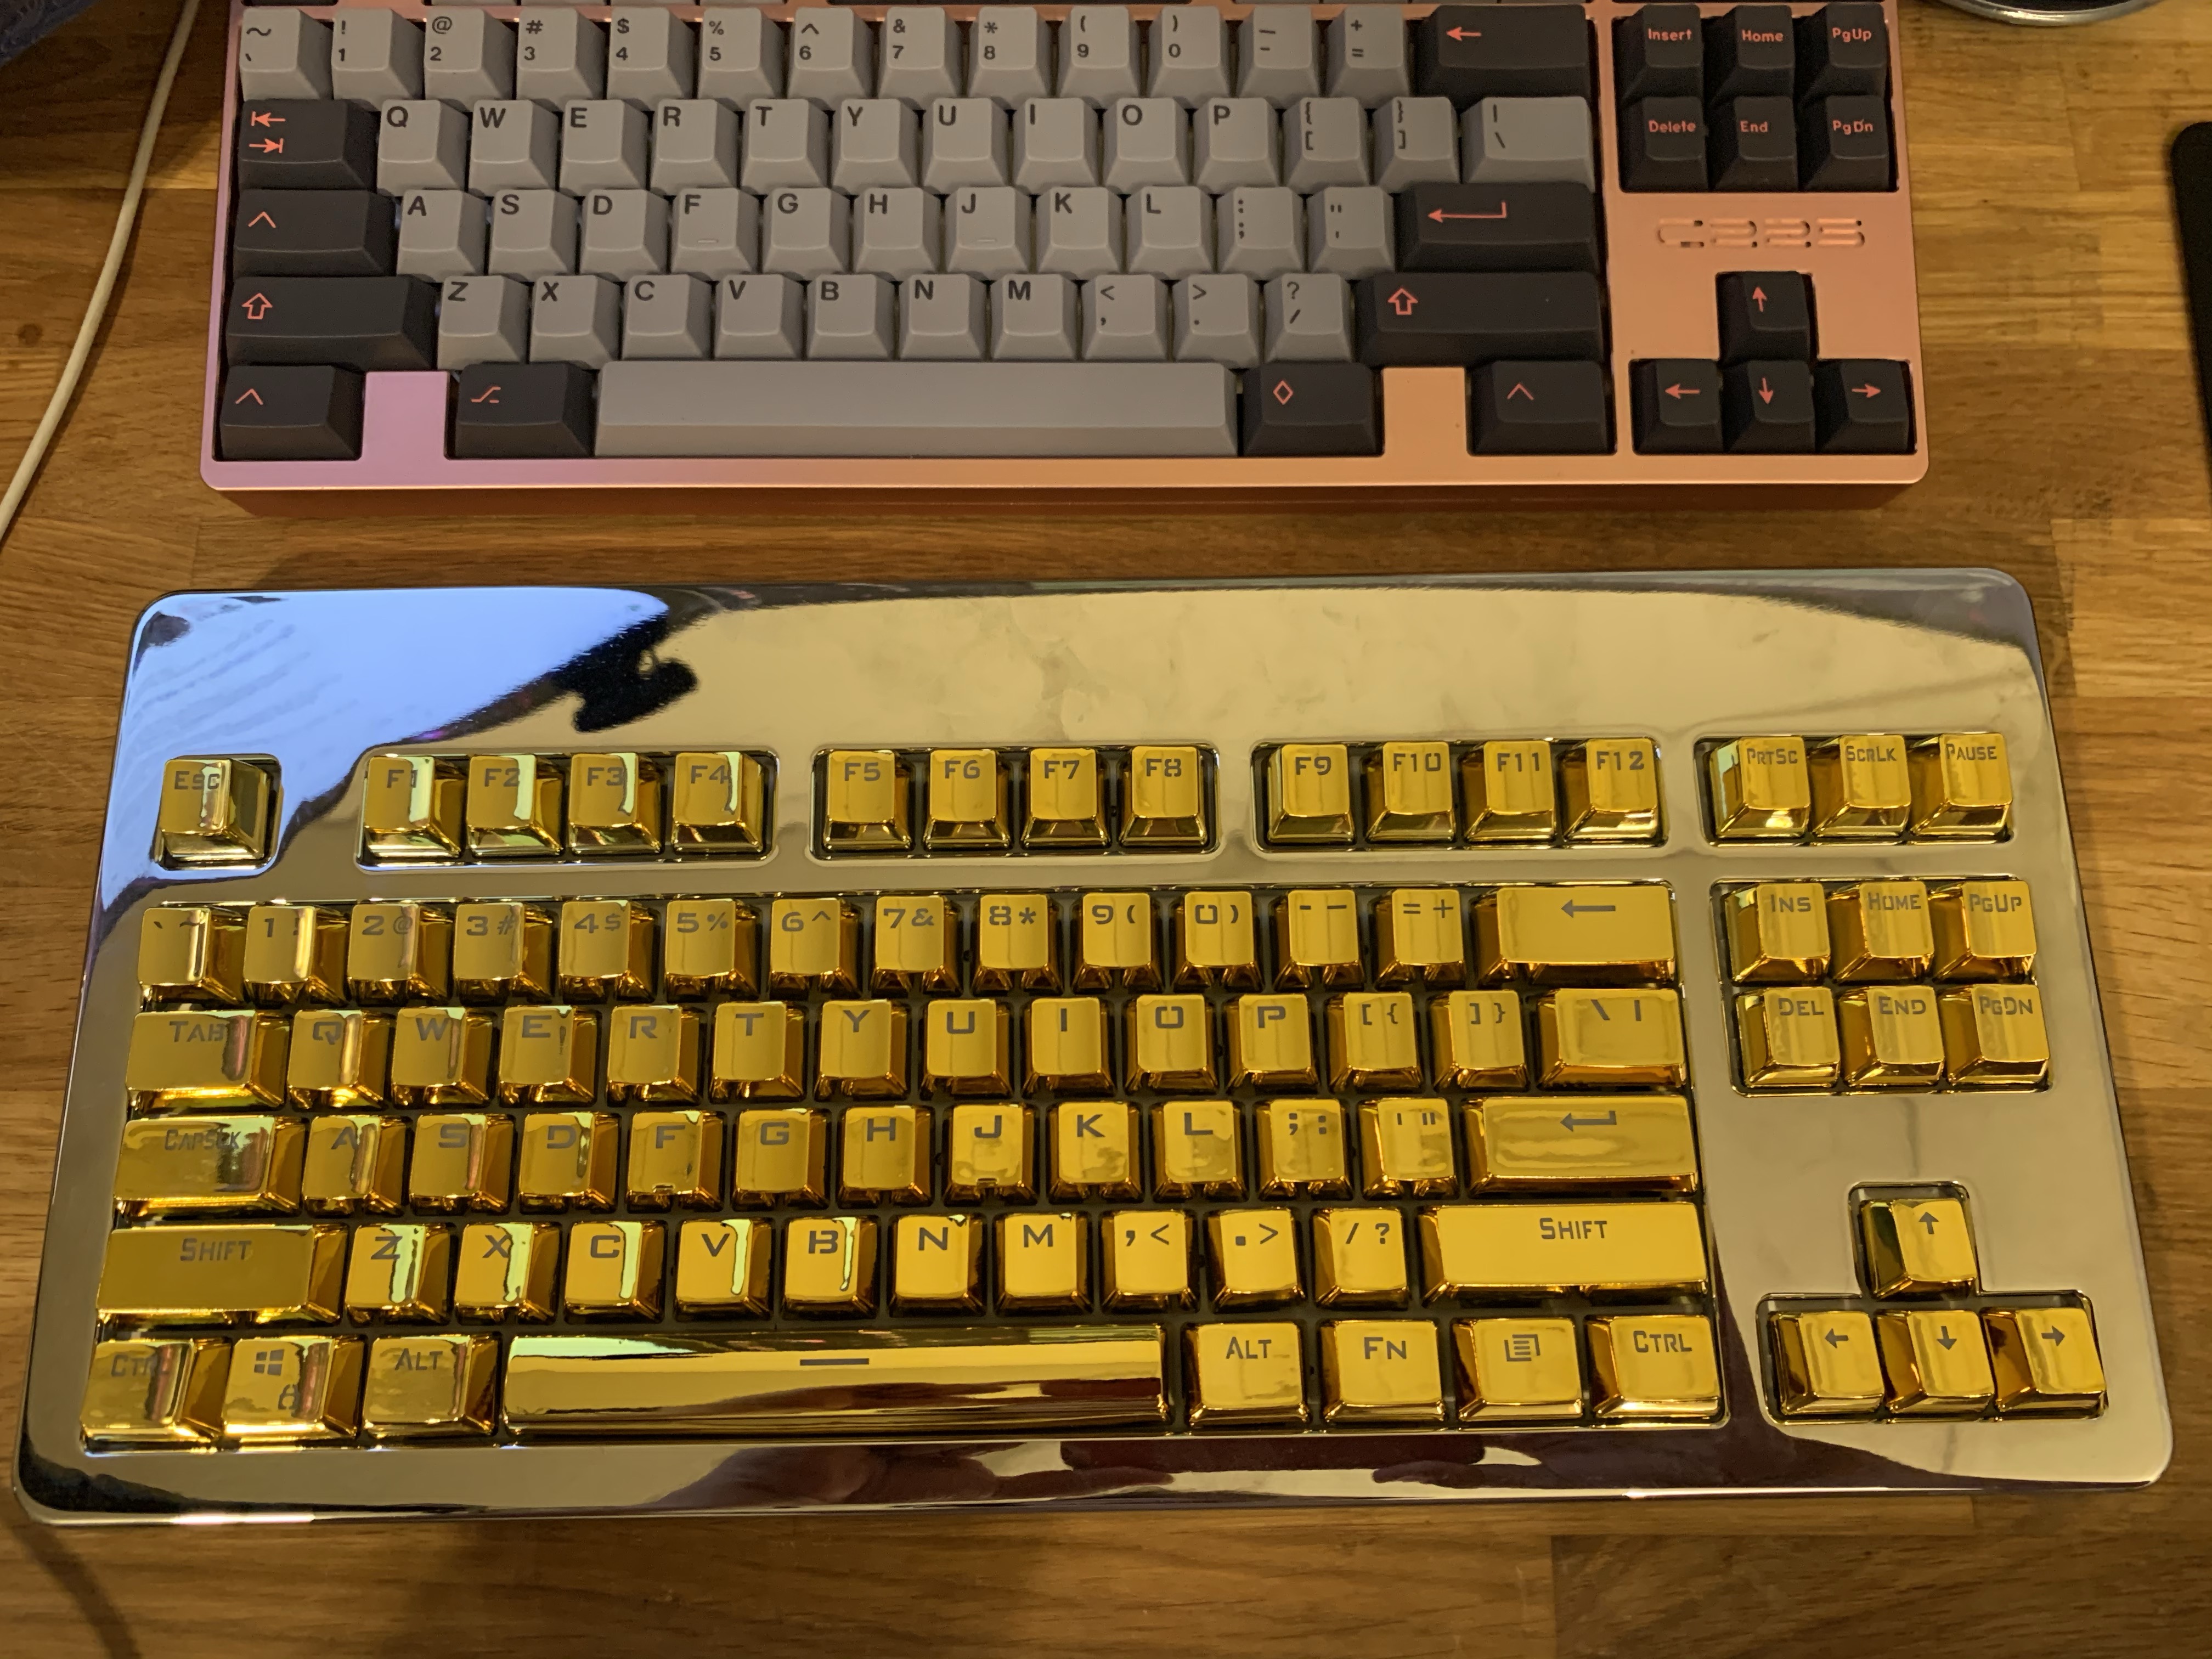
Finished build (for now, got a batch of SKCL Greens coming that will be getting swapped into this so I can turn the oranges tactile again).
So this was pretty straight forward build without many hiccups. The main takeaway I got from this build is you can not use plate foam cut for MX switches with SKCM/L ALPS switches without widening every hole. I still figured it would be worth posting to show a basic custom ALPS build & share my technique to getting the stabilized keys installed on ALPS boards. I’ll have to get a typing test up for this soon, but overall I am very happy with the build.
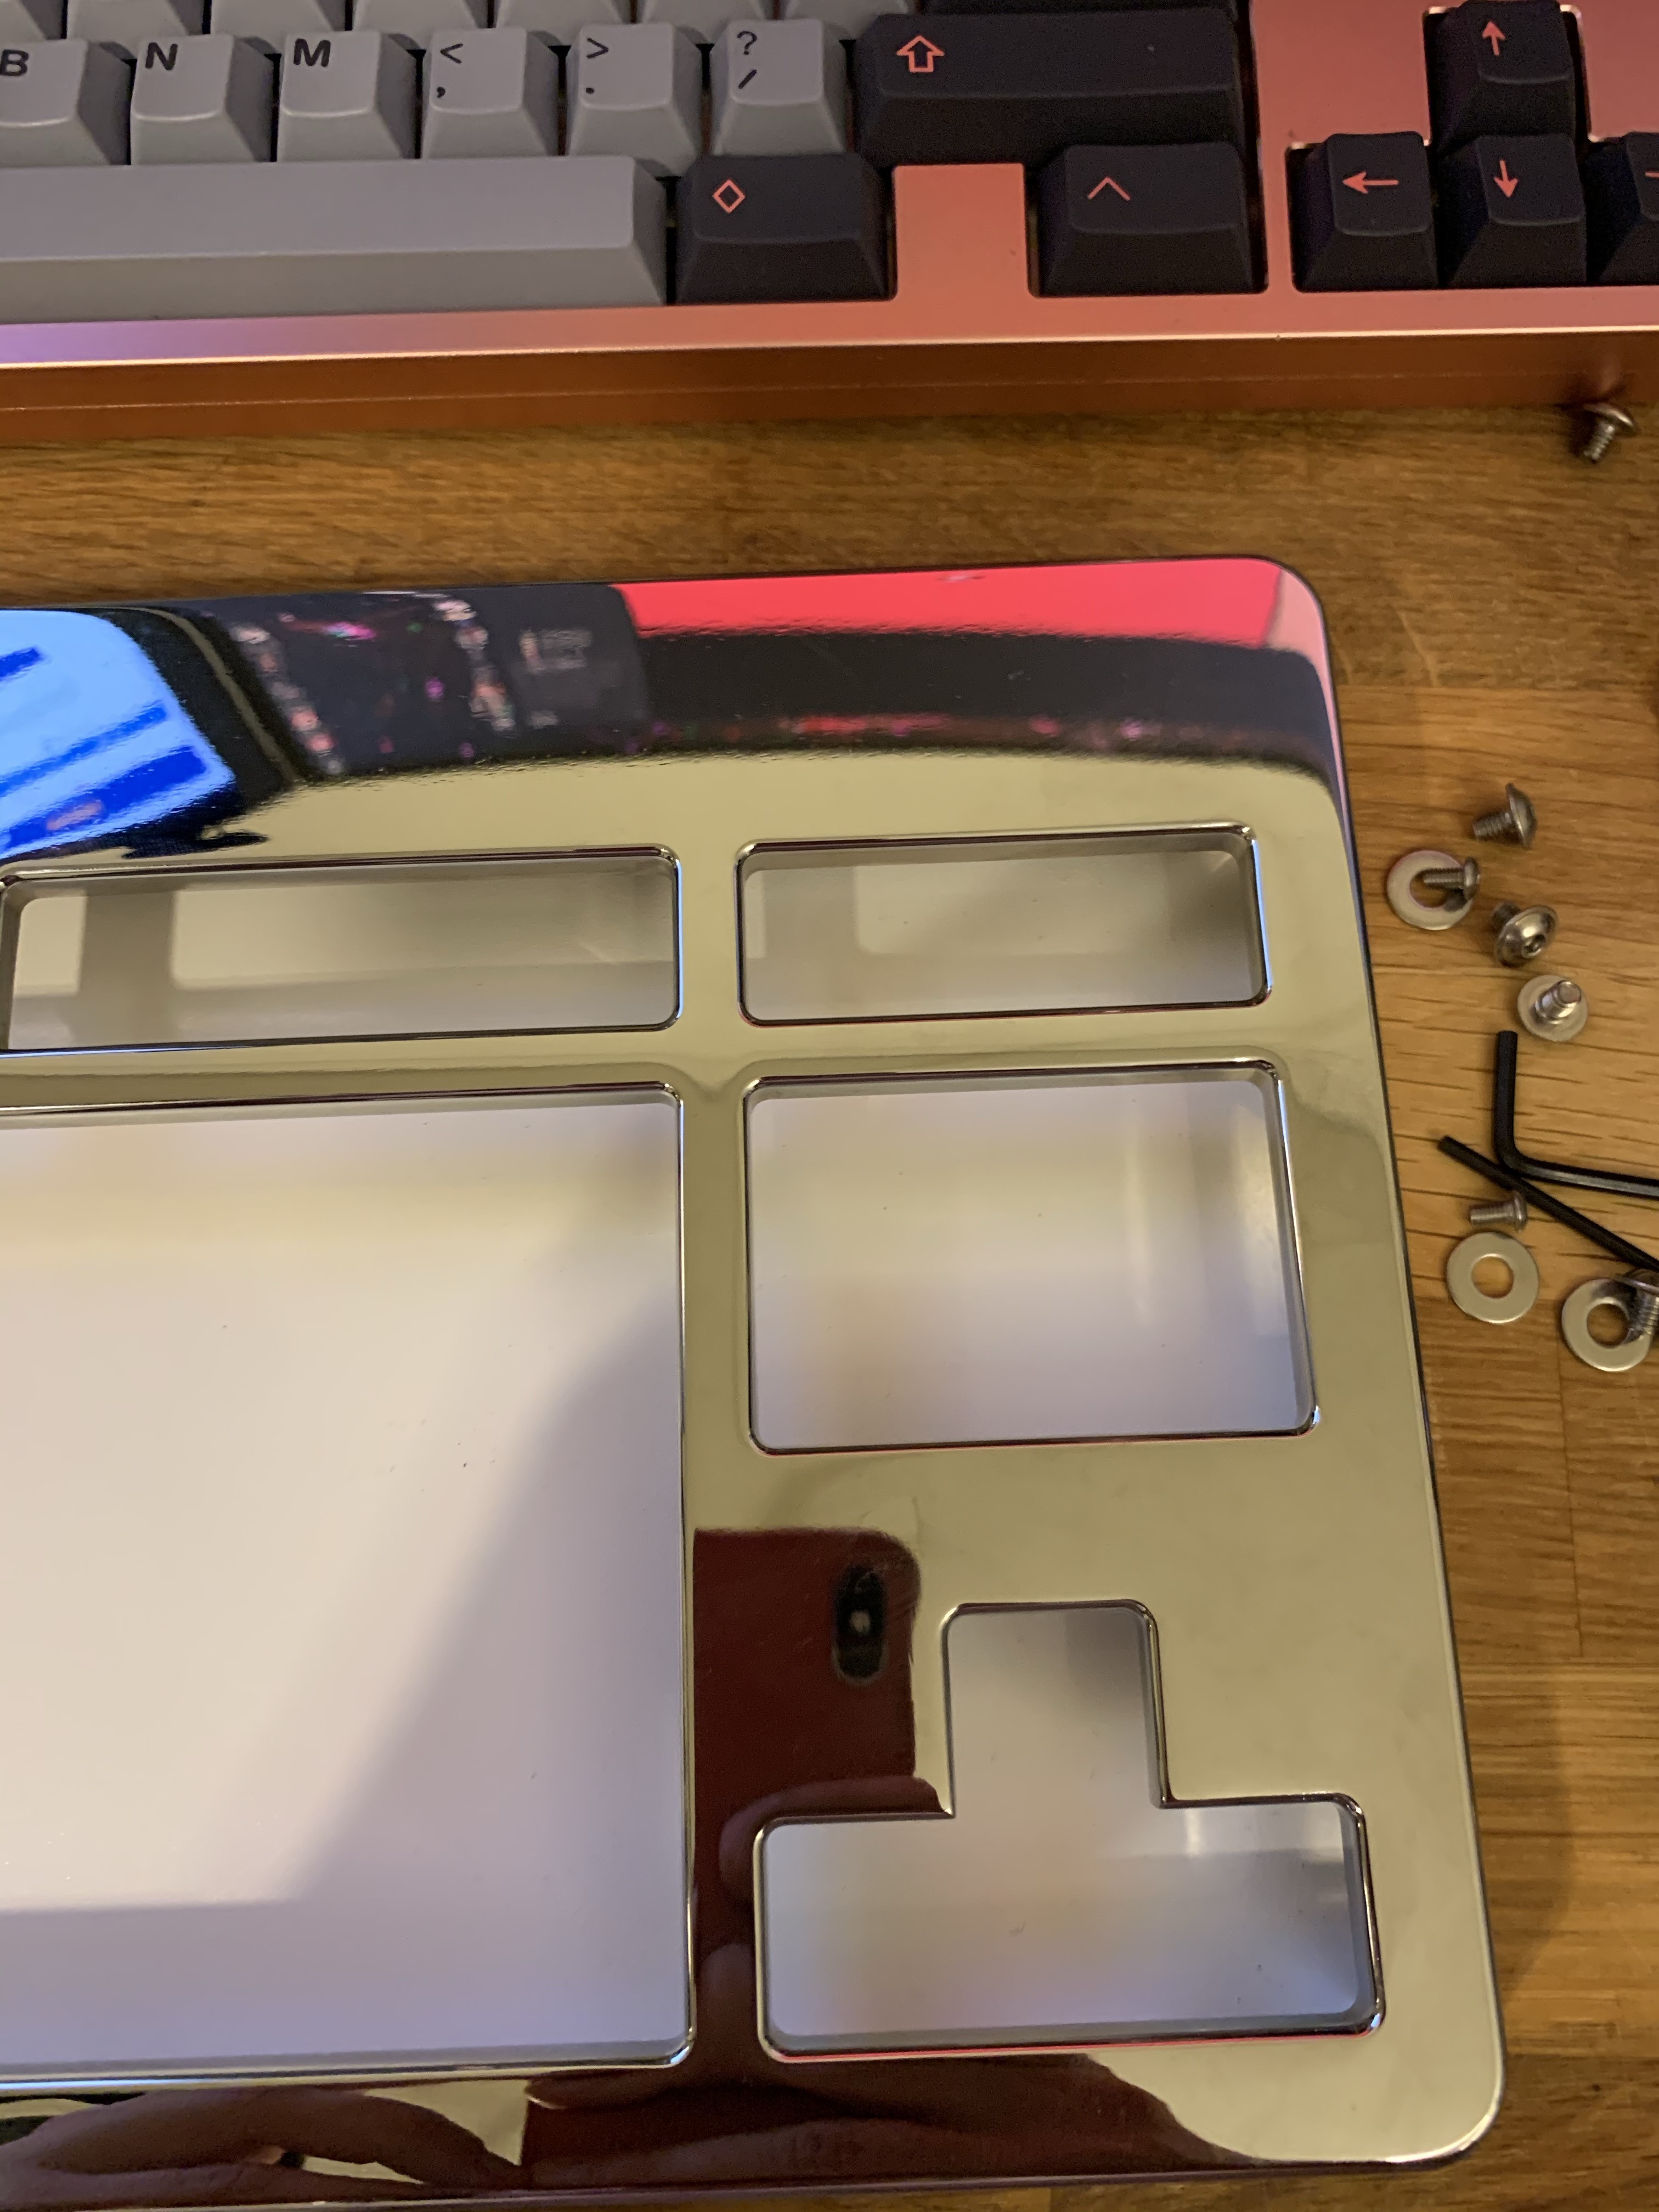
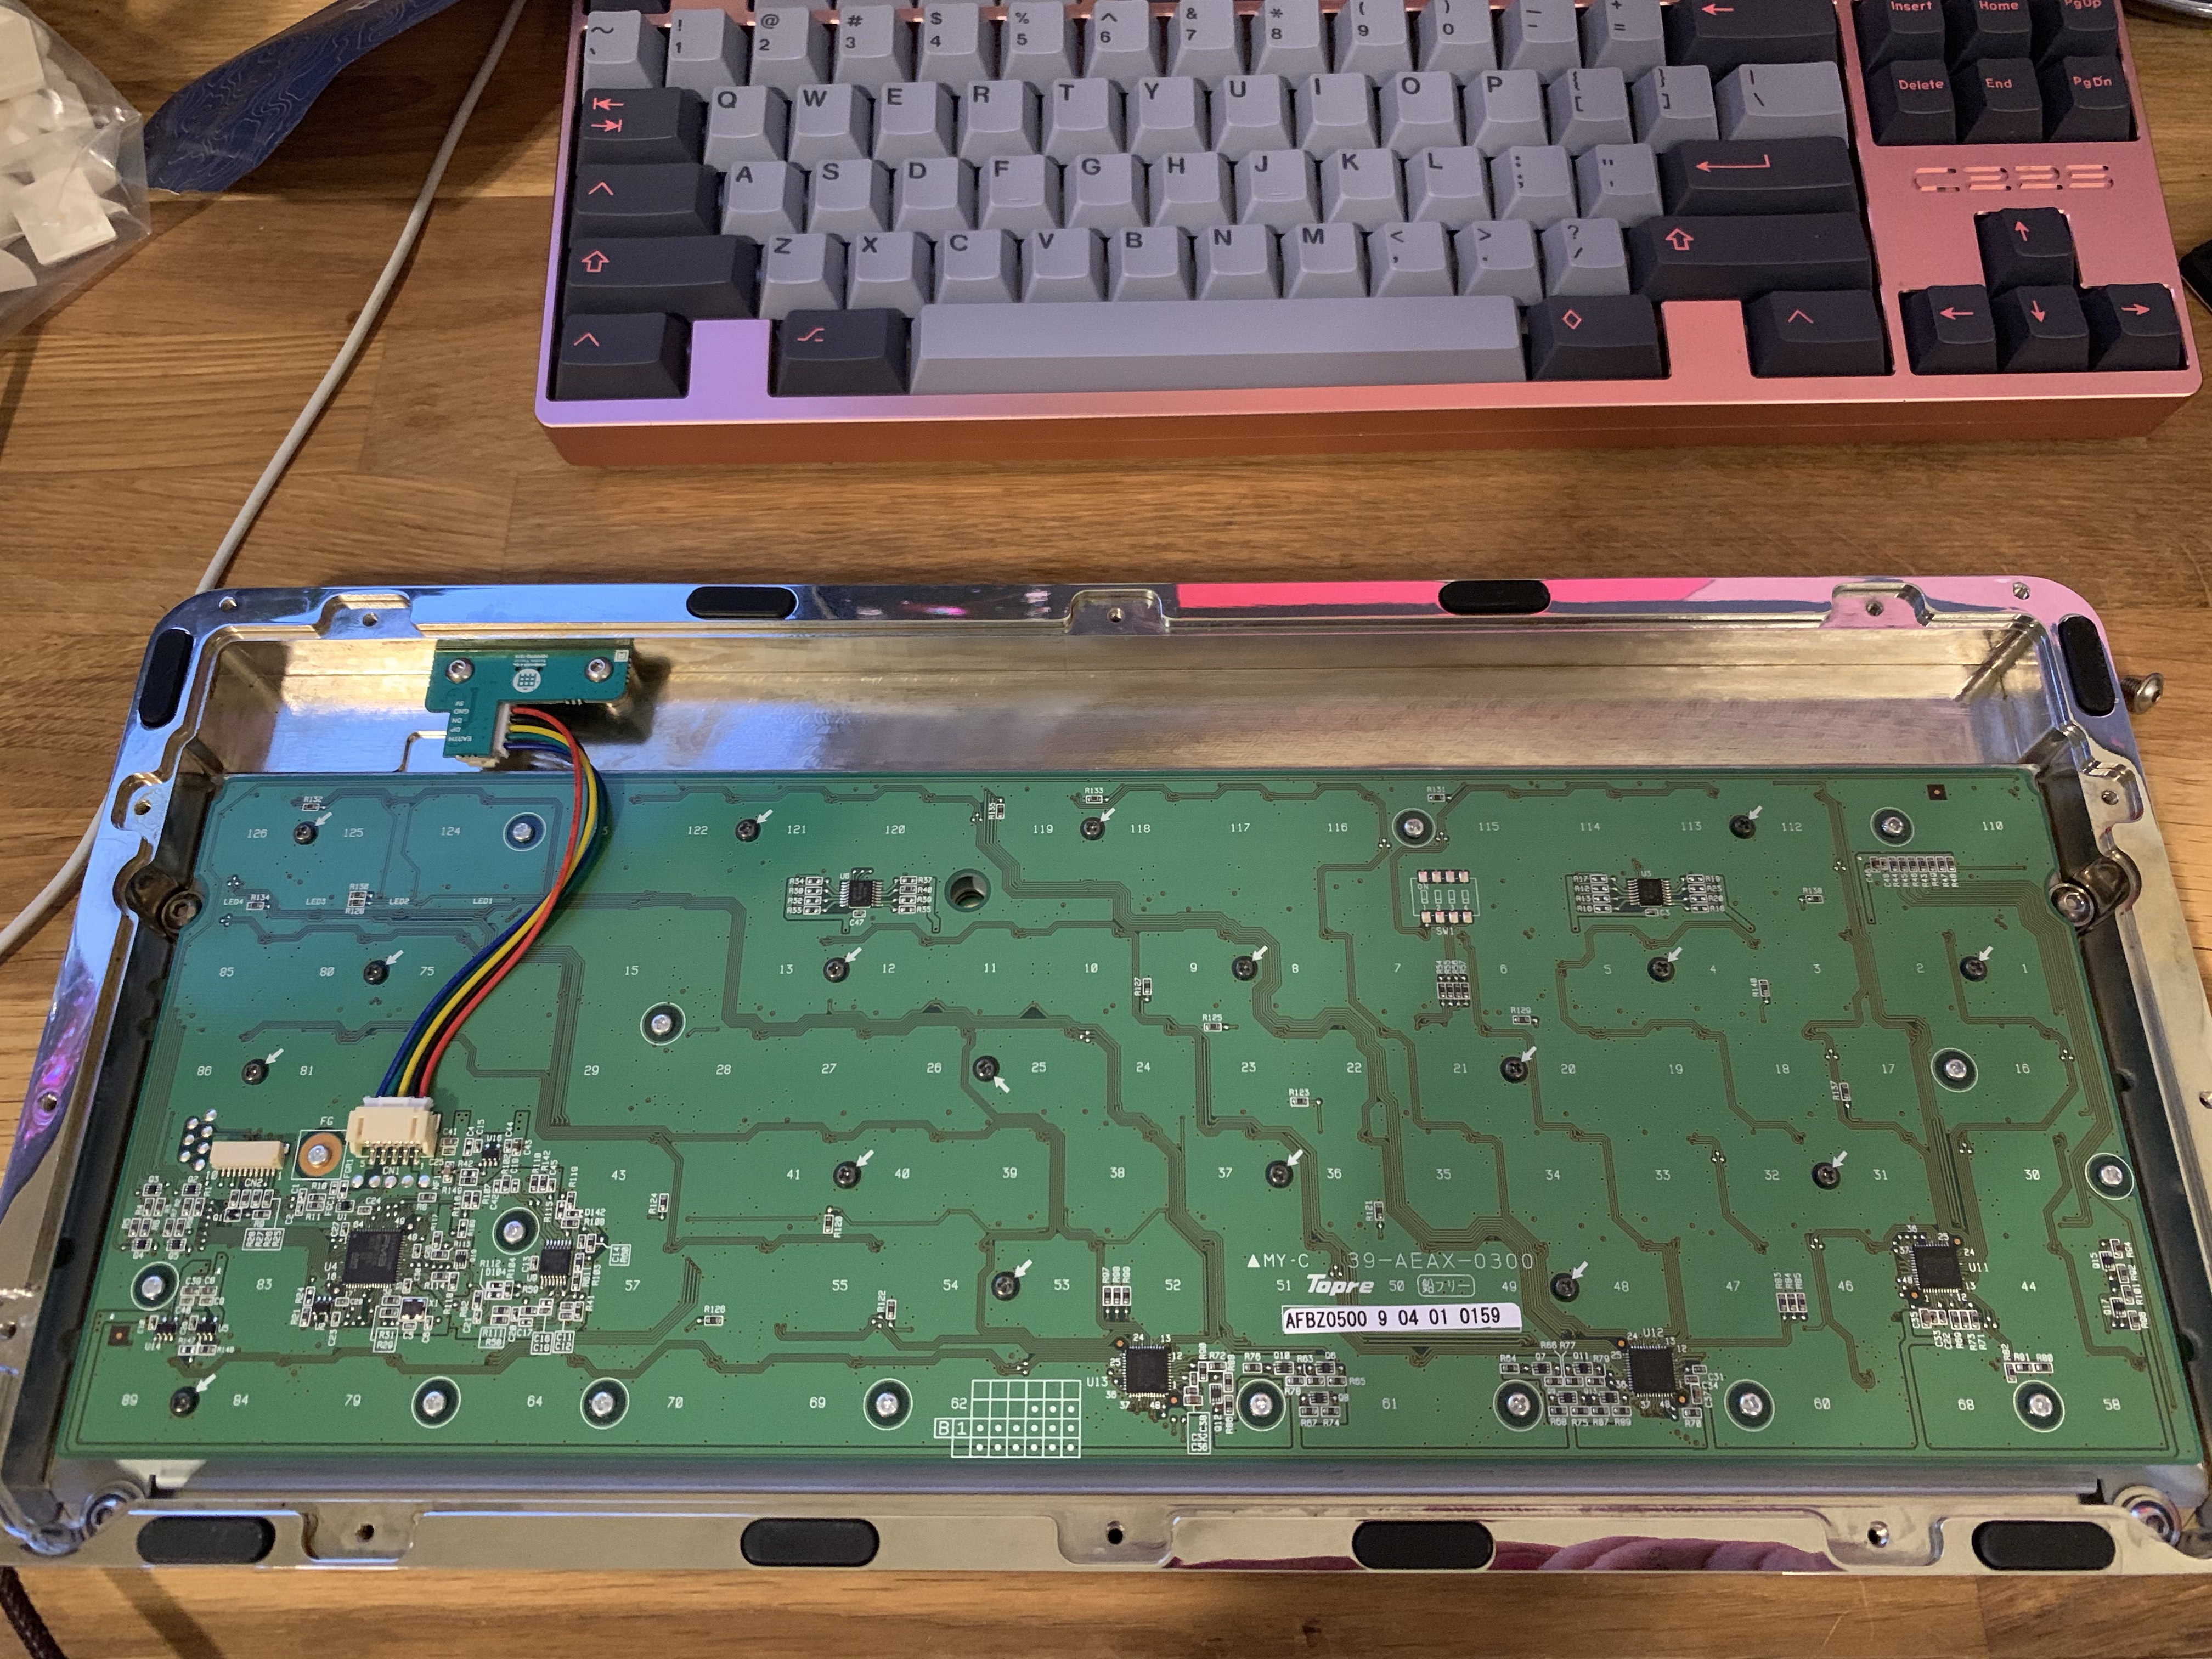
 I couldn’t get it out and don’t want to drill it if I don’t have to. That makes lubing a project for another day because I’m tired and don’t want to deal with this tonight.
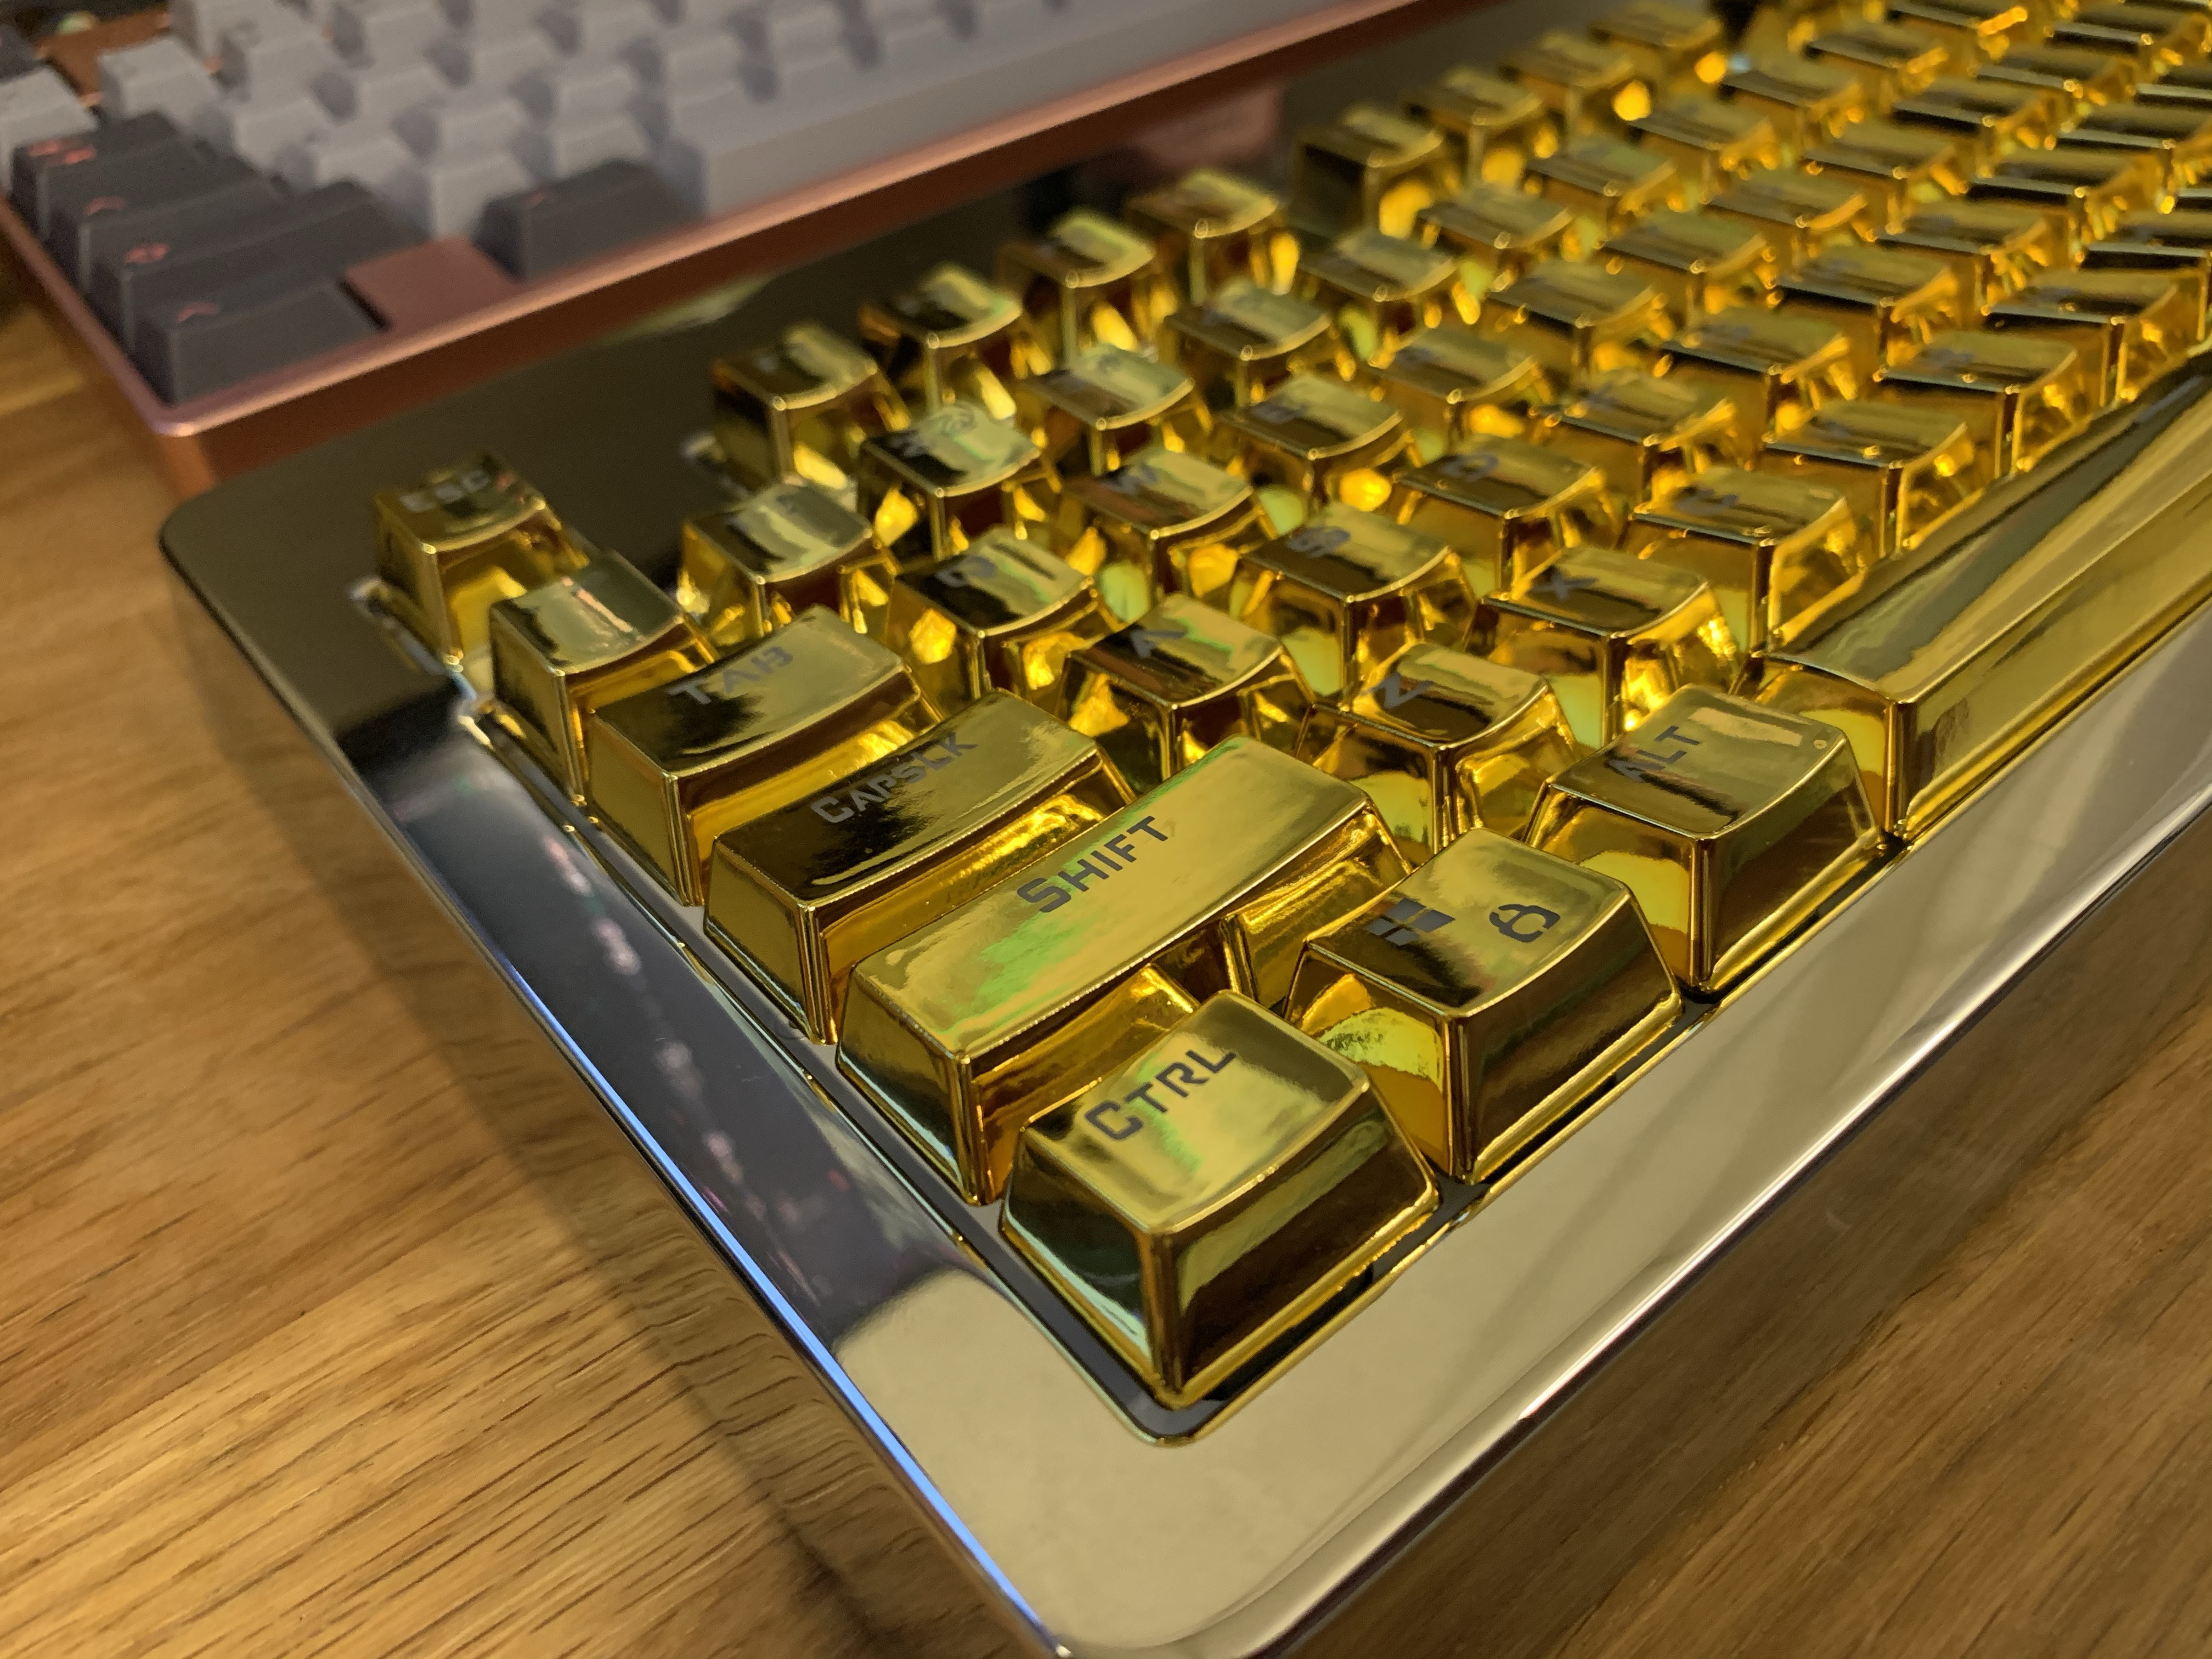

 still think u should have gone with the silver keycaps for the T-2000 look.