There were tee shirts a long time ago, I got one at the 2018 Bay Area meetup iirc. I think @Manofinterests sold the rest of them a while ago though.
1 Like
I’d definitely cop a mug!
2 Likes
Ahoy all - just a quick update for those that have stickers on the way; if you haven’t used transfer stickers before, here’s a verbose primer on how they work. The length here might make it seem more complicated than it is; I just want to cover any relevant bases for anyone totally unfamiliar with these.
I’ve included some small random bonus stickers to practice with! If you have any issues or end up needing a replacement, don’t hesitate to shoot me a PM.
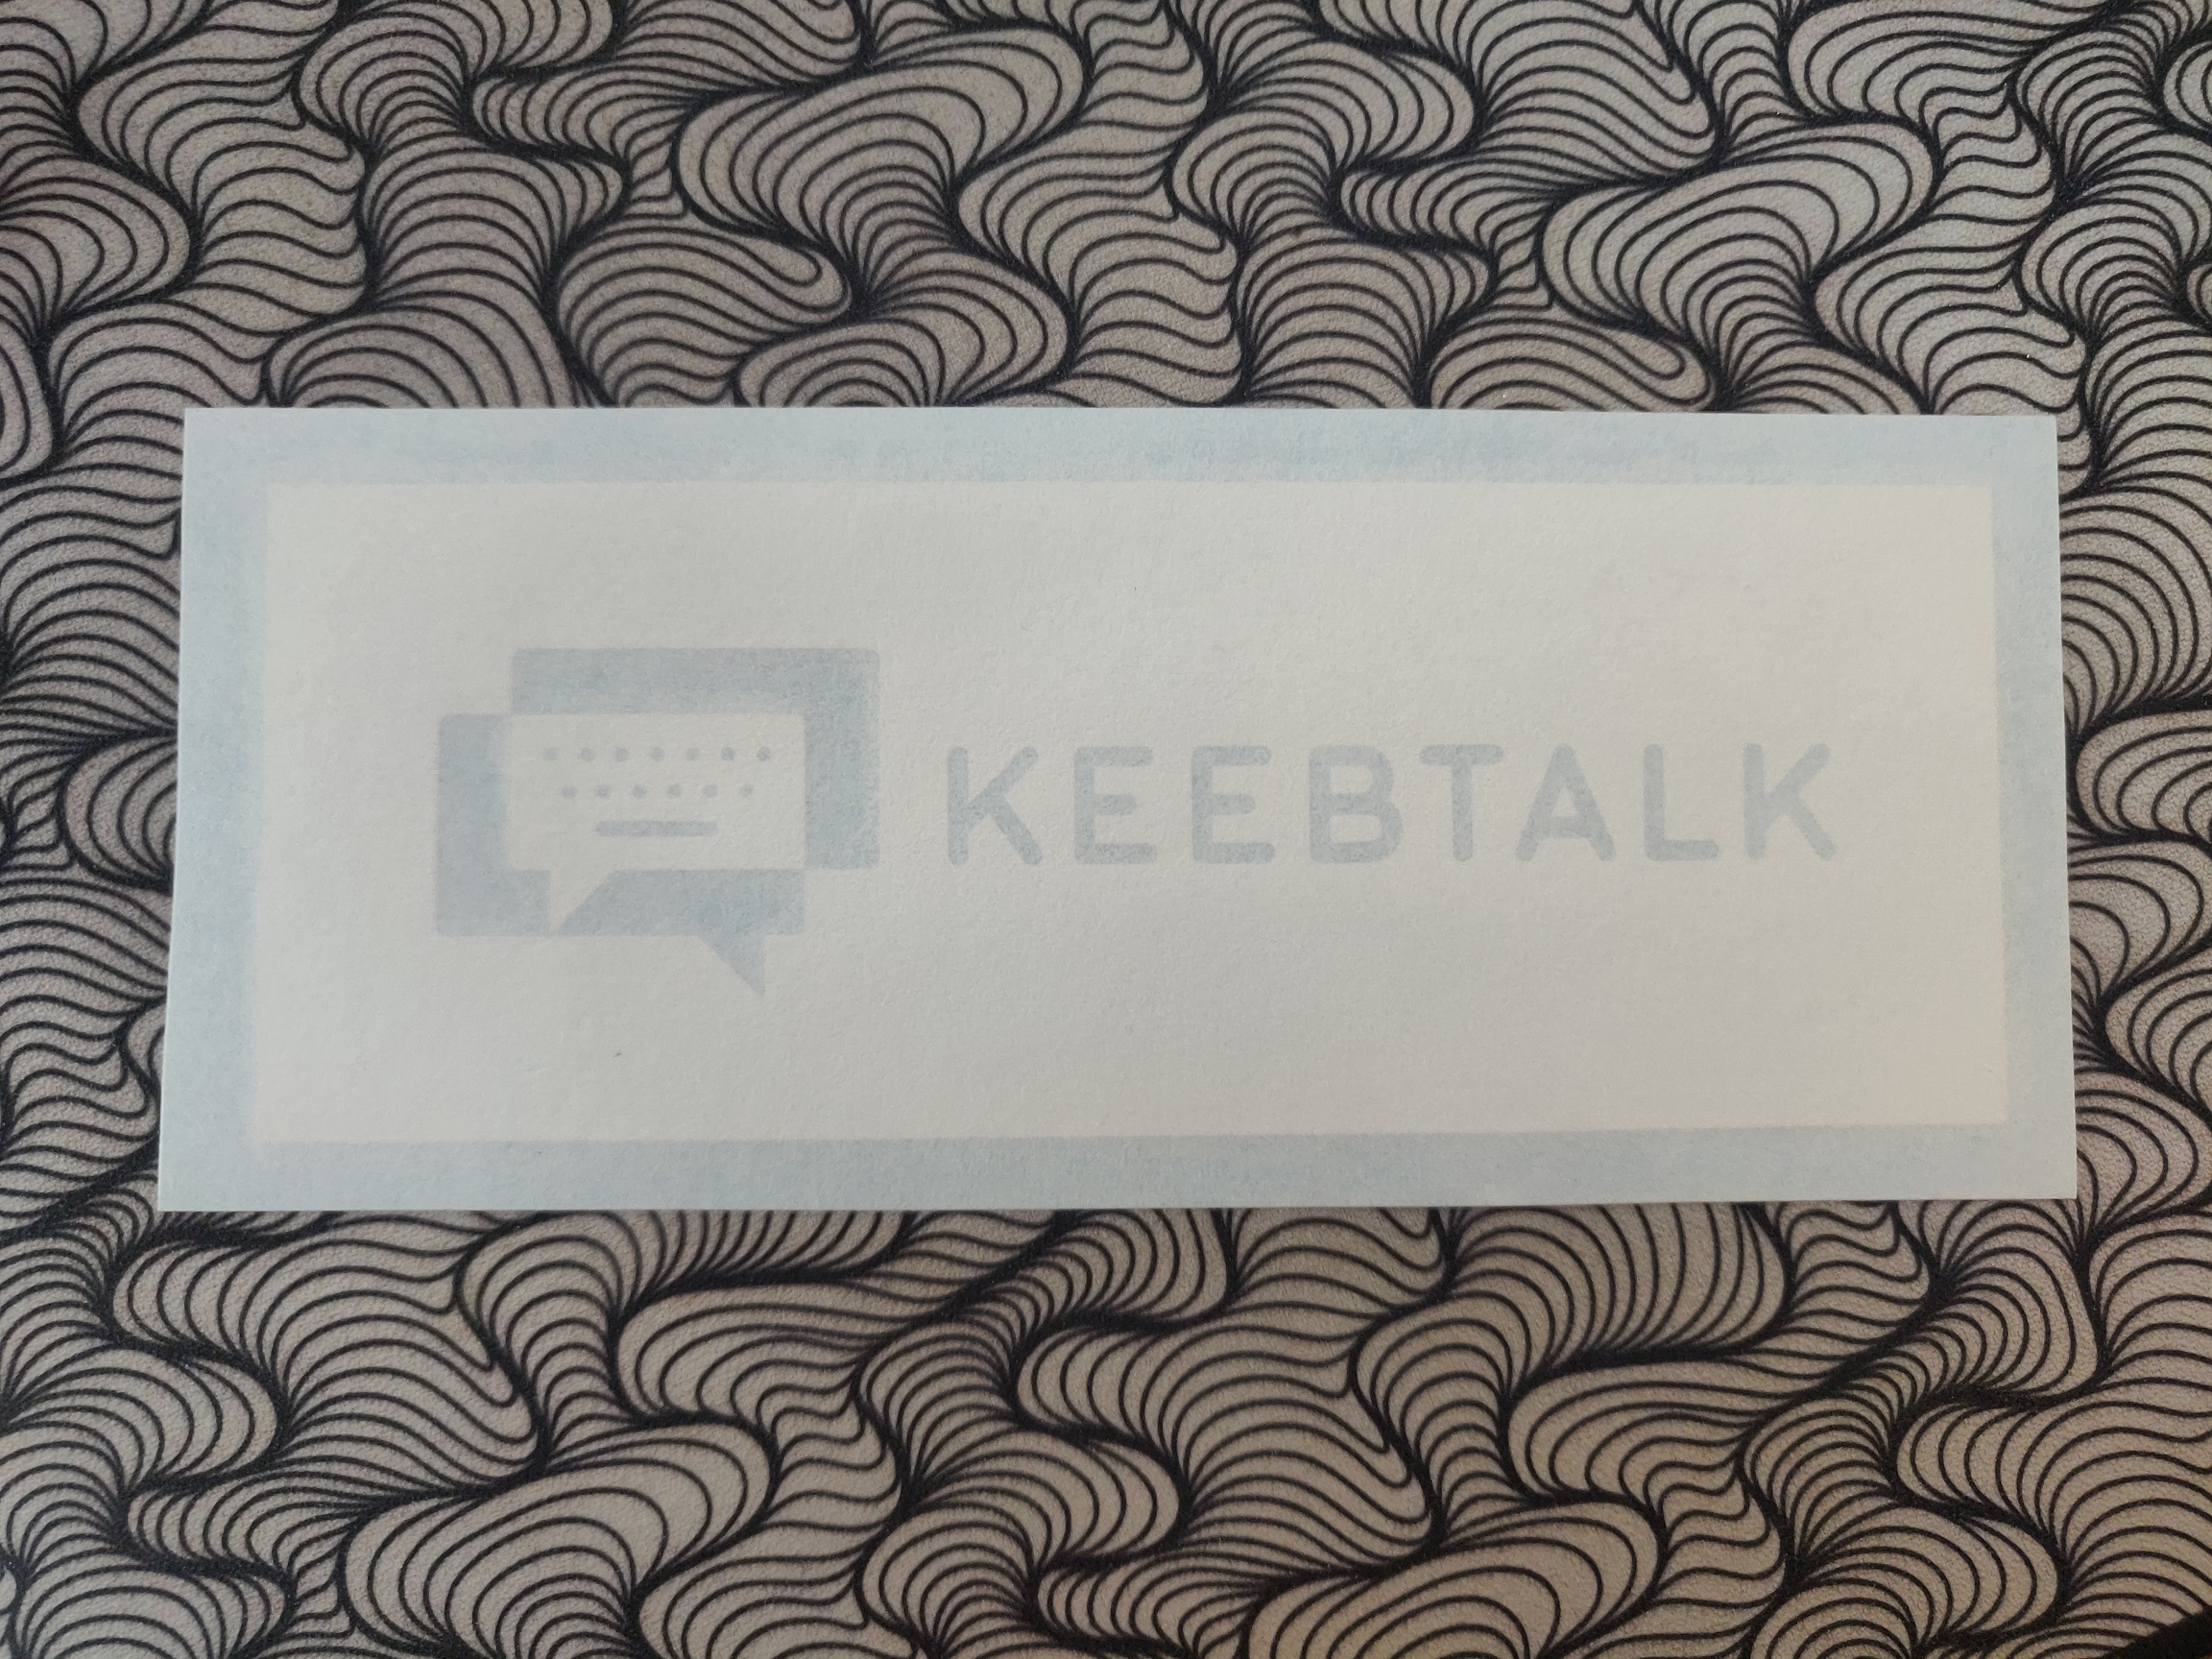
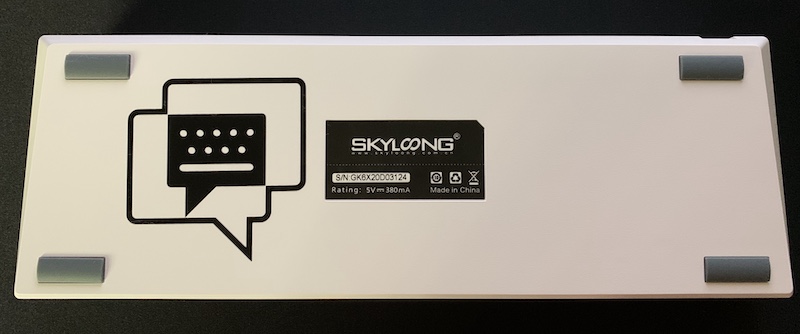
When you first get your stickers, they’ll look something like this:
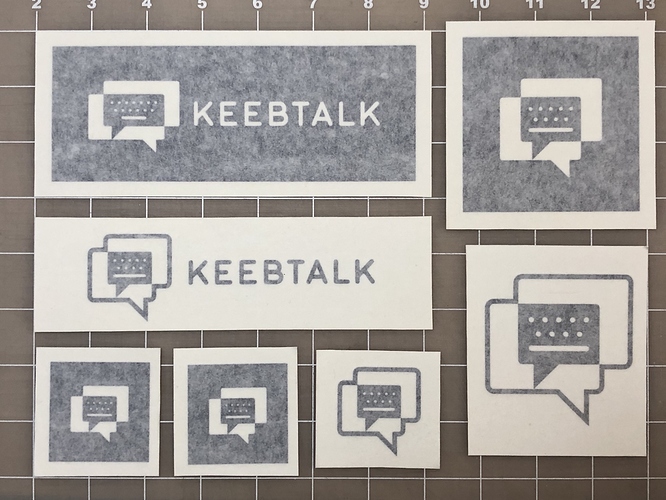
The sticker itself is actually sandwiched between a carrier sheet and a transfer sheet; these keep separated parts in their intended positions, i.e. the letters in the word “K E E B T A L K” are each their own pieces of vinyl - and the sheets retain their alignment / kerning / etc.
These stickers work best on smooth, non-porous surfaces such as windows, smooth plastic, or painted surfaces. These can be applied to less than ideal surfaces but there’s a trick to it - feel free to let me know if you need any help there.
Note: For stickers with a lot of solid surface area like the rectangle bumpers or square monograms, using a “wet application” method will help ensure there aren’t any bubbles on the surface. Here is a tutorial on how to make and use “wet app”.
The first thing you’ll want to do is make sure your intended surface is clean - this will help insure the sticker lays flat and stays a long time.
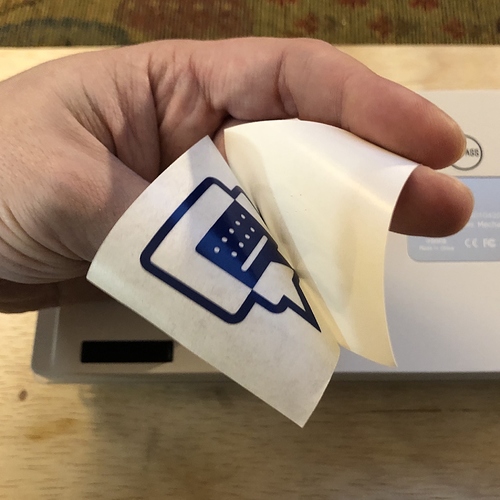
Next, start peeling the sticky transfer paper (feels similar to masking tape) away from the slick carrier sheet (similar to wax paper). In most cases, the sticker will easily peel away from the carrier while sticking to the transfer - but if it doesn’t, simply lay the transfer back down and apply some pressure. It should look like this while you’re peeling:
Next, position your sticker and lay it on the intended surface. For larger stickers, you might want to start from one end.
Once the sticker and transfer paper are laid-down on the surface, carefully burnish the surface with a credit card, phone screen applicator, signage squeegee, or just your fingernail - the idea is to apply pressure to the vinyl without dragging it too hard in any direction, so something firm but slick is best. I like to start from the center and move outwards.
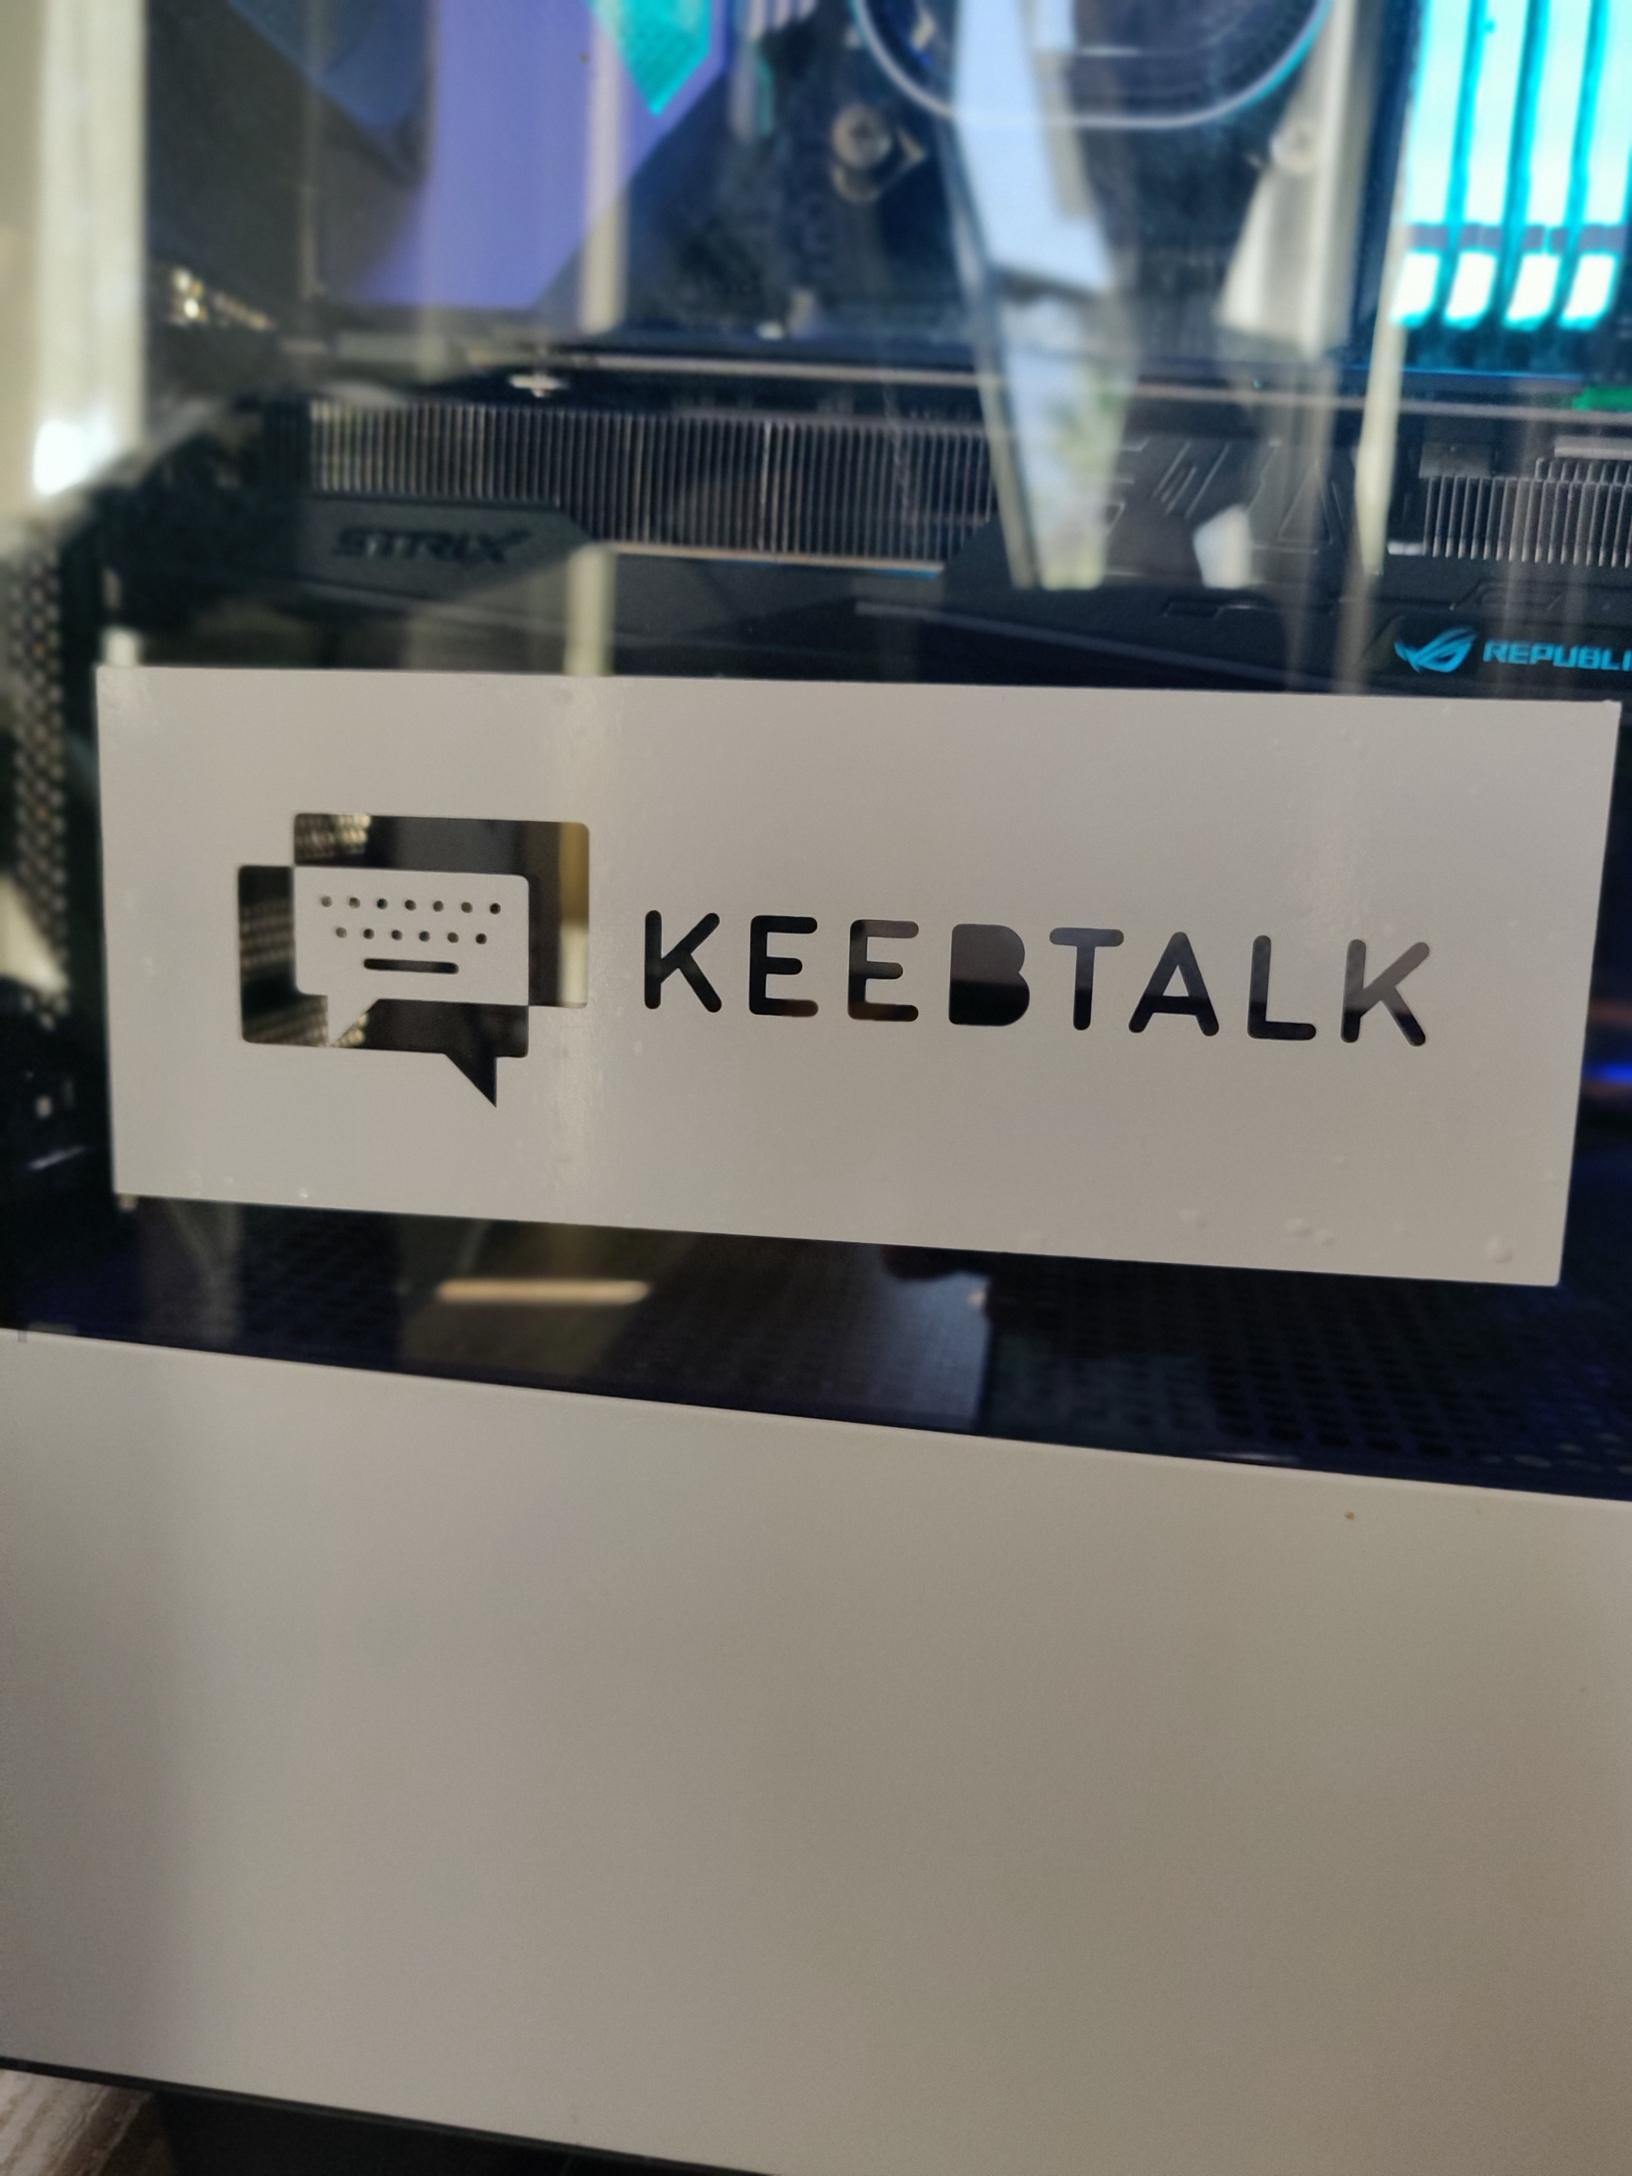
Once you’ve got it properly mushed onto your surface, simply peel back the transfer:

In some cases, the sticker will want to peel up with the transfer sheet - if this happens, lay it back down, apply some more pressure, and try peeling at a steep angle.
And that’s it!
7 Likes
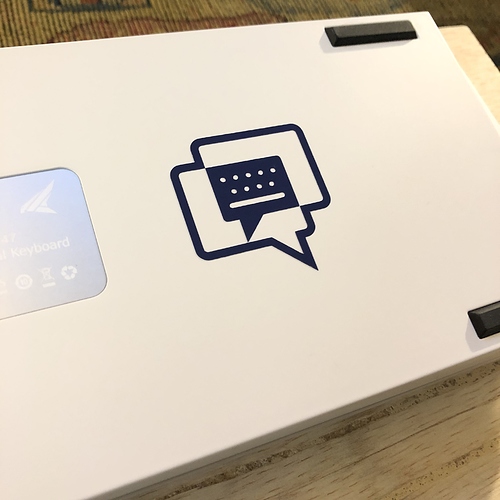
That looks fantastic on the white case!
1 Like
Thanks for the stickers!
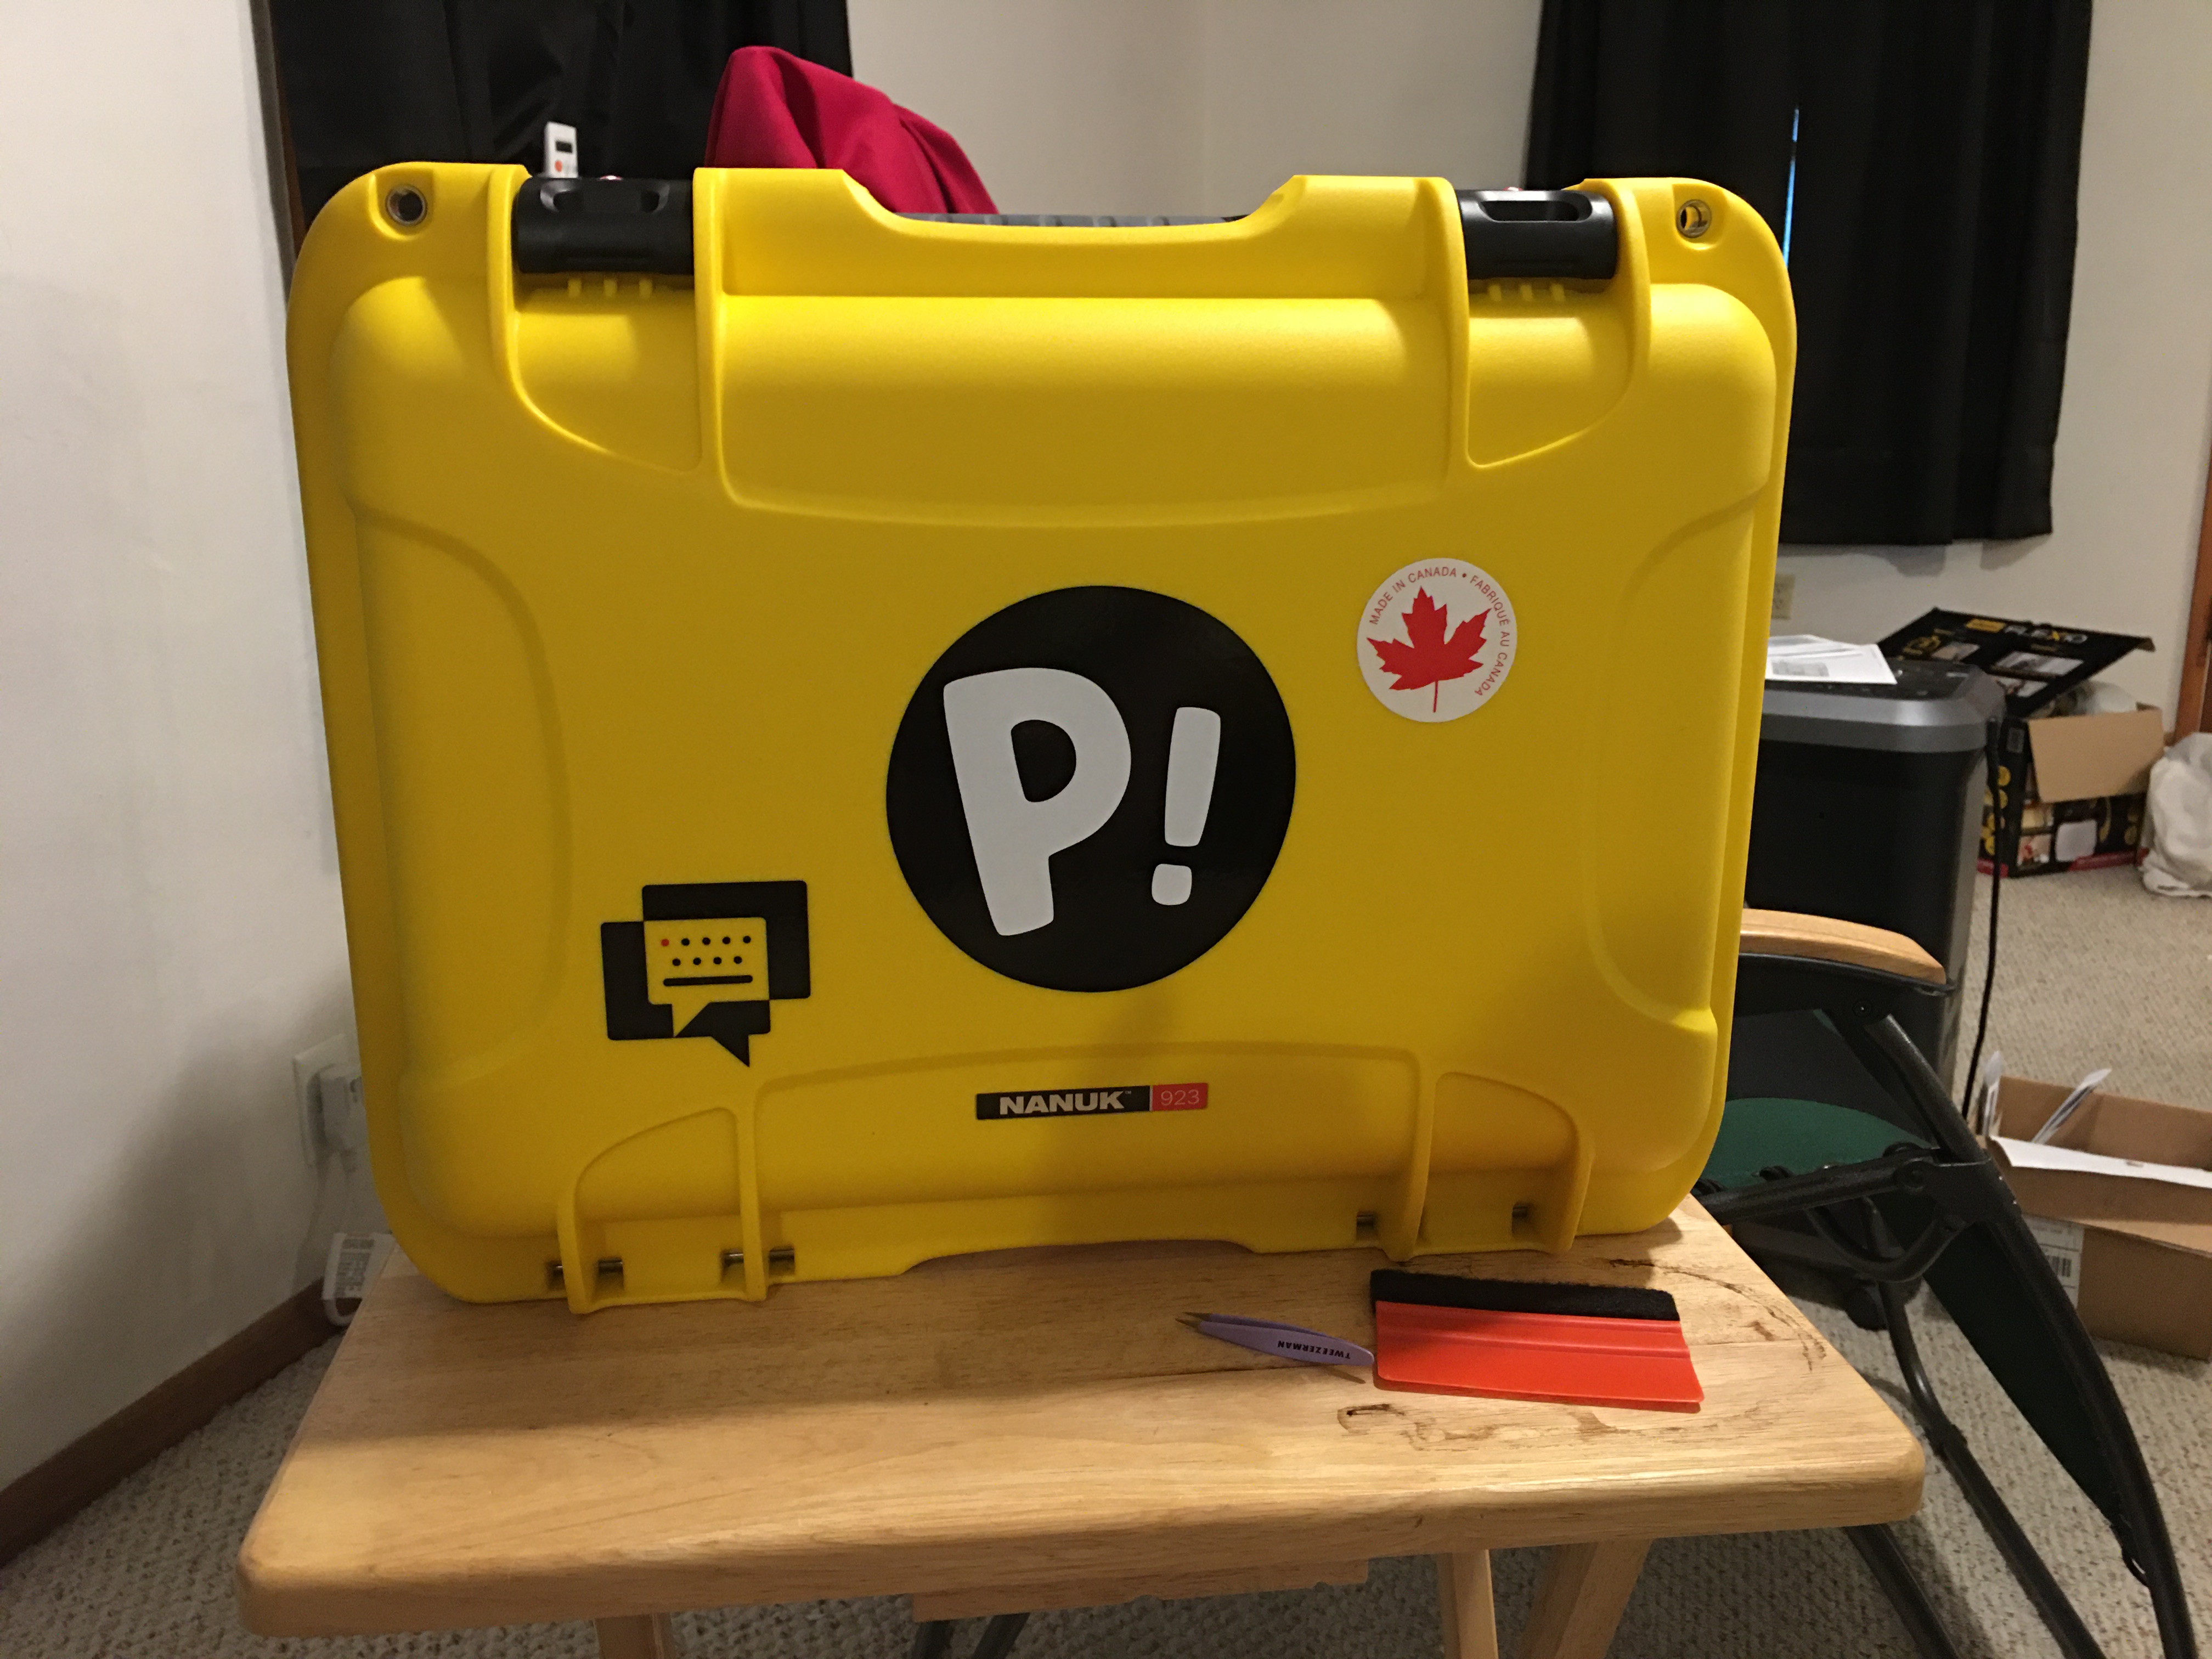
The rough surface of the hard case, did prove a little challenging, but I got them on. The little dots might be too tiny for the ruffness of the surface, but I’ll put I’ll put it through is paces. 
4 Likes
I might be an idiot. I didn’t realize the negative space in the bumper stickers is just not part of the sticker rather than being white. I was going to put a black bumper sticker on my black car. So now I need to figure out what else to put it on, or somehow get a white background for it.
Yo, I think I’ll be putting them on smooth surfaces, but you never know what surface texture tomorrow’s endgame might have ![]() Mind sharing the trick?
Mind sharing the trick?
2 Likes
Not at all. It’s a little hard to describe - but basically you’ll want to be pushing down onto the surface with something flat like a credit card and pulling up on the transfer tape against it so that there’s a sharp angle between the vinyl on the surface and the tape you’re pulling up, if that makes sense. I can do a quick video if not.
1 Like
welp it came in and i think i applied it wrong haha im sure im flattened it down as much as I could but I still got bubbles… and i didn’t align it properly  But the sticker still looks great haha Good work on your part Deadeye
4 Likes
The ones with a lot of surface area like that are extra tricky with bubbles. I’ll be glad to send you one of the other bumper sized stickers that isn’t a solid rectangle - they’re way more forgiving.
In the mean-time, you can (delicately) use a sharp pin or needle to make a tiny hole for air to escape, and flatten the bubbles starting from the outside moving towards the pinhole.
3 Likes
That would be great and I’ll do my best and see what happens
I used to do cut vinyl signs and have friends who do wraps and tint. The trick is something like windex or a light soapy water. Spray that on the surface, apply the decal, and then use a card or something like @Deadeye said and basically, “squeegee” out all the soap and bubbles from underneath. It’s way more forgiving, you can even slide it a little to adjust while it’s got moisture under it. Once you push all the moisture and air out the adhesive will take hold. You’ll have little to no bubbles. (Also the same concept as some applicators for phone screen protectors)
3 Likes

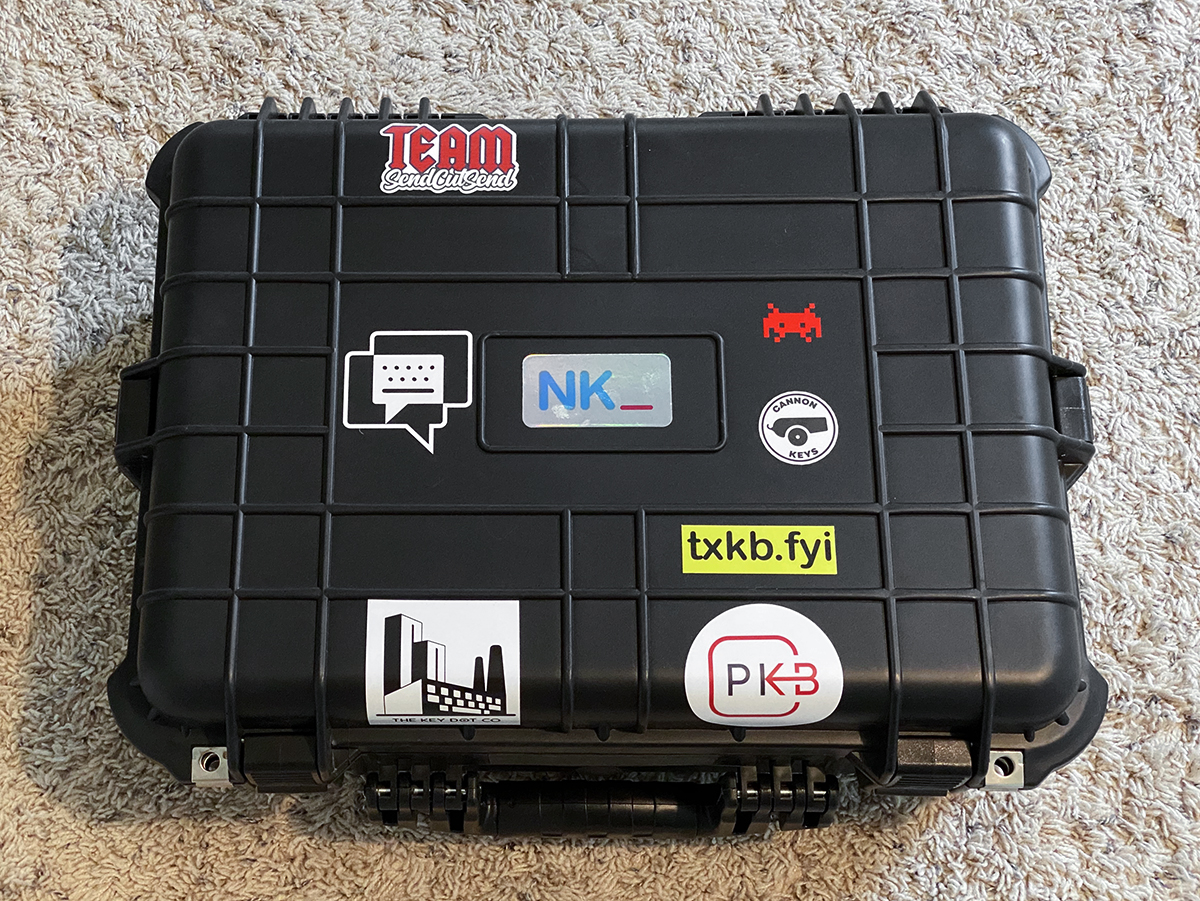
Keeb roady 

6 Likes
Well the Little sticker dots didn’t hold up, on the Nanuk Case, The texture is too rough for the size of the components. The border of the speech bubble, also started to loos adhesion to the case, but I forgot to take a picture of that.
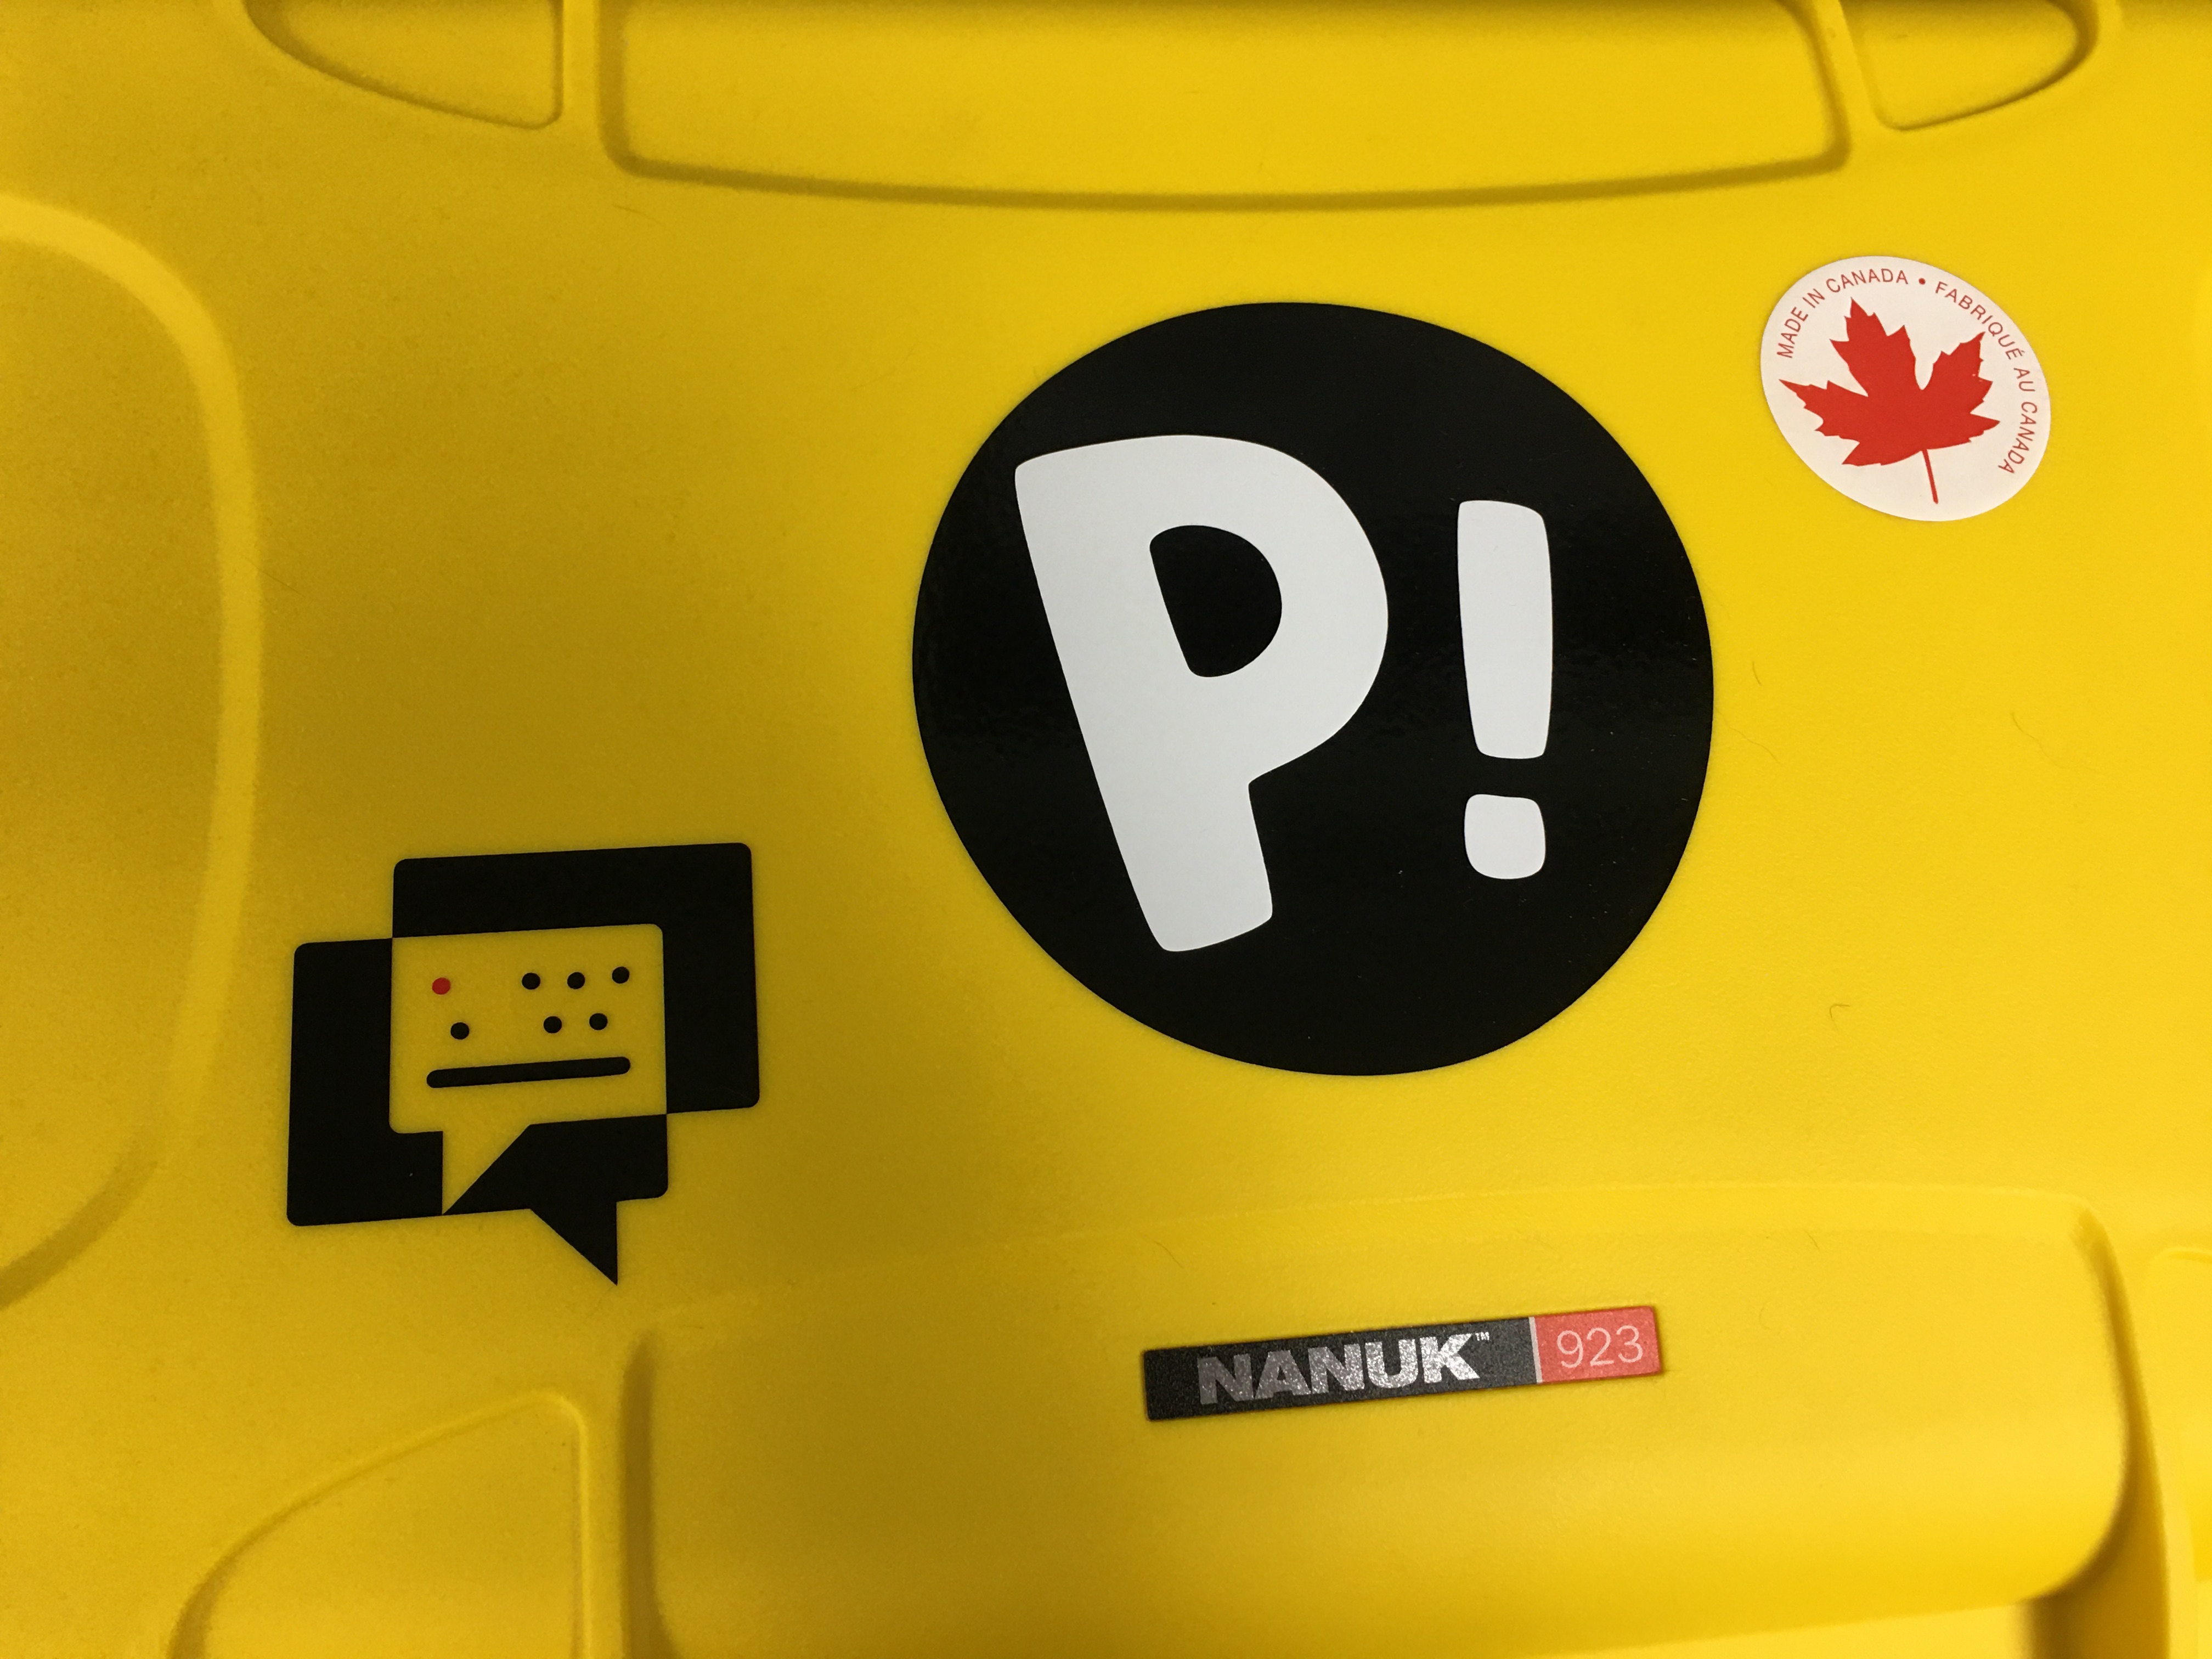
On a side note, the made in Canada sticker, decided it wanted to commit harakiri one day, too.
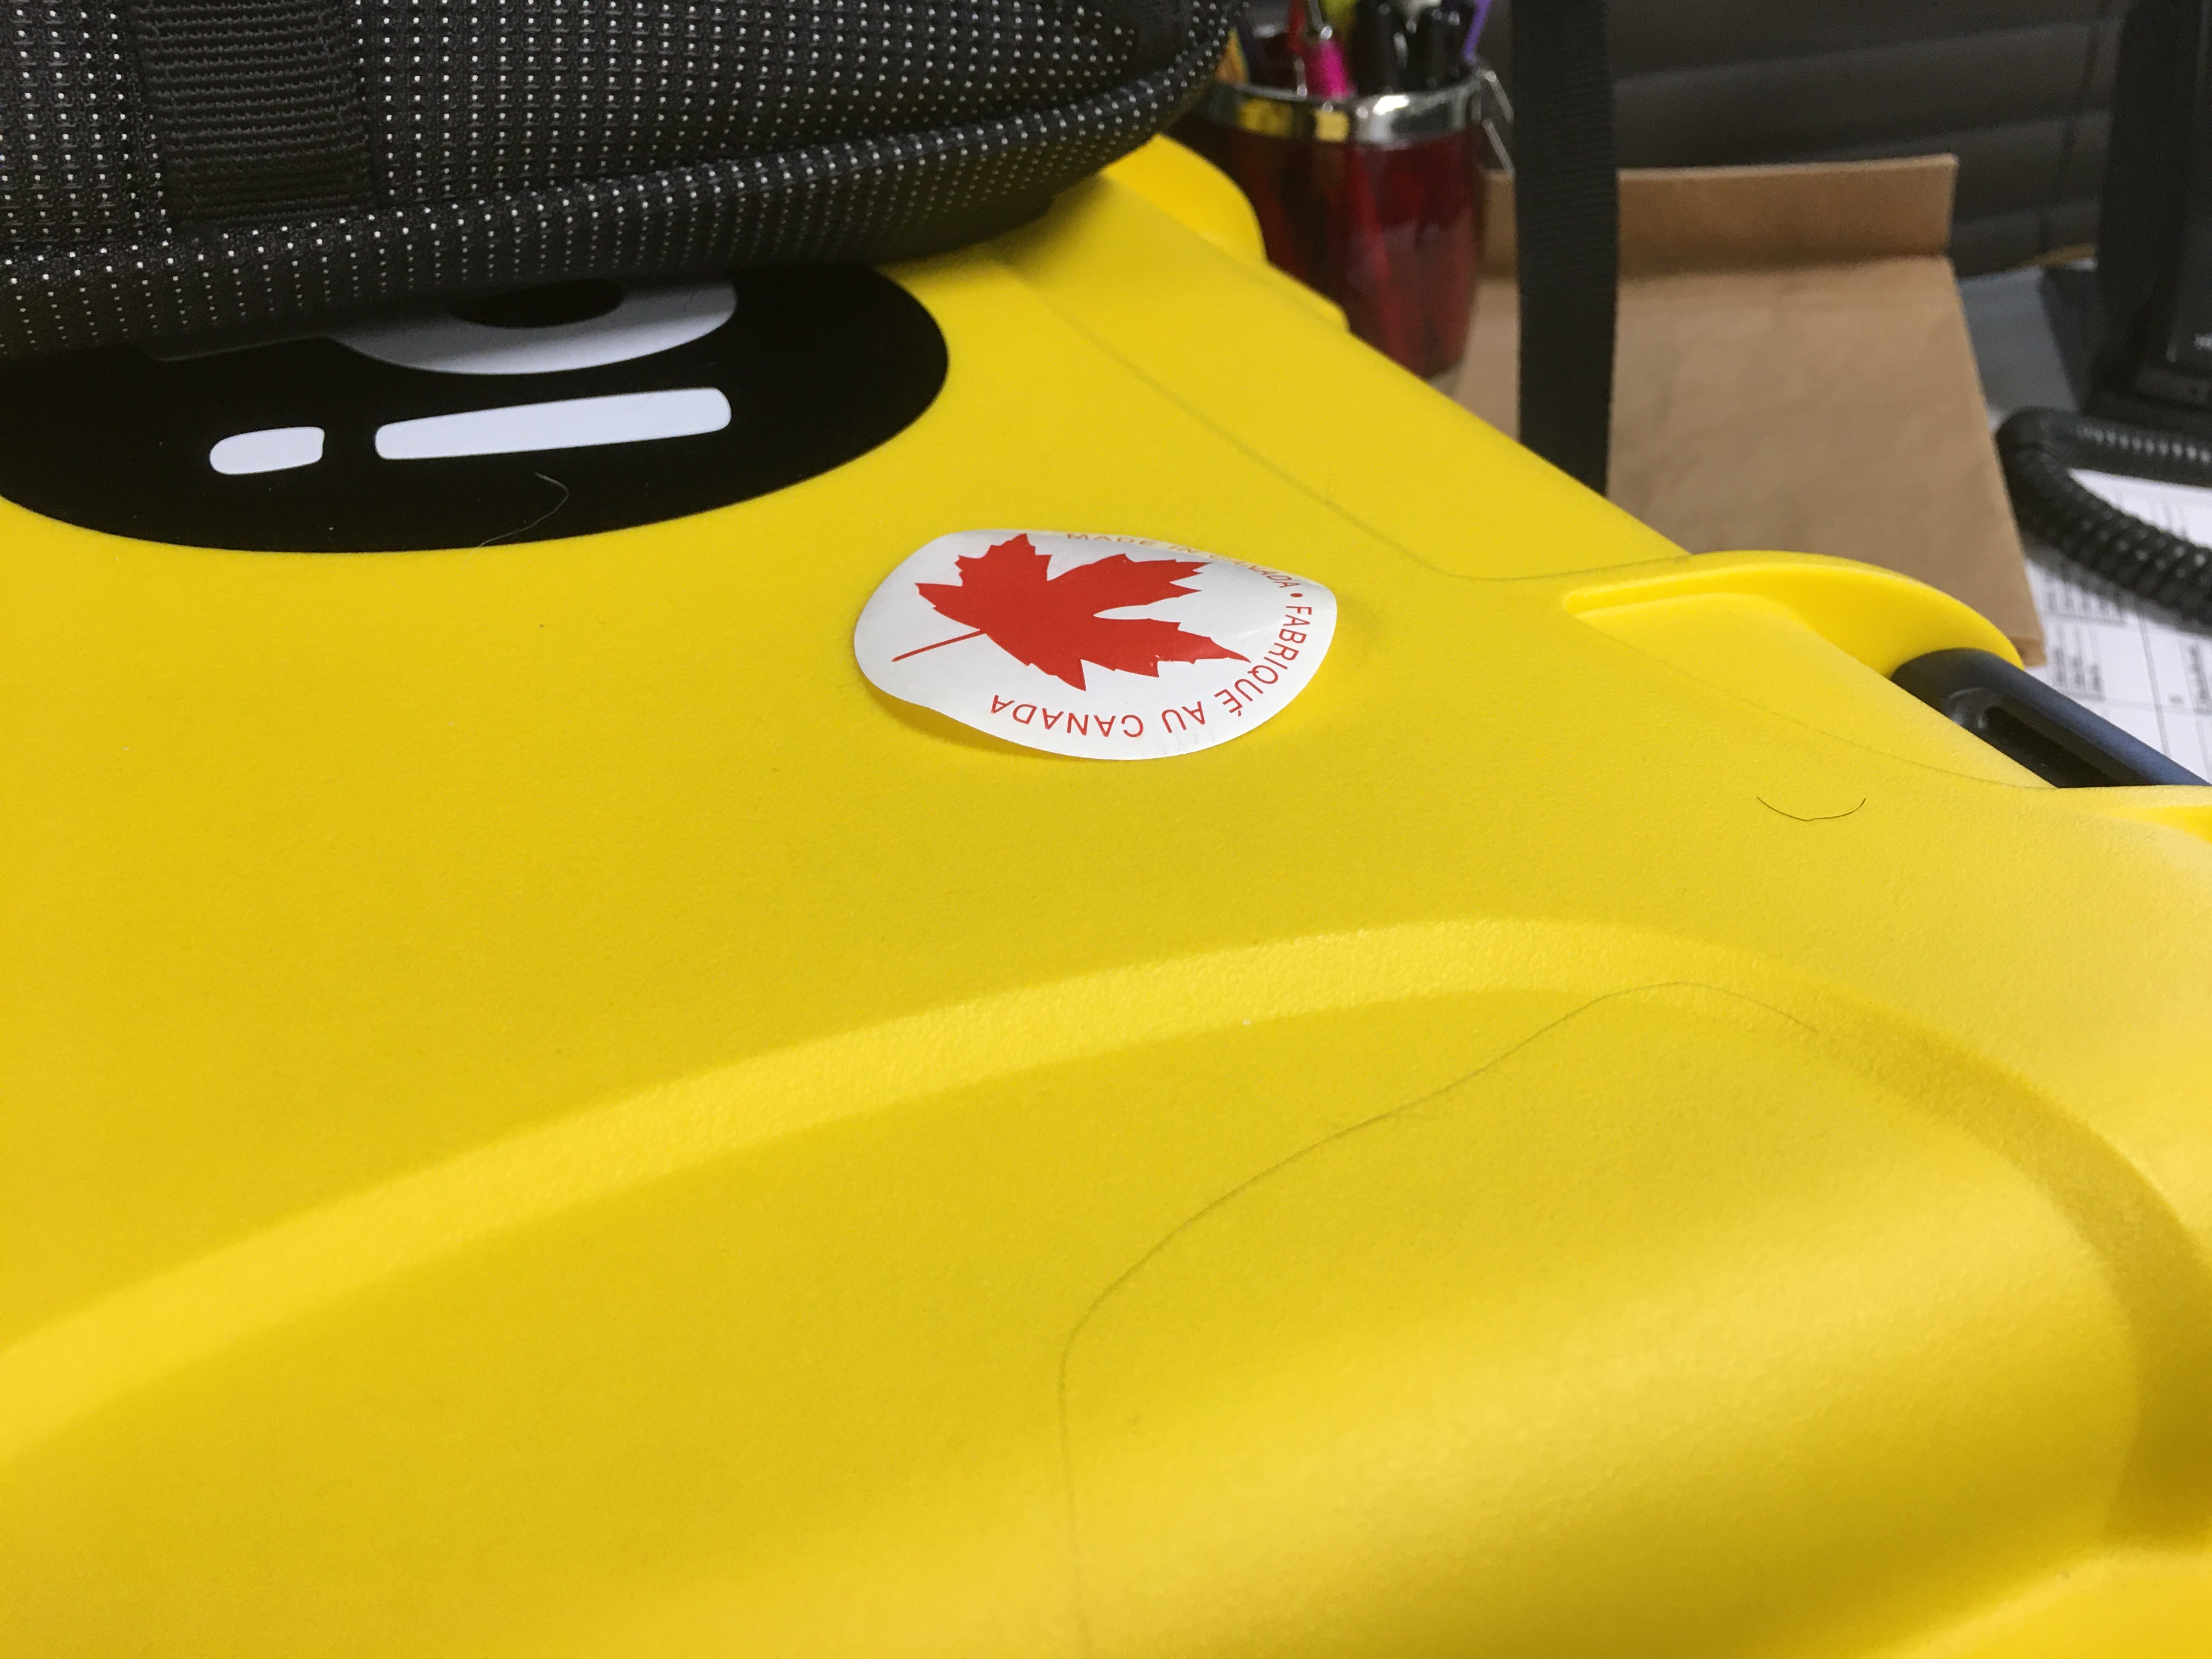
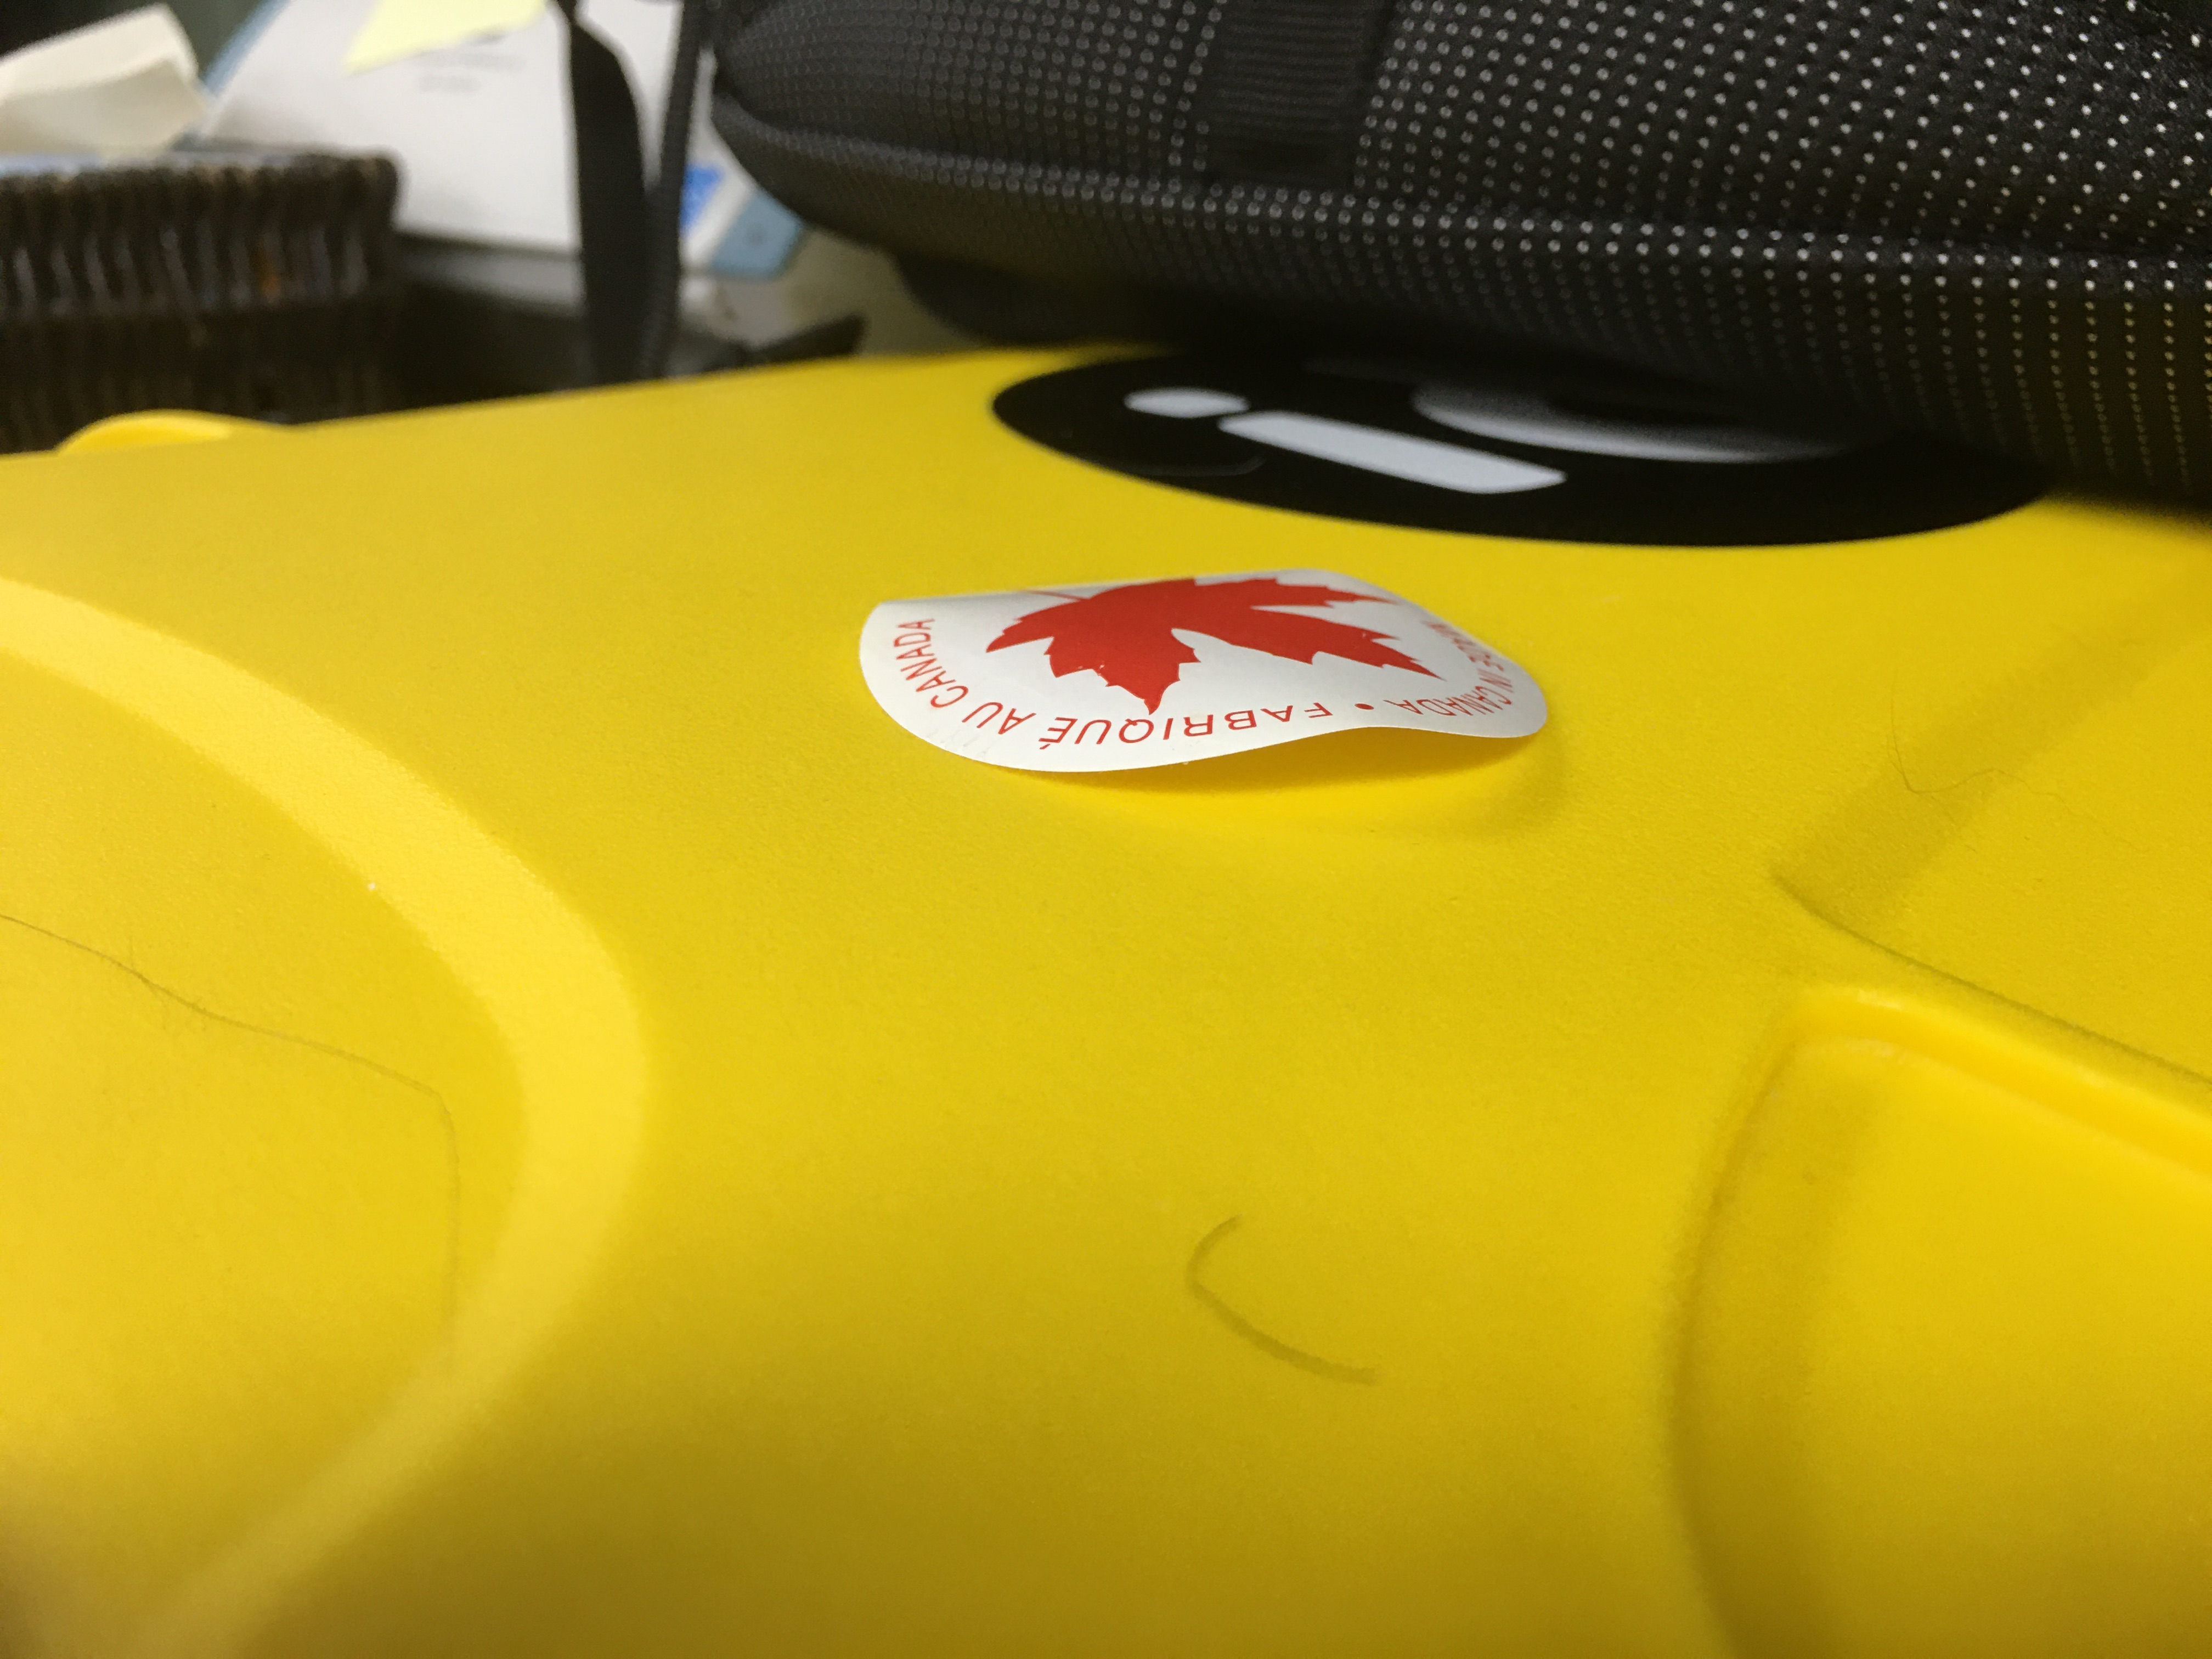
The Pillows vinyl seems to be holding on, but I wonder if it’s going to do the same thing as the made in Canada sticker.
Note: The areas for both vinyl decals, were prepped with isopropyl alcohol, prior to application.
2 Likes
For whatever reason, some plastics / textures just don’t do well with adhesive stickers. One of the inverted ones might stick longer on your case, but I’d imagine the same thing will happen eventually. My computer case has a swinging door that covers the drive bays (already dates the thing, doesn’t it?) and I was hoping to put some graphics on there - alas - the same thing happened; it has a faux brushed-metal texture that I’m pretty sure is the culprit.
They make sticker adhesives that will stick to that stuff forever, but none that I know of that I can use in my machine - usually for metal badges or safety markers on factory floors - designed to be walked on and driven over by forklifts. Until I find some of that industrial sticky stuff I can work with; surfaces like glass, painted or otherwise flat metal, or non-textured / shiny plastic will hold onto the stickers the longest.
A possible workaround for your yellow case would be to apply a piece of metal like a badge using this stuff called power tape or banner tape; it’s very thin and absurdly strong double-sided tape designed to hold signage banner seams together. In turn, any vinyl sticker will hang onto that aluminum for years.
If there are any sign shops in your area, they might be able to sell you a small piece of signage aluminum cut-down to whatever size you need as well as a few strips of that super tape. They should also have a few different sizes of rounded corners they can cut from the aluminum, which I’d recommend because those corners are sharp otherwise.
2 Likes
I know there are thicker 3M Vinyls, that tend to be more soft / floppy / pliable, that I used in a Graphic Arts class, but that was almost 2 decade ago and I don’t recall the product codes. A hot air gun or hair dryer, might help with the applications, but in the case of the made in Canada sticker, I think the case contracted from the temperature change in the office, which caused the bond to brake. I pressed it back on once, then it came back off before the day was over. That being said, I think the vinyl will need to be more playable / rubbery for the Naunk Case.
I’ll look into mounting options, but I would prefer to keep the surface as flush as possible.
I do have a small collection of the more exotic double sided tapes, but the stand in surface, would need to be pretty thin and strong…
Would a thin coat of spray-glue work for a more rugged surface? 