Man, I’m glad I went with it. Was such a smooth experience.
4 Likes
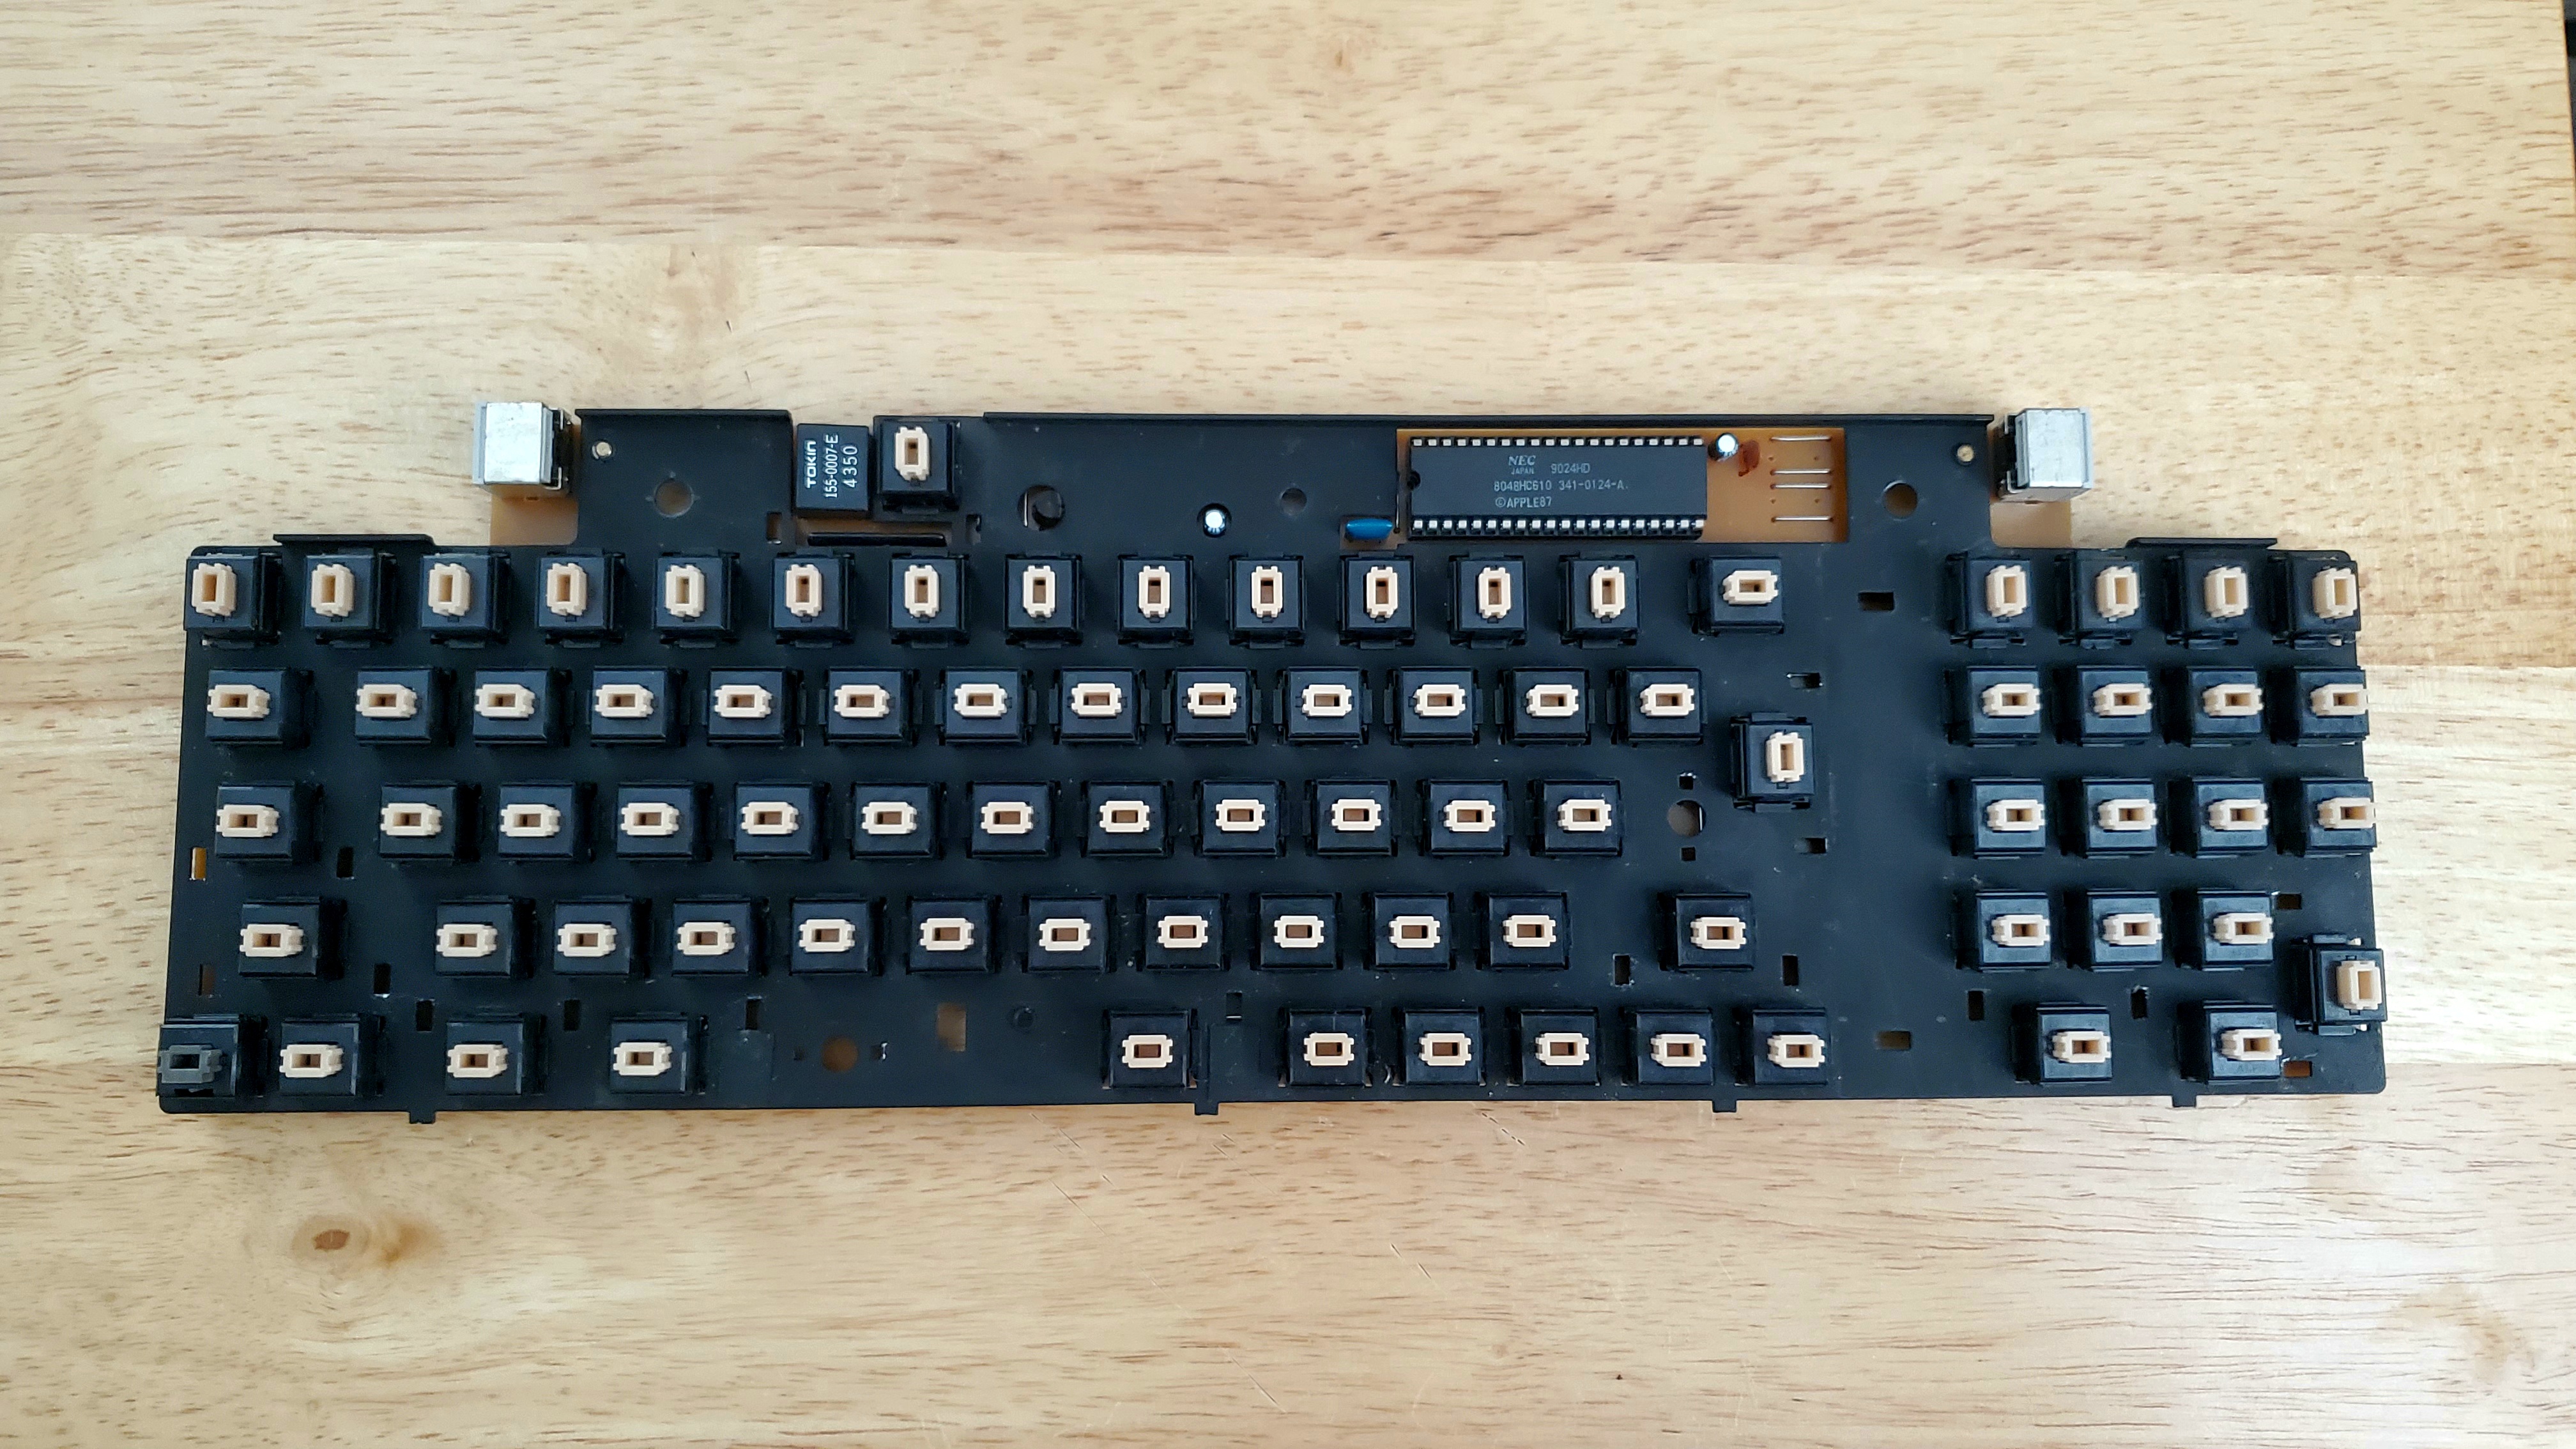
Just scored an Apple Desktop Bus Keyboard (M0330) with very clean Salmon Alps in it for $127 shipped! Not sure what I am gonna do with it yet, but the price was right taking what the market price for loose salmon Alps is, so I bit the bullet on it.
10 Likes
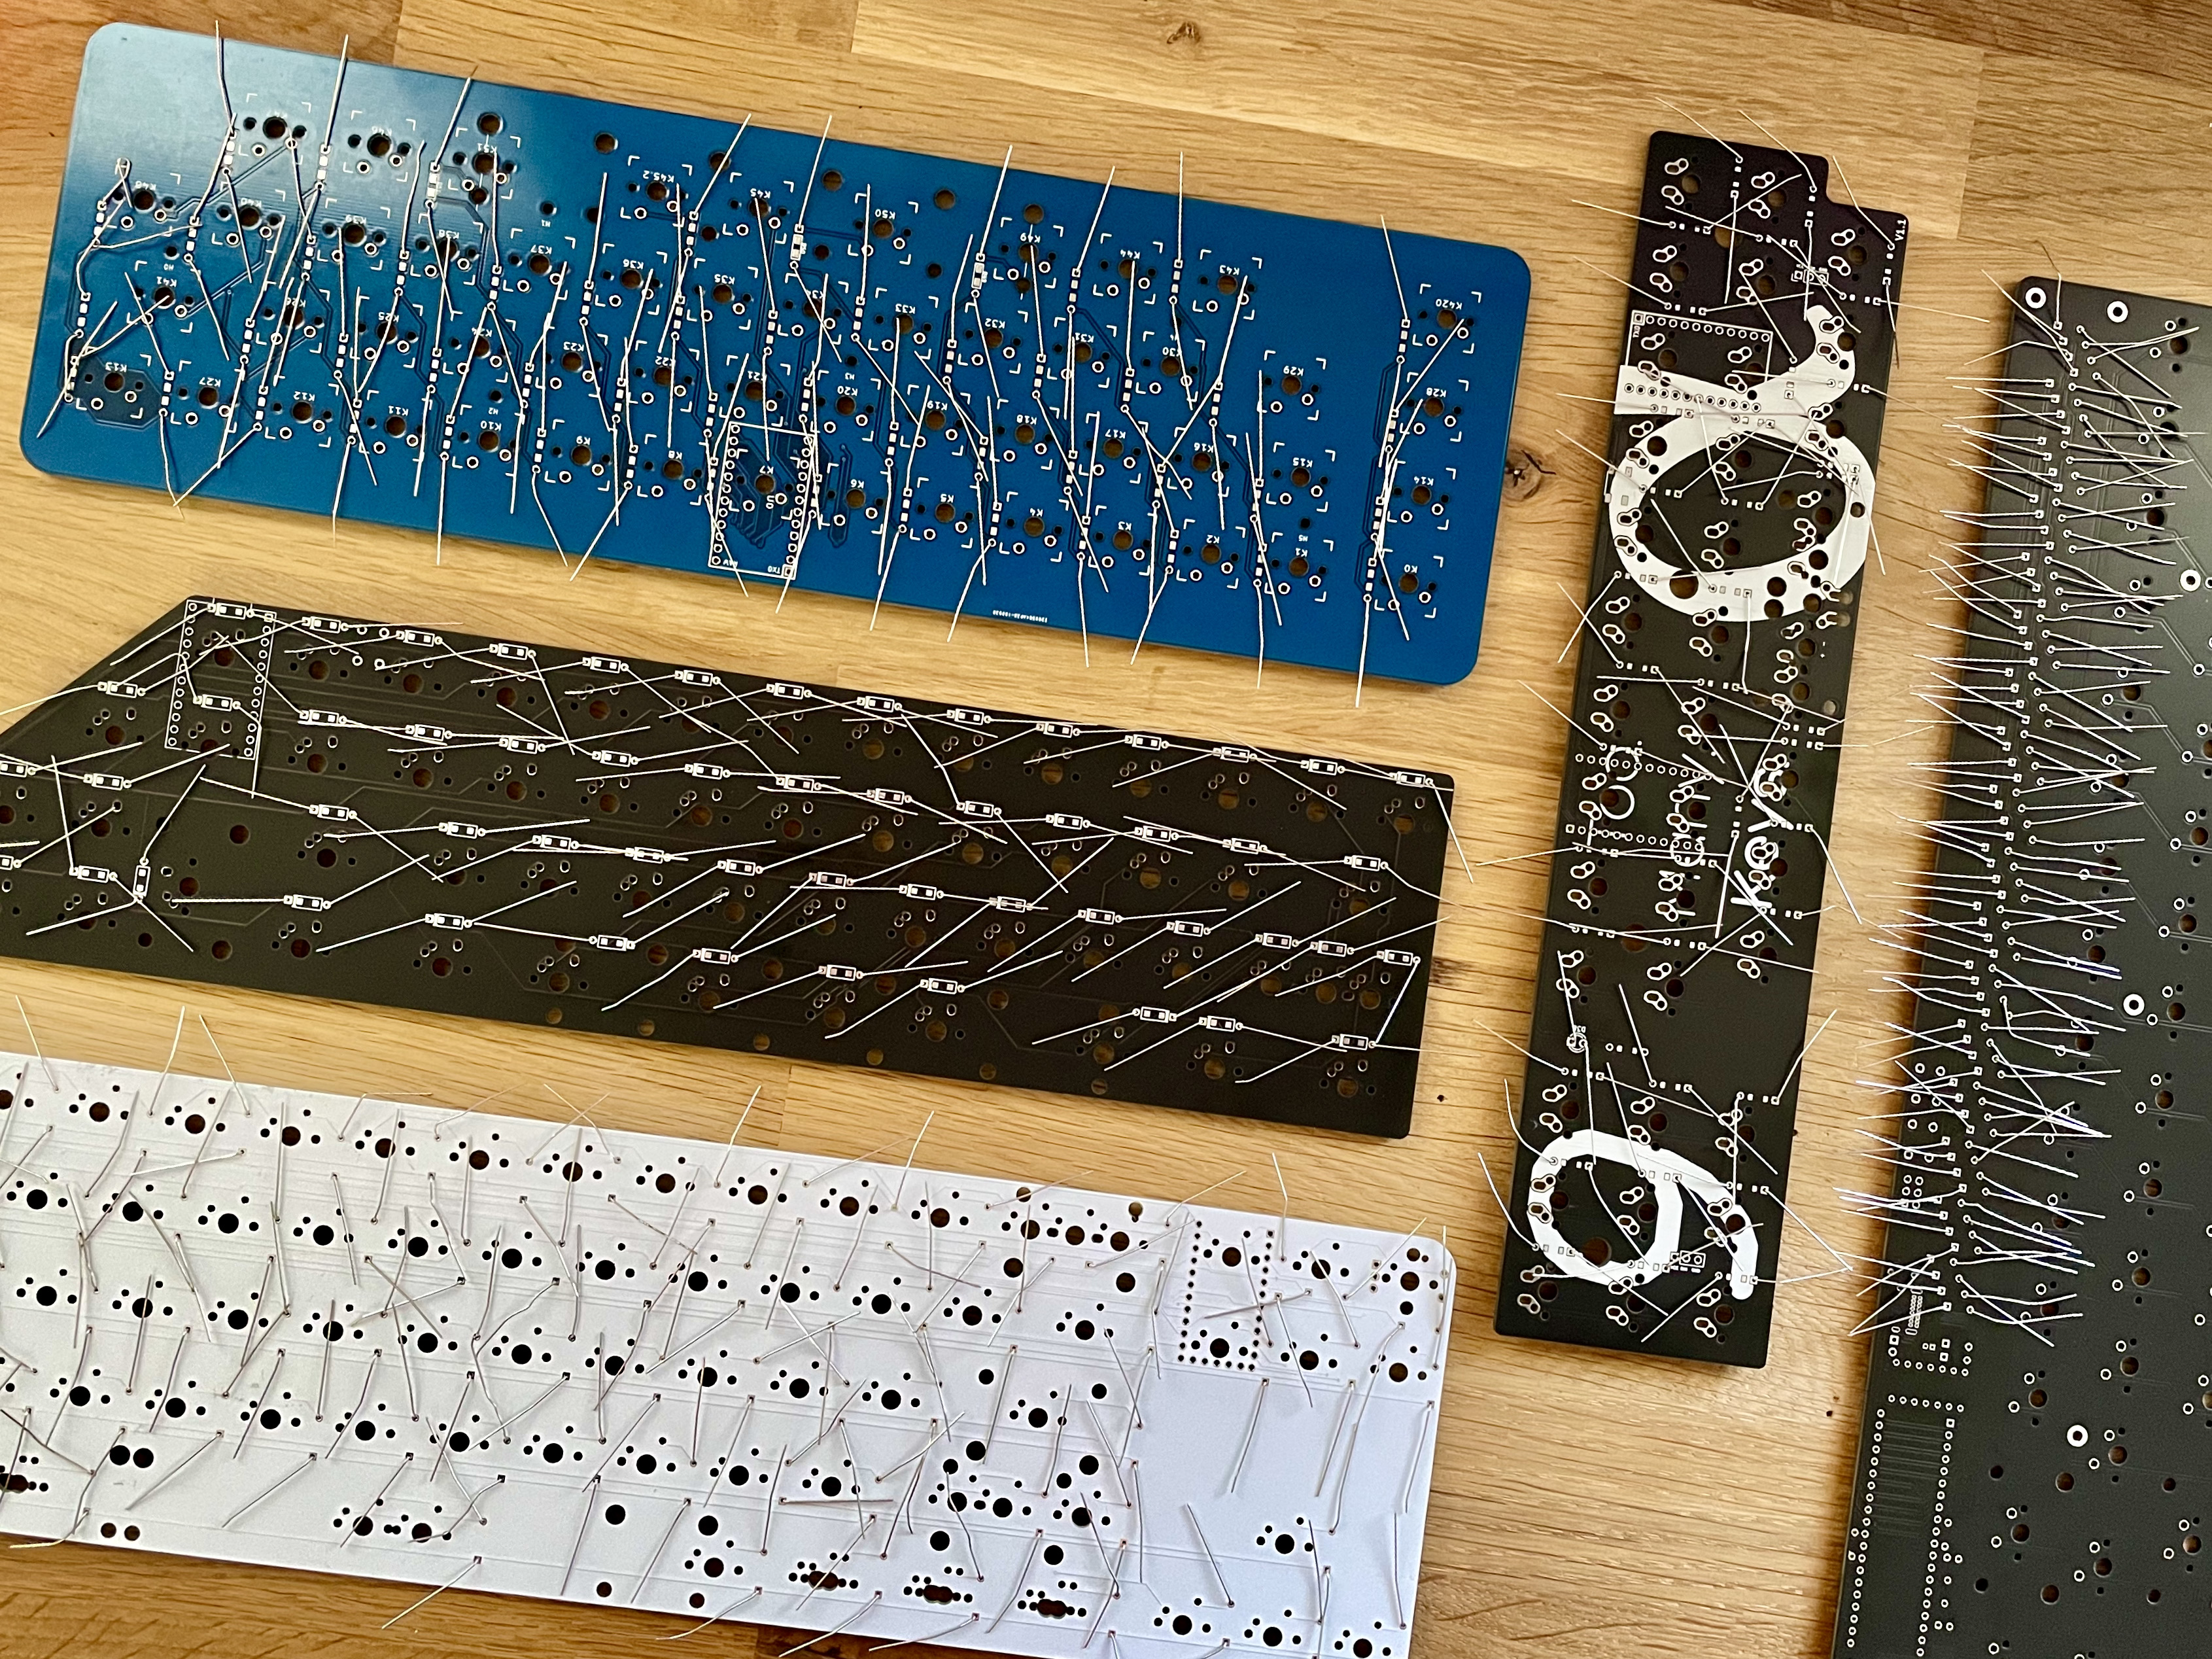
Finally working on all the cheap through hole kits I’ve collected over the last year. These tend to not get built because they require even more time.
Installing diodes is my new go to when I am able to turn video off on conference calls.
16 Likes
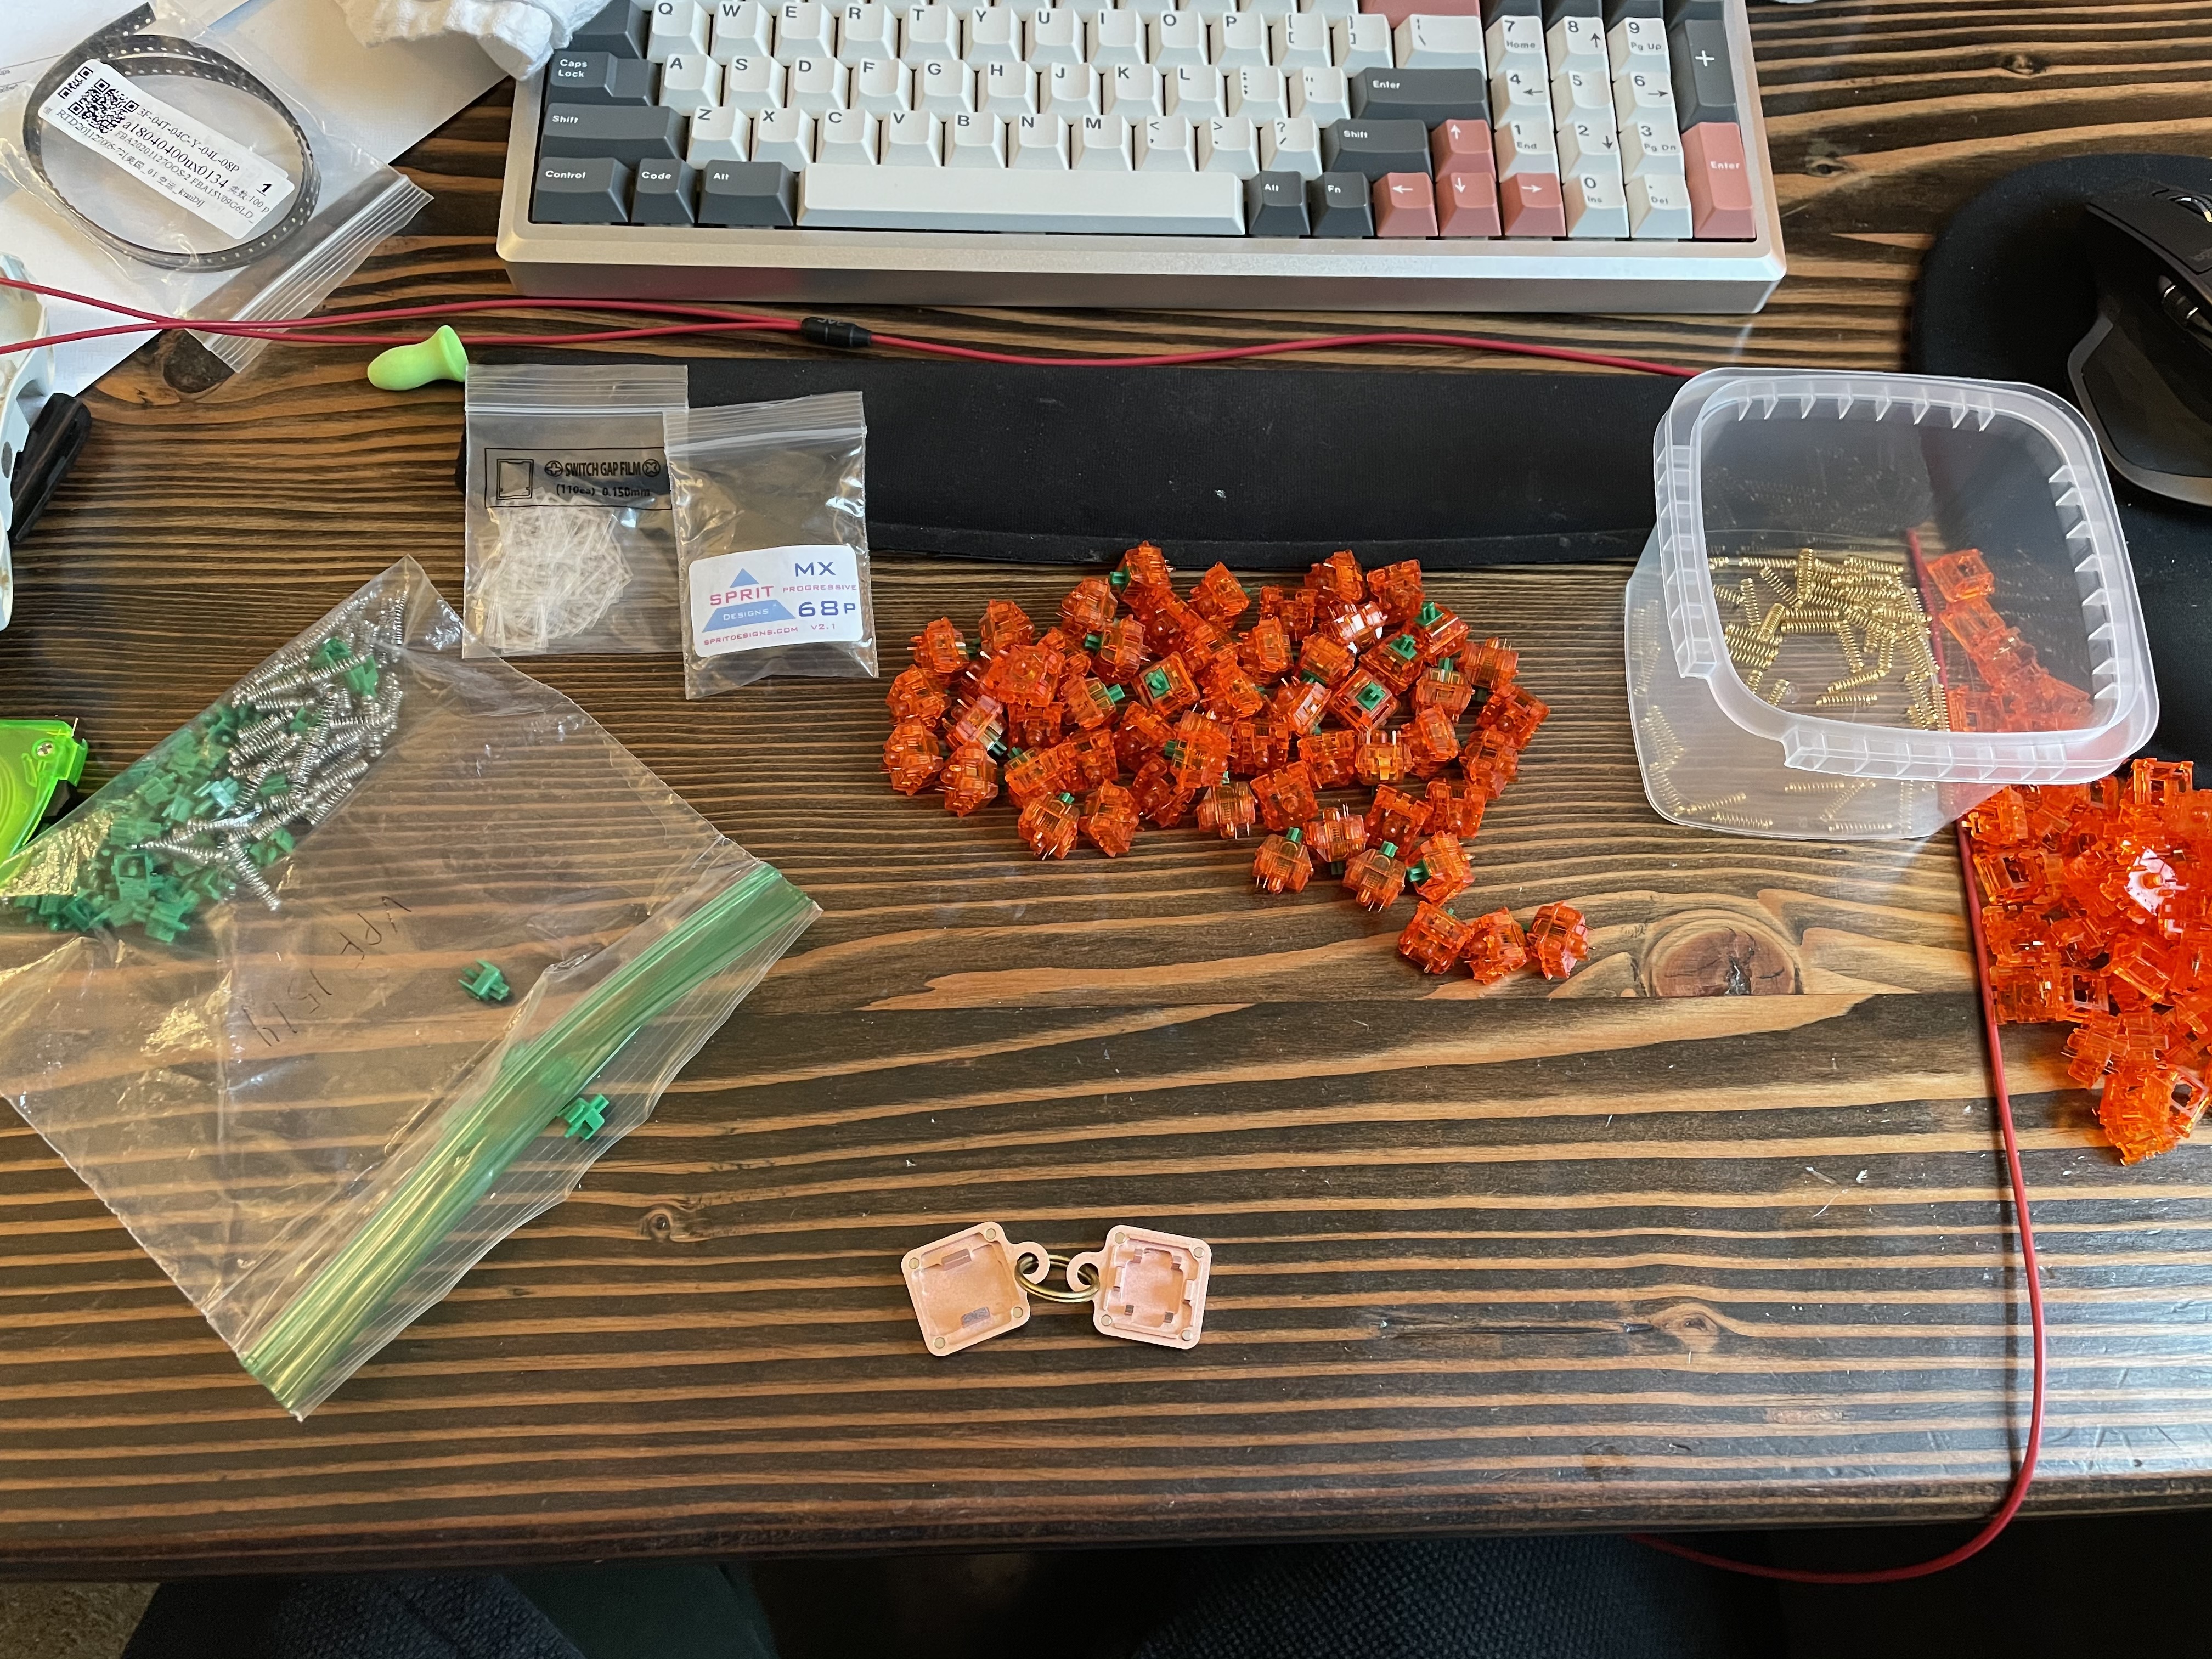
The desk drawer clean out continues. This morning I found a bunch of parts from cancelled projects and put them together.
Anything to put off lubing switches for my next real build…
Here is my new Snow day Keyboardbelle built with Penguin switches.
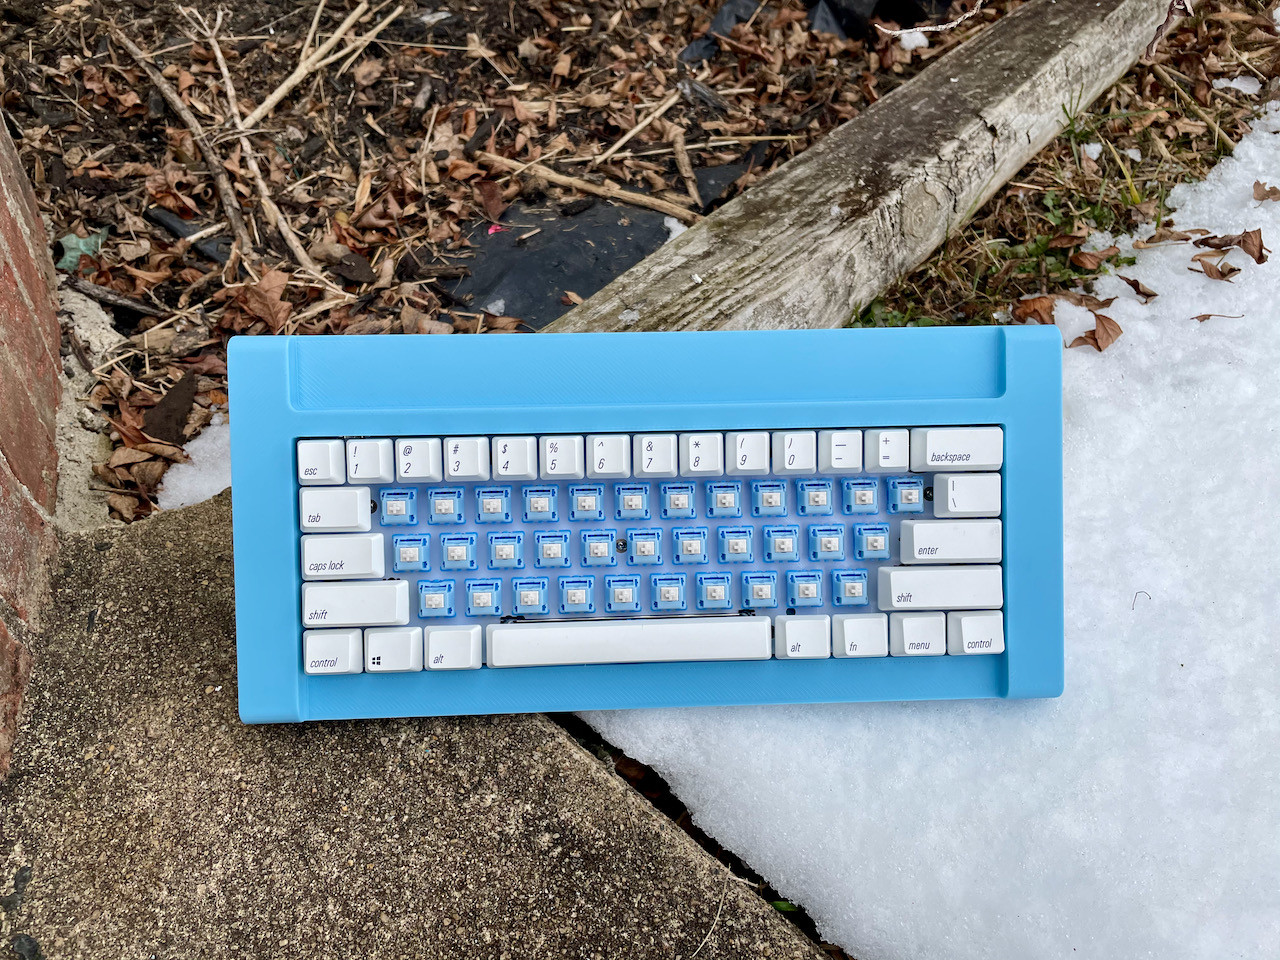
EDIT: I just noticed how much a plateless build highlights the shrinkage on PBT caps. Must be the cold…
18 Likes
MMMM! Stunning 
4 Likes
Gonna get this desoldered at some point today! Was tempted to keep it together, but the case isn’t in the best shape, it’s missing the 3 keycap, & most importantly looking at the back it seems like someone has replaced a switch for some reason. So I figure it’s best to just harvest given those things.
12 Likes
Those switches definitely look extra clean. I think you will be well rewarded for your effort.
Of course, then you have to build something new with them… hmm…
1 Like
Yeah that’s what made me grab this board. When I saw how clean the switches looked & that they are pine Salmons I was like “I need this” LOL!
3 Likes
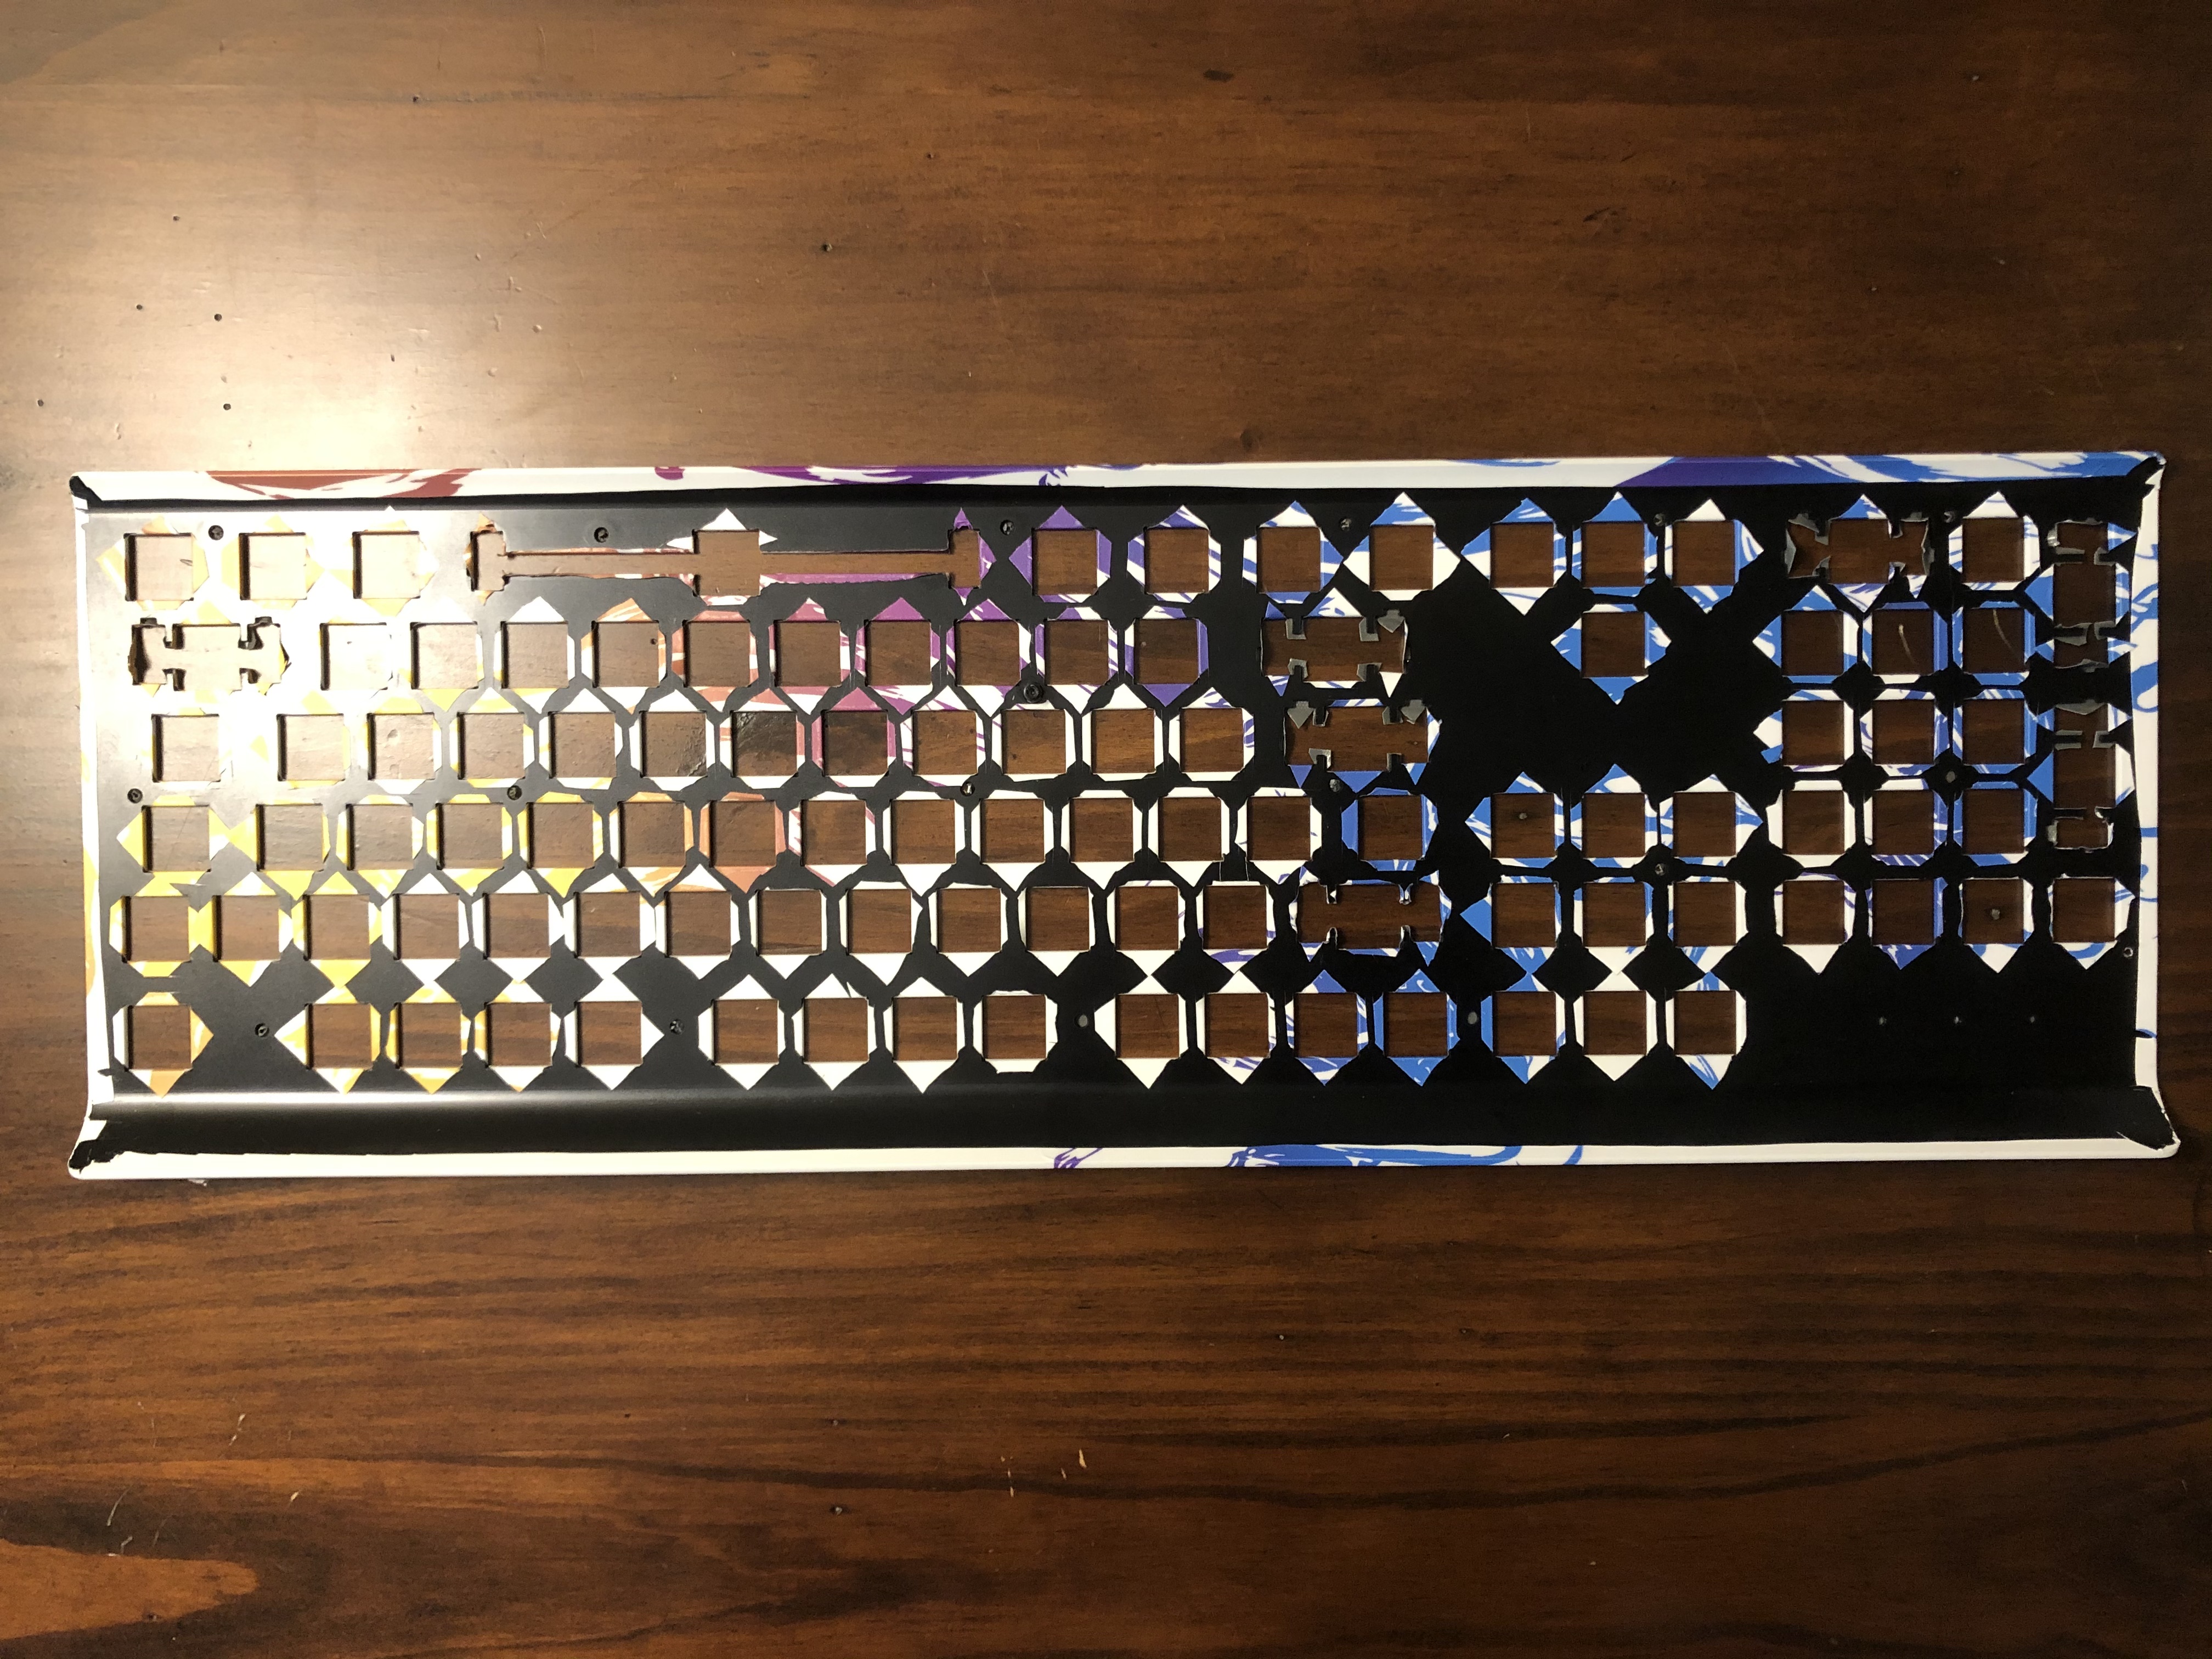
Before

After
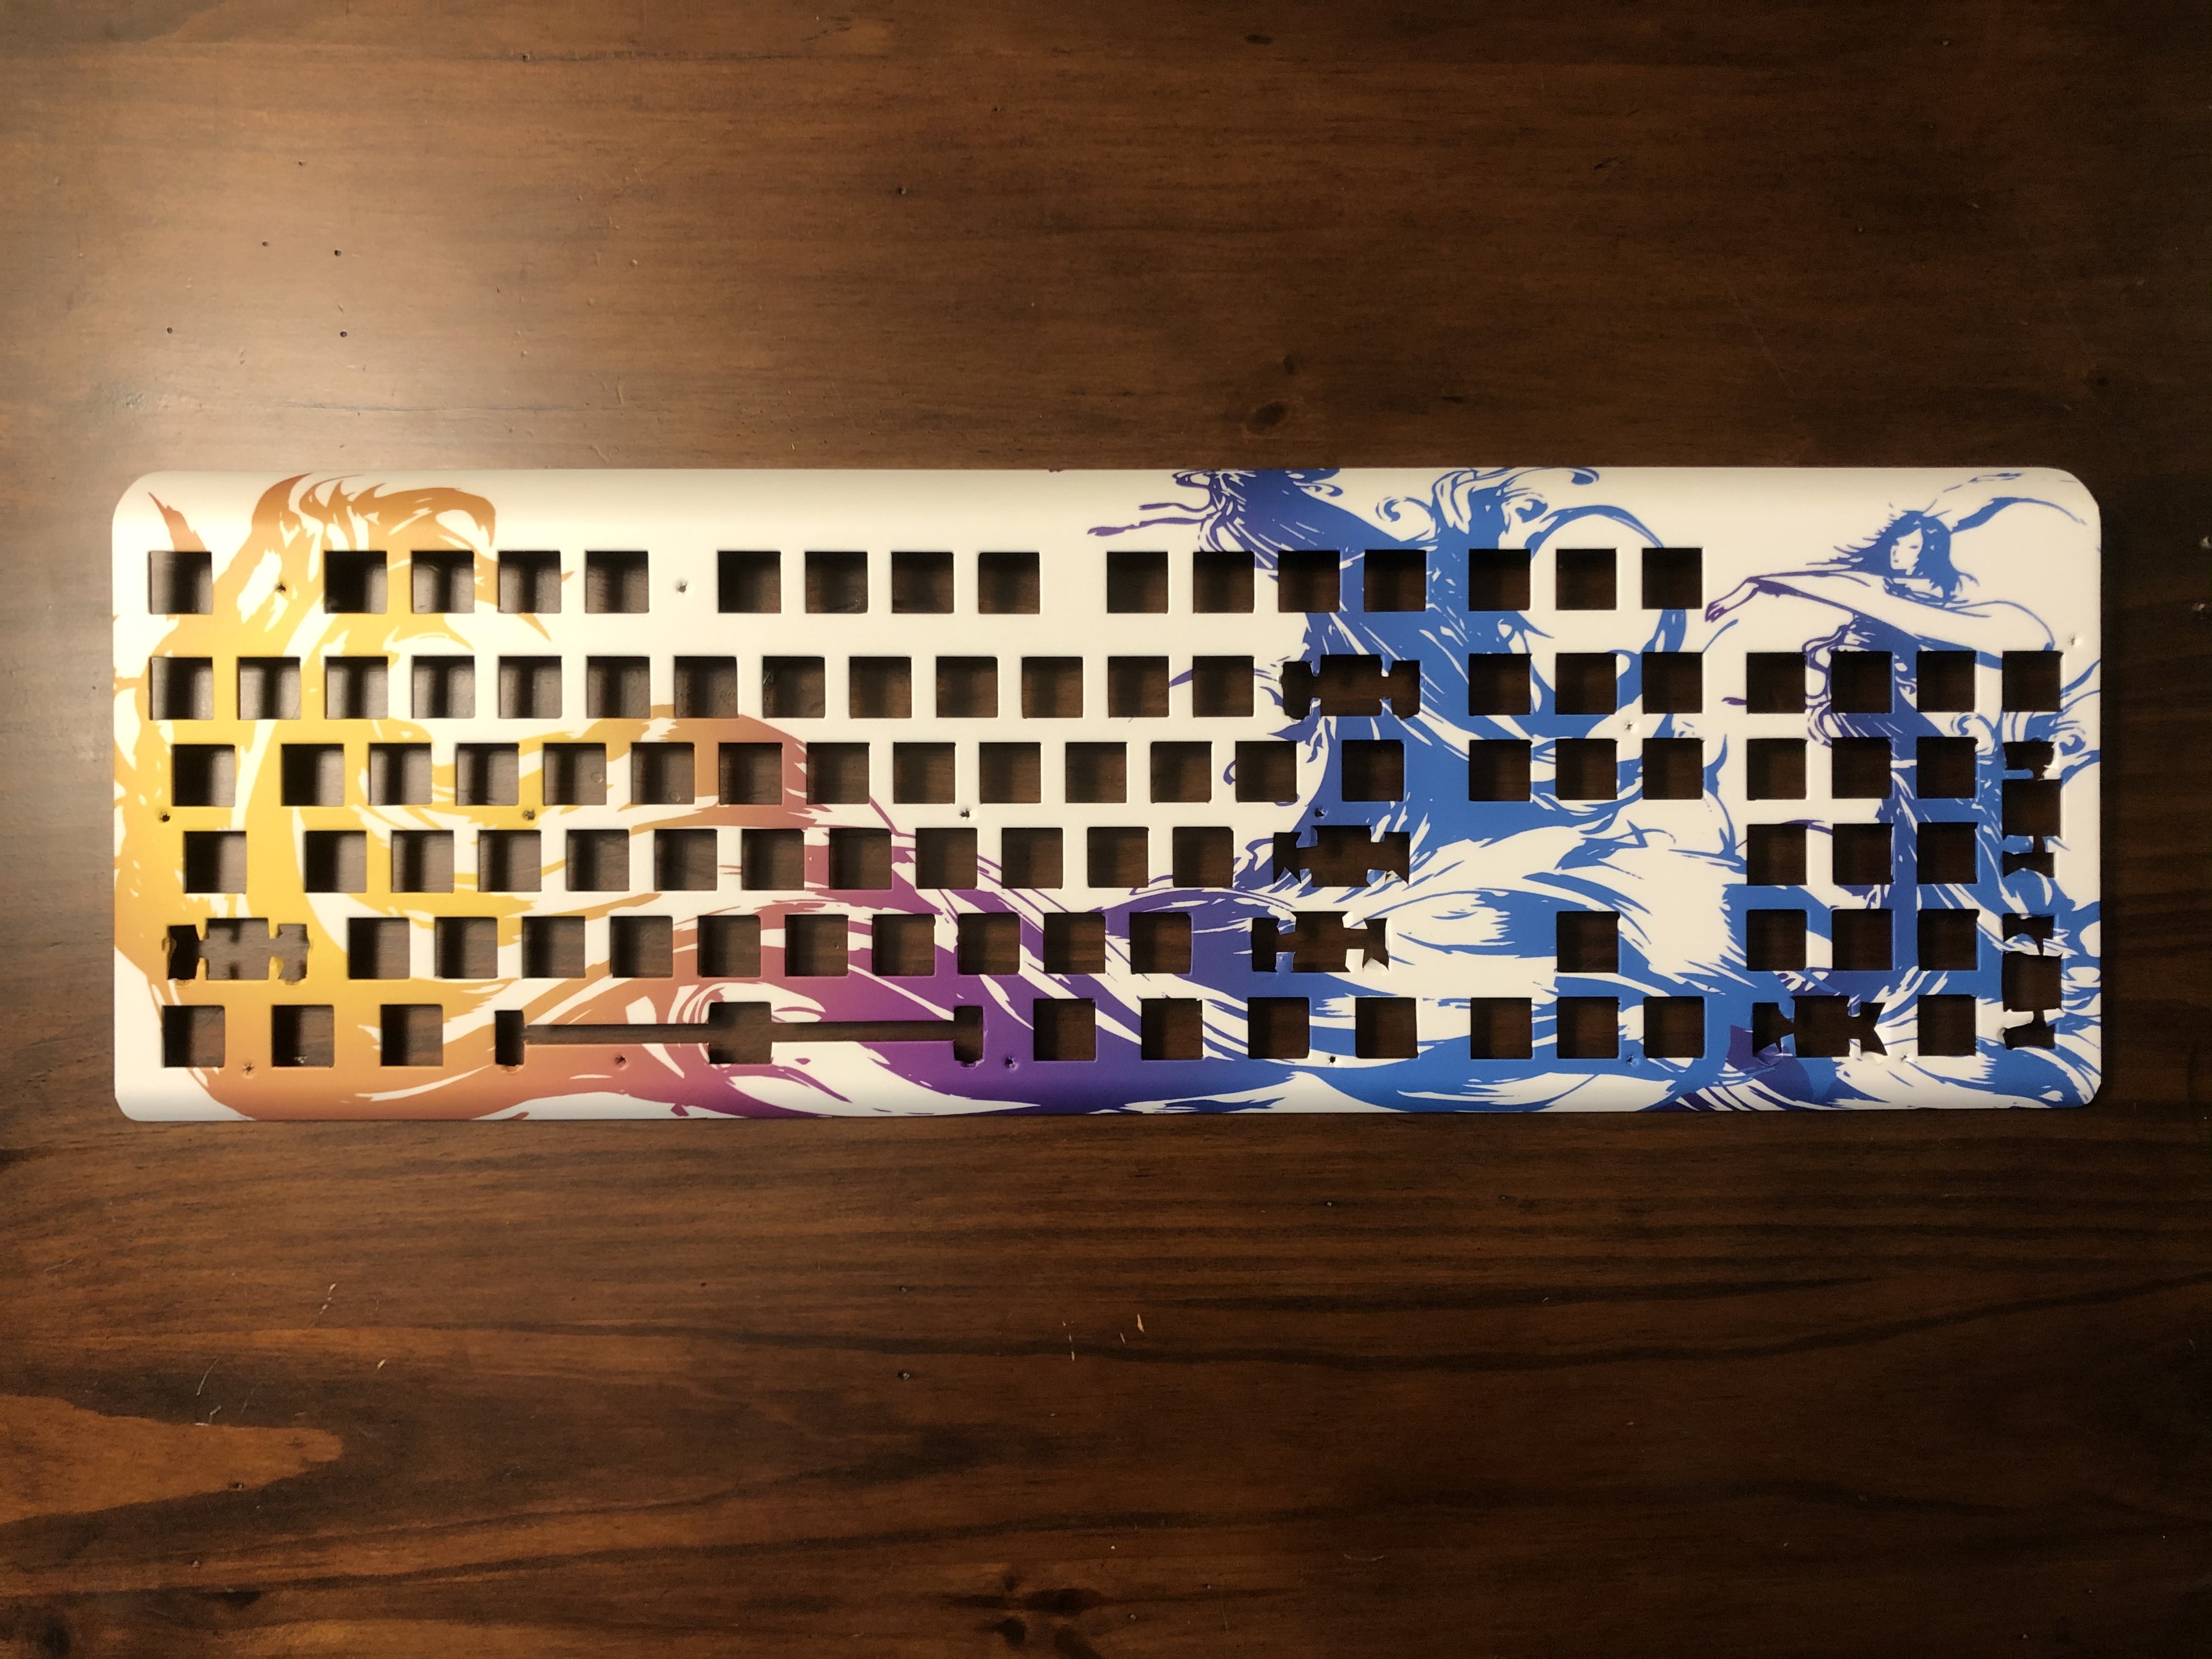
Well, it looks like it worked. It took about seven hours between these photos, but it’s definitely my first time trying to wrap something like this. I learned a few things might do differently next time.
It does remain to be seen how long this will last - on a car, a few years at least - not sure about a keyboard, though. The fold-ins around the stabs won’t stay down on their own, but I think the stabs themselves will keep them in place, with the print doubling as a shim I’d otherwise be installing anyway.
More photos and such when it’s done.
Bonus - the much less attractive underside:
18 Likes
looks awesome
3 Likes
Looks awesome, its a good thing you wont see the underside haha!, is there a tutorial on how to do something like this?
2 Likes
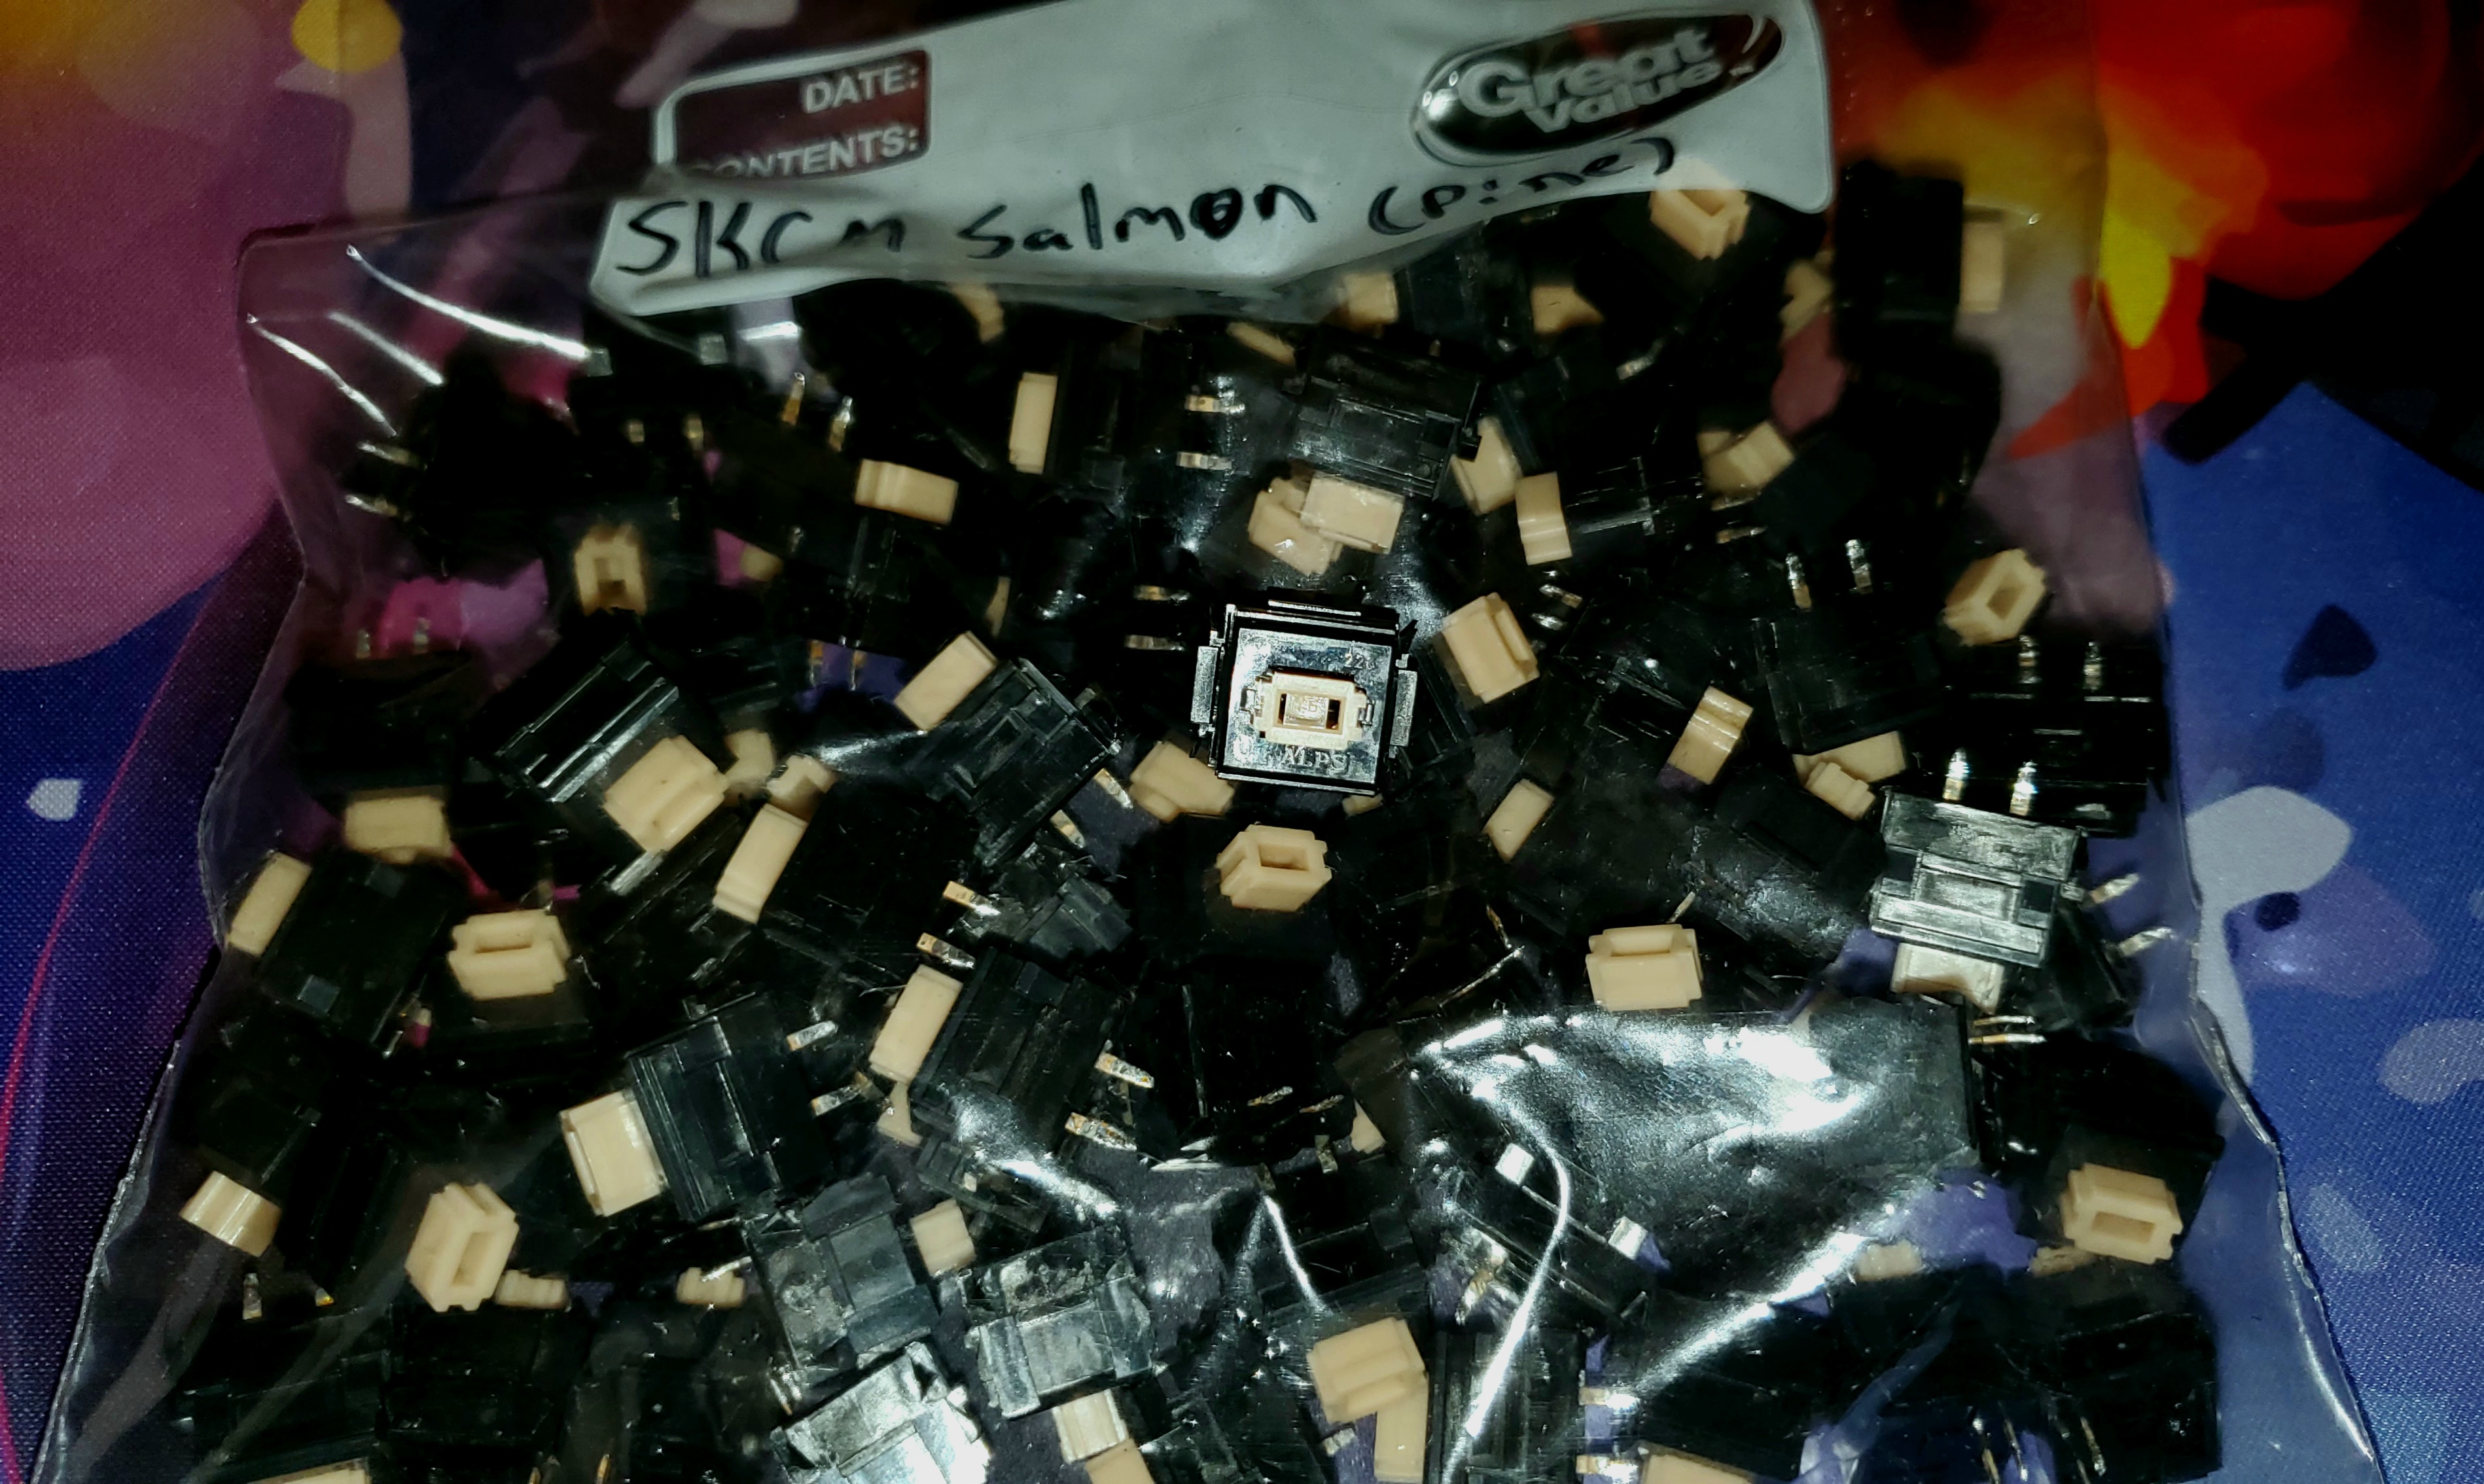
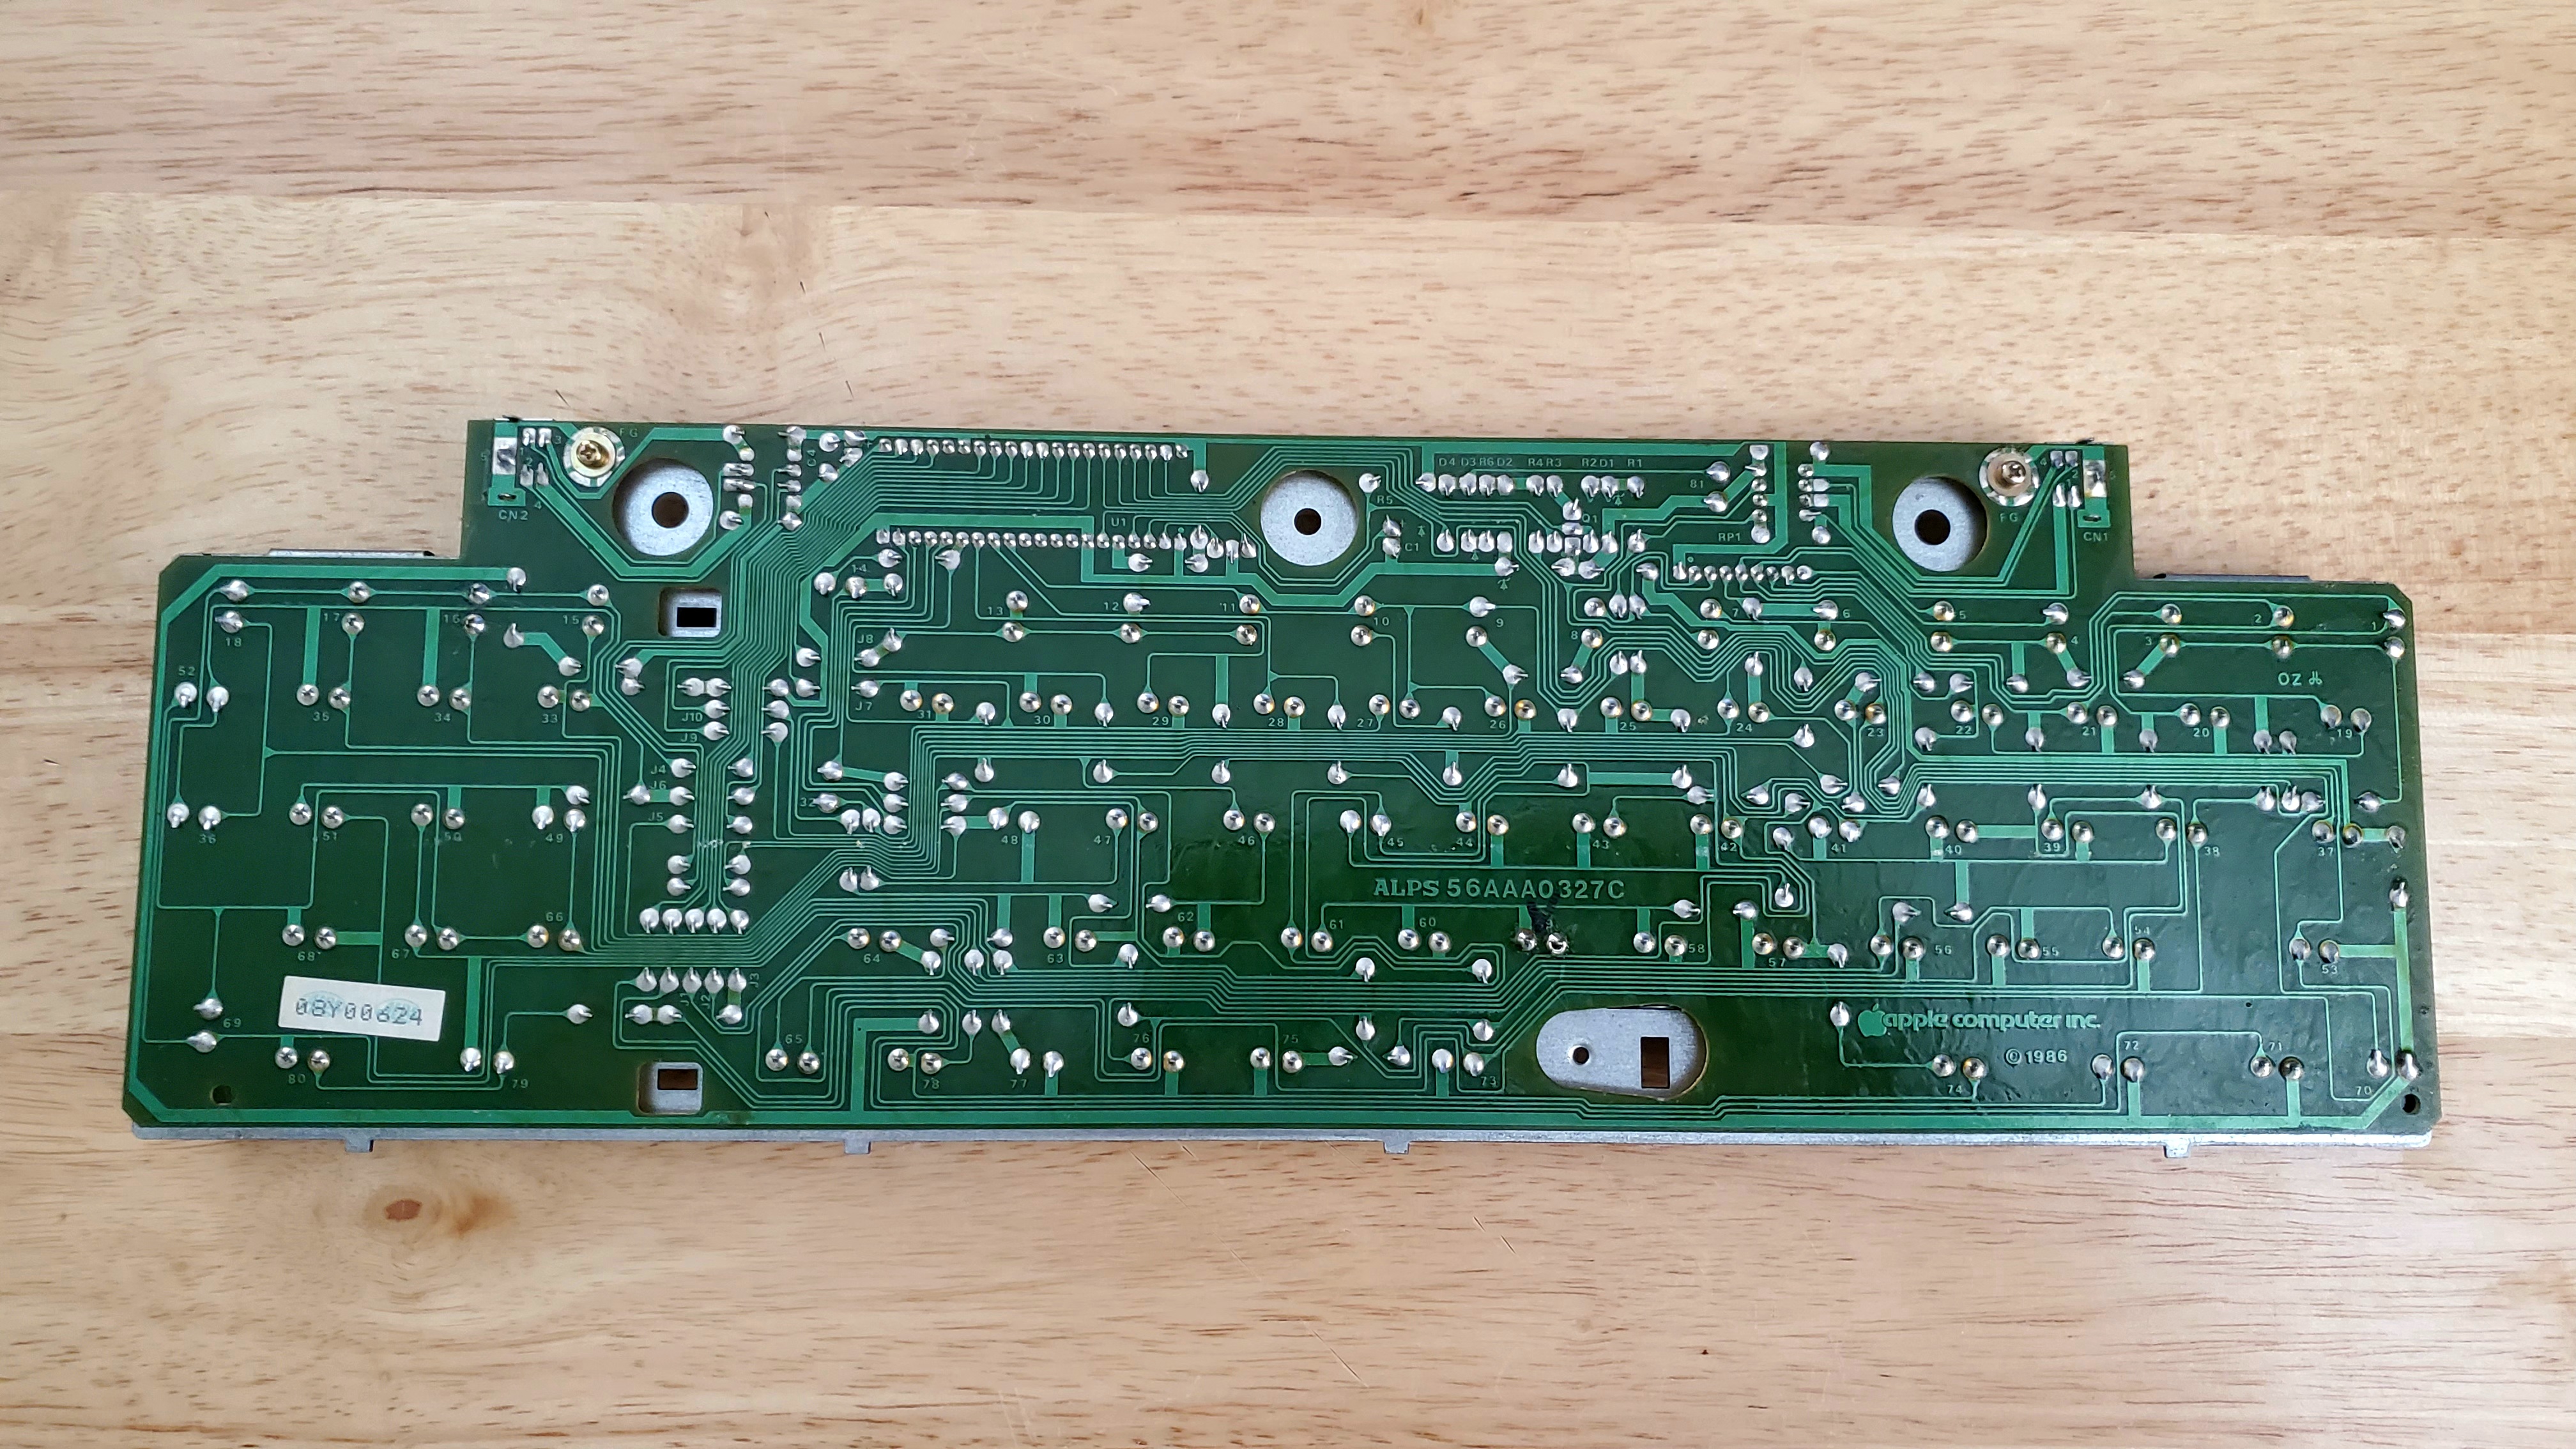
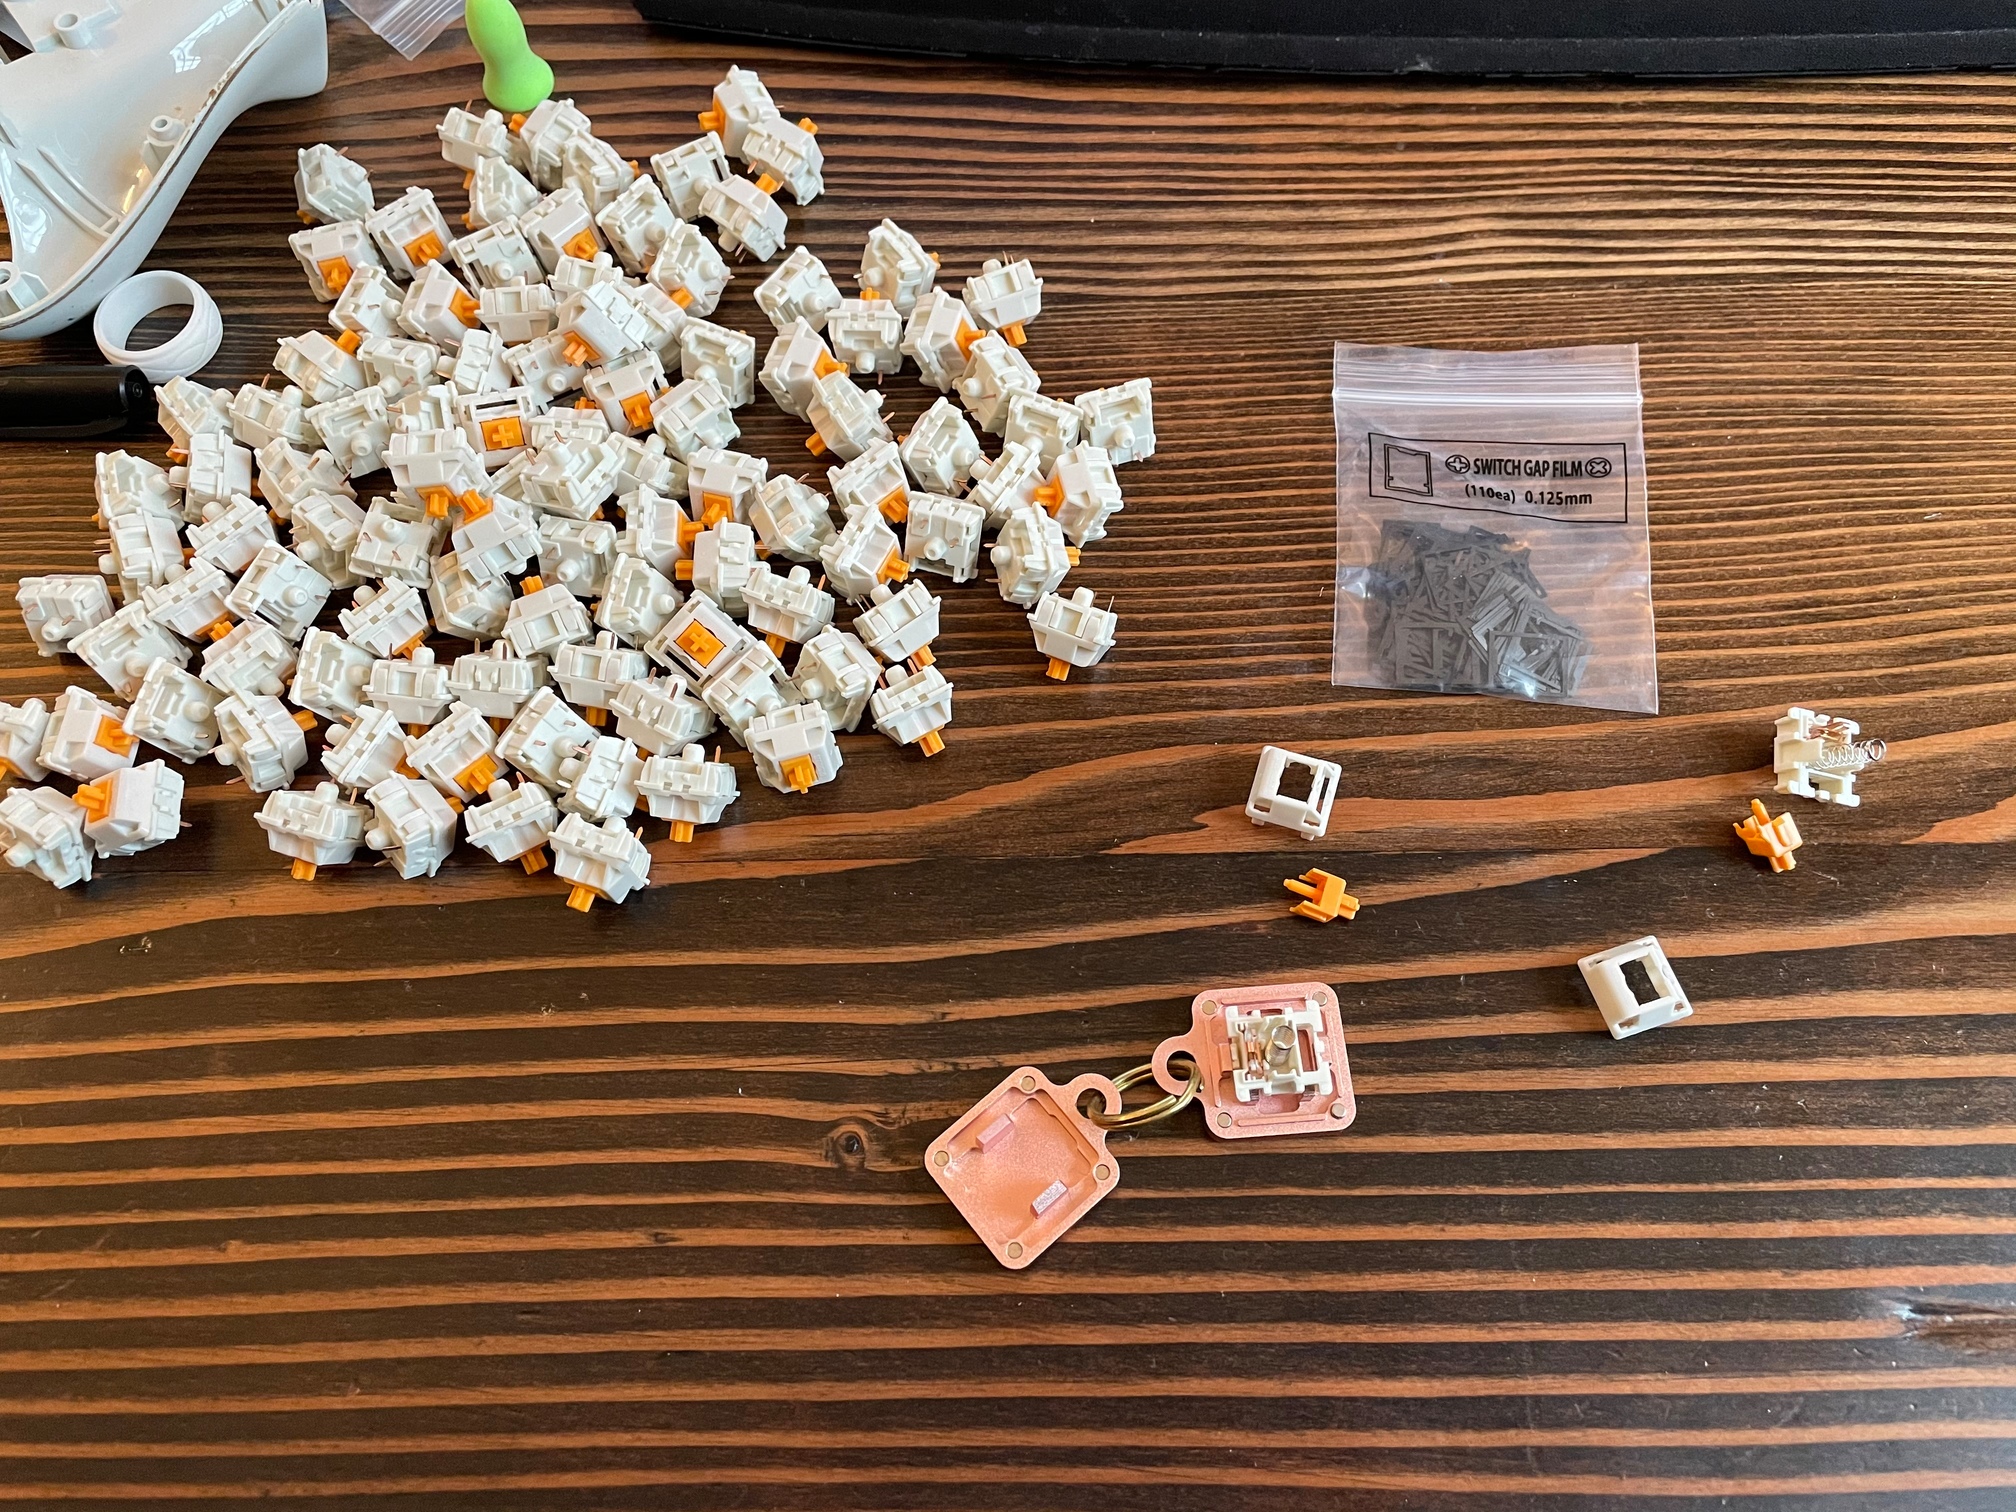
I did get the M0330 desoldered the other day, now to figure out what I want to do with the beauties!
11 Likes
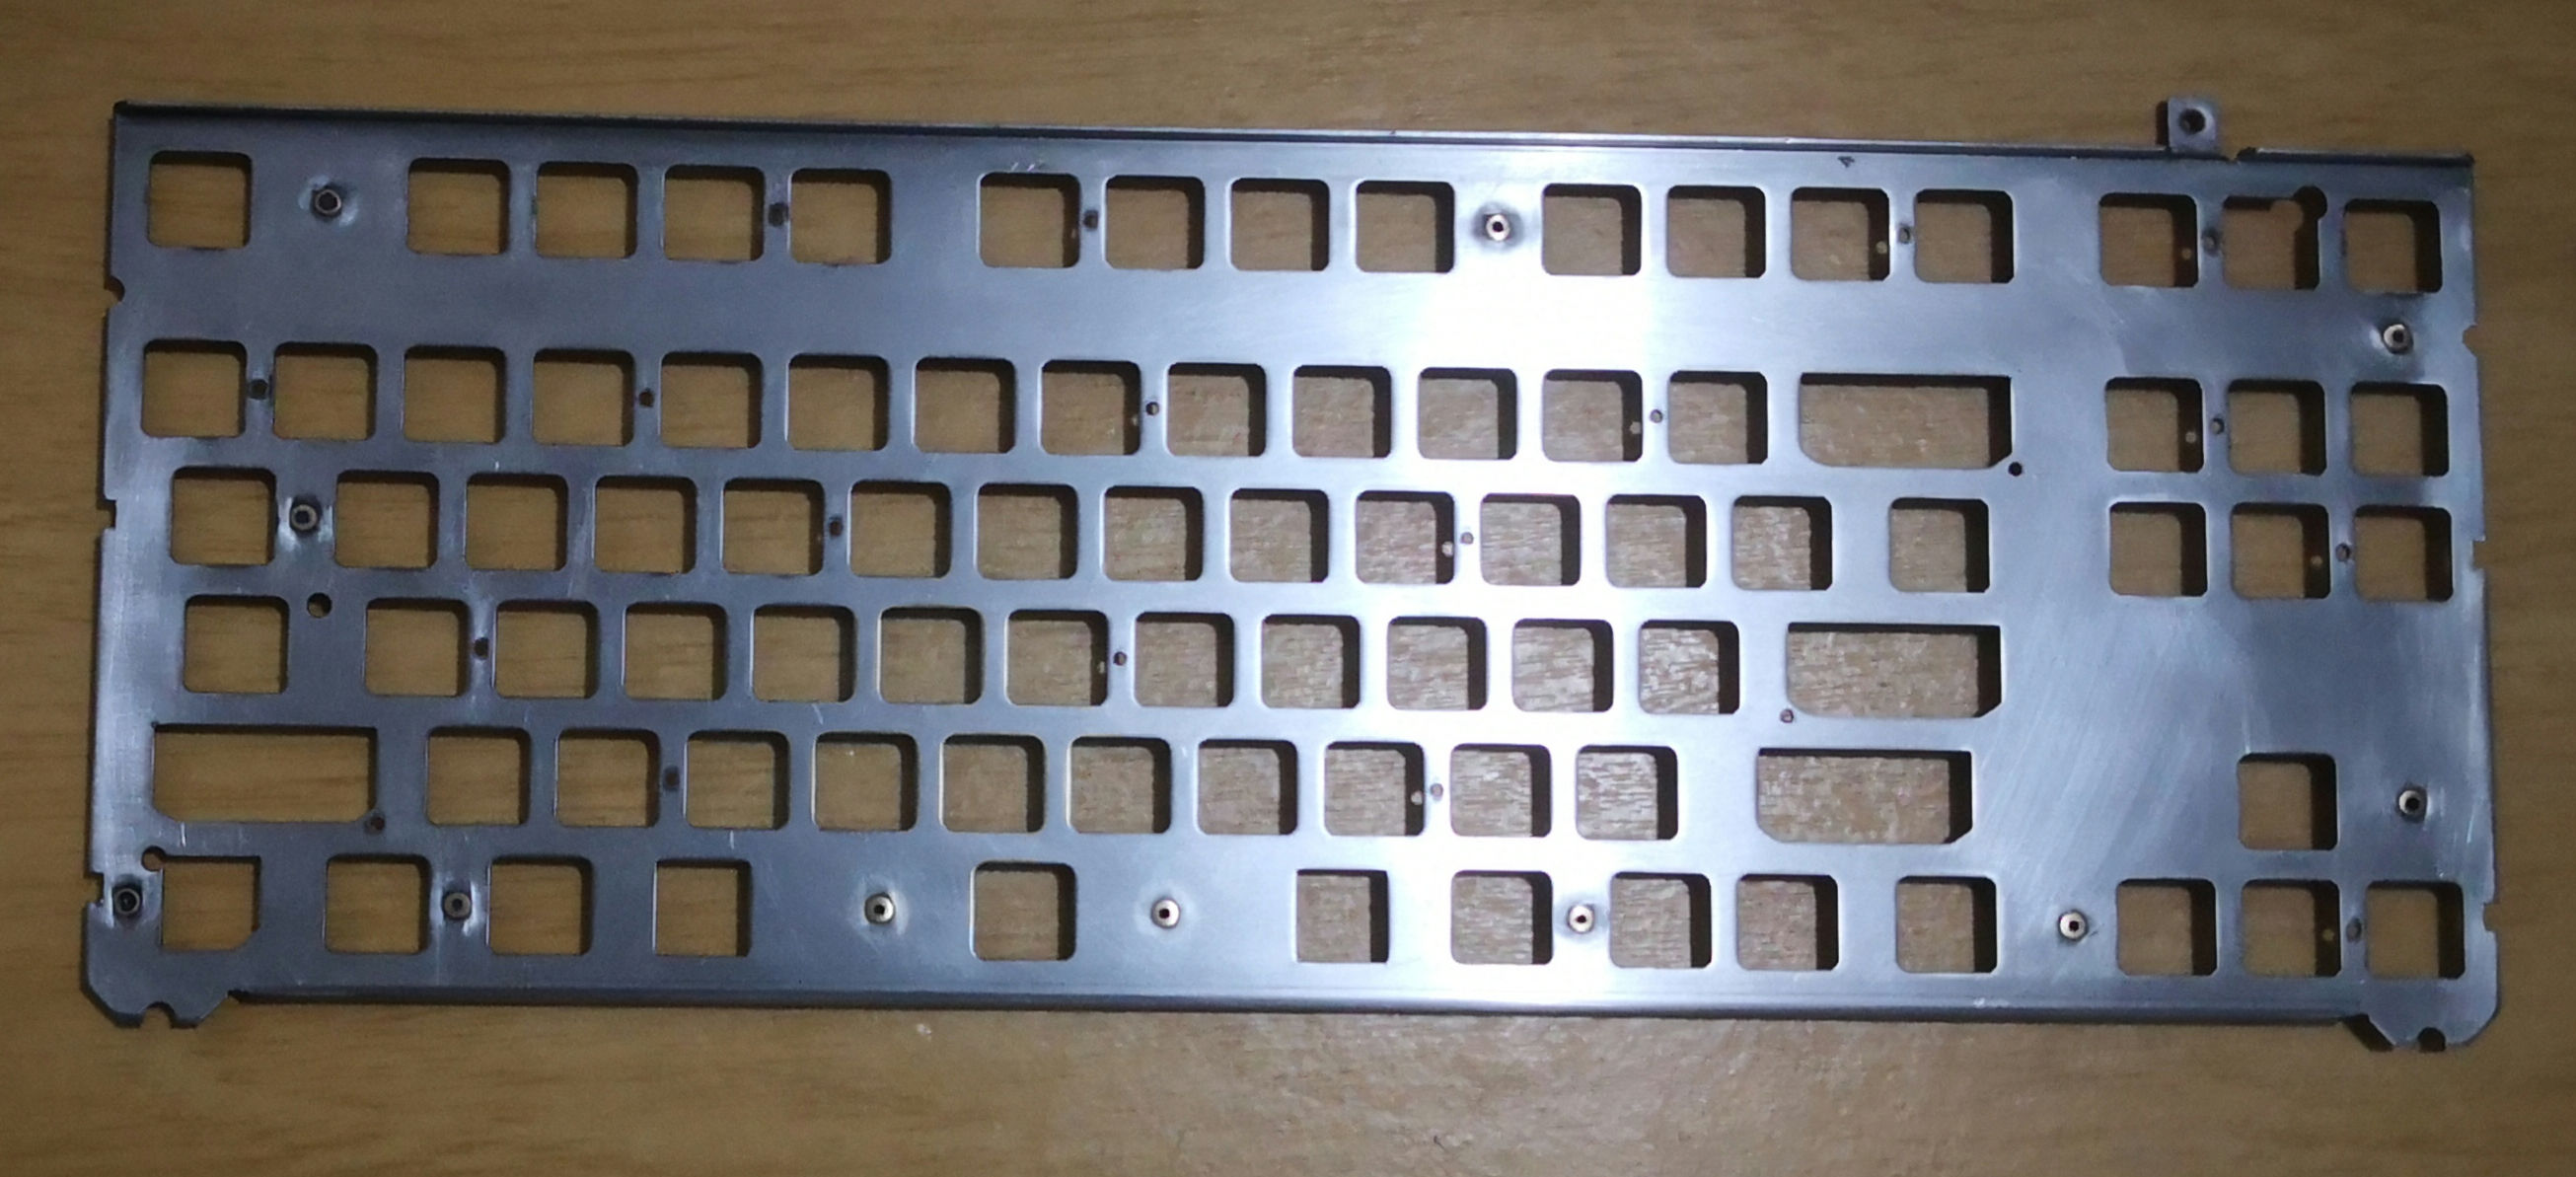
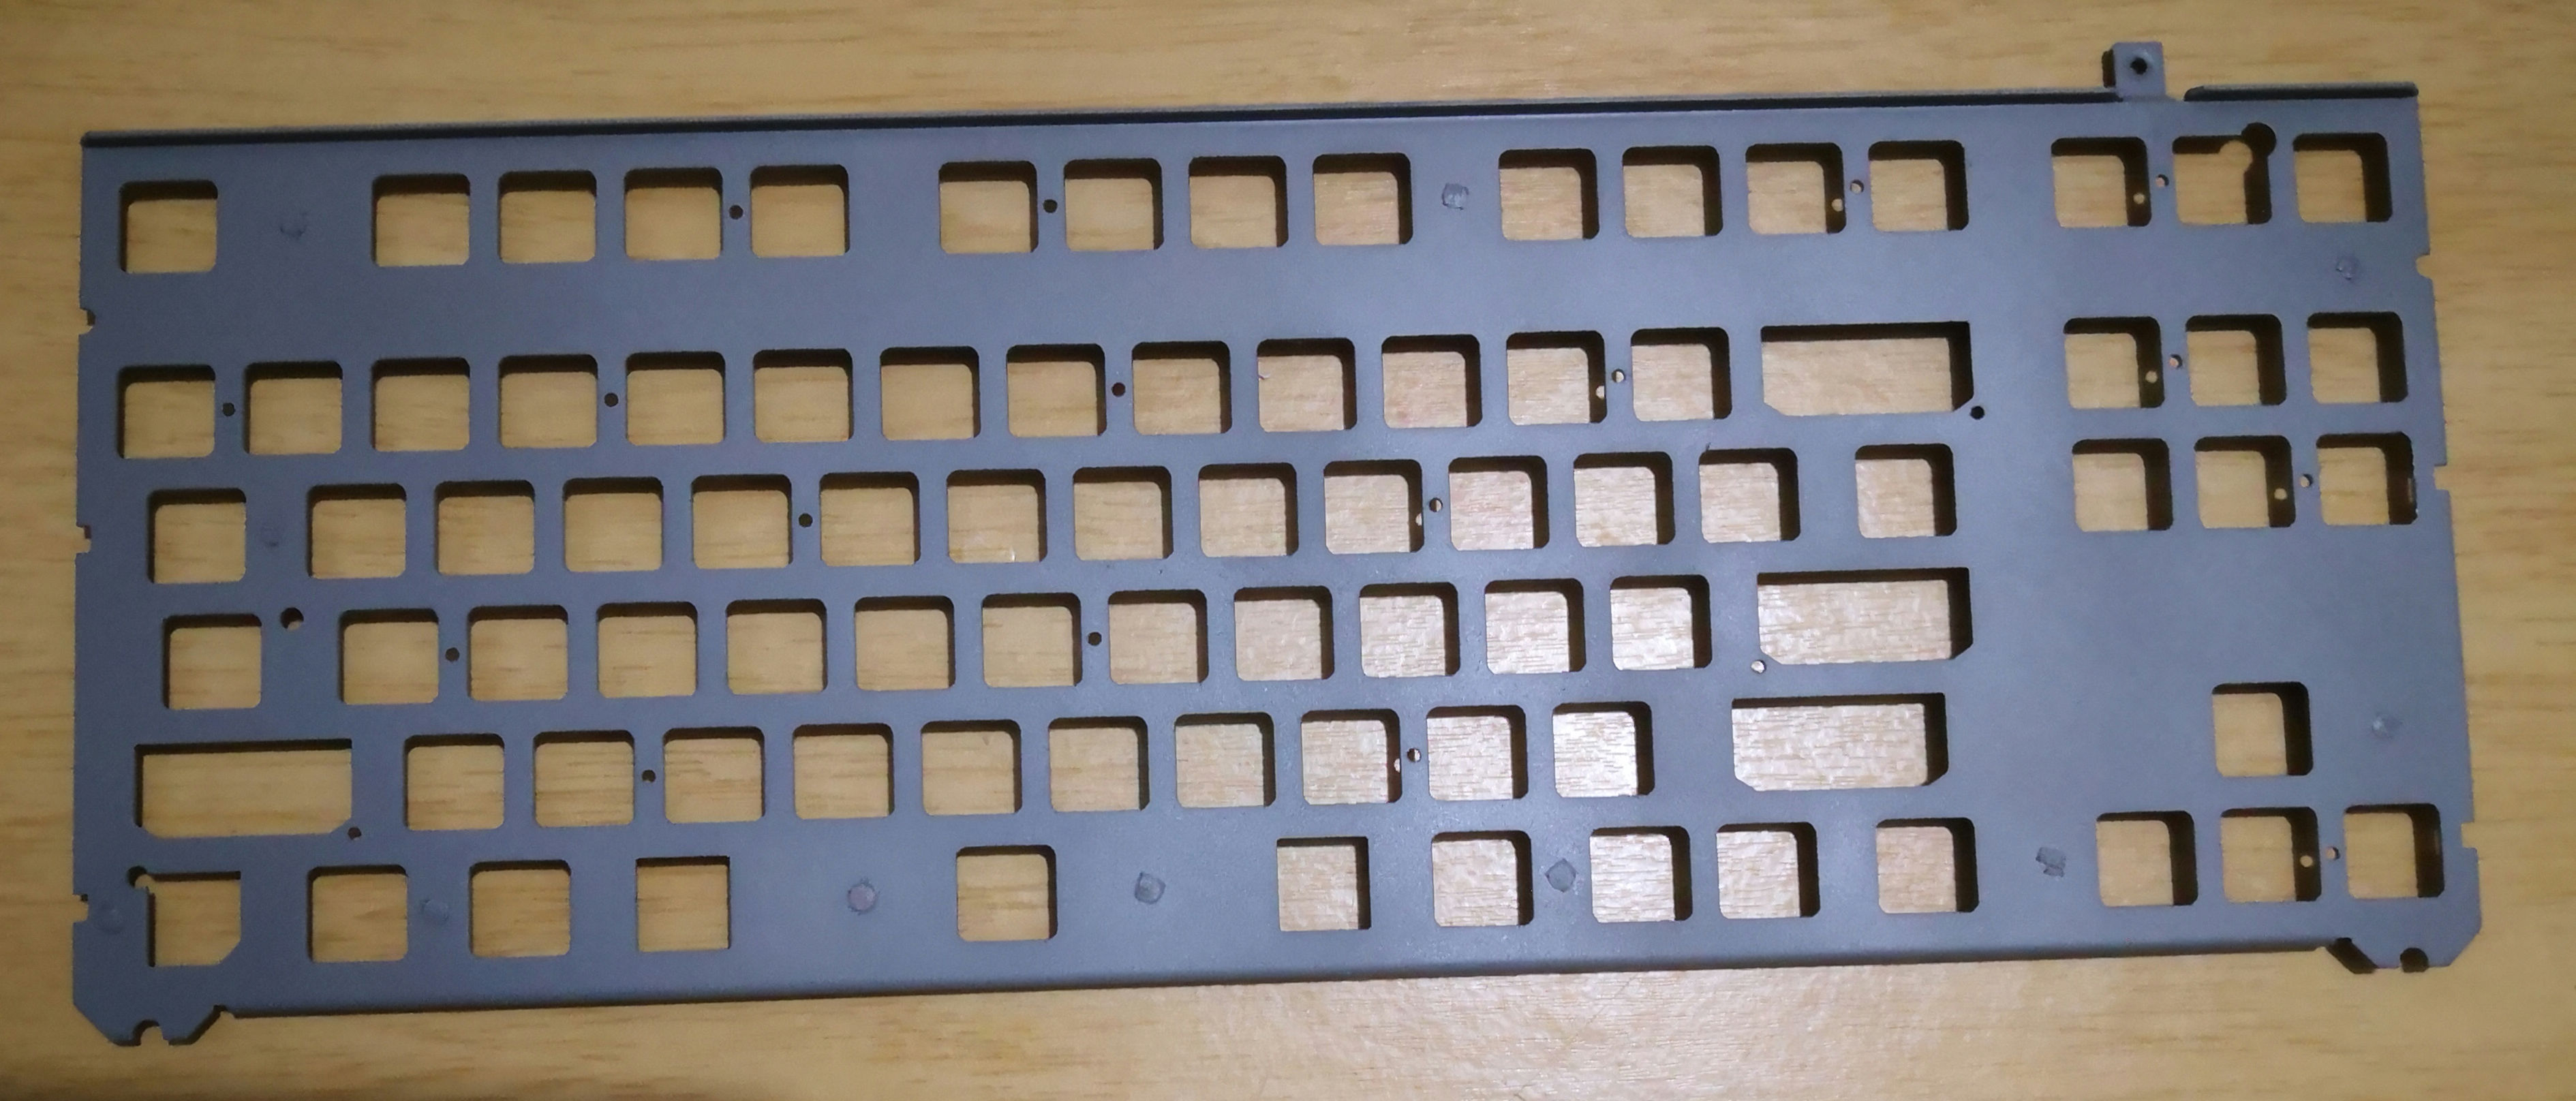
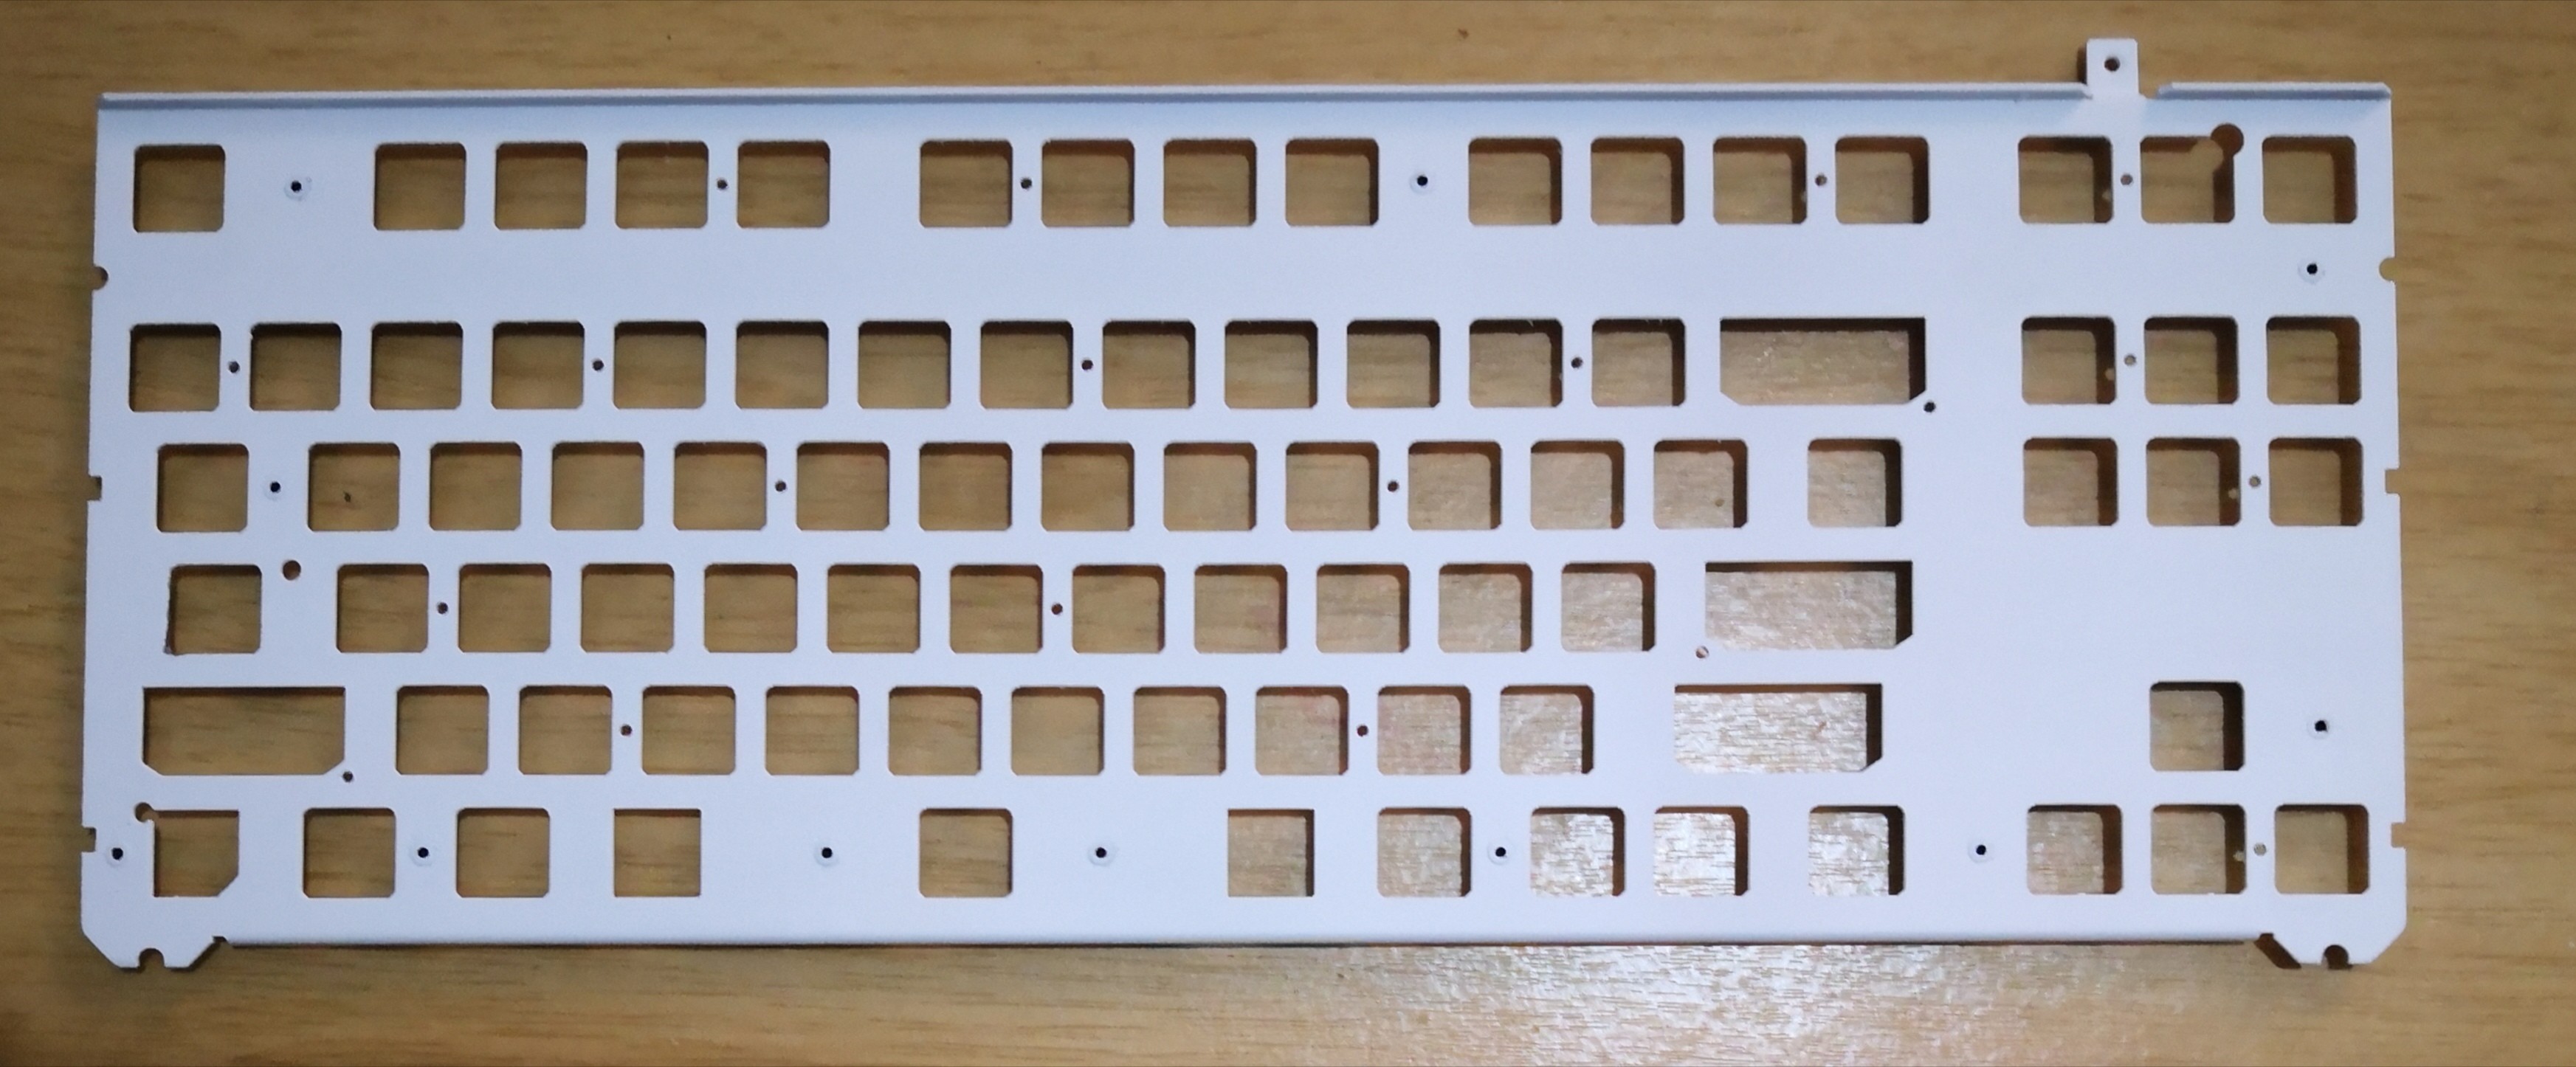
I really wanted a white plate for the Norbaforce GoC, the plate for the 87u is black and when I was removing the housing I made small scratches so I decided to paint it.
12 Likes
Wow, nice! How did you go about painting+finishing it? Looks like something I may also be interested in doing for my GoC.
1 Like
Hey, as you can see in the process I removed the paint with a sandpaper 400 grit I applied some WD40 because I applied the primer 2 days later but I removed the WD40 before applying the primer, I applied 3 layers of the primer and 2 for the color, I felt small particles in the plate that I didn’t like so I polish a little the paint with a sandpaper 2000 grit
3 Likes
I am on a mission to make the worlds quietest mechanical keyboard for my brother-in-law who is an audio engineer.
He uses ProTools in his studio so I will be using these ProTools keycaps from WASD.

I’ve got outemu sky silent forest switches coming in which are the quietest silenced switches I have found. Along with that, I will be using all the regular silencing techniques but I wanted to see if I could make the key caps themselves quieter.
I got a square punch and a hole punch to cut out pieces of felt from this adhesive roll.
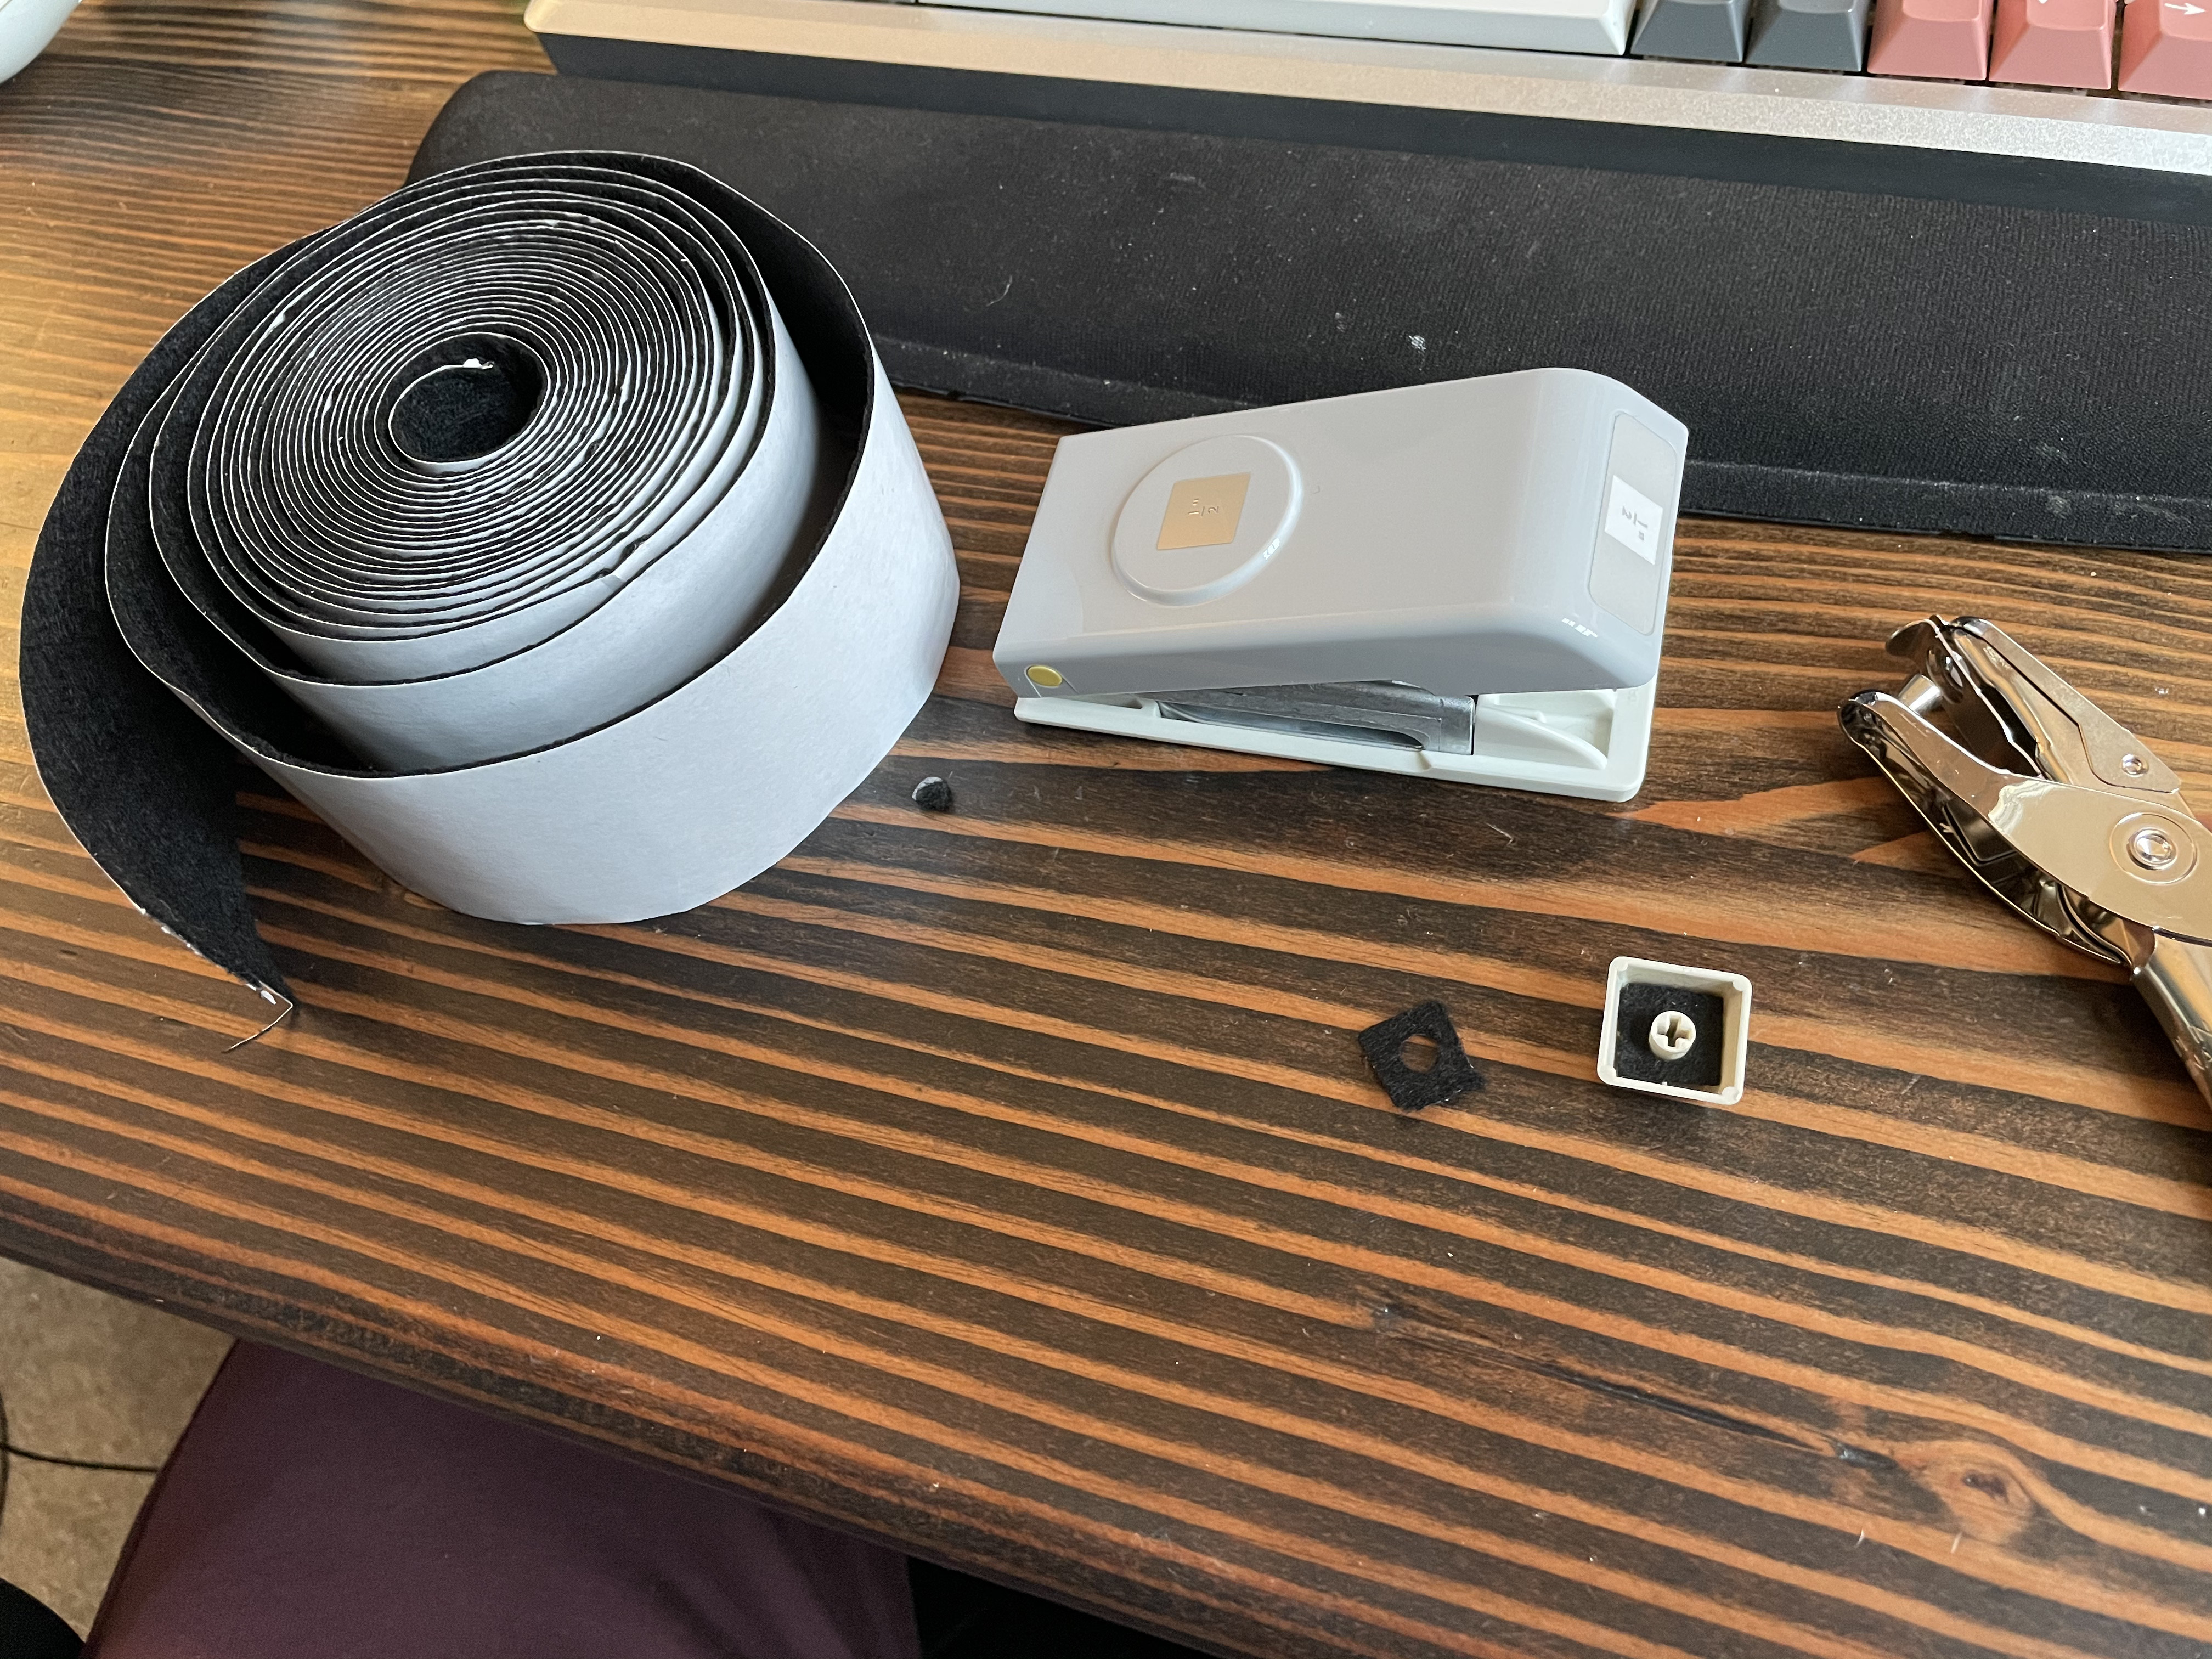
Using these old WASD keycaps, I compared the stock cap with the felt insert as well as putting some hot glue inside the keycap before adding the felt.
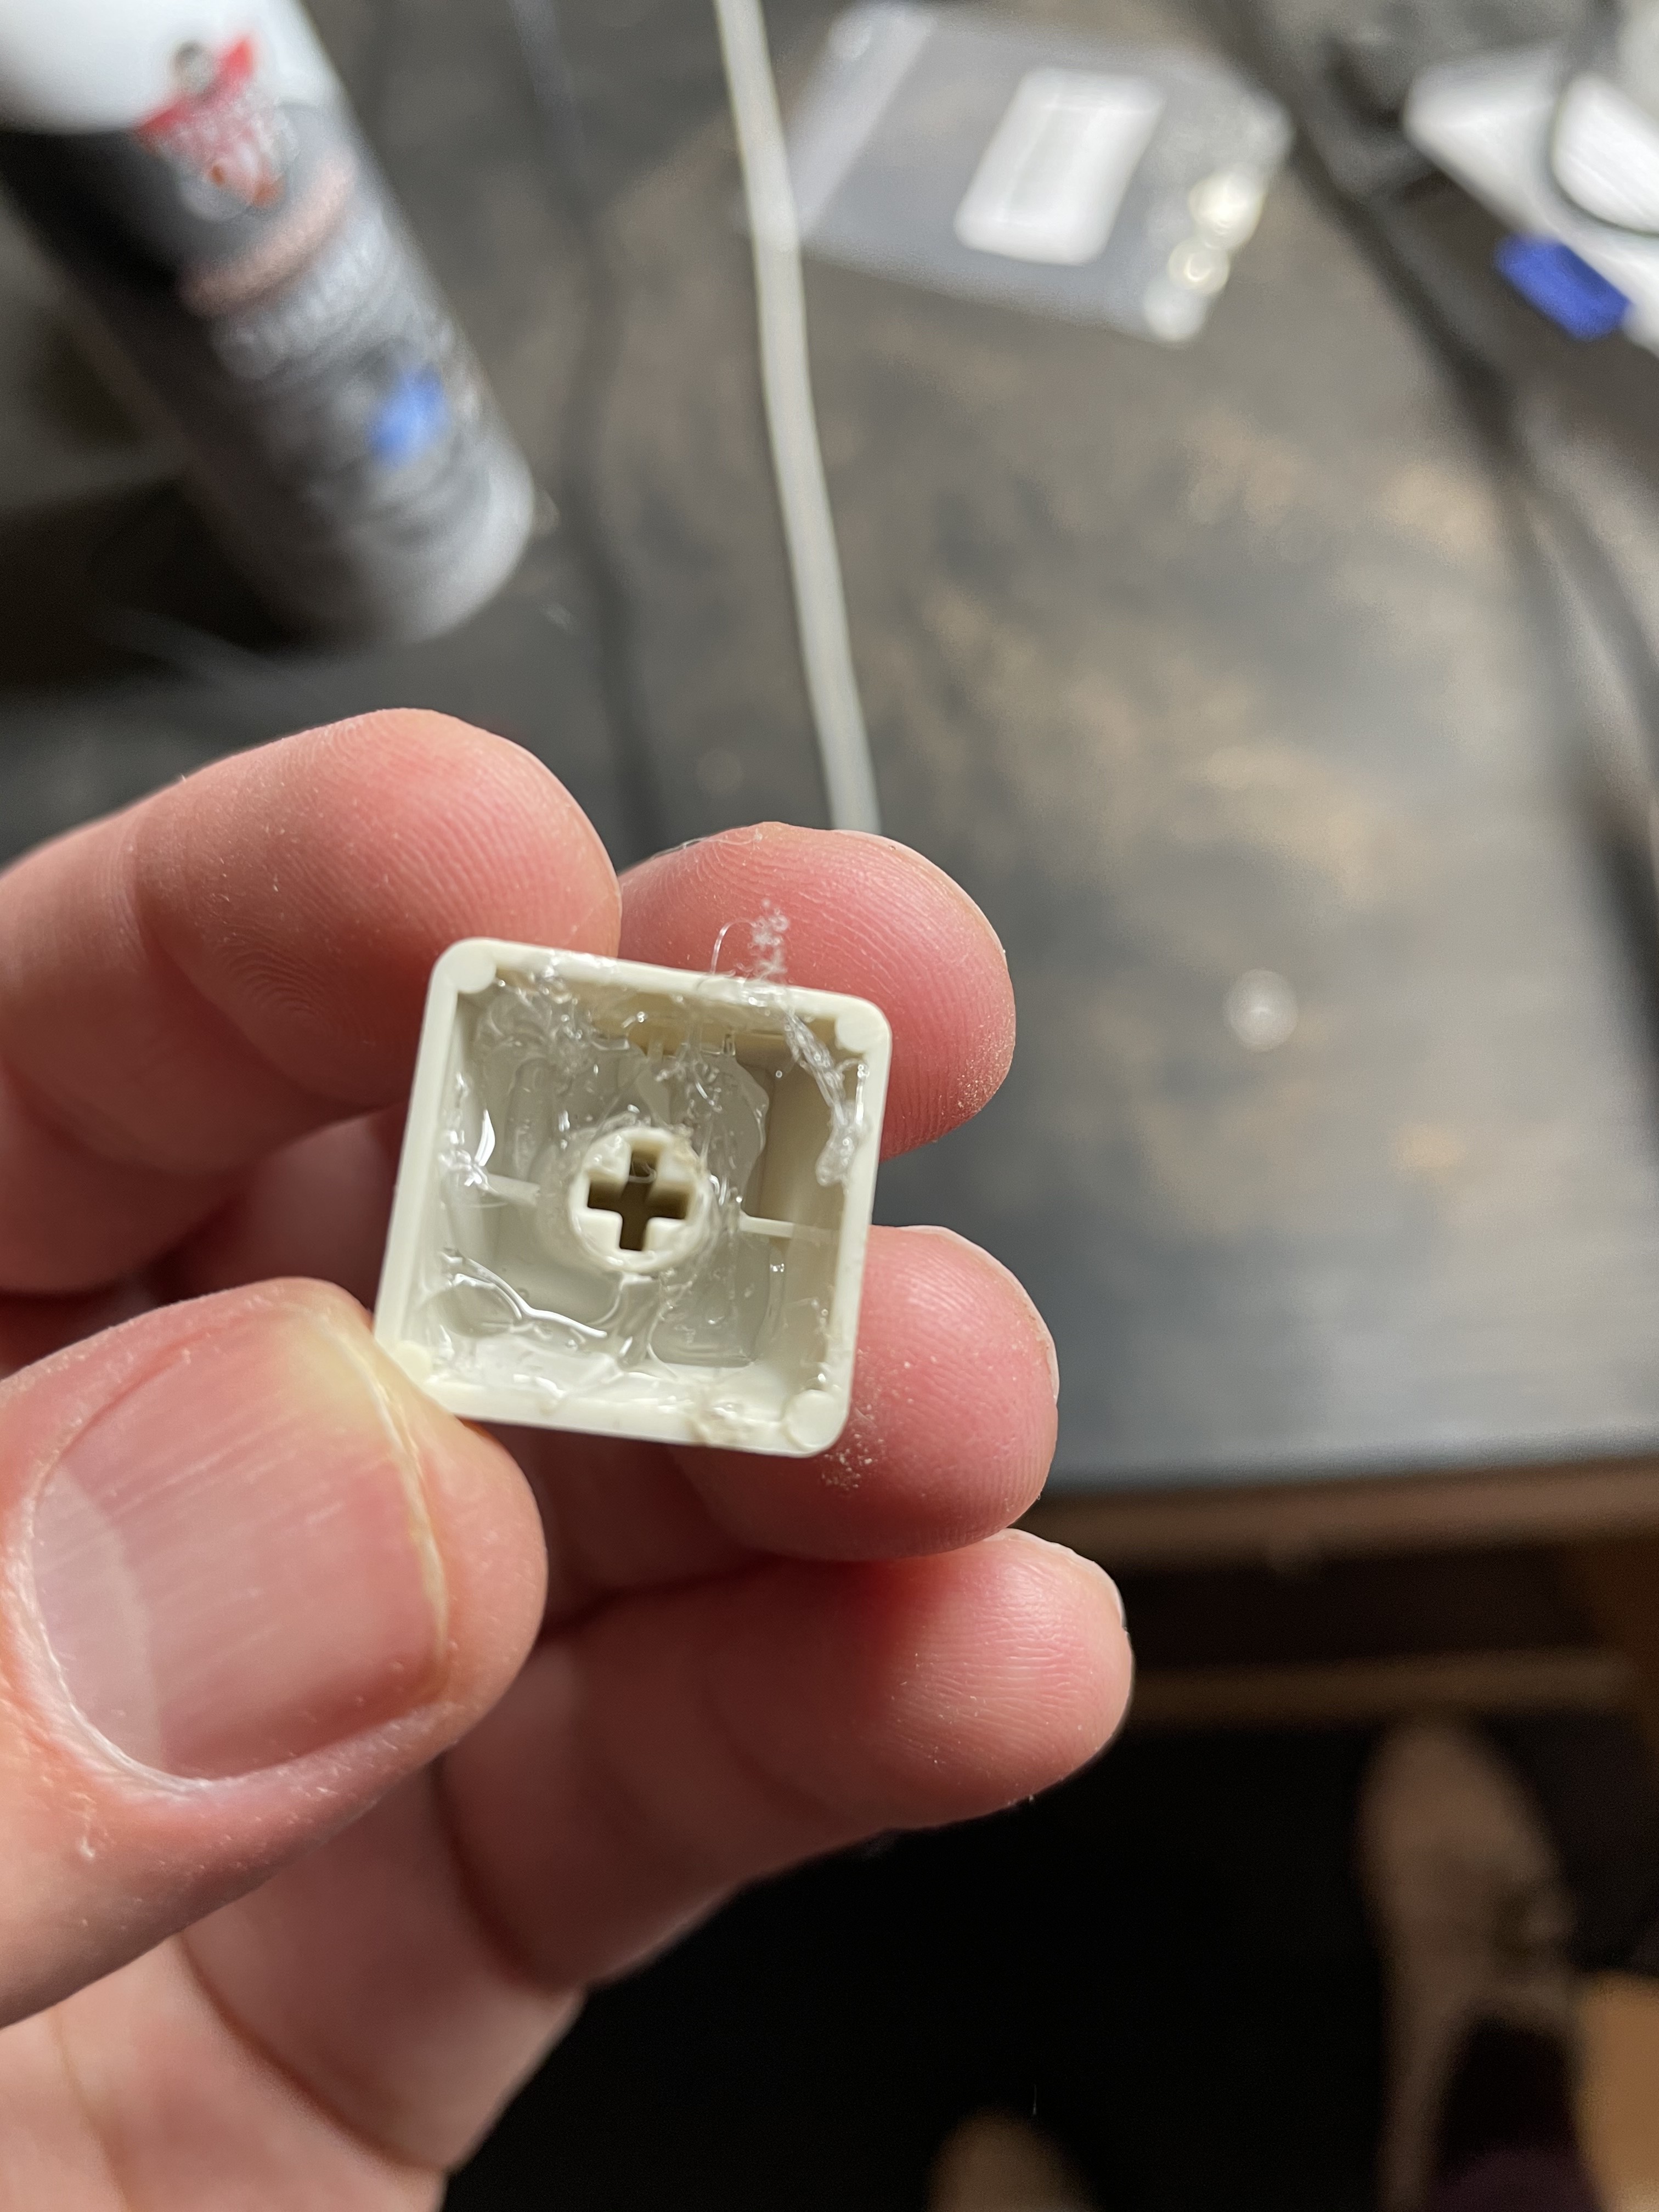
The hot glue is pretty messy and difficult to control but if I end up going this route I’m sure I will improve my technique with practice.
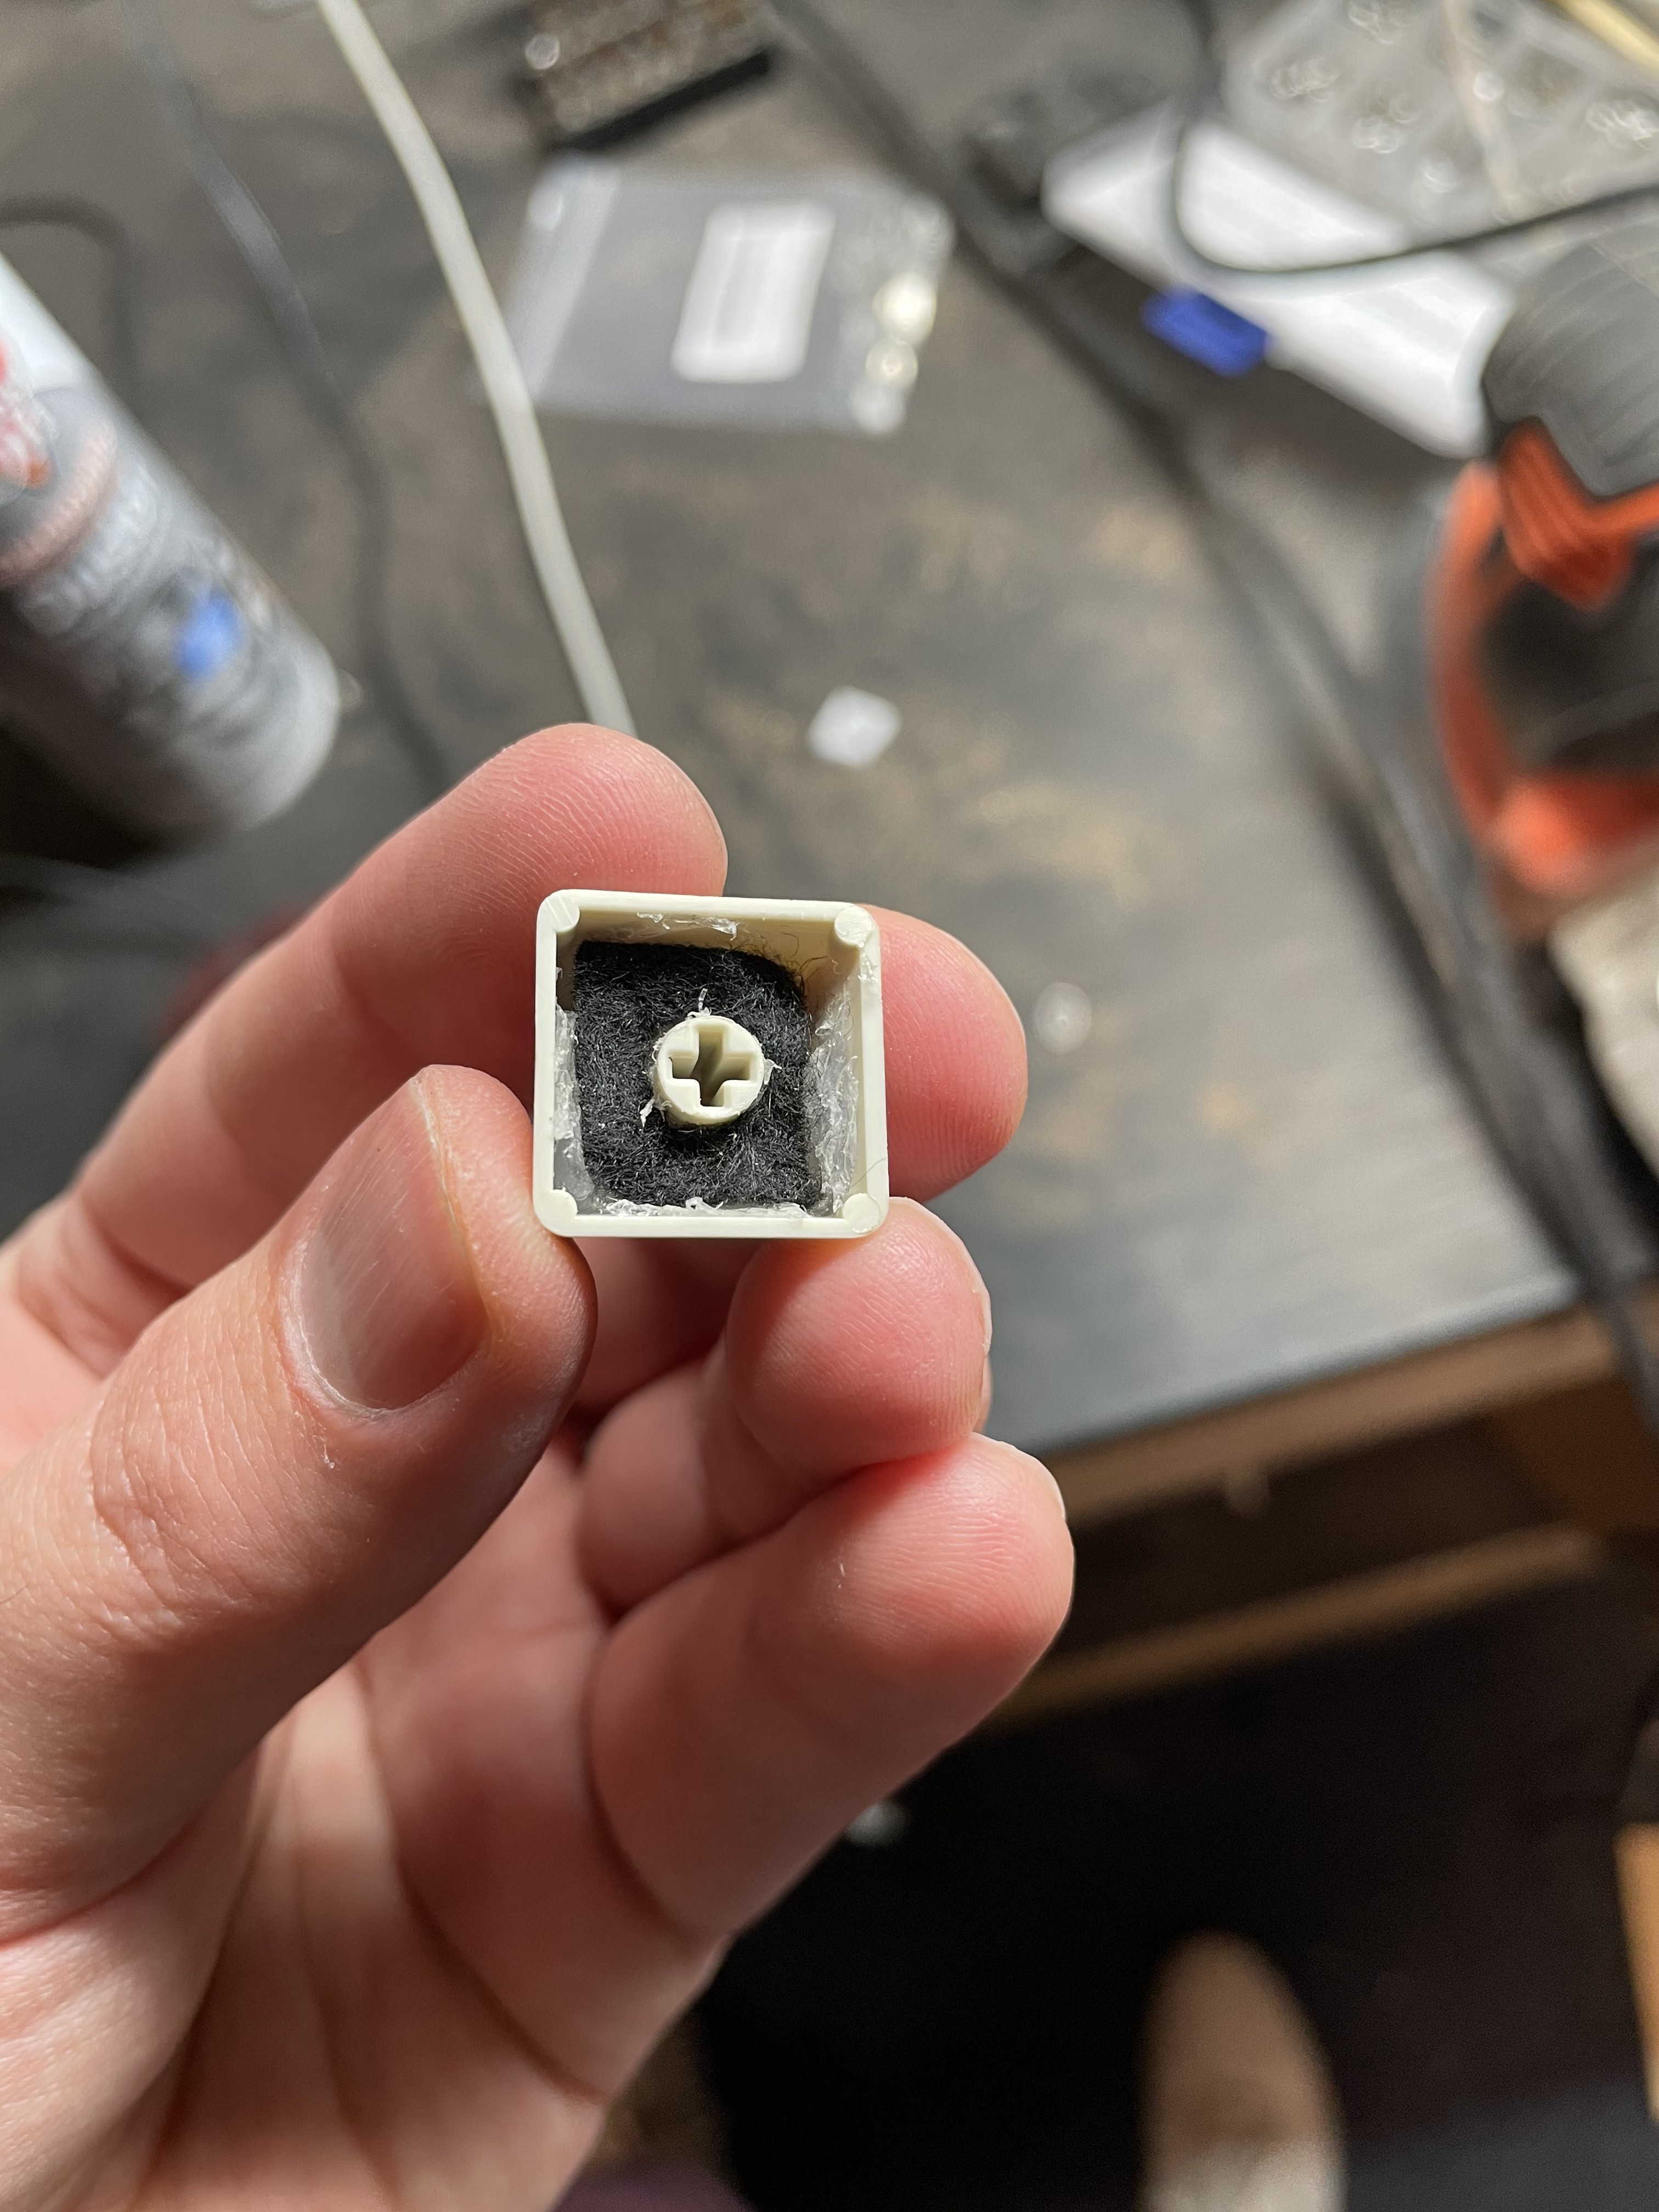
It doesn’t look so bad after adding the felt.
Here’s the sound comparison.

F11 - stock
F5 - felt insert
/ - hot glue + felt
62g zilents filmed and lubed
It certainly gives in a deeper sound. As far as making it quieter, it’s difficult to tell the difference. However, I think it is slightly quieter and when you’re working in a sound studio every decibel counts.
As far as key feel, I expected it to add another layer of mushiness, like adding an O-ring. It doesn’t. Luckily, the felt is thin enough that it doesn’t even make contact with the switch housing.
I’ll follow this post up with some sound comparisons once I’m done with my final build.
I’m open to suggestions to alternatives to hot glue. Hot glue works well, it’s just a little messy and difficult to work with.
11 Likes

Thanks!
Generally, there are lots of vinyl wrapping tutorials on youtube. Most will be about cars and car parts, but you might try looking for a video about wrapping a complex part like a grille or vent for applicable skills.
I got the print from a local sign shop with these specs:
-
Air-release channel vinyl (no bubbles, a little stretchy)
-
Laminated (for longevity)
-
Printed at high detail settings for close viewing
I’ll be posting a fairly detailed build log when this is all done.
4 Likes
Wow great project! I prefer some clack, but surely great for an audio engineer.
1 Like