Thanks ![]()
What’s wrong with the stepped caps lock ? Mine is normal but they send me another one, i don’t know why, so now I have two steeped caps, do you need one ?
Thanks ![]()
What’s wrong with the stepped caps lock ? Mine is normal but they send me another one, i don’t know why, so now I have two steeped caps, do you need one ?
My very old WASD keyboard (my first step in the rabbit hole) with GMK Thinkcaps and a touch of color ![]()
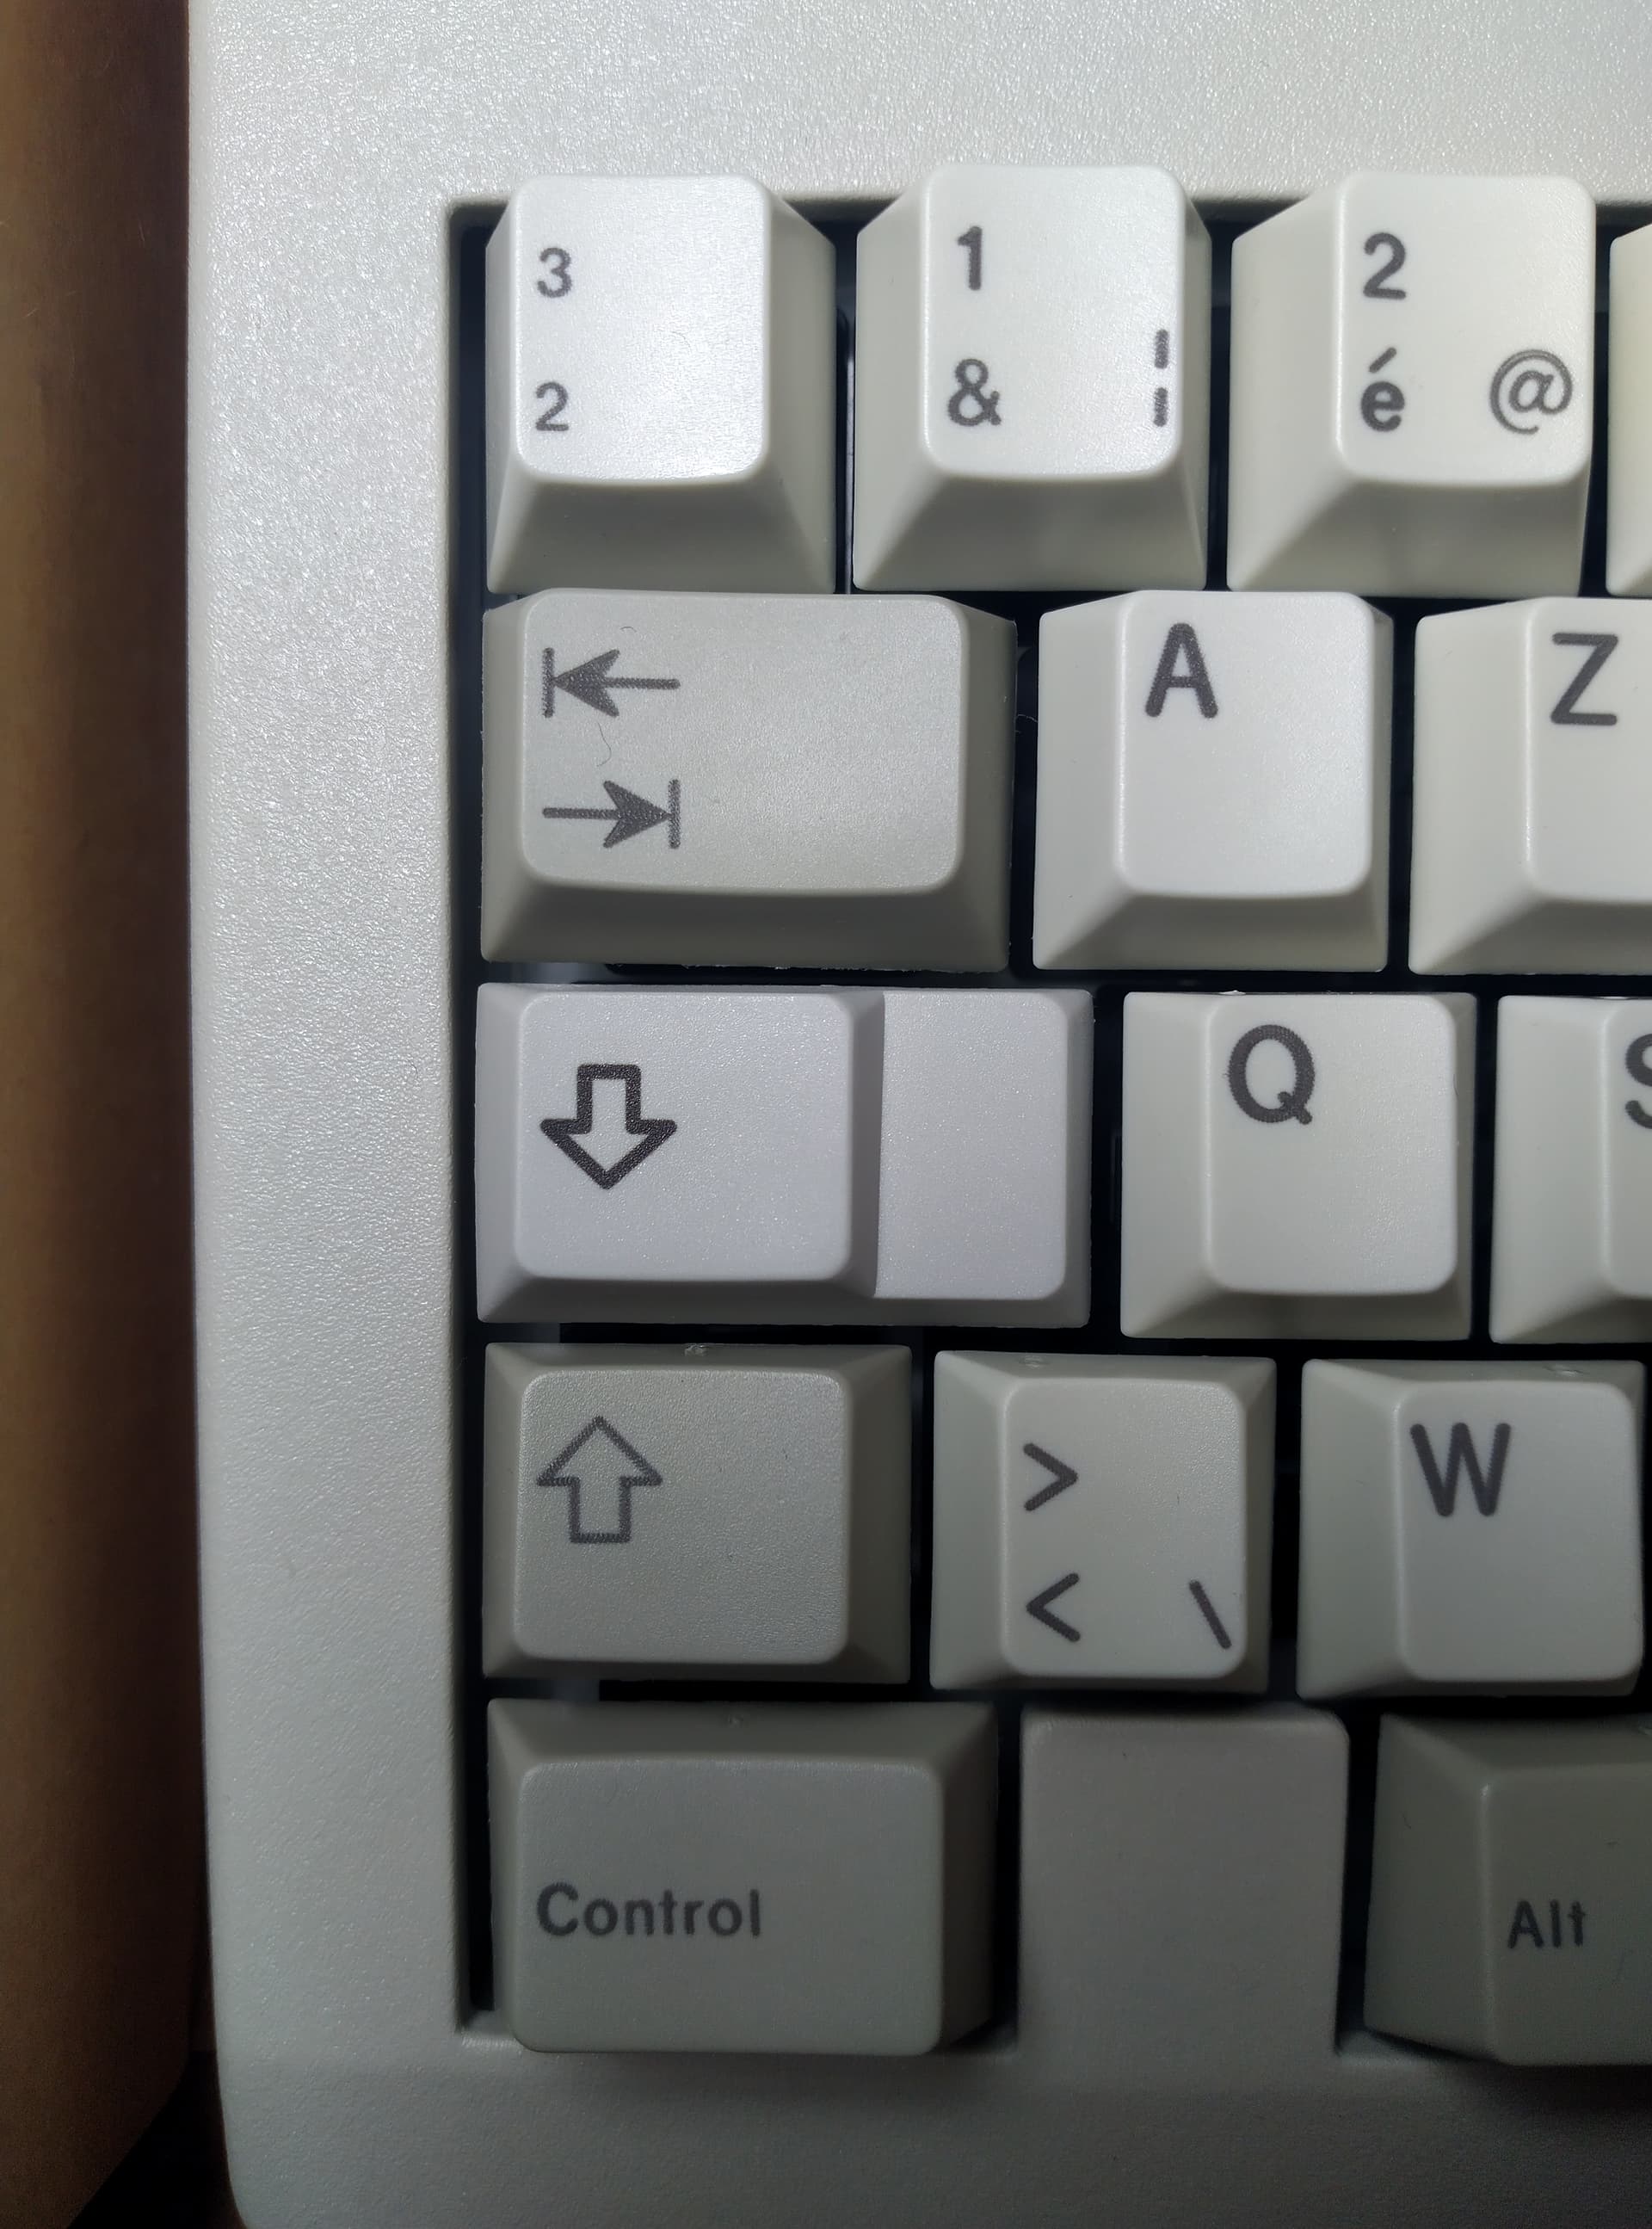
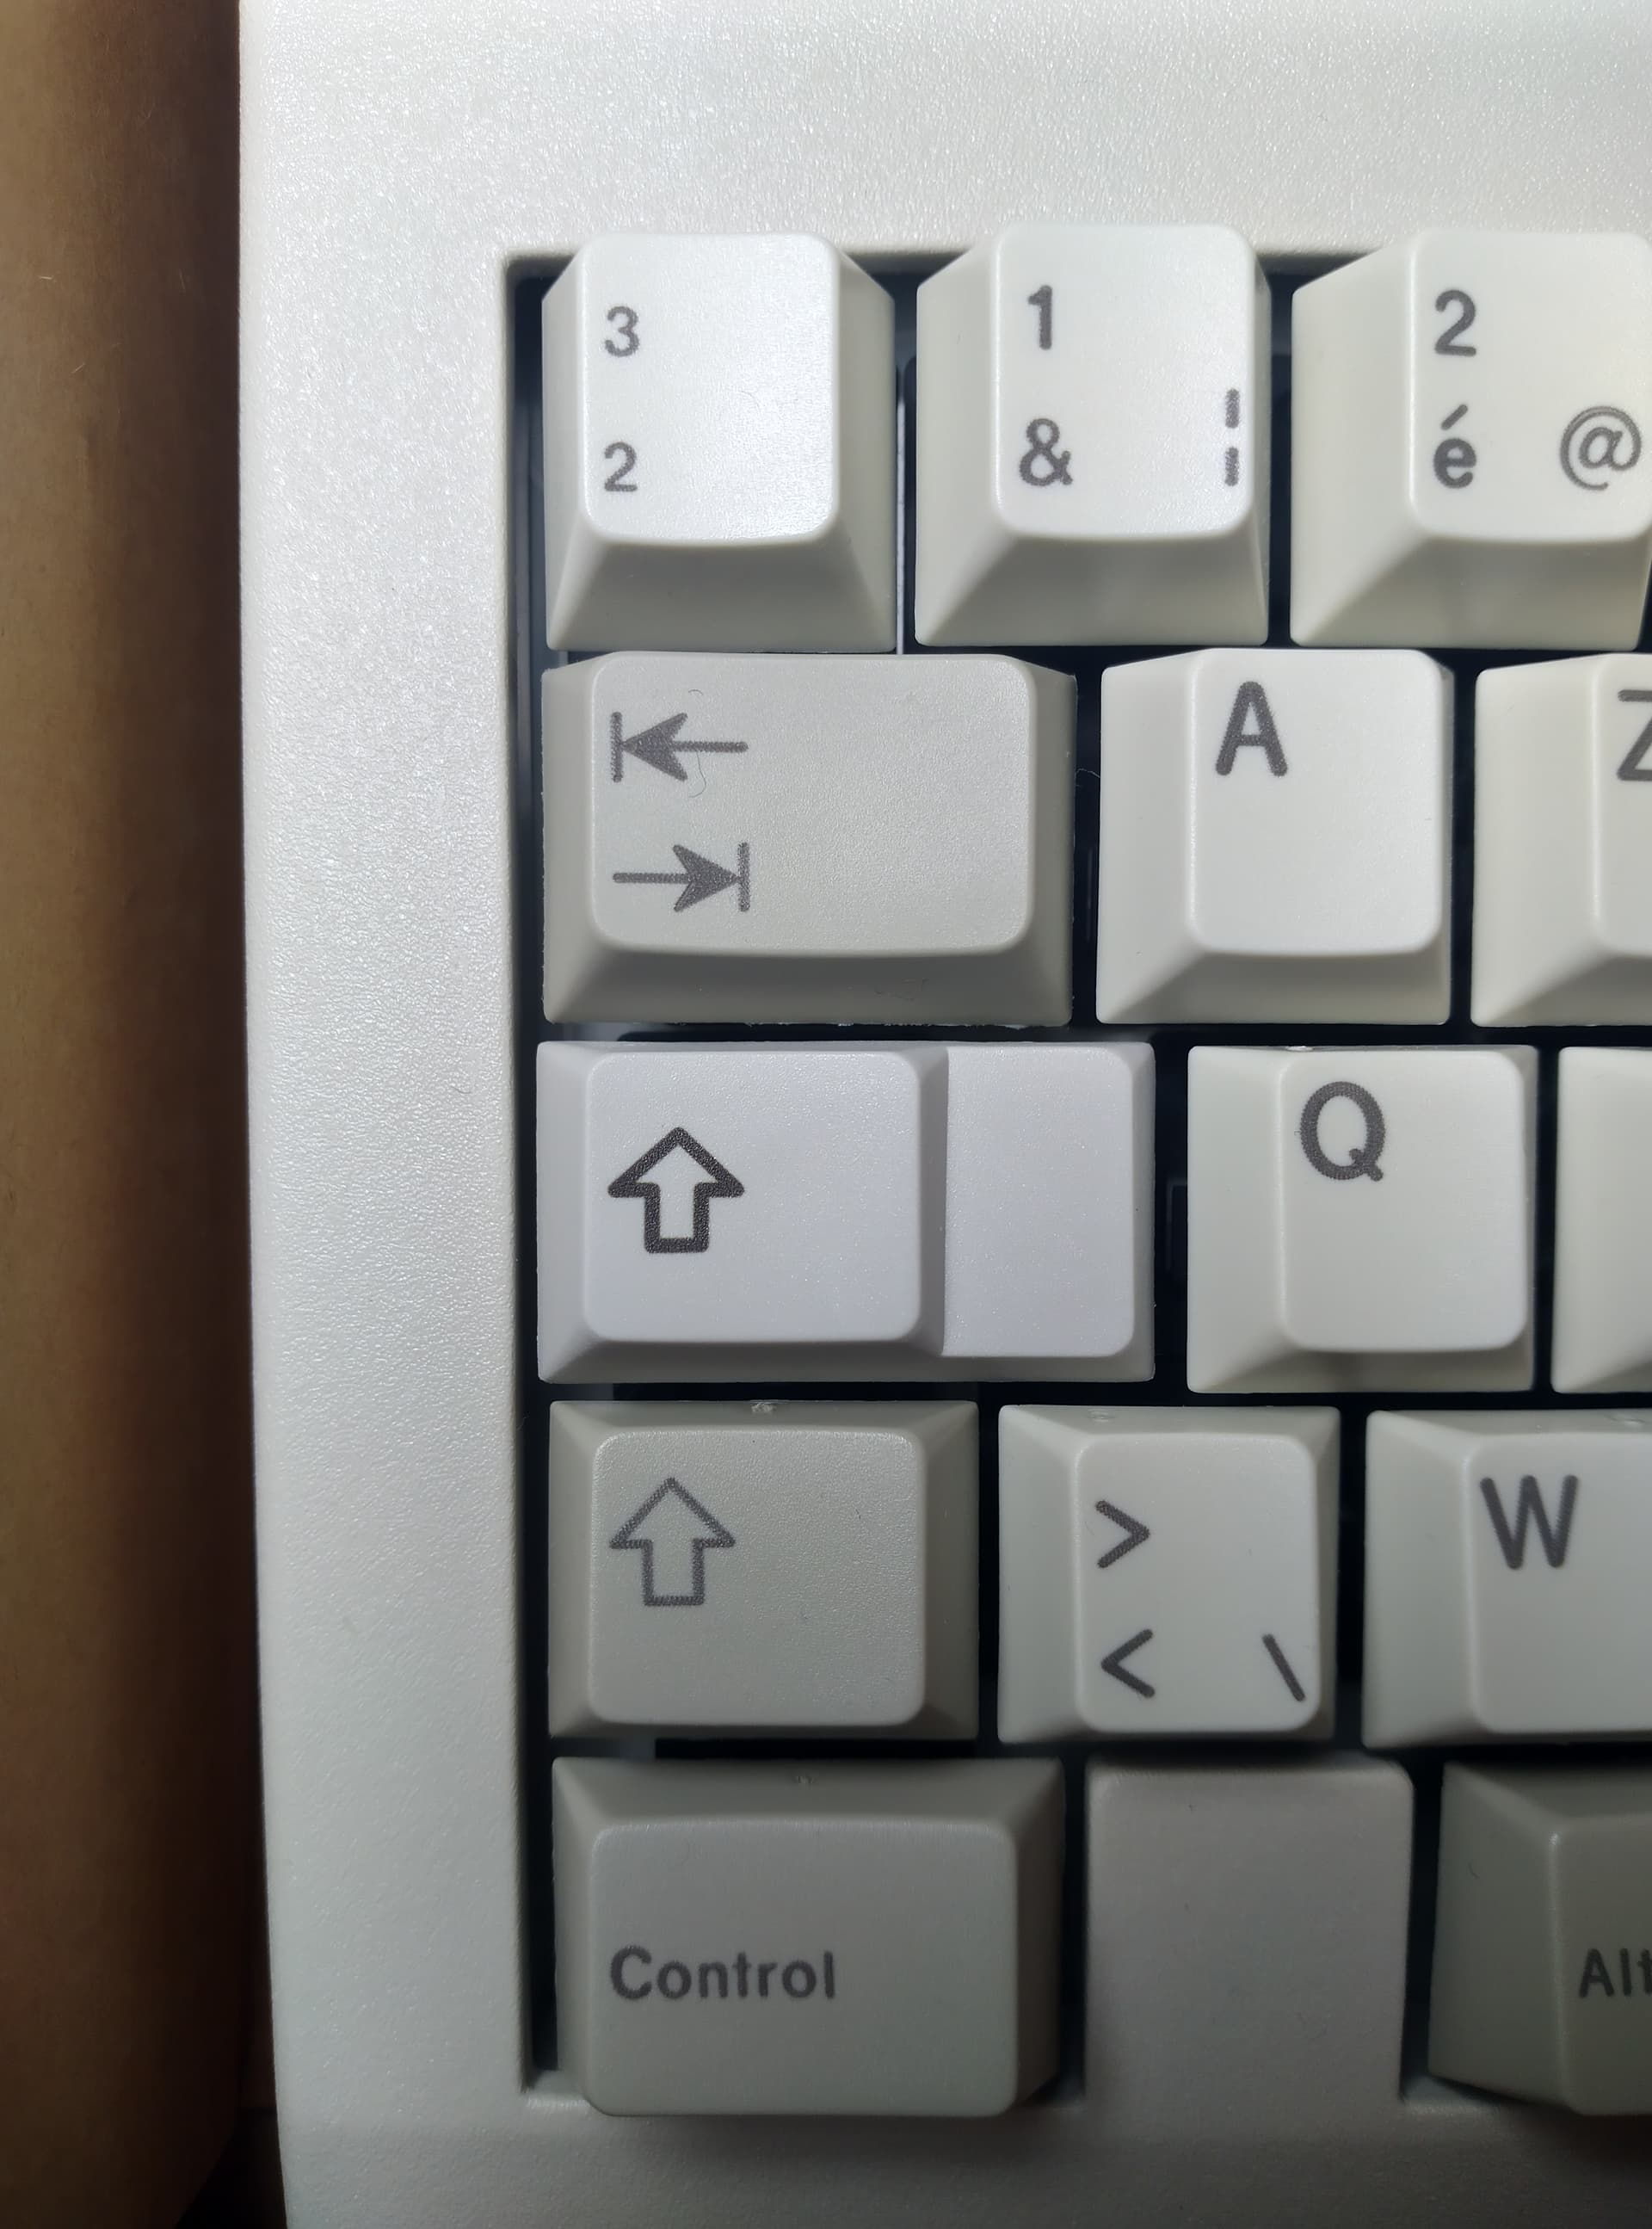
The stepped caps has a stem that is placed incorrectly. So when you mount it, the cap is too far to the left. This is my message on GH, but there are other photos above it in the same thread.
I still have my on an alice style board to hide the crime, lol. But I would like to use it on other boards.
Thanks for the explanation, I do not have keyboards with off centered caps lock so I cannot validate that the two capslock I have are good or not ![]()
I do have an old Cherry keyboard but I would have to take it out and it’s under a huge pile of boxes of all kinds, one day maybe ![]()
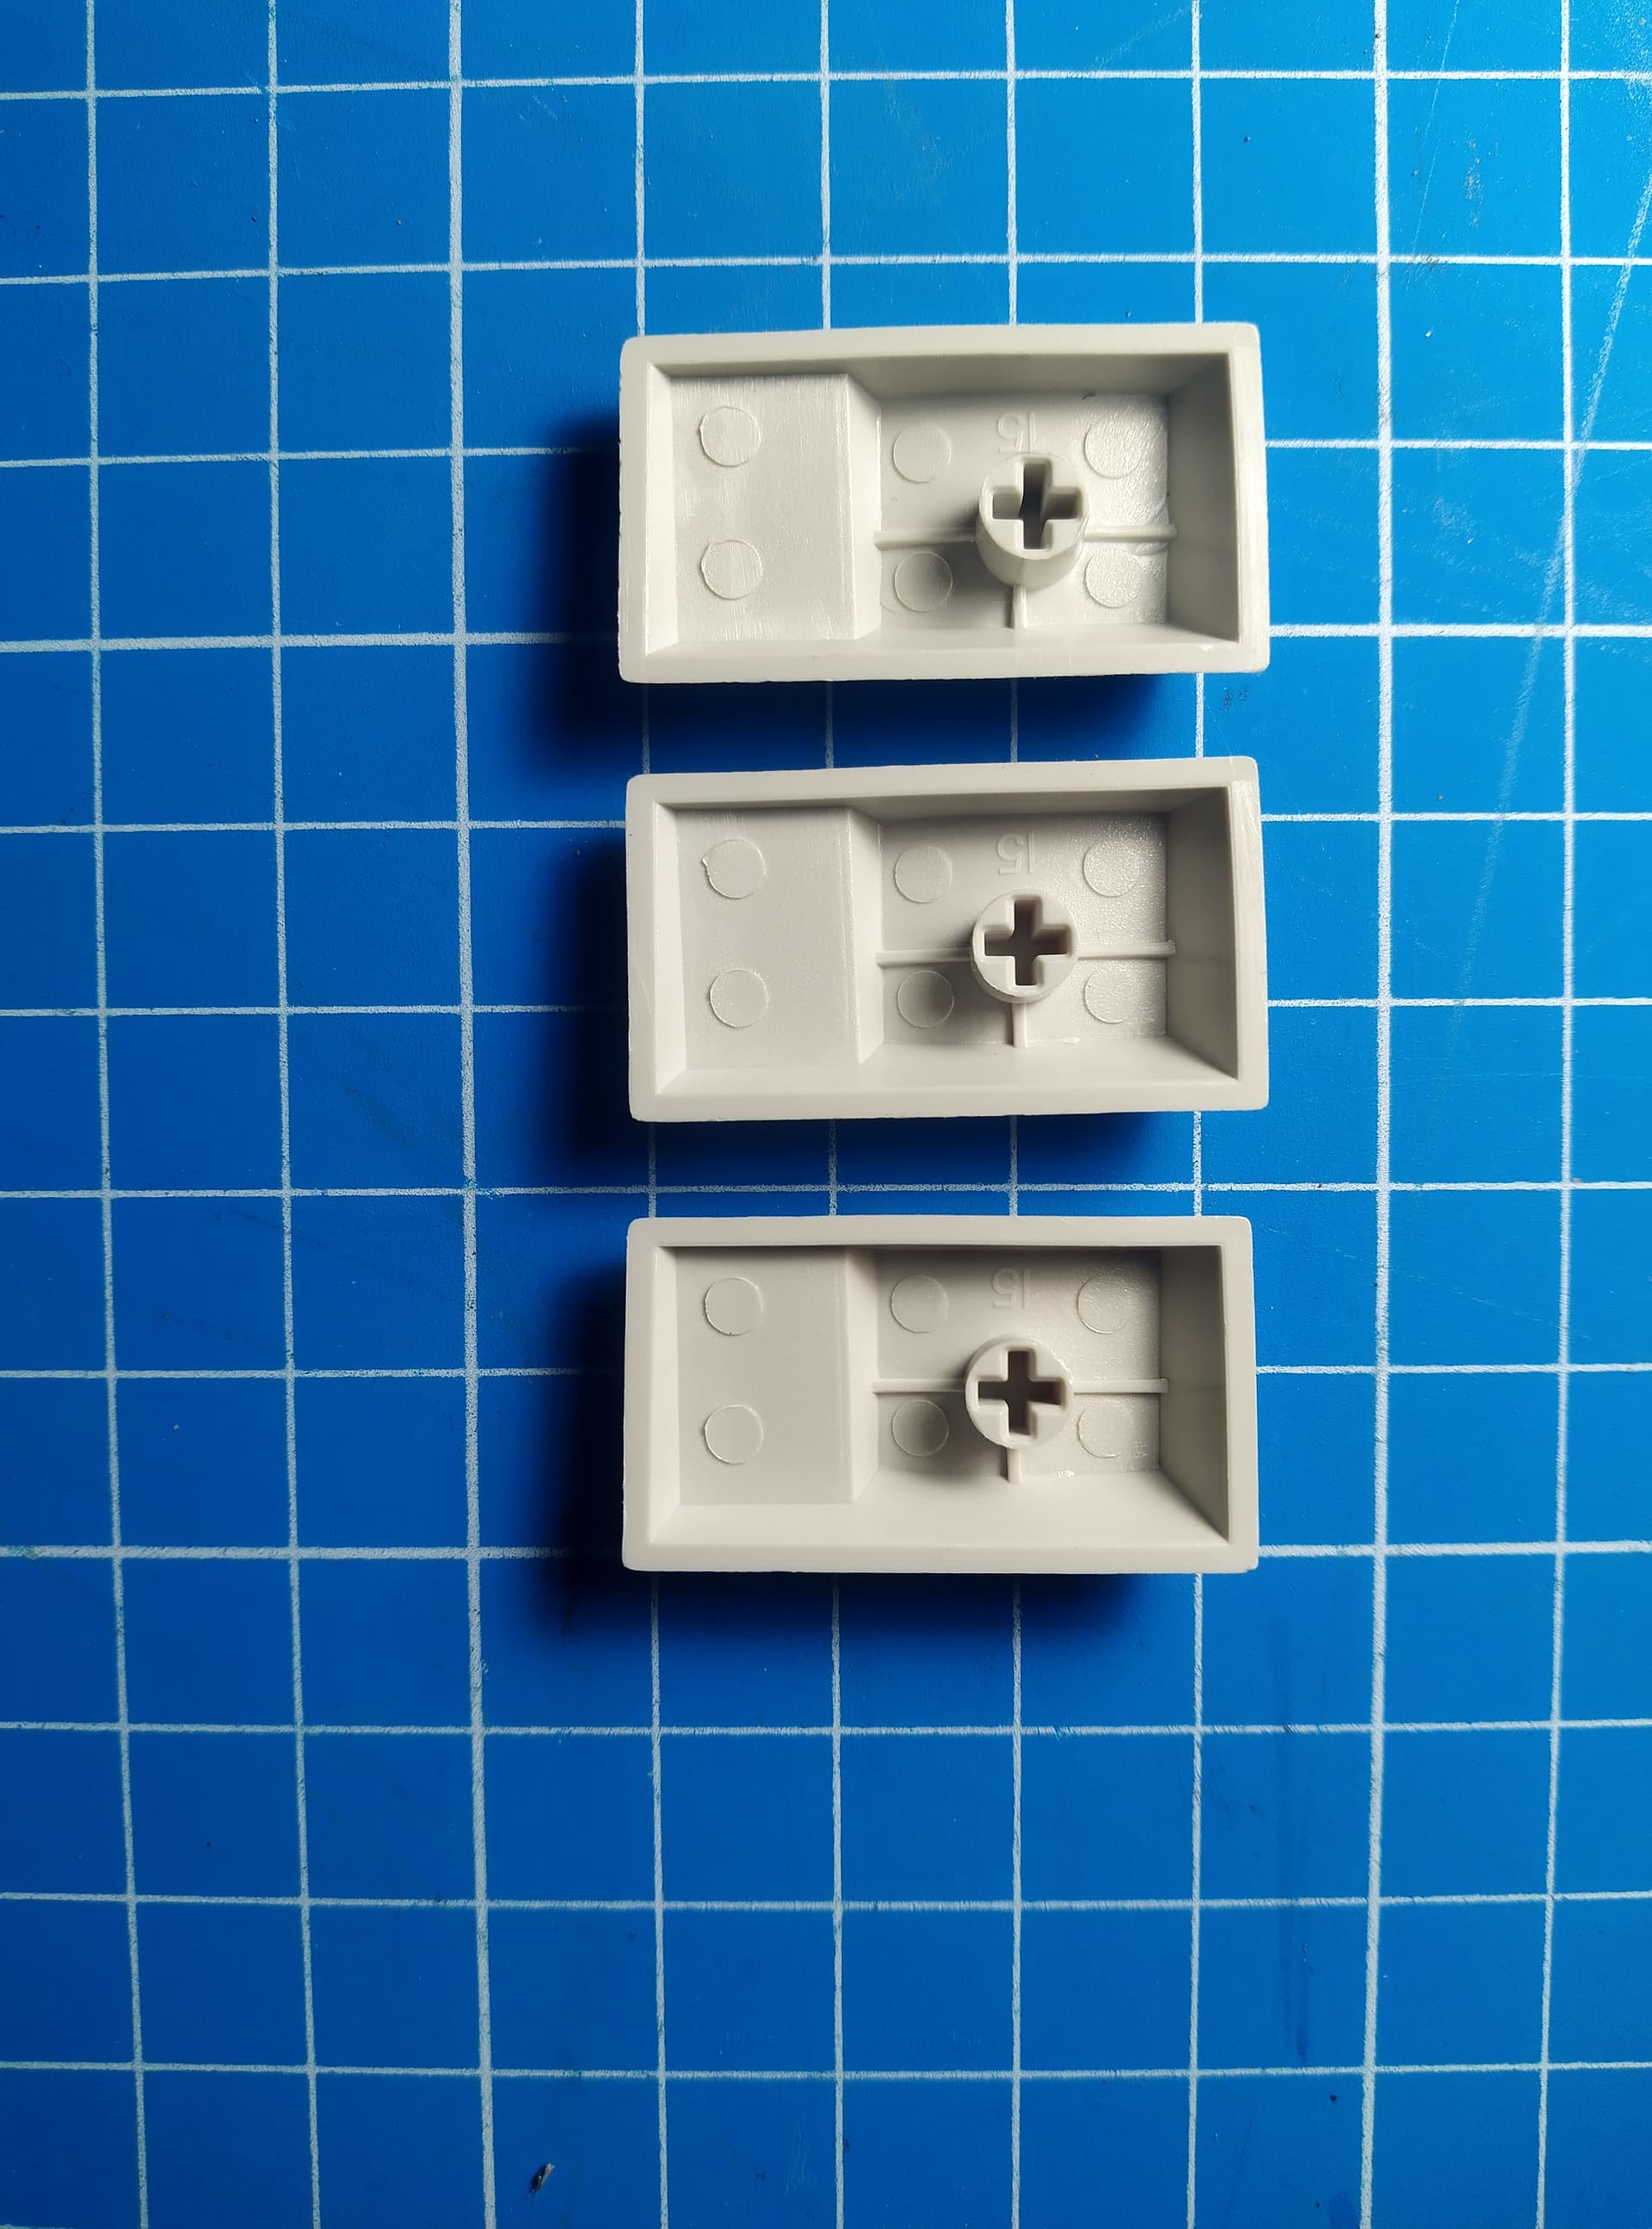
I bet they’re both wrong still. I would have to look back through my baggie to see, but I believe there were 2 in my original kit as well. You could turn them over and set them one above the other to see if the two stems are both in the exact same place maybe?
It’s not a big deal because I have a ton of keyboards with centered caps locks. It just bothers me because I know that I’m limited. The story of human behavior, right? Like… I can have EVERYTHING in the world, but I can’t eat from that ONE apple tree. Hmm… I want me some apples now.
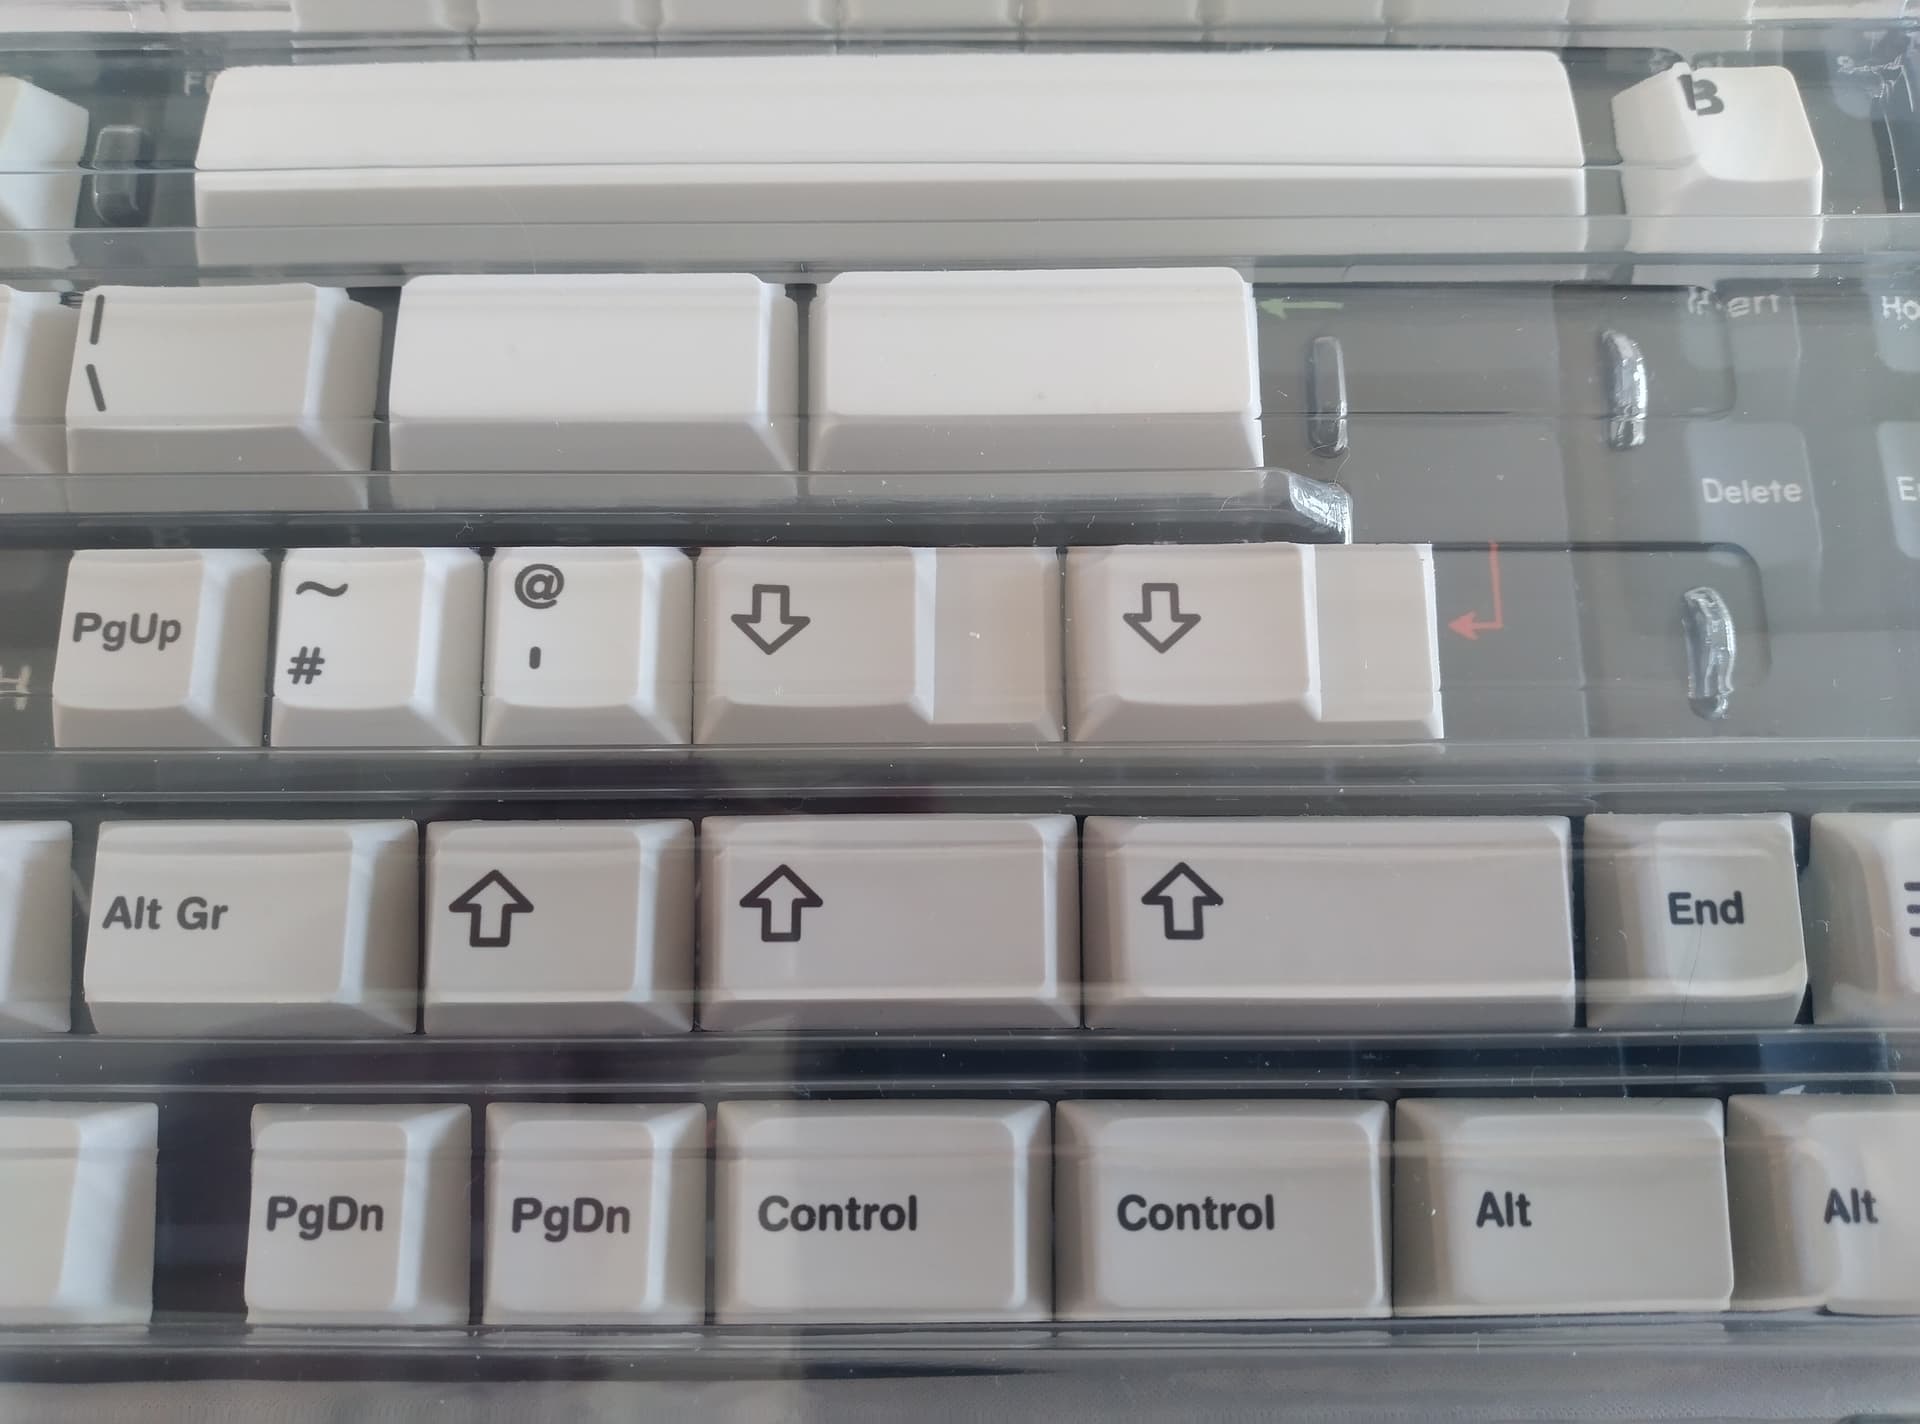
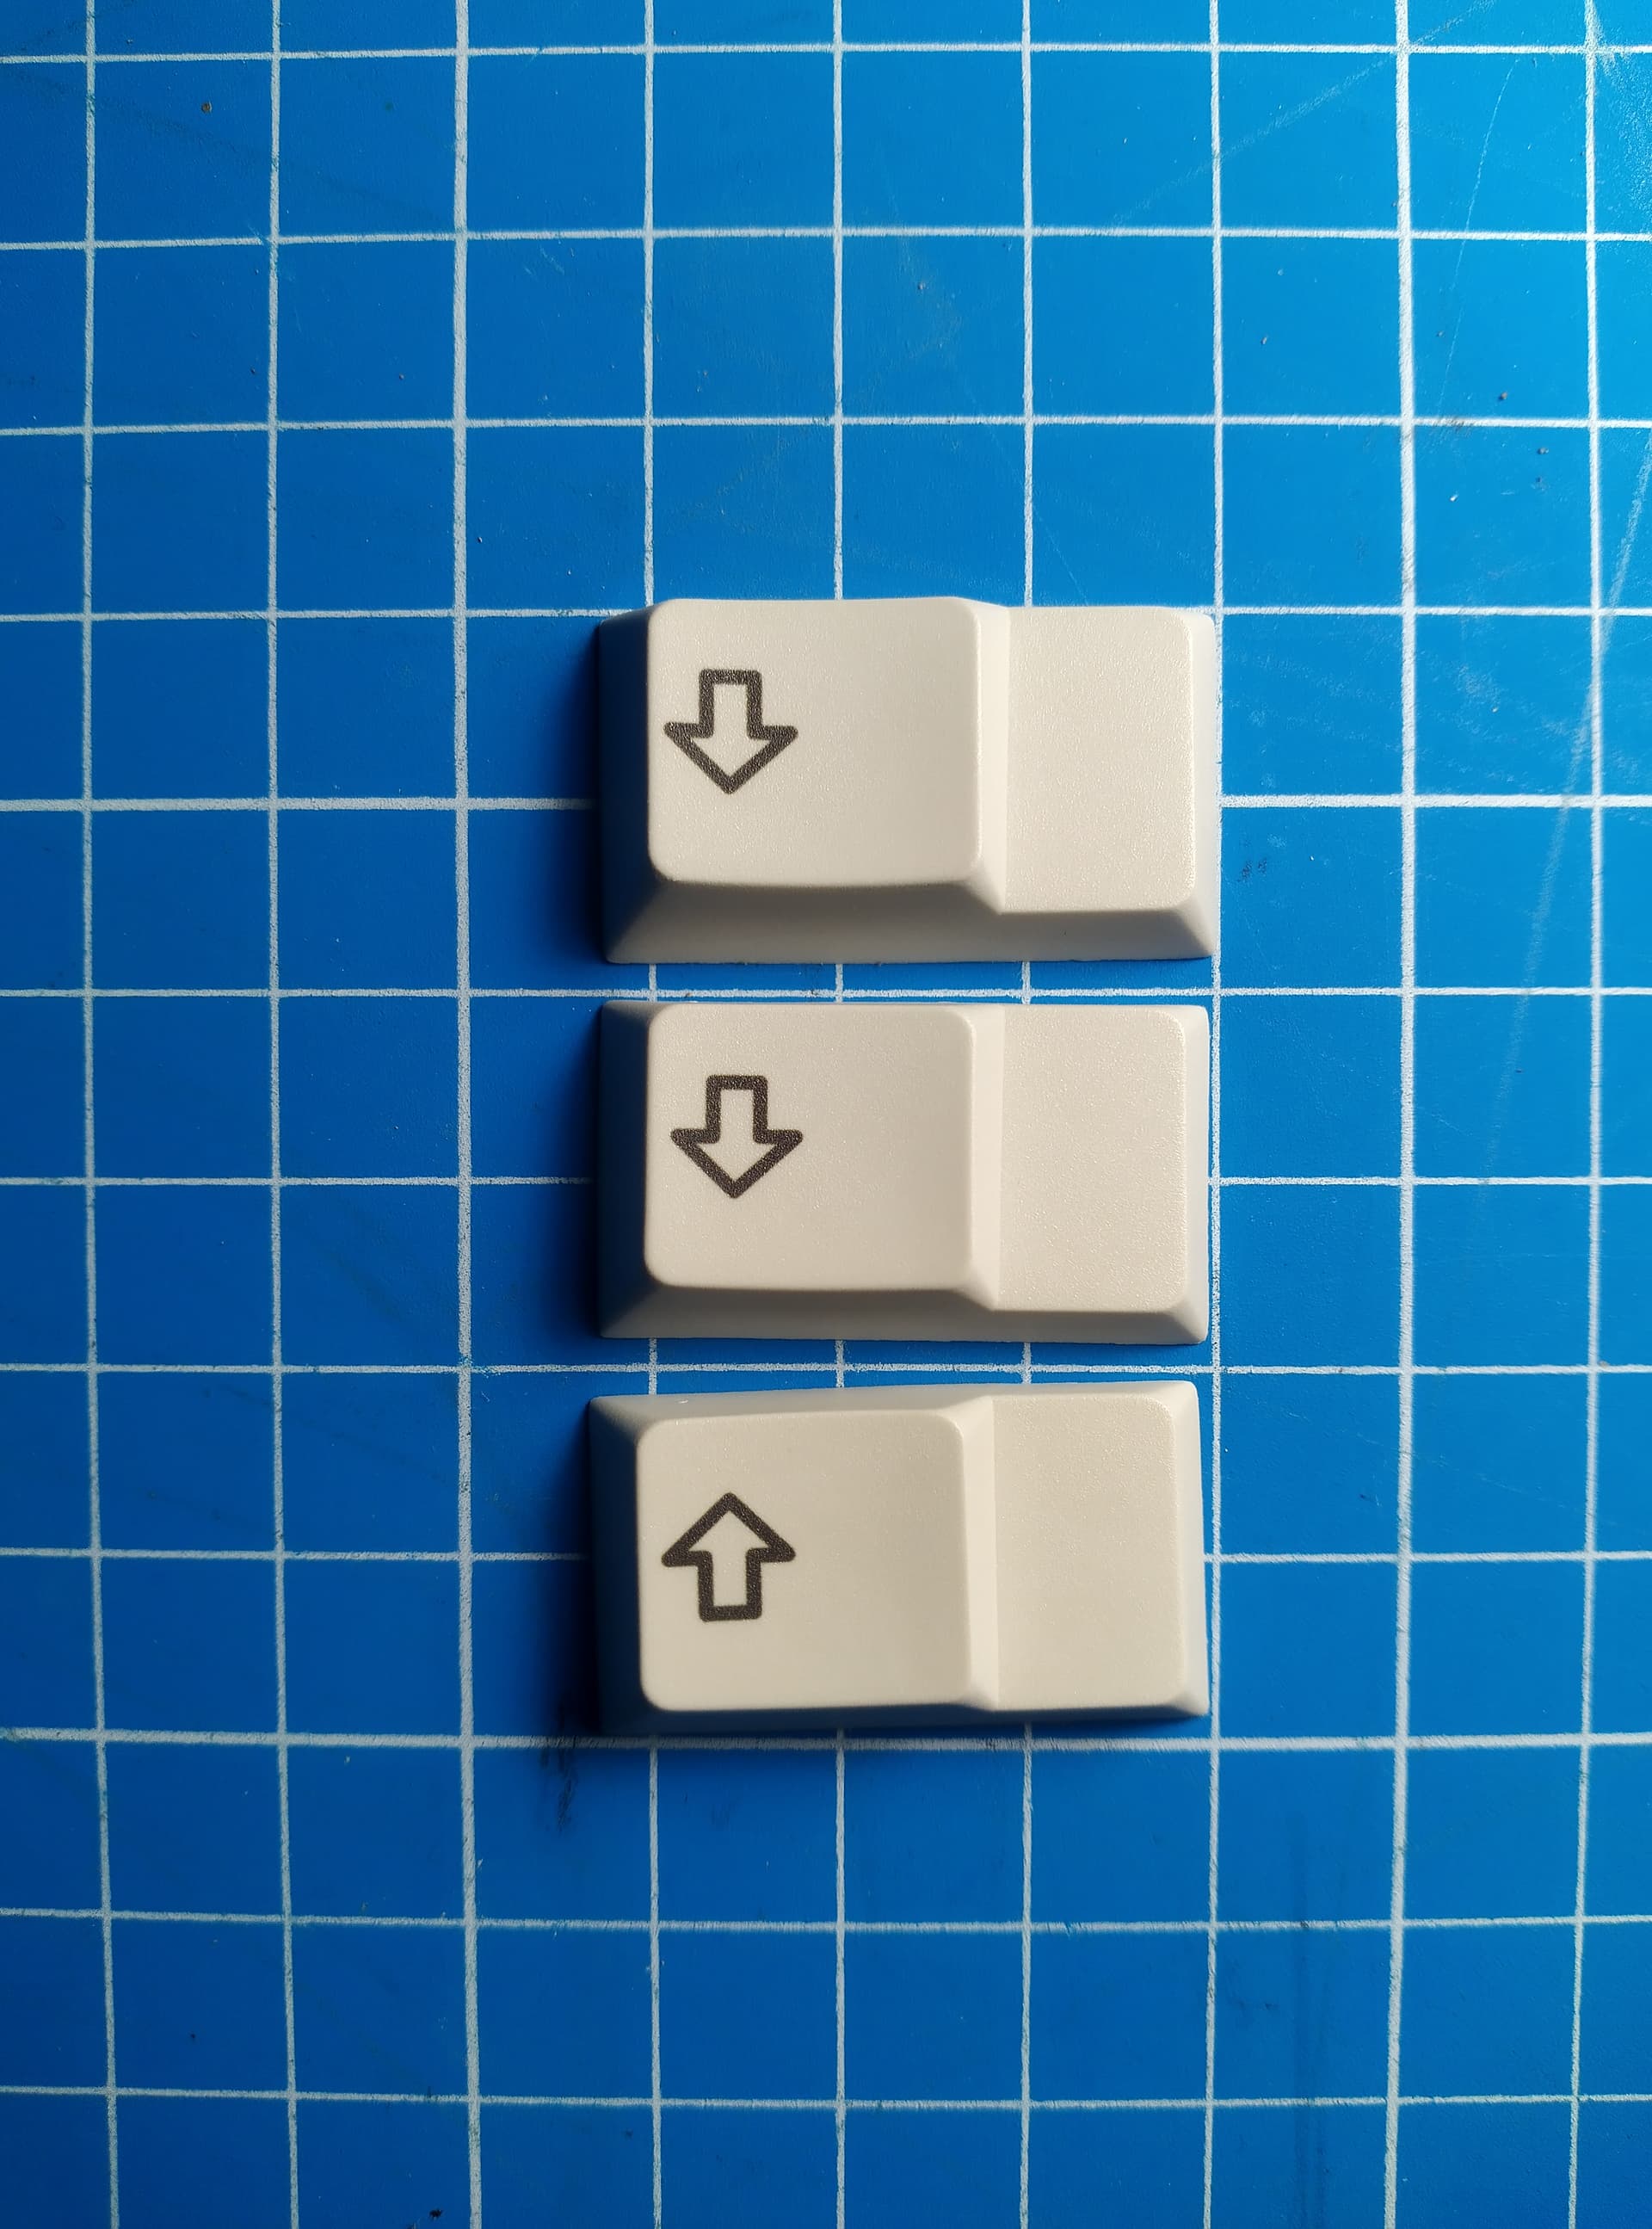
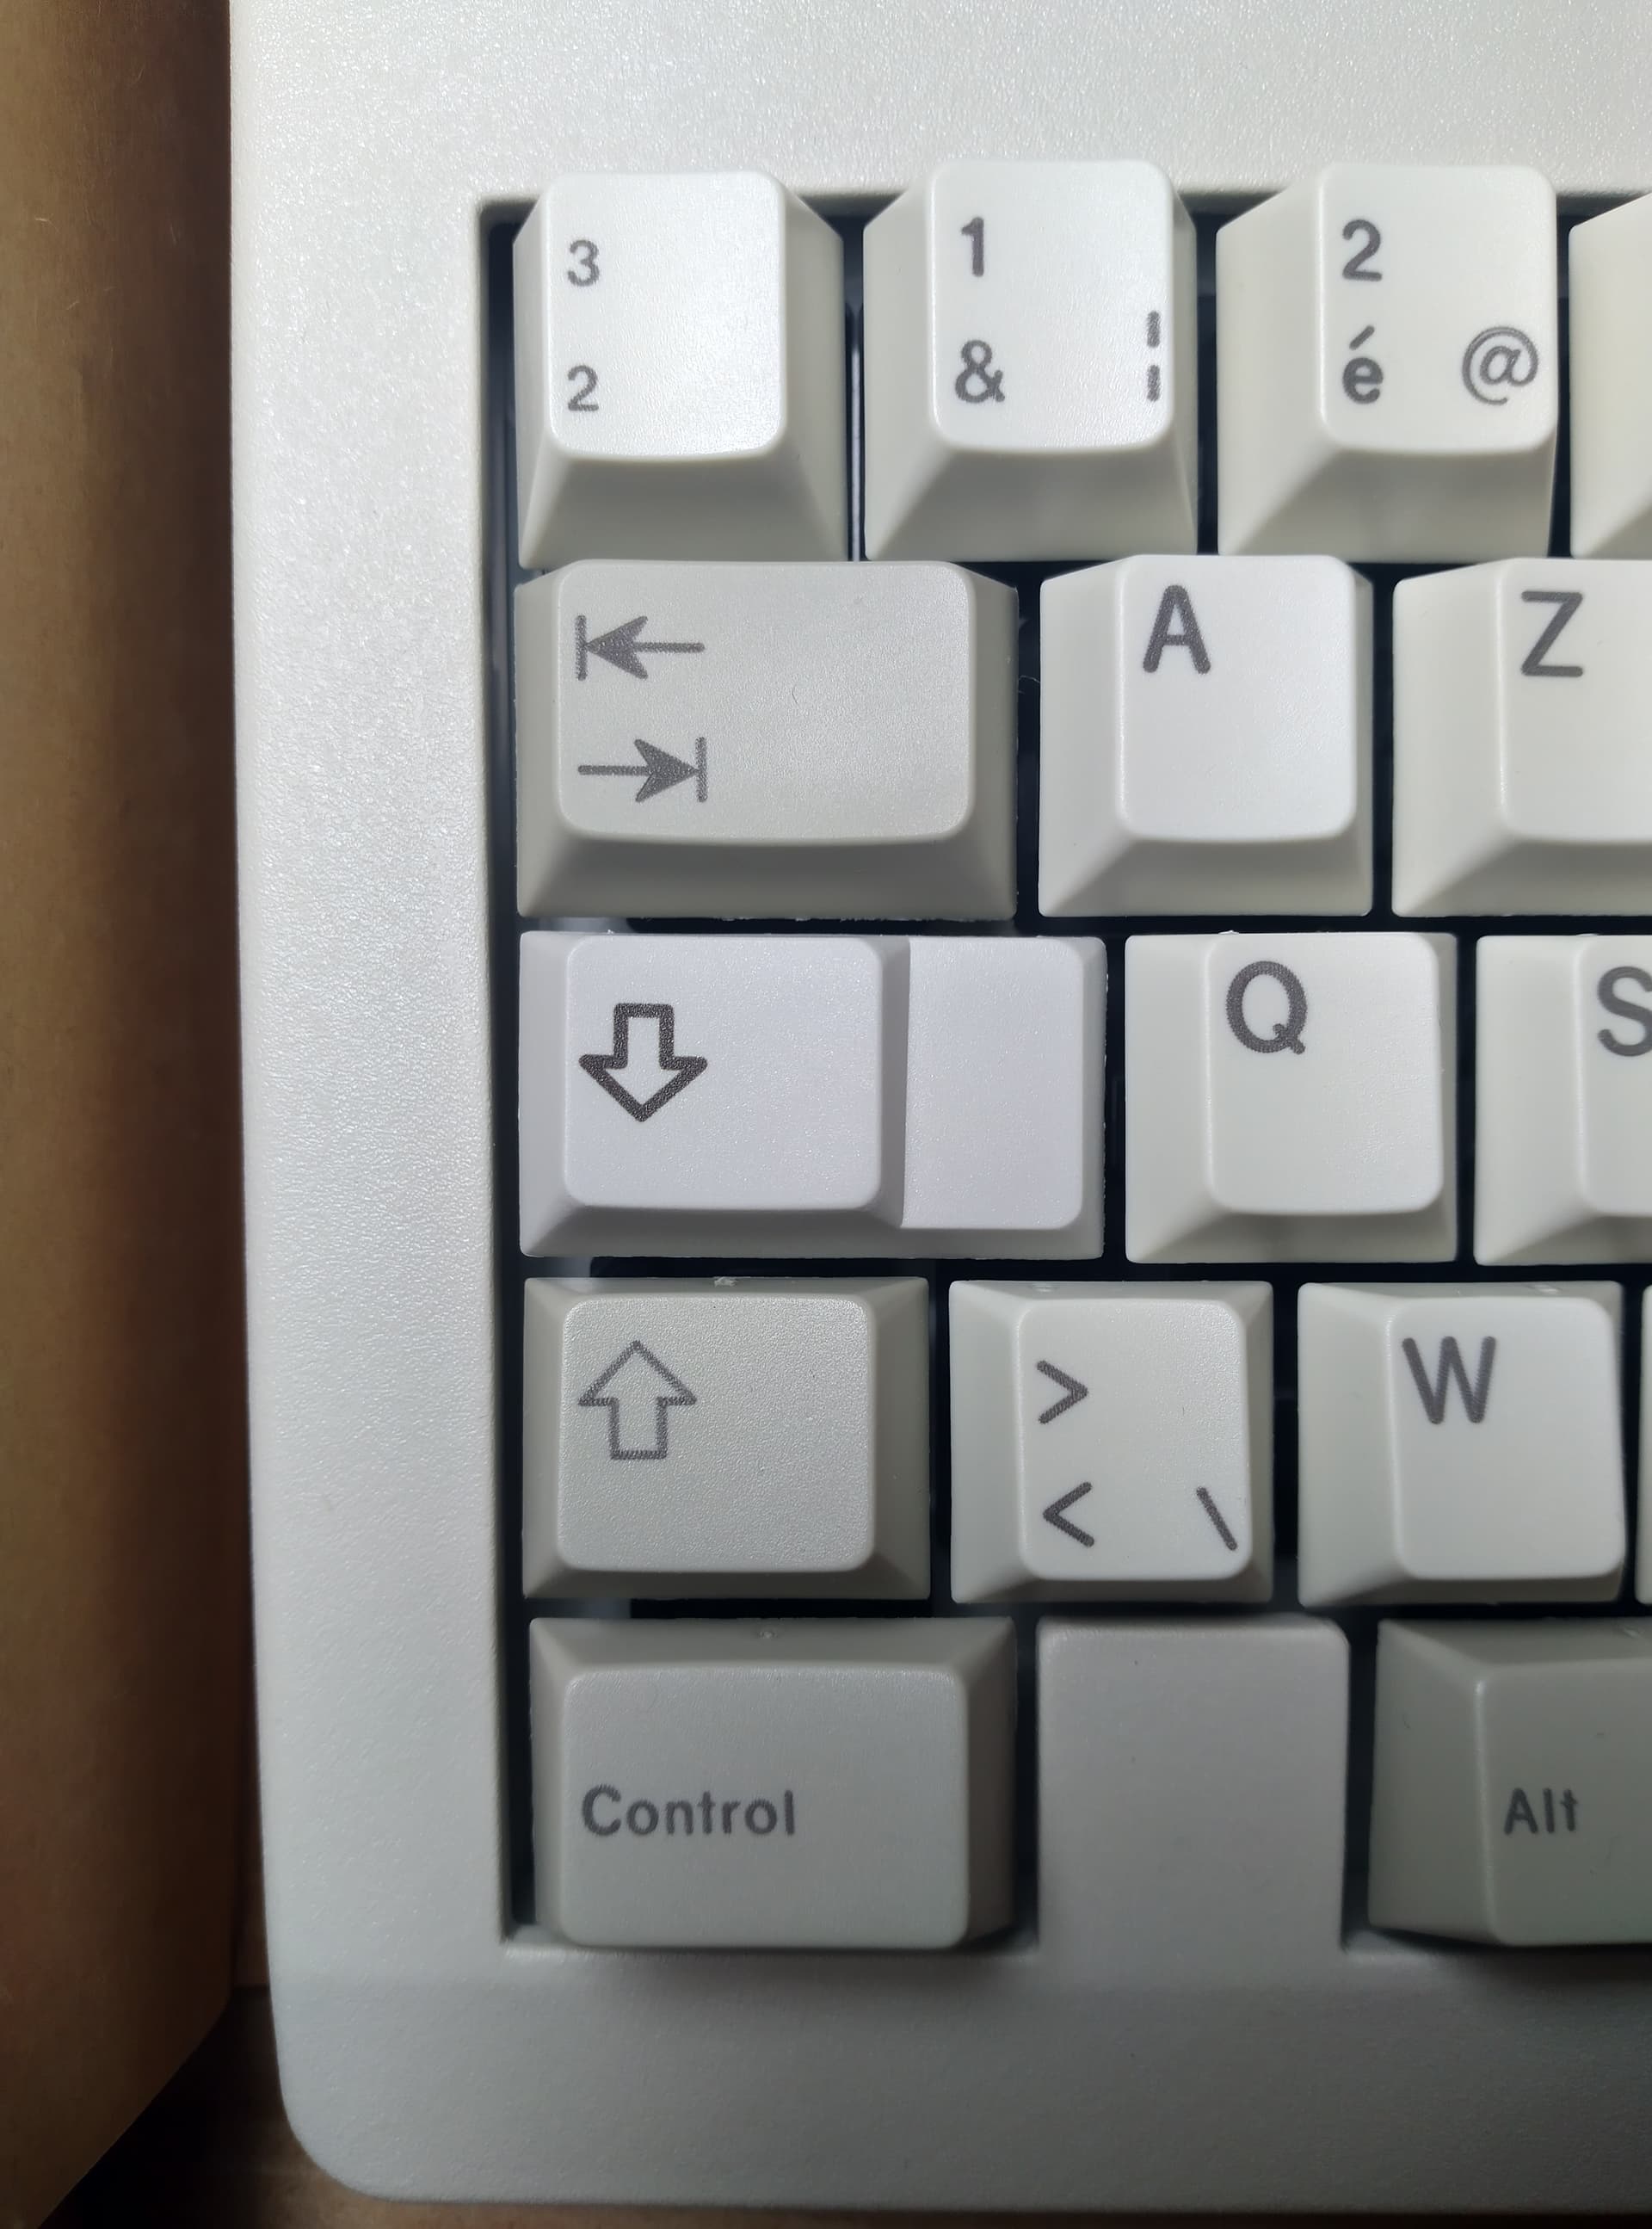
They are the 3 off-centered capslock I have :
So the last one seems to be ok, two other are off-centered like yours.
Now I remember that one day I received in my mailbox an envelope with a capslock key from Keygem, I did not tilt why, now I understand ![]()
so, uh… are you gonna use that keycap? ![]()
![]() International shipping for capslock key!
International shipping for capslock key!
One day maybe so I keep it, sorry dude ![]()
Where did you order it ? Here in EU it was Keygem, there are very reactive and send the replacement cap very quickly ![]()
Ordered from thockeys. The owner told me back in mid March that they should be receiving the fixed keys soon. ![]()
I just sent a follow up message.
You are doing well because the corrected caps have been produced and sent to the proxies, so logically you should have received it a while ago ![]()
He wrote back and said they have them in and are about to ship out. Apparently they have a few sets of corrected caps from other buys as well and they all came in together.
He’s shipping it out to me today though!
Glad you posted your set to remind me ![]()
Great news ![]()
Pardon my kinda scuffed photo, right now I’m using my Link65 on my desk at home with lubed holy pandas and Cherry Olivia APL. This is probably my favorite board that I own in terms of overall feel.
So cute ![]()
Olivia caps look so nice on that color. I wouldn’t have thought of that! ![]()
Got it today! again, glad you posted. I had forgotten about the replacement.
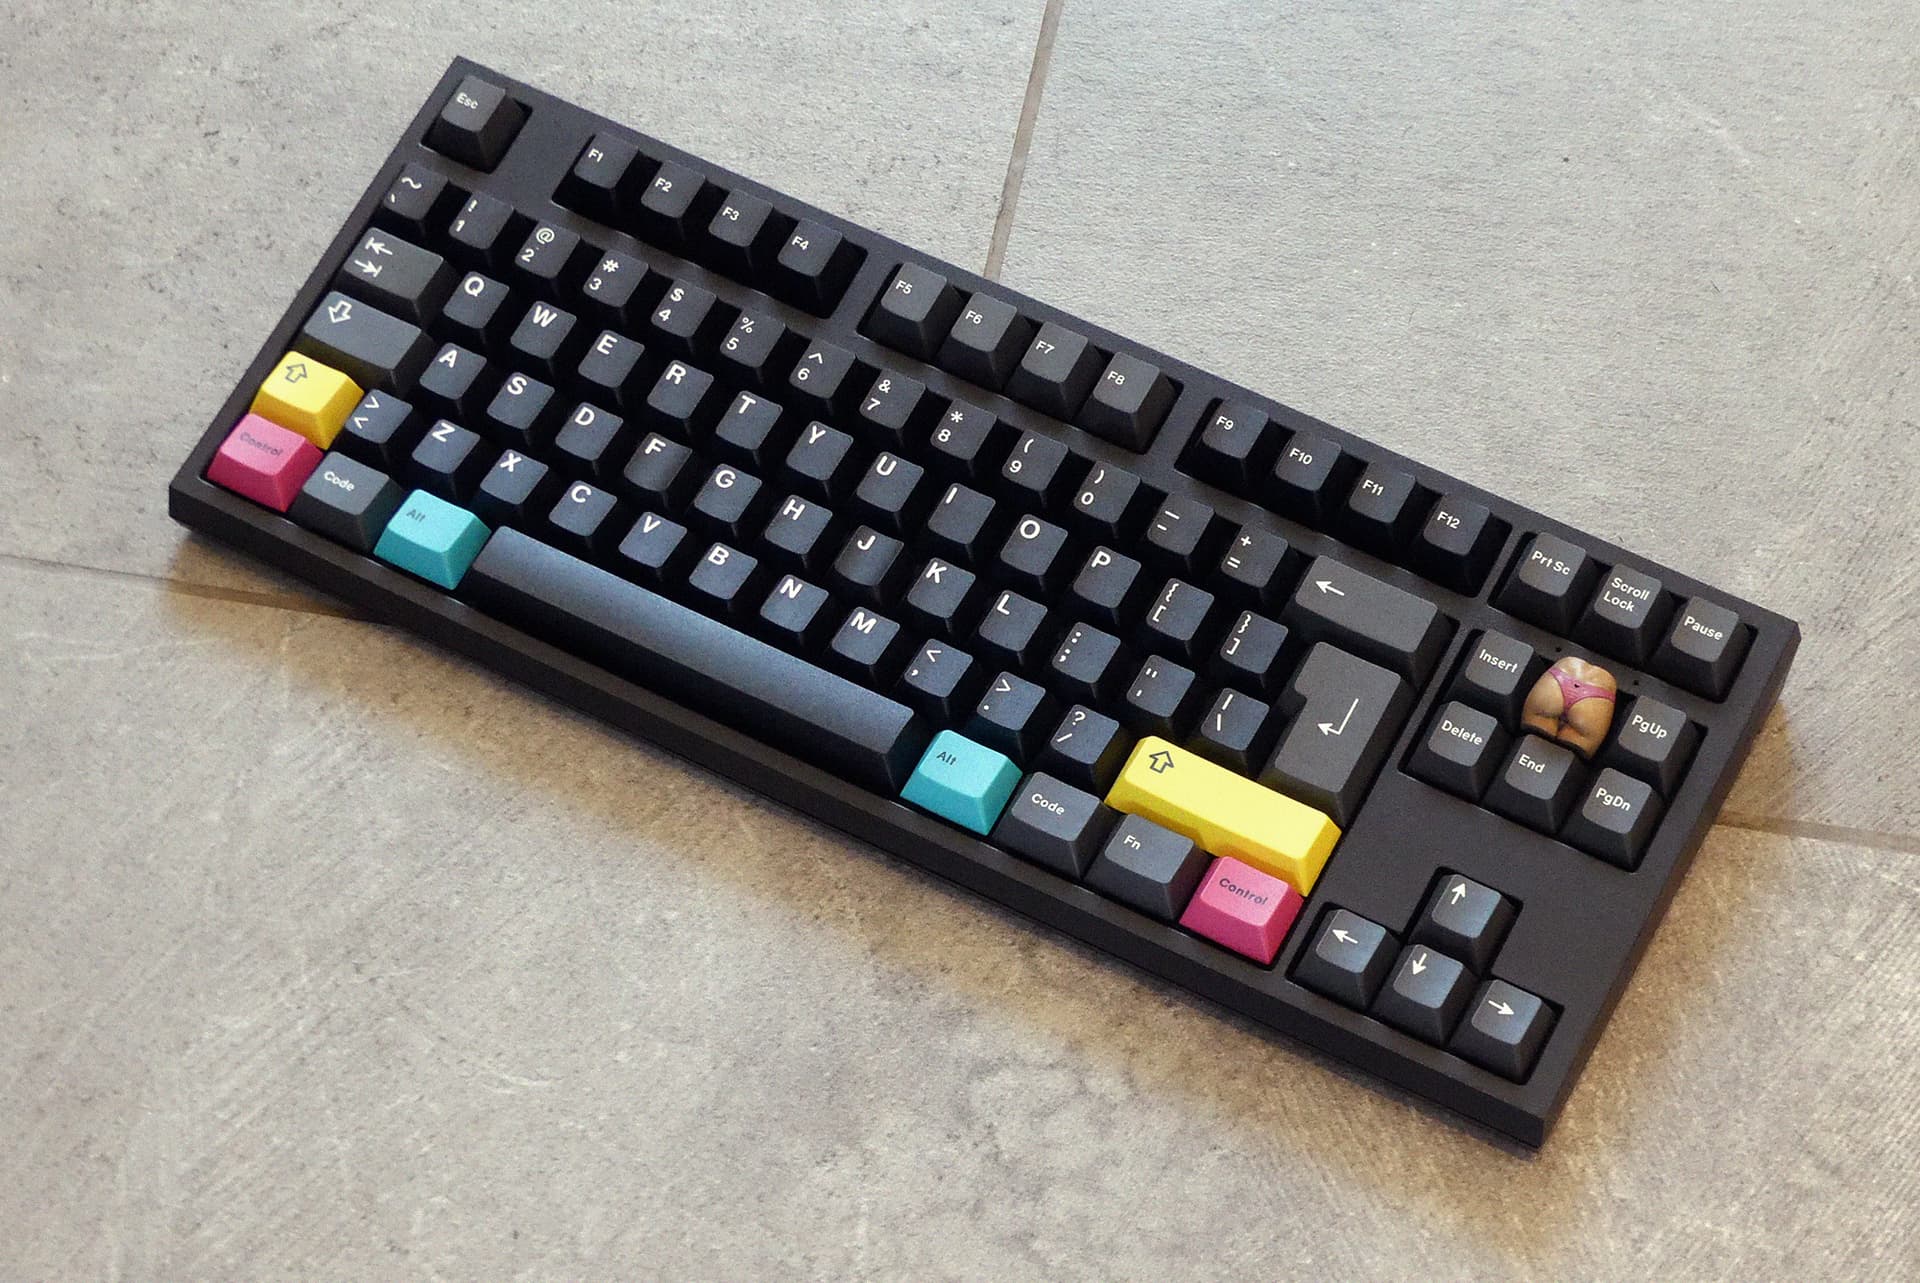
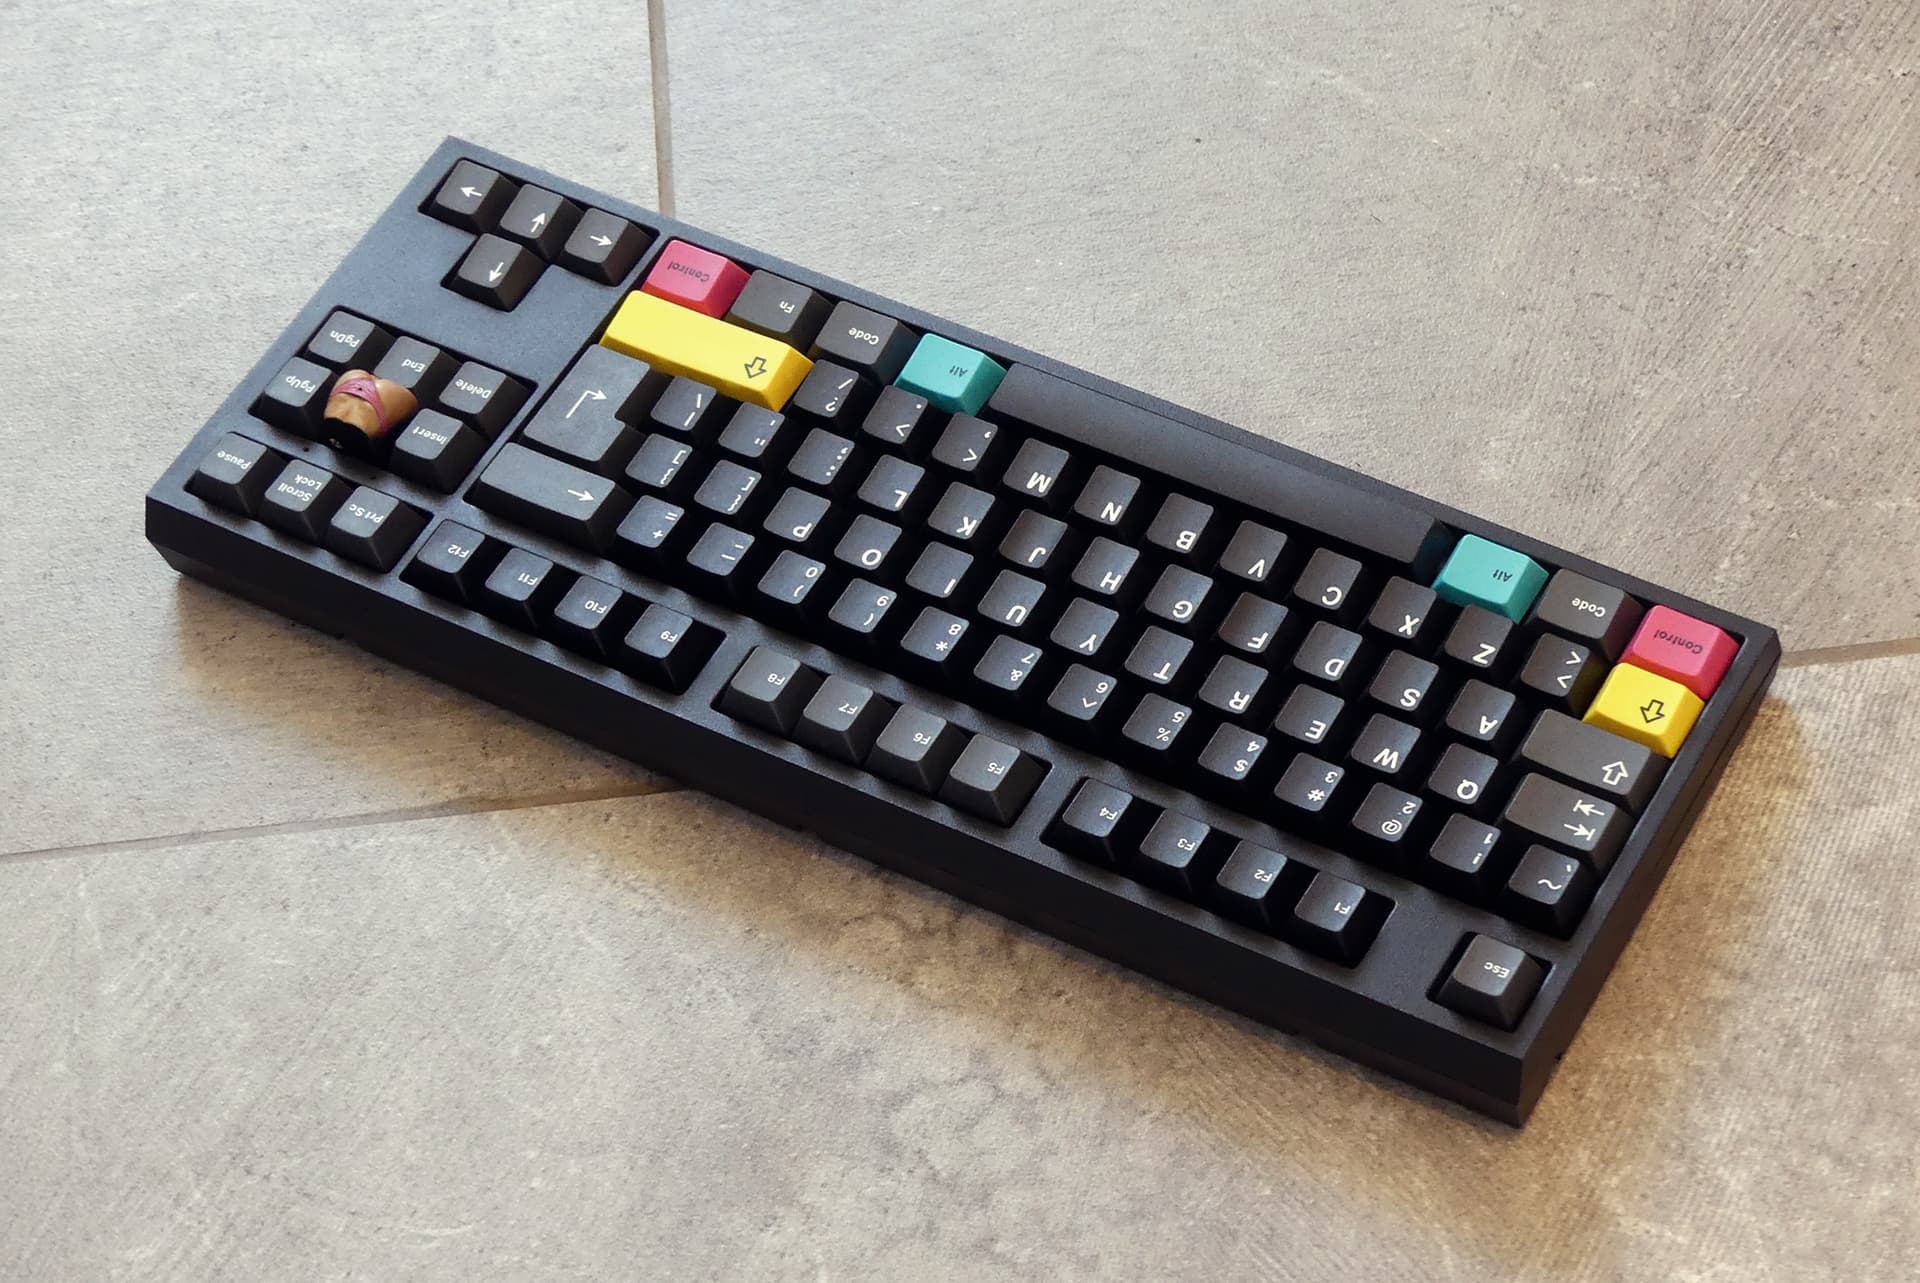
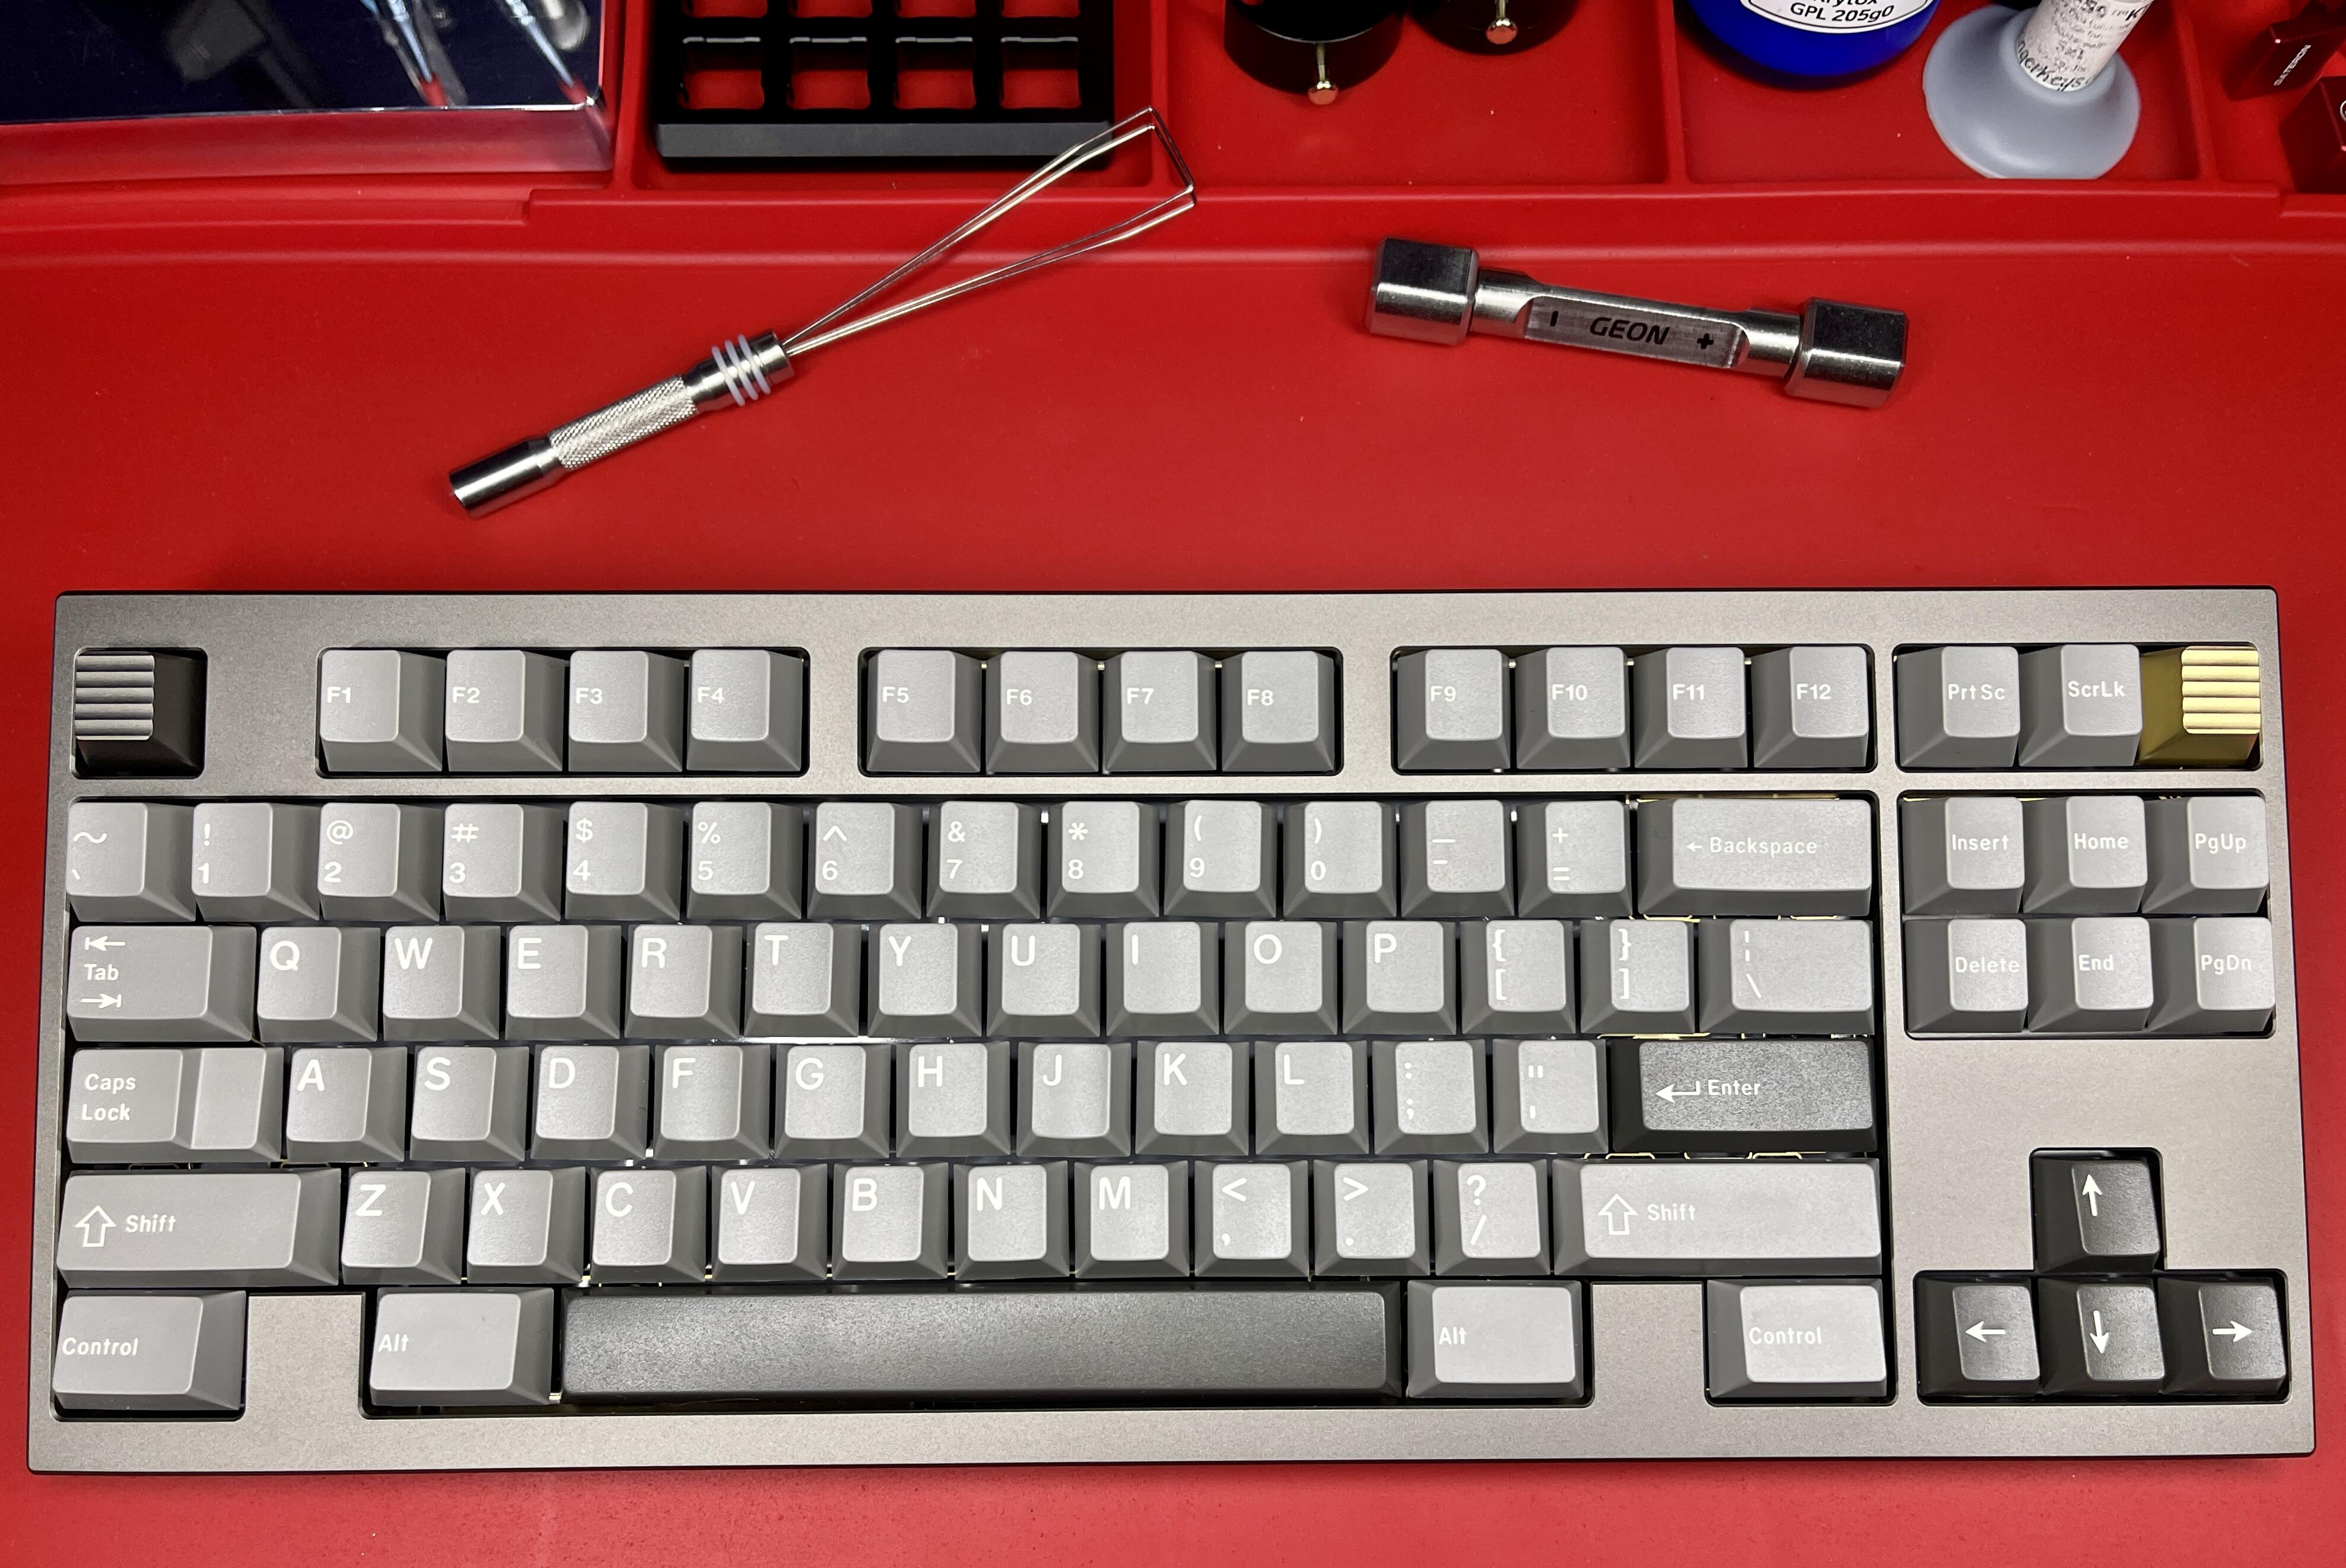
Got this in last week and then was going back and forth about building it myself or sending it to Alex to build on stream…
Geon Works F2-84
I’m glad I built it myself as the sense of accomplishment is completely on another level and making this one of the boards in my collection I am most proud of. ![]()
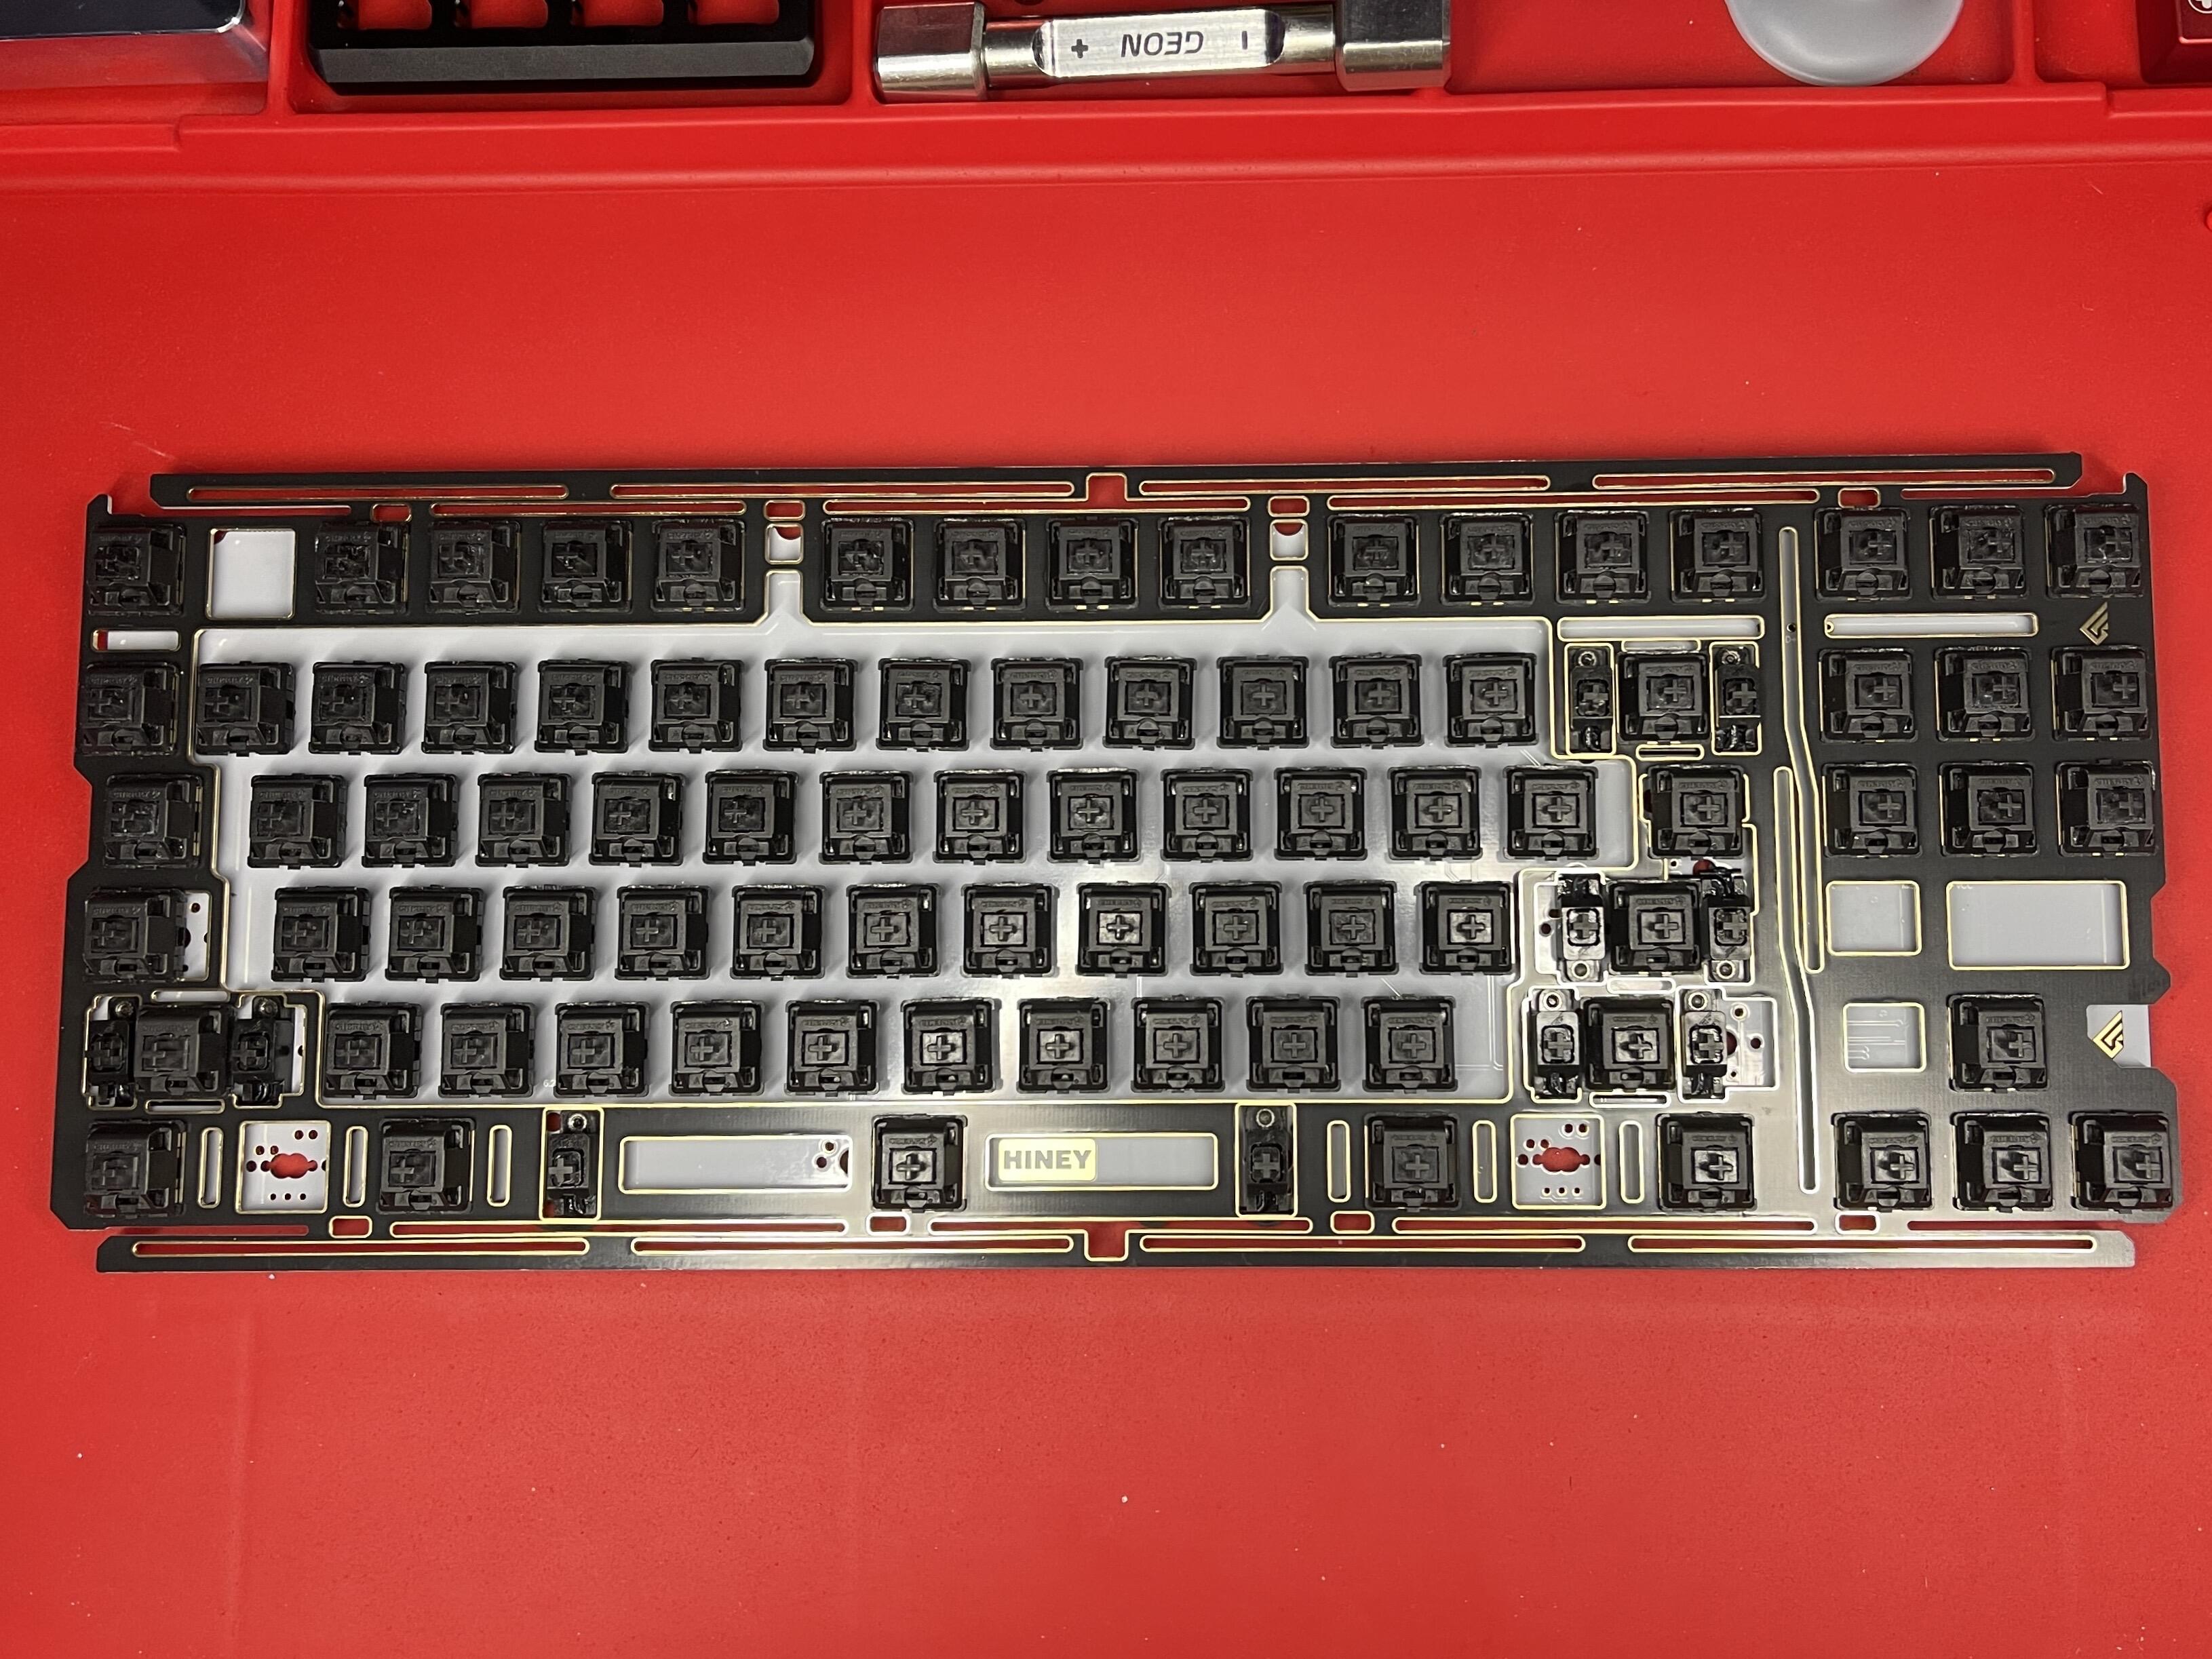
I was also trying to figure out which switches I wanted to put in this board as I was going with a the FR4 half plate configuration. For all of the work that was going to go into this board, I opted to go with the switches that I spent the most time to prepare: Vintage Cherry MX Blacks that I had broken in for an additional 1 million actuations, applied RO-59 to the stems, and spray on dry lube to the bottom housings. The springs were lubed with GPL105, and Deskey films were applied to help out with the housing tolerances.
I then went to work to try to figure out which stabilizers I wanted to use, and for all of the different ones that I have tried, I keep coming back to Staebies. While the 7u wire needed a little help to straighten out, everything else was perfect. I lubed the housing with GS2 and the wires with GS3, which is a combo that I have really been enjoying as of late.
Moving on to soldering the switches to the board, which is usually a fairly simple task, the fact that these switches were only 3-pin had me second guessing my choice. I decided to soldier on and take things slow. Starting at the corners and then moving on to the space, enter, L & R shift, and backspace. I filled out the rest of the half plate and sat back to congregate myself and optimistically think about how it wasn’t that bad. Then, I tried to solder in the rest of the stand alone plateless switches…
I was able to use another plate to hold the tops of the switches in place until I could flip the PCB over. From there, I soldered in only one pin of each switch just to hold them to the PCB. After they were in place, I then took a 7u spacebar and laid it across the rows, and would reflow the solder on the one pin, and then solder down the second pin of the three switches that would connect to the spacebar. From there, I would move the spacebar over to the next switch and move down the line until all of the switches in that row were soldered in. It’s not perfect, but it’s good enough to me. ![]()
![]()
![]()
That’s why I always want to solder. It gives you such a great feeling about your build when you nail it. ![]()
But regards to using another plate to straighten the switches, wouldn’t it work great if you pile up the plate and just let your build rest in it like a tray before you solder? ![]()
Oh!
And @Deadeye , great write up, really got me into the mo()de.
And after reading @d3L7r0n write up, I’m definitely gonna do some tinkering with my keebs this week. ![]()
Full spa treatment right there. Noice.