12 Likes
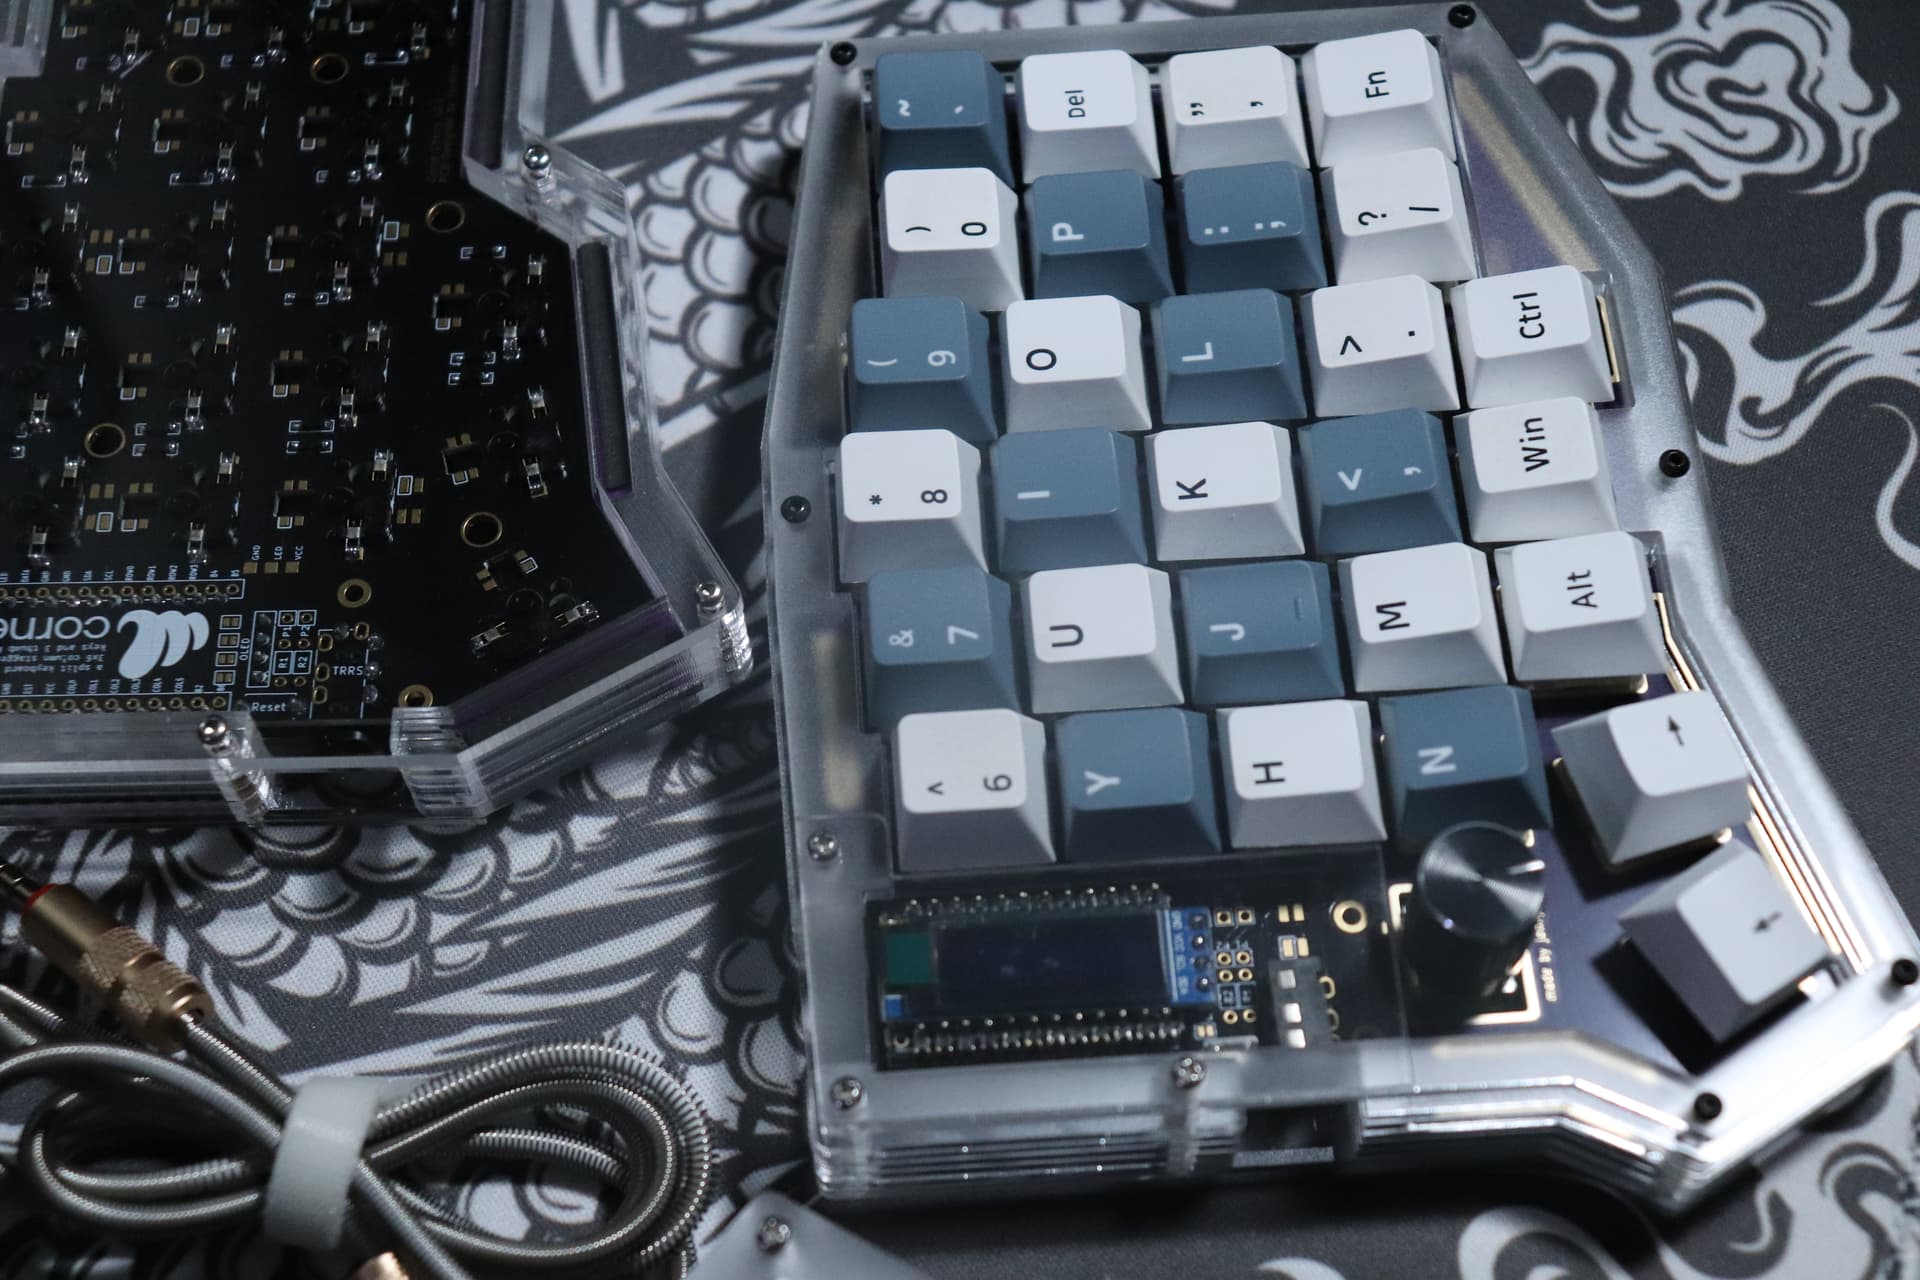
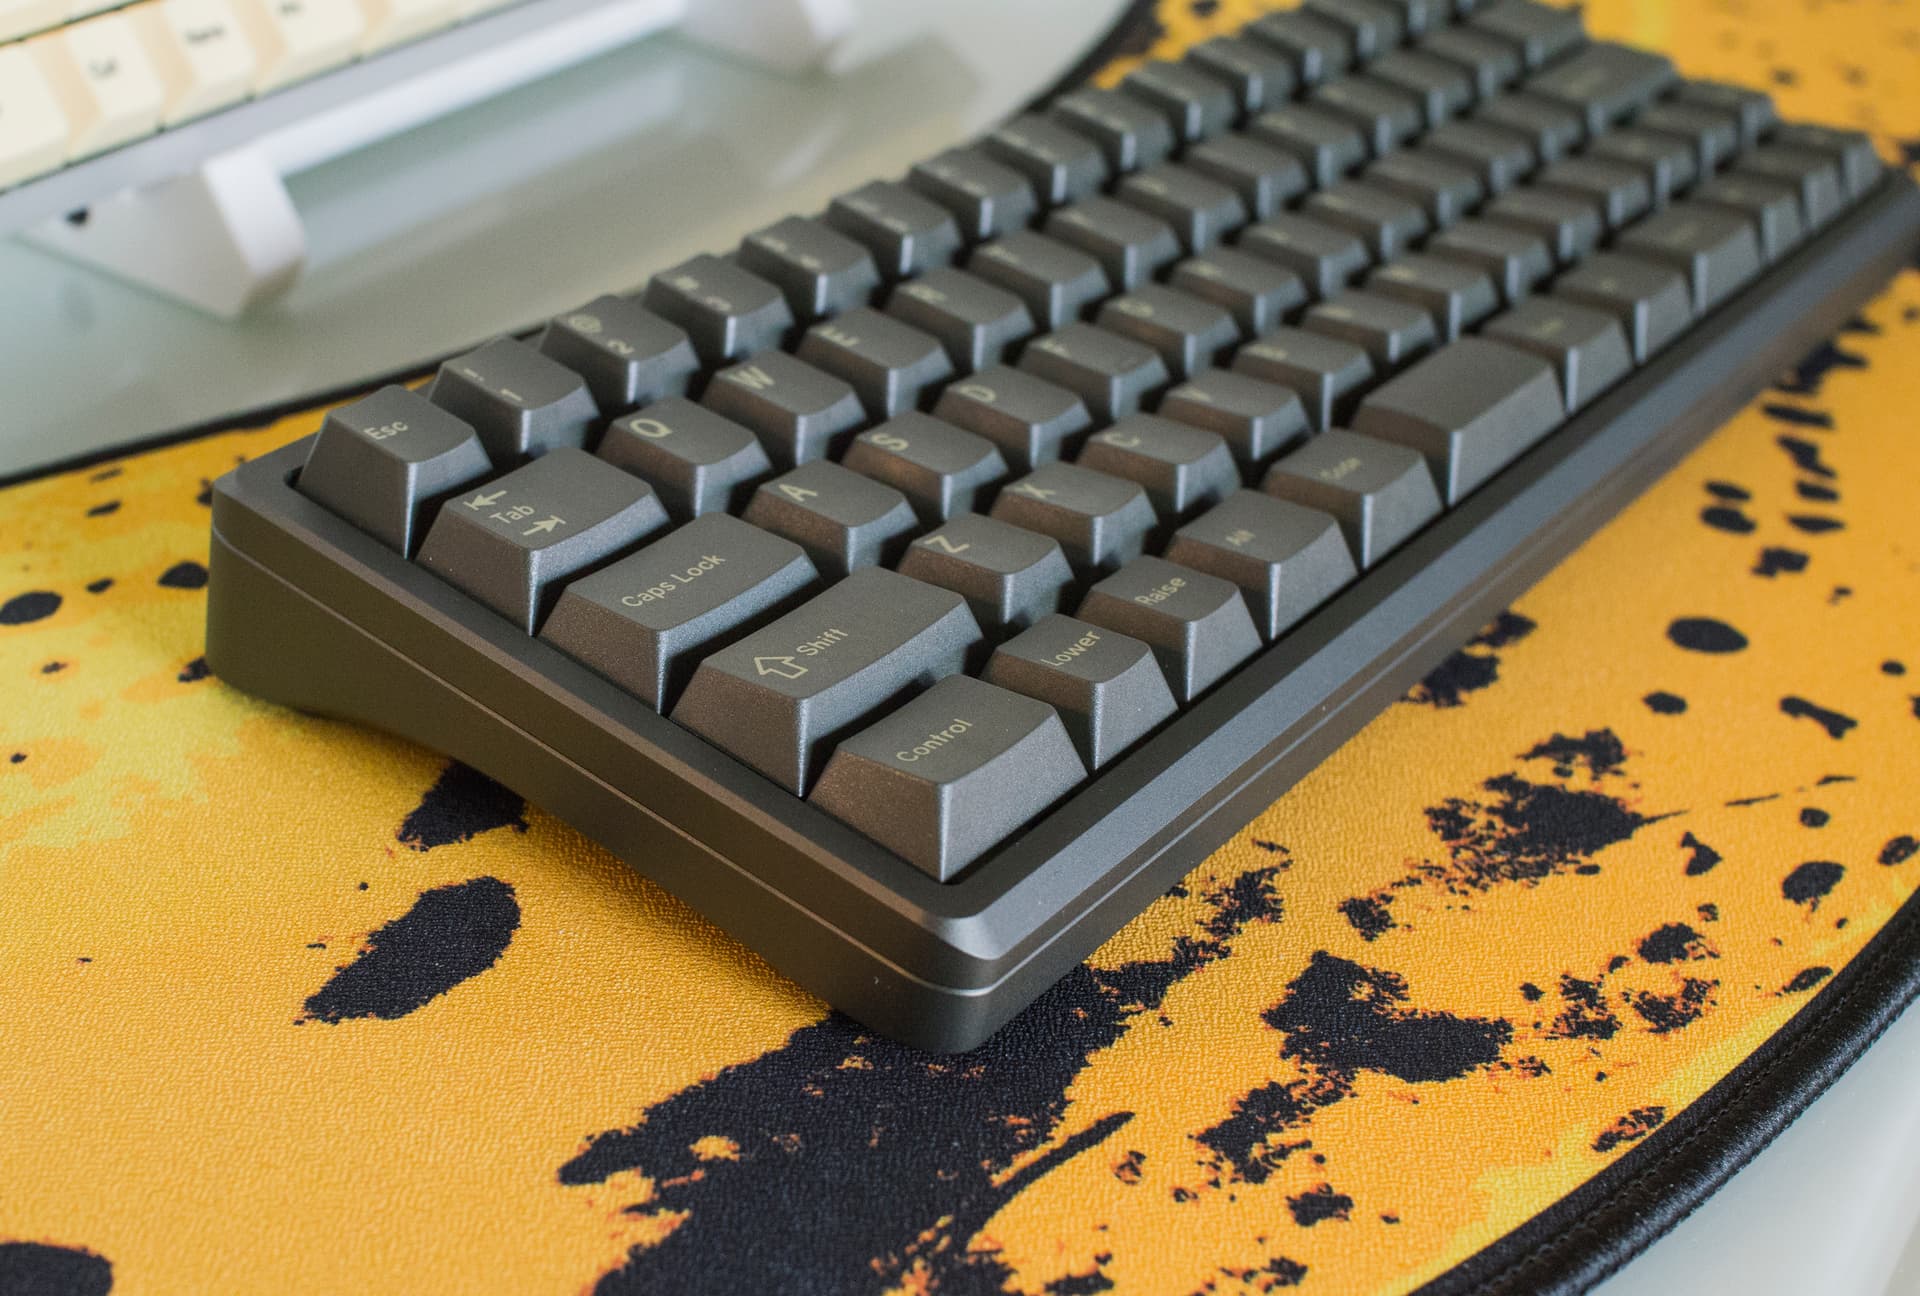
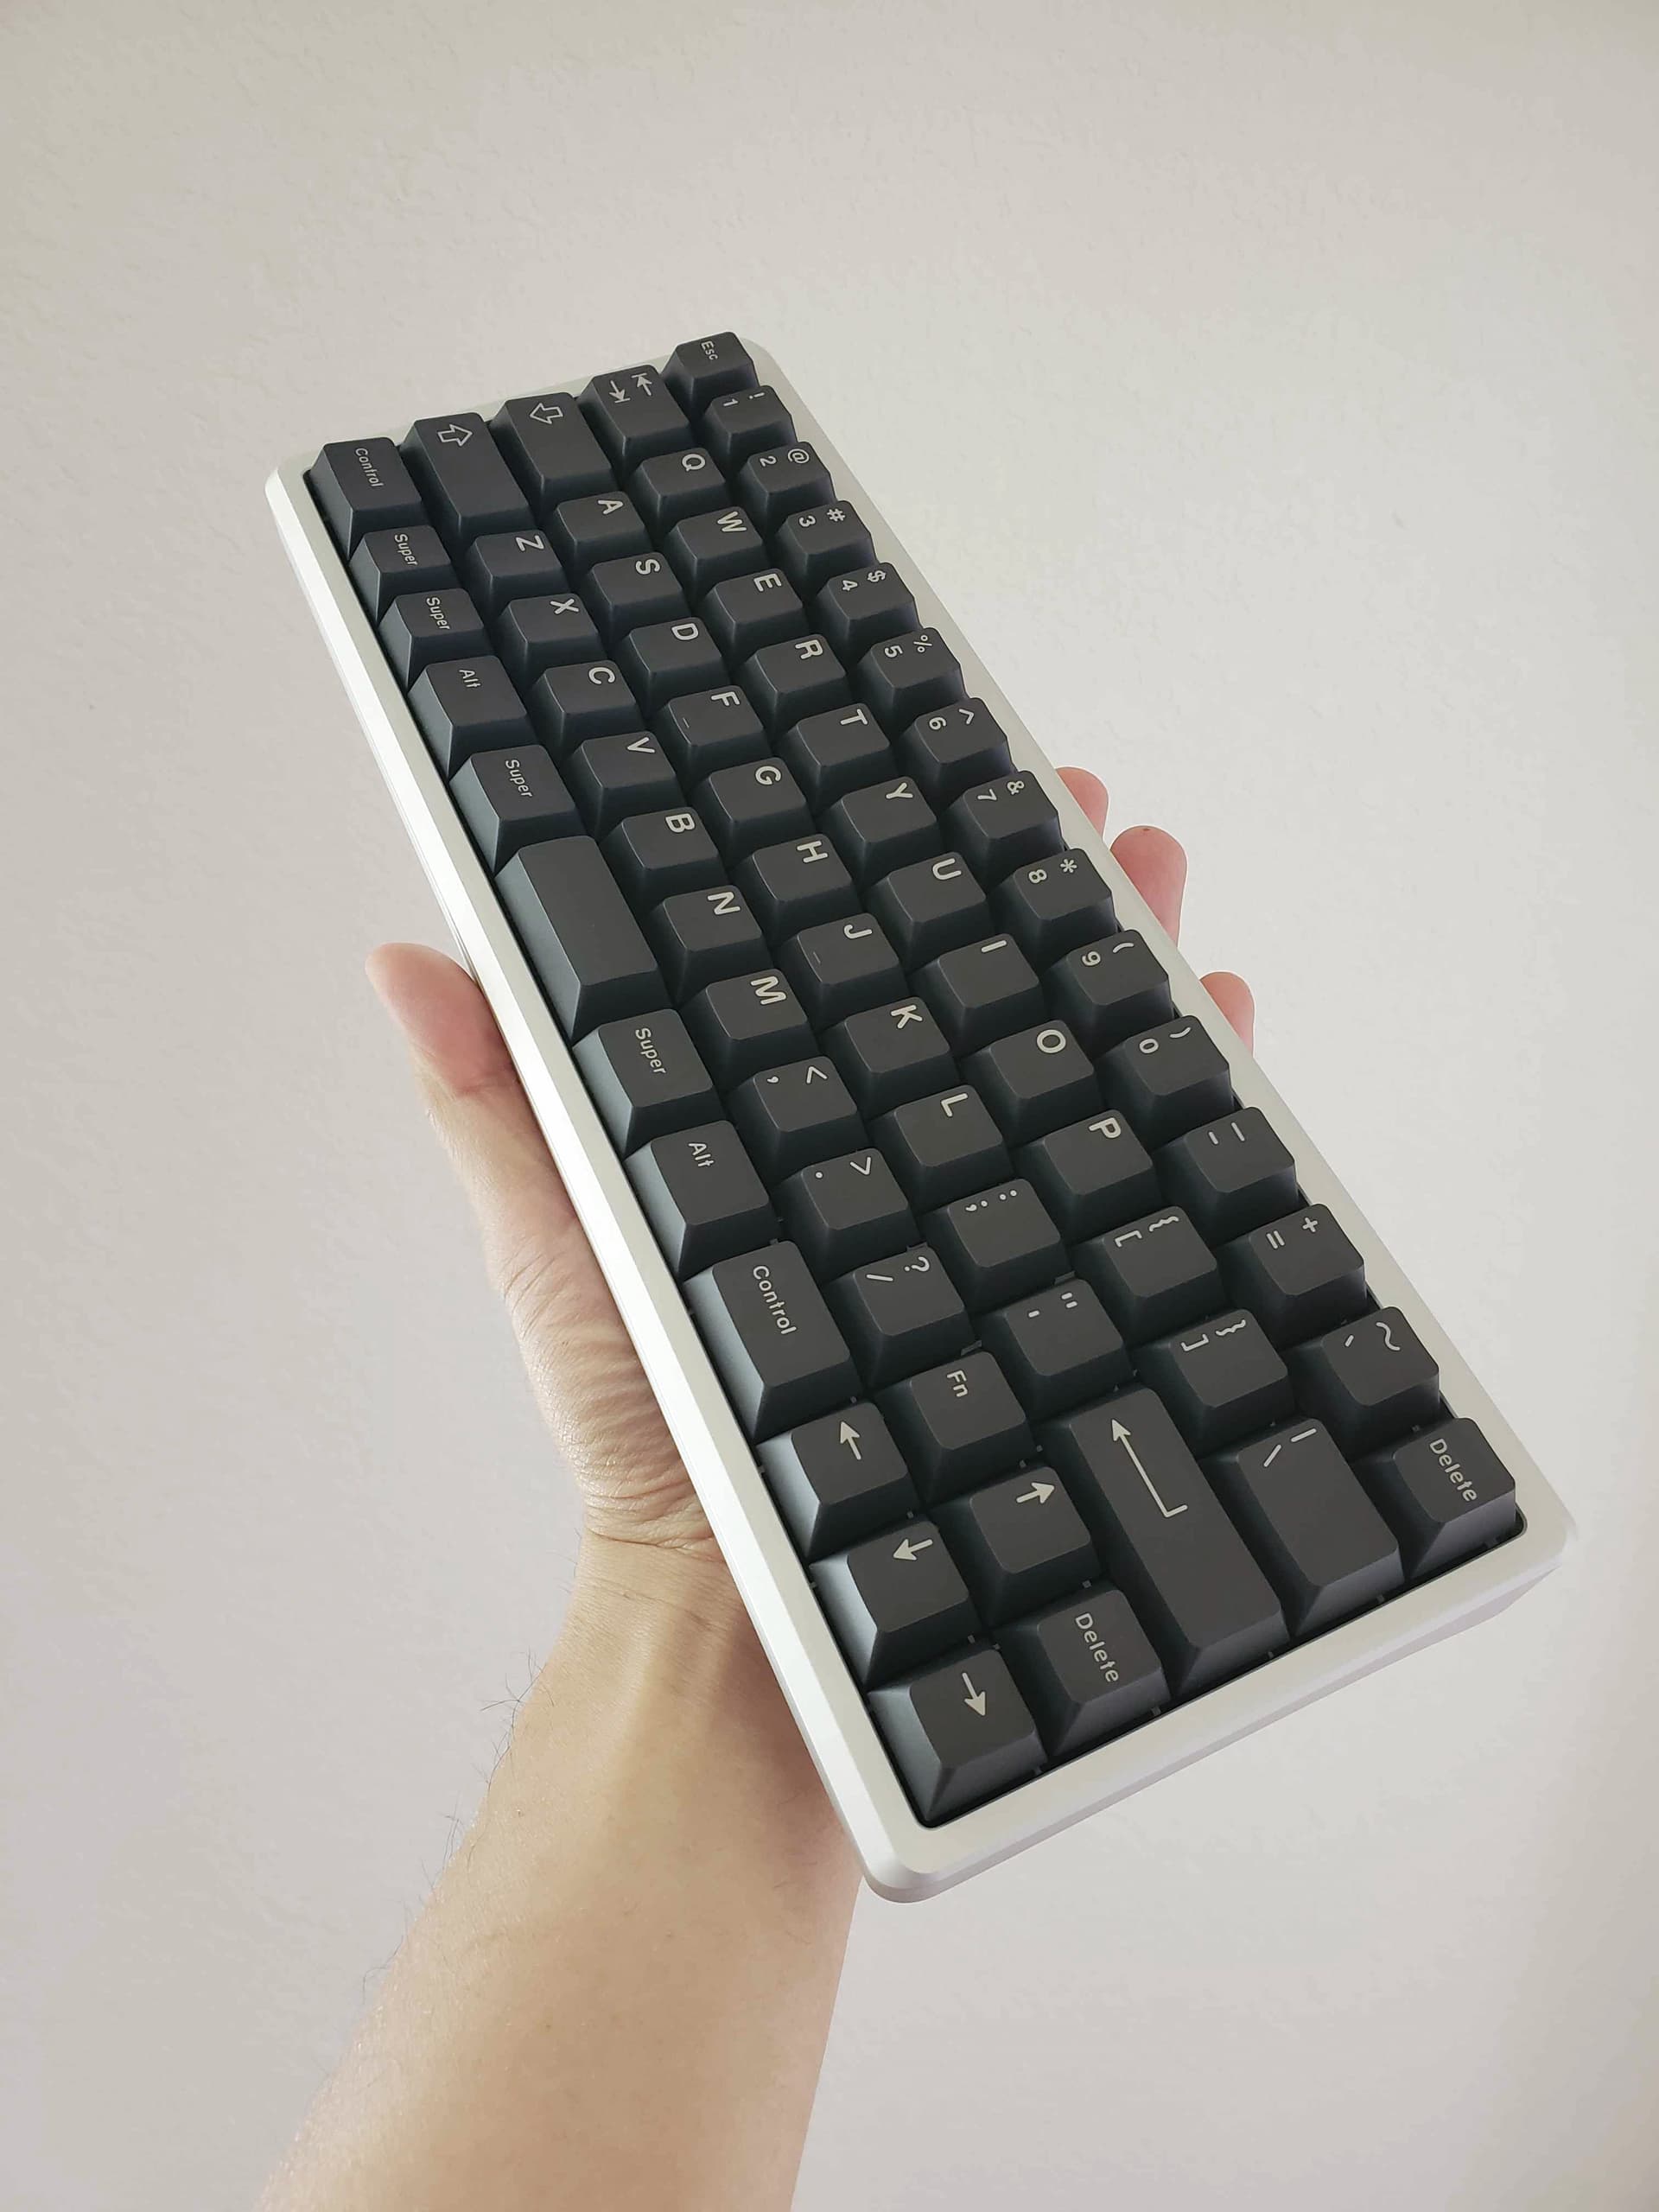
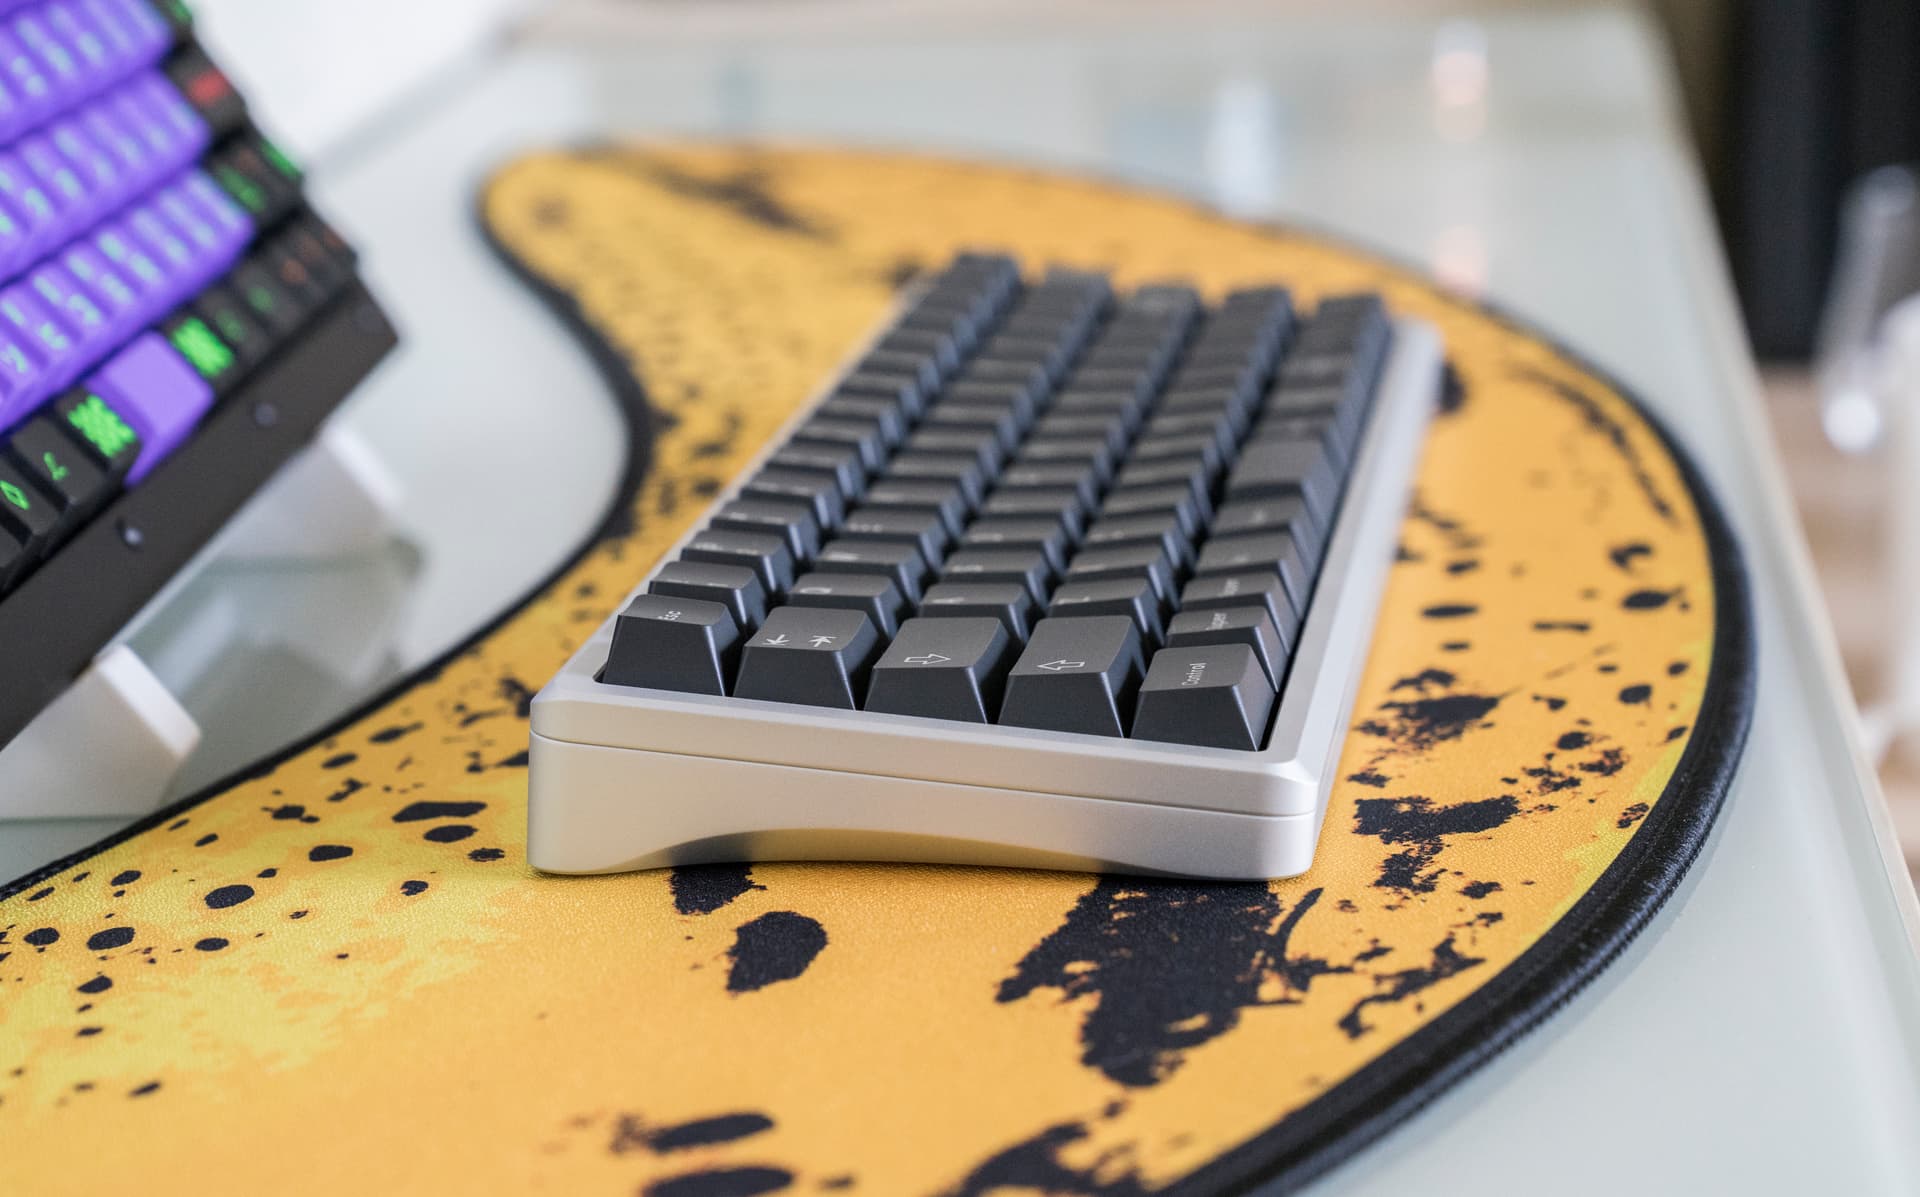
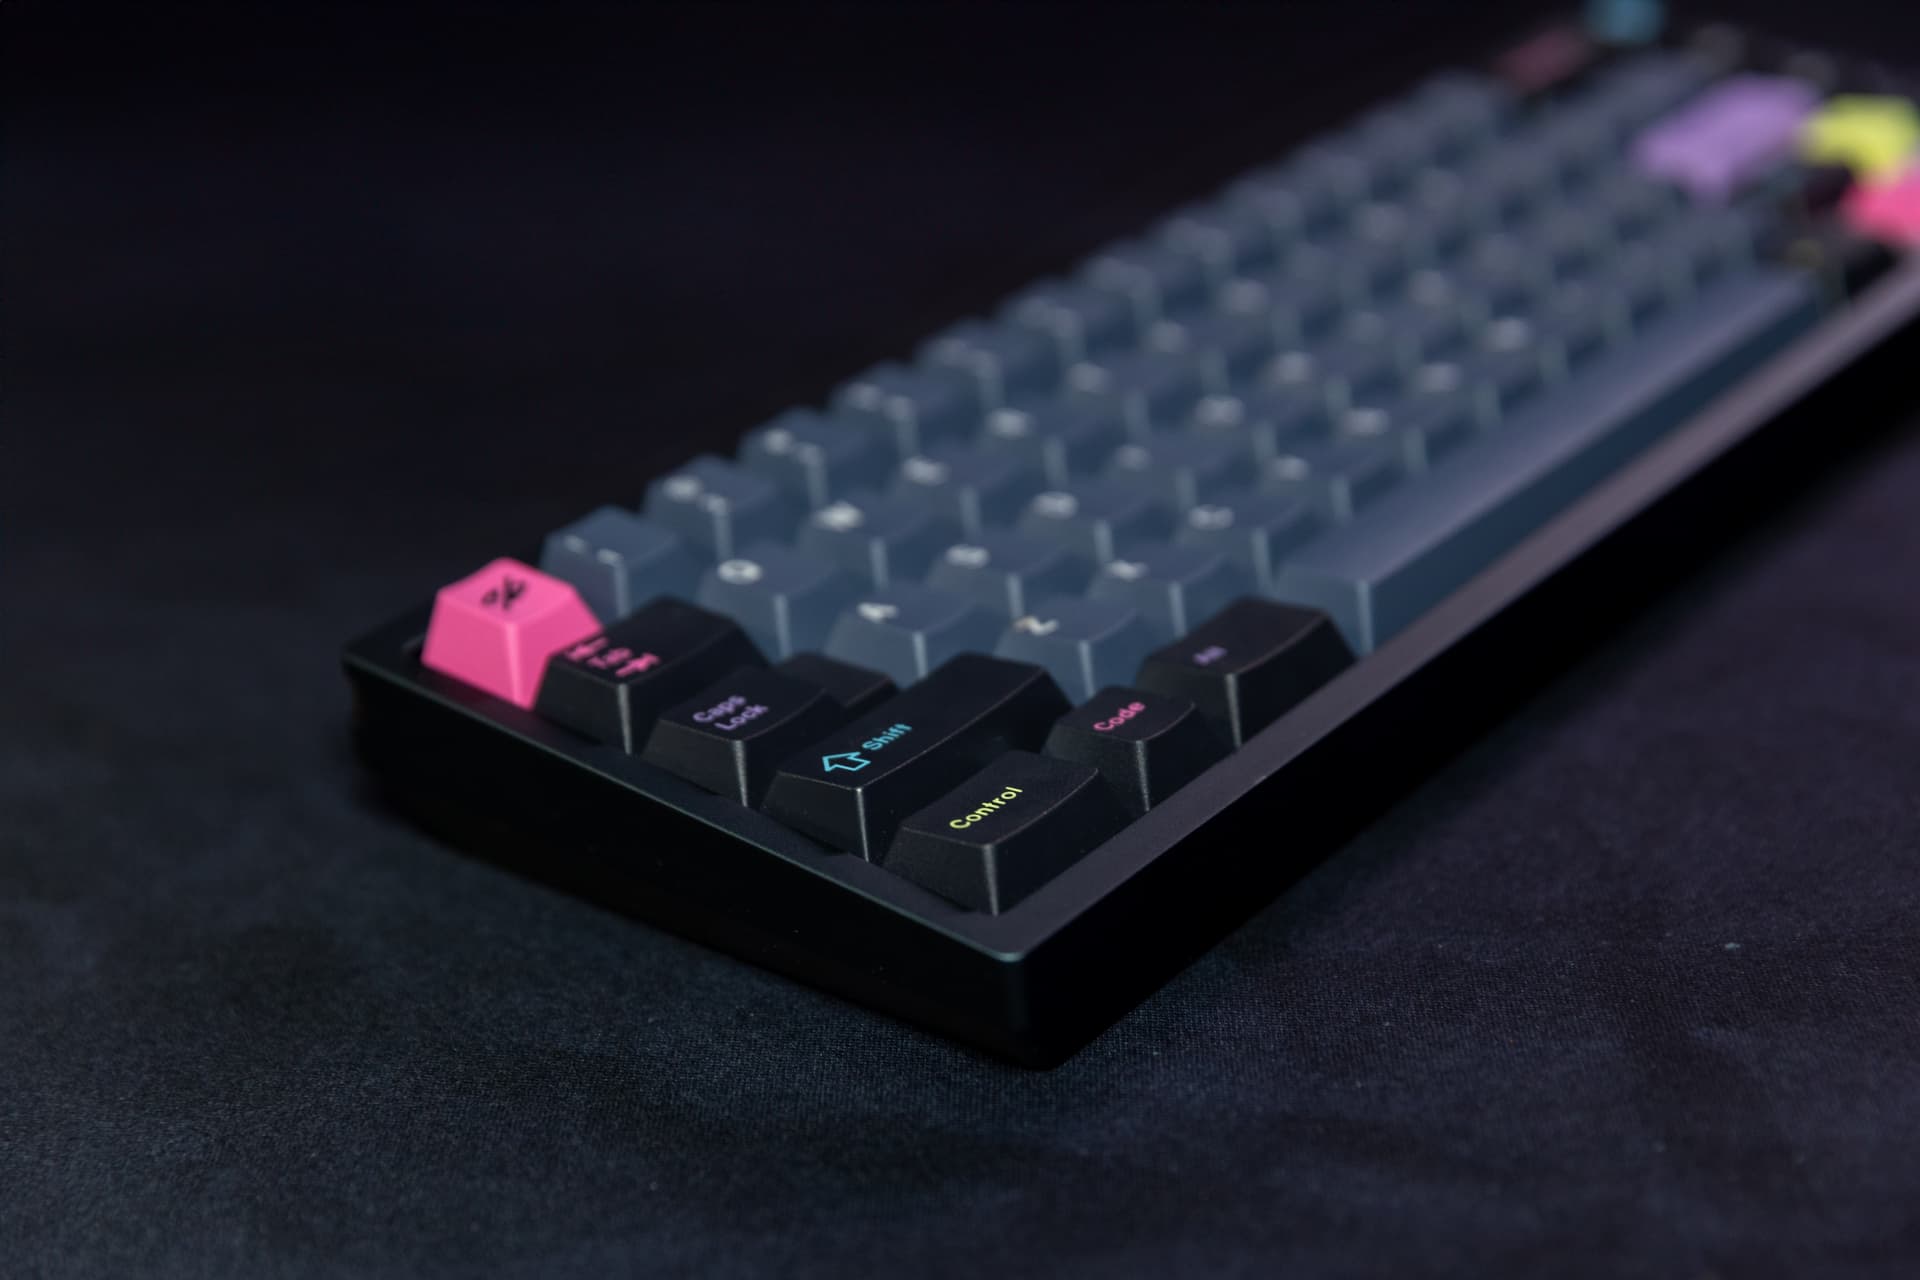
How do you like those keycaps? The generous kitting suits my needs pretty well, but I haven’t ever used MDA.
1 Like
I like them quite a lot, and recommend giving them a shot. The level of quality has been quite impressive and high despite the budget price tag.
Personally, I quite like trying things other than Cherry and similar cylindrical profiles, and I also like centered legends. I also have a set of XVX profile keycaps, which seem incredibly similar the MDA profile, maybe even the same?? I can’t seem to tell a difference…
A couple of potential downsides to note:
- The top surface area of these keycaps are significantly larger than the typical Cherry profile. Hence, there are smaller gaps between these top surfaces. This might require a bit of adjustment to get used to typing on.
- The spacebar was a little bit warped (higher in the center), but I was able to fix that with warm water and manual bending it back.
- After doing that, I realized that one of the extra spacebars was another 6.25u and was already quite straight, so I could have just used that instead. Hence, the kit interestingly came with two 6.25u spacebars, one 7u, several assorted smaller spacebars, but no 6.5u or 6u spacebars. Looking again at the kit diagram on the website, it appears that even there two 6.25u spacebars are shown.
3 Likes


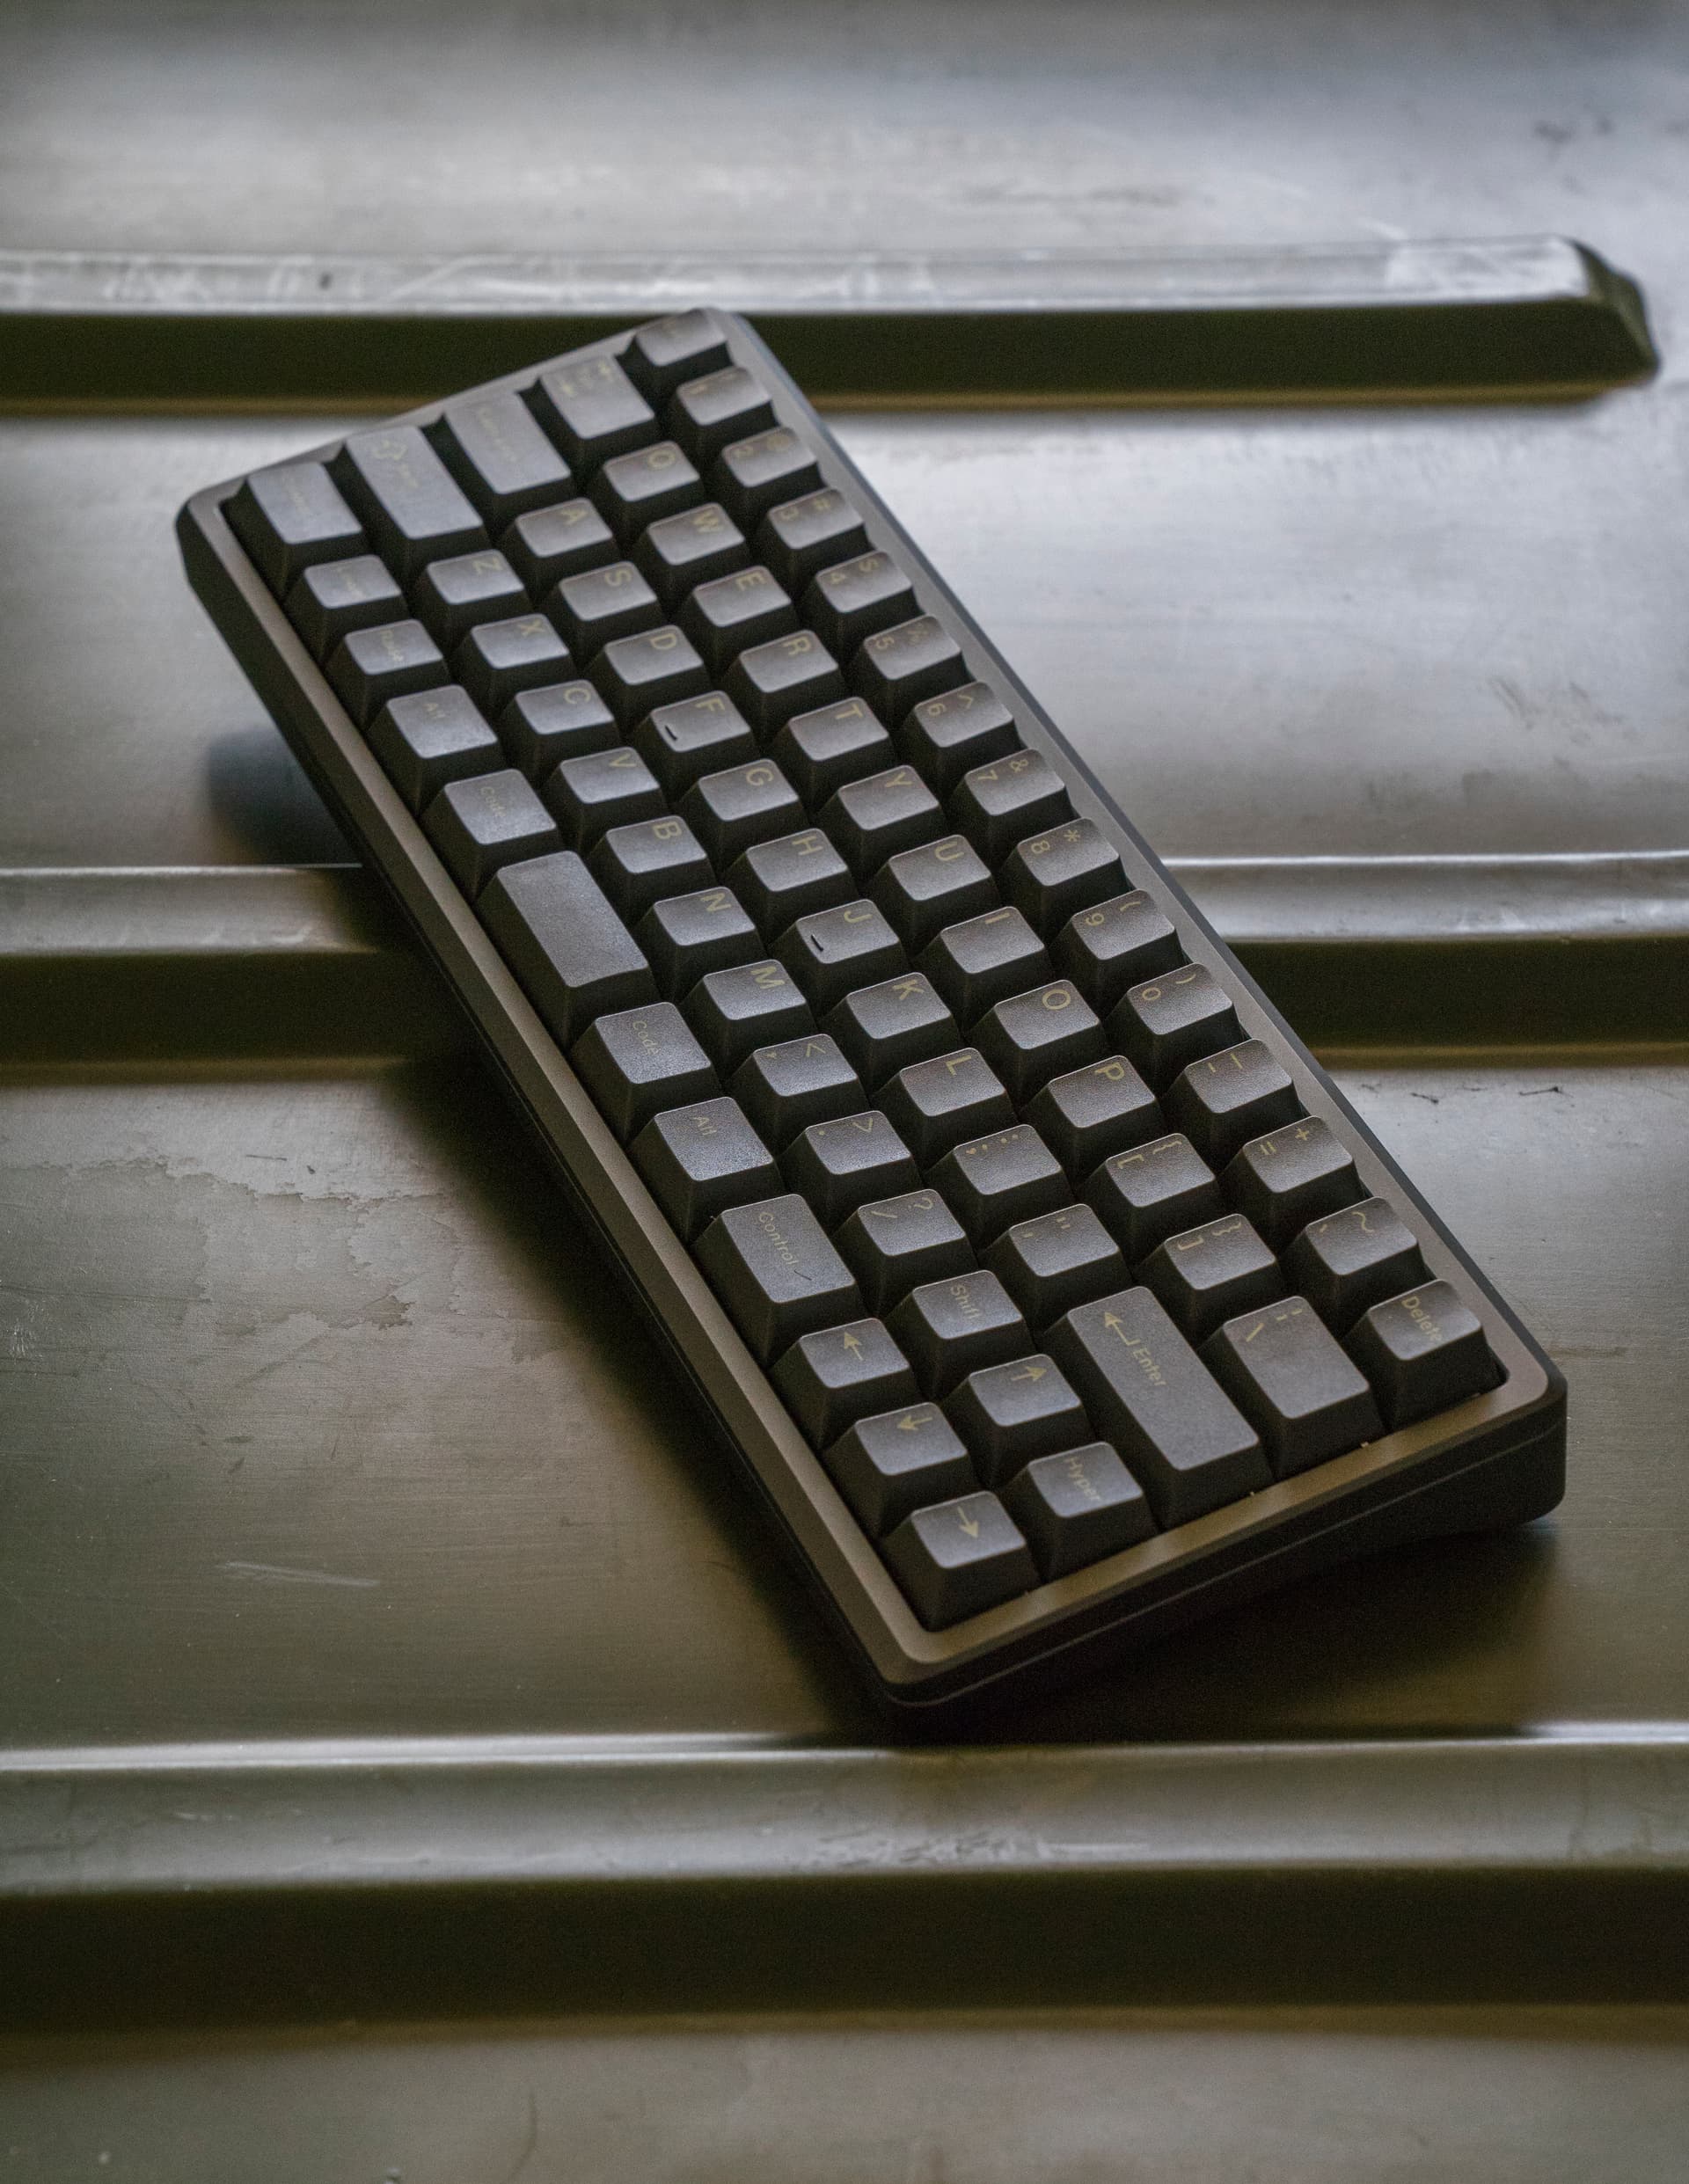
I call it “TruePower 20u+ EC” ![]()
- KLC Housing and Slider for both 1u and 2u
- Deskey’s Des-Domes Carrots 49g
- Novelkeys PBT Cherry Stone
Bad photos. Looks bronze in real life ![]()
Endgame is within reach ![]()
13 Likes
it appears that even there two 6.25u spacebars are shown.
My pet theory is that they have a single set of processes and guidelines for their sets, whether the kitting has multiple colorways or not. I have Akko’s “SA-L” on one board, generic CSA on some others, Vortex’s VSA on one, and XDA on a couple past that, so if anything I’d say I slightly prefer a larger landing spot. Thanks for the information!
1 Like
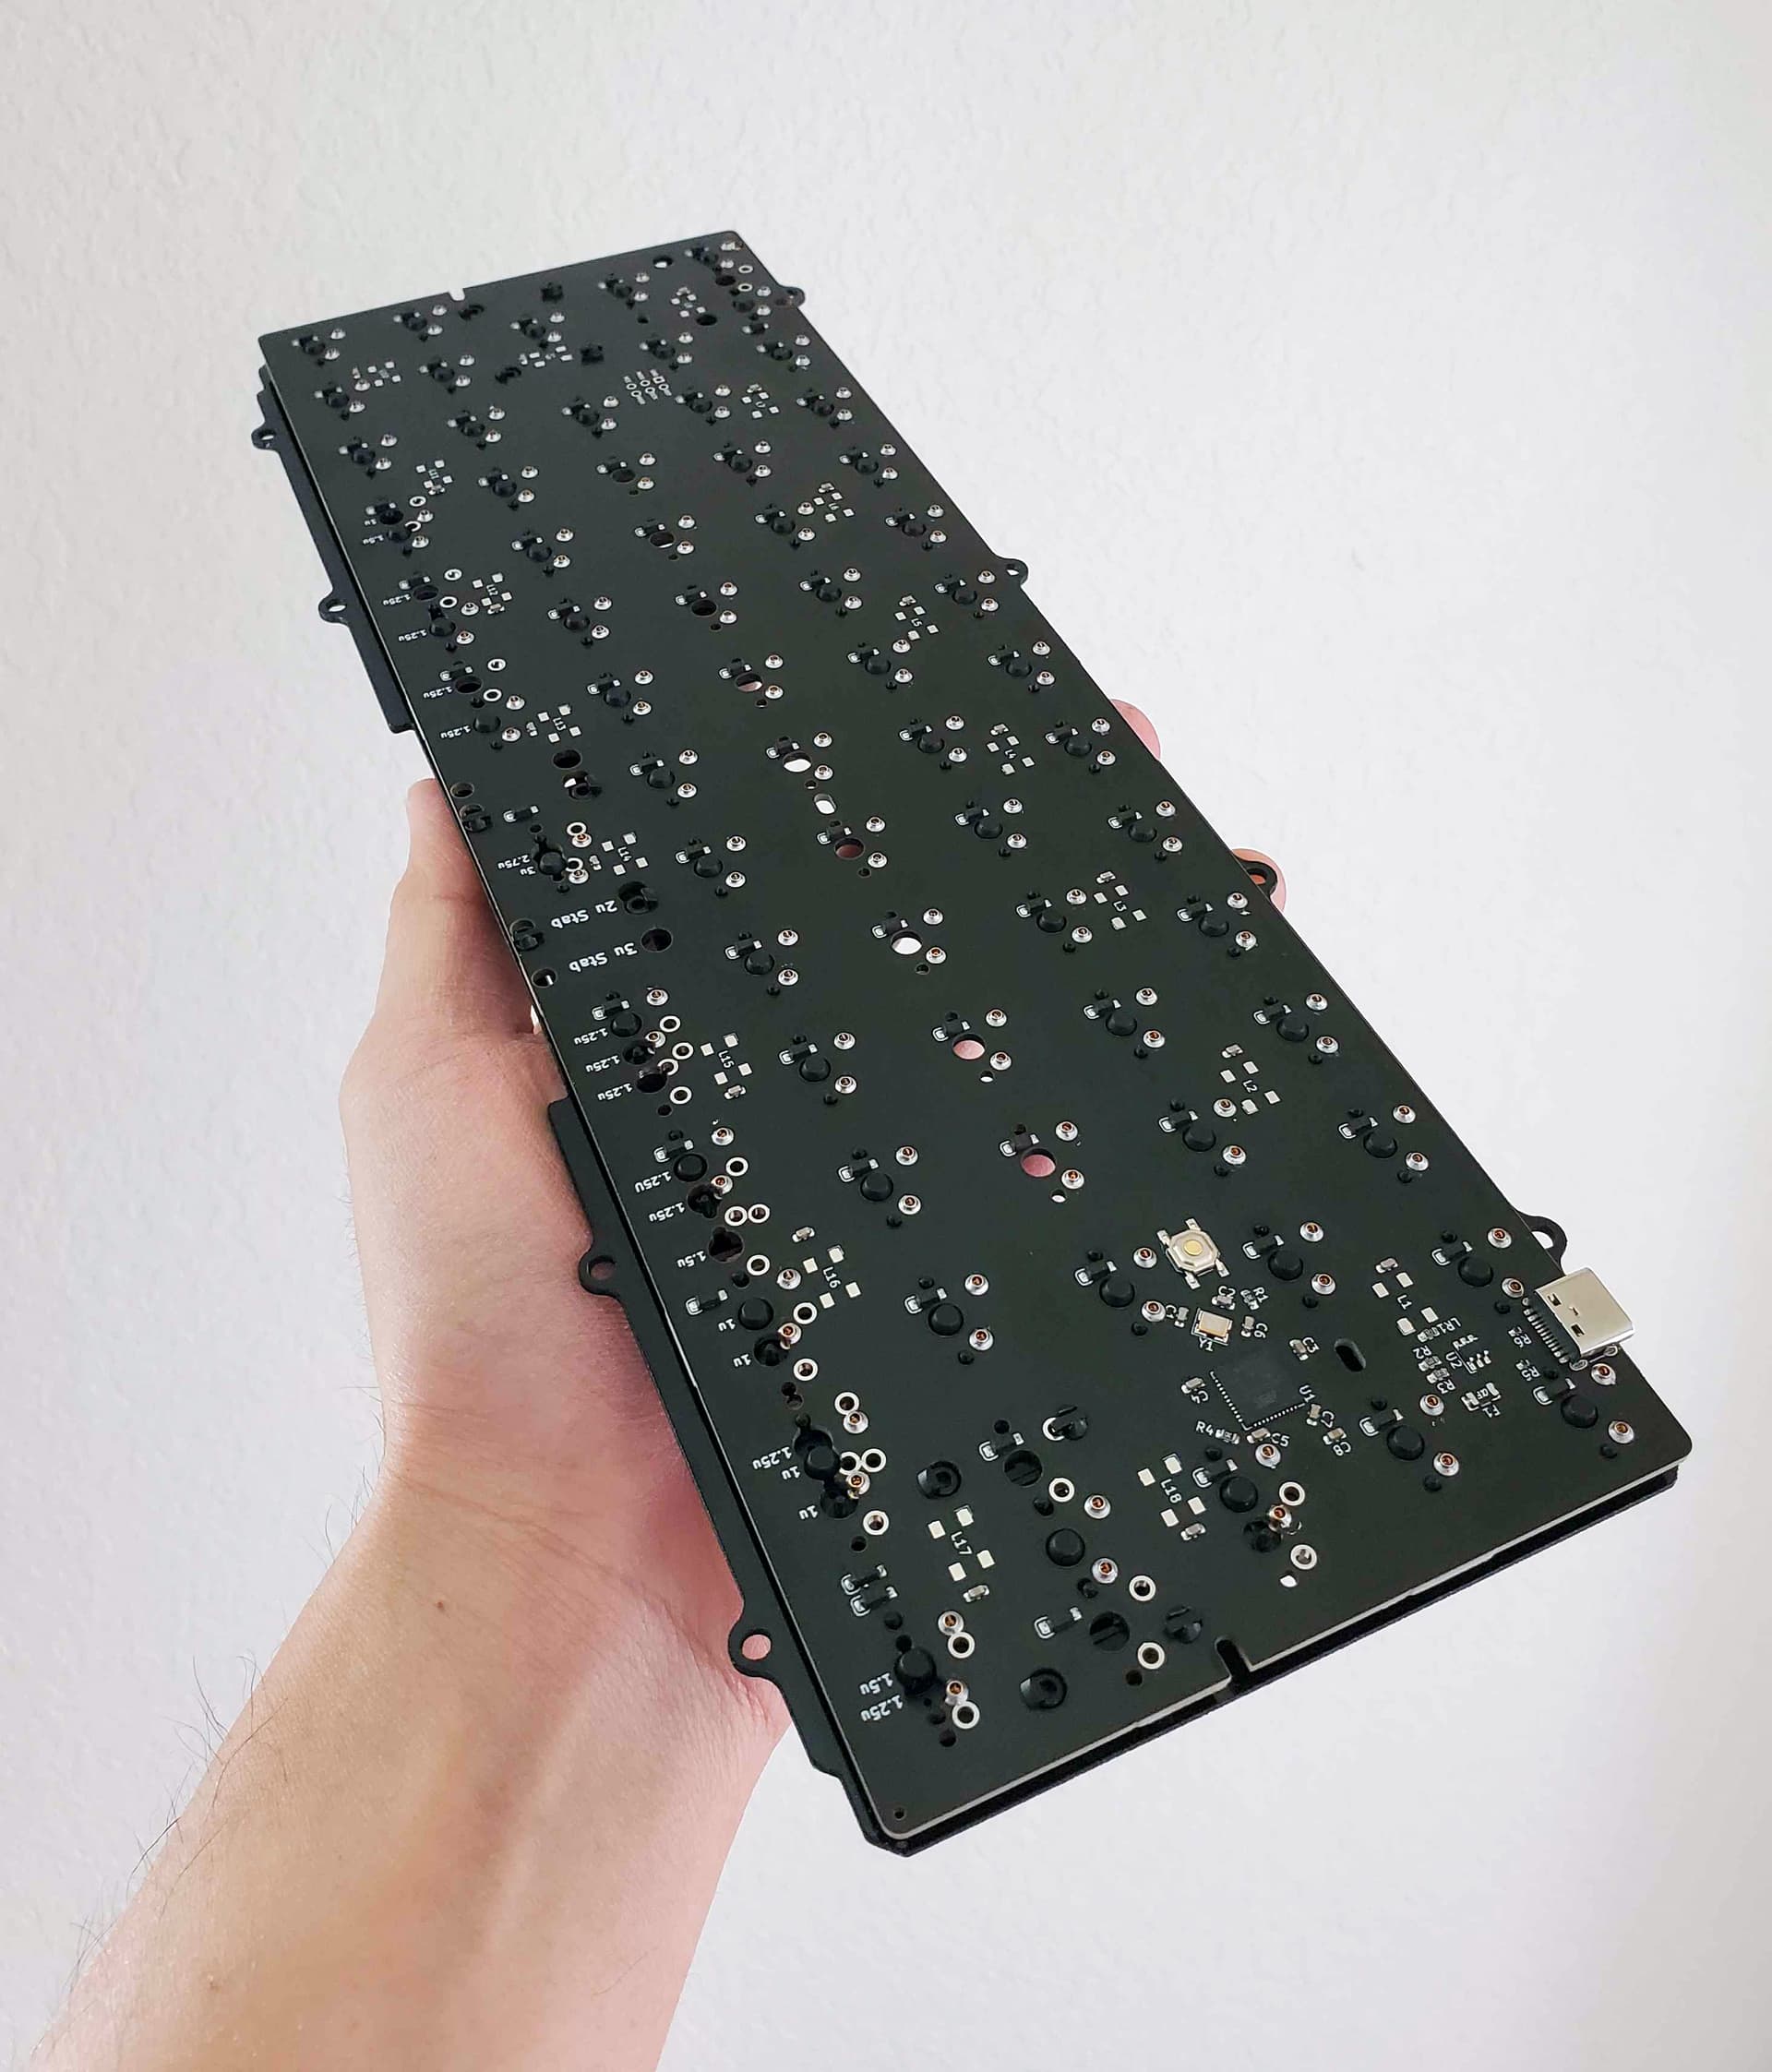
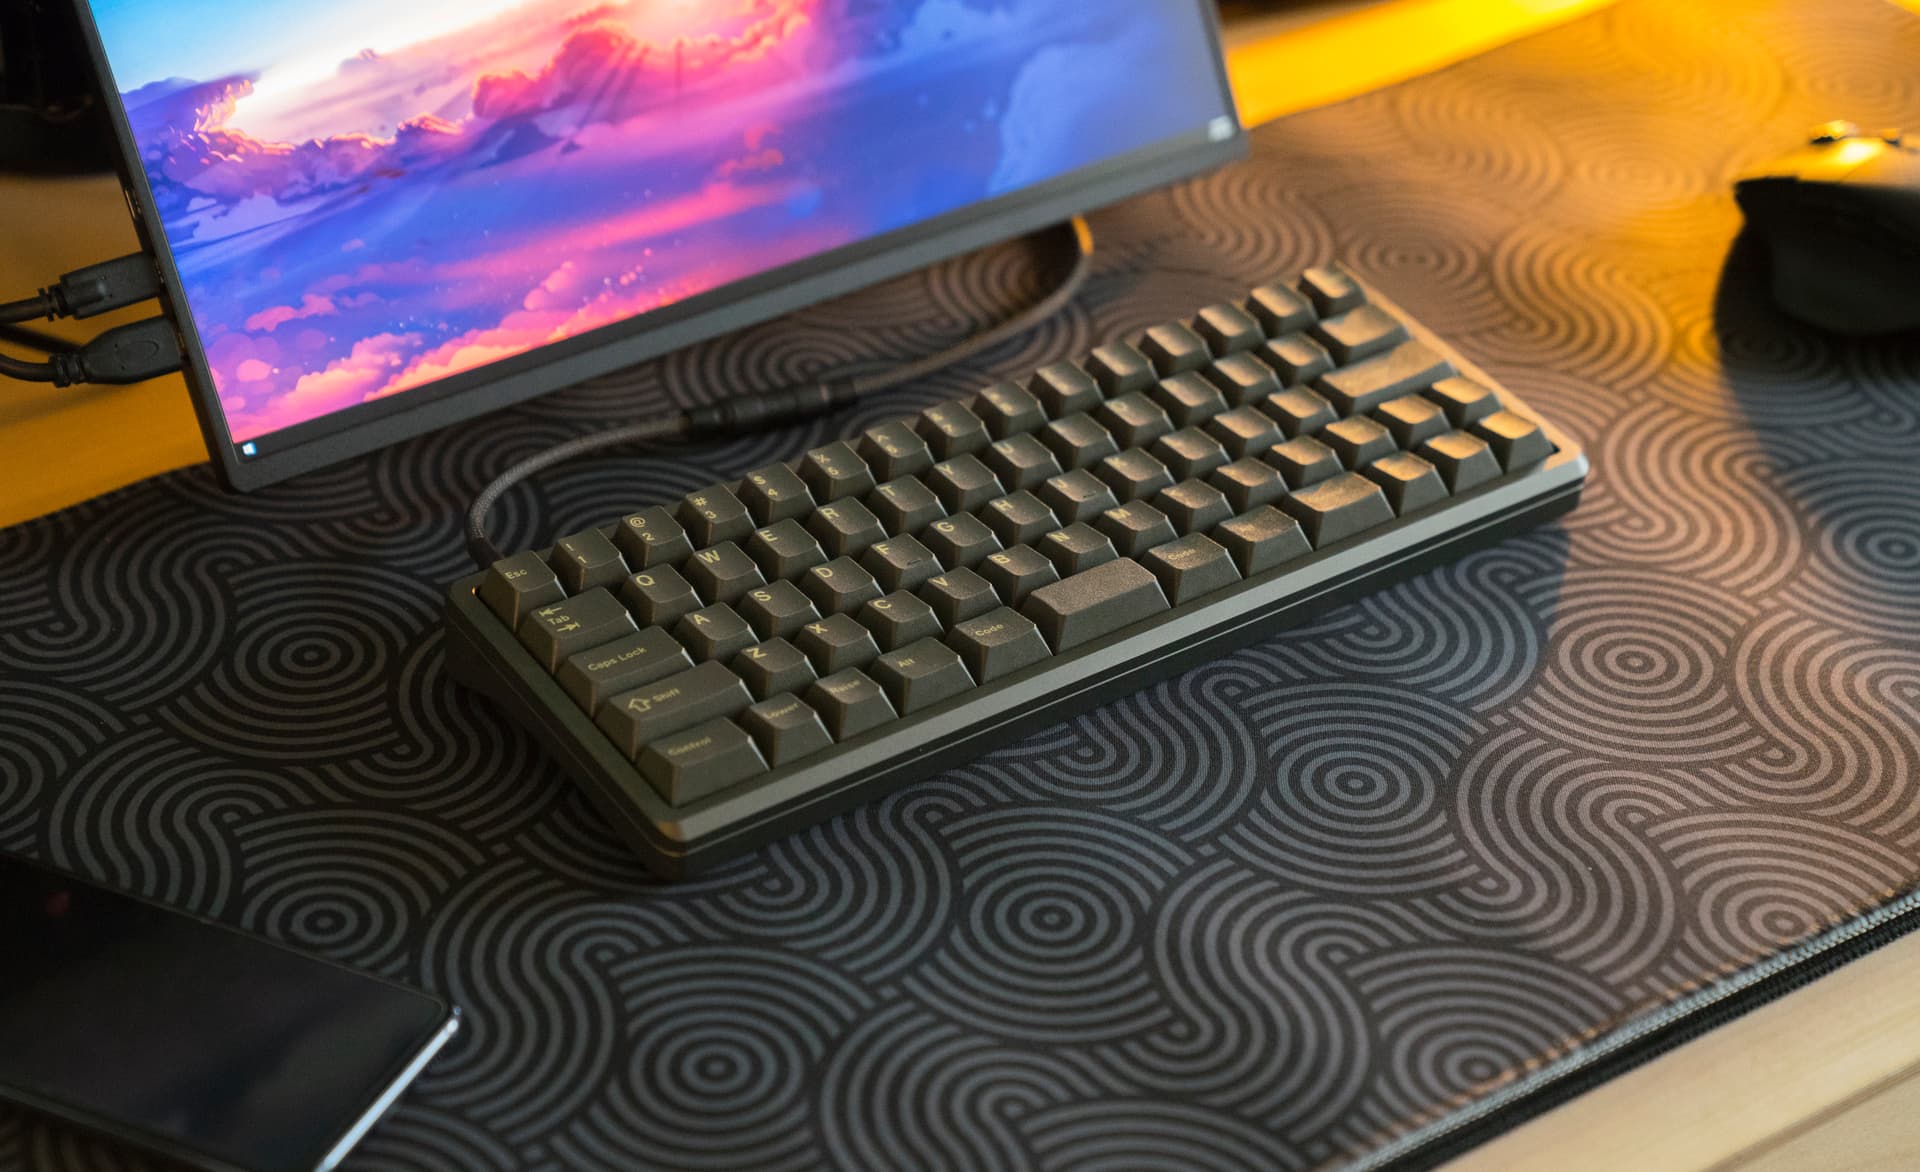
Finally set up my lasercutter and cut myself a custom PC plate.


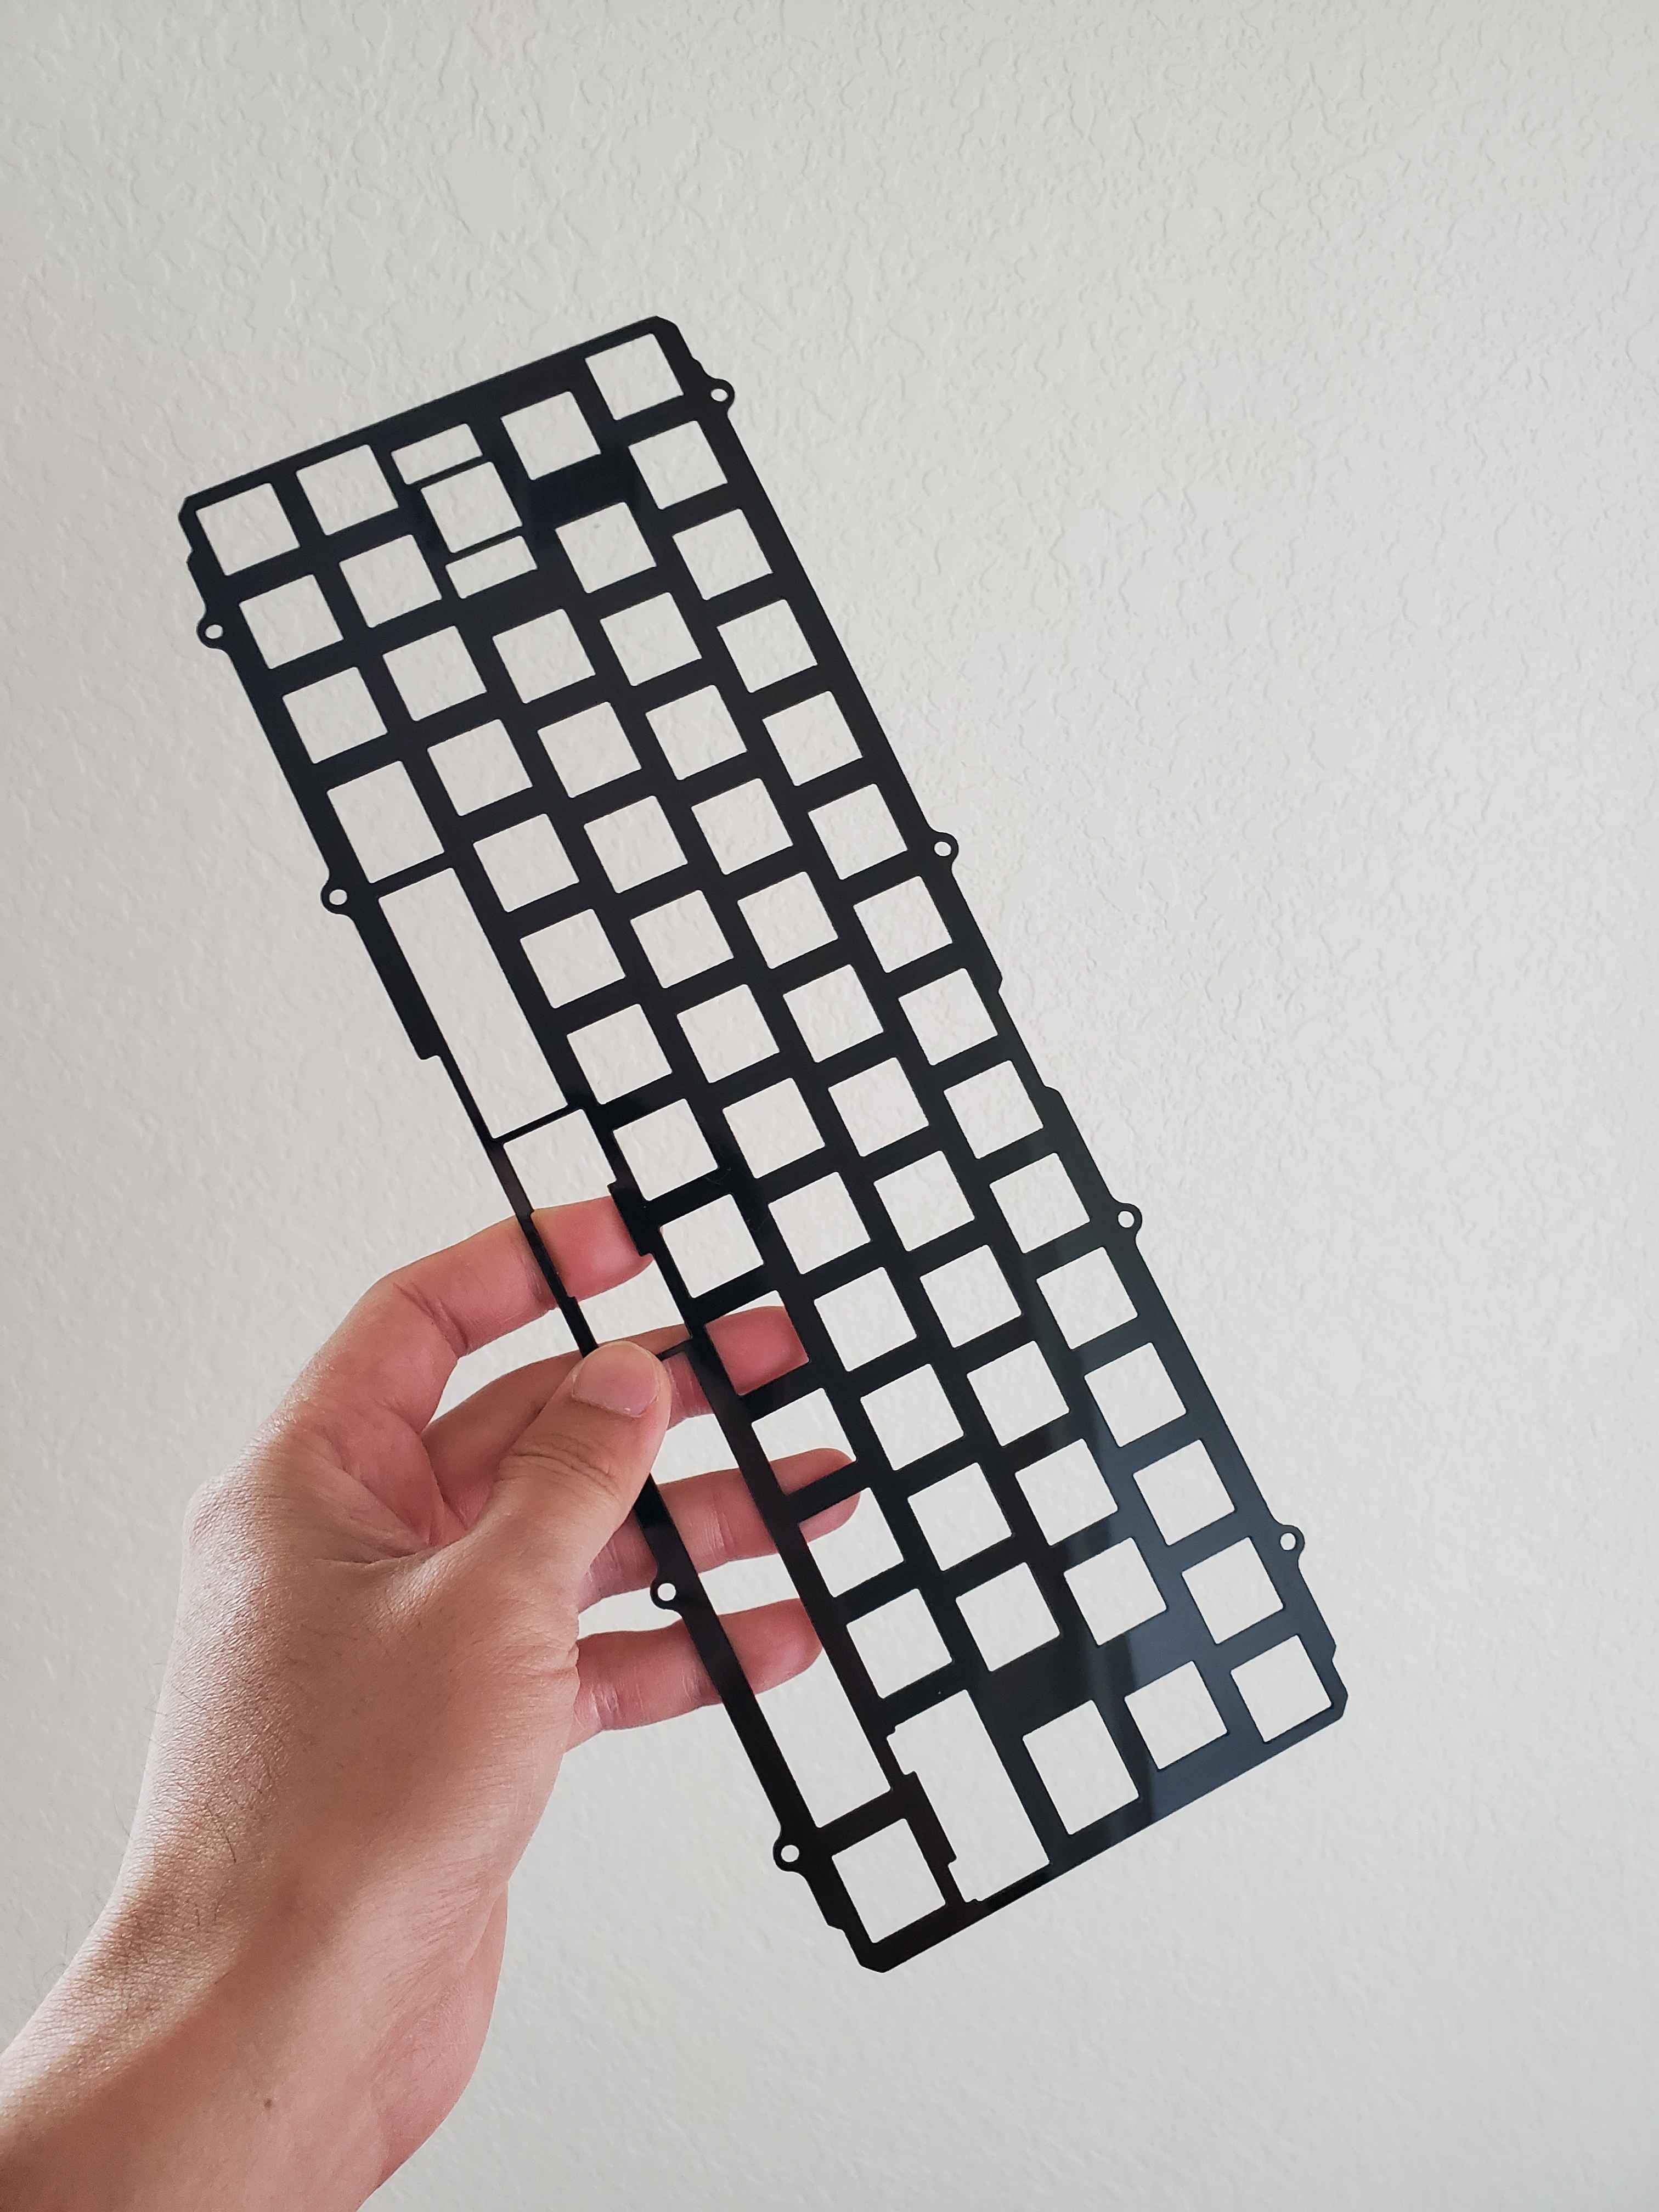
Black PC plate
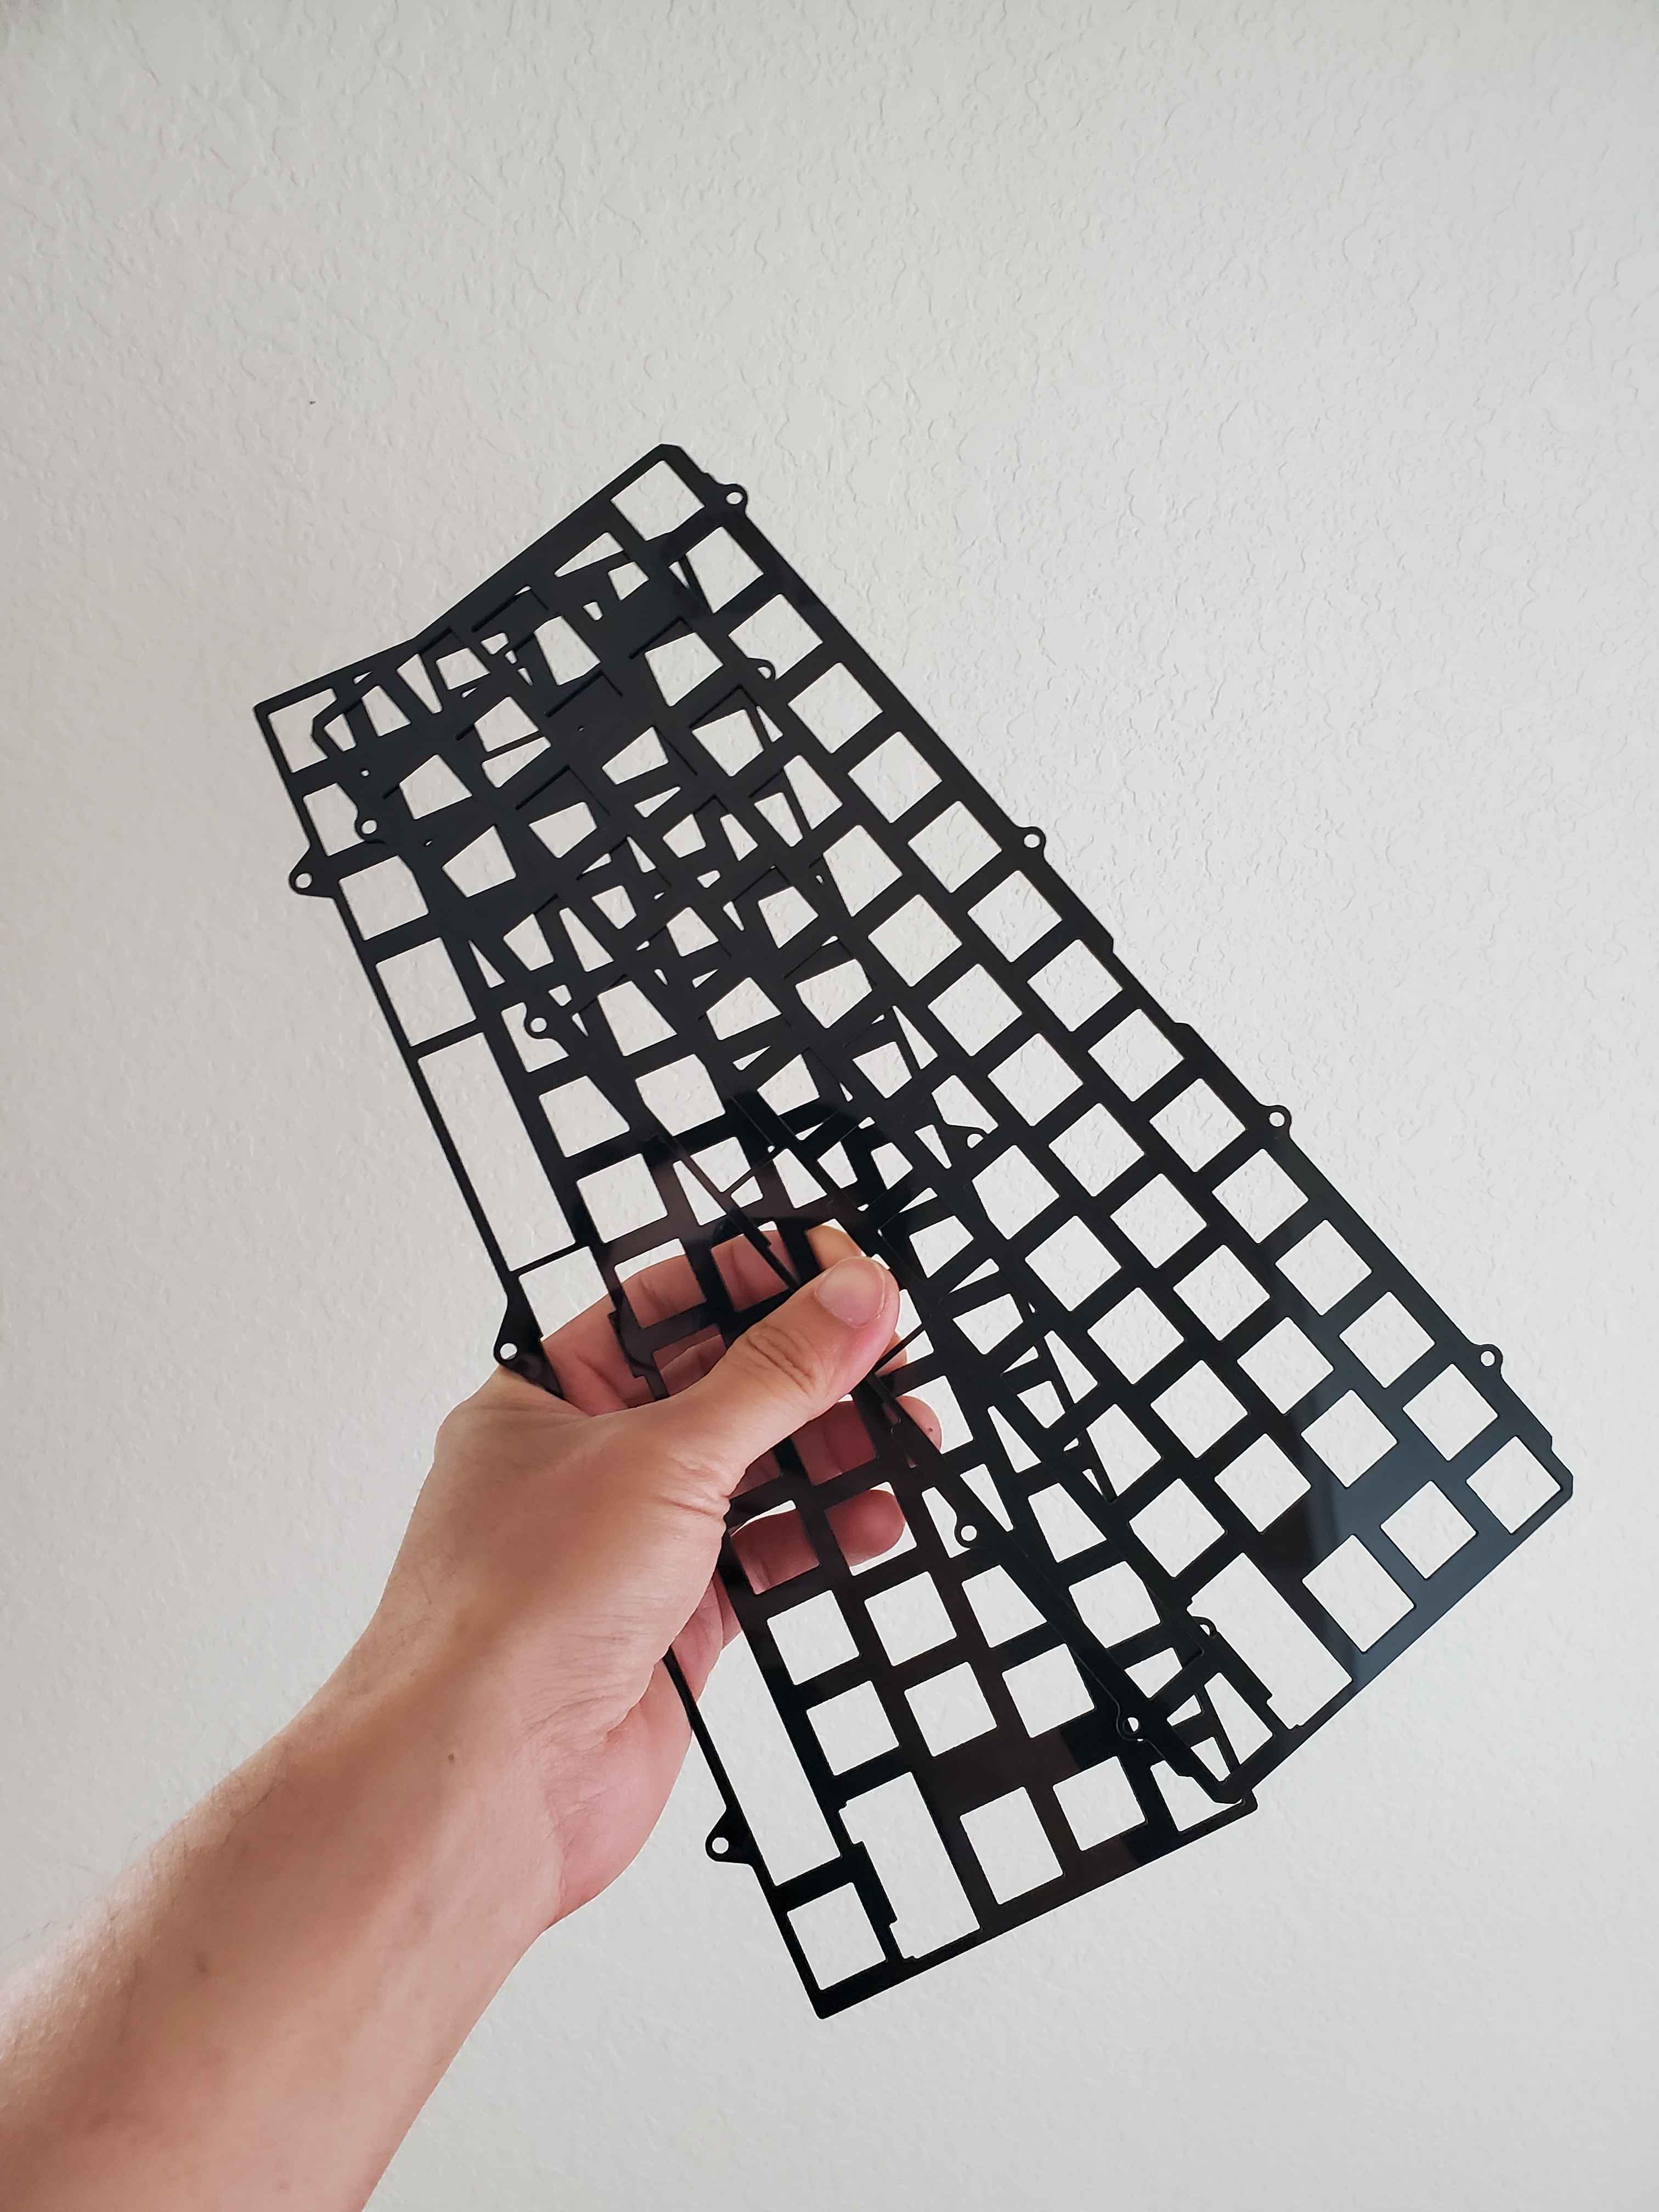
also a plate for the viktus sinne, can’t wait to build that one. just waiting for my JLCPCB pcbs
Soundtest https://youtube.com/shorts/GaKS9DoLdDo?feature=share
16 Likes
Haven’t seen the Frog Mini look this good before. Makes me want one. Nice build
3 Likes
Hell yeah thanks for that compliment! This build might be my new favorite.
1 Like
Very cool! What kind of laser?
2 Likes
Got a 40w laser from Xtool. Can’t cut transparent materials but cuts opaque stuff wonderfully.
2 Likes


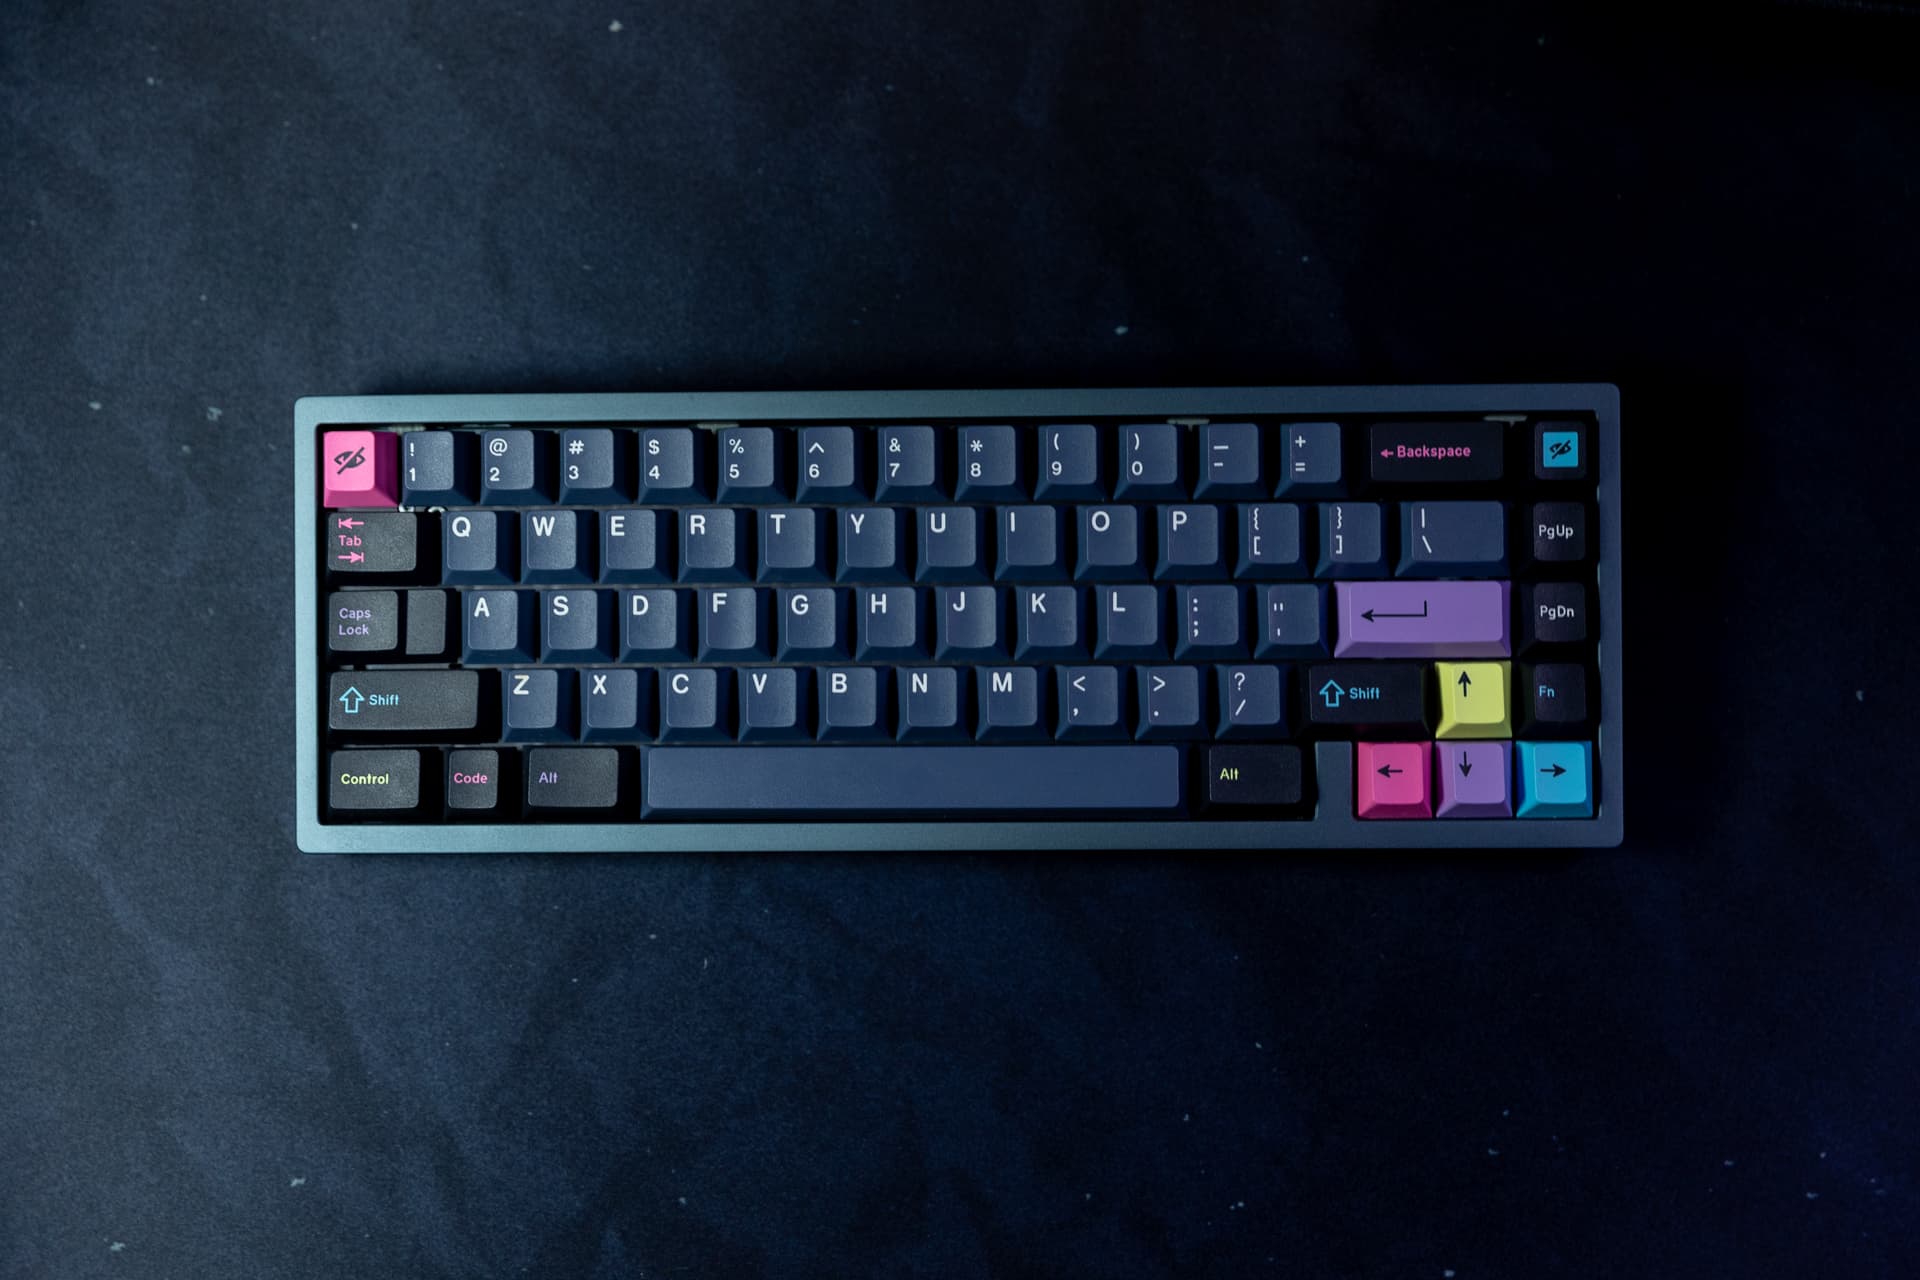
So I built my second Frog Mini with SW Graphite today. Put some Haimu x Geon blacks in there. Debated between those and mx2a blacks, but went with the Haimu since they sound richer.
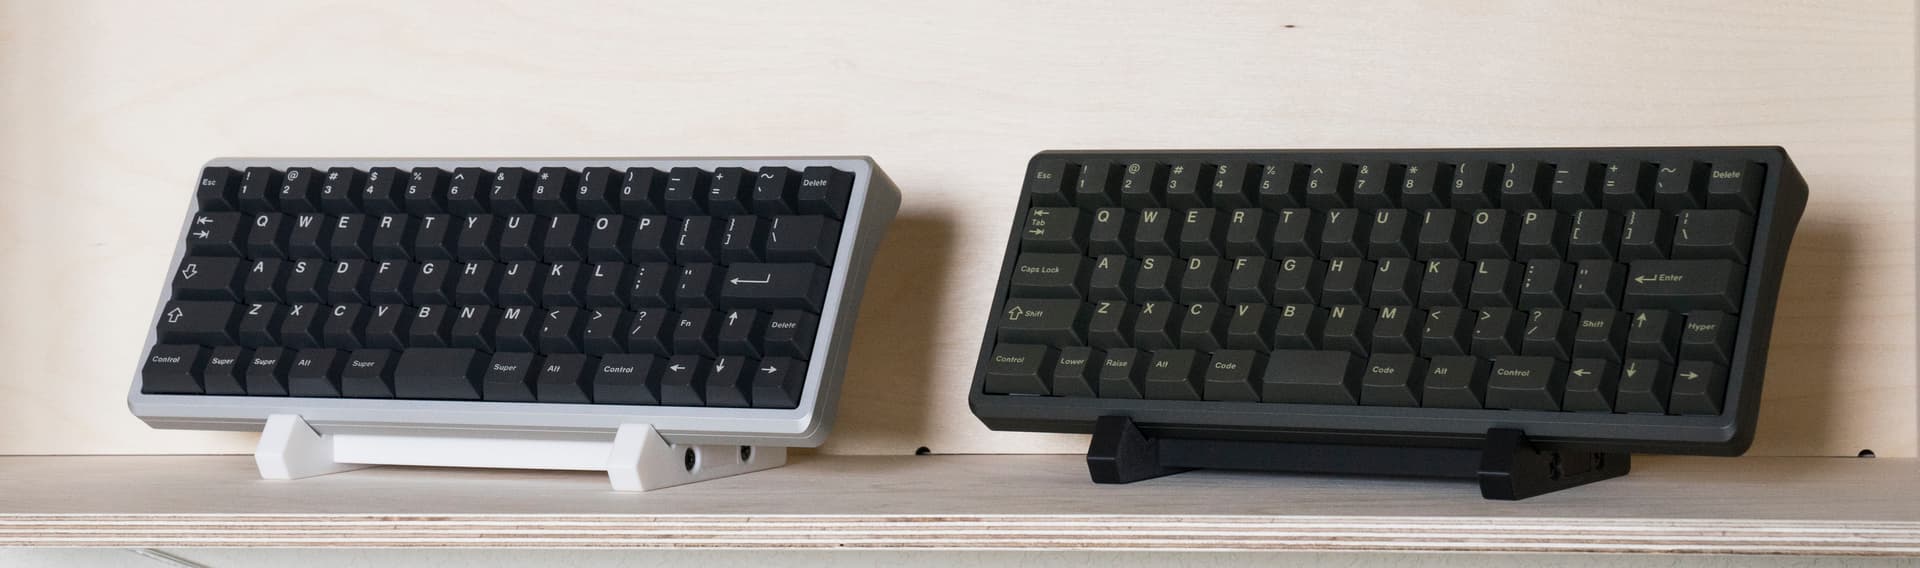
Just adding pics here hehe

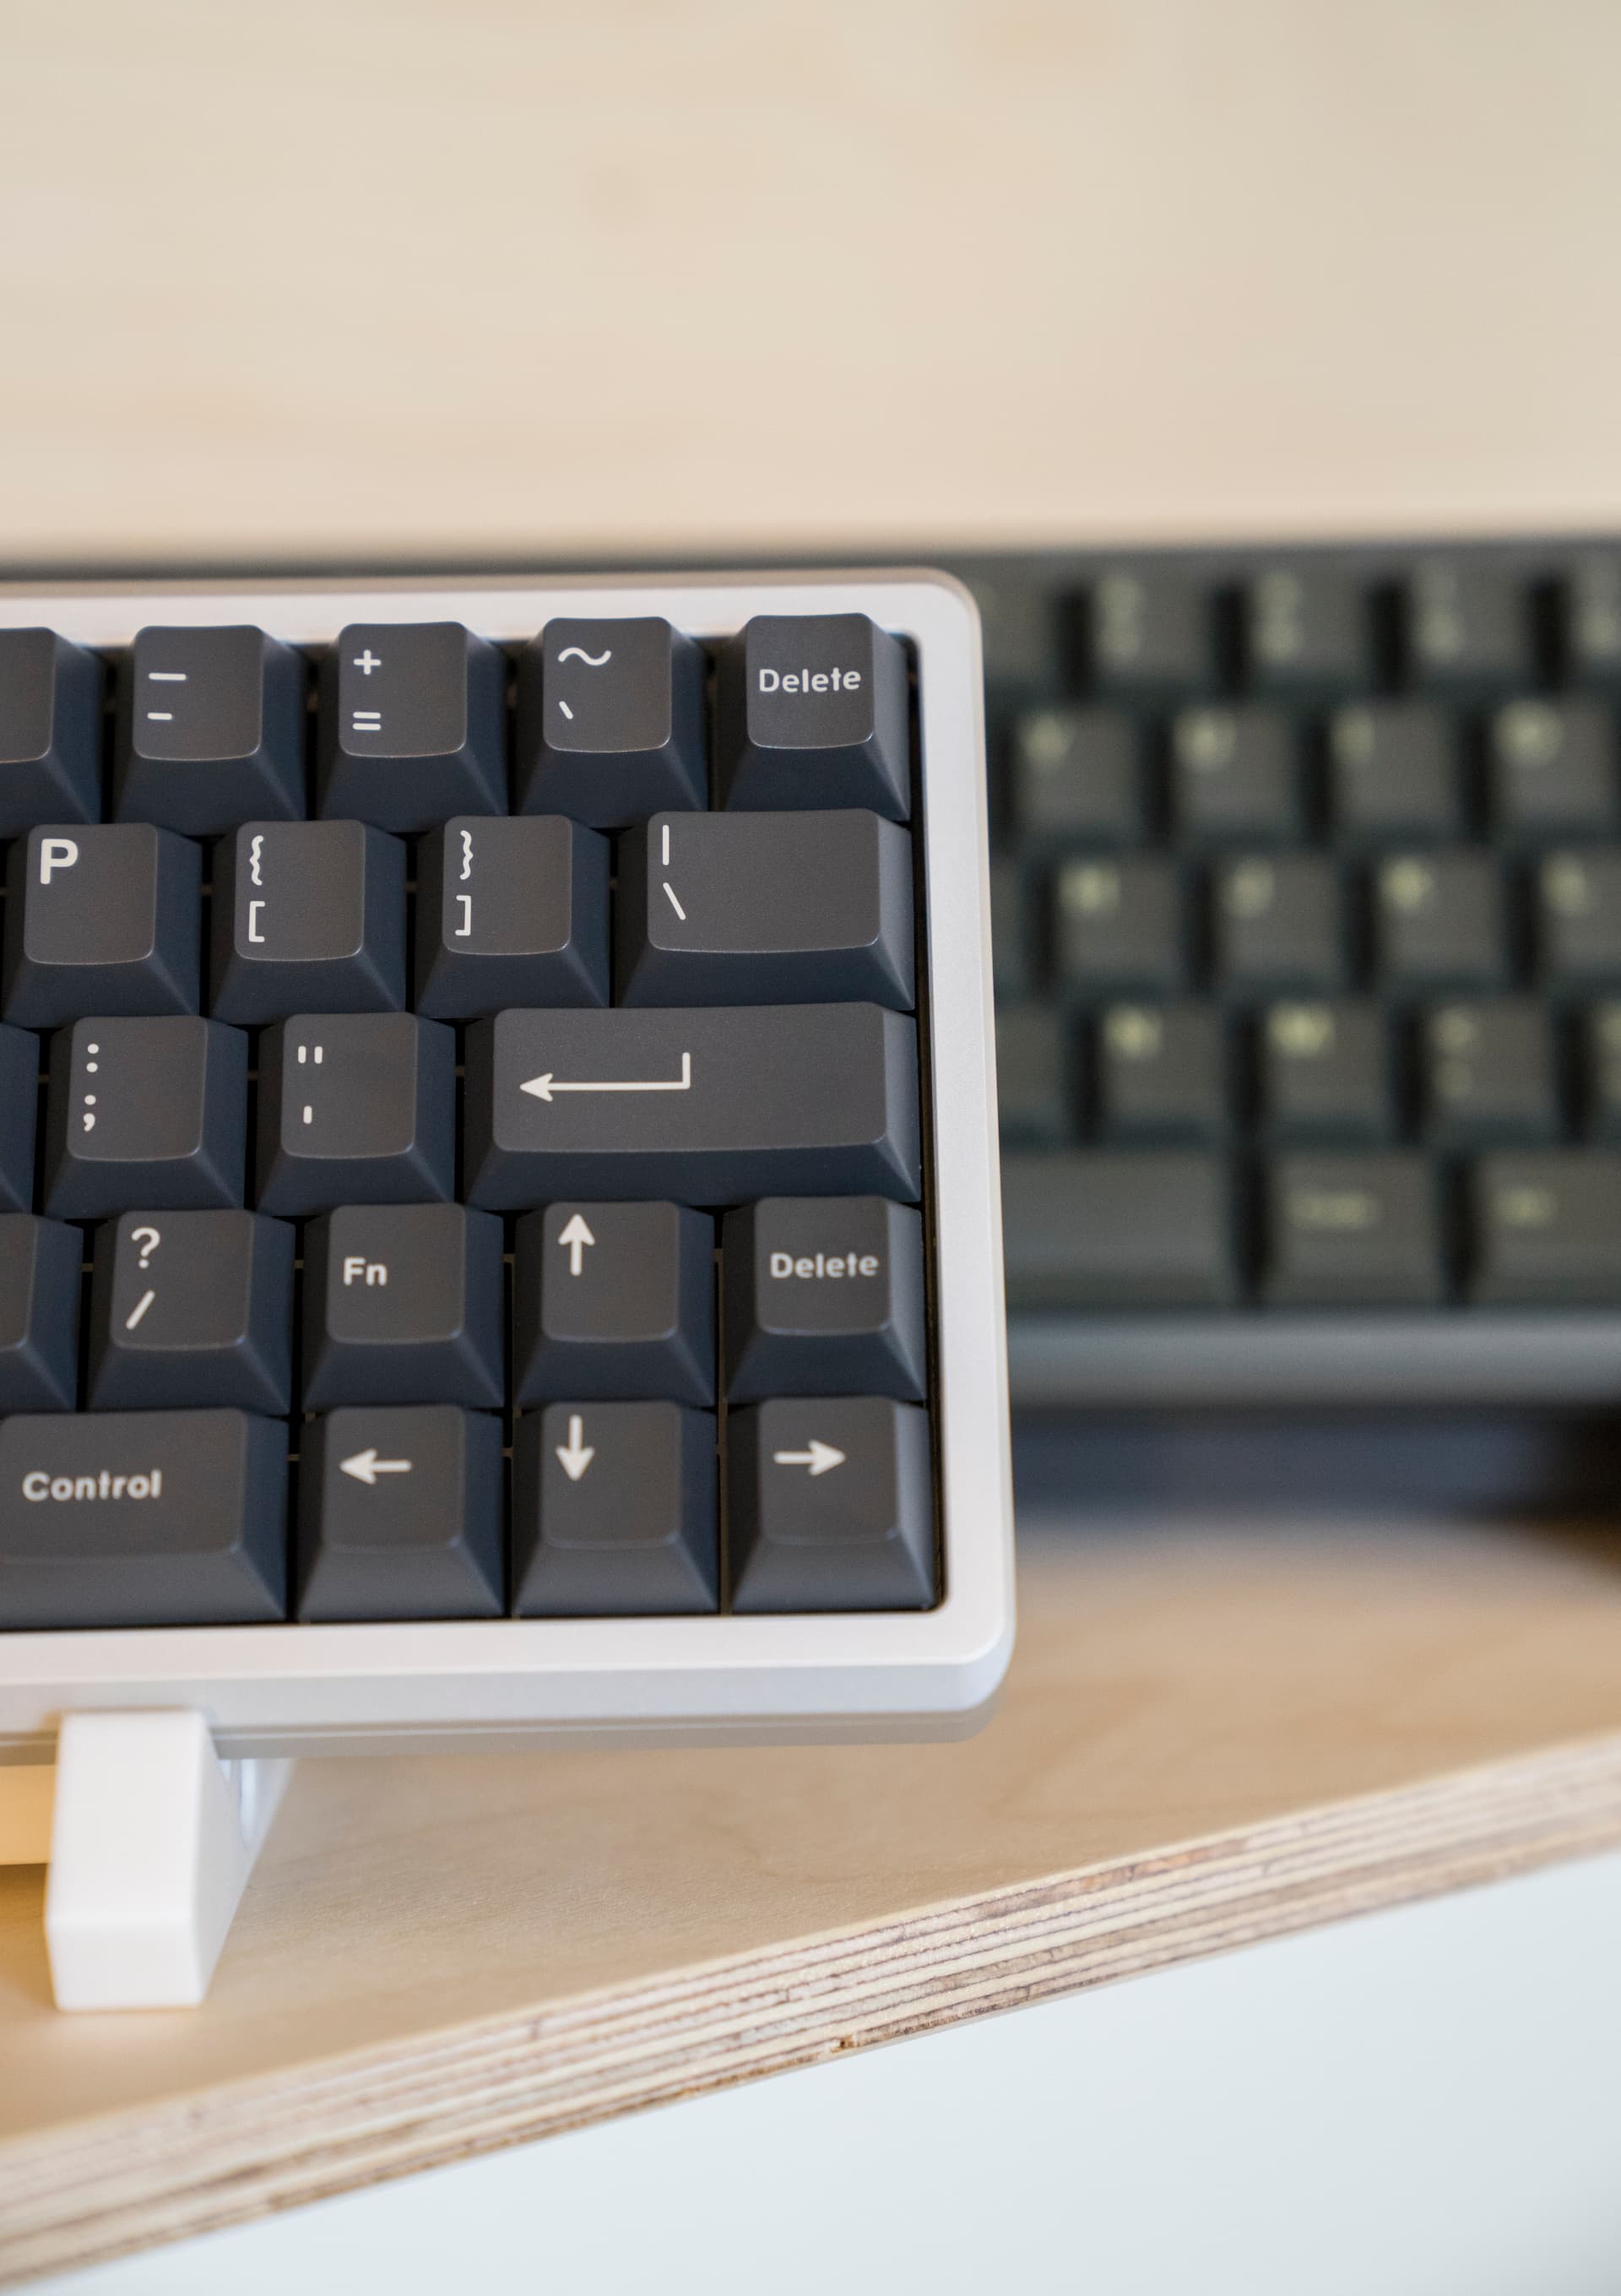
Damn I love the frog mini
14 Likes
Not sure if it works for actual cutting, but a trick we used in the sign shop for laser-engraving transparent materials was to drape a wetted napkin or paper towel over the item. Worked great for customizing bits of glass.
2 Likes
I’ll have to try that. No luck with the paper backing on both sides of the clear acrylic I tried, so I’m not optimistic lol.
1 Like
I don’t have any expertise in this area, but I find it really surprising that the paper backing on both sides didn’t work.
1 Like
The lasers generally need to heat up the material itself to a vaporizing temperature. the opaque coverings can transfer enough heat for etching, but if your material is transparent to the laser’s frequency (and diode lasers are mostly operating in the visible spectrum), you don’t need much thickness to get to a point where you’re just marking the top and bottom where the backings are.
My 5w optical-power diode laser can cut through dark colored 2mm acrylic, though it melts the edges some, but it can’t handle 1.5mm clear at all. I make entire keyboards from 3mm Masonite with two passes, but a (very tempting, aesthetically speaking) veneer of whiteboard material just shuts it right down. I can’t get through cleanly at all, and can power through only with pass after pass charring things a little more each time, and it looks godawful when I’m done.
3 Likes
What is it about the whiteboard material? is it the white that’s the problem? I need to test if it can cut white PC actually. Picked up a sheet for one of my builds. It’s opaque so I assumed it’d be fine but now I’m curious.
The 1/16 clear acrylic I tried cutting, on the highest power/slowest speed it burned the hell out of the paper and made a melted mess of the bottom side of the acrylic. Not so much as a divot though.
1 Like
I’m not sure of it’s just the color or the material as well. I can char my way through from the top, but doing so takes a lot of the energy the laser has to impart and can’t finish getting though, and similarly, coming back at it from the other side there just isn’t enough left to get through.
I also had a trickier time with dye-subbing white versus gray PBT from the laser, but my last “run” of two novelty keys came out well, so… ![]()
There’s so much variability in these lasers but I do know a 5w optical-power diode is very marginal for cutting at all, so your XTool could do much better going past the minimum standard of “not clear.”
2 Likes
I see I see. Well, I’ll be sure to report back here with my white plate build lol ![]()
1 Like
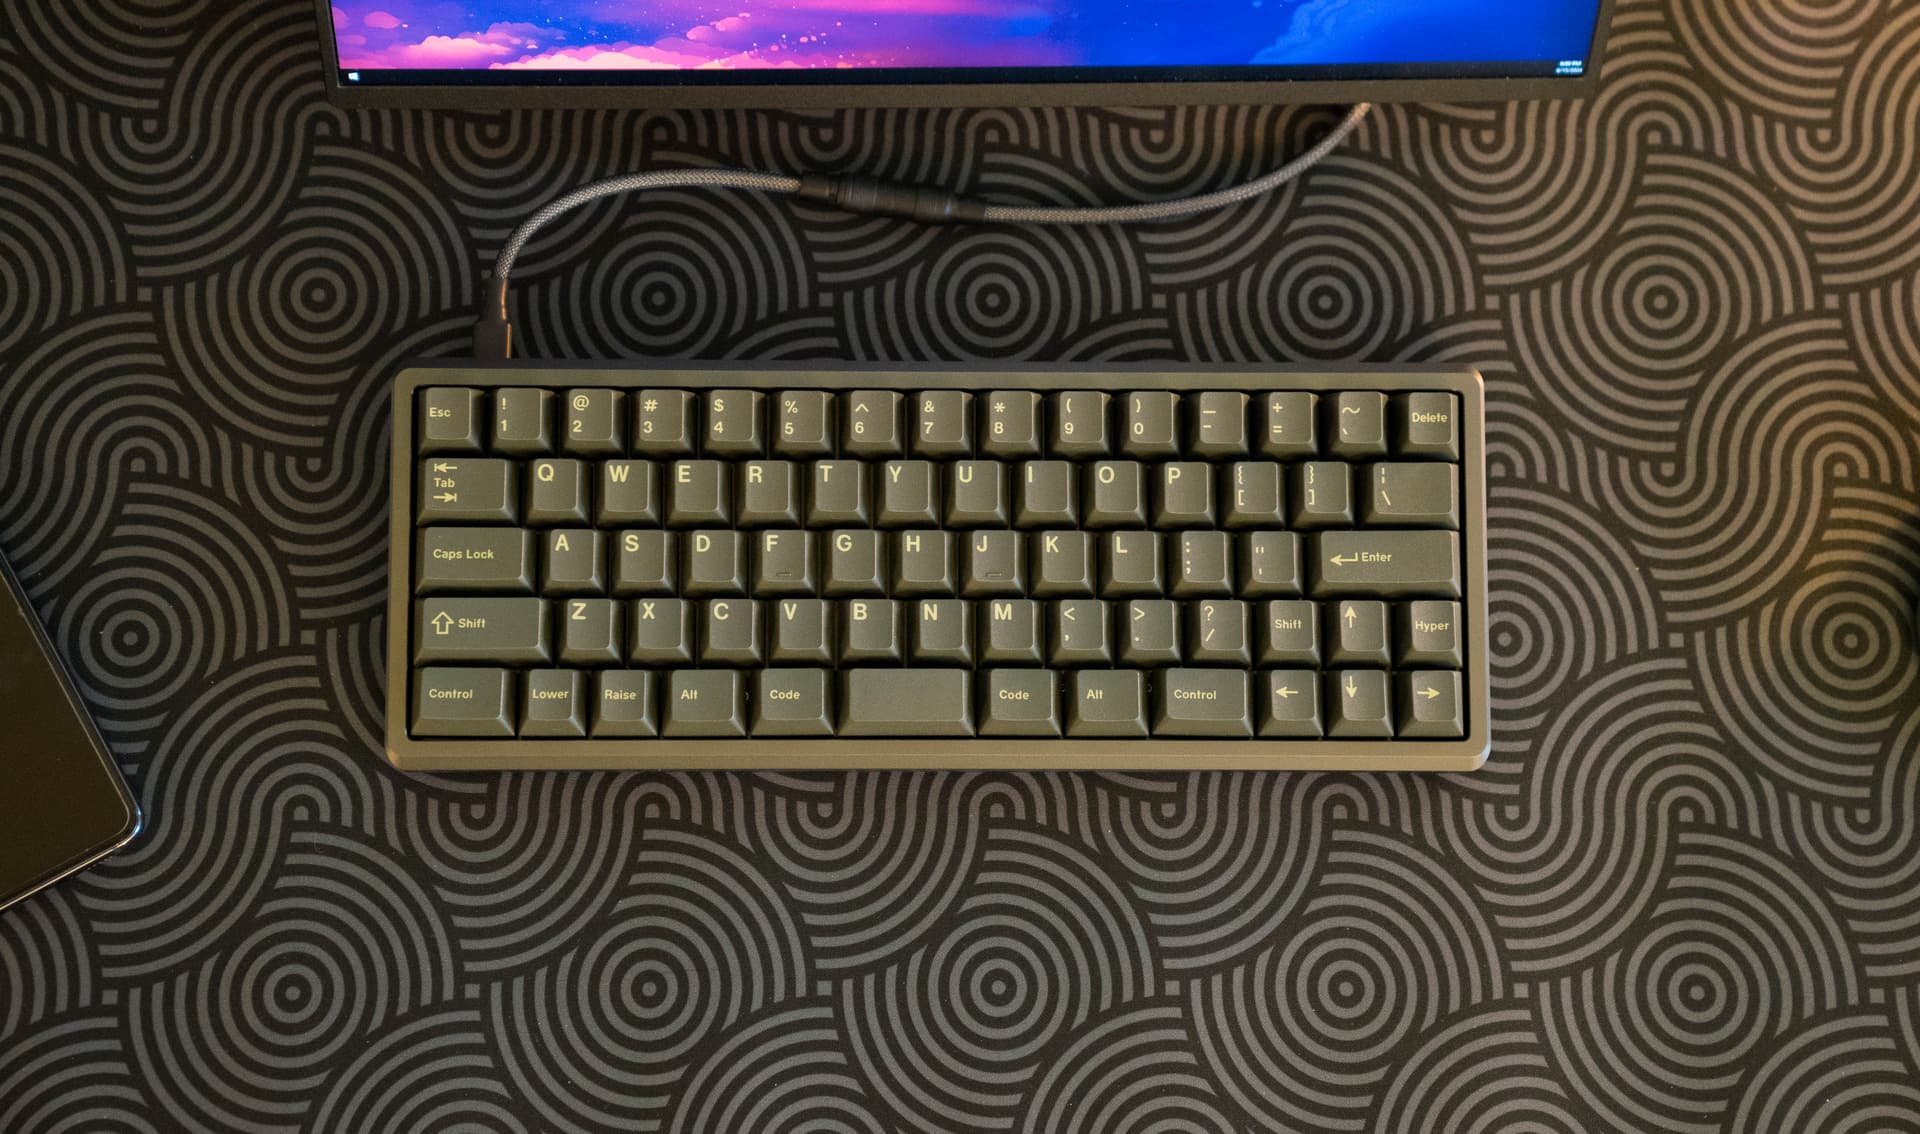
I’ve had my Envoy for a while but never took the time to photograph it. Welp, here ya go.
More photos here
15 Likes
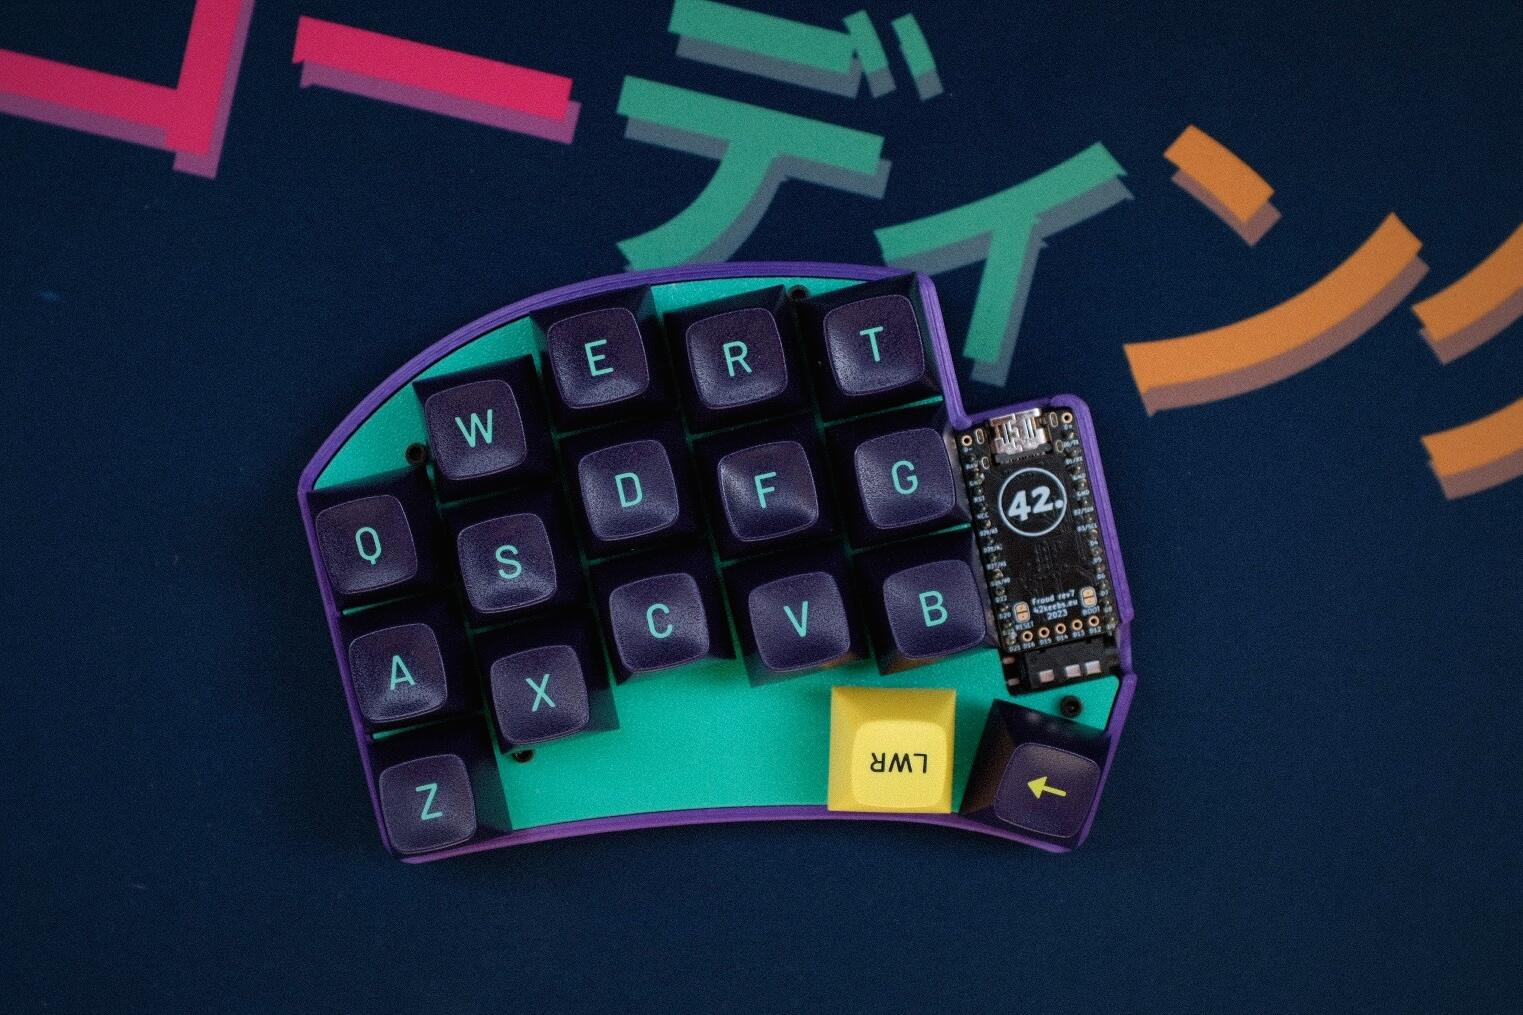
I got MT3 Cyber Ortho actually for my yellow Corne, but the yellow is so off from the tone of the filament, there was no way I’d use that combination. However, I needed to print a left plate for the sweep and ran out of black PETG which I used for the right one. Fortunately, the color of the now used filament matches extremely well with the color of Cyber and I absolutely love this combination. Nothing planned but turned out way better than expected in the end
14 Likes