Sick
I really like the colour of the keycaps! What’s the name of the set?
1 Like
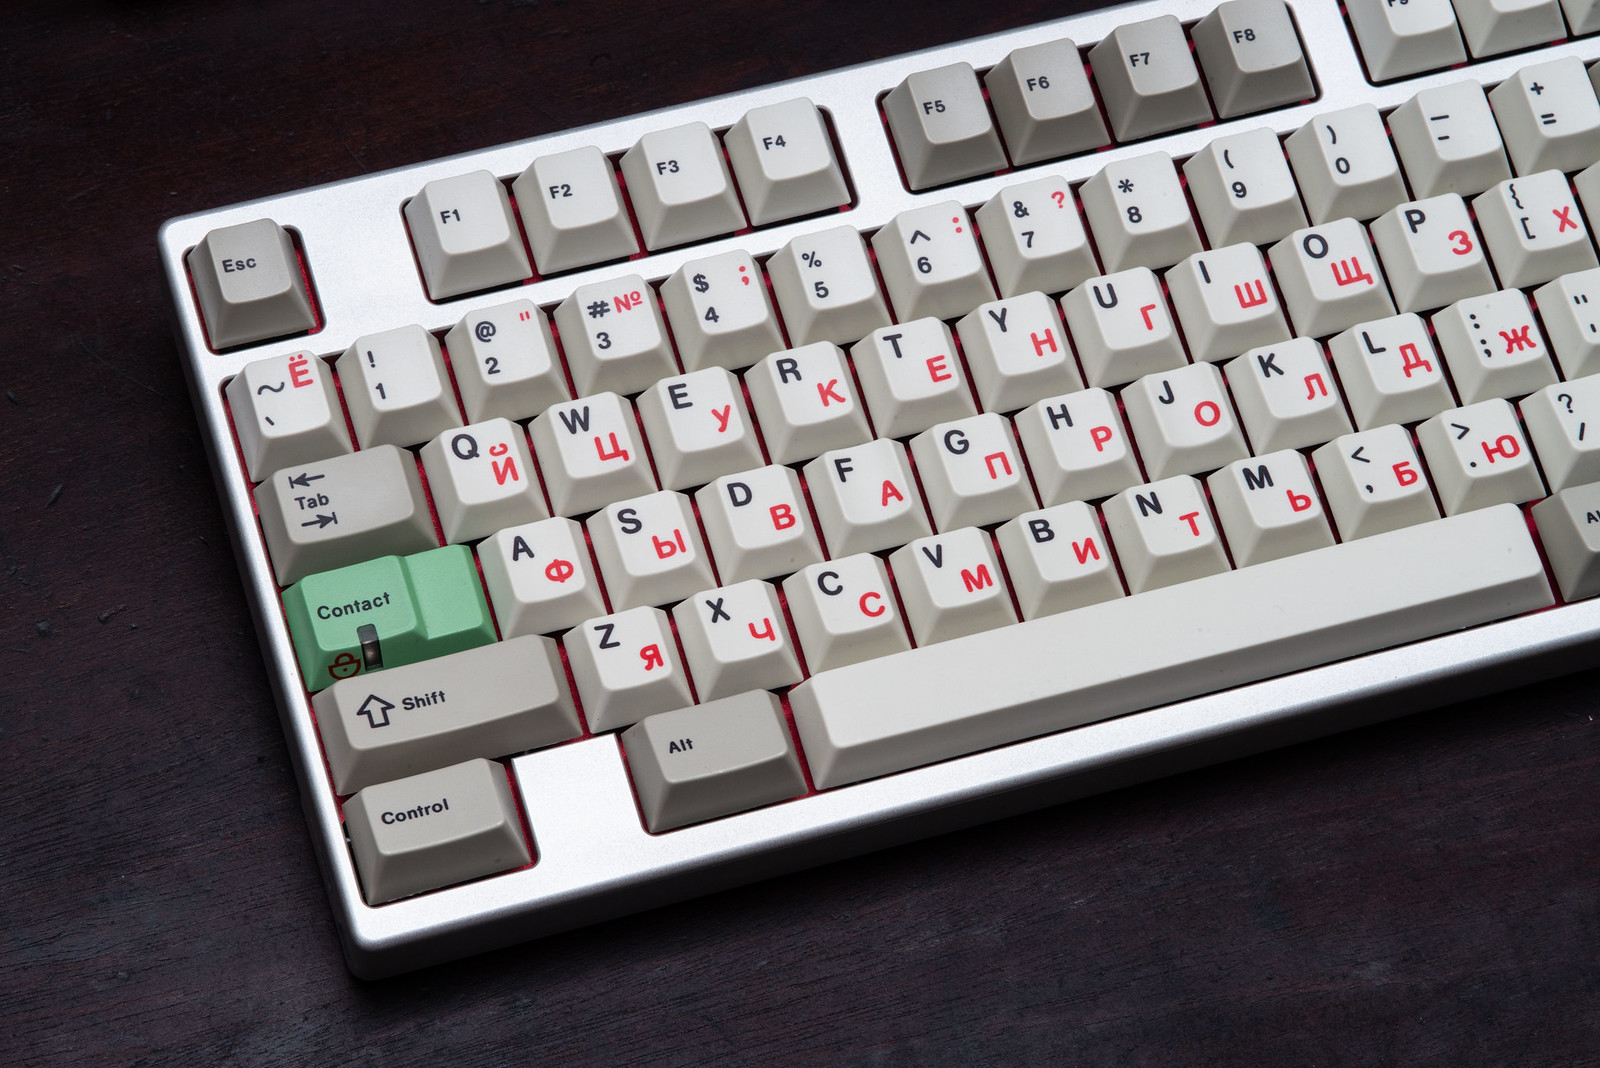
Welcome here! The set is SA Royalty. It was run on Kono.store last year.
Thank you! It’s a pretty set and I think it goes very nicely with your keyboard.
2 Likes
Very nice! I really need to step up my camera game.
1 Like
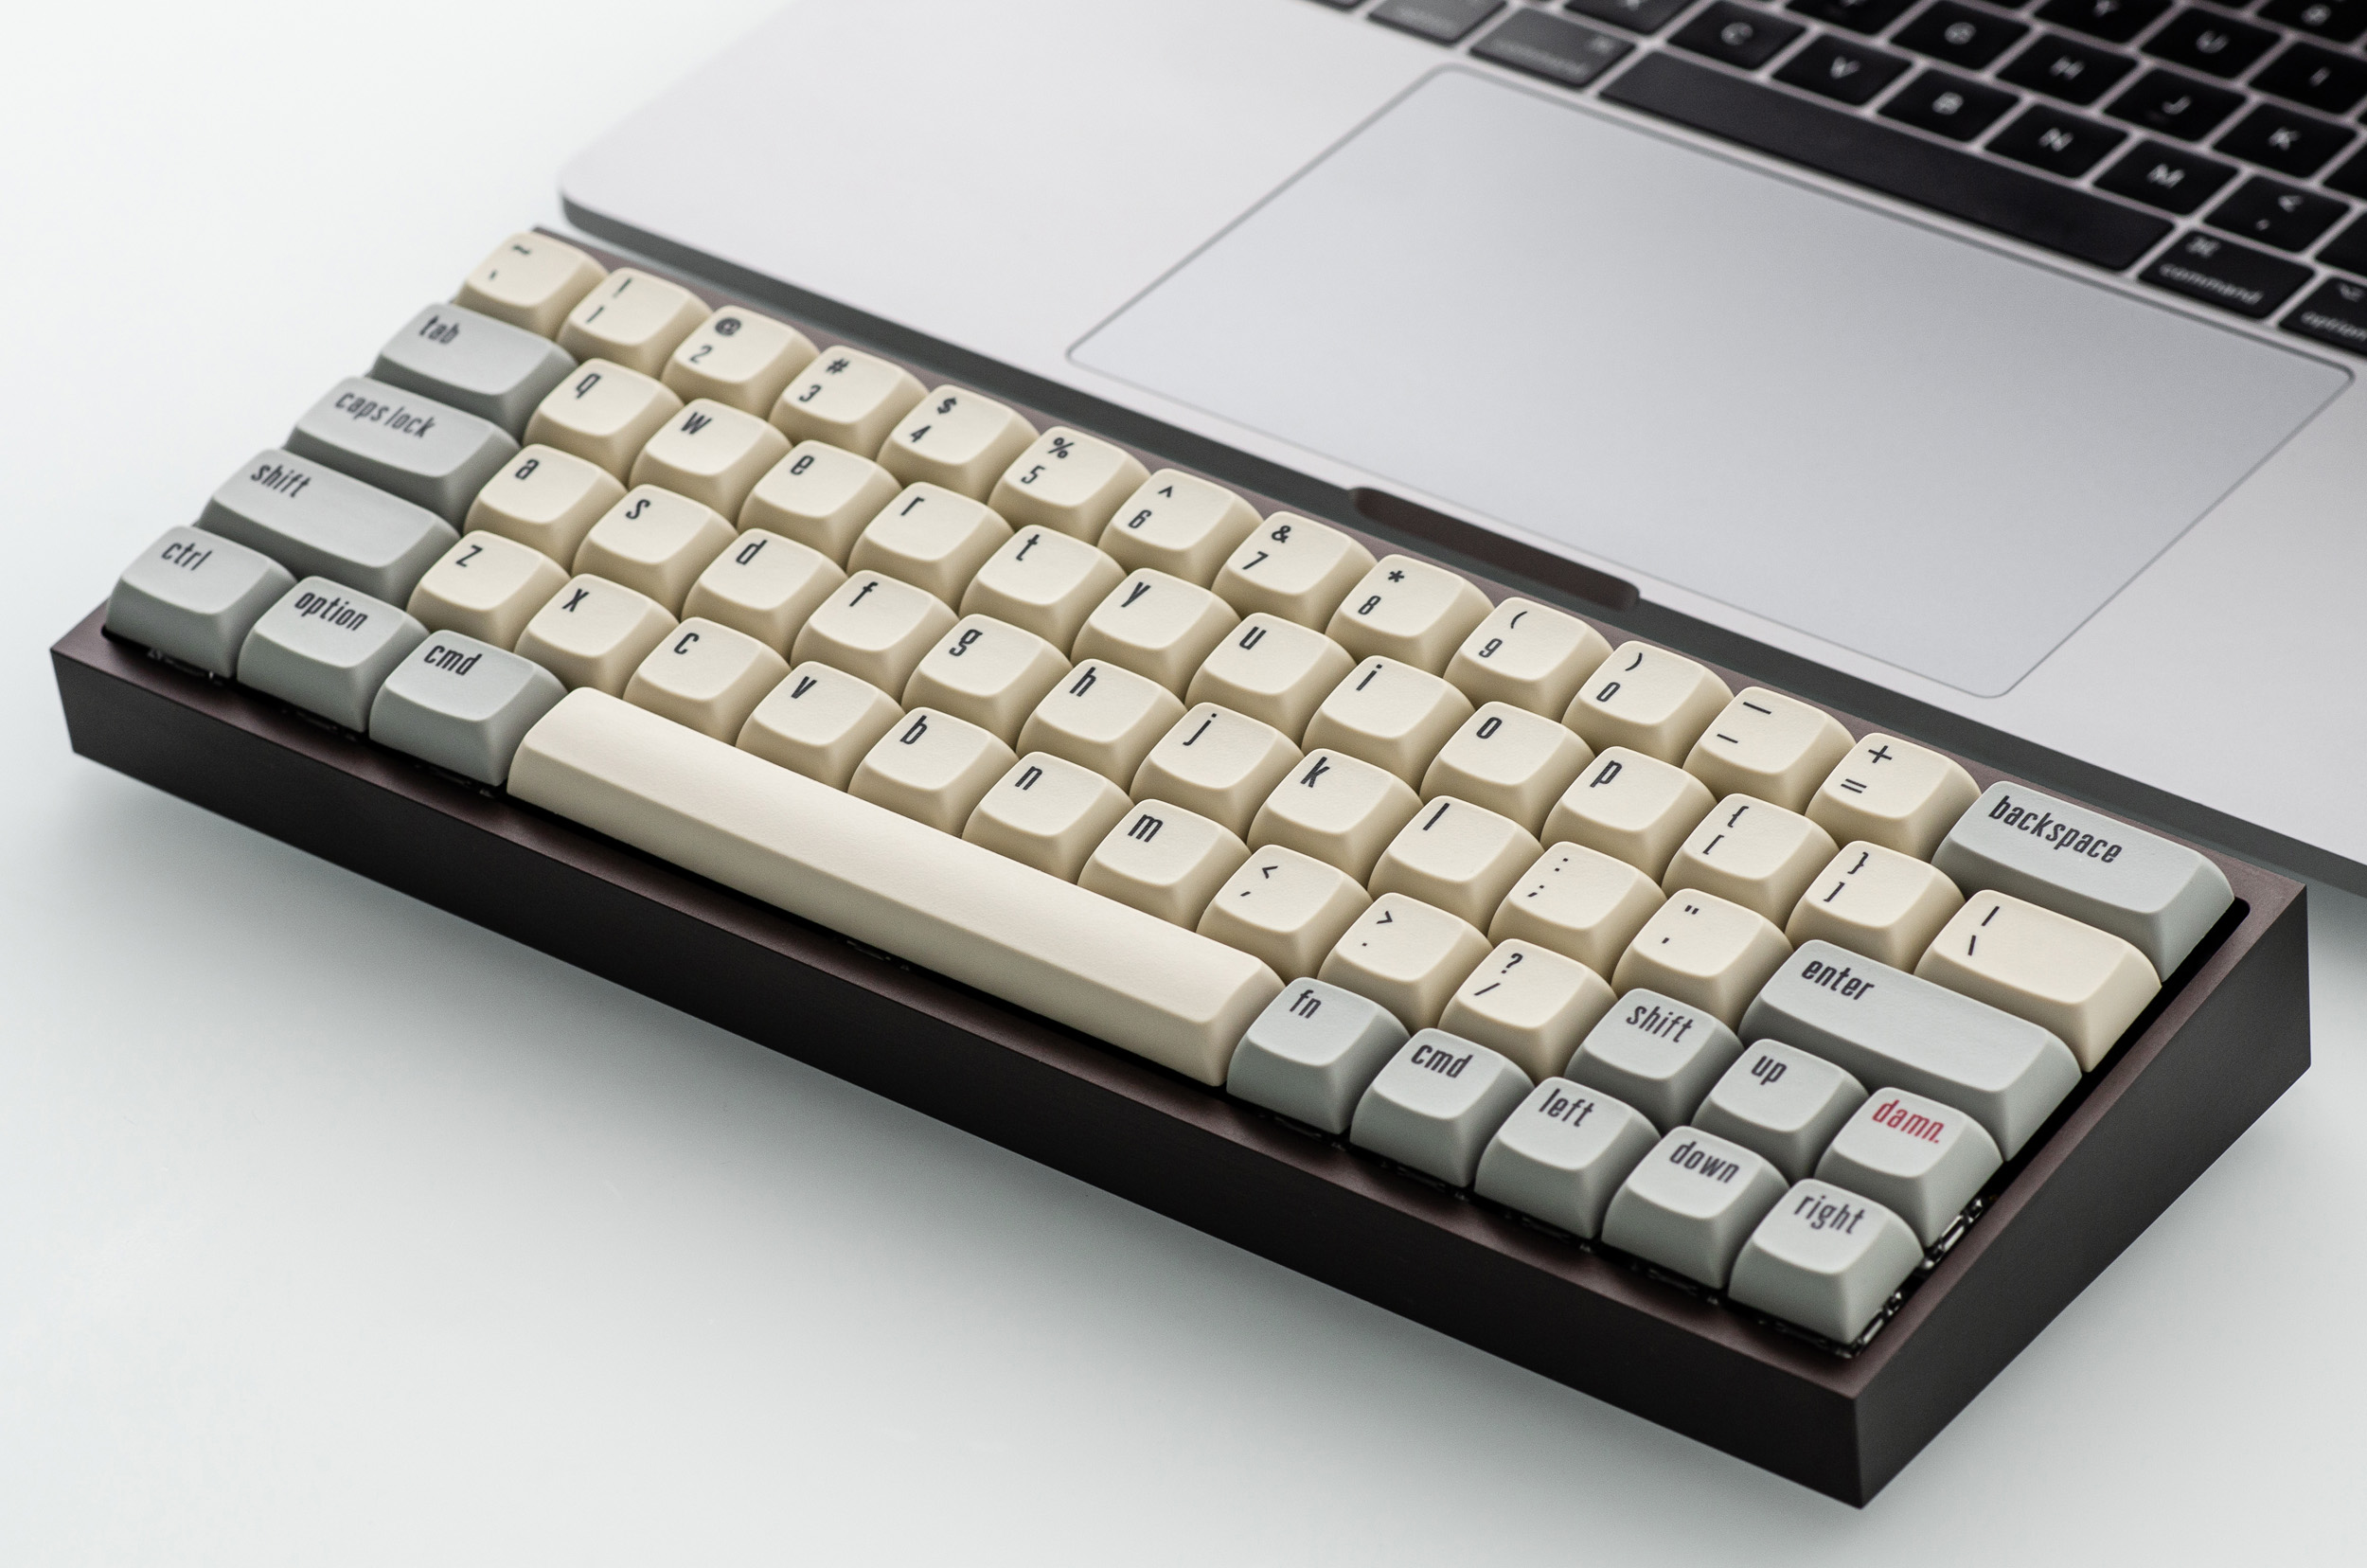
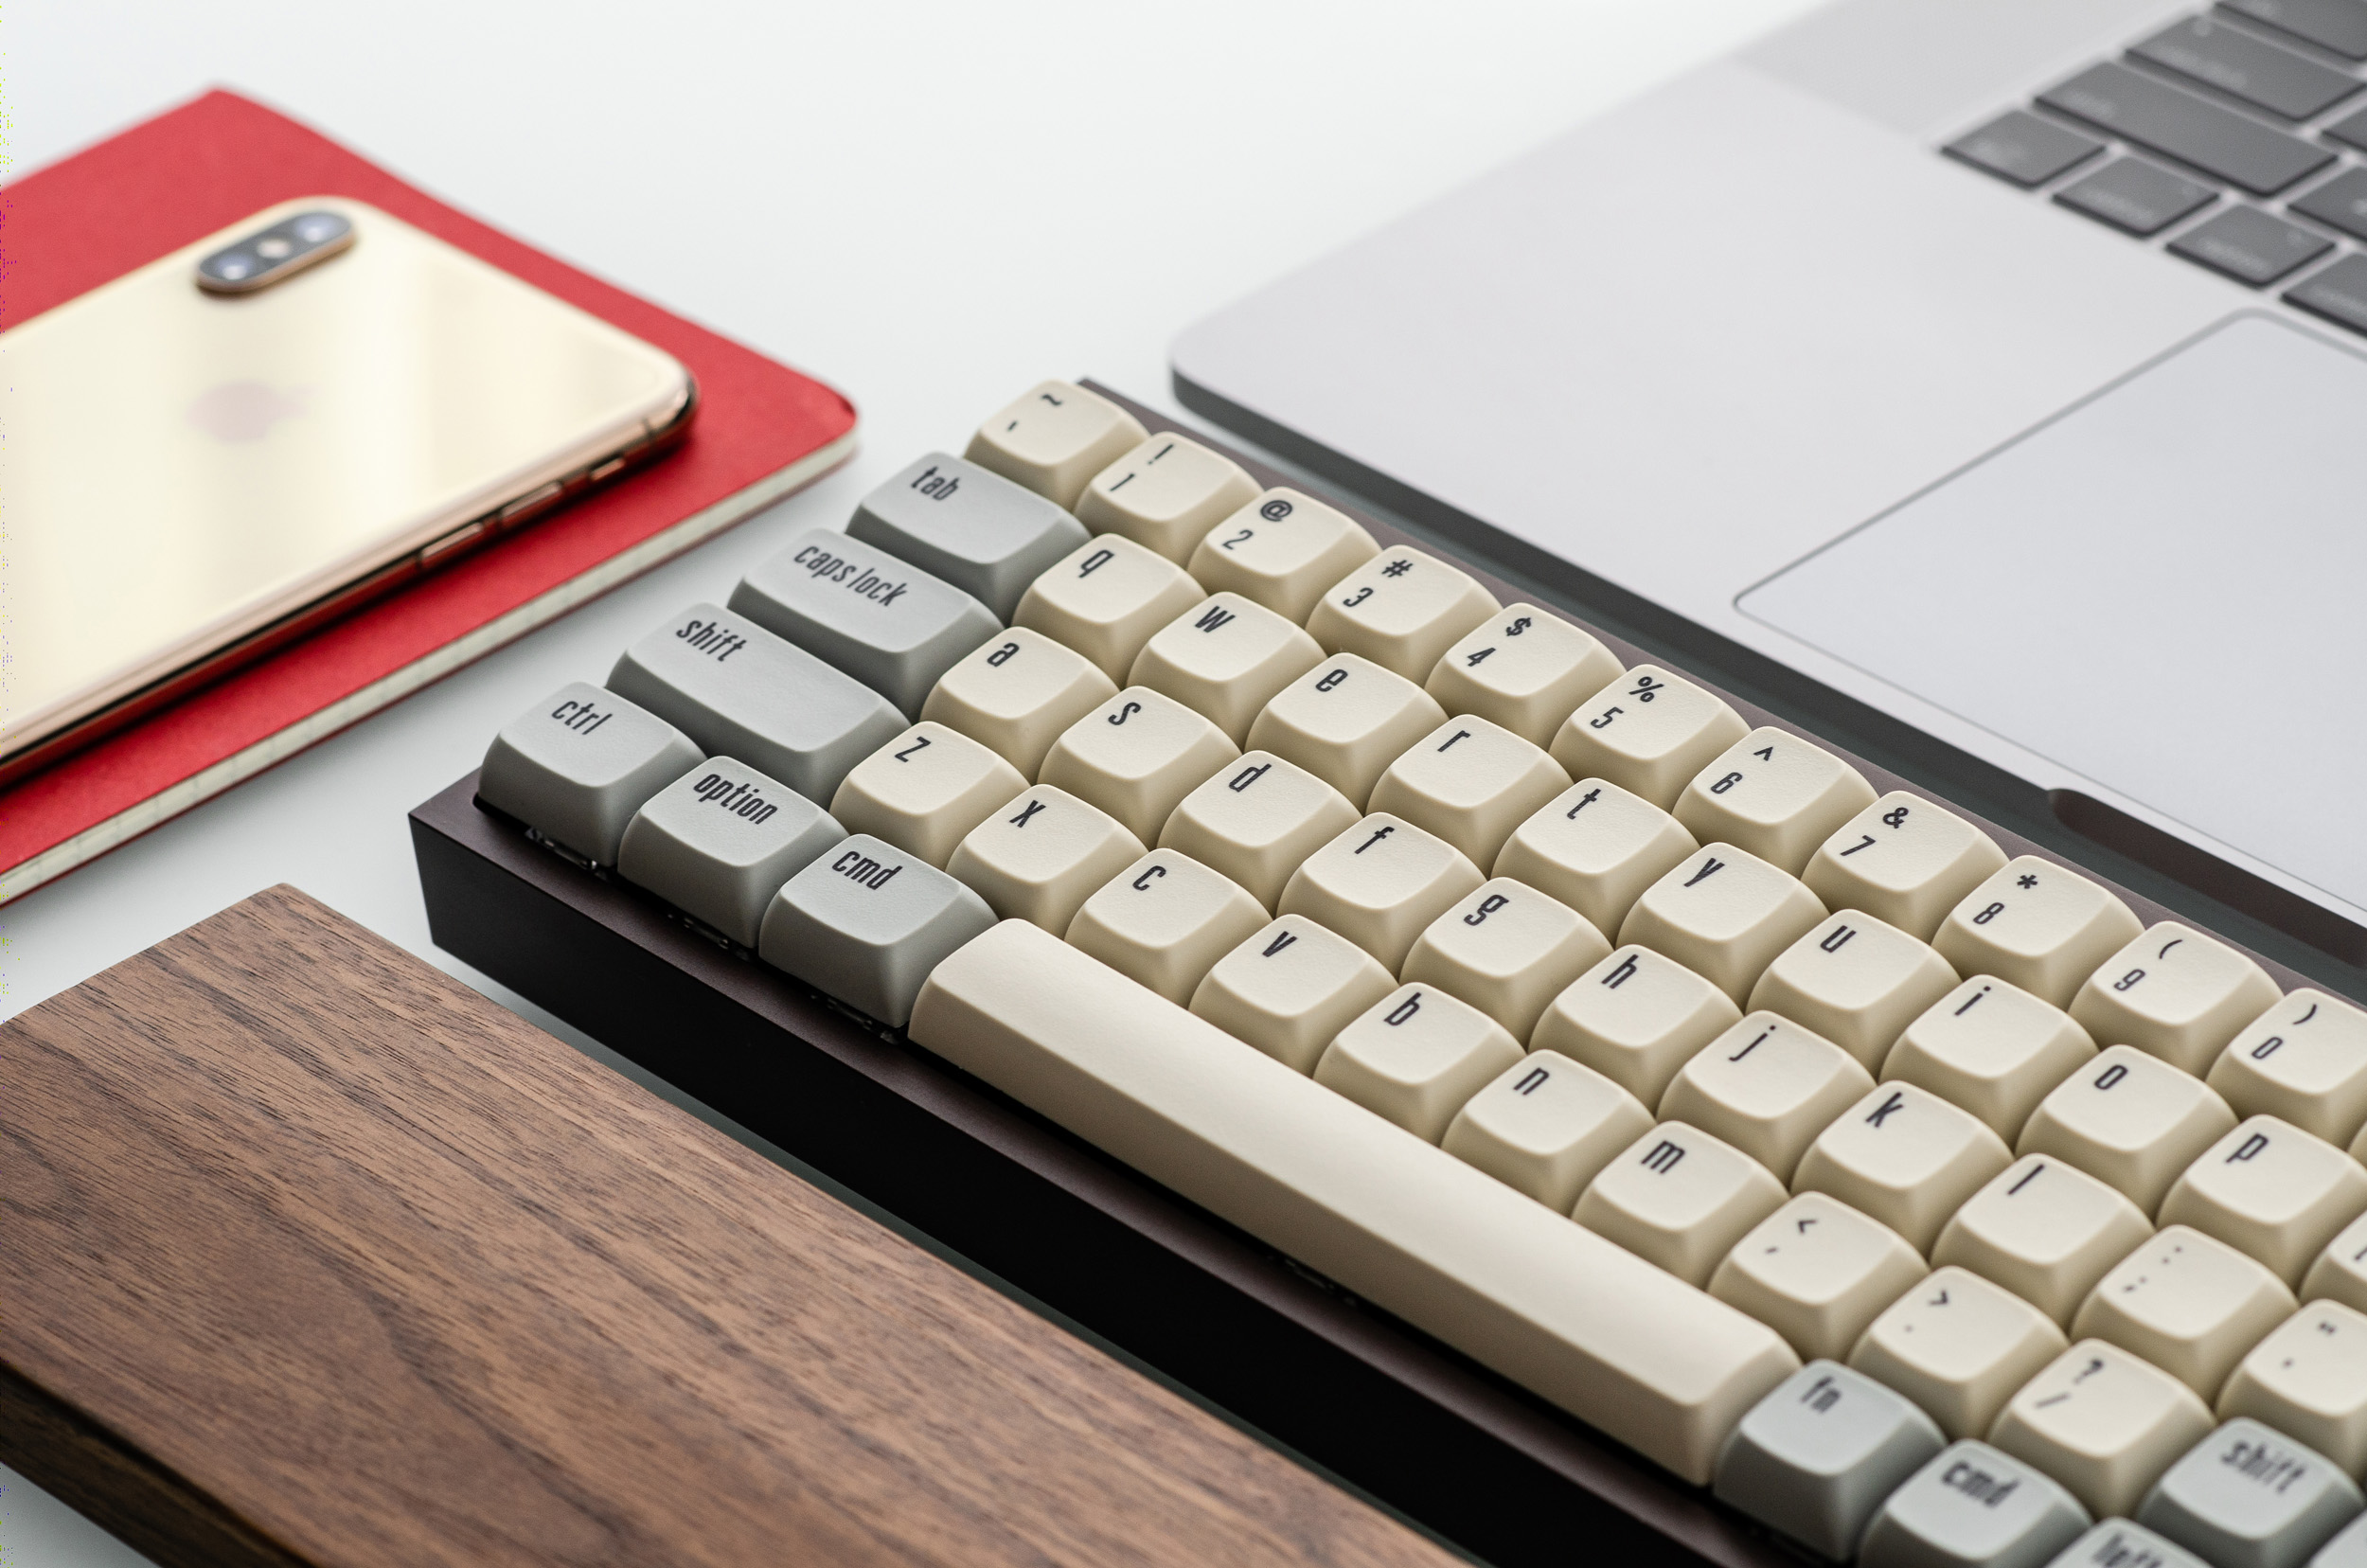
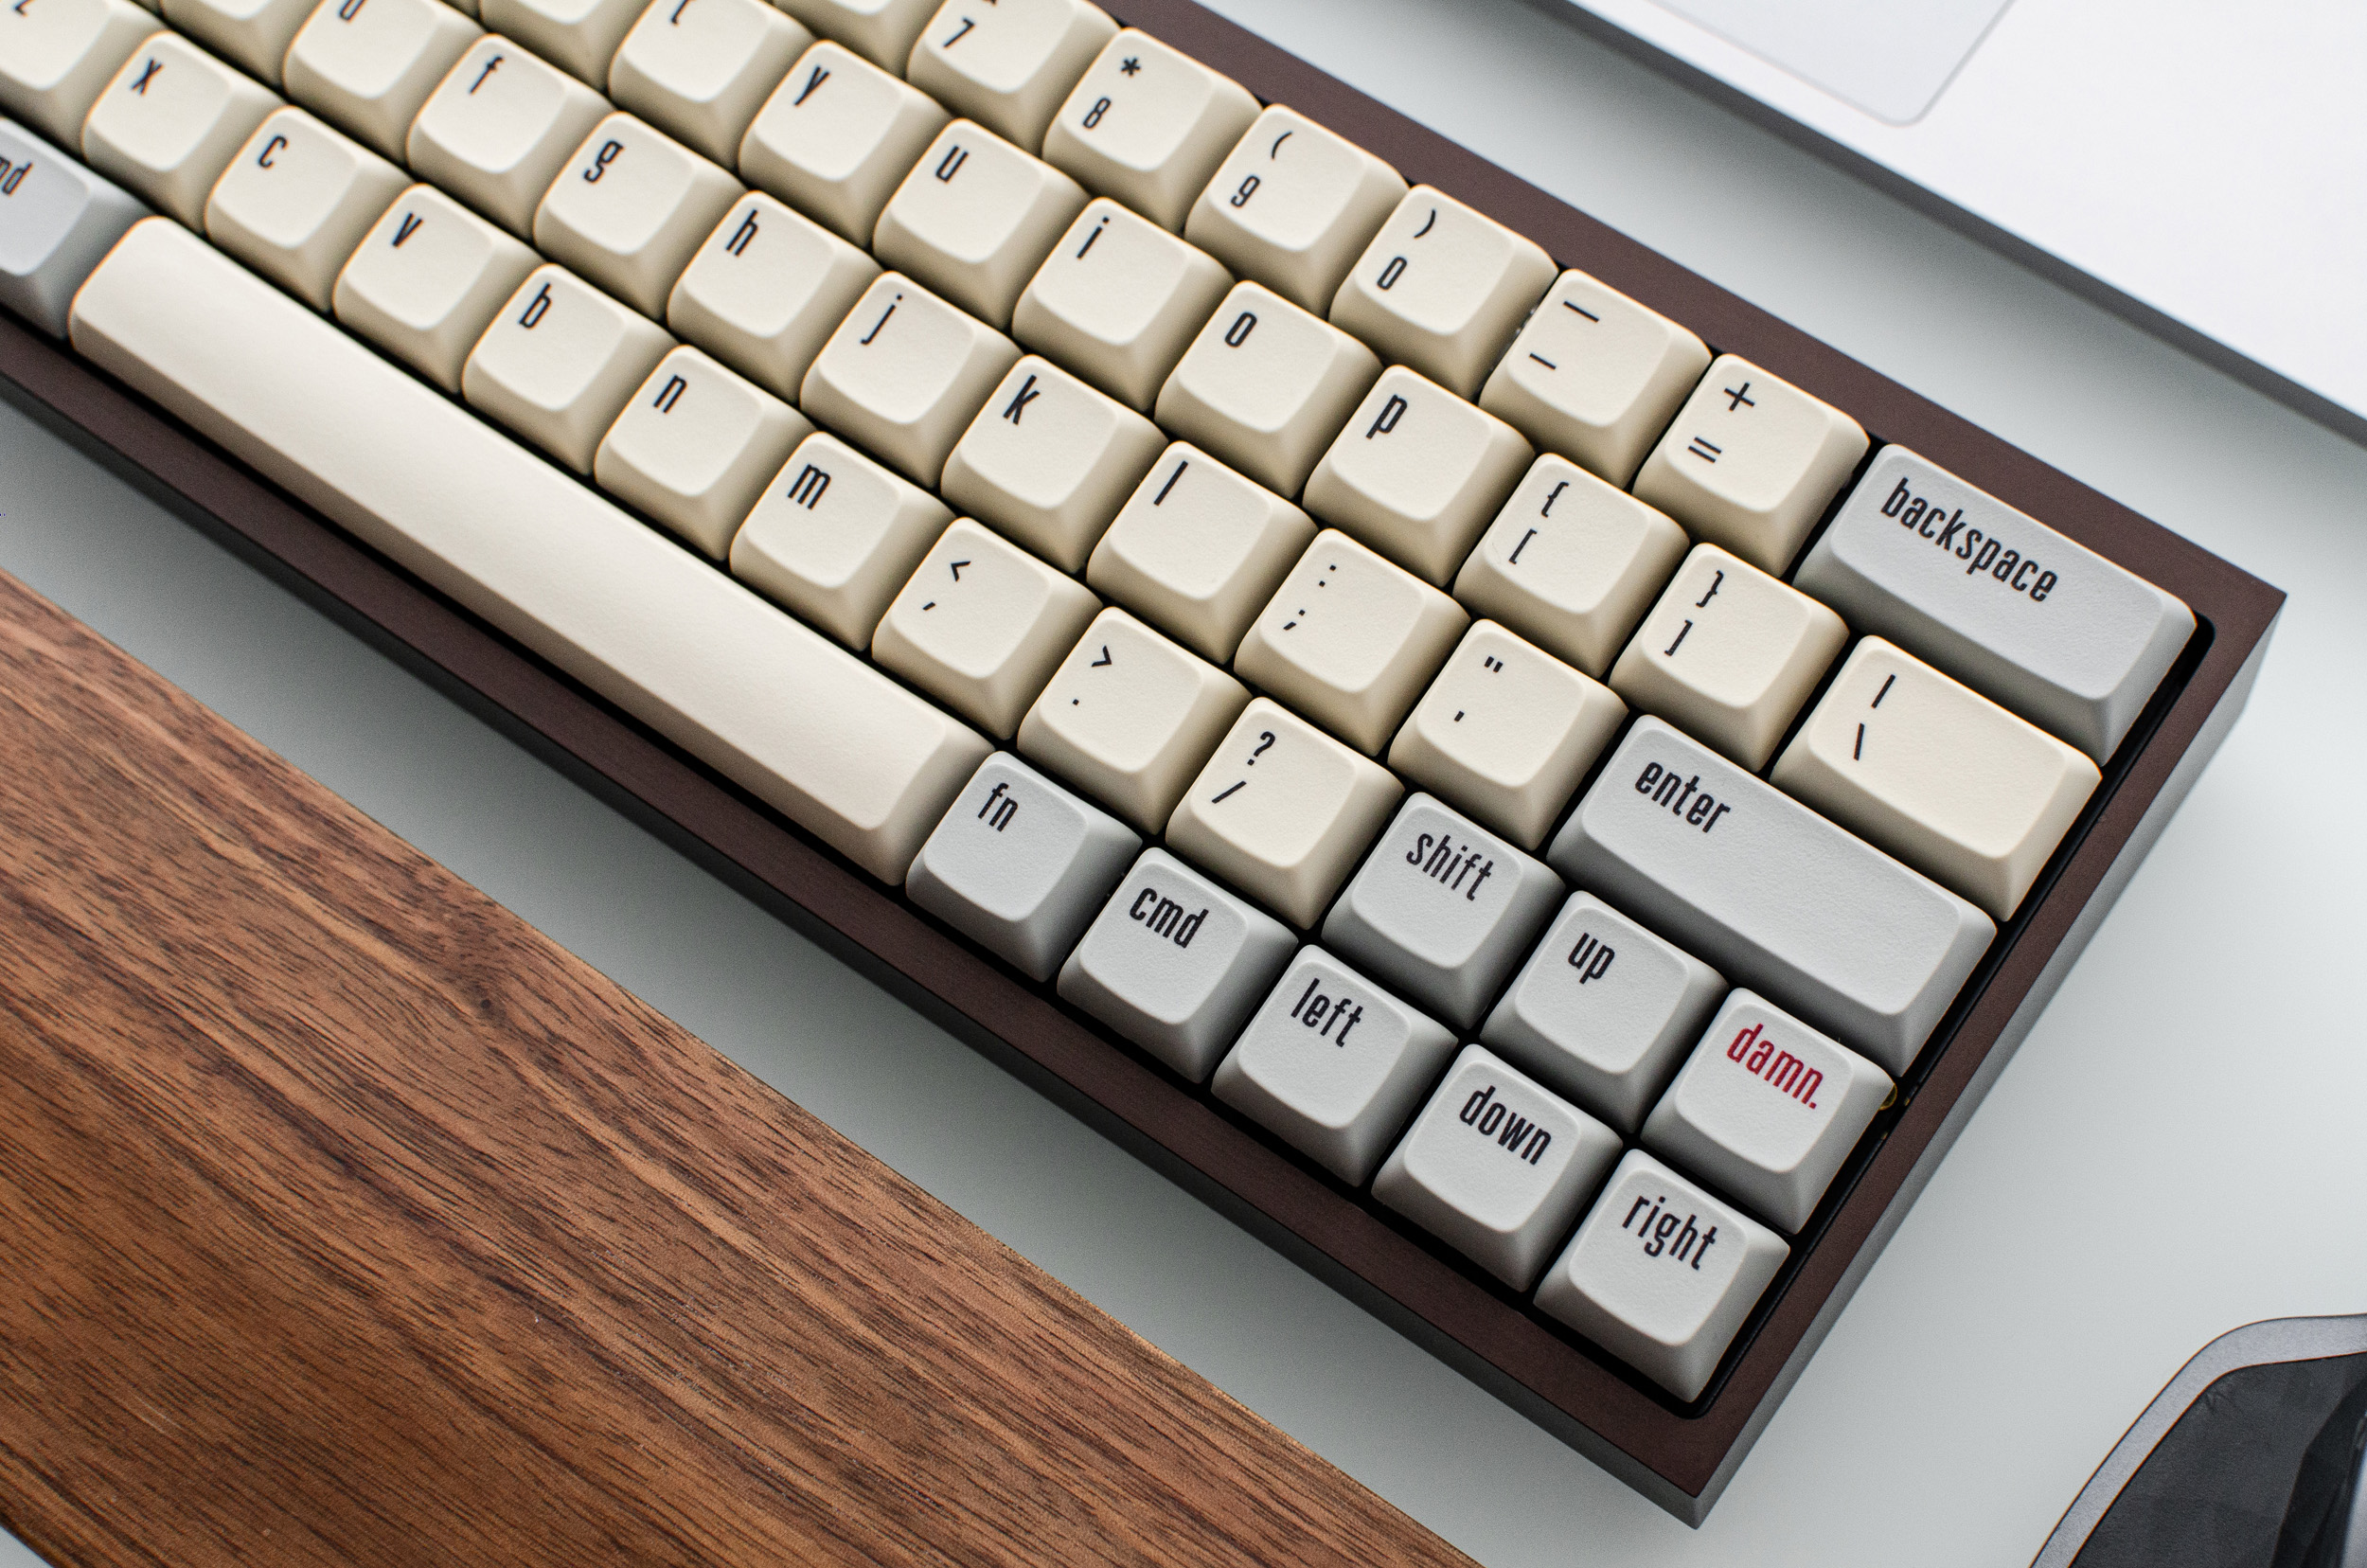
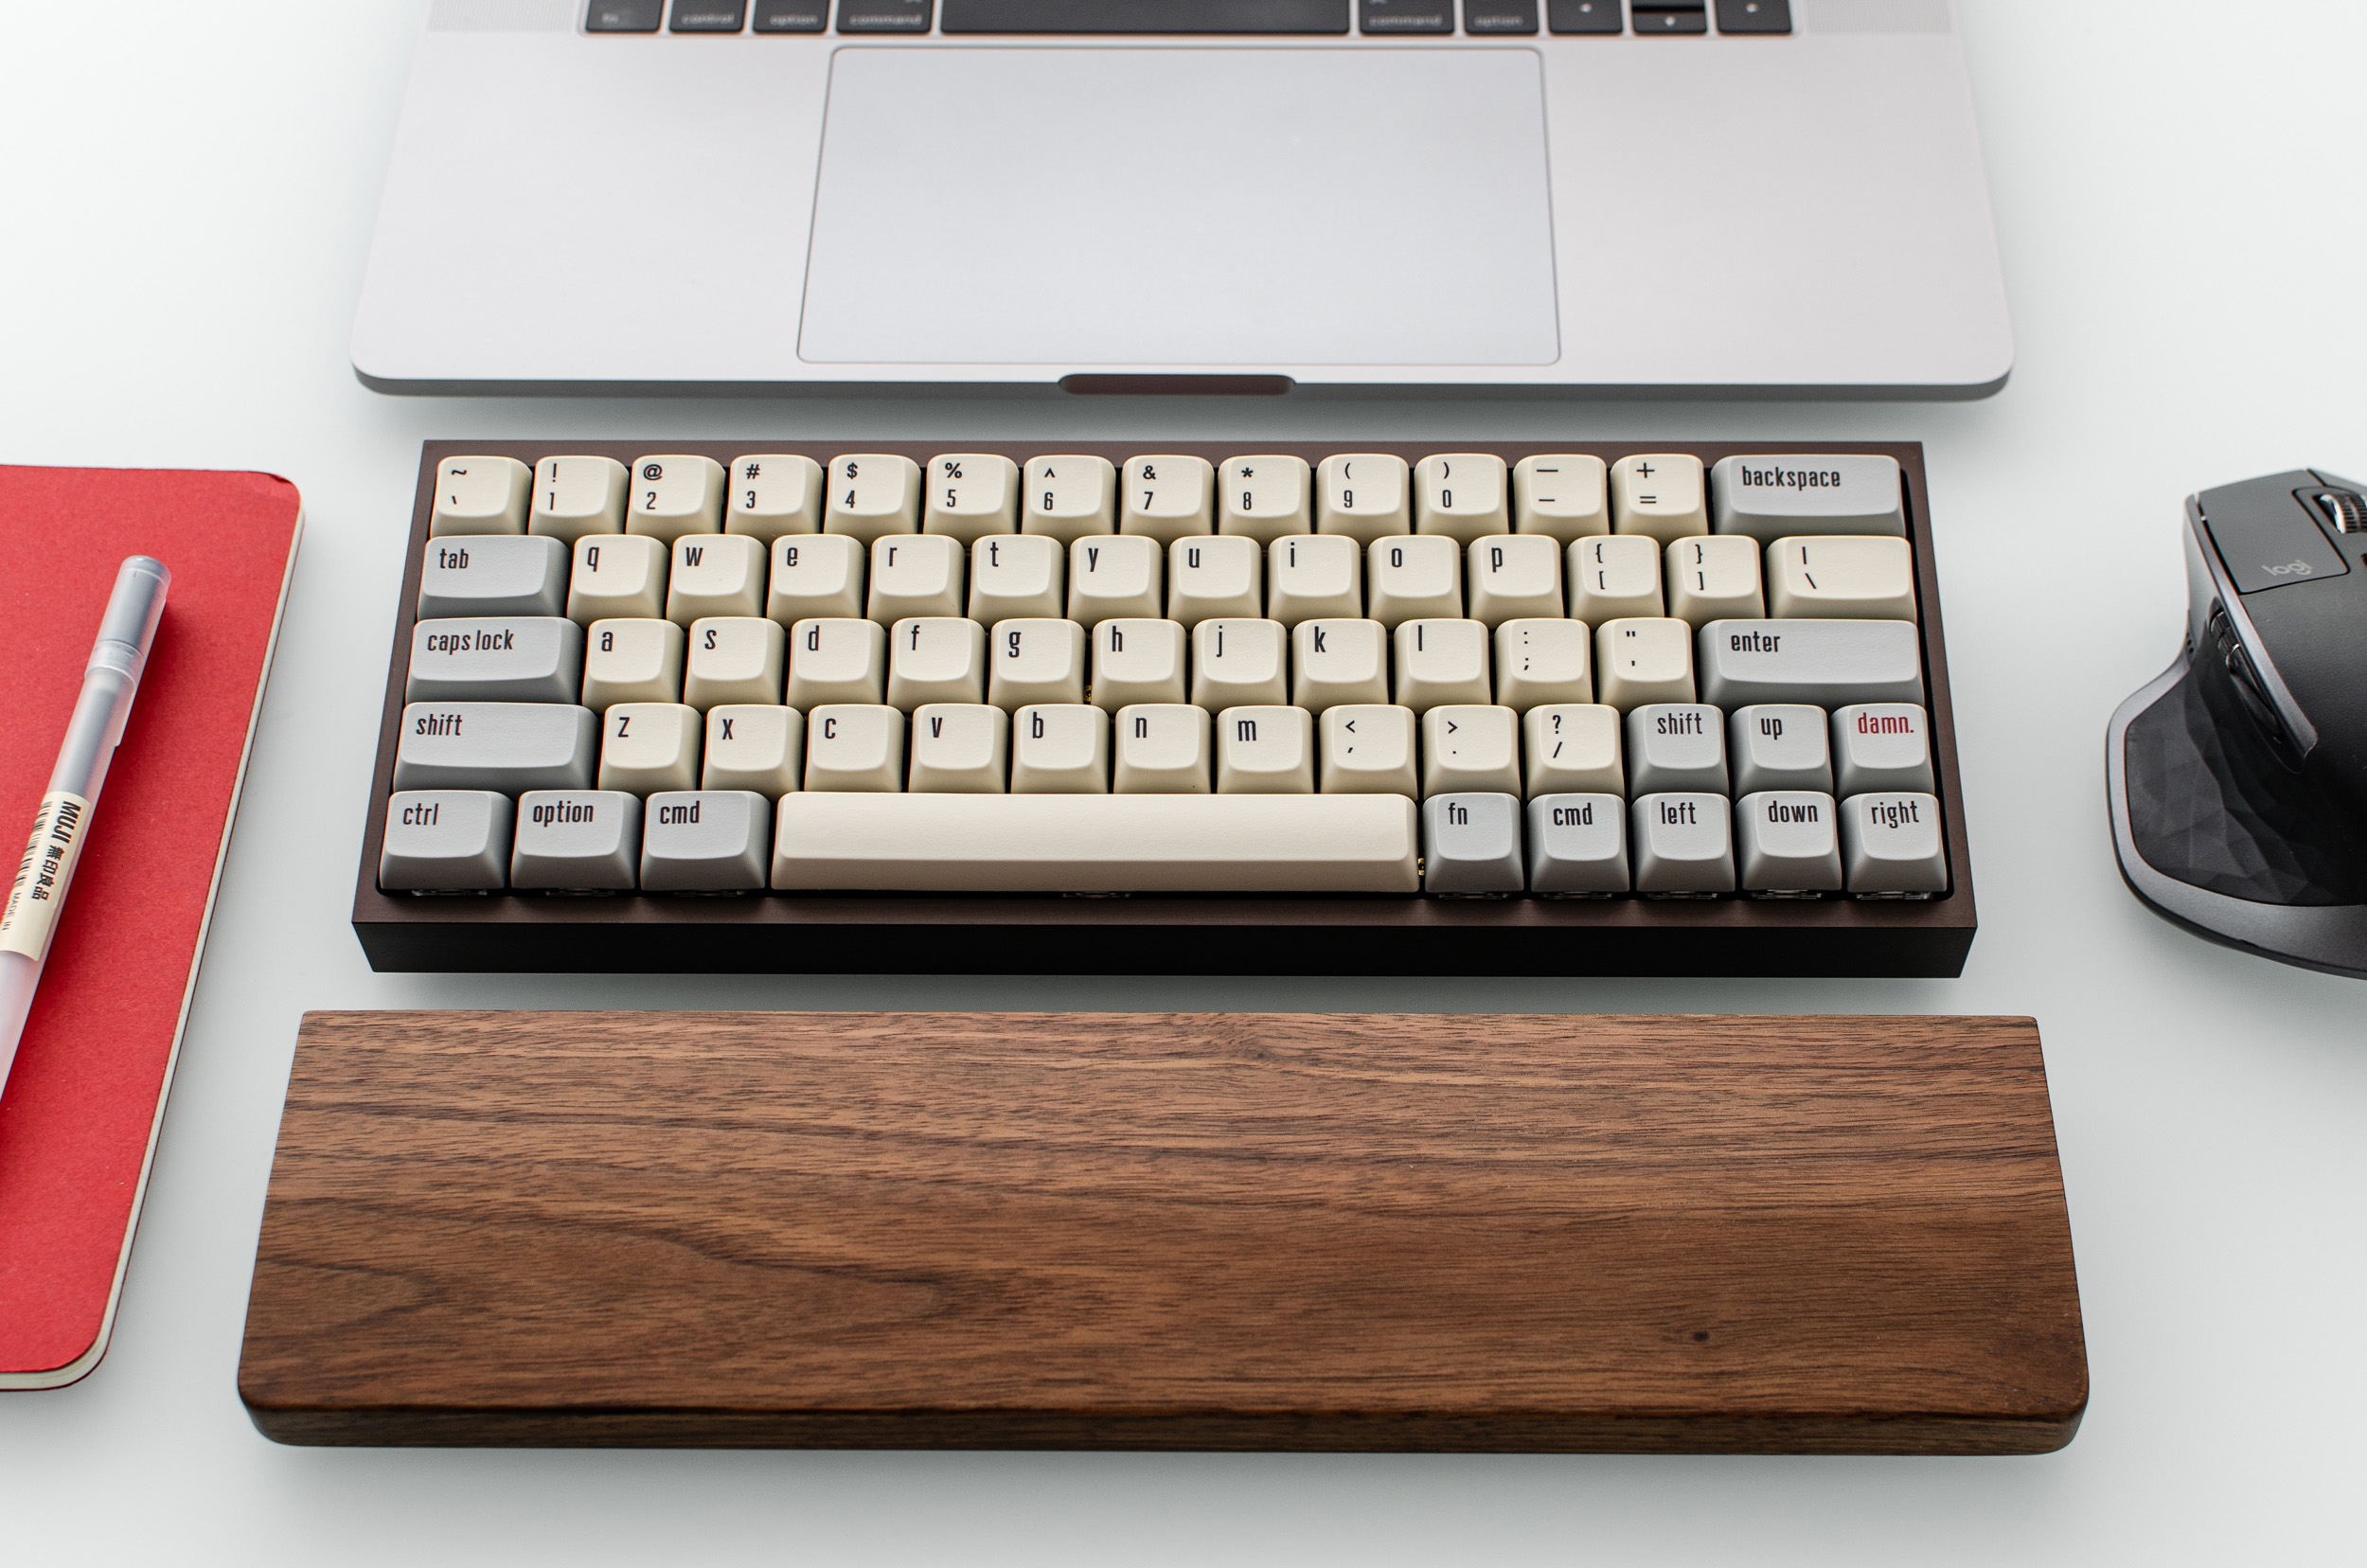
Very nice. I think the chunky XDA is a very pleasing contrast to the angular Tofu lines
1 Like
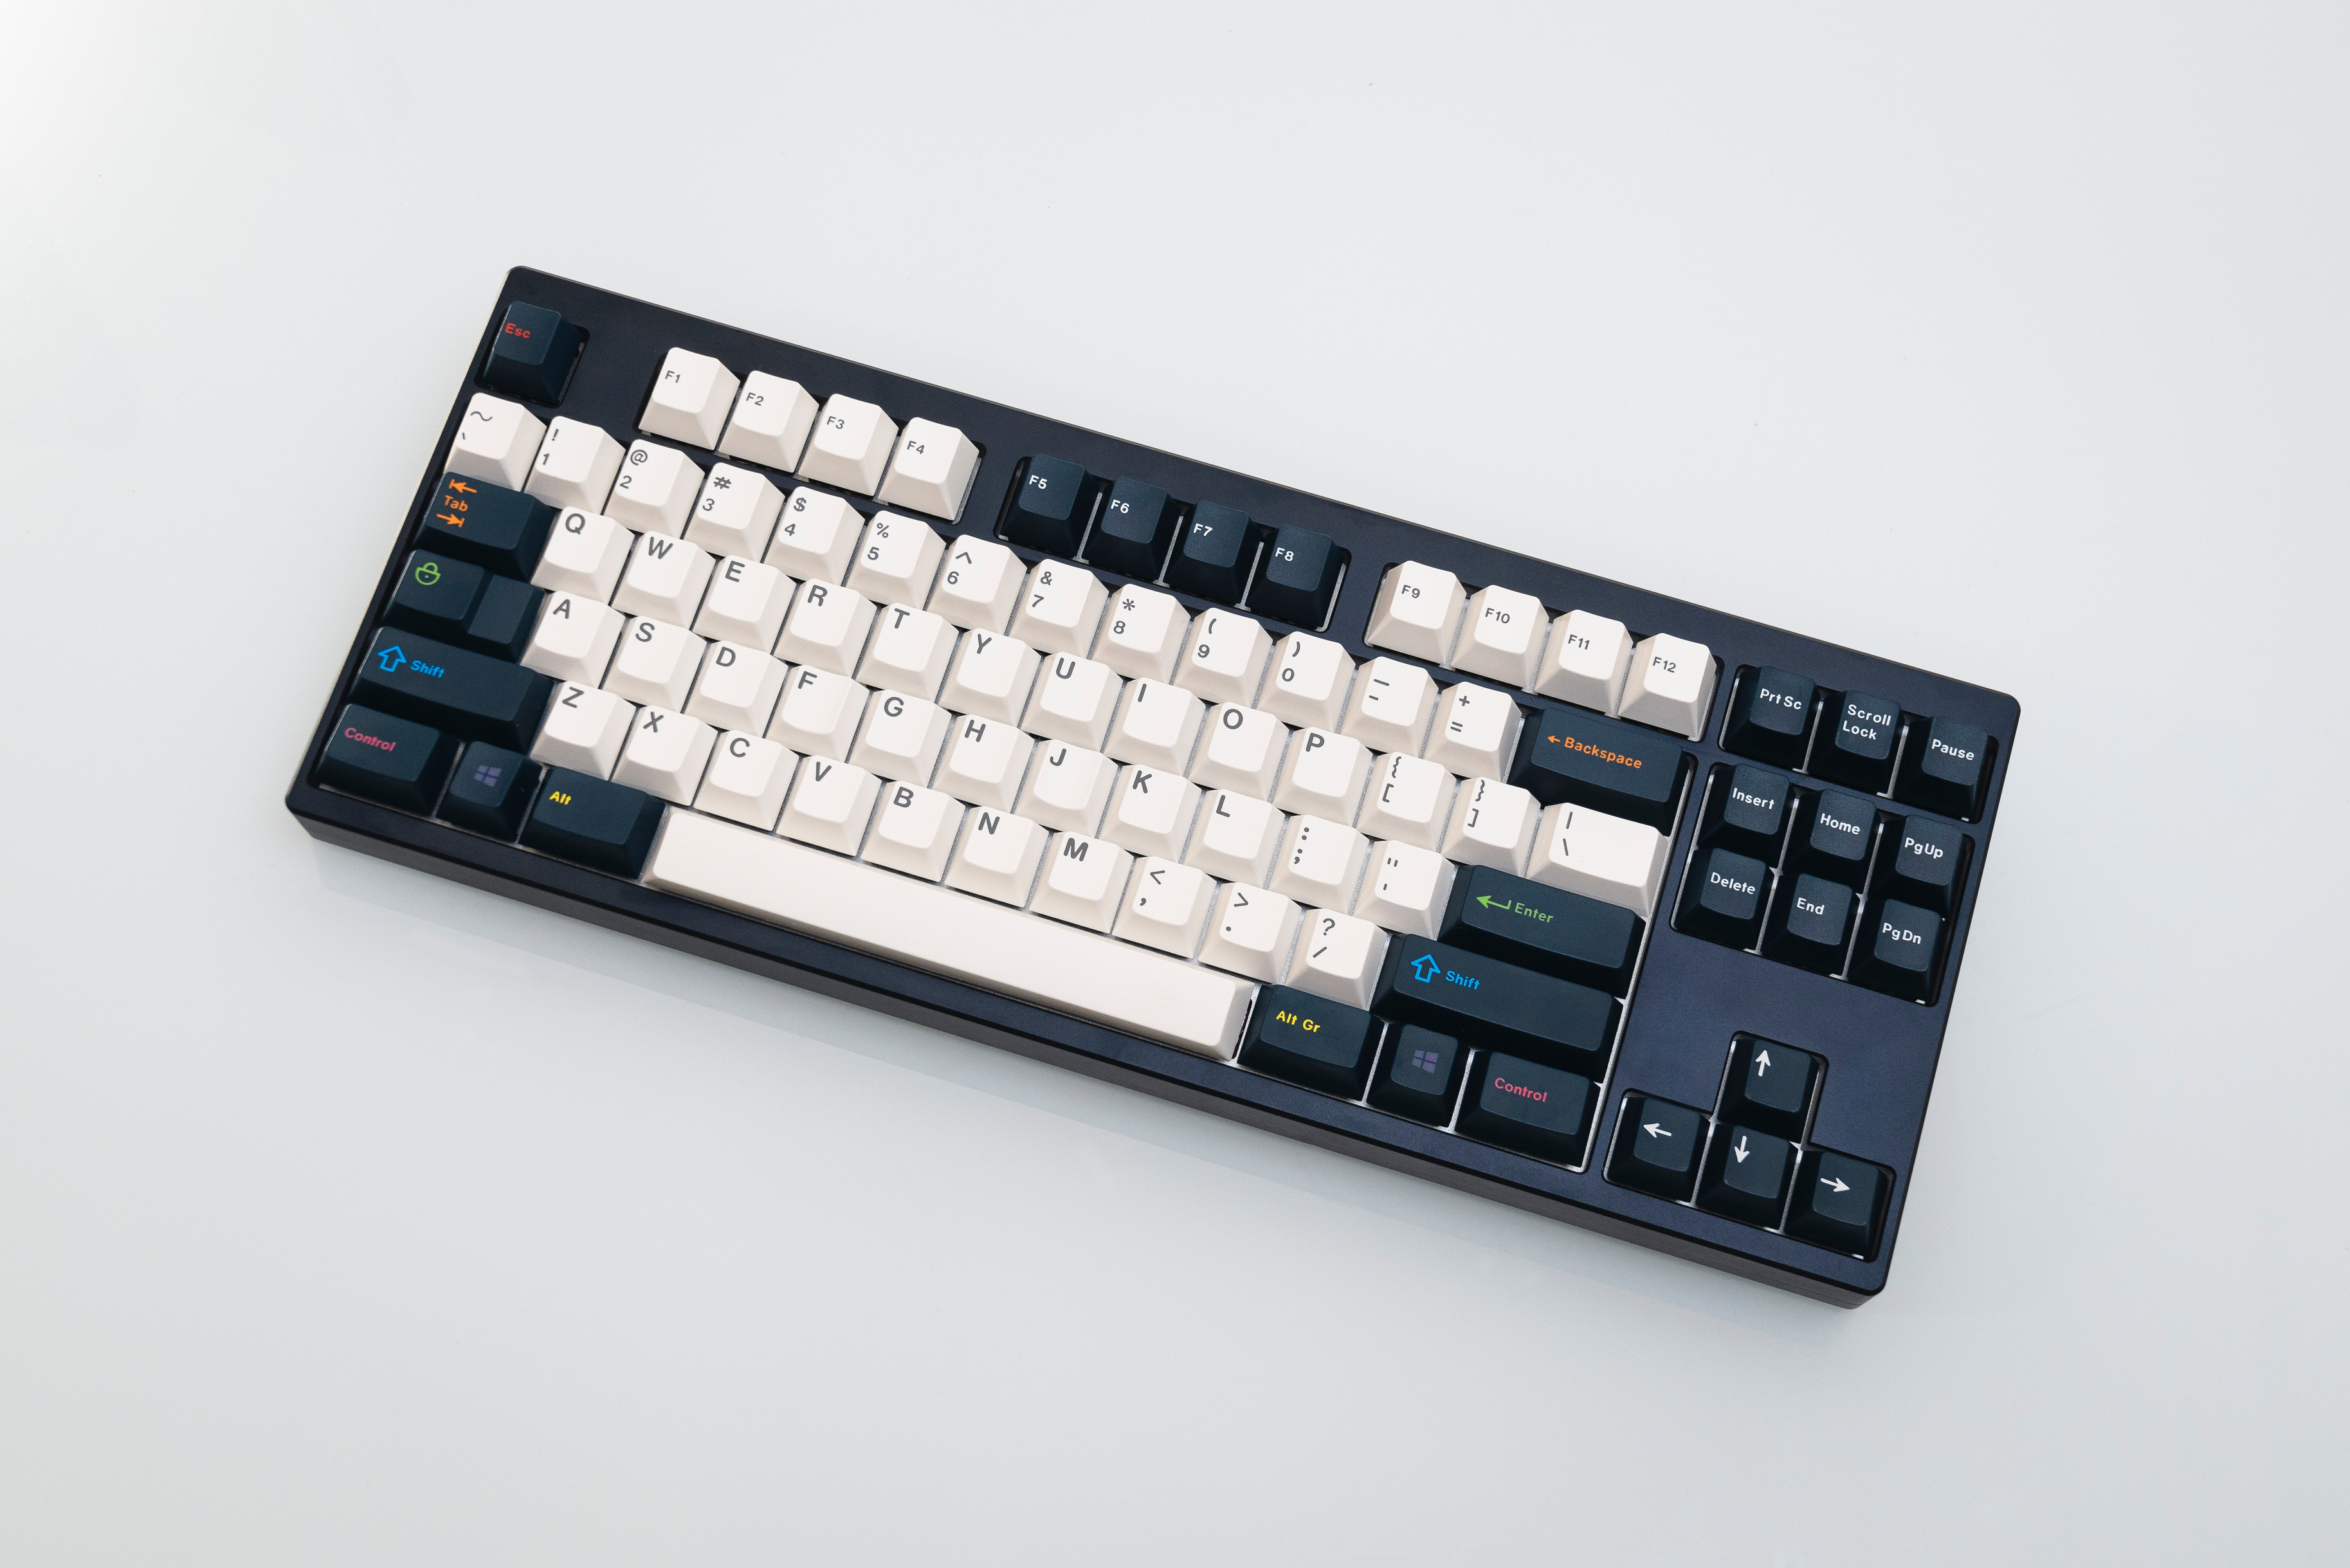
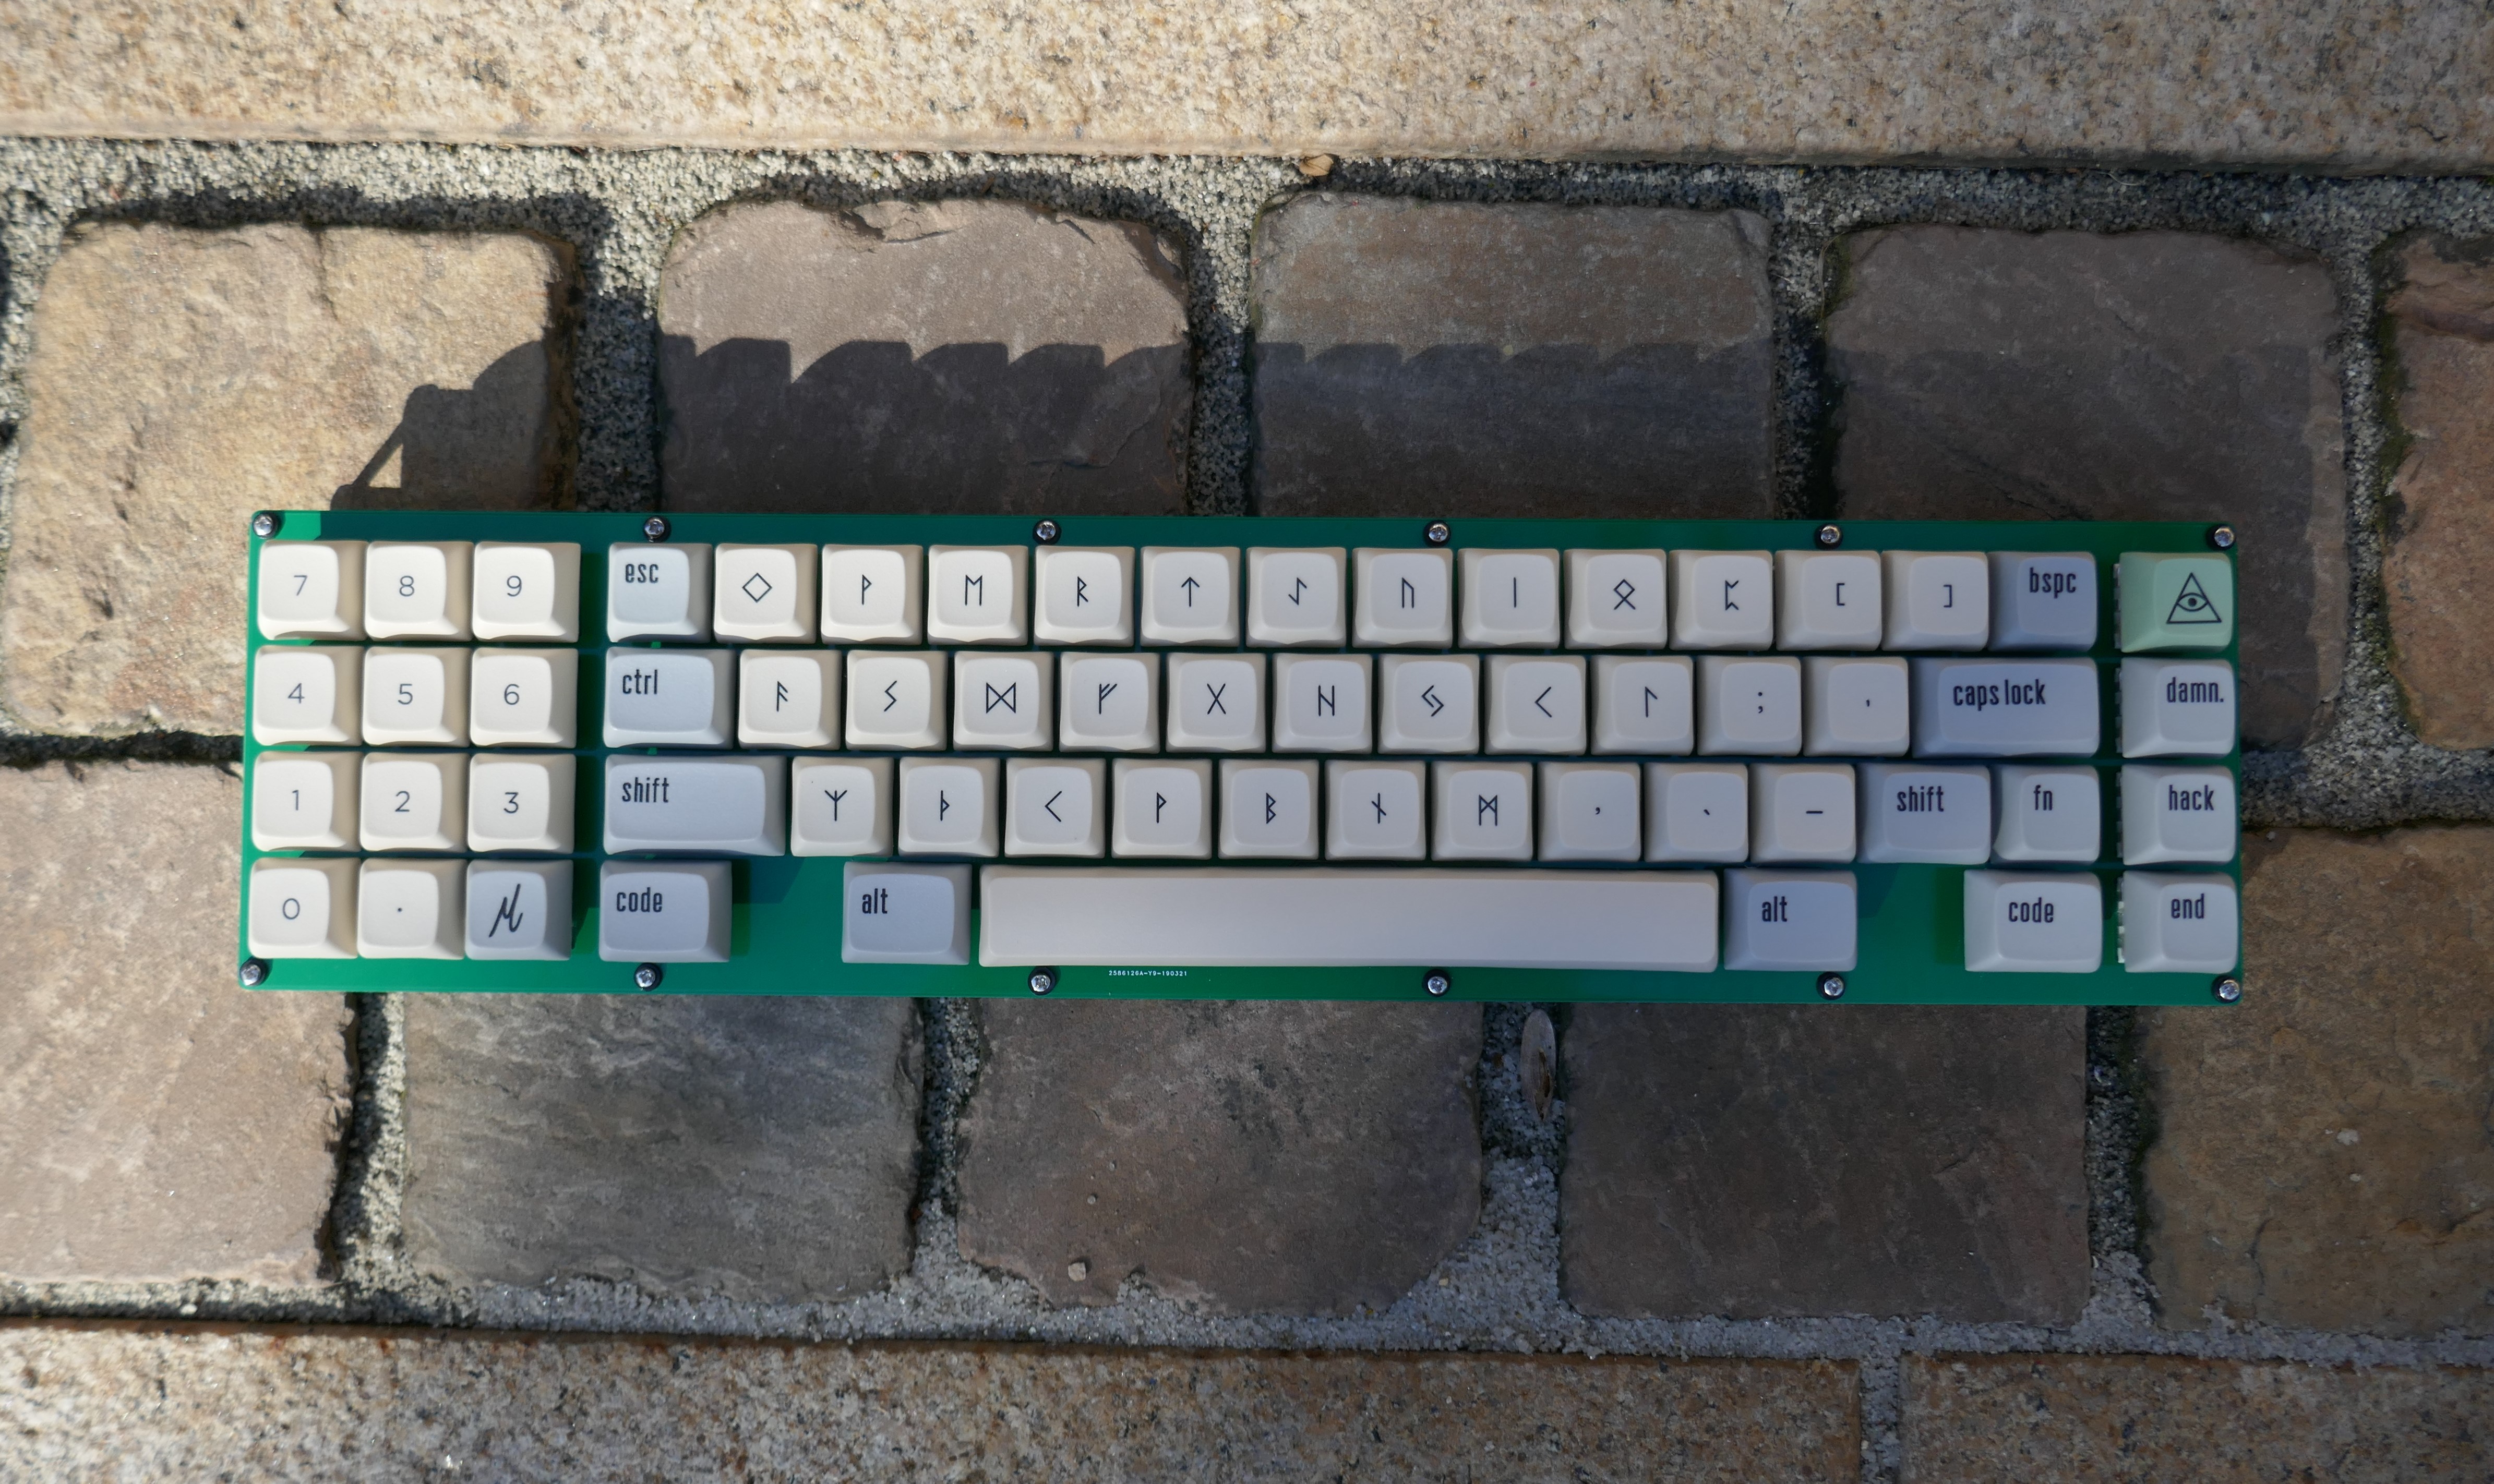
Very nice, I love the simplicity. 
Copper themed Iris Build Log
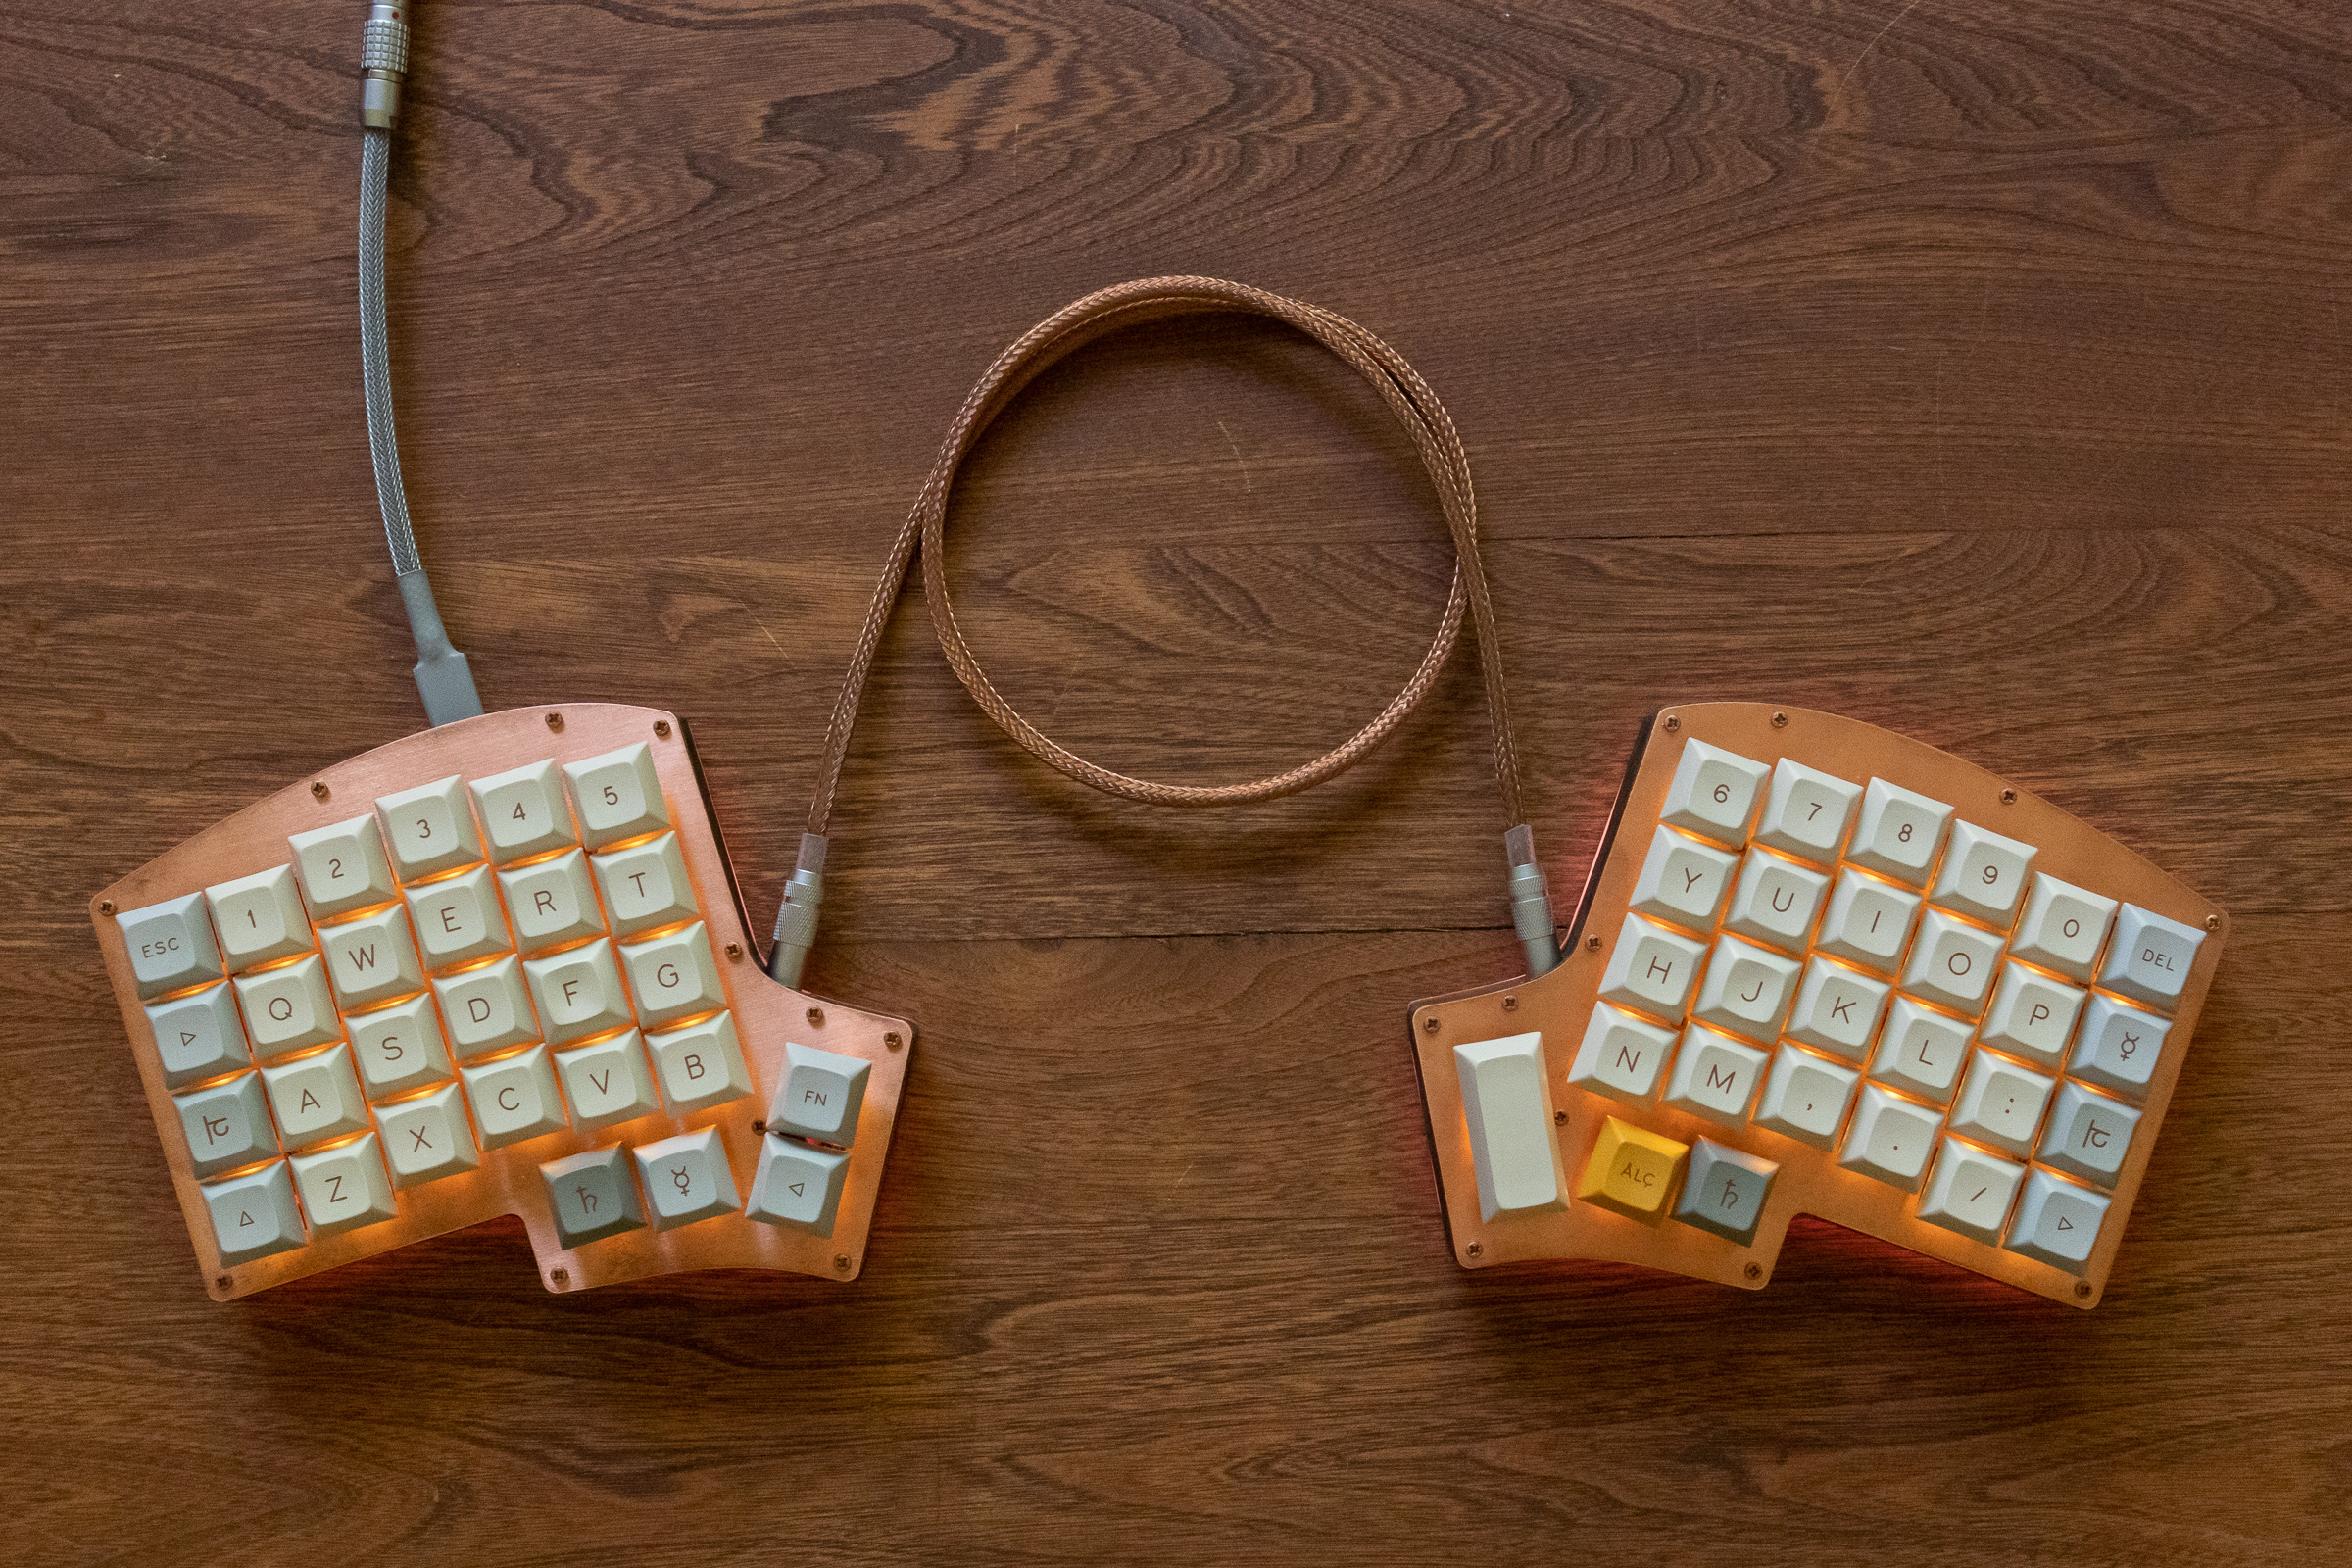
This has been a long and challenging build. It all started when I saw an Iris with a walnut case and XDA Canvas posted on Reddit. I really loved the idea but I didn’t want to have multiple thin pieces of laminated walnut. I wanted a solid walnut mid piece.
Enter phase 1
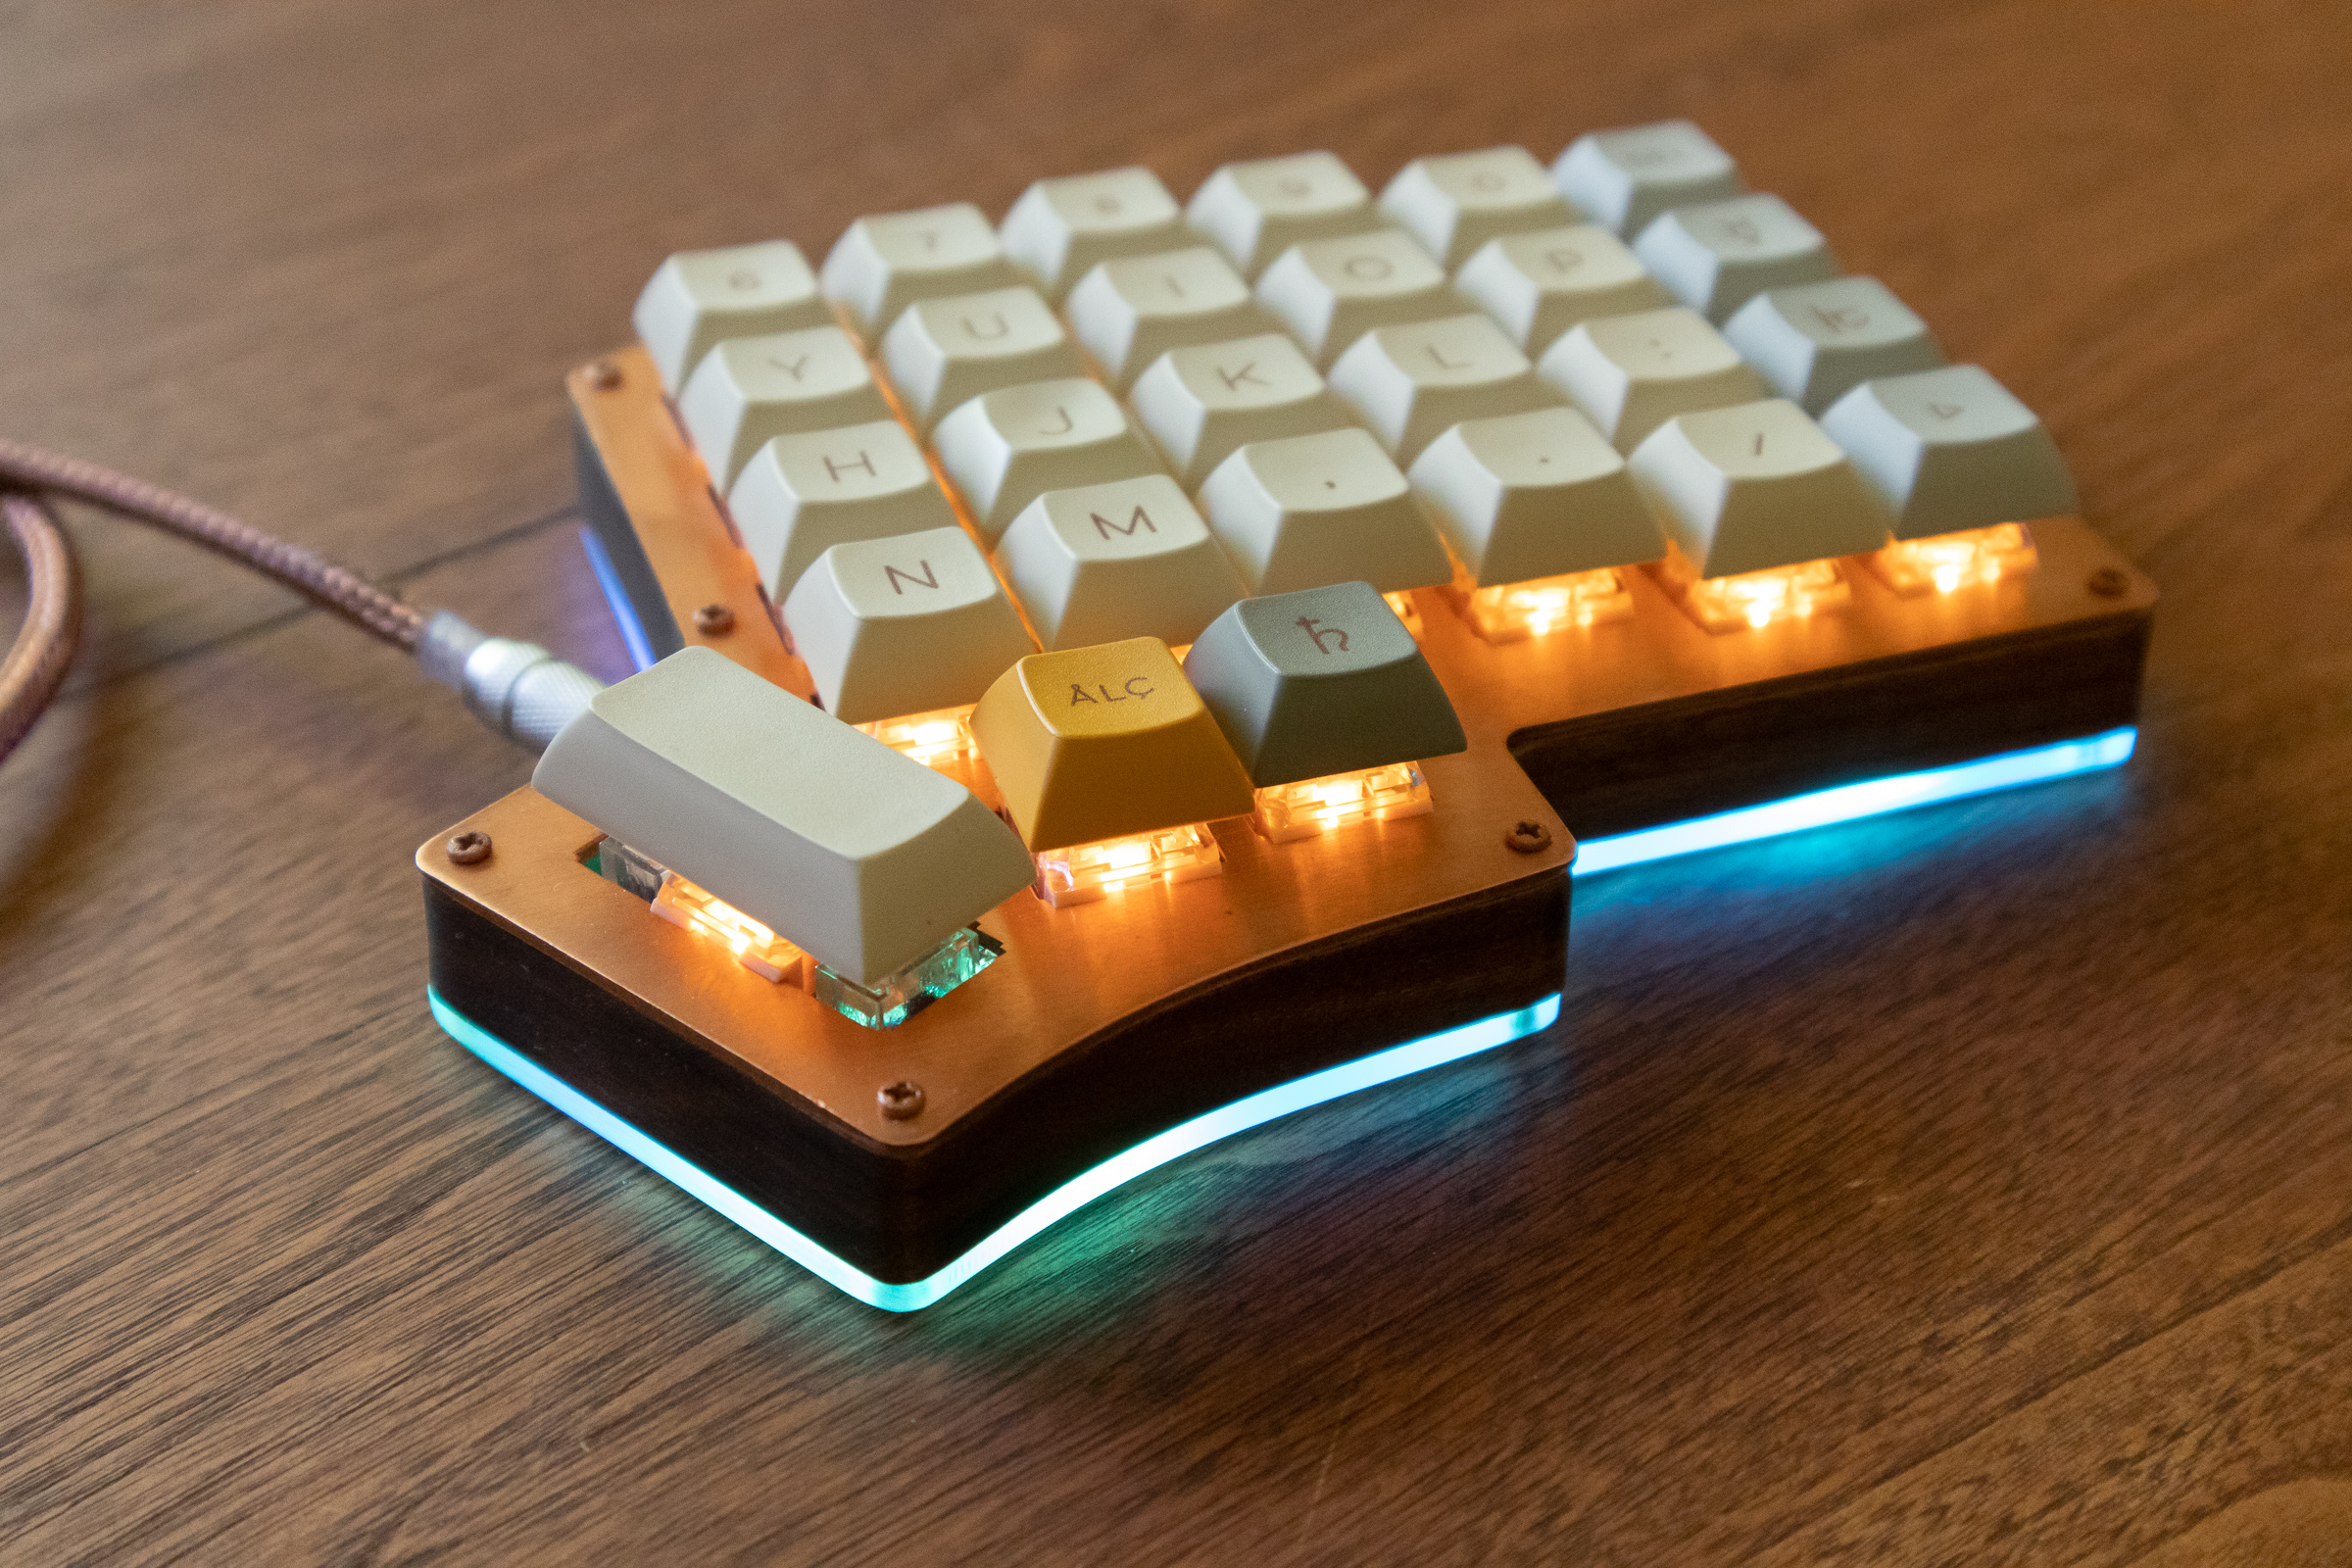
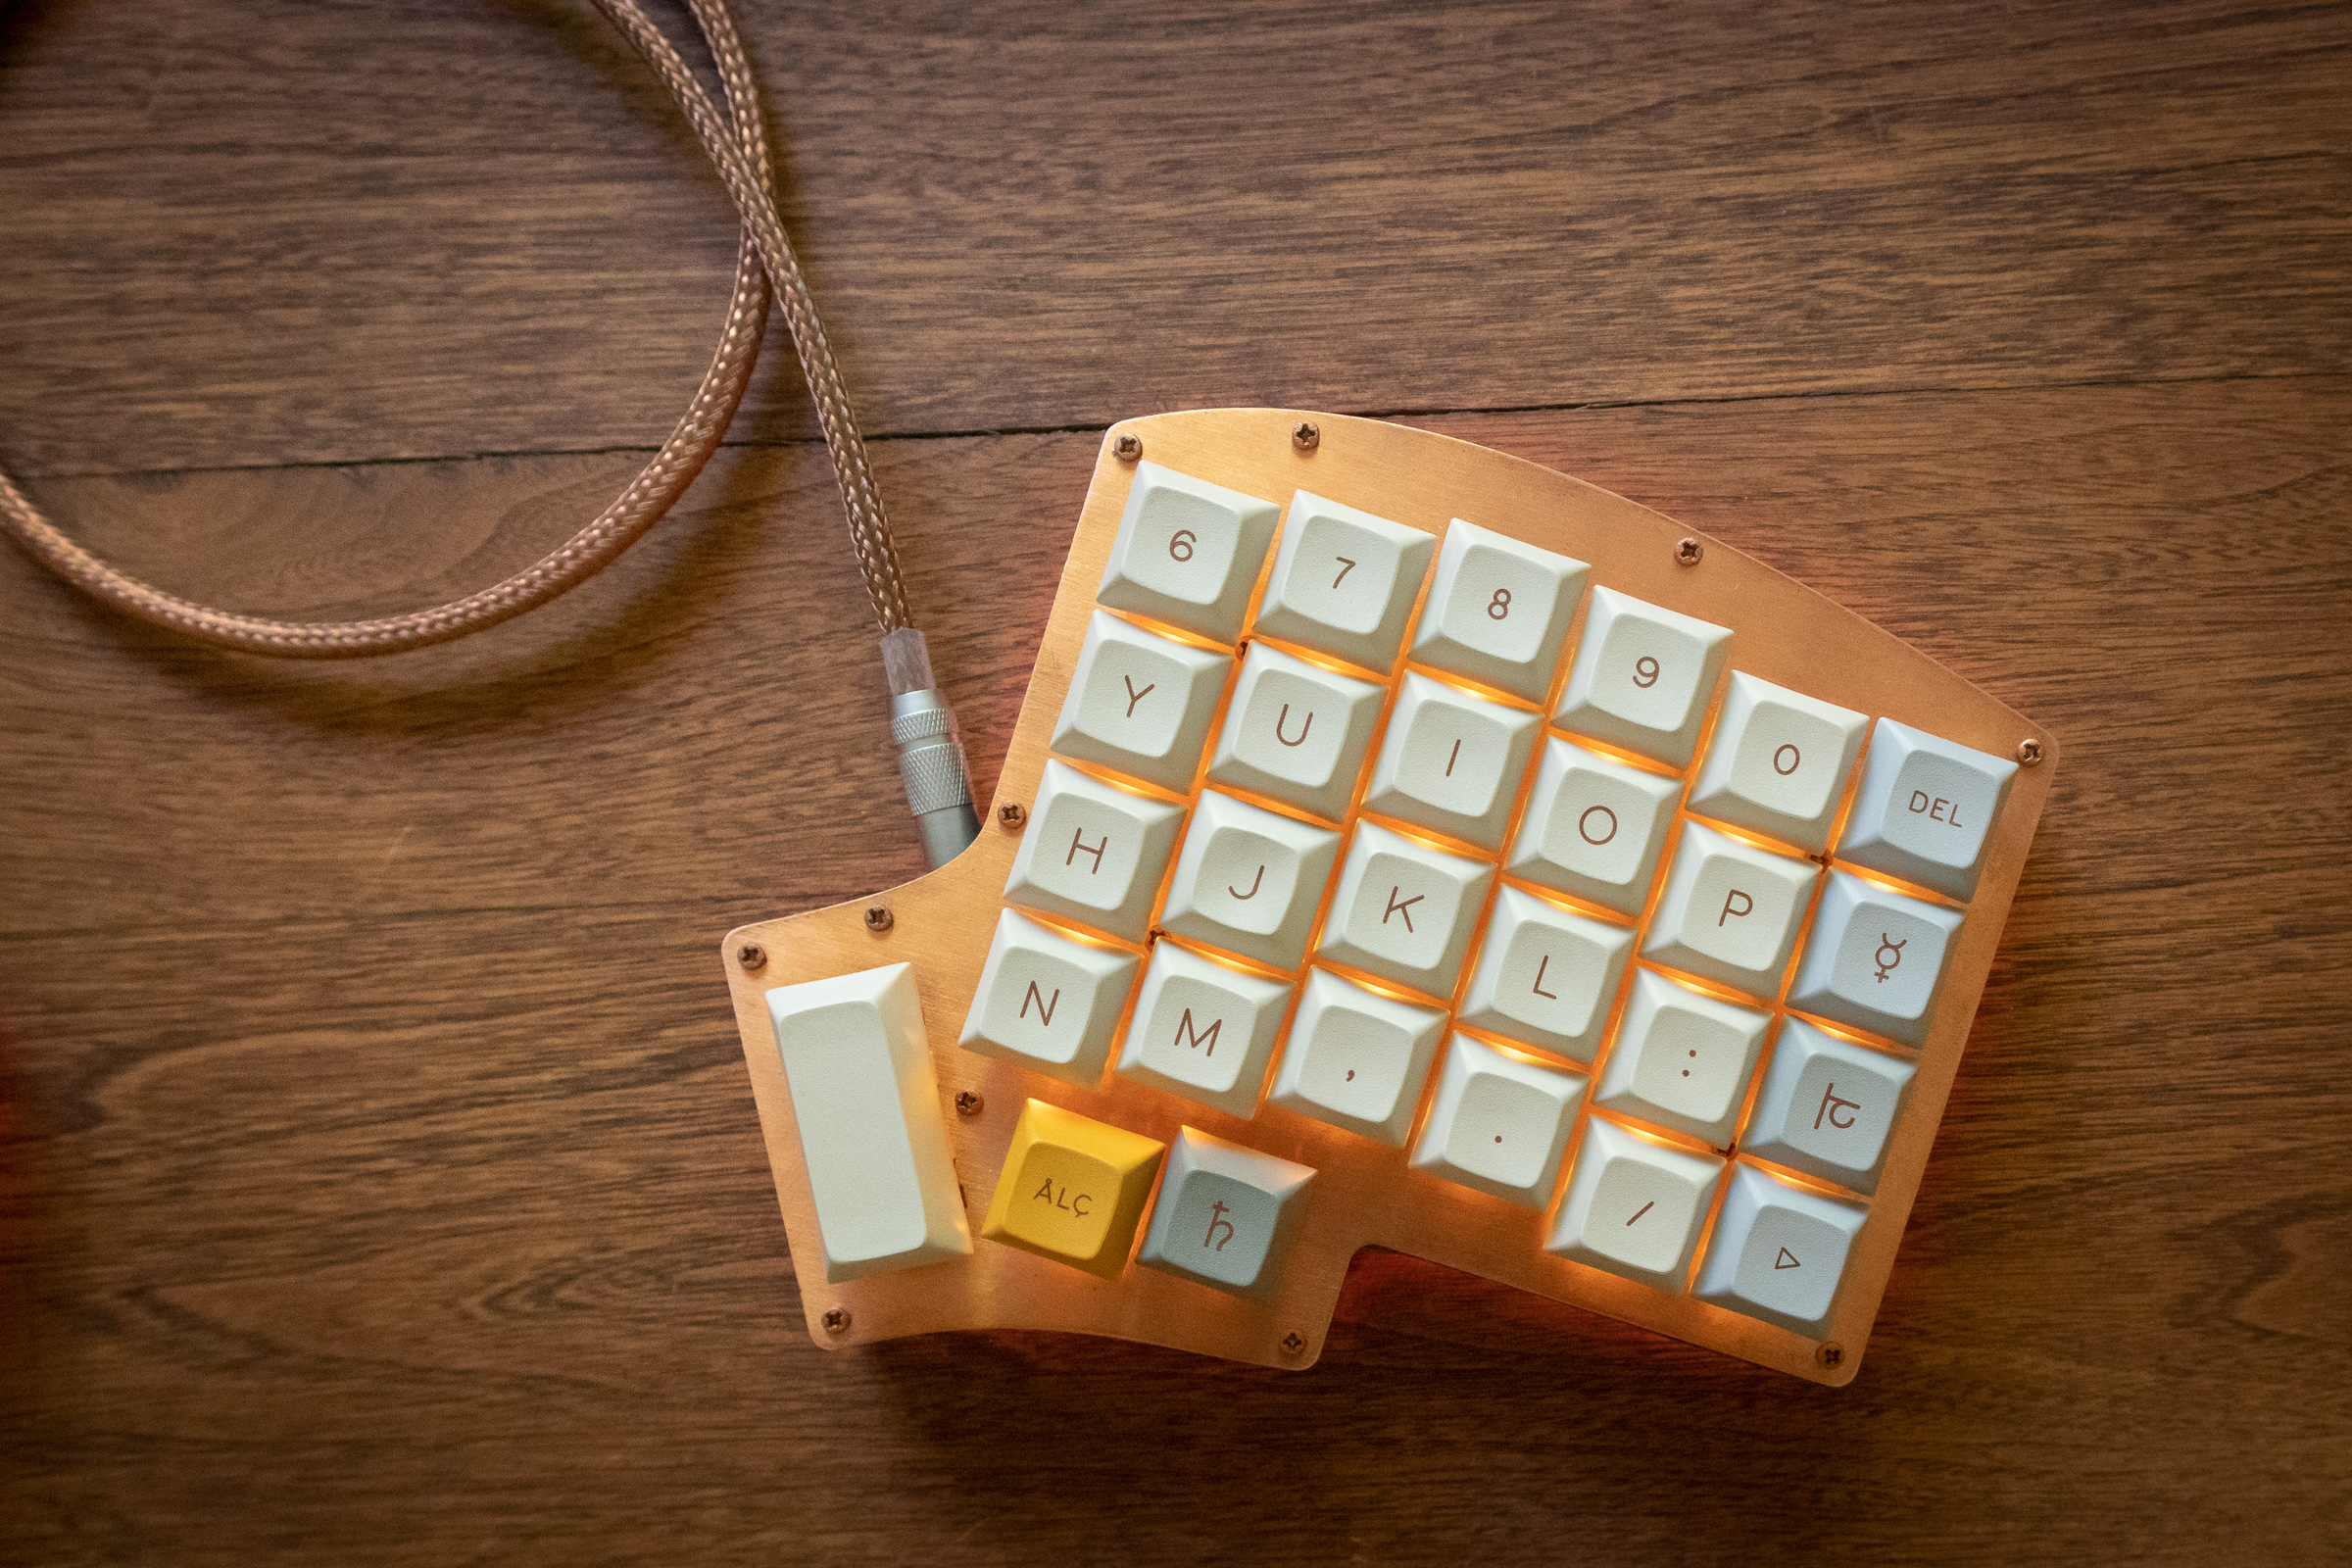
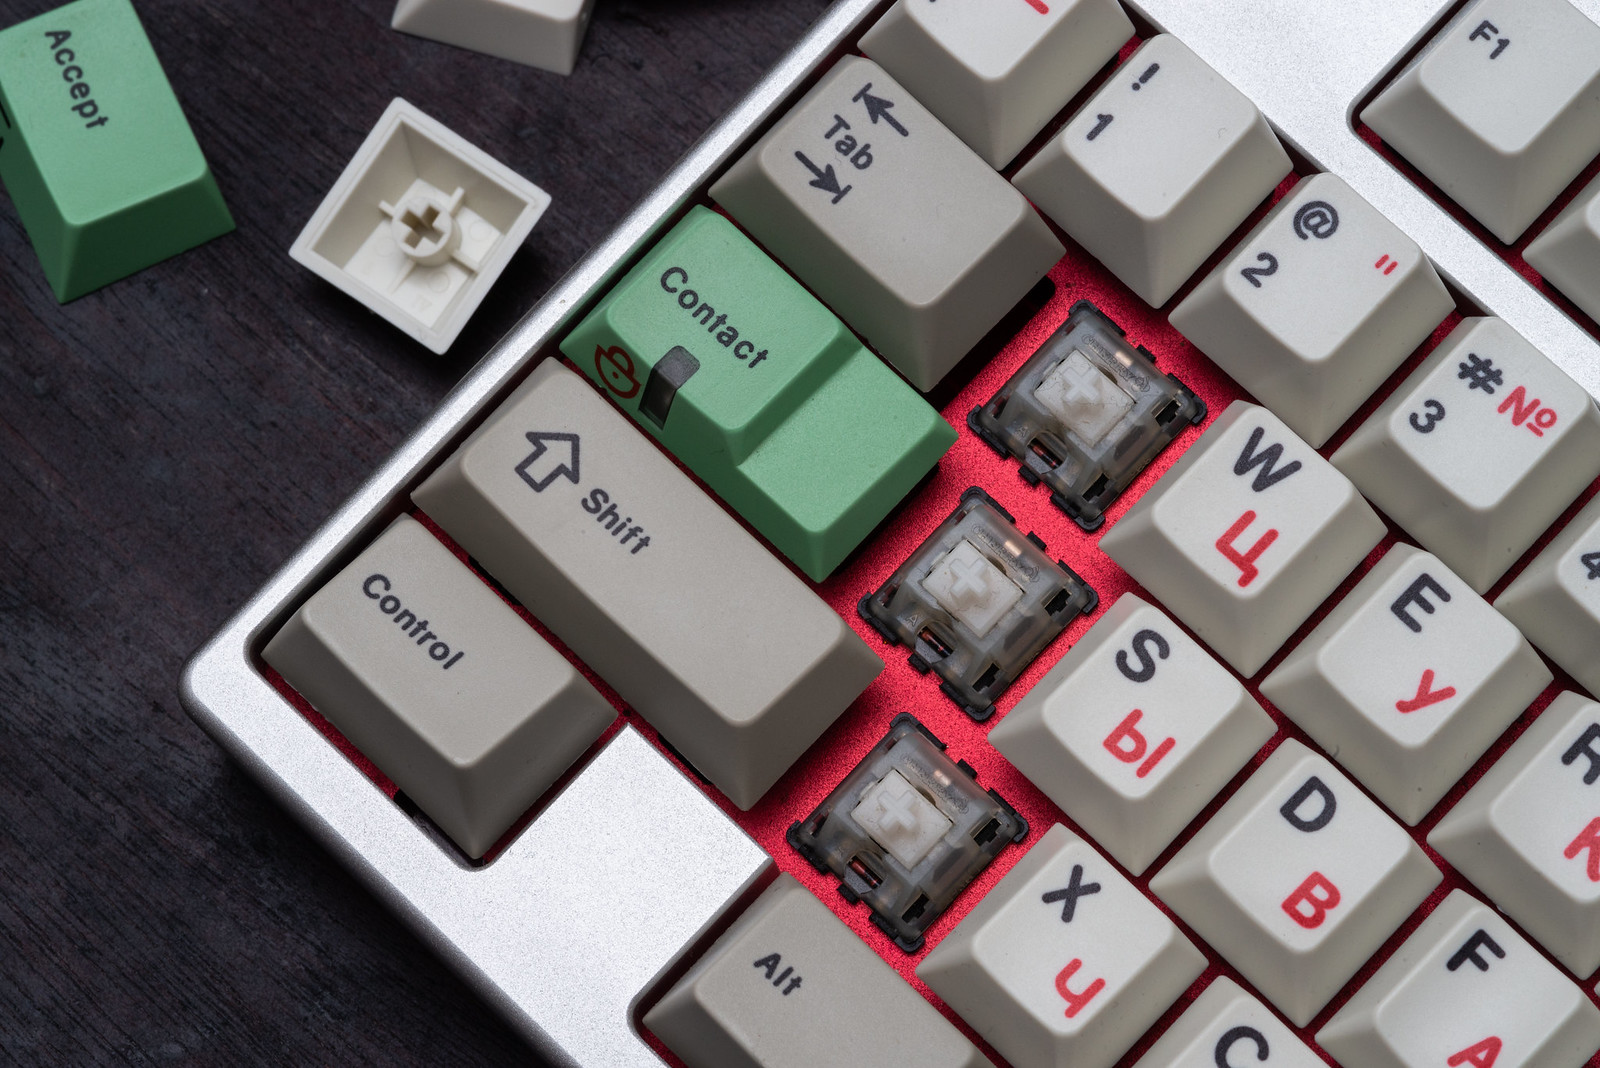
Shortly after R2 of canvas, @chrisswires dropped DSA Alchemy on us and I knew it would be the perfect match for this board. The warm alpha legends with neutral palette was perfect.
I had originally joined the Canvas R2 drop but because it was delayed I got the opportunity to cancel my order and pickup Alchemy instead.
Phase 2 - The plates
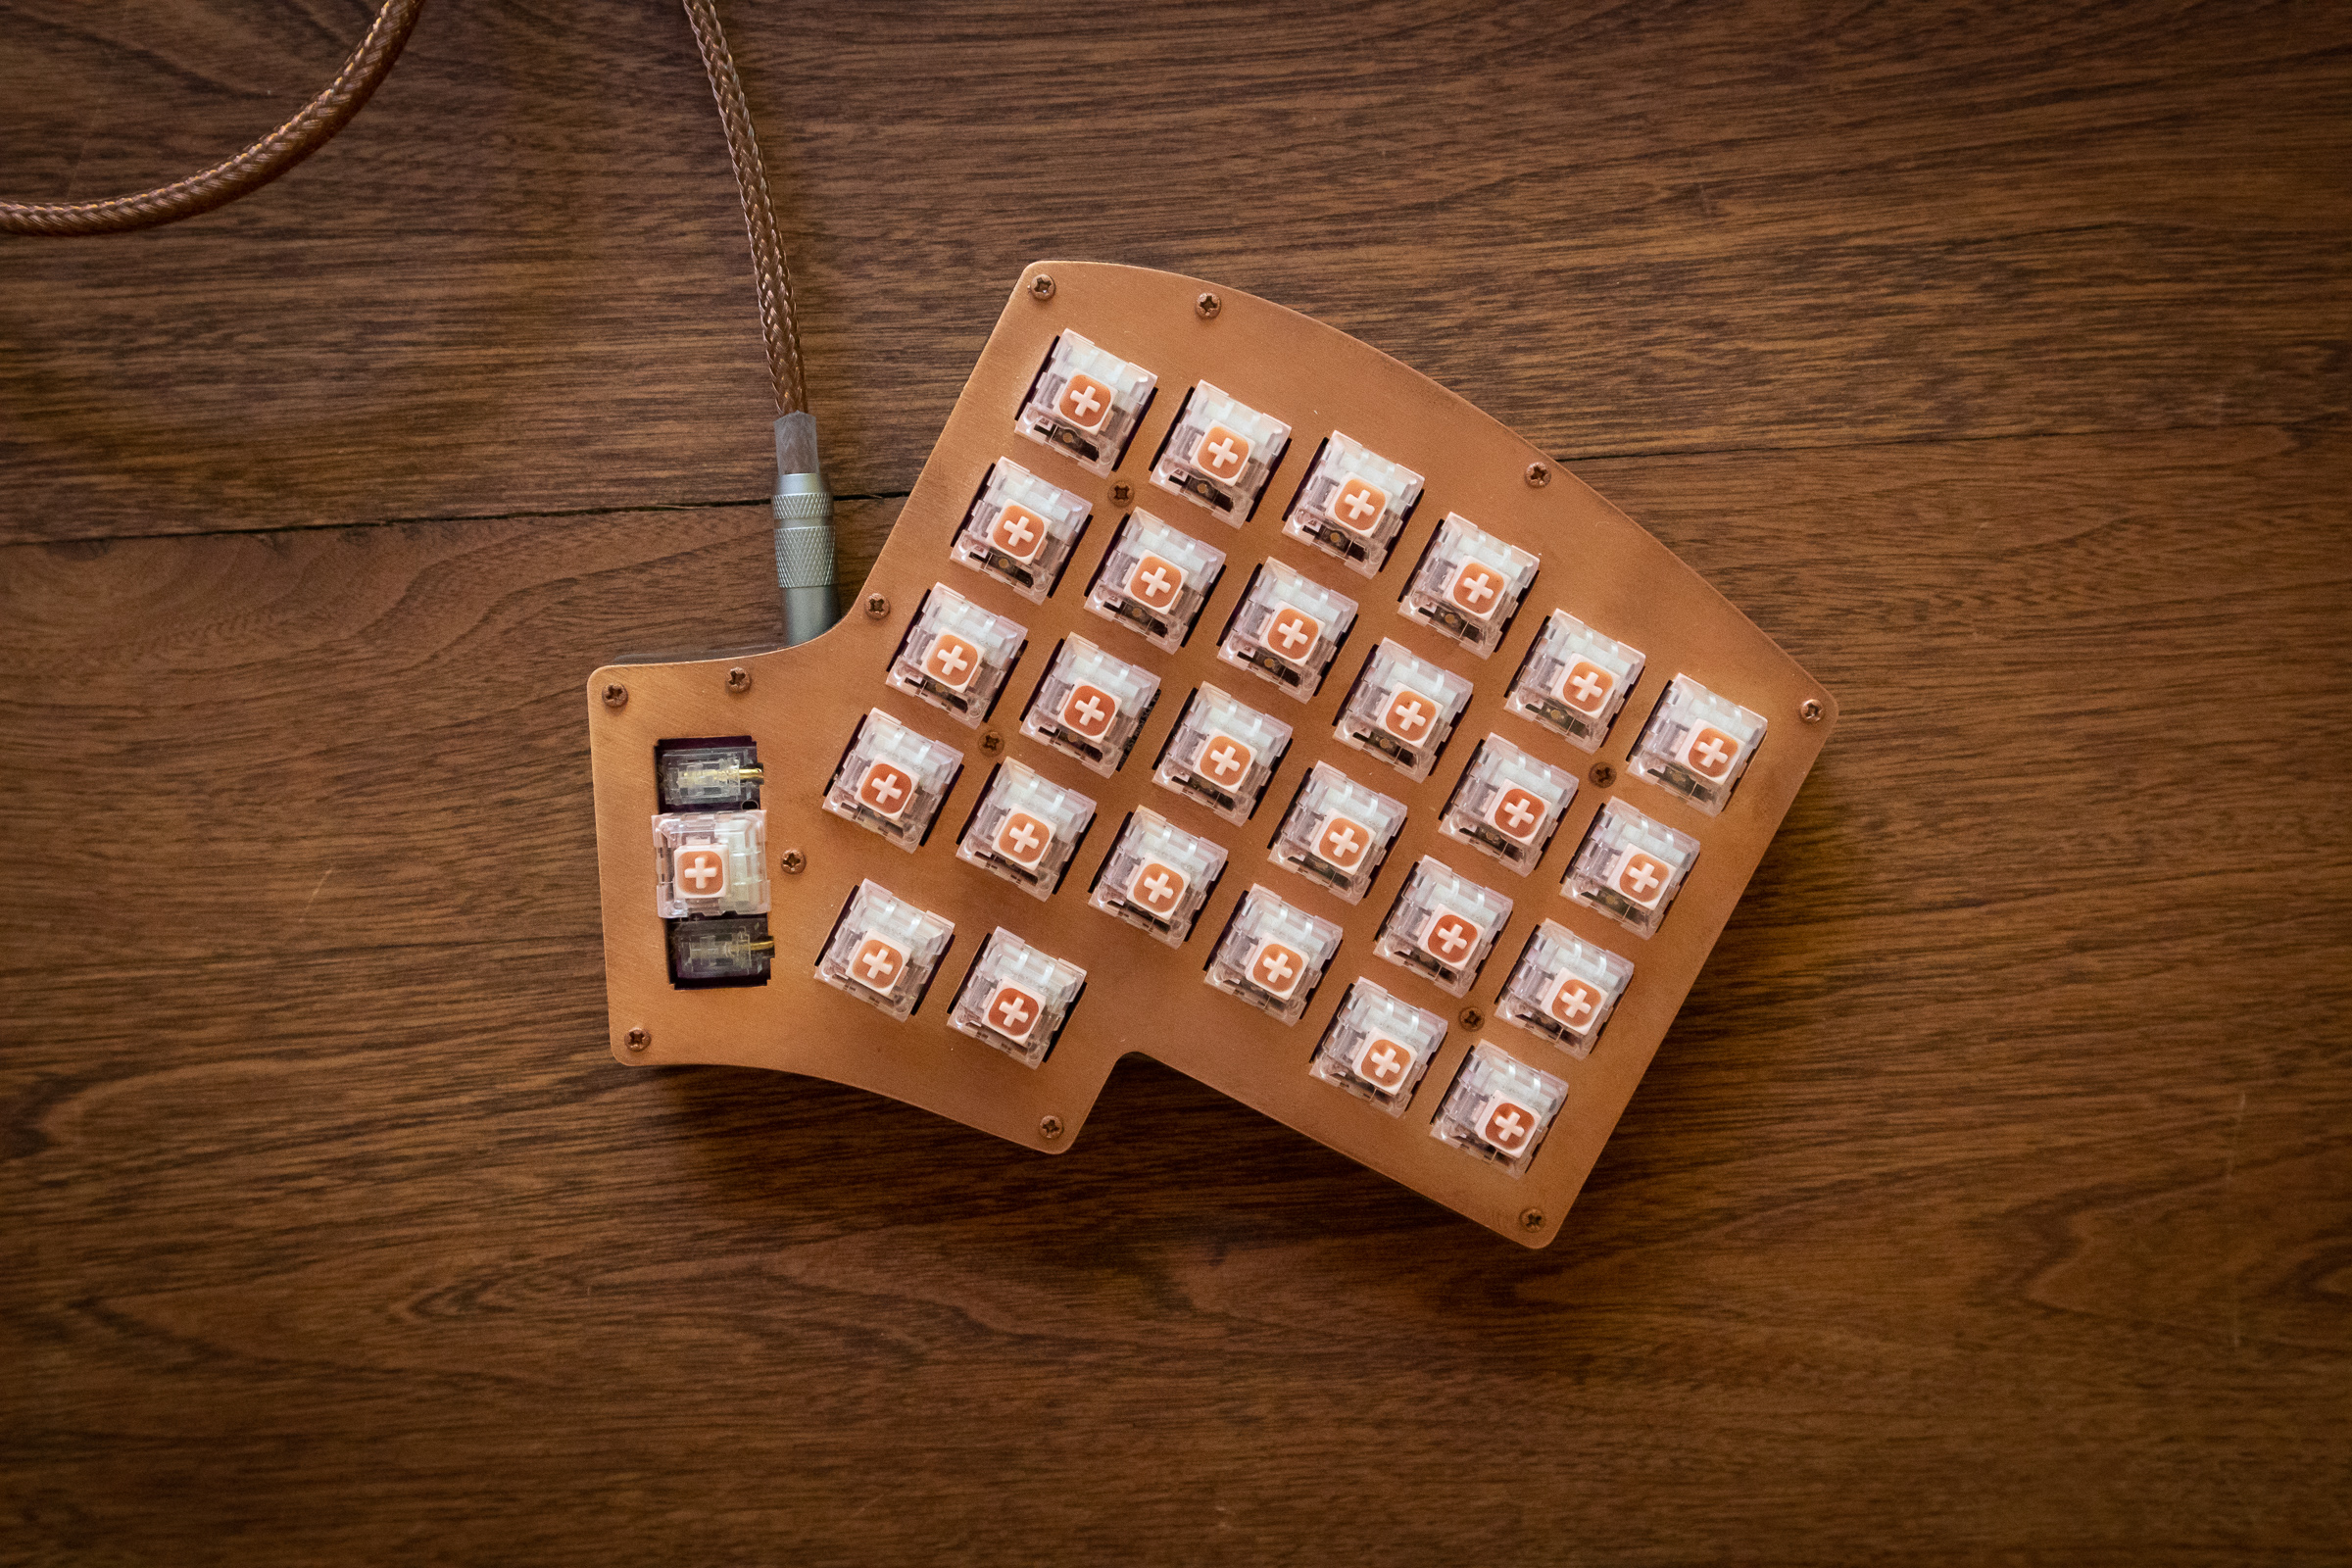
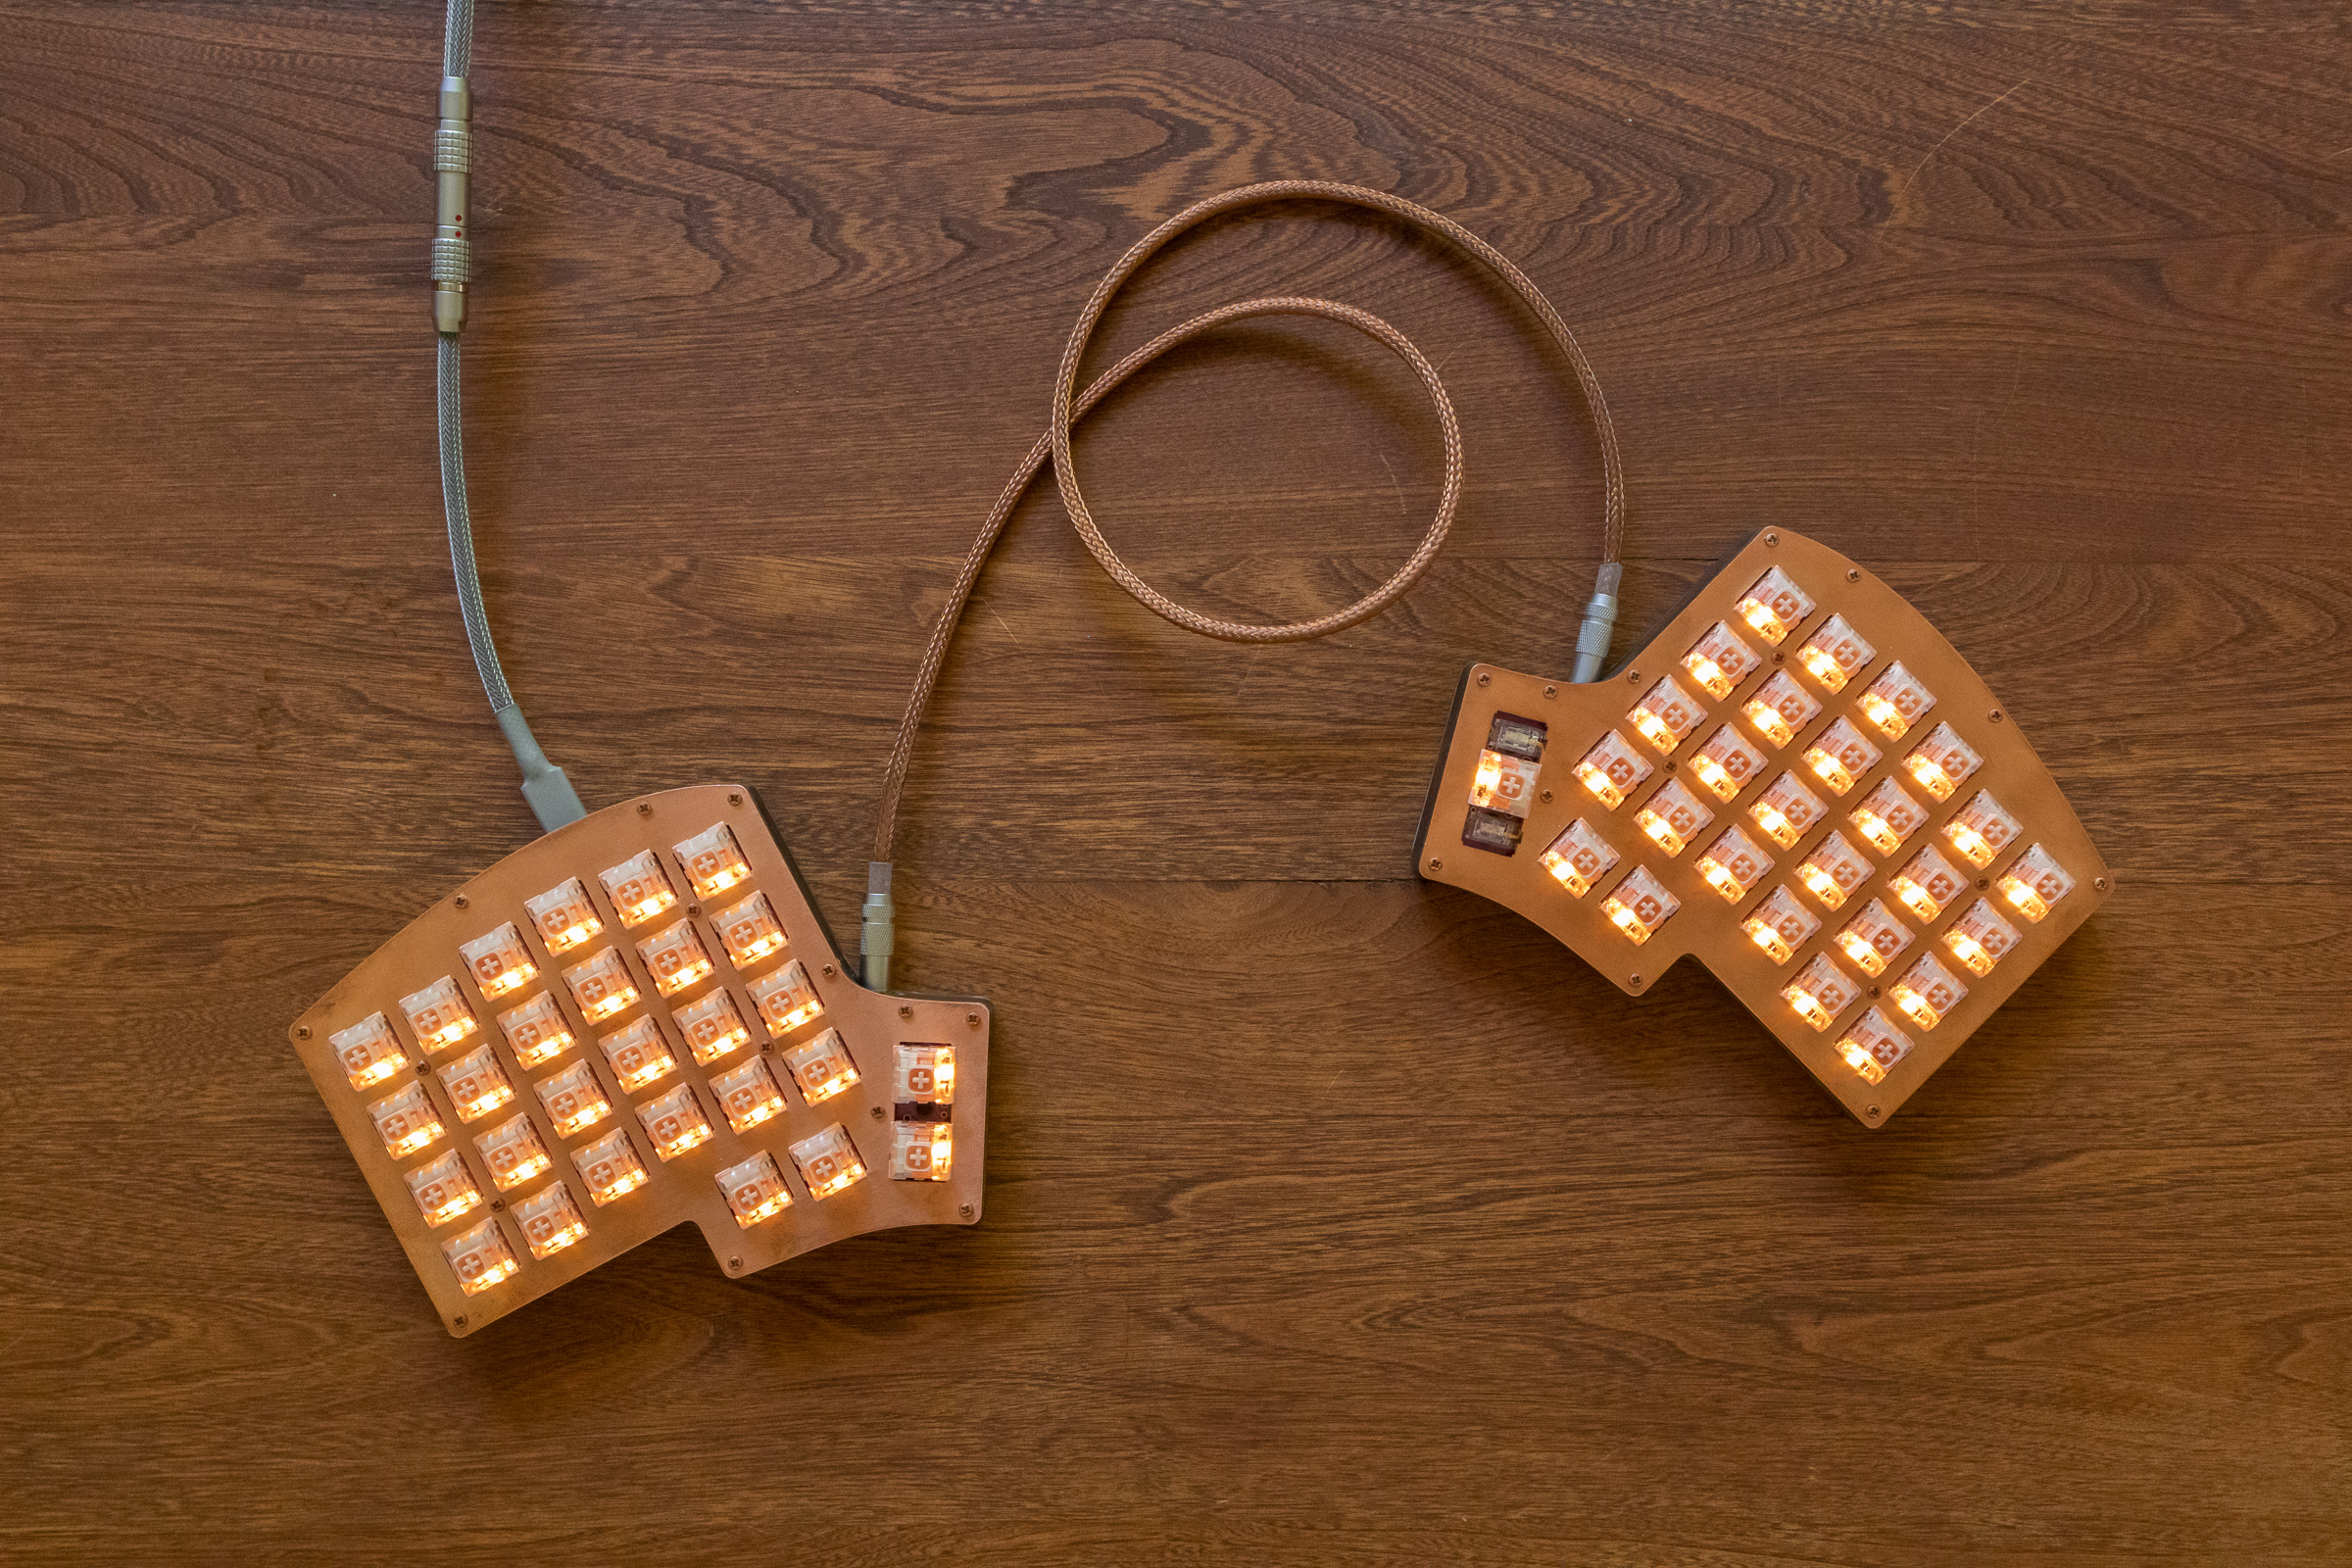
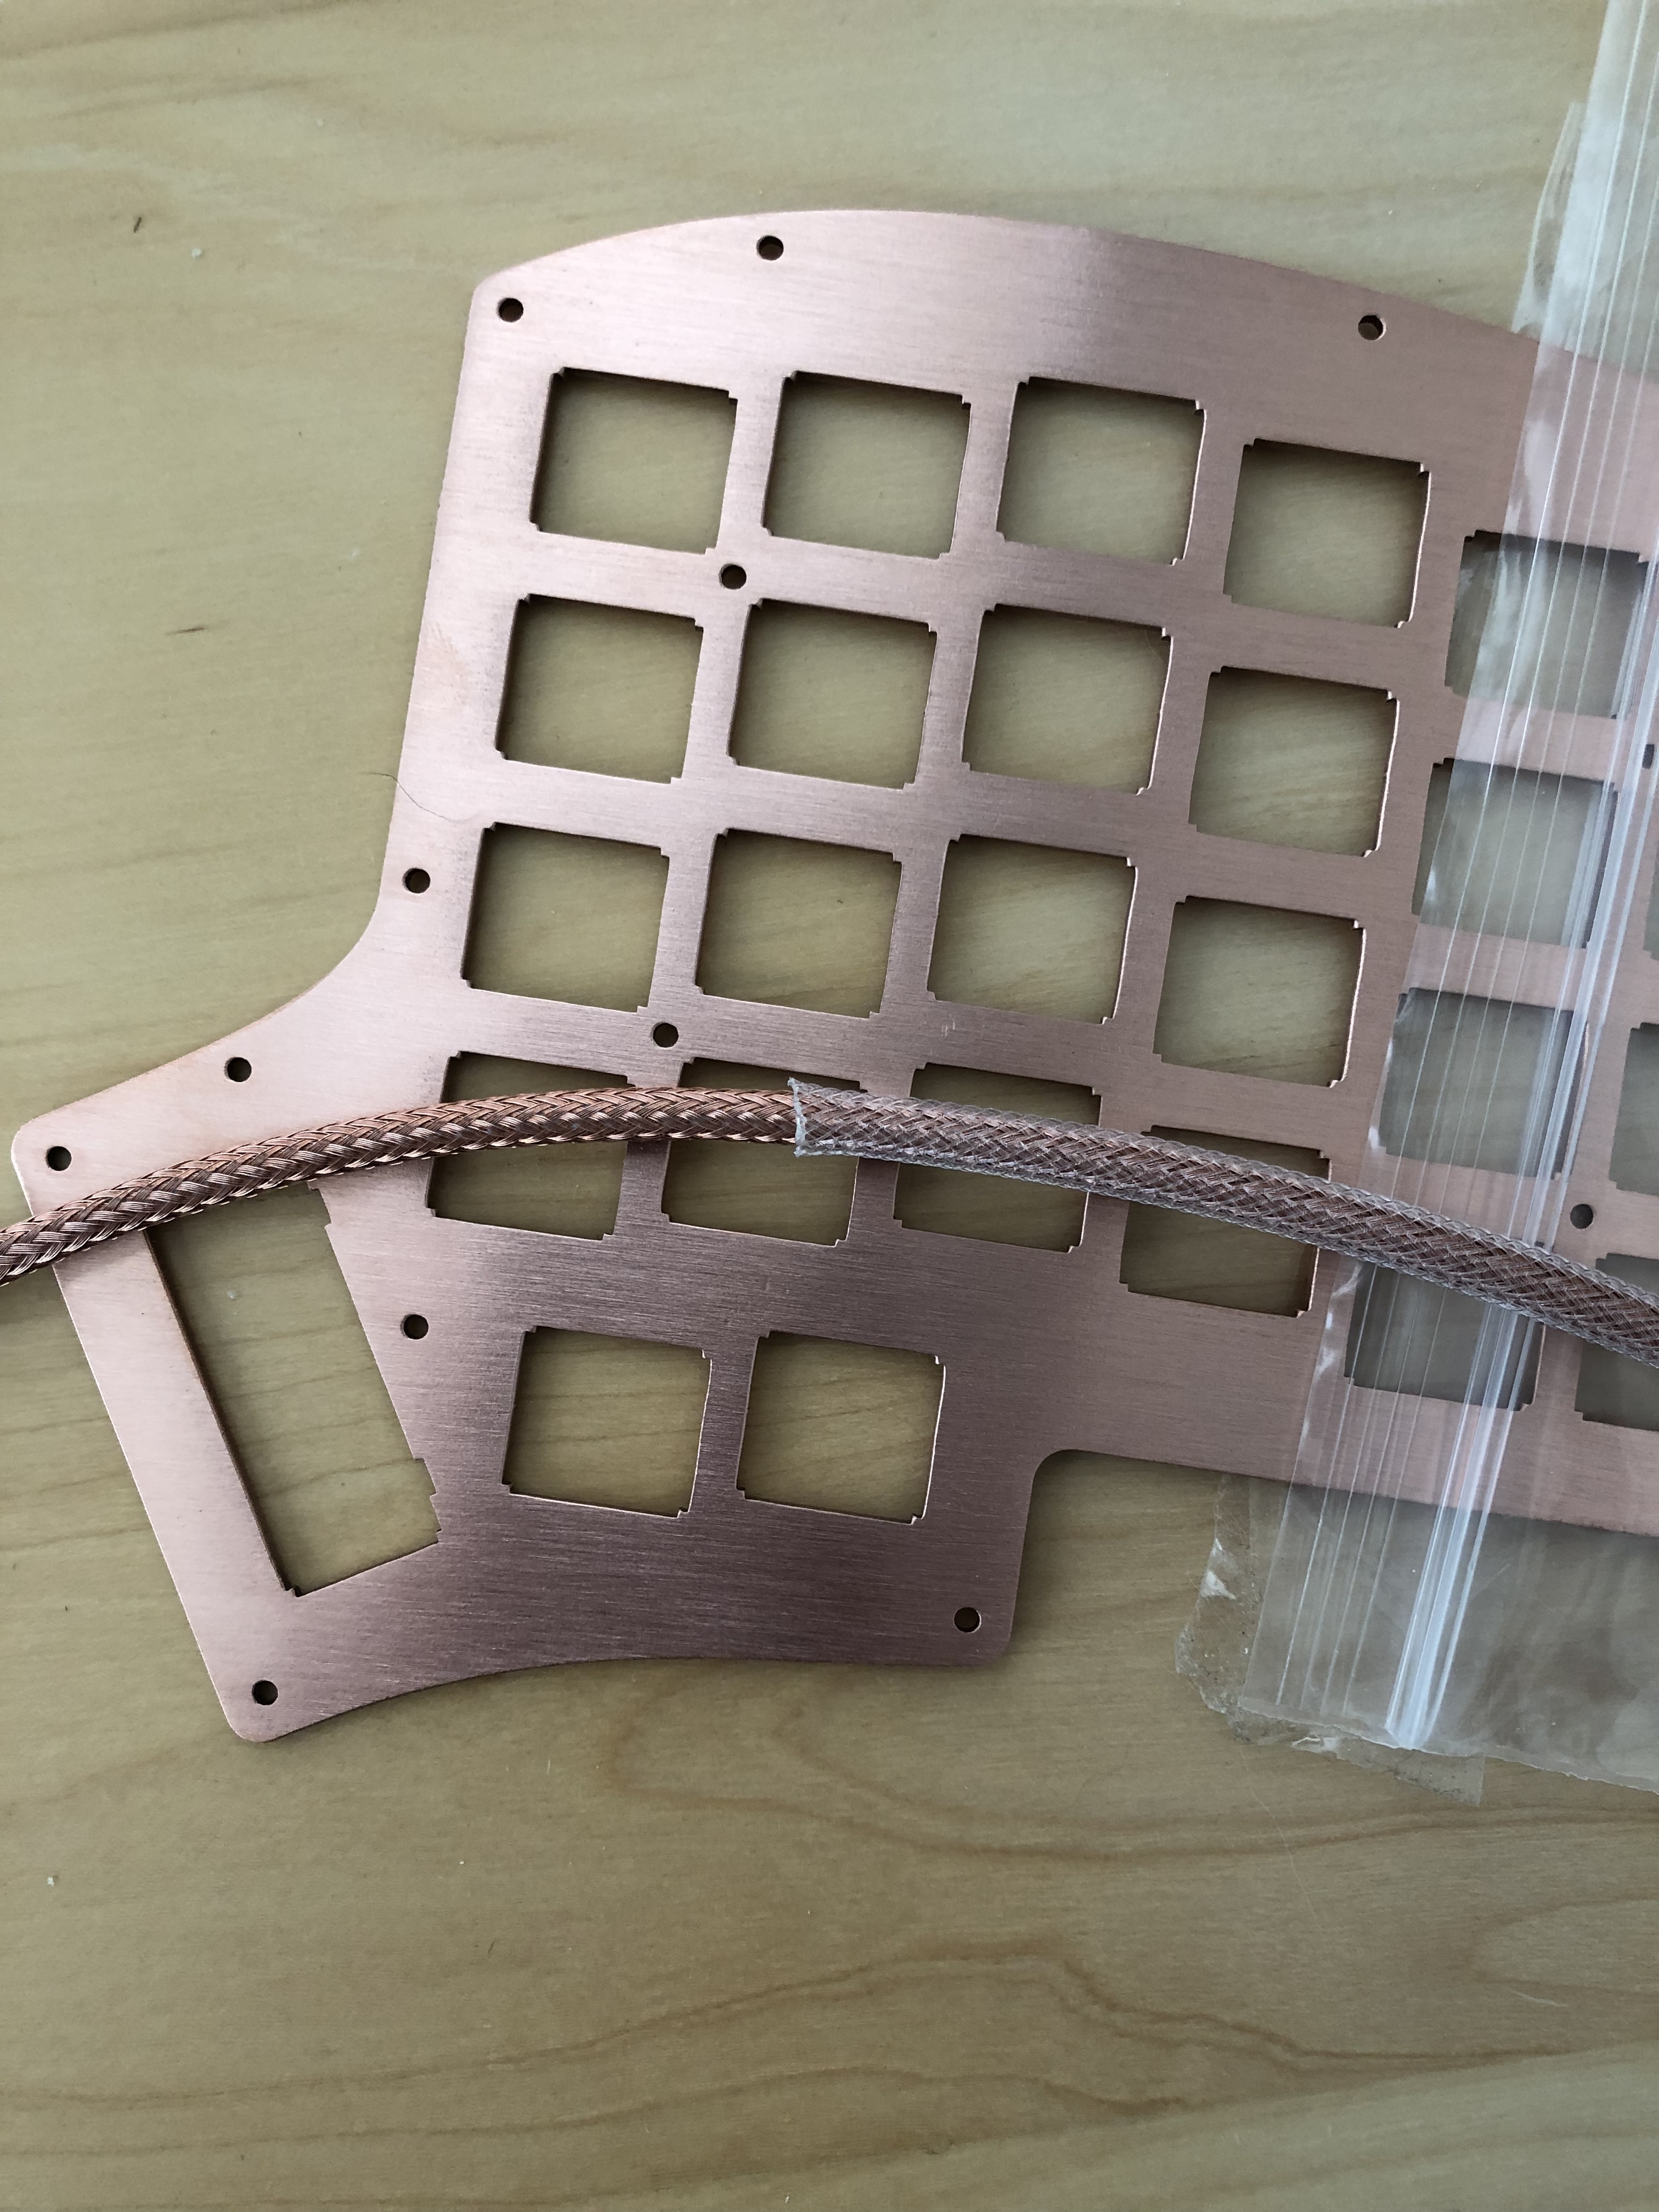
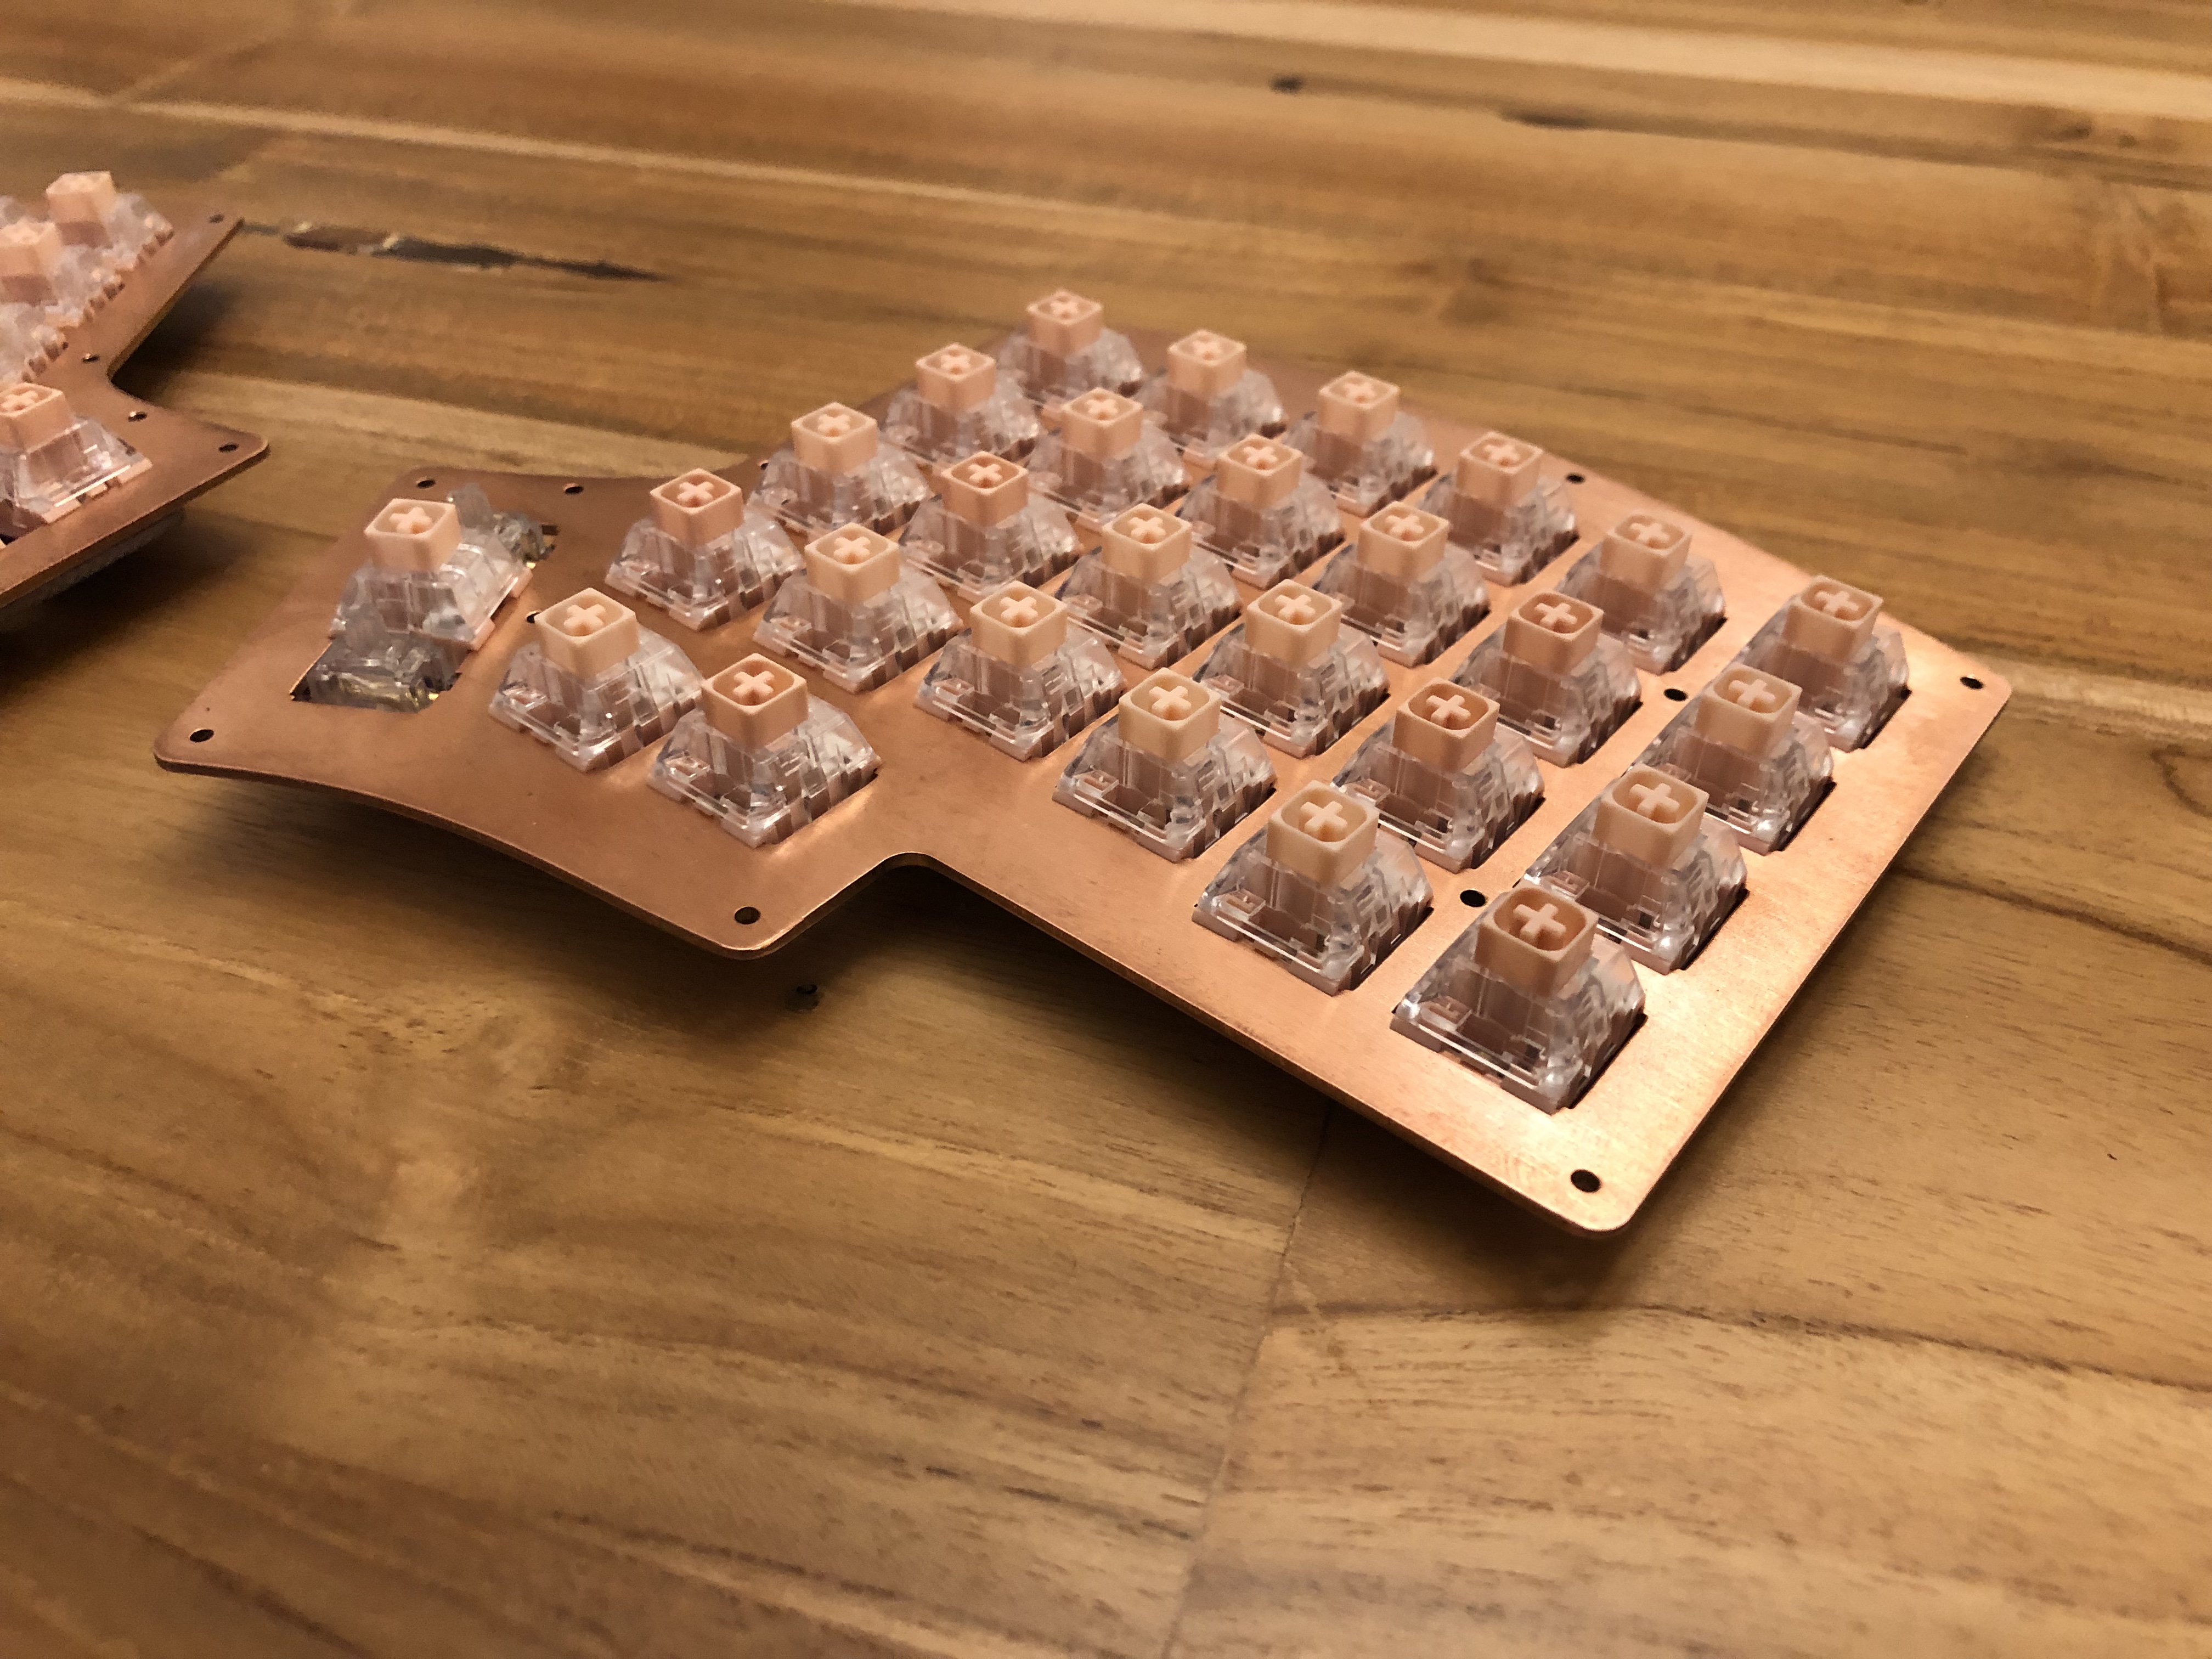
@LaserBoost had been a tremendous presence in our community and does top notch laser cutting in a few materials. I wanted something different than the standard steel or brass and really liked the pink tones of copper. When LaserBoost had a promotion on I sent over the Iris files to be cut and after a few weeks received these beauties.
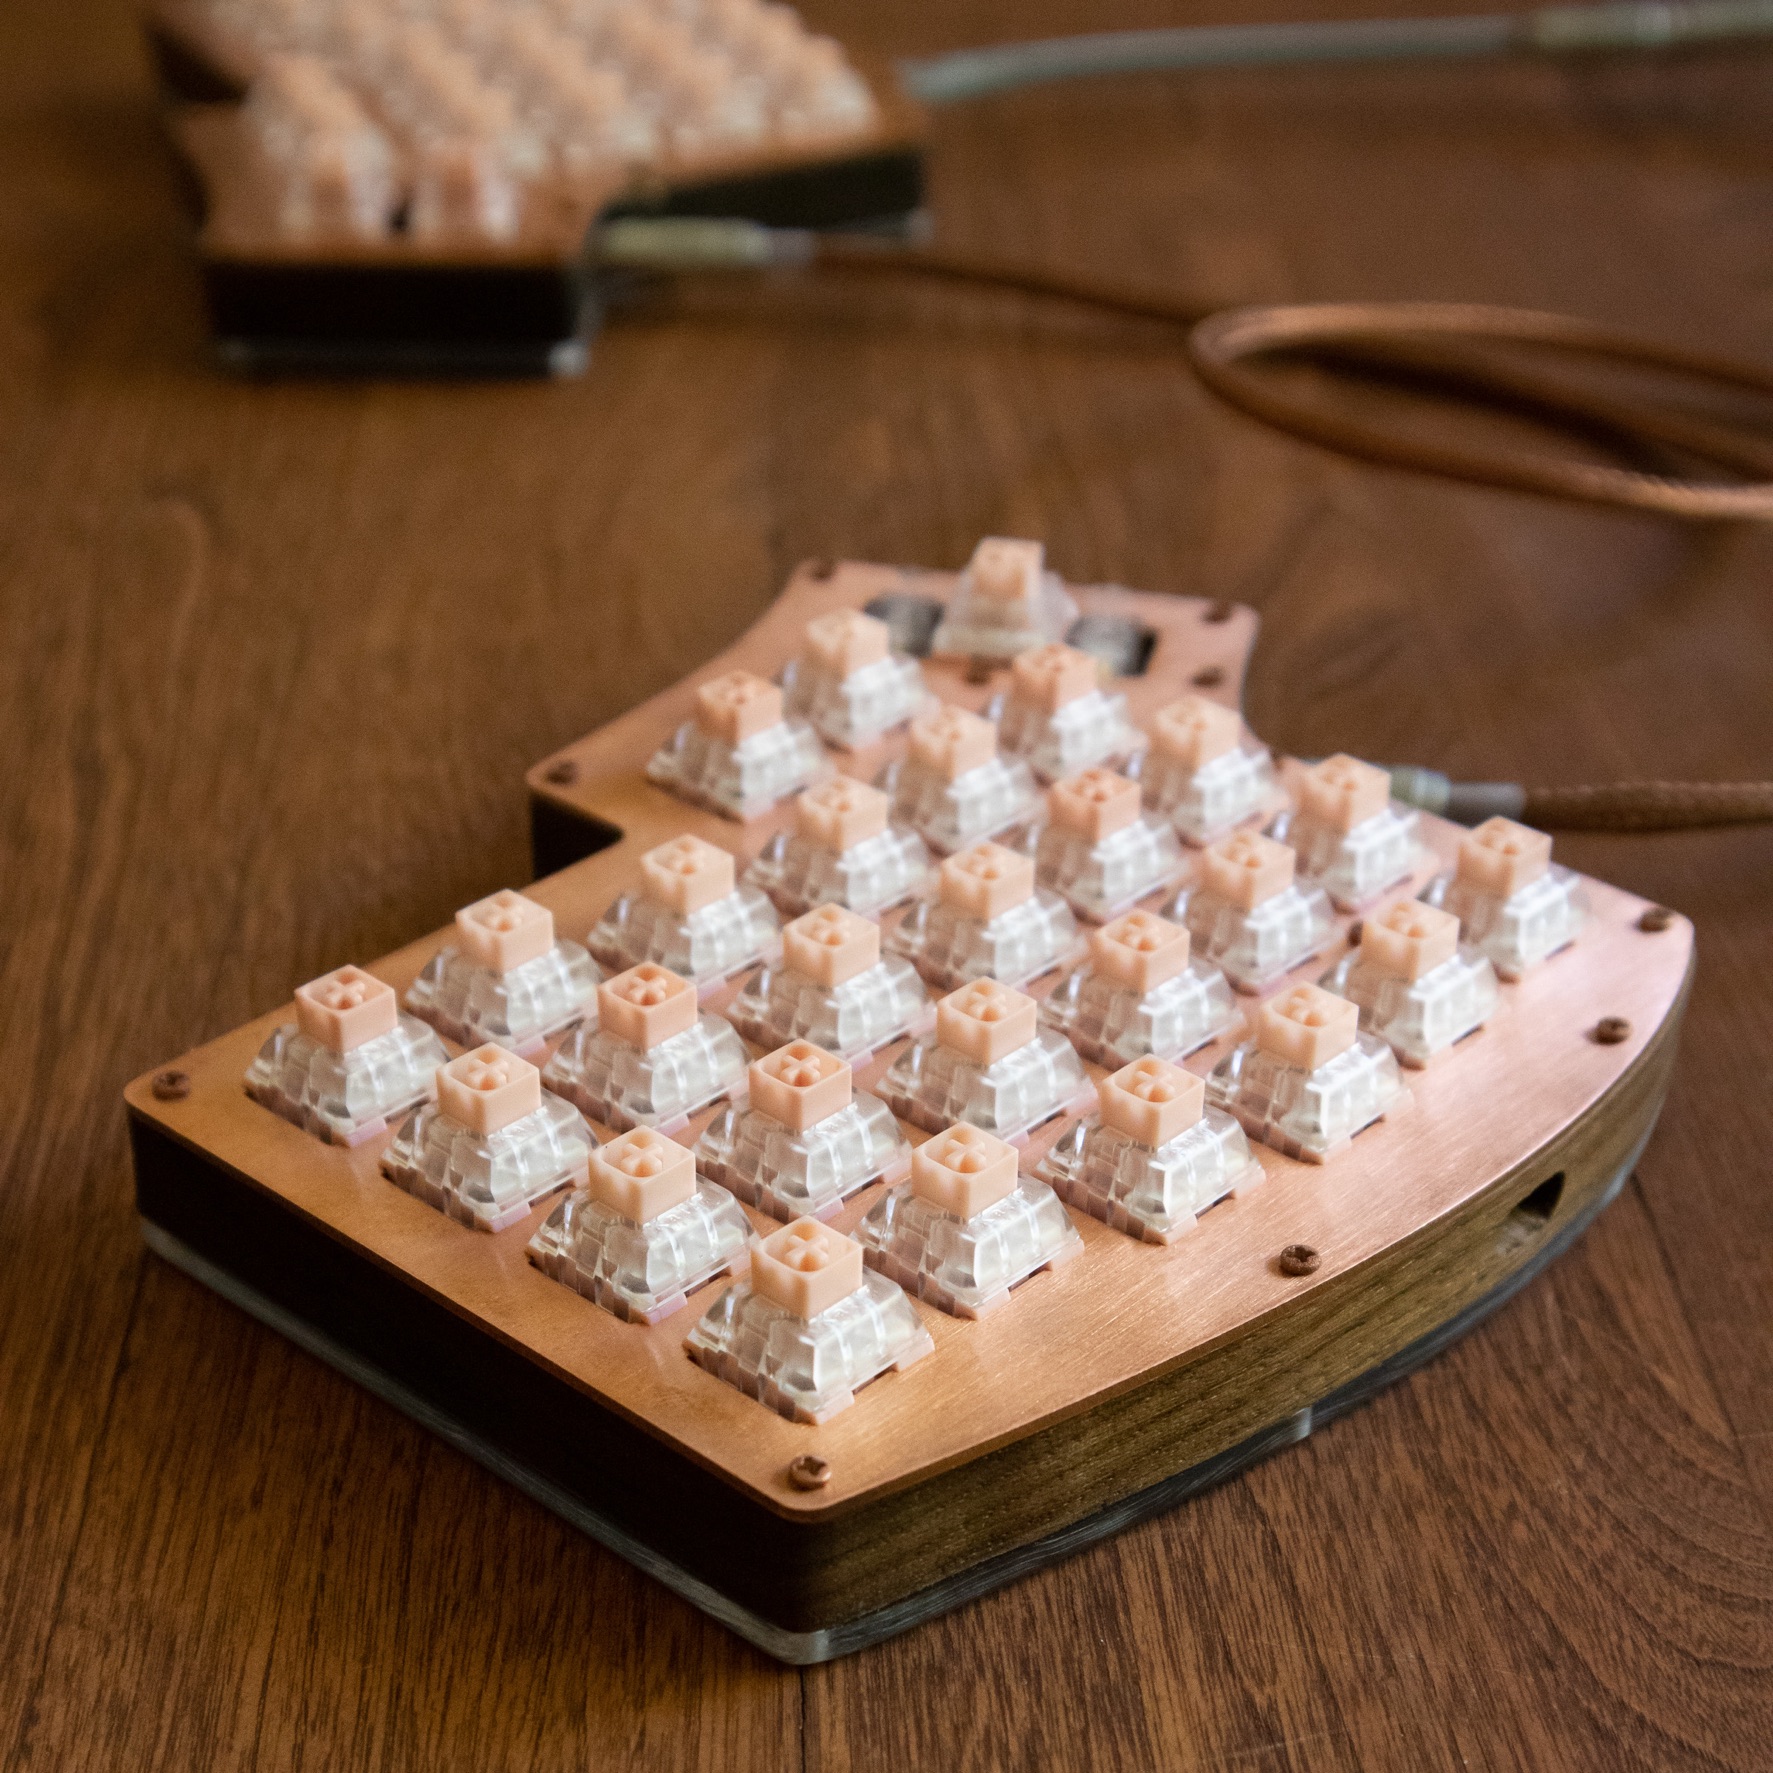
Phase 3 - Novelias
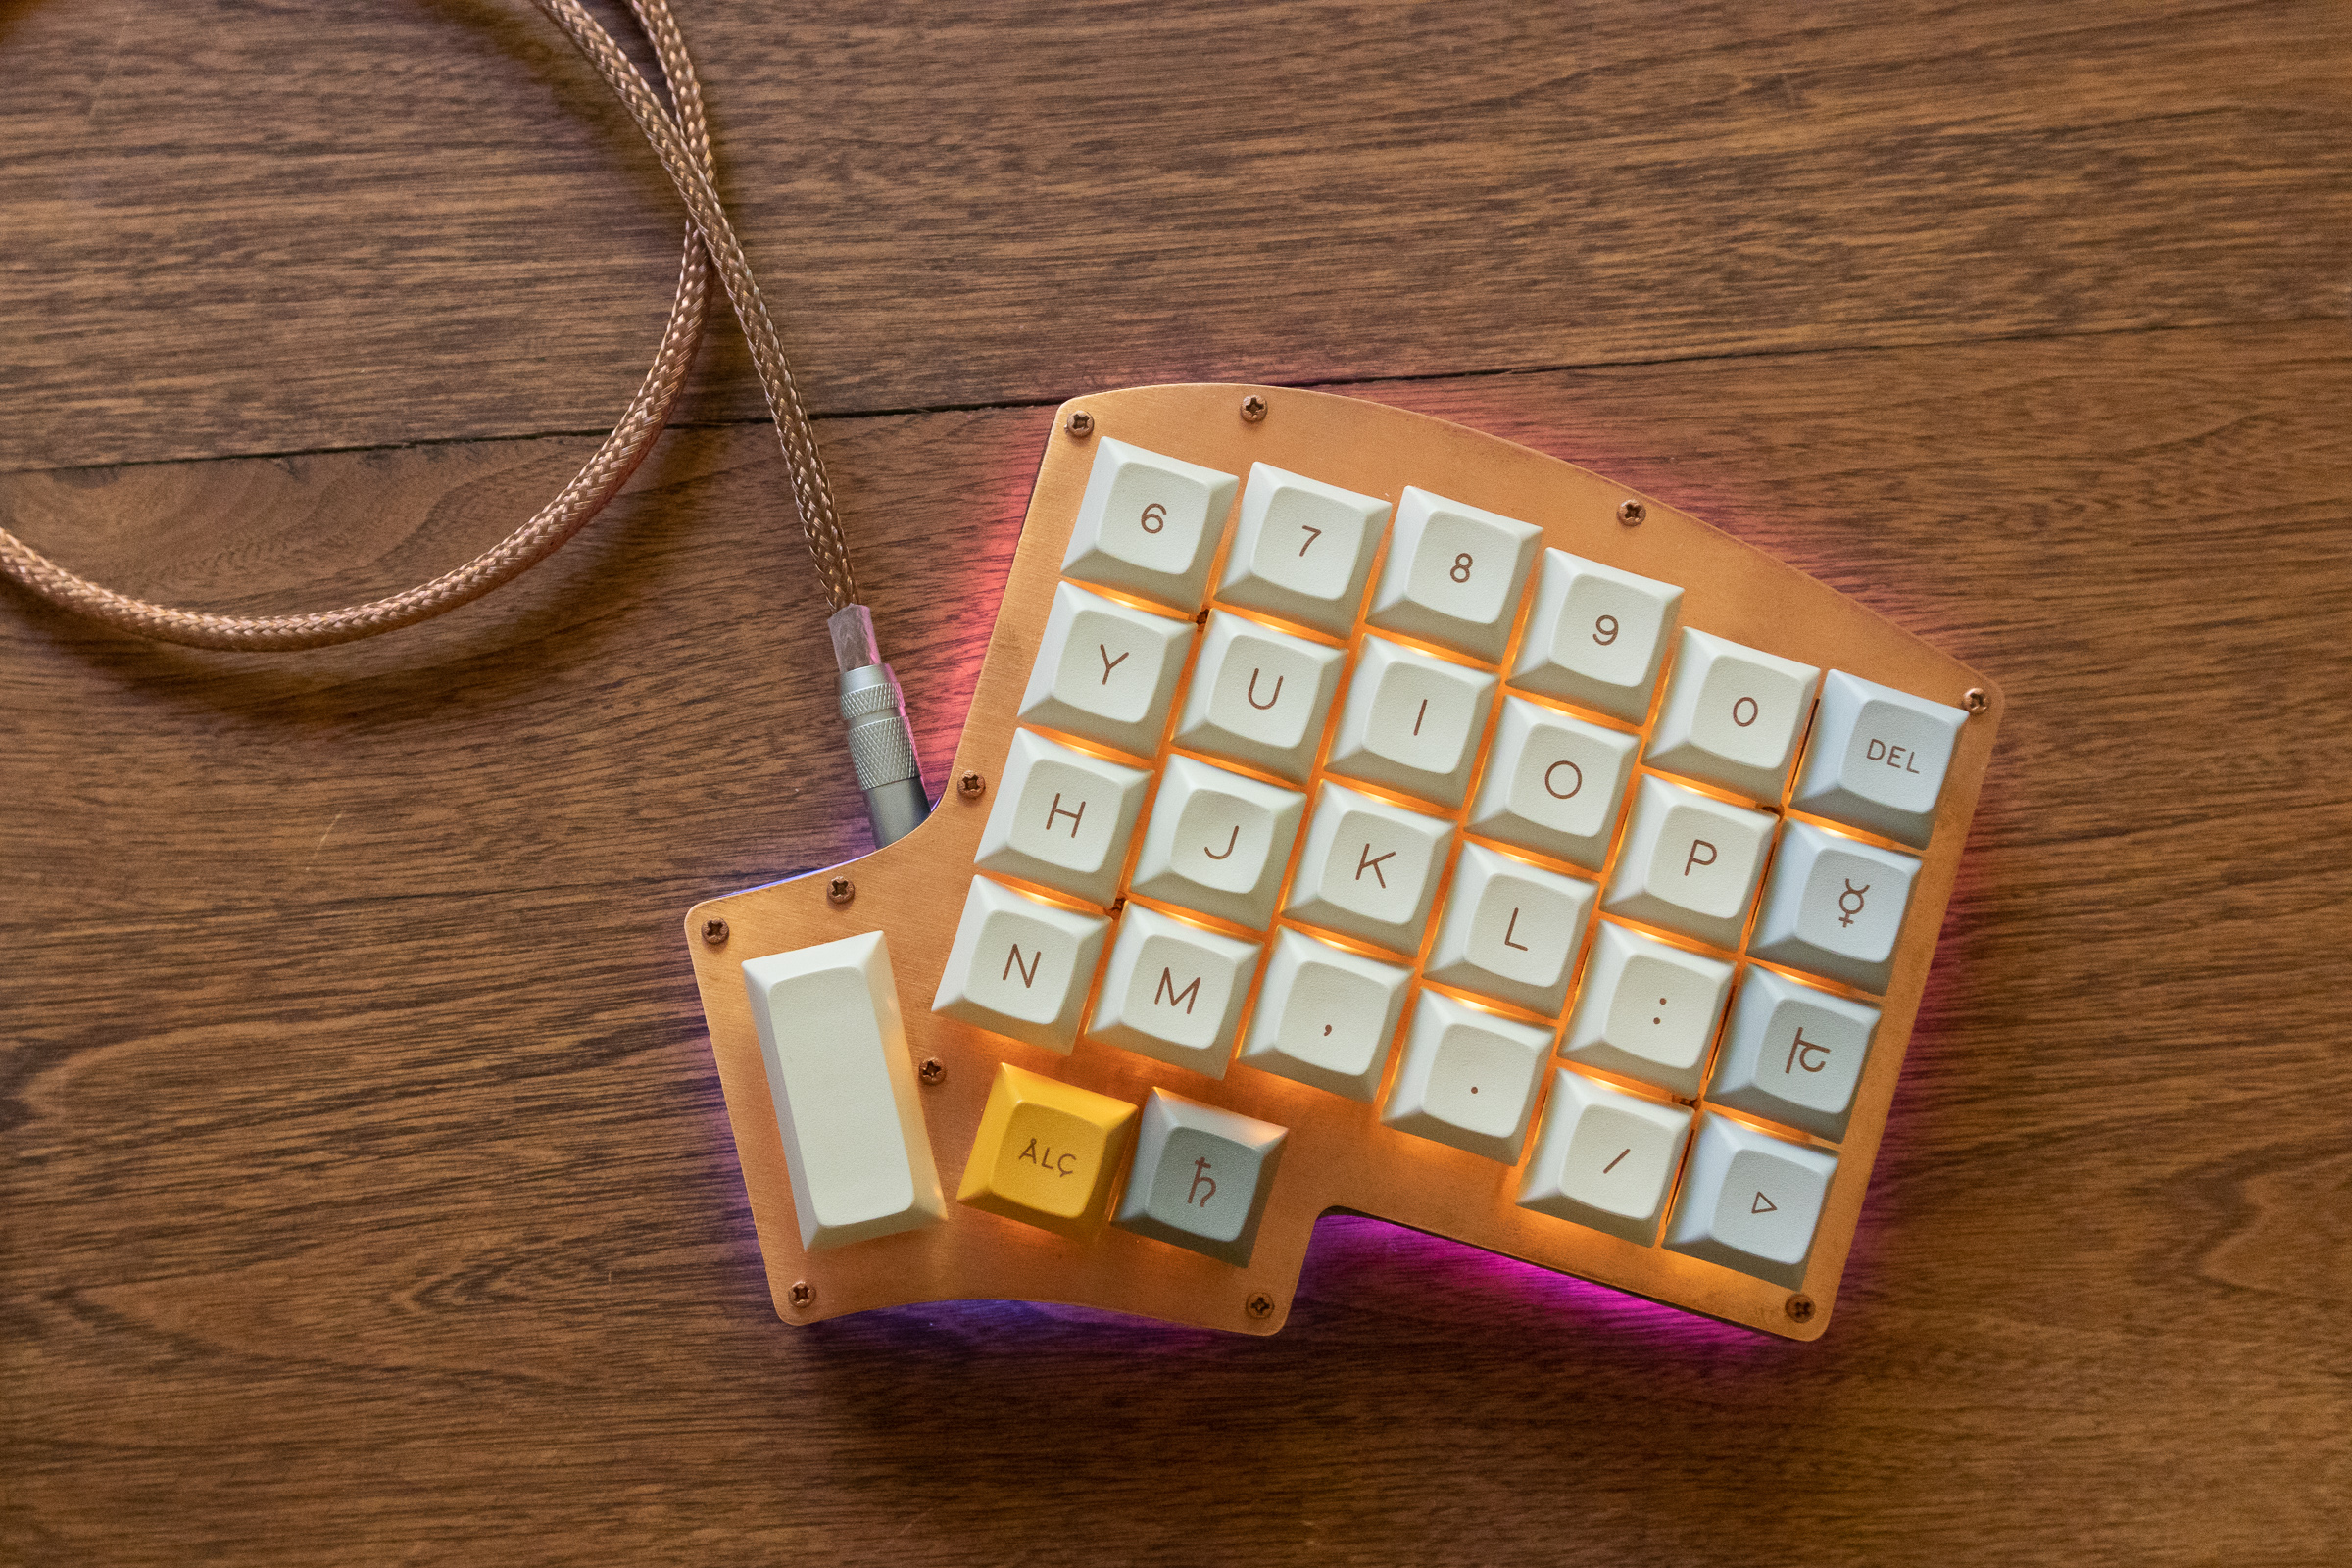
I don’t actually remember the exact timeline anymore so I don’t know if the copper theme or the Novelias came first but they’re a match made in heaven. The blush pink of the Novelias is a perfect complement to the copper plates and warm colours of DSA Alchemy.
Phase 3.5 Copper TRRS Cable
I knew I’d have to connect the two Iris halves and I wanted a nice matching cable. I saw @ChrisSwires copper cable and found out that Zap Cables actually had them. Of course they’re always filled up with orders so I got the DIY kit and put them together. Sorry I don’t have any pics of that process.

Phase 4 - Wild Walnut Woes
This was the most tedious and difficult part of the project. I had done some woodworking in high school and so I wasn’t totally oblivious to the methods available for cutting wood but I didn’t have access to a shop and the intricate nature of this board required fine control over any tool that would cut it.
I picked up a long piece of Walnut from a local lumber and wood store and had a friend plane it in their shop. From there I set out cutting my first draft. I initially thought I’d use my dremel as a sort of jigsaw to cut it but that proved to be inconsistent and to rough. I finished cutting the first draft with a fret saw which, while slower and a lot more physically demanding, was much smoother and allowed for the detail needed. I then used the dremel with the sanding attachment to cleanup the edges and get the mid-piece aligned with the top plate.
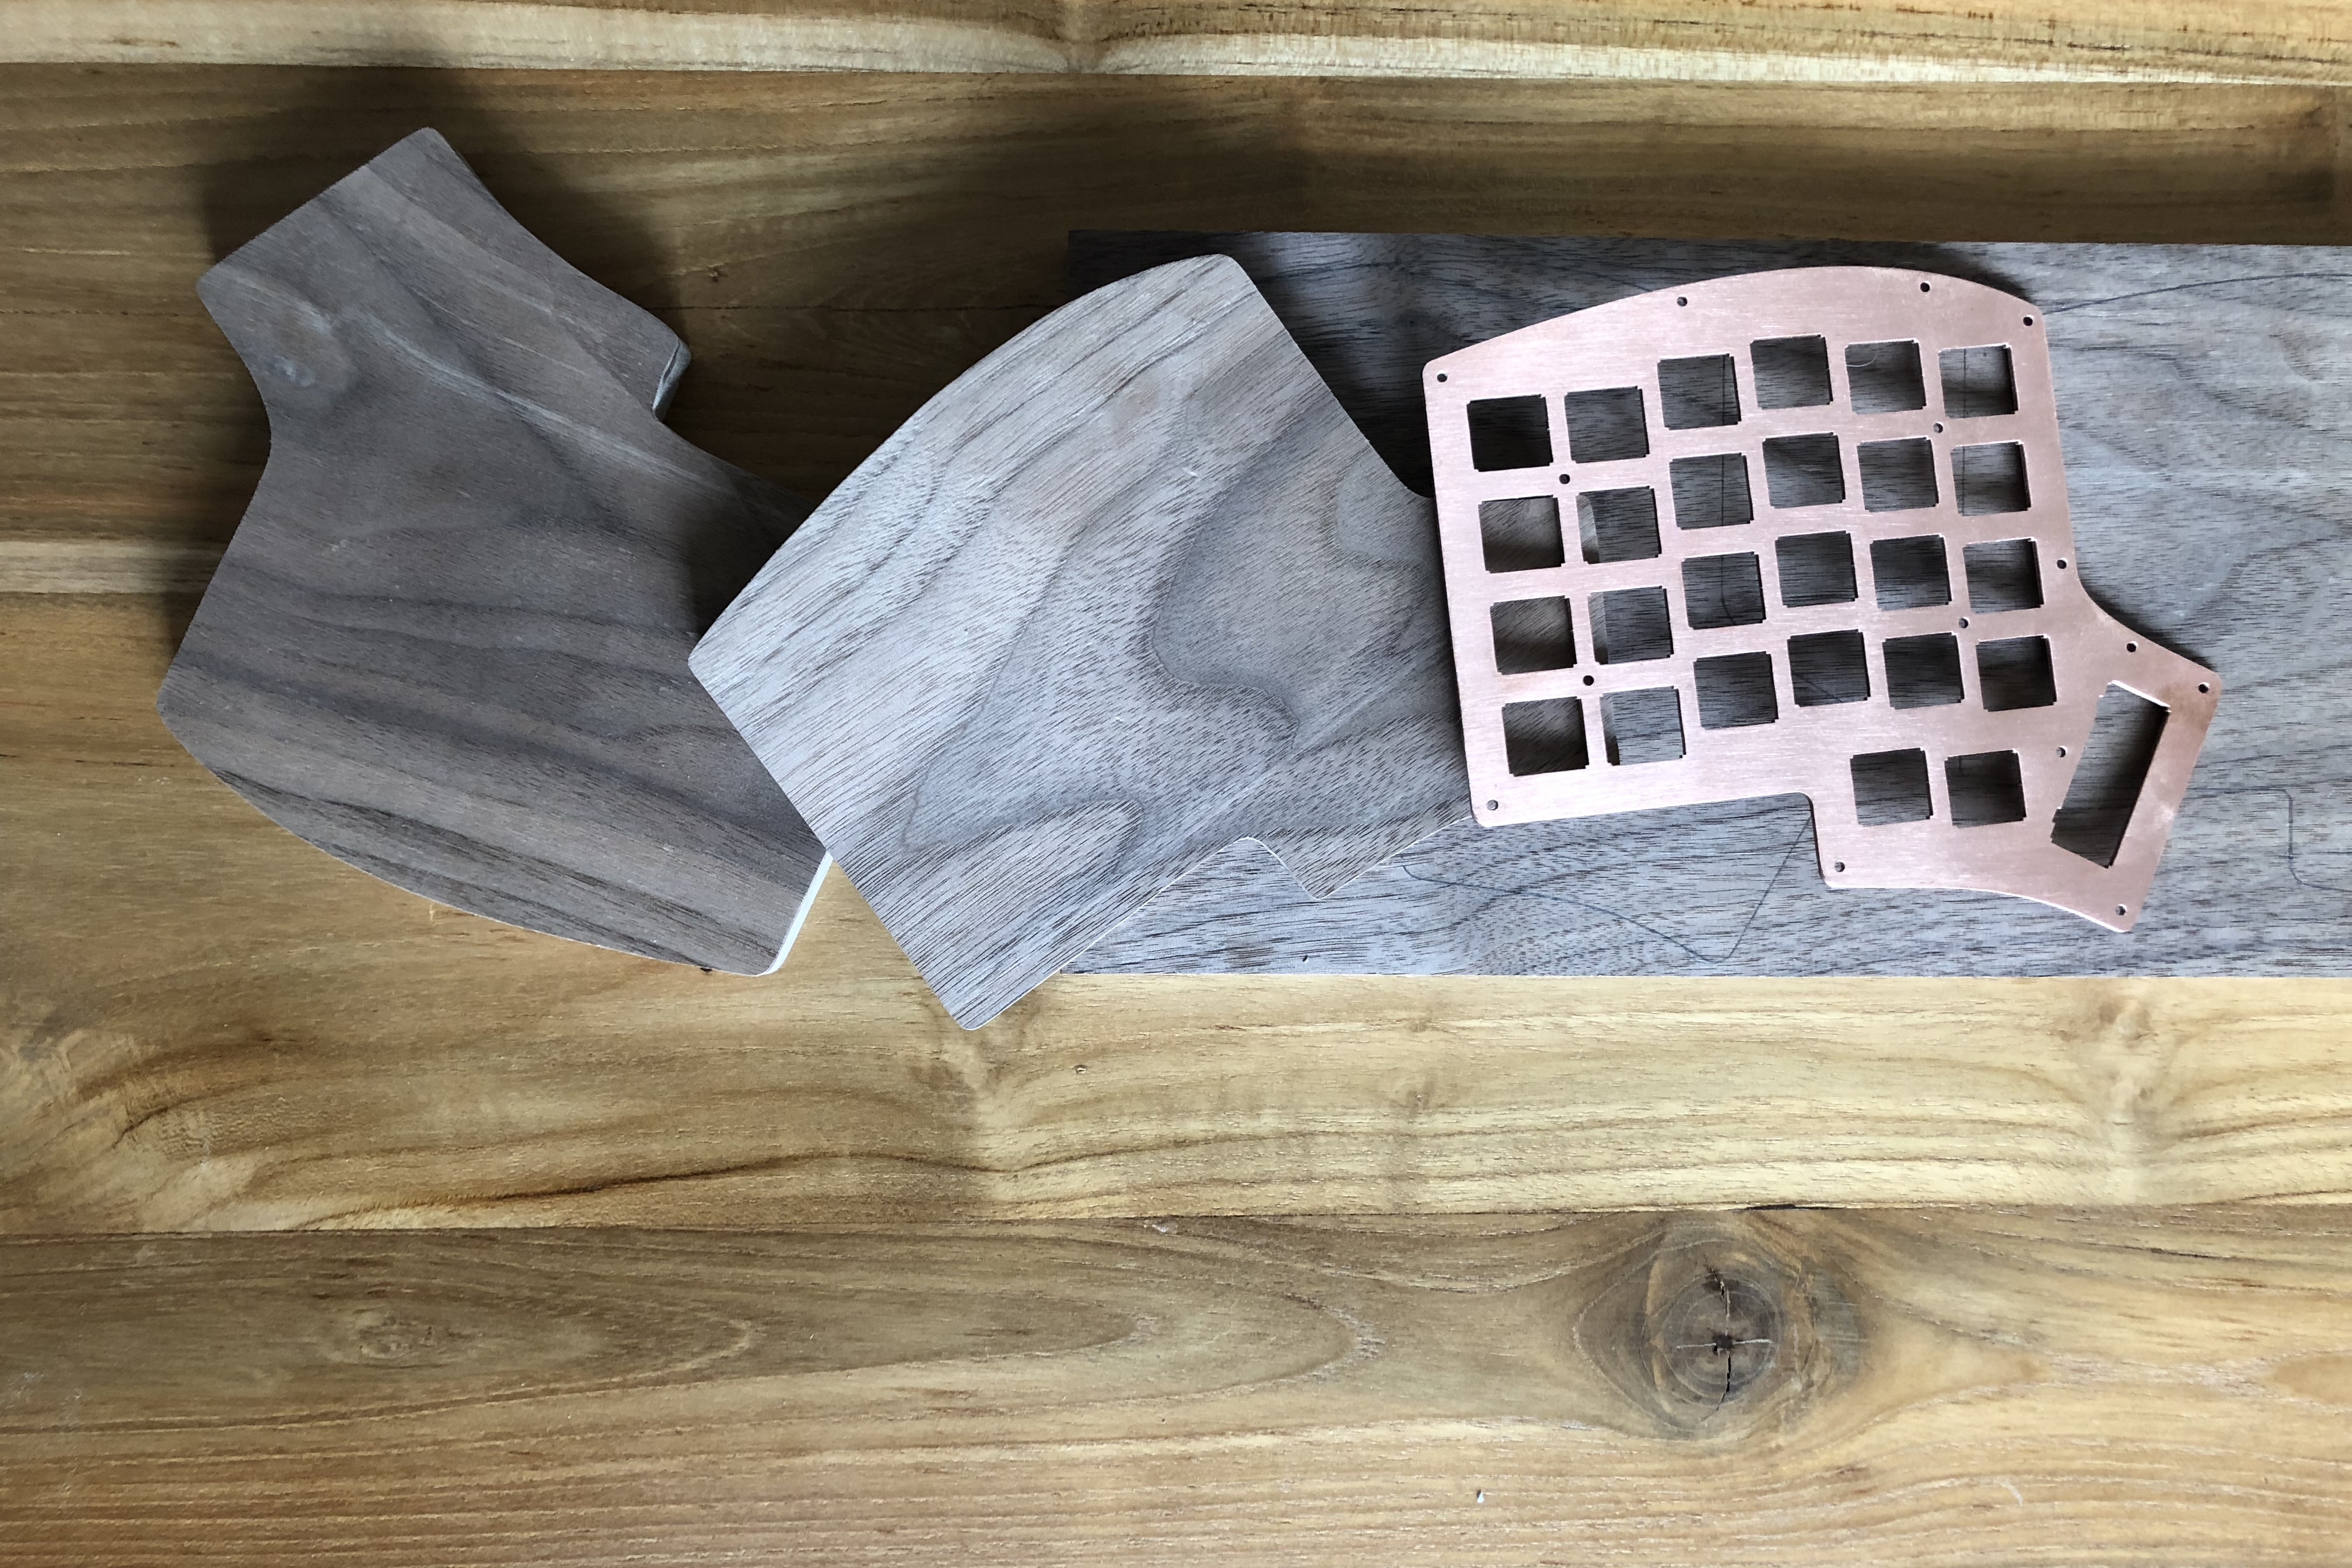
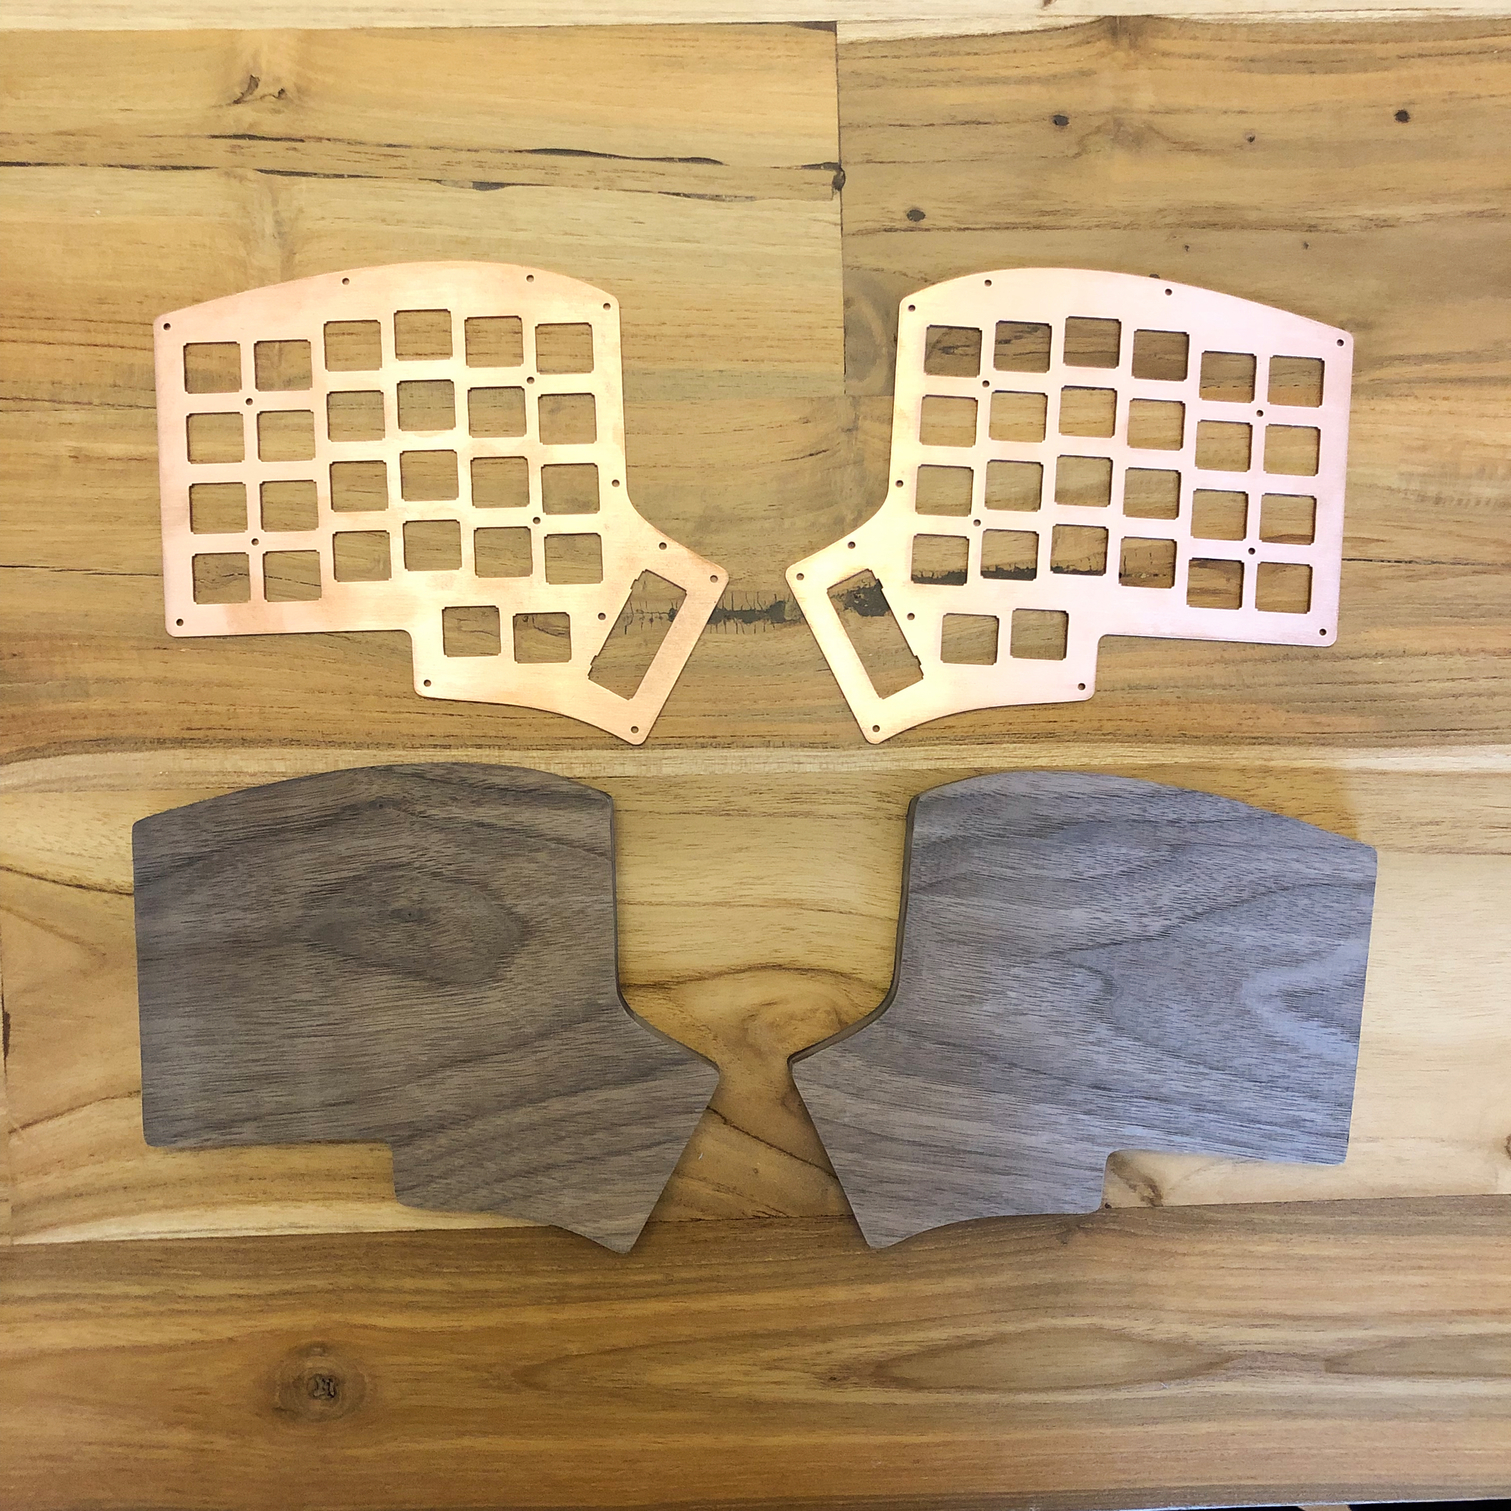
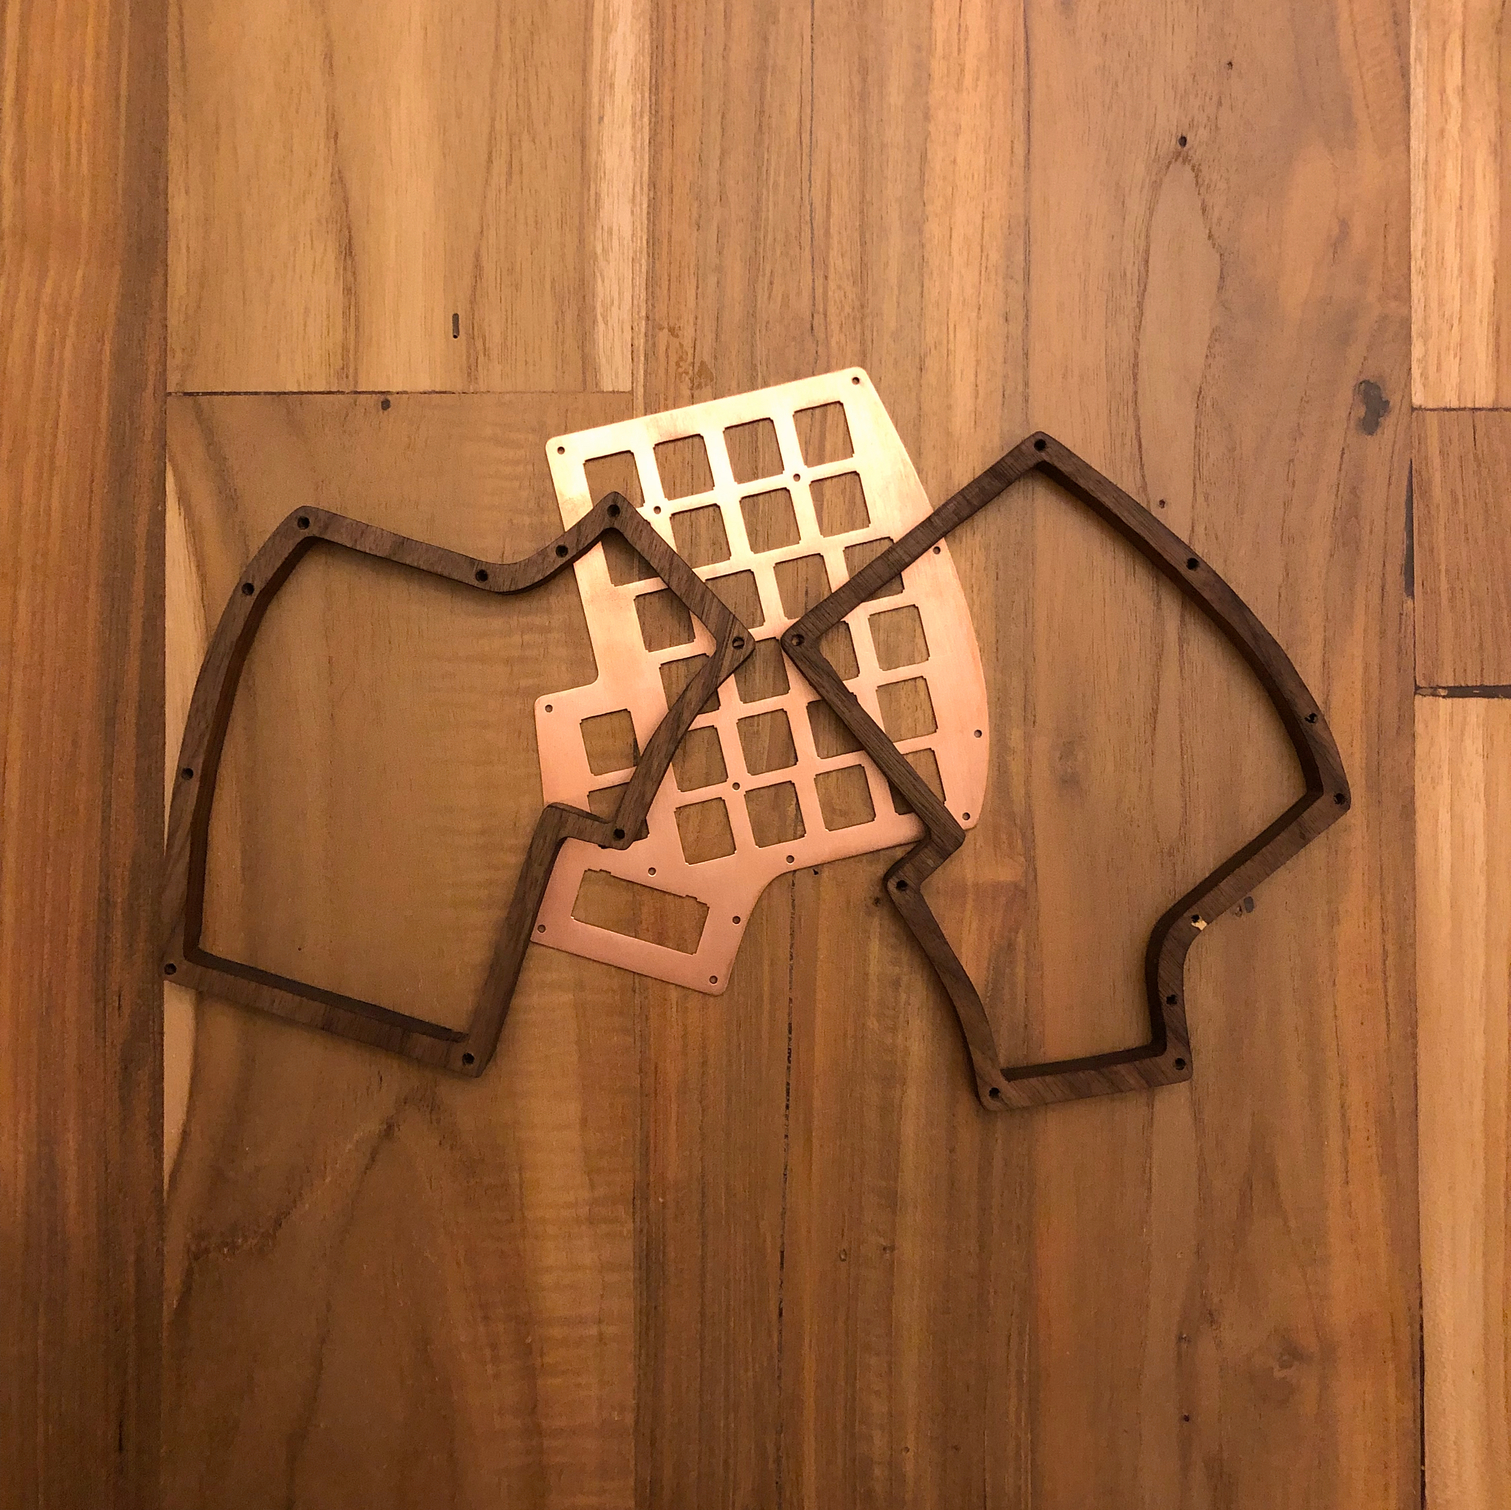
In hindsight I should have probably then cut the holes for the standoffs to connect top and bottom but I cut the inside of the walnut out to allow for the PCB to sit inside. This caused some difficulty later on as the case walls were pretty thin and I had to drill 3.5mm holes to accommodate the standoffs. Let’s just say it was a good thing I had the draft pieces to work with before I cut out the final version.
The final version went fairly smoothly as I had learned the best techniques to get what I wanted from the first draft. I left the USB and TRRS cutouts until I received the PCB.
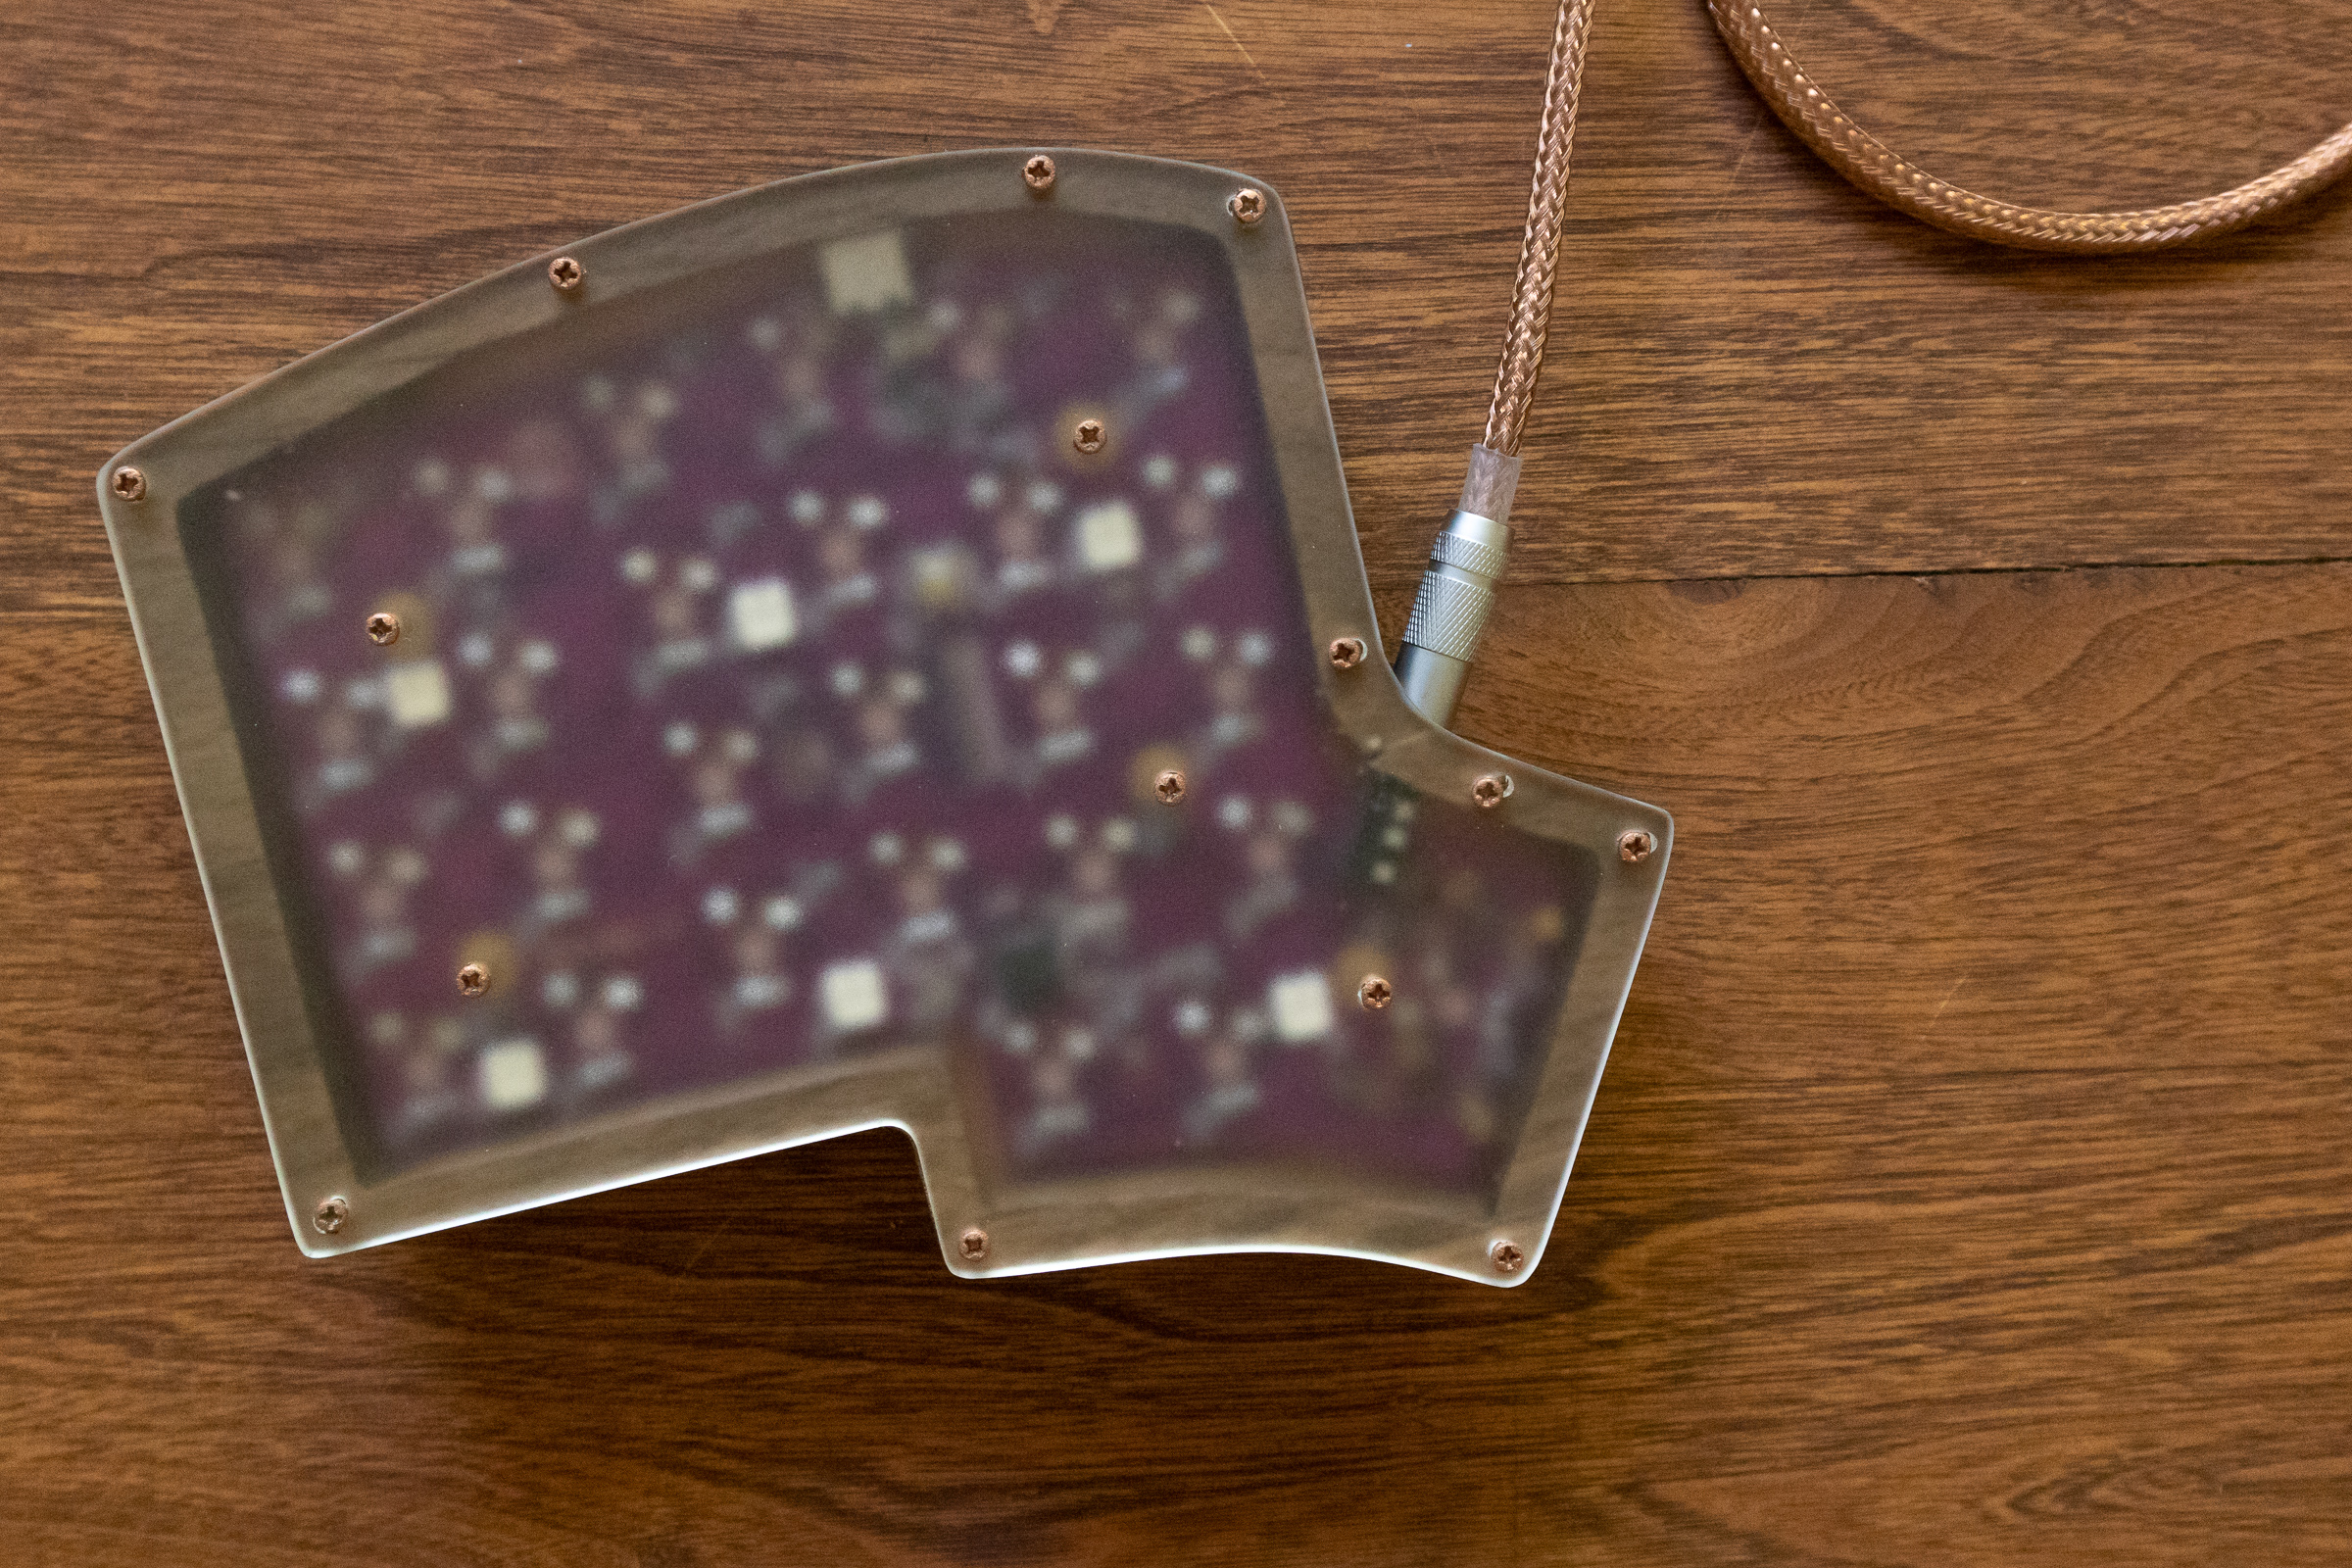
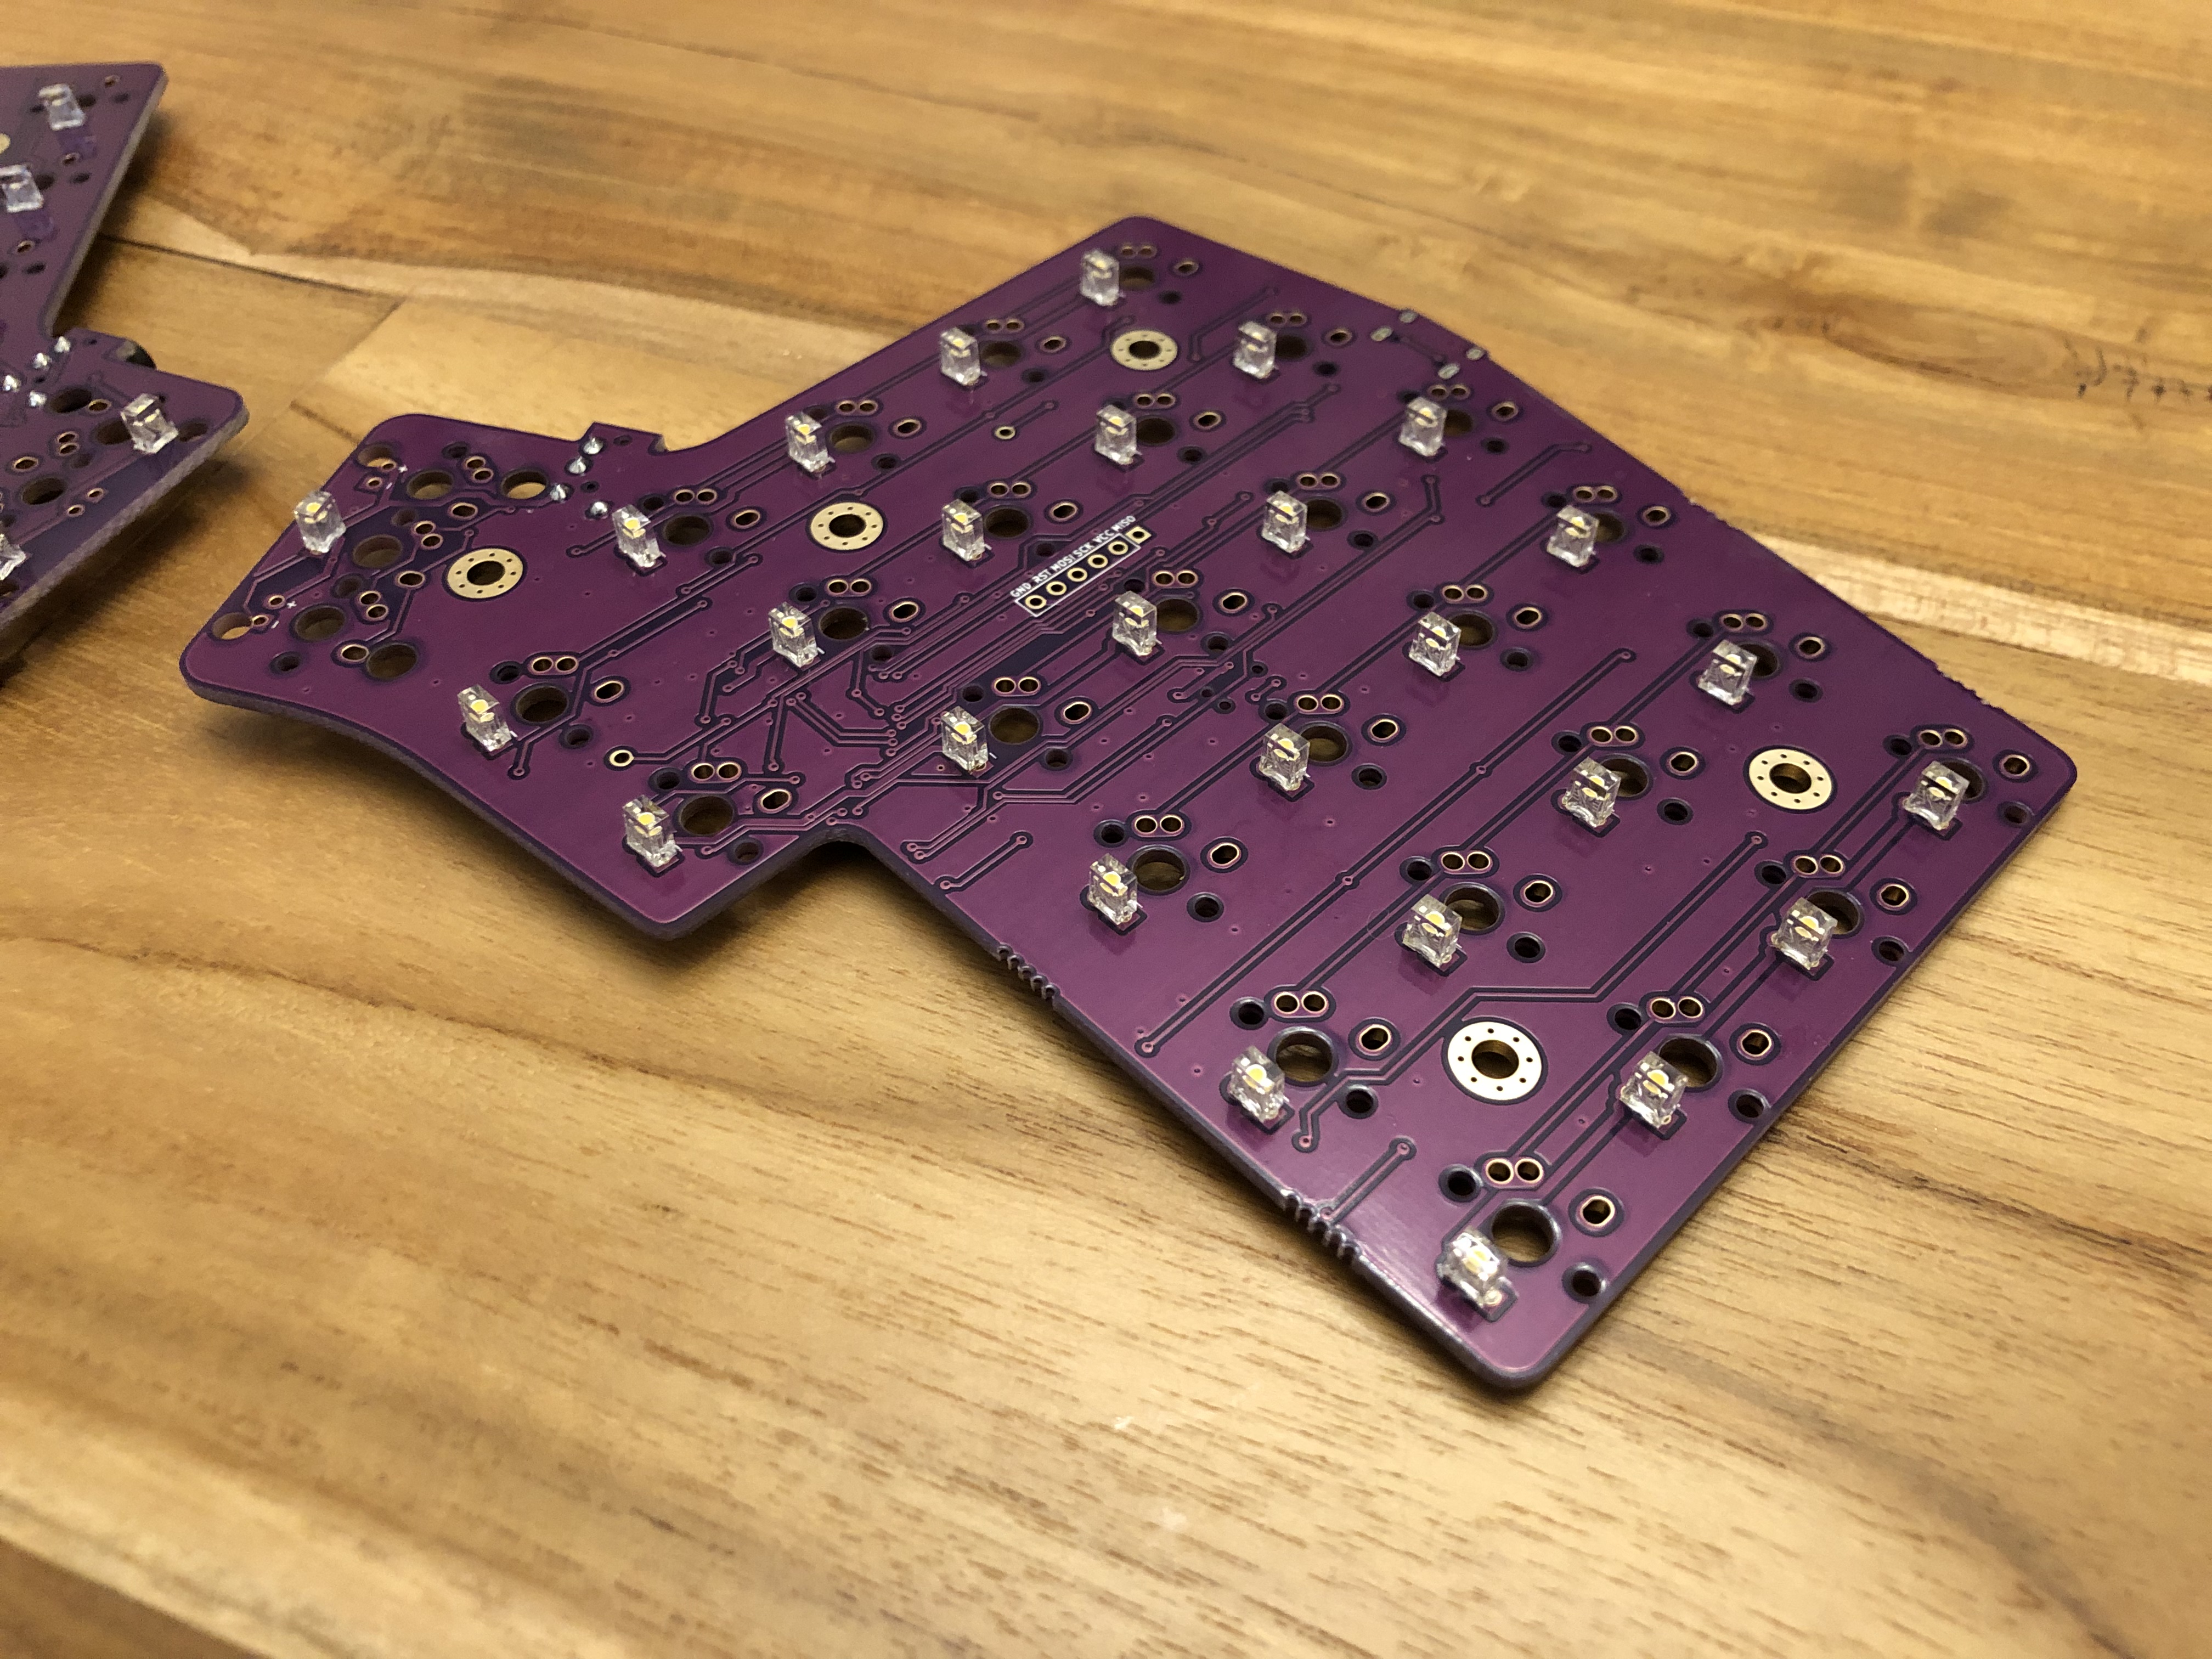
Phase 5 - PCB and Acrylic base plate
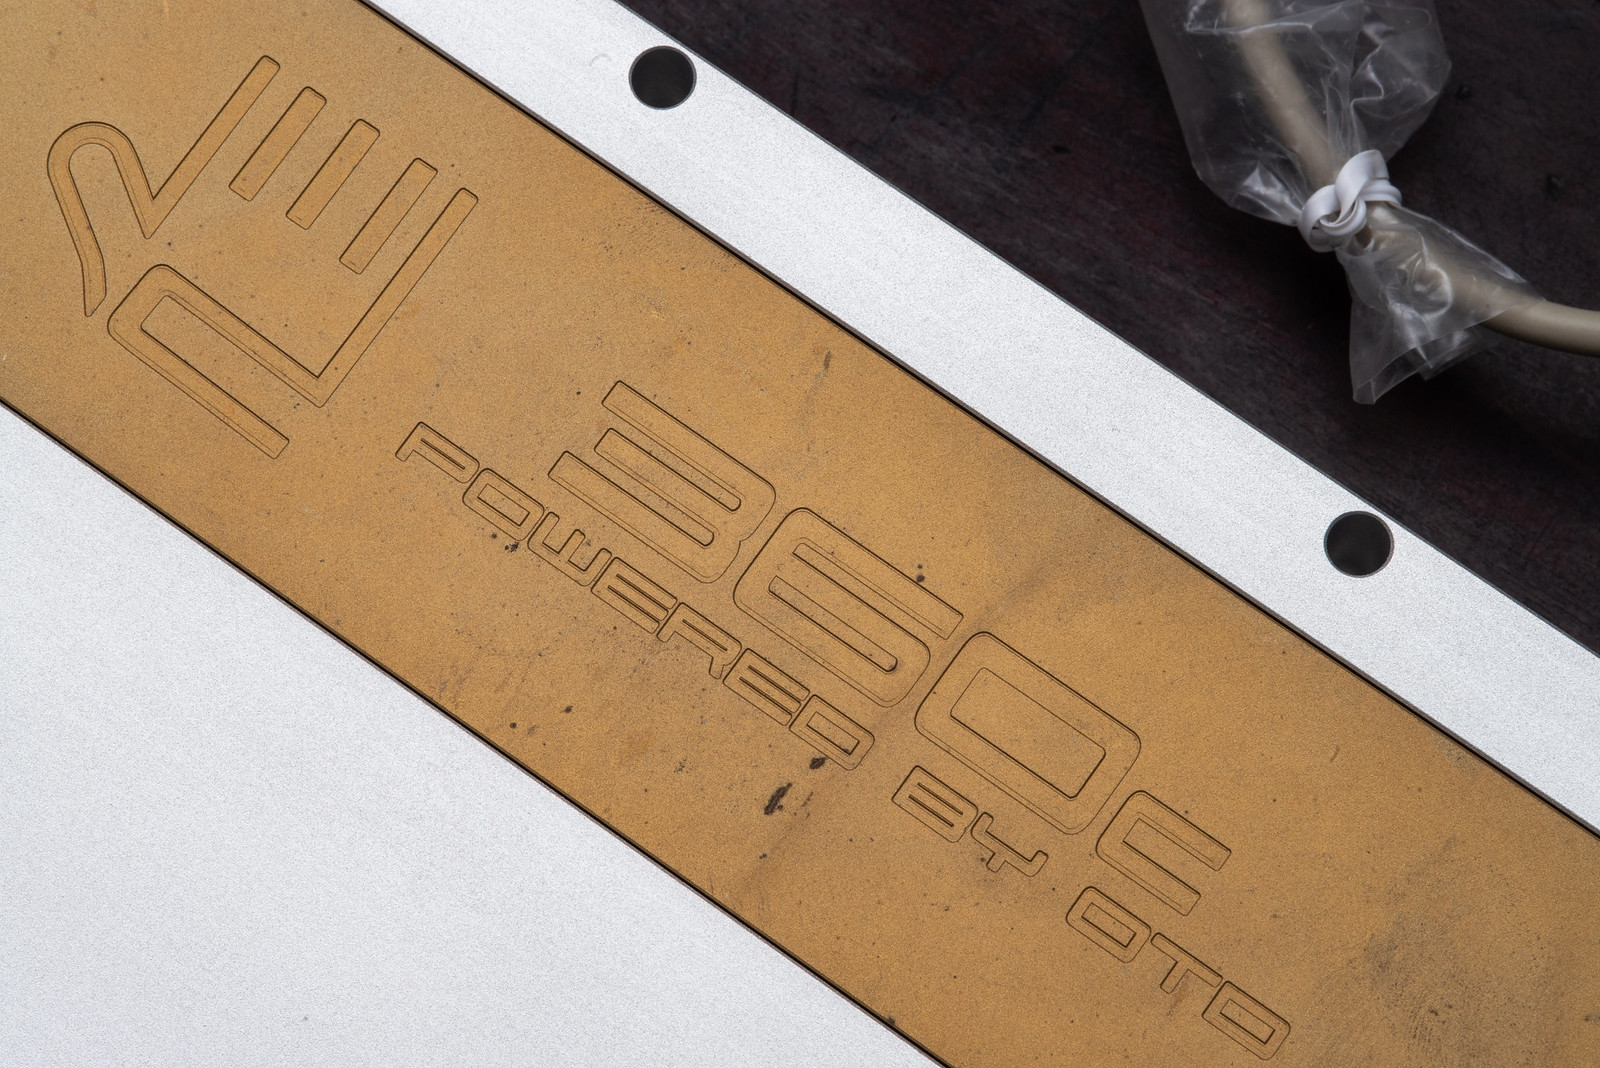
I waited for the Iris V3. And then I waited some more. If that wasn’t enough waiting, I also waited a bit more. Then it was finally released! I really wanted to have the PCB with USB-C and I liked the idea of the underglow being presoldered onto the board. The V3 is beautiful and better yet, is on VIA!
I also picked up some B-stock frosted acrylic base plates from Keeb.io along with standoffs and screws.
With the PCB in hand I could now properly cutout the rest of the walnut case and align the cable openings.
The acrylic plate needed some screw hole adjustments but I was able to drill them out a bit wider to line up. Easy.


Lastly, I didn’t want the silver screws to stand out from the copper plate. I had a hard time finding any M2 copper screws let alone any copper screws at all. I then had the genius idea to spray paint them. Hopped down to Michaels and got a nice copper spray and a couple of coats later had some nicely matching screws.
The Final Lap
Finishing the board was as simple as any other. Test the PCB, soldered in LEDs (I don’t often do this but I wanted to add some extra warmth by using warm white LEDs), lube and place stabilizer, and then solder the switches through the plate. Screw in standoffs with walnut mid-piece and then attach and screw in acrylic base plate. Done.
It was a long journey but I can finally say I have an ortholinear split keyboard and I suck at typing on it! ![]()
24 Likes
I love this build log! In particular, I love that you worried about the screw color, and I love the woodworking even more. You’re inspiring me to revisit my high school woodshop days…
2 Likes
Thank you! It means a lot because you inspired me to be more mindful of recording the process and creating this log.
2 Likes

Foxlab really does not disappoint, do they? That’s beautiful!
Thanks! It took some work but in the end it turned out the way I hoped
1 Like

22 Likes
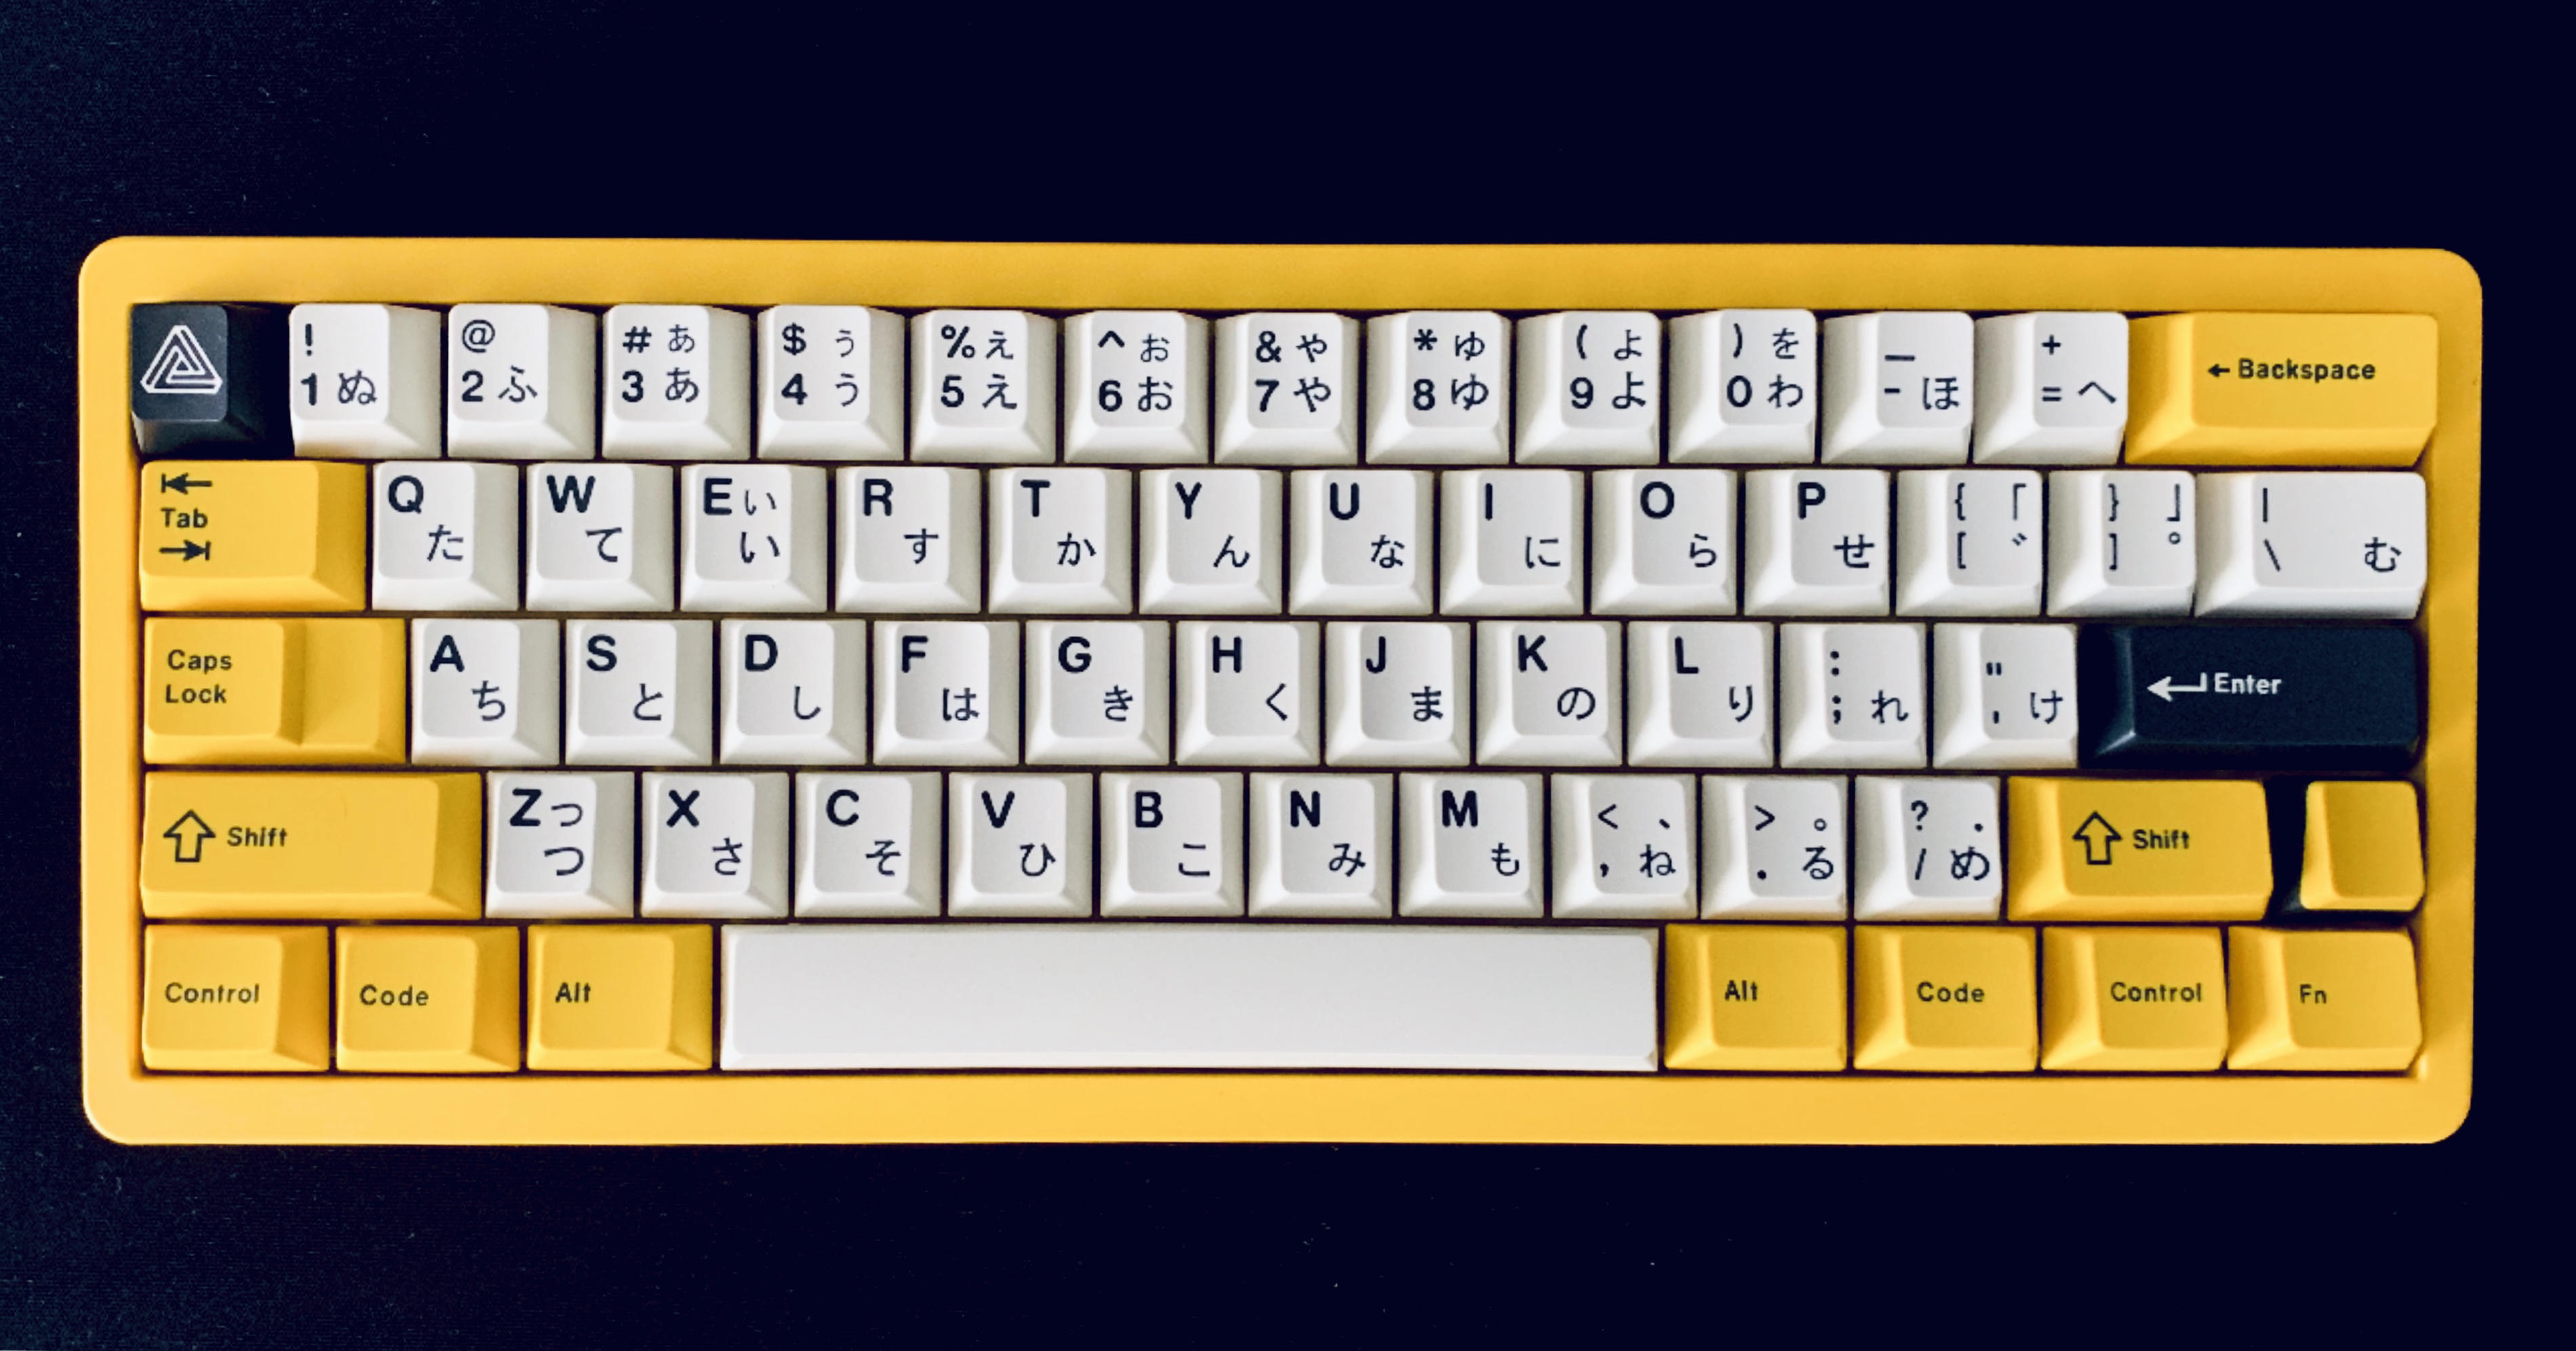
I think this turned out really great! I wish there were more yellow cerakote options though…