Damn, I was looking to get out of this project LOL.
I don’ t know if I am going to attempt this. I am afraid of having too many harsh chemicals in the house near kids, of course I say this while siting near a bucket of pool chlorine . For anyone brave enough, I would recommend targeting the switch housings instead of the stems. My reasoning is even swapping a nice polish stem the switches are still scratchy imo. specifically the bottom housing rails and top housing bar things. Use the polish marks in above images as reference. Don’t want to mess with the tolerances too much. I think the cherry switch housings are made of nylon so an acid that dissolves against that should be used (no idea what that would be).
That video is awesome. I haven’t gotten into 3d printing yet but that resolves one of my biggest complaints with the process.
Every time I think about getting into 3d printing, I realize, that their still evolving at a rapid pace, and I’d only be using it to print minis and I really don’t want to add to the volume of stuff, that I’ll be bringing with me when I move to Canada. lol
I don’t have the space to try it, but my idea, if any one would like to run with it:
Do individual switch testing, to determine the appropriate chemical.
Capture the stems in a piece of wood or metal, that has stem sized holes in it, with hot glue or blue tac. (This is to prevent the stems from coming into contact with the solution.)
Then suspend that board in a fish tank, poor the chosen solution in the bottom of the tank, with a fan to circulate air, then cover the tank and let it sit for a while.
Pull the stem rack out of the tank, and leave it to air out.
Don’t know if this is a placebo or not.
I just tried using my mechanical pencil to apply graphite to the friction points in the housing and the stem of a Garry switch (Gateron with cherry top).
Unlubed, it is very smooth, whereas before it had smoothness of stock Gateron.
This has more to do with lubrication than polishing, but I just thought I would share it.
I will buy the polishing diamond paste right now, and see how it works out on switches.
Use to use graphite power on pinewood derby car wheels. I’ve used it on scanner rollers to eliminate plastic on plastic squeaks.
@treeleaf64, be carful with graphite, it can conduct electricity.
" Graphite is an electrical conductor, hence useful in such applications as arc lampelectrodes. It can conduct electricity due to the vast electrondelocalization within the carbon layers (a phenomenon called aromaticity). These valence electrons are free to move, so are able to conduct electricity." Soruce
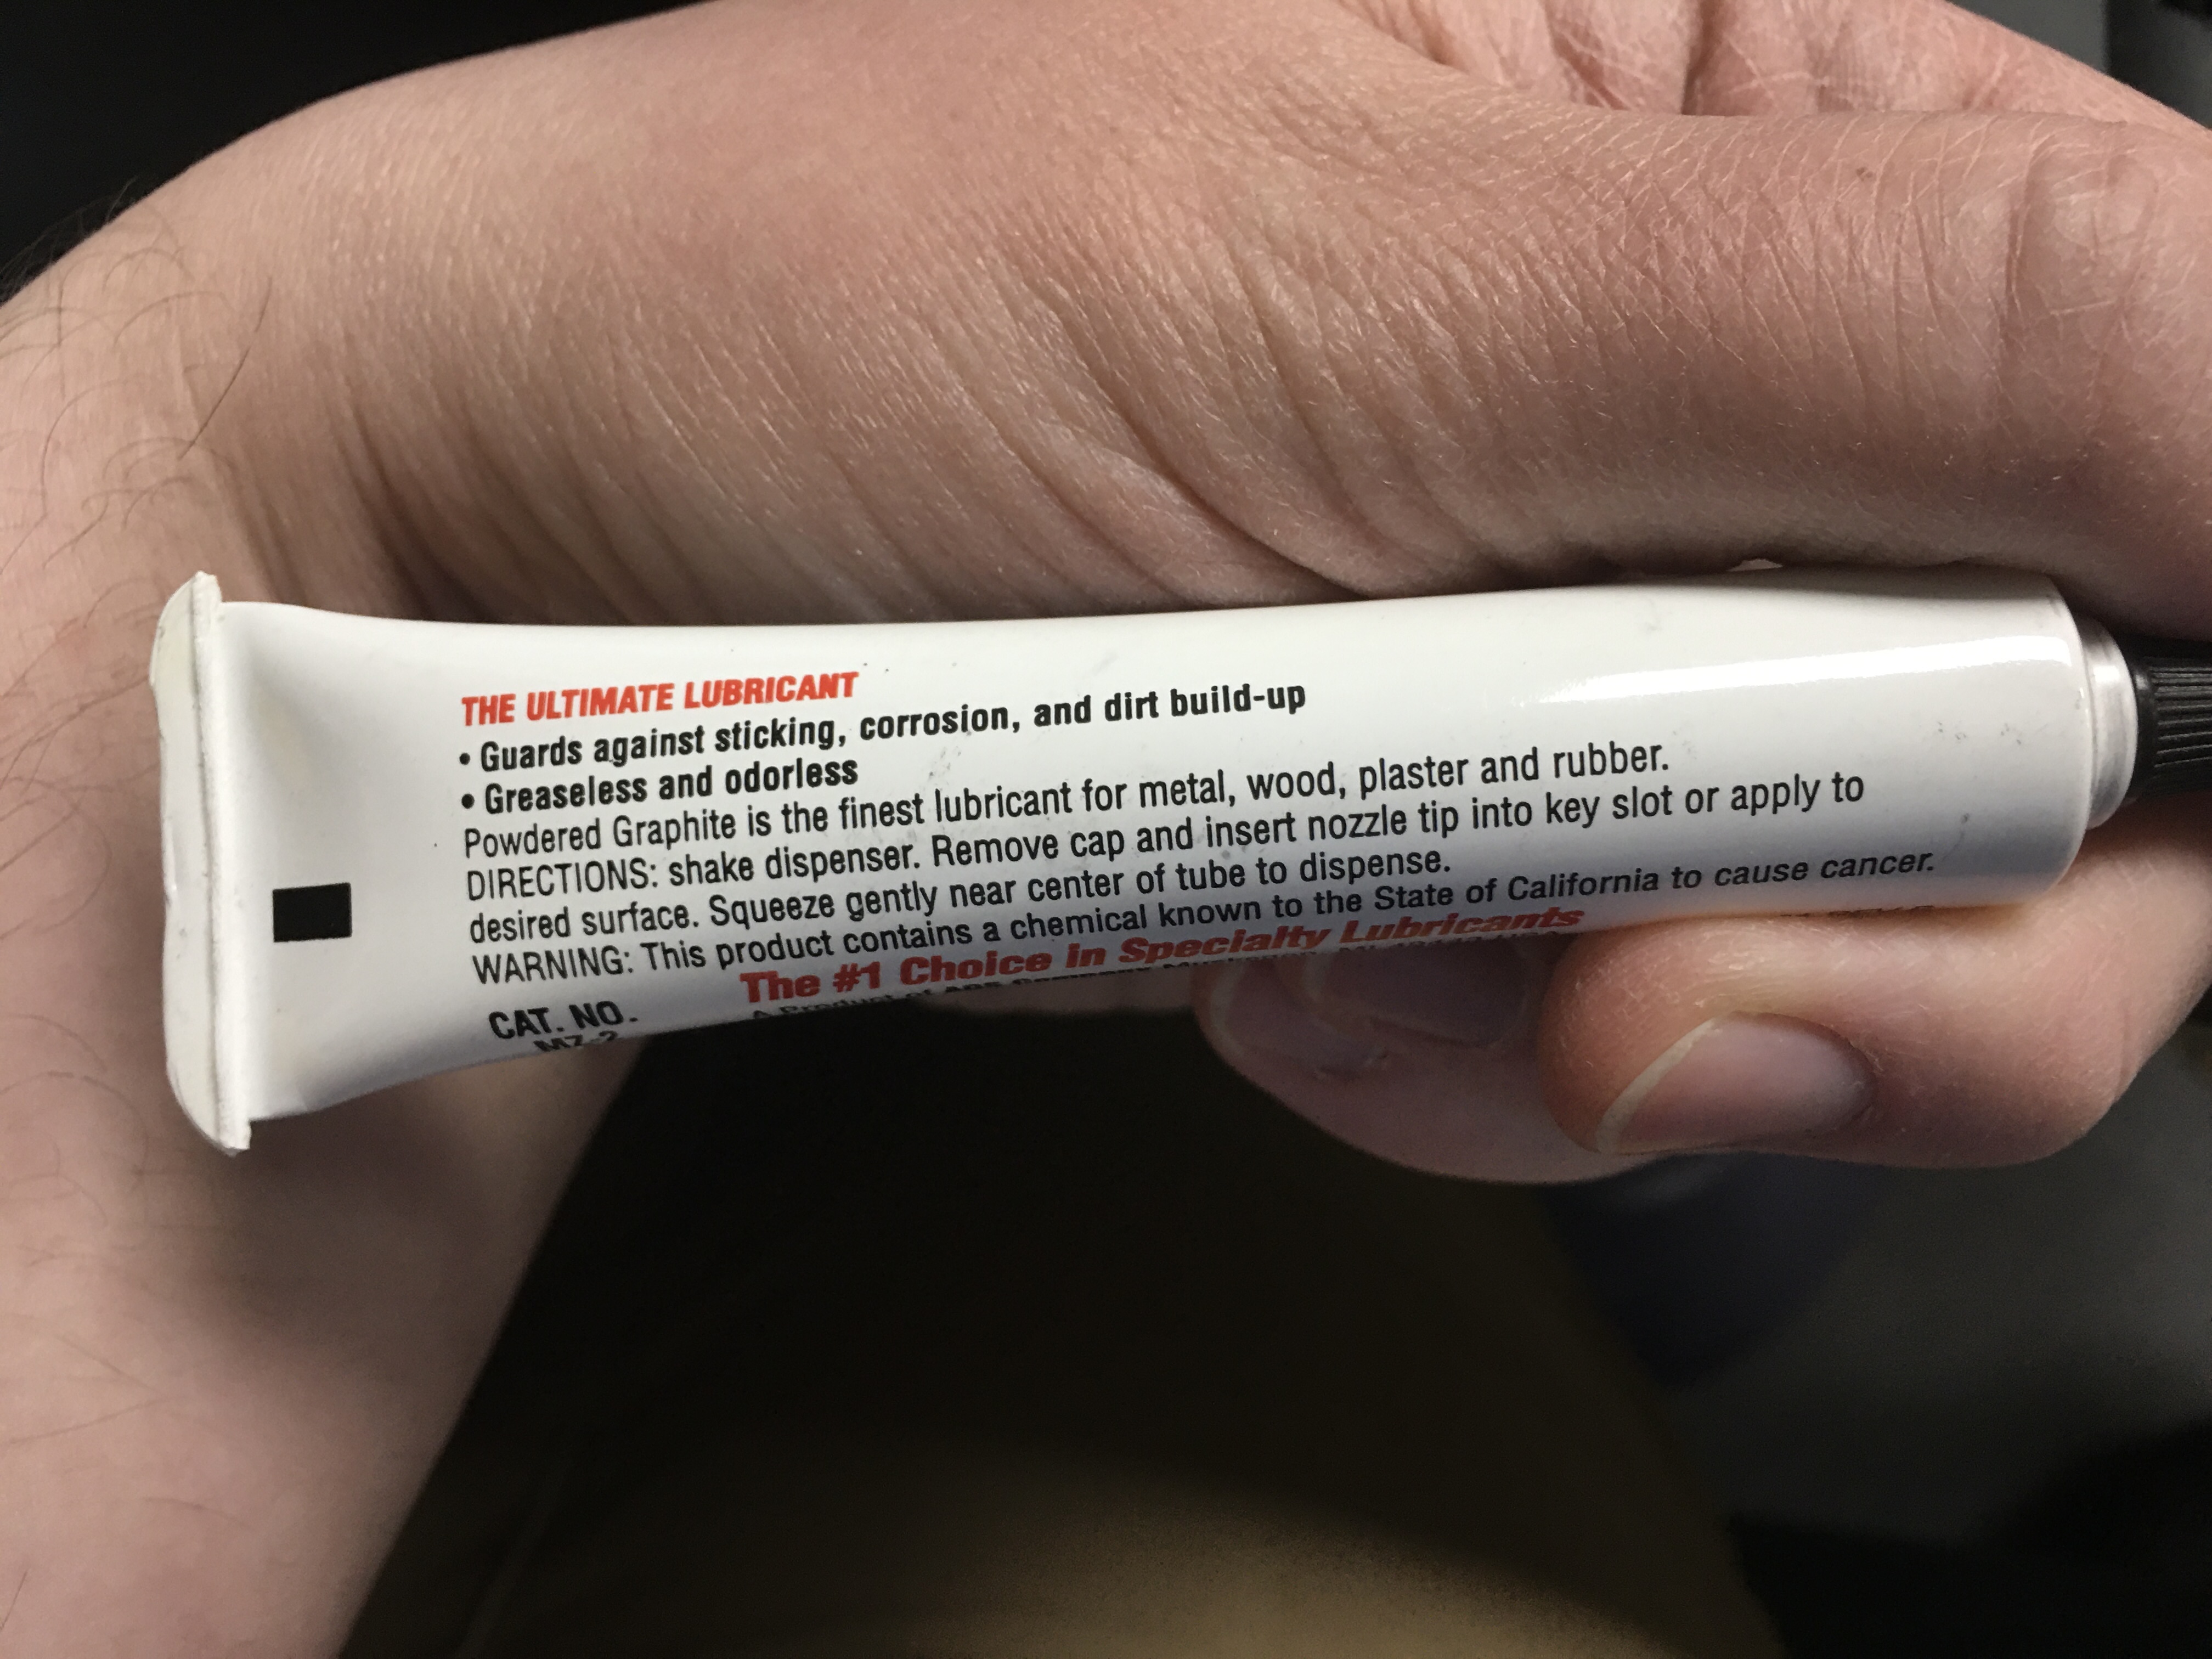
@donpark, It’s pretty handy, but you want to keep it away from electrical components, where you risk bridging contacts.
Just tested repolished blacks and they’re are now consistently smooth. So previously-lubed switches need to be cleaned thoroughly before polishing. I’m going to defer polishing the set of Cream switches I have because cleaning switches without ultrasonic cleaner is a lot of hassle.
Just realized I could’ve used Water Pik to clean switches after polishing.
It’s not as thorough and needs some soaking period (I use baking soda and liquid soap in warm water) to loosen the paste but should be faster than brushing.
Also will need to find some other uses to justify having it. Maybe using it on eye glasses or something so I don’t feel like I am “wasting” money. If anyone has anything ideas let me know.
The diamond paste 0.5um came. I’ve applied it to a custom switch, made of Cherry bottom, Gateron stem and milk top, and TX long 65g spring.
I’ve done the left half of my Lily58. I will keep the paste on for the next few days and do a lot of typing tests on Monkeytype.
With some nice Cherry WoB, the scratch feeling is not very present. Doesn’t feel bad at all. And the TX spring make it very nice linear feeling out of the box.
The vibrated switches I have been working on are starting to come out inconsistent and slightly scratchy. I think my first couple must have been on better stock switches which threw me off going down this method. I do not recommend the vibrating method.
@donpark was kind enough to test some of my switches and compare them against stock and his method. His findings were:
Vibrated switches - they are better than stock but still somewhat scratchy. I think switches need to be rotated as they’re vibrated.
Vibrated and breakin-machined - these are very similar to my manually polished switches. They’re not as smooth as JWK Mauve, NK Dry, or Tangerine but IMO they’re about as smooth as Cream.
As far as the ultra sonic. The one I ordered was like 1 inch too small for eye glasses so I will exchange it for another one. It doesn’t do much without anything added to the water. Soap is more effective but still requires rinsing and about 3 cycles through the machine. Denture tabs work very well and where able to clean out the diamond paste (about 3 runs through the machine shaking the basket between cycles). Some switch housings had diamond paste in the corners but I was able to spray it out with just the kitchen sink sprayer and didn’t have to use a brush.
My wrap-up is if you do want to go down this road use the DonPark method with the ball or turning the keyboard upside down and stepping on it. After you do this for a bit and the switches feel smooth do it a little longer just to be sure. Then cleanout the switches. It does work to make the switches smoother and it is very satisfying to use them.
If you do not want to go through all this take a chance on vintage blacks off r/mm or wait to get the HyperGlides. According to initial feedback/reviews they seem to be very smooth from the start.
I learned a lot and it was fun, I have no regrets.
 . For anyone brave enough, I would recommend targeting the switch housings instead of the stems. My reasoning is even swapping a nice polish stem the switches are still scratchy imo. specifically the bottom housing rails and top housing bar things. Use the polish marks in above images as reference. Don’t want to mess with the tolerances too much. I think the cherry switch housings are made of nylon so an acid that dissolves against that should be used (no idea what that would be).
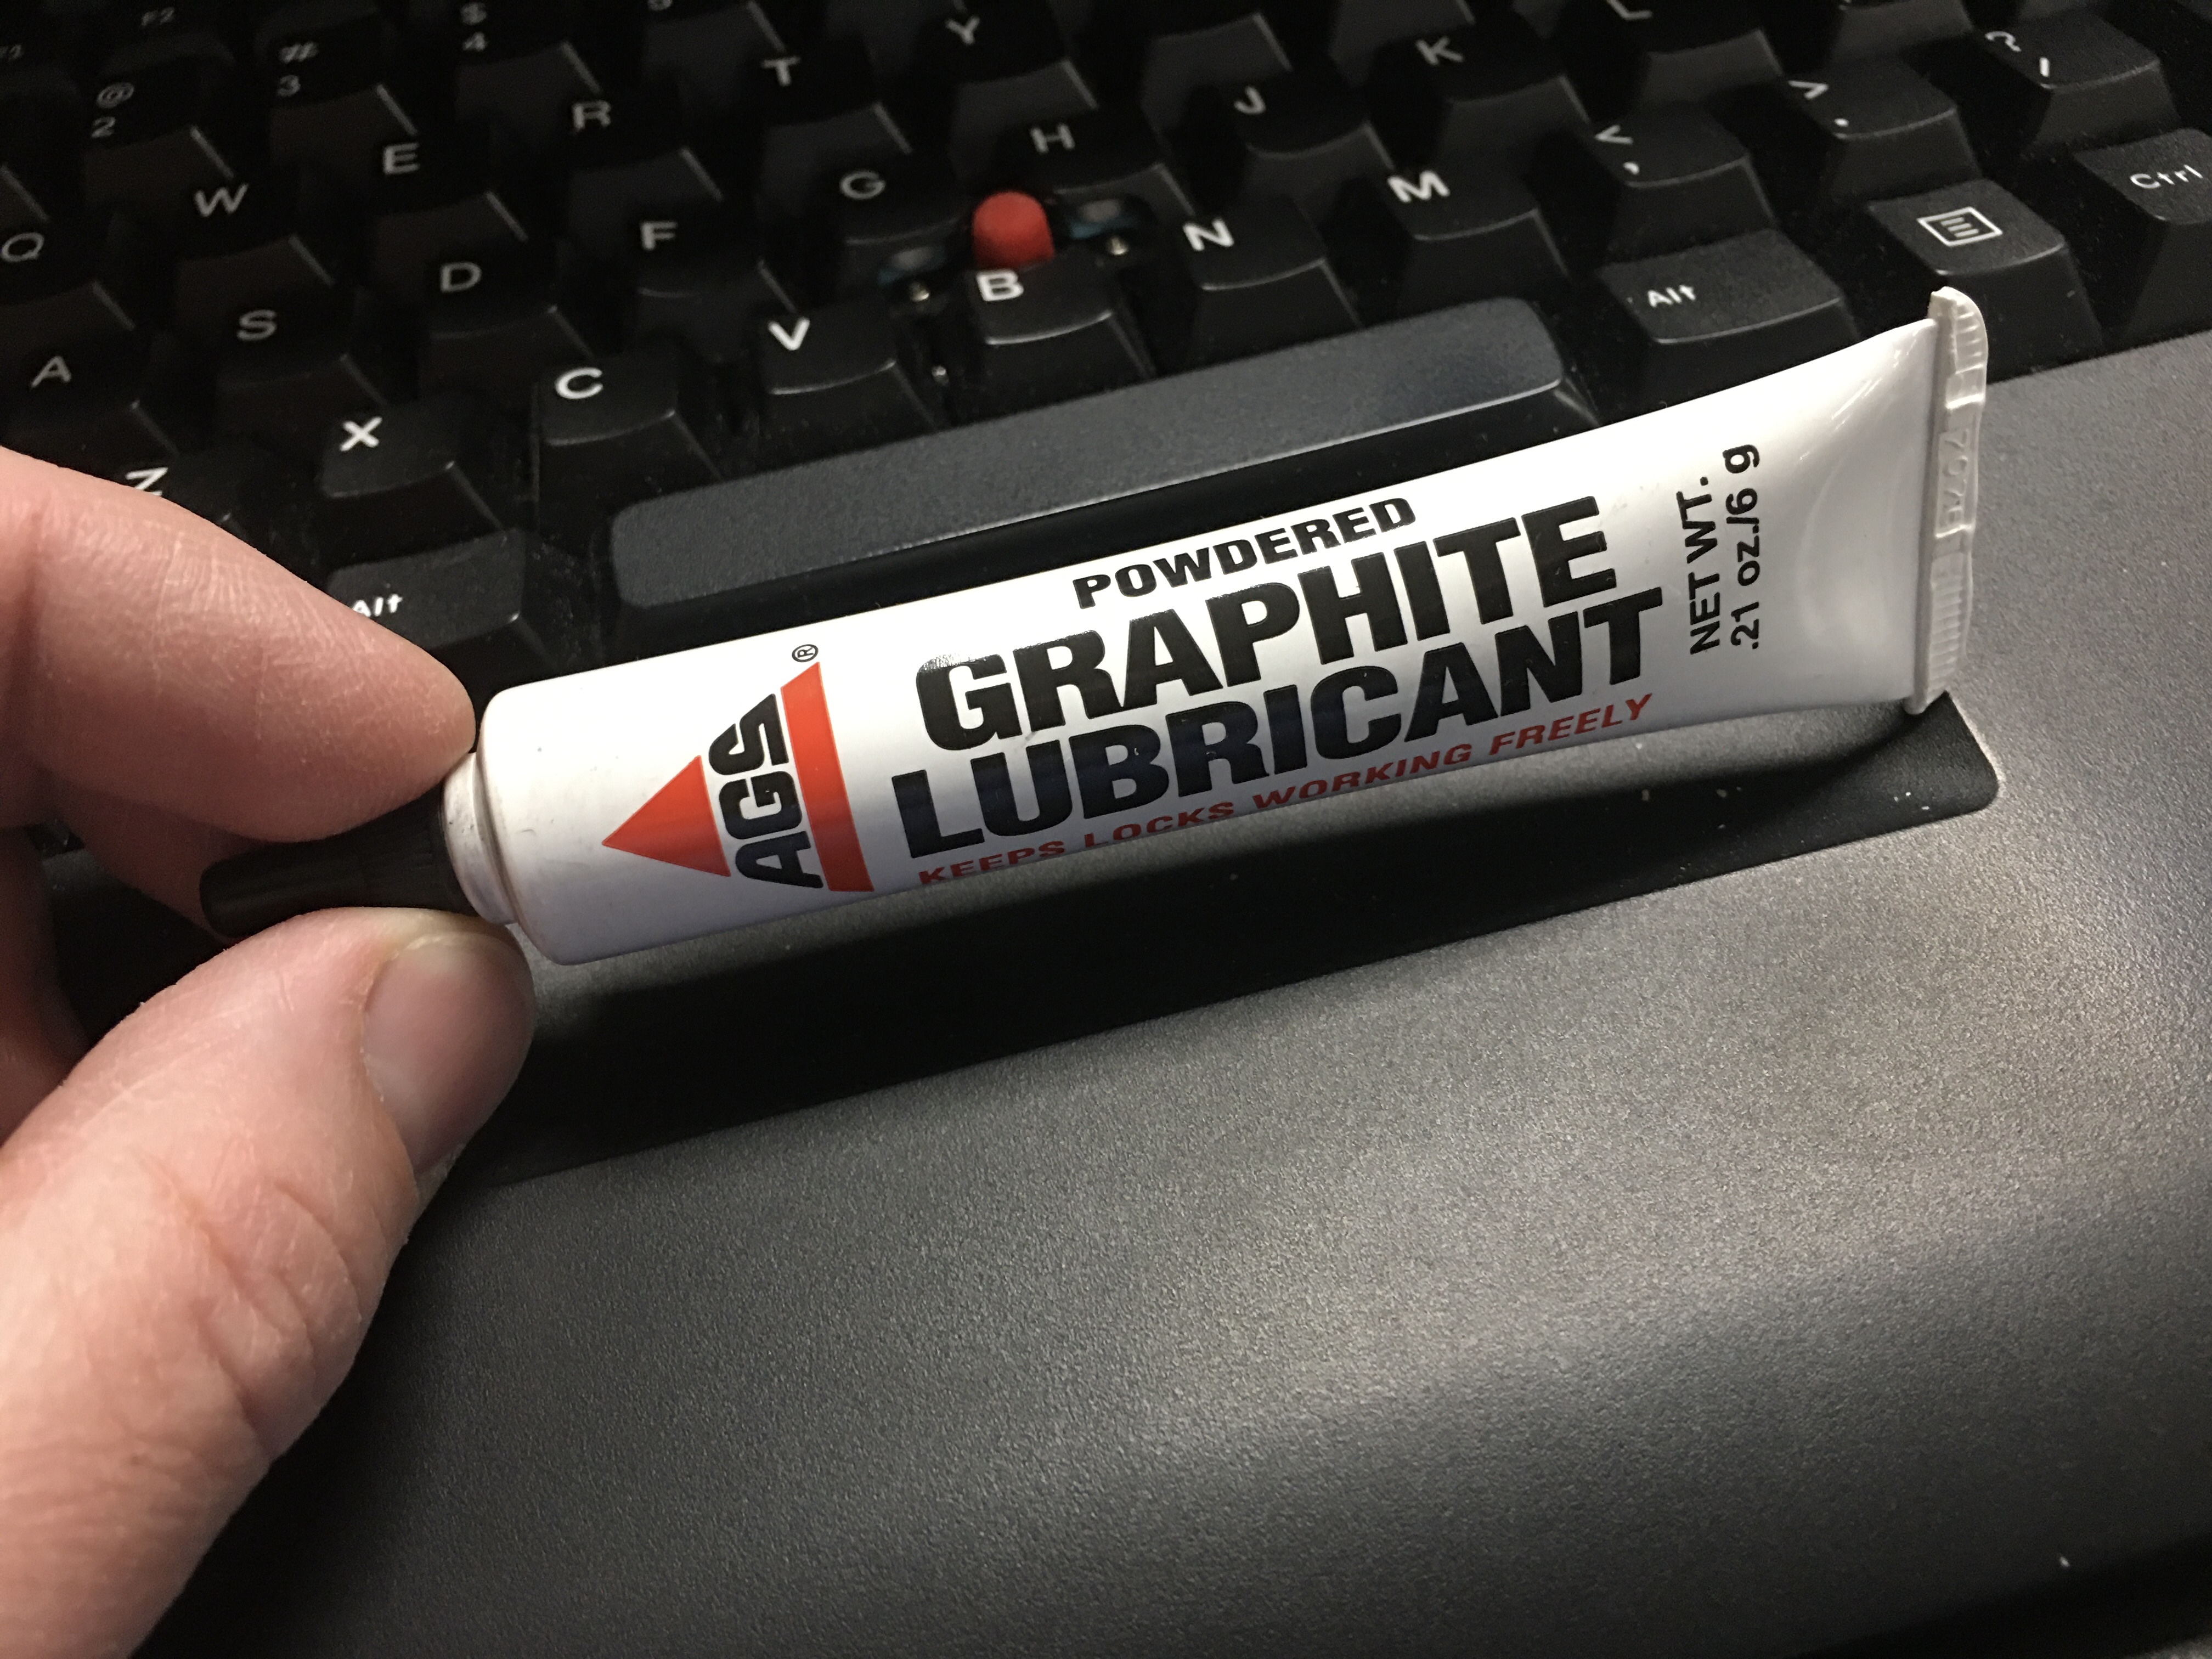

 Bummer it doesn’t support VIA yet.