That looks awesome. How long do you think it’d take to polish a switch smooth enough to satisfy most linear switch fans?
With 60% in mind, polishing time of 30 seconds per switch (~1/2 hr) would be deal. Polishing time > 3 mins per switch (> 3 hrs) may be too much for even the most tenacious MK hobbyists.
Careful about the amount of charge left on your brush! At least with my Oral B electric, the motor is much much stronger on a full charge compared to when it gets closer to needed to recharge. For the sake of beautiful consistency!
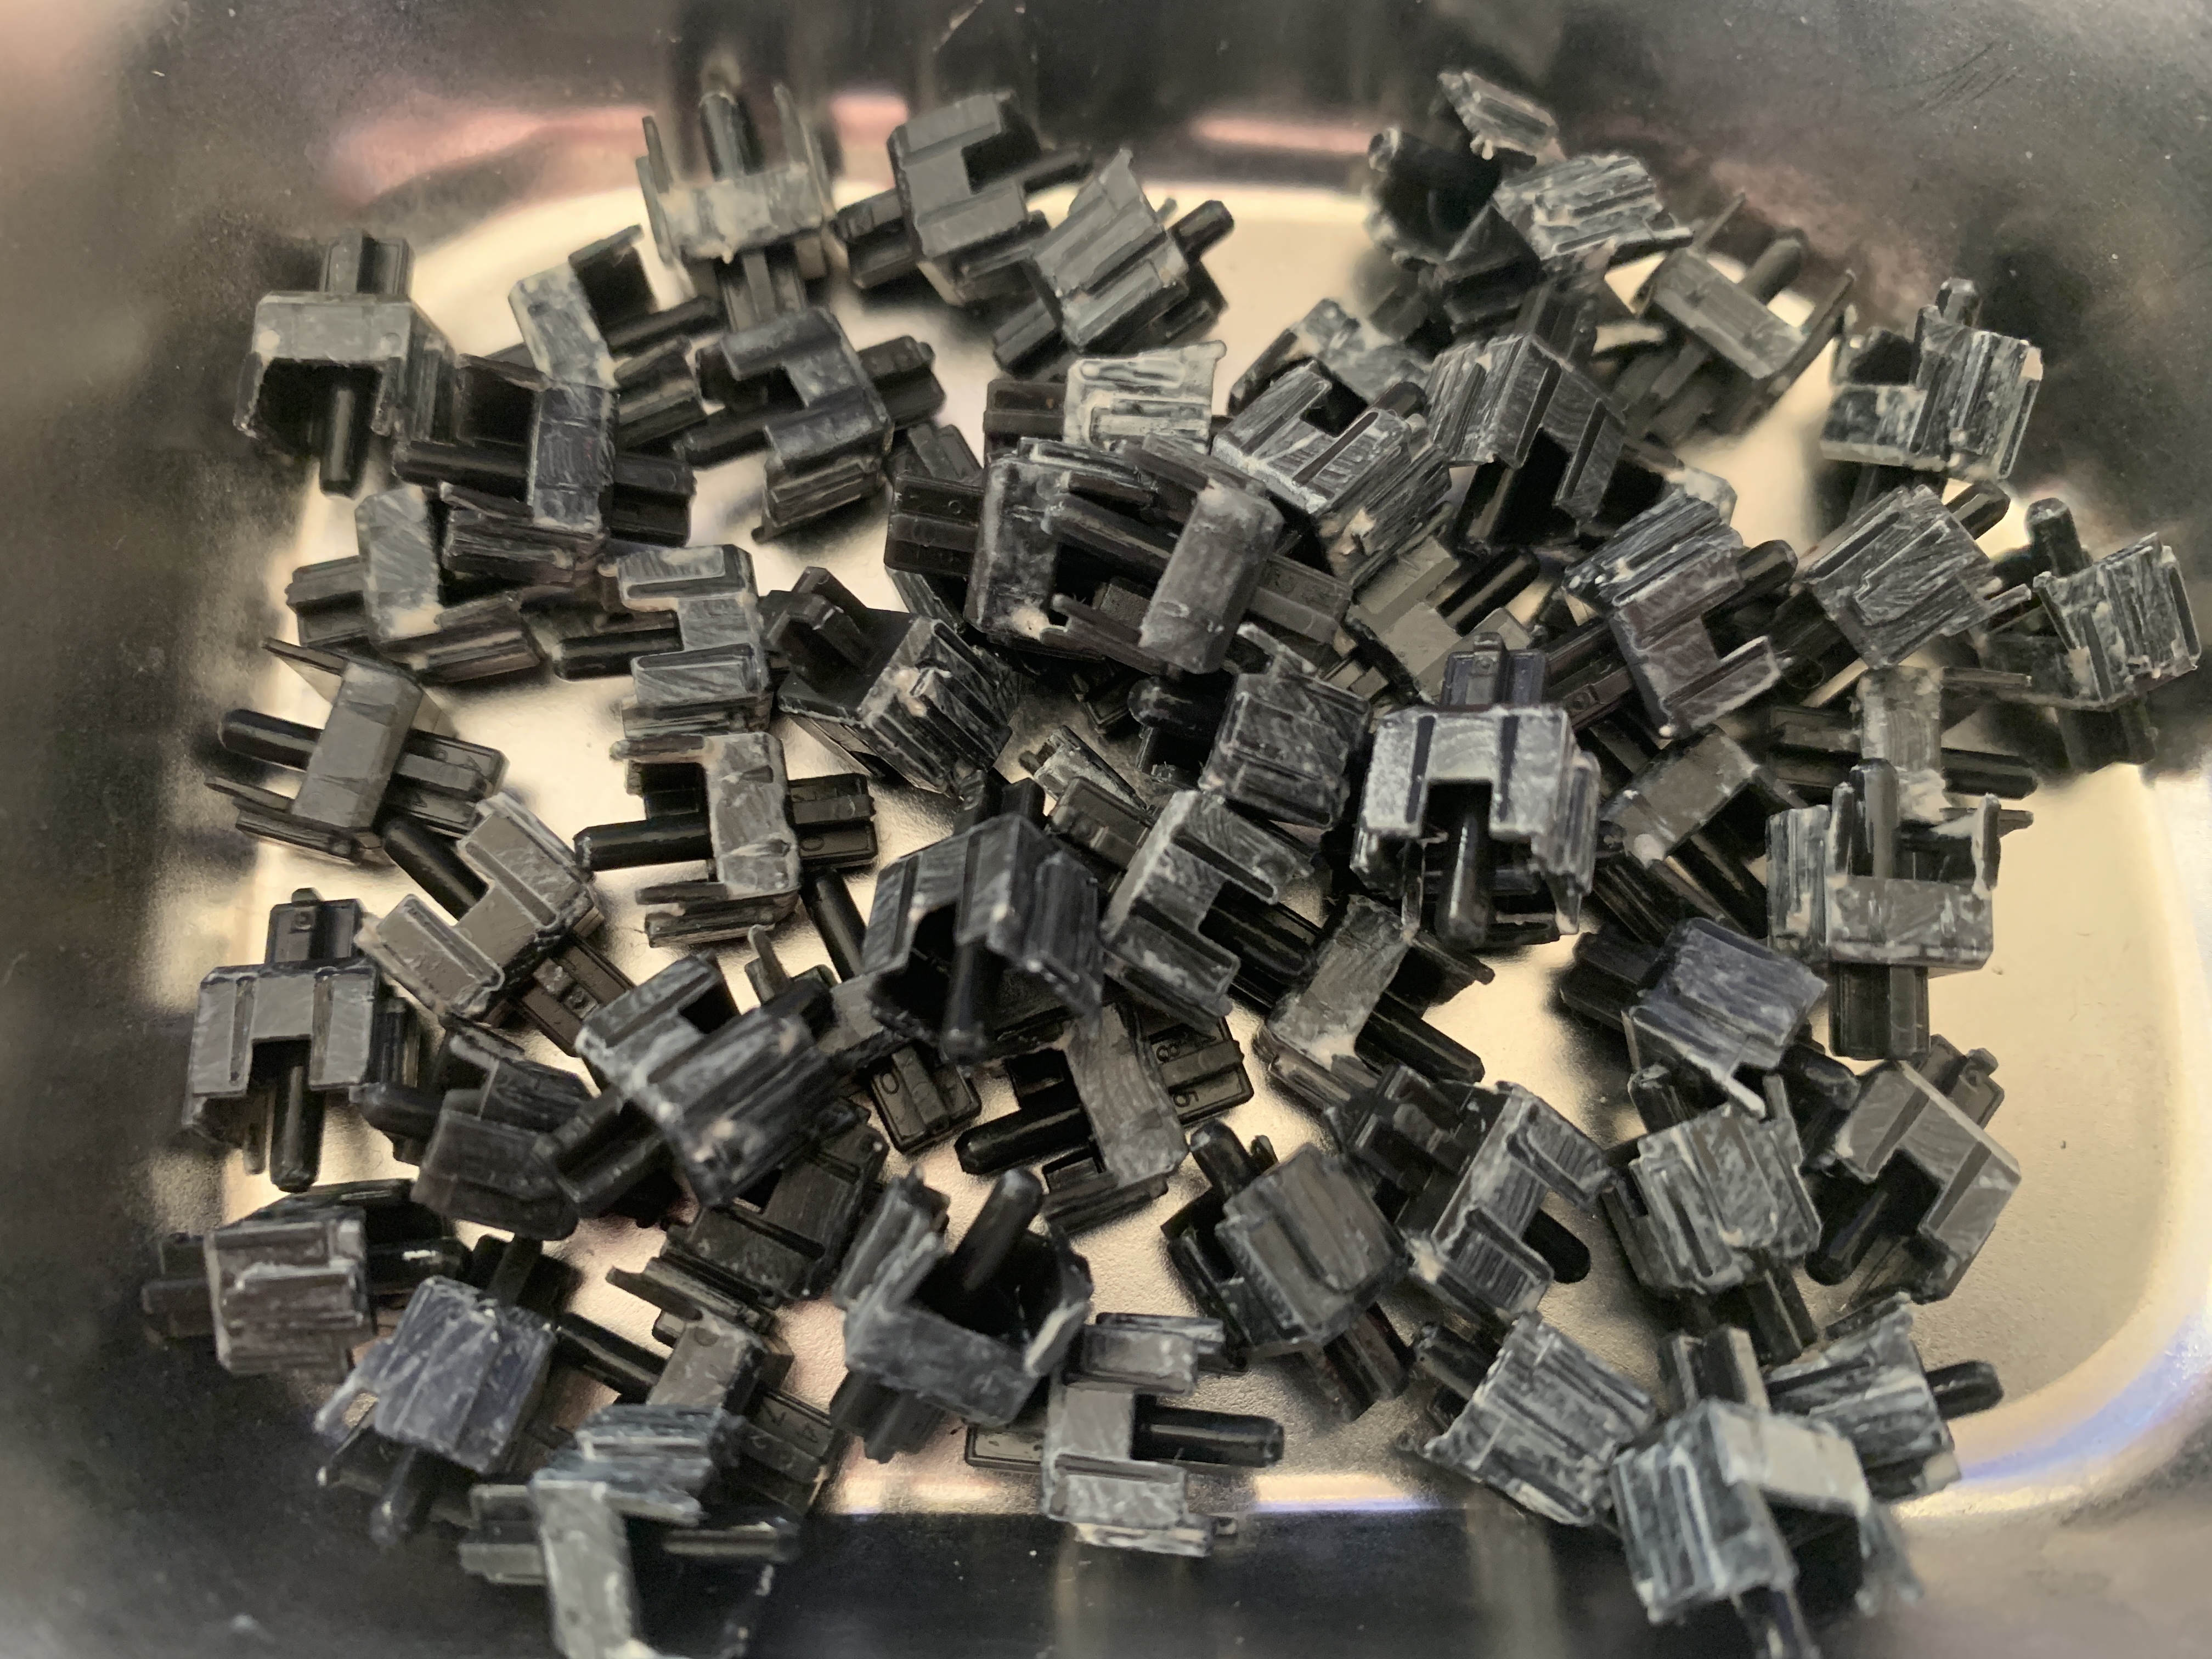
Switches no longer felt abrasive so stopped polishing and disassembled them. This is what the stems look like. Bag method is far messier than brushing, not just on the stem but in the housing. I think I’ll go back to brushing, using PG only to dilute just a bit so the lube will go on more evenly.
Good point on the battery. I would not recommend doing a full set of these in 1 go the battery will likely die out or get weaker. Its also exceedingly boring.
Regarding running this for a shorter time:
30 seconds is too short. The scratchiness on cherry blacks varies a bit from switch to switch. Some switches it will work in 30 seconds but you can’t tell when the diamond paste is still in the switches. They would need to be washed out, dried and reassembled. I redid 7 switches from previous tests that had remaining scratch for 90 seconds. That seems to be what I would recommend at this point with .5 Micron paste listed above. Maybe another combo of vibration and paste would work faster but I am okay with this result. The .25 paste I had didn’t work well for this test because it was too thick. I could try the 1 Micron yellow one but I wouldn’t think it would be very different then .5)
As far as speeding up tips:
Similar to lube, small batches assembly line style
Using a blob of diamond paste in a bowl rather then directly from the syringe
Apply paste only on the stem and top housing
After done vibrating put the switches in a bowl with water and a drop of dish soap (or try an ultra sonic if you have one). Keep them in there for a few hours before washing and will come off much easier/quicker.
Drying out the switches sucks especially the hole on the stem housing. I would suggest putting a stem in a holder and running it in and out of the housing 3 times then putting a fan on the switches for a few hours or a night.
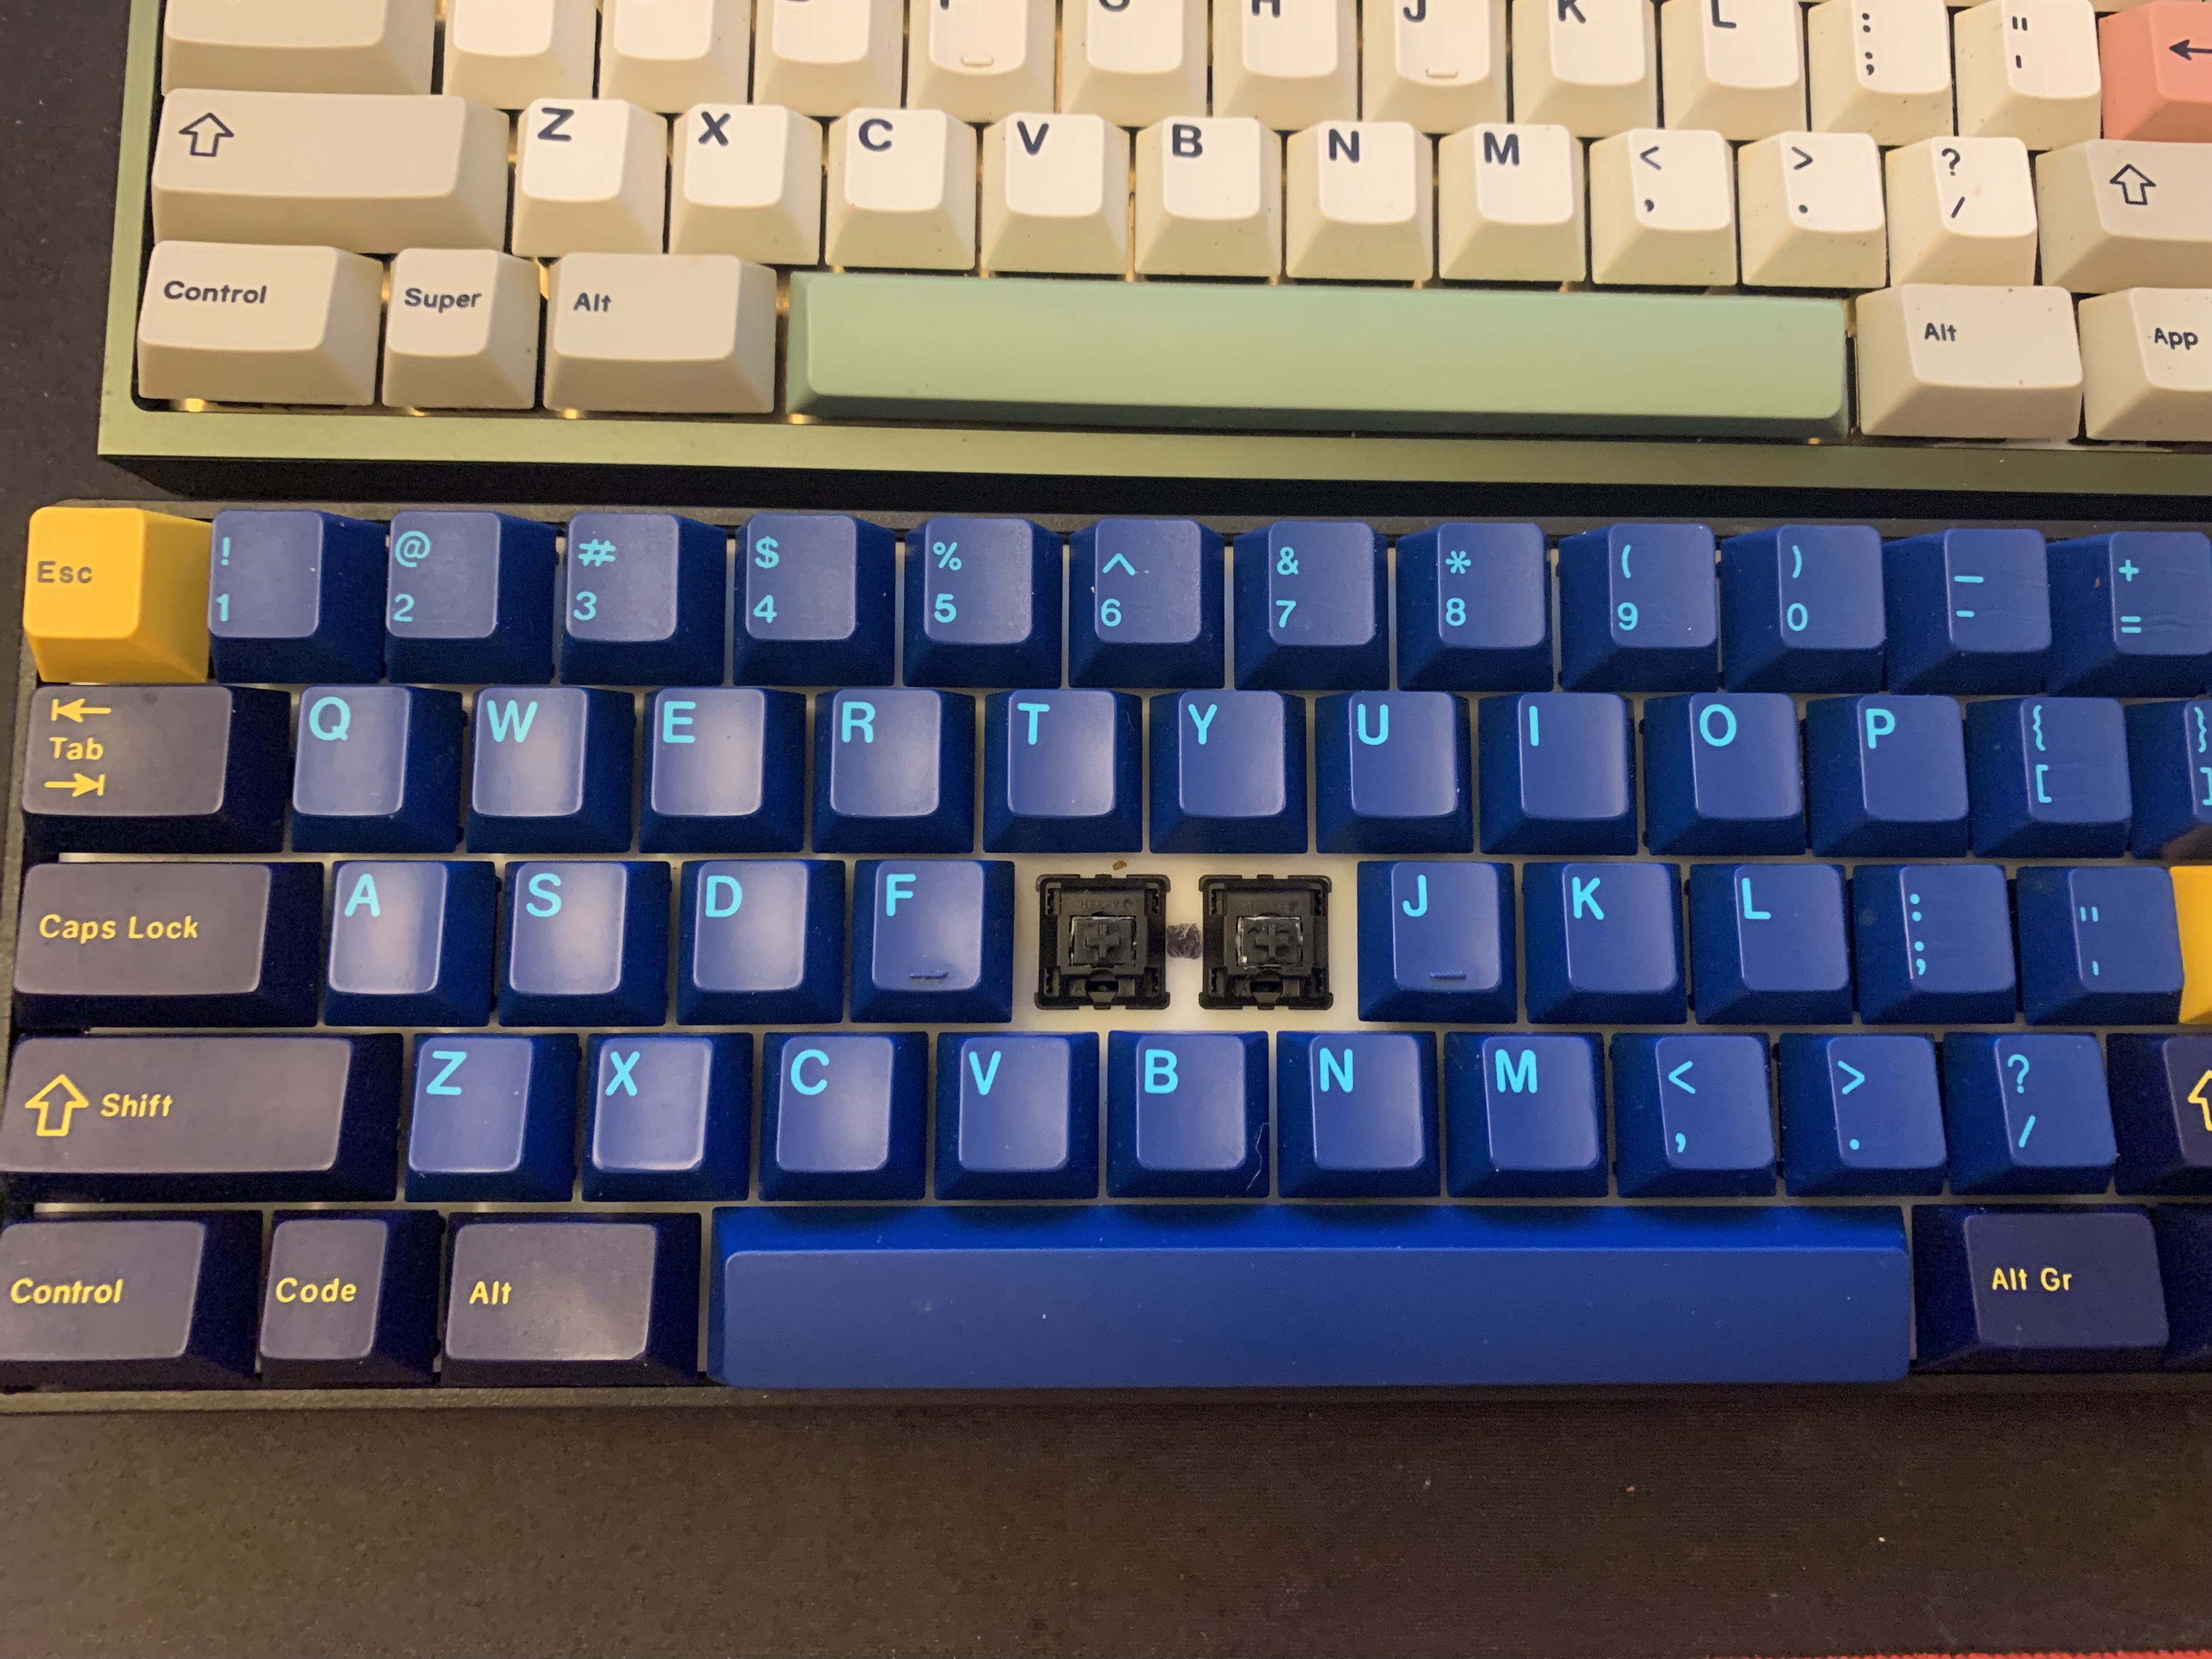
Finished a 60% board with polished BSUNs. While very smooth, overall feel of the switches in-use is less than impressive and boring.
I think the lesson from this is obvious in hindsight: polishing won’t turn rocks into diamonds. Scratchy retooled blacks are like raw diamonds. Polished blacks in tray-mount Tofu case with hot-swap PCB sound and feel better than soldered Tealios in gasket-mount Polaris to me. Now I’m tempted to rebuild my Polaris with polished blacks. There may be other hidden gems but BSUN is not one of them.
Sorry man, I feel your pain. You never know what is going to work till you try. Over the last couple of days, spend like 3~4 hours setting up an updated break-in machine with a sander tried it once. Not only did it not work it wrecked like 20 switches and 5 keycaps in the process that I can’t fix.
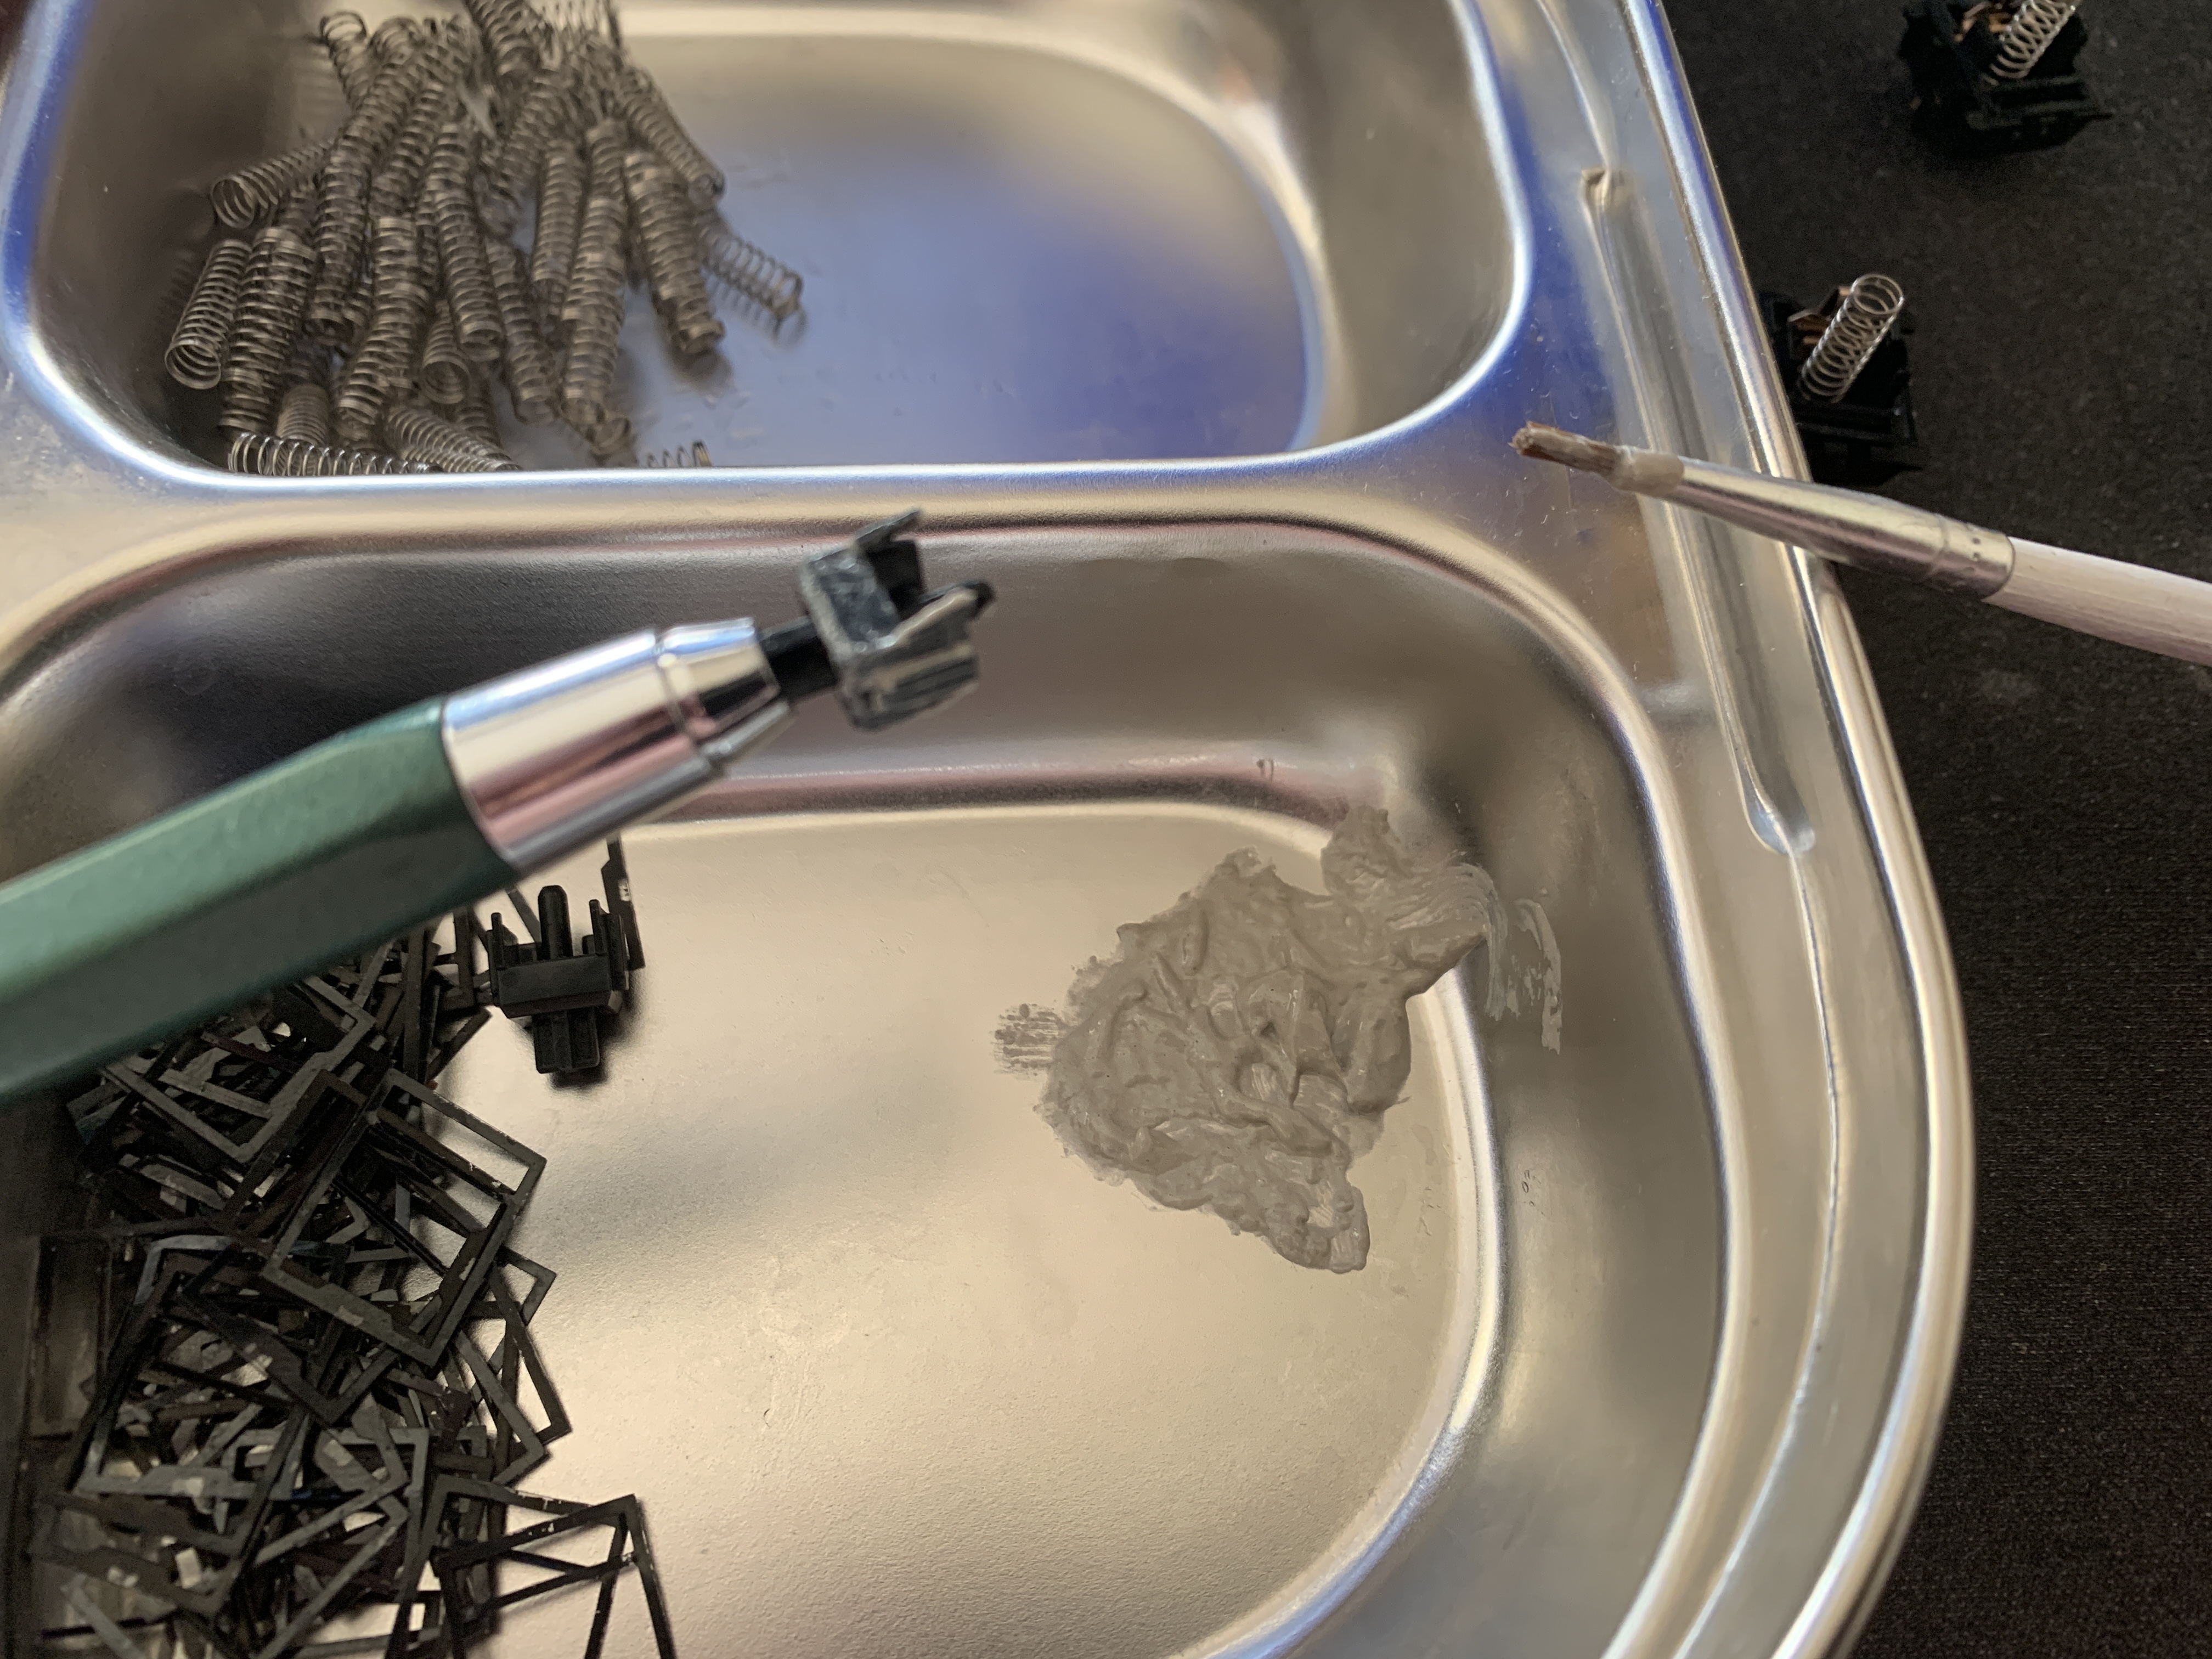
As I suspected, just a few drops of PG turned diamond paste into diamond paint. Weird thing is it almost feels like lube except there is a very slight hint of abrasiveness and hissing noise which I expect to go away when fully polished. Amount of PG I put into the plastic bag before was ridiculously too much. I think the diluted paste in the photo should be enough for at least ~60 switches.
What’s different about this batch of retooled blacks is that it was previously lubed with 205g0. Housing is untouched to, ahem, ‘simulate’ laziness. Stems are being sloppily wiped with paper tissue just before applying diamond paint for the same reason. Besides, I enjoy being lazy. Let’s see how polishing goes under less than ideal but more common conditions. I think most vintage blacks being polished for consistency will be in this condition.
Previously lubed retooled black are now being polished. You can see a bit of the diamond paint on the stem here. This board in plastic Pok3r case goes under my desk upside-down so I can tap dance of it while I work. It feels smooth but friction from diamond particles makes switches feel slightly heavier and, with ears next to the board, ASMR-ish hissing sound can be heard when pressed.
0.5 micron diamond paste to apply on stems like lube. I got the variety pack from TEMO which is almost out now so I’ll be getting this one next. This amount should be enough to polish hundreds of switches if not a thousand.
Propylene Glycol (optional, go for the smallest size available) to dilute paste as needed.
If this experiment polishing previously lubed switch works out well, I’m going to try polishing NK Cream switches. The set I have are just not smooth enough for my taste.
Worked on this a little more this weekend. Learned a few things by mixing matching parts in stock vs diamond pasted experiment switches.
Everything in the cherry blacks in contributing to the scratchiness. Bottom housing, stem and top housing and spring
Stems can be buffed with a Dremel polishing pad and diamond paste (only at the slowest speed). It does give a mirror finish on the stem. However putting it in a stock housing was still scratchy.
Cut off the stem post to confirm that was not the cause of the scratchiness
Oil based diamond paste is the worst. Use water based (so far my favorite is the one just posted by DonPark)
Vibrated a switch for 10 minutes without pushing it down. Goal was to see if it would smooth out the stop housing. It did nothing.
Starting to think matching stems and housing is a good idea, using an ice cube tray to manage that
I am going to go back and redo some switches that didn’t come out right to see if I can dial in my technique a little bit more.
After a day of being toe-stepped on upside down, previously-lubed switches being polished are are rarely making hissing noise. Then a thought occurred to me and tested pressing the switches while holding the board sideway. In theory, this would make the stem’s right slider surface touch right housing rail. And – [drumroll] – hissing noise reappeared. Not as much as before but there nonetheless. And there are four sides…
This matches with polishing marks we’ve seen before. Legs get thoroughly polished because they’re always in contact with leaves. Sides and sliders comes in contact with housing less often so they’re not fully polished.
While I’m satisfied with result from, um, missionary-position polishing for now and the chance of me typing while lying sideway is pretty small, those who want more through polishing should consider a contraption that could press the switches on a rotating board.
First polished batch was, to me, usable without lubing. I lubed them not to make it smoother but because I like the buttery feel and slightly lower pitch 205g0 adds.
Maybe but I would always lube up the spring. Especially the stock cherry springs that have a crunch or ping depending on the switch. I tried spring swapping with tx but they have a ping sound without lube.
Diamond paste slightly diluted with a few drops of PG coats more evenly.
Lube that remained after wiping with paper tissue seemed to have interfered with polishing.
I don’t understand why top housing rails are more visible than before. Could it be Cherry changed retooled black housings between batches? Weird. Now I know. It’s because these are Cherry black stems where stems in the previous photo were BSUN stems. Doh.
So I think stock switches are ideal for polishing. Next I’ll clean the switches to see whether it makes sense to polish previously lubed switches.
Hmm. I cleaned and tested a few of the switch. Polishing improved their smoothness for sure. But the smoothness is less consistent than polished stock switches. I think it may have been remnant lube interfering with polishing.
After cleaning resting of the switches, I’m going to polish them again. Cleaned switches have far less leftover lube than before so I’m hoping it’ll work better second time around.
UPDATE: Tested more switches after cleaning. Polish was definitely inconsistent. Even if second polishing does the job, I don’t think polishing lubed switches are worth the effort without means to thoroughly clean them to near stock state. I think the same may apply to factory-lubed switches.
So all this playing with diamond past, has made me wonder if any one has ever tried wiping or fogging stems and switch housings with acetone or another chemical, that can brake down plastics?..
 For the sake of beautiful consistency!
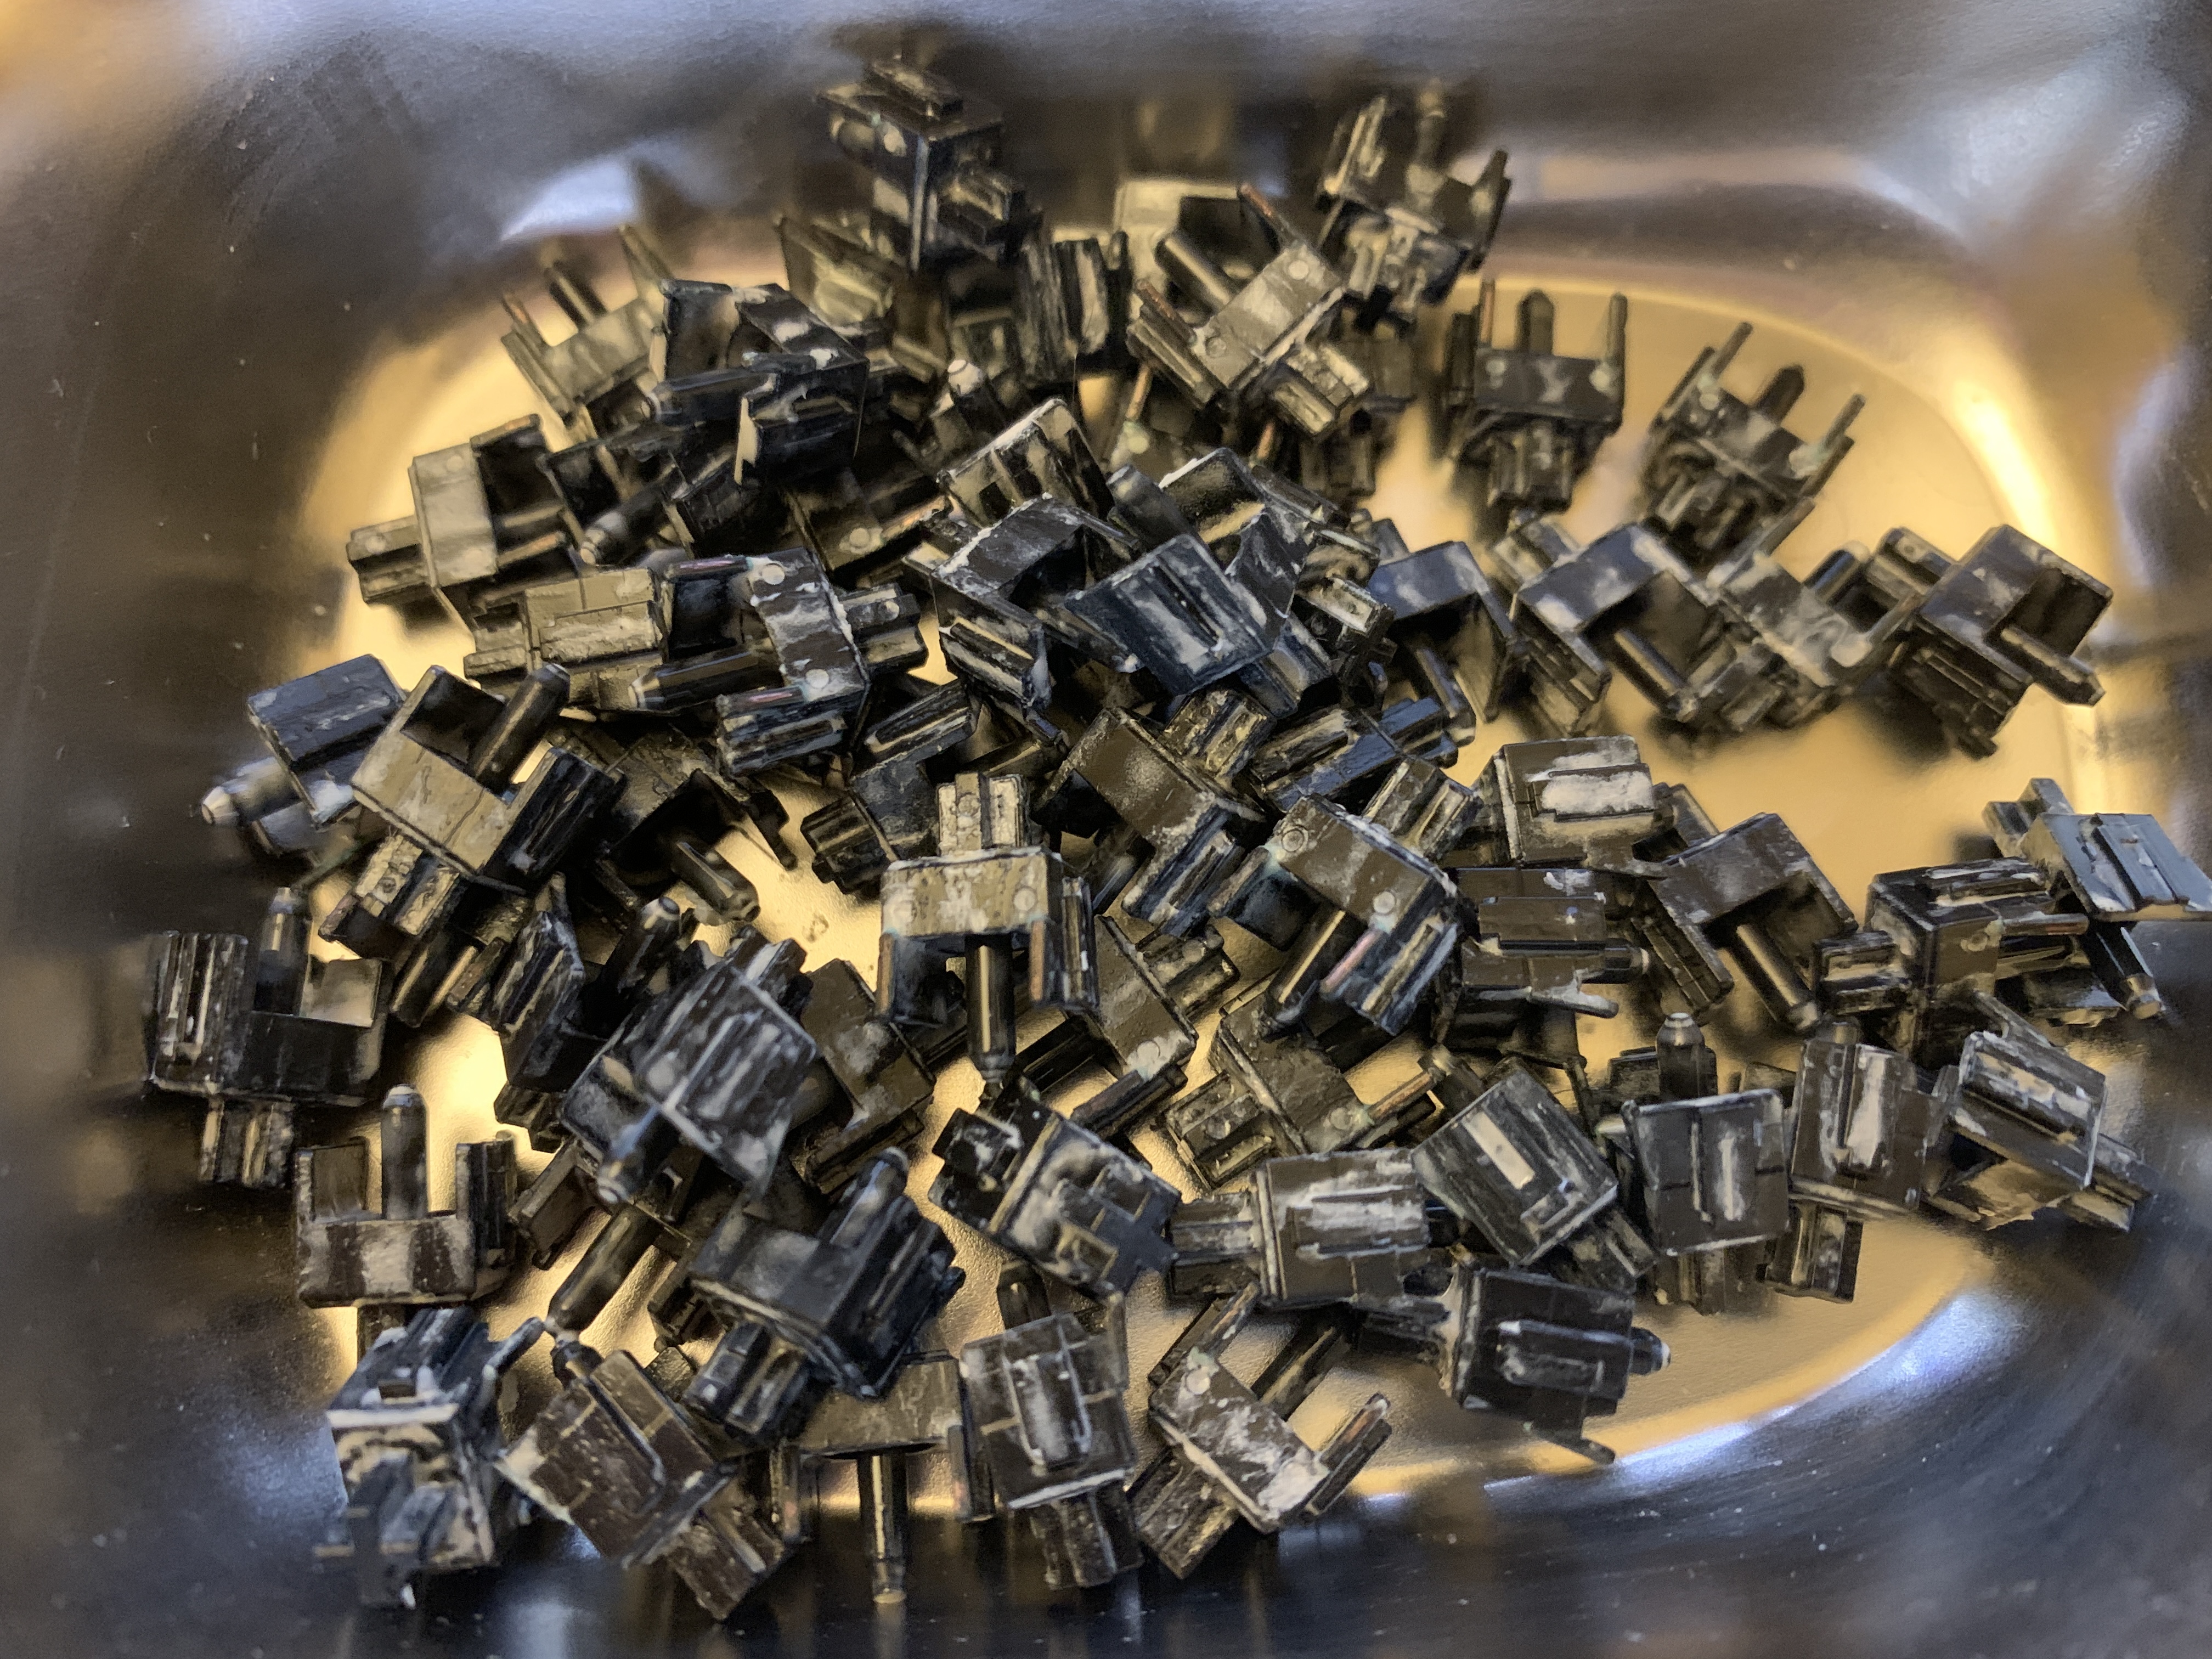


 for now and the chance of me typing while lying sideway is pretty small, those who want more through polishing should consider a contraption that could press the switches on a rotating board.