After polishing, both felt scratchy which suggests material affects quality of polish. Then I put one of the polished stems and put it into BSUN housing with clear top and opaque bottom. This combo was very smooth. So I think POM stems are more easily polished than non-POM. Makes sense since POM is ‘self-lubracating’, shedding plastic like a nudist would shed pieces of clothing.
Oh, I thought about polishing Panda stem + Halo housing, a combo each Holy Panda fan has a stash of, but gave up because there was some kind of interference near the bottom. It felt like tip of the left linear stem leg touching one of the leaves. Oh well.
I think it’s worth a try. AFAIK, diluted vinegar doesn’t harm plastic but the idea of smoothing surface by acid or heat is already in use for industrial use so why not for switches.
All Diamond Suspensions are packed in 400g bottles and have Medium Concentration prepared with Premium Polycrystalline Diamond in either Propylene Glycol (Oil based) or Water based formulas.
I used to vape e-liquid so I know what propylene glycol is. It’s usually referred to as PG. To make e-liquid, you mix pure nicotine with PG and VG (Vegetable Glycerin).
I still have a big ass bottle of PG so I’m going to see if I can make thinner runny paste to apply on stems in a bag, shake and bake style.
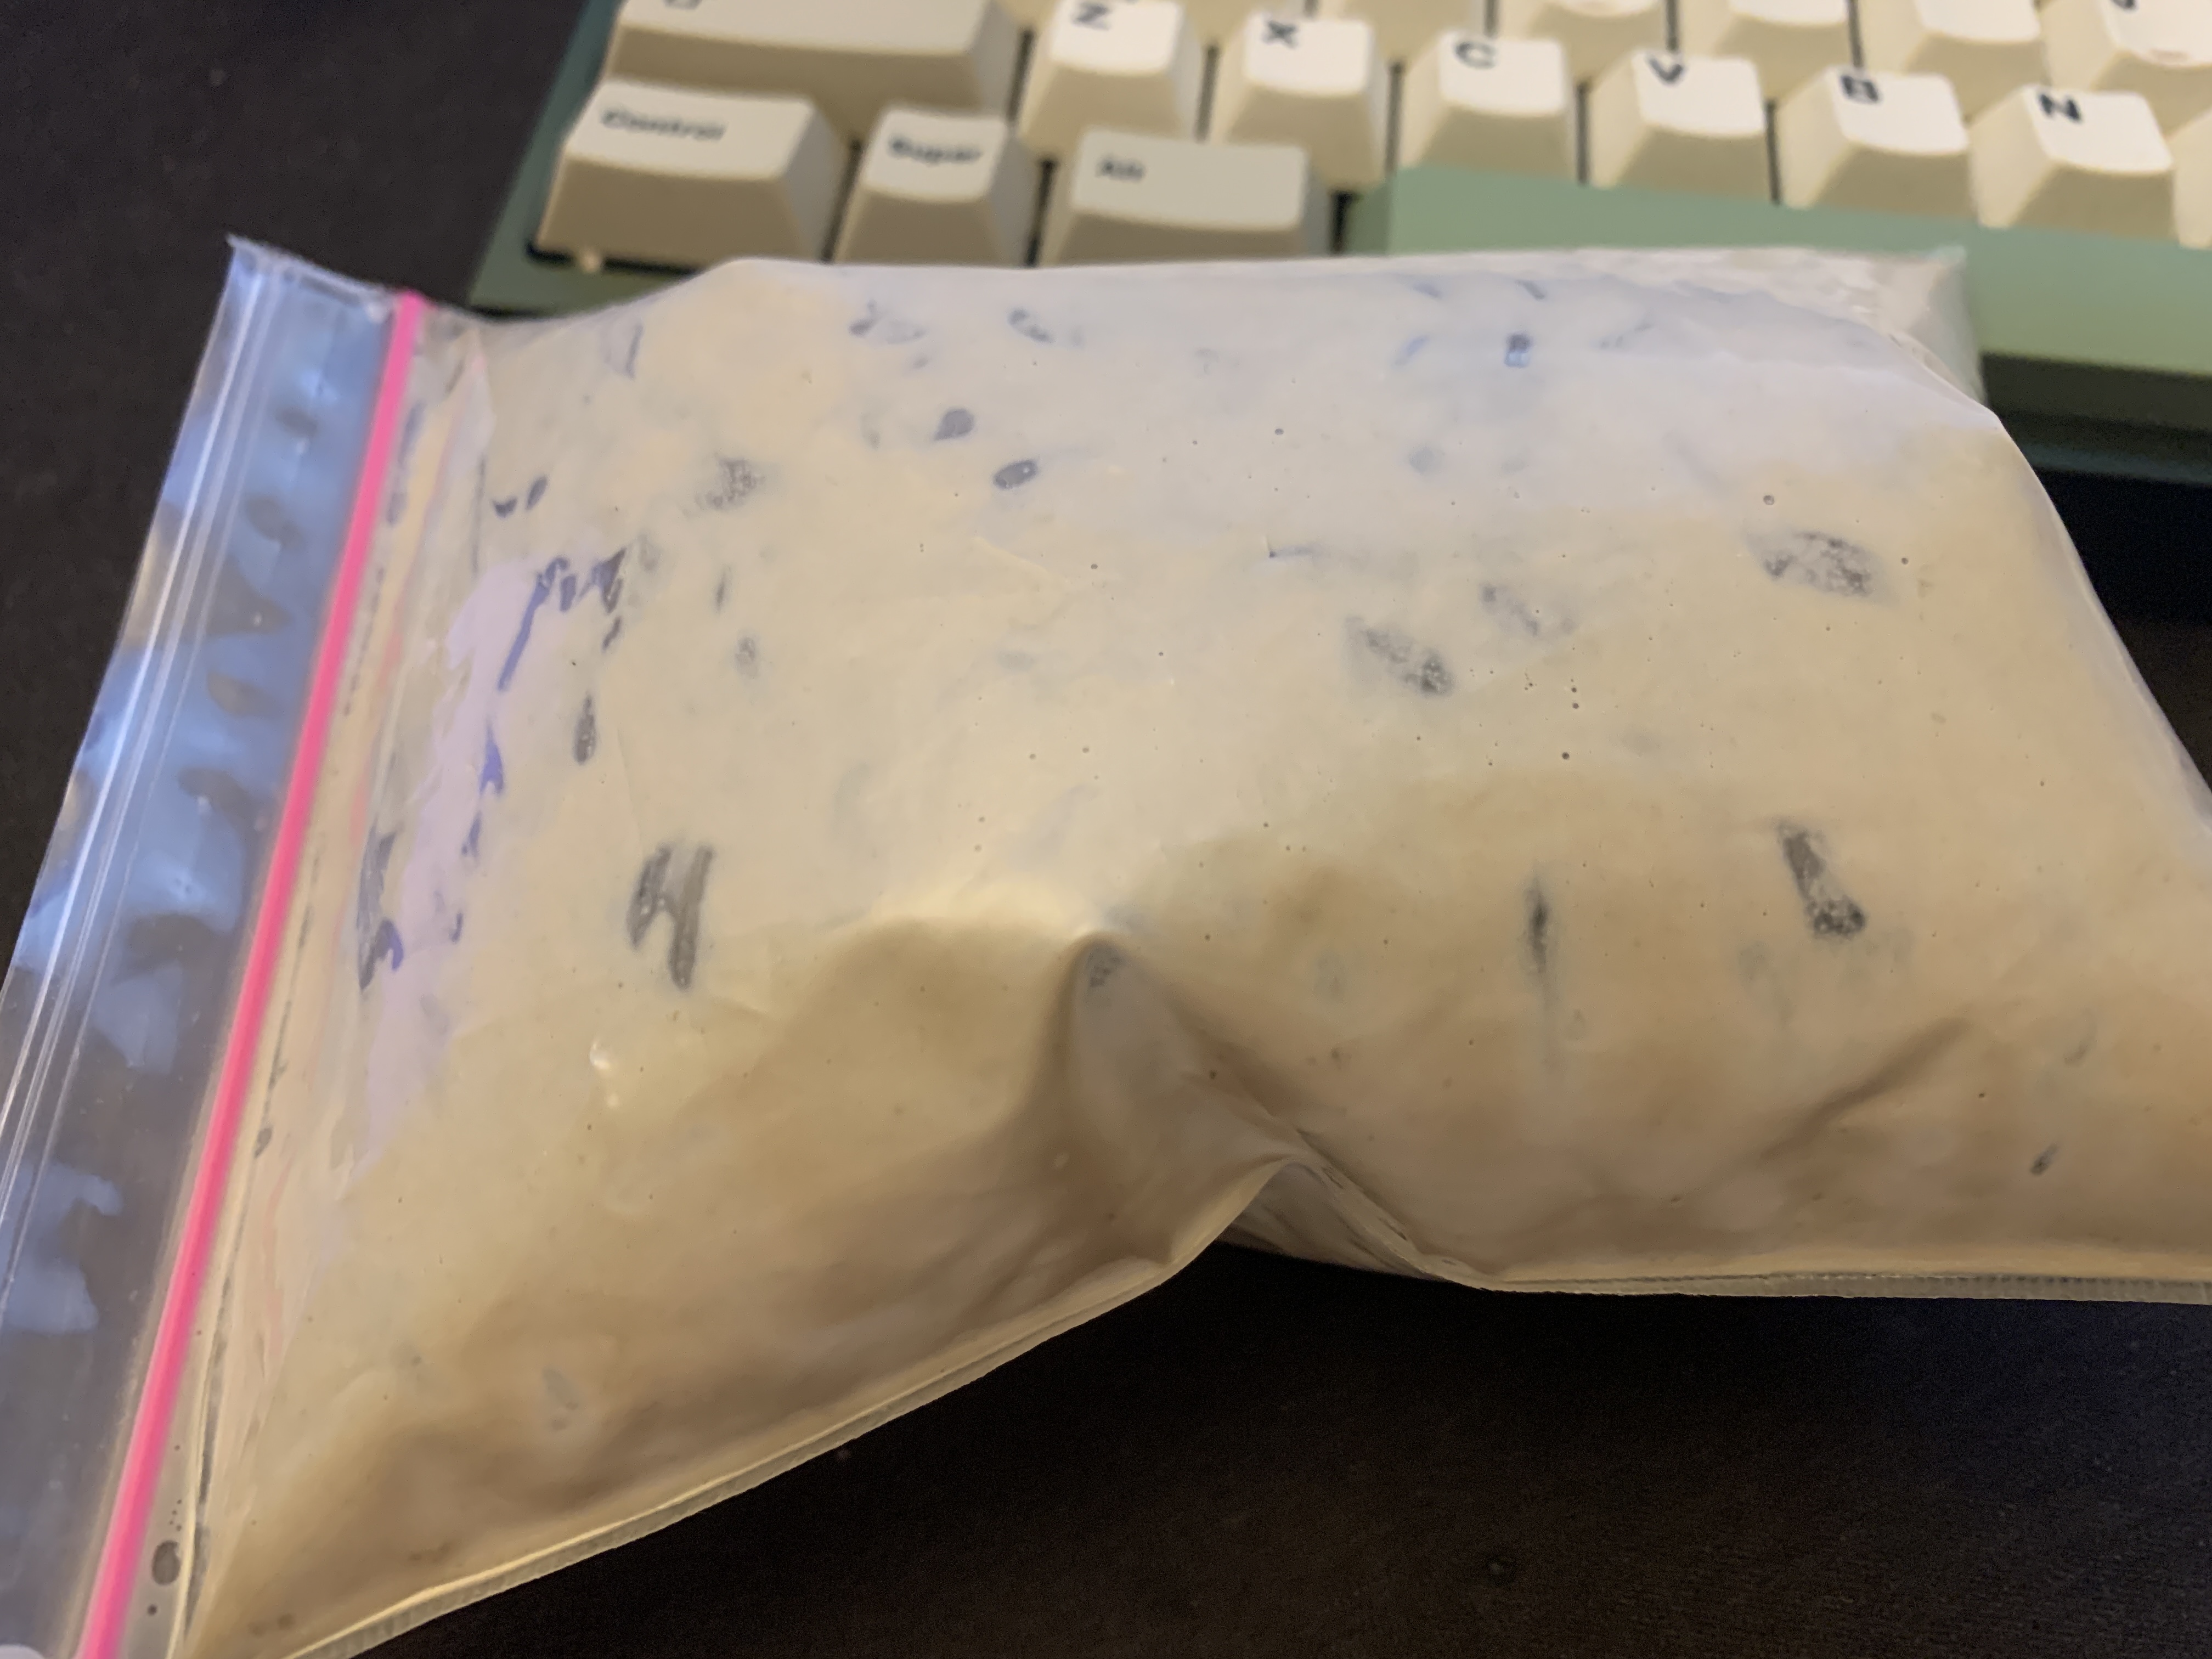
I started with too much PG into the bag so ended putting nearly half the paste in syringe, ending up with a thick soup that coated the bag evenly. Diluted paste needs to be thin enough to be bag-applied yet thick enough not to run down the stems. Just winging it for now.
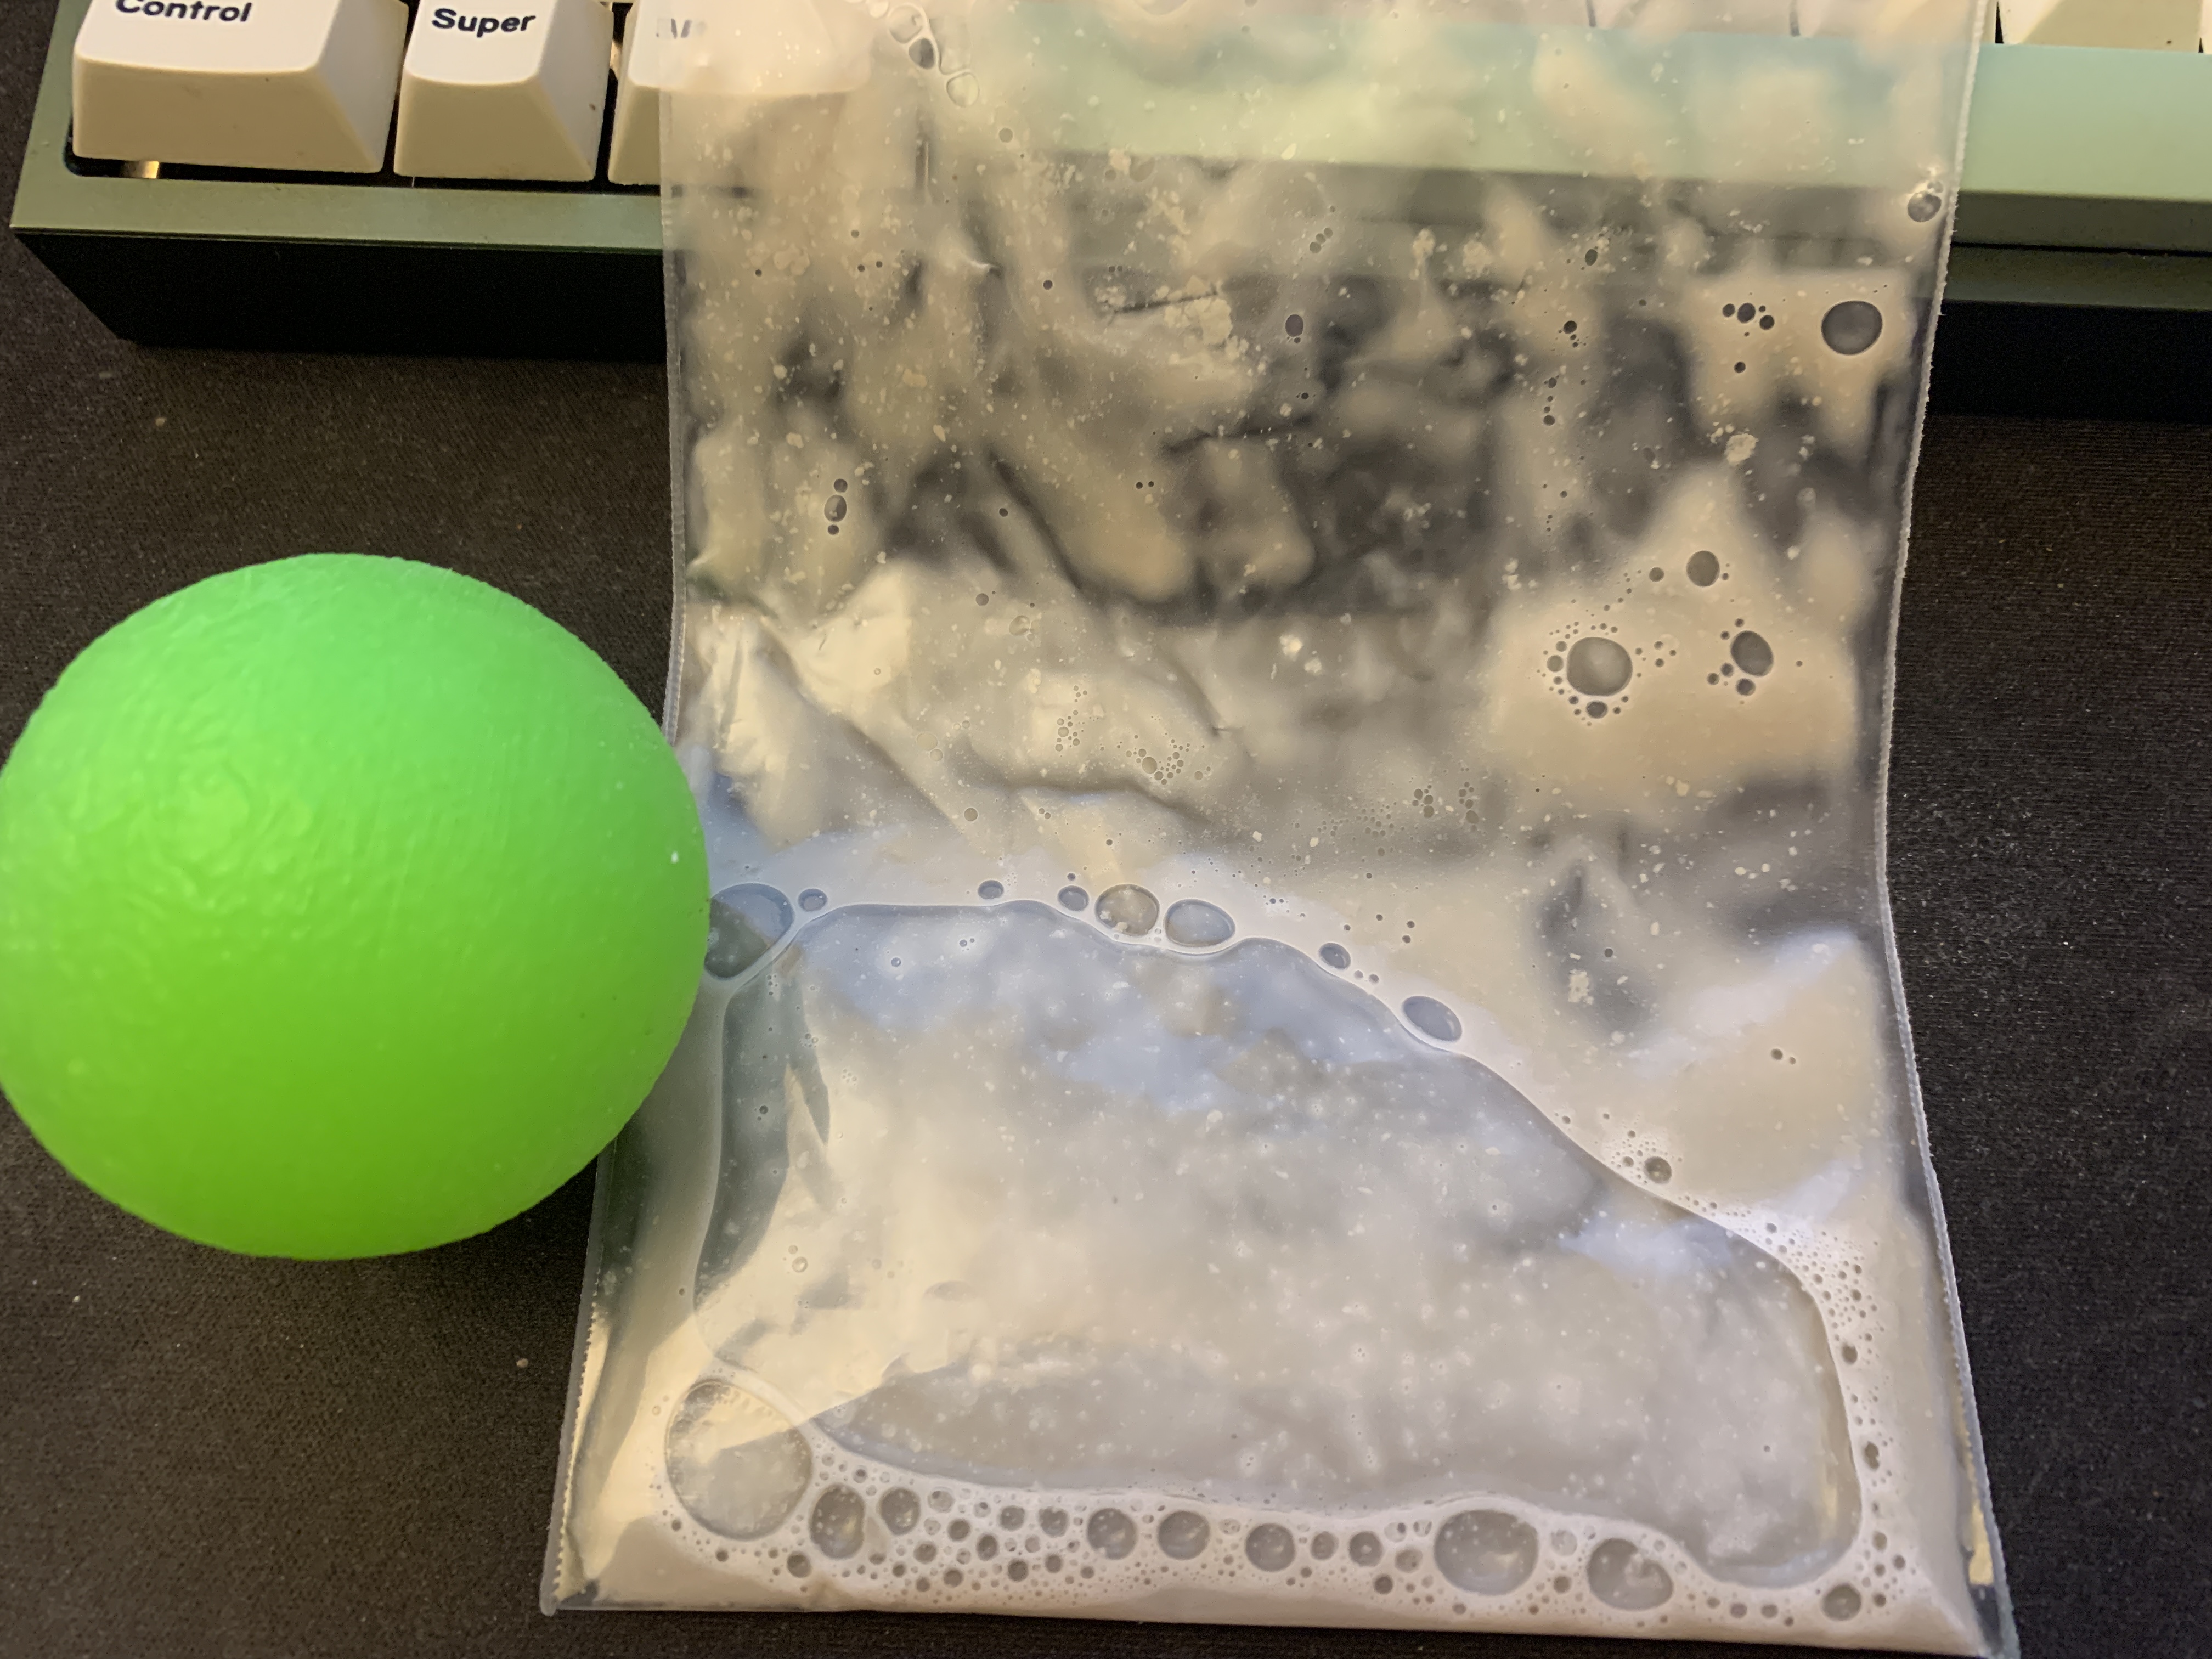
As to how I mixed the two, I put both the paste and PG in a bag then used a ball (seems I’m using the ball more for this hobby than for exercising) to spread out the paste, turning the bag a few time force PG to flow over the spread out paste. This how runny it used to be before I added more paste until it was viscosity was high enough to suspend stems for a few seconds.
I have been researching using higher concentration of acetic acid on POM/ nylon plastic to smooth it.
I’m going to buy high concentration vinegar and see how that works out.
Assuming it’s actually gold plating on the leaf, the acetic acid should not affect it in a redox reaction. (I did AP chem last year, I spent a little amount of time learning about it).
Worst case if it doesn’t work, my mom can use it to kill weeds. Or for compost.
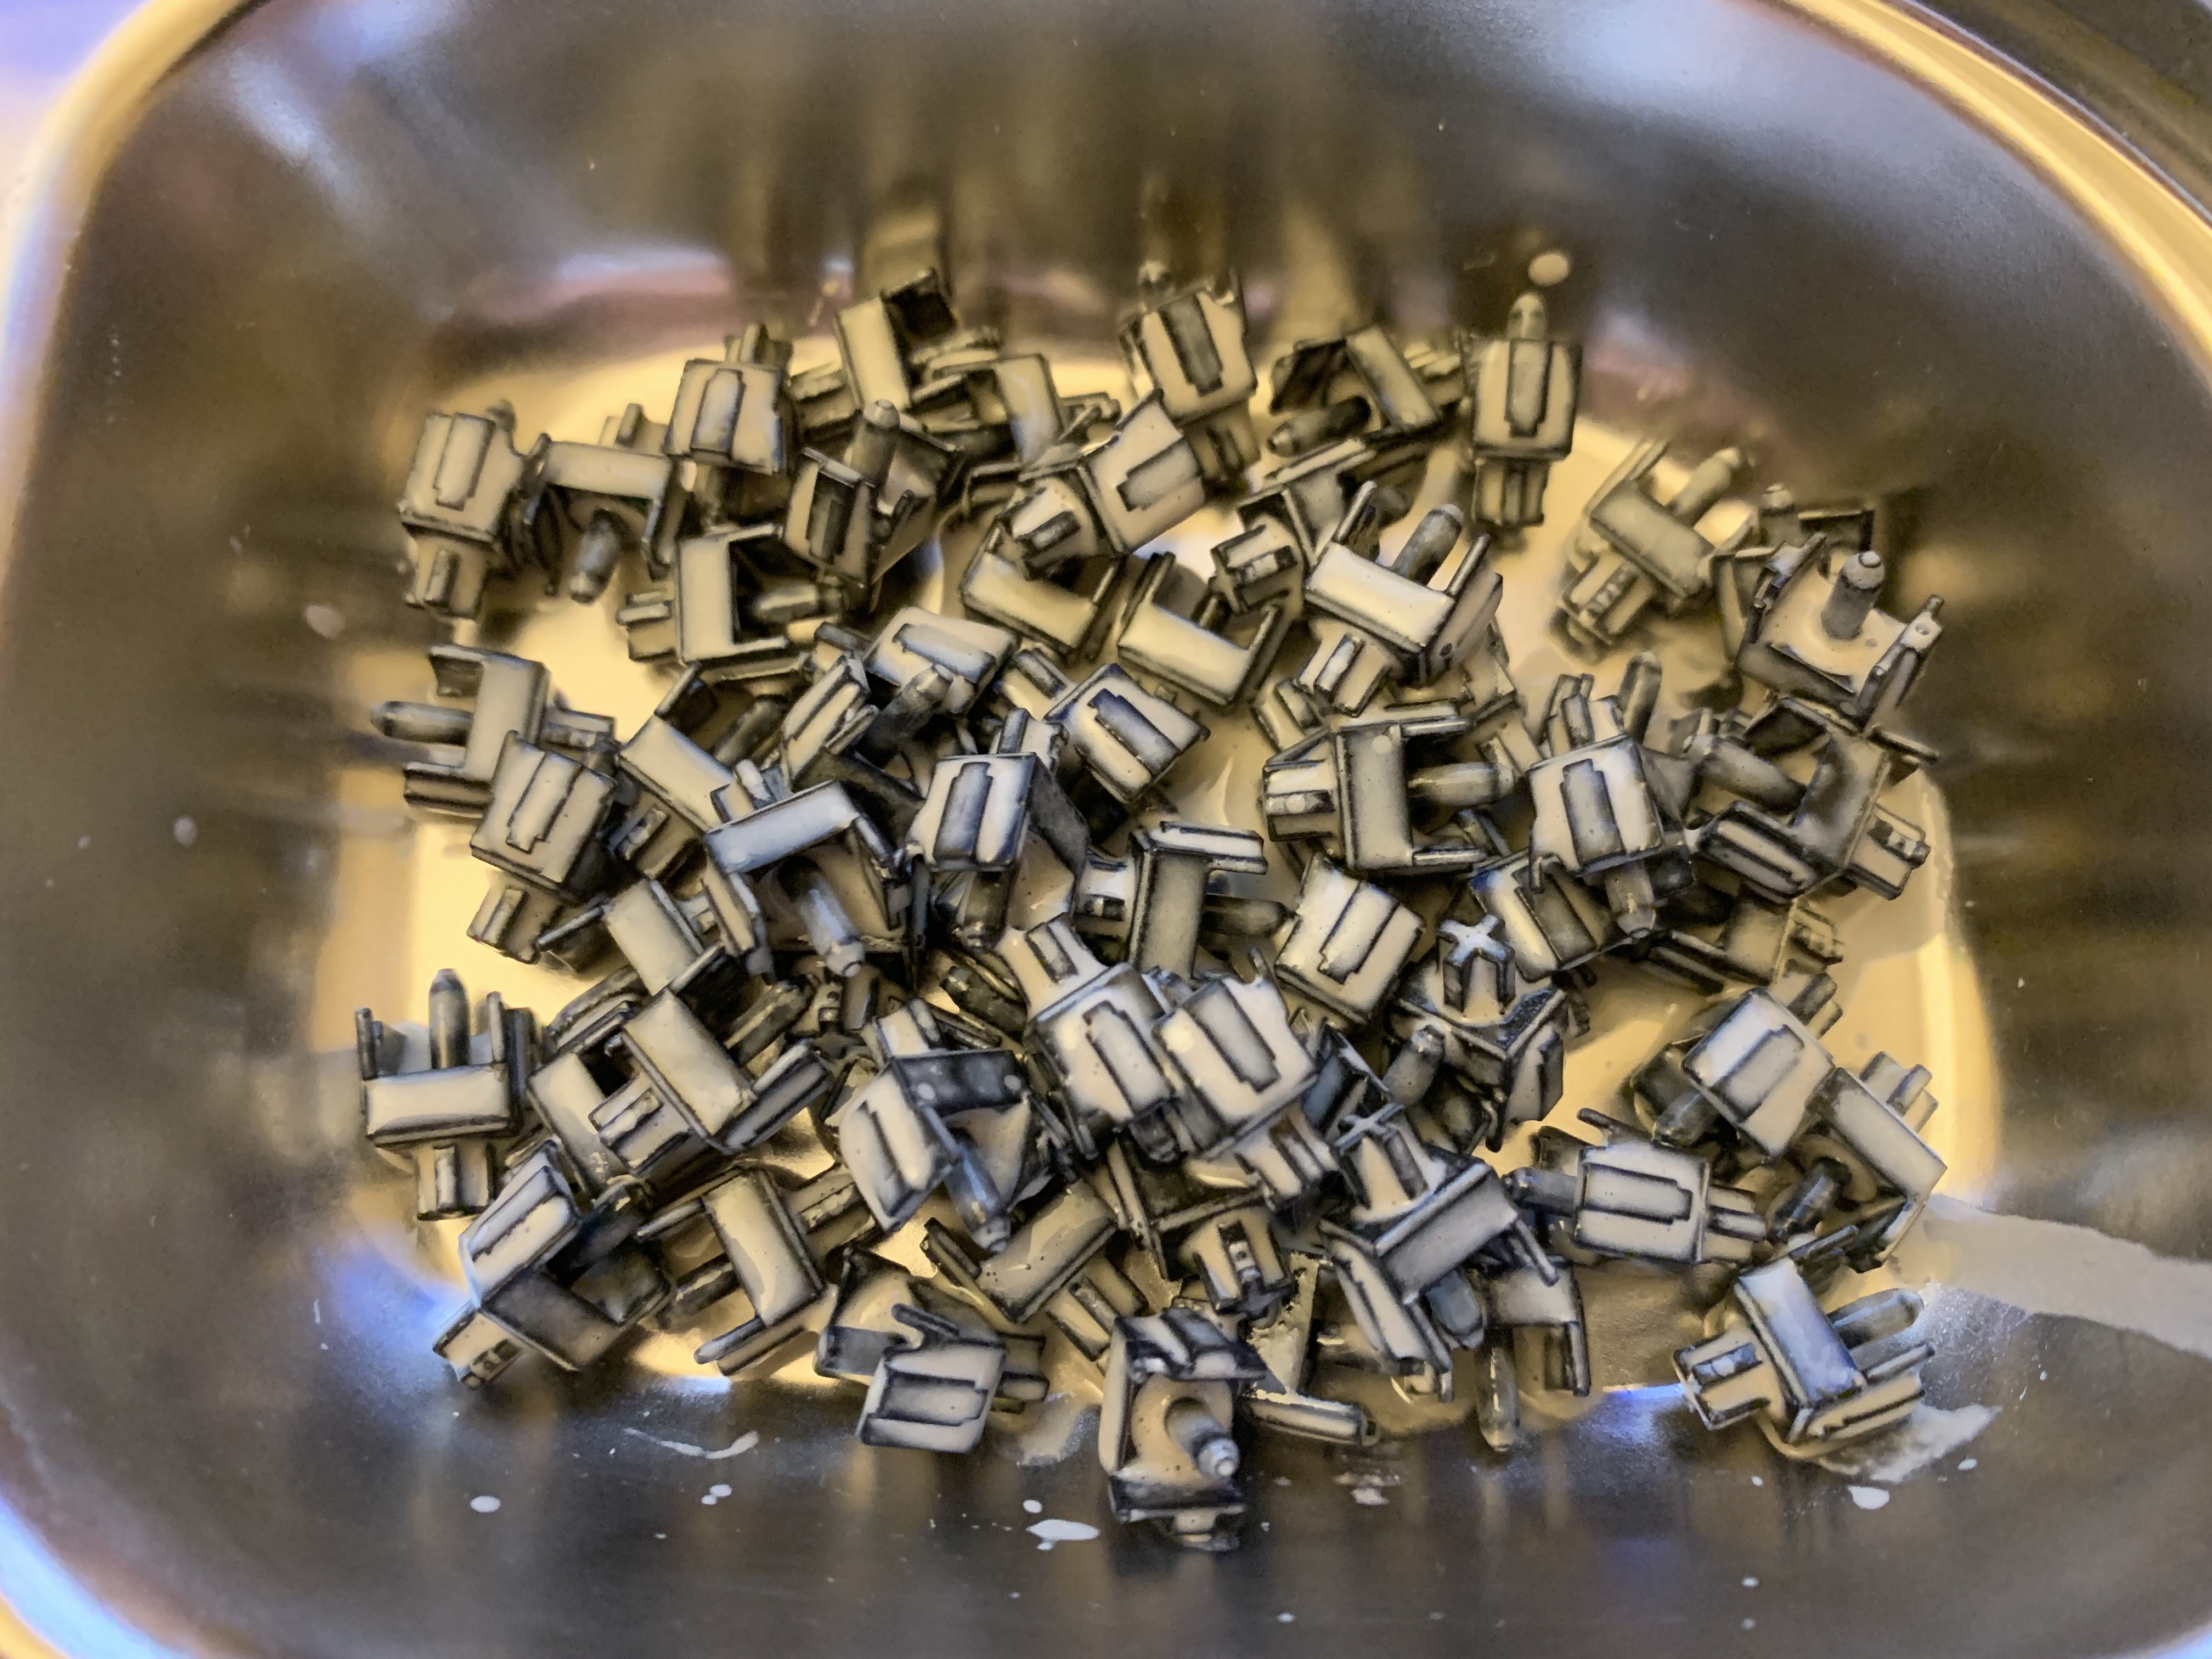
@donpark I was trying to stay away from this for a bit but my brain keeps coming back to it. Your right it is like rpg grinding… Can you take a photo close up of the stems side with the legs up and the opposite site of your polished ones? I want to compare them to mine specifically the wear / mirror tracks. I have something else I want to try out with the stuff I have left.
That shot of the stems is the best closeup my iPhone 11 XR can manage. Been thinking about getting a 1000x microscope but haven’t pulled the trigger yet. What did you want to try out?
I like your ball method it is superior to the saw. Varying the angle I can achieve similar results but I think I can do better. So I want to try vibration to see if it works at all and if so how does it compare.
Sorry I didn’t see a photo was it one earlier in the tread you mentioned?
PG is water-soluble. It evaporates as well but very slowly. Supposedly, it’s safe to use in food. If ingested, PG will break down. I’ve left the bag used to apply the diluted paste open, hoping that’d thicken it further for next use.
I’m not sure whether this batch being polished will be as good as the last. The switch being polished is Panda stem in BSUN housing. The problem is the switches don’t feel that abrasive which makes me wonder if surfaces are being polished or not. We’ll see. I’m going to spend a full week polishing to see what extended polishing time does.
Well oscillating worked! I would call it vibrating trying to avoid a NSFW path / comments etc.
Experiment:
Used .5 Diamond paste in switch as per previous trials. Took an oscillating motor entombed a keycap in hot glue and attached it. Put the motor keycap to a switch that was in a spare numpad. Oscillated for about 4~5 minutes slowly depressing the key at different angles. I noticed when the direction of the oscillation was perpendicular to the switch actuation to give the better results.
Results:
Smooooth. Same as previous tests with the ball or break-in machine. (tried without the diamond paste applied to a stock switch it didn’t come out noticeably smoother then stock)
I like that results can be achieved in a short amount of time however only doing one switch at a time which is tedious. Also it is a manual process of slowly actuating the switch at different angles. I can’t think of a good way to scale this up to say 12 switches at a time. I tried a 1/4 sander but its too powerful, and single speed. It started to shred the pad under the sander. I have an old back massager heating matt I can take part. I also have some Halo True switches coming in a little bit that I hope come in those nifty Drop trays that might open up some options. Let me know if anyone has any better SWF ideas.
(Thanks for the photo Don I found what I was looking for on your previous photo with the switches drying, I was looking for the polished the track marks on the stems but I found the same marks on the stock switches)
Whoa. That’s hardcore hacking. I like the idea of combining vibration with position and angle variation.
To do this with many switches at the same time, what do you think of this idea?
place a flat board covered with sticky foam on one-side. it needs to be sticky and deep enough to grip each switch stem or keycap even at an angle.
place one or more vibrating motors on the other side of the board.
add mechanism to change stem height (stepping motor or just weights placed on top of the board)
add mechanism to change stem angle (maybe bumpers with stepping motor pushing against the board from a side or tilt the floor switches are sitting on.)
Subwoofers may also work as vibration source. Play different music to change type and location of vibration being applied.
Videos are not really my thing but I want to demonstrate diamond paste in general vs stock switches.
Blue/Top row Tealios v2 67g.
Orange/Middle .5 Micron Diamond Pasted (then cleaned out) and vibrated. (205g0 on the stock spring)
White/Bottom Row Stock Cherry Blacks. (205g0 on the stock spring)
(Keycaps are PBT OME row 1 profile)
Tealios are still smoother but not favorite sound profile.
Note: This video is quiet
Thanks Don those are interesting ideas. I am trying to gauge how far I want to go down this path of upscaling. TBH doing them this way isn’t too bad and kind of mindless and can be done in small batches. I am not trying to set up this as a service LOL.
So far I found that something really needs to hold the switch stem to transfer the vibrations into the switch housing. I tried my lube station which was flat and satisfyingly the perfect spacing for 4 switches for my other acrylic holder. But it didn’t allow fully pressing the switches. I think something like keycap stem or keycap itself is good because it can fully depress the switches. A grid of switch stems 3d printed wouldn’t really help either because the movement would be just up a down not at an angle.
I am going to try a straight up an down vibration to see if it even needs the angled actuations with the vibration. If it doesn’t that makes scaling up somewhat easier.
Also here is an example of the oscillating technique.
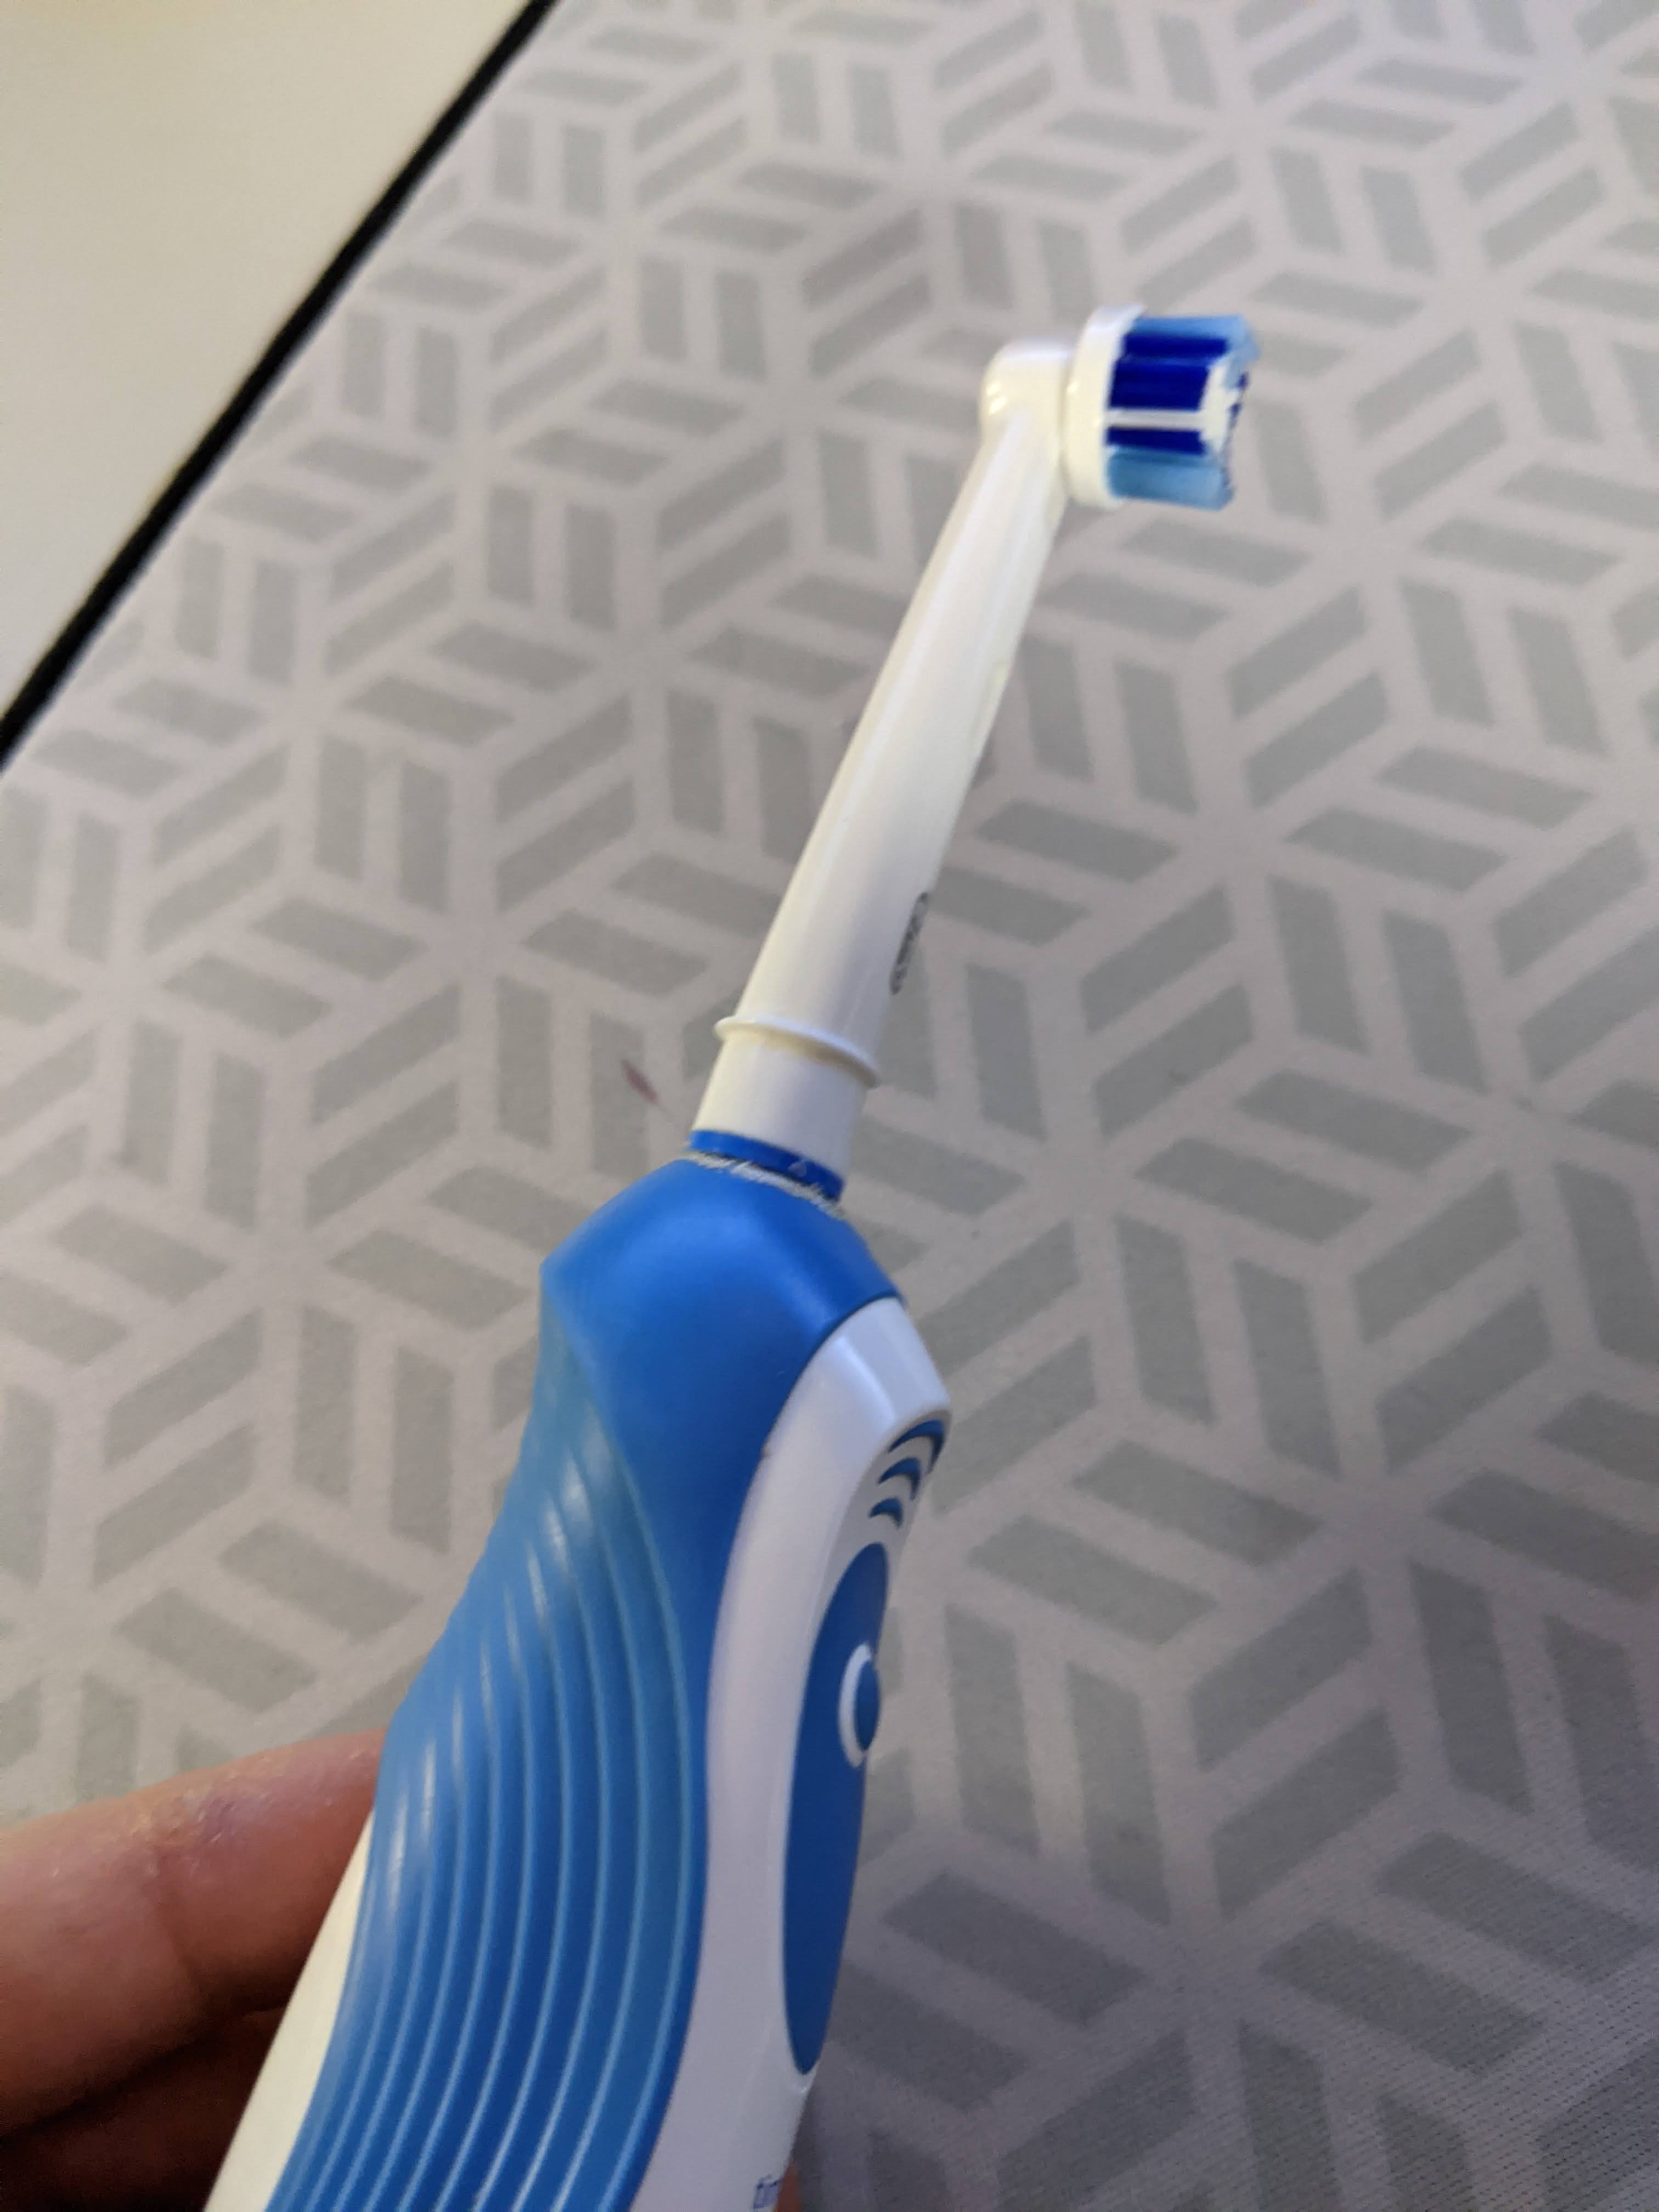
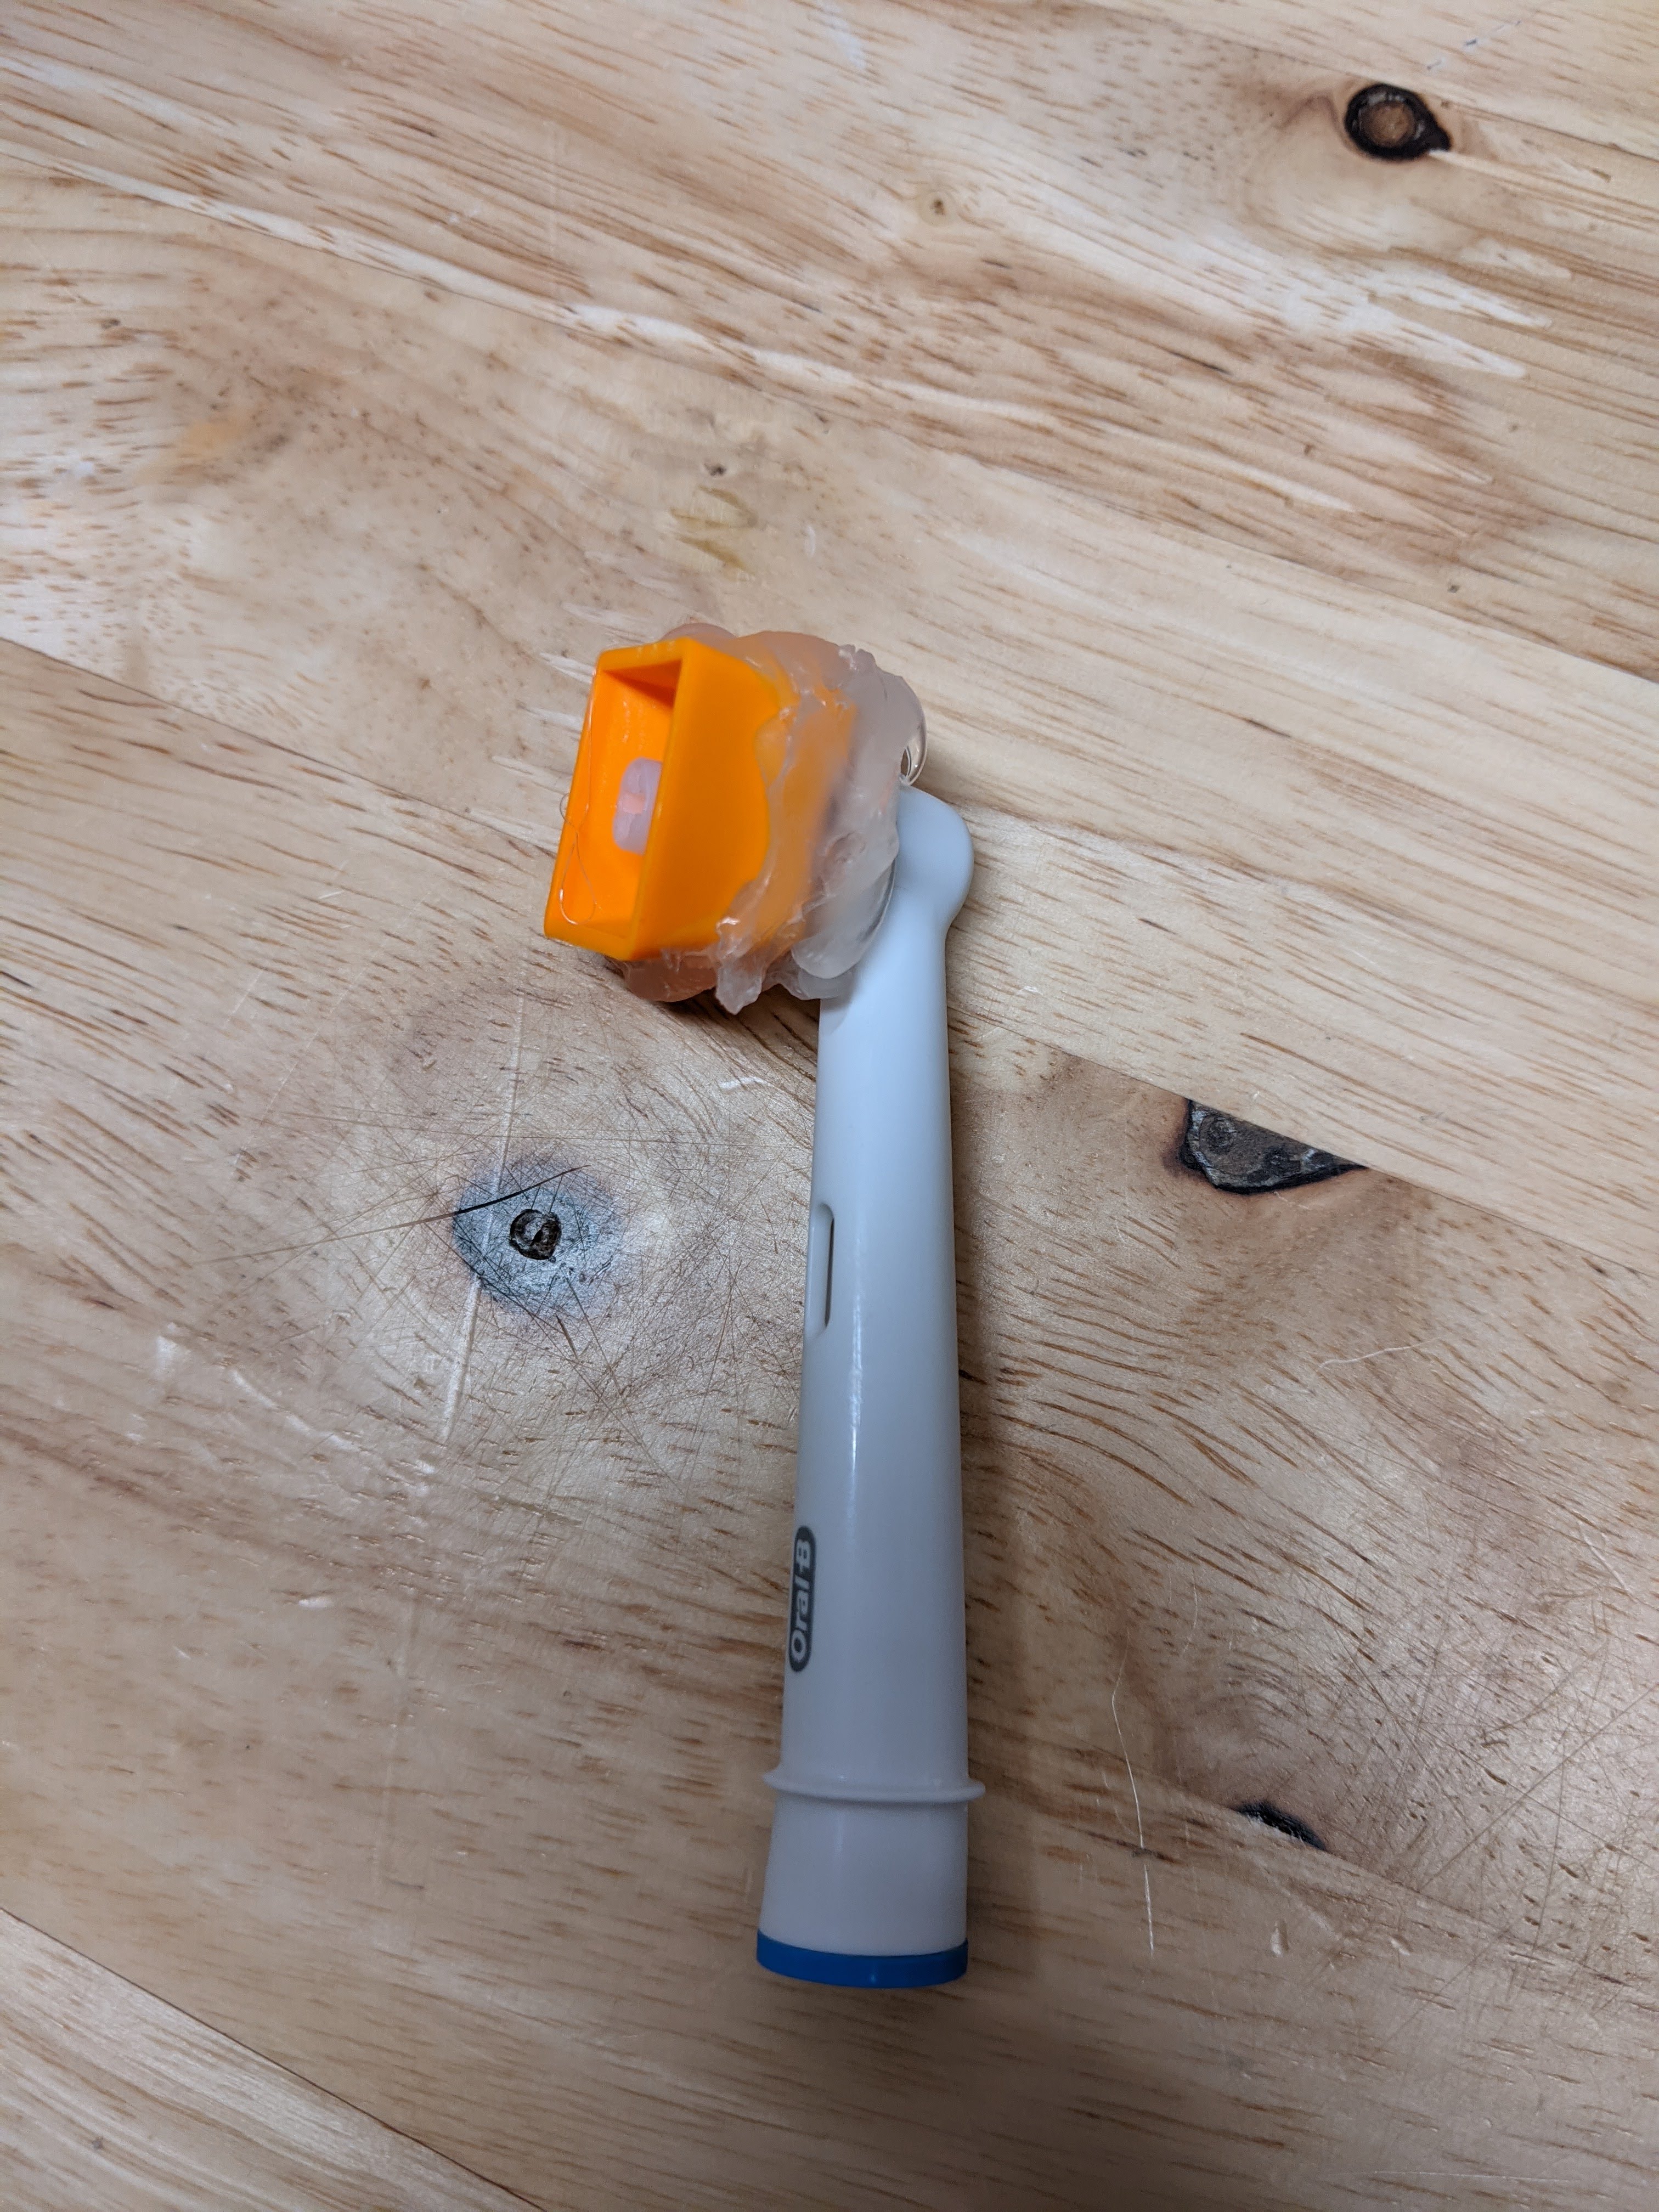
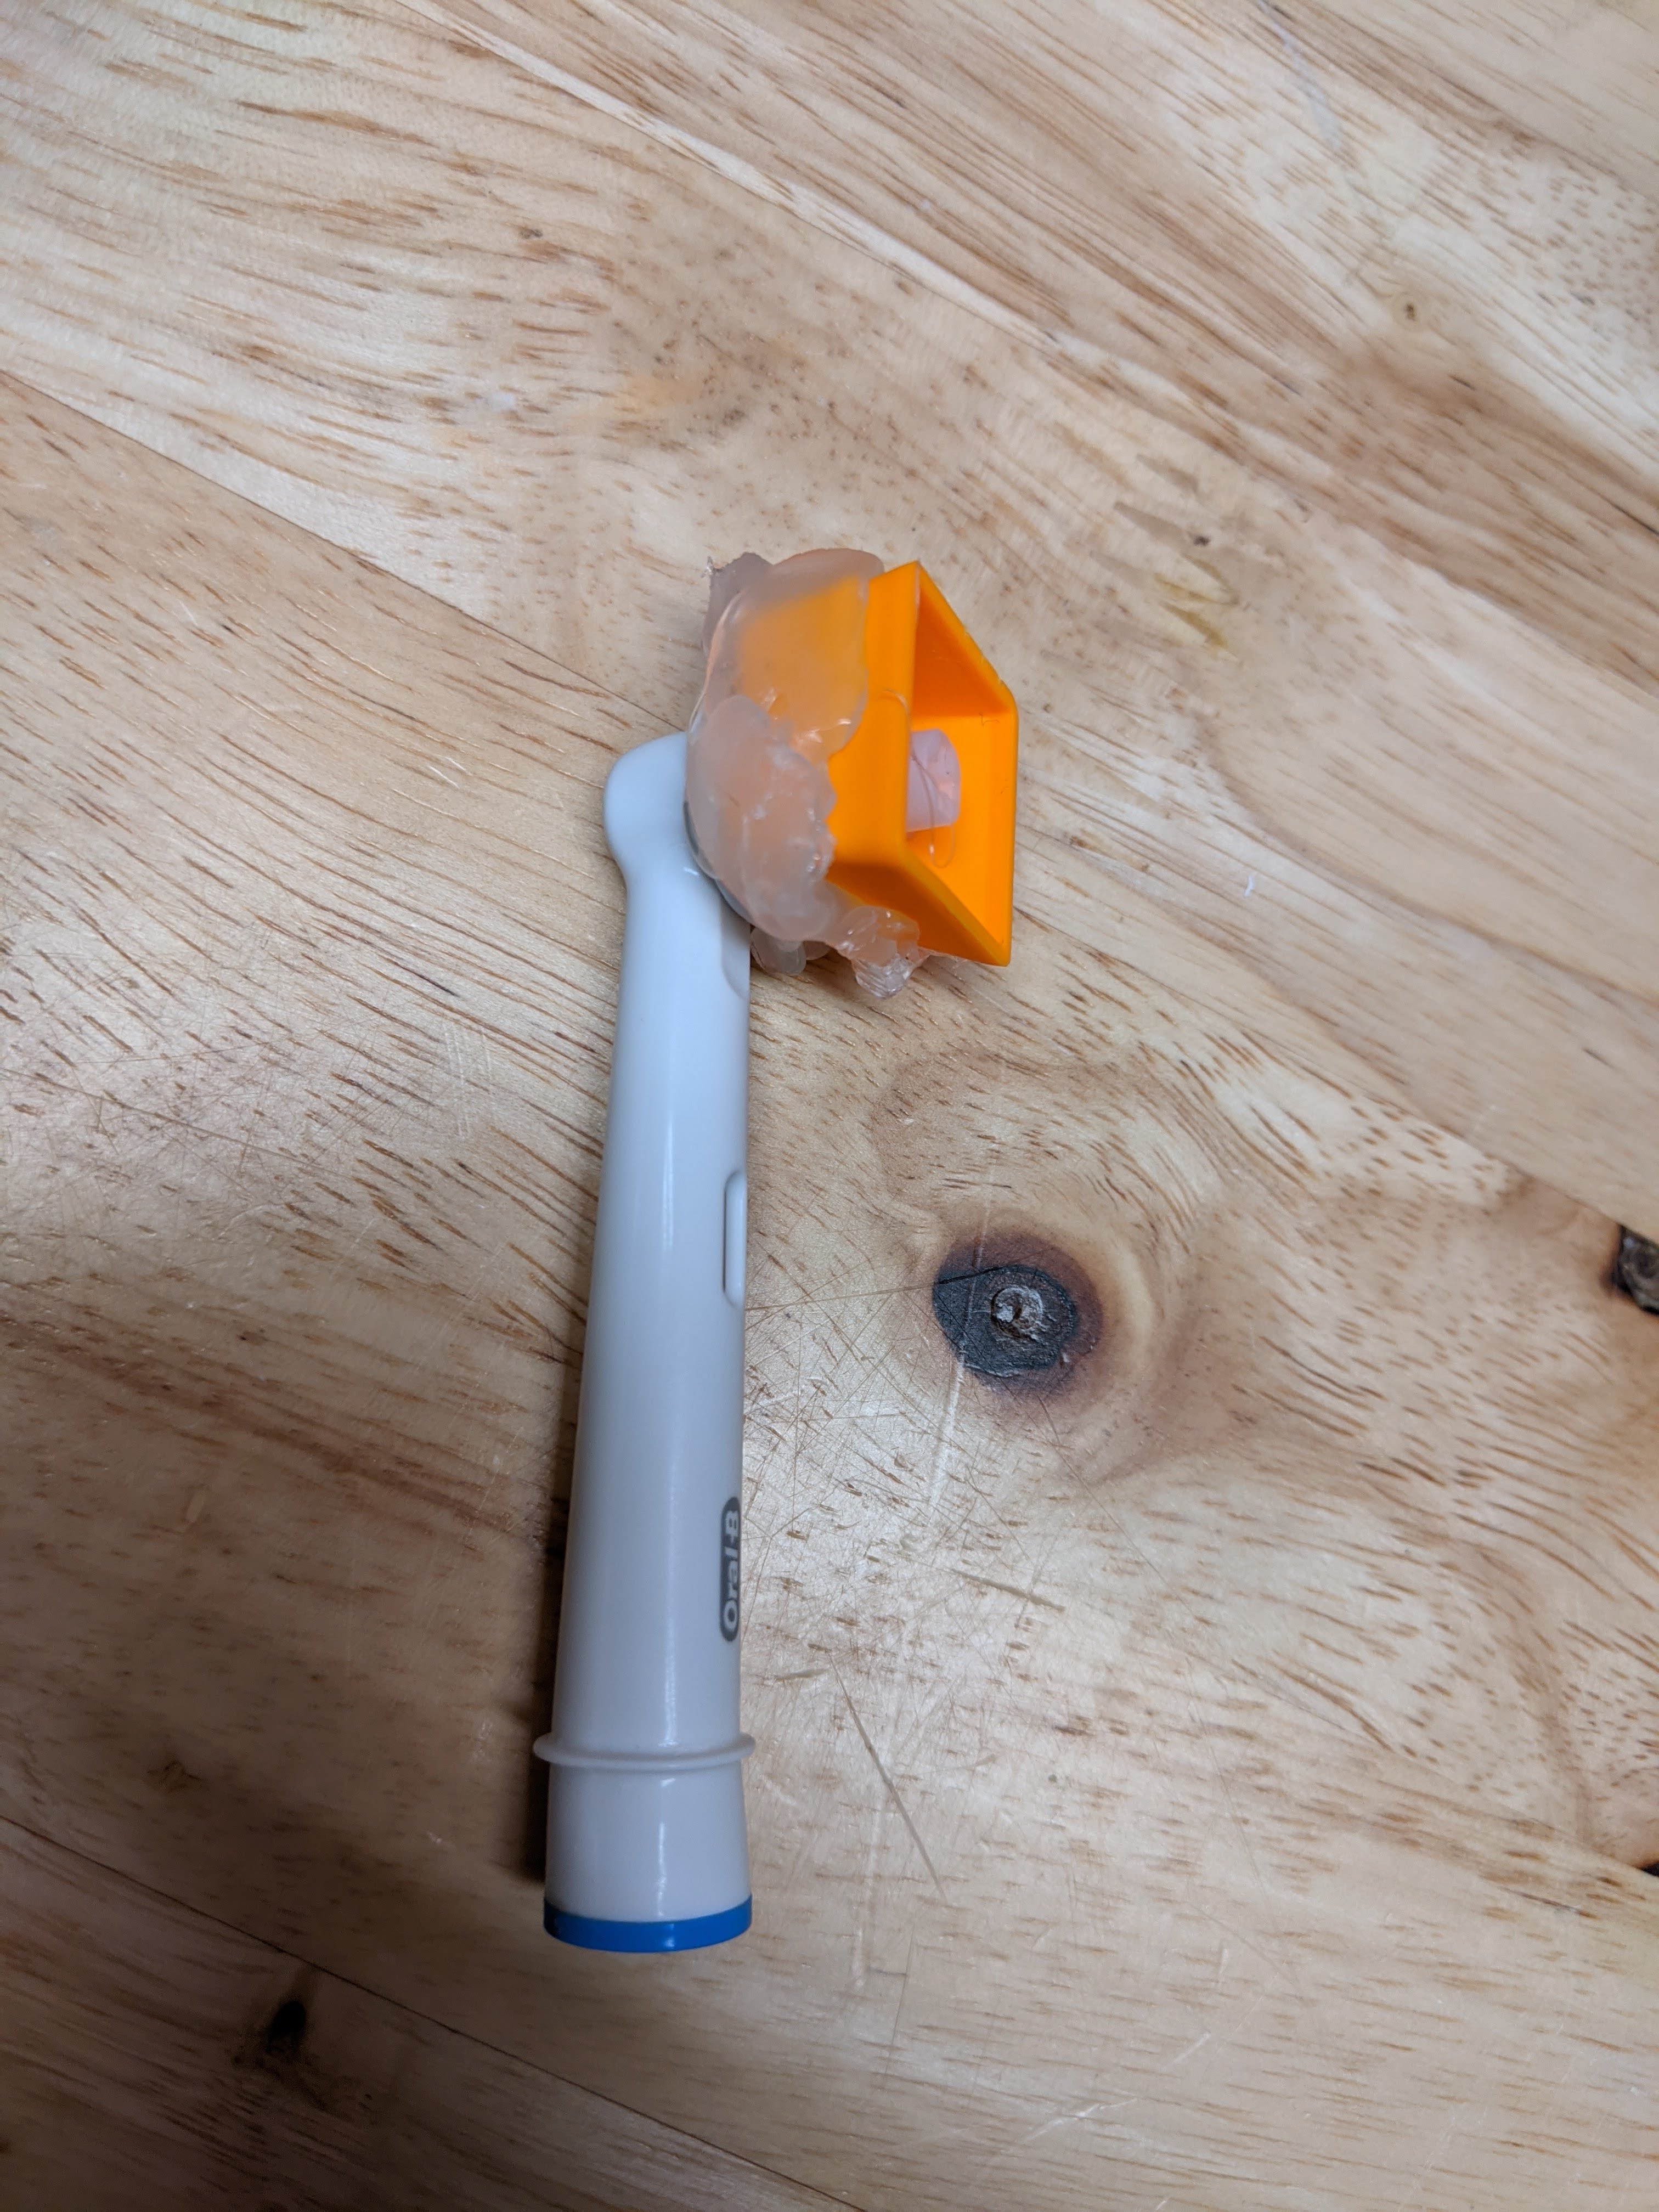
That looks great. Hmm. Electric toothbrush with some kind of rubber cup (maybe a silicone keycap?) of to allow tilted-pushing may be able to polish a lot of switches in relatively short amount of time if ~30 second is enough of polishing. This thread is turning out to be quite a fun thread.
That is an awesome idea thanks! I am looking at my toothbrush right now it has replaceable heads I don’t mind sacrificing one for this I need to change it anyway. Power wise it is in the same neighborhood with the motor I was using.
I will cut off the bristles and try the hot glue method and give it a shot for 3 minutes probably tonight or tomorrow morning.
Great idea Don!!! That worked smooth same result as the others. Brushed for about 3 minutes. I only actuated up and down not too much at angles so that was something good to know. I am not sure anyone is actually going to try this but at least it is easily “accessible”. (would need diamond paste though without that it doesn’t do much)
I also fully lubed this switch it is quite smooth.
Here are are some pictures of the process not my best hot glue effort but it gets the job done.