I was going to call this thread “woodworking for keeb stuff”, but it might be more fun to include other exciting (home improvement?) projects like 3d printed stands etc
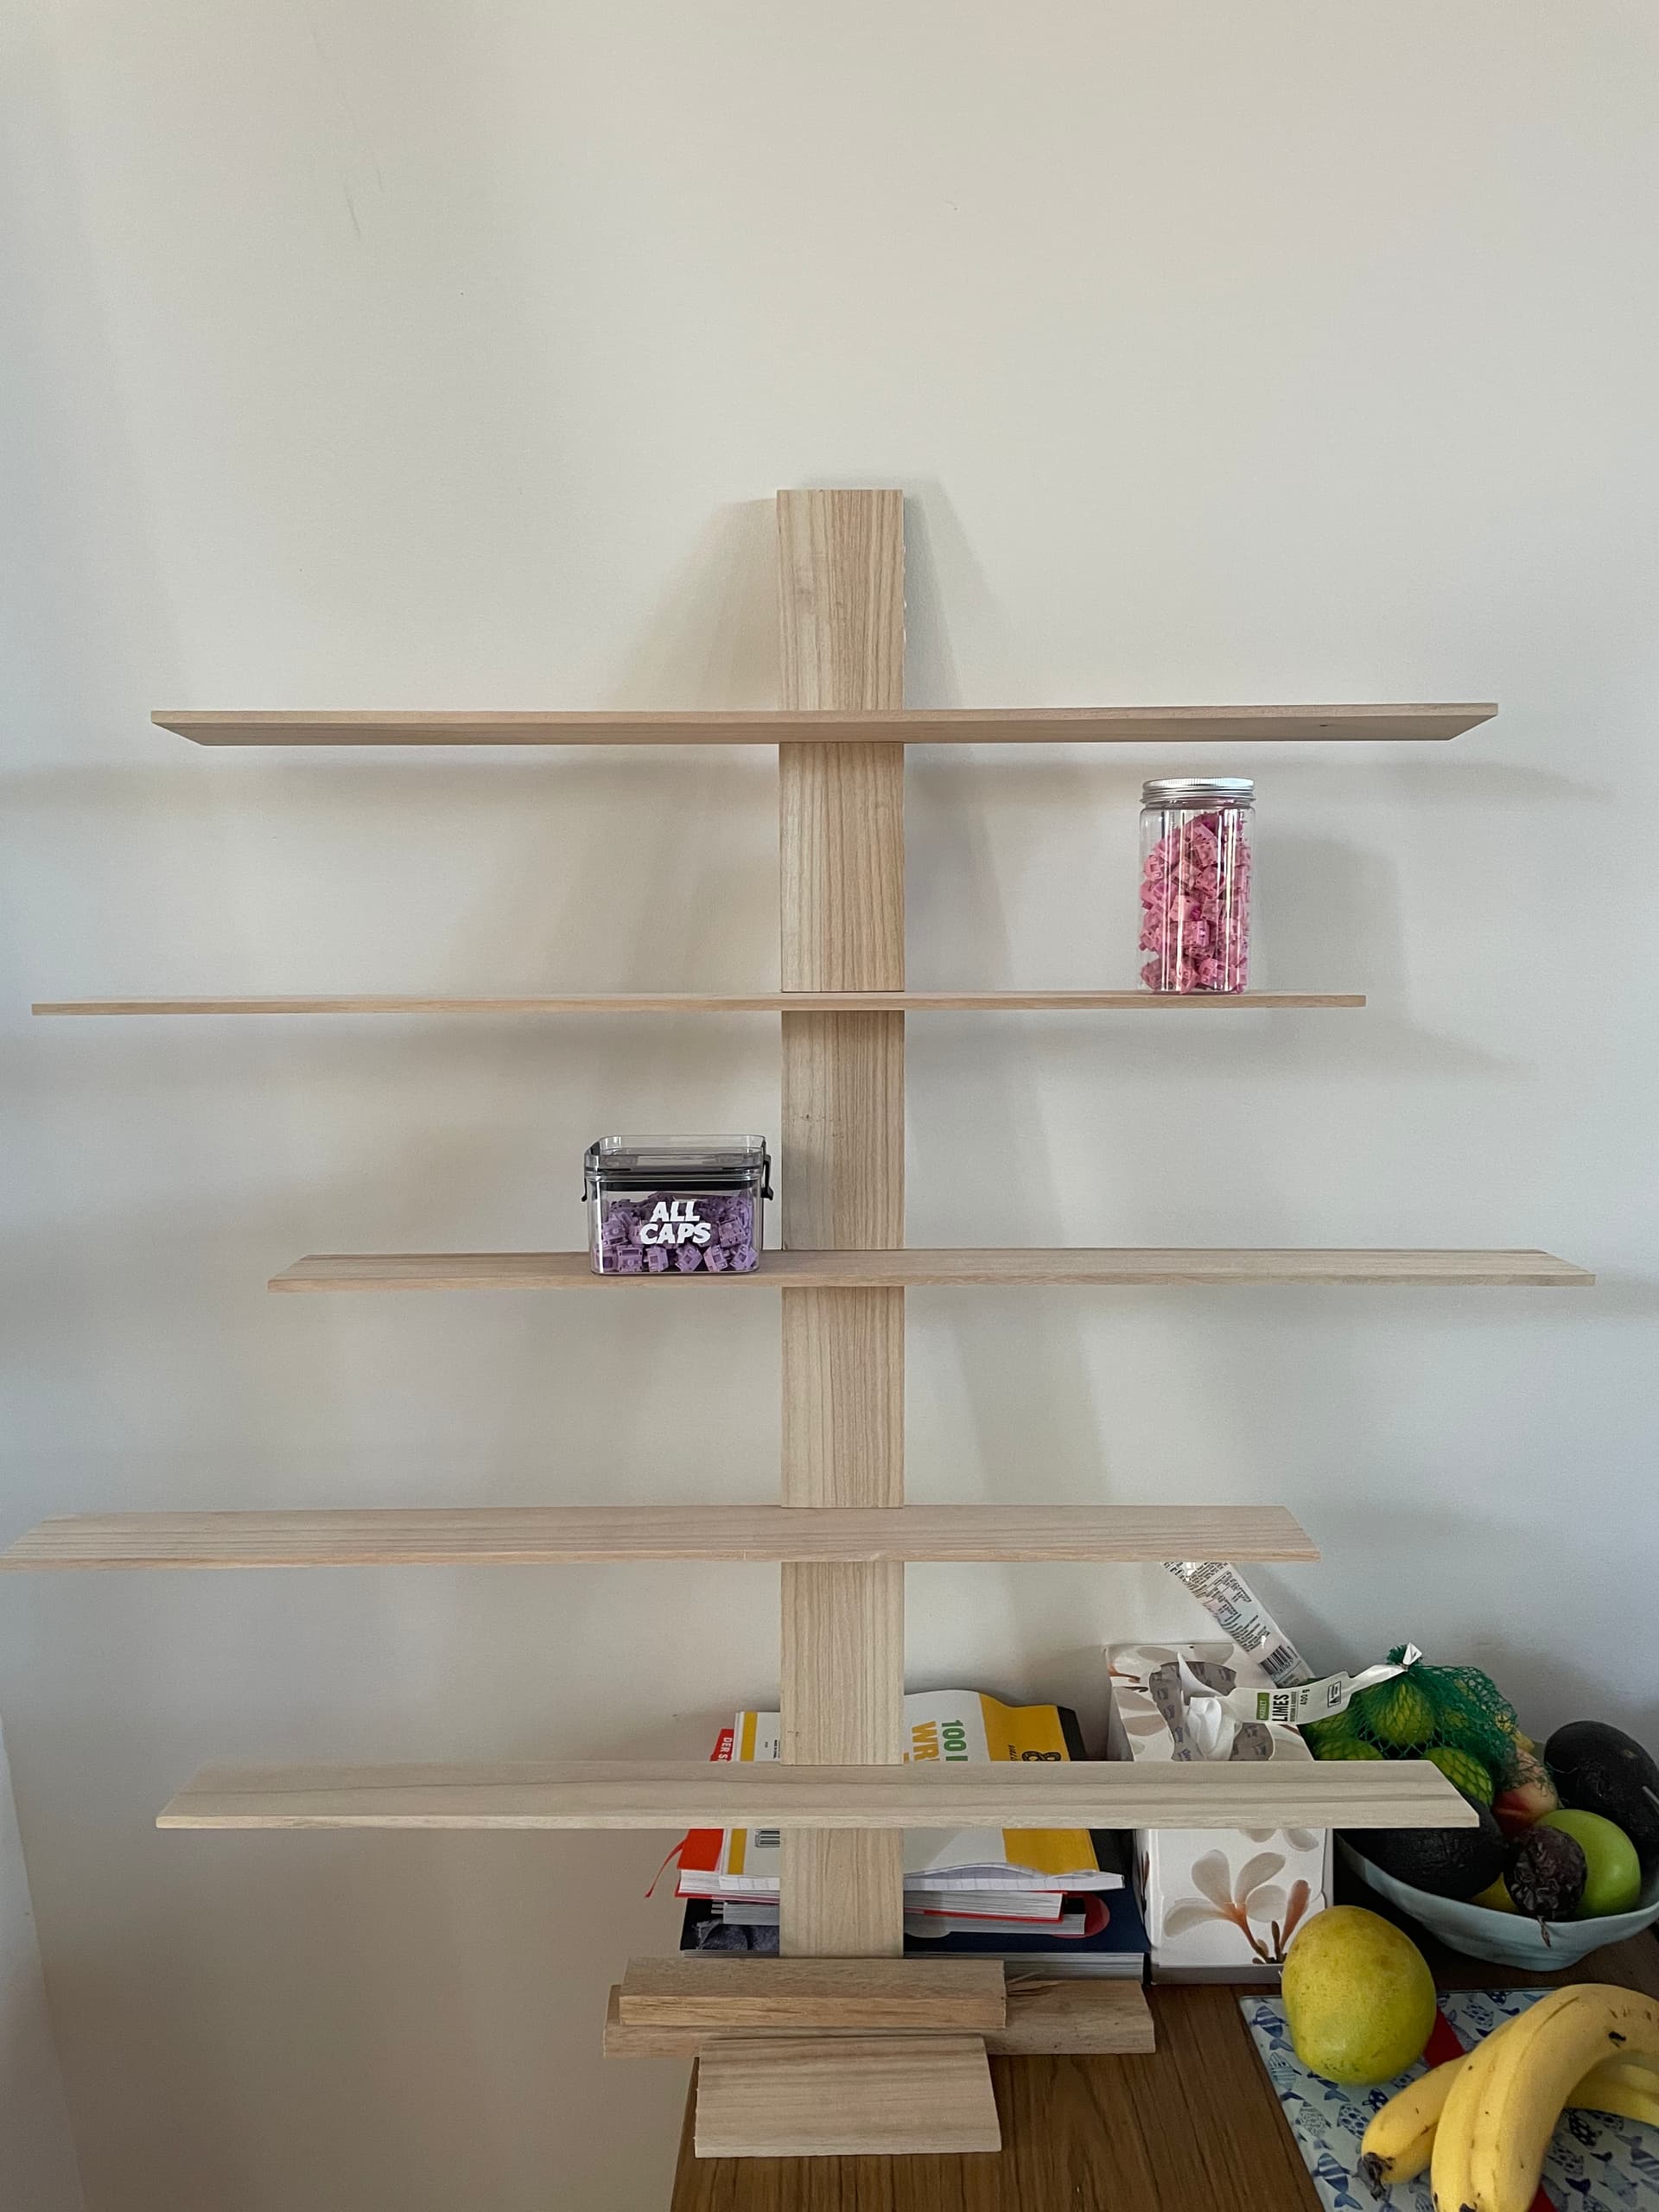
Here’s my entry “project switch shelf”
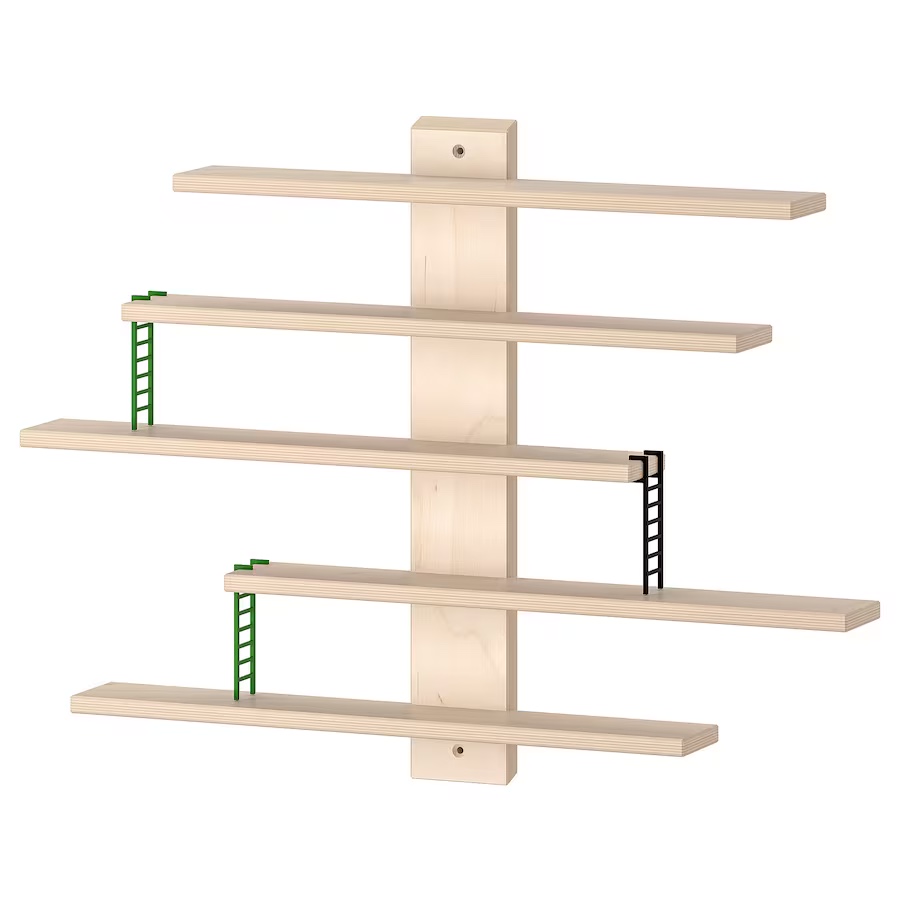
Trying to recreate a larger version of the IKEA Lustigt kids shelf to house some switch containers.
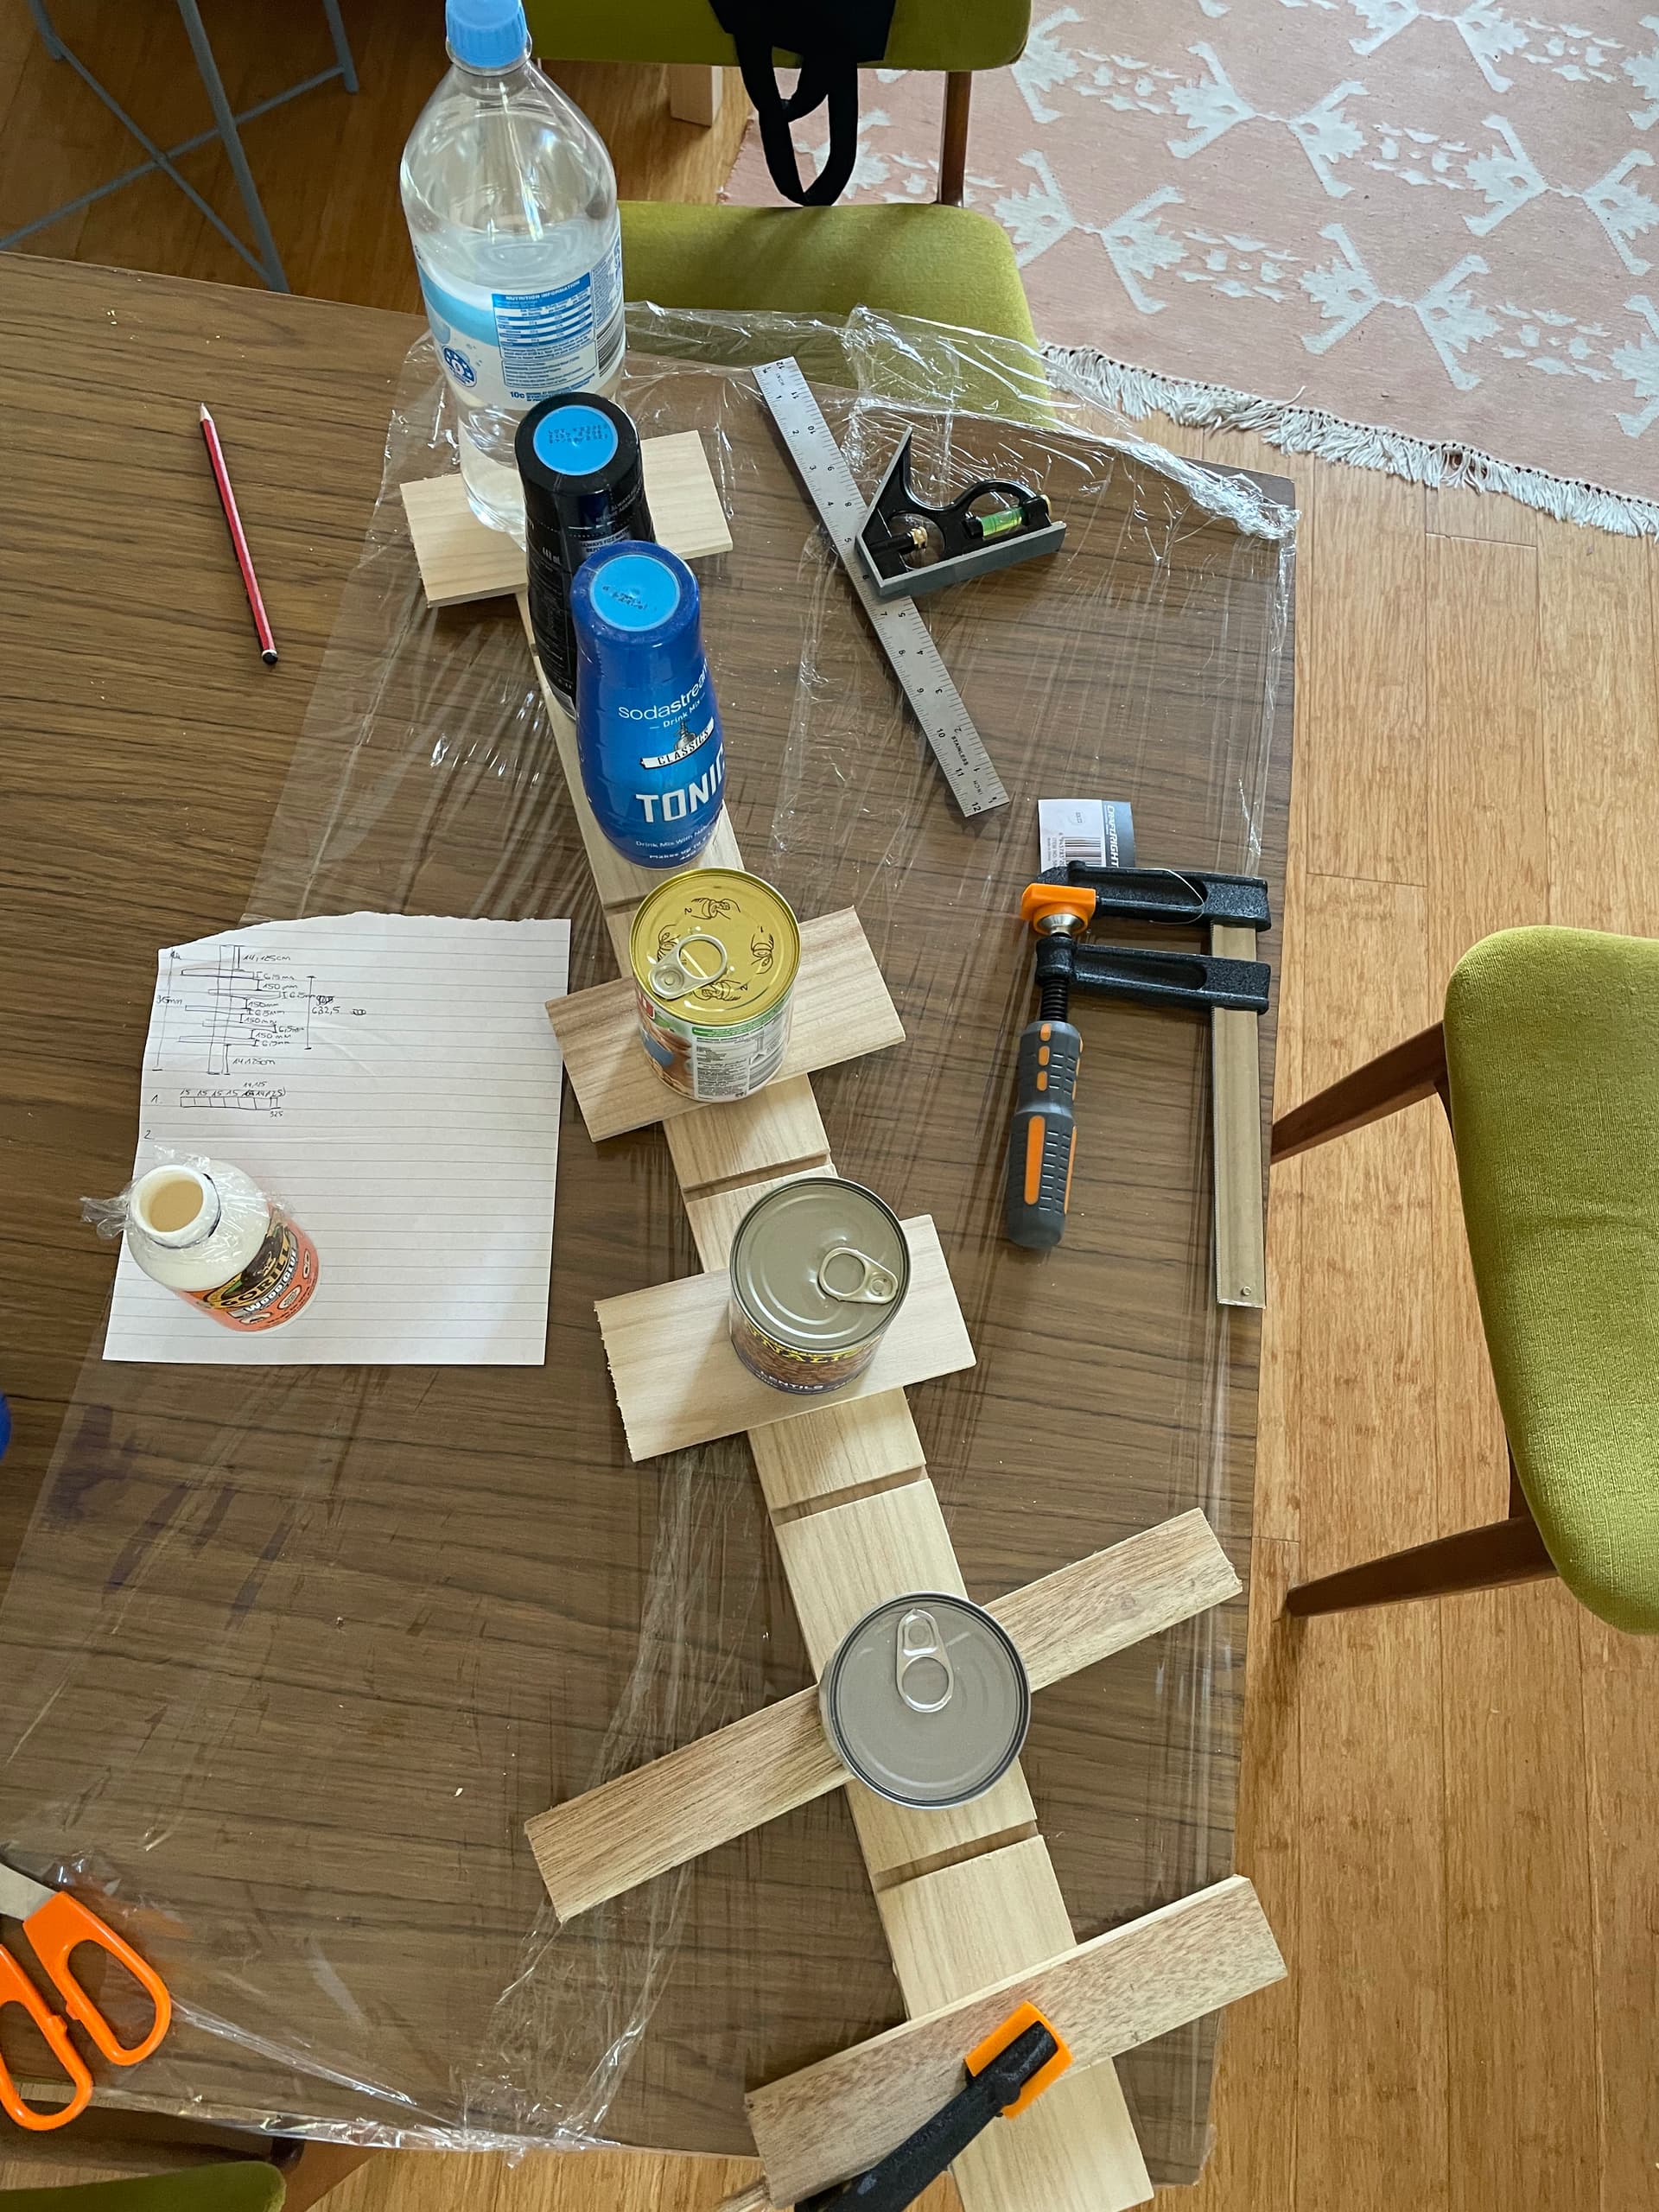
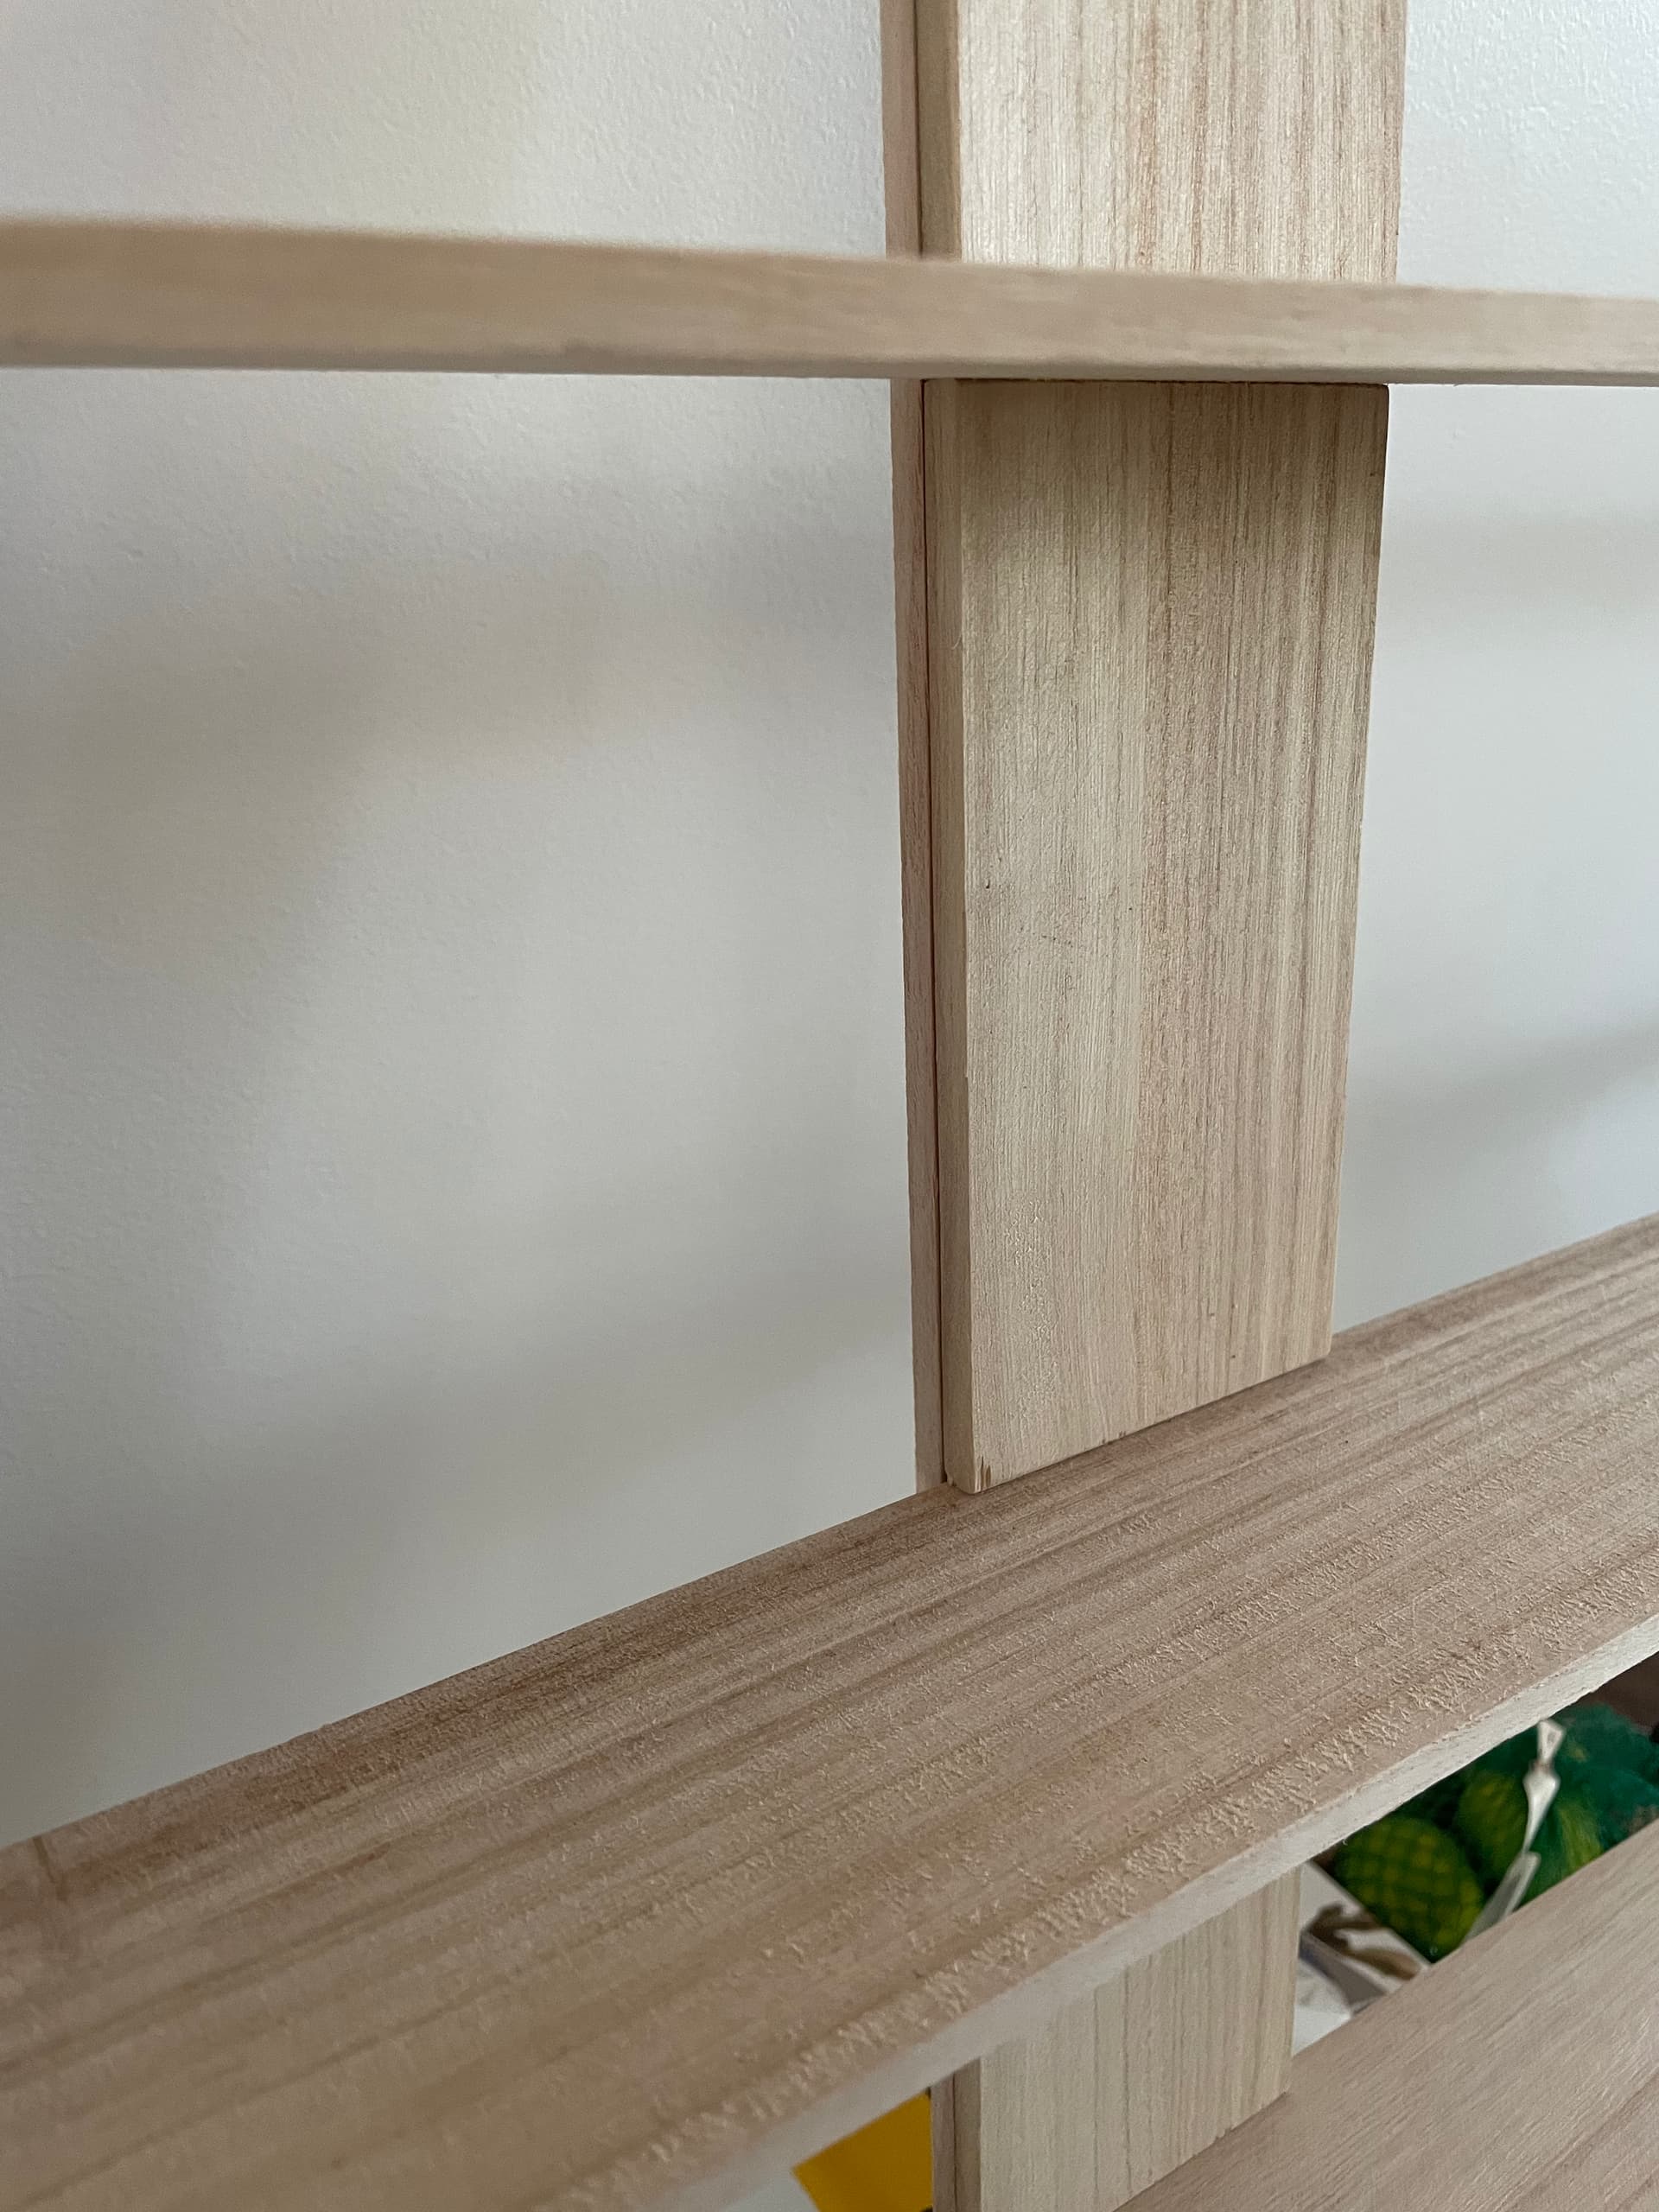
Once the glue has settled and this the pieces on top have created a pretend dado joint, there be some screws inserted to support them and the shelves aligned and glued and screwed in as well. I’m a bit worried that my screws are too thick for the 6.5mm plywood and might splinter/bulge the wood. So I might try glue first to see how I go…
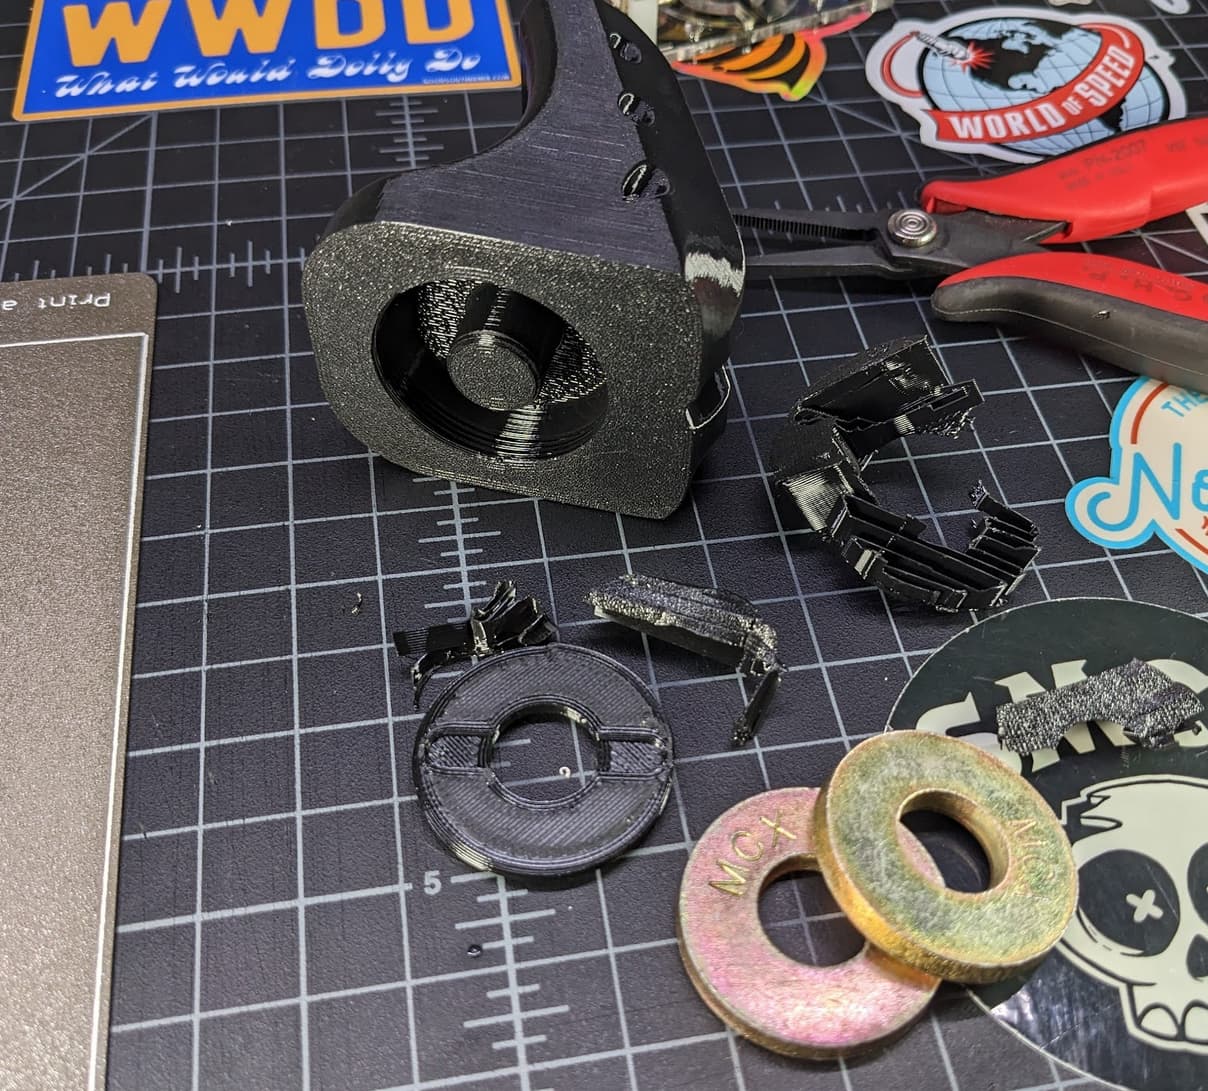
Nice, I’m in the process of modifying two 3D printable tools to better suit my needs. I do a lot with 3D printing, but my woodworking skills are pretty limited. Rough carpentry at best.
I’m actually modifying an existing model because I didn’t like how they approached adding weight to the finished part. So I’ve changed it to accept some washers and have a plate which will screw in to hold them in place.
This looks great and so, so much better than my earliest woodworking projects! I love how clean and minimalist this looks.
My only suggestion is just to be careful about overloading the far ends of the shelf because it could cause them to bend over time. Probably not a concern with switches (as opposed to books or hefty keyboards), just something to keep in mind.
Here’s what I’ve been working for the last month and it would completely finished, cleaned and presented were it not for a flunky relay that’s supposed to turn on the exhaust fans. These are to moderate the internal temperatures.
I used an old, metal AV stand and it fits this particular enclosure completely perfectly. The enclosure itself is from printer-box.com and I’ve added pretty much all the bells and whistles. I probably wouldn’t need to go this far in the future, but it was fun for my first foray into this.
The next steps is to buy up some aluminum extrusions and create a framework on the cart by which I can add storage in the forms of drawers, doors, and cubbies. Also have a little place to hide away the power cables.
I haven’t totaled it all up yet, but if you go to this extent you’ll likely find the costs between this enclosure and Prusa’s own to be nearly the same.
Yes, I’m pretty happy with it as a prototype! If I get a second wind, I might make a laser cut version with a 3 layers of 5mm laser ply
I thought the edges might just get something really light knickknacks, just so they won’t be too empty. My niece asked if I had enough switches to fill and I realised I probably didn’t, so the obvious solution is…more switches!!! my partner was not impressed with this plan
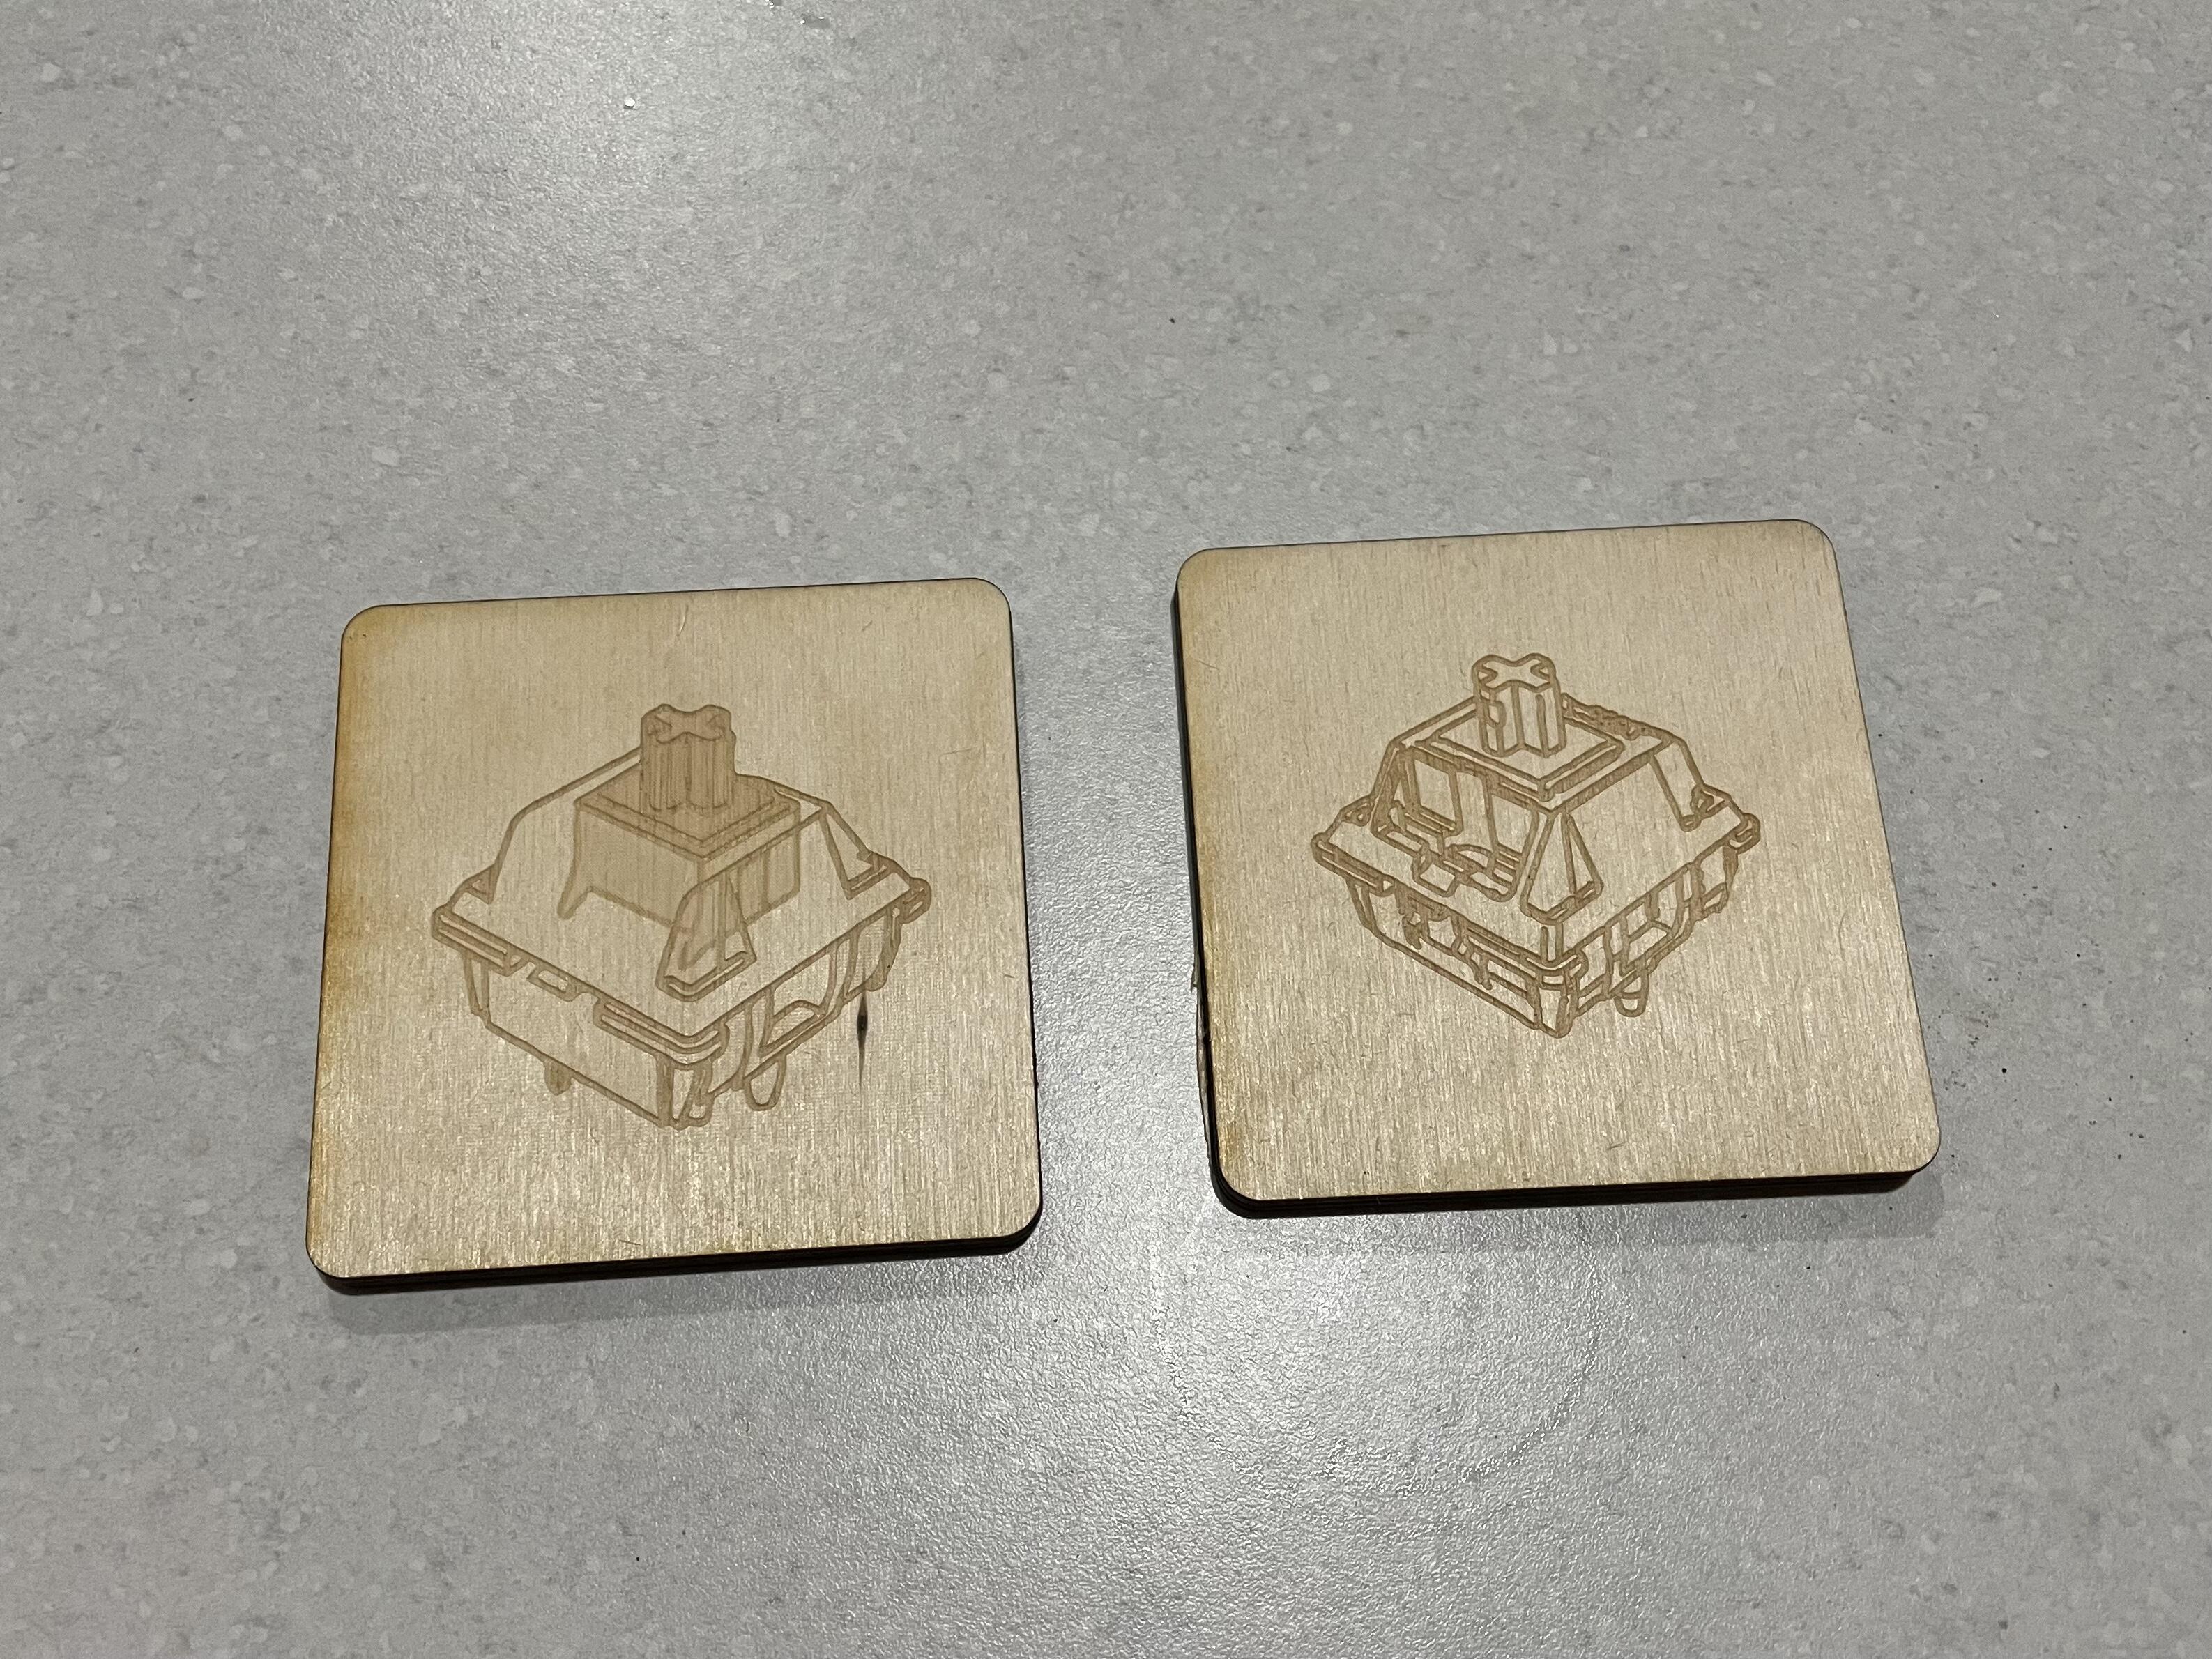
I’d really like a to laser edge a switch image or an exploded switch into the “spine” does anyone know any good images that might be suitable? I have googled but my google-fu has let me down
I will, they need some work. My tolerances are too tight and I actually had to install the washers with a drift. I don’t think that’s going to be acceptable for most. I suppose the upshot is that they’re really stuck in there now. No worries about them falling out.
Overture PETG is all I’ve used from them and it’s great filament, I’ve used it almost exclusively except for when Prusa has a sale on Prusament, but between the two I’m not sure there’s that much of a difference.
I especially like that they’re one of the first I’ve seen to come out with an all paper-board spool. There’s enough waste in 3D printing so this is a very welcomed change.
15mm of plywood would definitely support your future switch expansion plans!
Adding dowels through the vertical backing board into the shelf could provide additional strength if needed, and another layer of the “fake dado” ply would balance it out. I don’t have experience with laser cutting/design, but I do know that a few coats of semi-gloss water-based poly works beautifully with exposed plywood edges.
Yes indeed! I was looking at different laser plywood that’s available and that our laser cutter can accommodate…might be either a lot of gluing or ordering laser ply online and sucking up the shipping costs…will ponder…and work on the switch expansion in the meantime


 my partner was not impressed with this plan