Today I learned there are more iterations of the tooling used for Marshmallows than I previously thought - at least three.
Thoughts on distinctions
JWK doesn’t distinguish between “V1”, “V2”, etc. as different revisions - but there are clearly different permutations, at least - so I’ll just call them A, B, and C, without any specific implication to chronology or revision from those designations.
I usually leave this type of detail to @ThereminGoat as it’s part of his standard to cover - and he has indeed covered this switch, though it is one of the older reviews that predates the photography setup upgrade, and probably at least one of these switch versions. Master Goat has probably taken a closer look at more switches than almost any person alive - if you happen to check out this post, I’d love to know if this relates to any broader pattern you’ve seen with JWK-made switches over the years.
Note these are not going to be color-exact photos and are mostly intended to show tooling mark details.
I bought some to top-off a jar, which itself was a mixture of tooling iterations (had assumed two, after counting it could have been all three) - I wanted to not have a mix in the jar if possible.
For what it’s worth I don’t think there’s much practical difference here aside from maybe how loud the springs are before tuning, just some neat trivia:
A
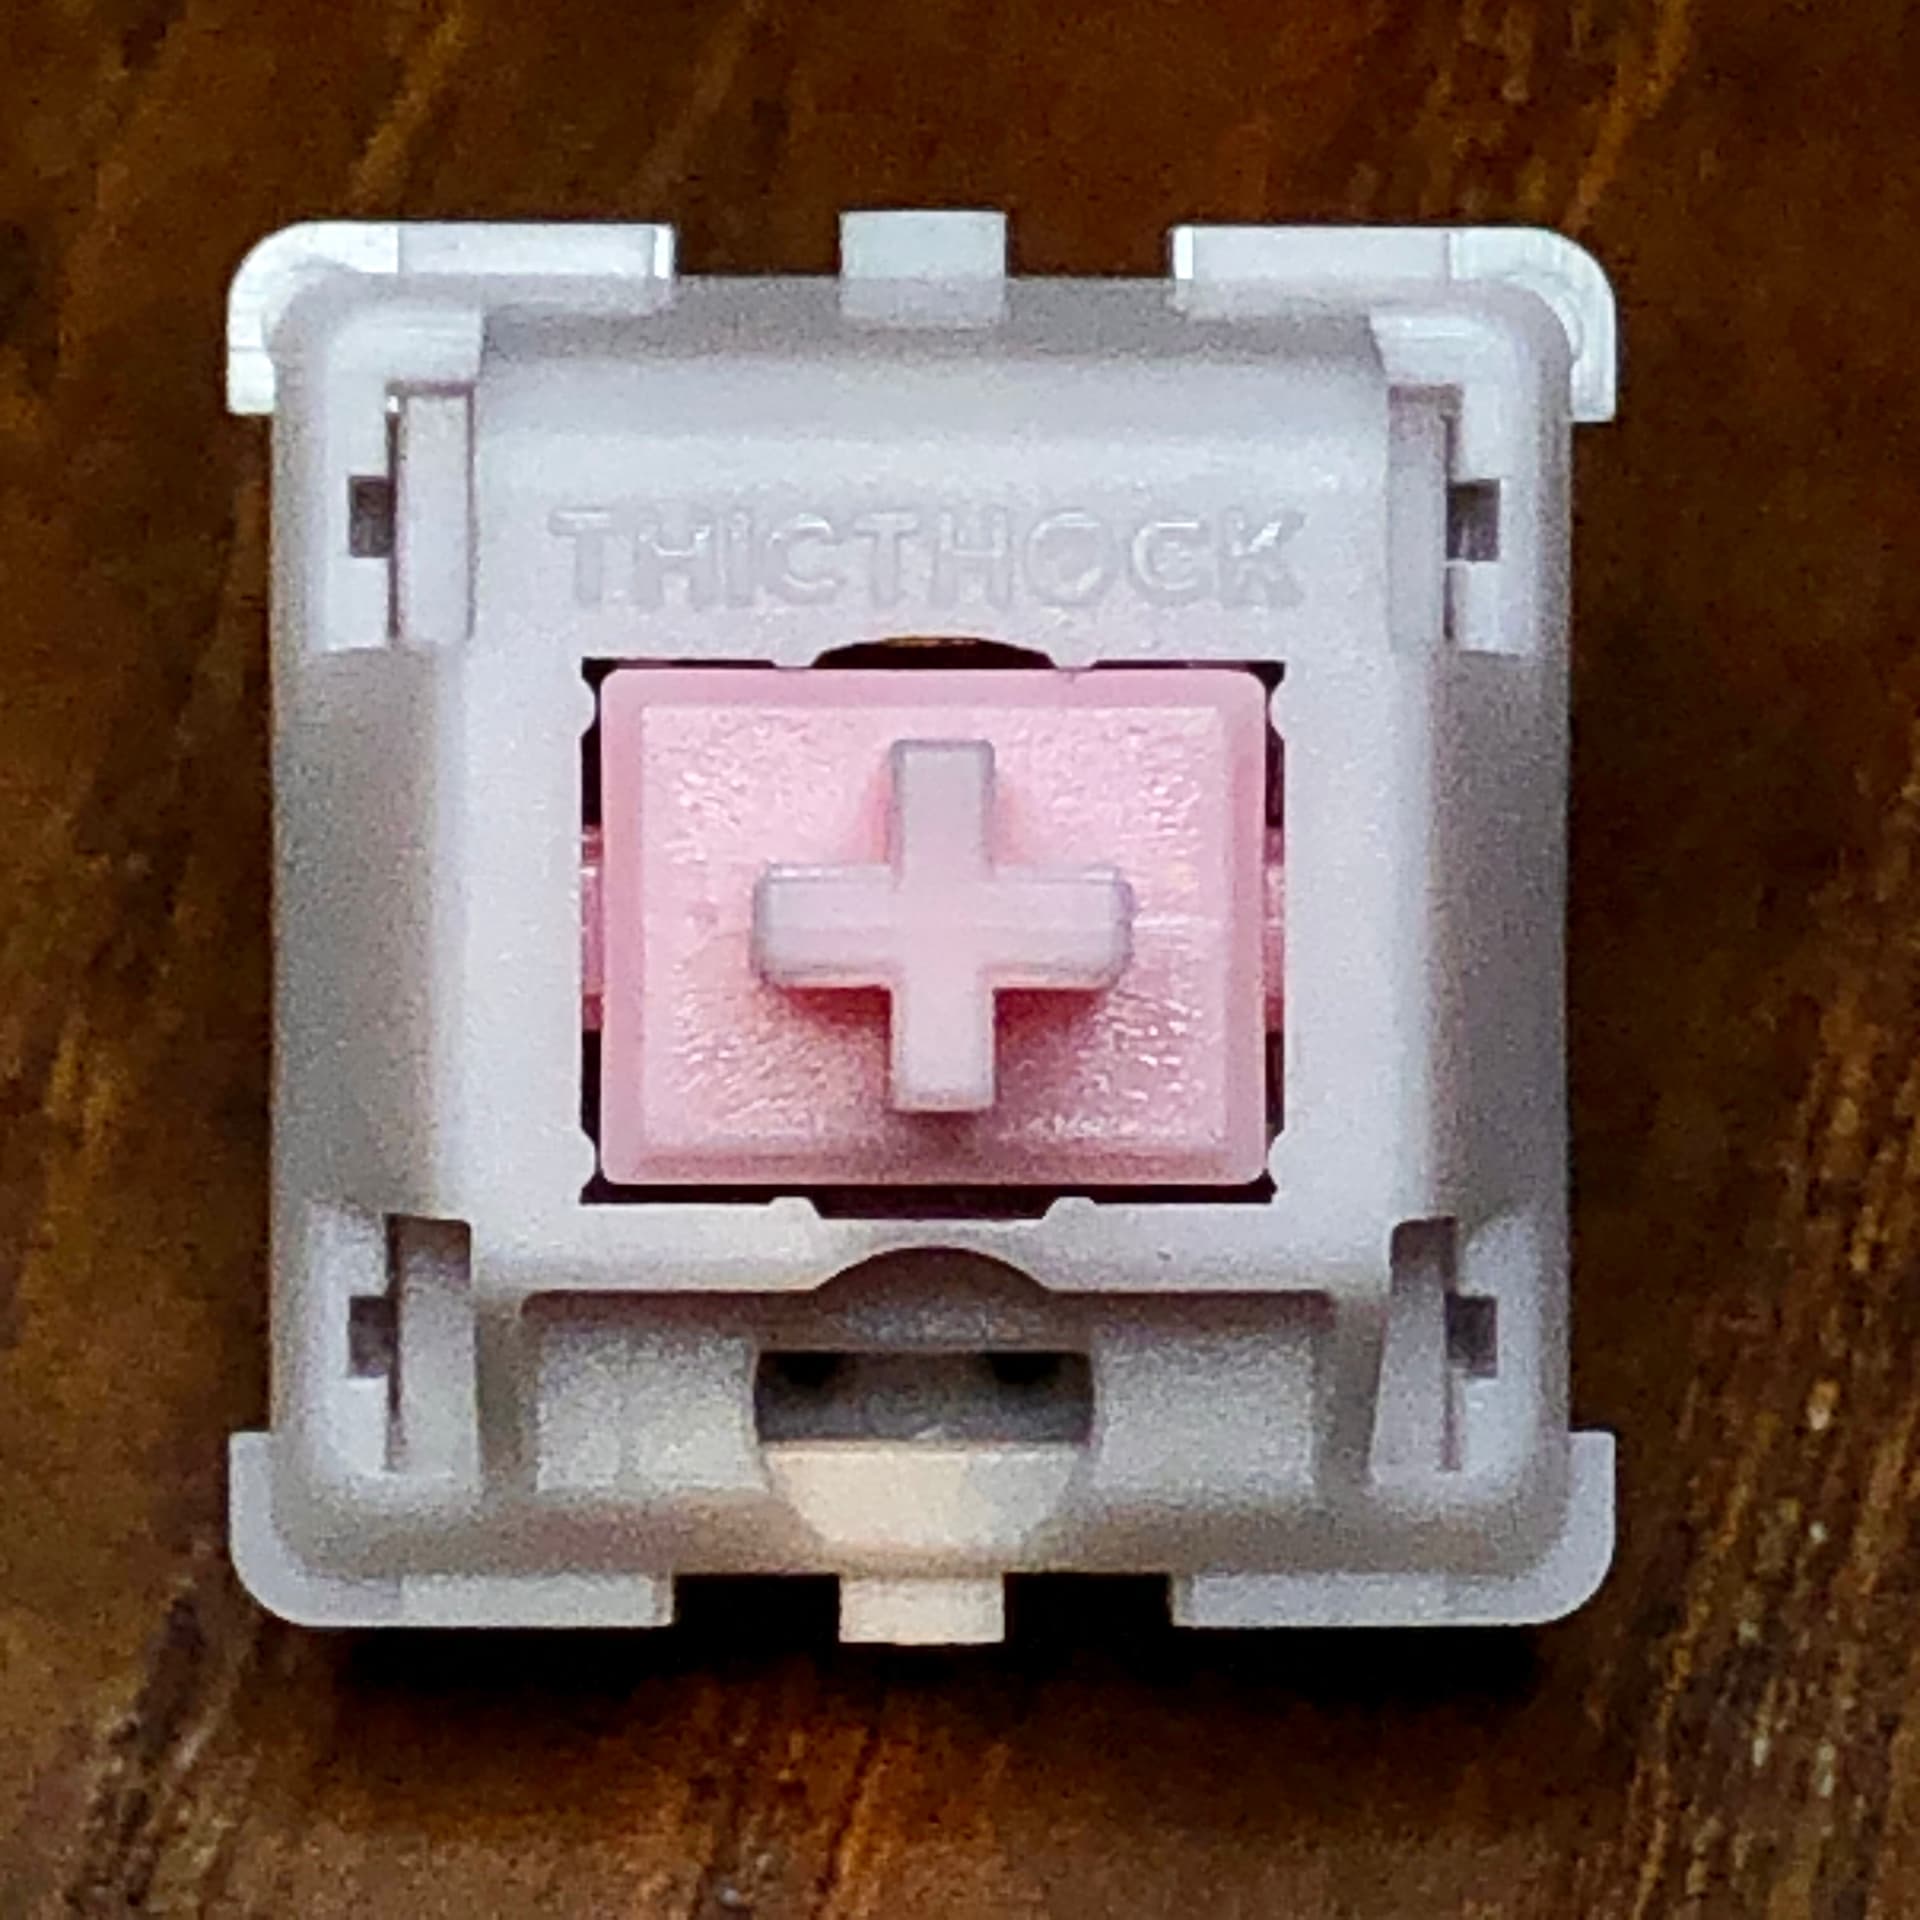
- Small circles in all 4 corners
- No marks on clip tabs
- Badges good but not totally consistent; some "O"s don’t look filled-in from some angles due to varied surface shine, first “T” is a little flattened on the left
- Slightly more sparkly than others
- Lowest pitch spring ping
B
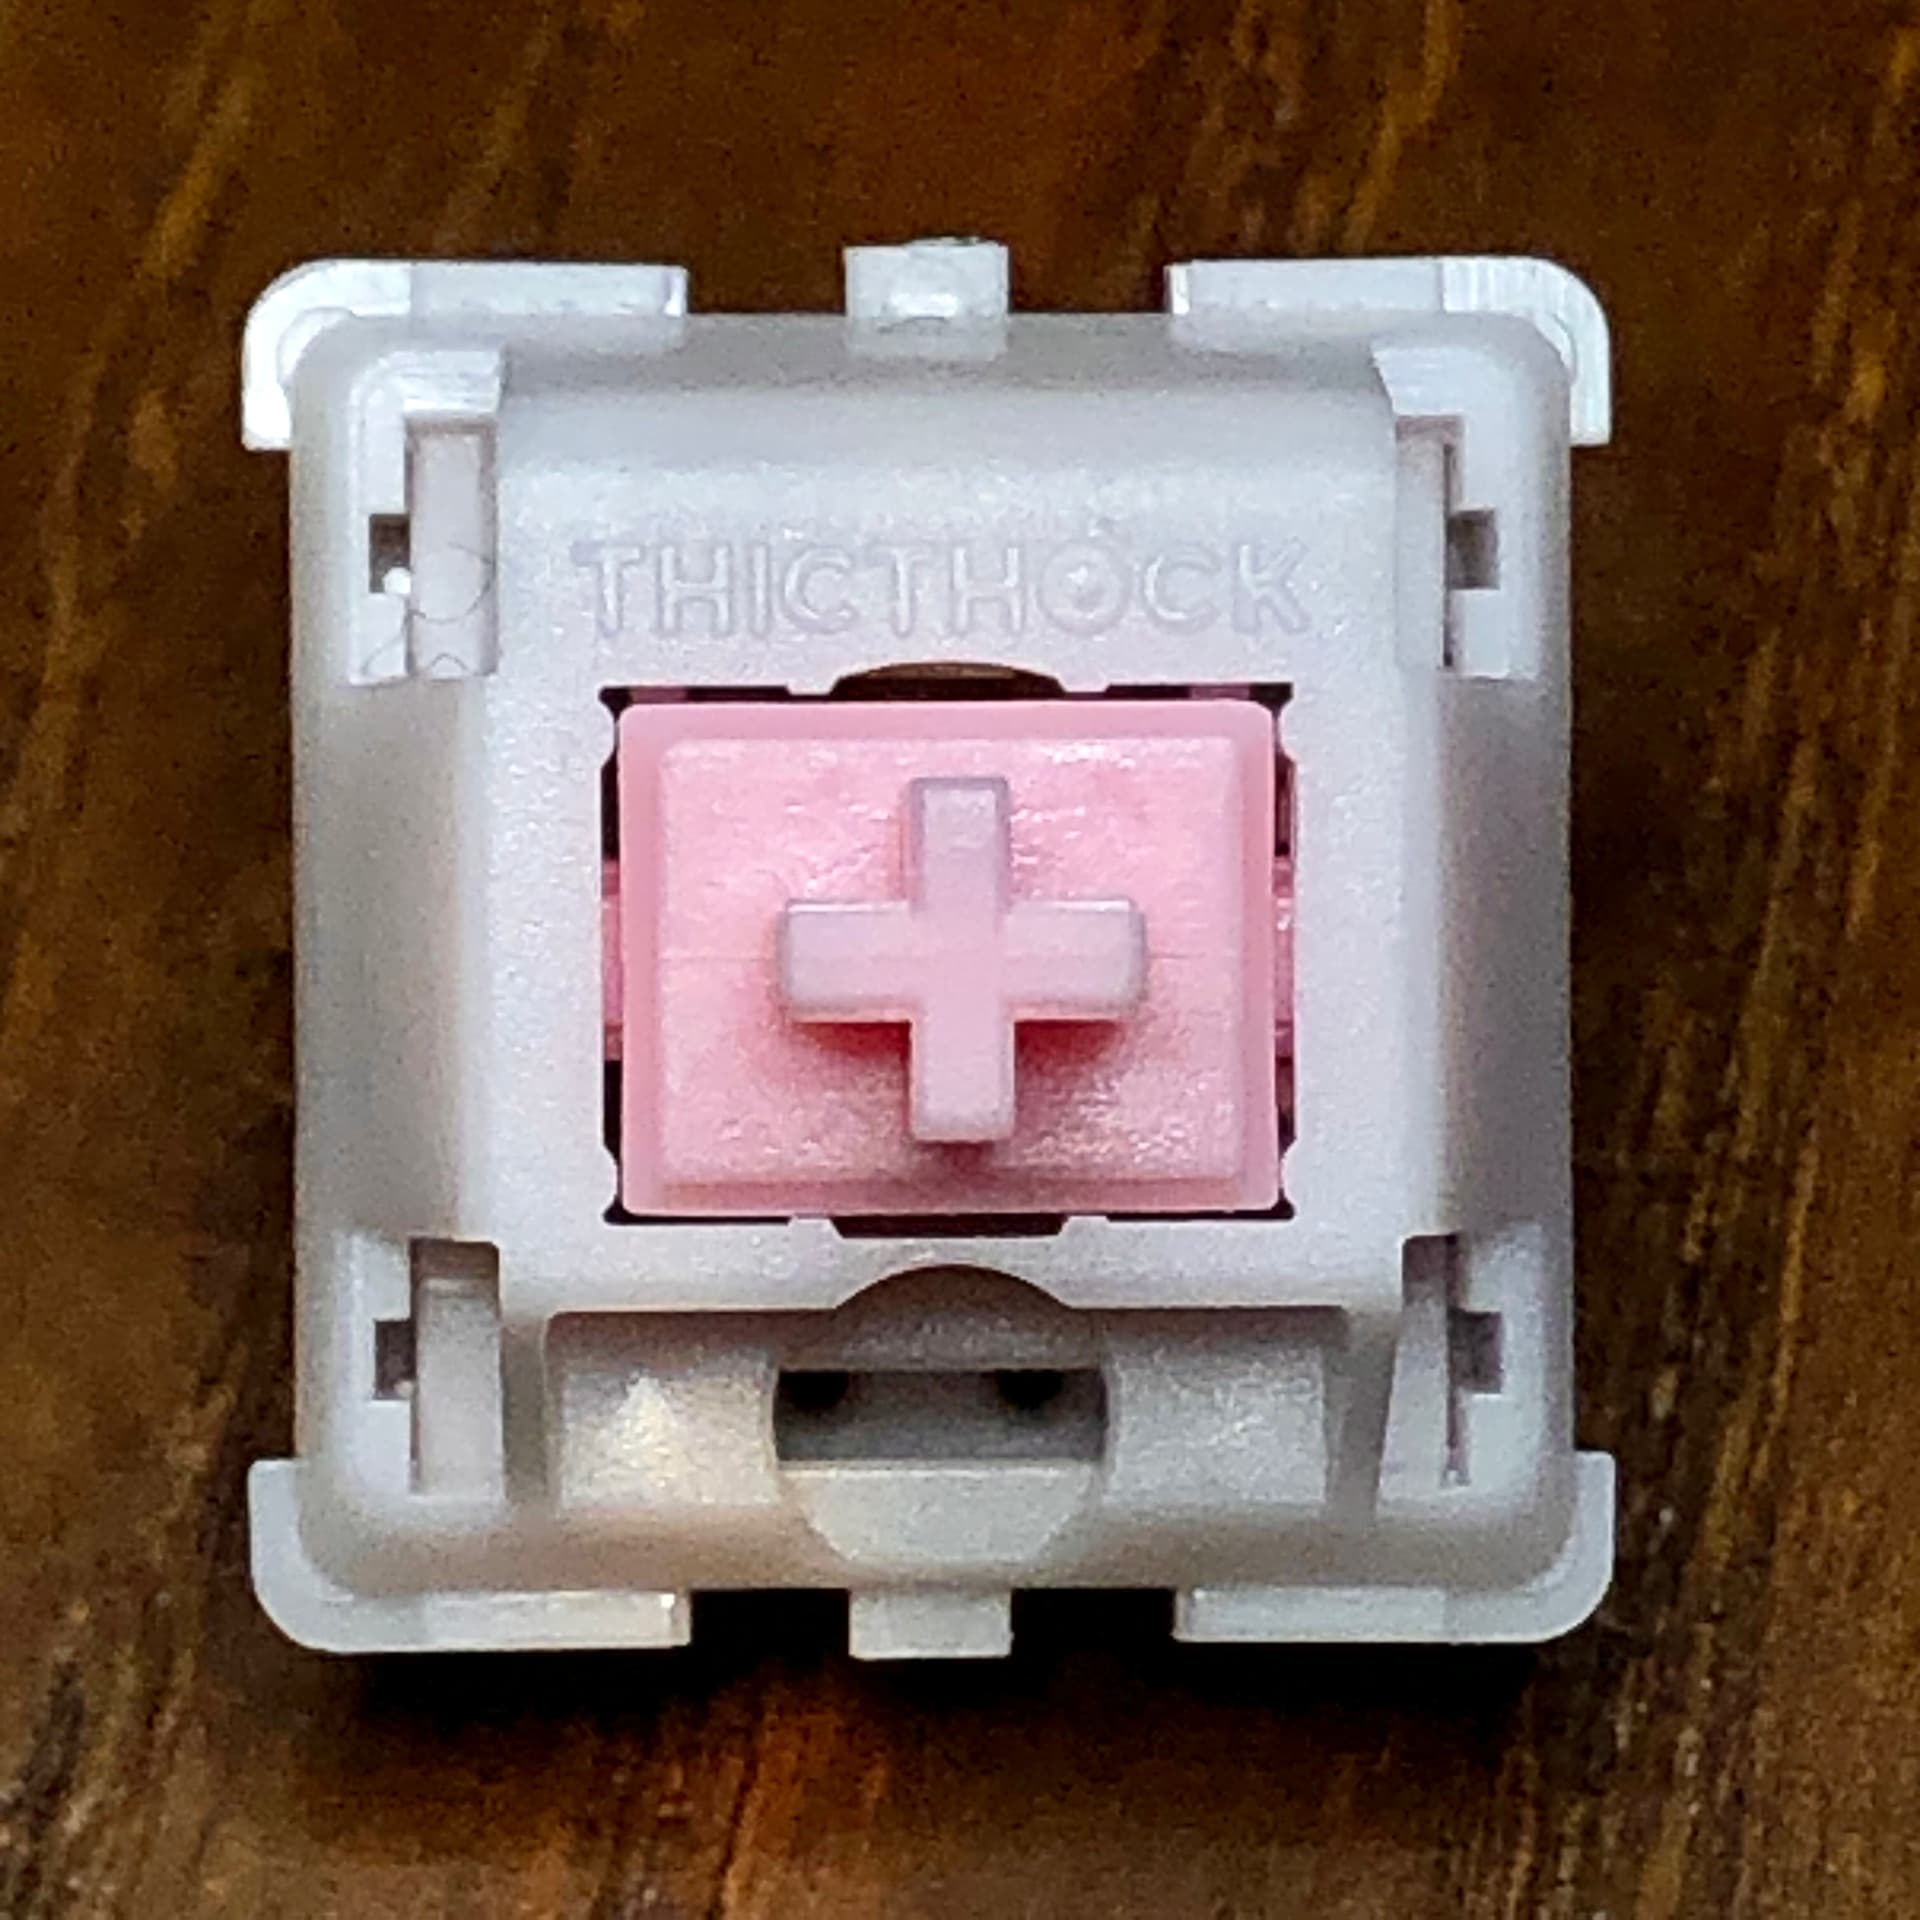
I’d at first taken these to be identical with A, but there are a few distinctions.
- Small circles in all 4 corners
- Small circles also on the clip tabs
- Condition / detail of badge appears slightly better than A
- Colors and shininess a bit different; slightly lighter, slightly less glossy badge
- “O” in badge is most consistent of three but still doesn’t appear filled-in depending on the light
- Somewhat higher pitched ping
C
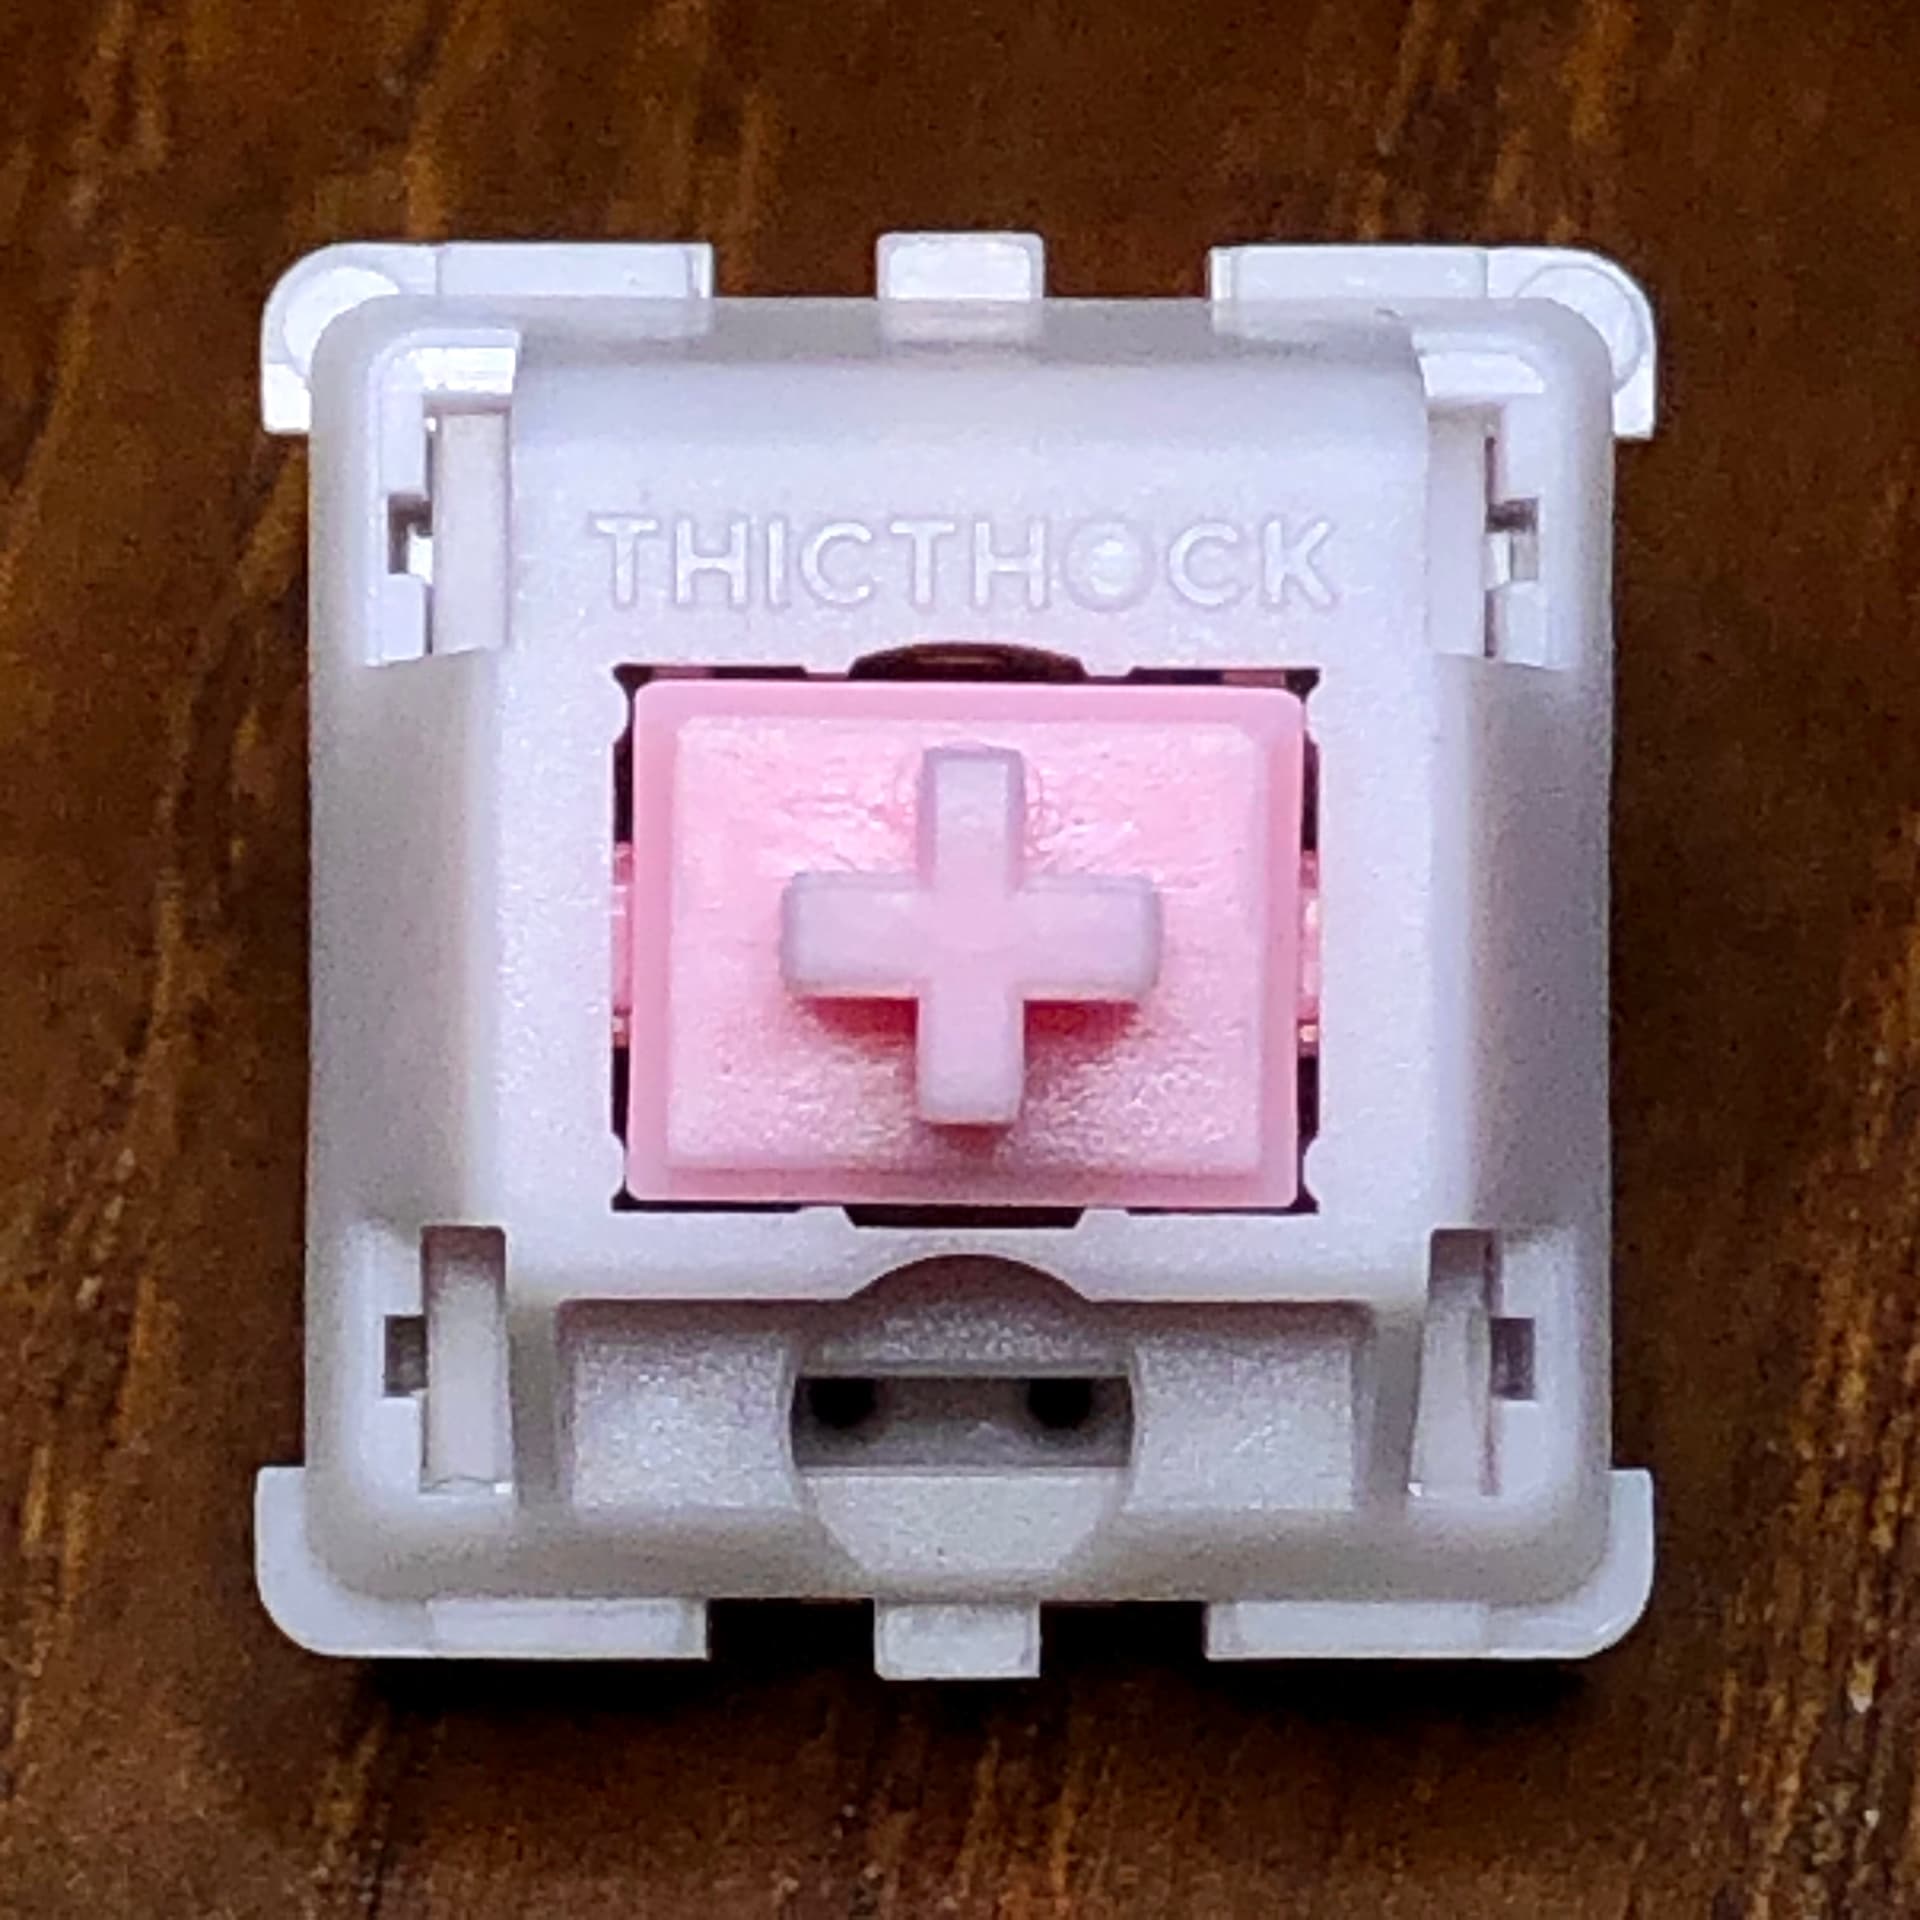
- Larger circles in all 4 corners
- No circles on clip tabs, surface is more glossy except at edges - corners generally more round on these tabs than with the other two
- Badge in good condition, good detail
- “O” in badge does not appear filled-in from all angles, has a thin rim around outside, like A but a bit more-so
- Bottom tooling details less shiny than other two
- Lightest, warmest color of the three
- Similar pitch ping as B, but noticeably louder
- Do feel a but more smooth than the other two
- Most visually distinct as corner circles are clearly a different size, but came from the middle order chronologically, and closer to the first; around two years ago
Thoughts on breakdown
After separating and counting all of these, which I did get from three sources, I think it breaks-down like this:
-
I had an even 30 of C with the bigger circles and shiny tabs; I believe all of these came from the preorder run by 3DKeebs, I’m thinking around two years back
-
I had a few more of A (33) with the small circles and no tab marks; I believe all of these came from the initial run, in a bag gifted to me by another KeebTalk user (thanks again if you’re still around here)
-
I had 65 of B with the small circles in the corners and on the clip tabs. My order from HeebieKeebies was for 60 and I know it’s pretty normal to find an extra or two - so it’s totally possible all of these came from that order. 5 is a generous number of extras so a few may have come from elsewhere, but in-context it still seems most likely the three iterations came from the three very spaced-out acquisitions
It looks like chronological manufacturing order may have been A, C, B even though C has the most visually-distinguishable features, as B came from an order at least a year newer than the next.