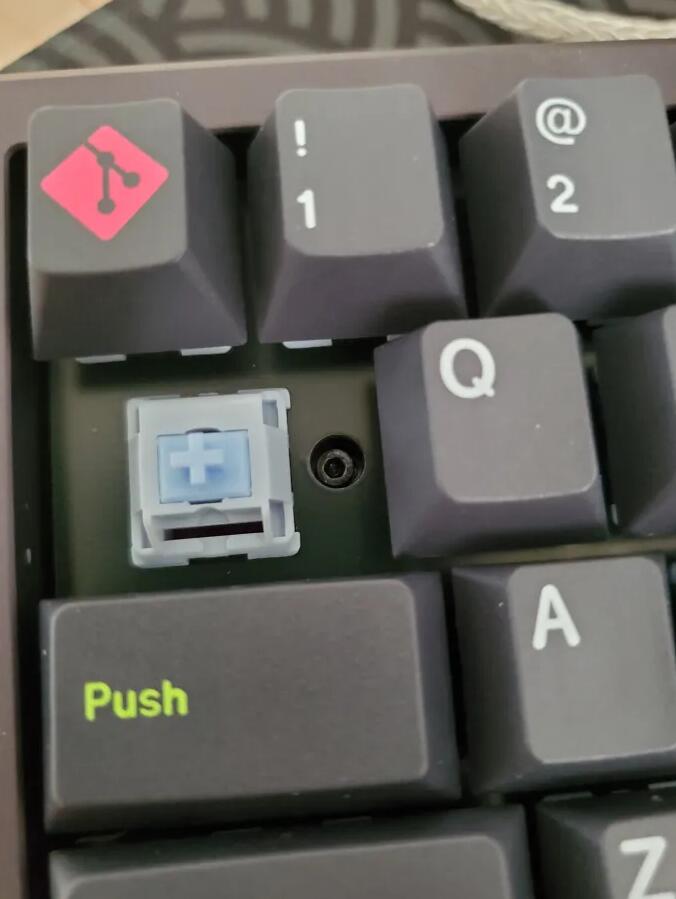
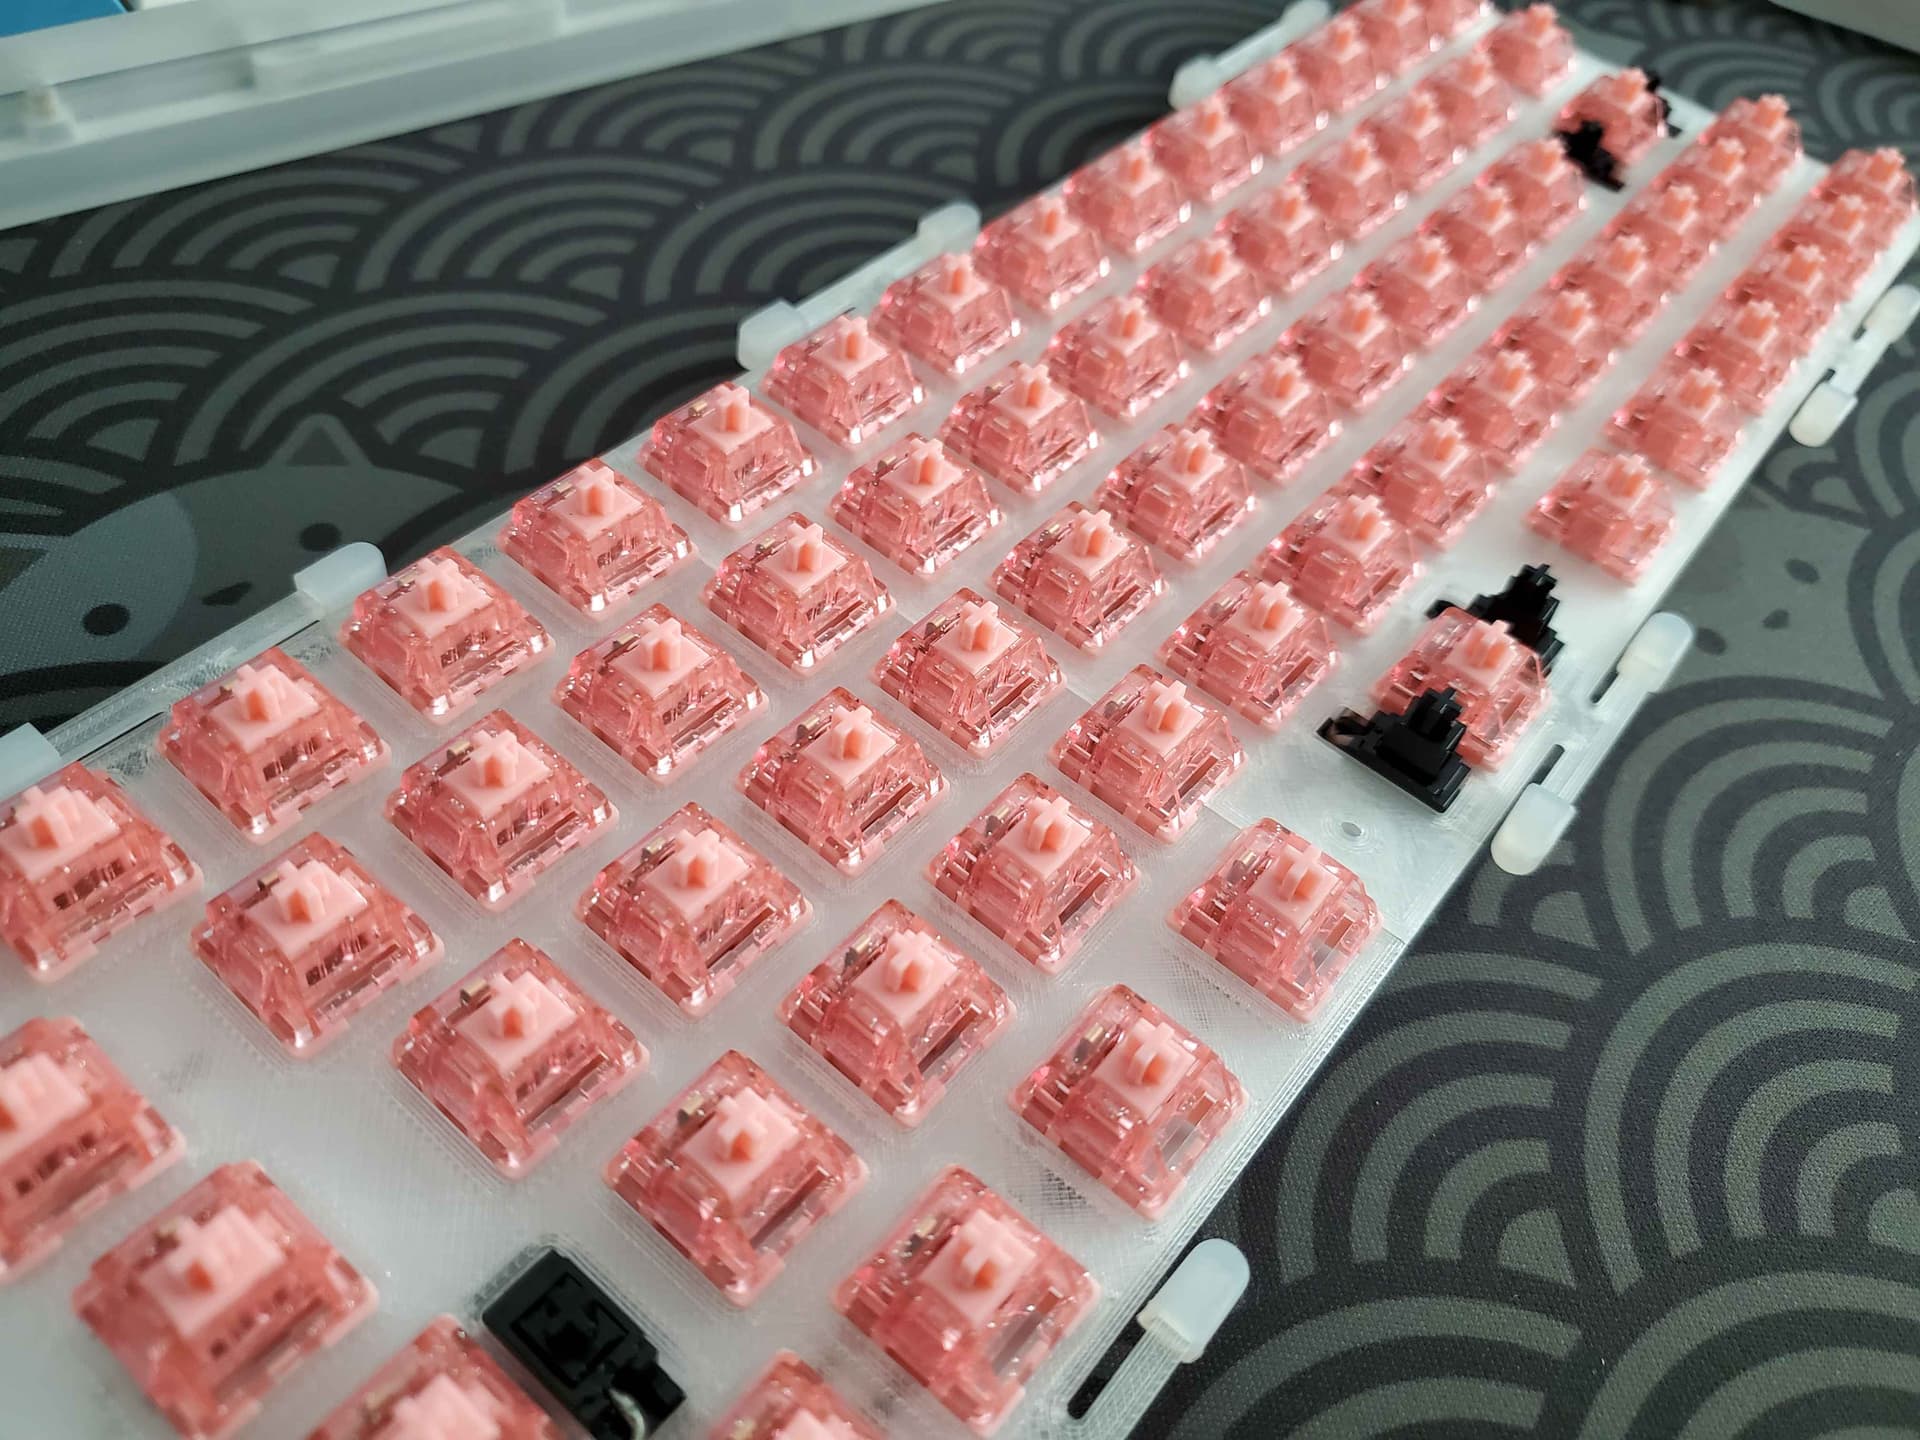
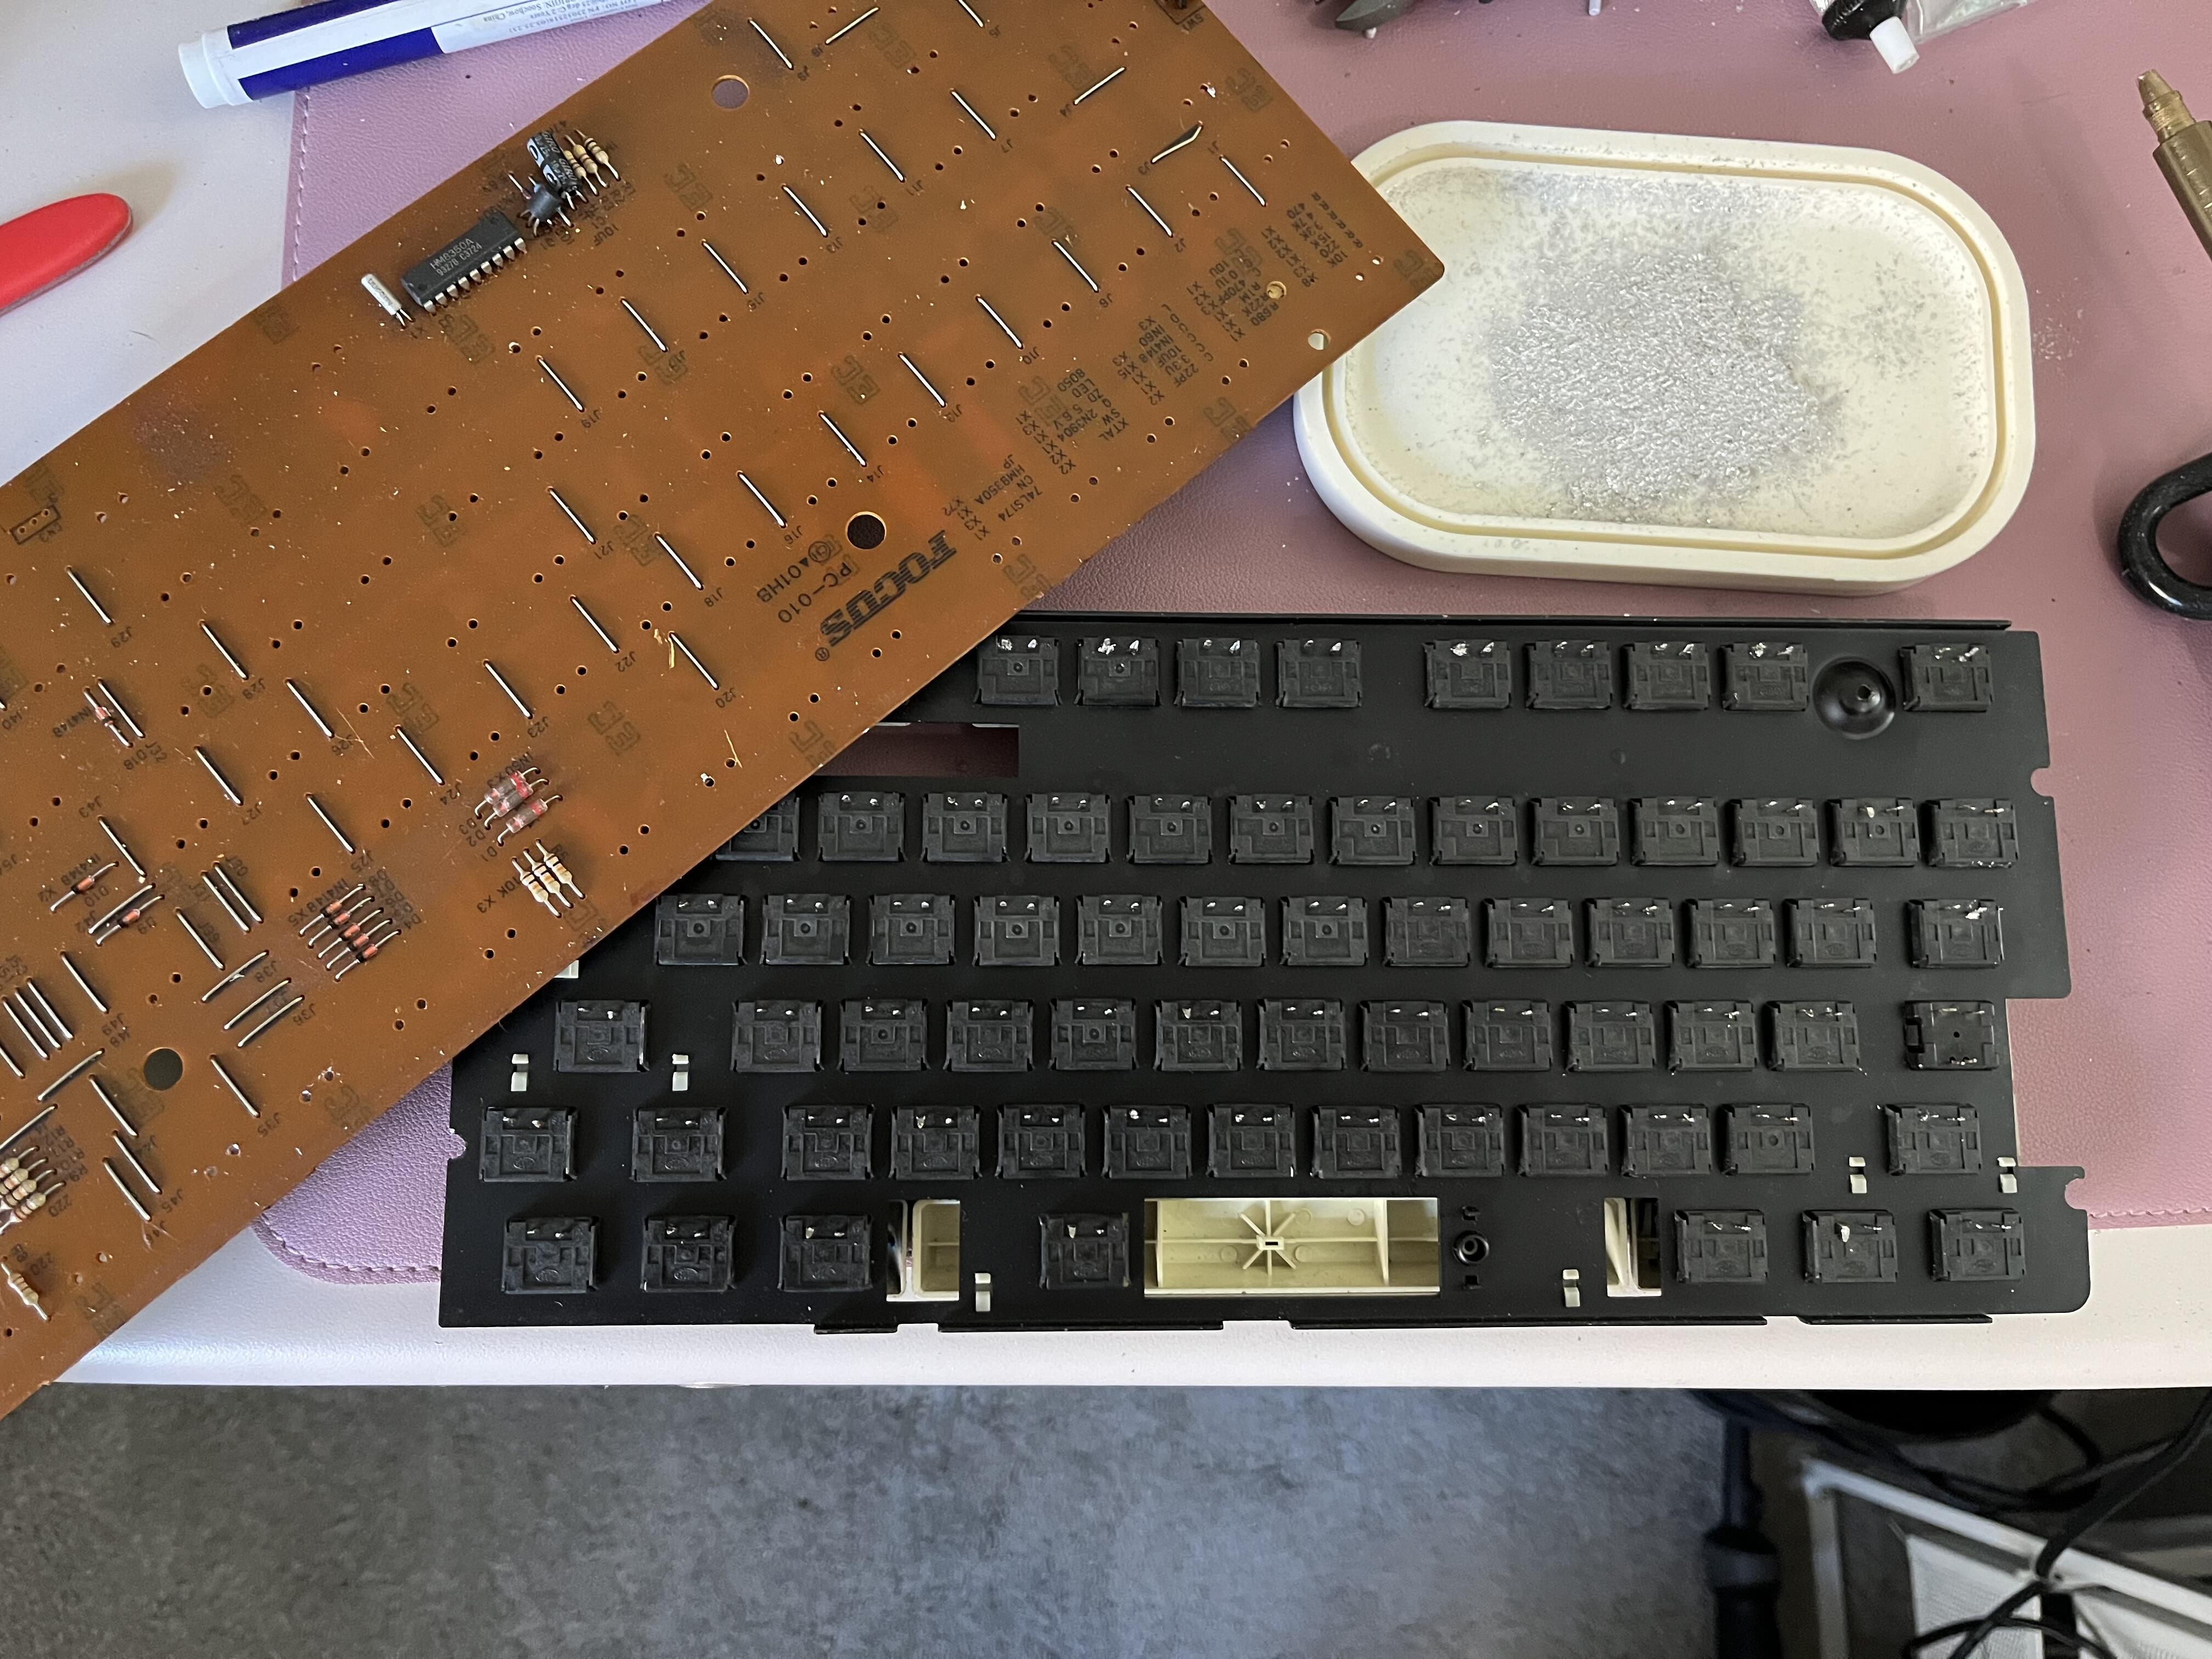
Ugh. Within a couple of hours of closing up the Focus board, something seems to have shorted. About 5-10 keys are each sending two completely separate keypresses, twinned like quantum-entangled particles, e.g. the spacebar and the 6 key each type both 6 and a space. I don’t see anything visible on the back of the PCB, and switching between XT and AT does nothing.
I am stumped for the moment. I REALLY don’t want to desolder everything.
Edit: It’s twelve pairs of consistently mated keys. I have also found two pins on the MCU that seem to be shorted, but I can’t find the issue so far on the PCB. If it’s in the MCU itself, I may be SOL on this keyboard and have just come into 120+ White Alps with keycaps. I guess it would also be candidate for rewiring with a Pi Pico. Not sure I have the skills to save the calculator in that case, though maybe a Pico with a screen would be useful…
I have picked up a couple of sheets of these that I have been putting on the pcb screw holes on boards like the Envoy and the Salvation to combat dink sound.
You can also try a couple of spare screw-in stab fiber washers to help with isolation as well.
Sheets - missing link, maybe? Does give me the idea to cut some washer-shaped bits of vinyl to try - and I have been thinking of adding some stab washers to the mounting screws of the Salvation because the screw-heads are barely bigger than the holes in the PCB.
I replaced my Dolphin60’s PC plate with a thick PLA plate to get rid of pinging under the spacebar and bottom row. Kind of surprised myself how perfectly the switches clipped in and holds onto the PCB. I’ll never get over 3D printing.
The plate has a 0.75mm lip for the switches to clip into and sits flush to the PCB at 4.9mm thick, Again, split the plate to fit in my Bambu X1C, and the halves just slot together with friction fit.
I originally had HMX Su switches which have a poppiness that was probably exaggerating the case ping. Forgot to take more pictures of the plate itself since I was so preoccupied with the ping.
I did force break like crazy everywhere inside and extra polyfill under the spacebar to no avail.
Swapped to BSUN Usagis, and I think what fixed the ping was adding o-rings to the case screws and backing them out a 1/2 to 3/4 turns. Finally sounds good to my ears. Am happy with this build finally.
I hope I’m not being annoying but you can totally get rid of that (IMO annoying) desk reverb and bottom out thud by adding bumpons to the bottom of the case. Amazon.com these are the ones I used on my Salvations. 4mm thick/clearance to get that proper isolation even on deskpads.
Not the prettiest on the bottom but my god the Salvations are my favorite feeling and sounding boards now. Soft, bouncy, clean sounds and isolated as originally intended with the leaf springs.
Somehow didn’t see this. I hated the Salvation in the beginning bc I messed up the screws (and there’s no damn instructions anywhere) and there was incessant inconsistent pinging and weird noises. You should have 2 types of screws, the silver longer ones go in the leaf springs. The (in my case) black but shorter ones are for the PCB.
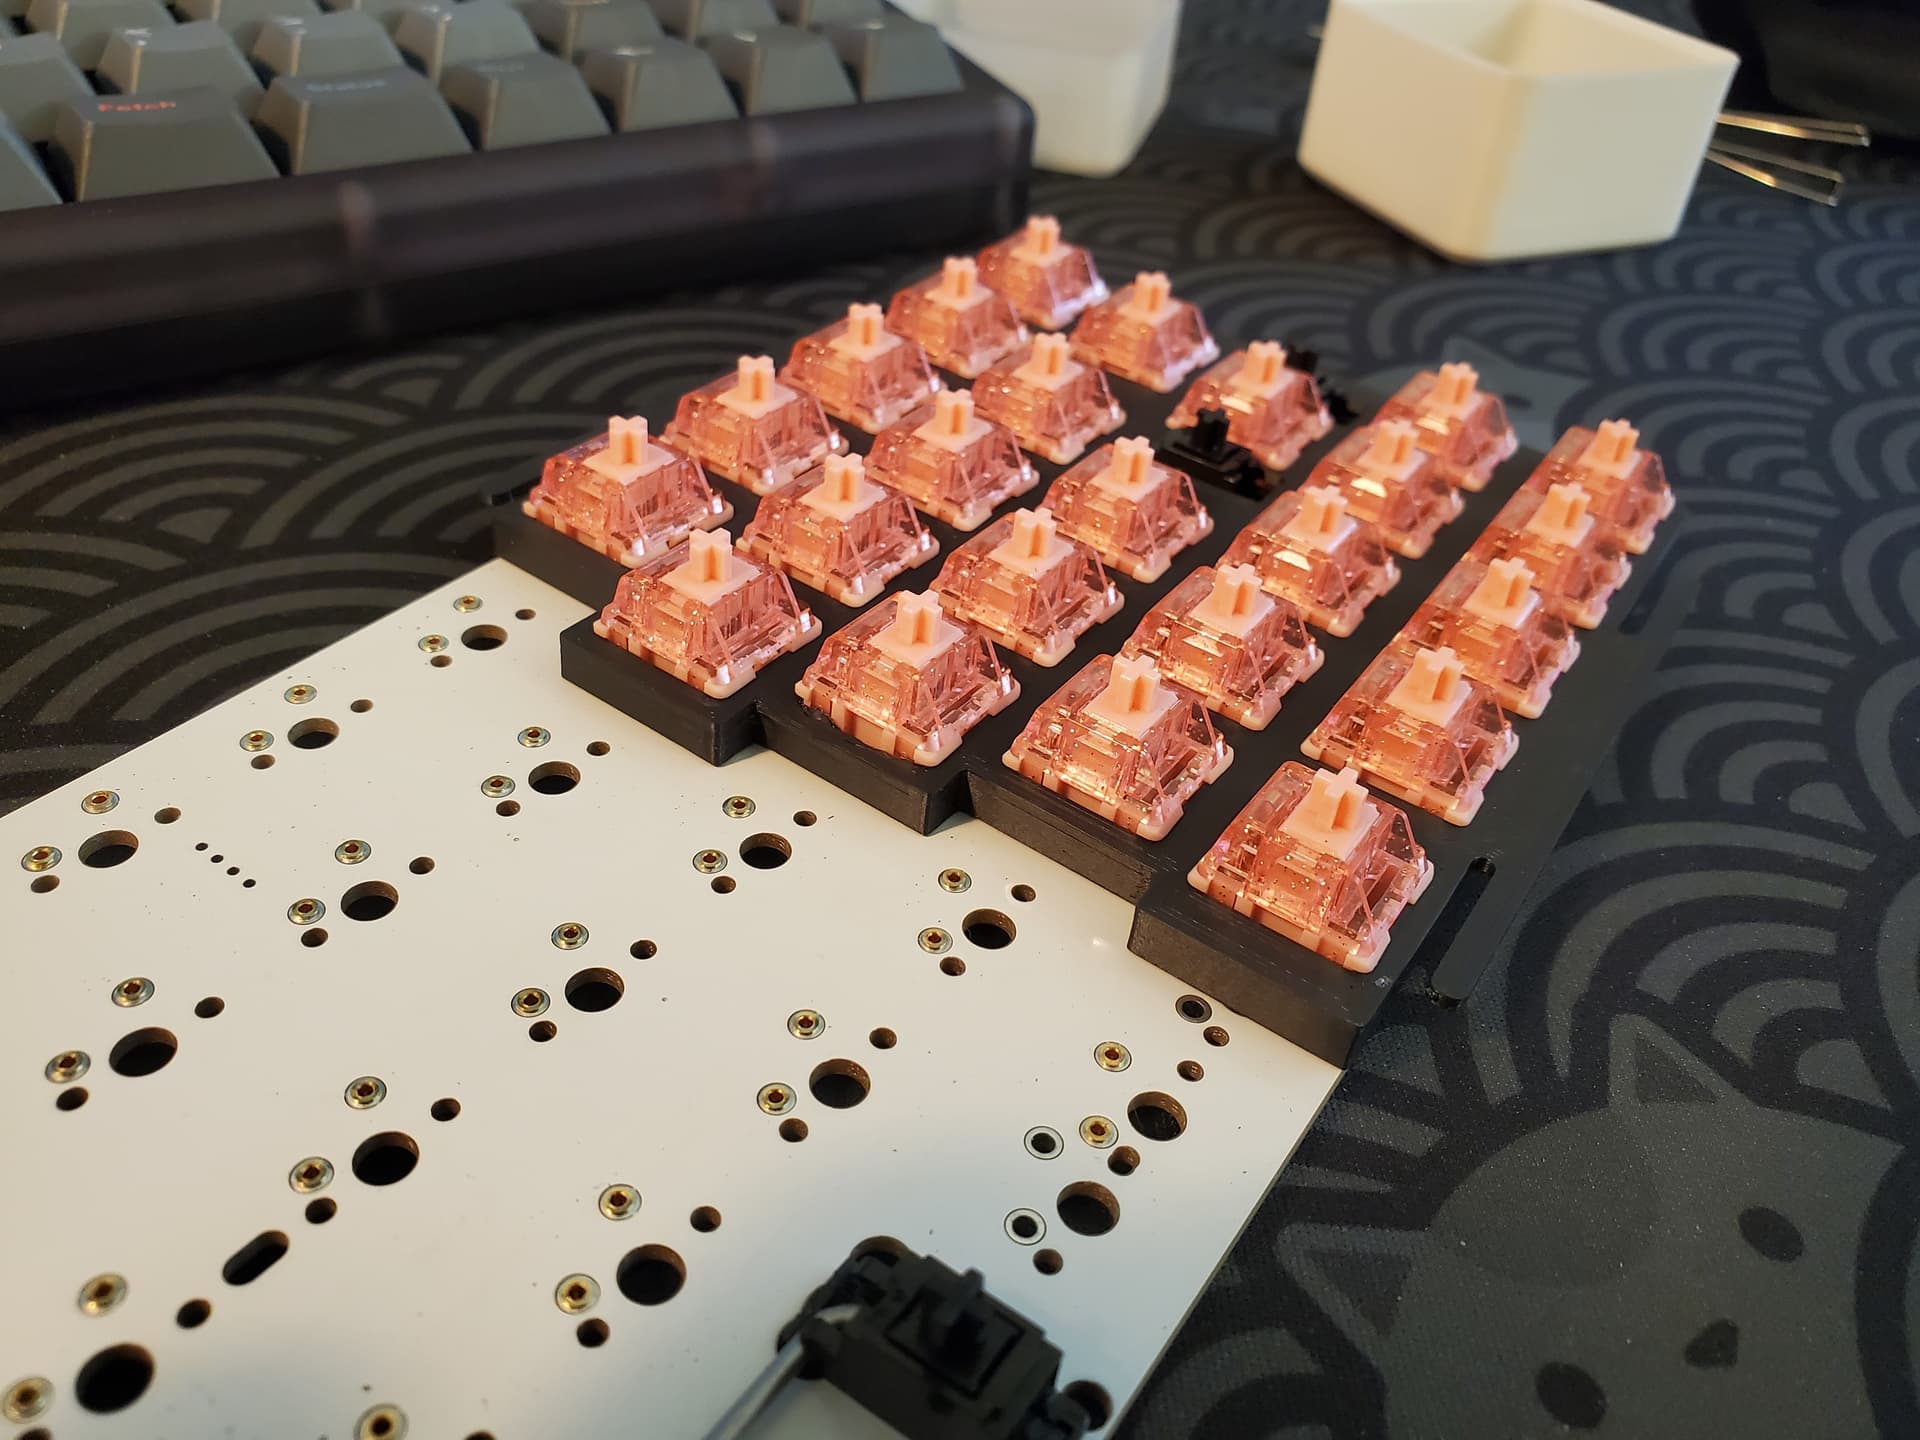
Home alone this weekend. Choose to do keyboard projects to keep me busy. Lubed, filmed, and spring swapped some Nixies, and then soldered them into my Hiney Poly TKL One. I took out some Gateron Cream Sodas.
I like the Cream Sodas, but already vastly prefer the Nixies. The full travel distance makes a huge difference with my accuracy. Which is a shame, cause like I said I still like the Cream Sodas, I just don’t really like using them. I need to find something too put them in. Or some way to make them work, but at this point I don’t know if that is possible. It is kind of wild to me sometimes that a 0.2mm change in travel distance has such a large effect on my tastes.
Also swapped a ton of keycaps sets around just to have some new stuff in rotation. Brought out GMK Serika, GMK Zooted and GMK Modern Dolch again. Dolch is one of my oldest sets. I am really starting to appreciate the shine on that bad boy, it is also interesting to see how easy the caps go on and come off considering they are the set that has been moved around the most. Like worn in jeans lol
Good advice! Applies doubly if you use Poron or Teflon stickers between the stabs and the PCB.
The way to tell is if you look at the stabs from the side, the screwed in end will sit lower than the front end. And for stabs that clip in from the top, the retaining clips will be slightly further apart (leading to more likely wire pop-out).
Yeah, this is why I tend to use Krytox 206g2 for stabs instead of the typical 205g0.
That said, I have had the occasional issue where 206g2 has been “too hard” and made the stabs sluggish/sticky, but have not found the exact circumstances where that tends to happen yet.
Not sure if you’ve gotten a replacement yet, but IIRC the NK87 should fit the Hineybush 88c and any other boards that match that same footprint (Fuyu, Apollo, probably others).
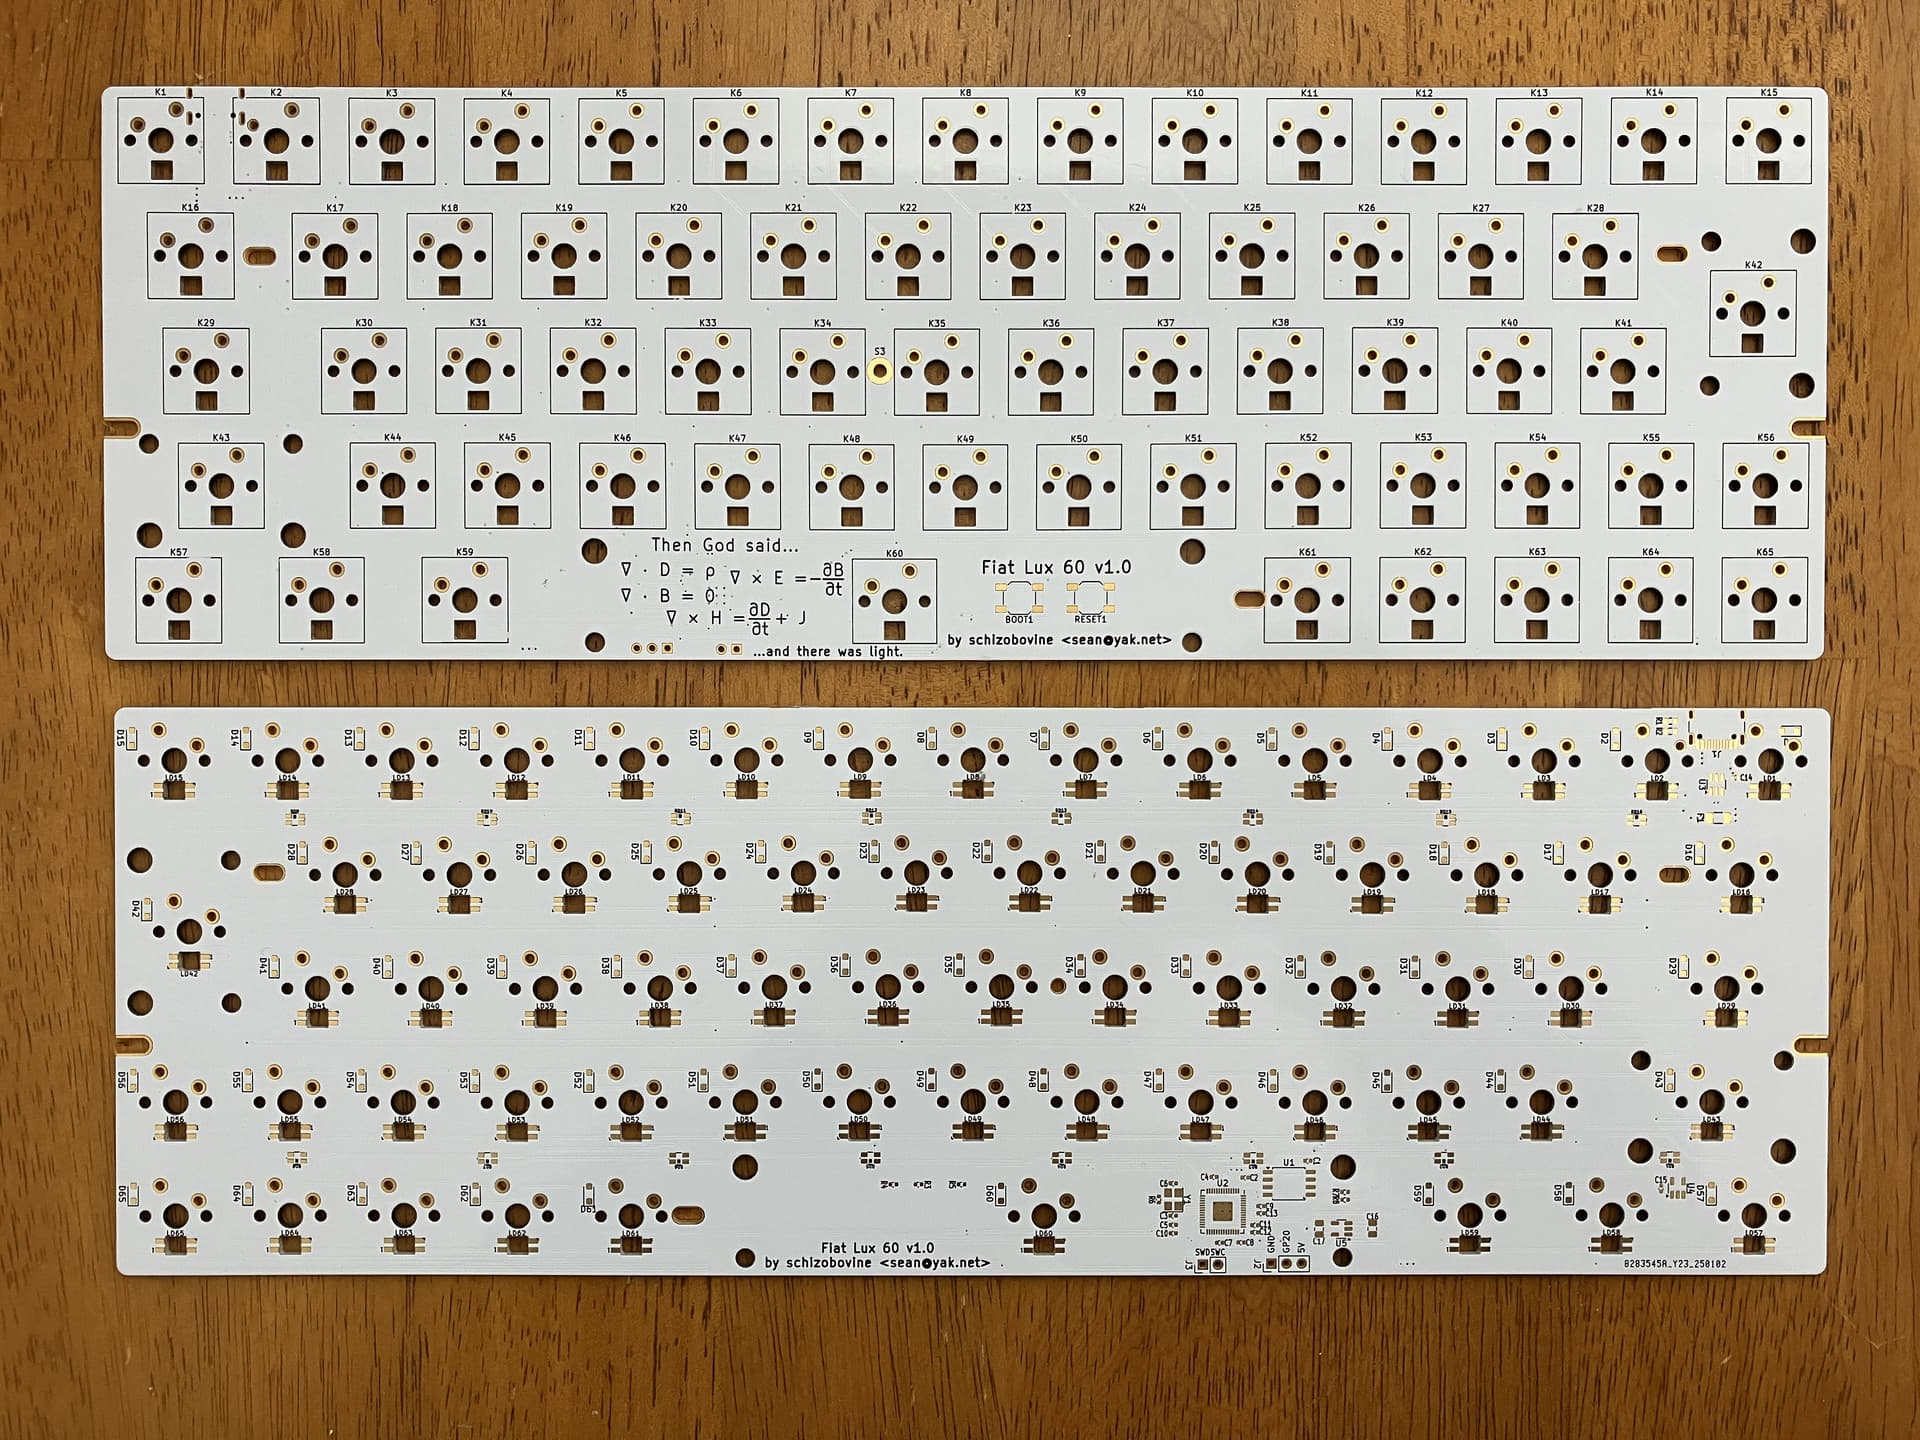
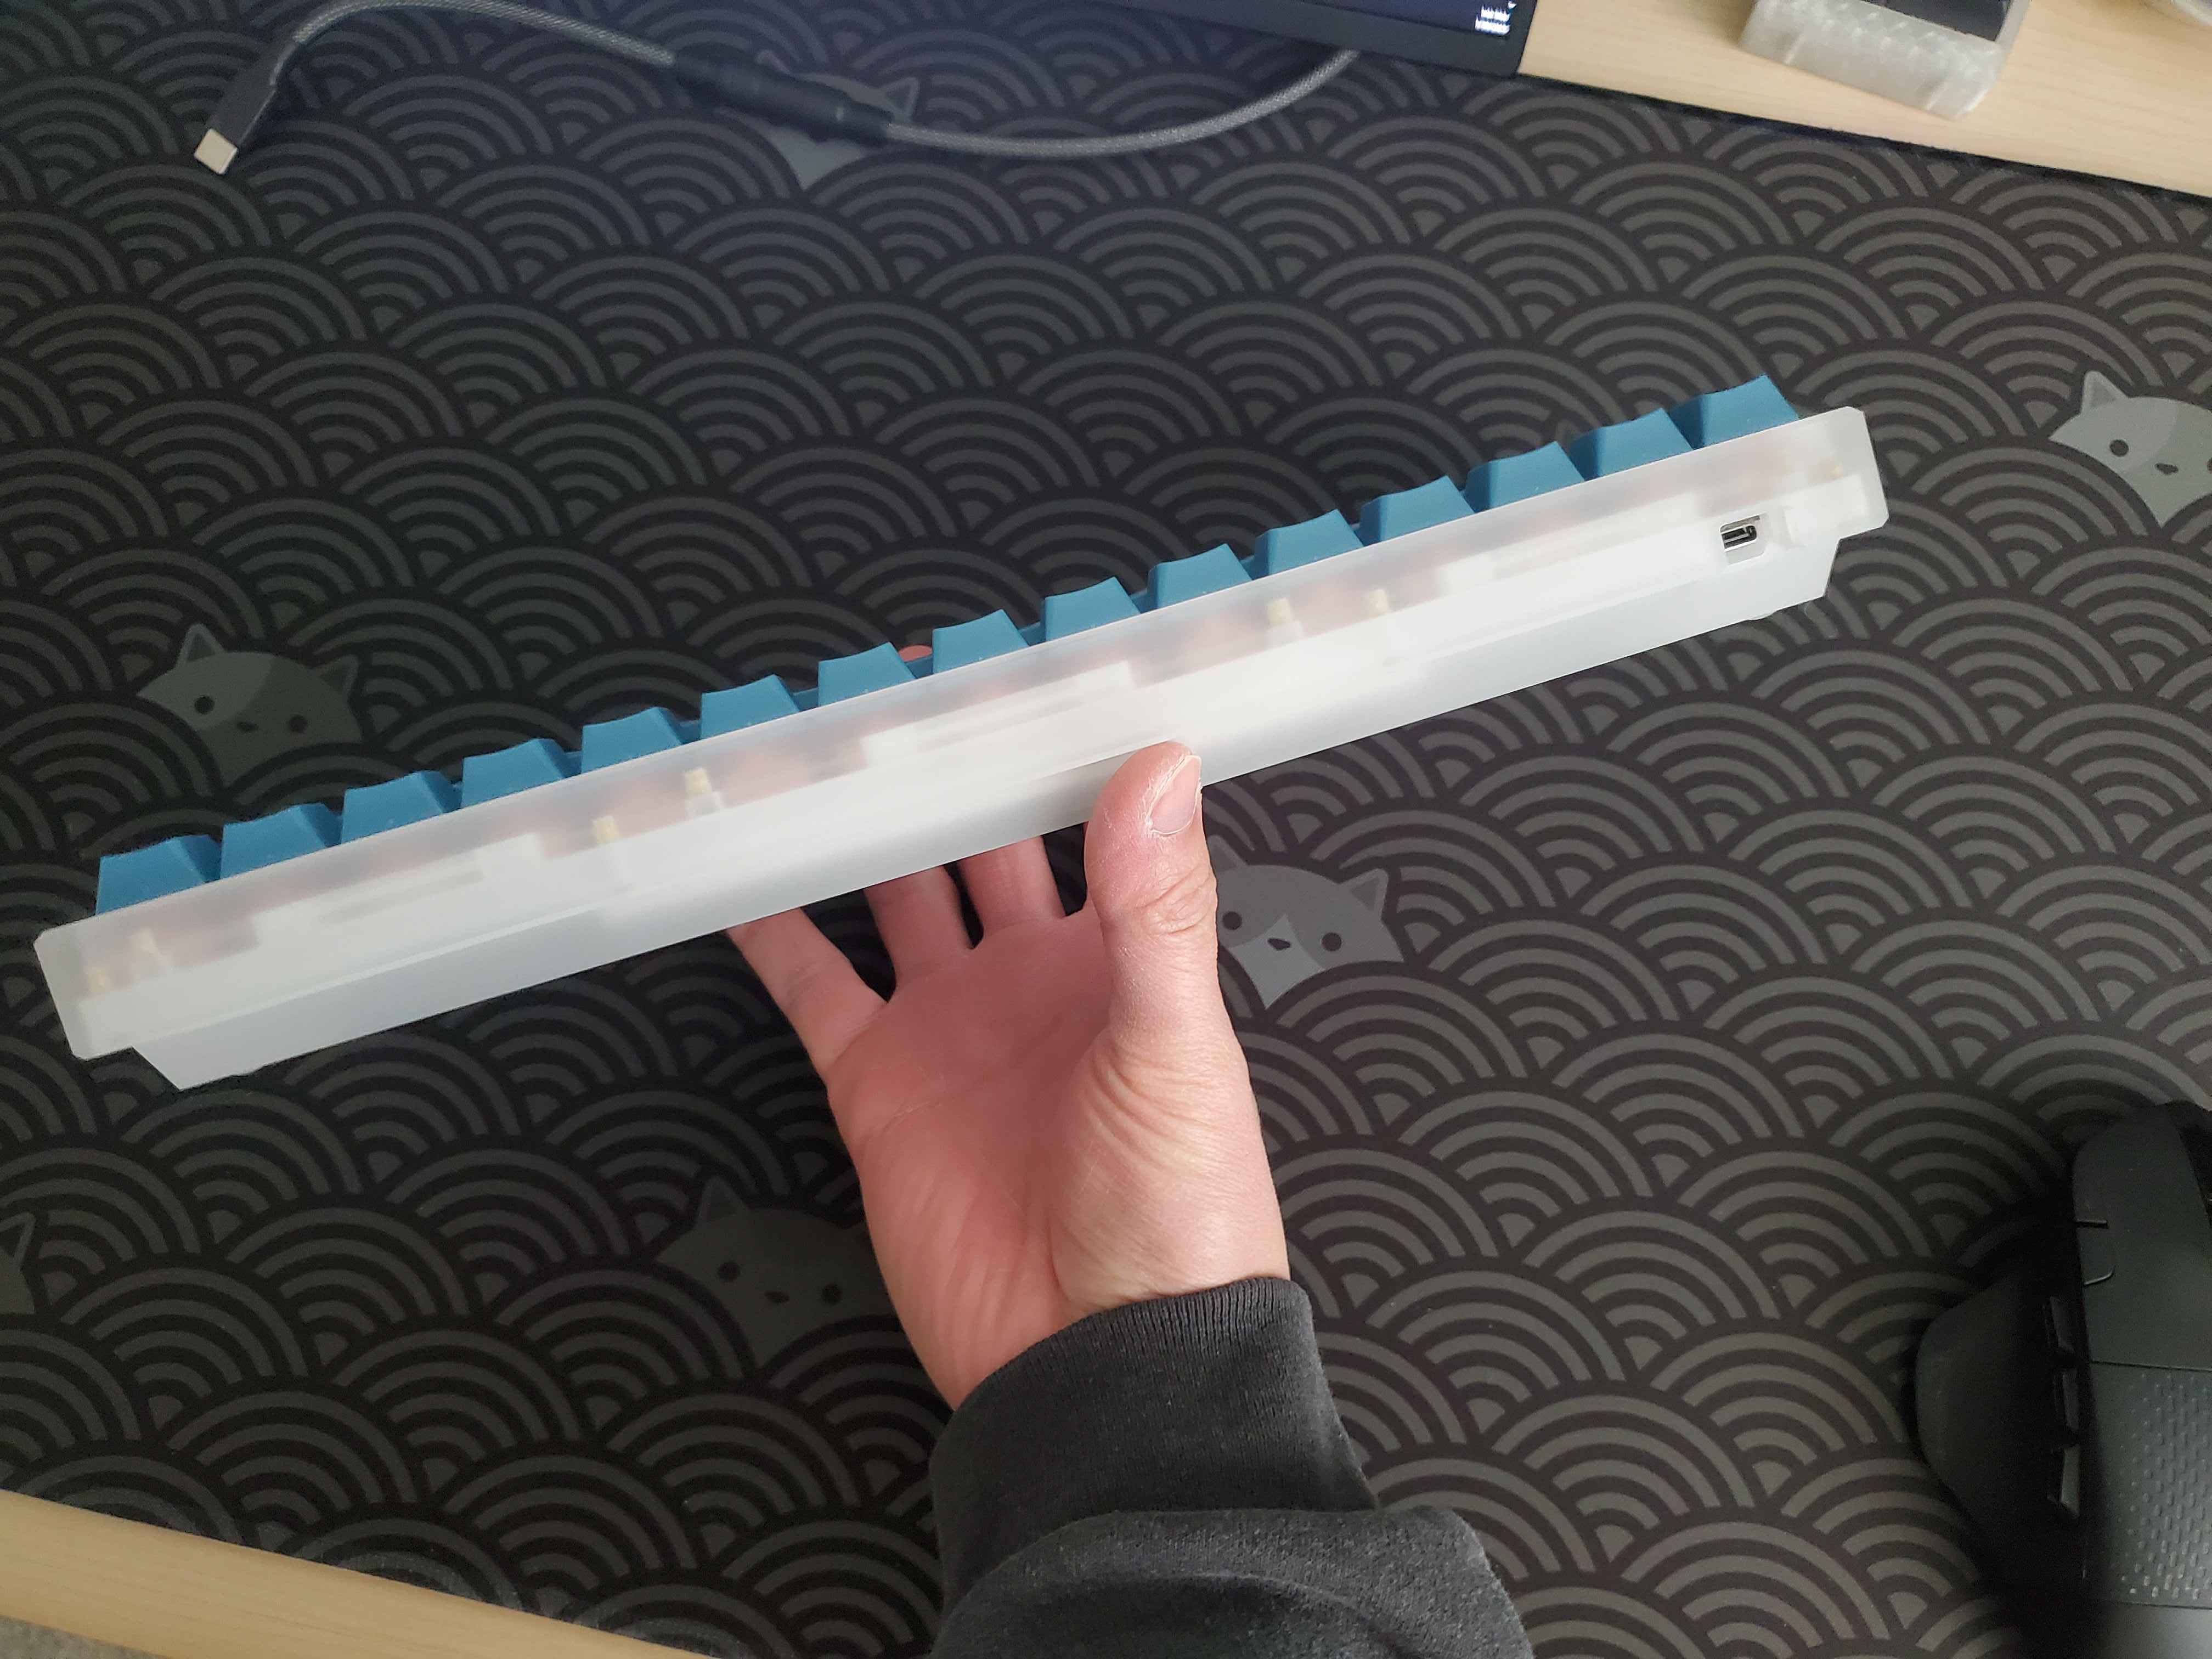
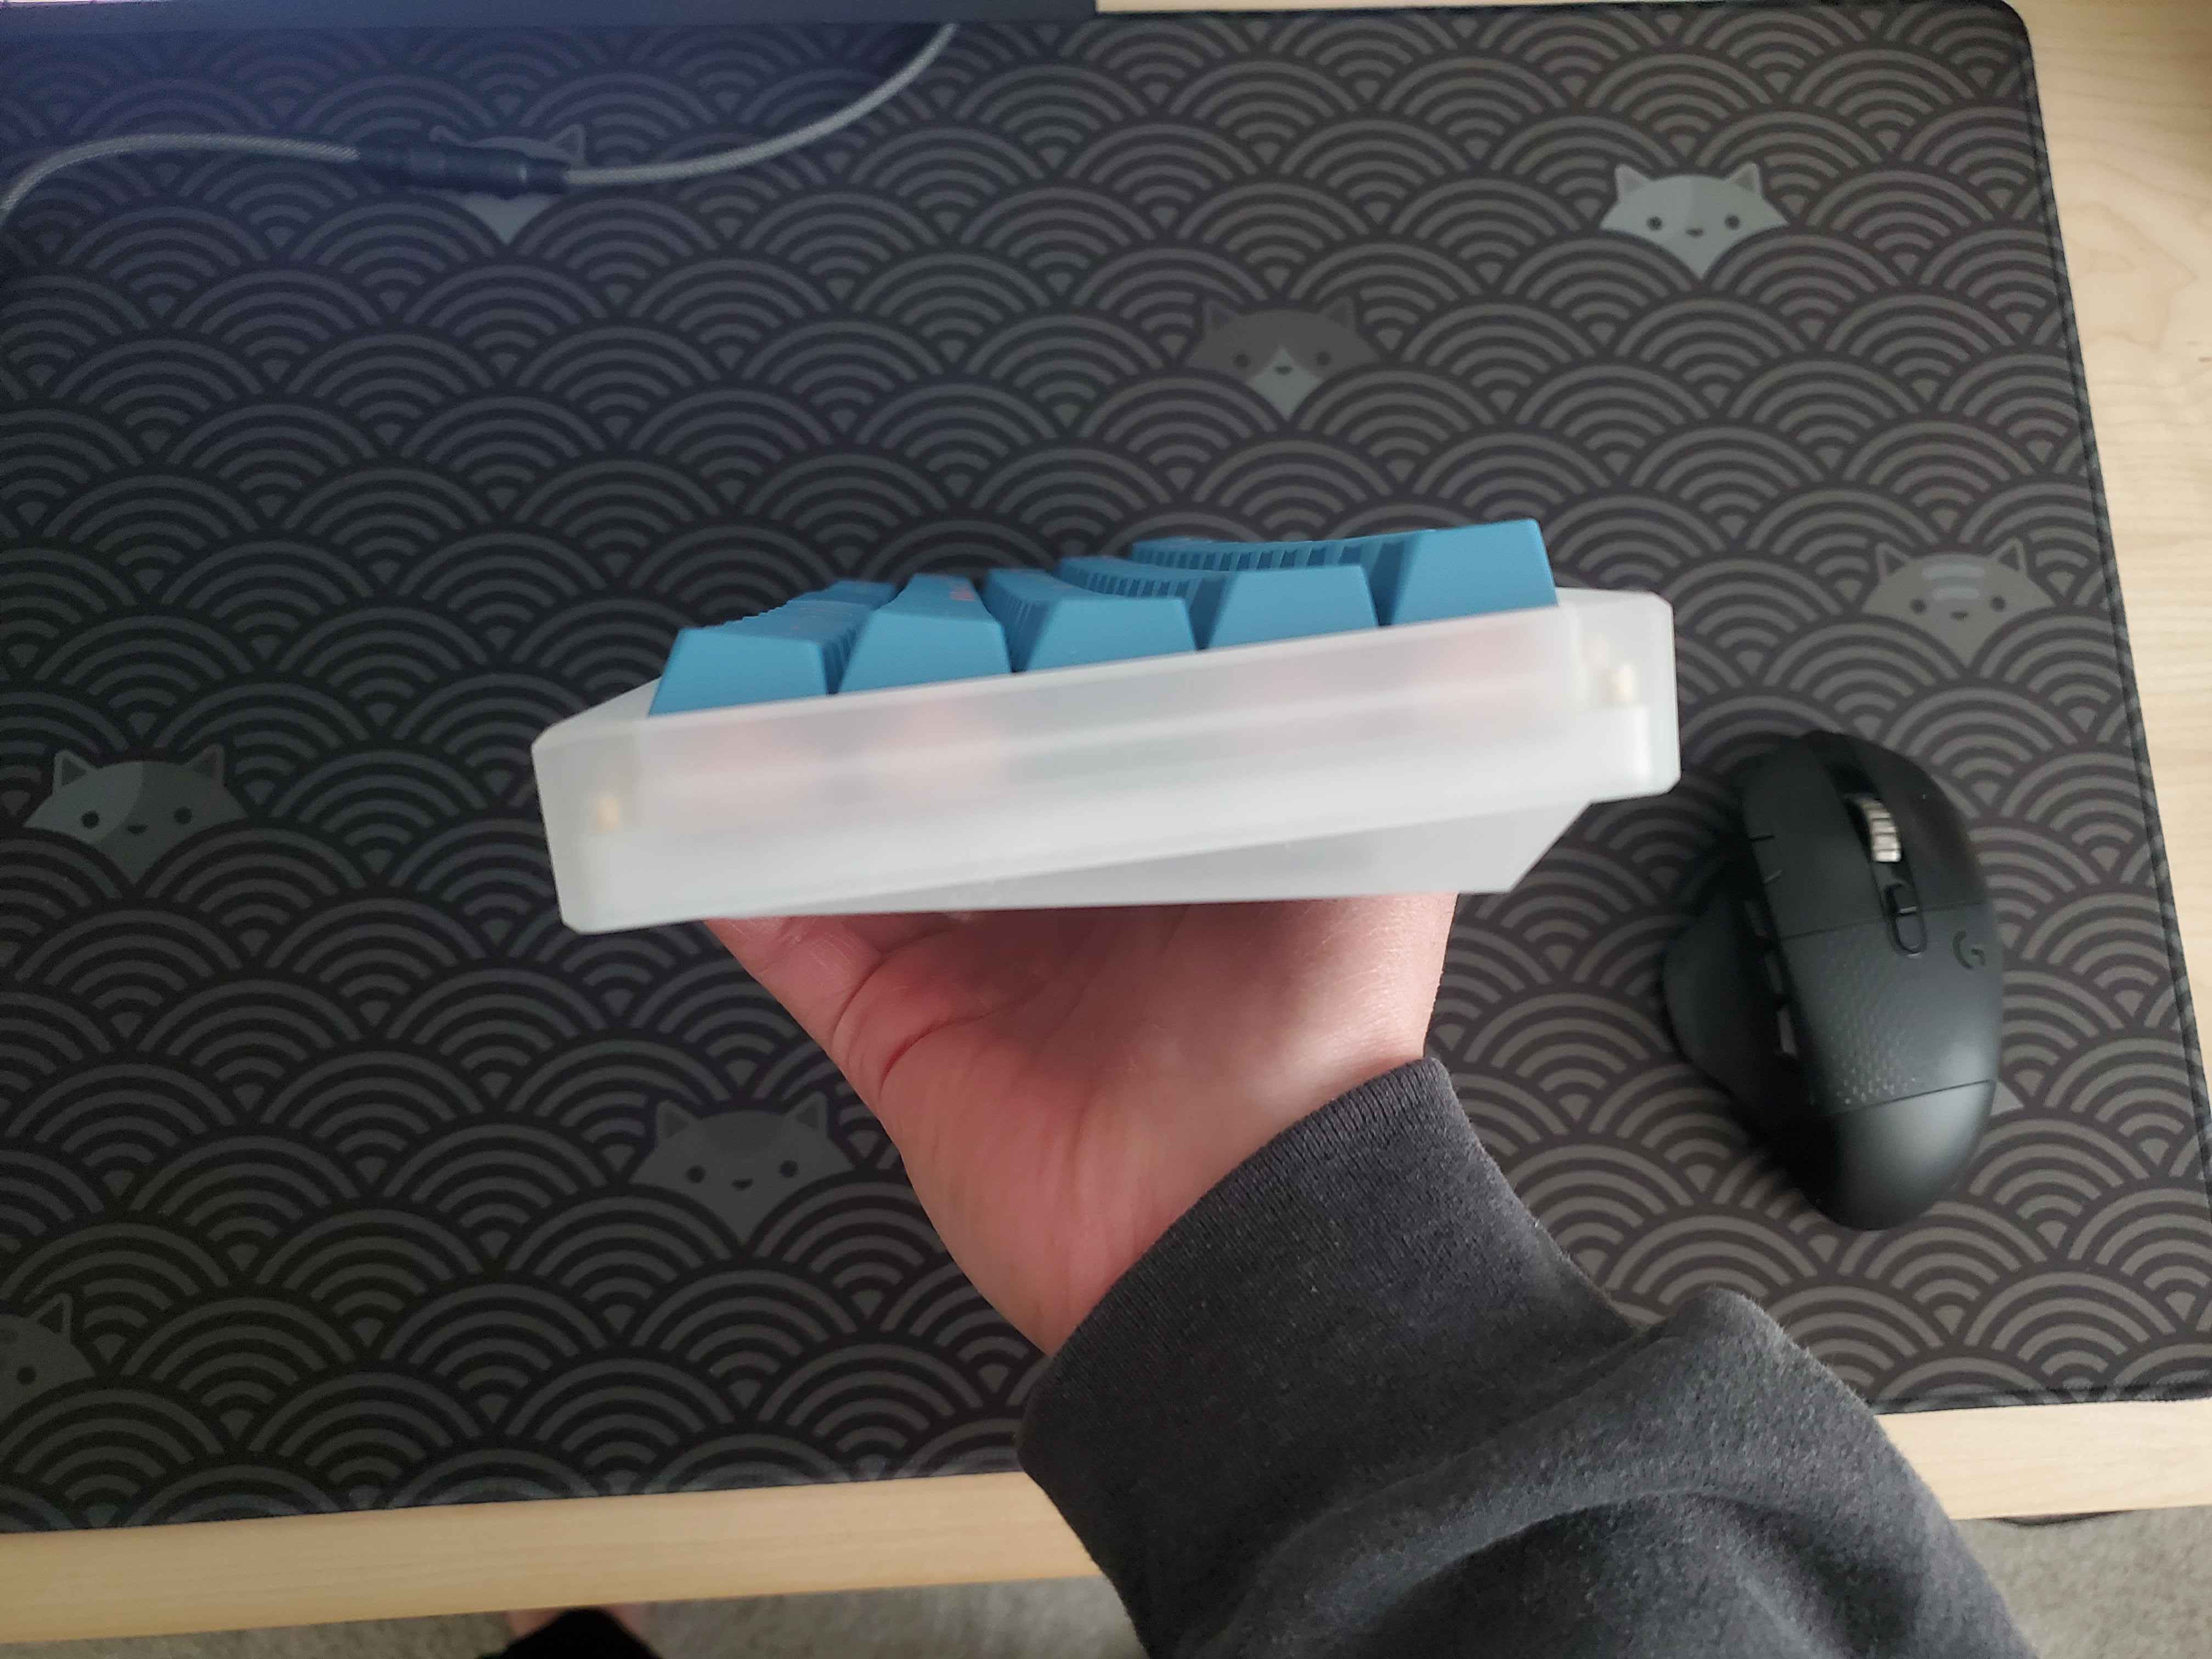
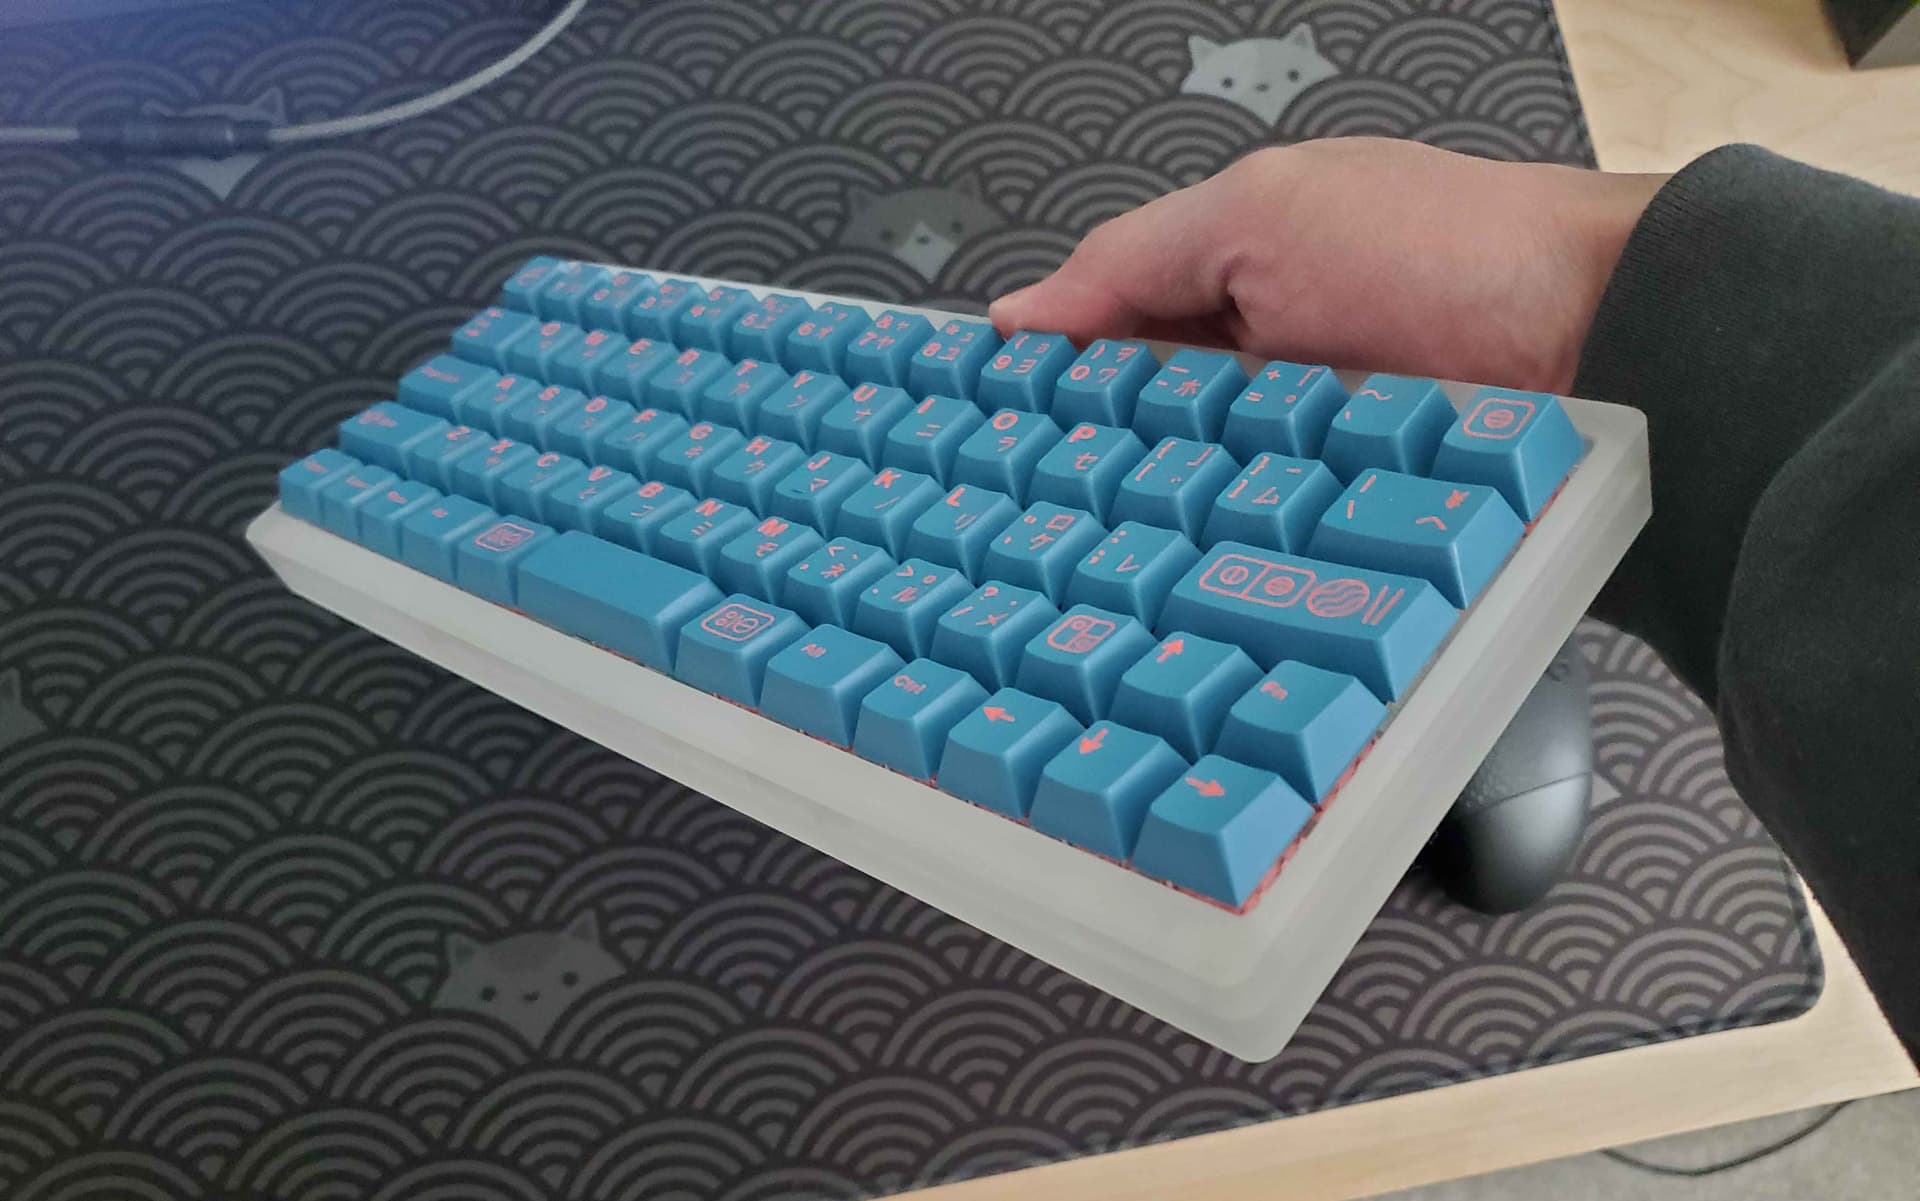
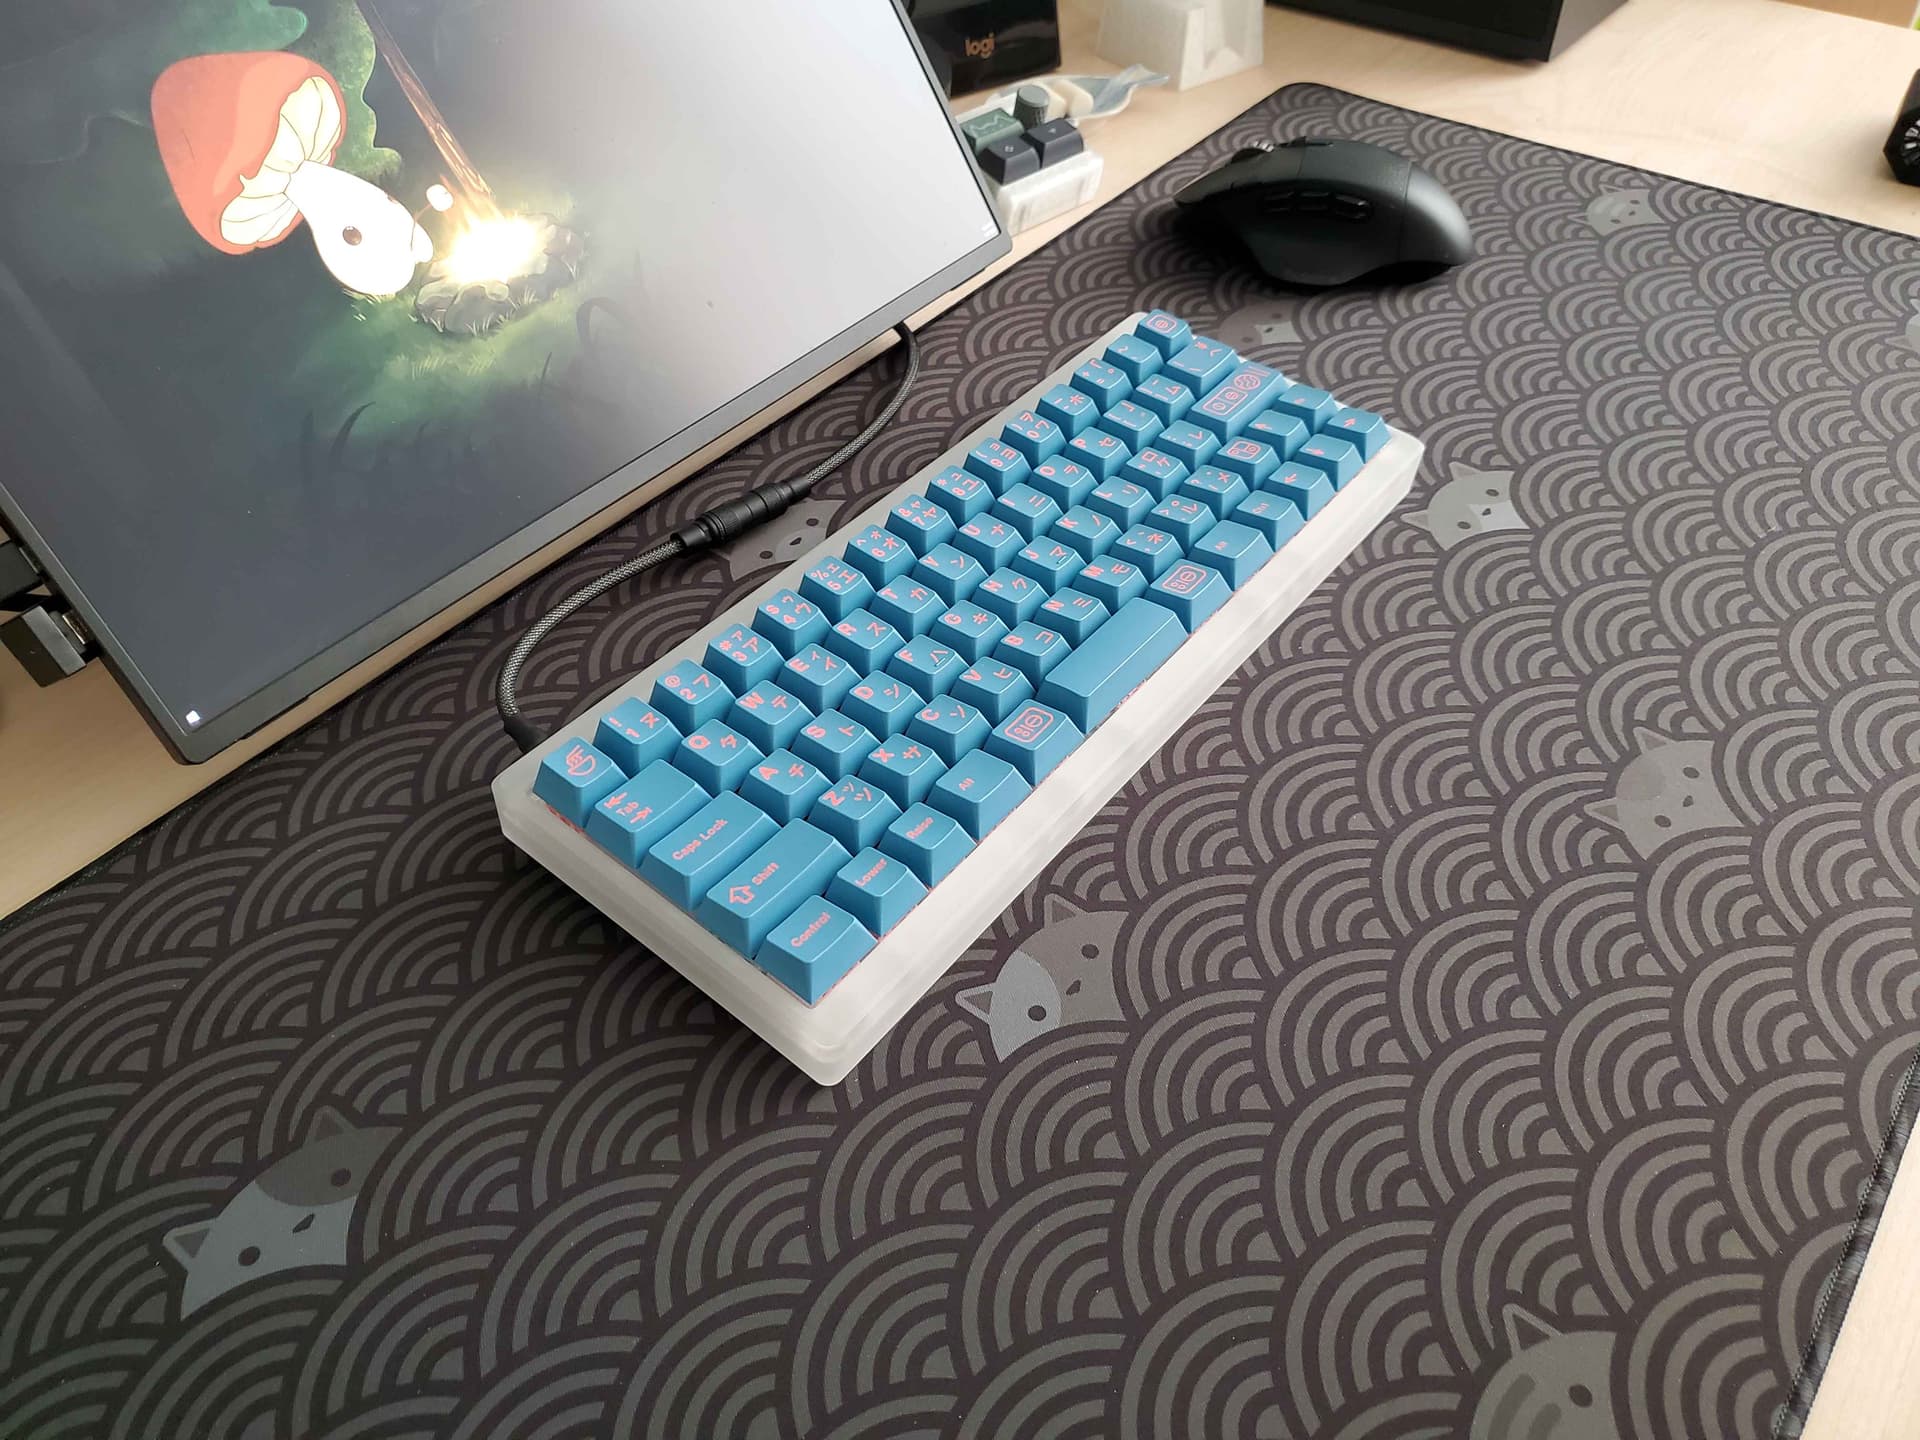
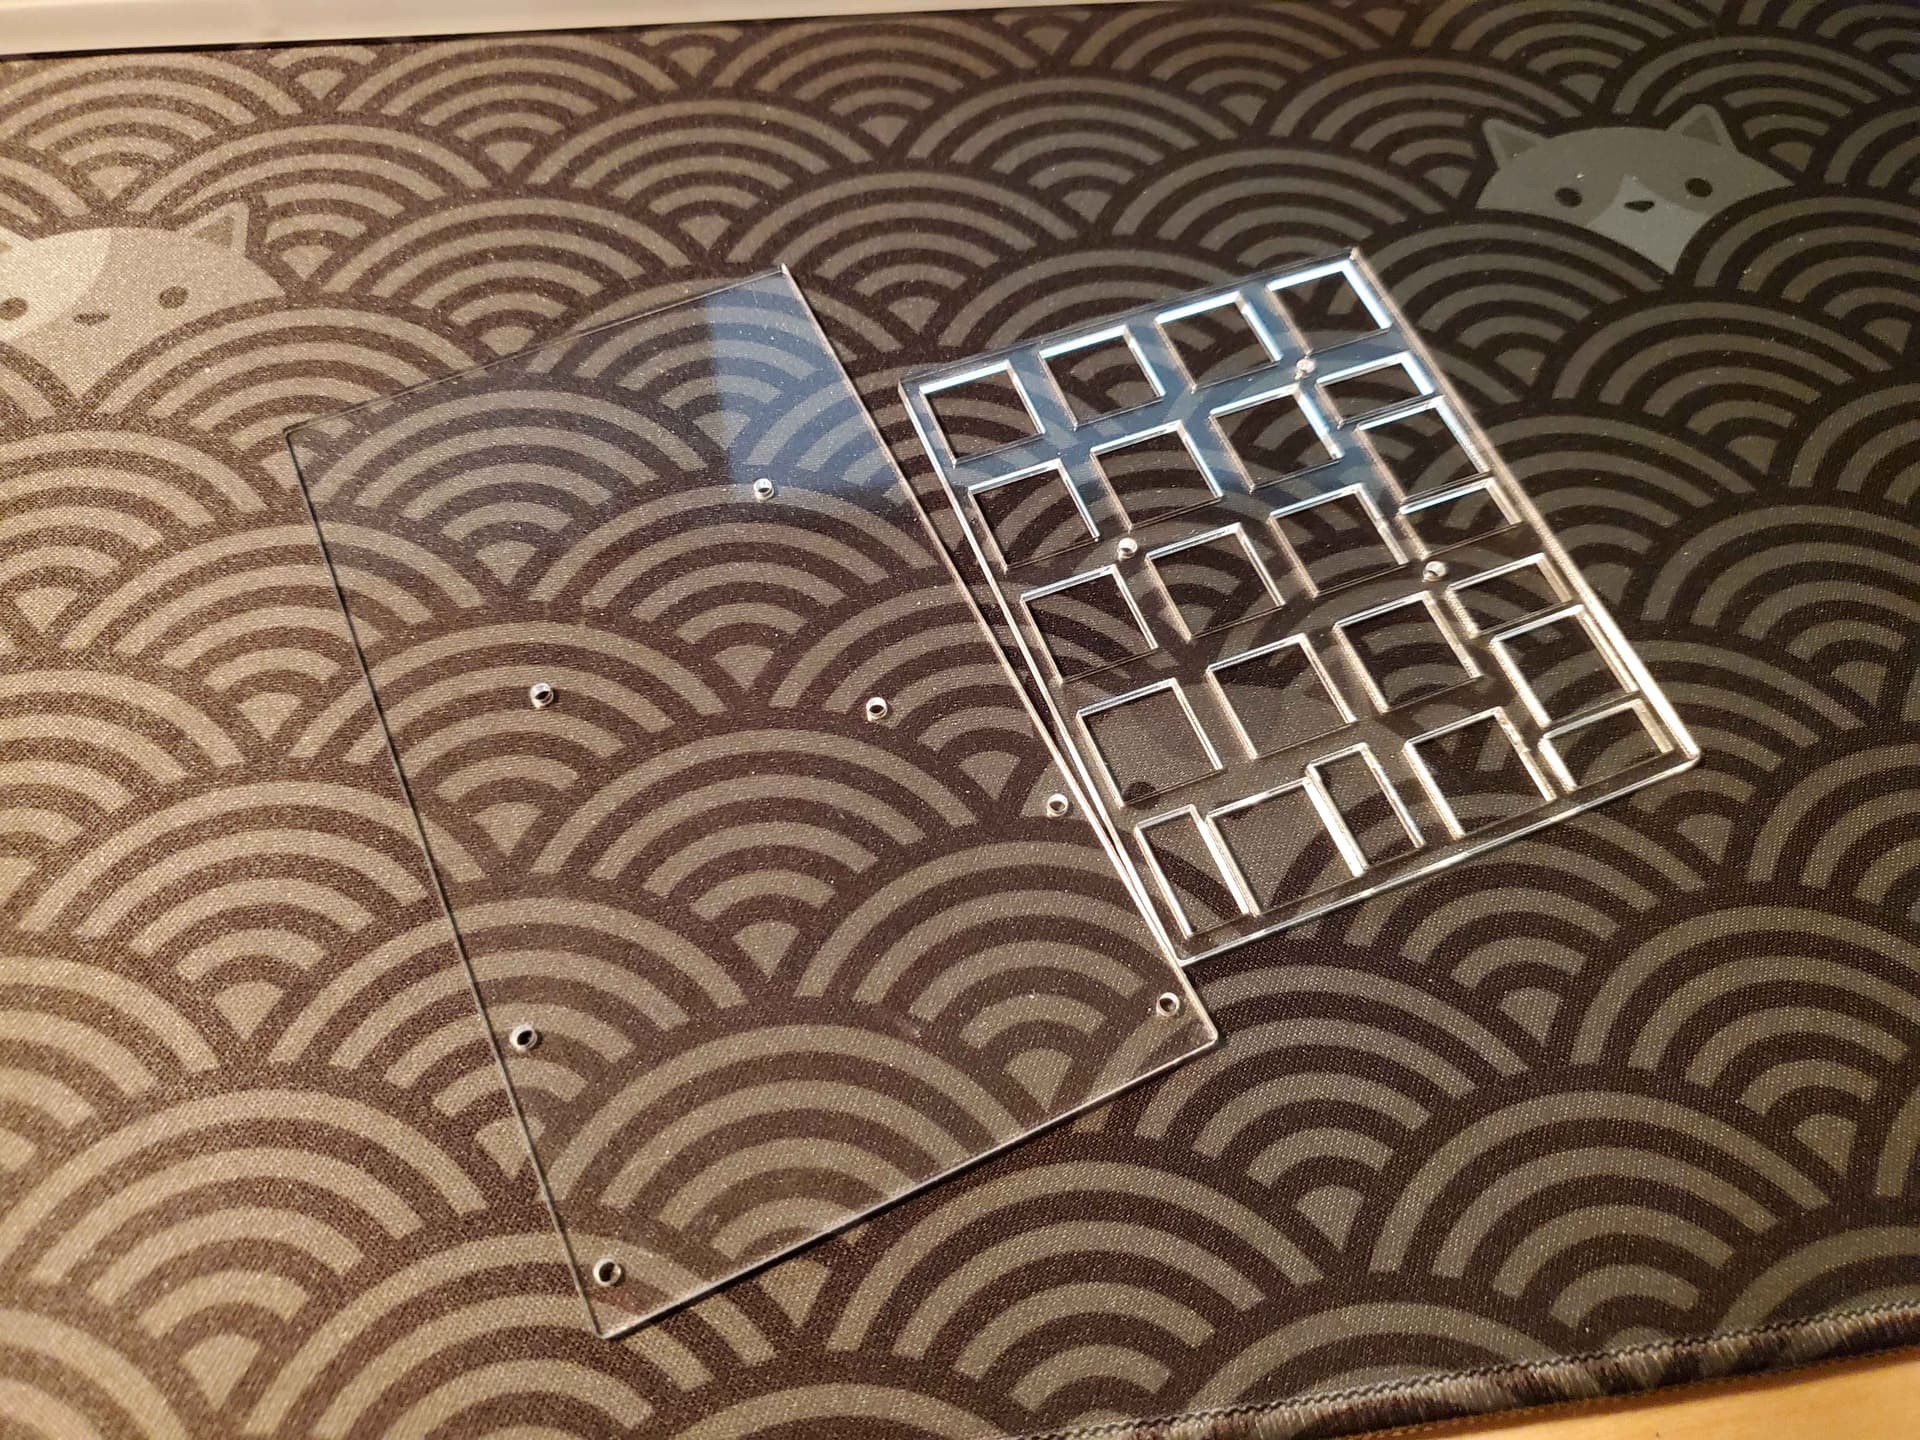
I’m currently working on a custom 60% PCB for the cast acrylic Tofu60 redux case, for what will be my first plateless build. Keycaps will be PBTFans X-ray (so channeling what @pixelpusherwas doing with the Bauer lite). I was originally going to use a WT60-C PCB as it had the per-key RGB I wanted, but I also wanted underglow for maximal glowiness.
Thus was born the Fiat Lux 60, a RP2040 based board with per-key RGB and underglow RGB lighting. I’m stil working on assembly of the PCB (solder paste was too old for my first attempt, I think?) but hopefully should have that done soon. And need to push the PCB to my github in case anyone else wants to build on it.
Grrrrr. This Focus board has made me grumpy. It’s developed a short, but the matrix is so convoluted that I can’t tell where it’s coming from or how to trace it properly. Basically, I’ve got 12 “quantum entangled” pairs of keys that each type both themselves and their mate. I’m about THIS close to just buying a desoldering gun and turning the thing into a handwire. I’d lose the calculator, but gain programmable keys.
Bento + Akko v3 Creamy Black Pro | Bento Revival + HMX Jammy
The Rule60v2 is such a nice board. The design is so clean and and I love the way the acrylic looks. The edges have just the right amount of chamfer and corners the right amount of fillet. The case itself is rough and super dirty out of the box and I had to wash off all the grit and dirt in the sink, and the steel weight which only the second build has is super rough finish, straight off the laser. But damn I do love the design and how you can see hints of assembly and color of the switches through the frosted acrylic. One of the best budget boards IMO (and dirt cheap considering).
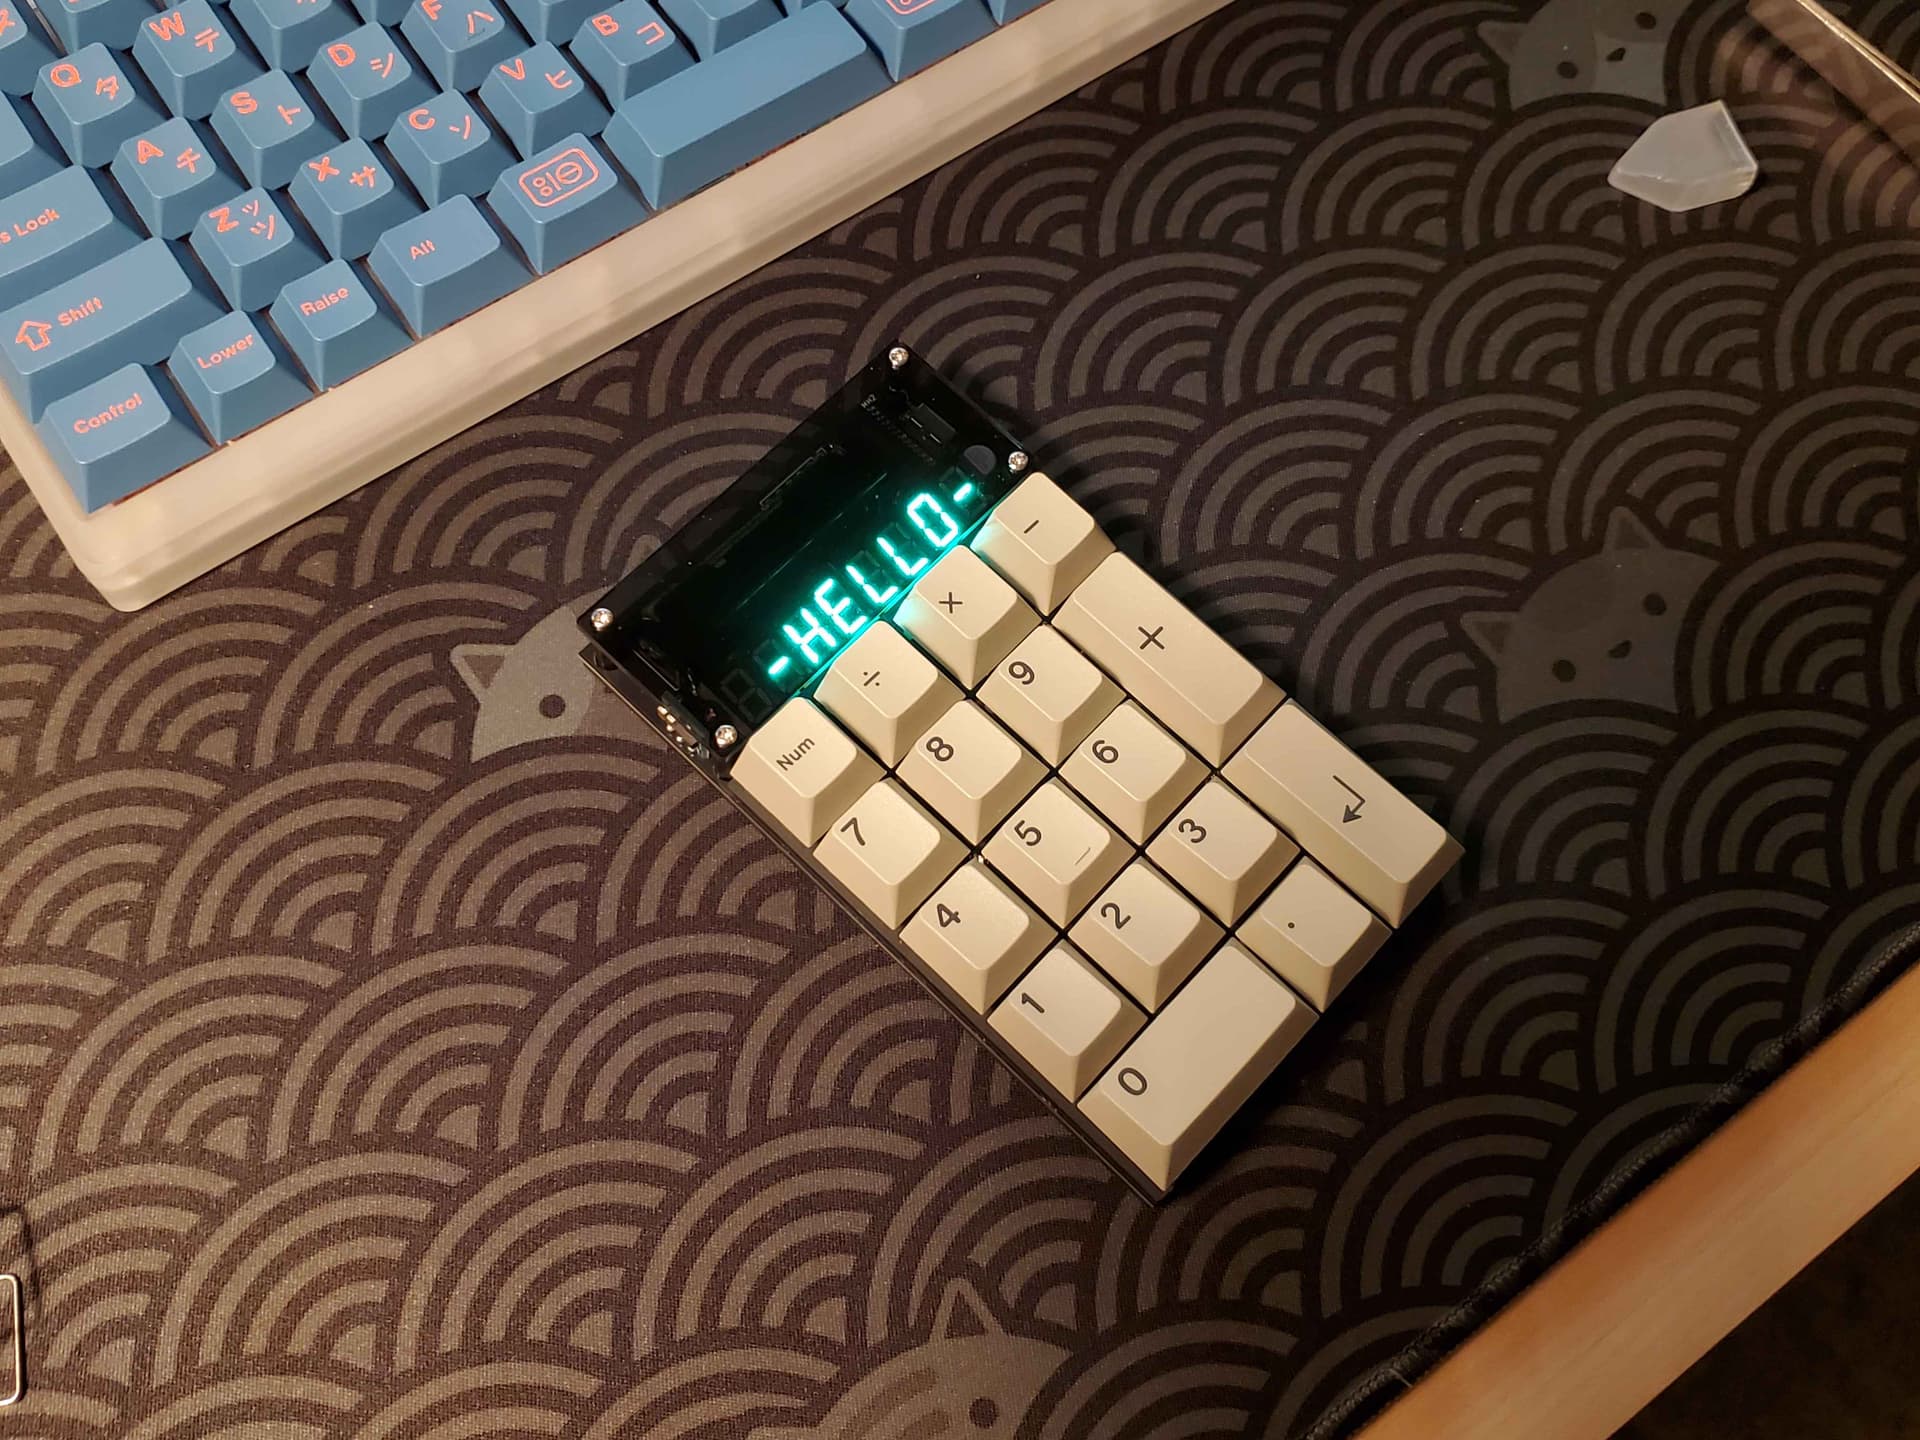
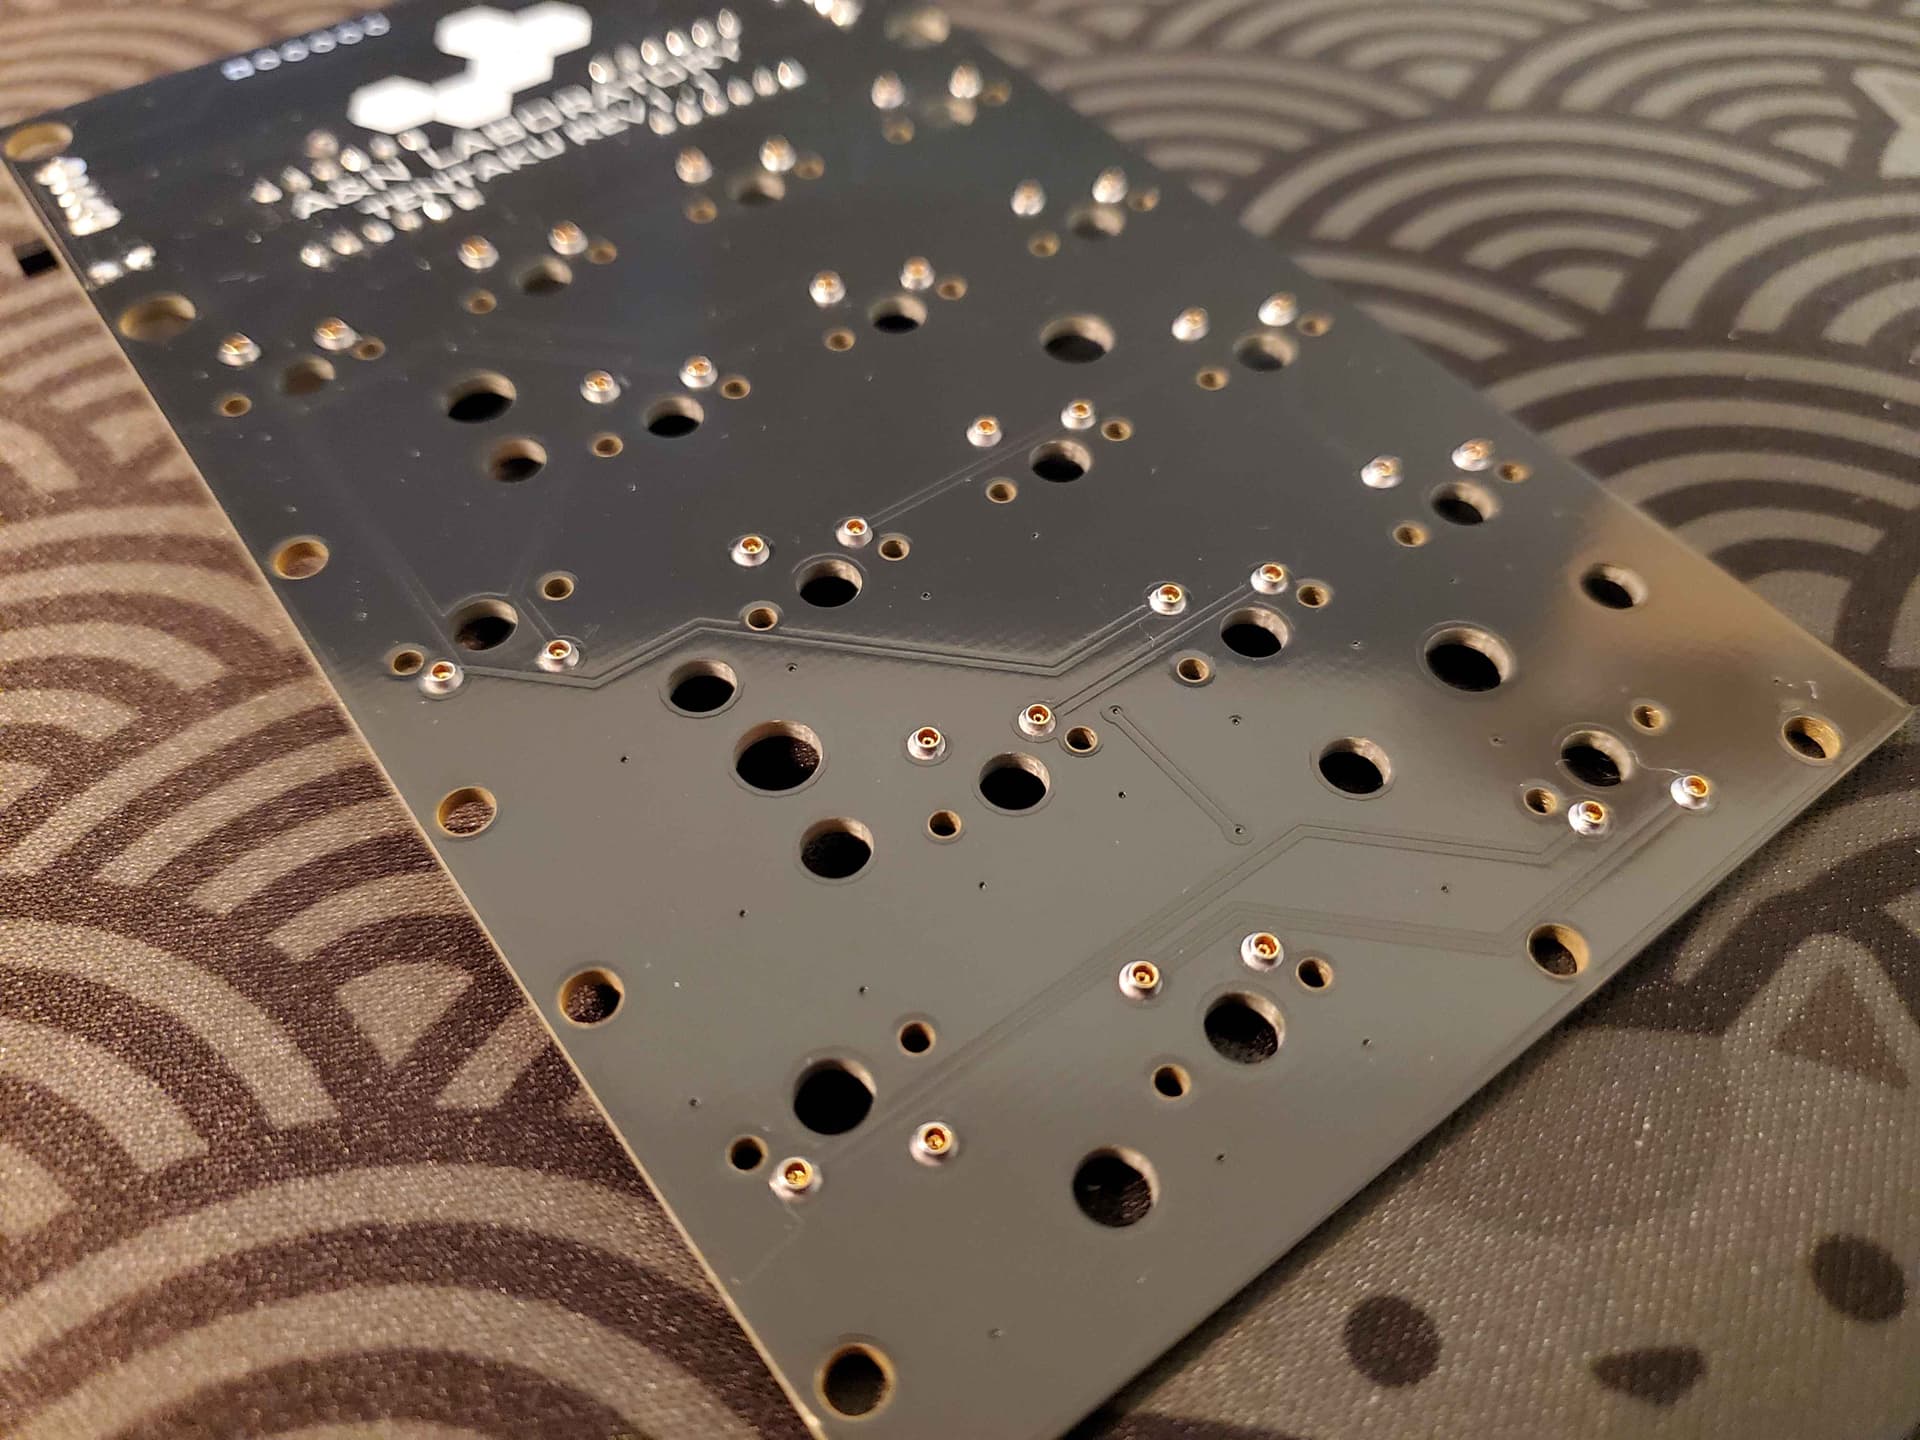
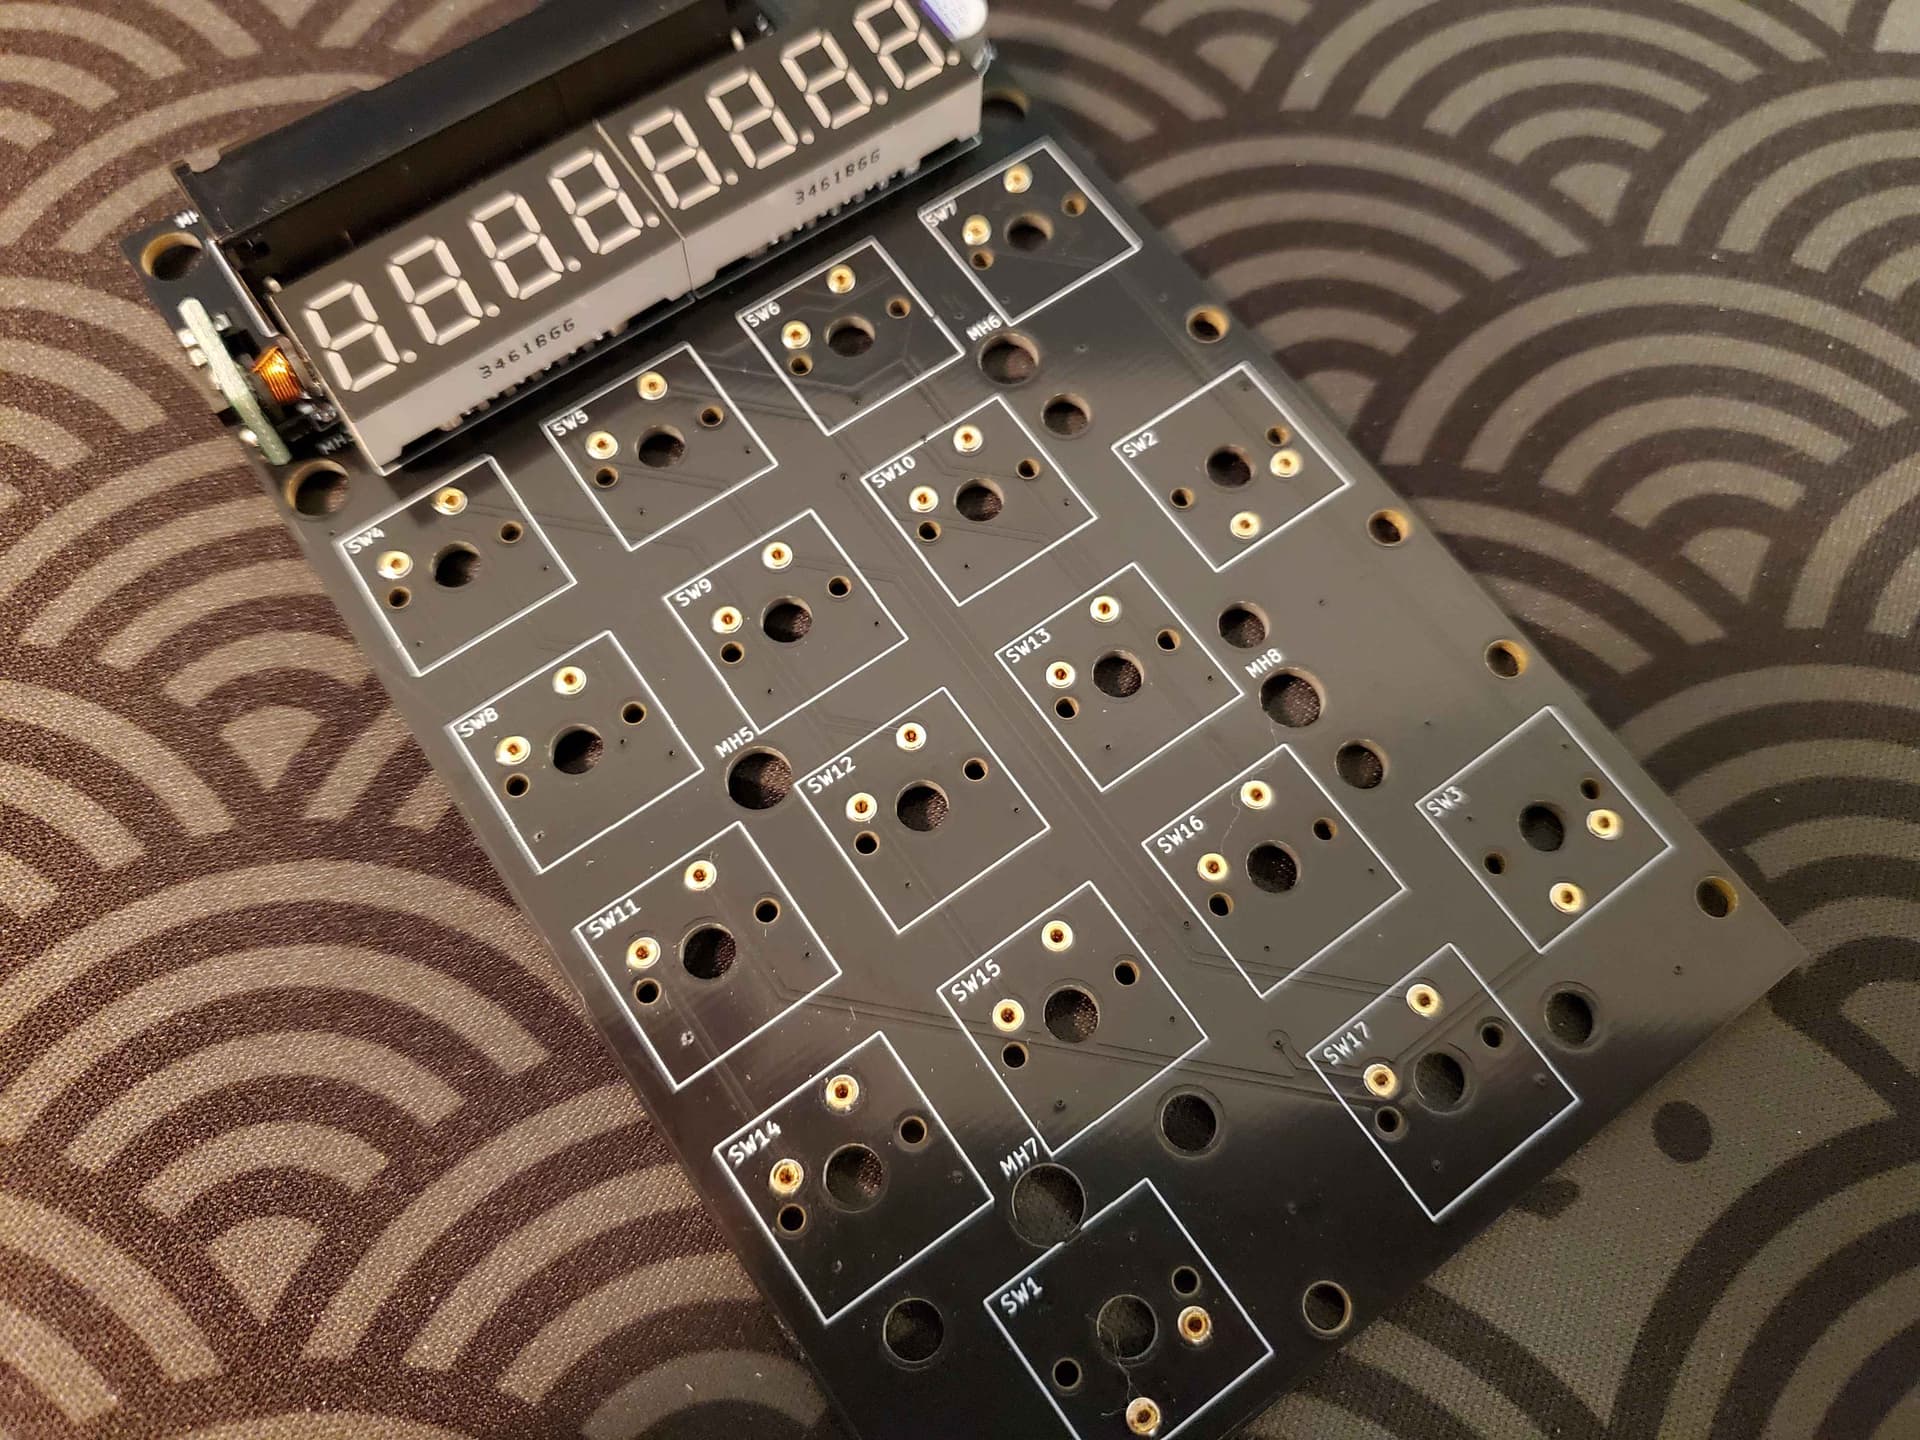
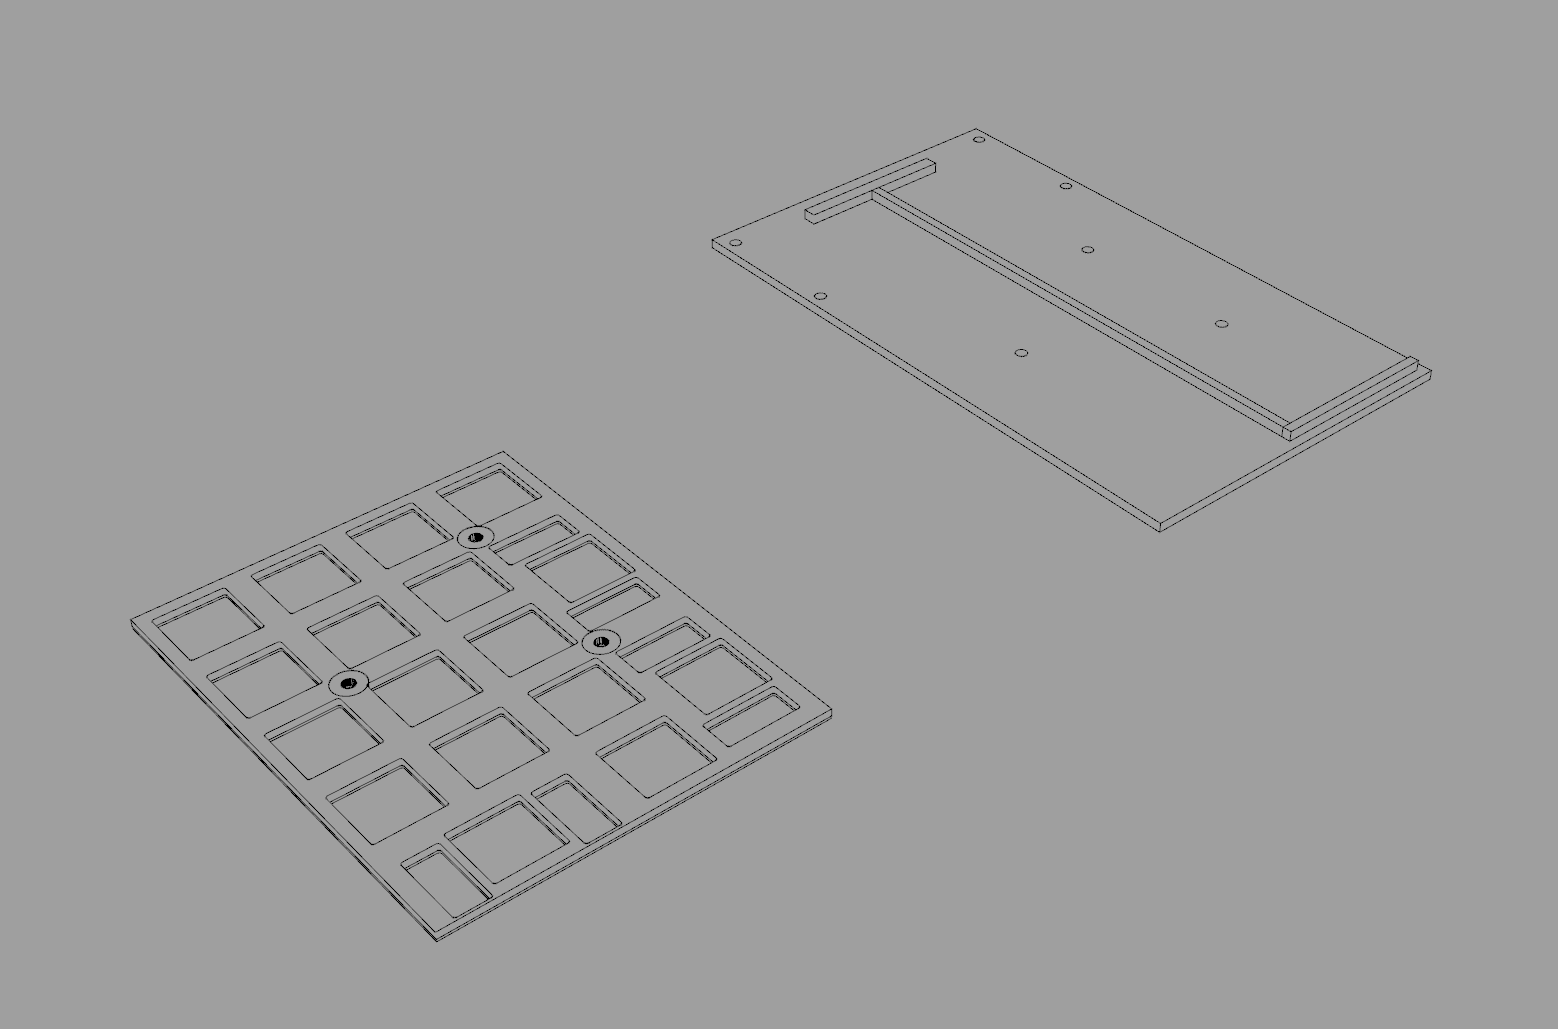
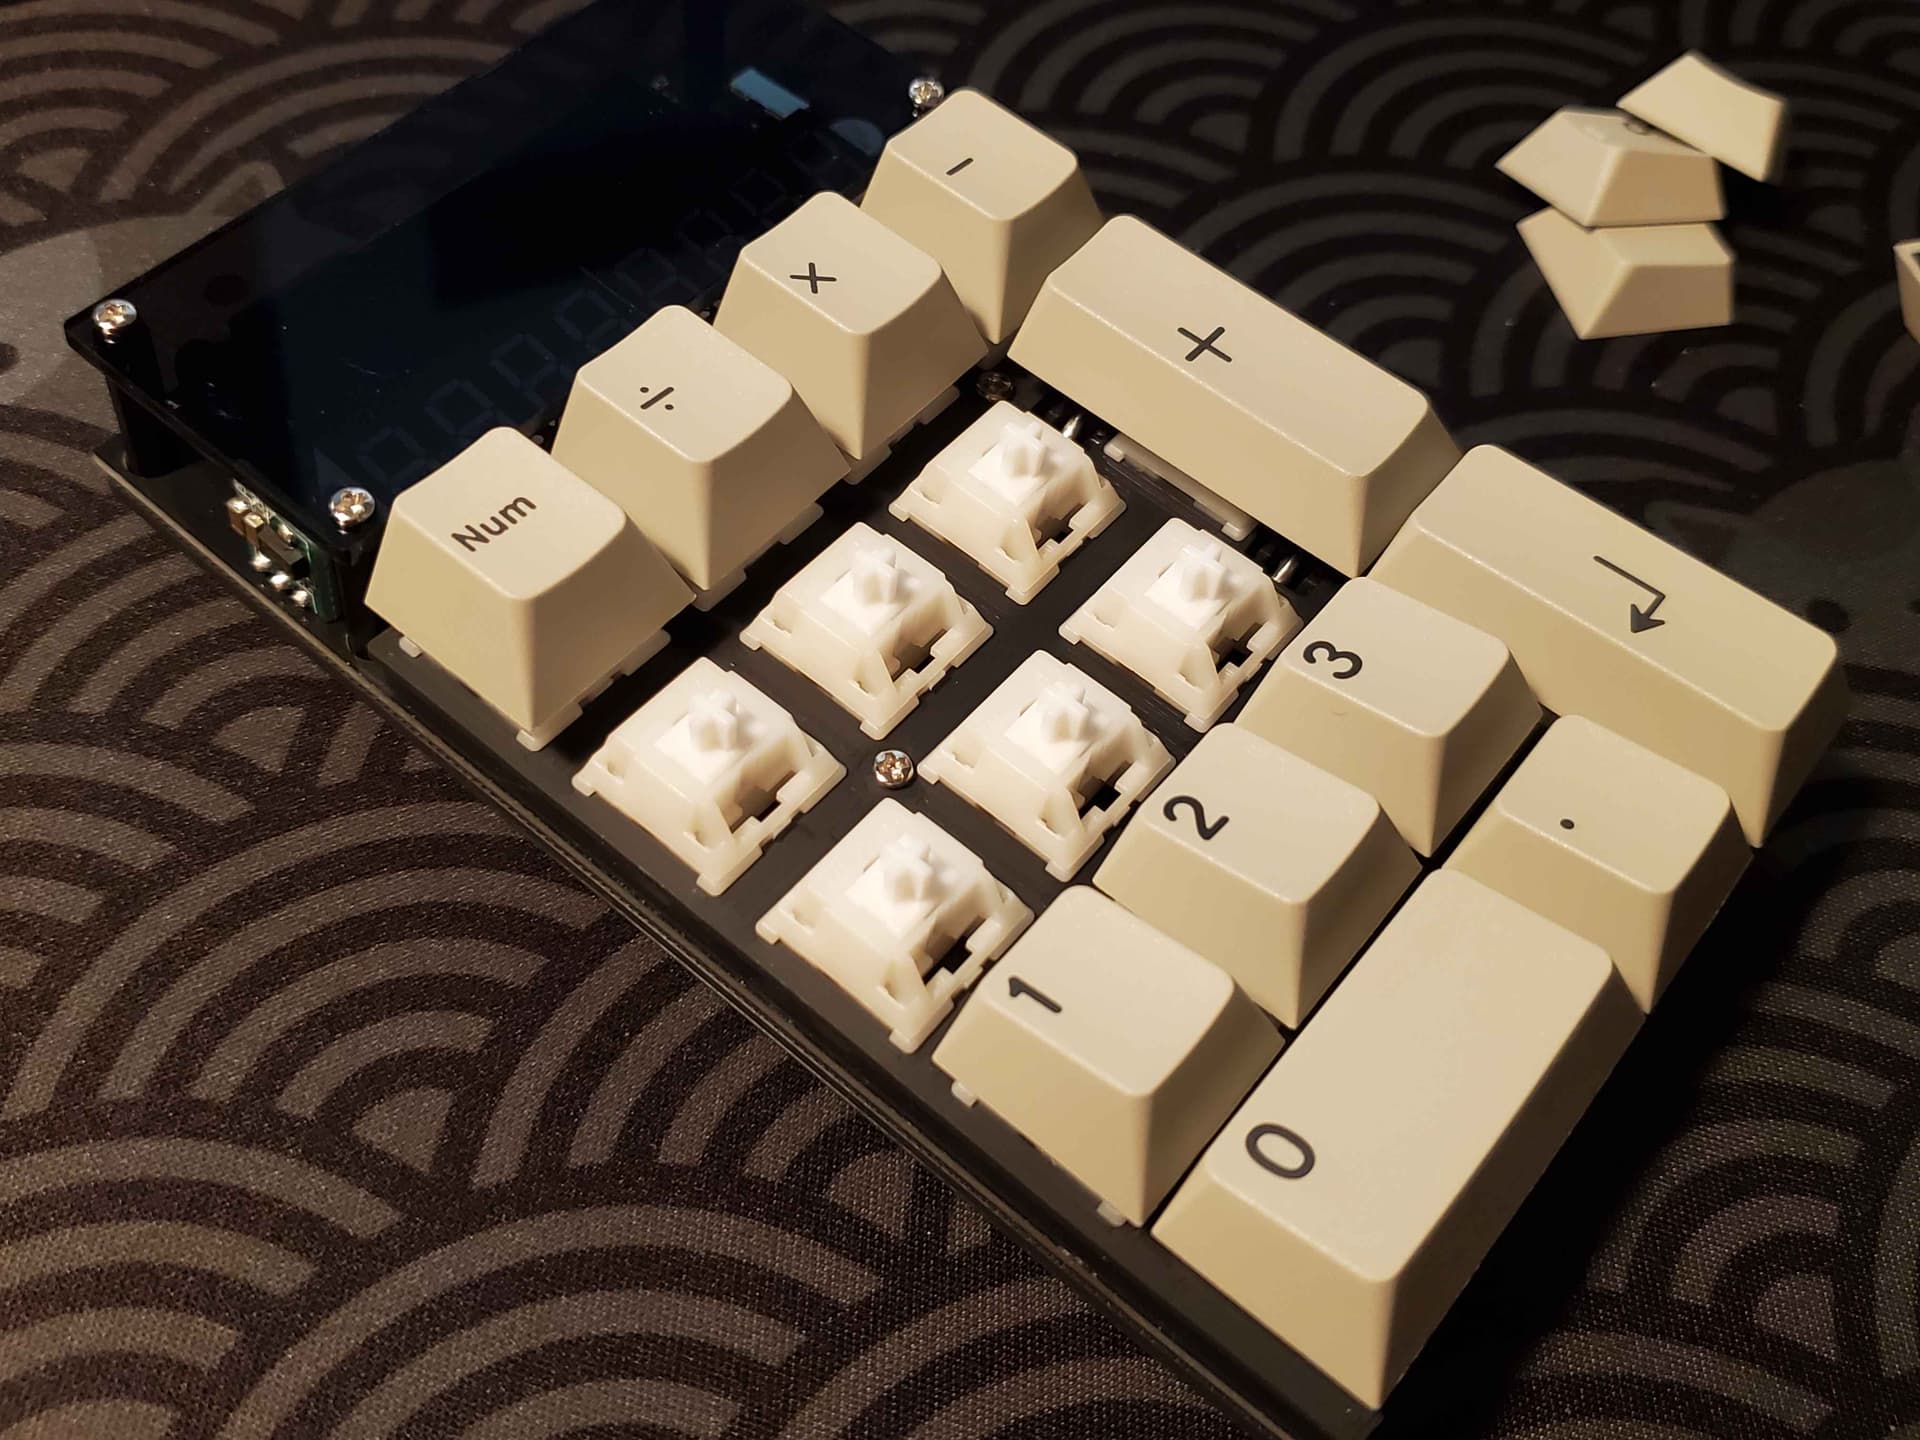
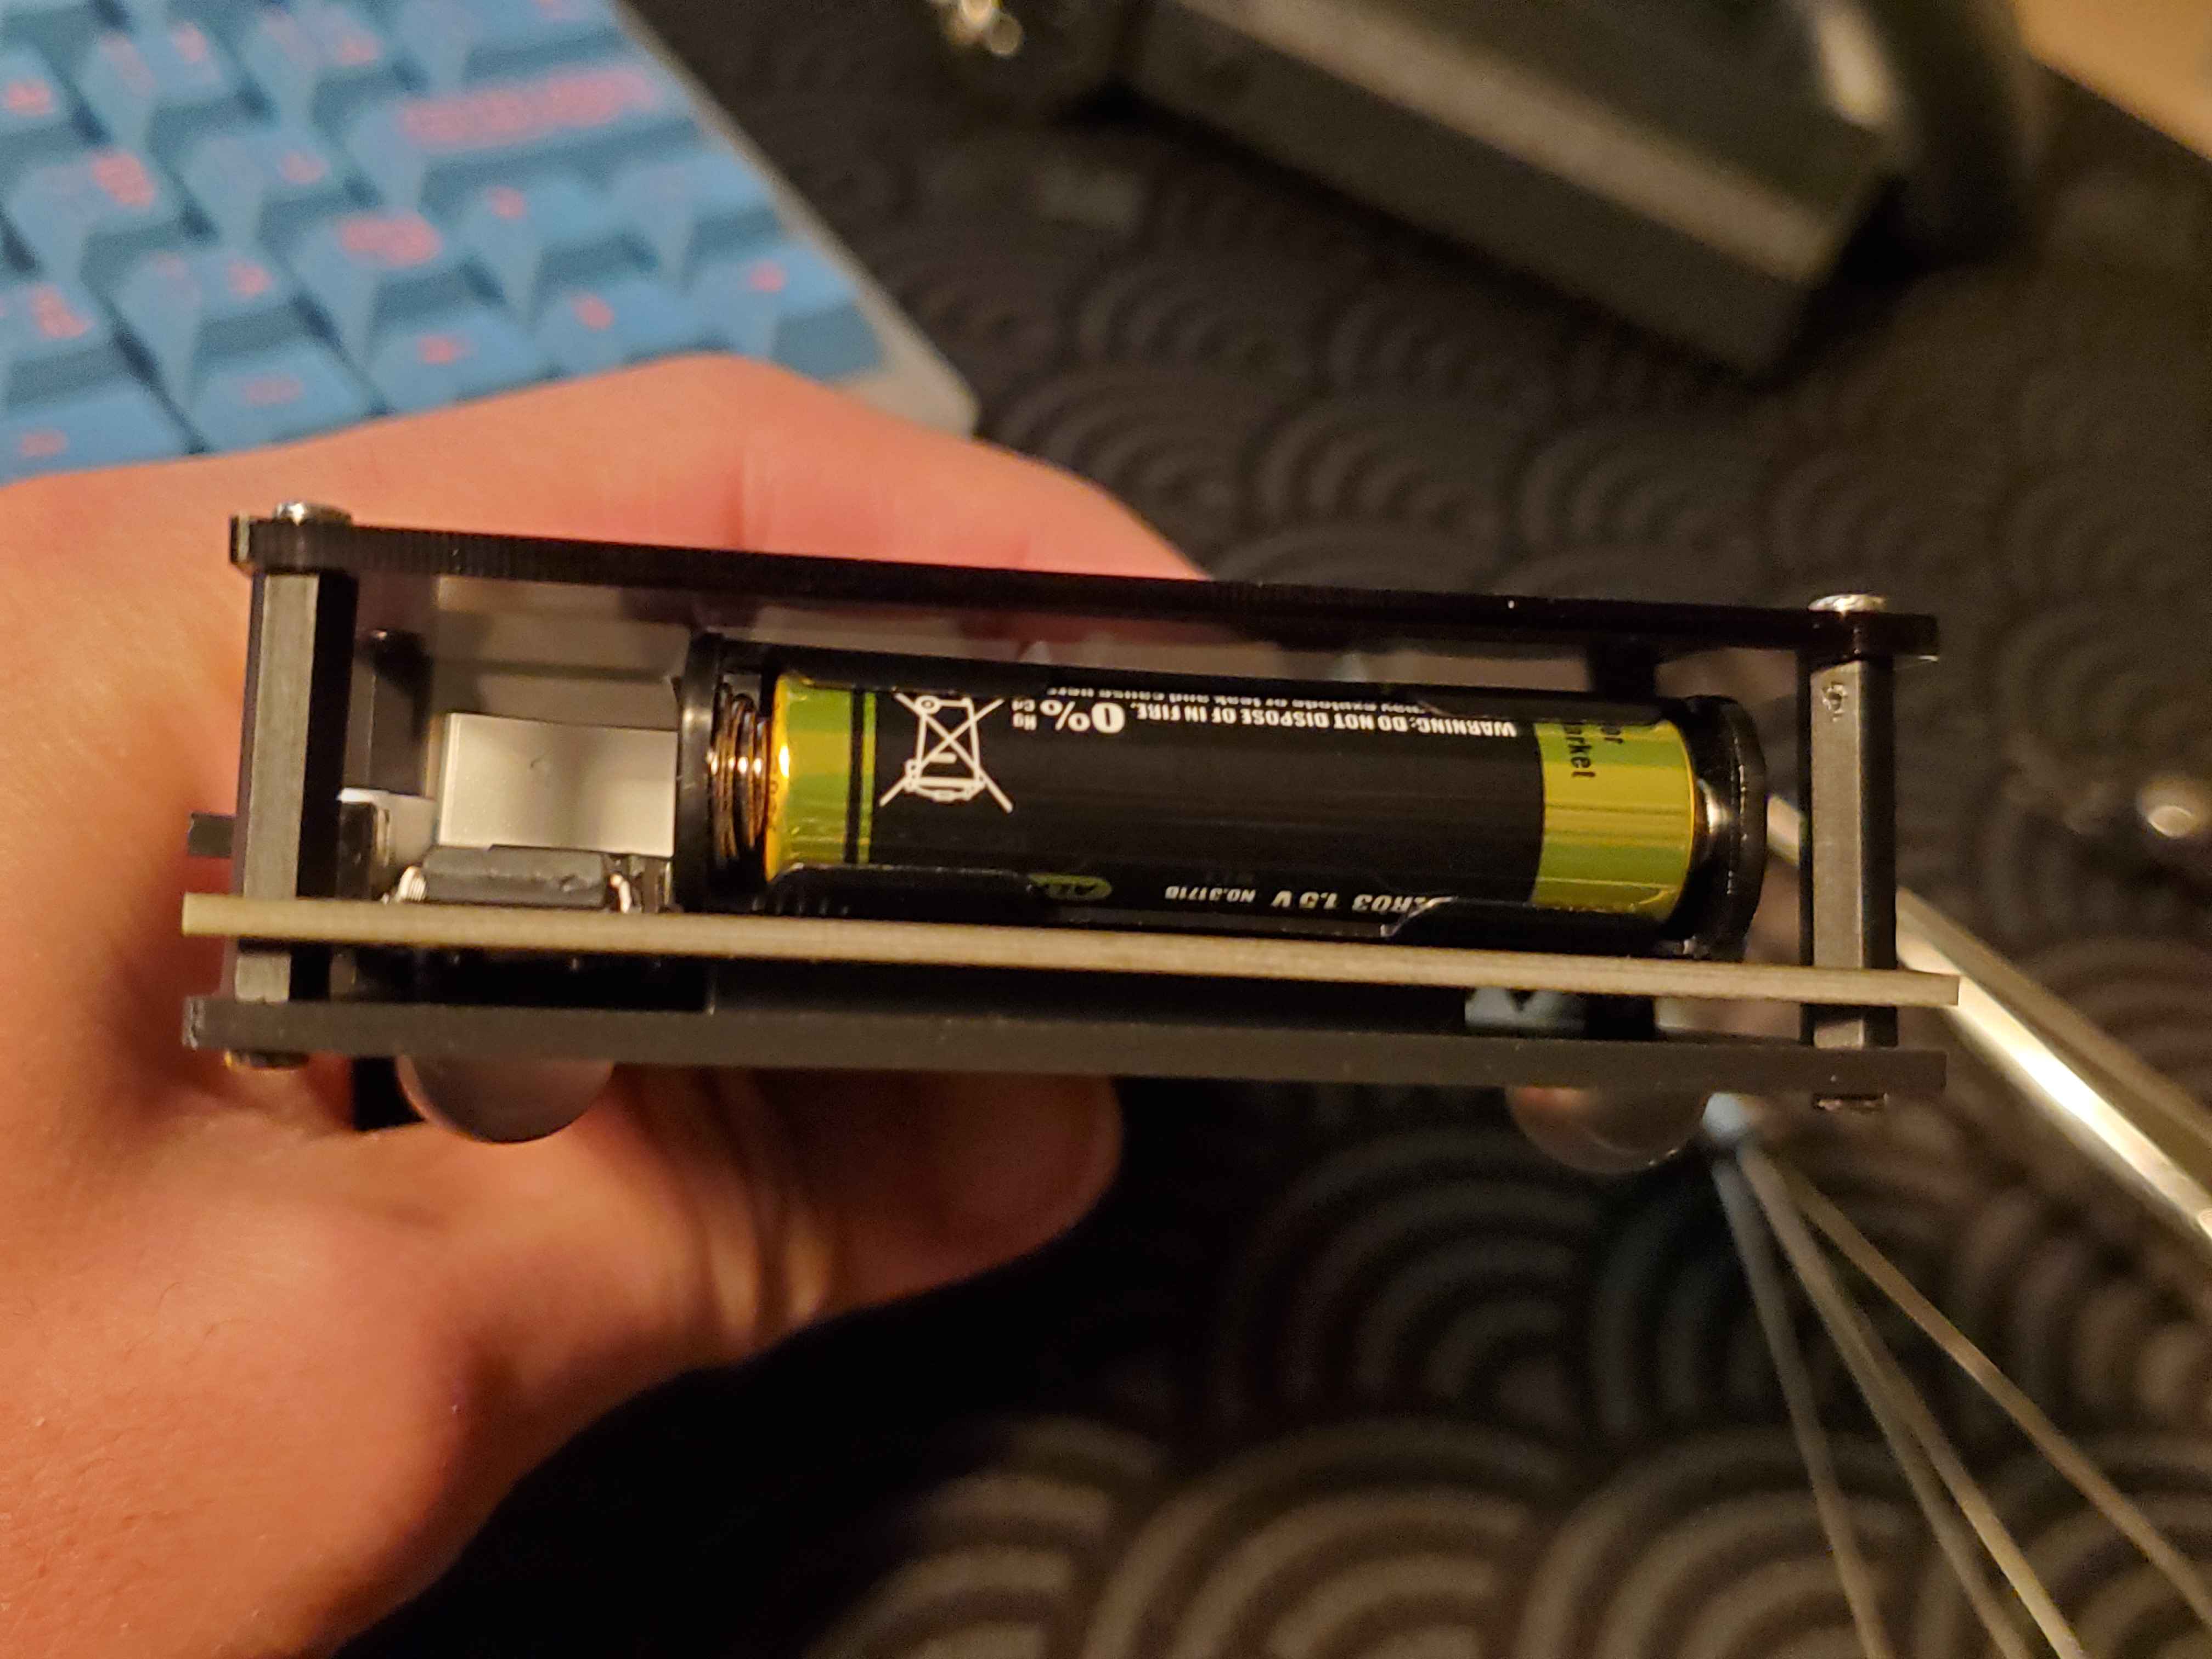
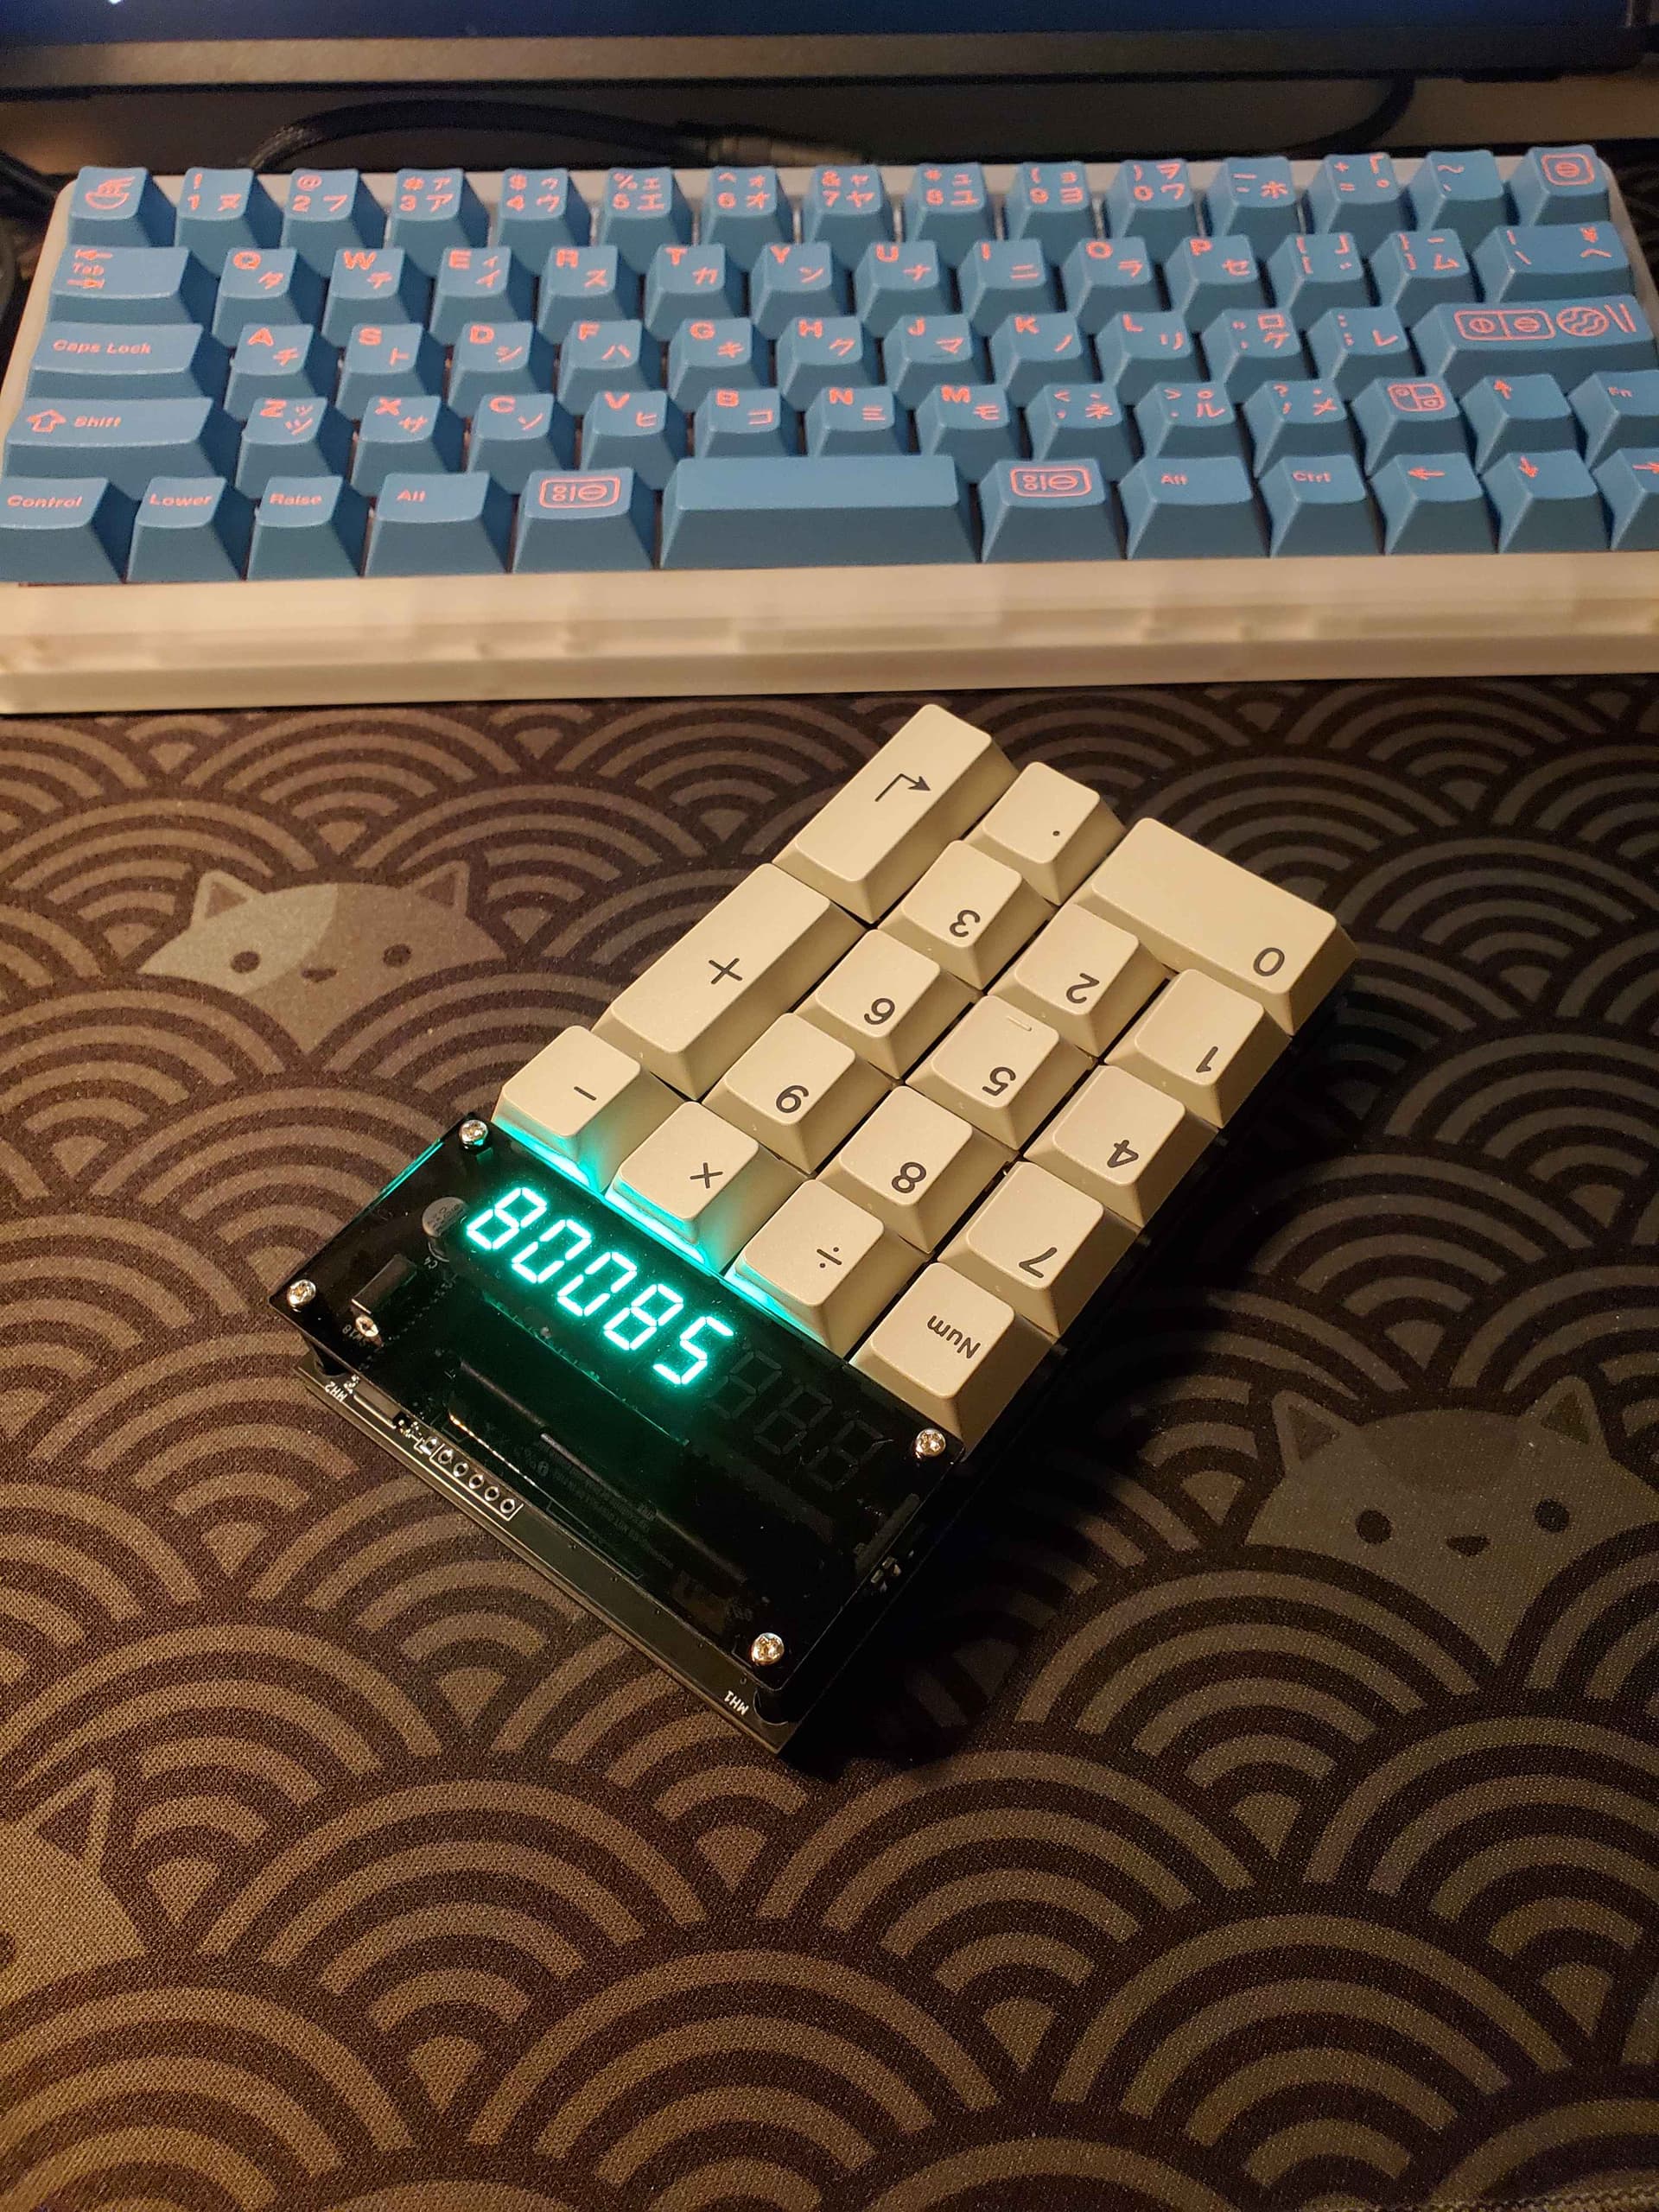
I also got my hands on a Tentaku calculator. It’s kind of just a novelty thing but I’ve wanted a desktop calculator for a while.
I mill maxed it and 3d printed a plate and backplate for it to replace the 2mm acrylic crappy ones that came with. Put some lubed Boba U4s in and threw on some Sixes. I may swap it with Nines I think.
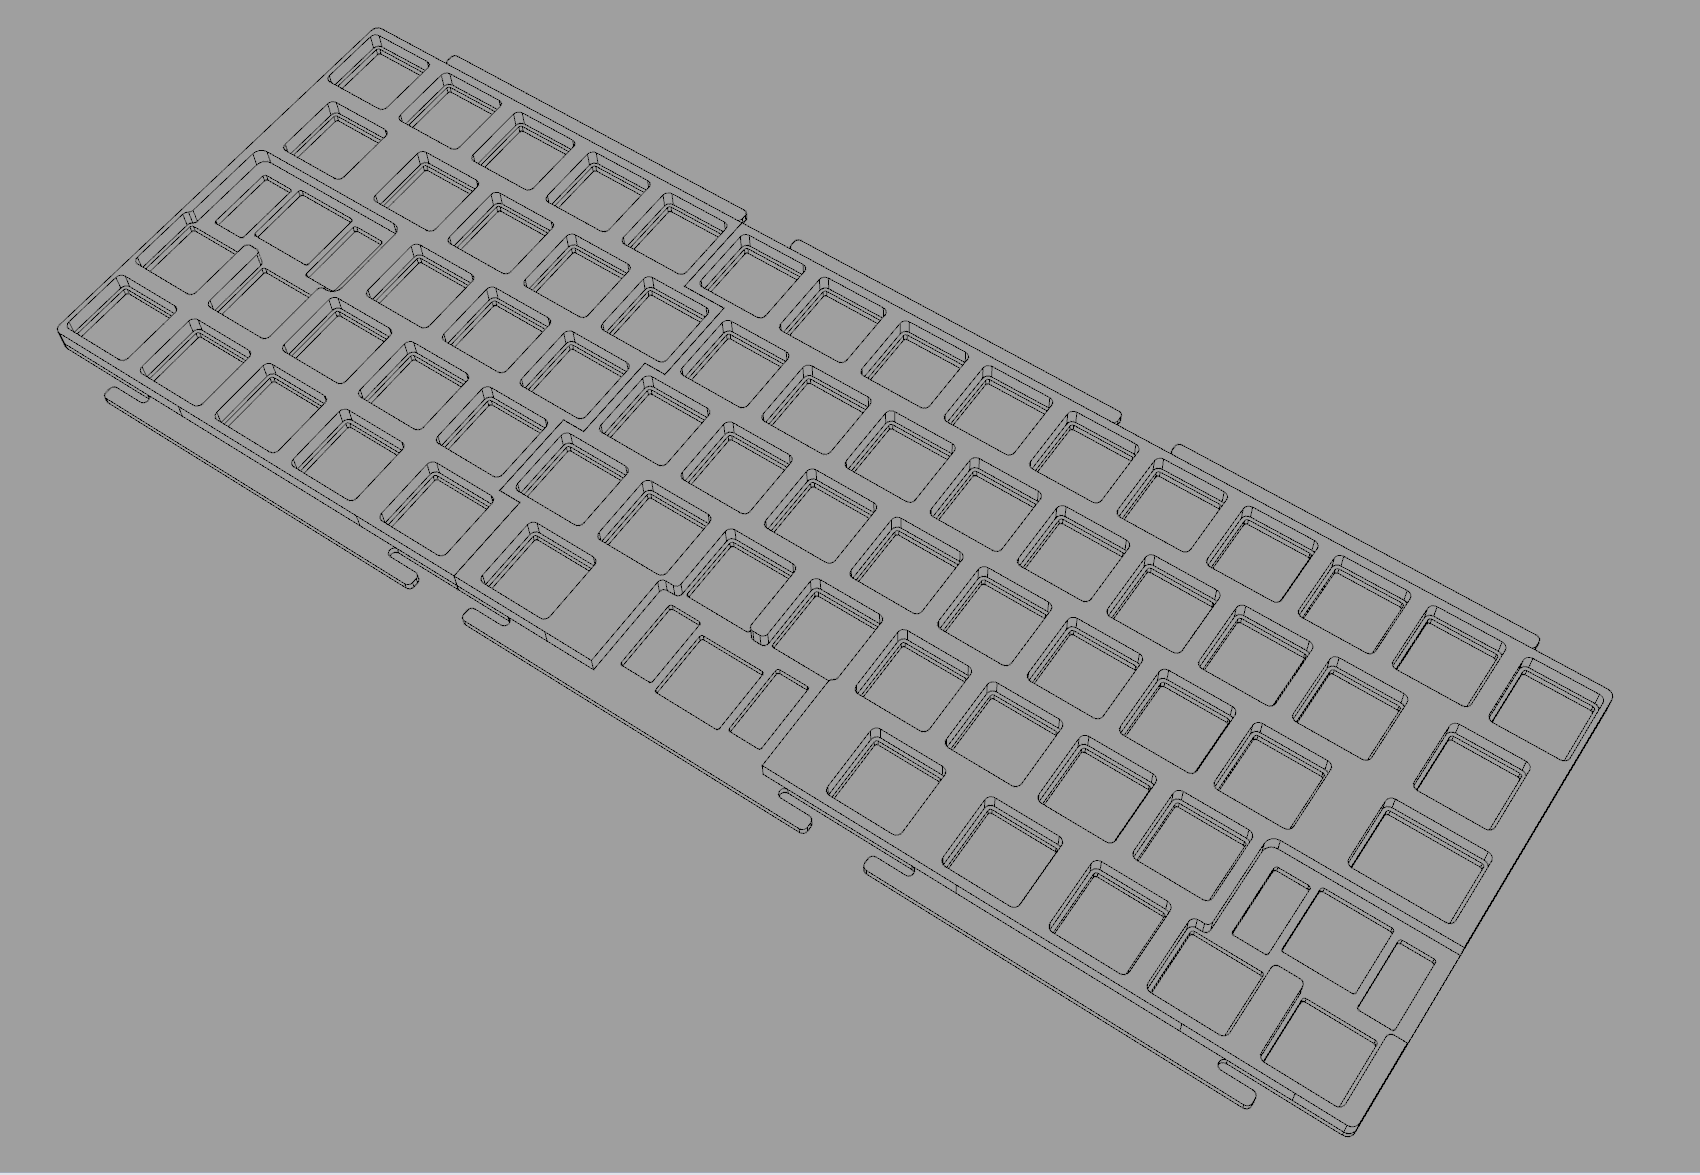
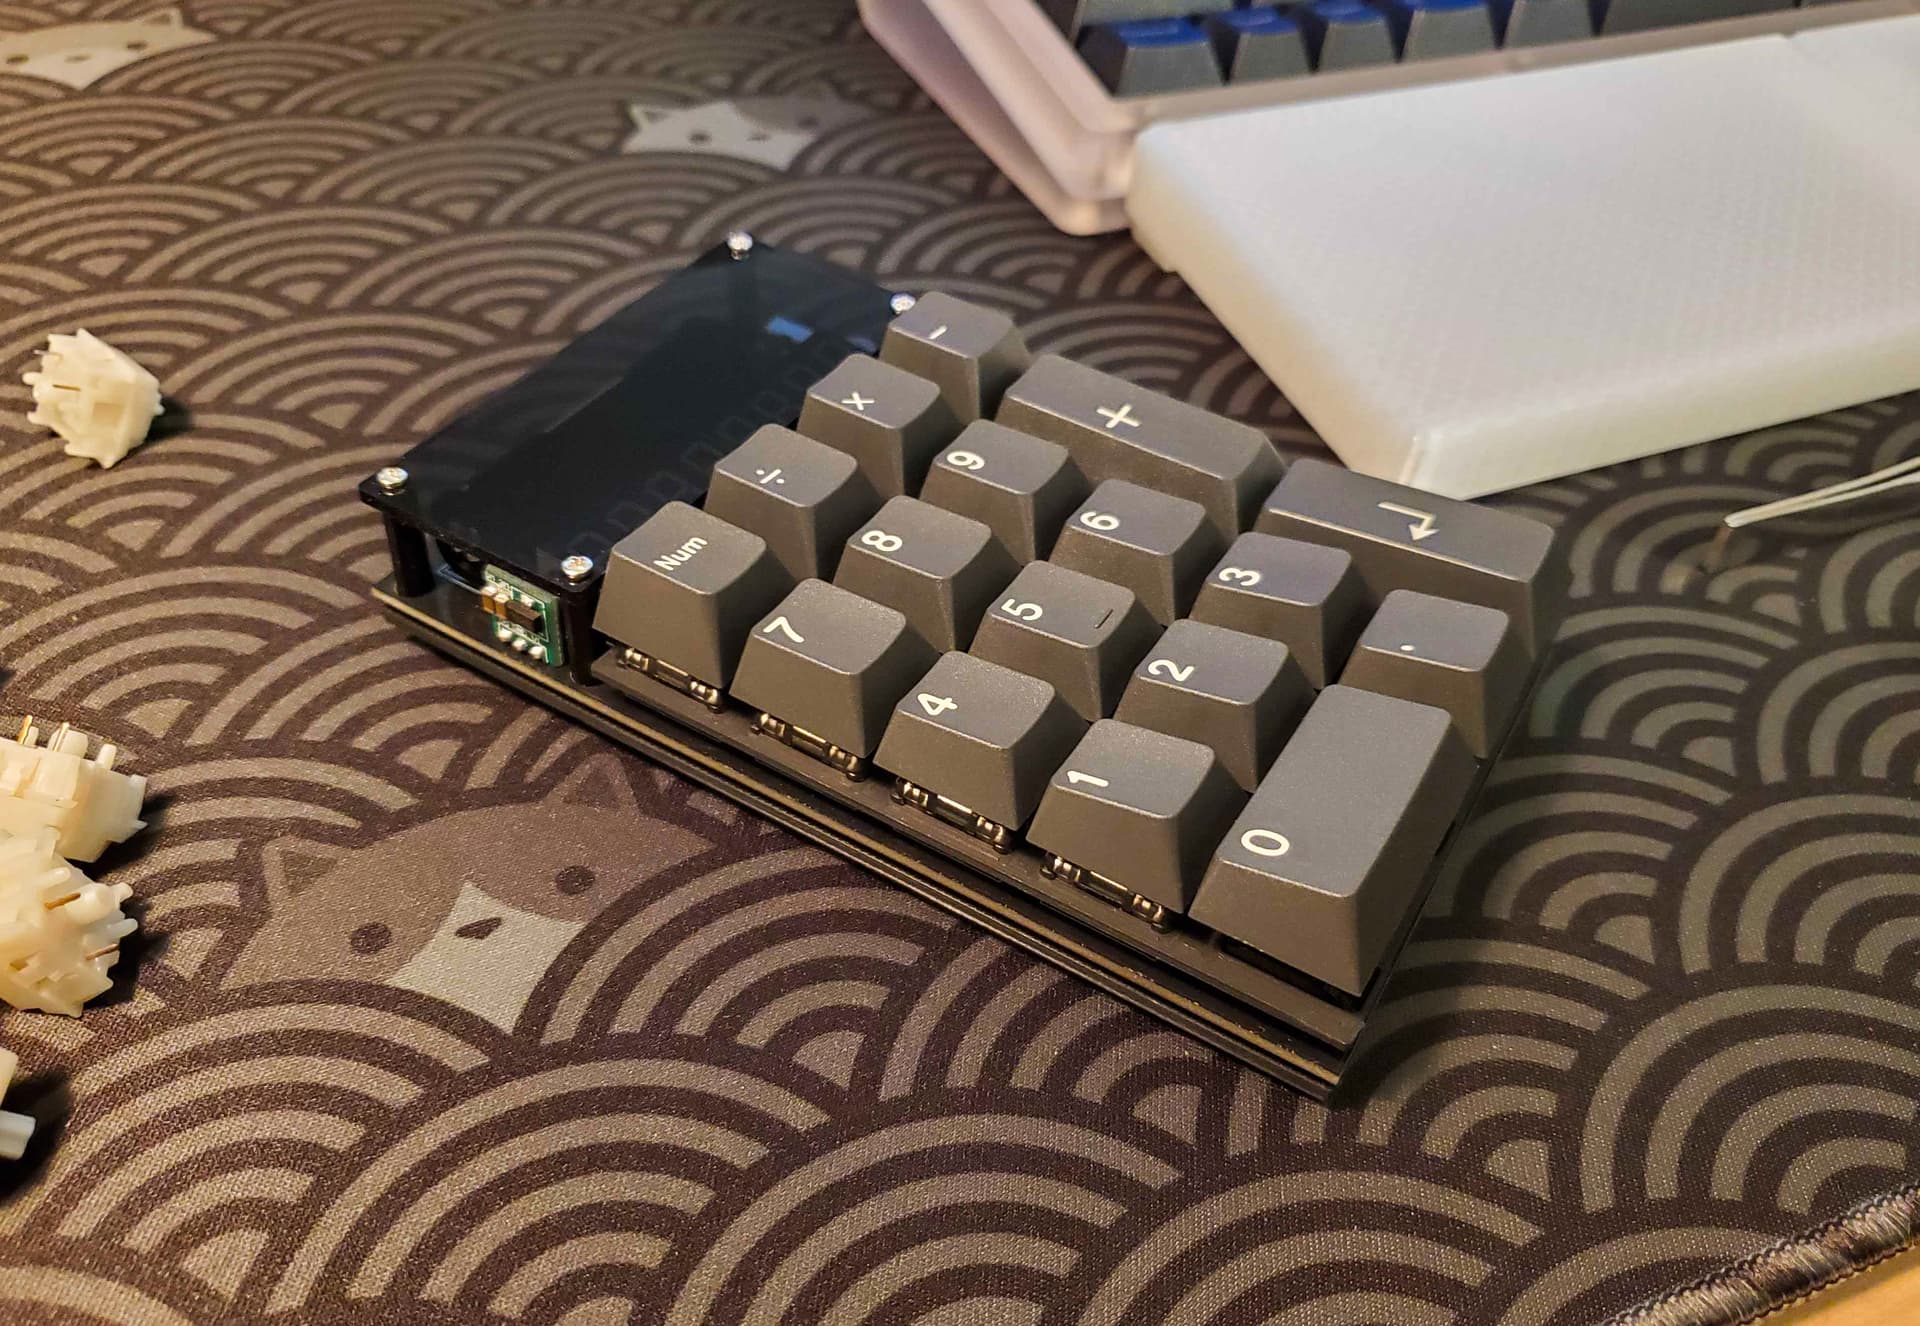
^Modeled up just a simple plate and backplate. Original plates were 2mm clear acrylic–switches don’t clip in fully and the backplate kept flexing and hitting the PCB. The acrylic backplate was also cut wrong so it was shifted 2-3mm too far up, so I centered it, added a spine on the underside to for rigidity and to standoff from the PCB, and holes for the 10mm bump-on feet. I guess you’re supposed to just slap on the feet wherever on the acrylic plate which is silly.
I always forget to take pictures of the actual pieces until after assembly
Overall for the price I think it was a good buy, but the acrylic that came with was pretty useless and ruins it IMO. The assembly could have been more robust (the standoffs are plastic), the PCB had rosin everywhere before I soldered, and if you input numbers too fast it will glitch out.
That said, I still like it and the build was fun.
Got my electric solder sucker and taught myself to use it on the FK-7000P trackball board that was always intended to be parted out (current plan is to approximate an M0110A layout, since it has no arrow keycaps and I’m missing a couple of caps from the F row). This thing was effective for what I needed, and I got better with it fairly quickly, but it is very much the “Sawzall” of desoldering: fast and powerful, but brutally so and better suited to demo jobs than fine re-work.
I would hesitate to recommend this thing for anyone who just wants to change the switches on a PCB or correct an error or two, but for harvesting switches from lost causes, it’s a good tool. It works similar to the manual desolder pumps, but with a bigass solenoid and a flexible rubber chamber. You let it heat, then a button press actuates the solenoid and a release lets it go. That last part is critical, because with a larger nozzle big enough to get around switch contacts, releasing burps out about 75% of the solder it just sucked up. You have to get into a rhythm with moving the tip away from the PCB between every actuation, or you end up with the splatters there like you see on the pic.