Uuuh, nice.
You know, I have Alps stems for URSA 
Good luck with the project.
Uuuh, nice.
You know, I have Alps stems for URSA
Good luck with the project.
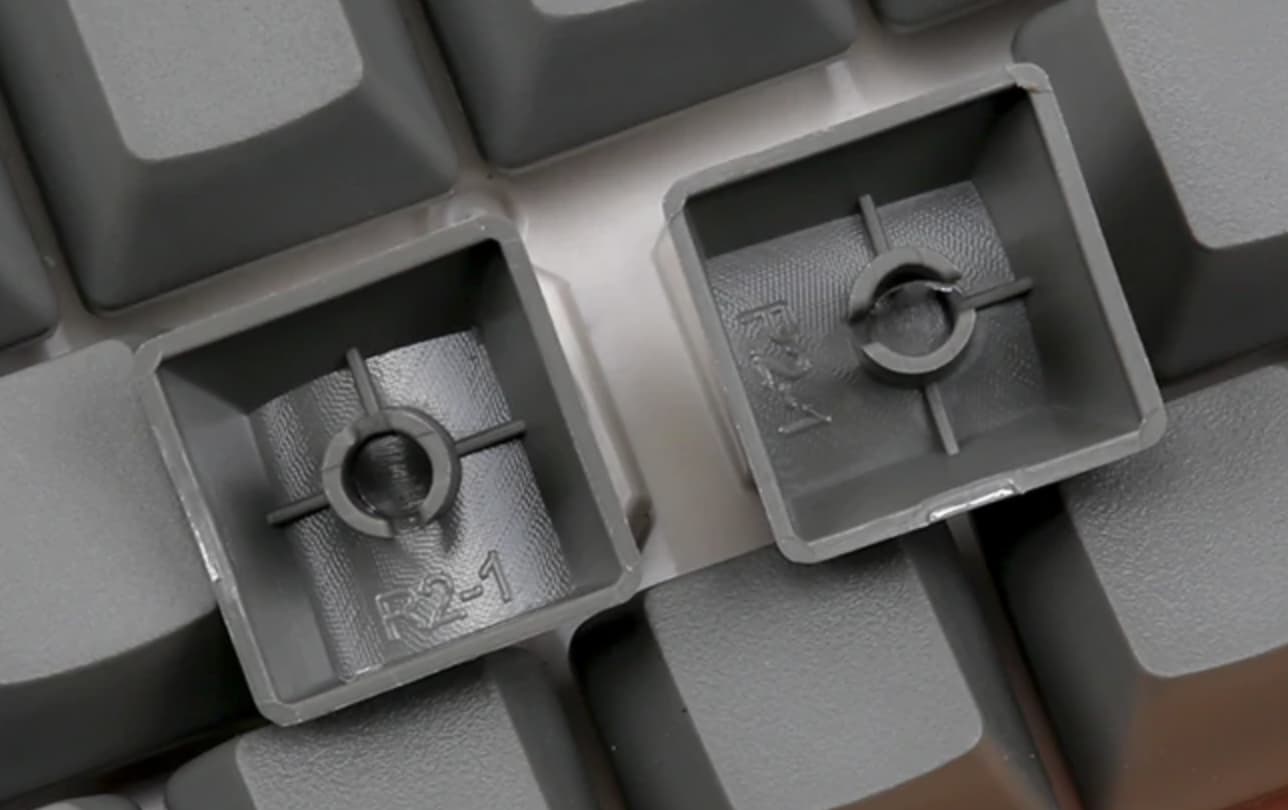
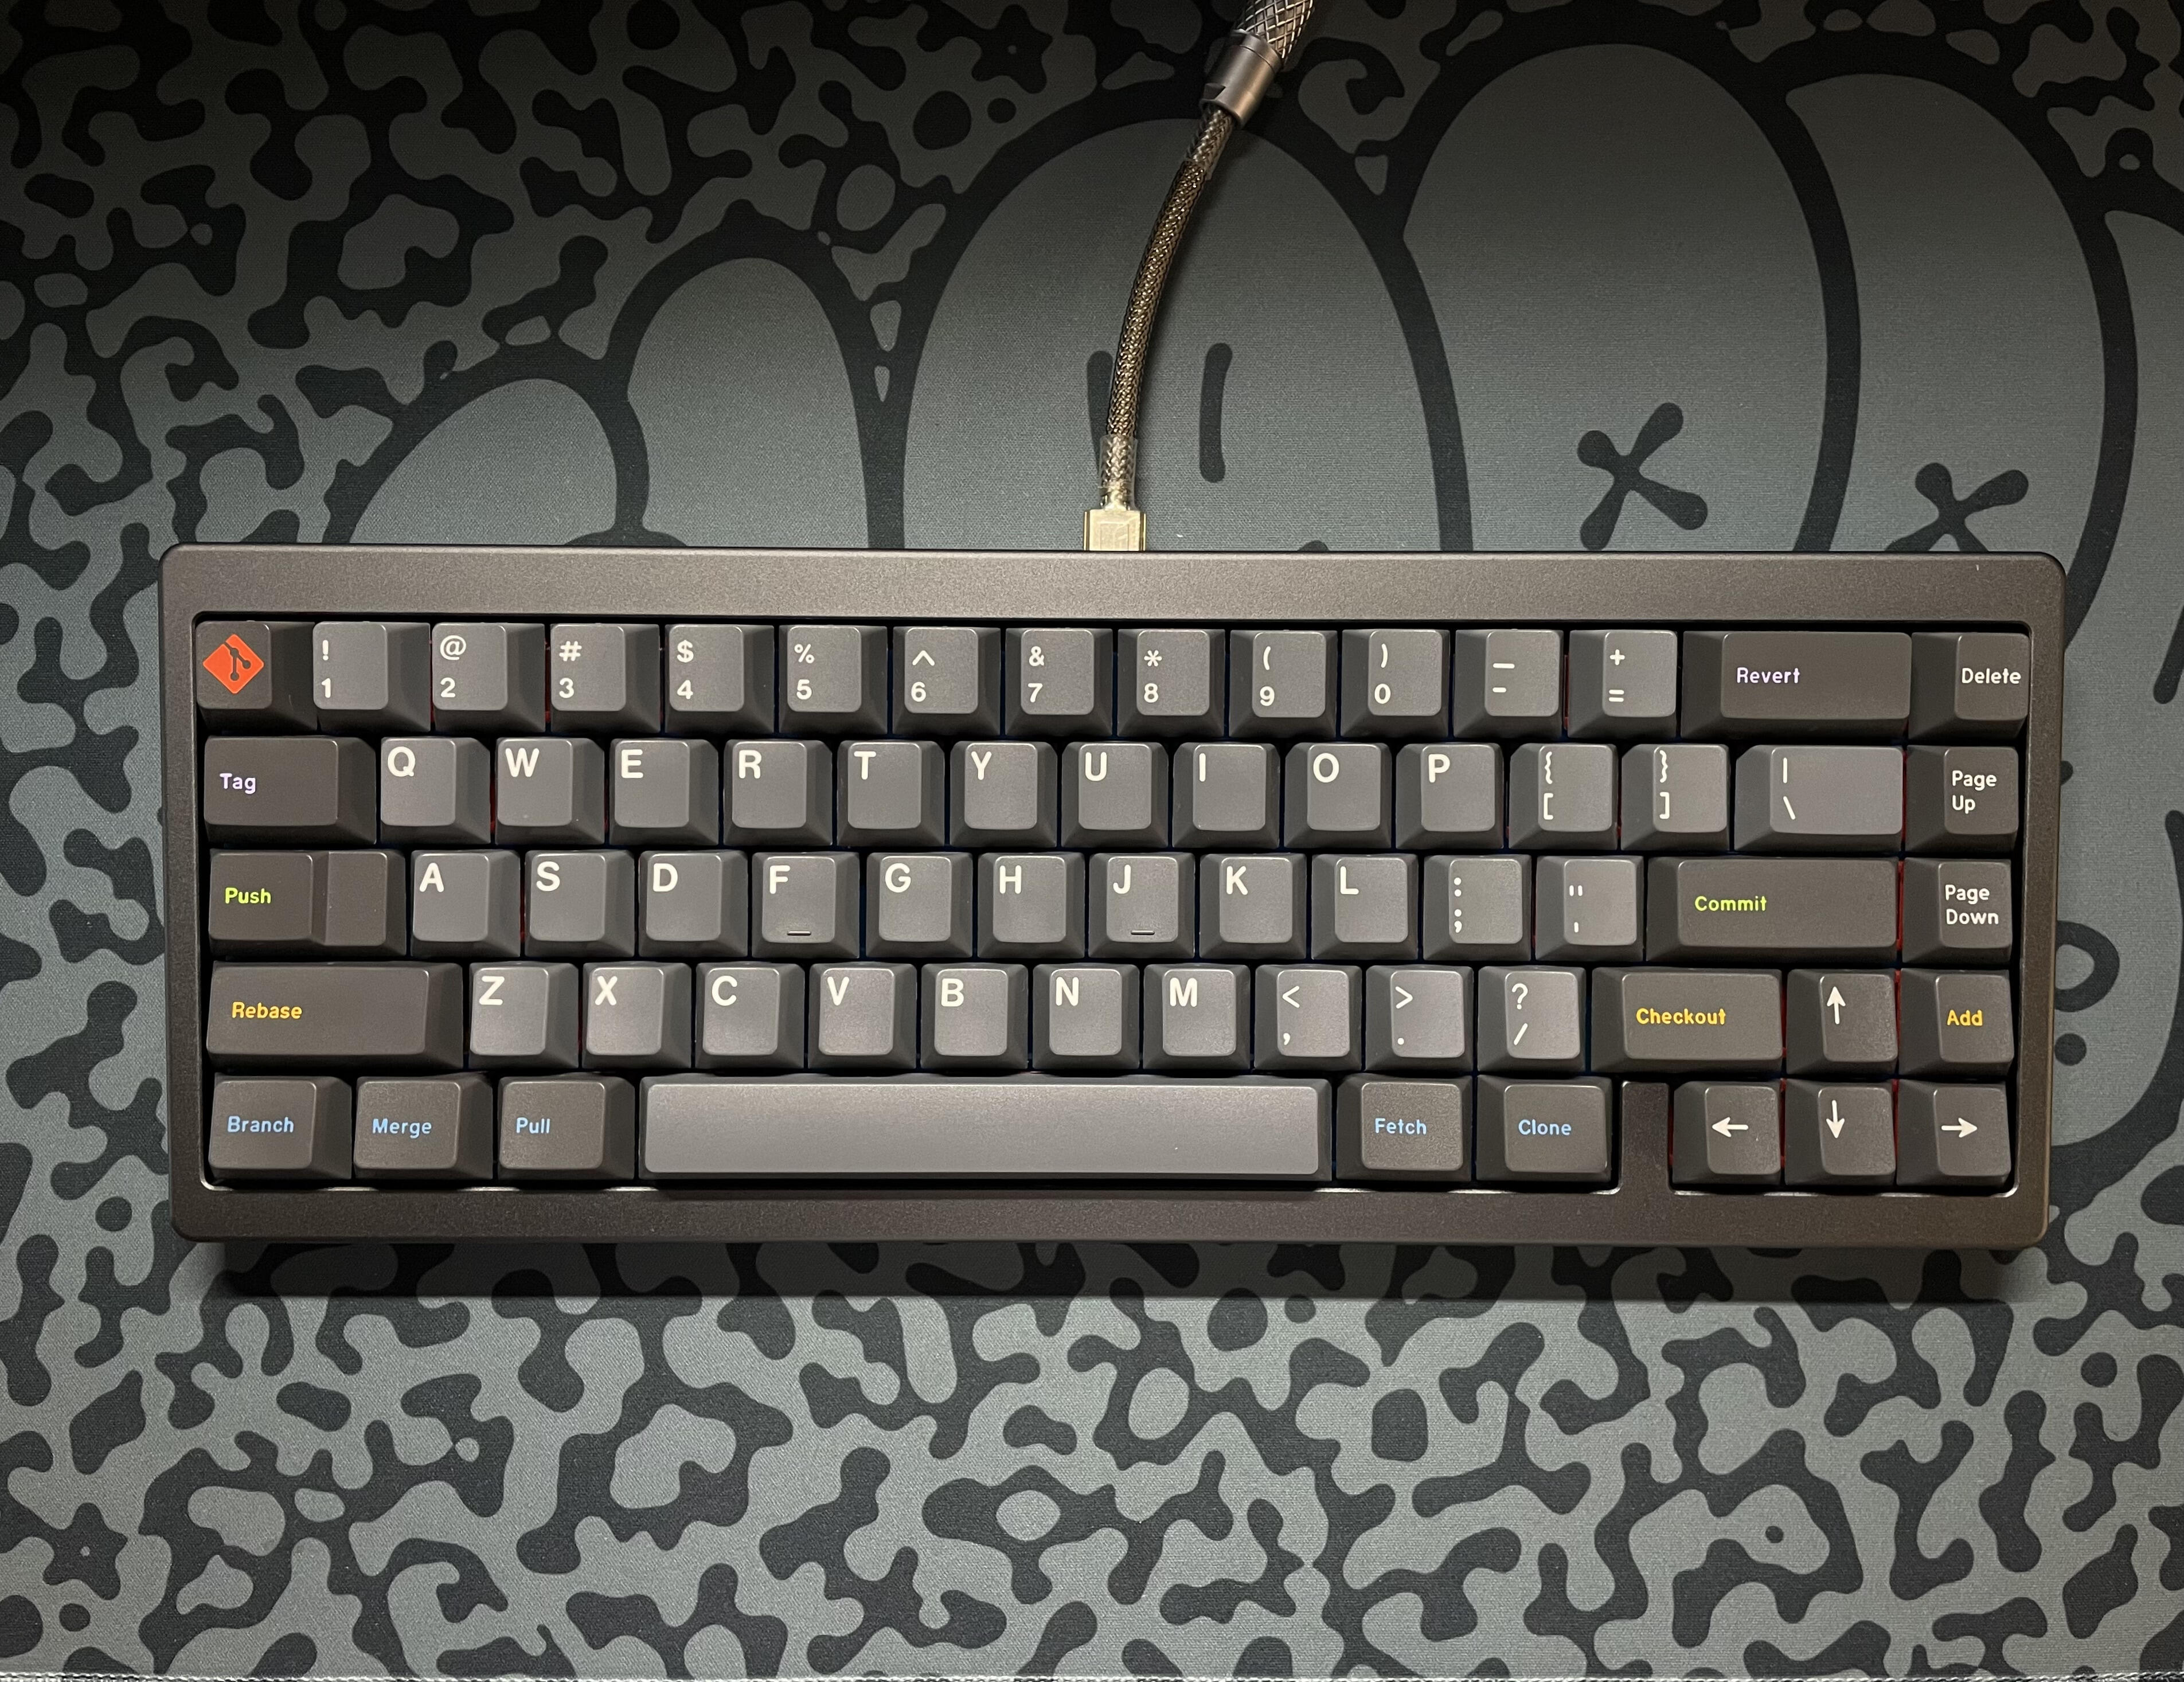
But what about topre? ![]()
I do not have the luxury to own a Topre keyboard, so I couldn’t verify.
If it’s like in this picture, it should only take an hour at most.
Which leaves me with the situation that I’d have to print some keys and send them over to you, right?
What do I need to know about the maximum width of the caps? Currently, I’m about 2 mm thick. The stem seems to protrude below the bottom of the cap, but by how much? Anything else I’d need to know?
I’ll do some measurements when I get home from work and send them your way 
I could probably send you some Topre keycaps if you’re interested. I’m about to update a JIS layout HHKB with some ANSI keys. So I’ll have some leftovers.
I modded one of my mice to use silent switches today. Desoldering from a PCB that small without a 3rd hand tool was a bit of a pain, but I’m really happy with the result. No more clicking sounds when I’m on a meeting ![]()

$#@! yeah. Dude, that’s awesome.
Really hesitated on whether to keep my Apple IIGS keyboard intact or gut the switches for my dream Planck build.
I’ve made up my mind…
Ortho guuuuud 
Hi @Extra_Fox thank you for the offer. I’ll get back to you in two weeks, after the family vacation.
Any day where I get to build switches is a good day. Doubly so when I get to build them for a friend. Kailh black stems and Kangaroo housings.
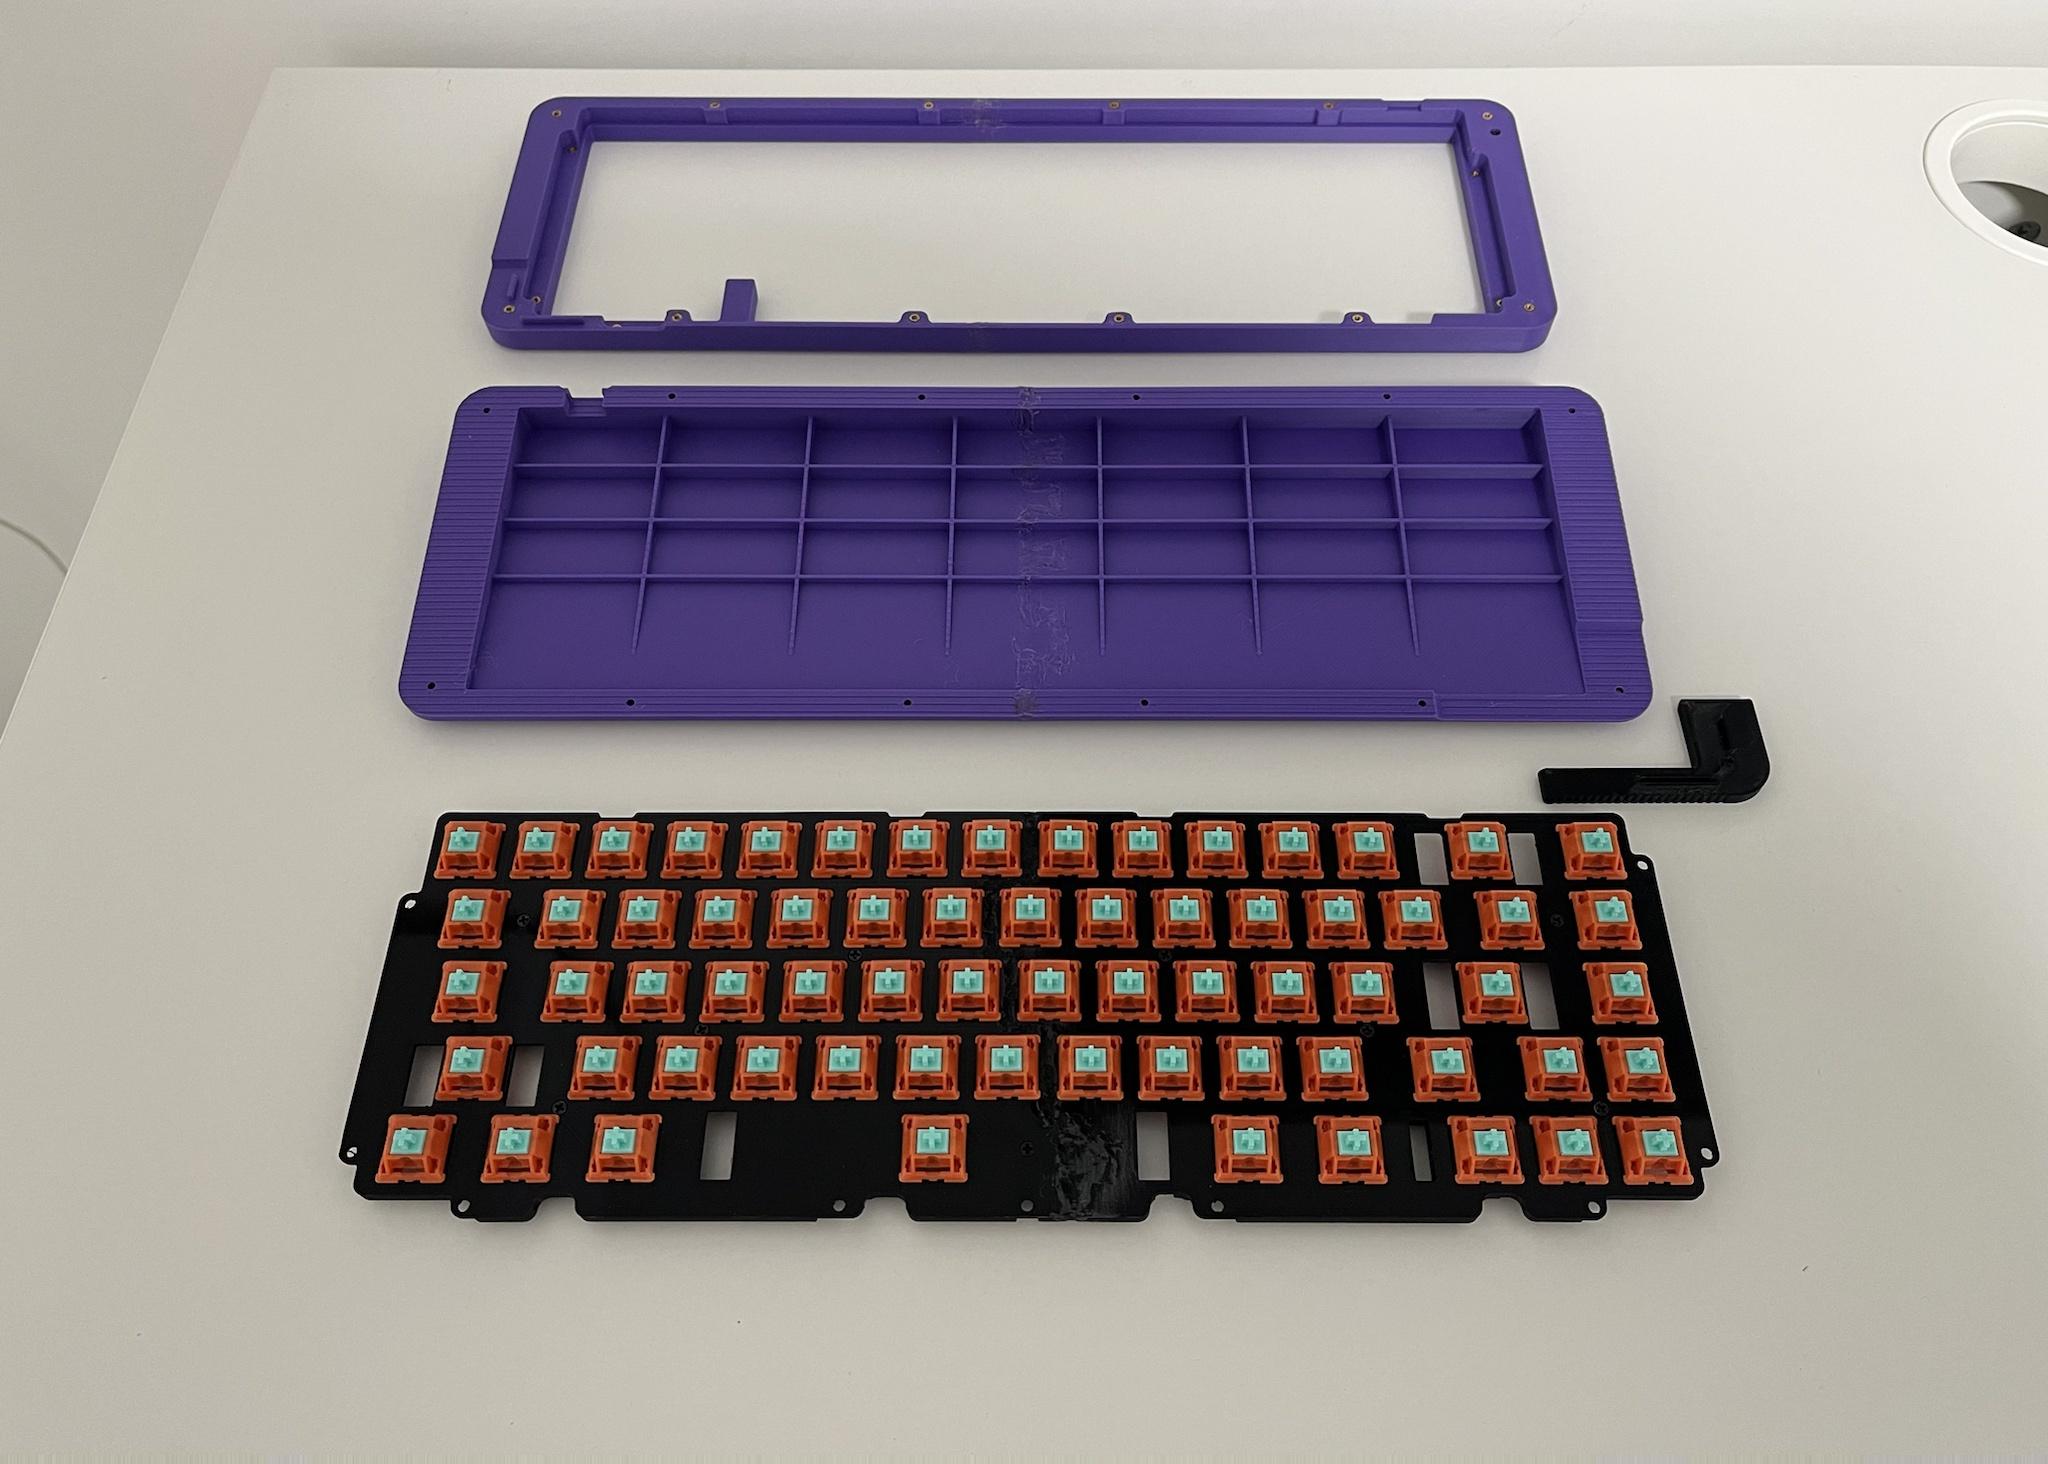
I made a thing today.
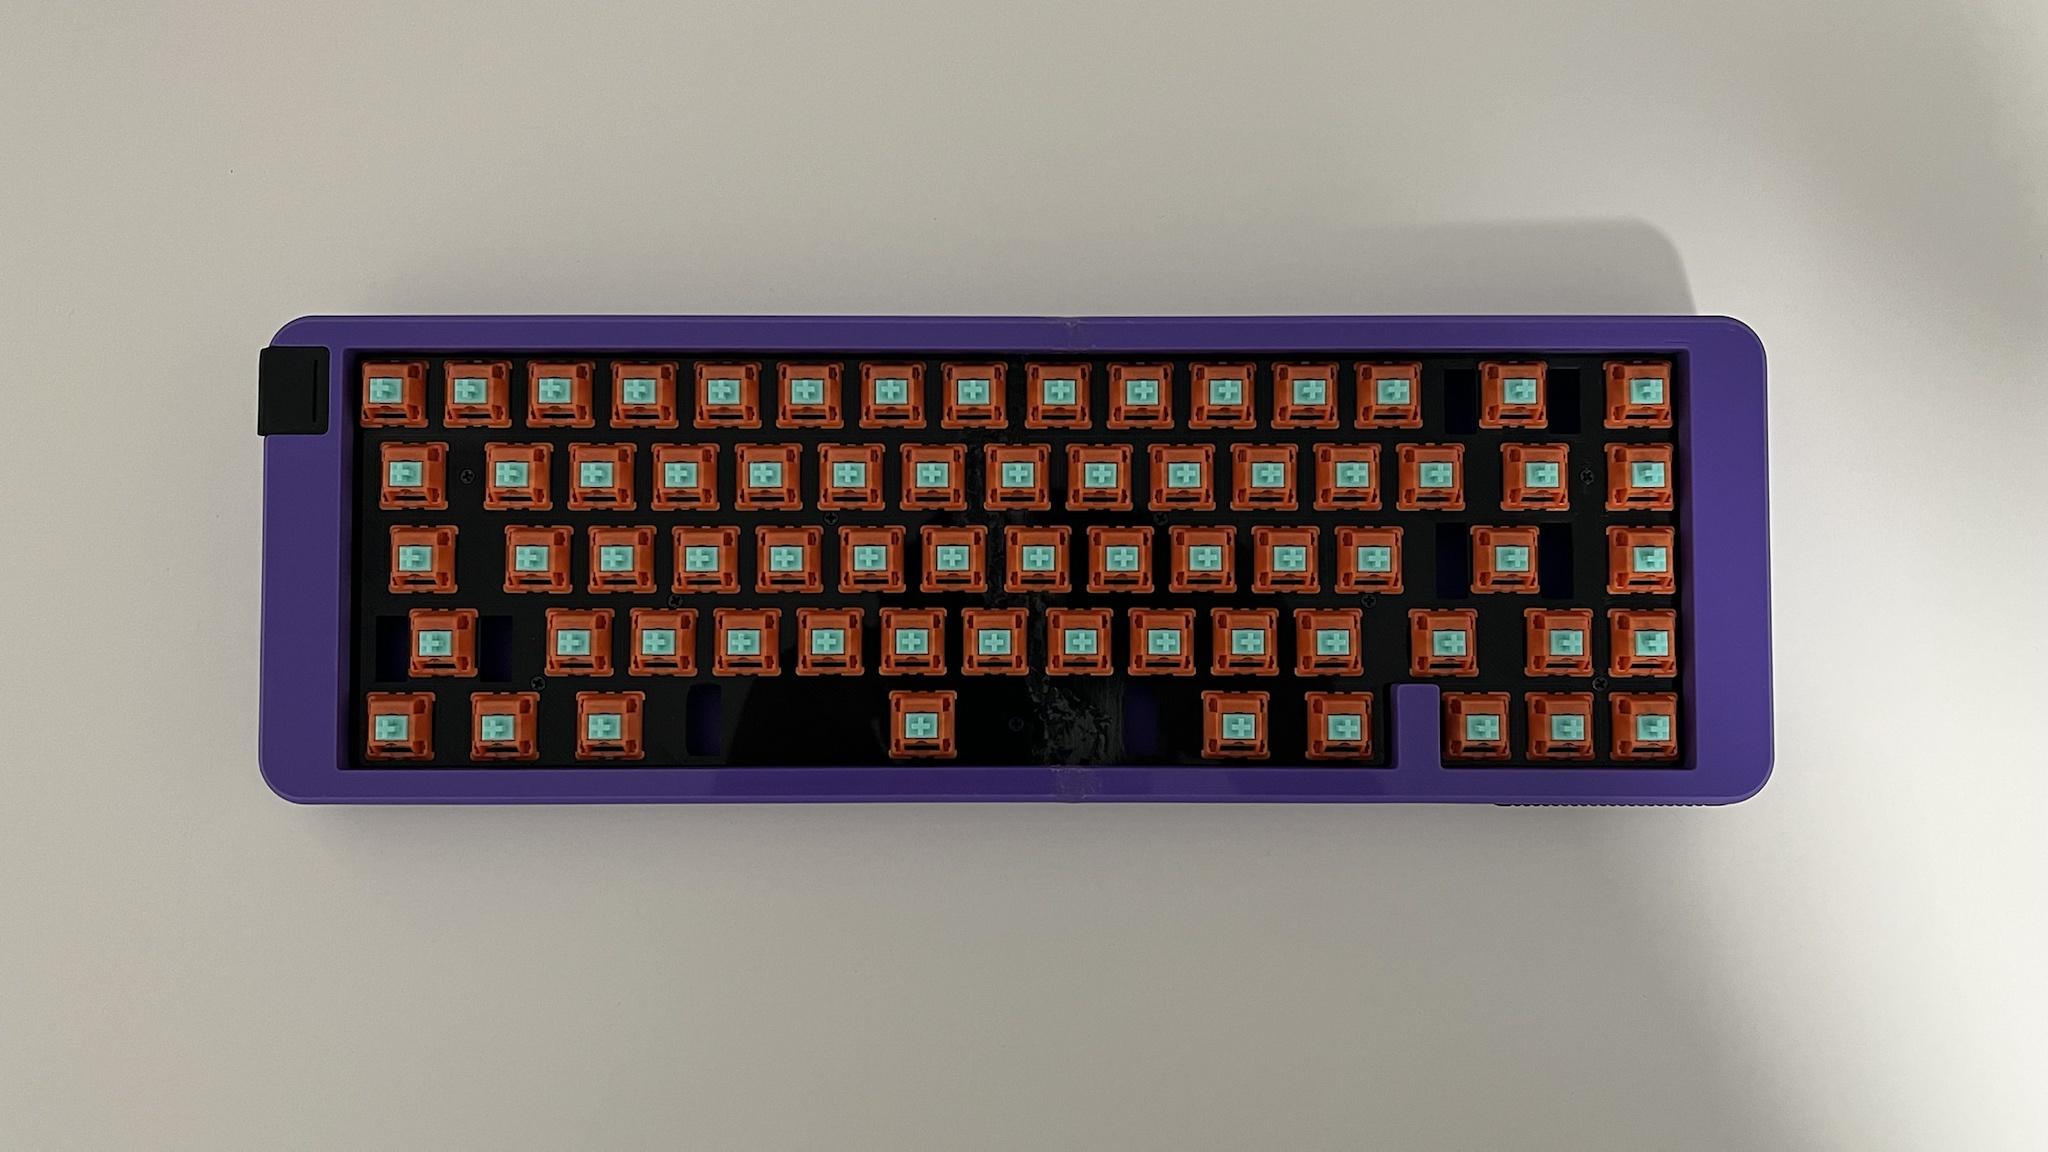
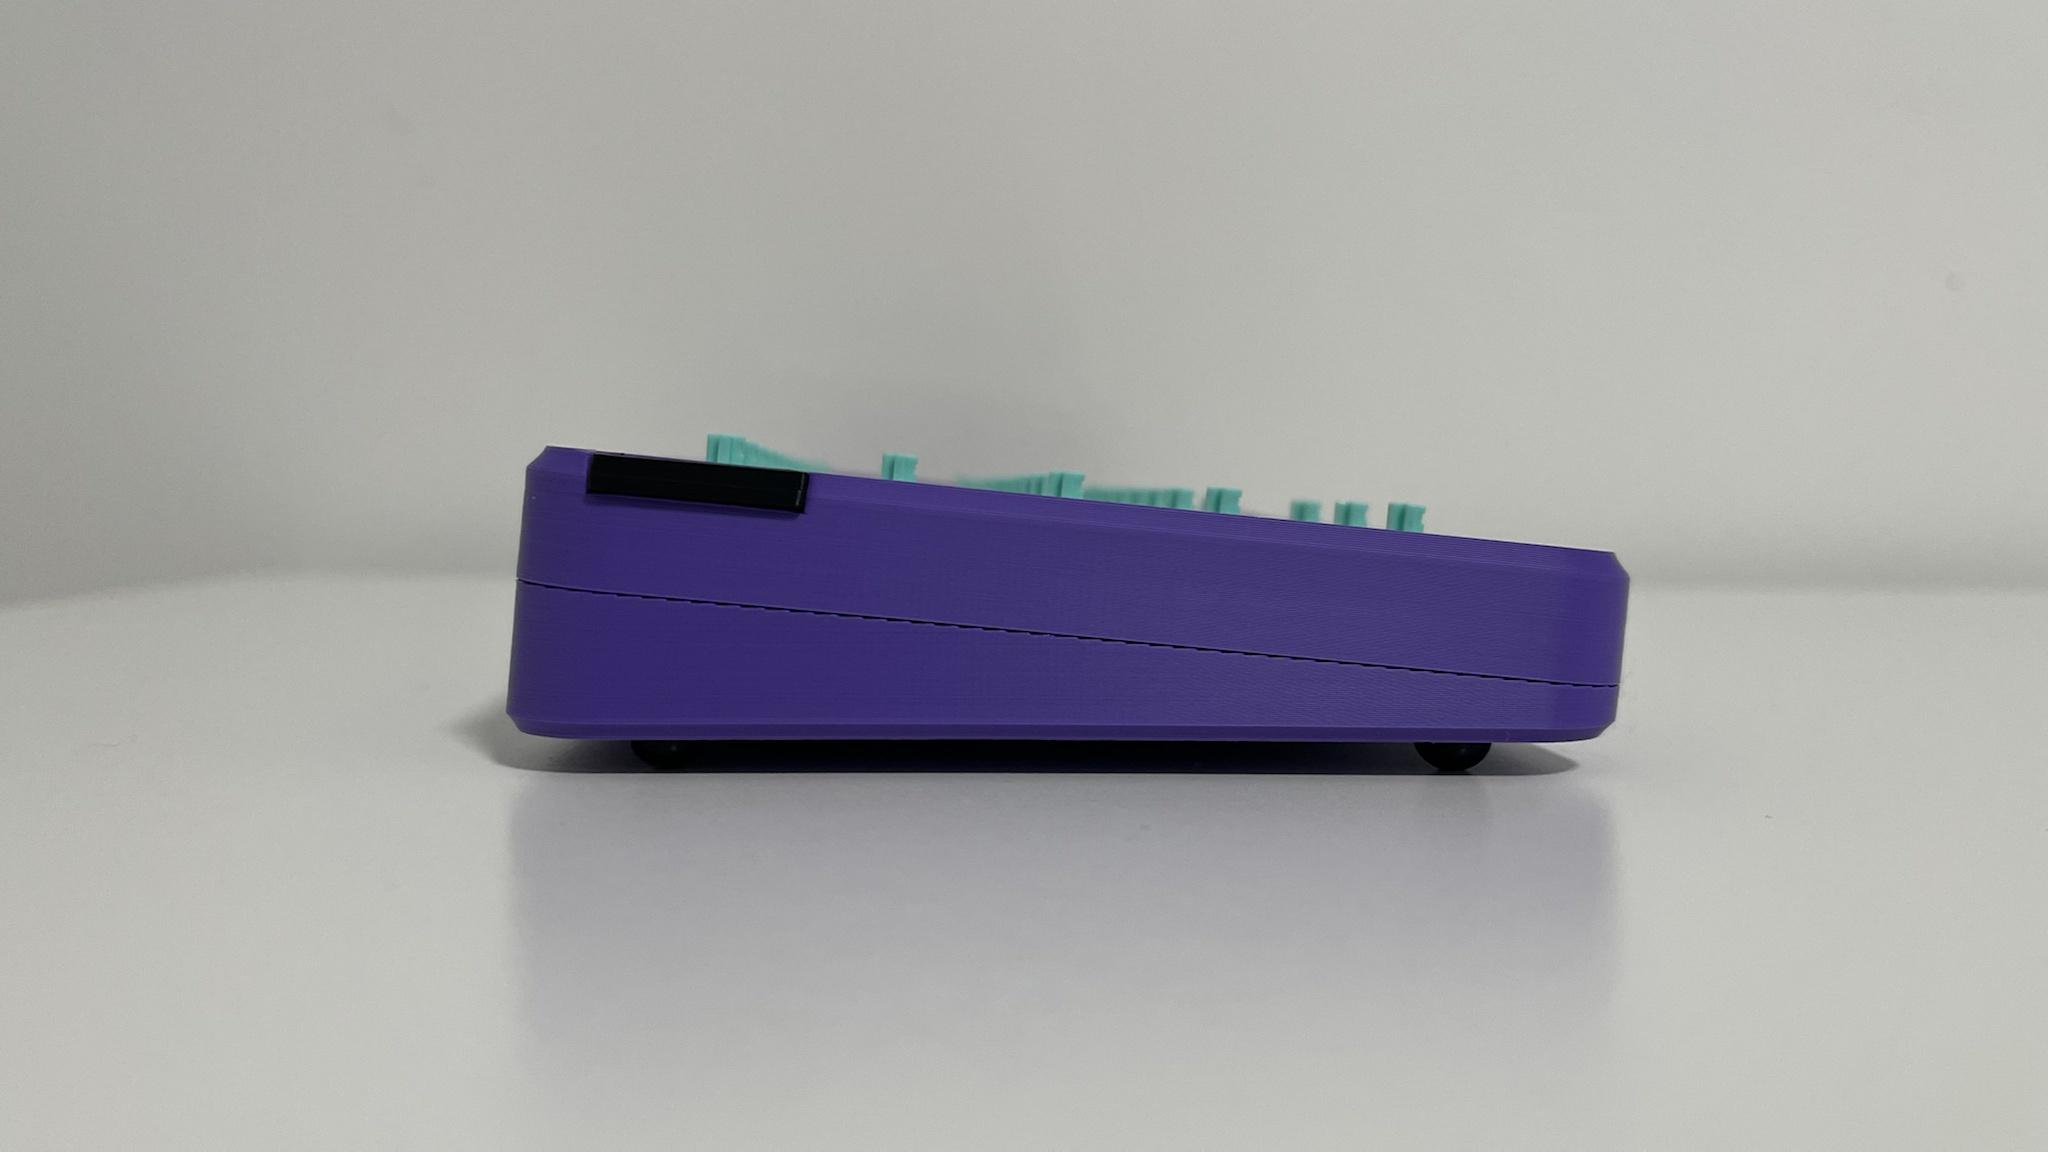
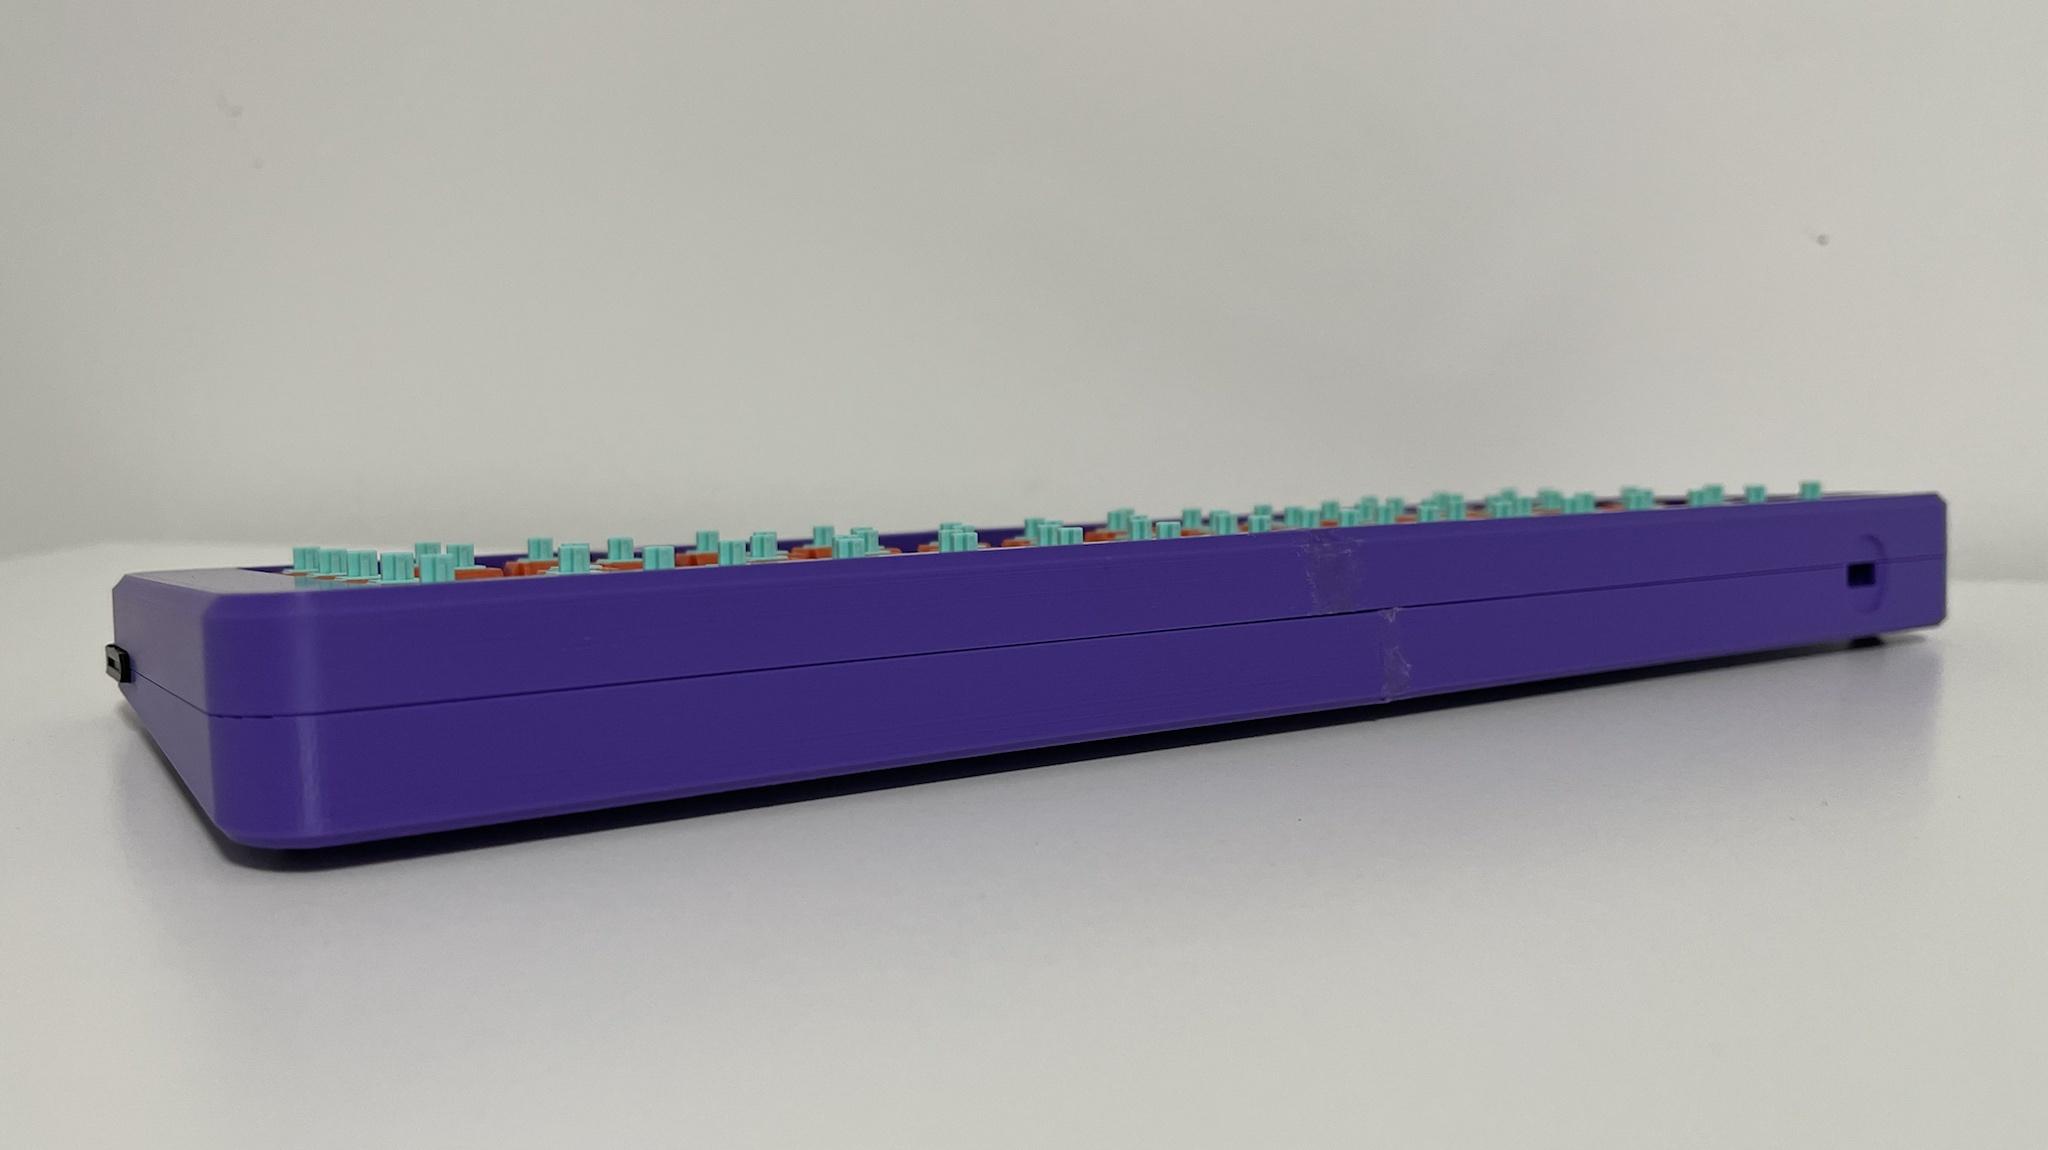
A 3D printed Space65 I modeled based on the R2 Space65, still a work in progress, missing an KBD67 MARK II PCB.
A bit rough as the printer is not big enough so I had to print it in pieces and weld the pieces together.
The top frame clerance is really small so some keycaps scrape against the case, I think the plate wasn’t welded properly.
More pictures:
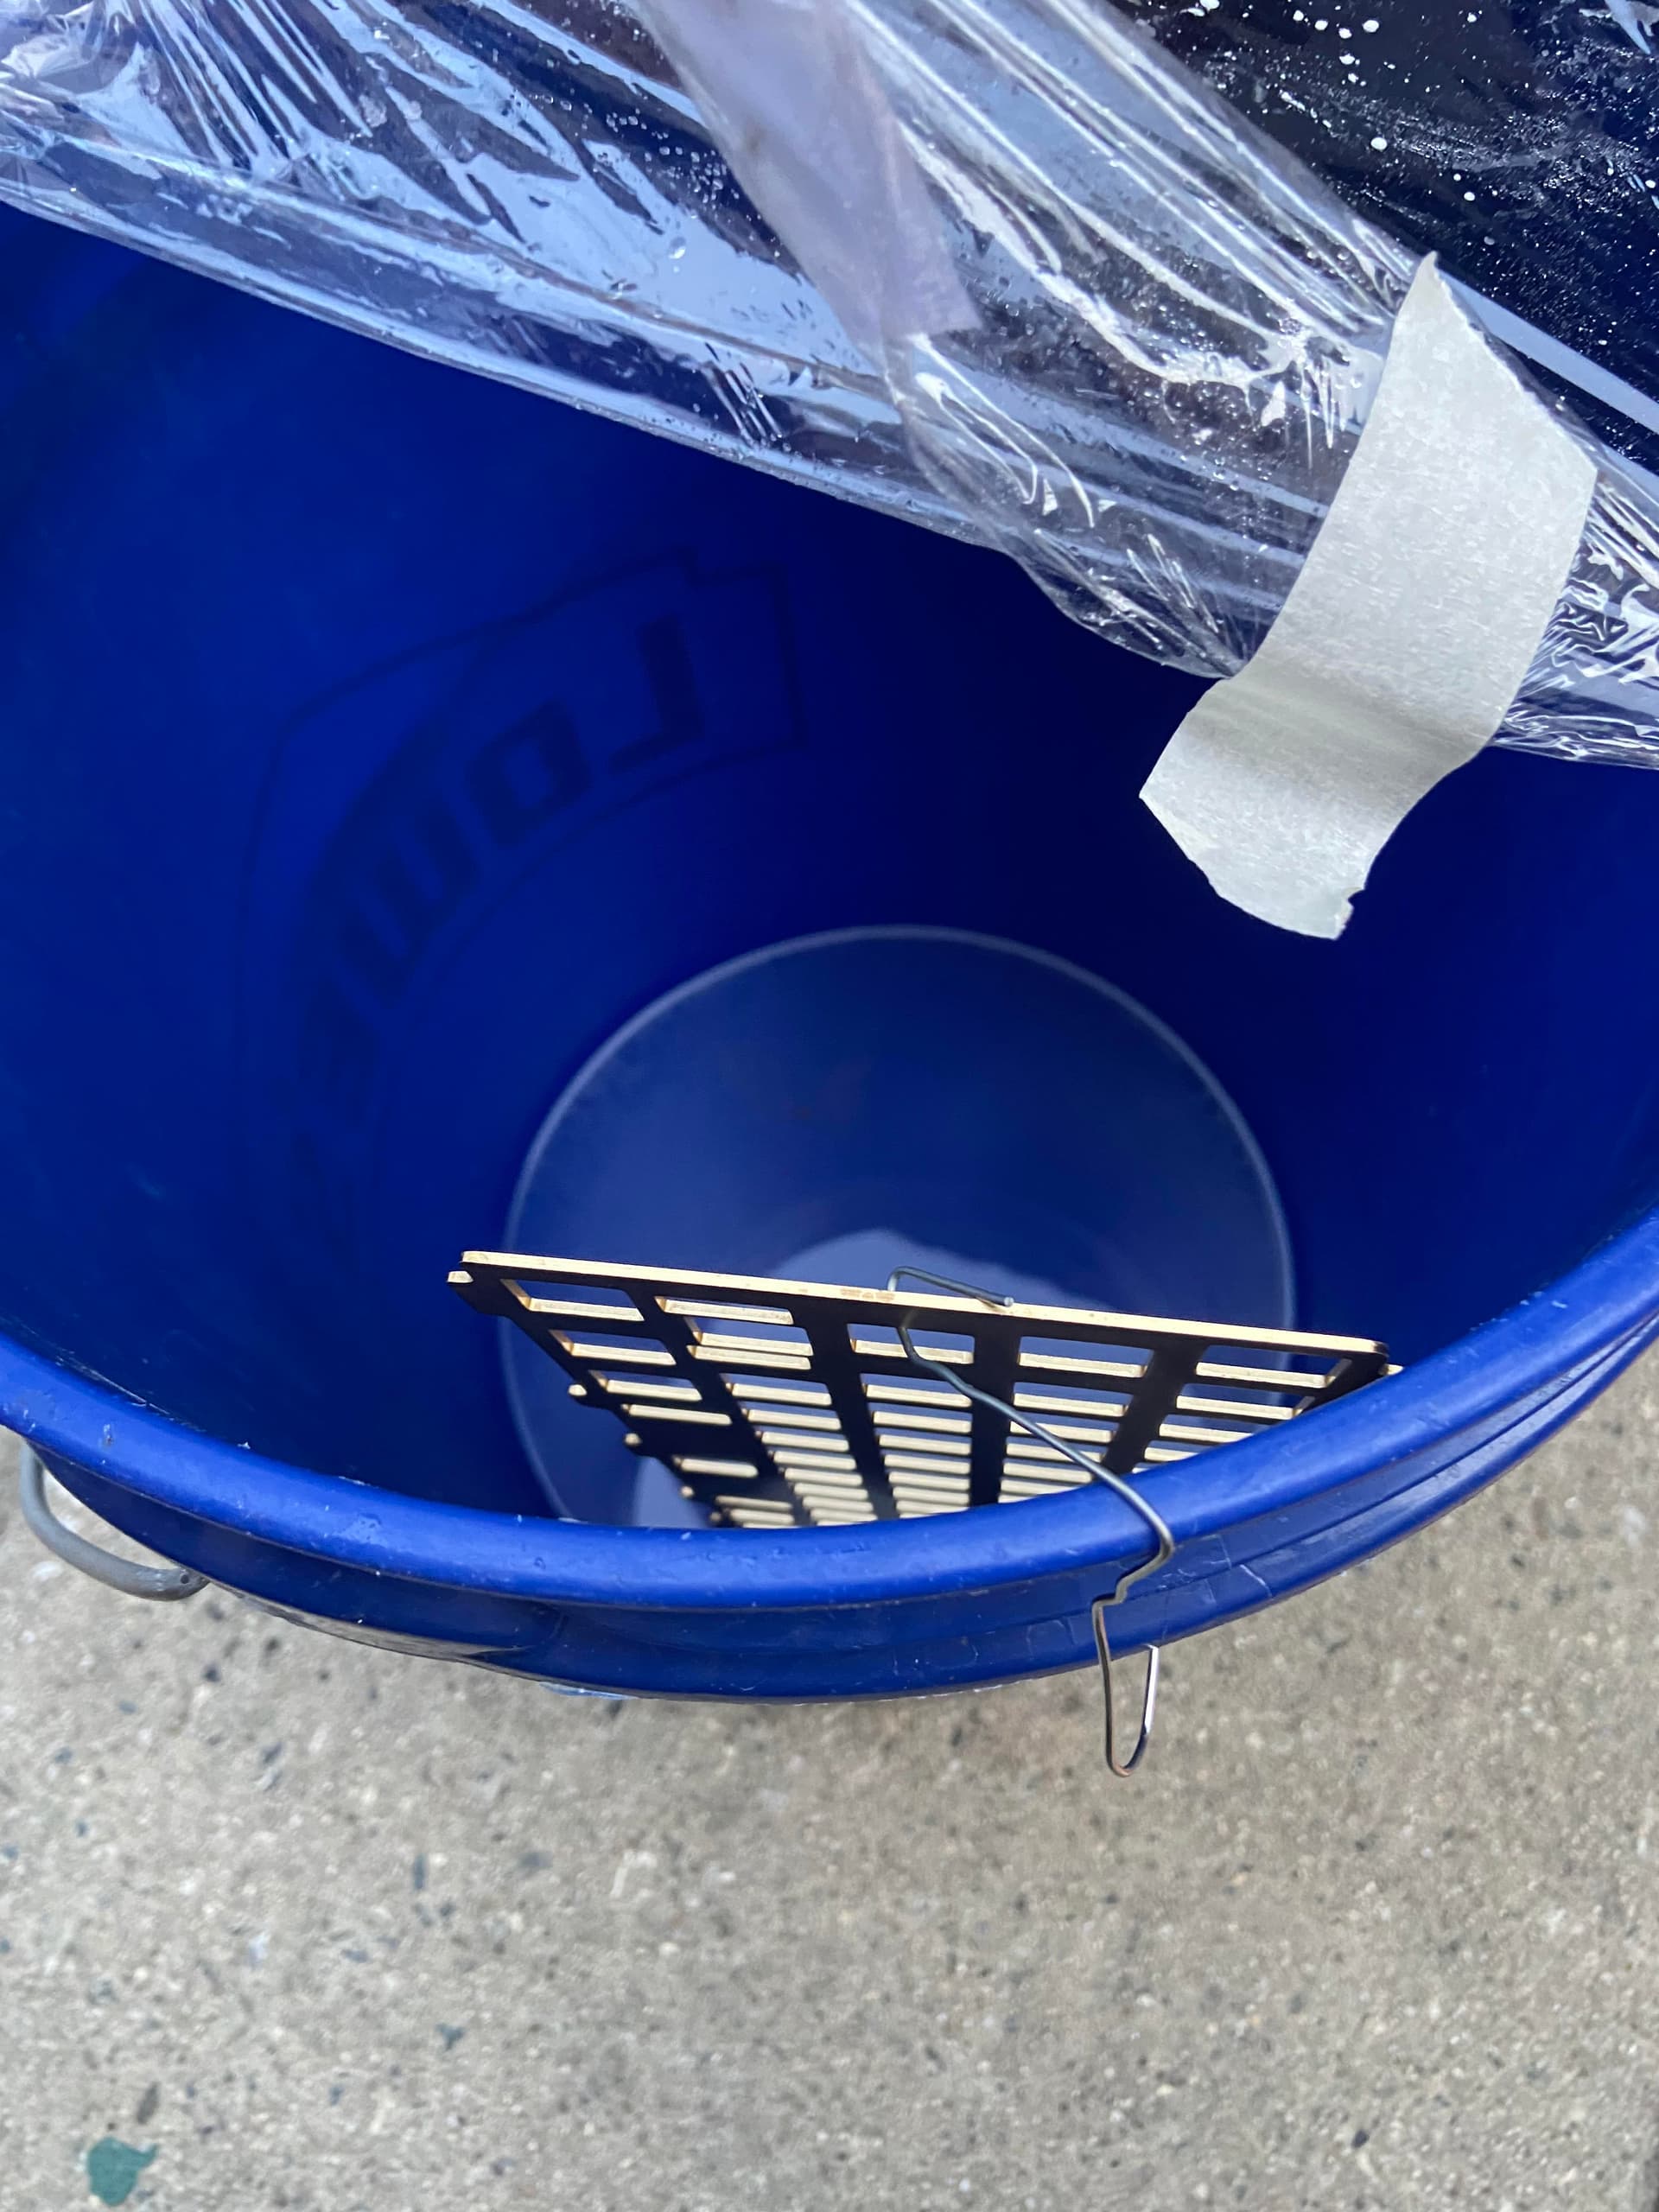
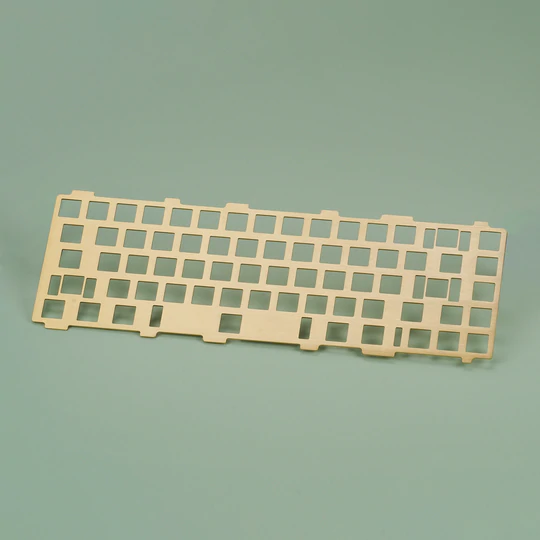
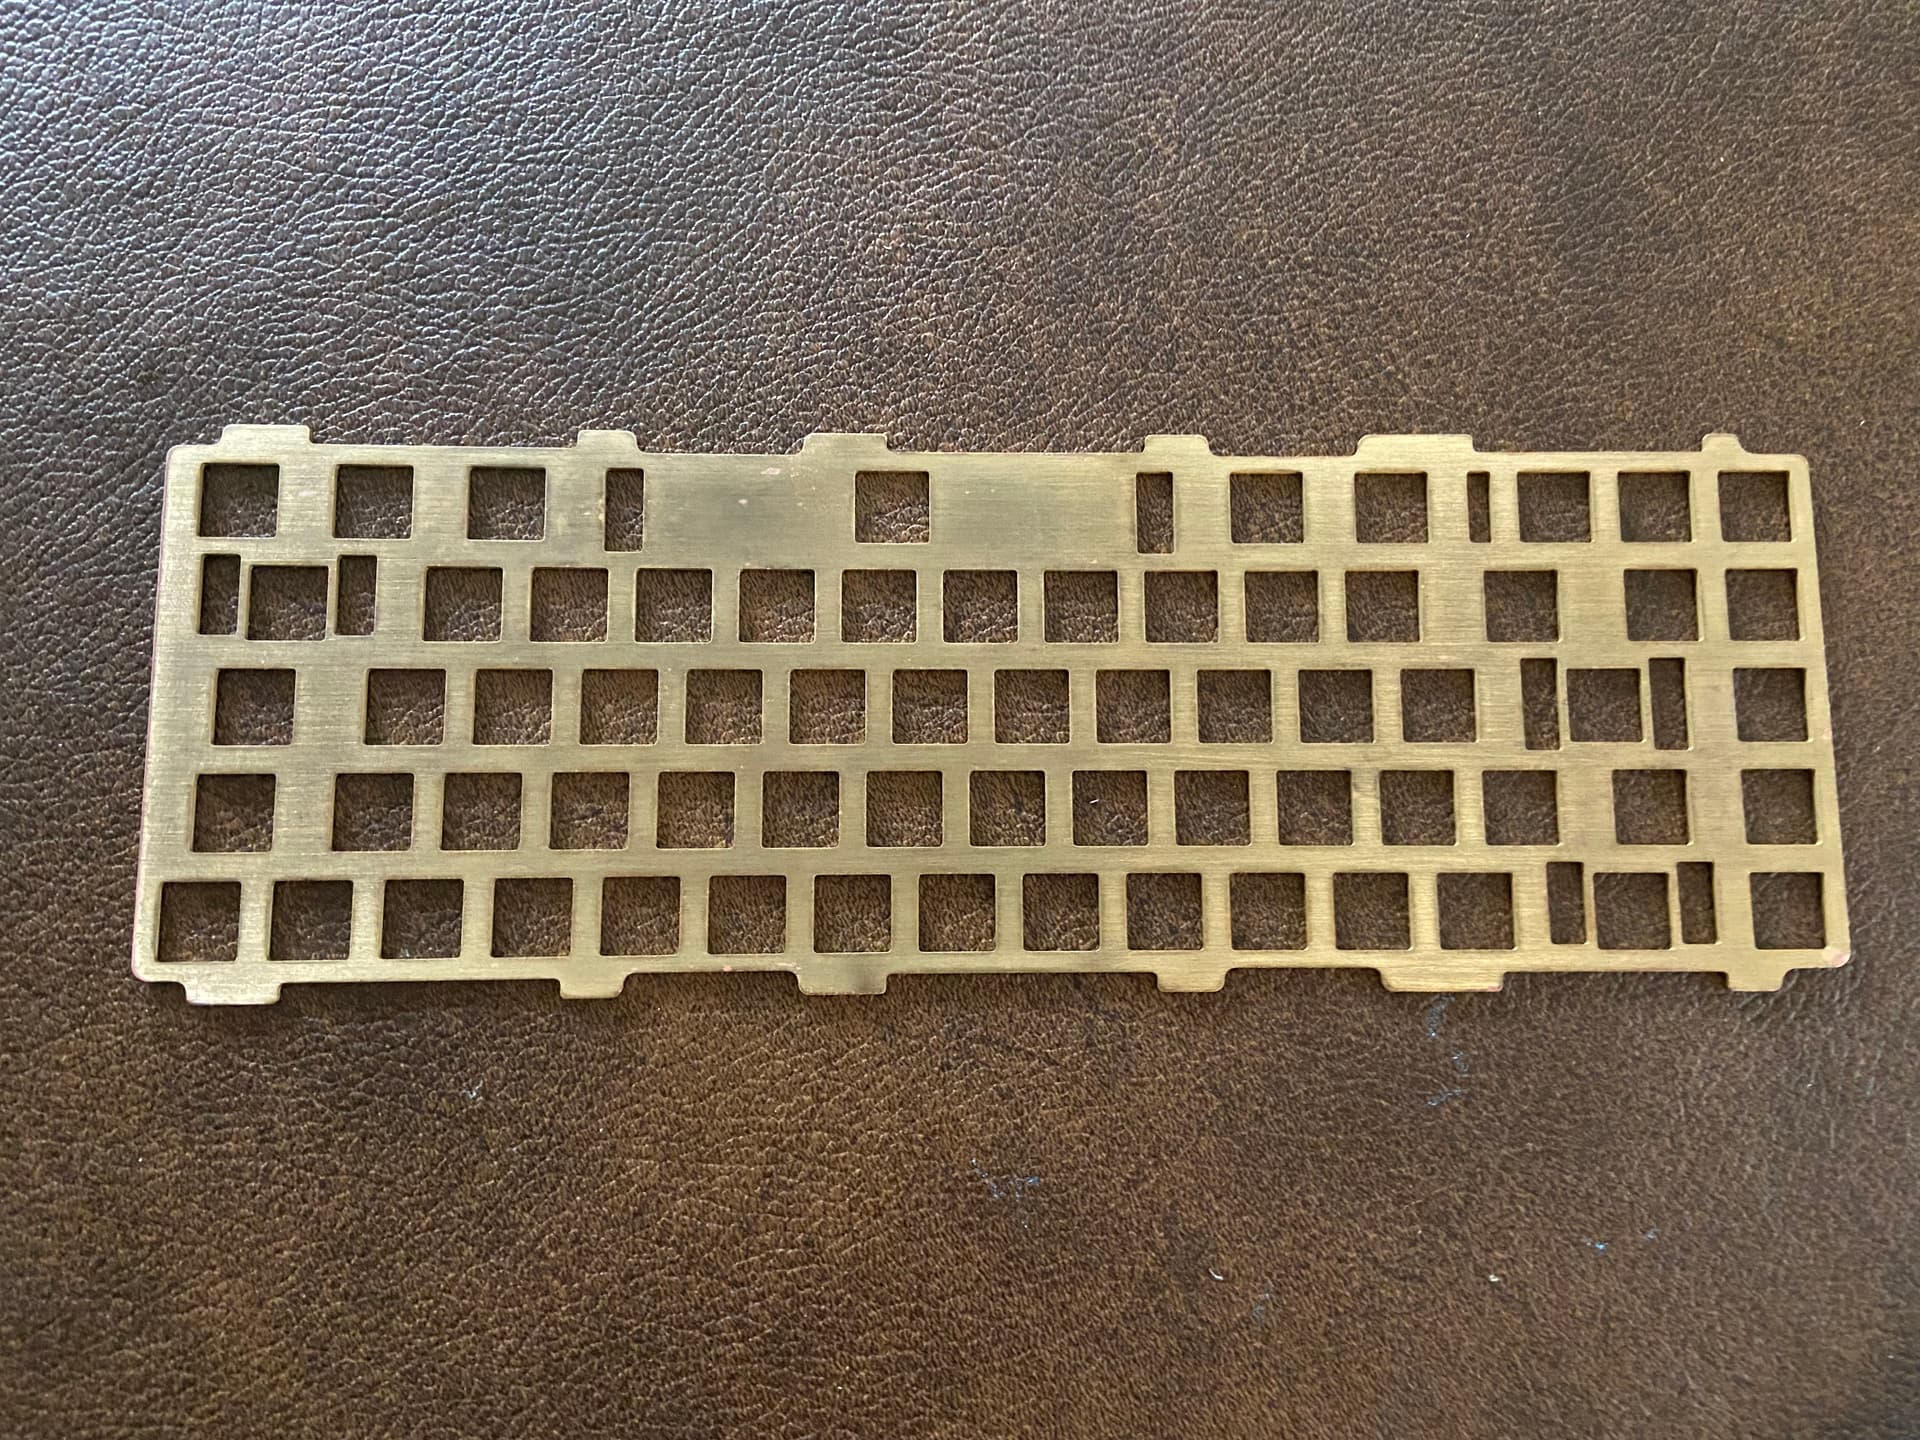
Decided to patina my brass KBD67lite plate yesterday, and wanted to share my results. I really wasn’t a fan of how it reflected the light, and having a direct light over my desk wasn’t helping either.
Make sure to sand the plate down completely before doing anything below.
Started by reading some tutorials online; Decided to go with this one. Instead of Amonia, I used salt and vinegar.
Using a 10-gallon Lowes bucket, I filled it up maybe 0.5-1 inches from the bottom and sprinkled salt in.
I also used some paper clips as a hook to keep the plate off the vinegar. Accidentally had a bit of vinegar splash onto the plate so I had to leave it overnight.
Using some baking soda and a sponge, I managed to get most of the spots off, but there are still some left, especially around the USB port. Sanding it down with 150 and 240 worked well for me, but 300 grit instead of 240 might have worked better.
I checked this morning, and the patina was a lot better than my previous attempts. Note: Don’t be a fool like me and let the vinegar get to the plate. It makes an odd copper color that really doesn’t fit in with the rest of the patina. Guess how I know. >.<
Before:
After:
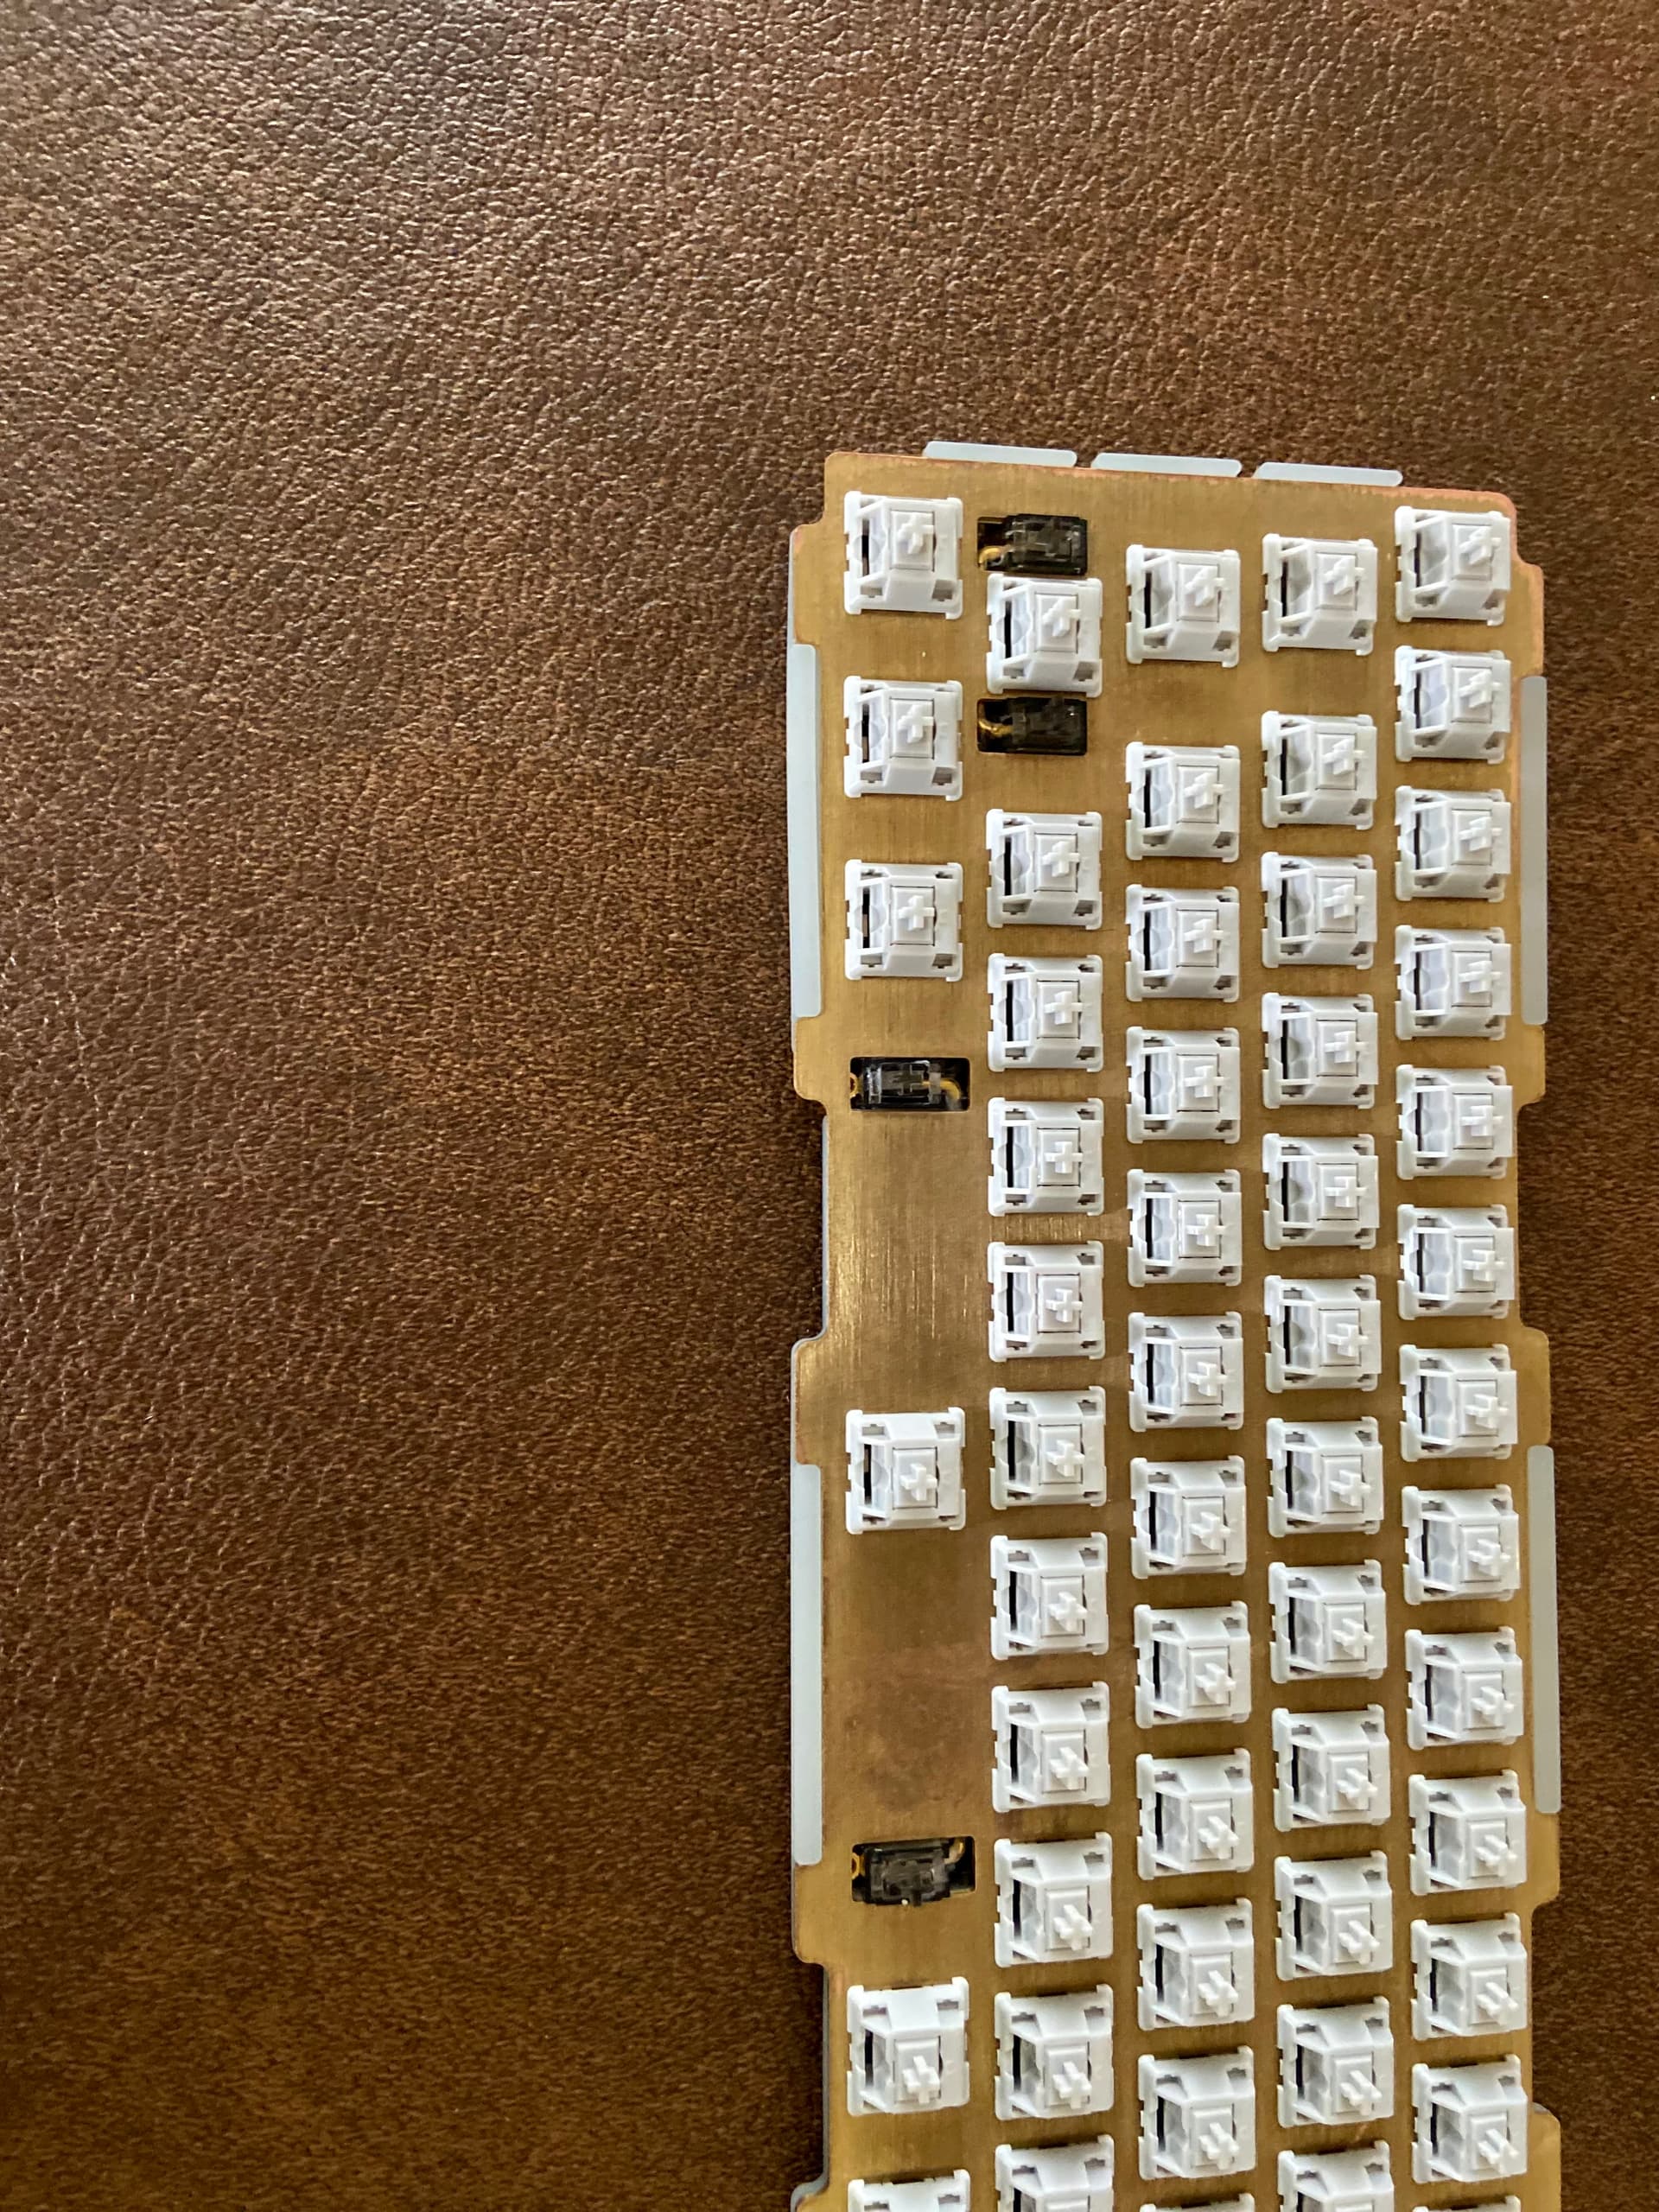
With PCB and Switches:
I think it was worth the time and effort. Patina isn’t for everyone, but I’m really enjoying the subtle difference in shades. I think I’ll try a brass weight next if one falls into my hands somehow.
Not yet a real thing and dunno if it will work in the end, but this is what I worked on those last weeks.
Could be my Model-F F77 controller replacement in a few months if it does work 
Very cool. I got a wooden case that something like this would work so well in. Dulling the plate shine would really help bring out the wood grain.
This is really cool.
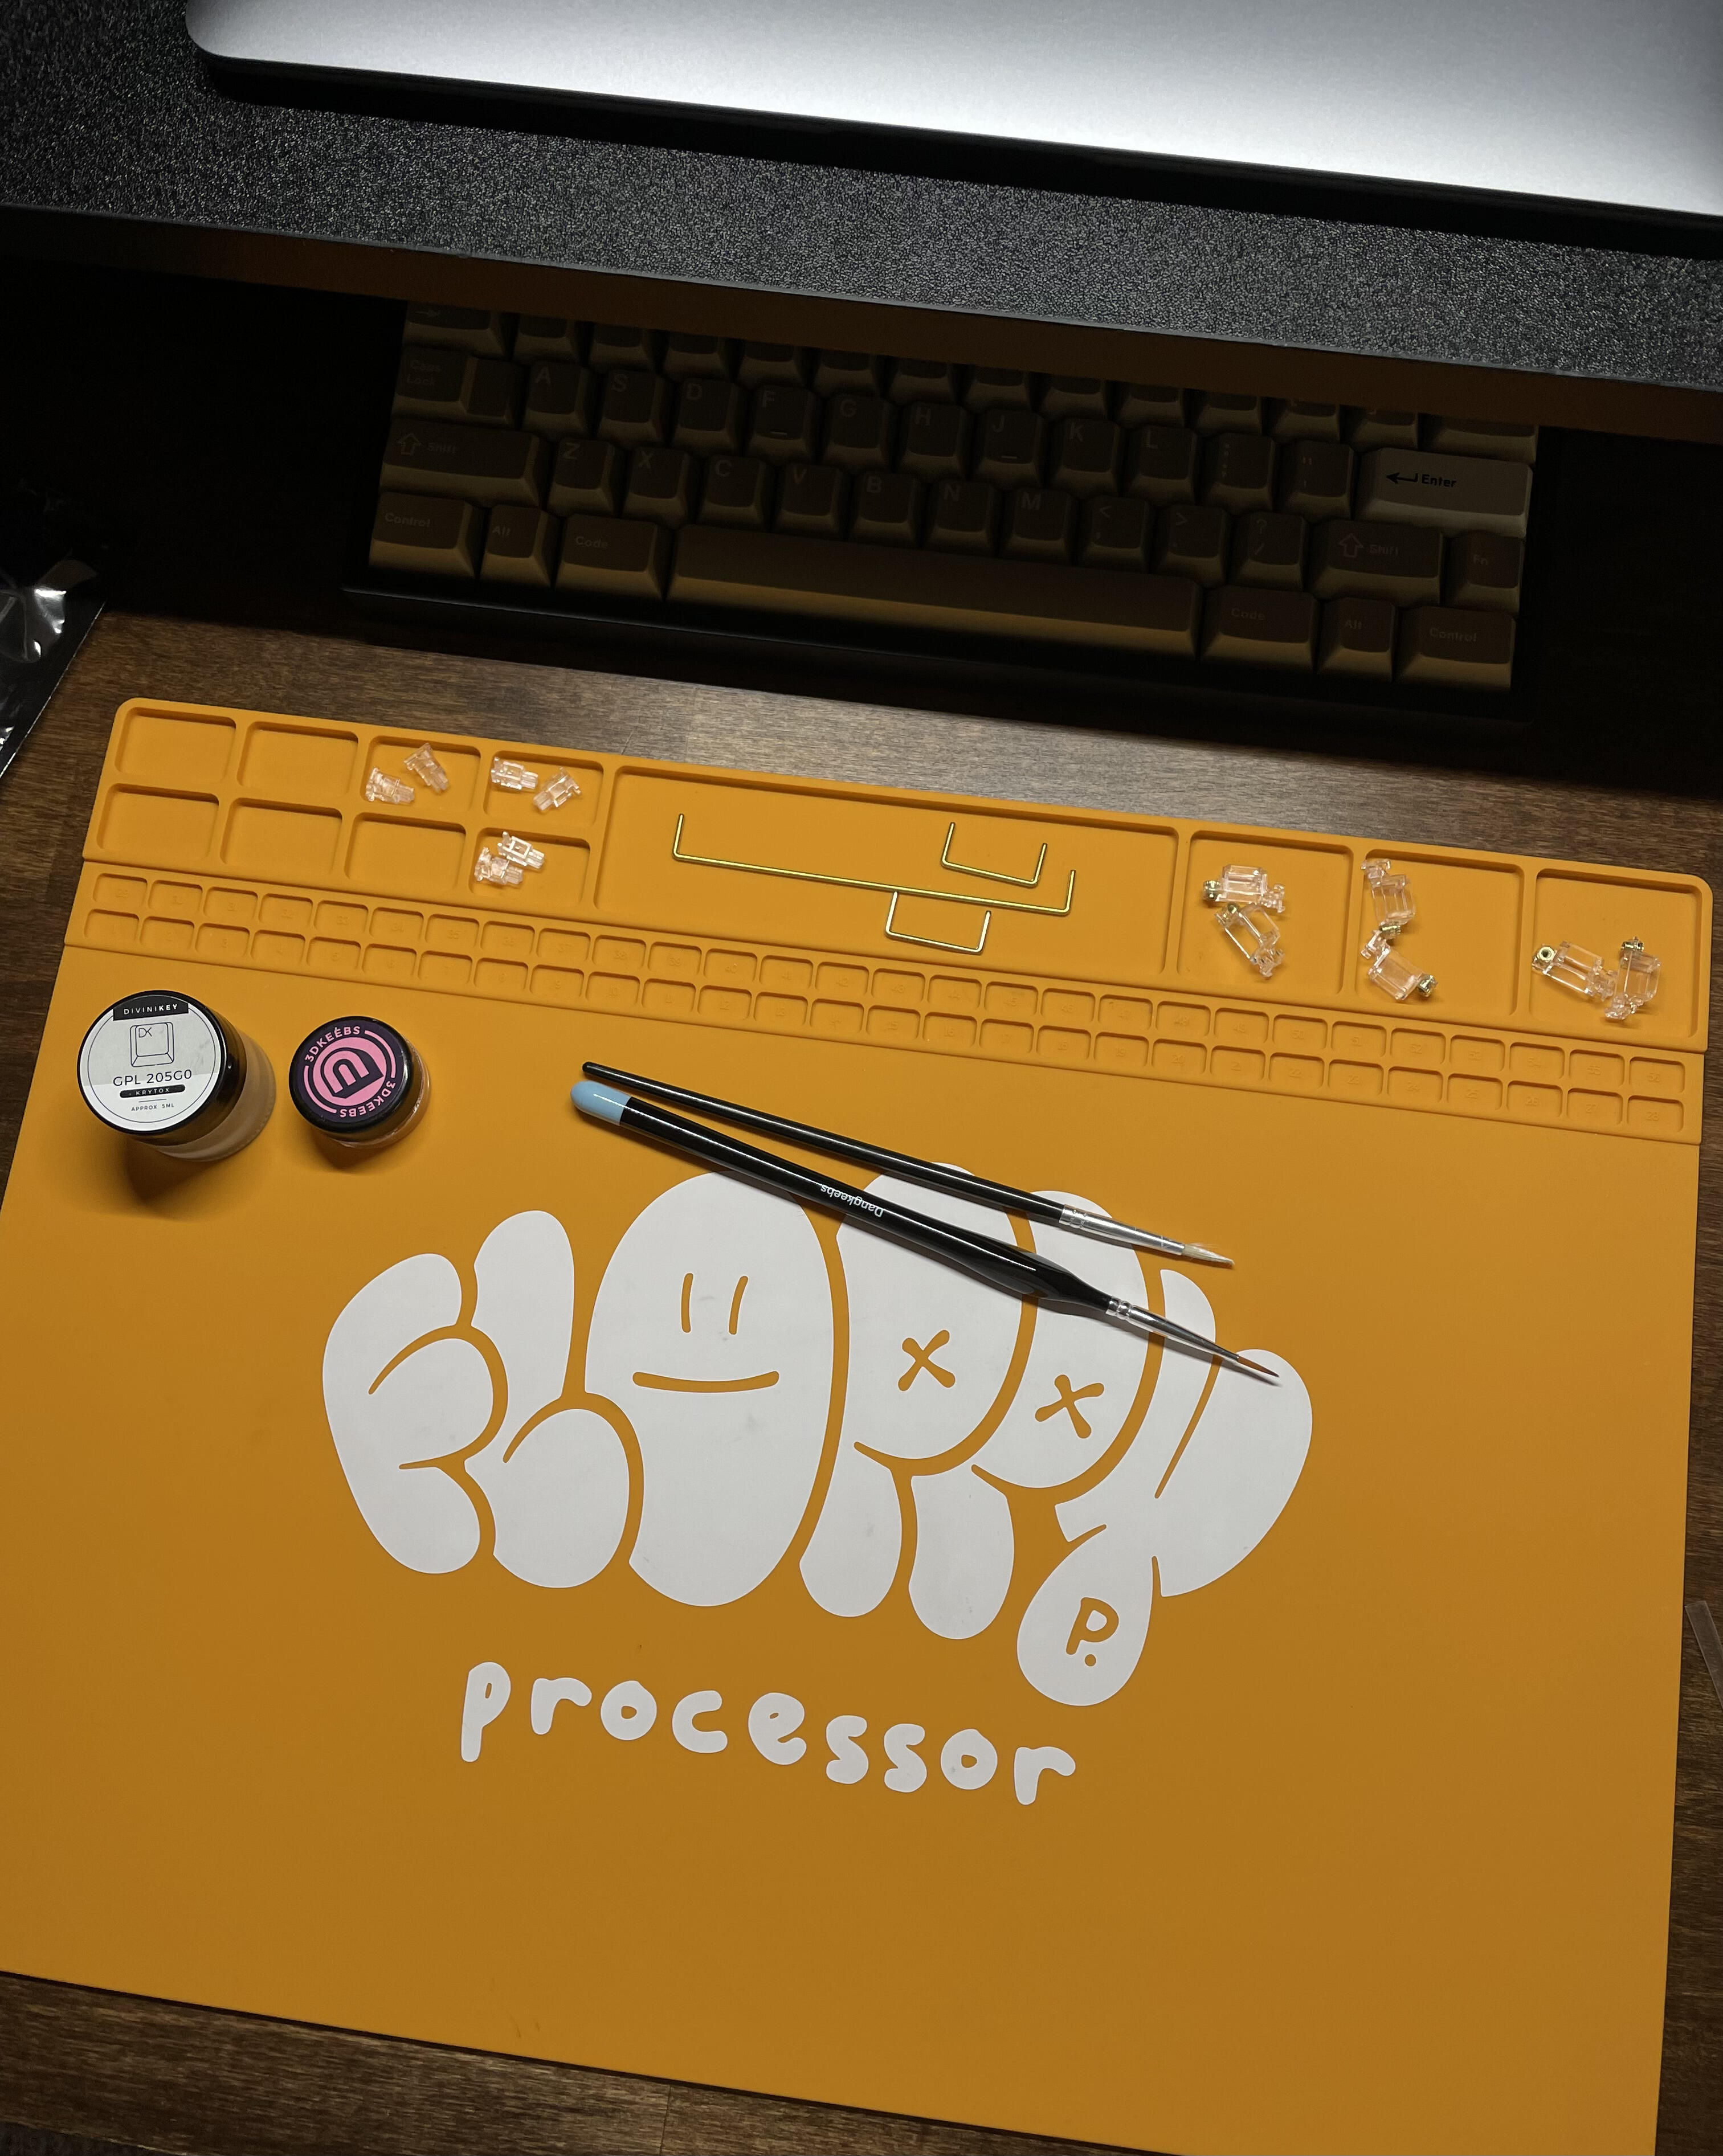
Got to lubing some OwlStabs today for the Sequence build. Workmats are way more useful than I thought they’d be! Glad I picked this one up.
And here’s the finished product! (Of course I didn’t take any pics in between. I always forget/am lazy lol)
FR4 Plate
GMK Oblivion
BolsaSupply’s Corsa Switches