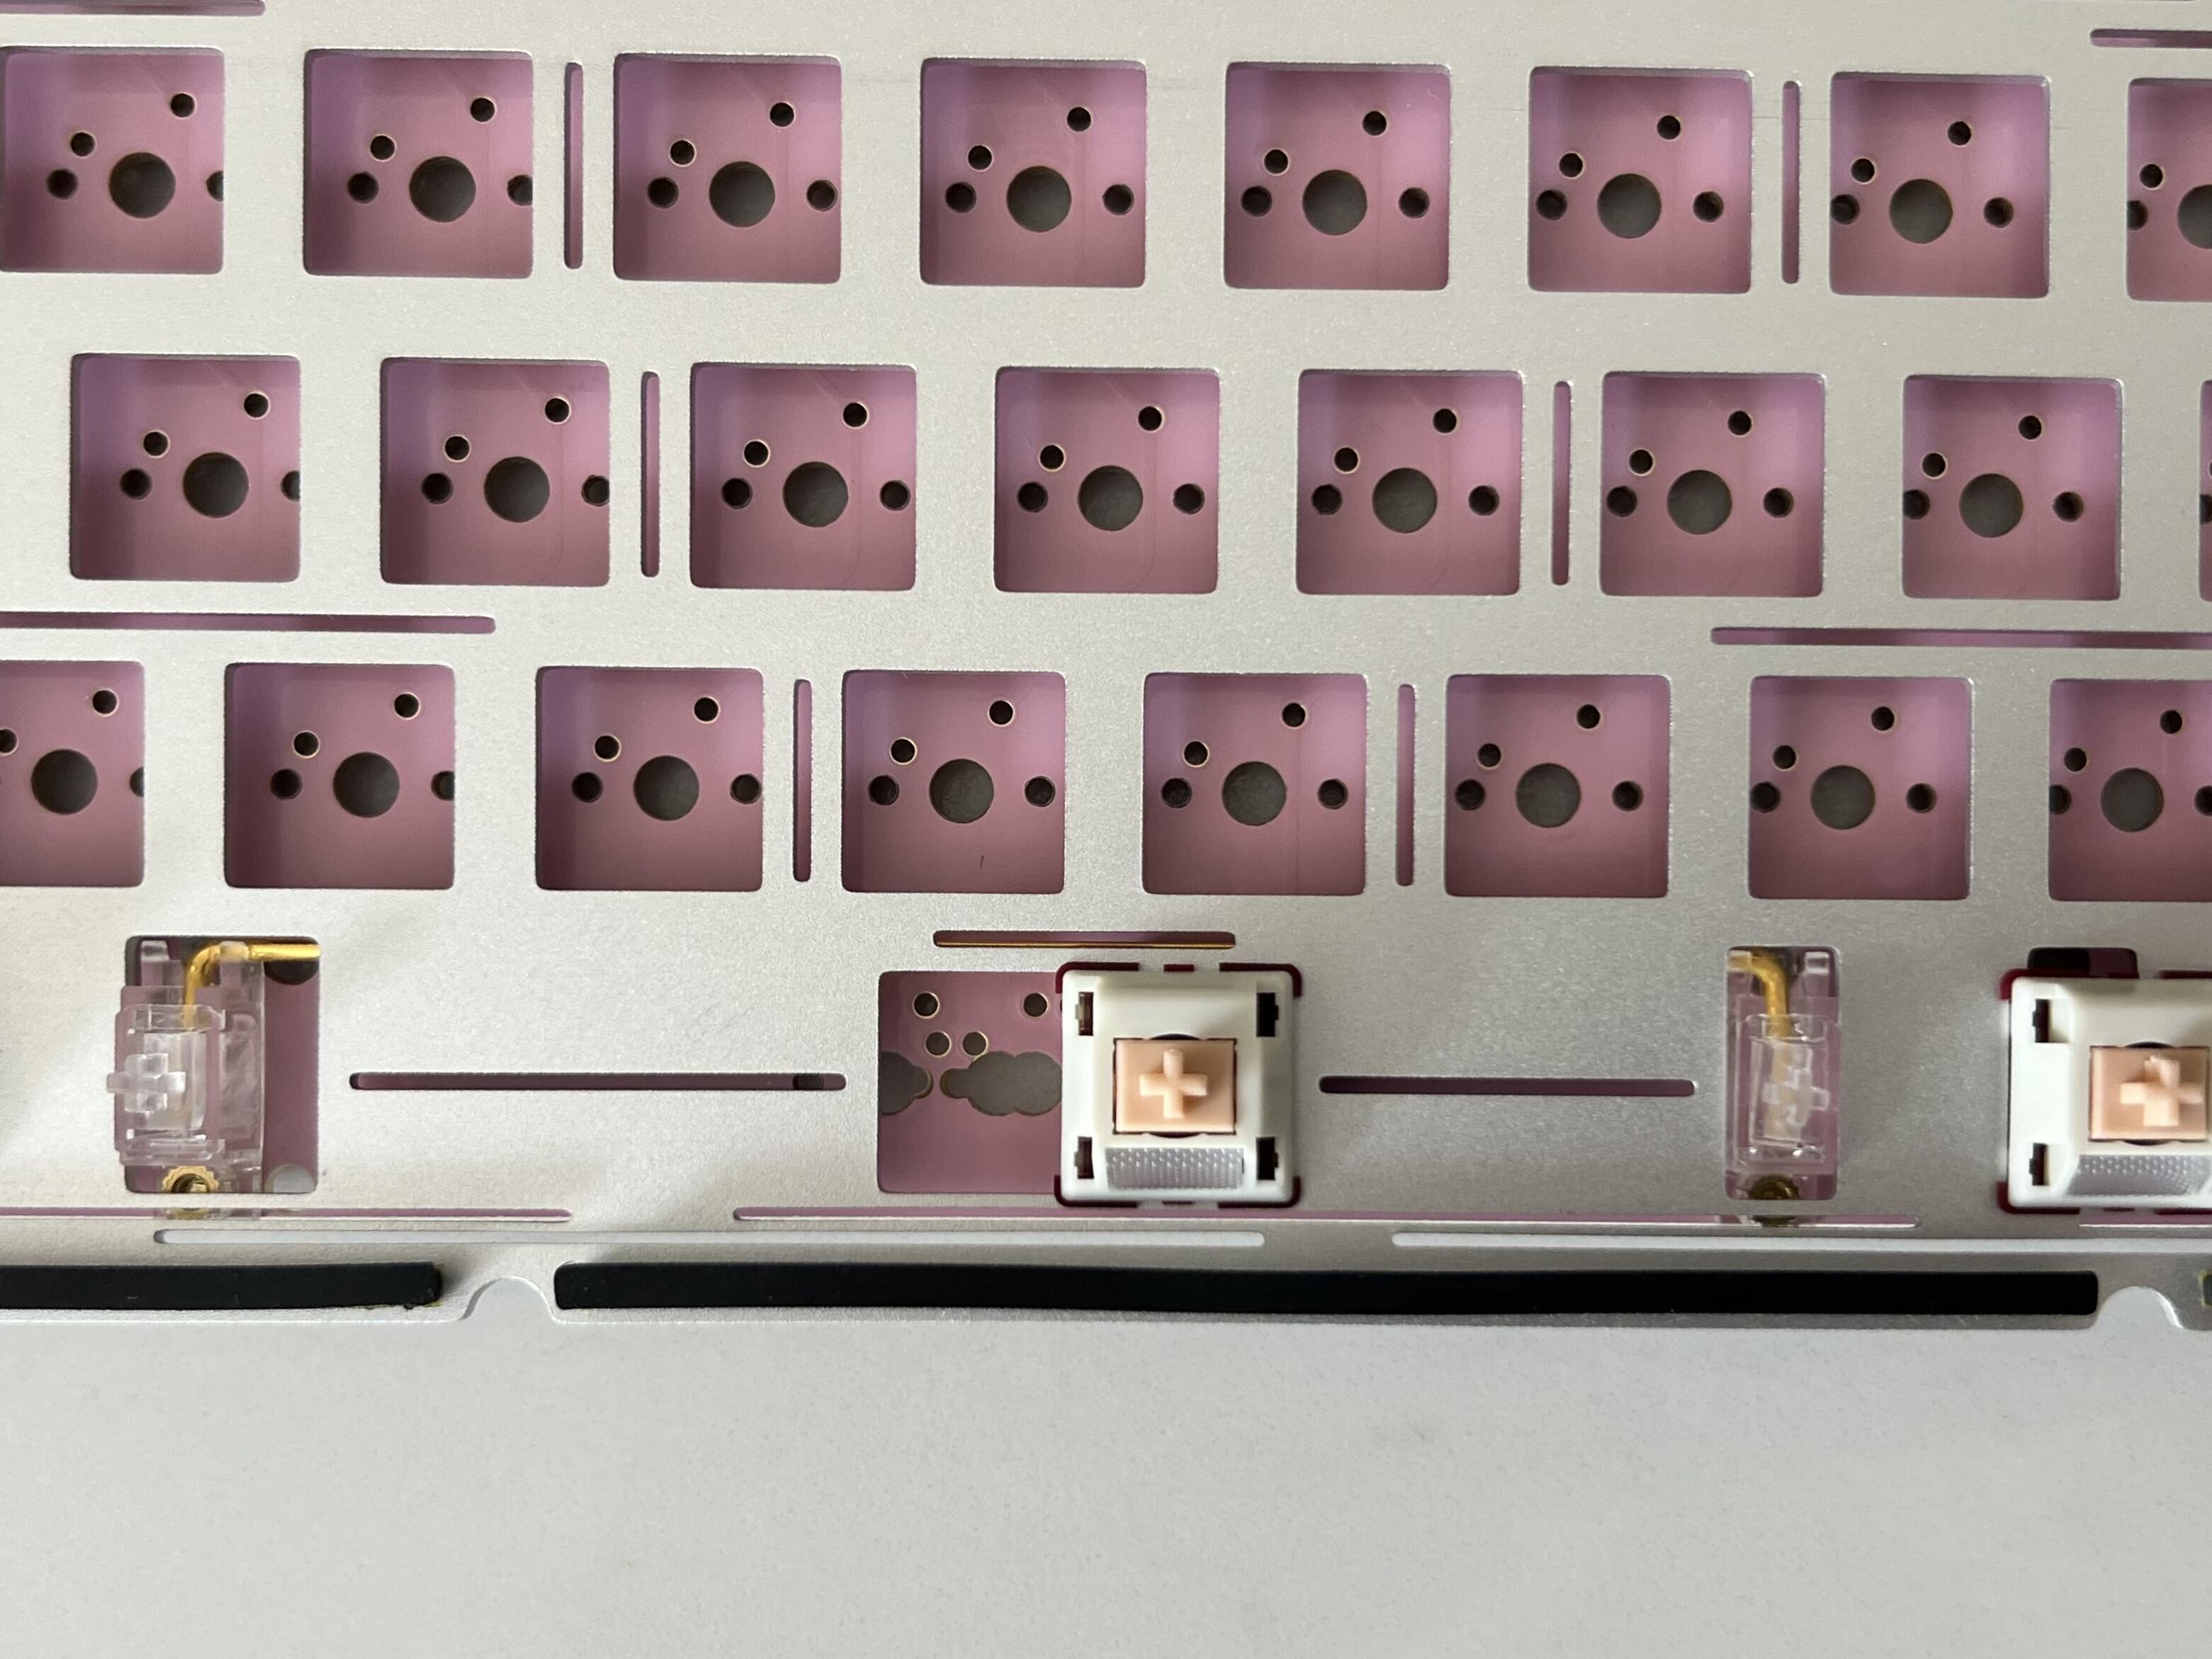
Looks pretty awesome. I just put my stellar65 stacked acrylic together yesterday, and I understand what you mean about tolerances and I also now better understand a small detail on that board.
I’ve put together a few stacked boards that usually tend to have one or two standoffs that will rattle slightly.
But on the stellar65, it’s designed in a way to counteract that issue. The outer layers have smaller holes for the screws, but not the standoffs. So there’s no way the standoffs can be larger than the layer stack. Standoffs only sit in the inner layers so that everything can be fully tightened down with screws.
Now, the downside to this design instead of loose standoffs there are a few small gaps between the outermost layer. It’s a trade off but a pretty good one.
They make it easy to squash the sandwich tight so it doesn’t rattle. The lower layers have 5mm holes: 3 layers of 3mm acrylic is just longer than the 8mm body of the rivet nuts. The upper layers have 3mm holes for the screws. (Compare the two spare accent pieces in the photo.)
The problem fasteners are the tiny M2 screws and nuts for the USB daughterboard. They have come loose and rattled irritatingly, so now I have some nylon ones which I hope will stay put.
The holes have the usual 0.2mm clearance, so the layers are not perfectly lined up. The alternating 3mm acrylic / 1.5mm pom layers in the body of the board made it difficult to come up with a nicely curved side profile to hide the unavoidable mismatches in layer size and alignment, so I decided to let it be slightly jagged.
Just a cute little tester of dust-resistant switches for my sister, who has a history of being a little rough on her WFH keyboard - she’s upgrading to something both more hefty and more compact - all that’s left is to pick the switches. This seemed like a good spread to start the search:
Linear: NK_ BOX Cream
Heavy Linear: BOX Dark Yellow
Dampened Linear: Varmilo Prestige
Tactile: BOX Brown
Heavy Tactile: BOX Royal (happens to be the Crystal variant)
Dampened Tactile: Whale Islet
Clicky: BOX White
Heavy Clicky: NK_ BOX Jade (happens to be an early one )
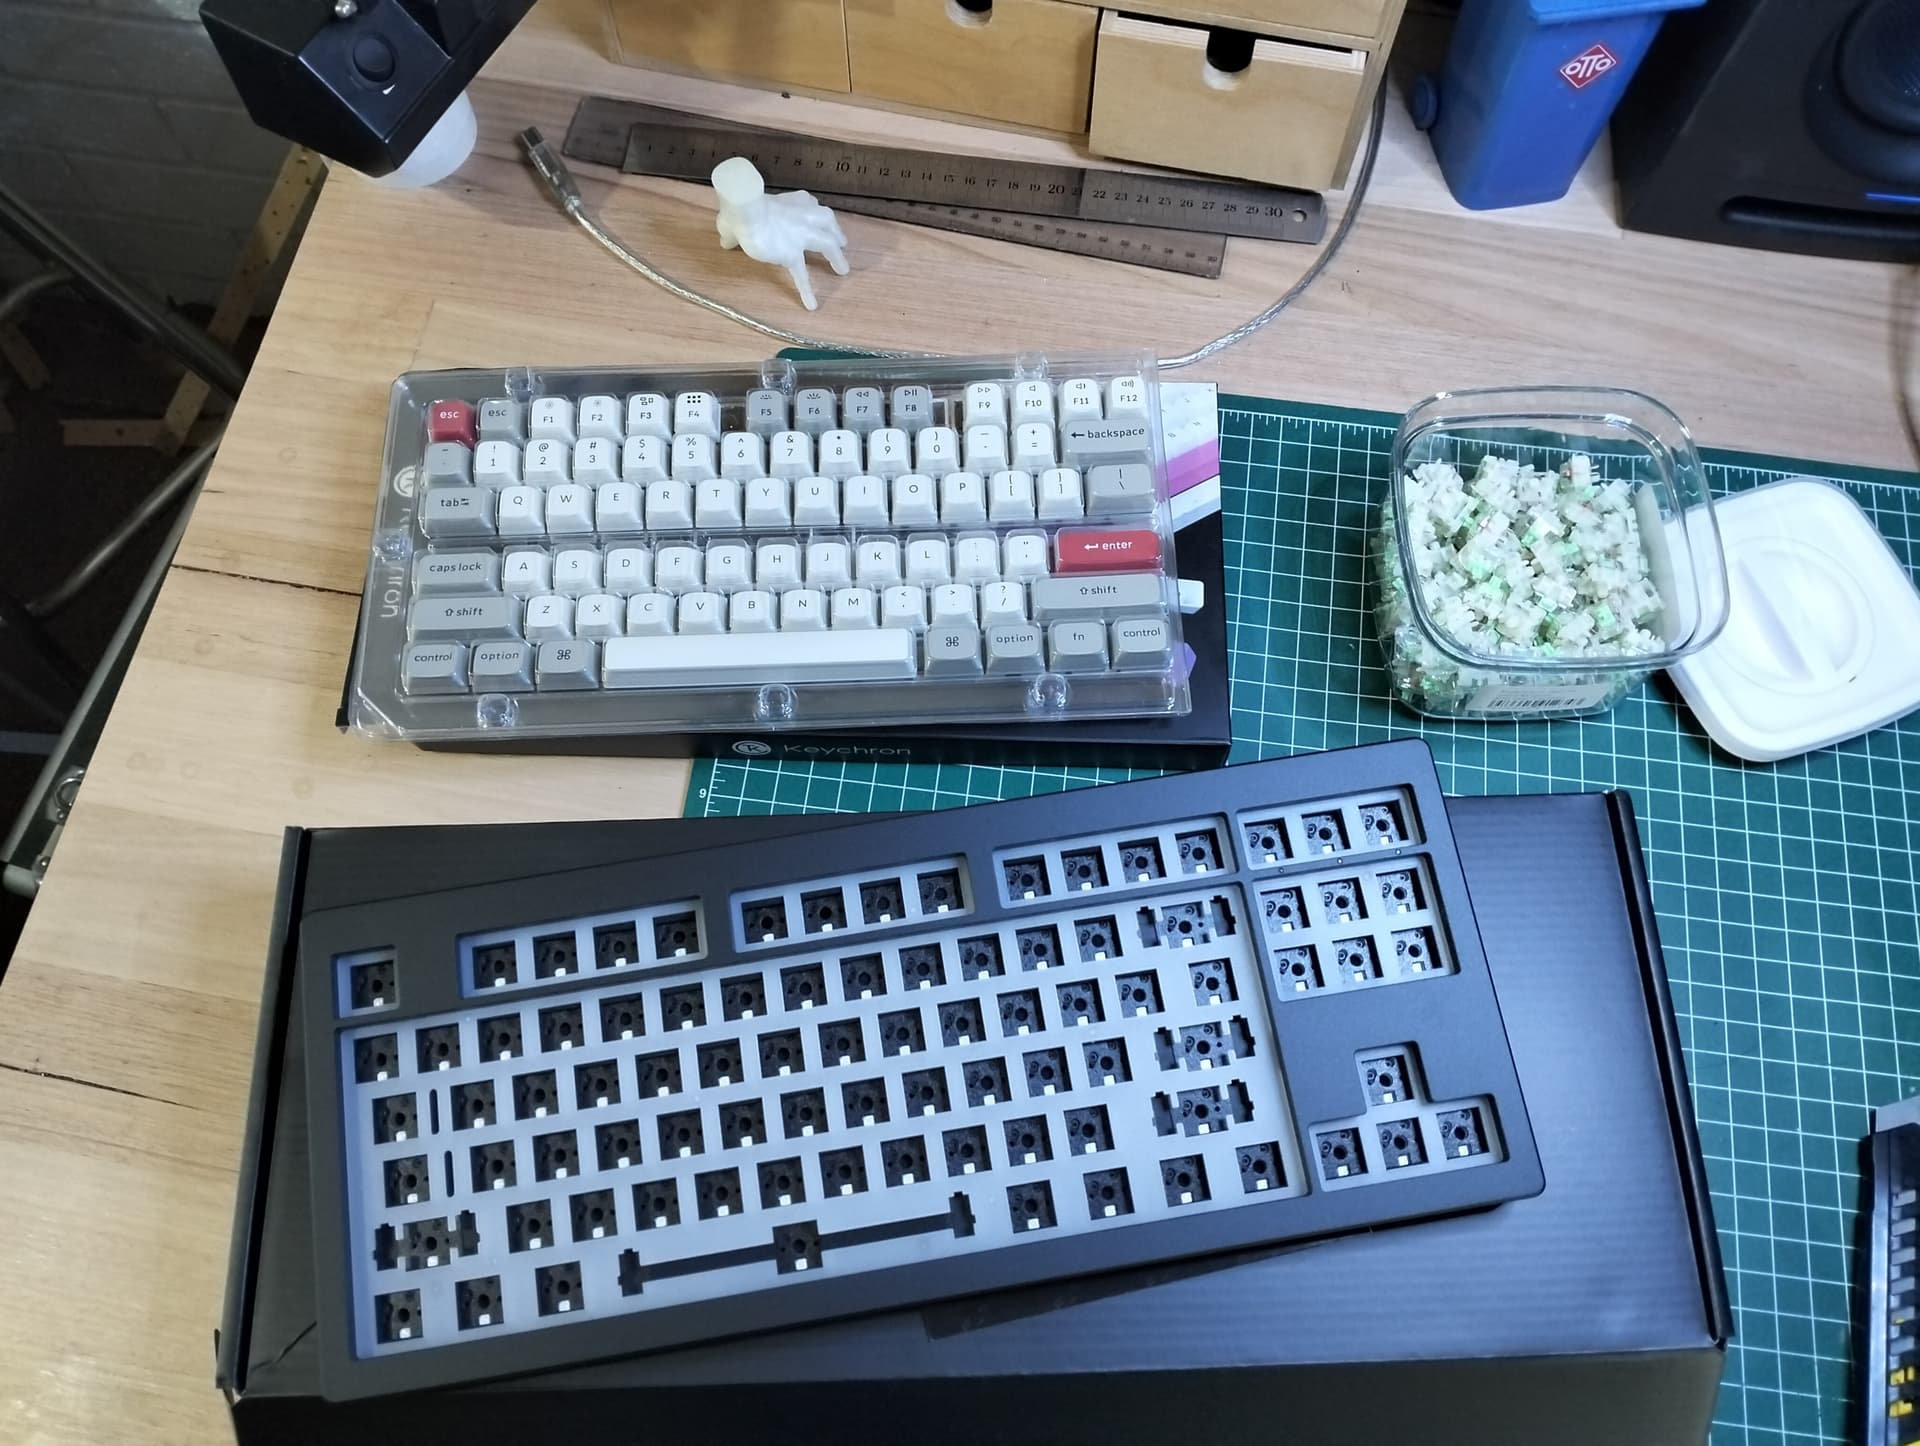
Ordered last Wednesday, arrived today
Monsgeek M3, Keychron keycaps, and Gateron Baby Kangaroos. I do have a POM and FR4 plate on order from Aliexpress, couldn’t find a local supplier
Did have a few problems sorting out the stabilisers (first time user) hut got then installed and tested before installing the switches,
First task now it;s working is to turn off the backlight!
LOL, this is something that bothers me to no end also! From the cheapest prebuilts I’ve owned to the highest end keyboards I owned, they all seem to have the backlighting turned on by default! It’s particularly annoying when you’re just trying to test a PCB & get blinded immediately after plugging it in then have to use two pairs of tweezers to search for the proper key on the second layer to turn them off. I kinda get a prebuilt keyboard having all it’s lights turn on when it is first plugged in, but for custom kits it really boggles the mind why they are left on. My only guess is that the LEDS are the last thing to be to tested & when they’re all good they just toss it right into be packaged without turning them back off?
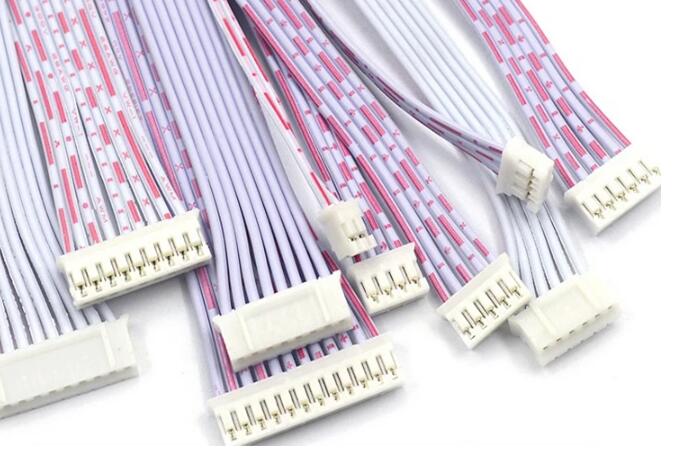
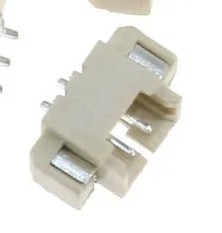
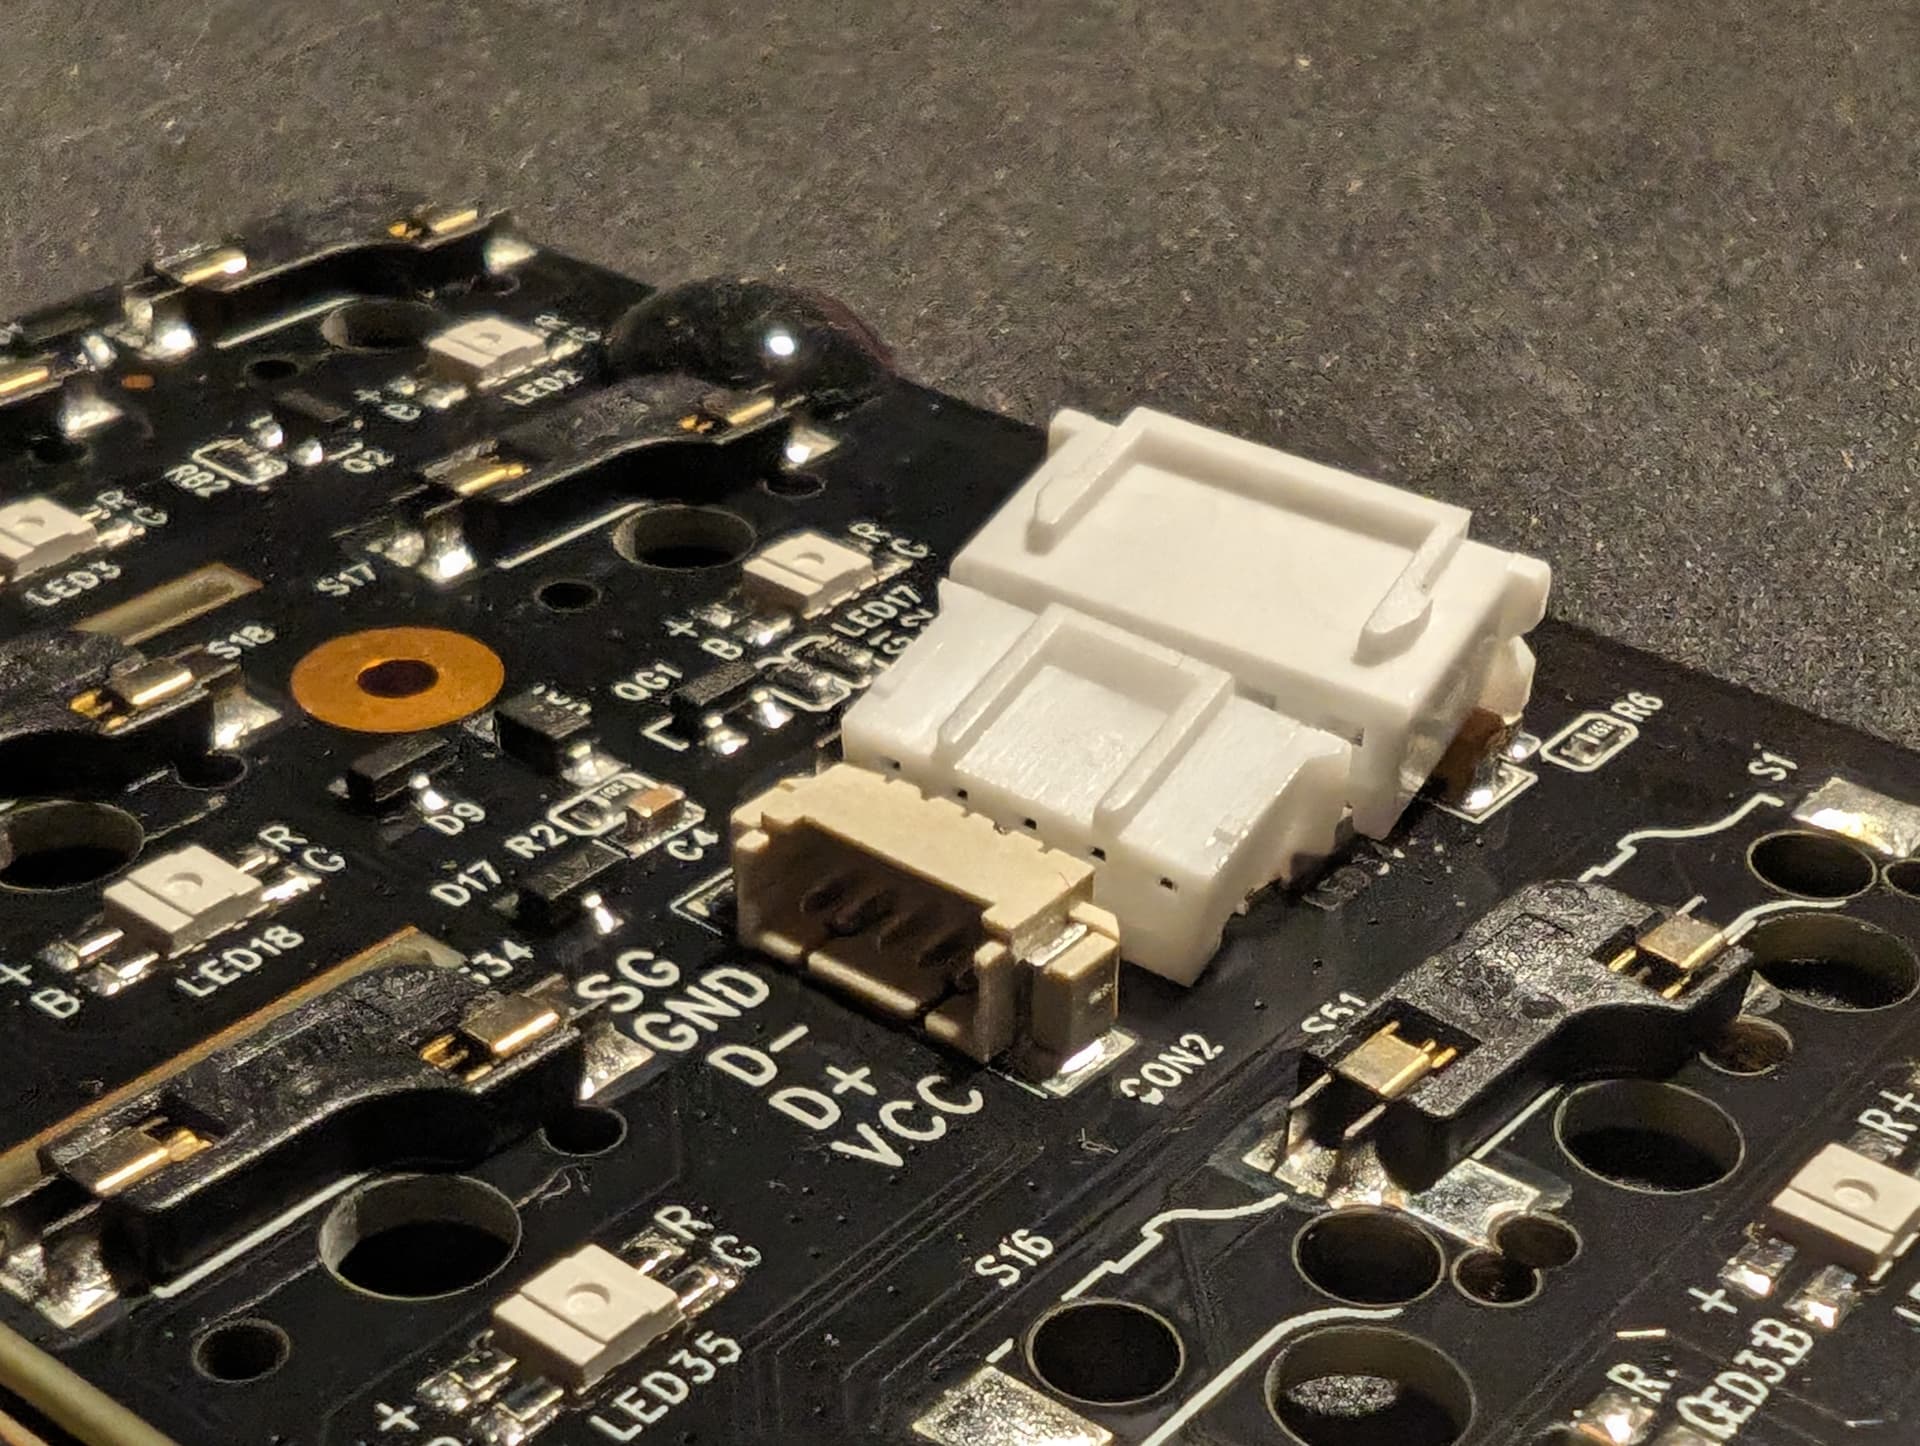
From his photo you can see that the connector is square in shape. And size 1.25 is flat. This is also used for batteries. It looks like the connector is similar to the one Wuque has for the IKKI68 board.
I still think it is a JST 1.25mm, I have a similar looking surface mount connector but it is 5 pin, next to it I place a JST PH2.0 5 pin and then a JST XH2.54 5 pin. But I could be wrong
Did find the magic key sequence that controls backlighting so turned everything off.
Might set up OS detection so colour can be set based on which computer I’m connected to
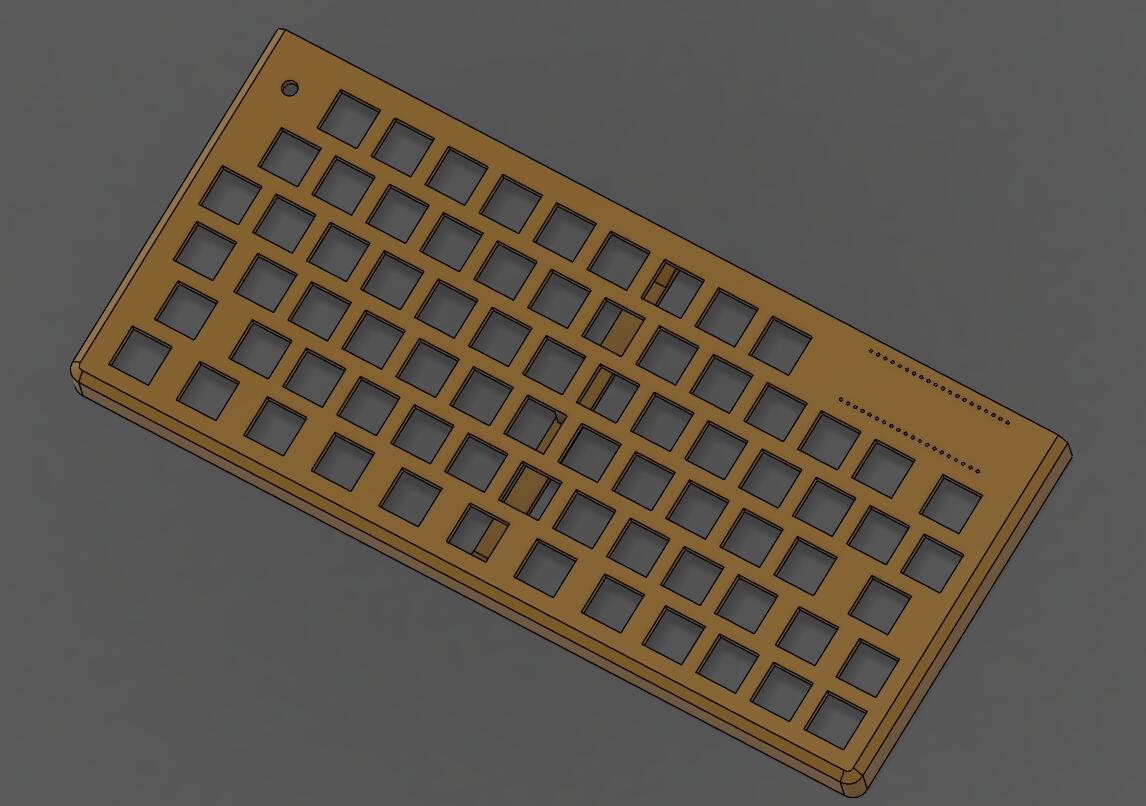
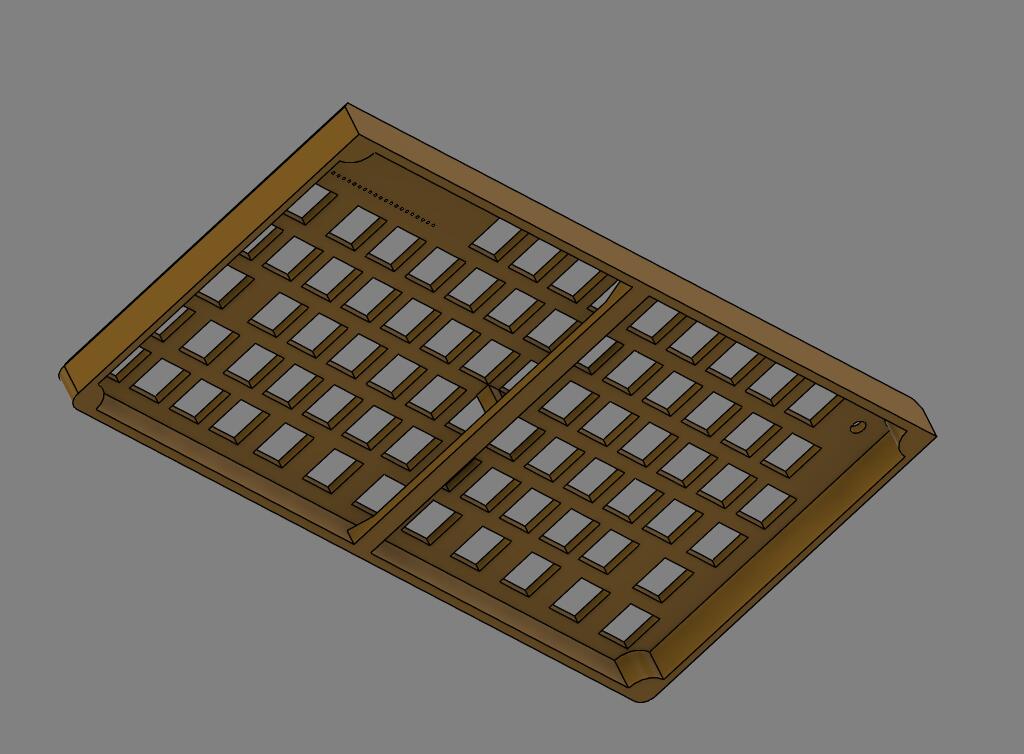
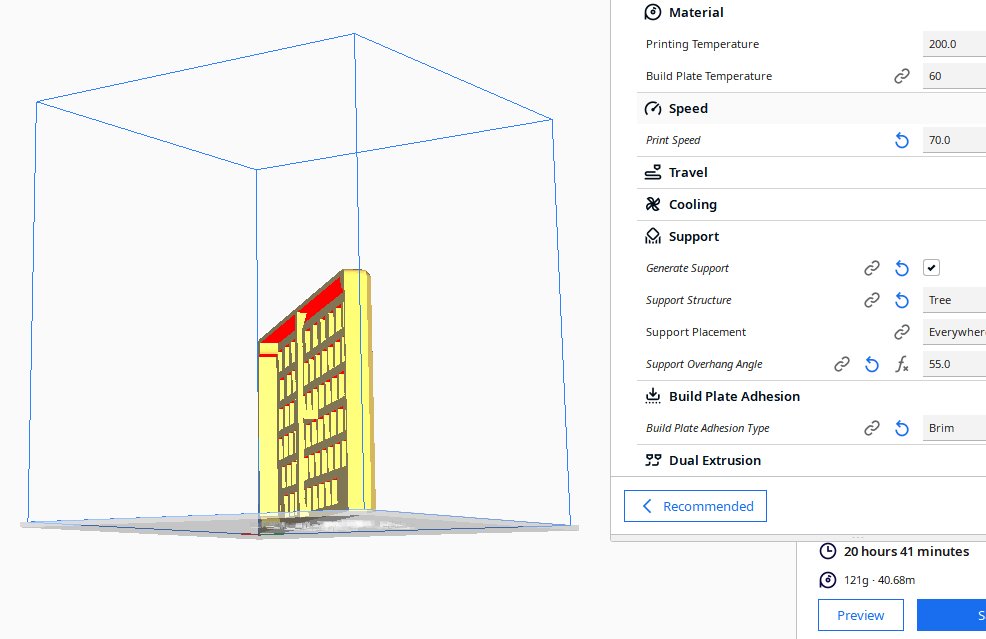
So I settled on a layout that, while not conducive to off-the-shelf sculpted sets, does cram a usable 65-ish layout onto a board that’s 14u wide, which is critically the widest that I could 3D print in one piece if I go vertical. It might be too weak along the layer lines, so I’m still firmly in the realm of whether I could, versus whether I should.
I made the layout with KLE and Swill, then imported the .dxf file into Fusion and designed a simple, low-profile, open-base case around it. The bottom is open so that the whole thing, if it works, will be print-in-place.
I have included some 1mm holes so I can mount the RPi on the top and have the header pins go through. I don’t expect these to print right, but hopefully they will leave a localized weak spot that will mark the location and make it easy to punch through with a soldering iron or drill. I left the back unbeveled so I can squeeze as much stability out of it as possible during printing. SOOO many supports for this one, so it will print painfully slow, easily triple what it would be if I had a bed large enough to lay it down on its face (though that requires some different decisions about bevels and rounds).
Frankly, this could be a complete disaster, but as long as I determine that before I solder, no parts will have to be sacrificed.
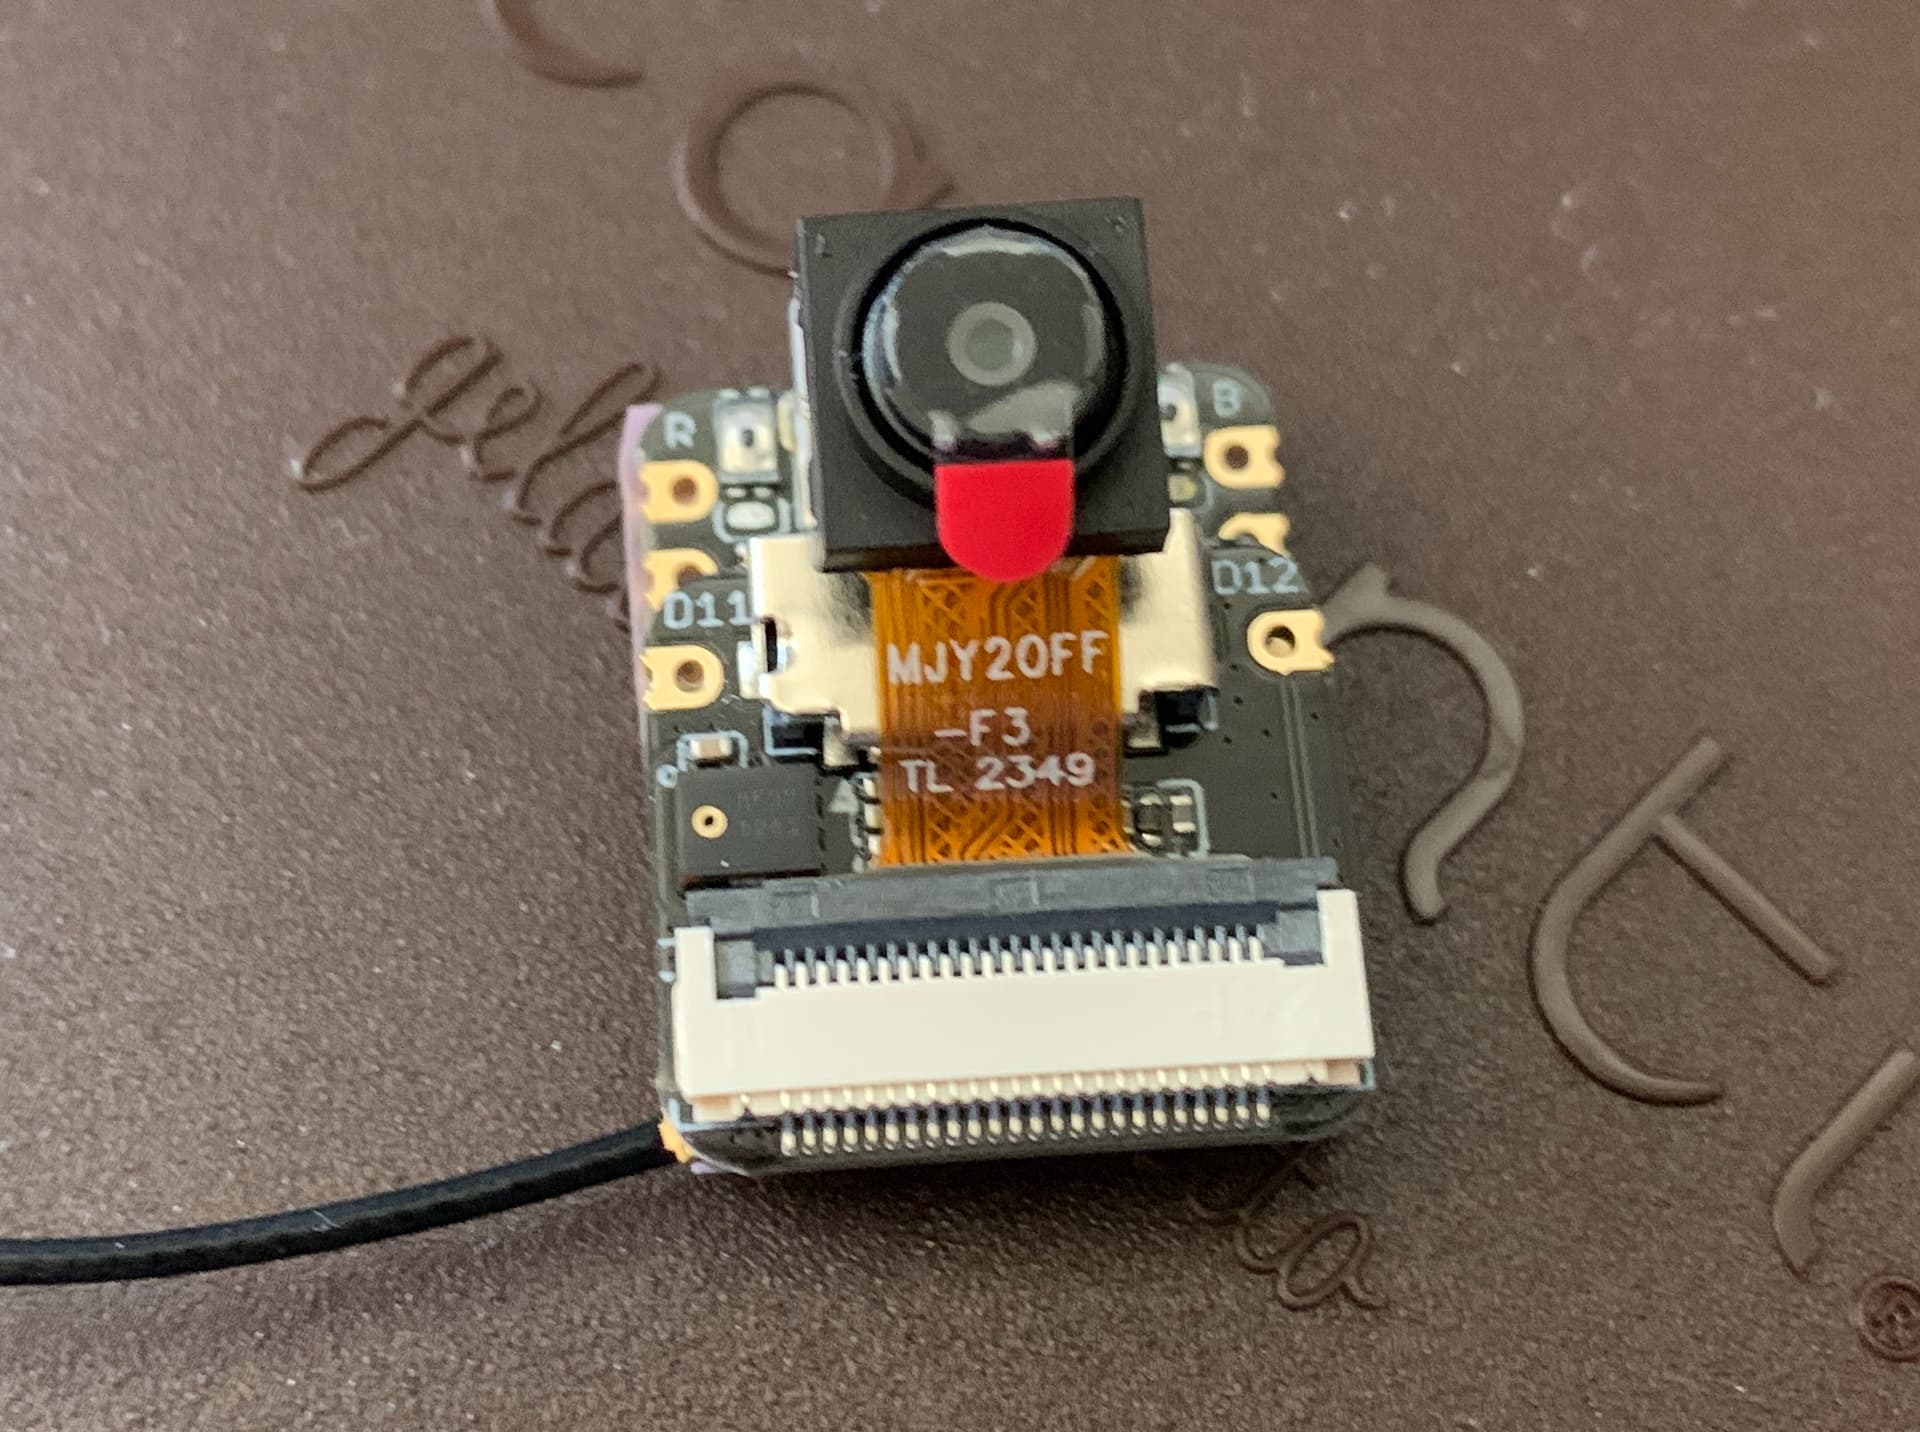
This teeny thing is Seeed Studio ESP32S3 Sense with BLE, Wi-Fi, camera, microphone, and accelerometer. After feature testing, I’m going to try running Silero VAD and Opus codec on it so it can be in capture mode all the time but relay actual speech in compressed packets.
I built my Lilith keyboard from Antipode today. I’ve had it a while but I wasn’t sure what switches I wanted in it. After trying Deep Ruby switches last week, I knew they would work well for this.
The biggest issue is the gaskets. The 3M adhesive had badly yellowed. So much that the white paper they were on was a bright yellow. Perhaps it was some sort of reaction with the EVA foam in the travel case.
When I put the gaskets on the frosted PC top, you could see the yellow! It looked terrible
Luckily I noticed it after installing only the first one. When I pulled it back out, about half of the sticky yellow adhesive remained on the polycarbonate. Yuck. I had a terrible time getting it off. I eventually had to use a solvent. I opted for Goo Gone over 99% IPA. But even the Goo Gone slightly polished the channel. Luckily I have a few handy kits of 3M abrasive pads from Norbauer made just for such occasions, so I was able to slightly frost it back.
Moving forward, I decided to attach the gaskets to the plate instead of the case top. I installed the gaskets upside down on the case top (adhesive facing out) and then carefully positioned the plate to it, sticking the gaskets onto the plate in the precise locations they require. Problem solved.
Oh and then I had a chuckle at this. Space bar switch soldereded in the wrong place to test the stabilizer.
Can’t say I’ve ever done that before. I was off my game, I guess. Funny thing is, 6.25u GMK space bars have a stem there, so it actually worked. I did, however, desolder it and put it back in the correct position.
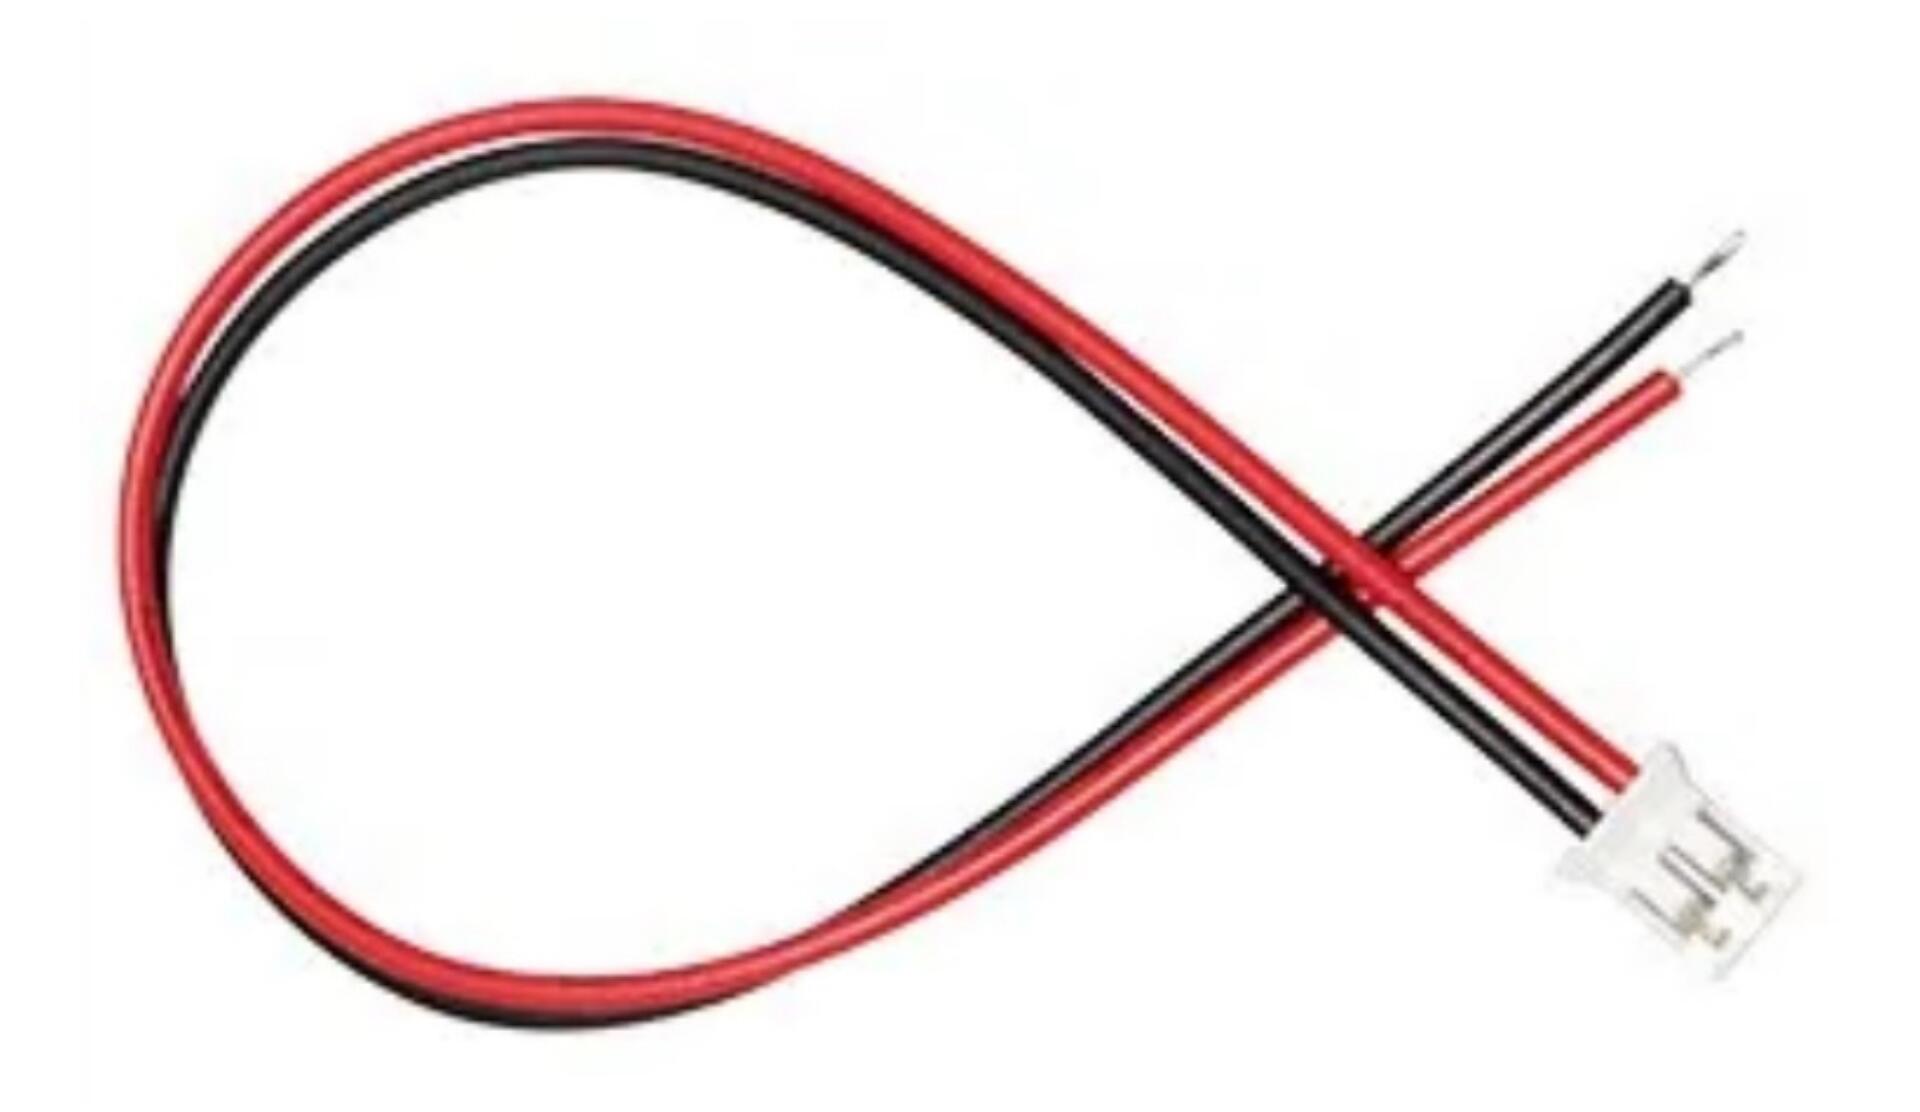
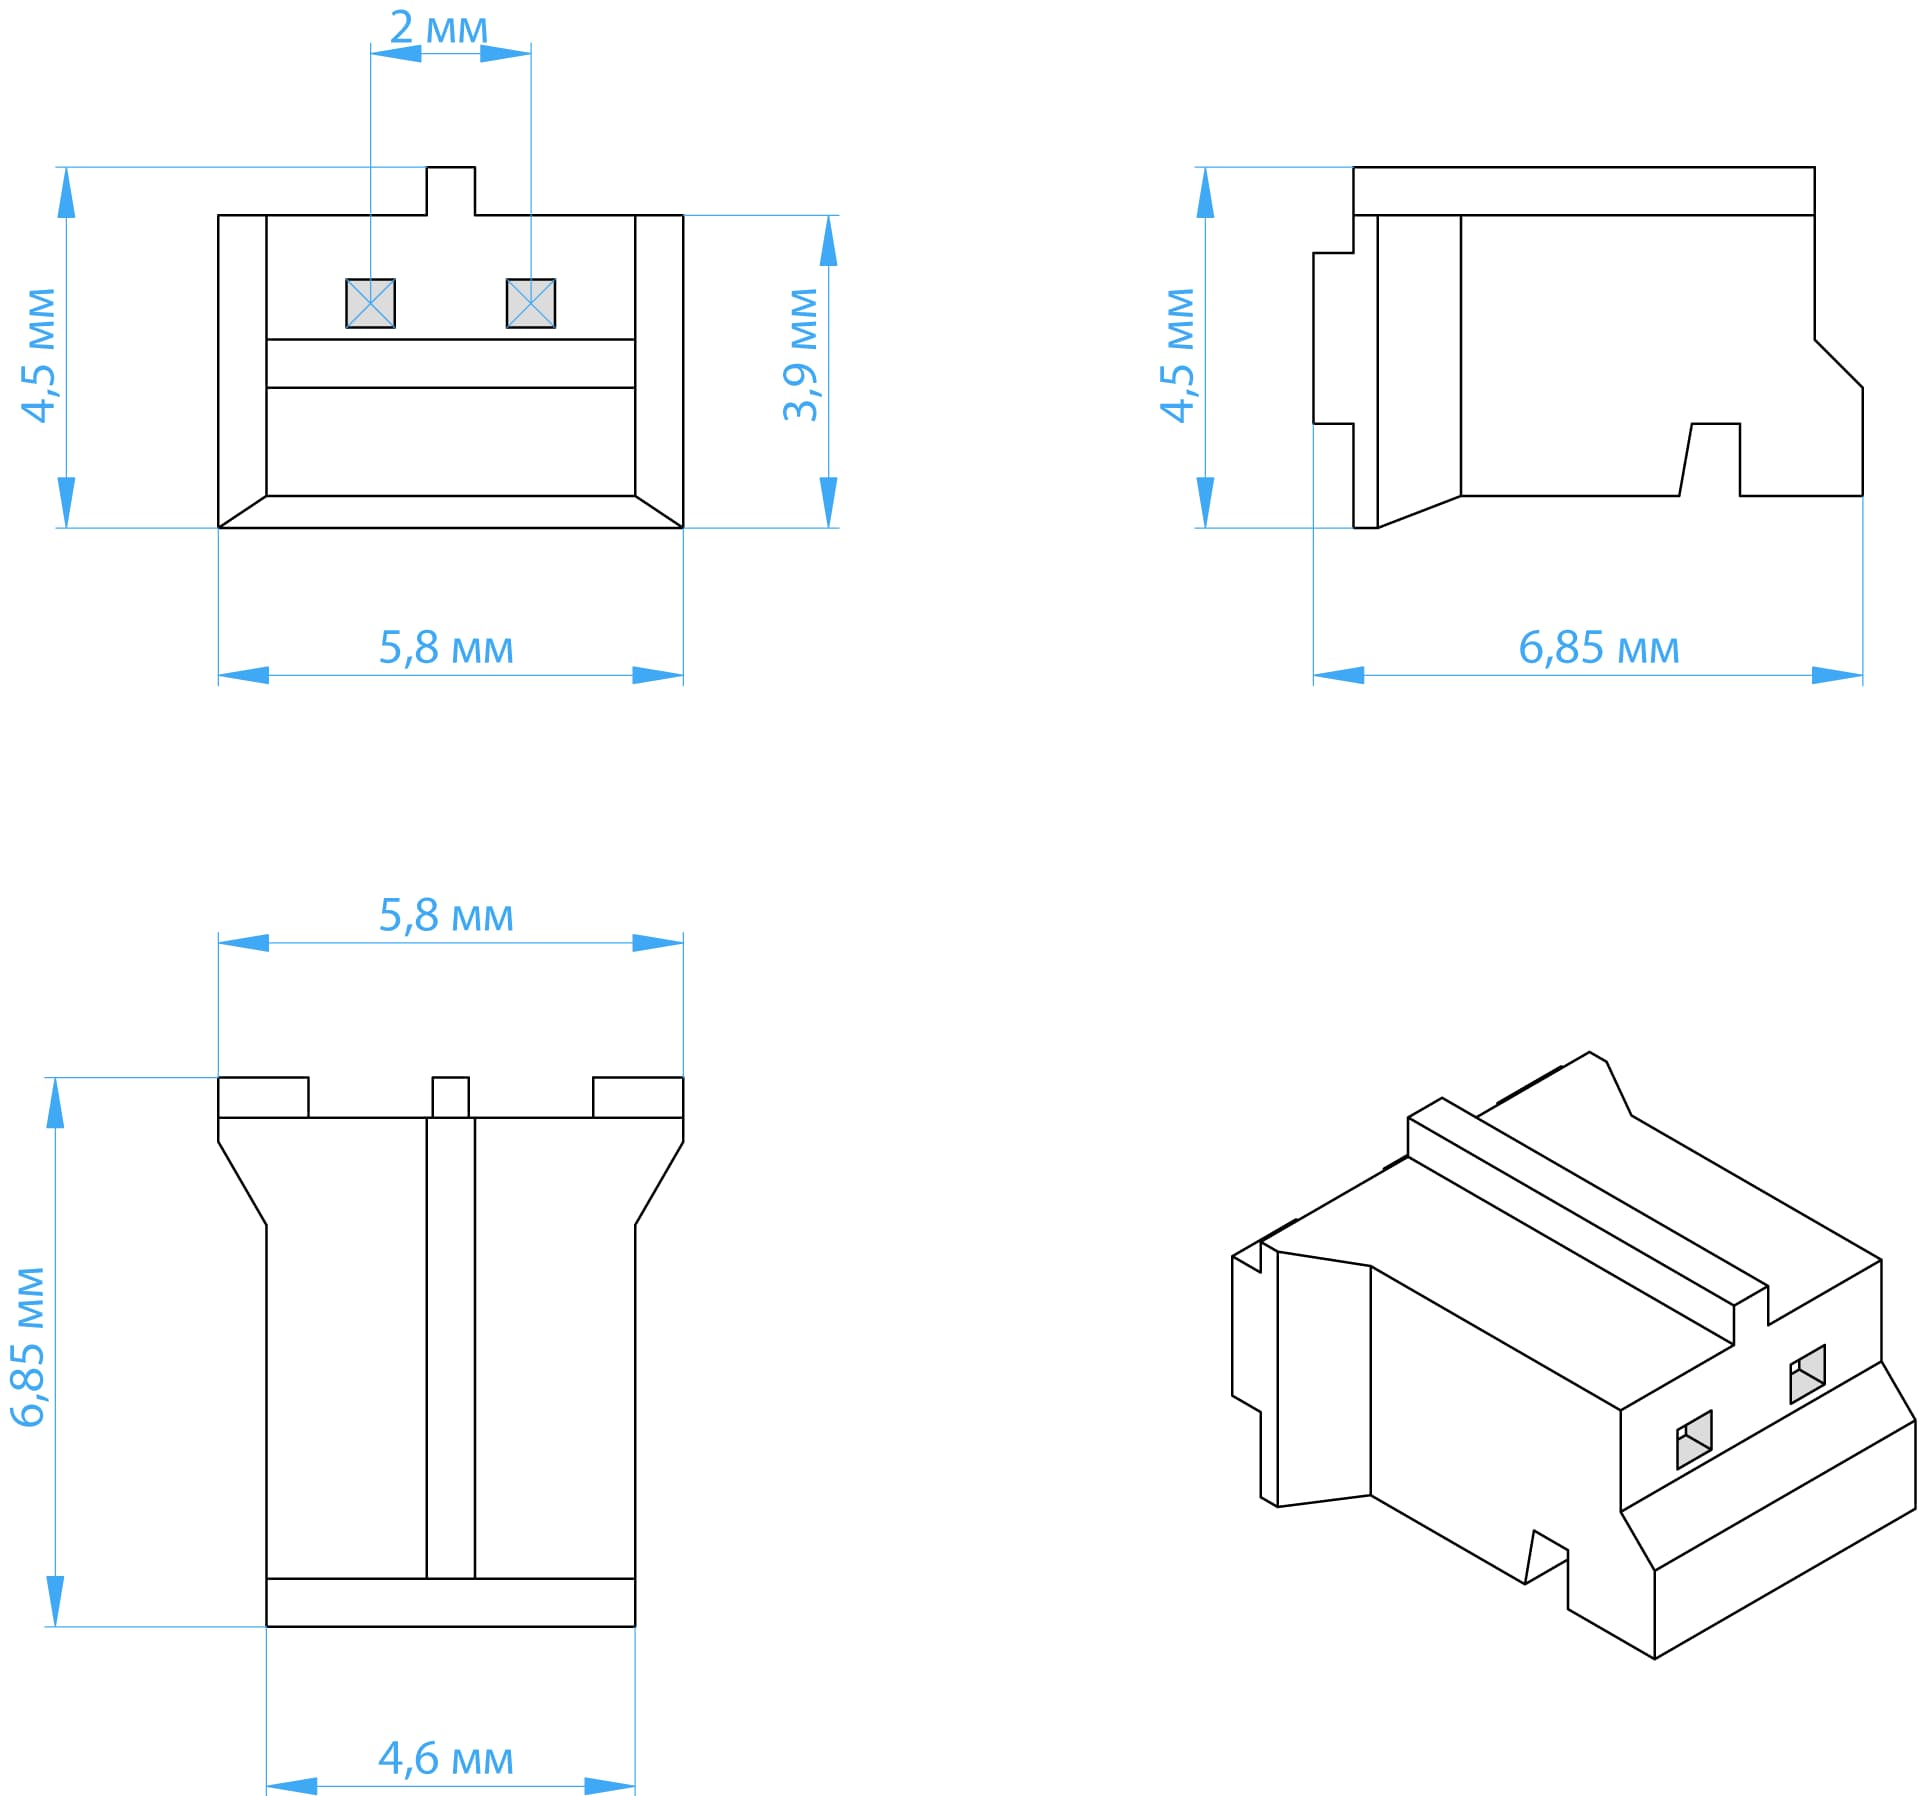
Thanks to you and @newprada on this. I finally smartened up enough to try measuring it. The “pitch” between the wires (just learned this) is 1mm and there are two wires so I guess it’s a JST SH 2 pin connector. I lucked out and found that the battery for my QK60 uses the same connector but the polarity is reversed (of course) so in order to use it I’ll have to reverse the wires.