Seriously awesome dude. You’re as deep in this hobby as it gets.
I think I’m just coming to it from the other end. I’m already familiar with electronics and programming, but I know very little about switches, springs, caps, plates, cases, gaskets, acoustics, etc.
7 Likes
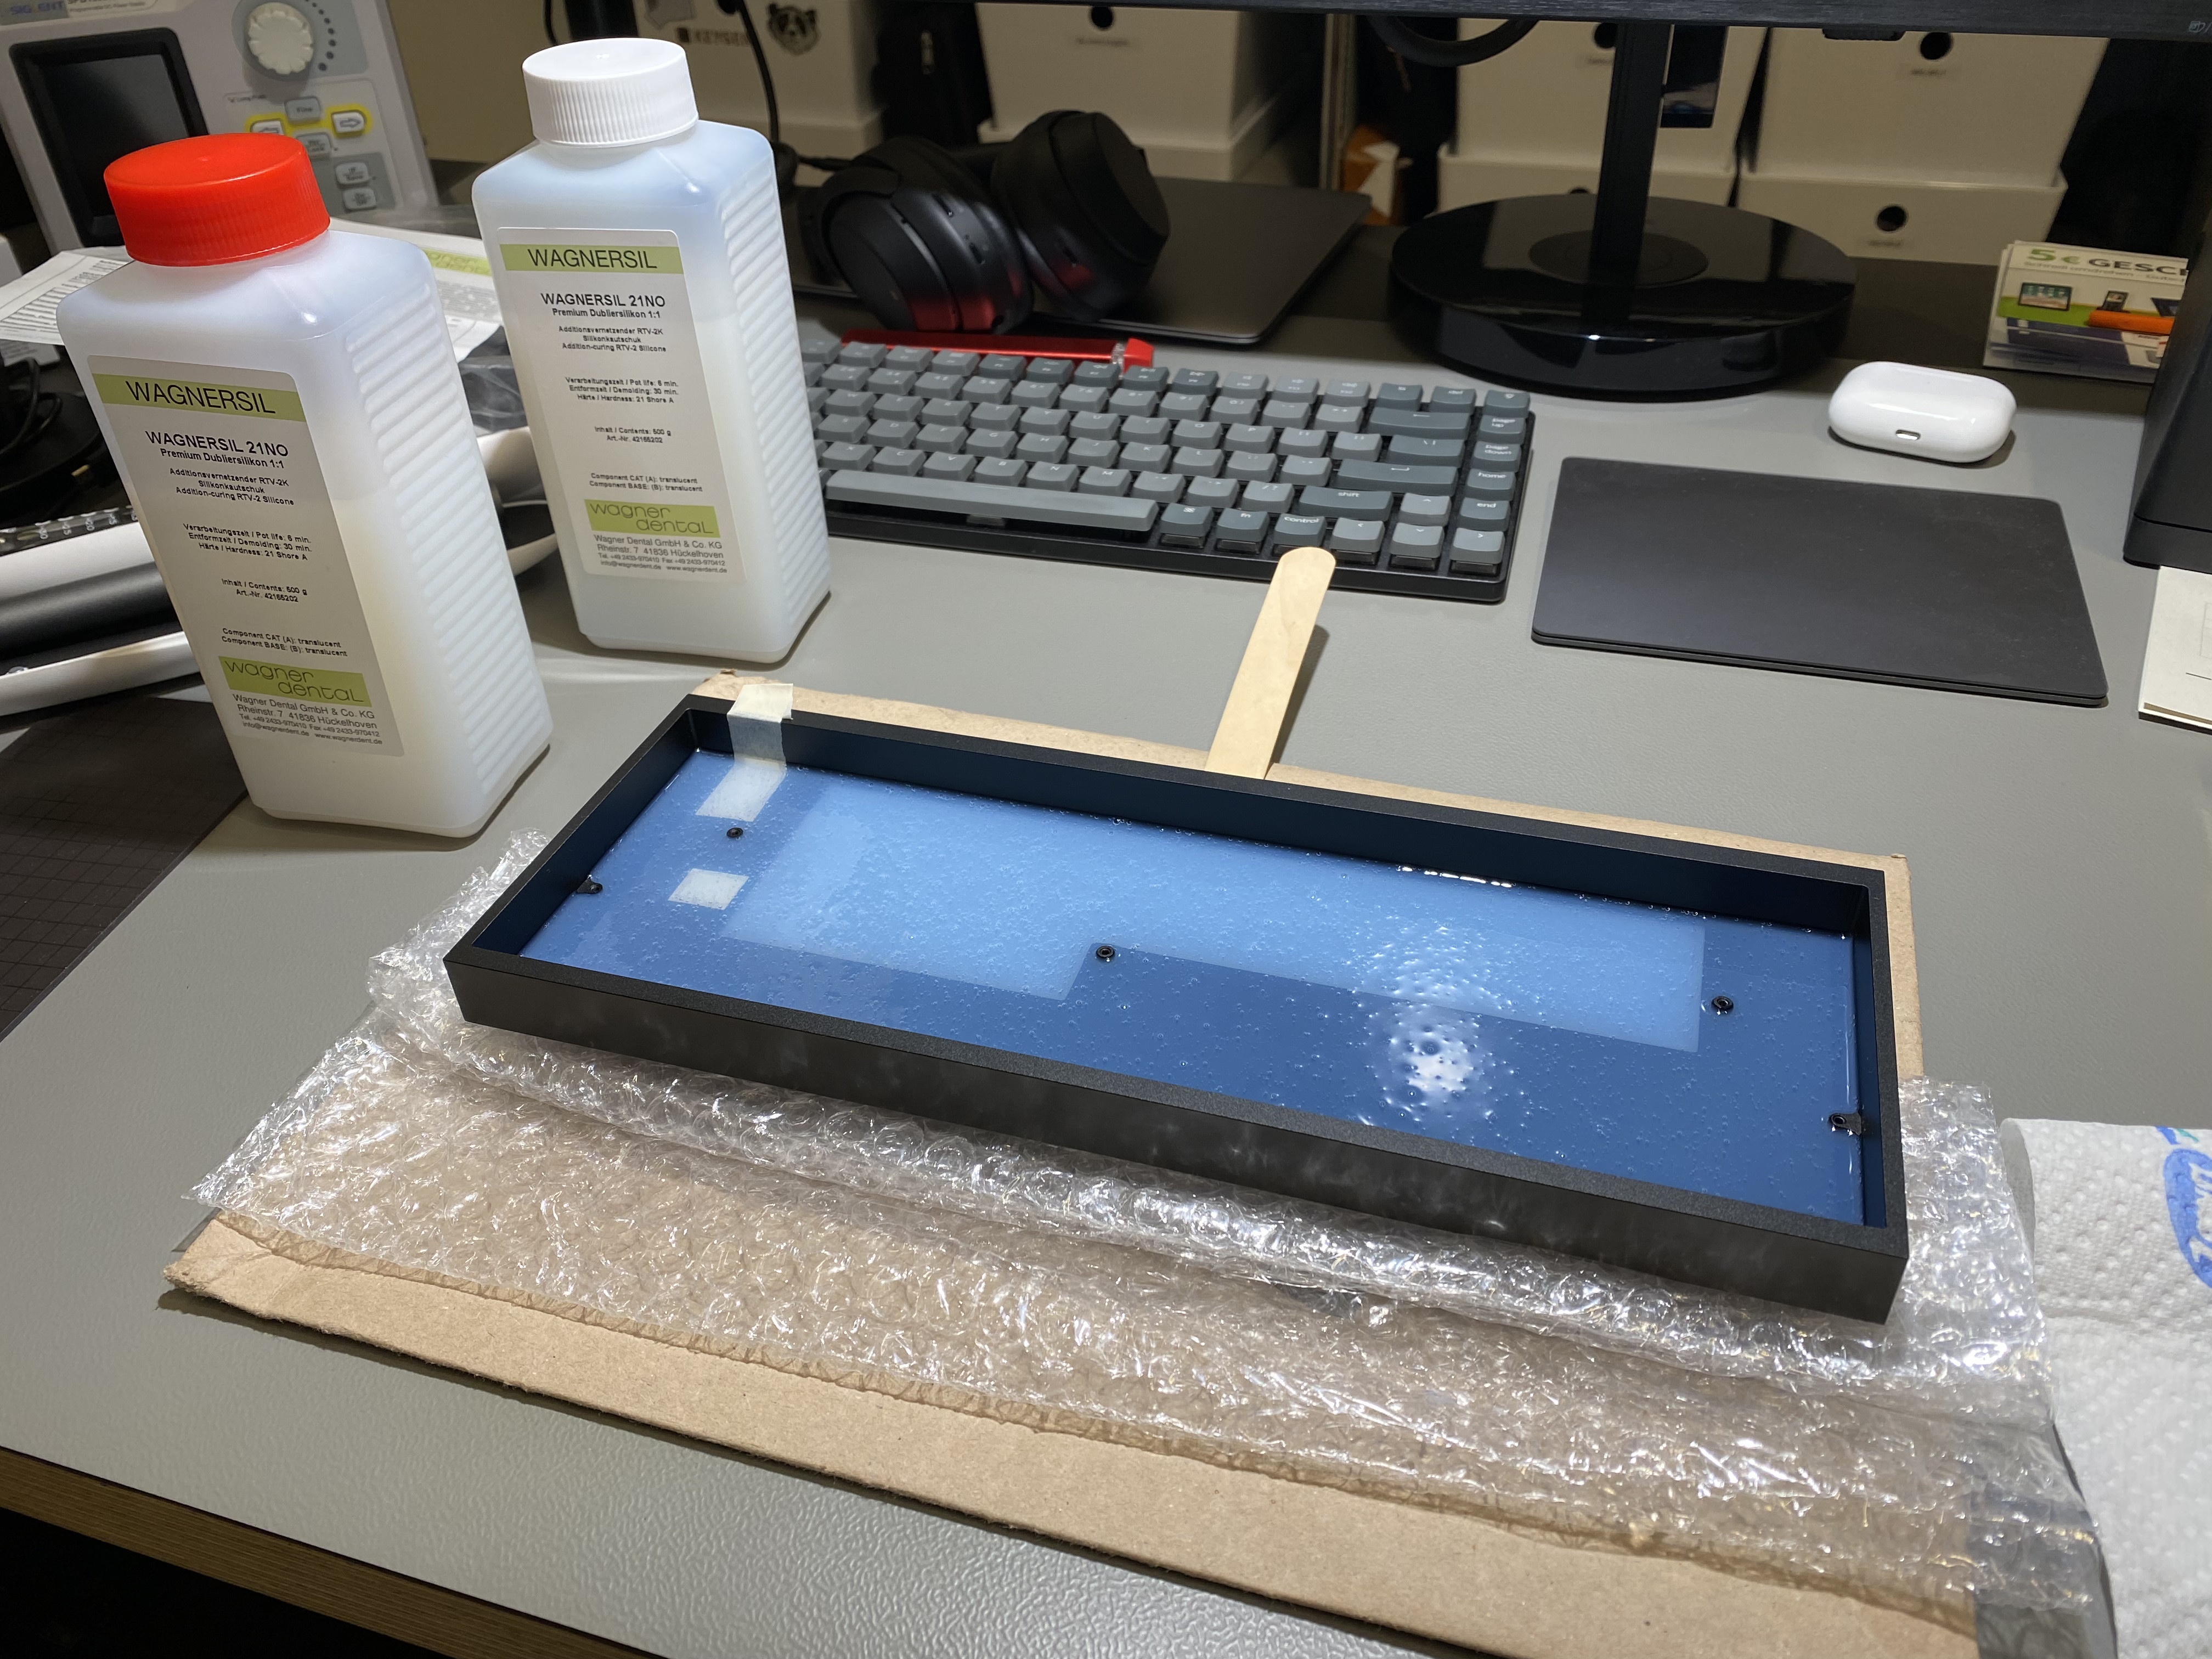

I haven’t seen anyone use dental silicon before. At least you know it’s food safe.
4 Likes
I can lick it any time I want! 
1 Like
Working on the board podcast switch break in machine. It needs a little more TLC and some sacrificial DSA keycaps. Wired a switch up to the keyboard to see keep track of actuations.
10 Likes
I wanted to try this when I saw the board podcast video, but I don’t really know anything about 3d printing. I may have to hit up a friend.
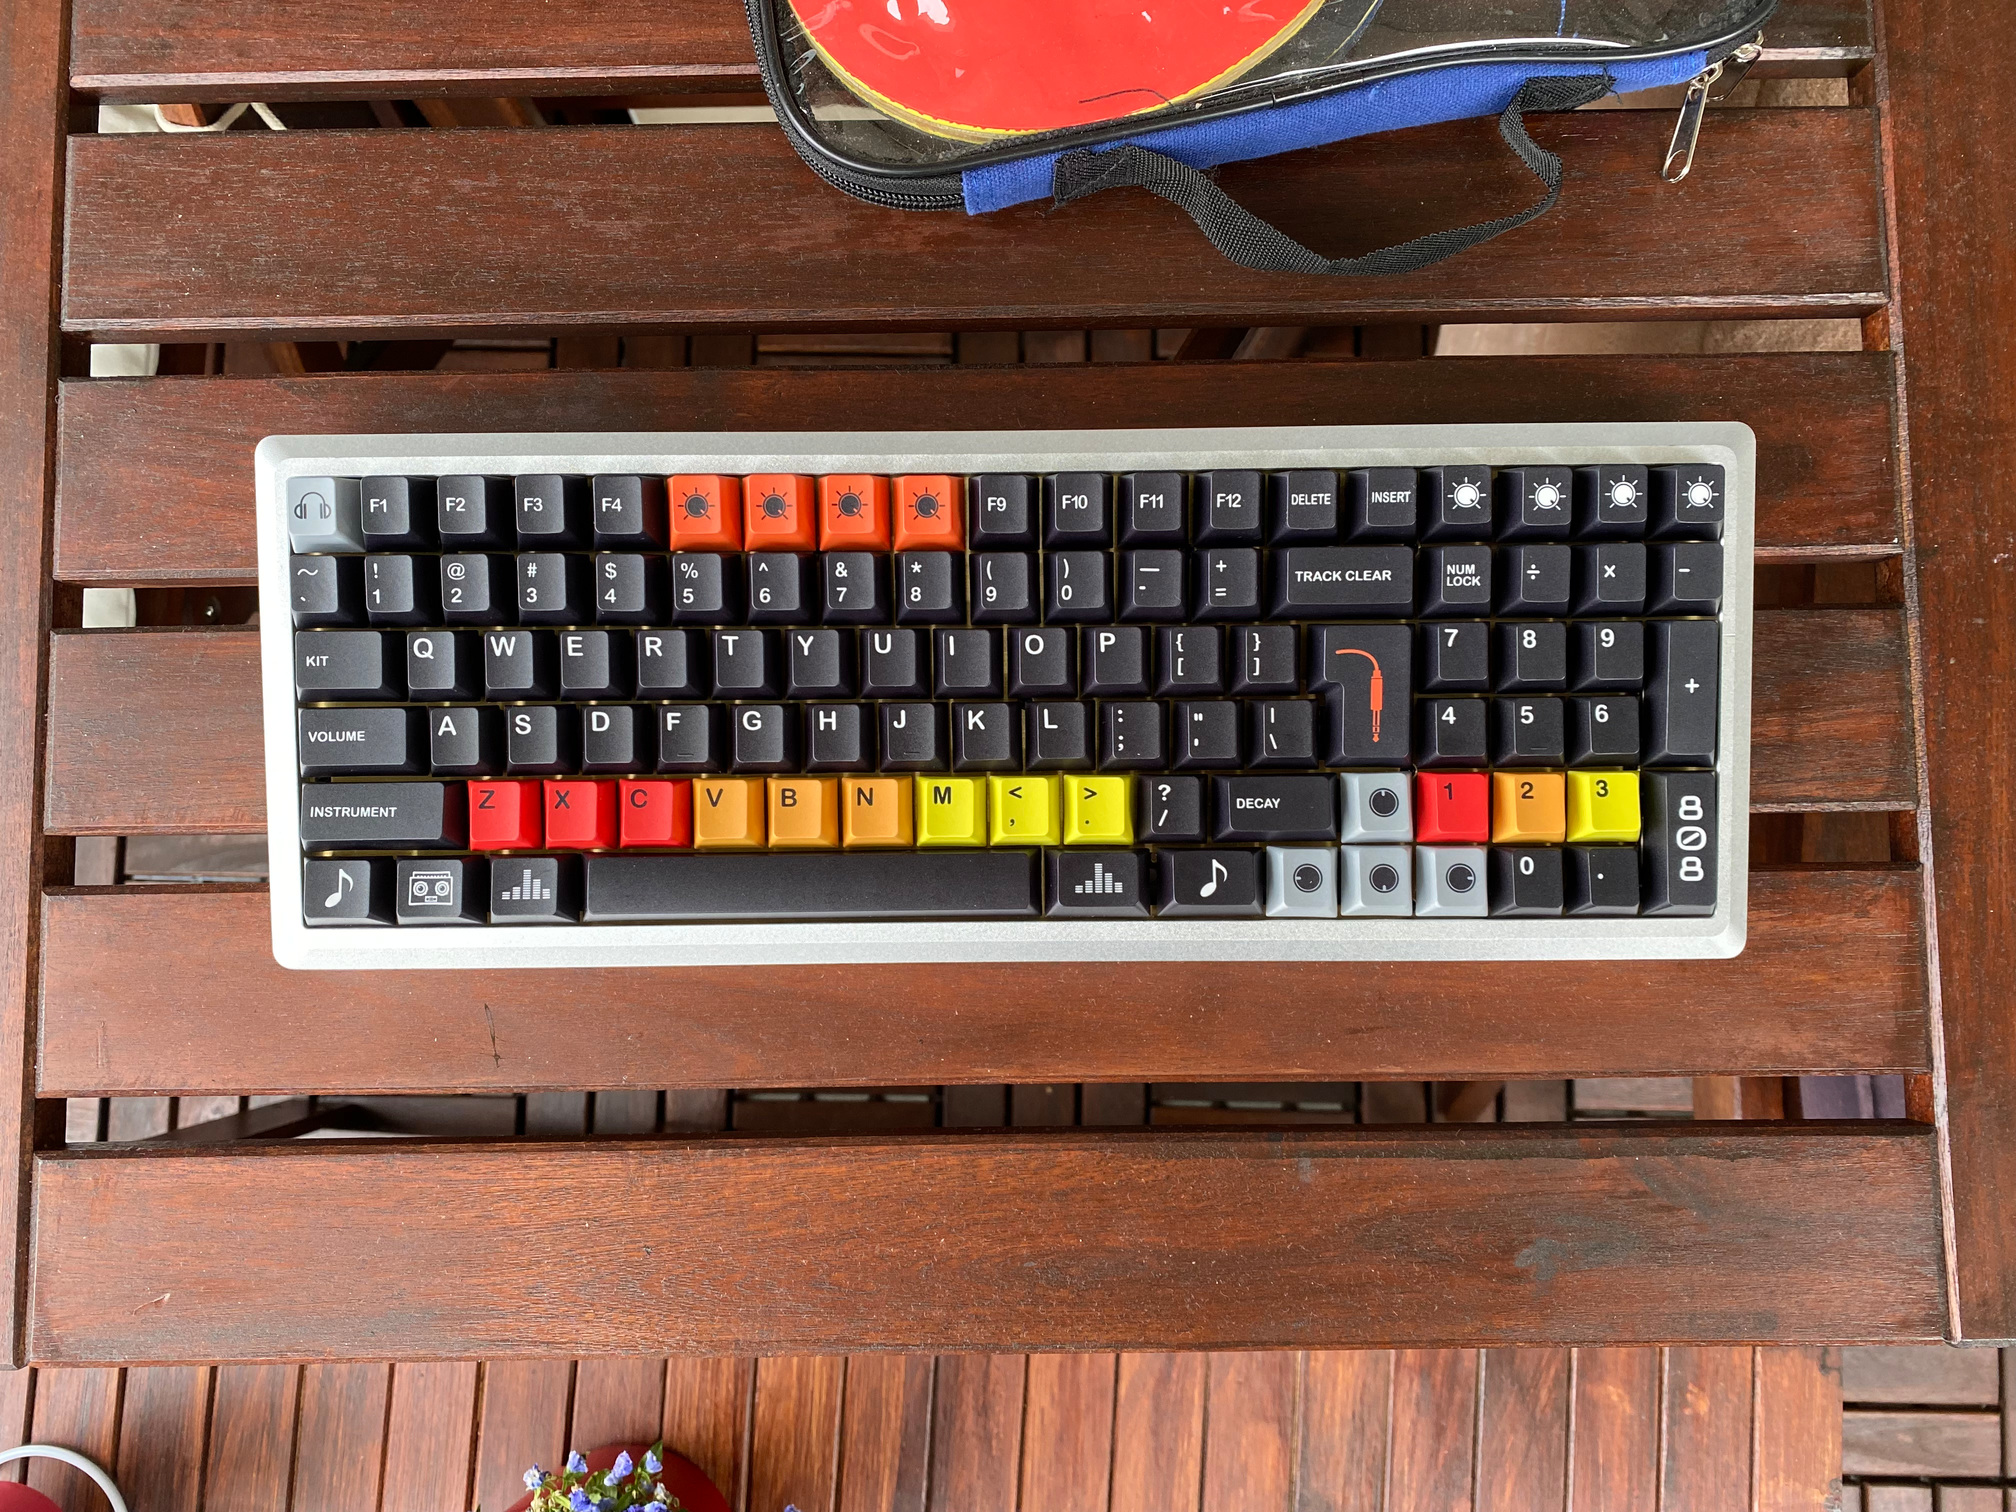
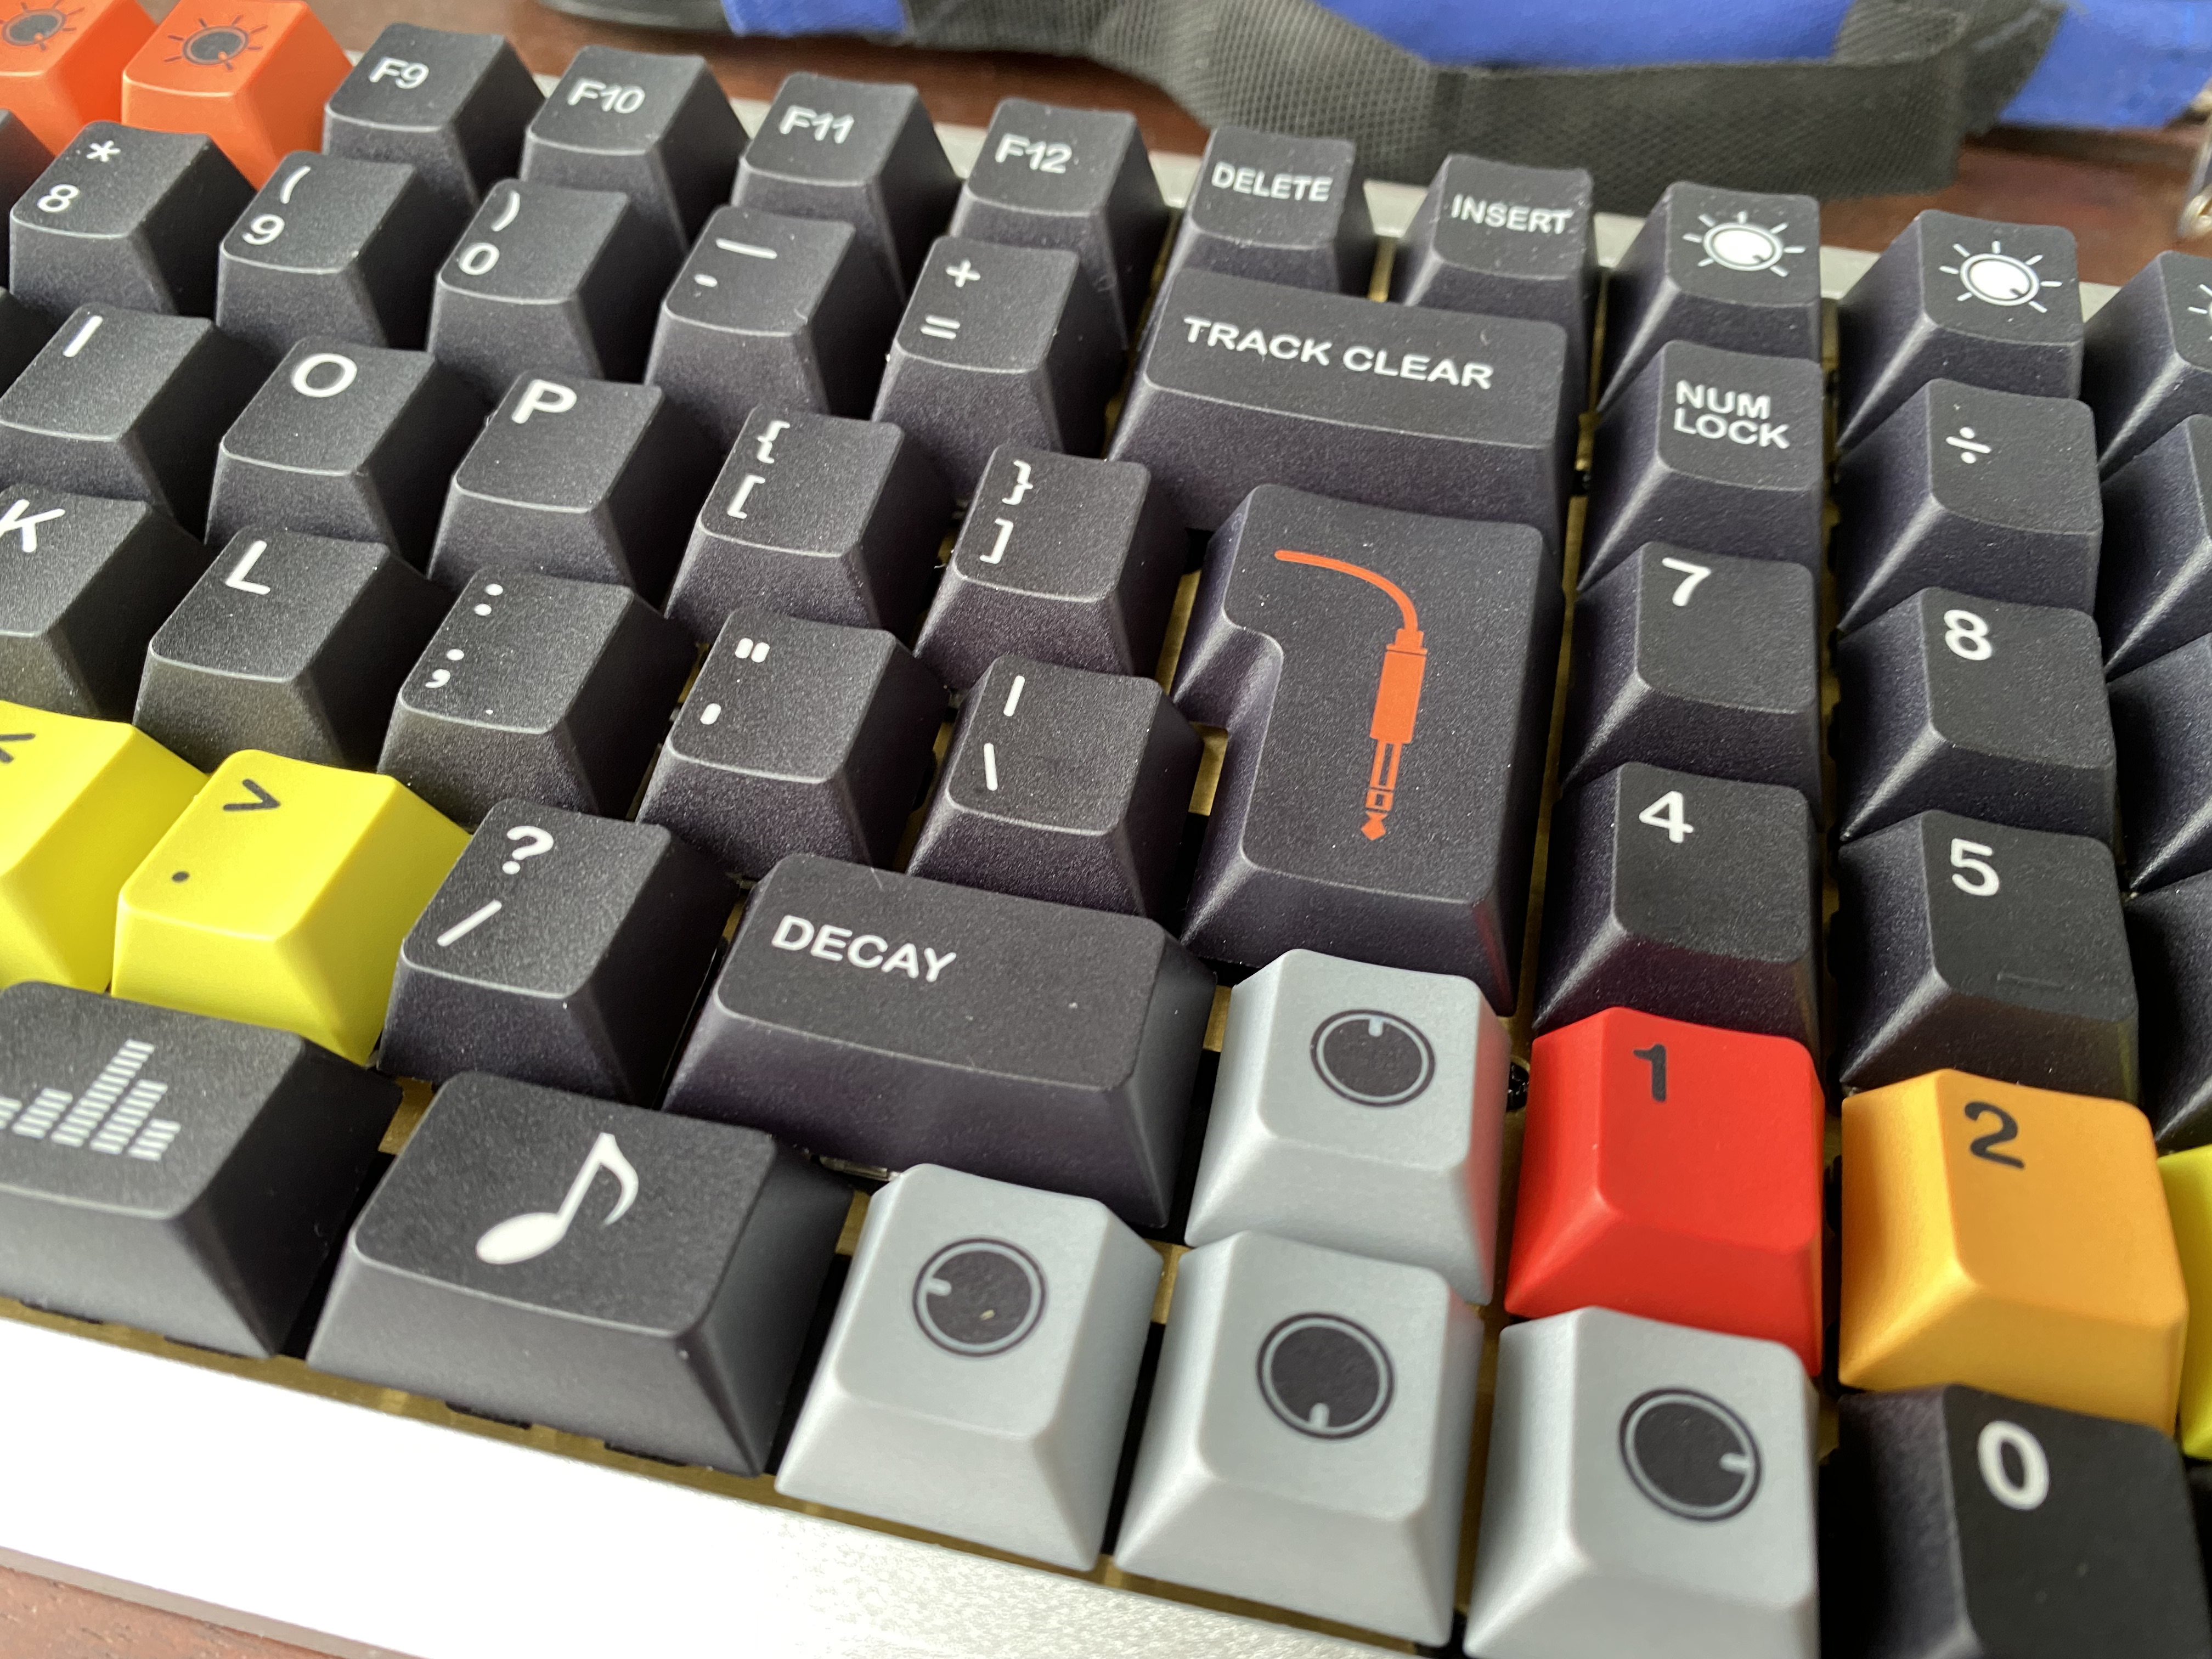
I’ve assembled a quick one - YMDK Melody96 with Infinikey 808-Boom keycaps and Gateron blacks as a present for a friend who is a musician.
9 Likes
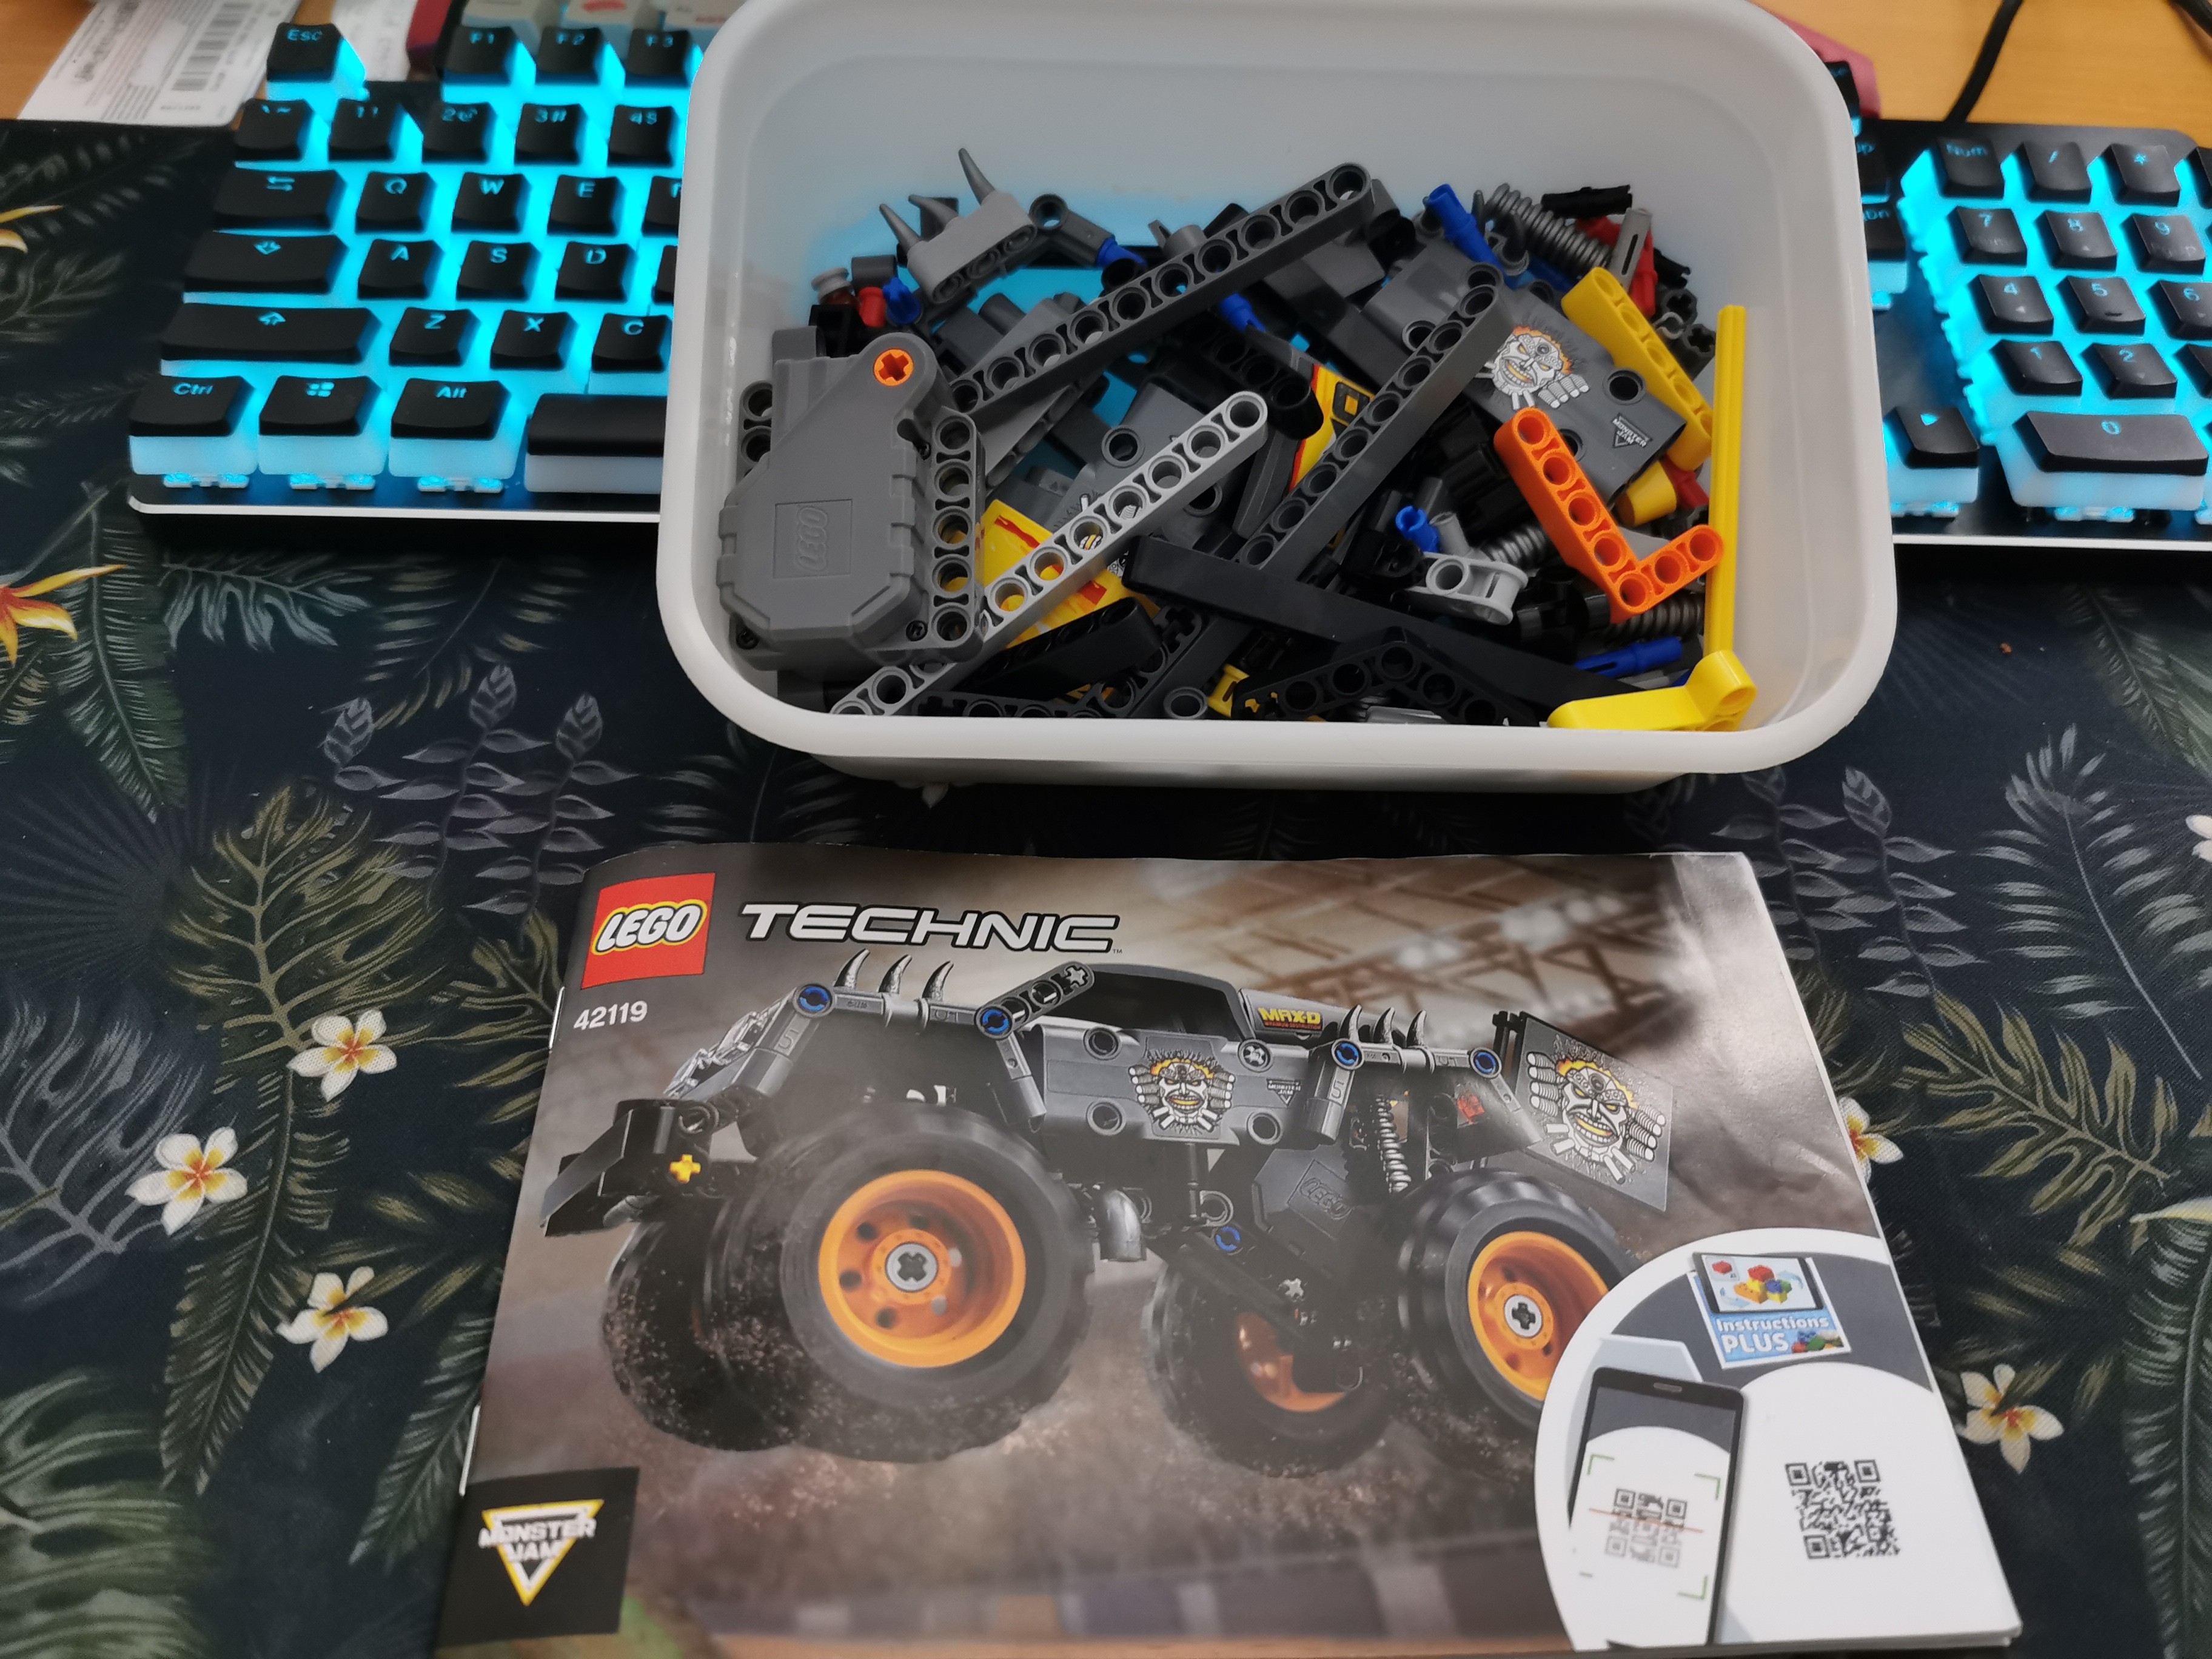
That little motor is not up to the task. It’s loud AF and if it isn’t perfectly balanced with the wheels it gets stuck. I ran it for about 15 min, not continuous, yesterday and 3 min today it’s just off. I think it ended up being about 5000 actuations.
It looks like me keebs used a 3d printer machine rod to control his. But that would mean I need to remodel the parts. Alternatively I need to find a bigger motor but still compatible with an m4 shaft or some kind of coupler.
@fatalruin this was my first 3d printed anything. I used the existing model and TreatStock. It came out ok. I had to drill it out for the motor to fix which was more difficult then I expected because parts of it were hollow and the PLA plastic kind of doesn’t like to be messed with by power tools.
1 Like
Motor upgrade!
20 Likes
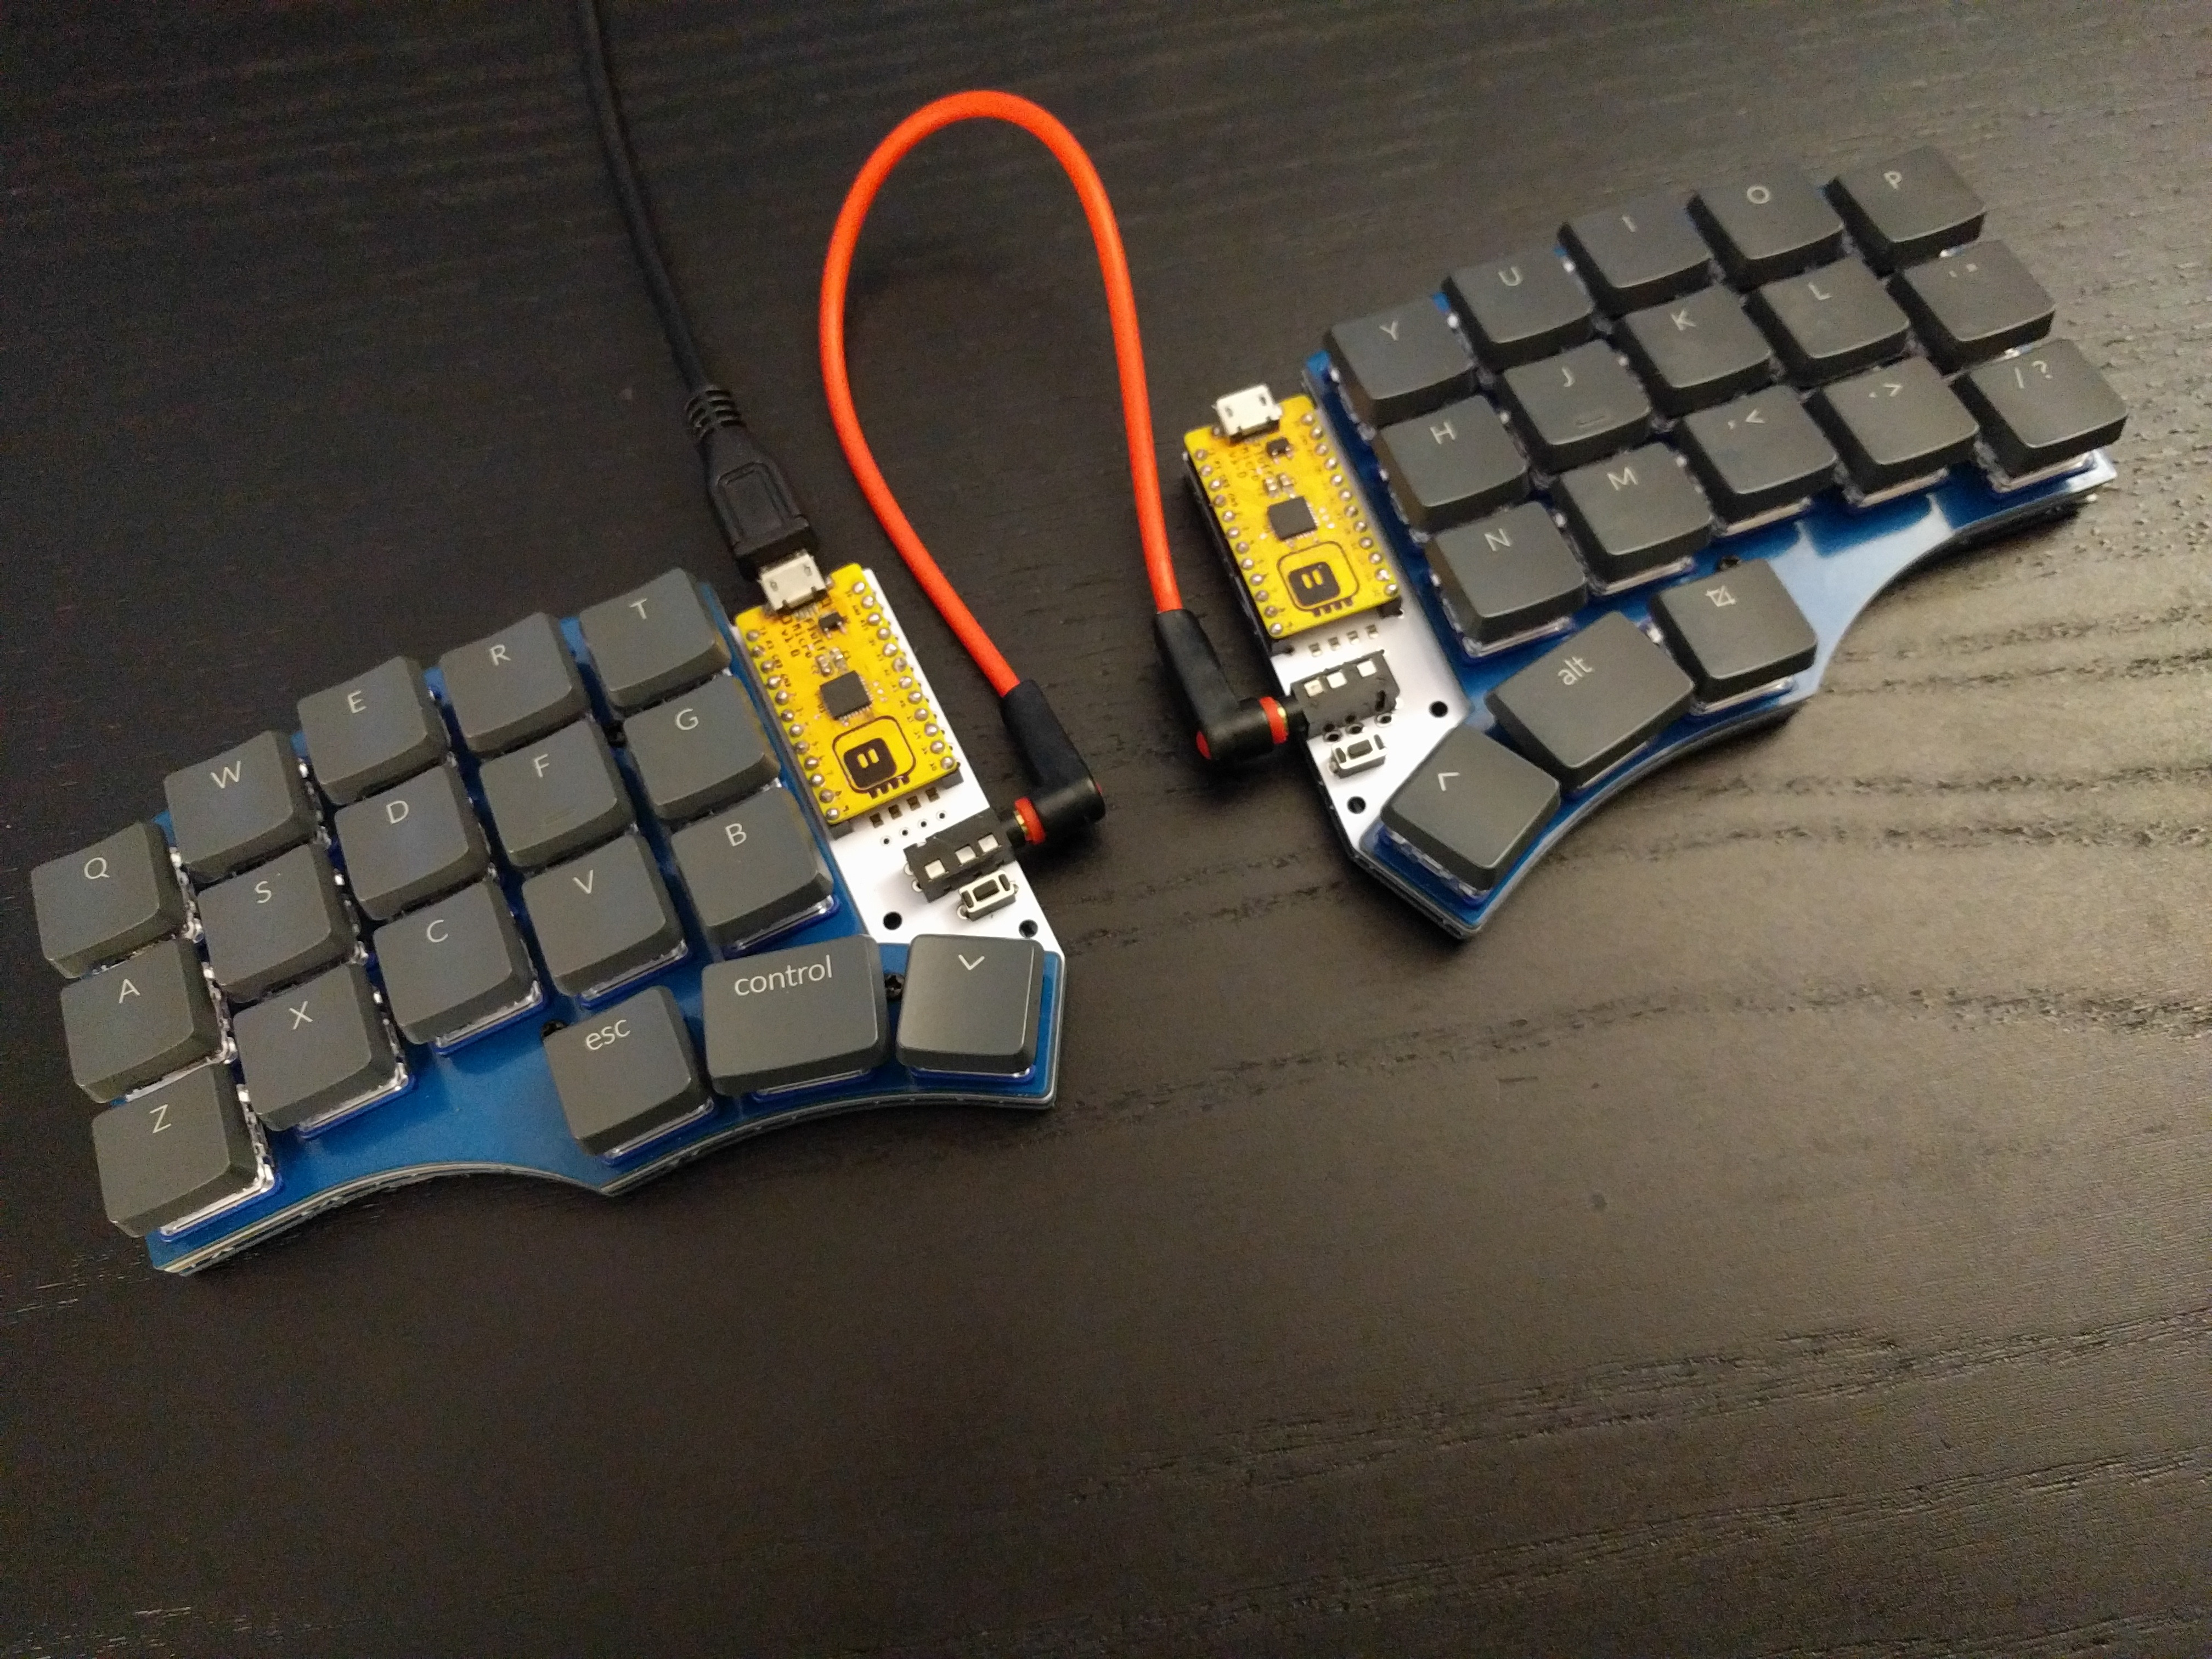
And the finished keyboard (Chocolad, by @jmnw). I had to bodge the TRRS cable on one side to connect it to TX instead of RX, and I put all the diodes the wrong way, and had to fix it in software, but otherwise it works great with CircuitPython.
12 Likes
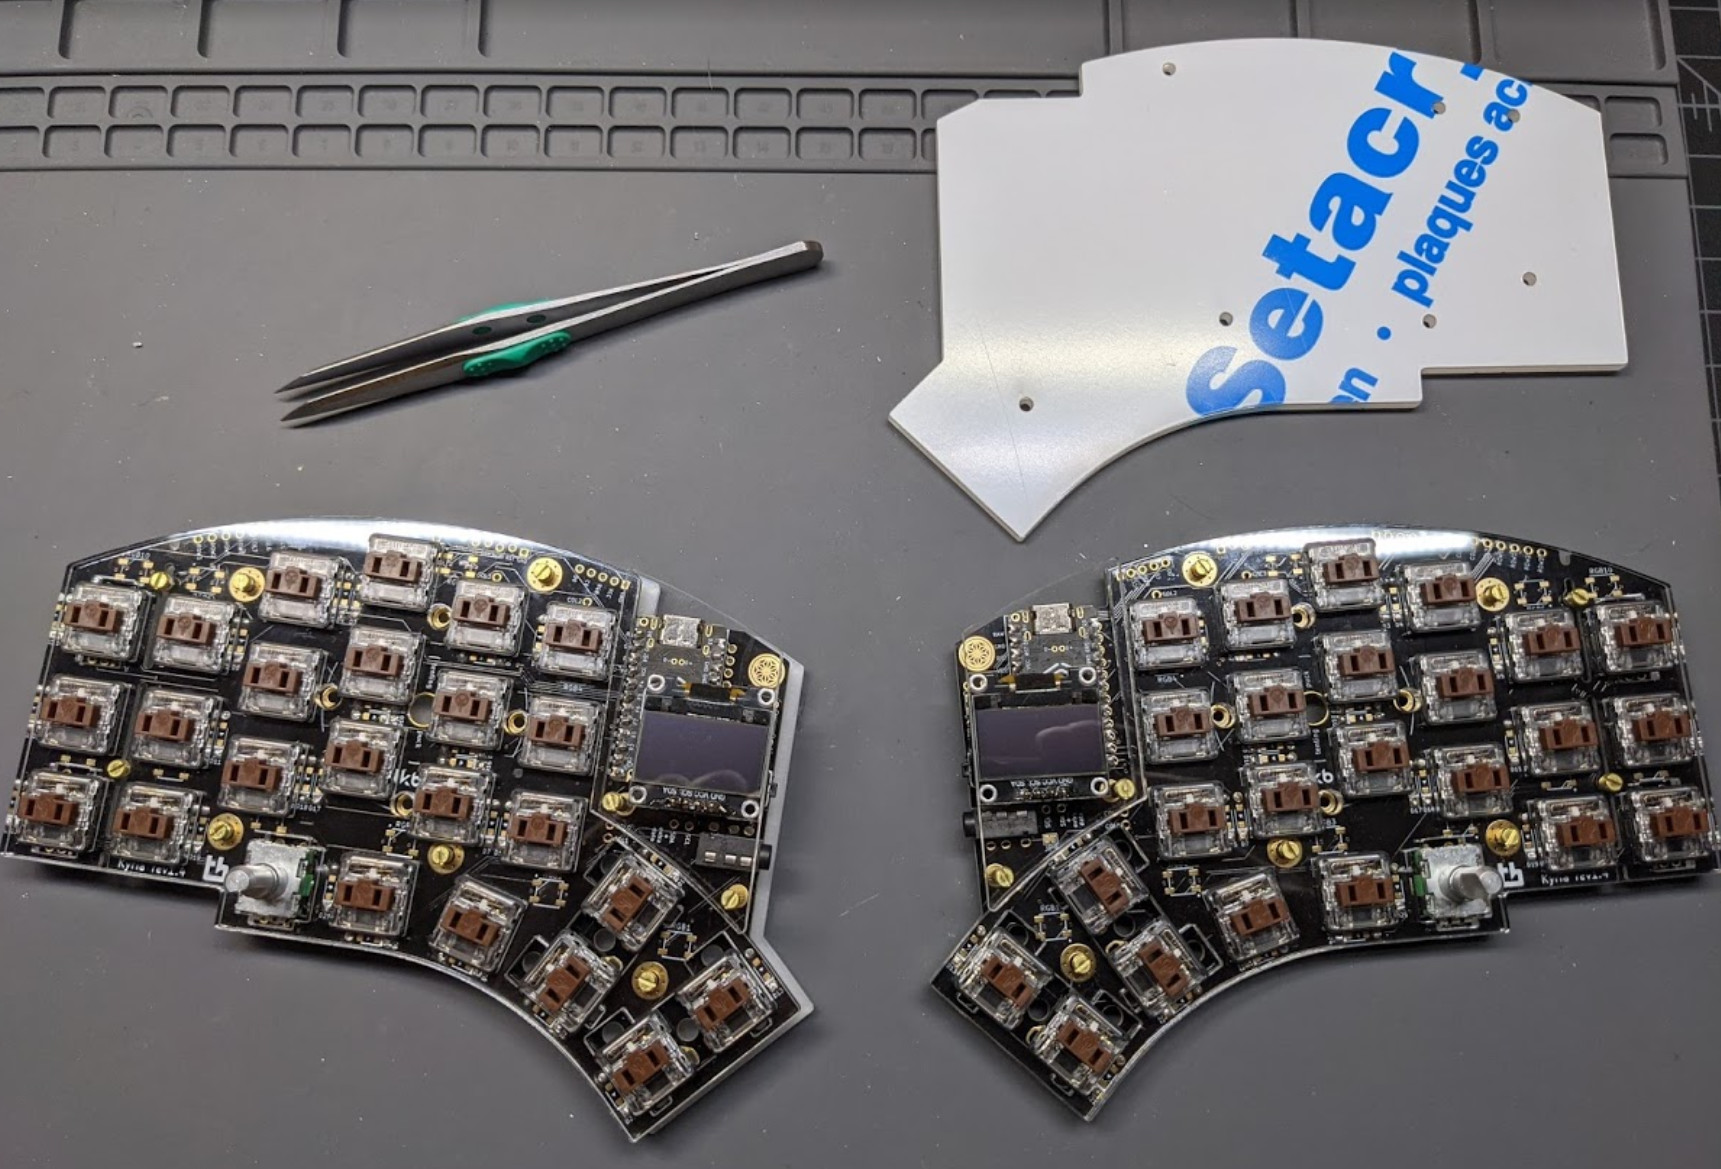
Getting closer, last steps are to design up a high profile, 3D printed case, and apply the keycaps.
Then I need to get working on the Jabberwocky next.
12 Likes
This is bonkers and I love it
5 Likes
WORD. You’re a wicked genius bud. Glad you’re on our team.
2 Likes

Drilling holes into a plate for my first keyboard build. It was super tiring and the holes ended up being too small lmao.
8 Likes
Get yourself a high speed steel drill bit for making holes in metal plates. They are made specifically for drilling into metal, also they cut it much cleaner & faster than regular carbide bits. I also recommend using a center punch to get a good starting point & to keep the drill bit from “walking” away from where you want the hole centered. Drilling metal is much, much easier with those bits & punch mark to start IME.
Edit: Oh yeah almost forgot, since you already have holes drilled in that plate but they are too small you’ll want to use a high speed steel stepped drill bit to enlarge them. That’ll make widening them much easier than trying to use just a bigger straight shank drill bit. Even if it’s a high speed steel one.
5 Likes
Never heard of these before. I’ll definitely be investing in one of these for future projects. Thanks!
2 Likes
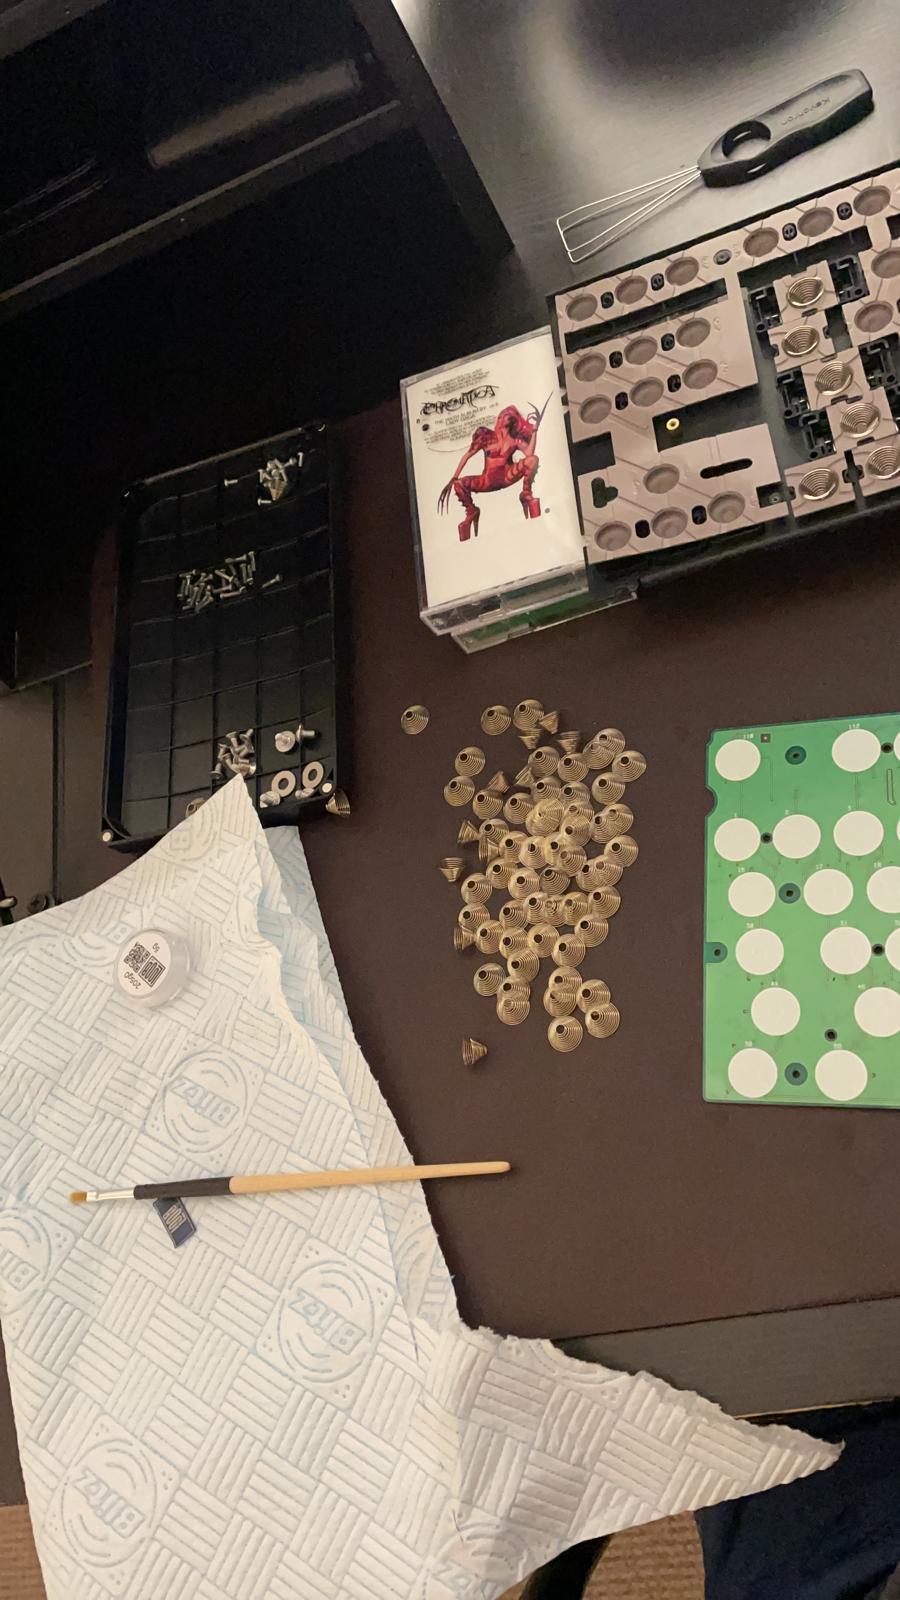
Was working on fixing up a Realforce that came in yesterday with some help from Lady Gaga… there was one key that had a weird resistance to it, and very pronounced spring crunch. Strange.
Imagine my surprise when this was the problem…
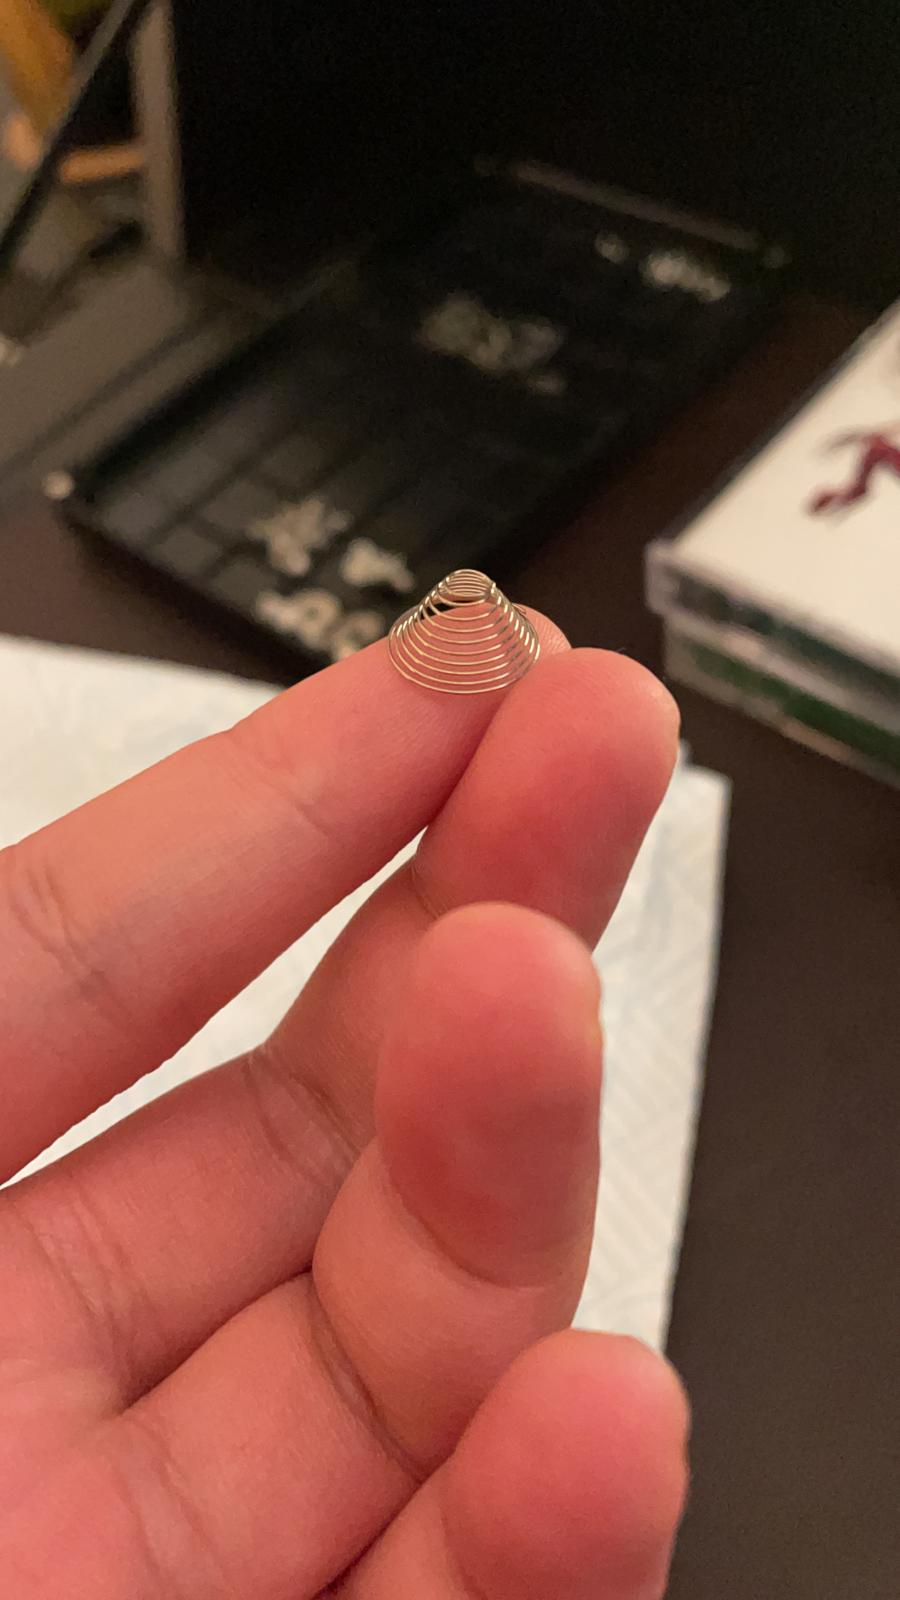
The key had two springs underneath it, combined into a strange frankenspring (pictured, the freed spring)!!! This is straight from Topre since the warranty sticker was still intact when I received the keyboard… What a bizarre conclusion to my Sunday sleuthing!
Or am I just being daft and forgetting some keys really do have two capacitive springs underneath?!
5 Likes
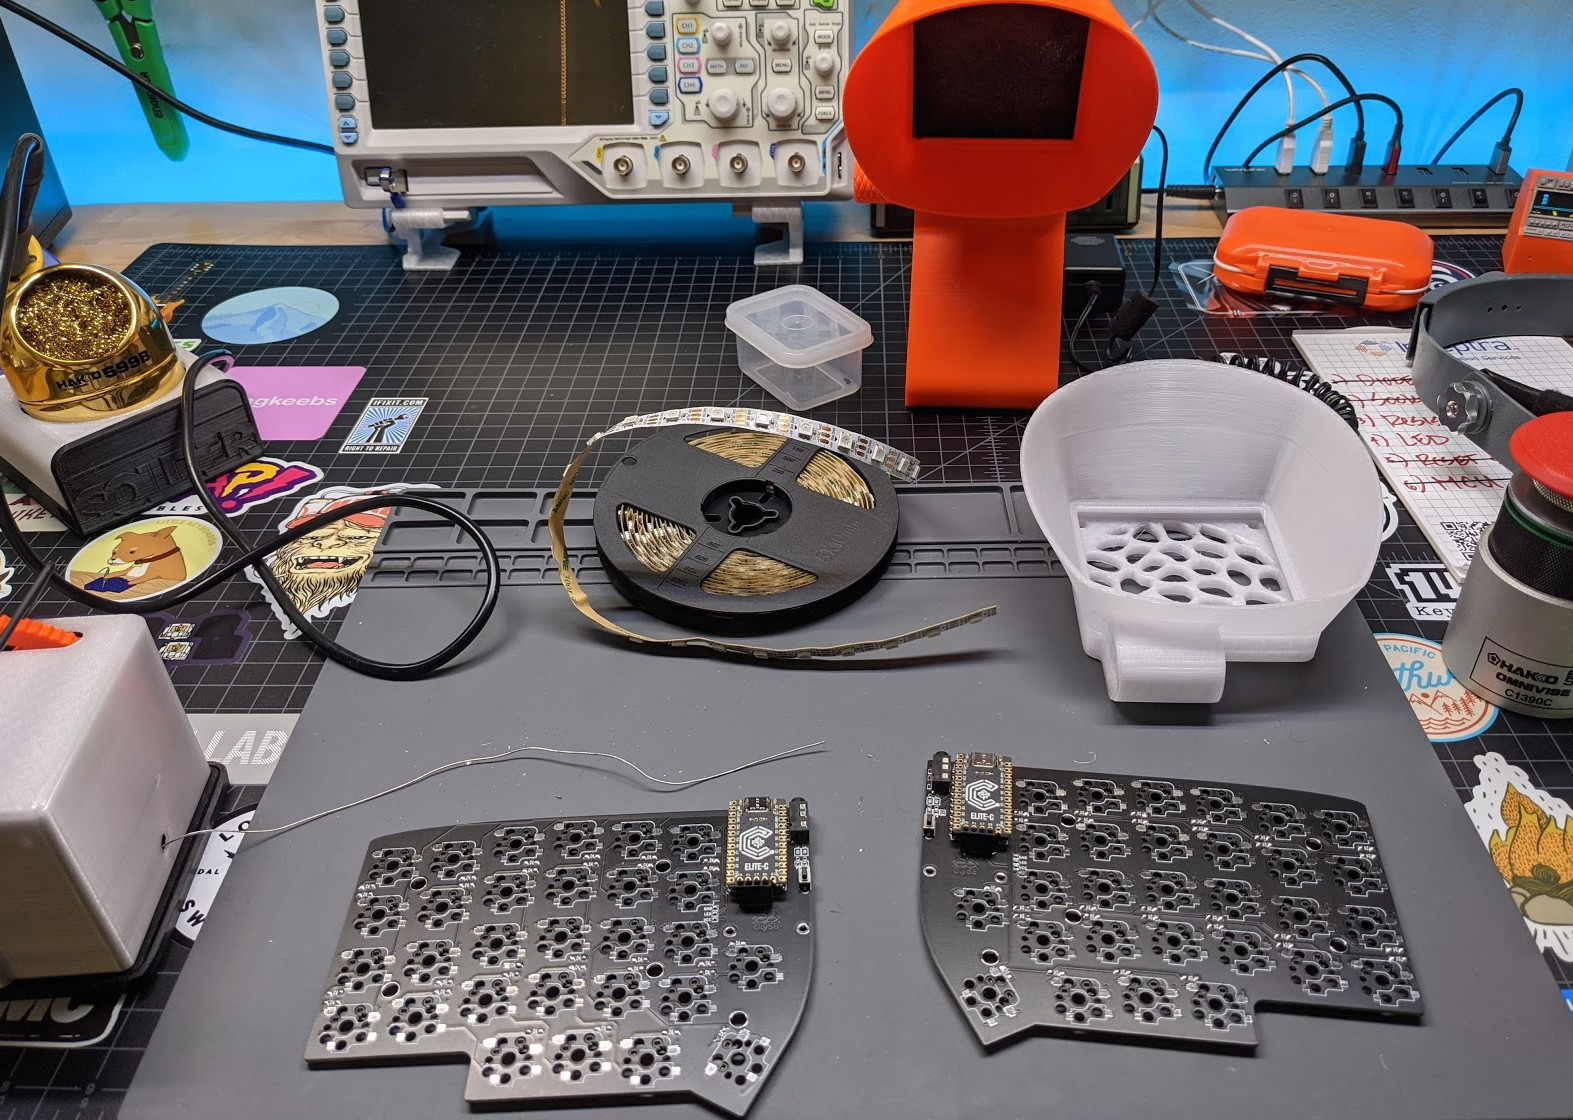
A Lily58Pro in progress having to re-solder the pins on the Elite-C’s since I can never get the orientation on these correct. Going to add some excessive RGB under-lighting too, because why not?
Also printed a new clear hood for the soldering fan (adding some “lightness”).
3 Likes