Hi everyone!
I’m back with some more mad science.
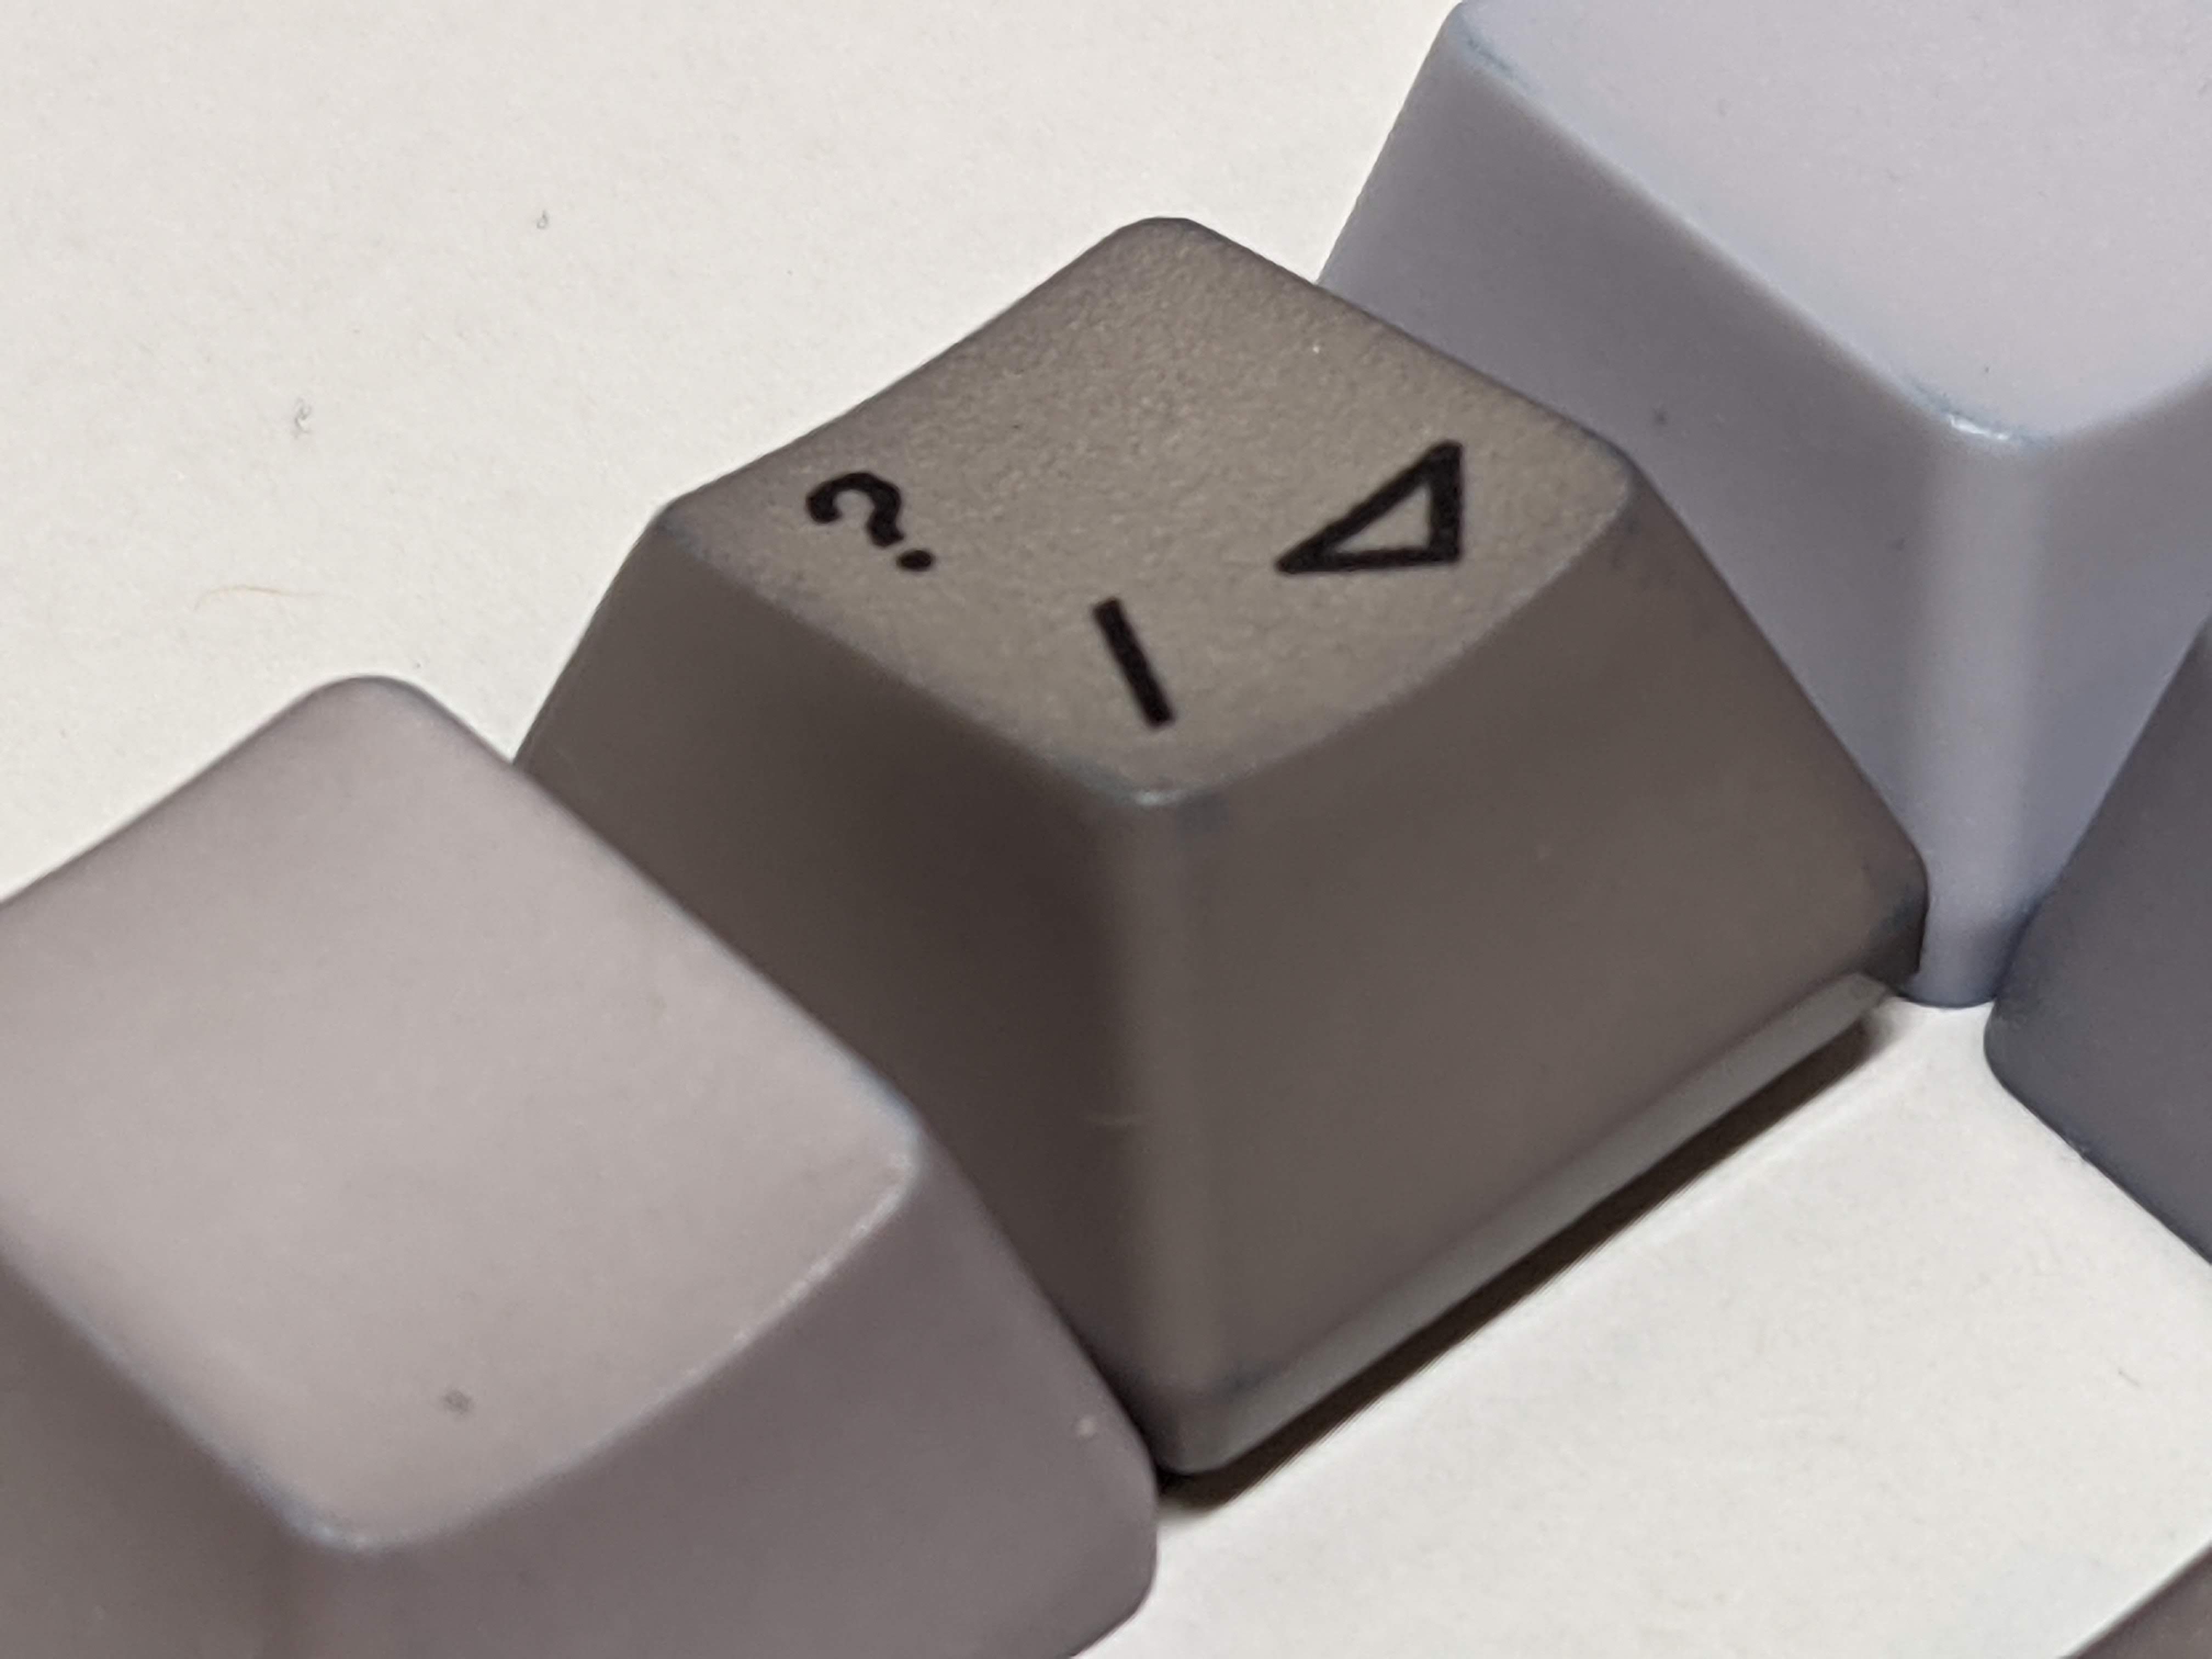
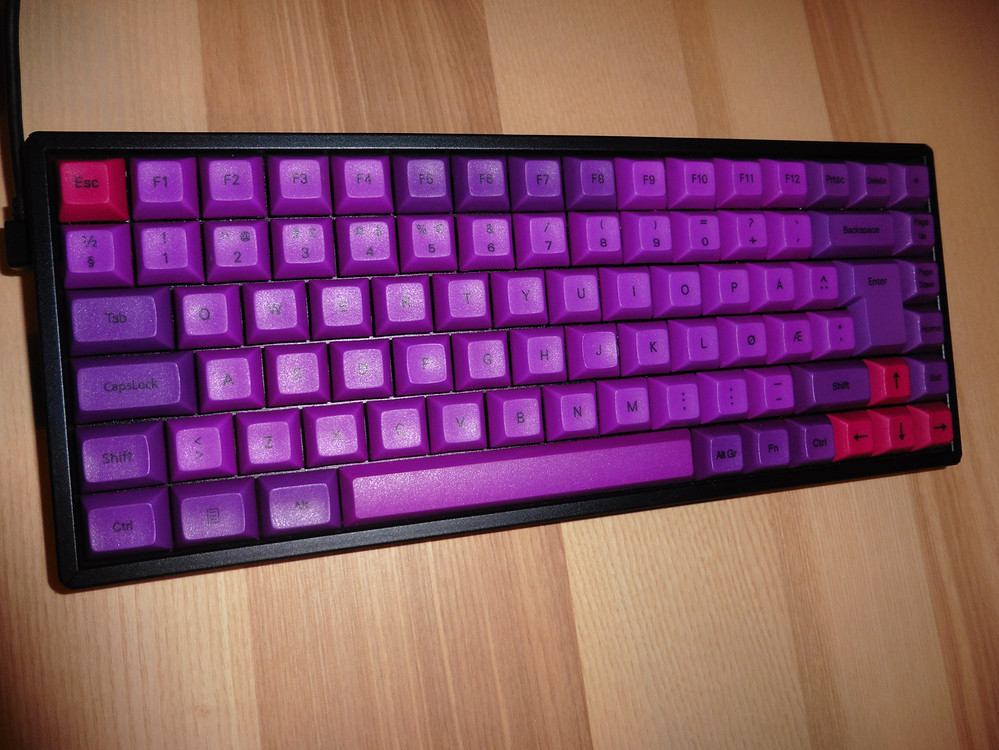
Last year I went down the path of dying keycaps. While Initially I set out to dye a set of BoW EC keycaps for use on a Topre board, I never managed to complete my journey. Still, I feel like there is some valuable information here and I’ve written about it enough that it’s time to give it it’s own post.

Background & Science (Intro):
I wanted to provide links to some background articles I referenced or found helpful. Note that many of these are aged, and their claims that RIT dyes do not work are largely based on the standard RIT line and not the Dyemore line for polyesters that is a more recent release.
Notes on dying Model M PBT - Geekhack
Dying Keycaps - Geekhack
Dying PBT Caps with Dylon - Deskthority
Imgur photo guide
-
PBT (Polybutylene terephthalate) is in the polyester plastic family and can often be dyed with dyes intended for synthetic fabrics.
-
Dying is dependent on concentration, temperature, and time.
-
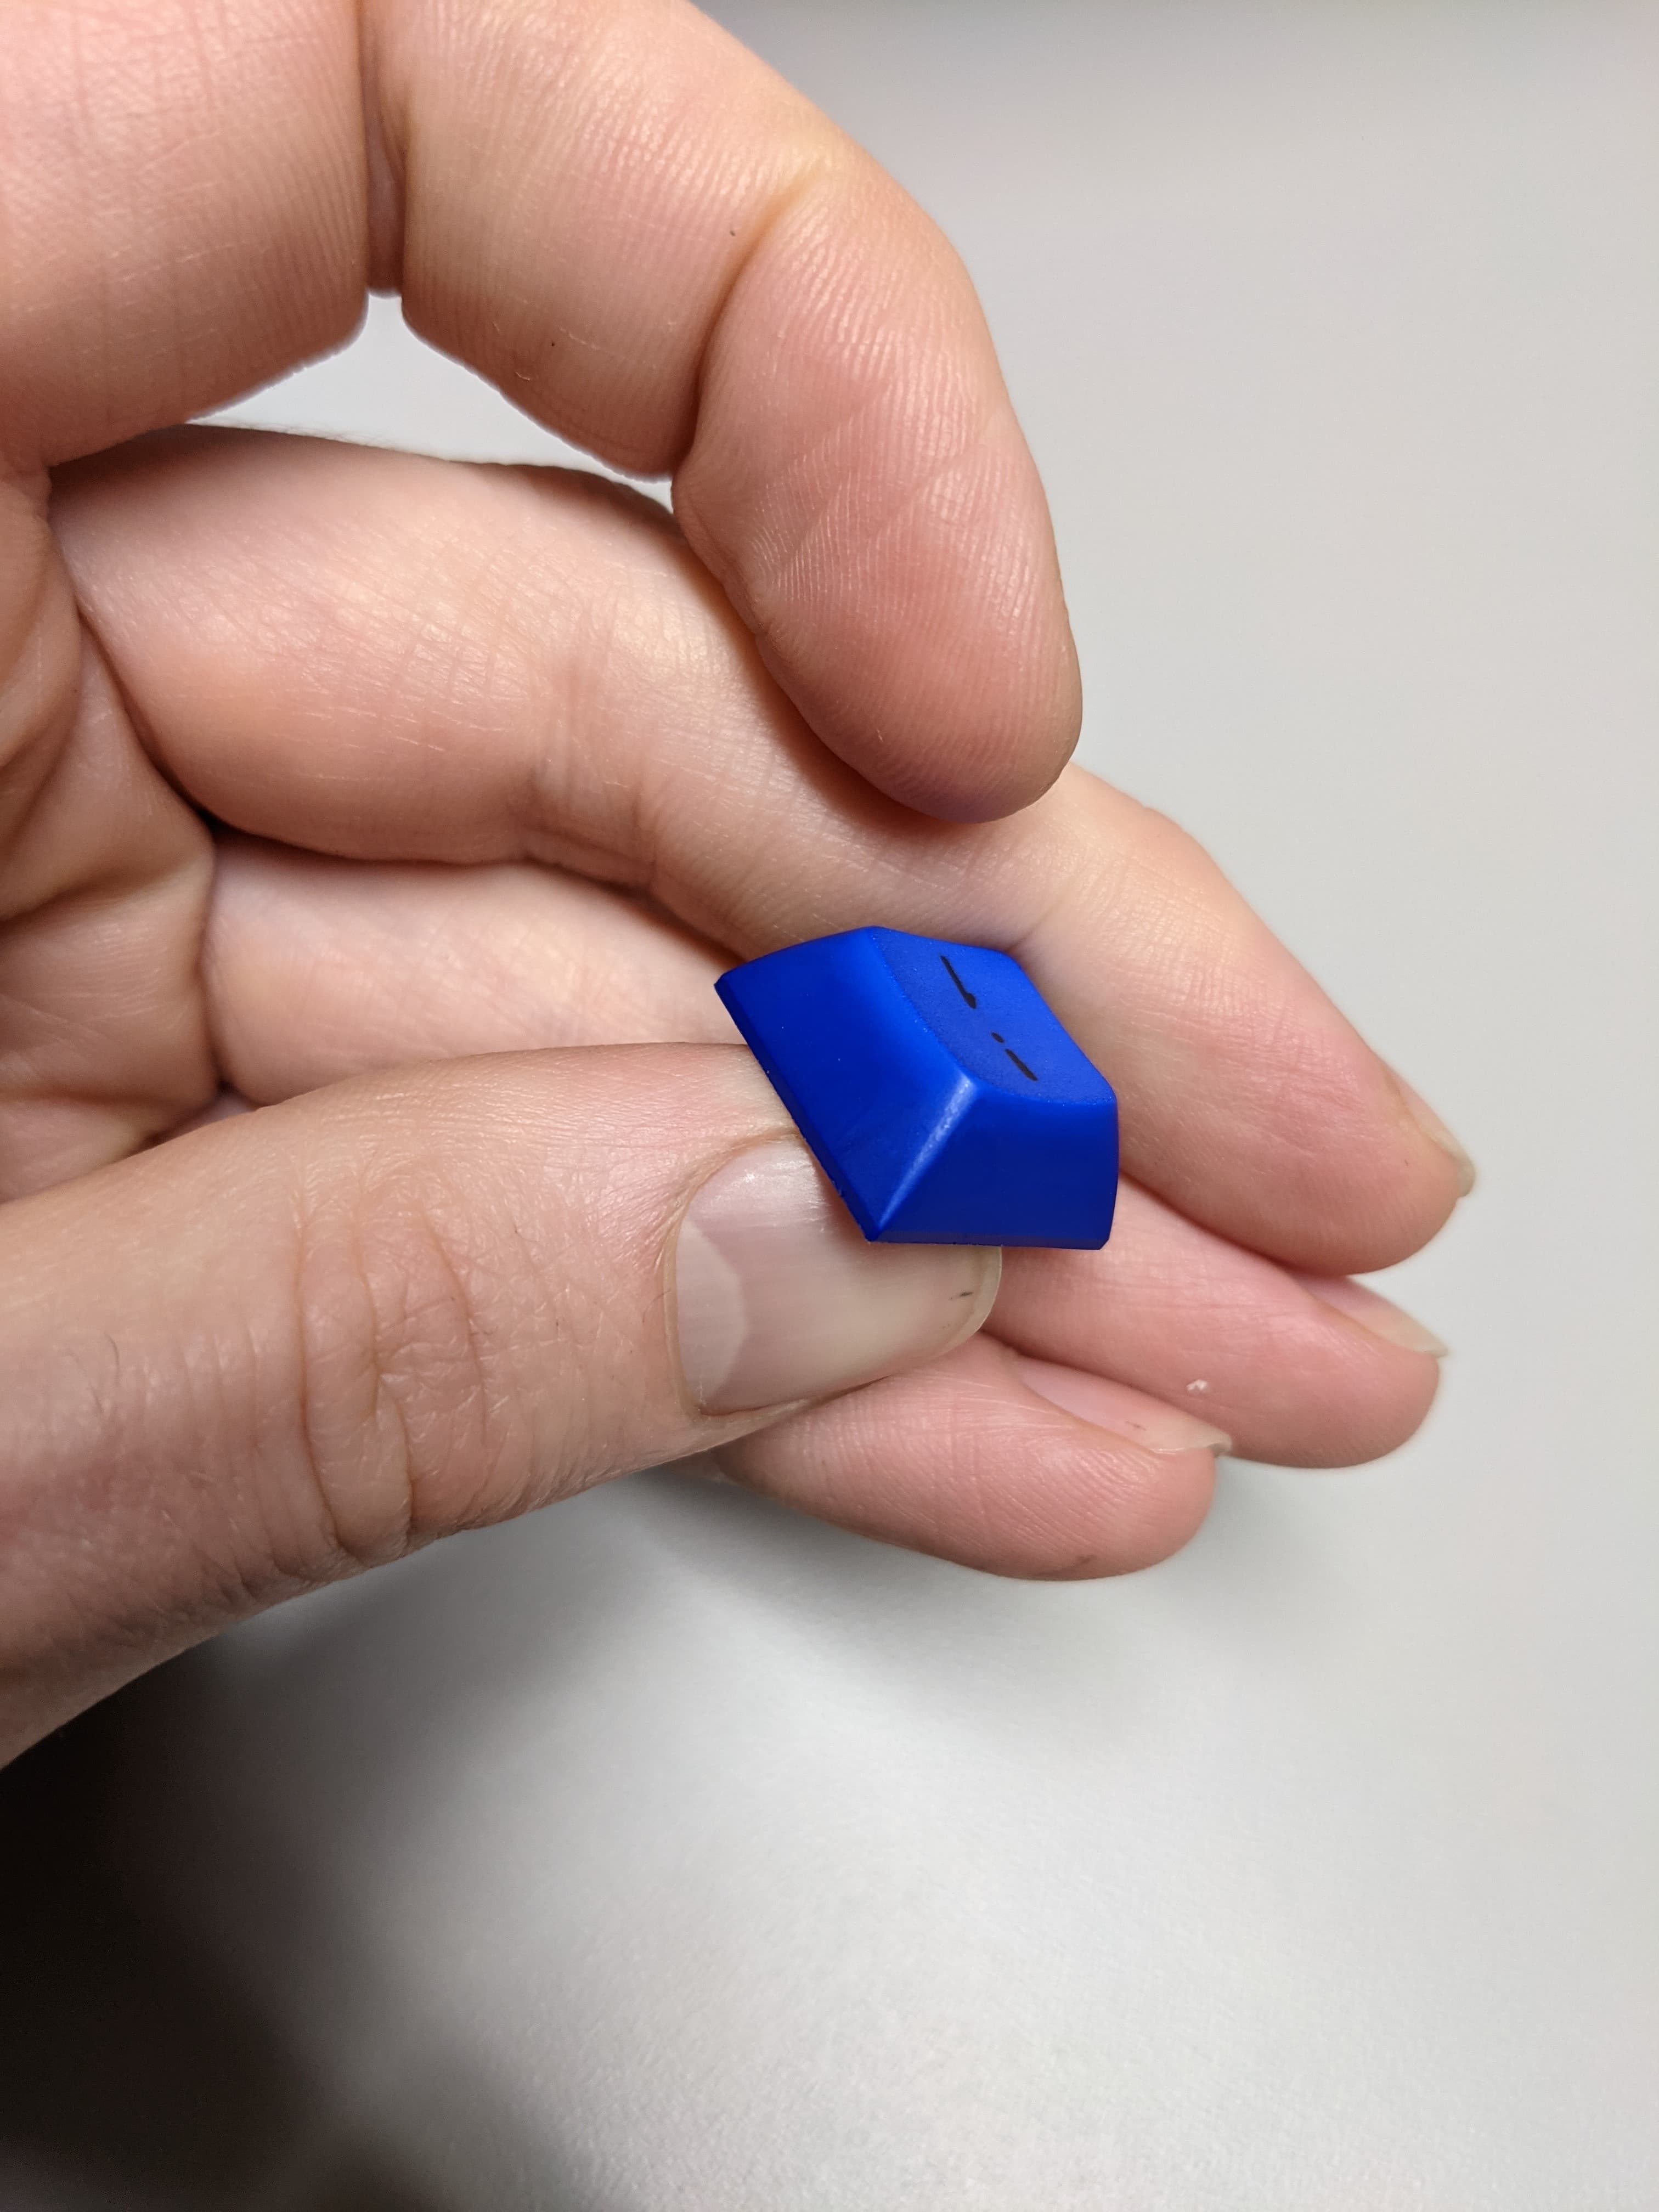
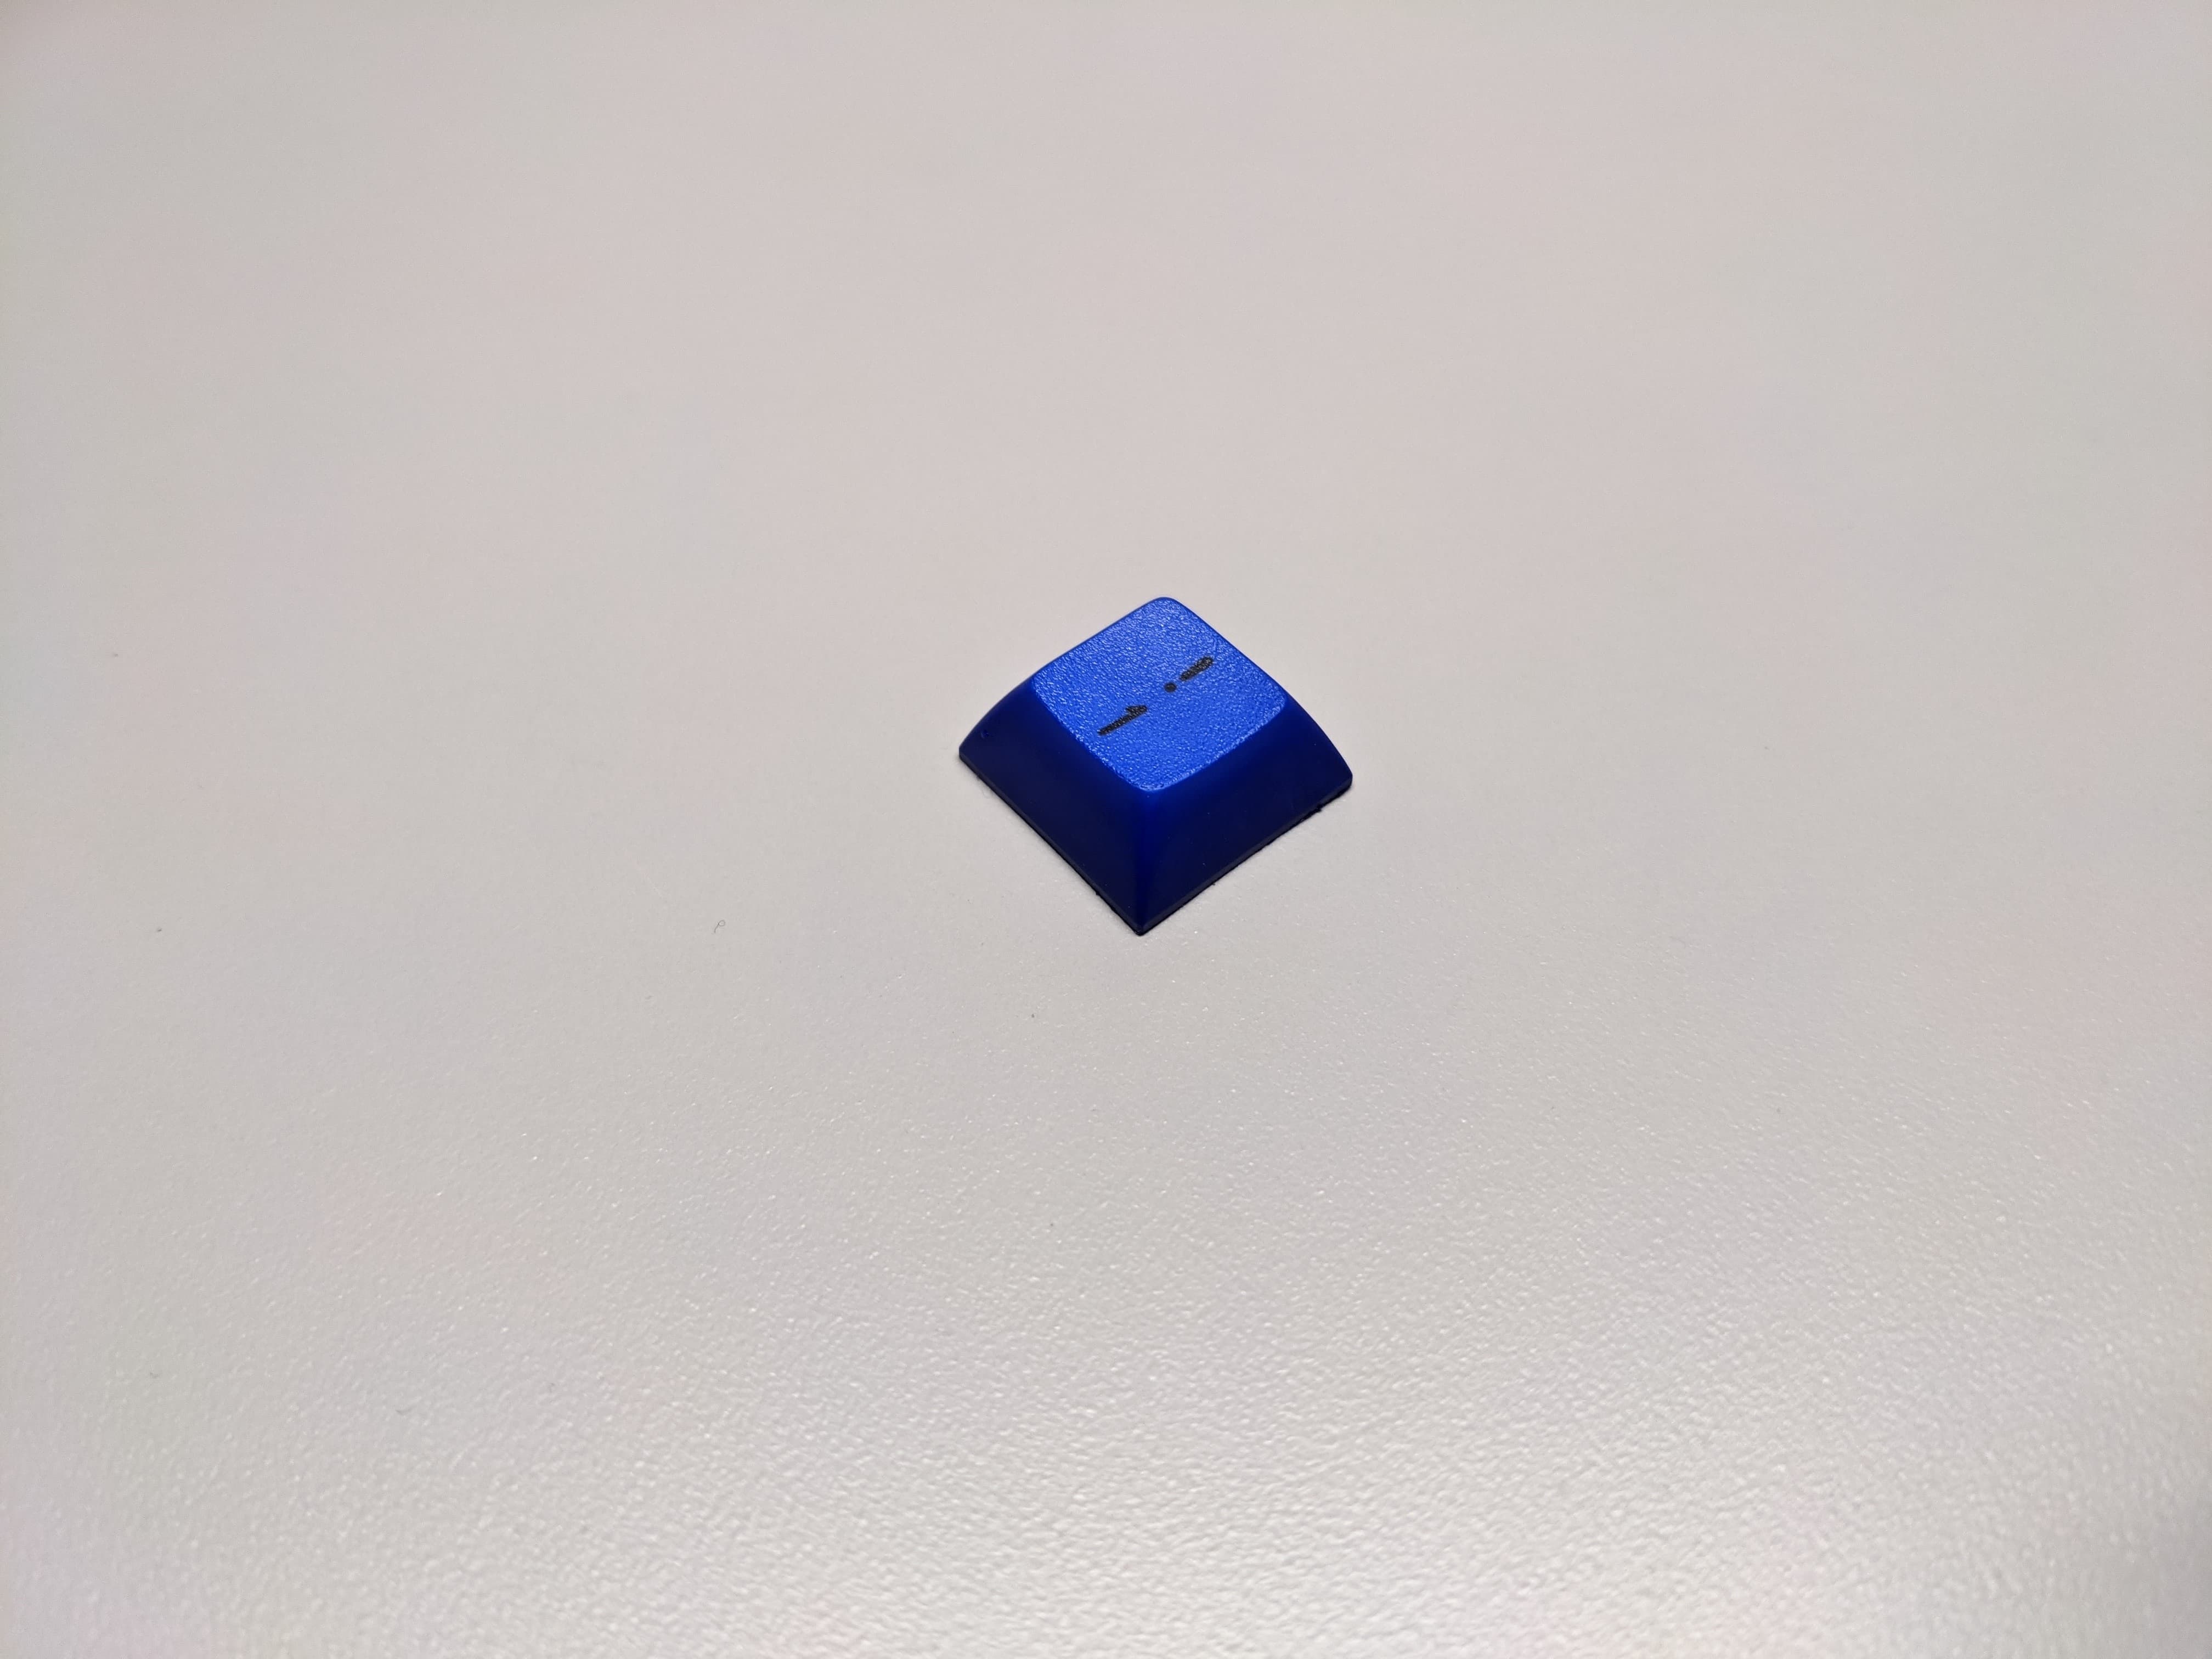
The dye will not rub off with use. Dying PBT physically changes the color of the plastic and will penetrate all the way to the center of the keycap given enough time. I wanted to include a photo I saw of a dyed keycap cut in half for reference; alas, my google fu is failing me.
-
Do I need to say it? Components in these dyes aren’t great for you. I can’t speak to the extent, but I try to:
- Not to stand over the pot breathing it.
- Keep a window open and a fan on.
- Use dedicated vessels and utensils.
- Don’t get it on my skin, in my eyes, or ingest it. Skin contact wont kill you, but I still try to keep my hands clean and / or wear gloves.
Process (Methods):
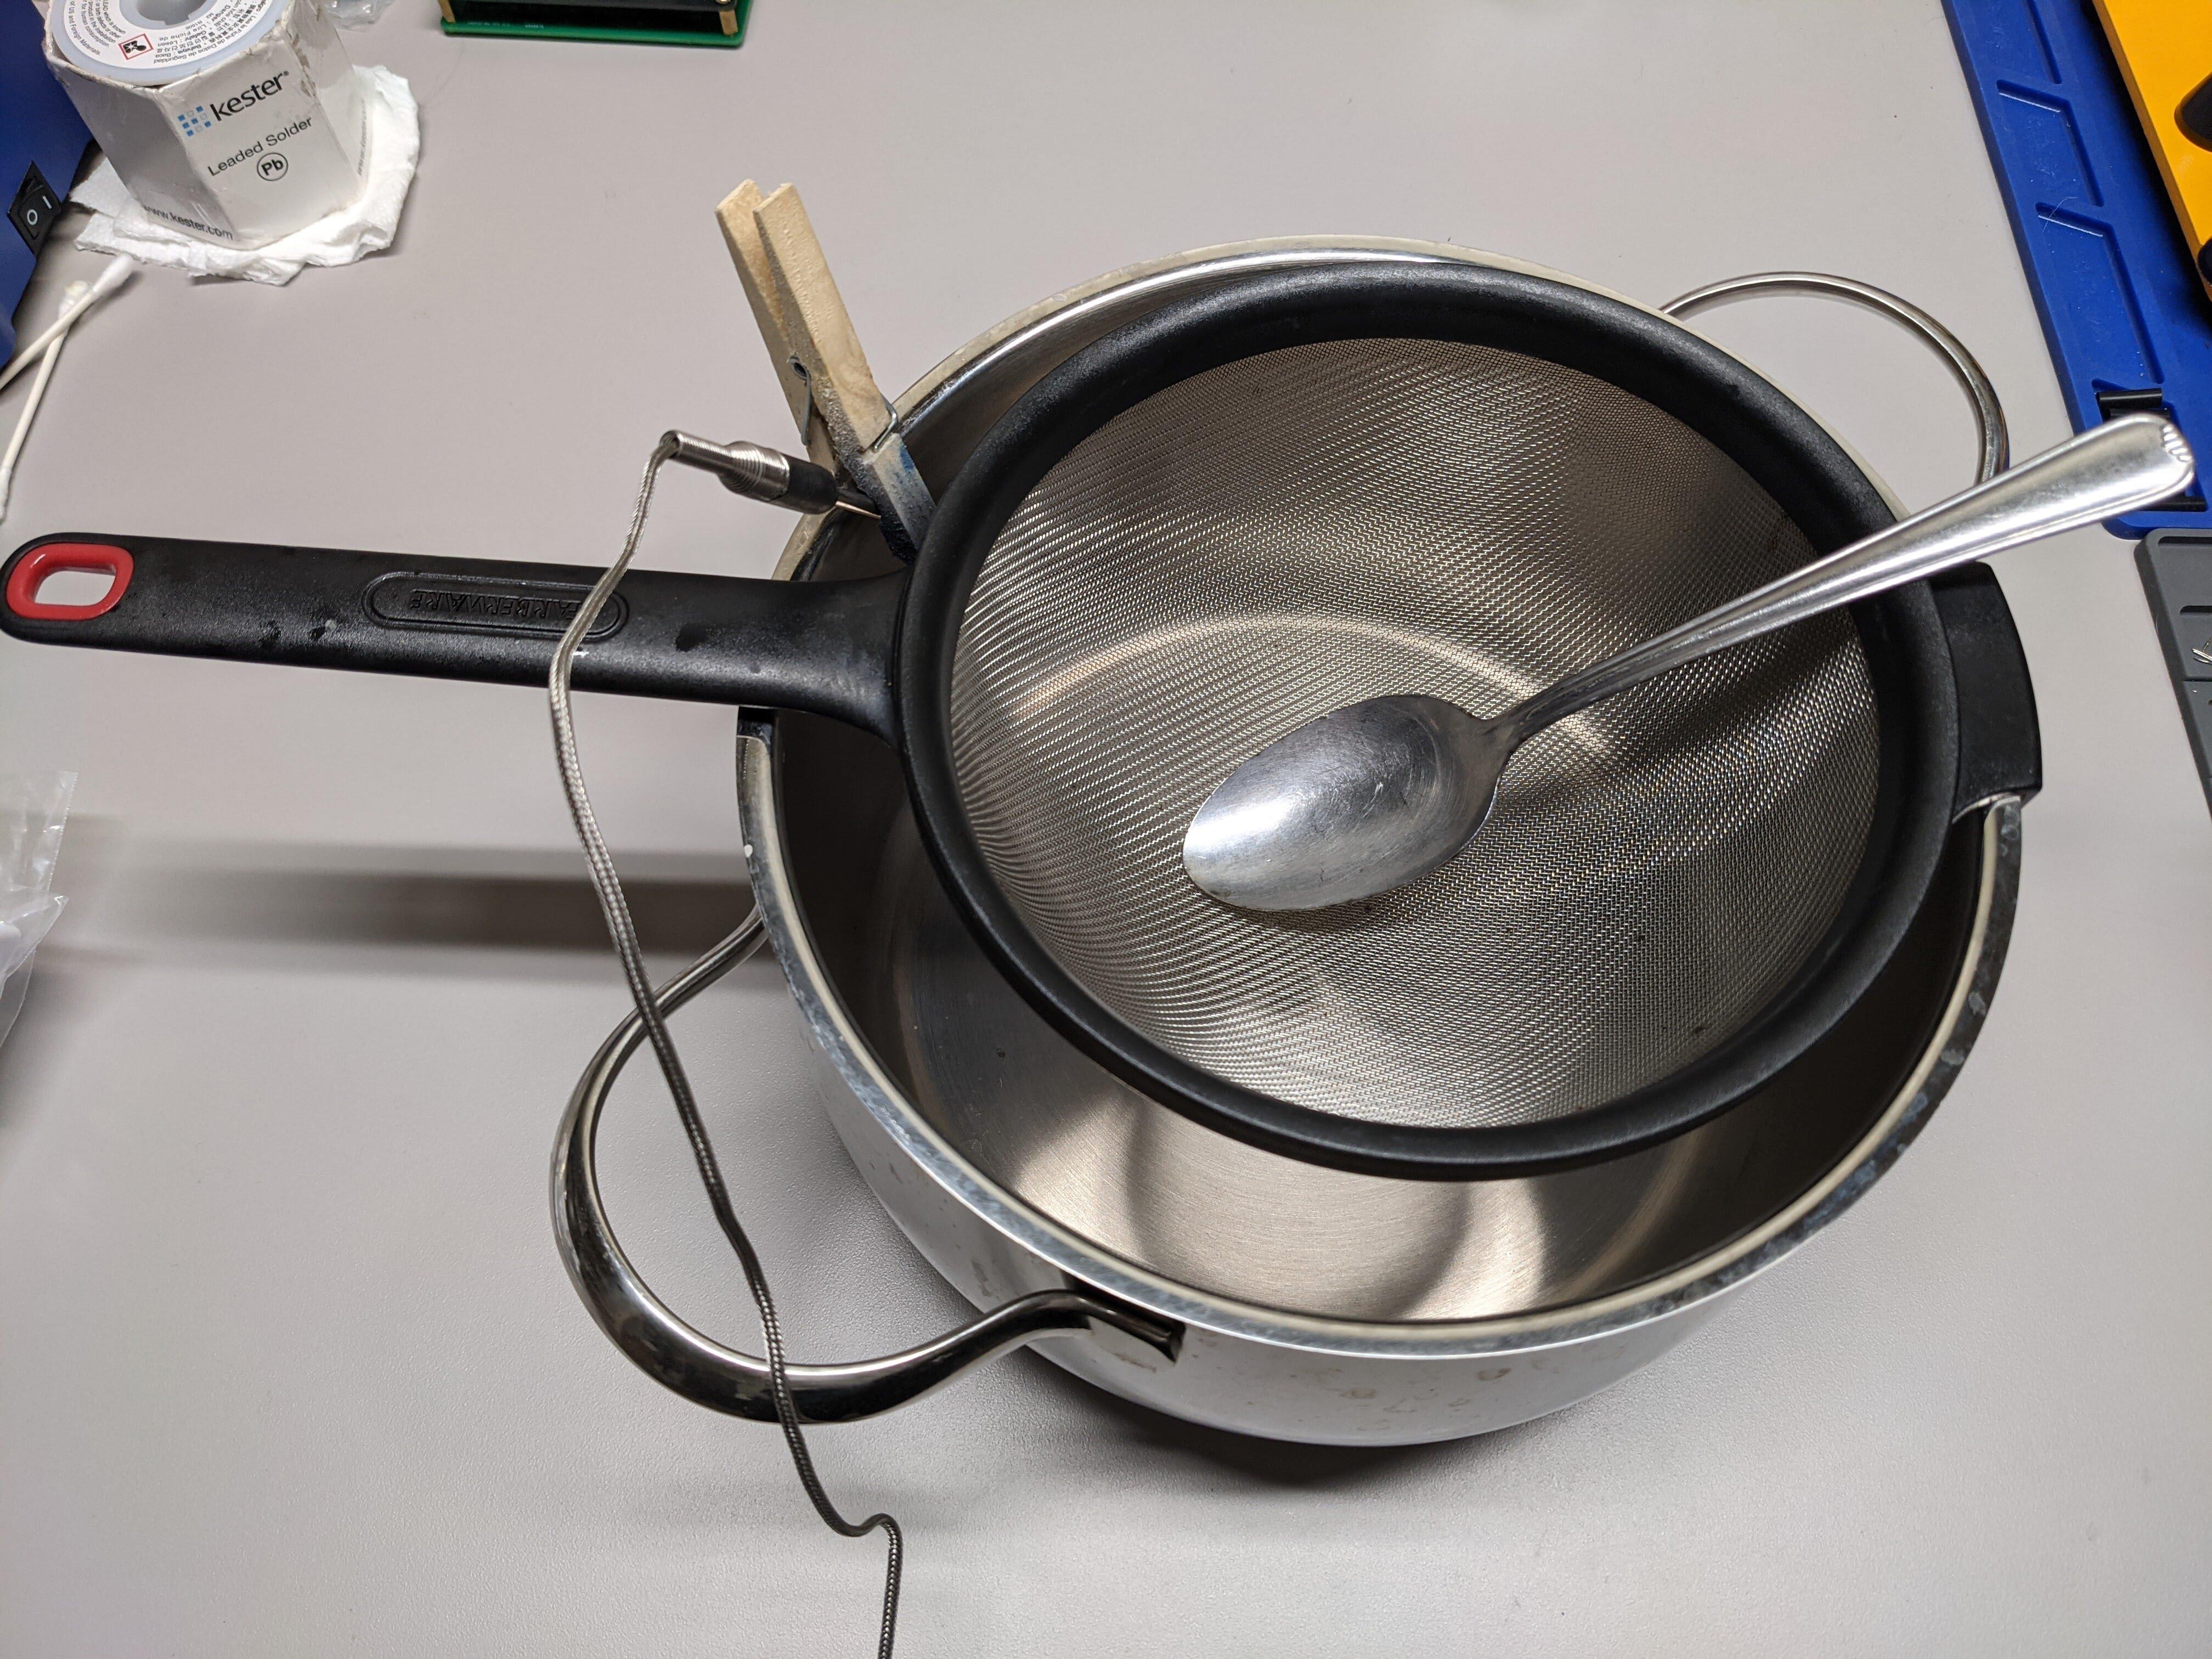
Modeled after threads above and youtube guides, I purchased a new 3qt pot and mesh strainer, grabbed a dedicated stainless steel spoon and some mixing vessels. No need to ruin good cookware; go down to your thrift shop or seconds shop.
For temperature control, I have a Dot thermometer that I purchased a second, dedicated probe for. I clip this to the side of my pot with a clothes pin and away I go.
For measuring dye, I recommend a couple small syringes. Depending on the color you’re shooting for, you may be measuring milliliters.
And finally, for testing, I ordered a $20 104-key set of white PBT MX keycaps from Jeff Bezo’s himself. They are a great, affordable way to get your colors honed in before going for a 70$ kit.
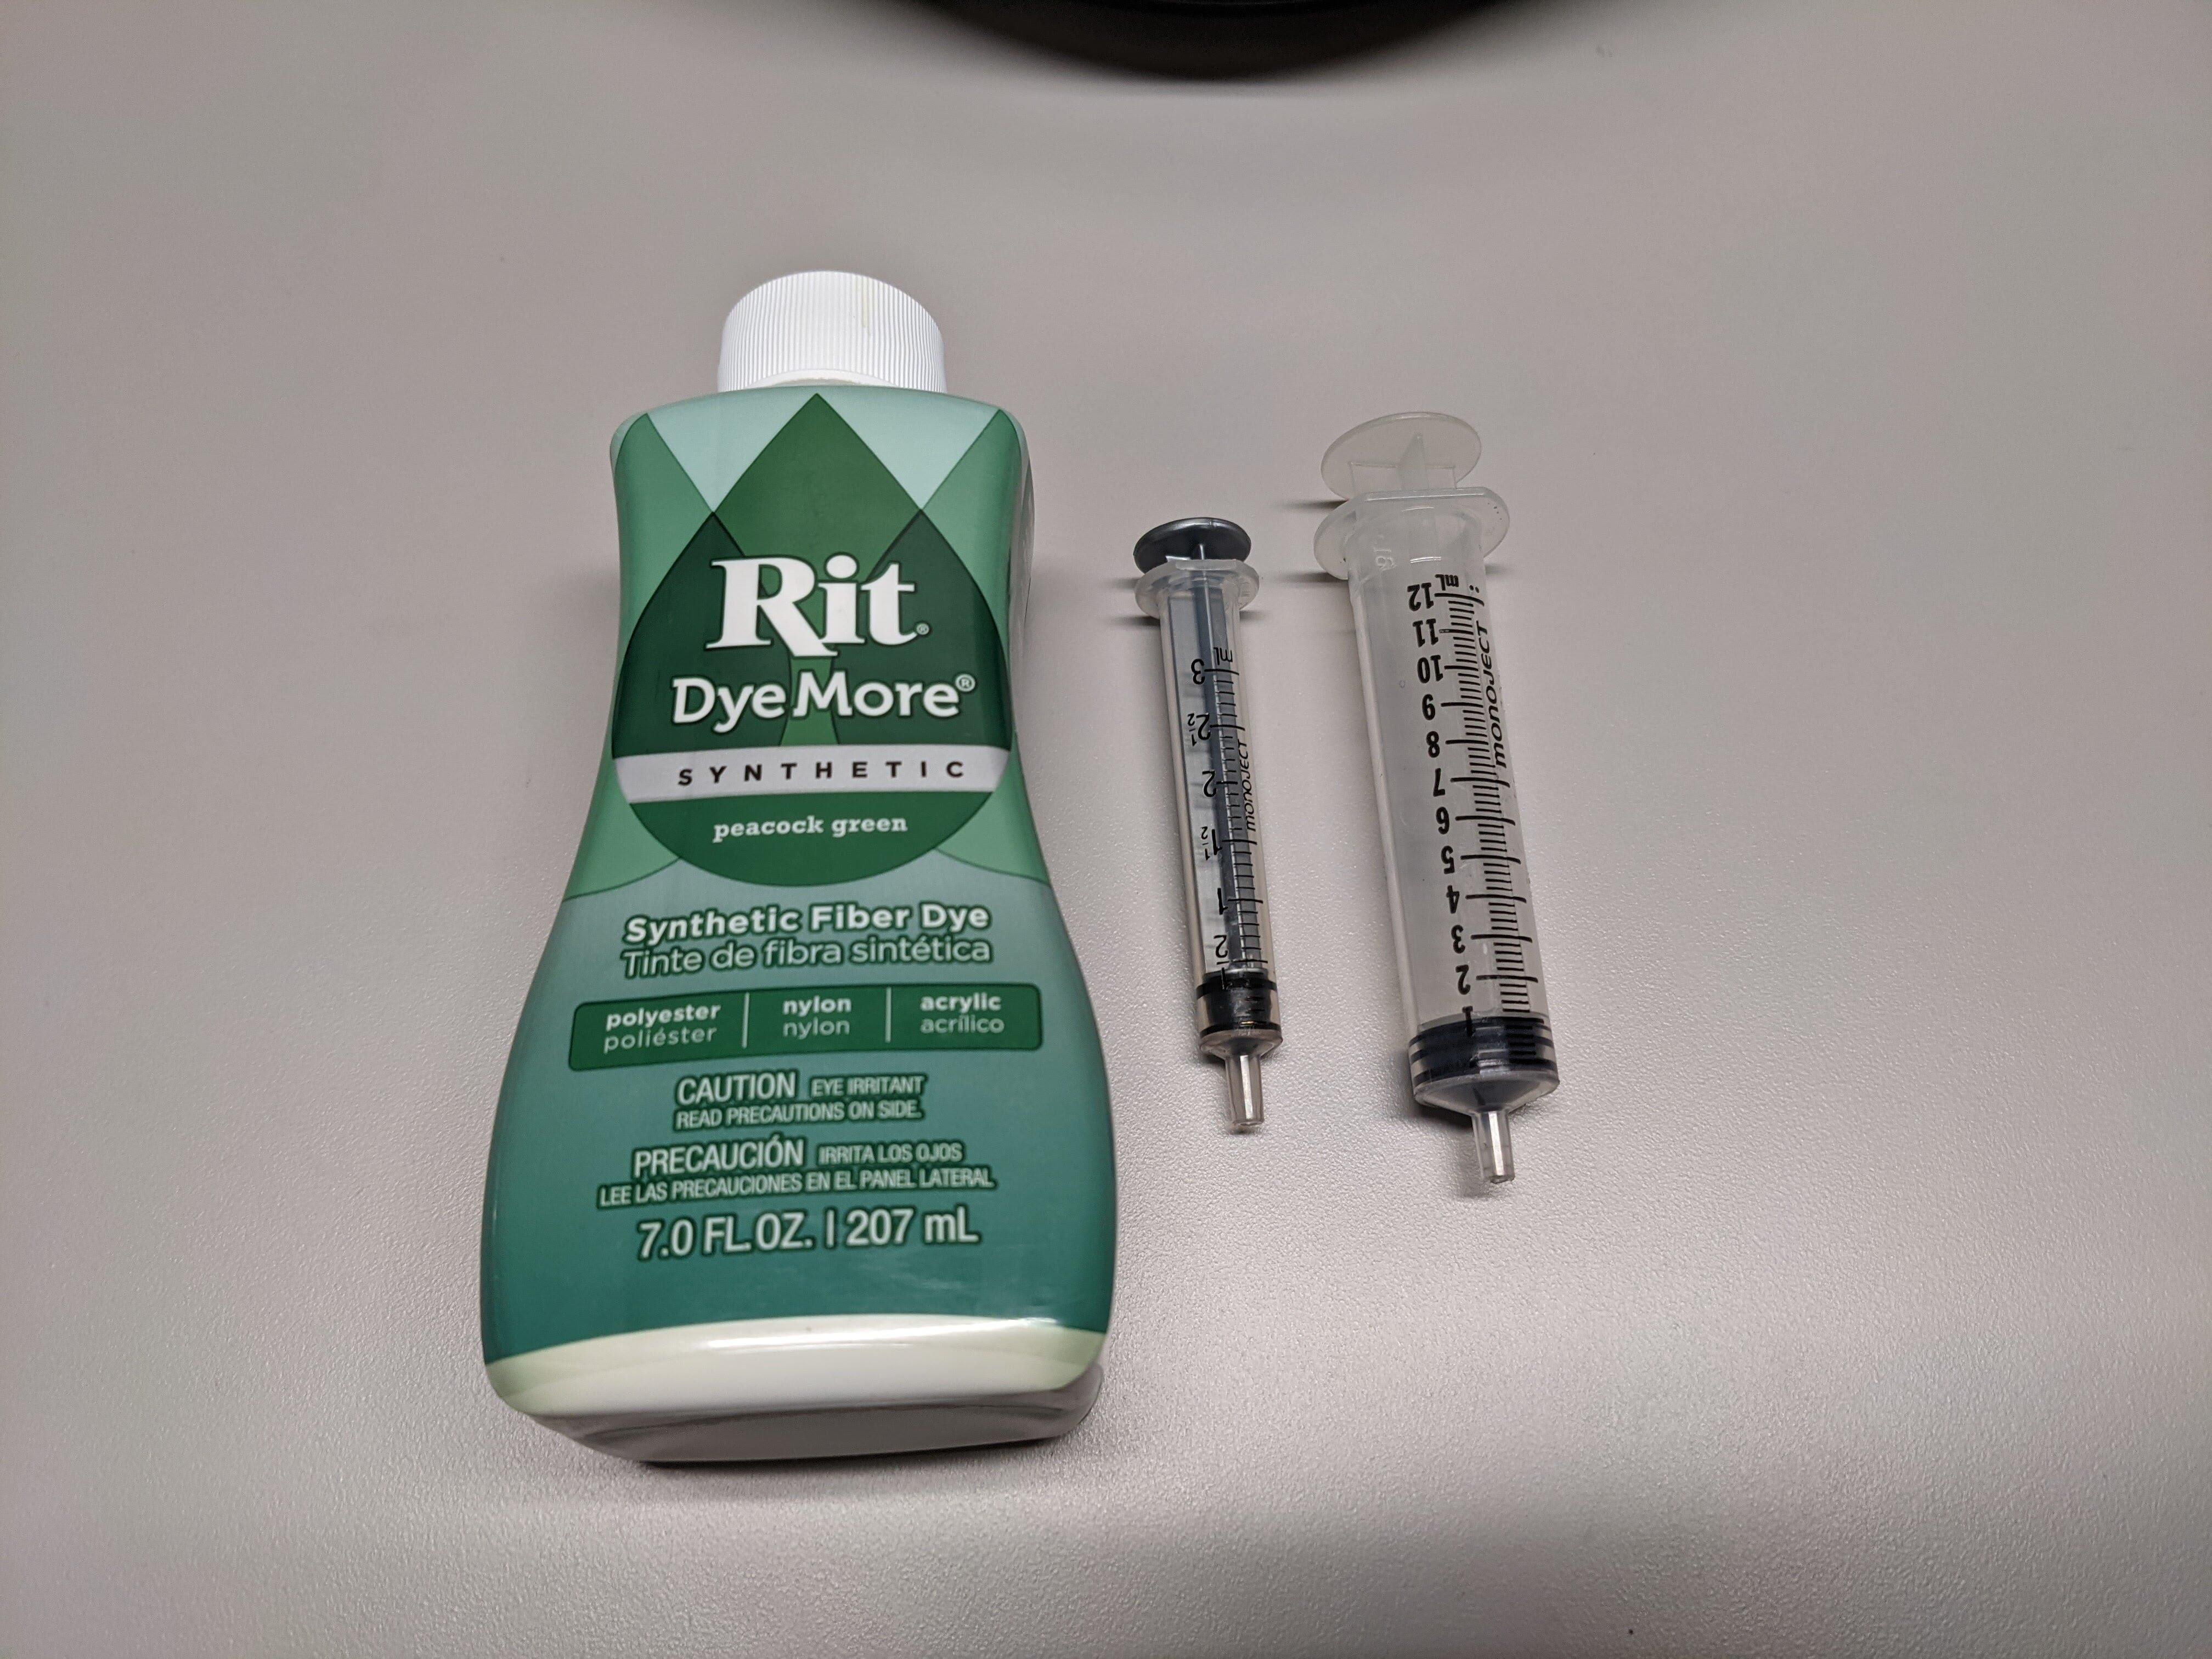
As far as dyes go, I encountered iDye Poly and Rit Dyemore. Both are designed to dye synthetic fabrics and both work well, though I preferred the Dyemore for 3 reasons:
- Its in a resealable bottle and easier to measure desired quantities out.
- iDye Poly’s formula is slightly grainy. Best bet if you intend to use it is to mix your dye, heat it, and then run it through a filter medium (coffee filter worked great).
- Availability. I can source Rit Dyemore for <4$ bottle at Michael’s locally.
If going with Rit Dyemore, they also have this handy blending site. Not all colors may be achievable (as we will discuss later), but its great for making custom colors.
Once you have your dye and equipment, the basic process is as follows:
- Bring water to temperature (near boil)
- Add dye
- Add caps
- Start timer
- Remove and rinse clean
That’s really all you need to know to start.
Things I’ve Come to Believe (Conclusions):
From my experience and trial and errors, I’ve developed this set of guides for my dying. It is by no means concrete. As a matter of fact, part of the reason I’m posting this is I have my doubts about some of my conclusions and I think the community could resolve it in short order.
-
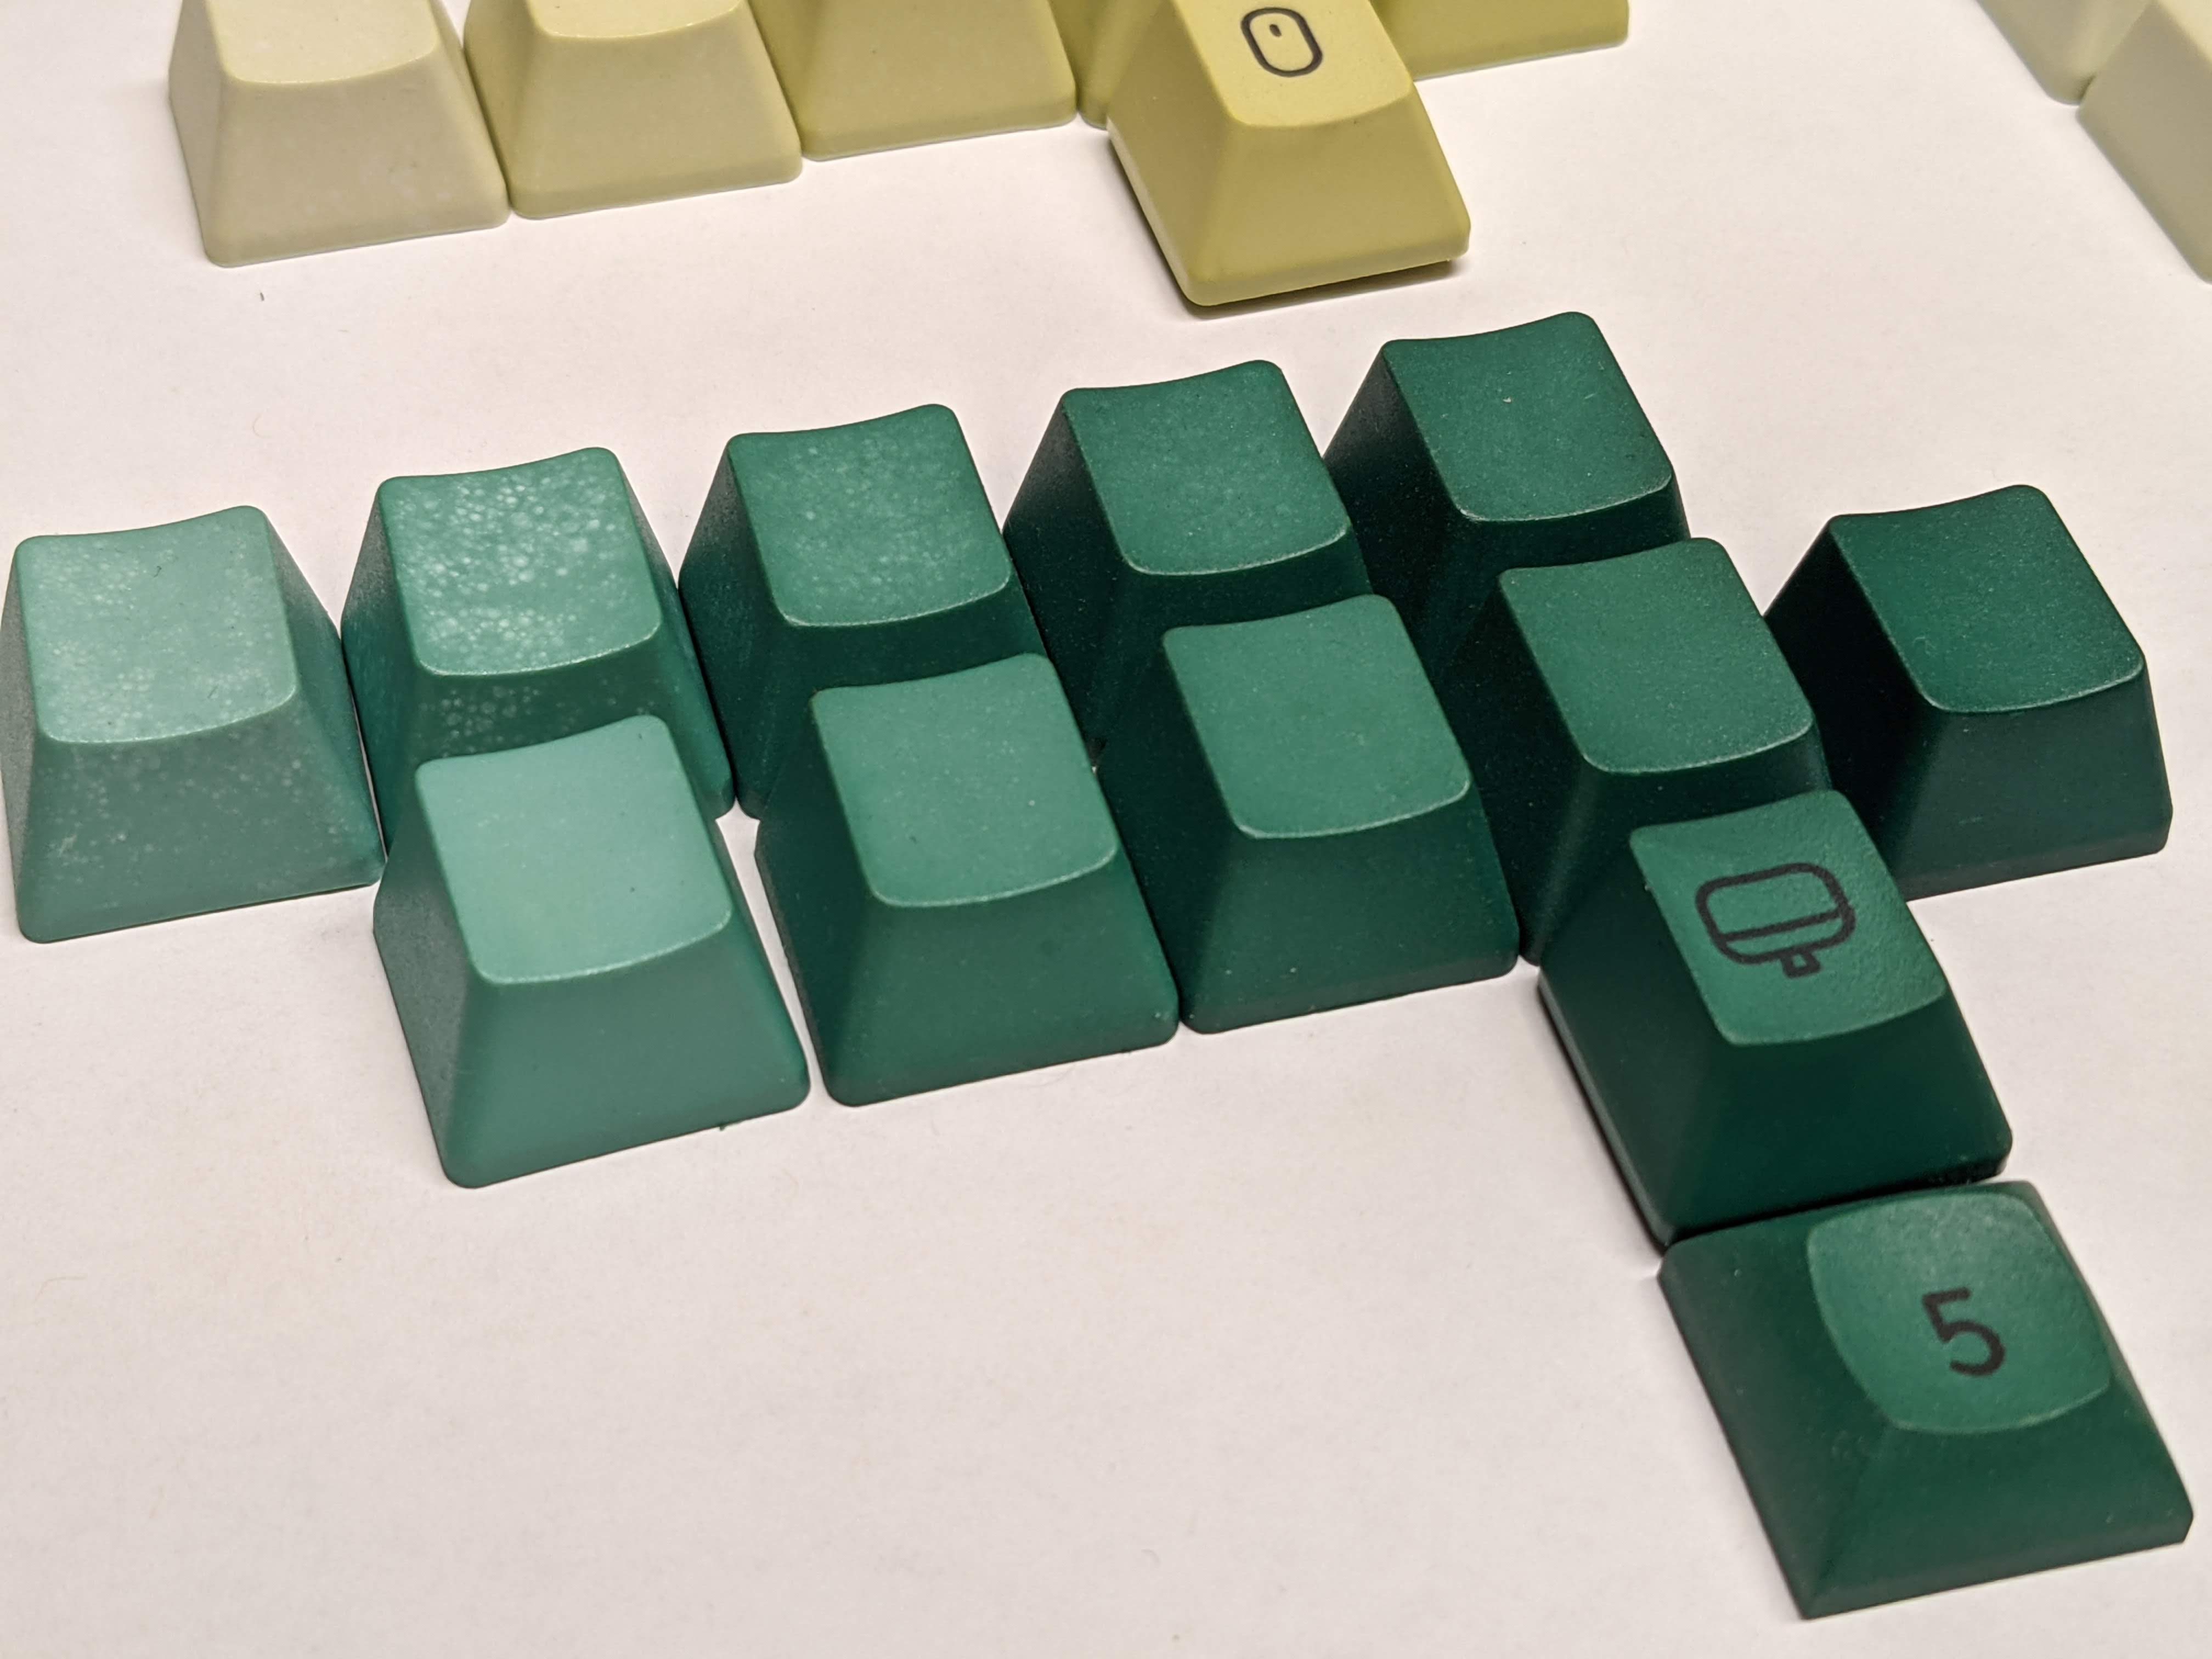
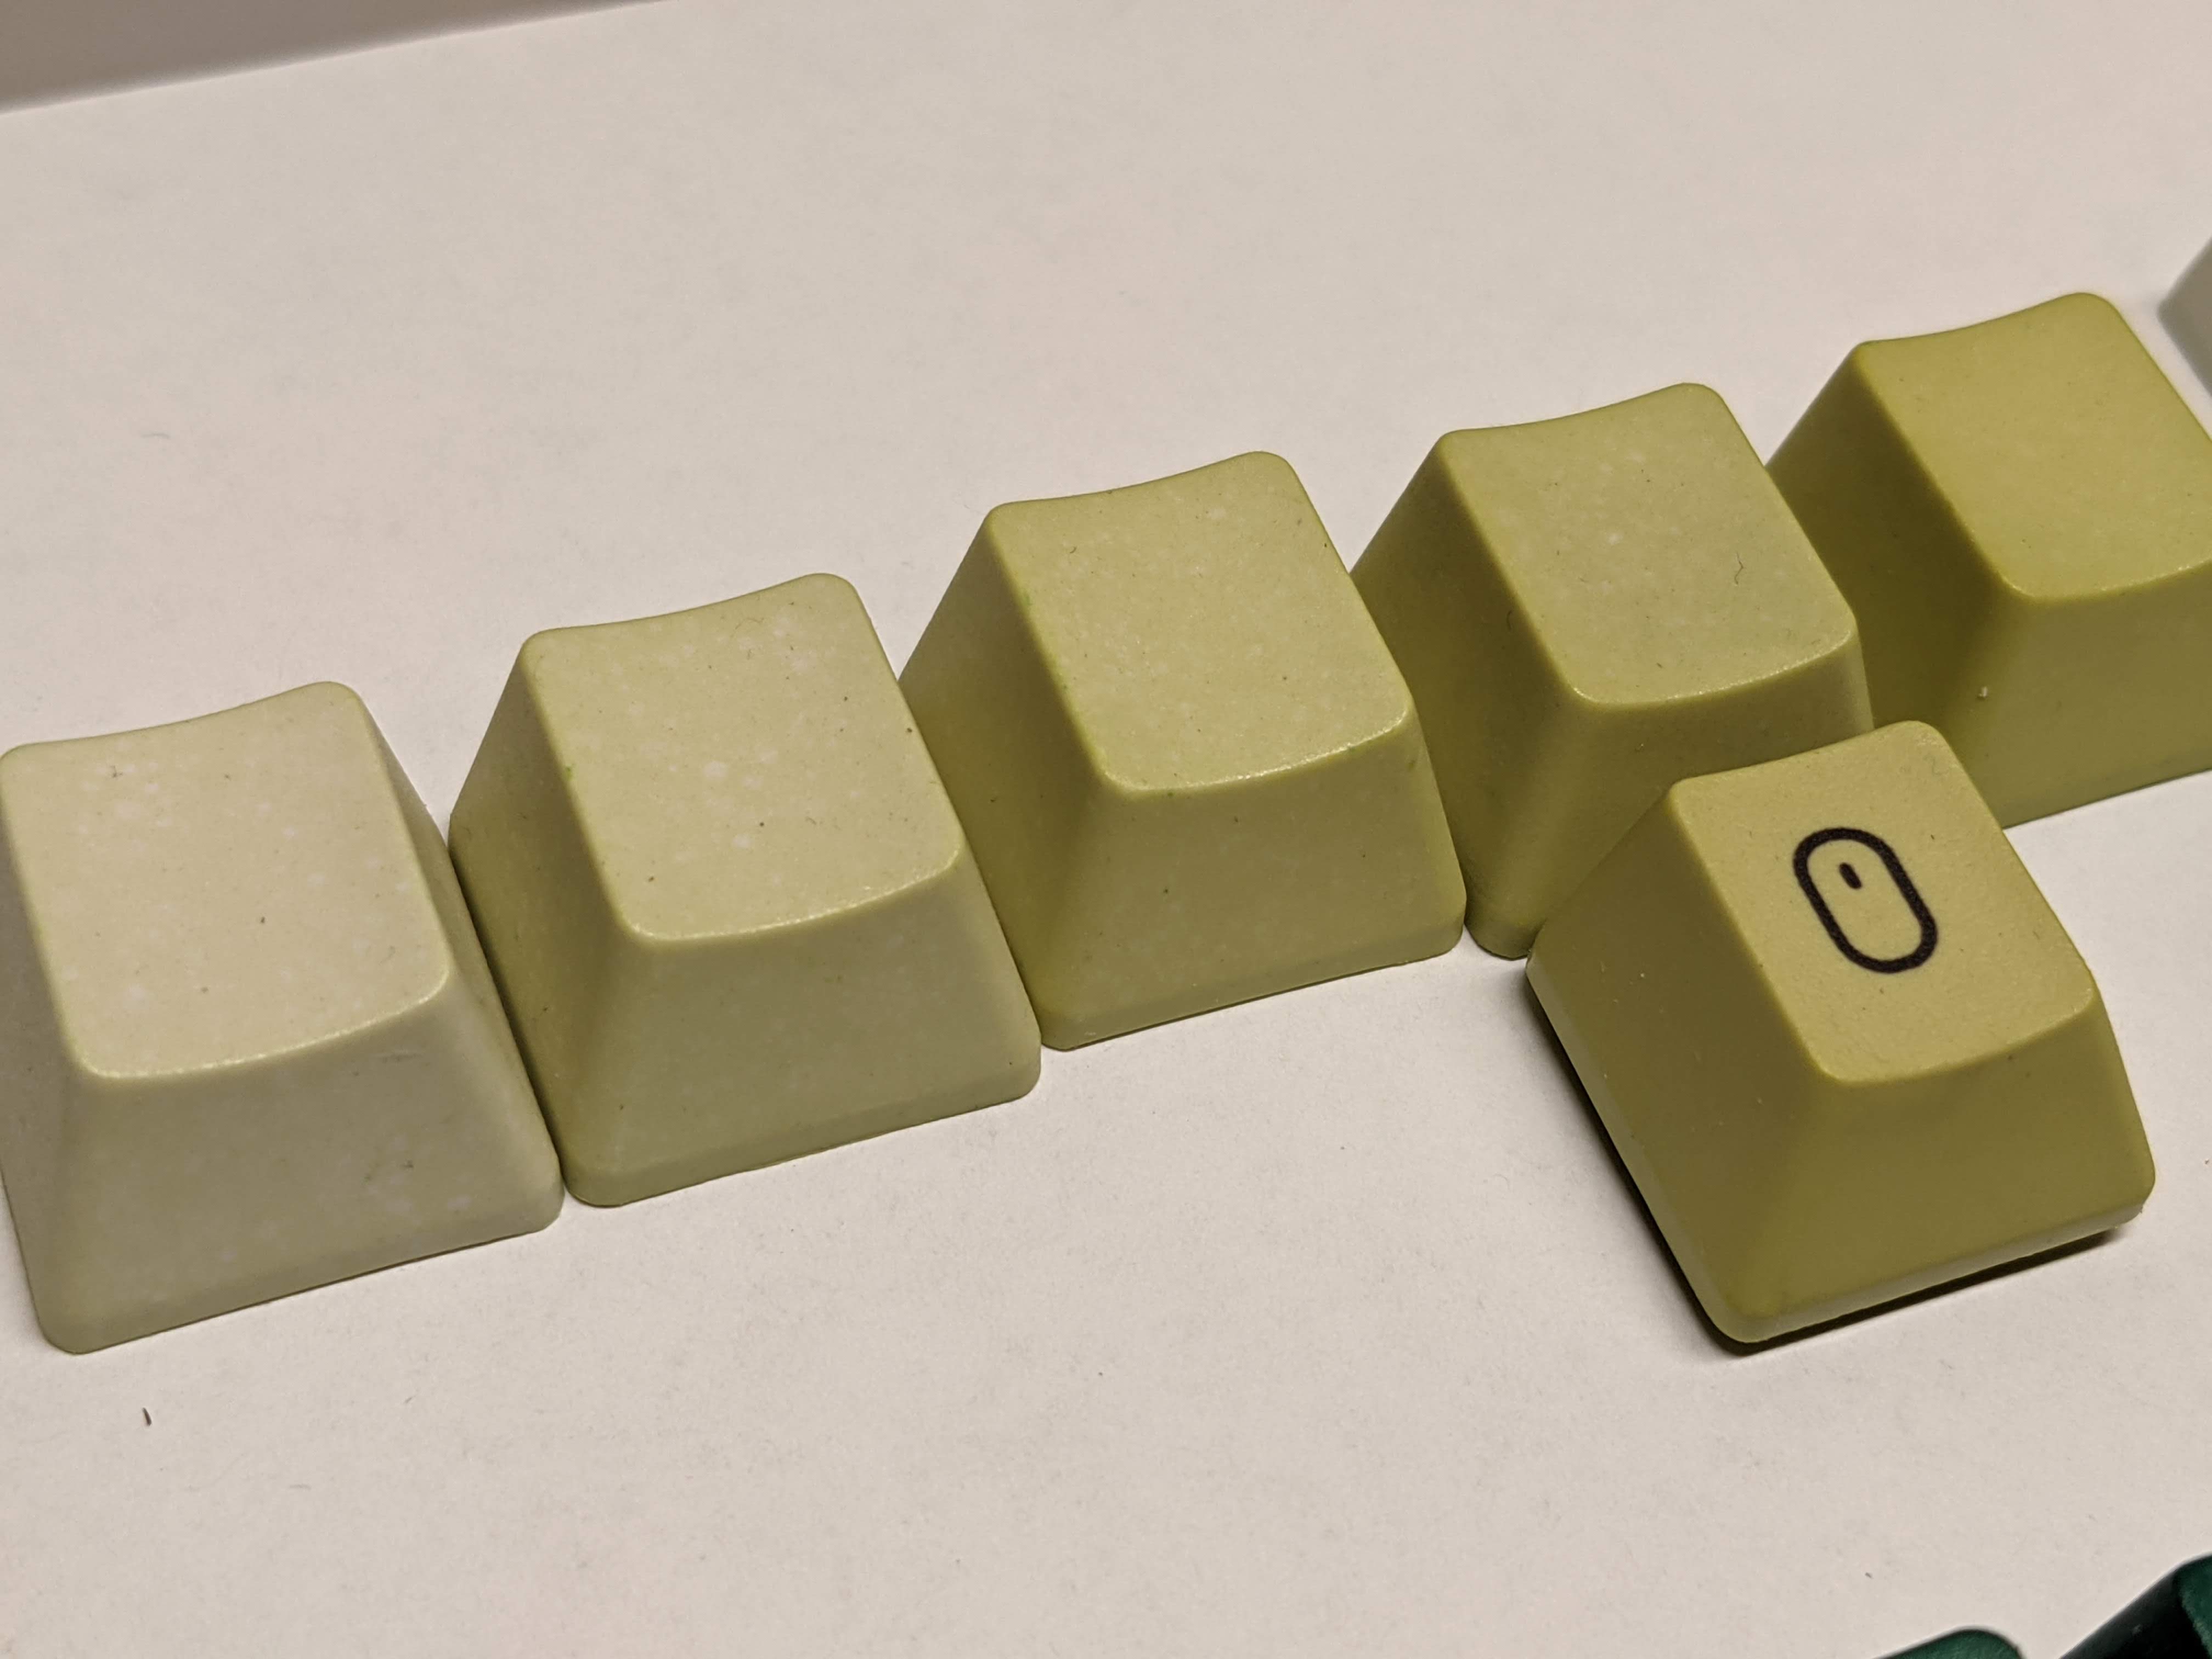
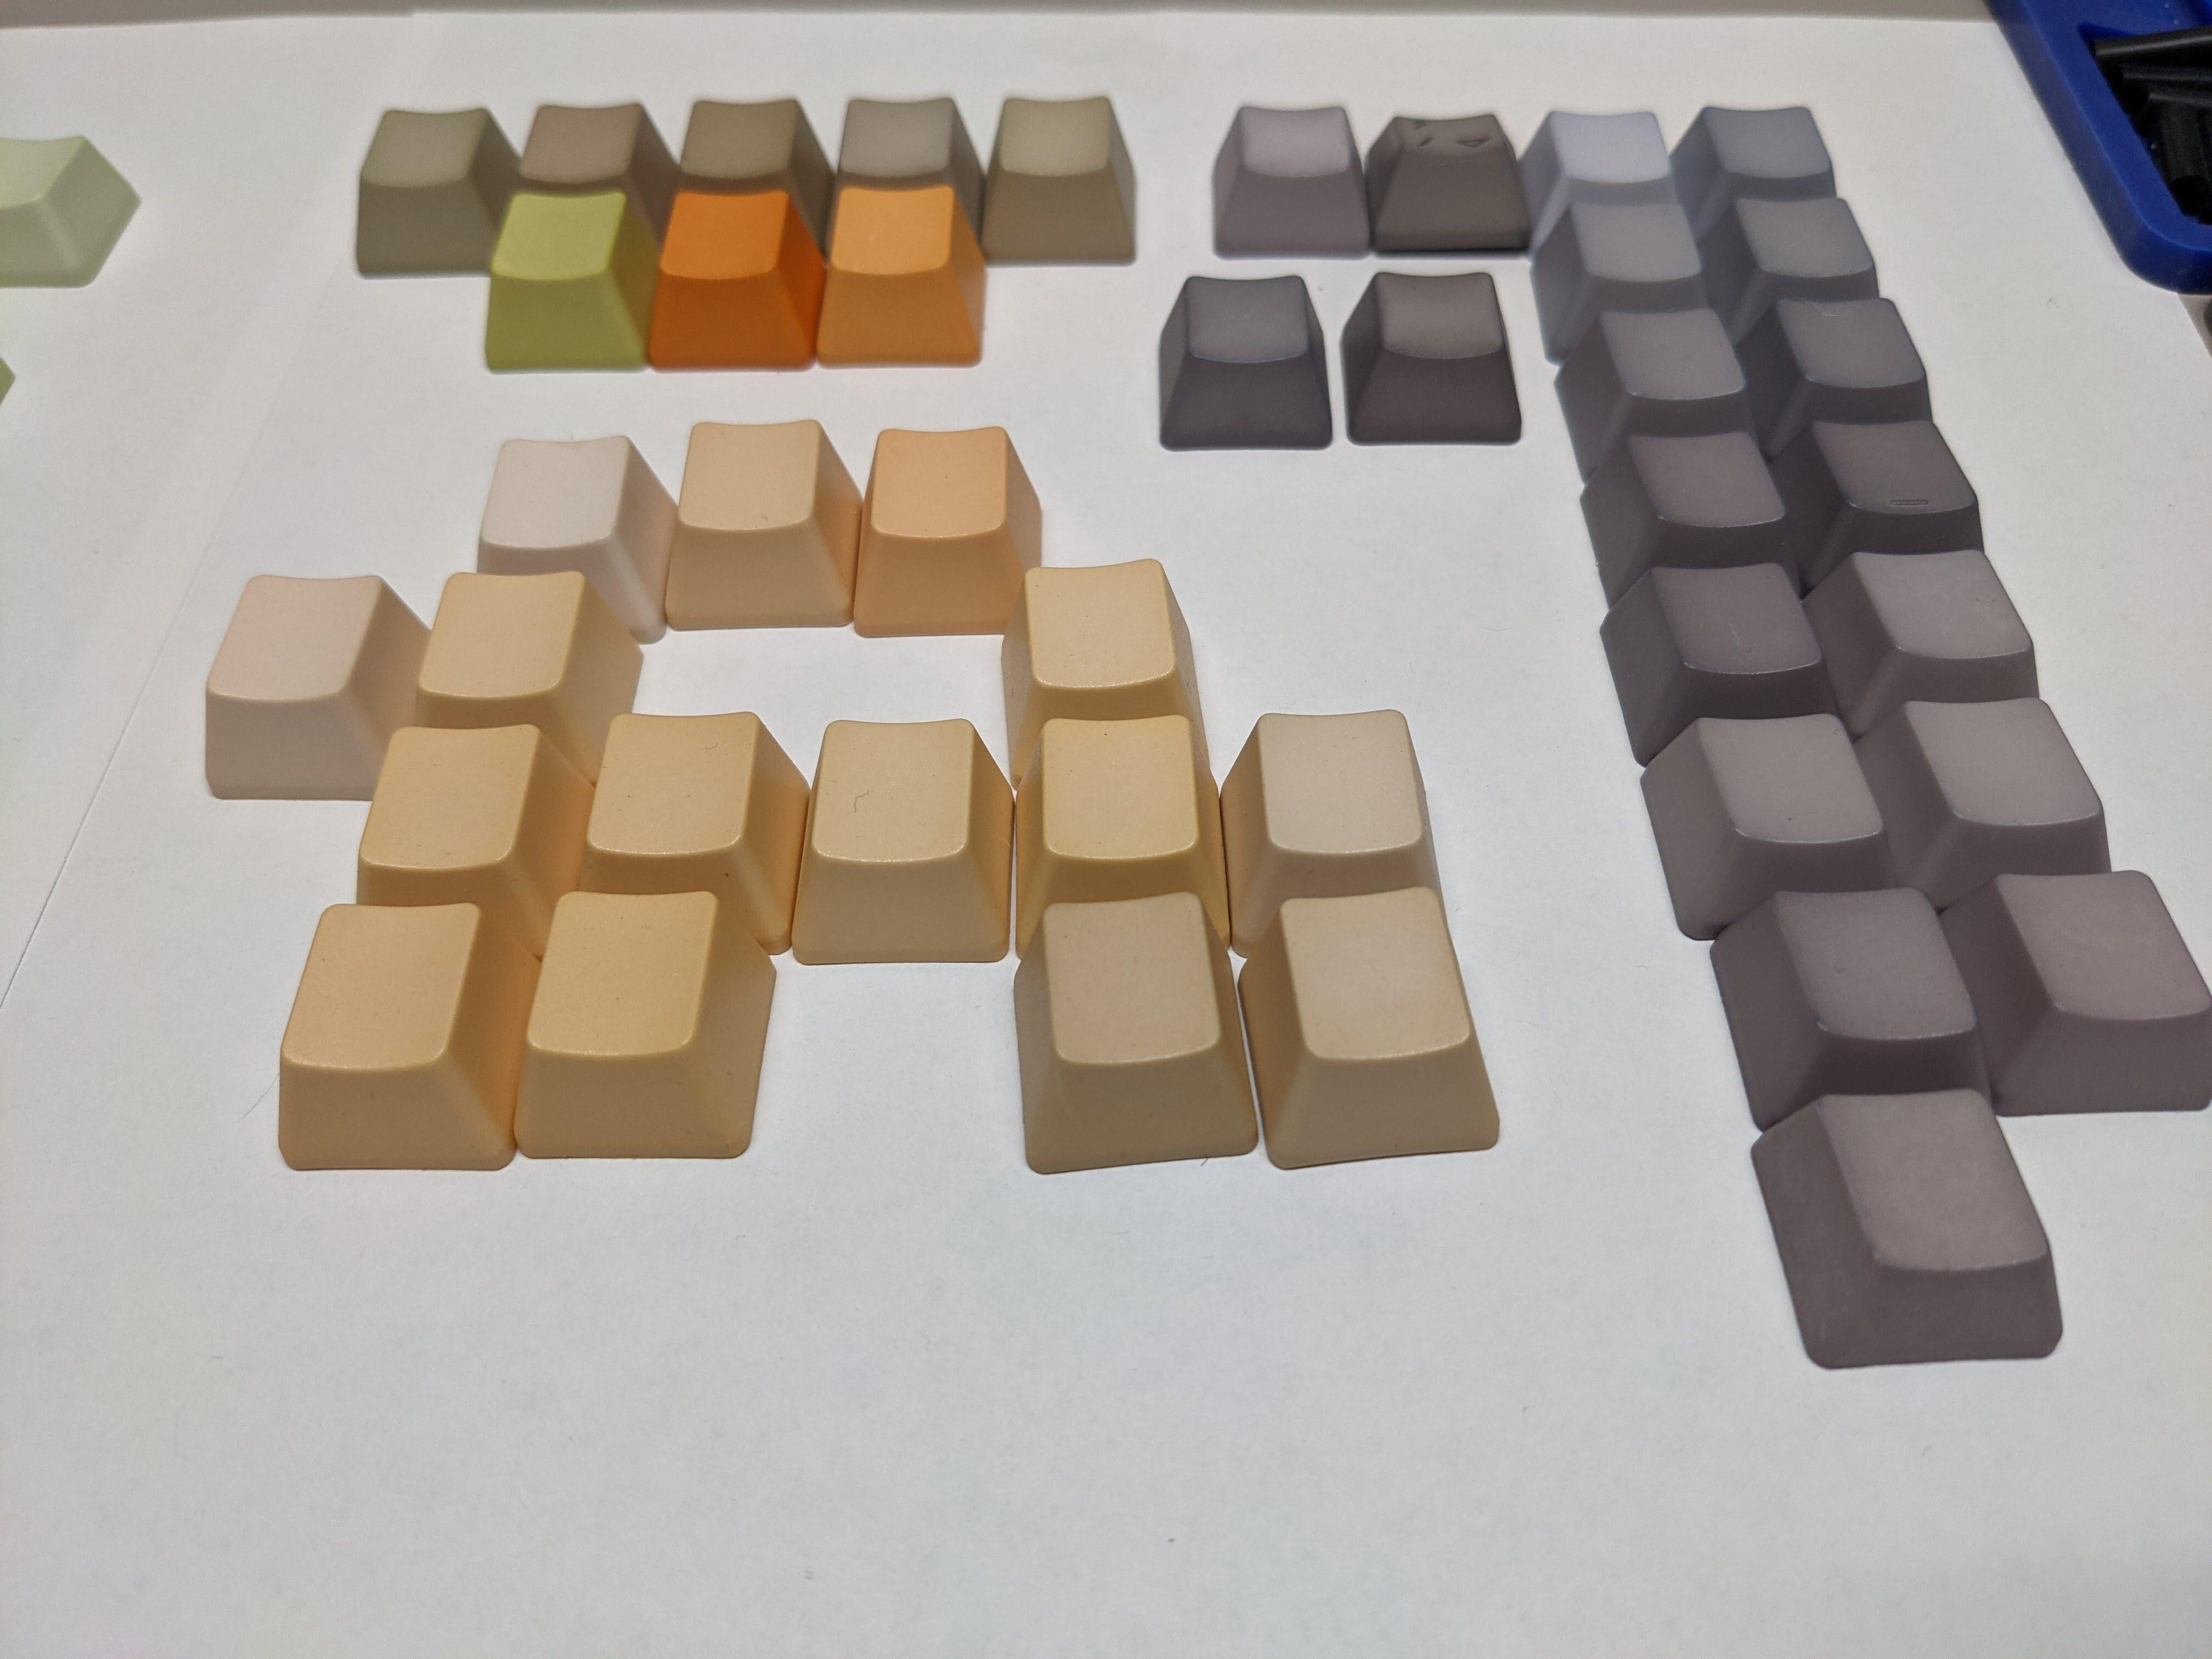
Control Your Temperature: Its easy to think boiling is the way to go. I did on my first run of caps. The result was terrible unevenness. Too high, and you get spotty, inconsistent results. I’ve found my sweet spot to be around 192-195 degrees. This will slow it down and get more even looking results. In the below photo, the top row of green caps was my first run at 210º F, the bottom row my second run at around 195. Note the improved consistency.
-
Adjust Your Concentration: I’ve found about 40% of the recommended concentration to work well. So I scale it down from 3gallons in the recipe to whatever volume I’m using, then take it down to 40%. Ymmv, I just found too high a concentration and I didn’t have much control over the color I got. See color website linked above for more formulas.
-
Monitor Your Time: When testing, I like to drop 5 caps in at a time and do 5, 10, 15, 20, 30 minutes to get a feel for the spectrum. Most of the colors I ever wanted were in the 10-15 minute or 30 minute range, depending on how dark I was going. In the green-cap photo above, left to right is 2, 5, 10, 15, 20, and 30 minutes.
-
Dish Soap: The recipe on the bottle calls for adding dish soap when dying fabrics. I tried this, and I think there is some placebo affect, yet I still add a small spoonful for each run.
-
Wash Your Caps: Following up on soap, I definitely recommend washing caps with soap before use to ensure a more even dye.
-
Bubbles & Stirring: Part of the inconsistencies I found were from bubbles forming / hanging on the caps. Solutions I found were boiling the water for 10-15 minutes before use, stirring regularly (gently so as to not scratch the caps), and potentially the addition of dish soap (?). In the green cap photo above, the top row really shows what occurs when bubbles cling to to keycaps.
-
A Note on Water Quality: I am on a well and the water is not especially clean, so I decided to use our drinking water, which comes from a 5-stage home filter / RO system. I can’t say that water quality would negatively affect the dye, but as with anything, I would expect pH, chlorine levels, minerality, etc to affect your outcome to a degree. Would love to hear from others on this.
-
Take Notes: When you get that perfect color, you’re going to want to know how to recreate it. Concentrations, dye ratios, times, temperatures, what you had for breakfast. Just write it down and you’ll thank me later.
Problems encountered:
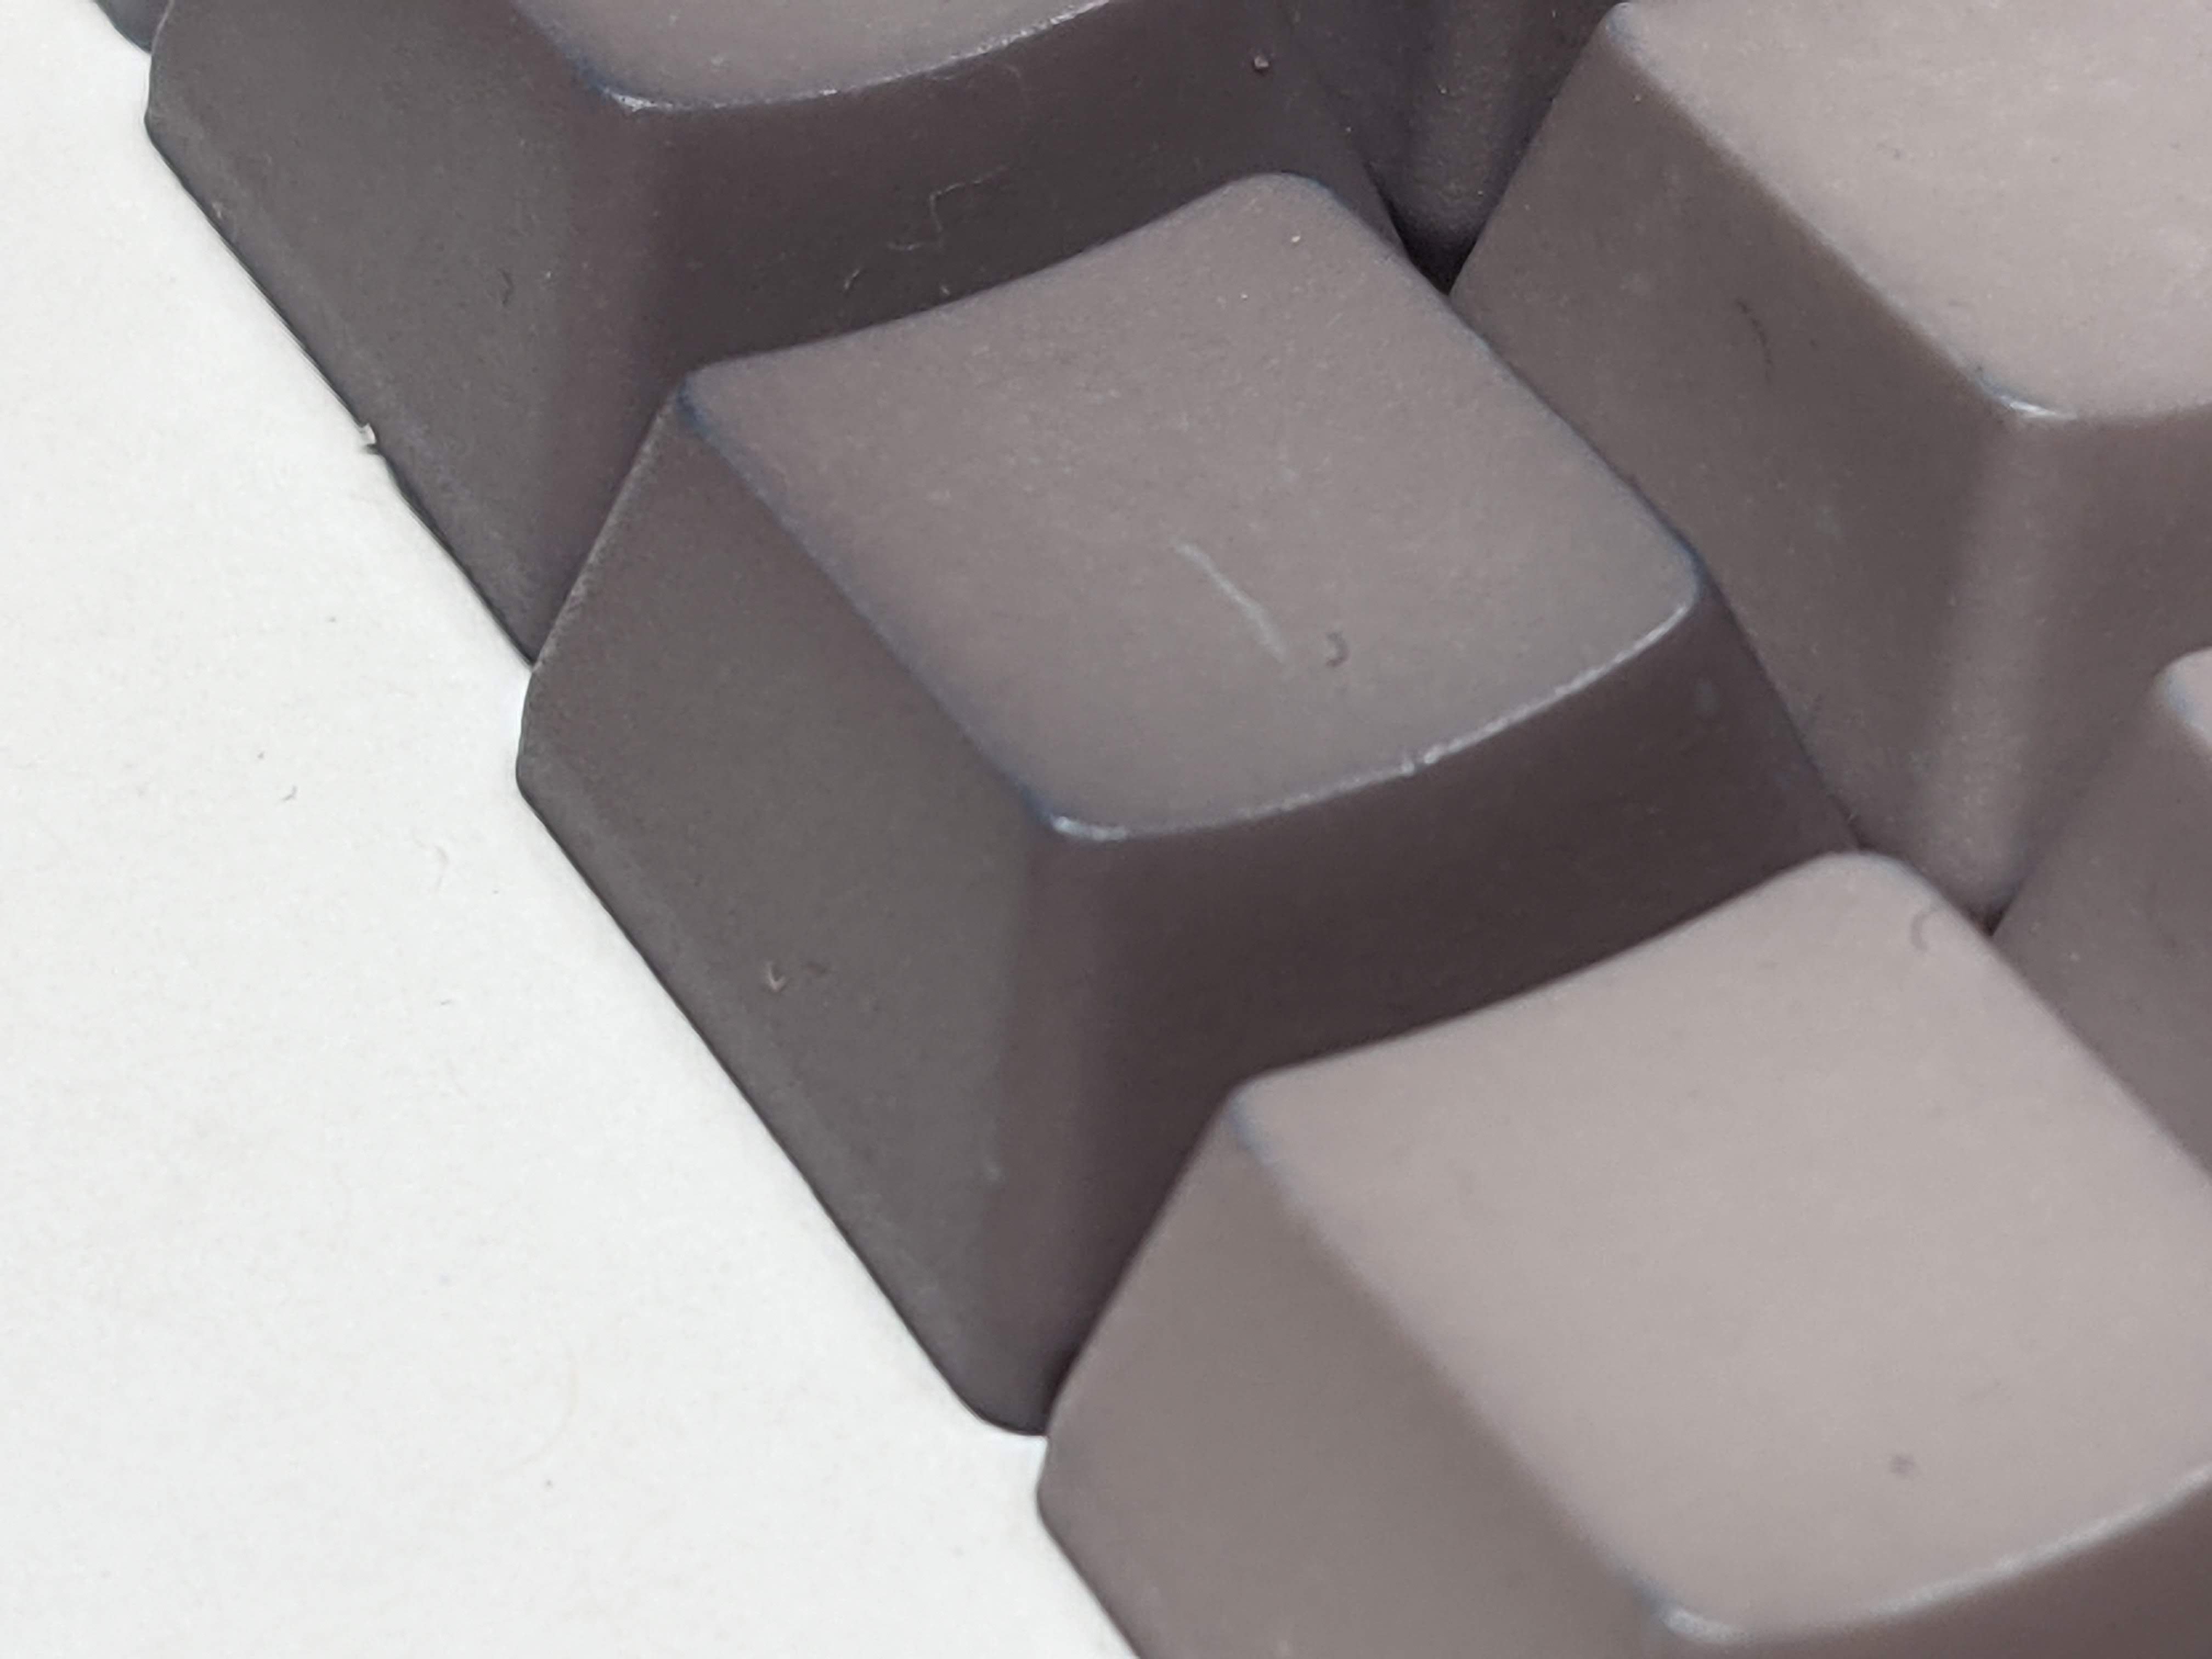
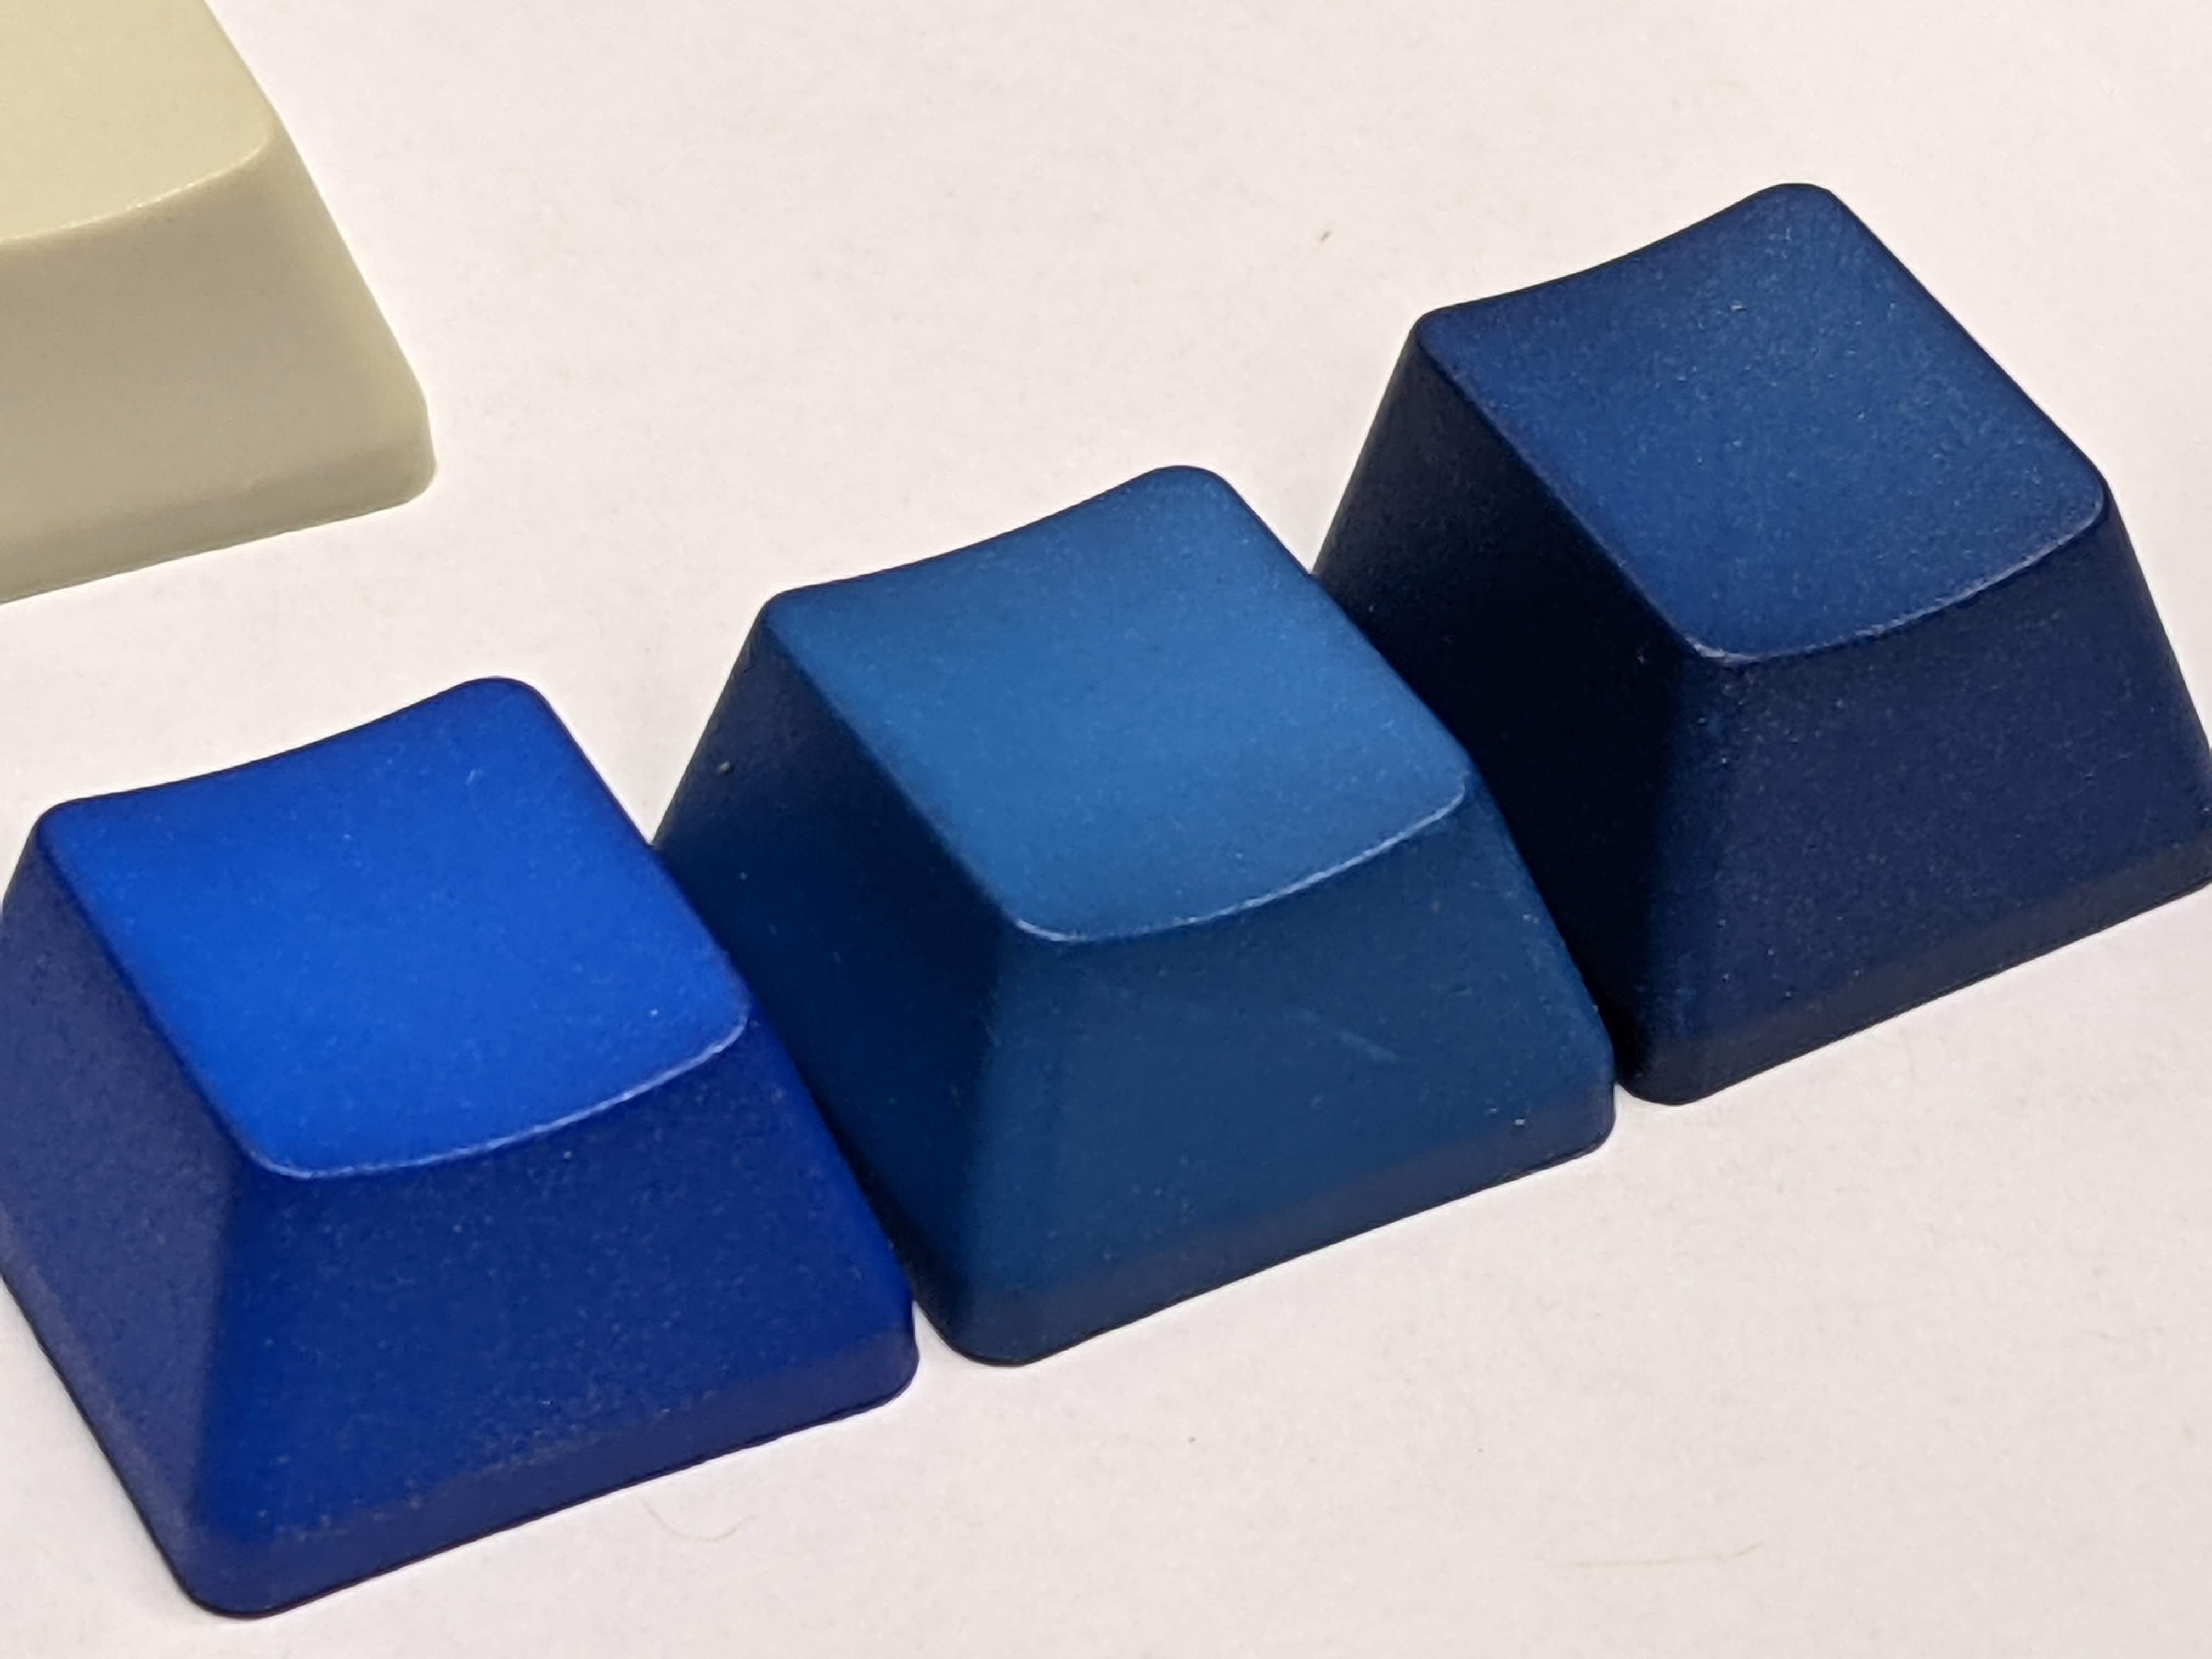
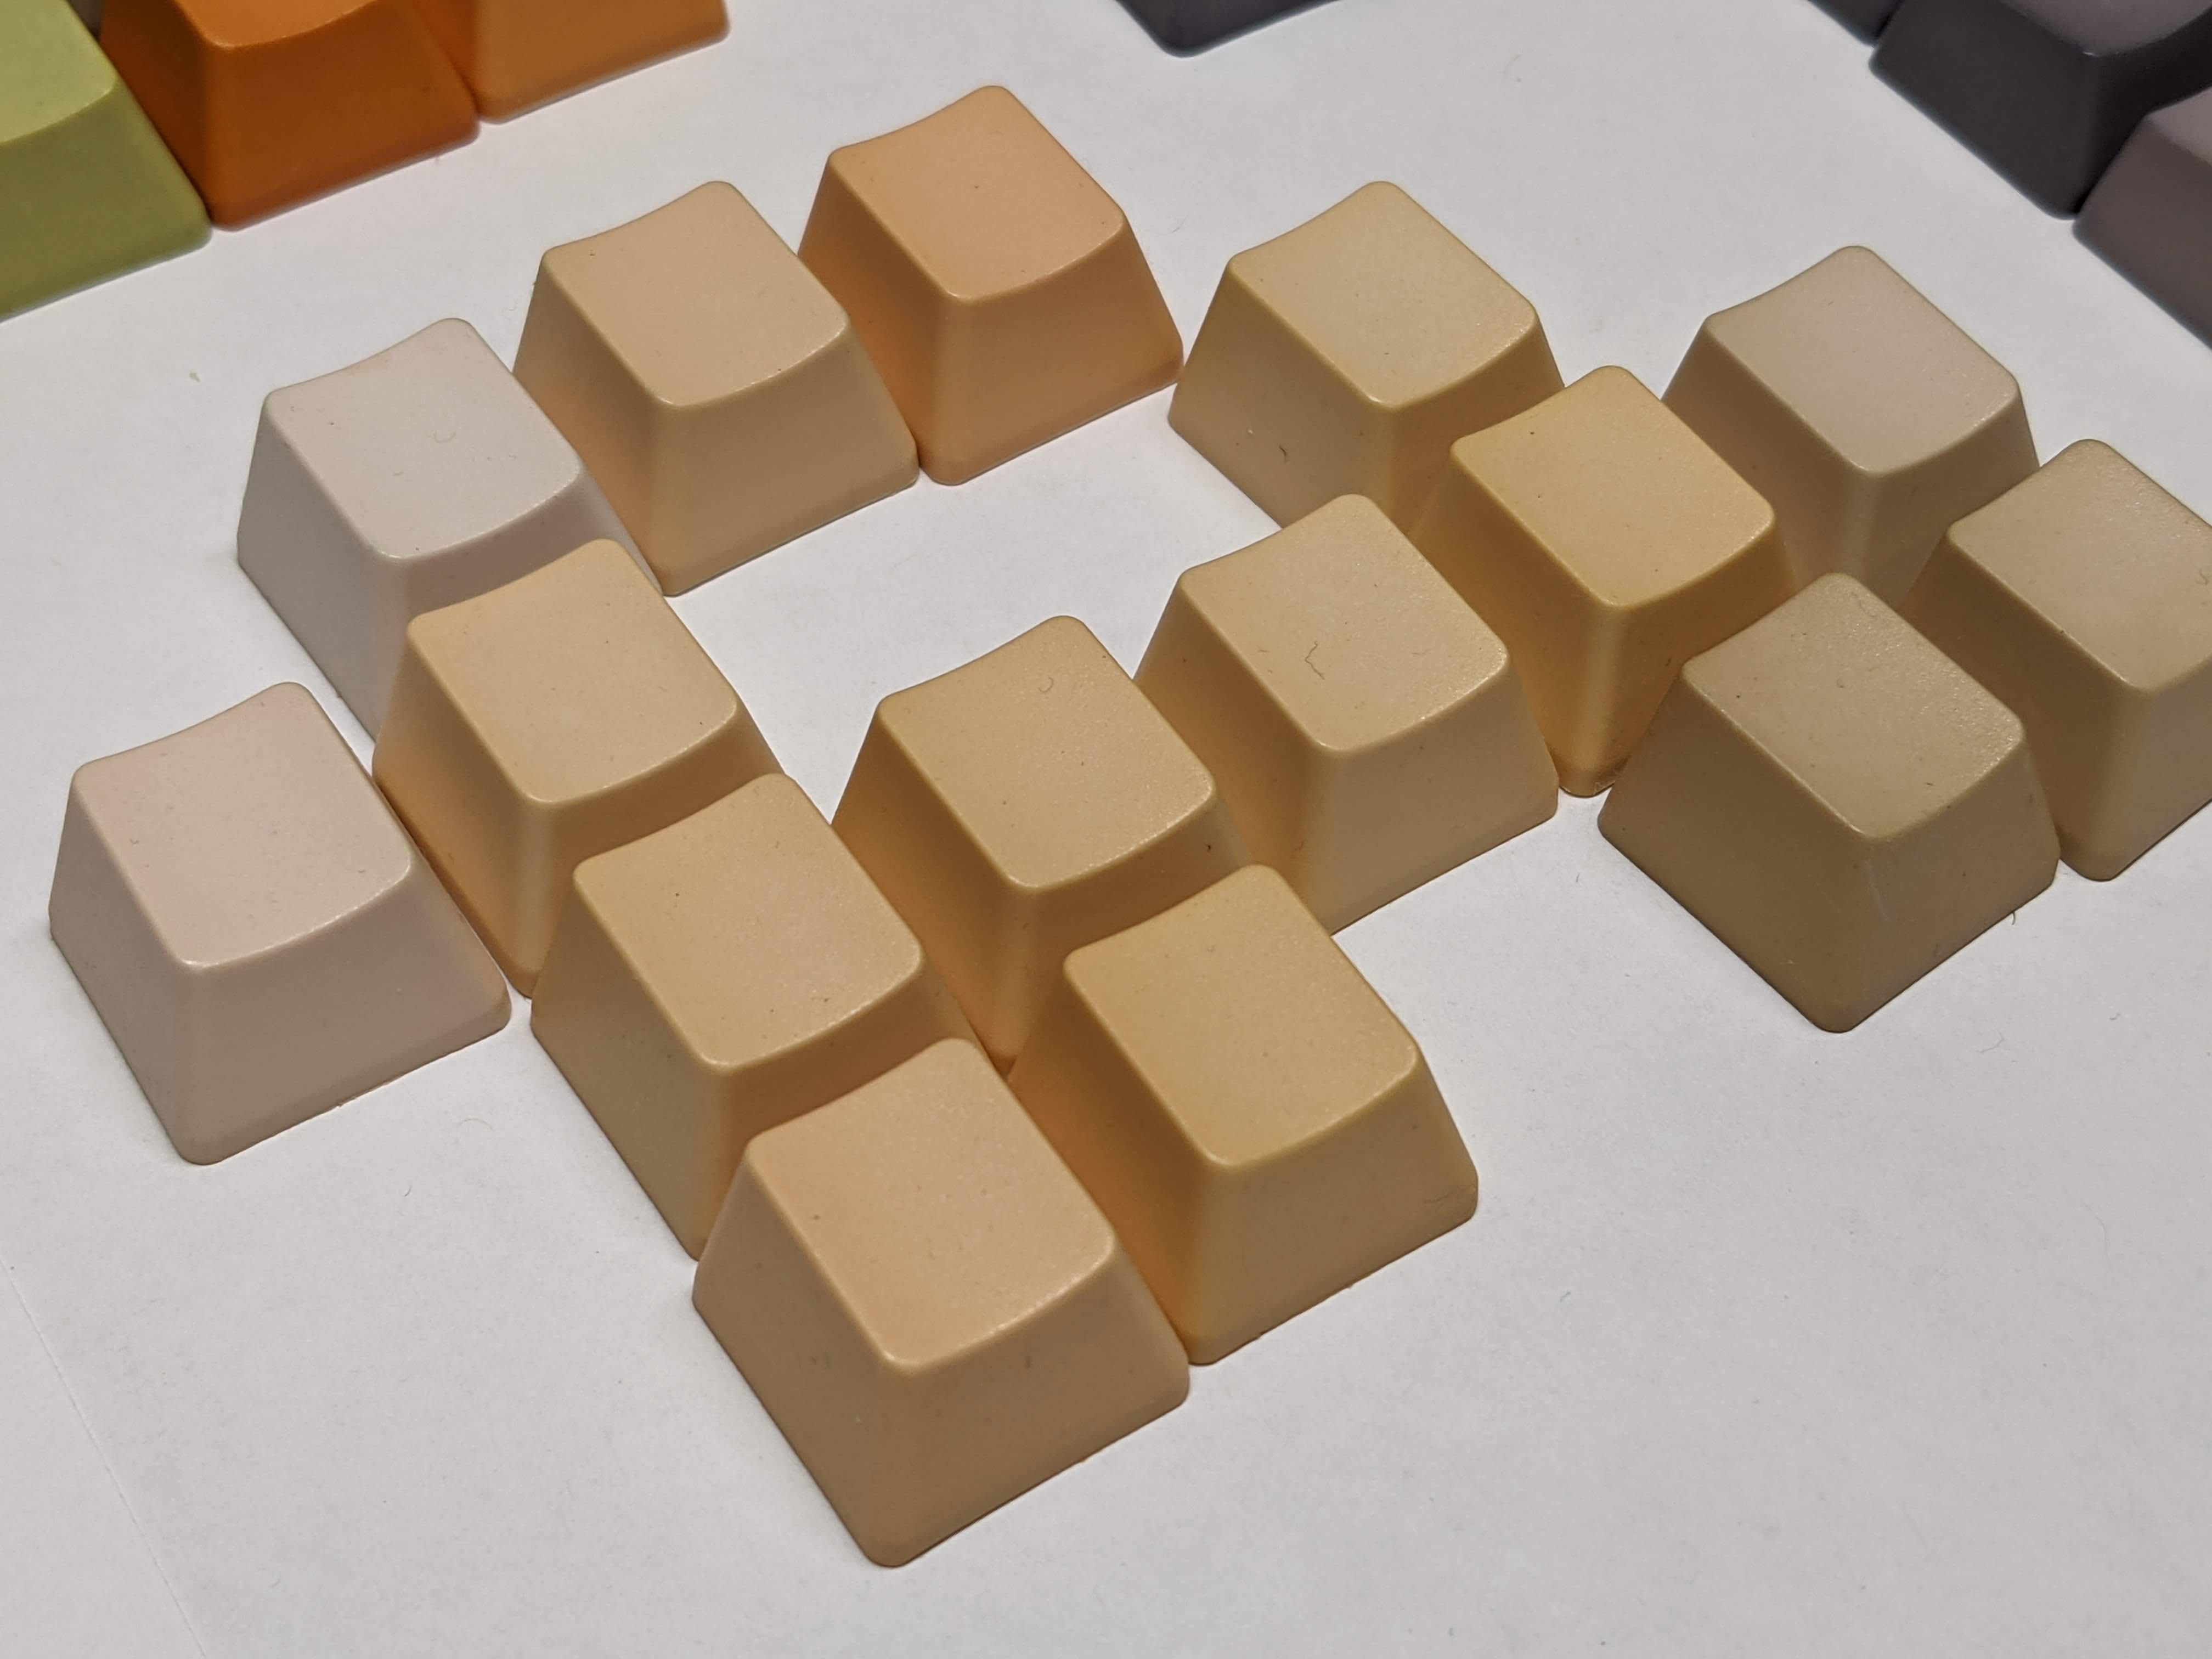
Most colors are made up of other colors (duh!), but in my case mostly greens / blues, so many colors I wanted to get would look great on cap faces, but corners tend to dye more quickly and express the base color (so grey had a blue-tinged corners, beiges and browns had green). Orange, blue, and green all expressed really well, though. I’ve yet to come up with a good way to solve this issue, but if it can be done, the colors look great imo.
Thoughts & Concerns:
At this point, its been several months since I’ve had time to touch this project, but my concerns are that perhaps my concentration-time logic is not sound for all colors. I’ve tended towards lower, slower, less concentrated dyes, but it is possible that a low-temp, high concentration, short time dye will work better for other colors. I hope to see others picking up the torch and refining the methods, as I think this is a really affordable, practical way to get some customs colors done. It’s also just something fun to do while fighting the Oregon winters.
Thanks for reading. I’m sure I’ve left out helpful details, so please ask questions and definitely let me know if you try this and anything works for you! ![]()
Cheers!
