Yes! Keep the builds coming. Another great build man, really like this one although I would have enjoyed to see it be a Topre build lol
1 Like
Good things come to those who wait…
4 Likes
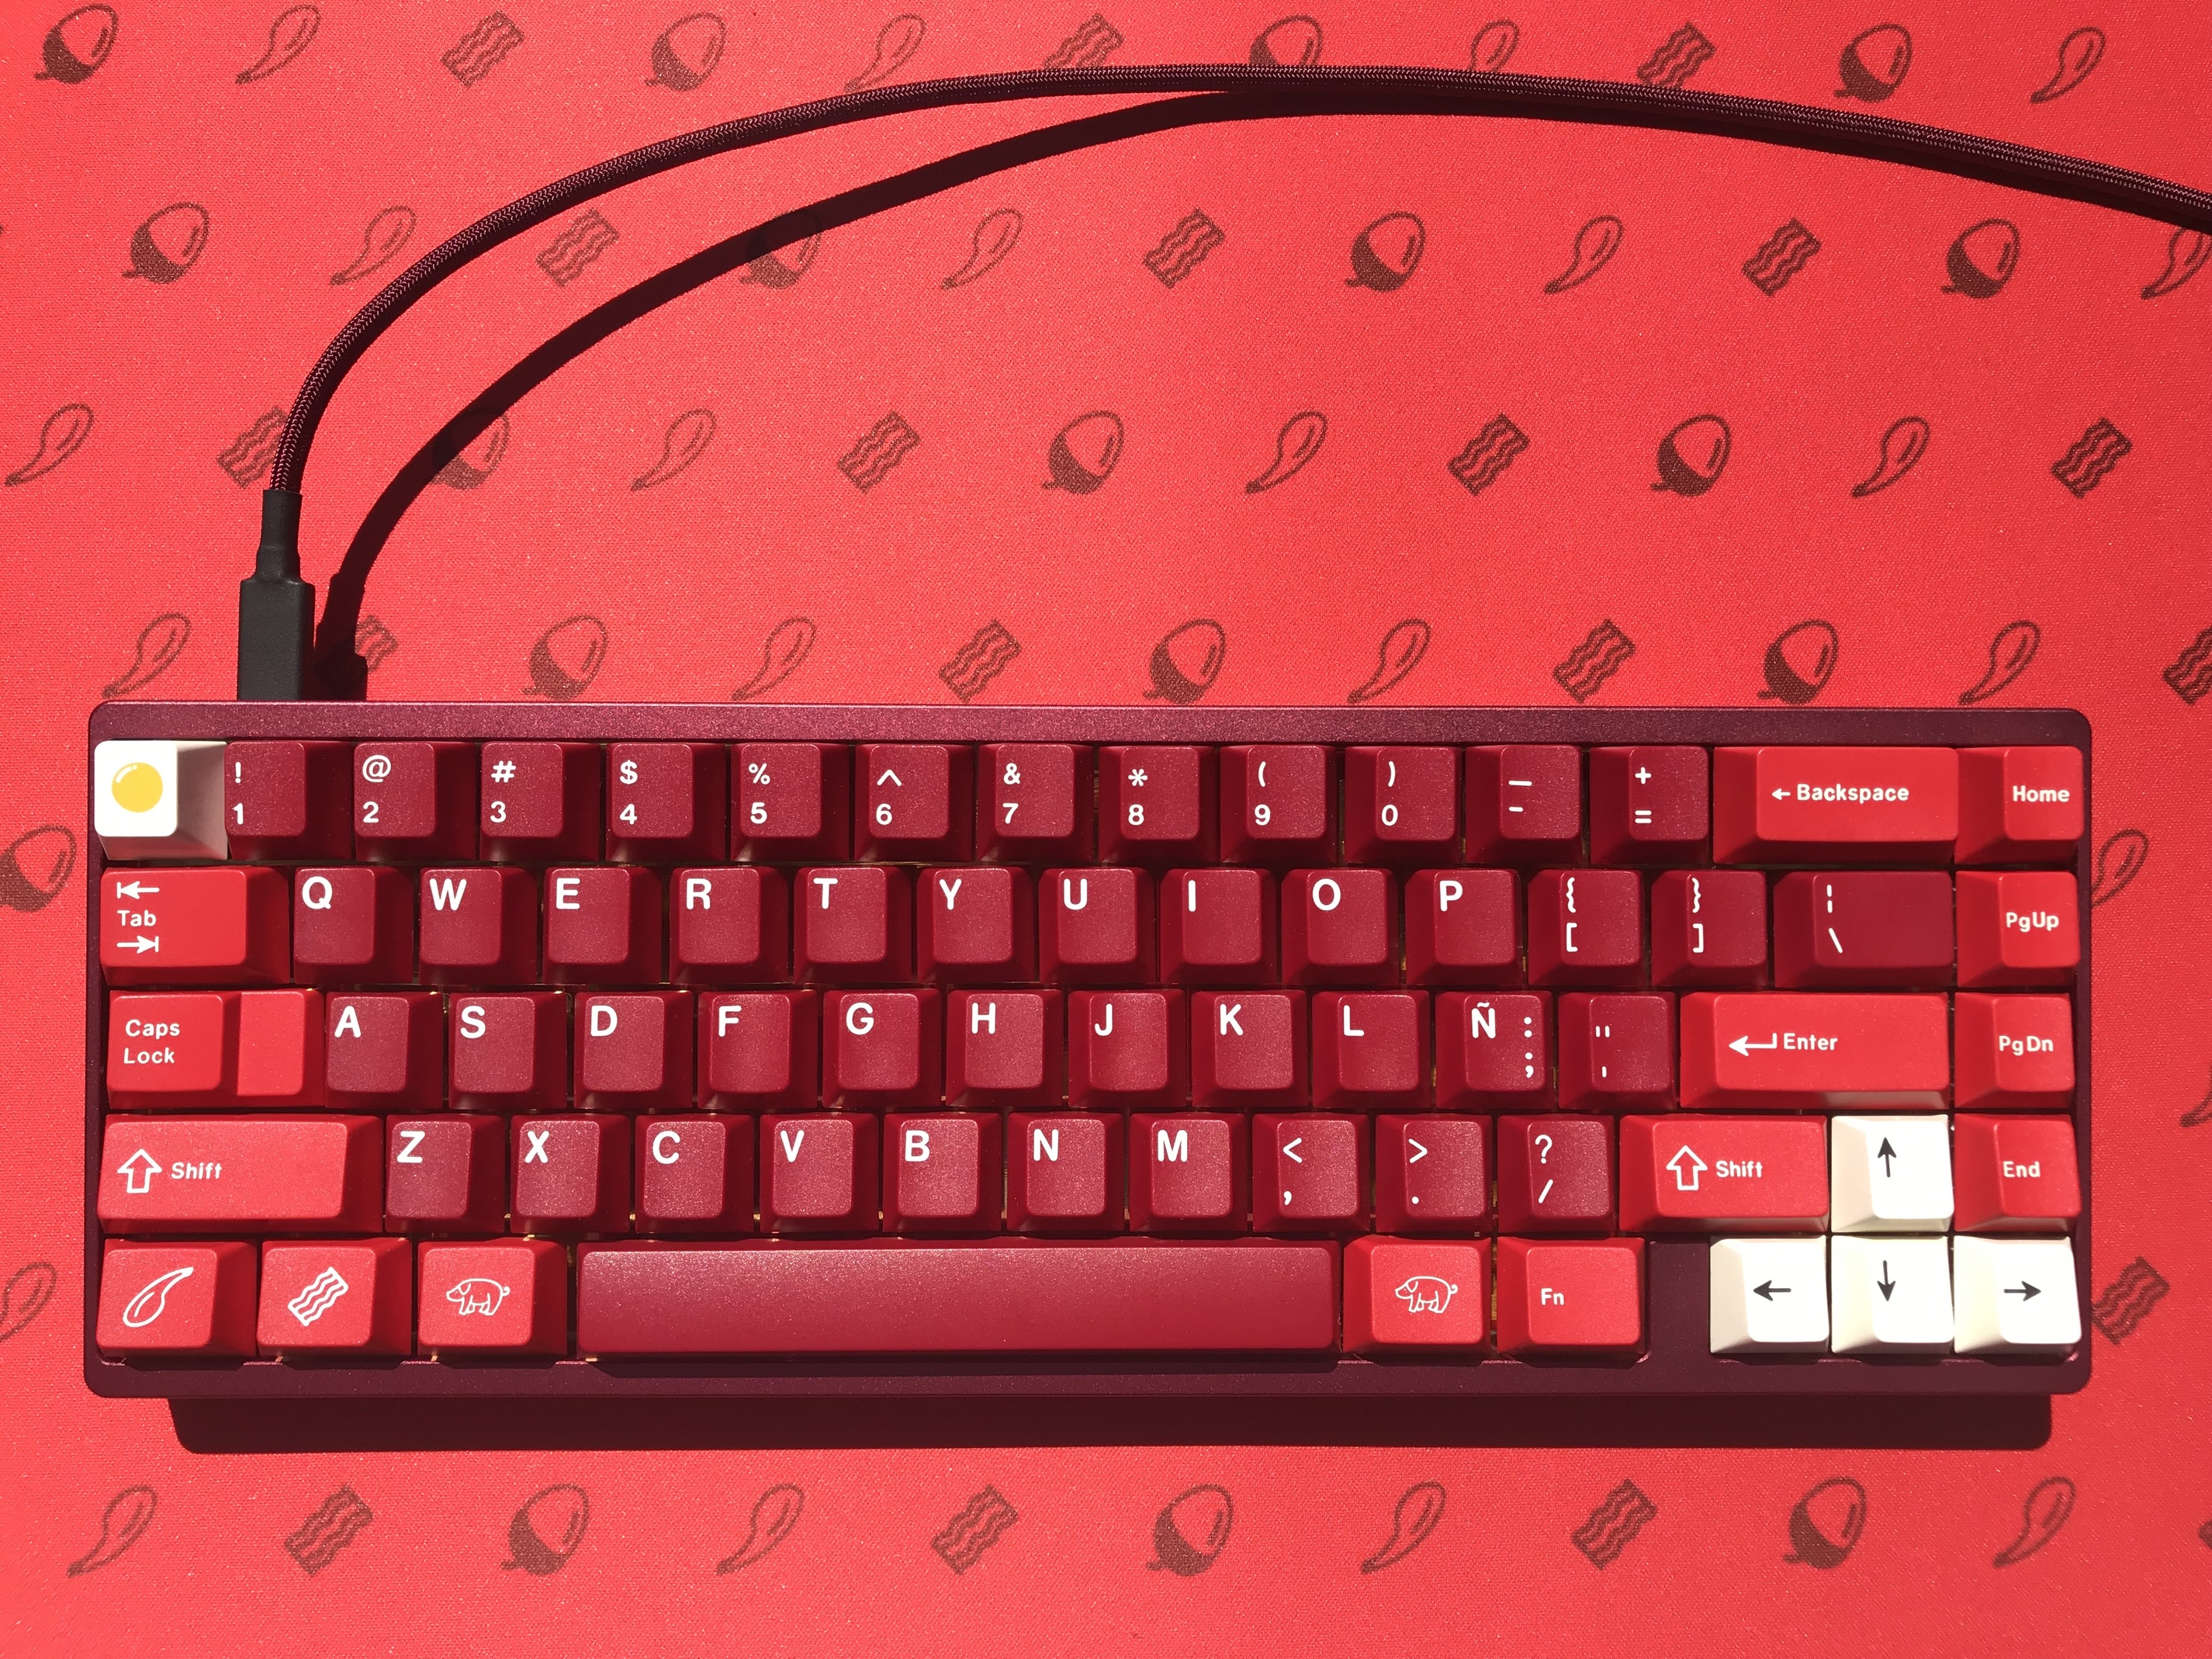
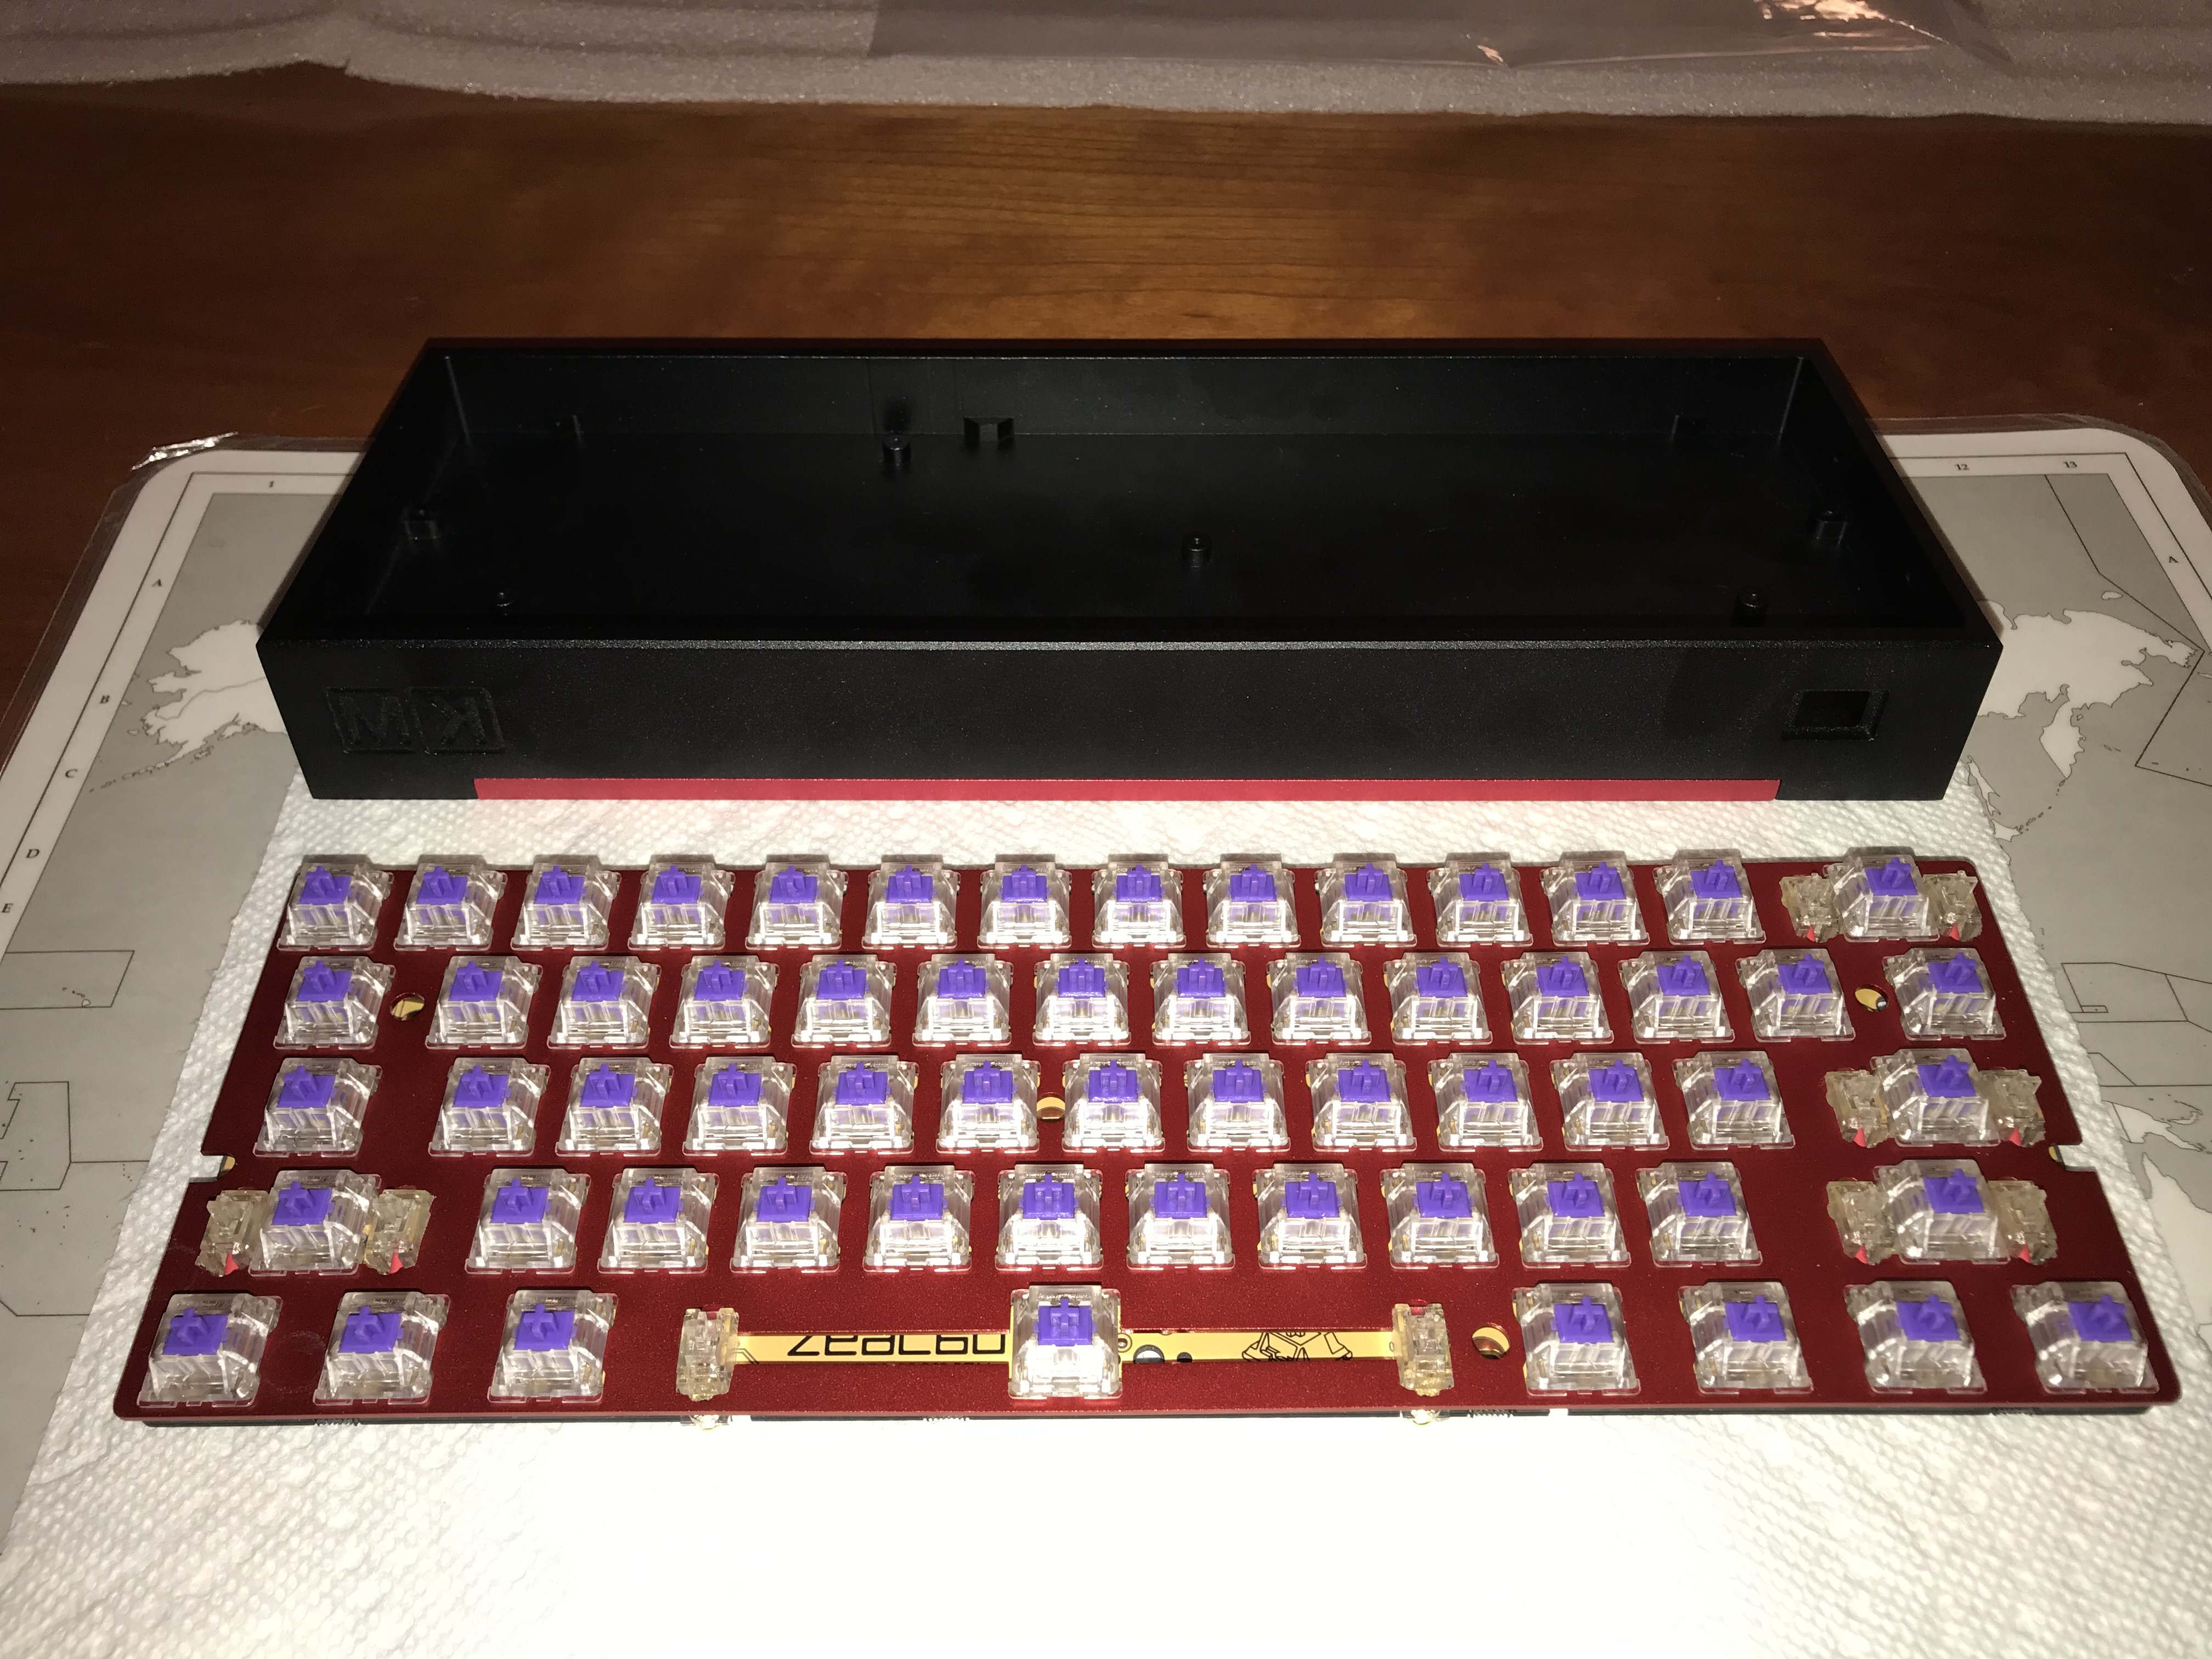
Build #20: KBD67 Jamón
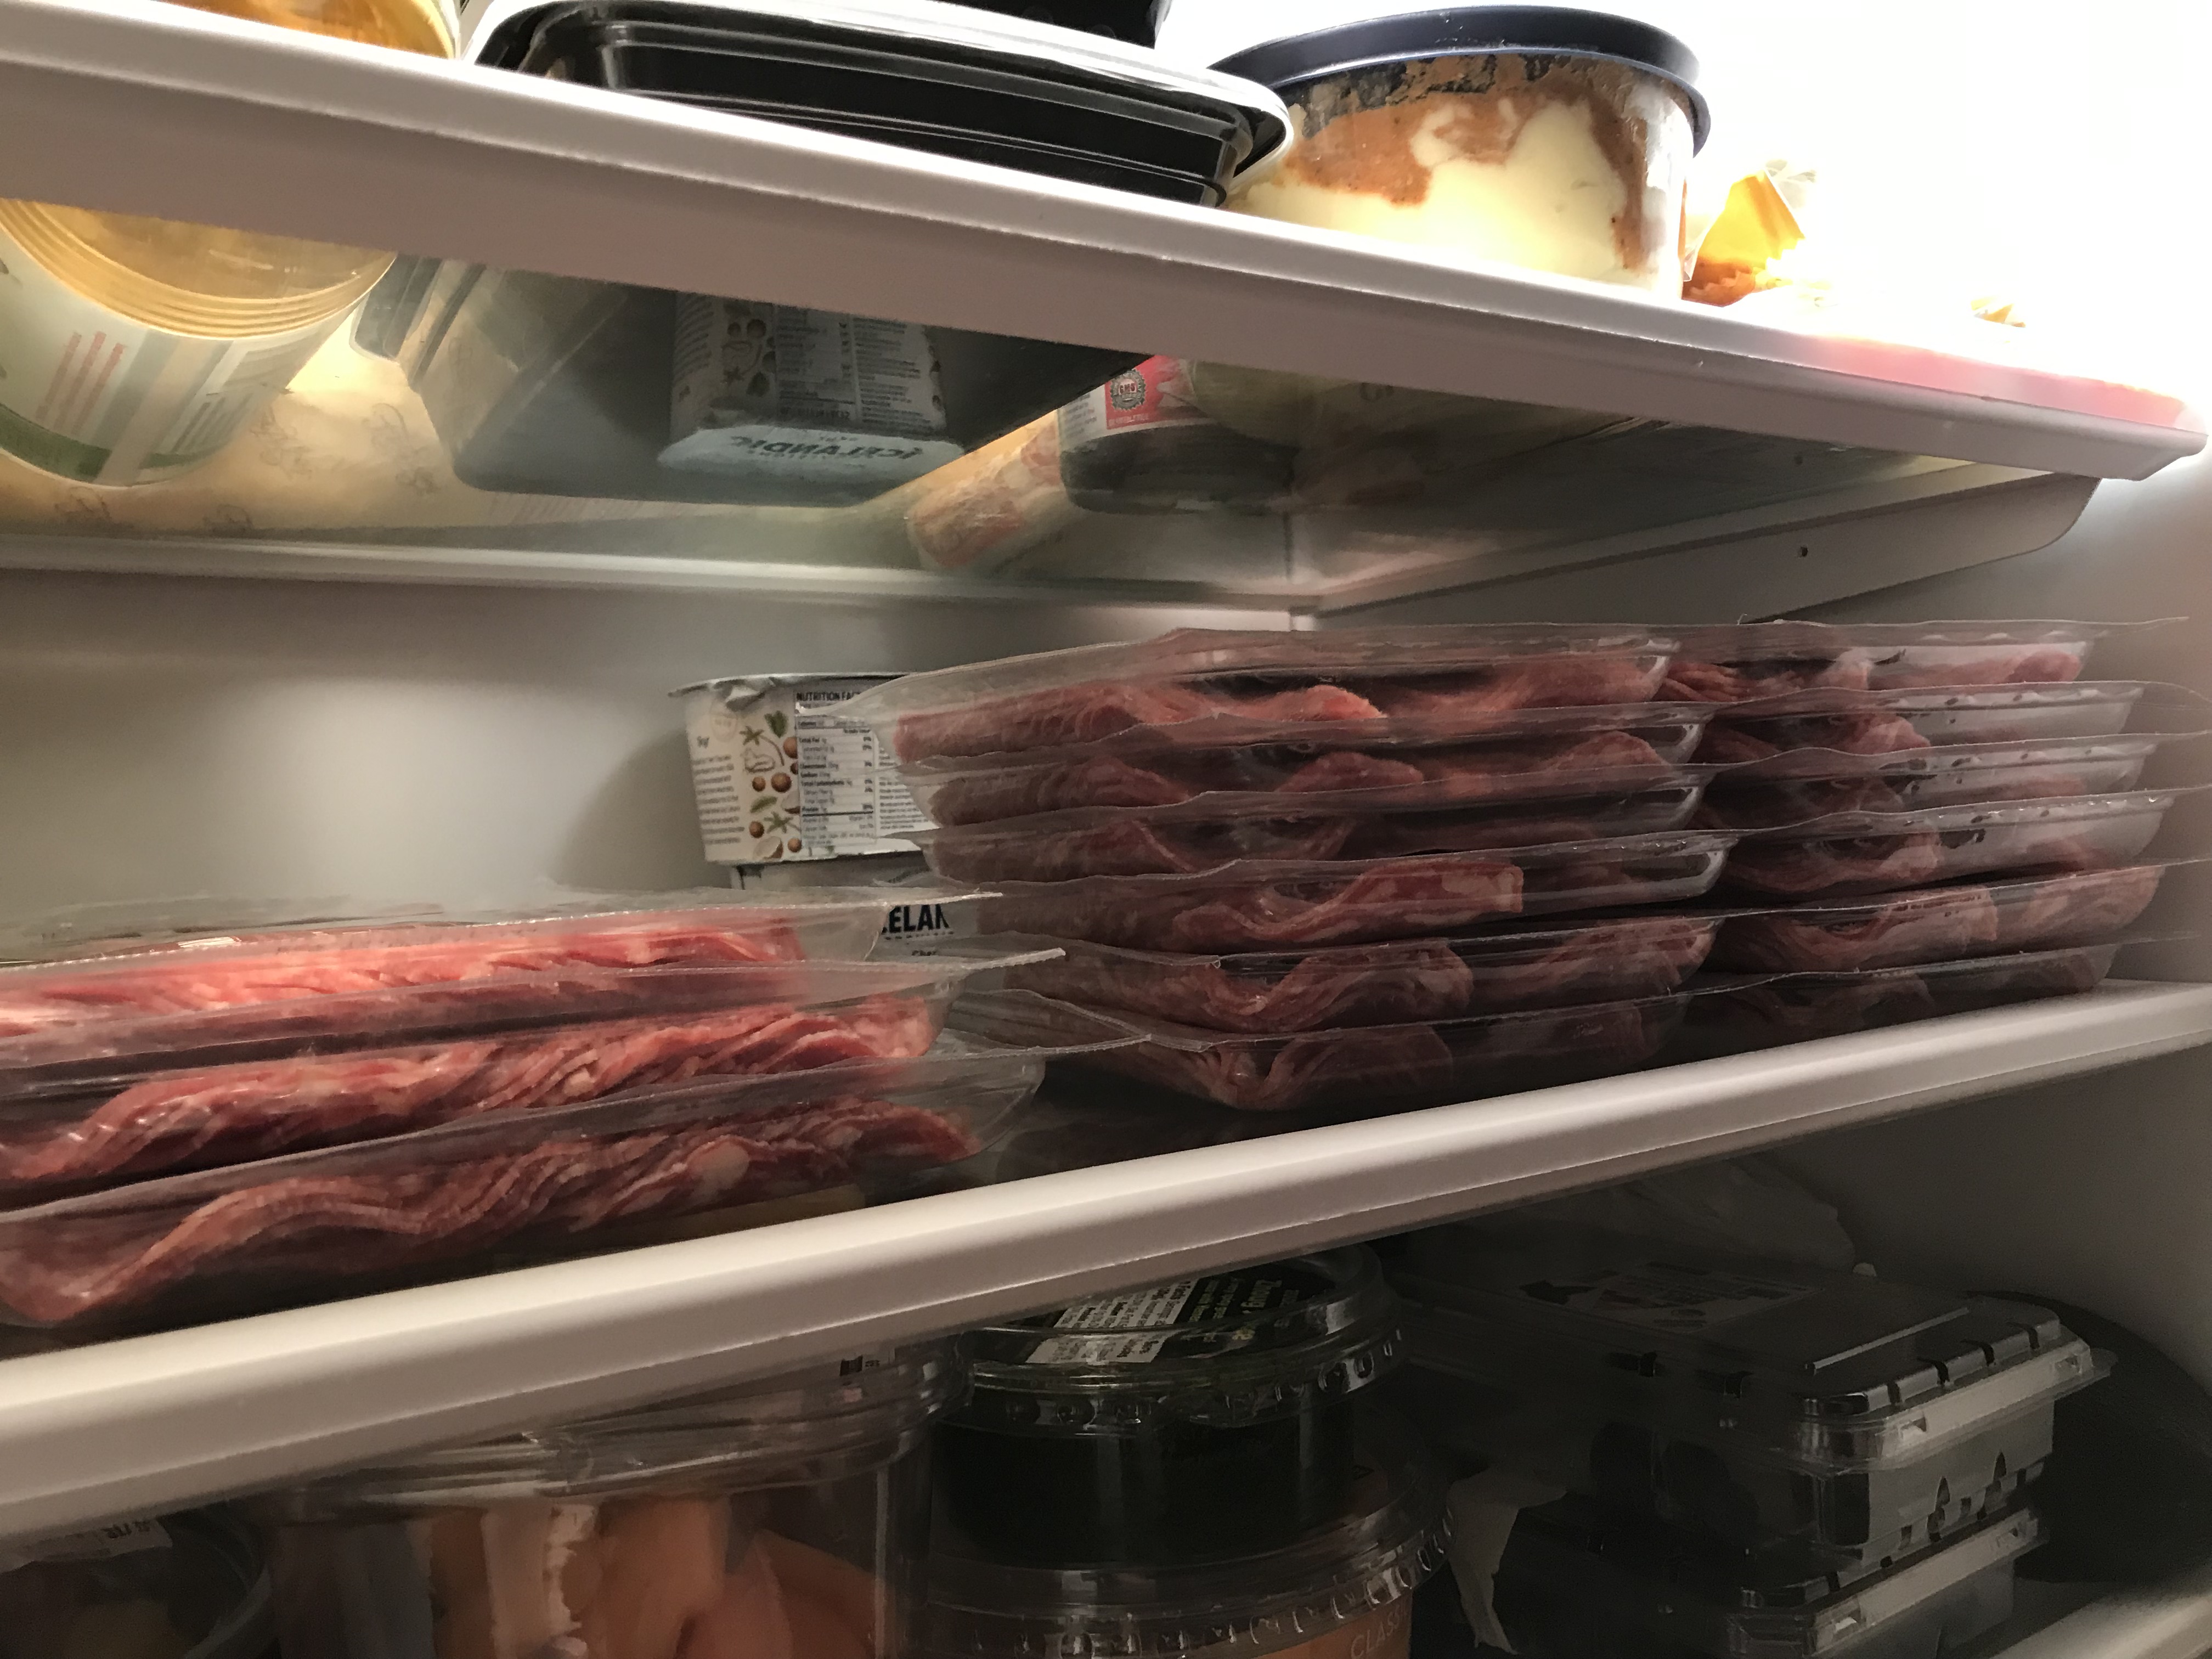
Some good friends of ours make artisanal salumi for a living, which means that every so often, out of the goodness of their hearts, the contents of our fridge look like this. What can I say? It’s truly a glorious thing.
Suppose these were your friends, and, upon discovering your second life as a keyboard builder, these friends requested a build from you. What theme should this build have? What current keyset seems as apropos as any keyset could possibly be? What set might @Zambumon ask us to please consider?
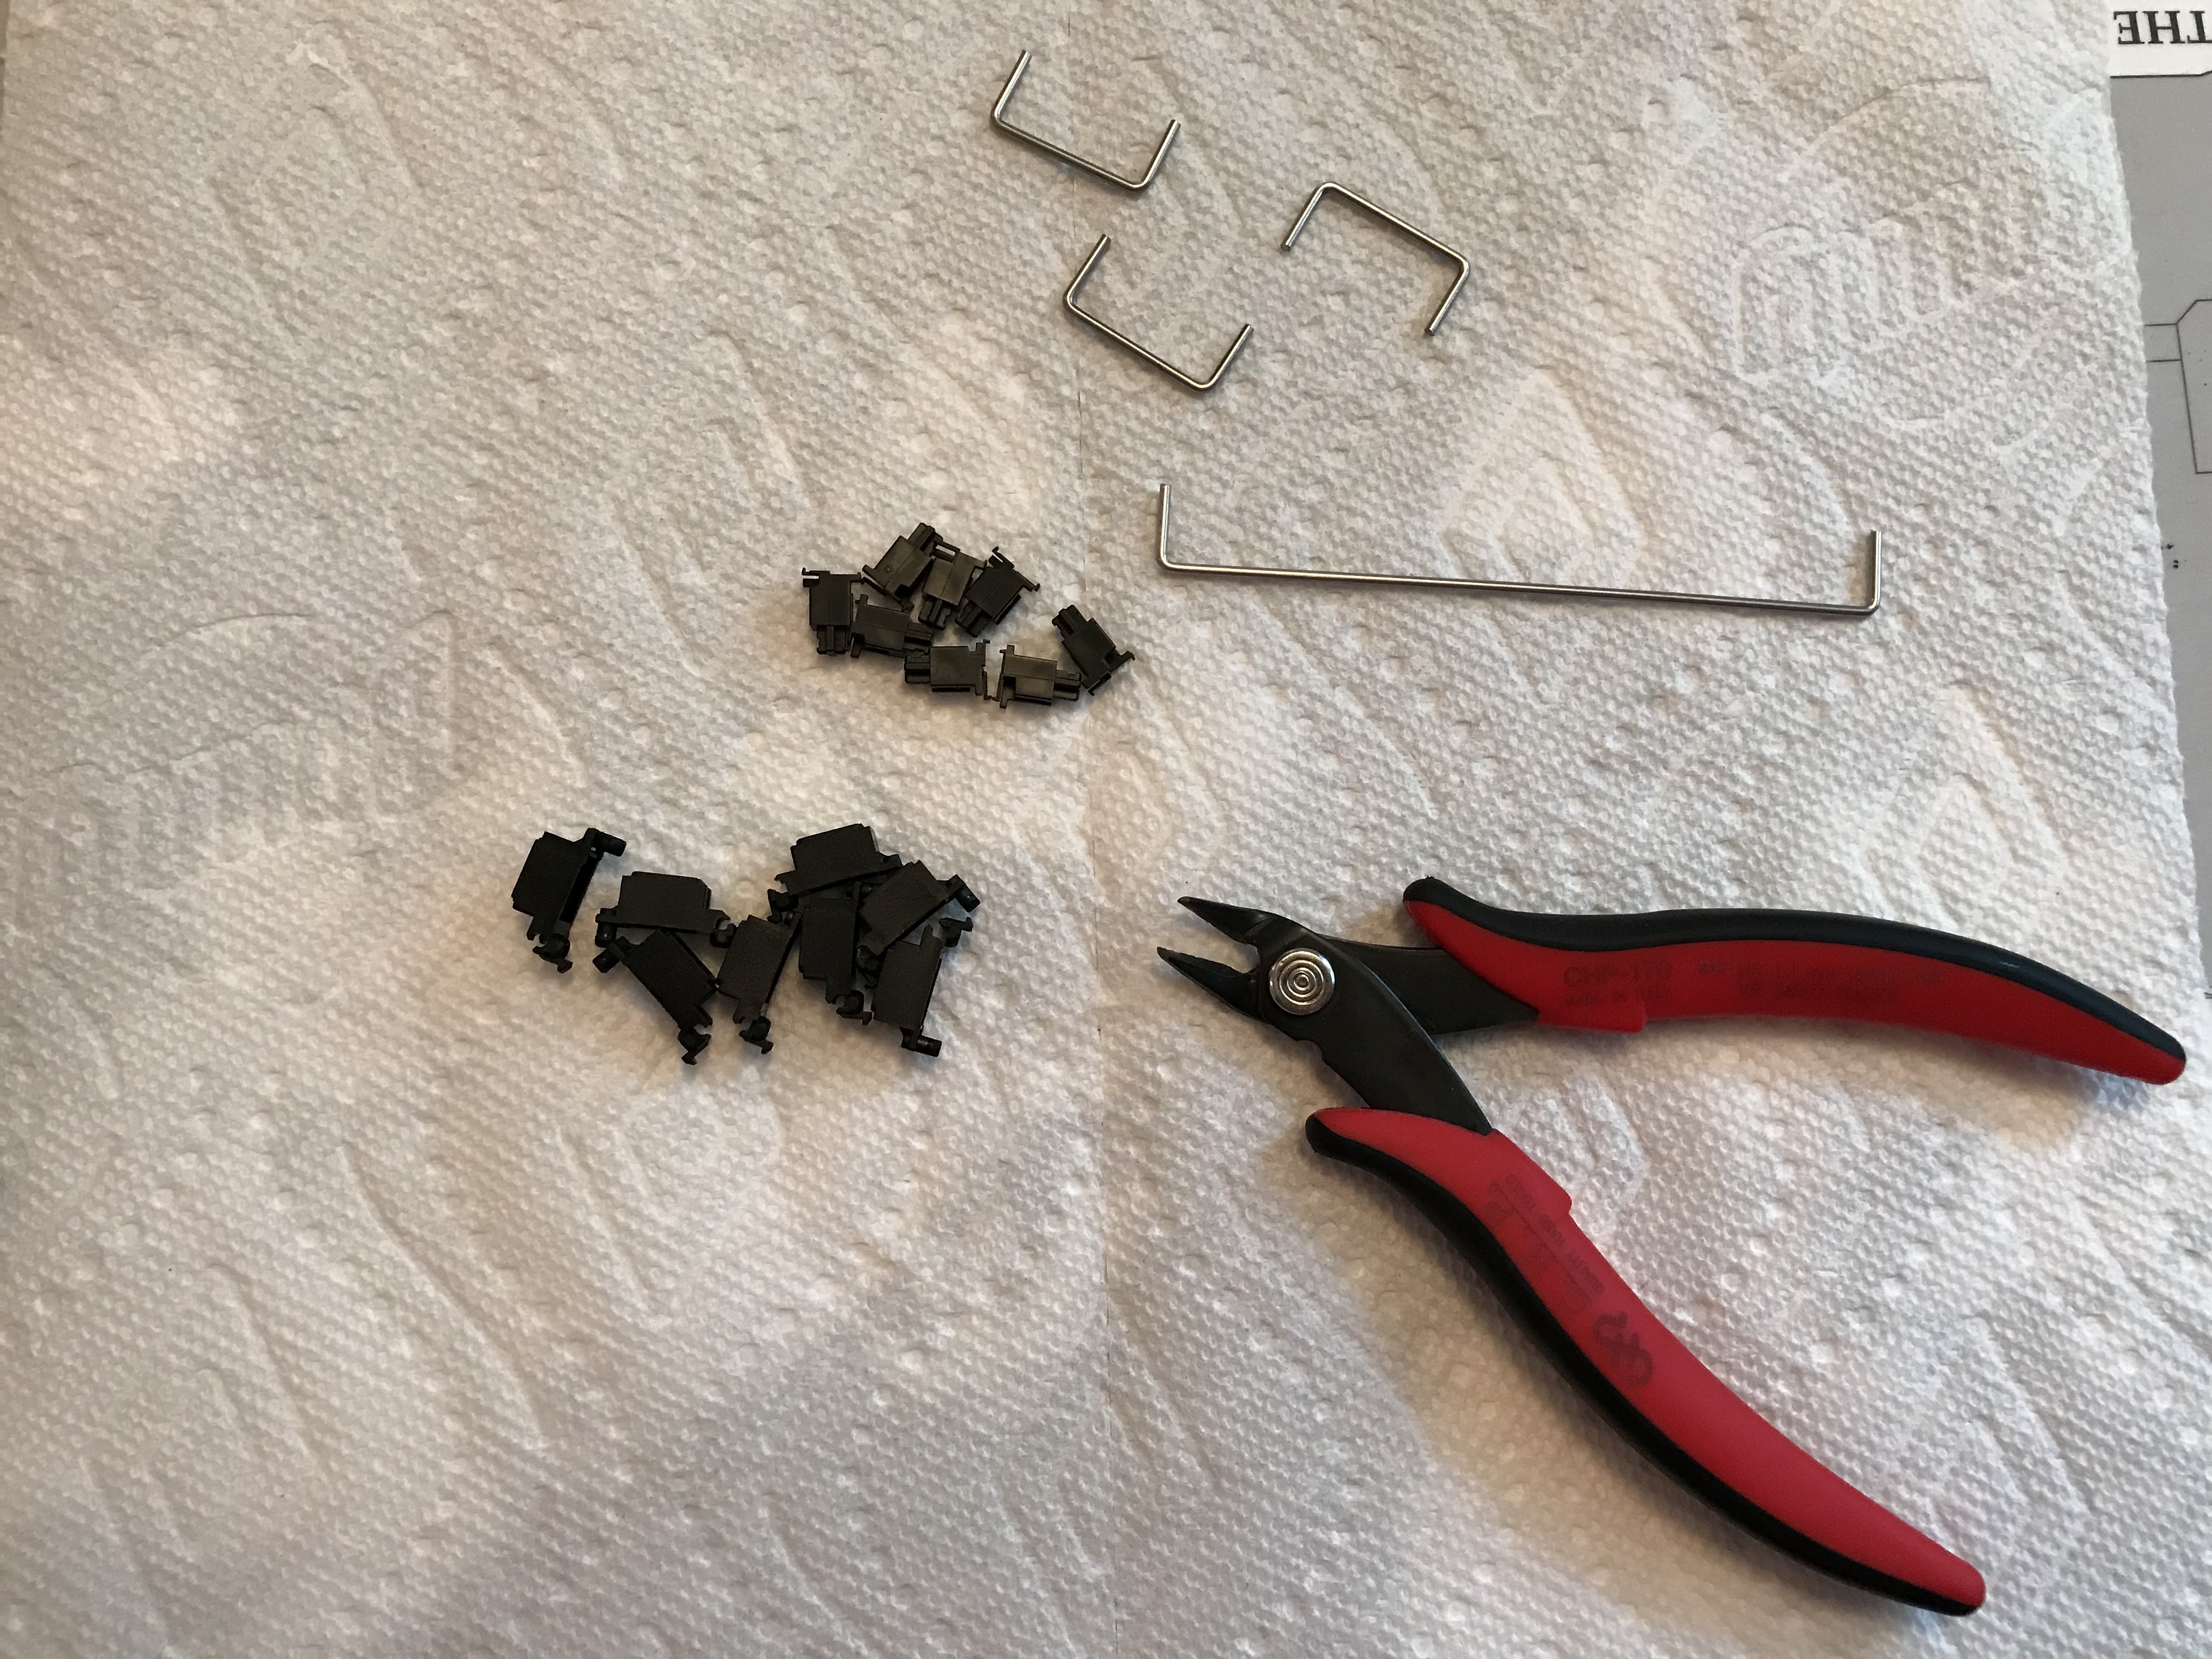
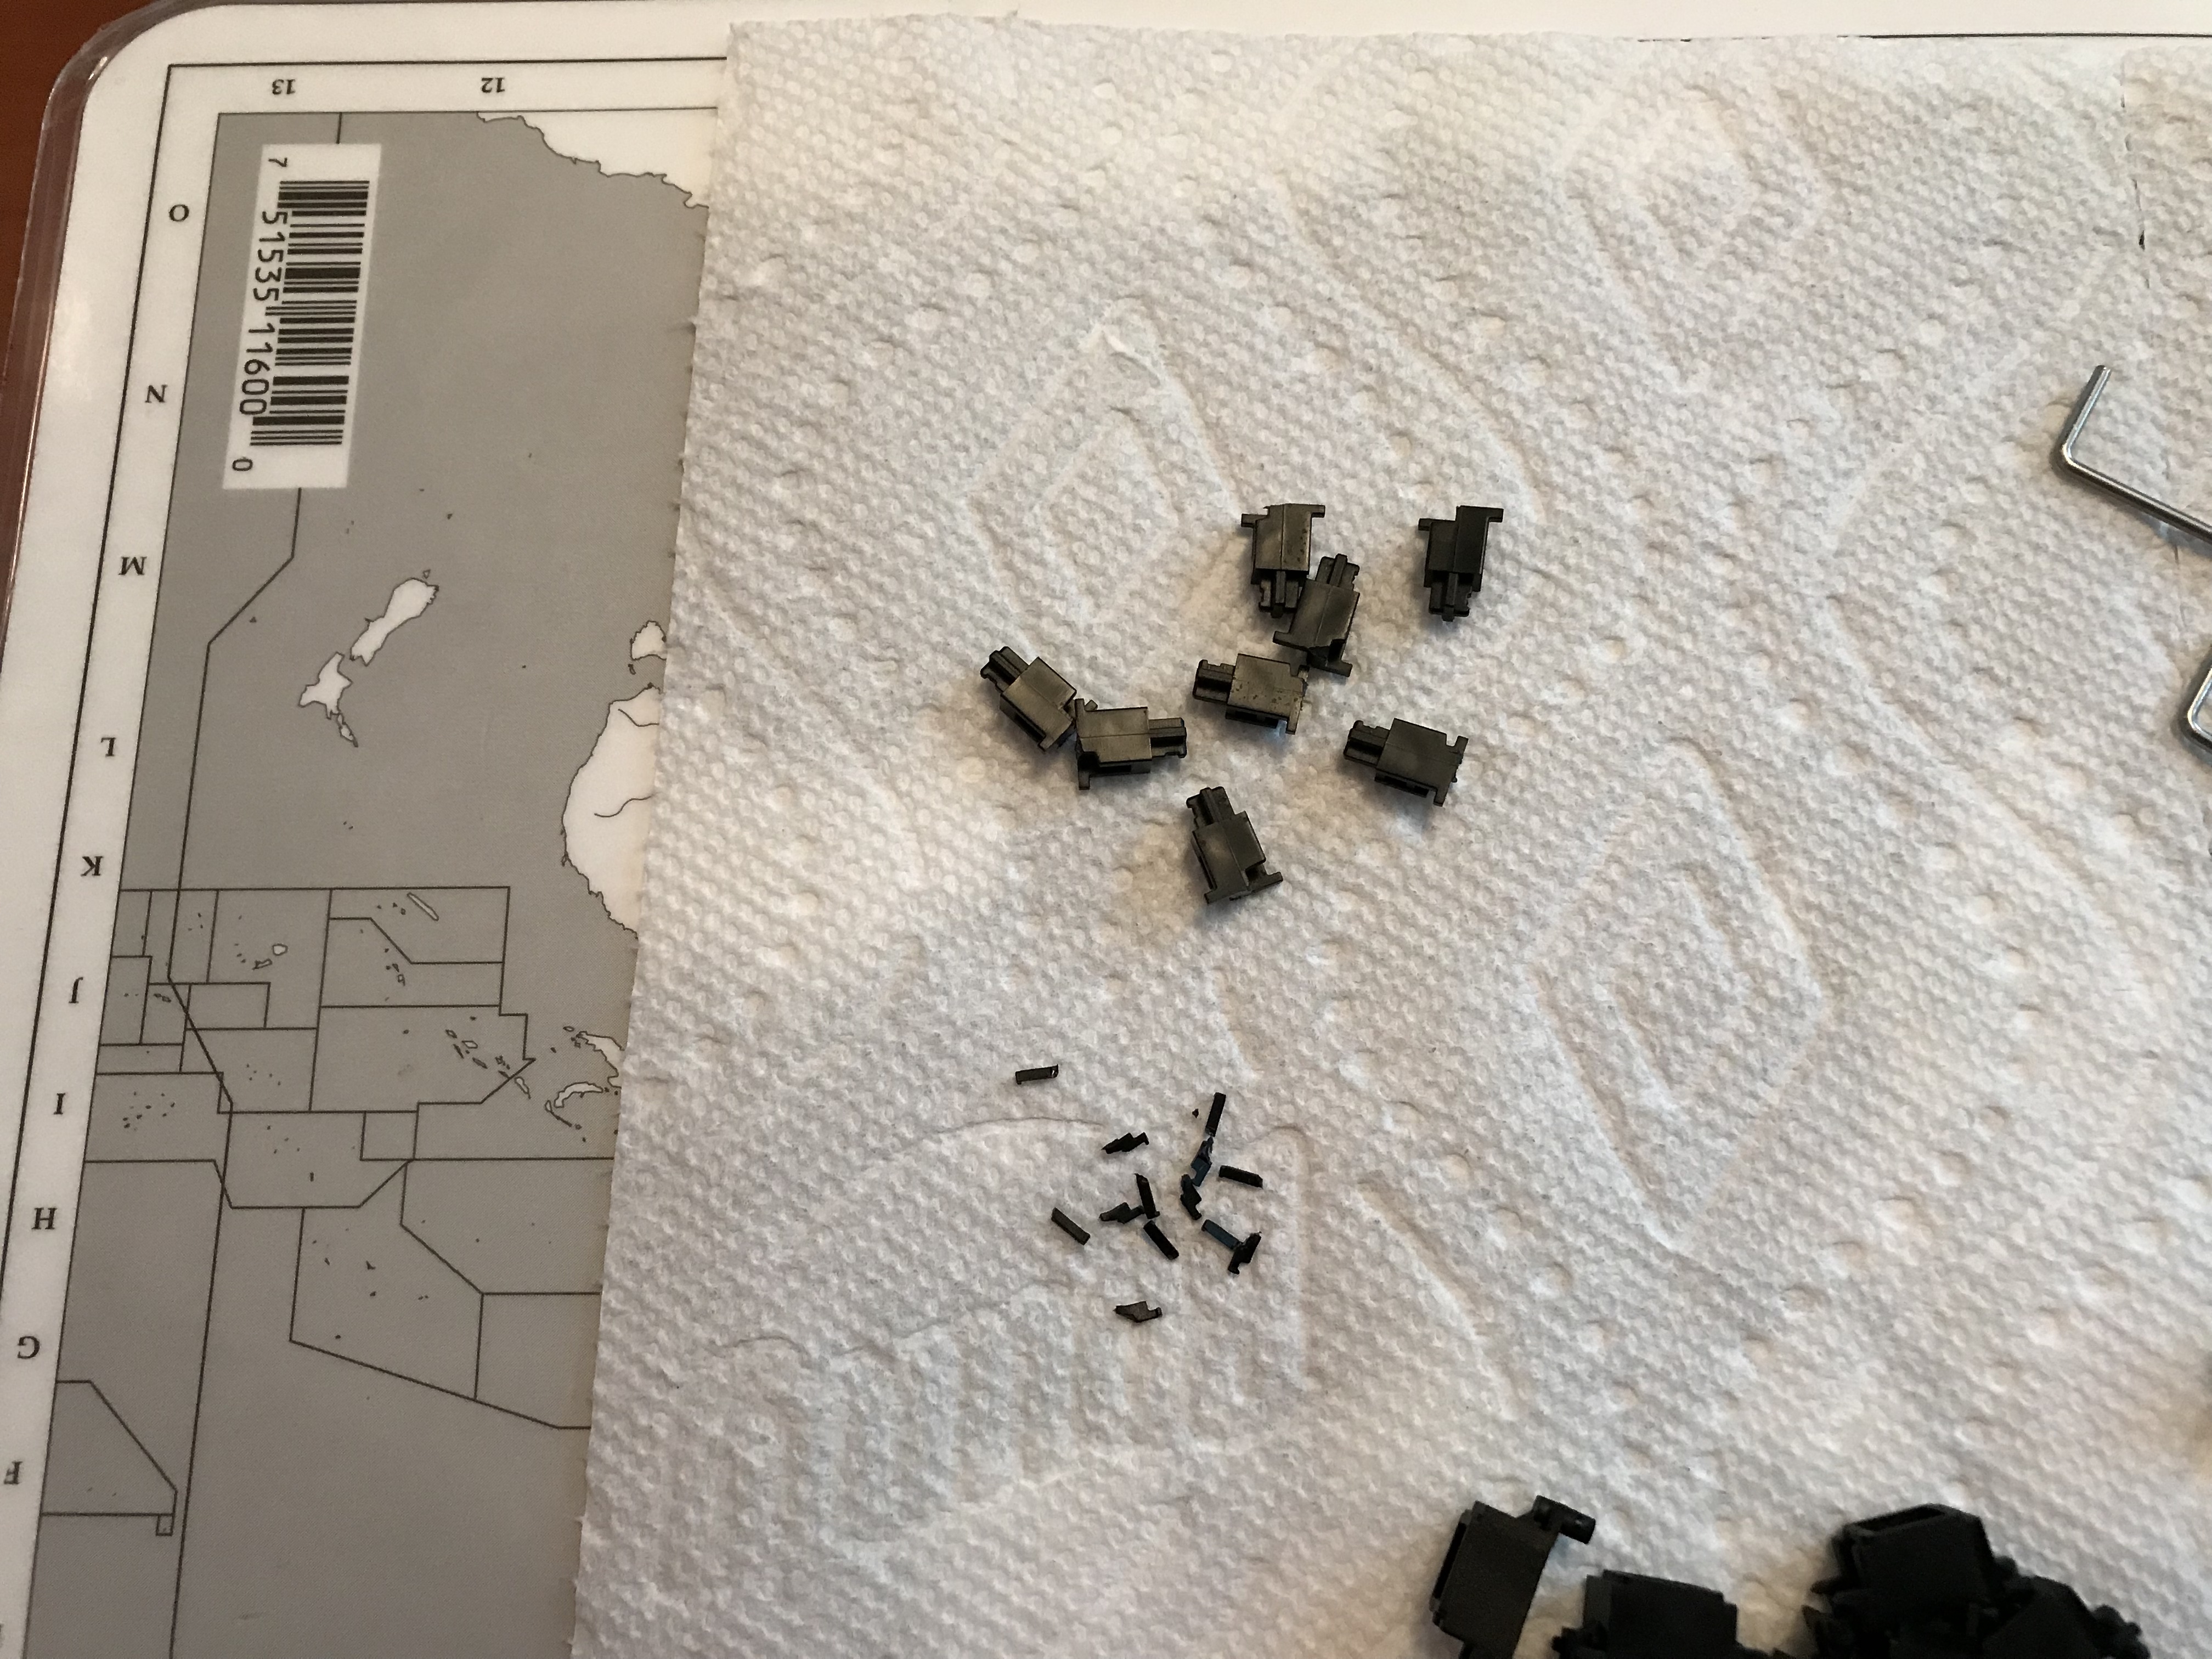
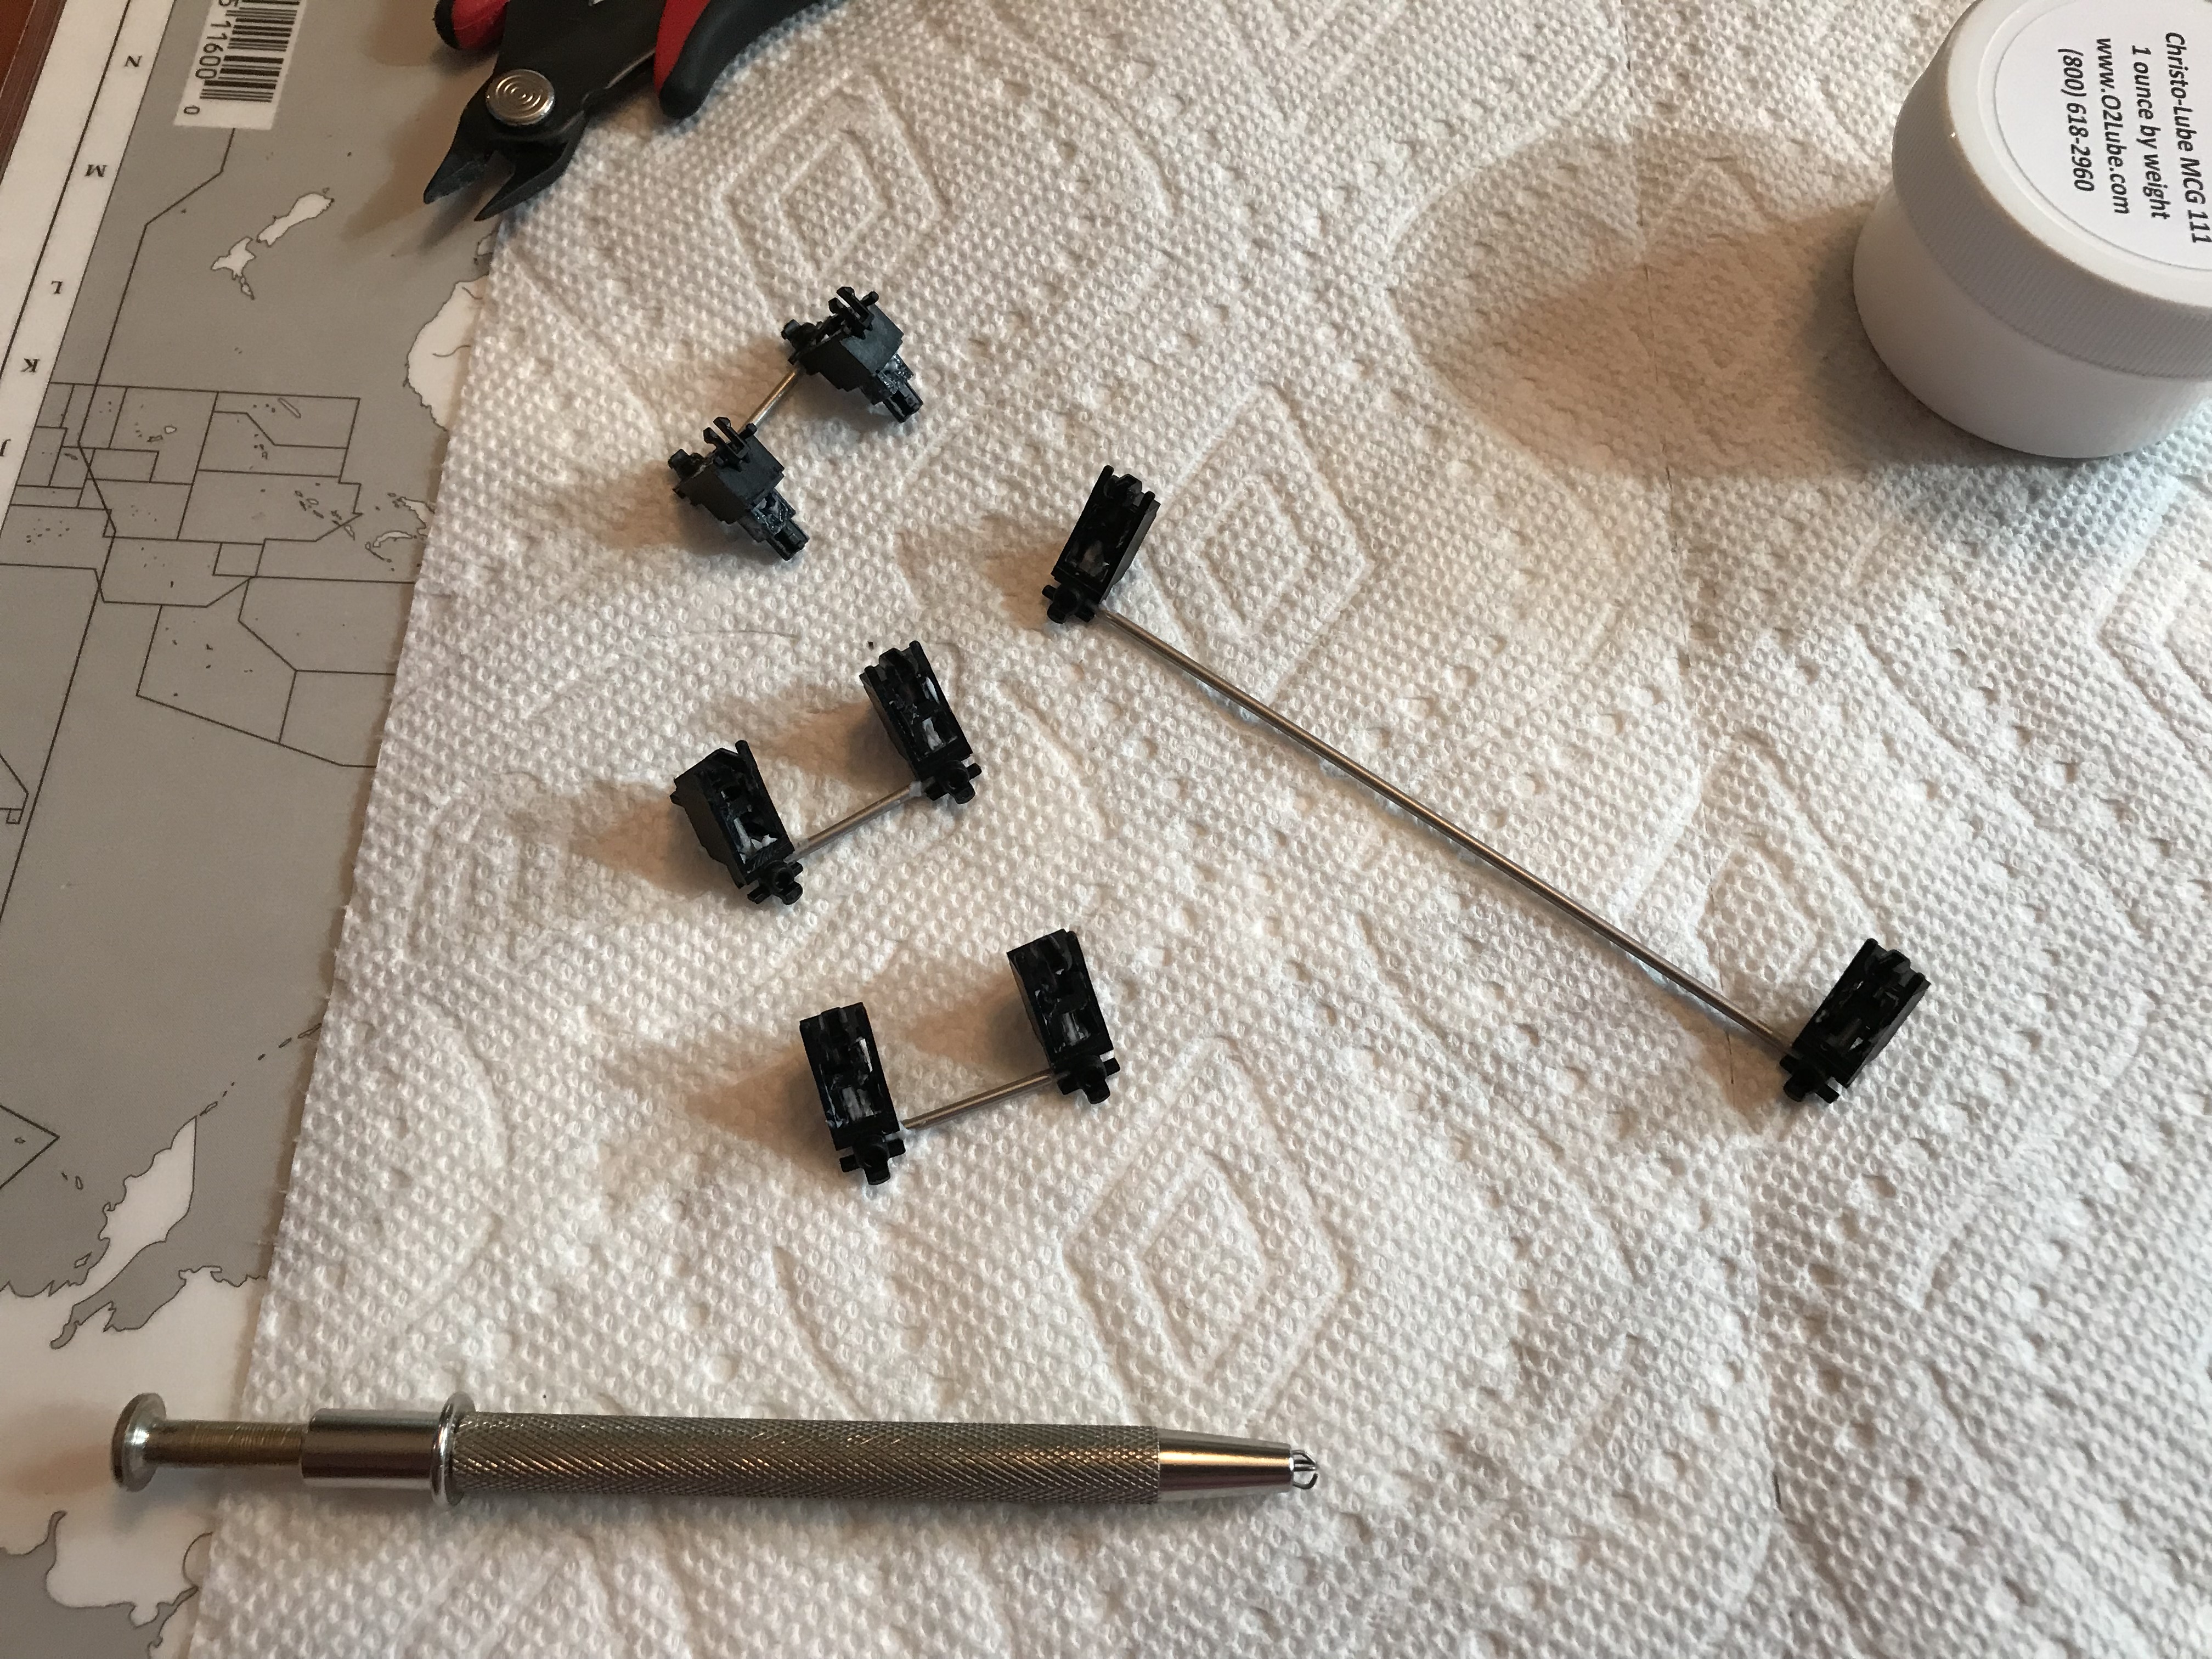
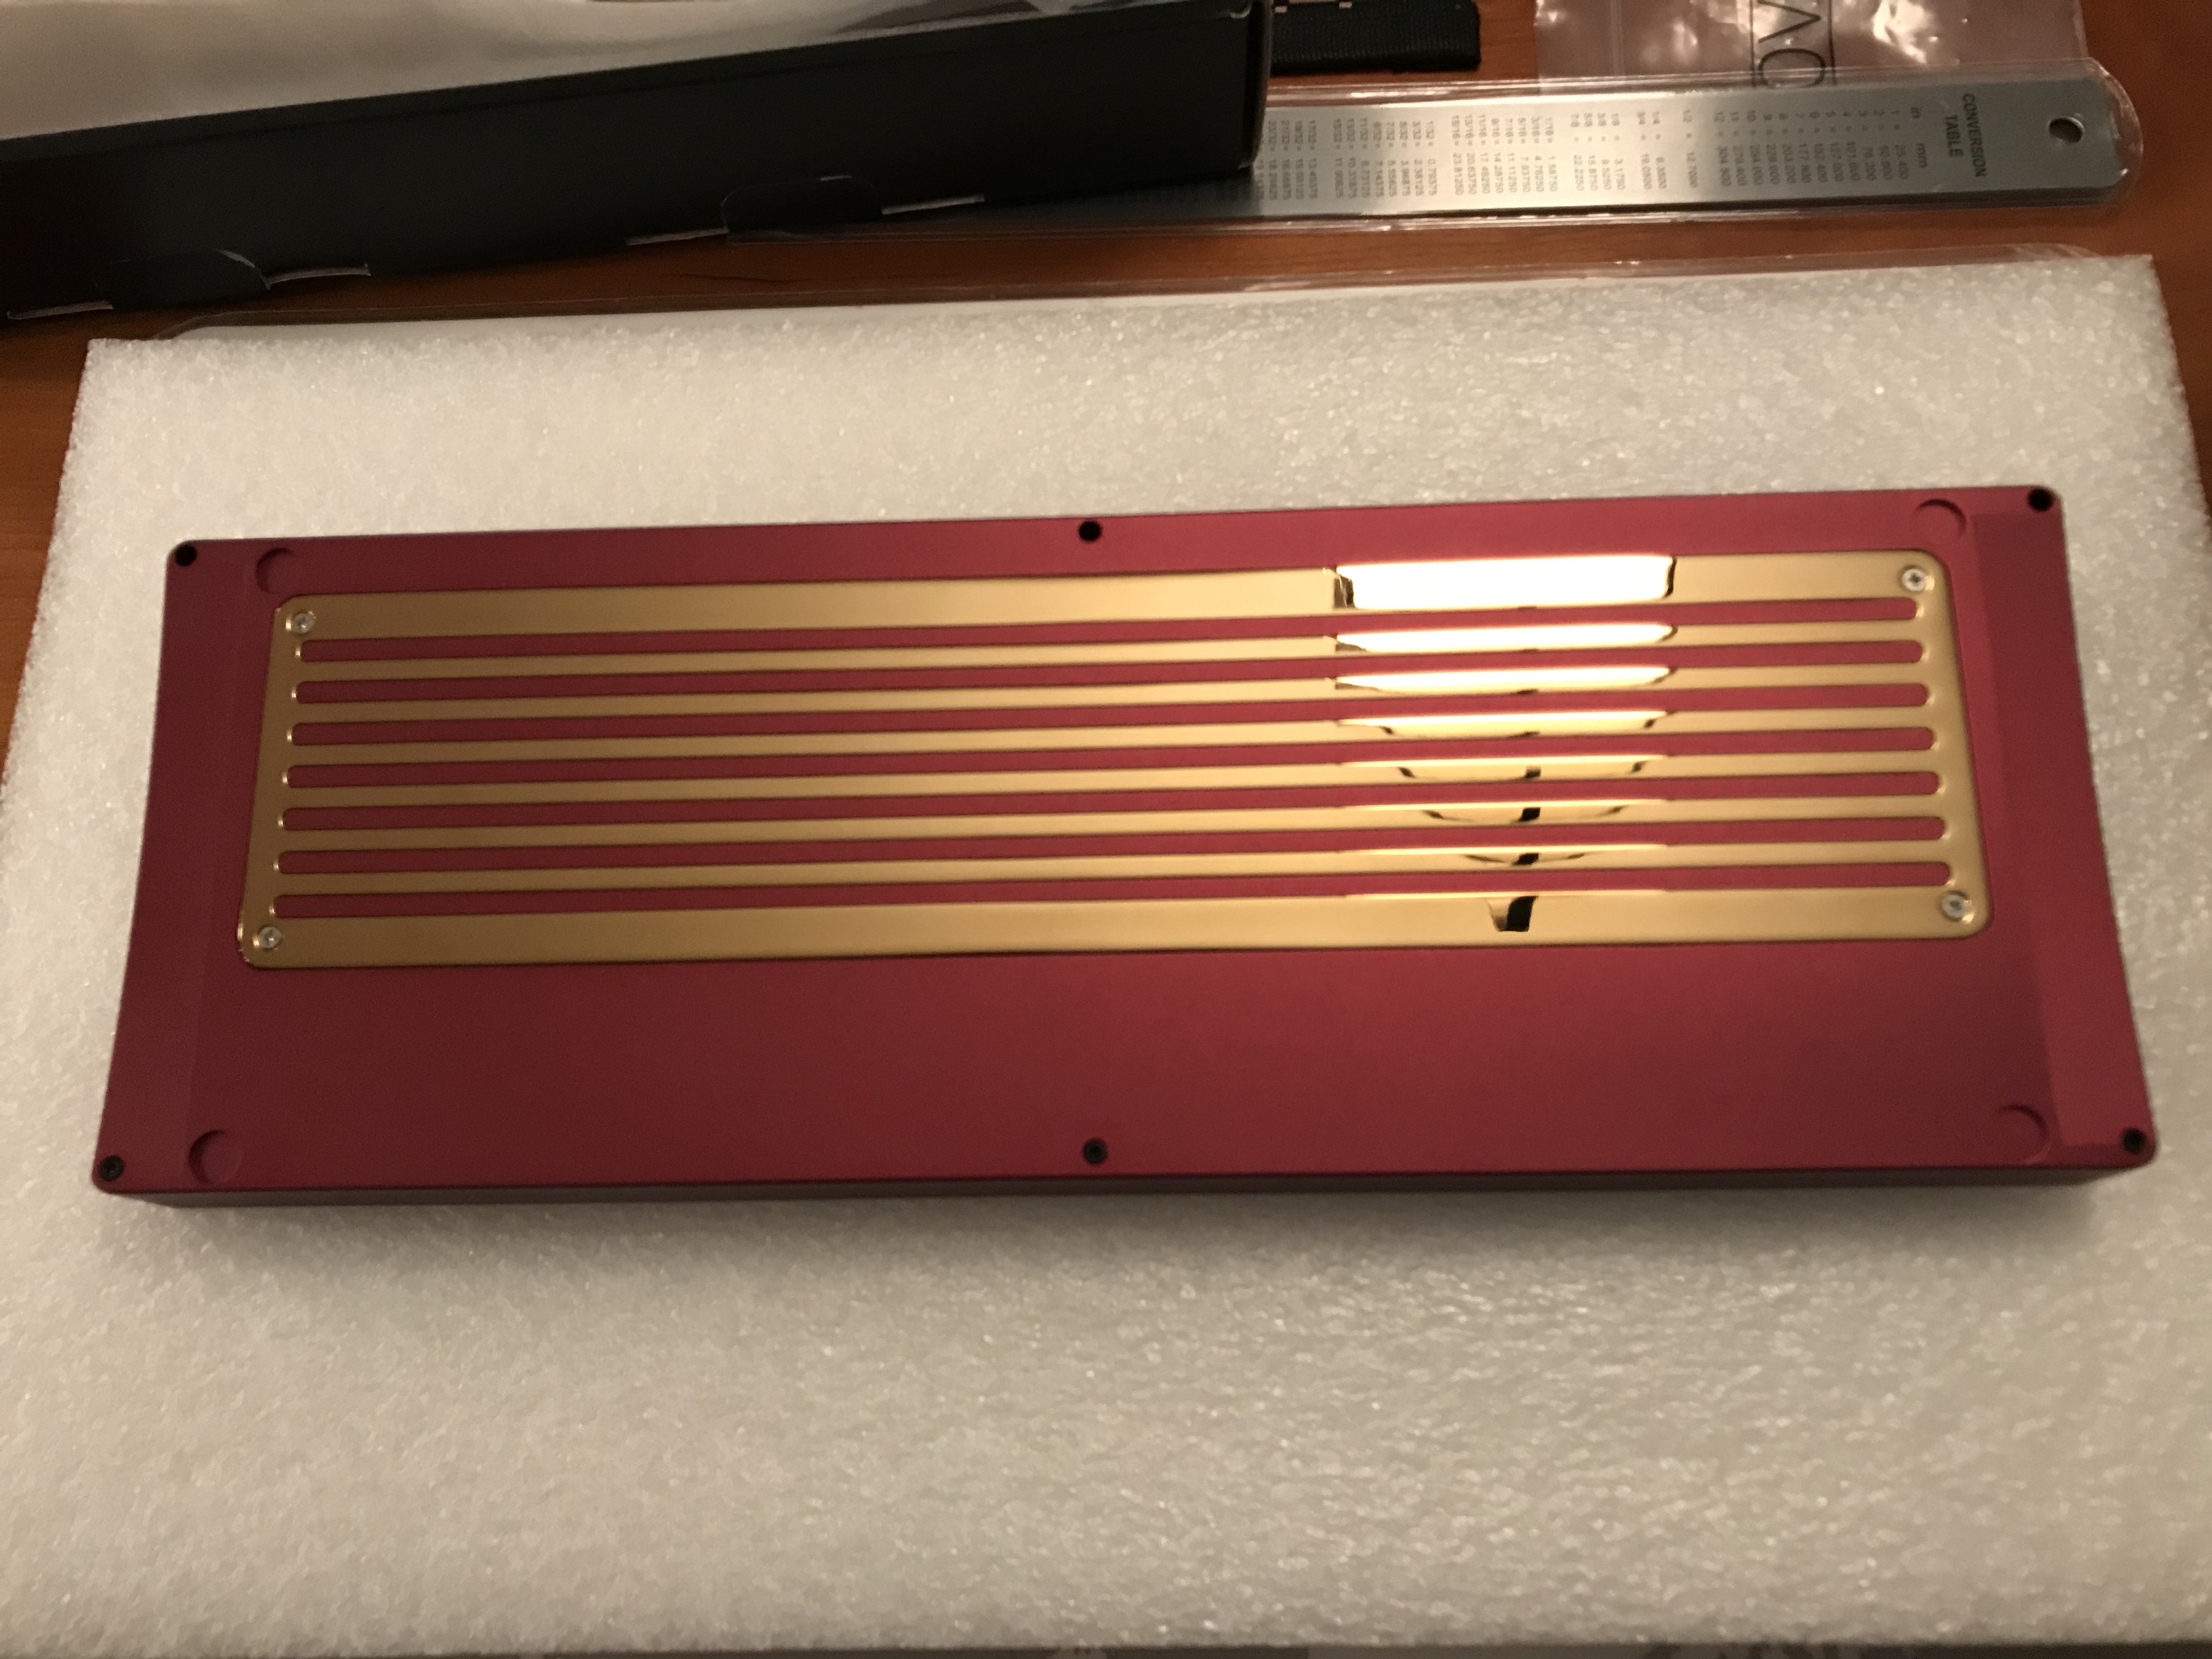
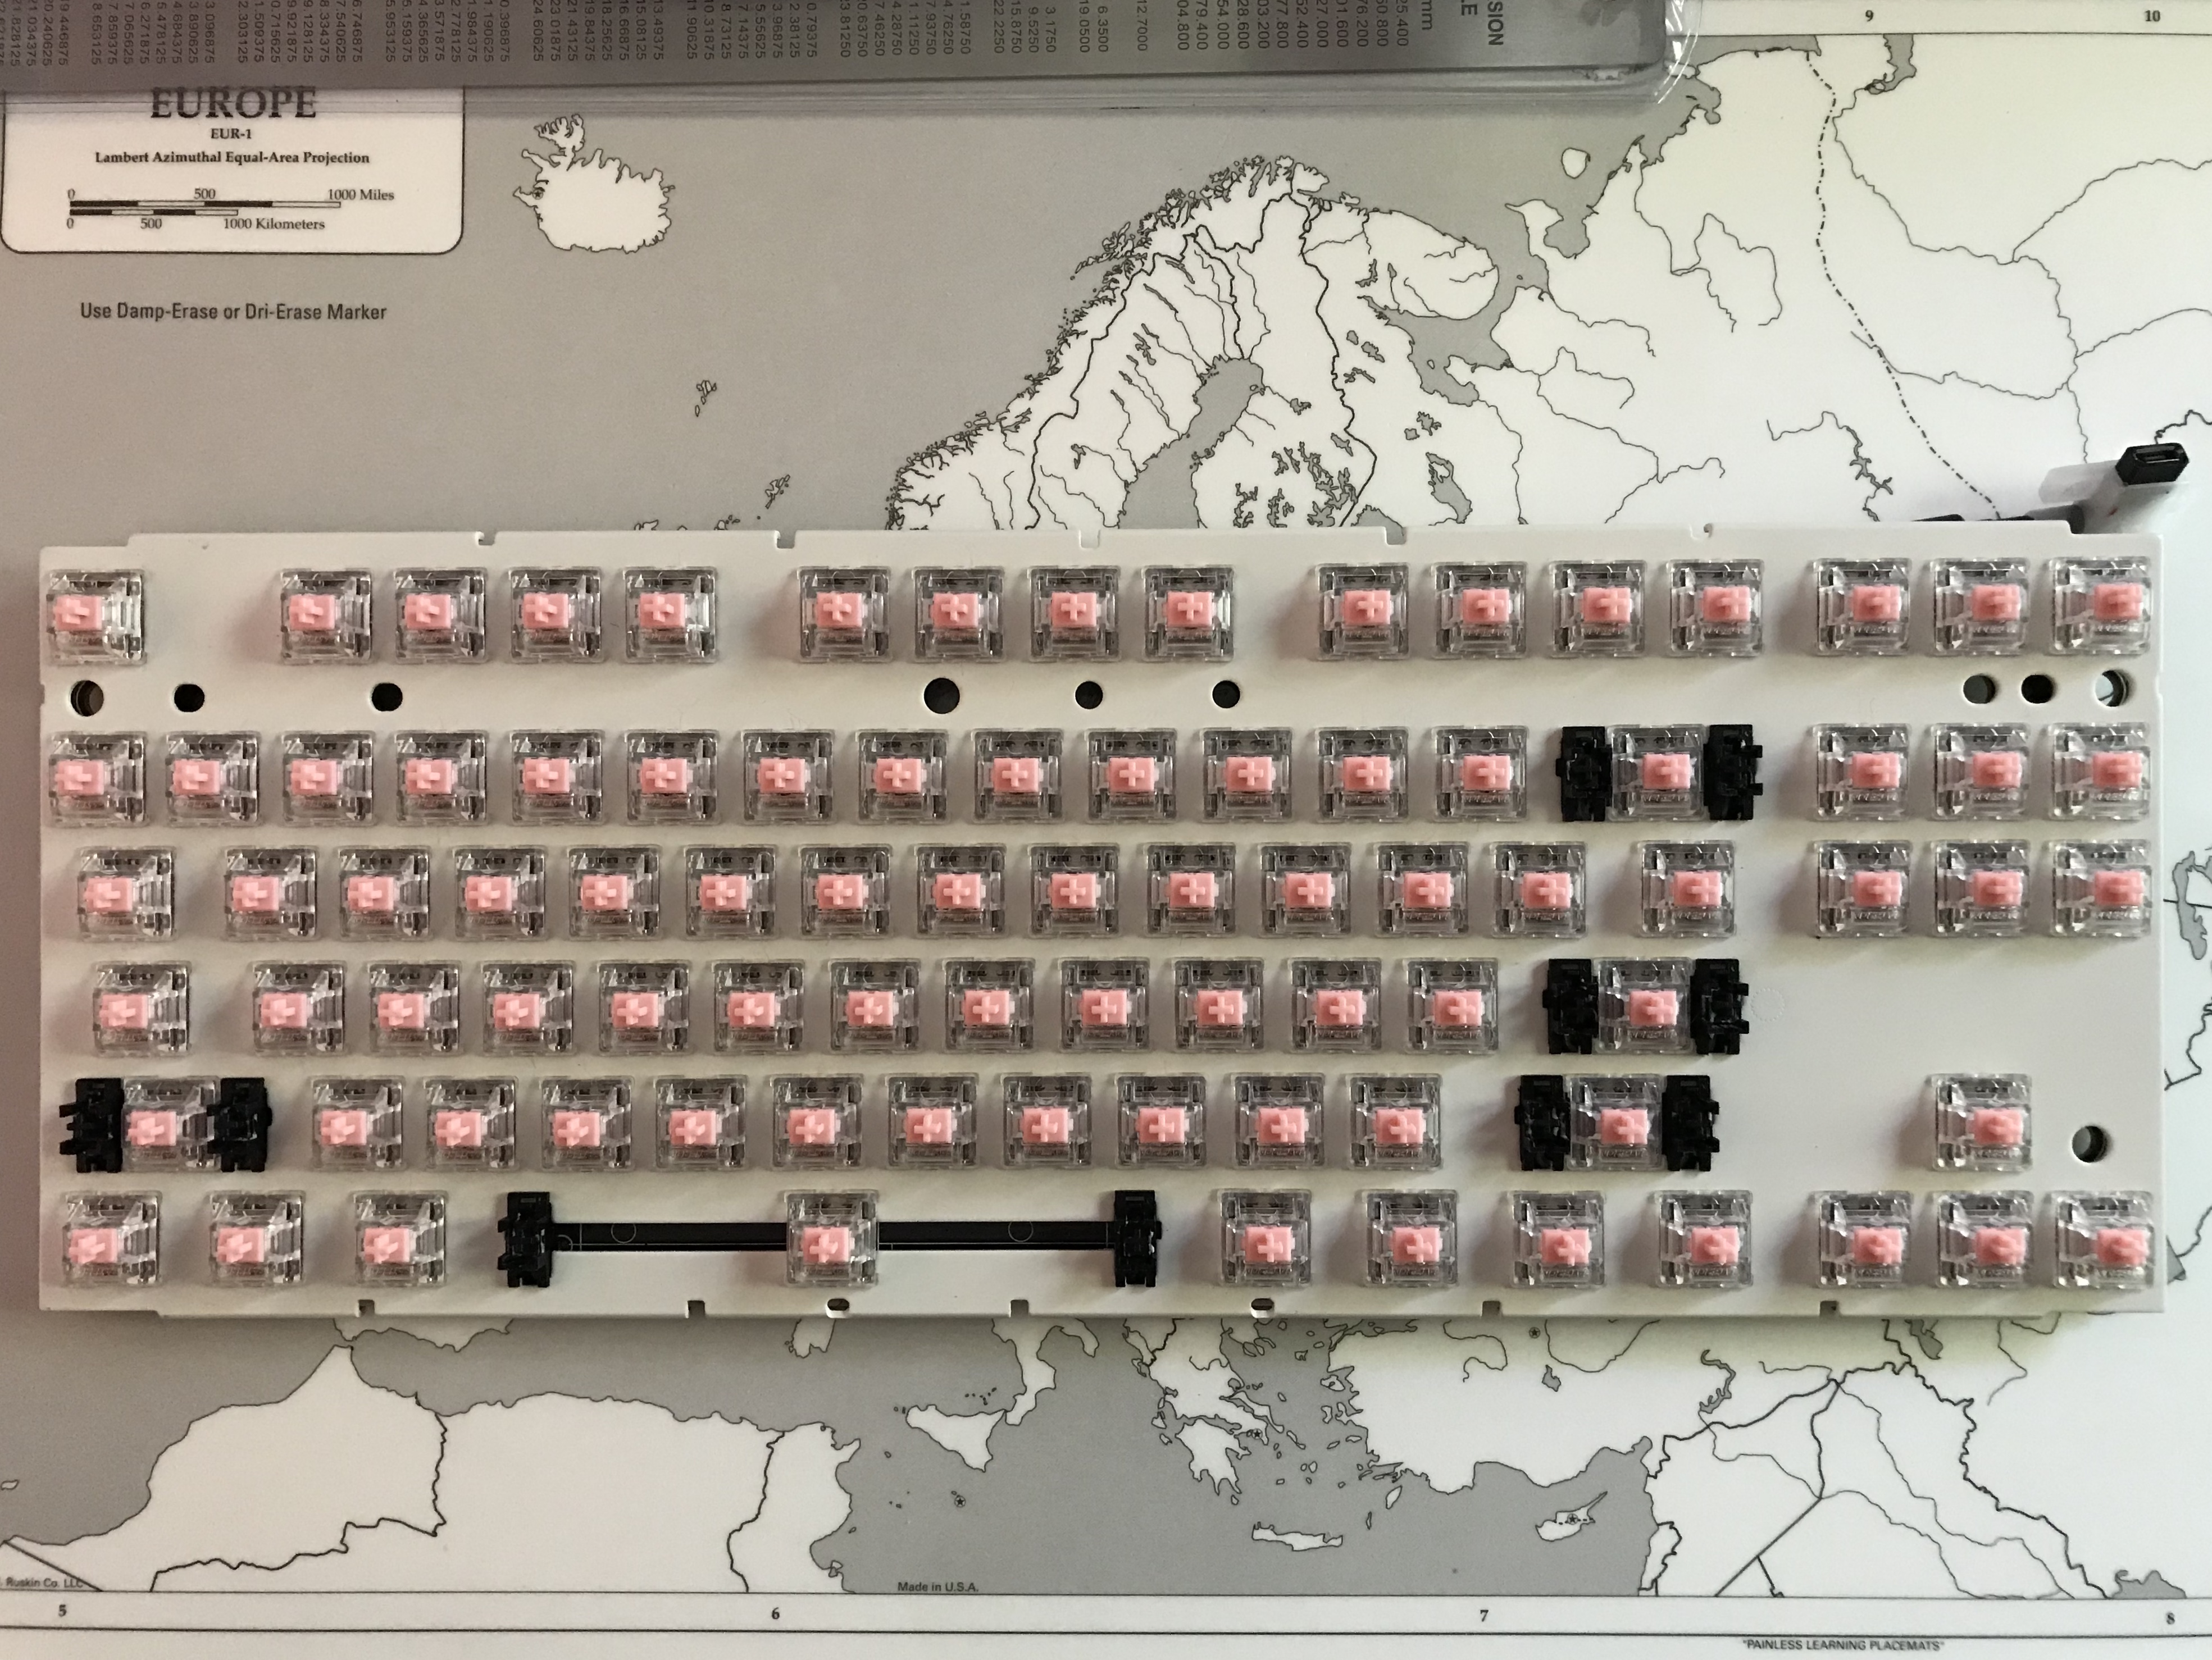
Let’s get to the build. To stay true to the color scheme, I selected a kbd67 kit in burgundy, with a brass plate. The kbd67 came with PCB snap-in stabs, and as these didn’t seem appreciably different from GMK PCB snap-in stabs, I used them. The standard layout for the kbd67 uses 3x2u and 1x6.25u stabilizers, which have been disassembled here.
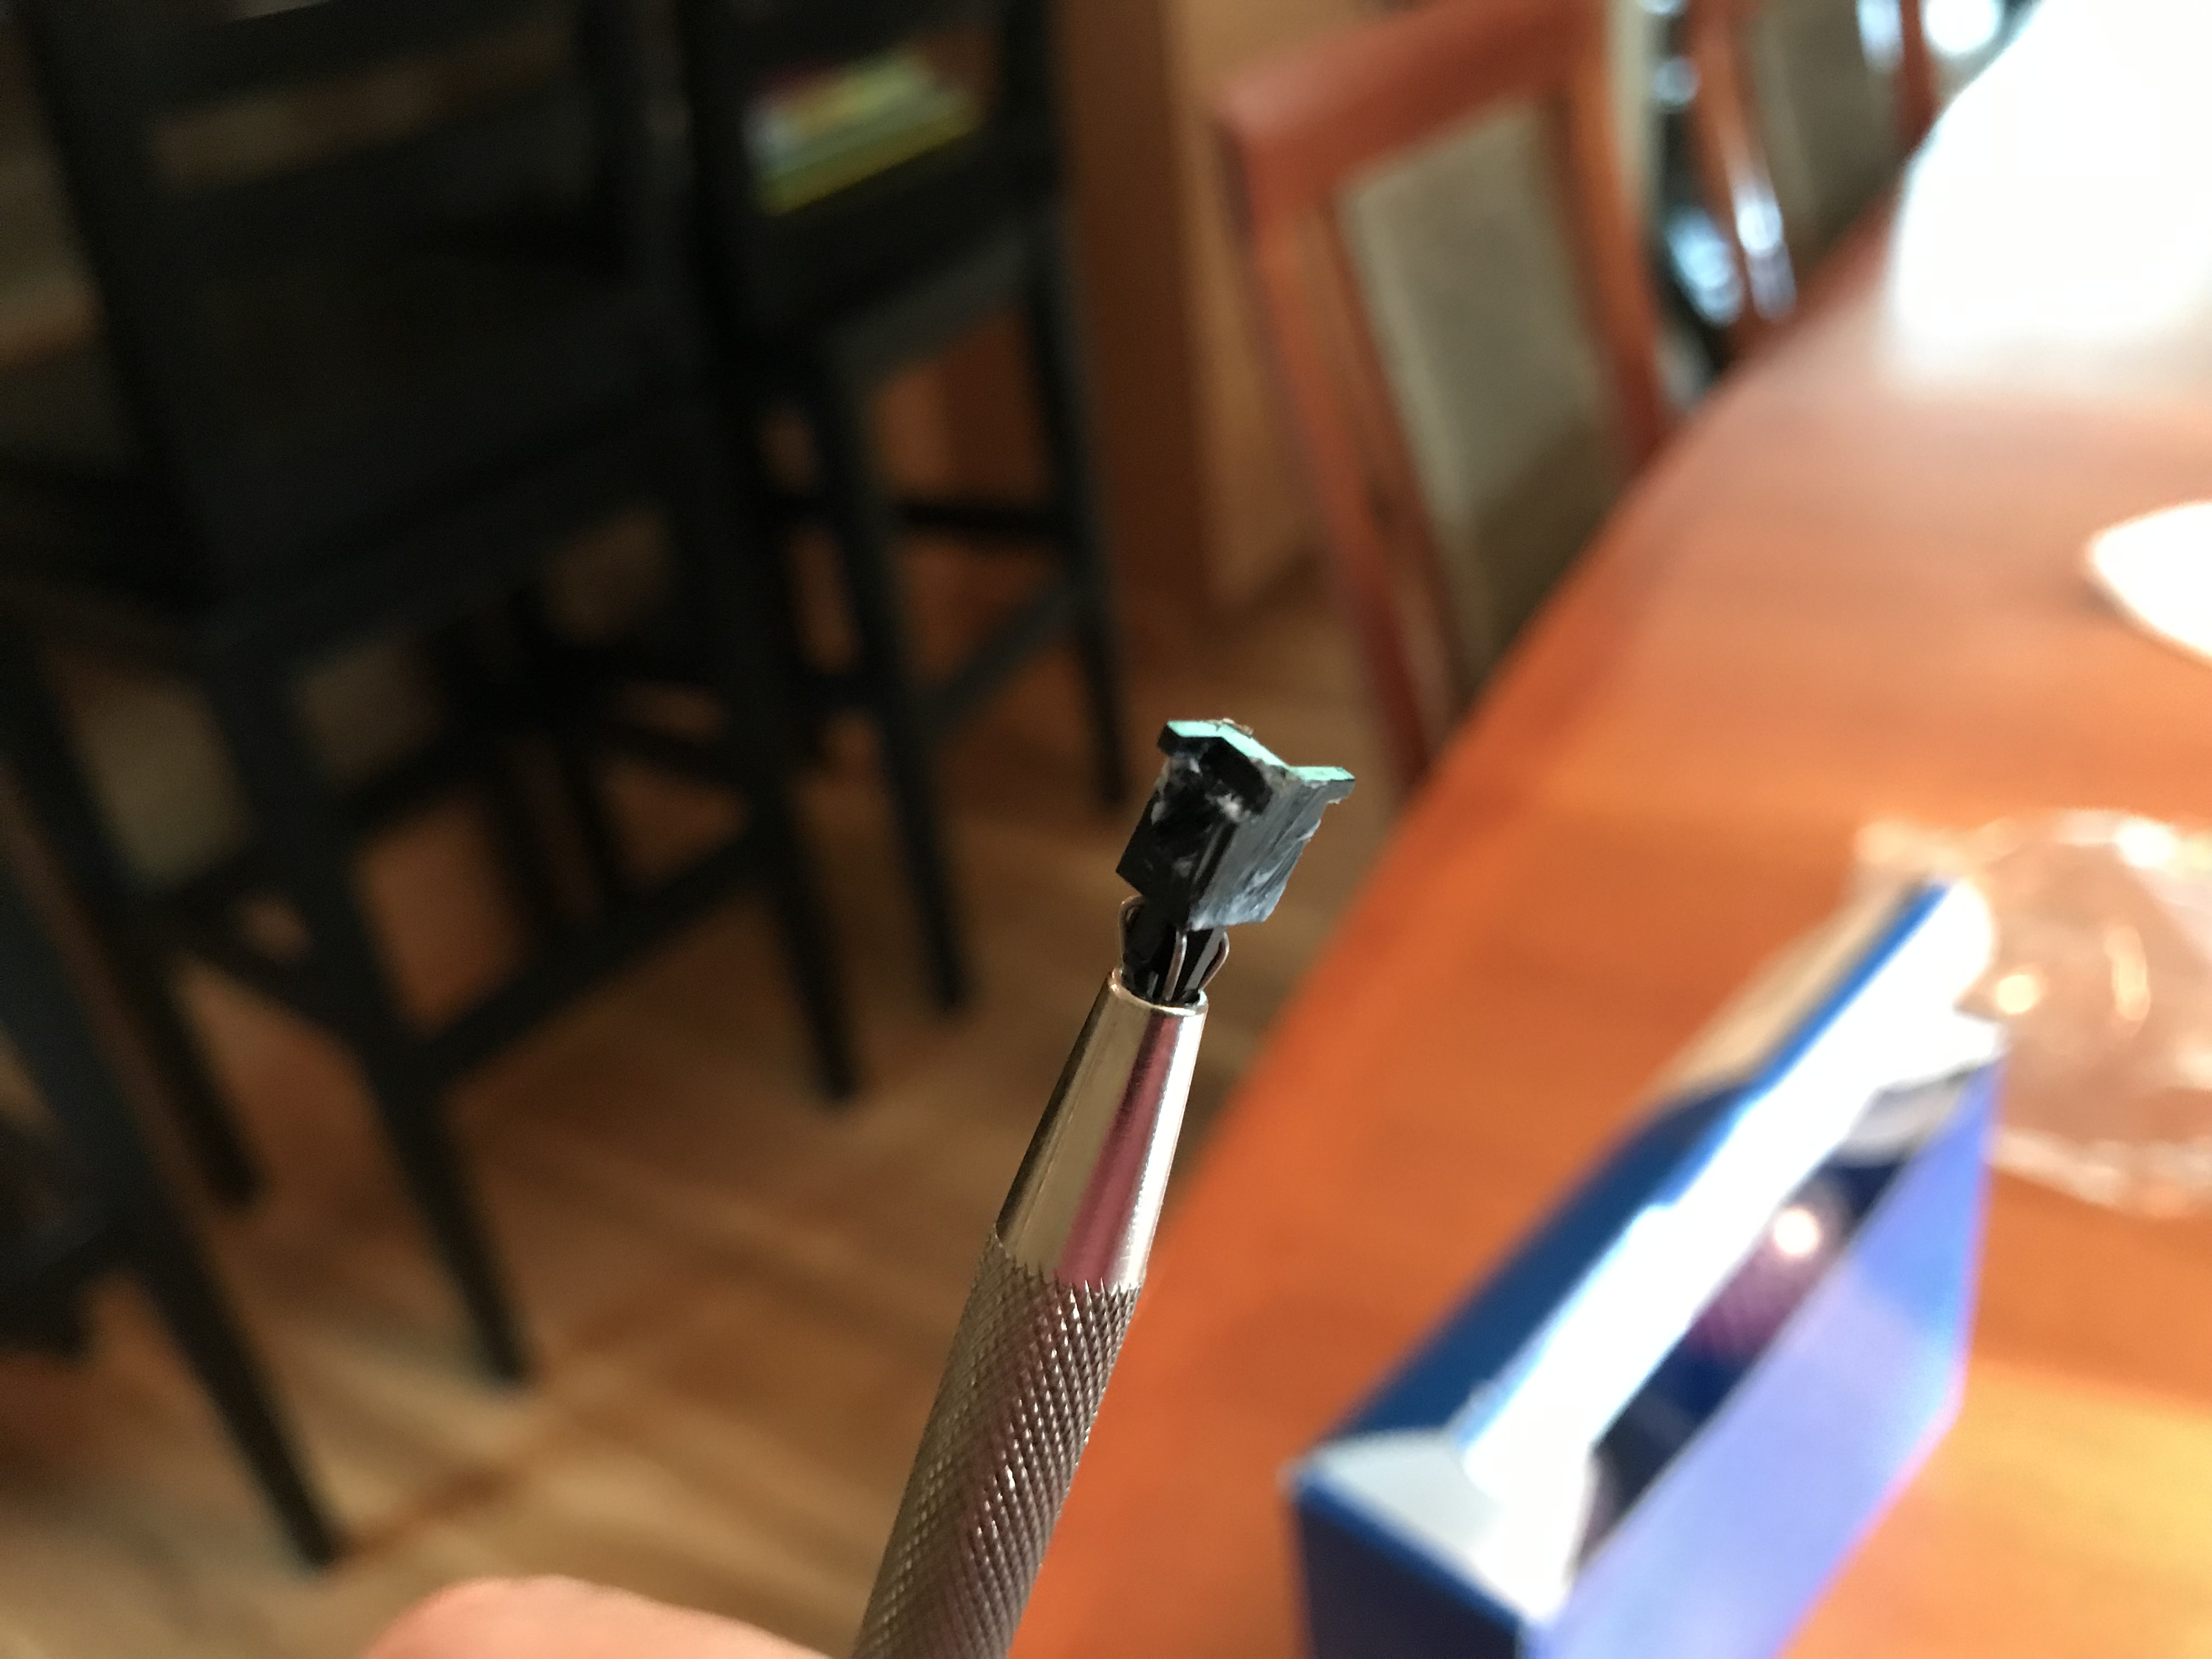
The stab stems, after clipping.
Recently, I’ve been getting good results with Christo-Lube 111 for stabilizers, and I used that lubricant here. 111 is very forgiving on stabs, and can really be slathered on. Here are a couple of looks at a stabilizer stem with 111 applied; this is substantially more lube than I would use if I was using SuperLube or some other dielectric grease.
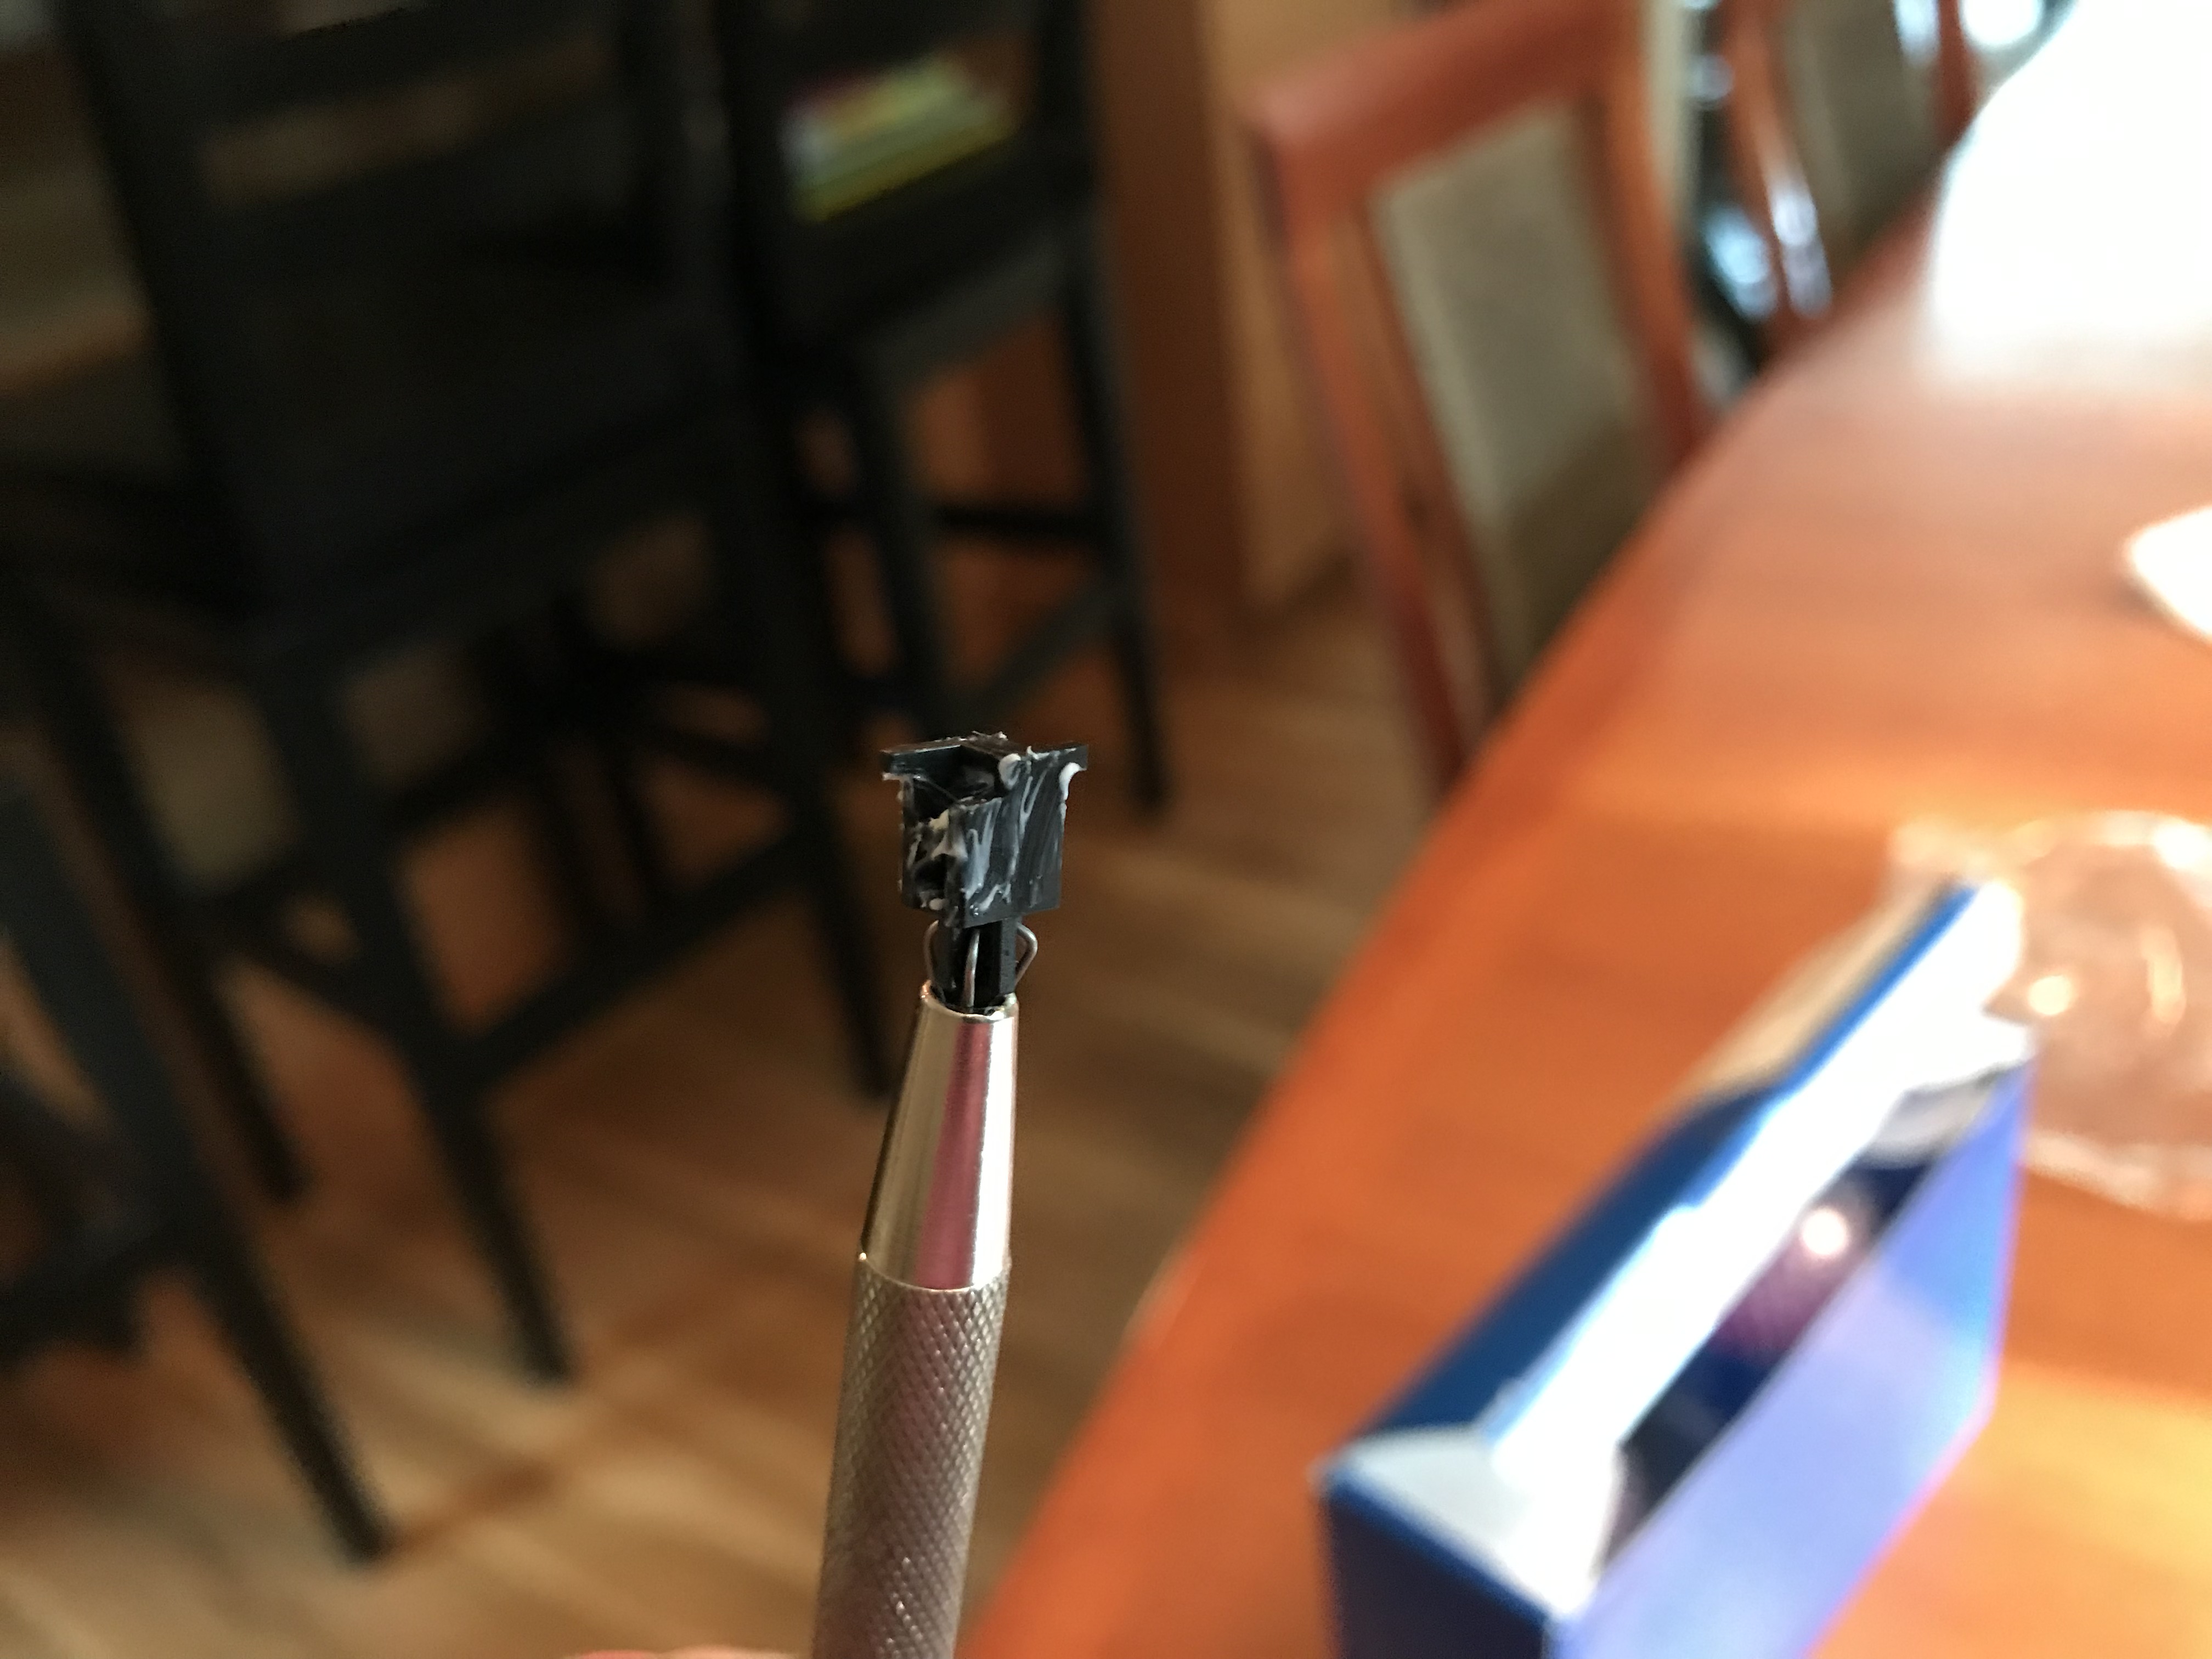
You can also see that a significant amount of 111 is being used in the stab housings as well. Granted, 111 is white, and is more visible than SuperLube would be in a similar photo, but take my word for it; liberal application of 111 on stabs is just fine.
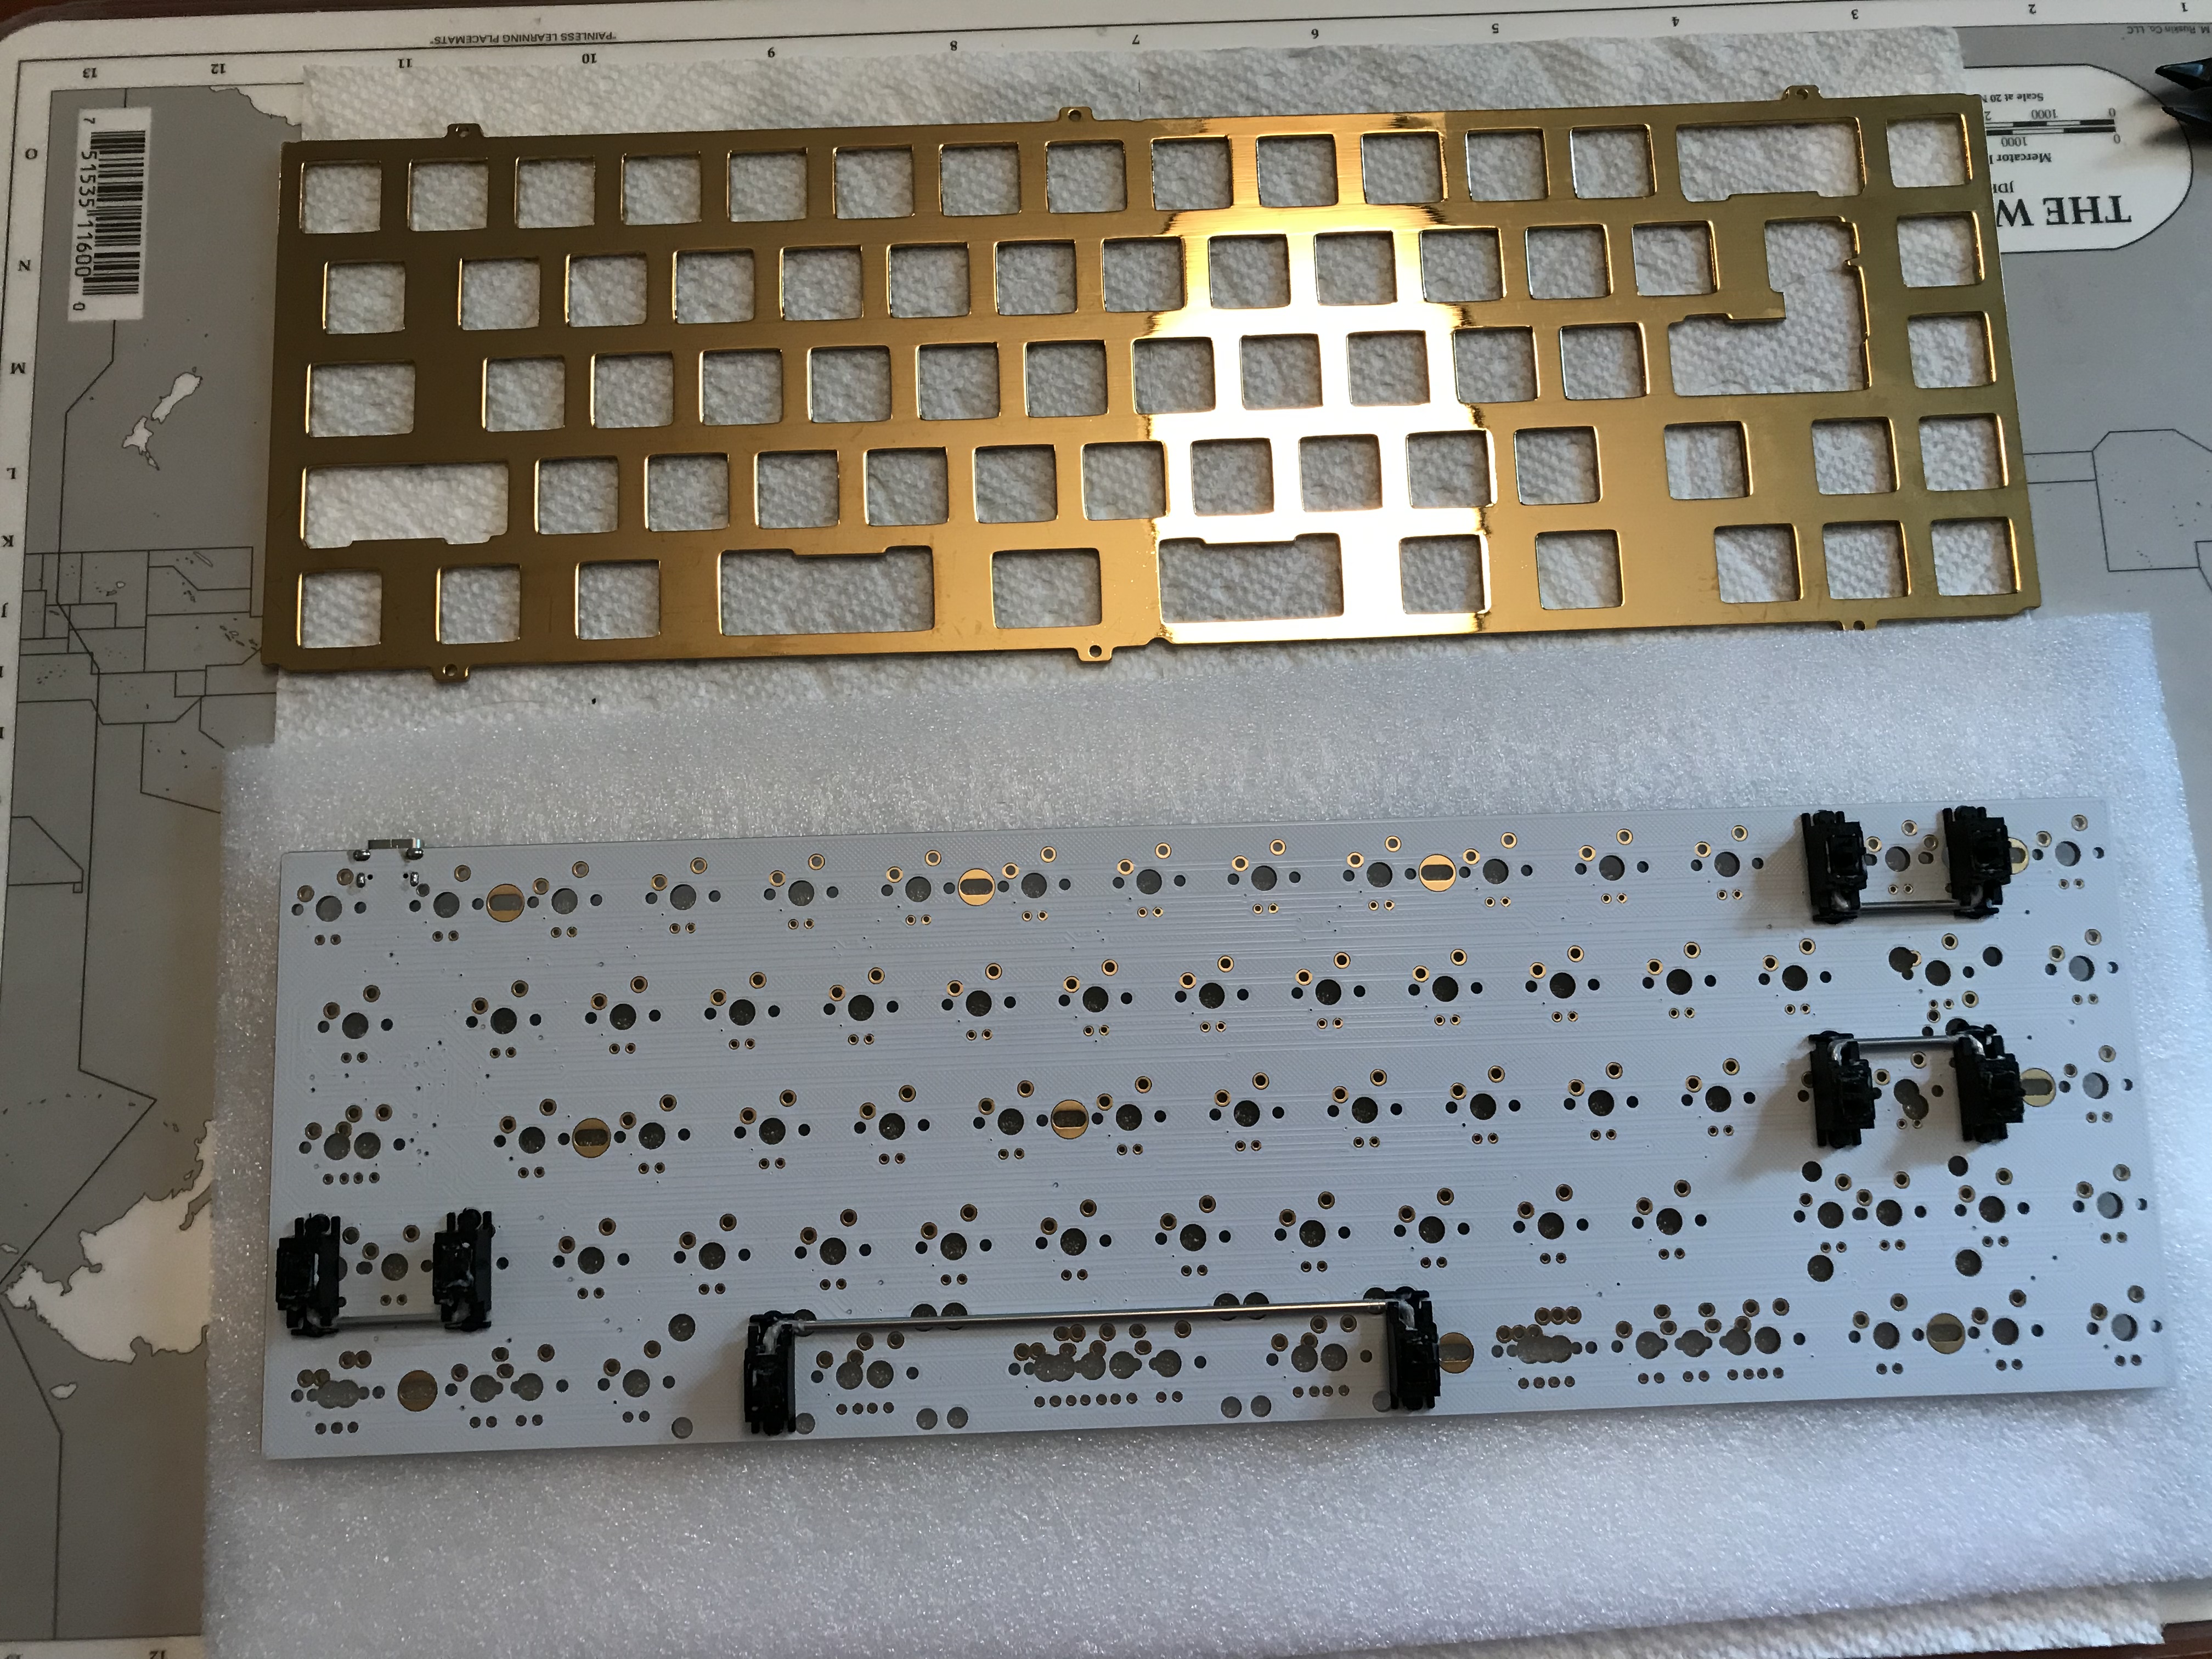
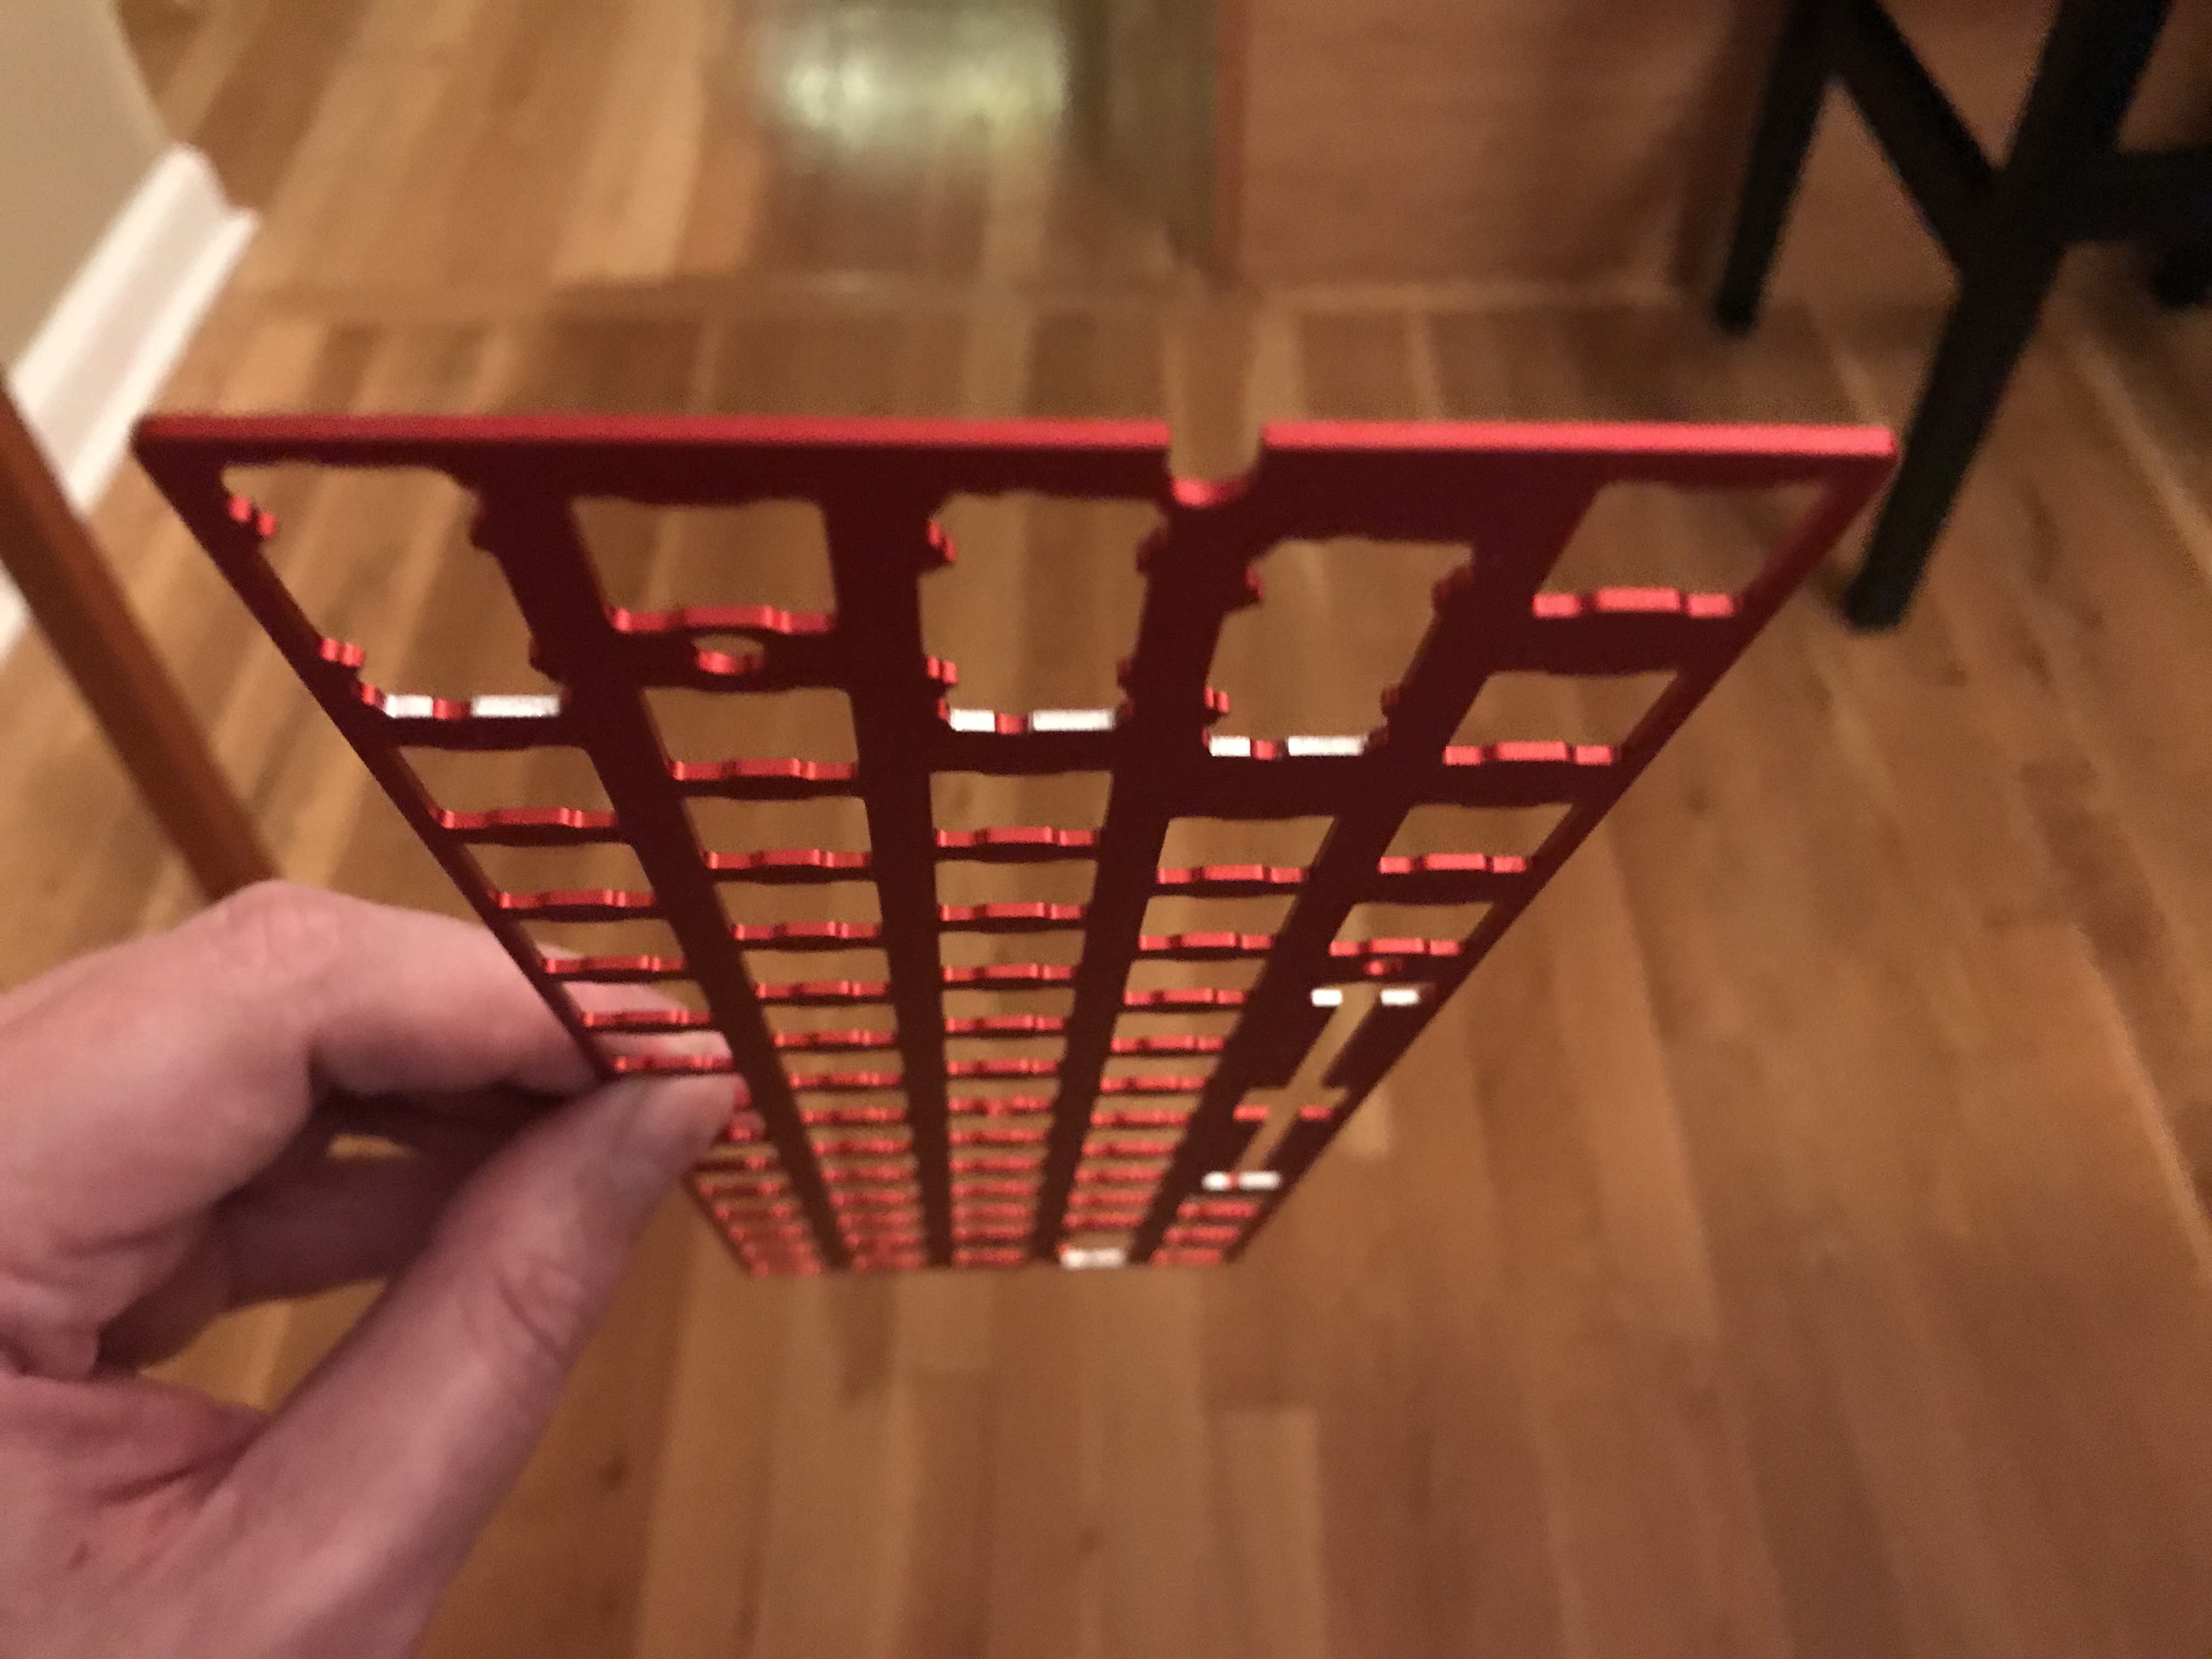
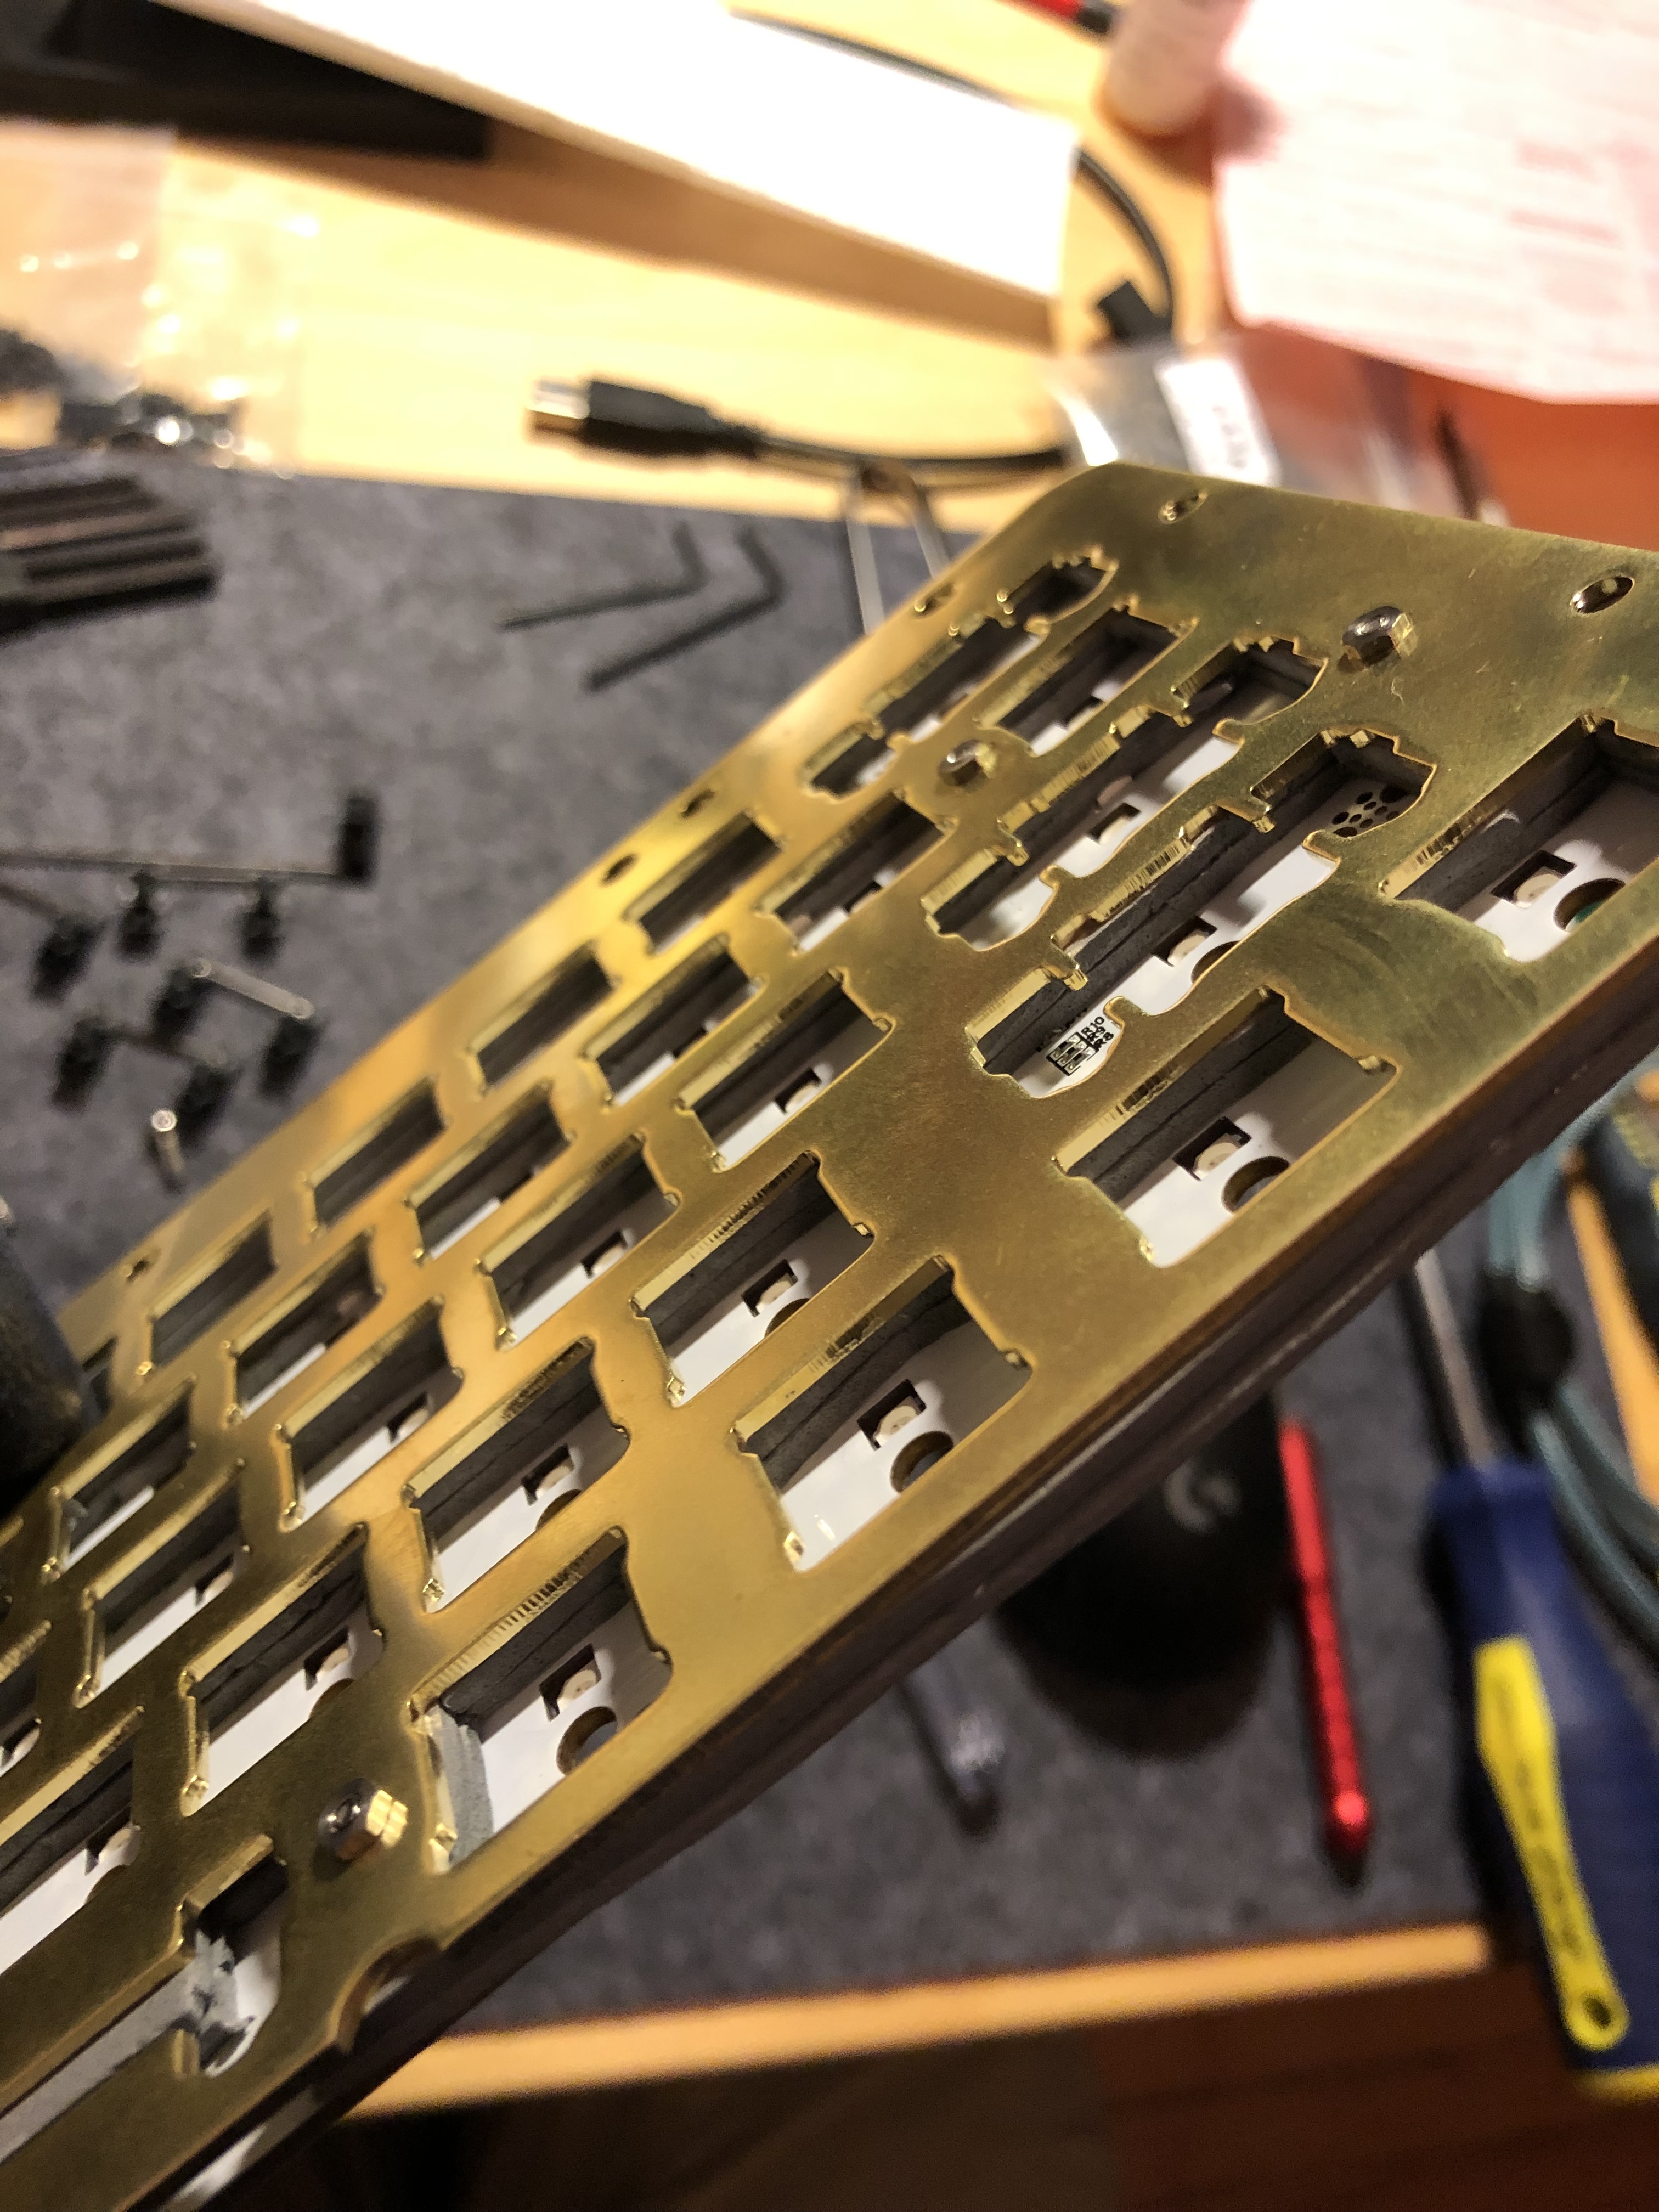
Let’s have our first look at the brass plate. While the finish on this is noticeably rougher than you might expect from a plate billed as “PVD brass”, it’s not bad. The kbd67 supports split spacebar and ISO layouts, so the plate does have some swiss cheese action, particularly on the bottom row.
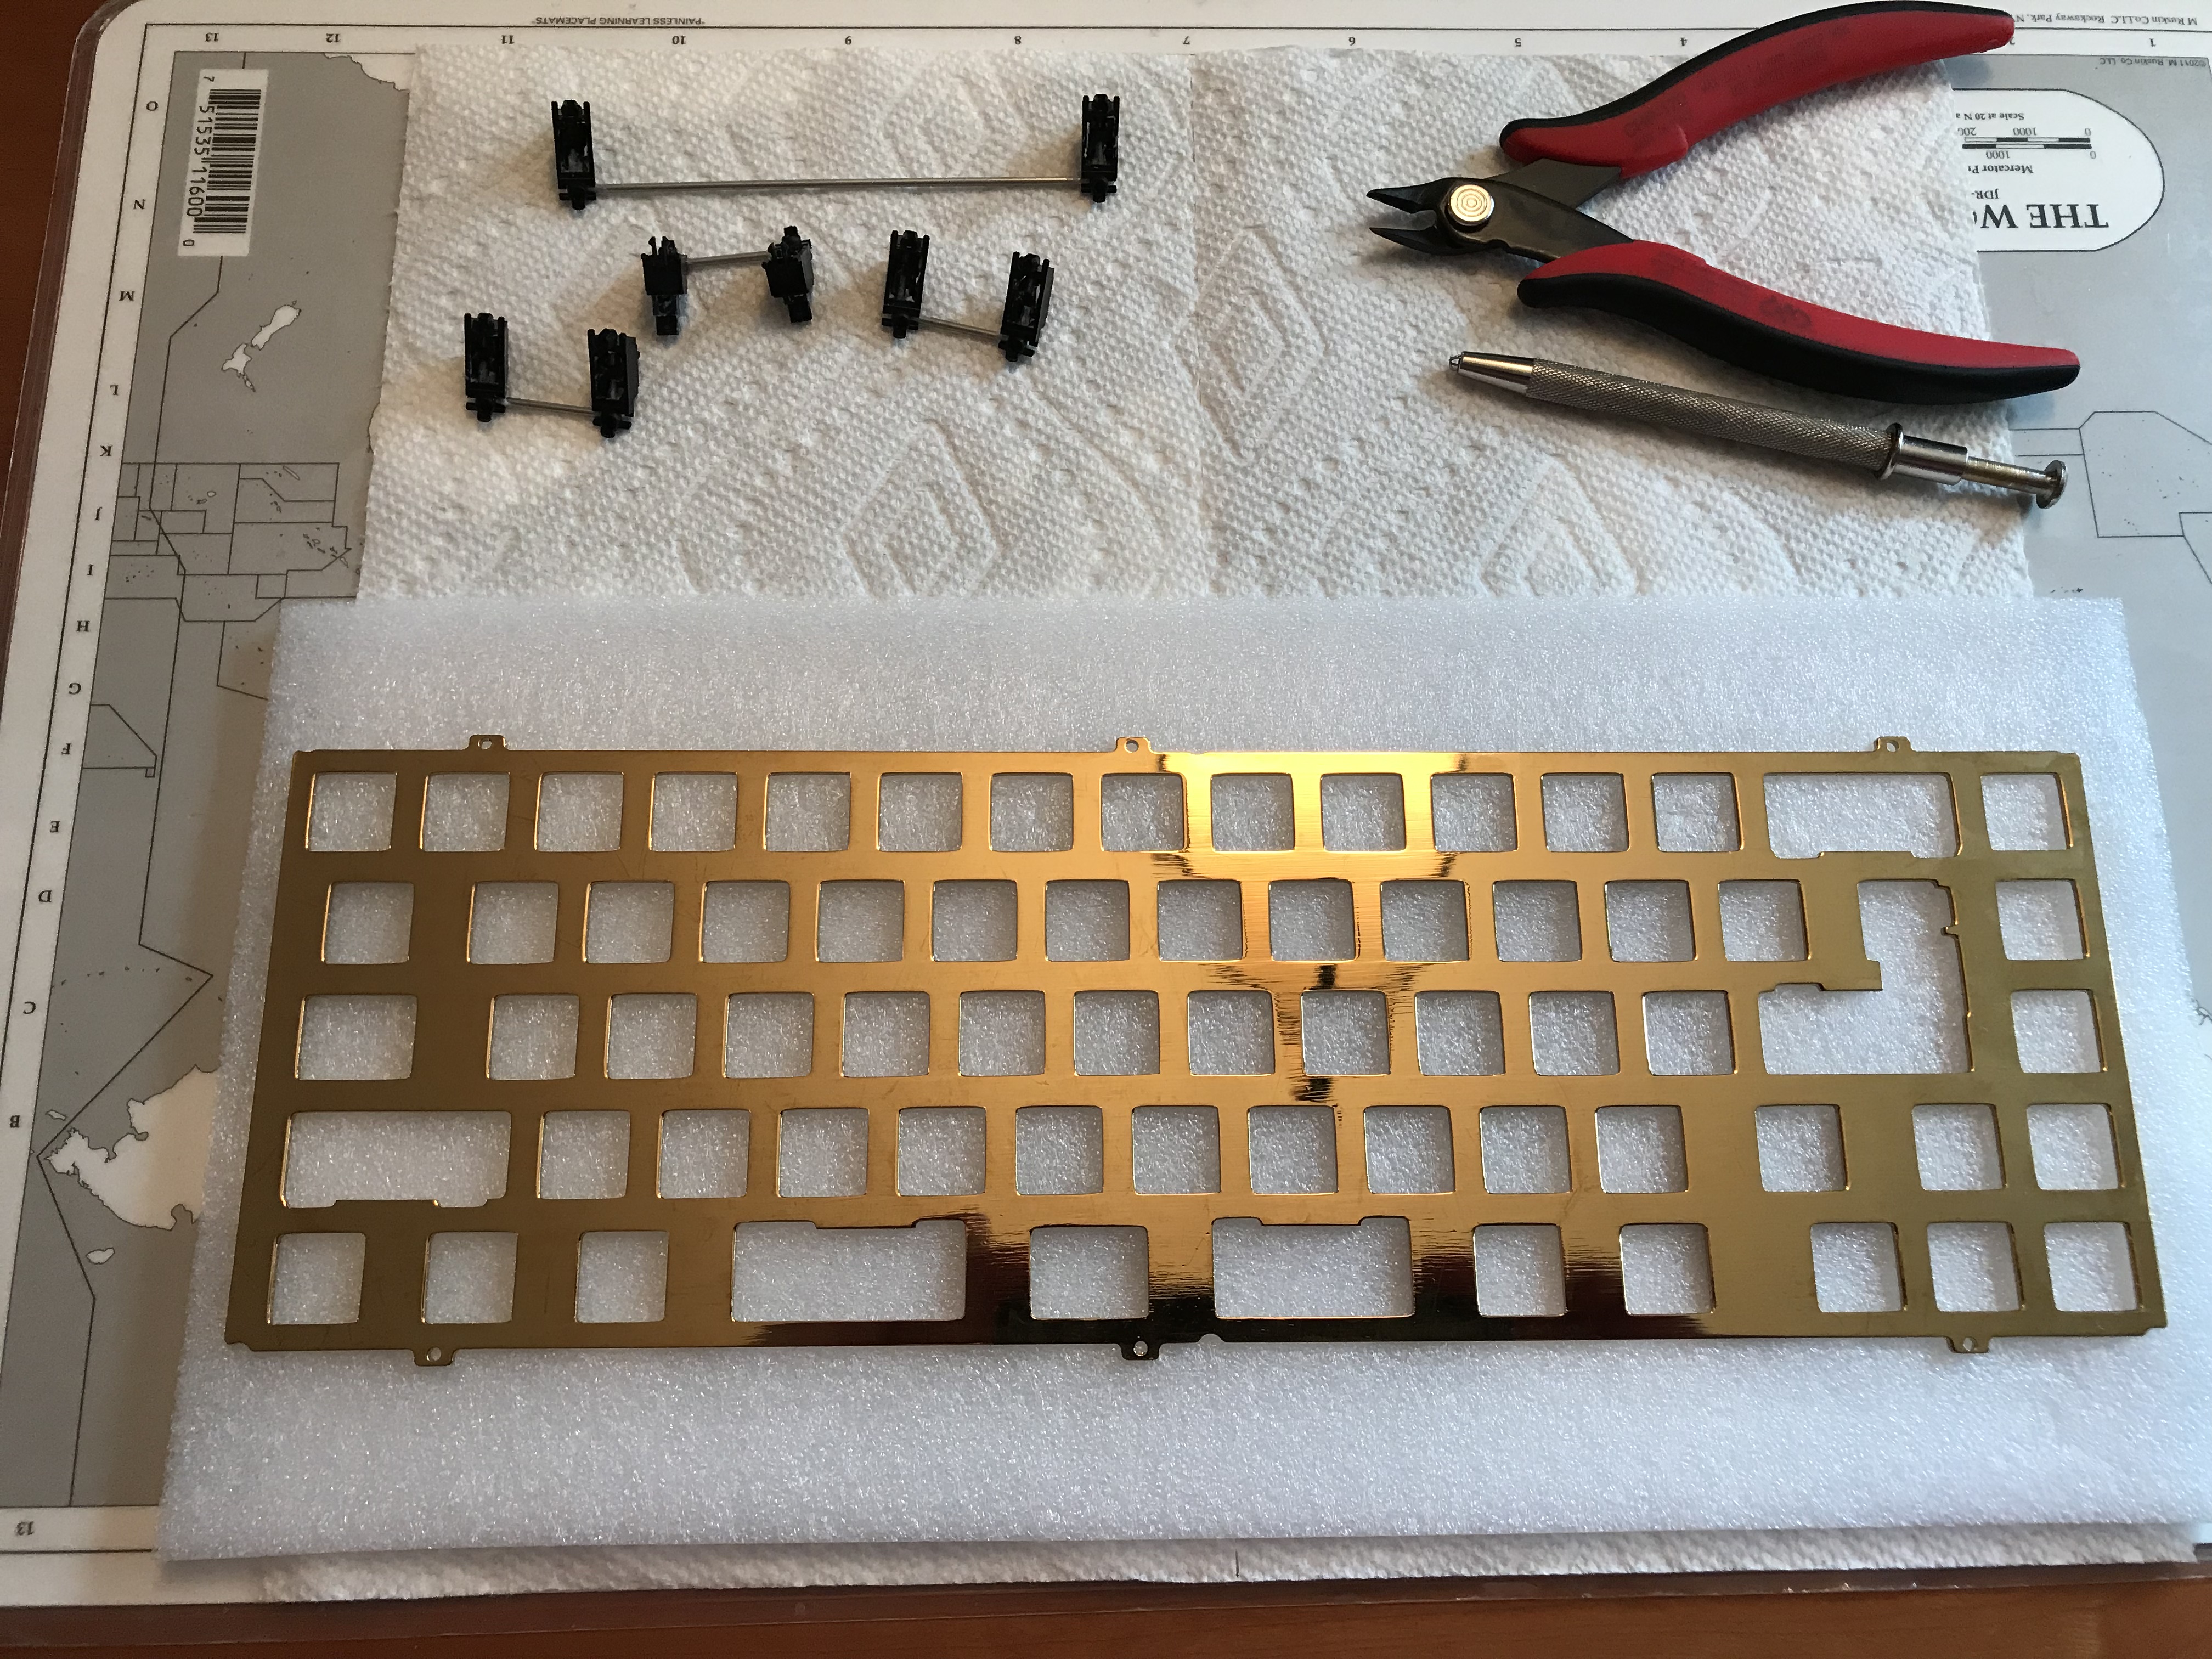
Because of that bottom row, and because it’s a wise thing to do in any case, we double check to make sure we’ll be installing stabilizers in the proper locations before clipping them into place.
Before starting the build, I asked our friends a few questions to try to dial in their preferences, since this was going to be their first custom keyboard experience. One of those questions involved sound - on a scale of 1-10, where 1, 5, and 10 were these sound tests of Healios, Creams, and Holy Pandas, respectively, what seemed acceptable and/or desirable?
The answer: 7-10! I decided to split the difference, and take advantage the opportunity to build with a switch I hadn’t tried yet: 67g V2 Zealios. Tactile and clacky, to be sure, but to my ears and fingers, just a half-step dialed back from Holy Pandas.
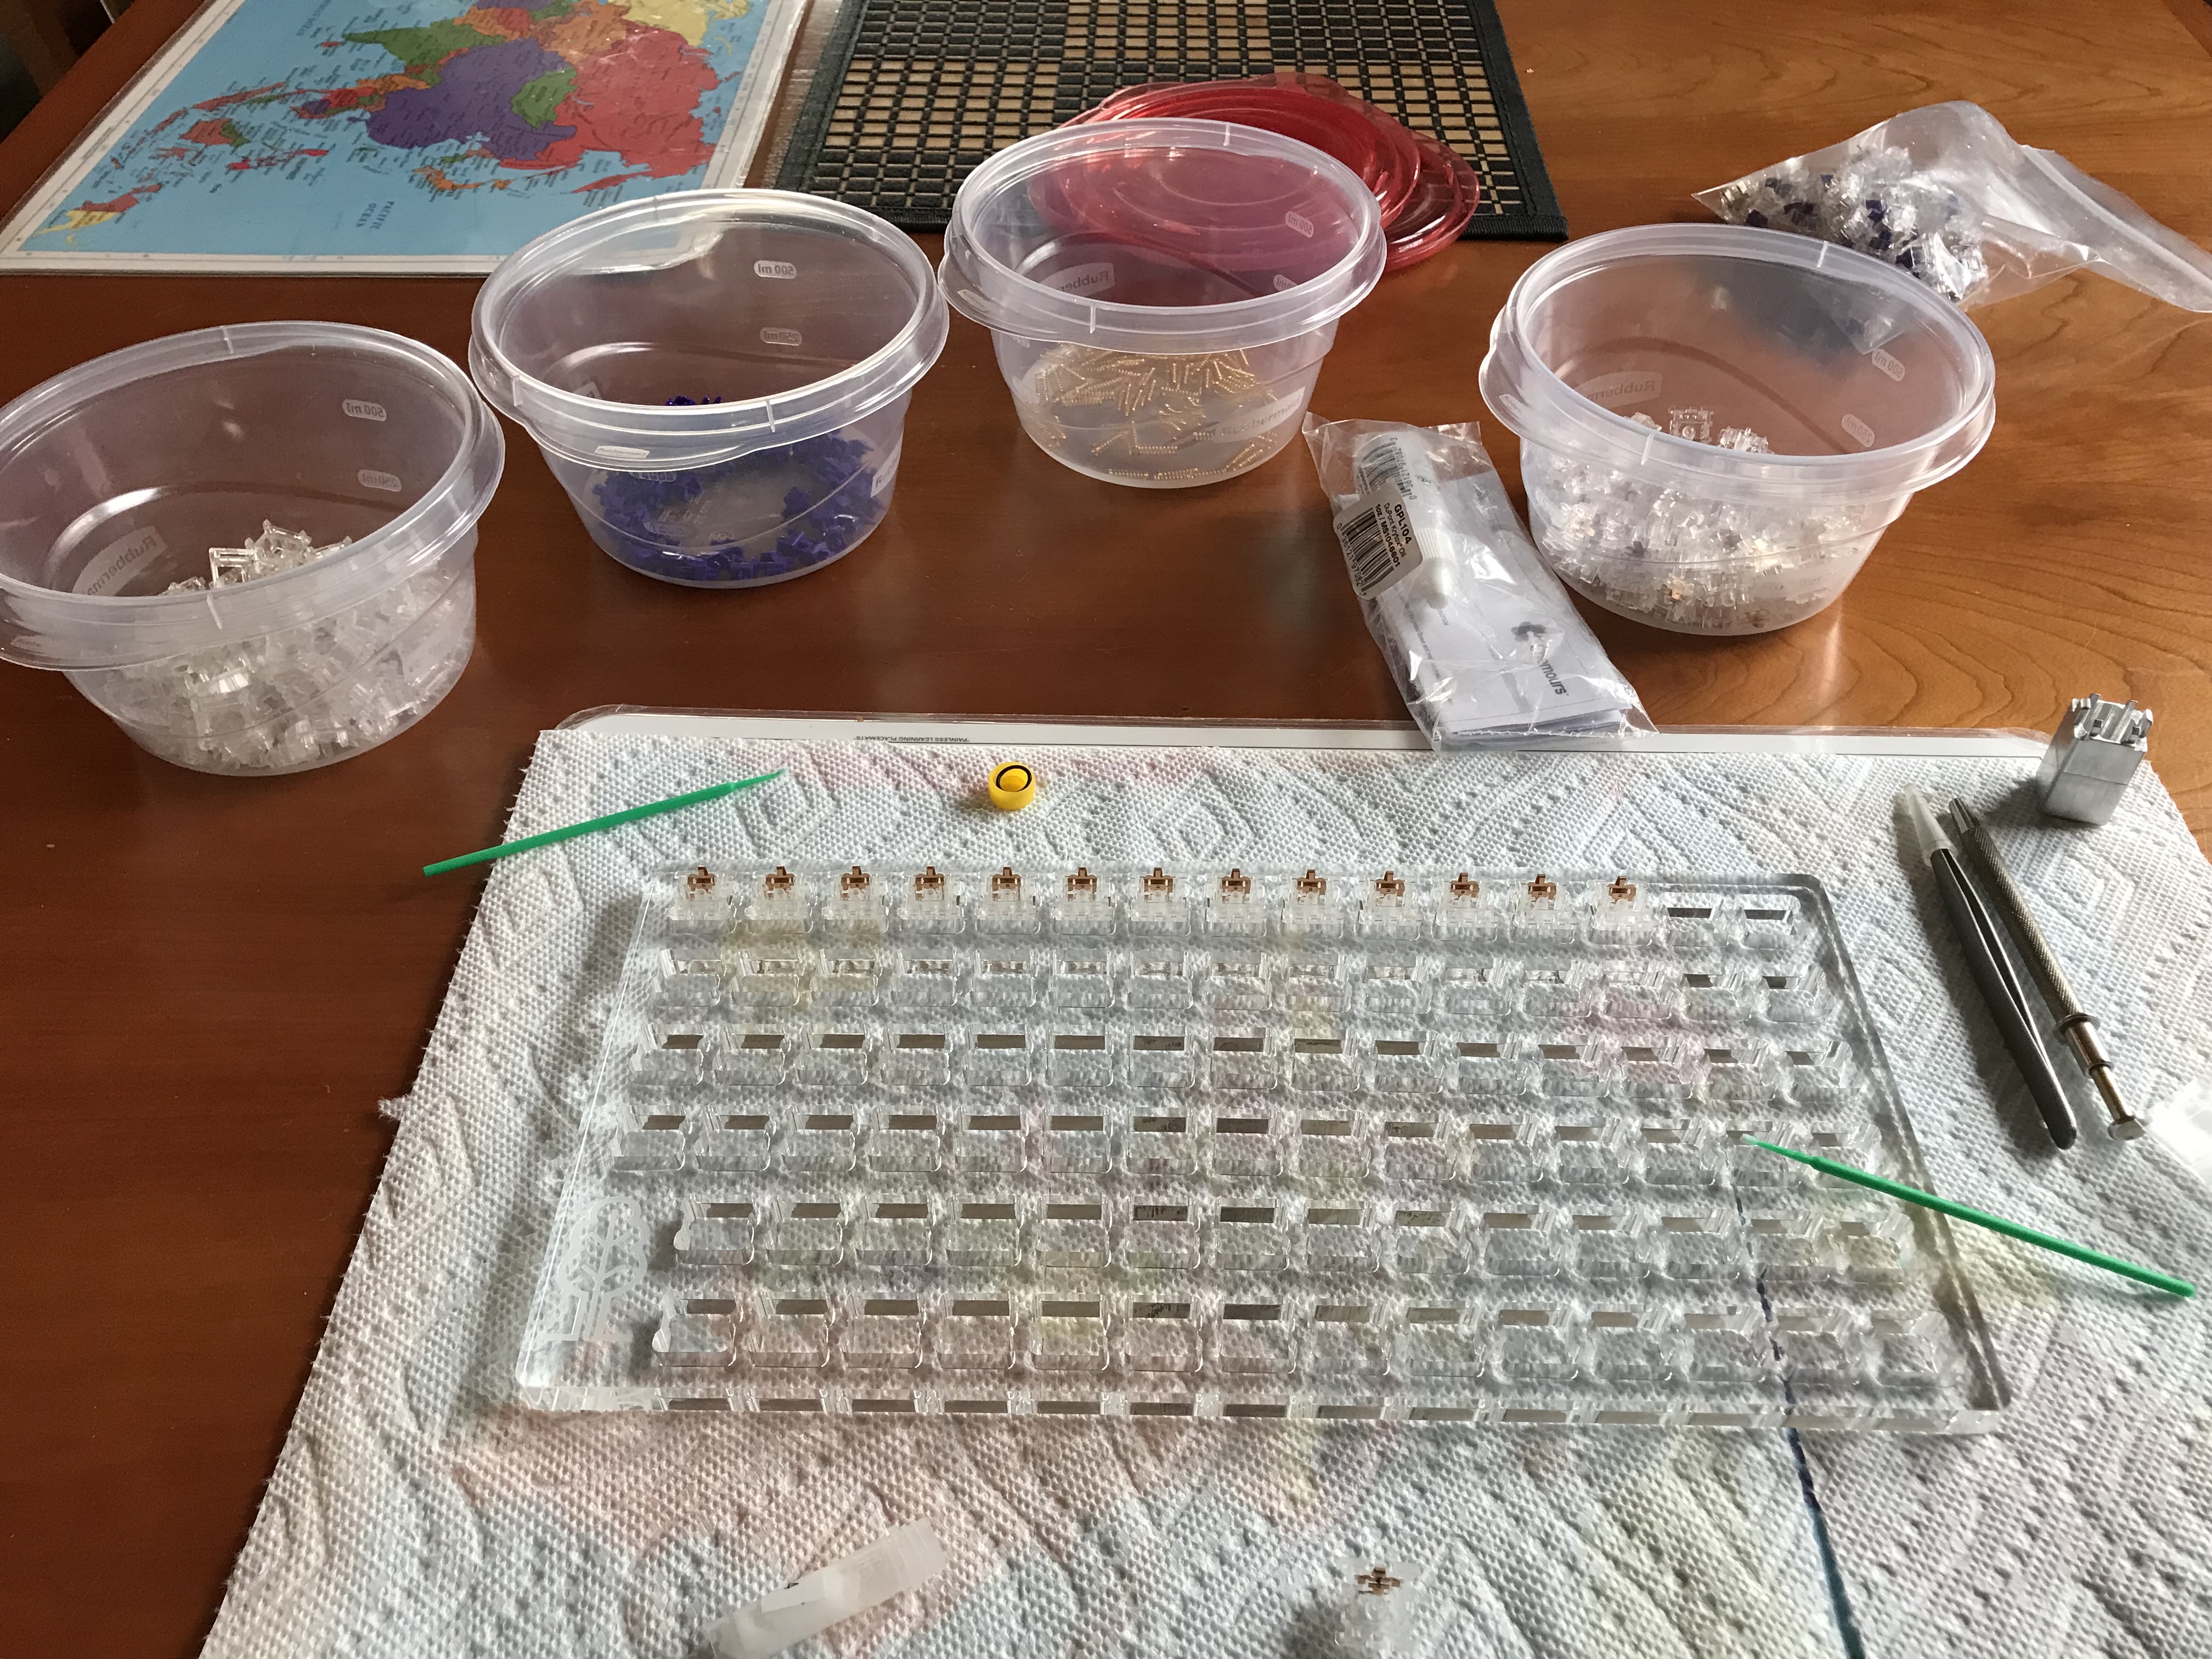
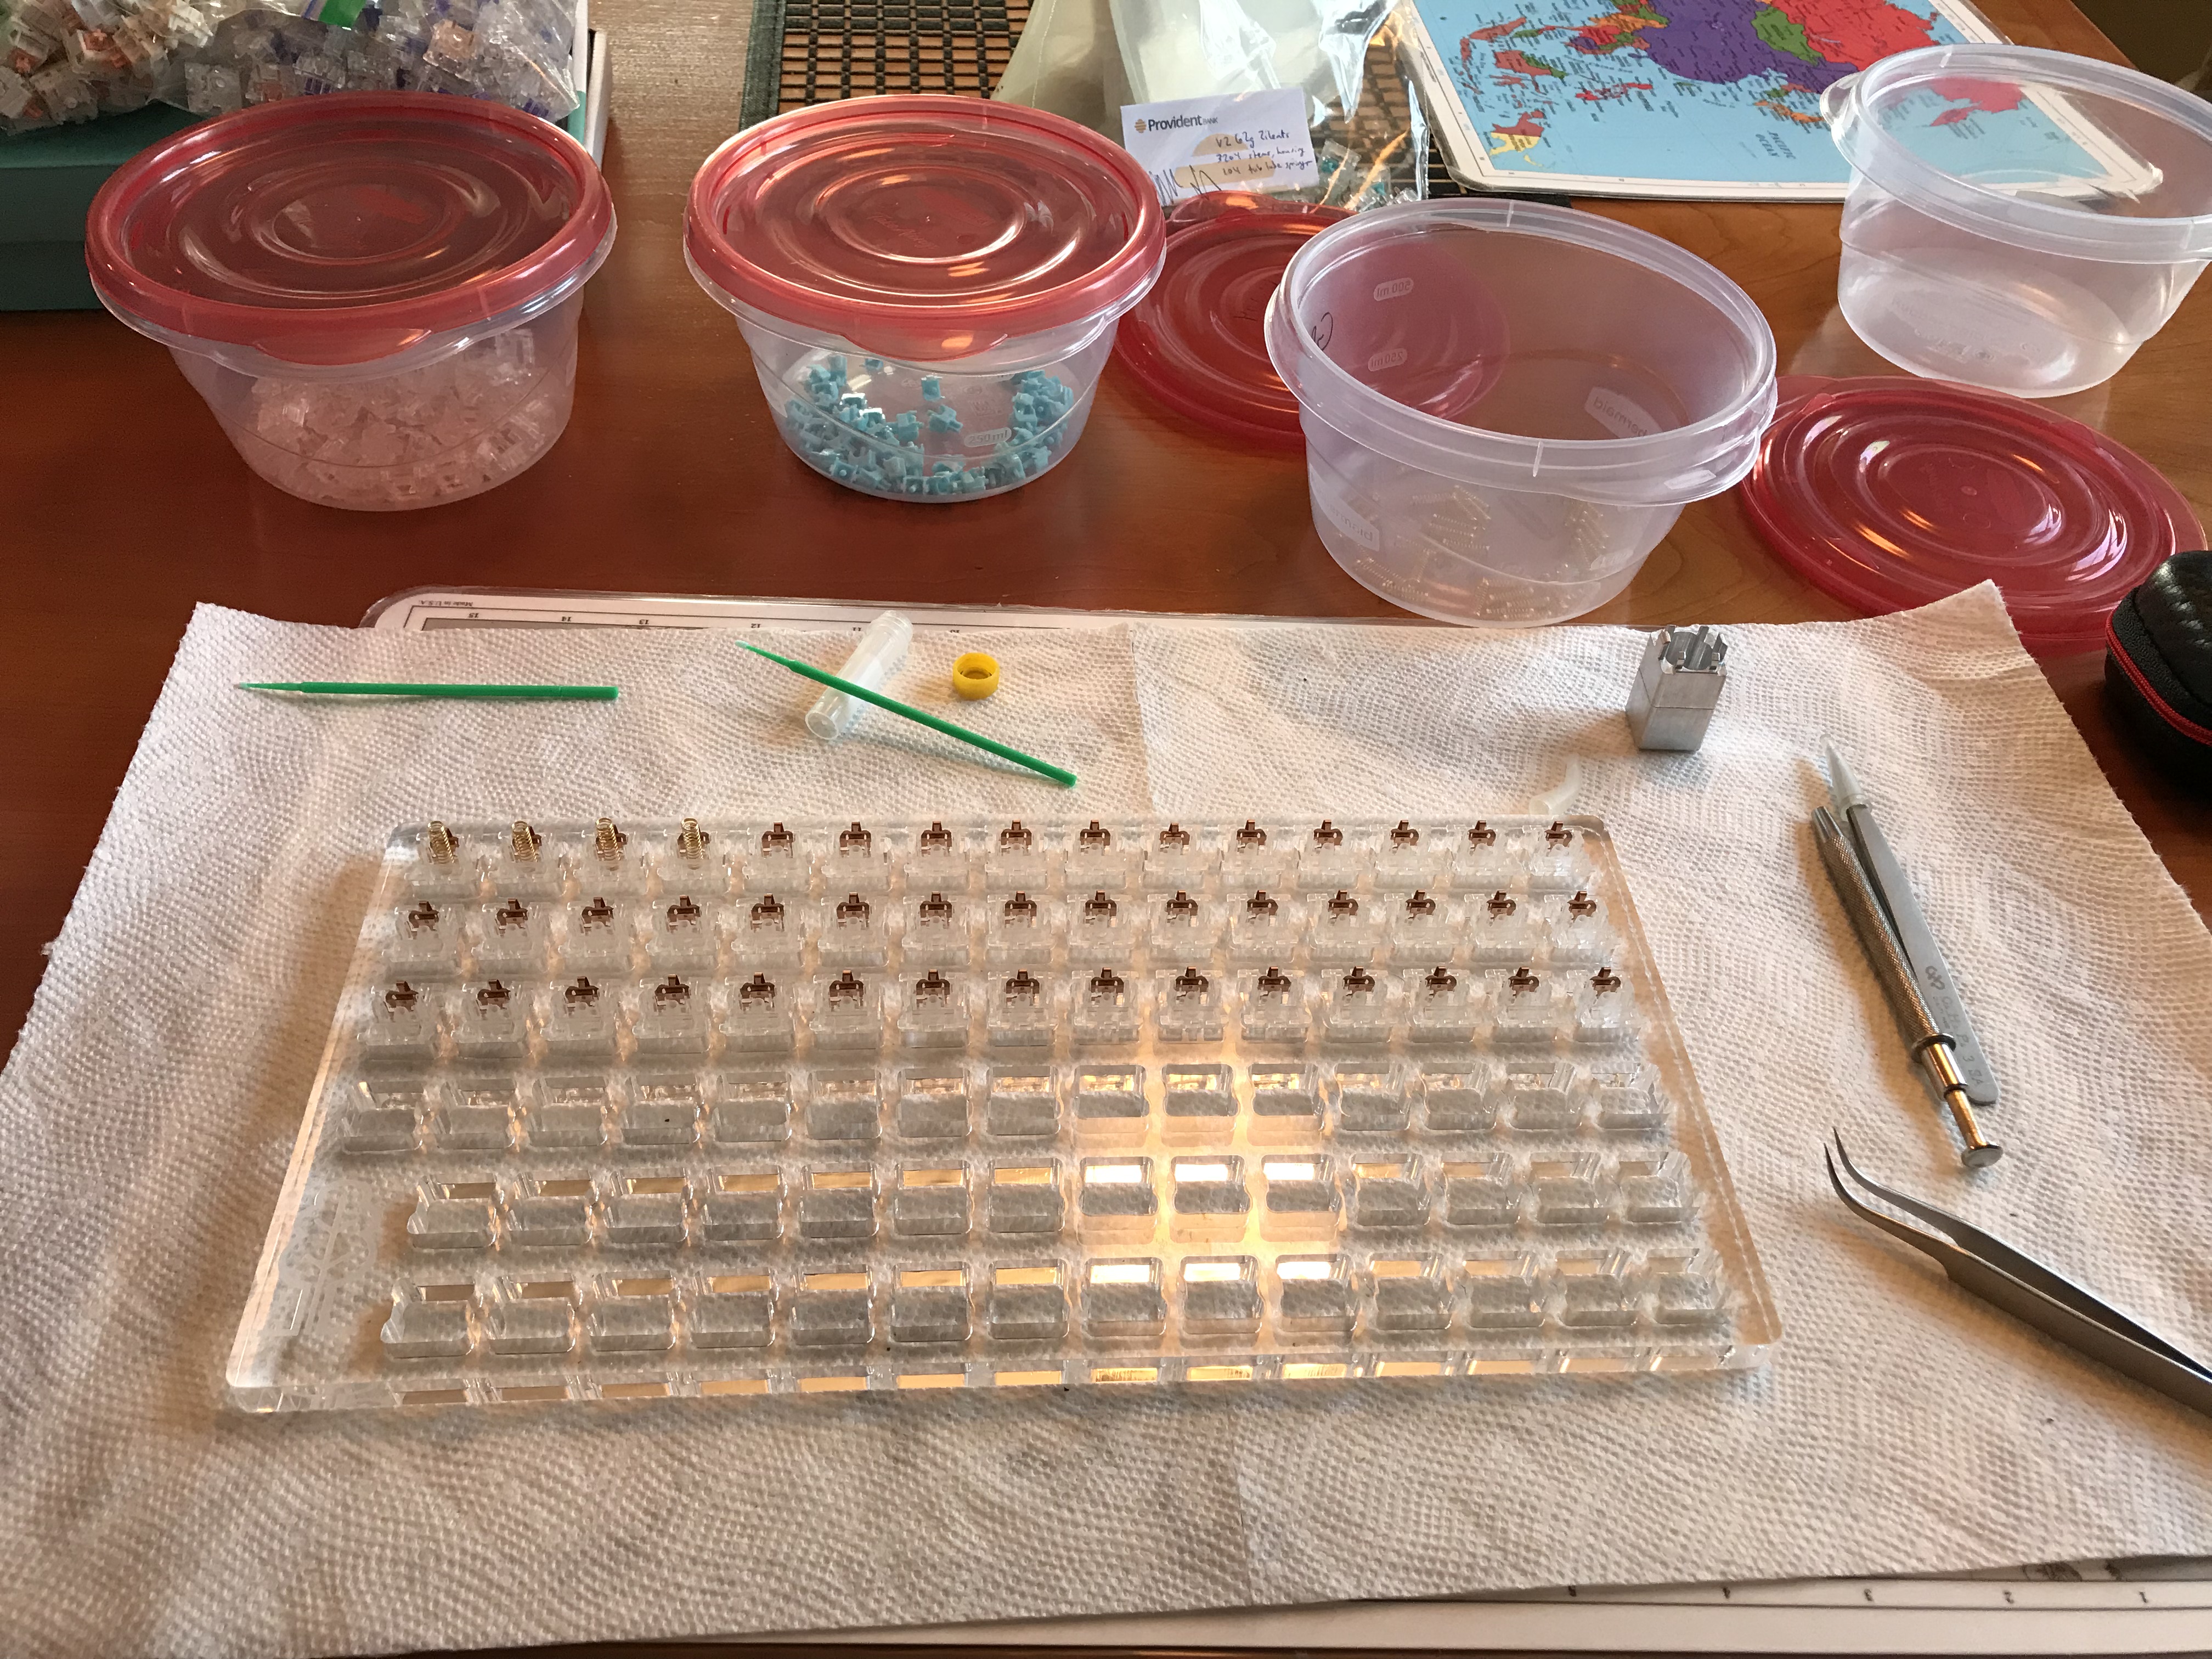
These days, I tend to set up four Tupperware bins for switch disassembly. One of the bins is reserved for tub-lubing springs, and I mark it so I know which of the bins is “wet”.
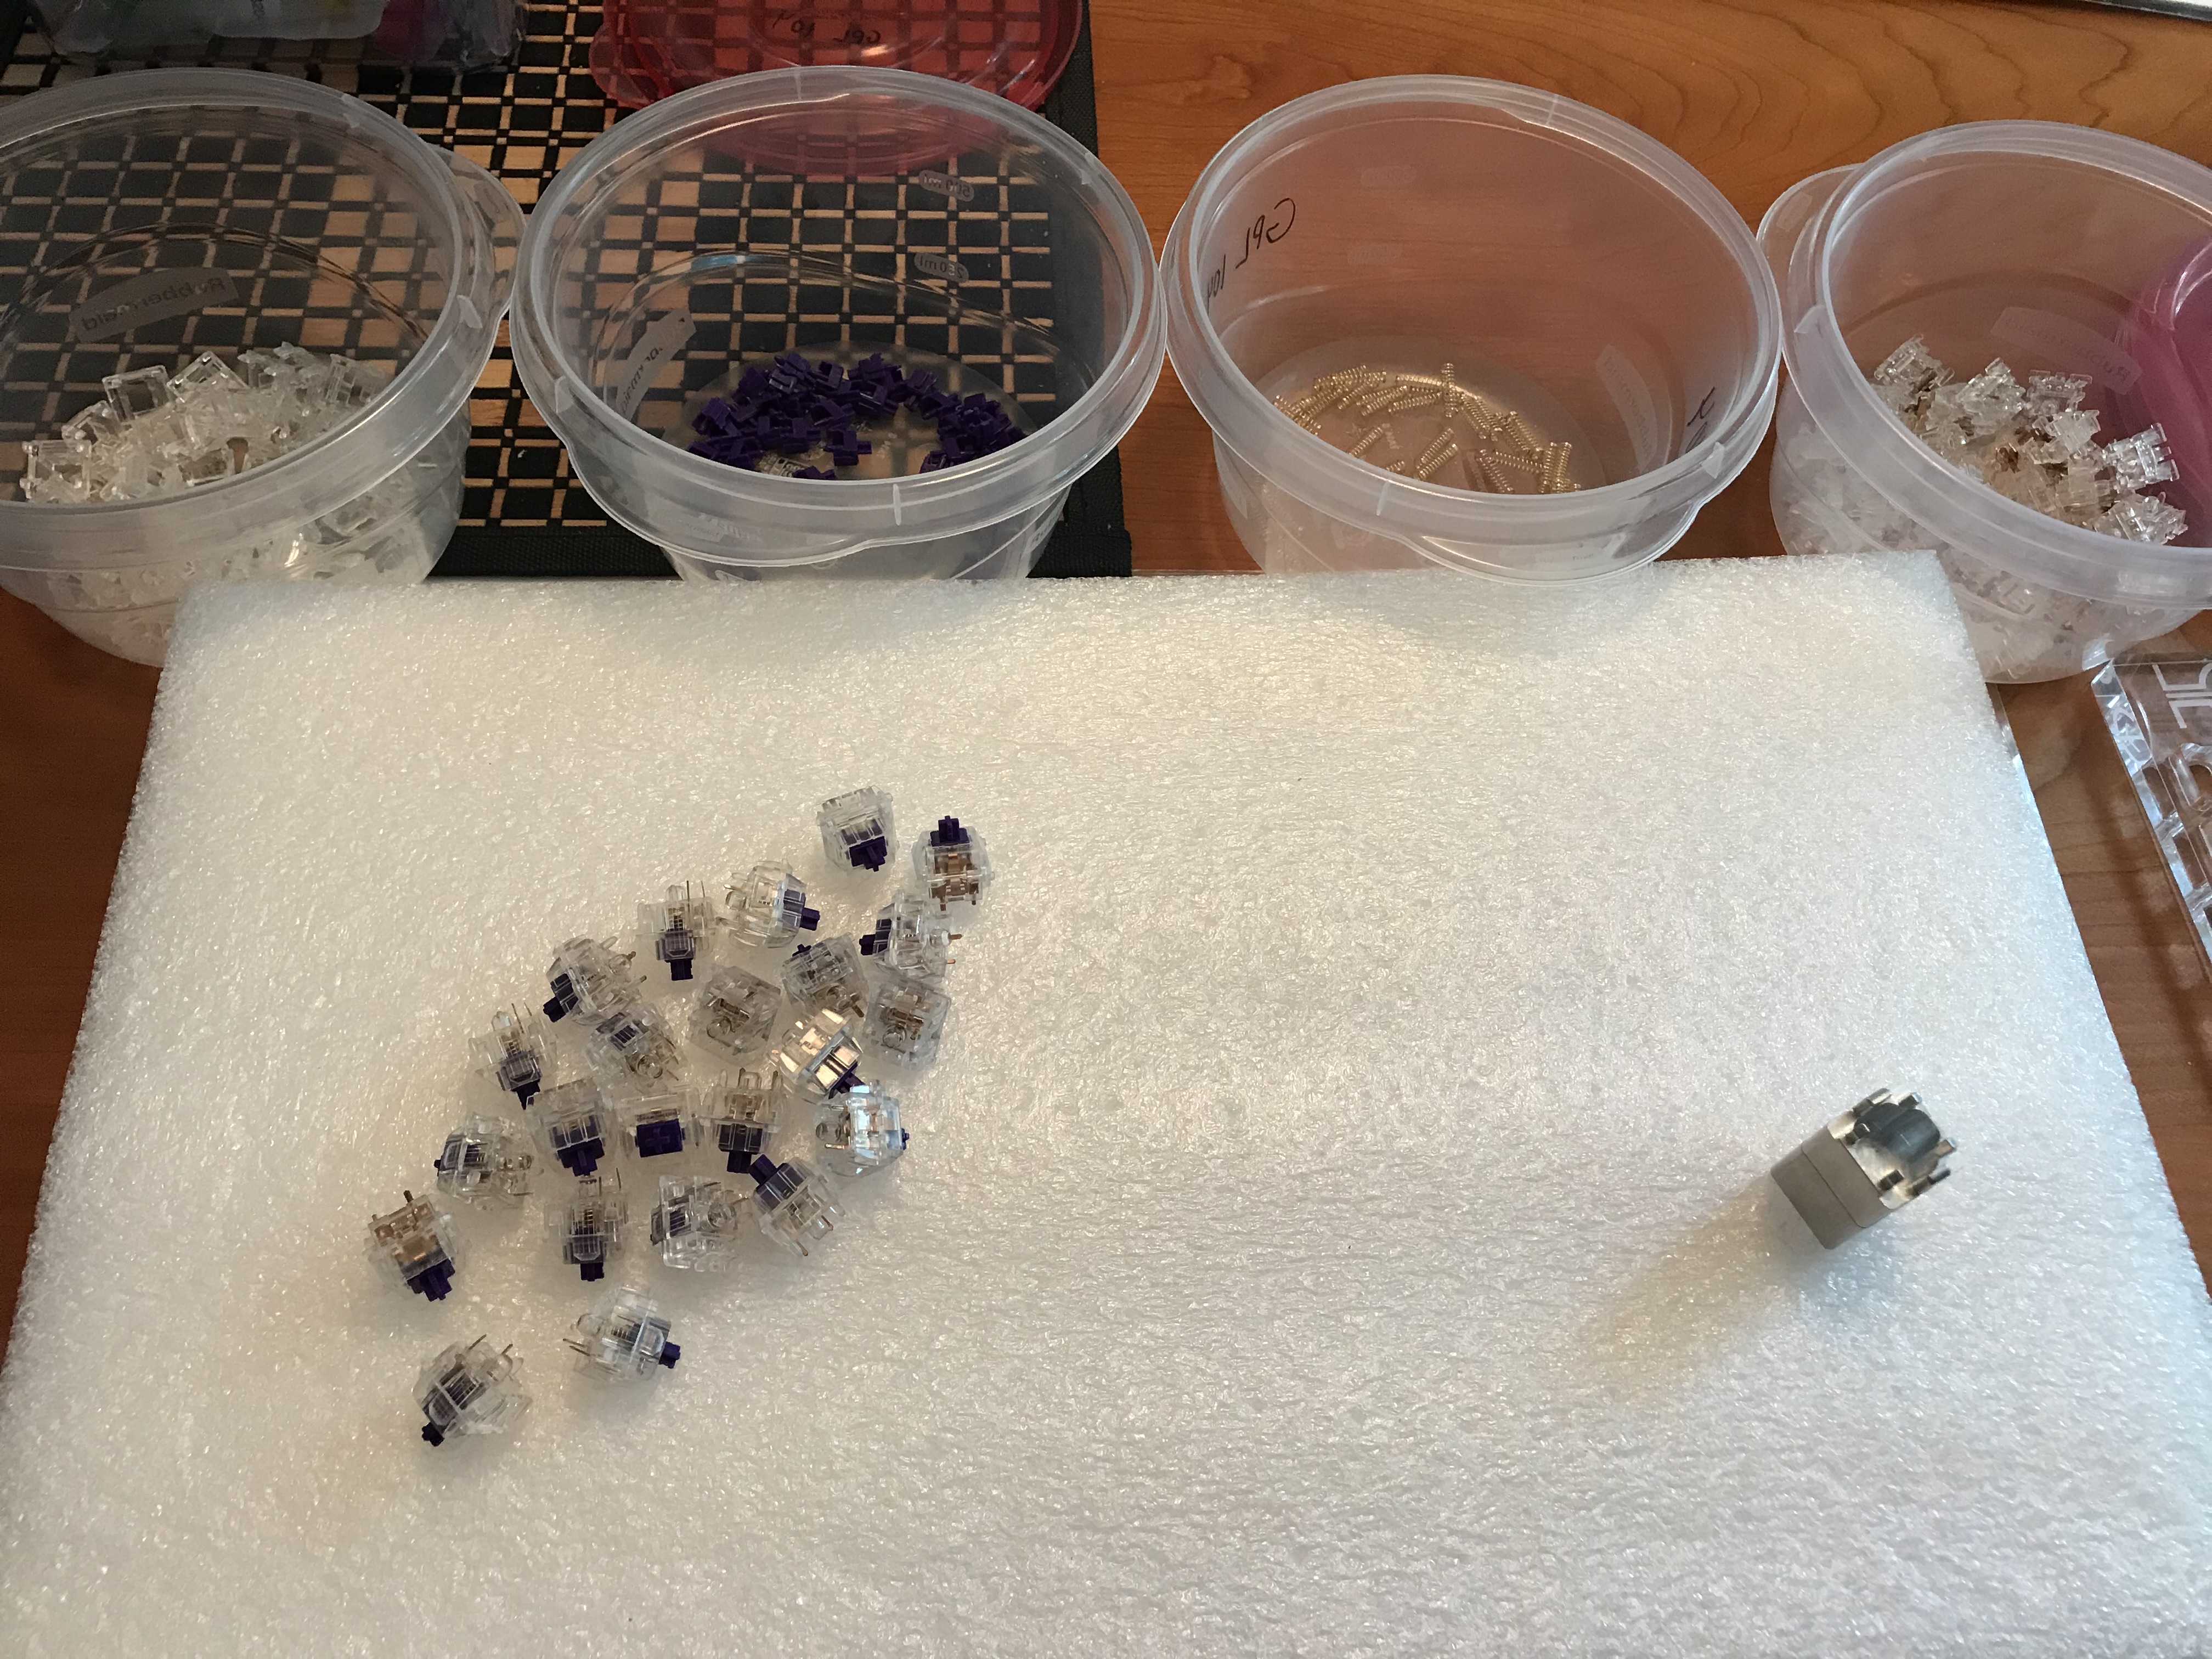
I prefer to lube switches in batches of 15-20, so that I can take breaks as needed to stretch my legs, make dinner, whatever. Here, I’ve just finished applying 3204 to the bottom housing and tub-lubing the springs with 104, and I’ve used tweezers to put the first spring back in place.
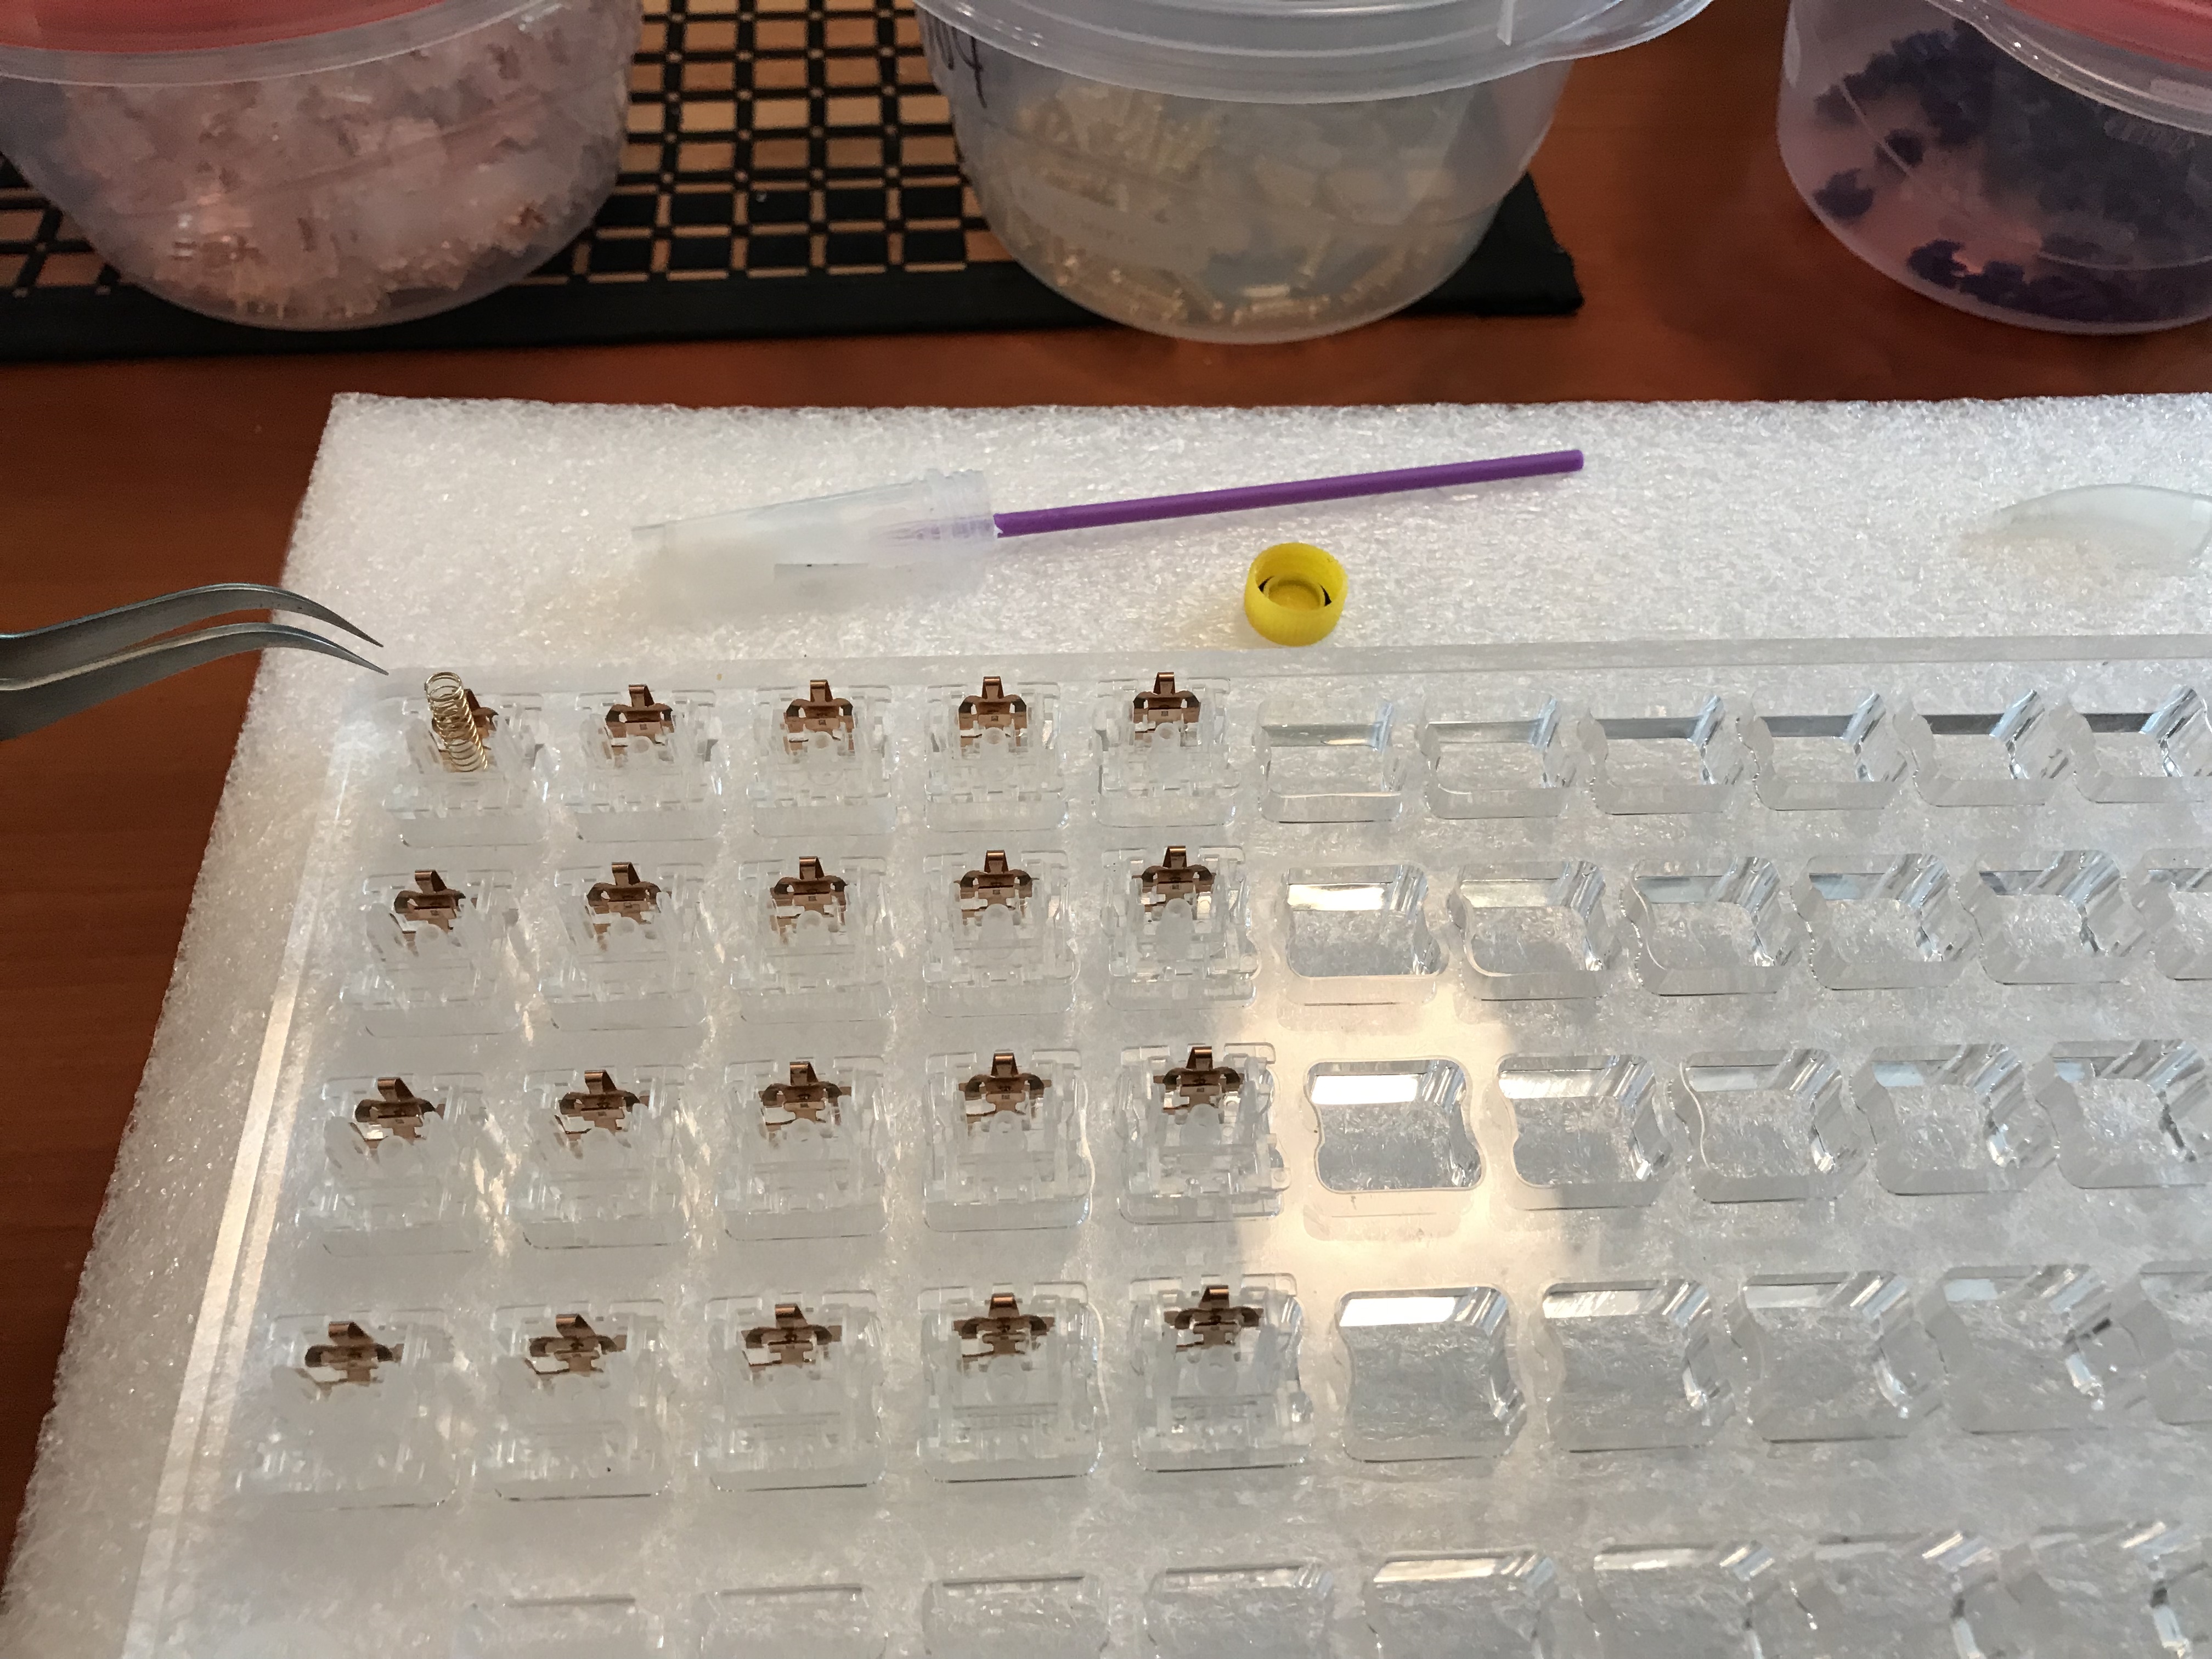
I’ve already showed you how much 111 I use on stabs; here’s how much 3204 I use on switch stems. You can also see that I try to avoid applying any lube to the legs - I want to keep as much of the tactility as I possibly can, even though this requires an extra level of diligence during lubing. Again, it’s good to have opportunities to take breaks and do other things in the middle of a switch lube job…

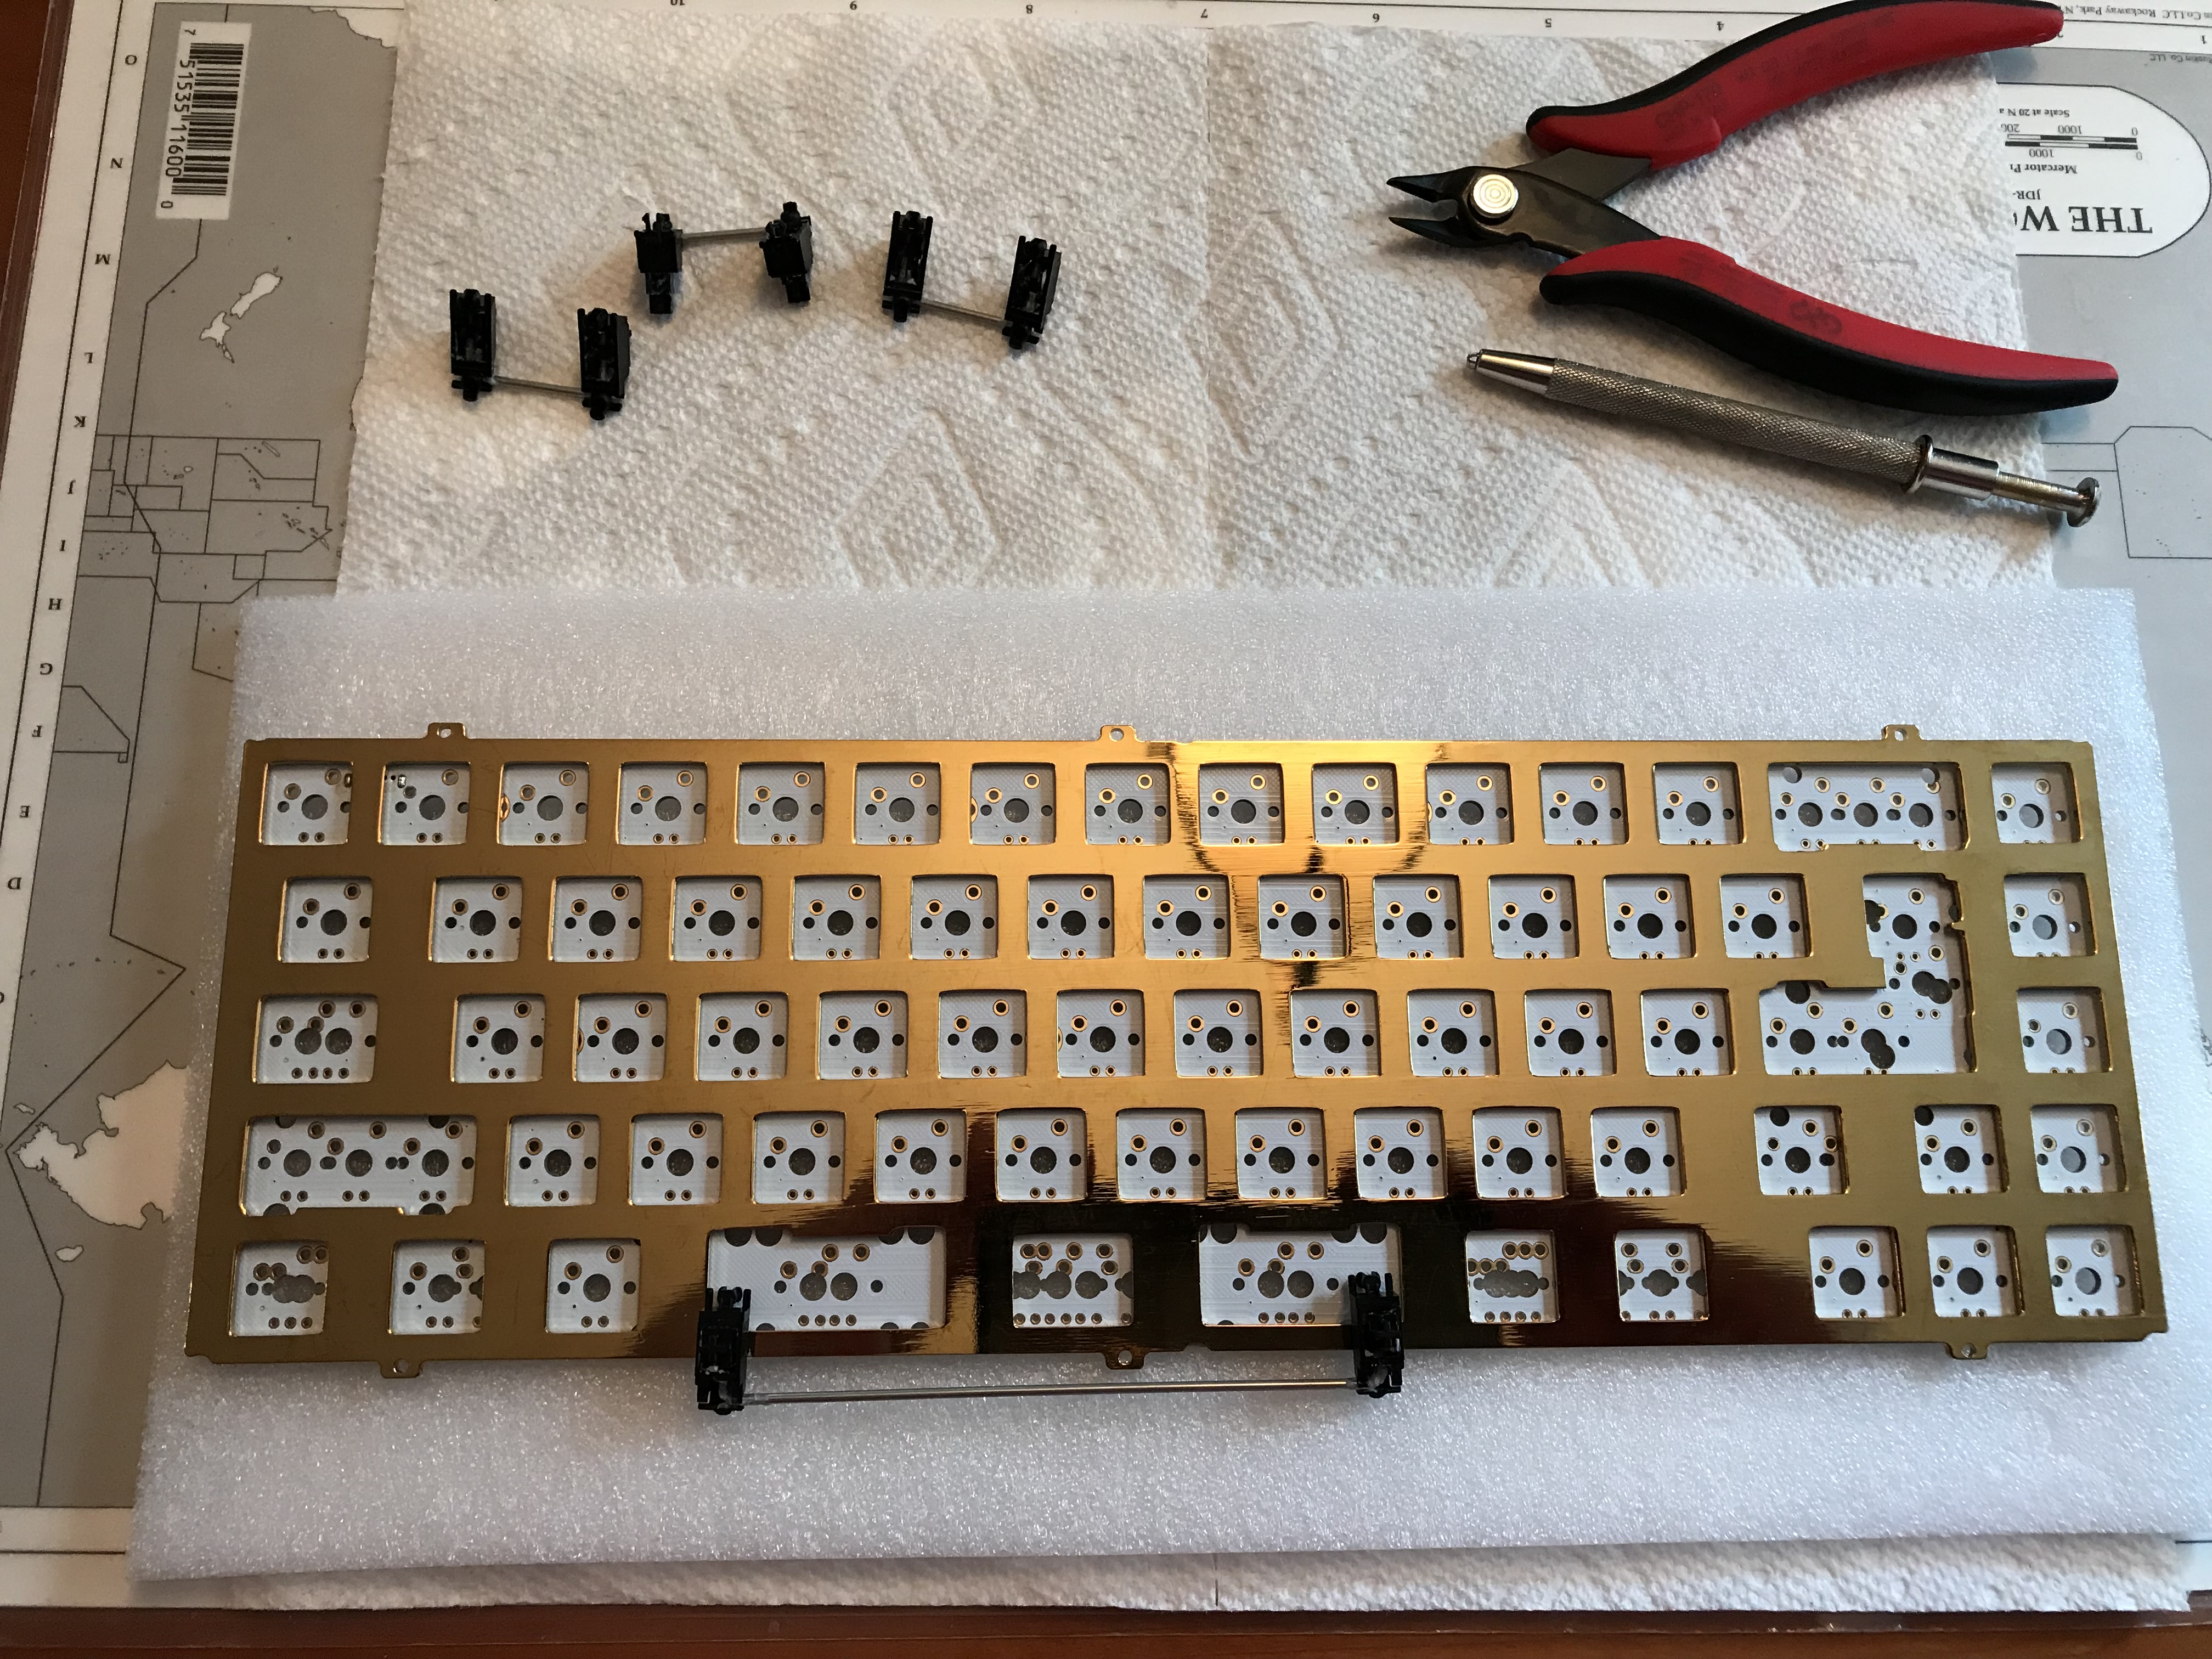
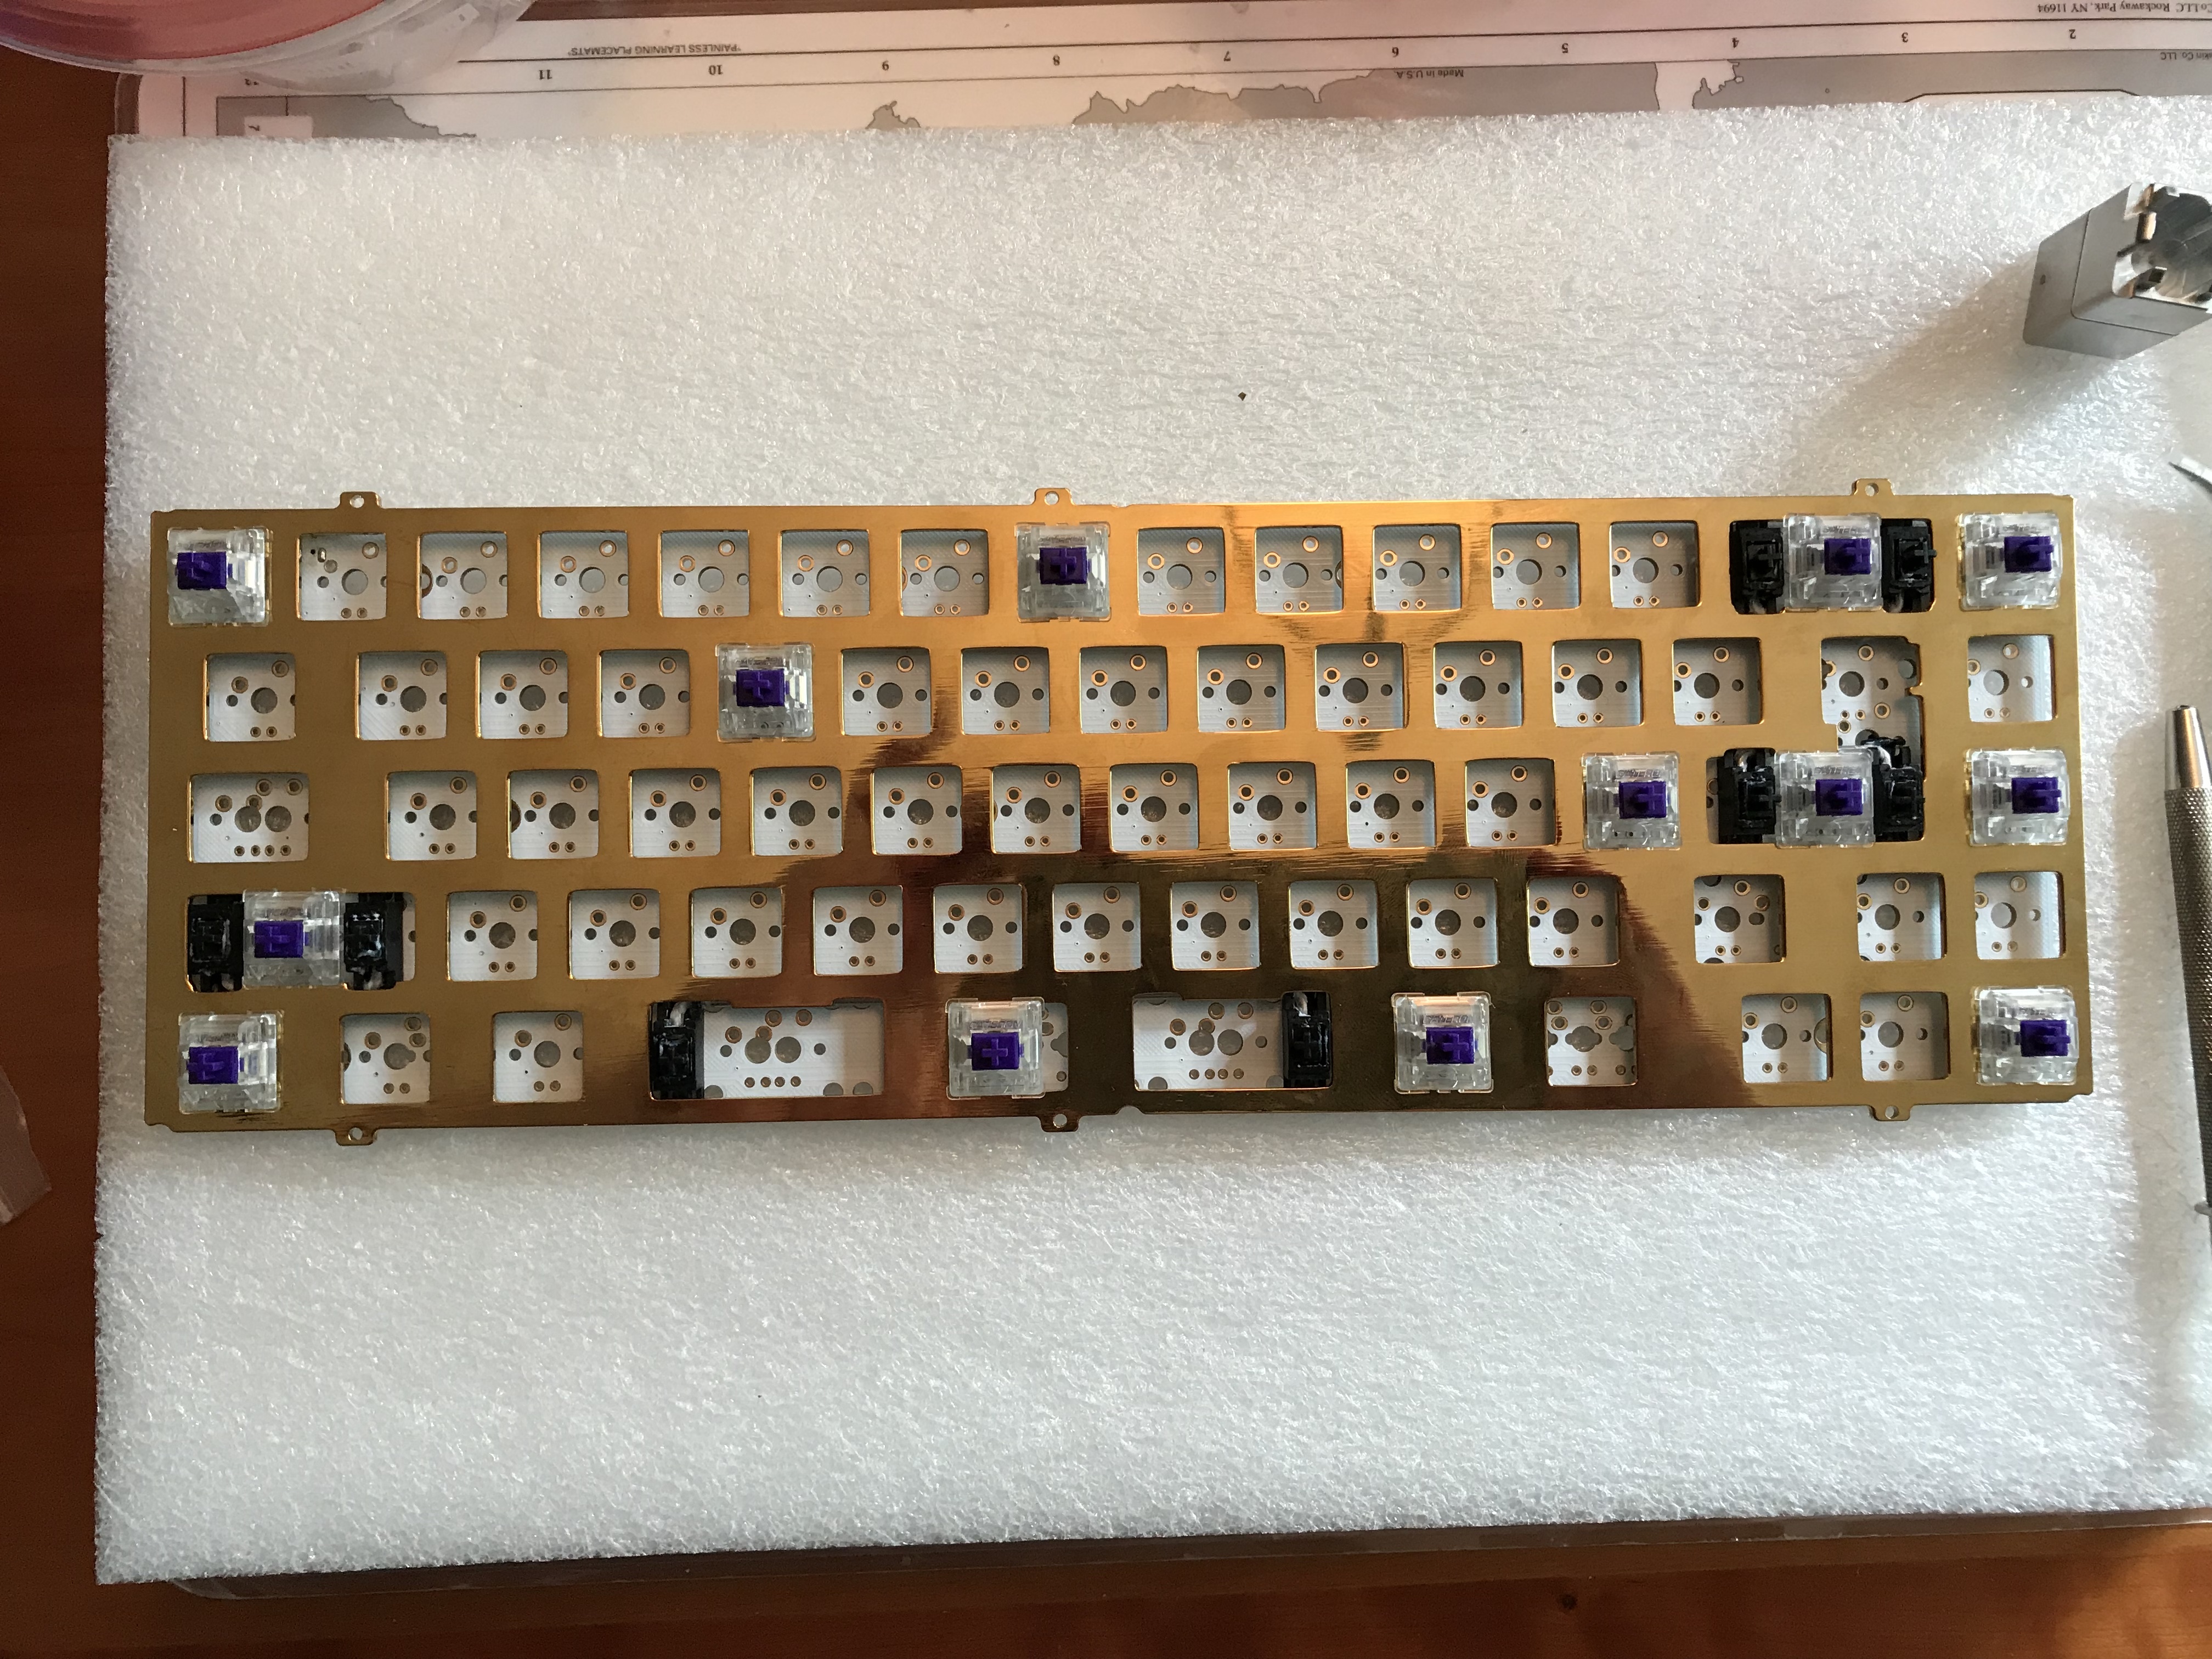
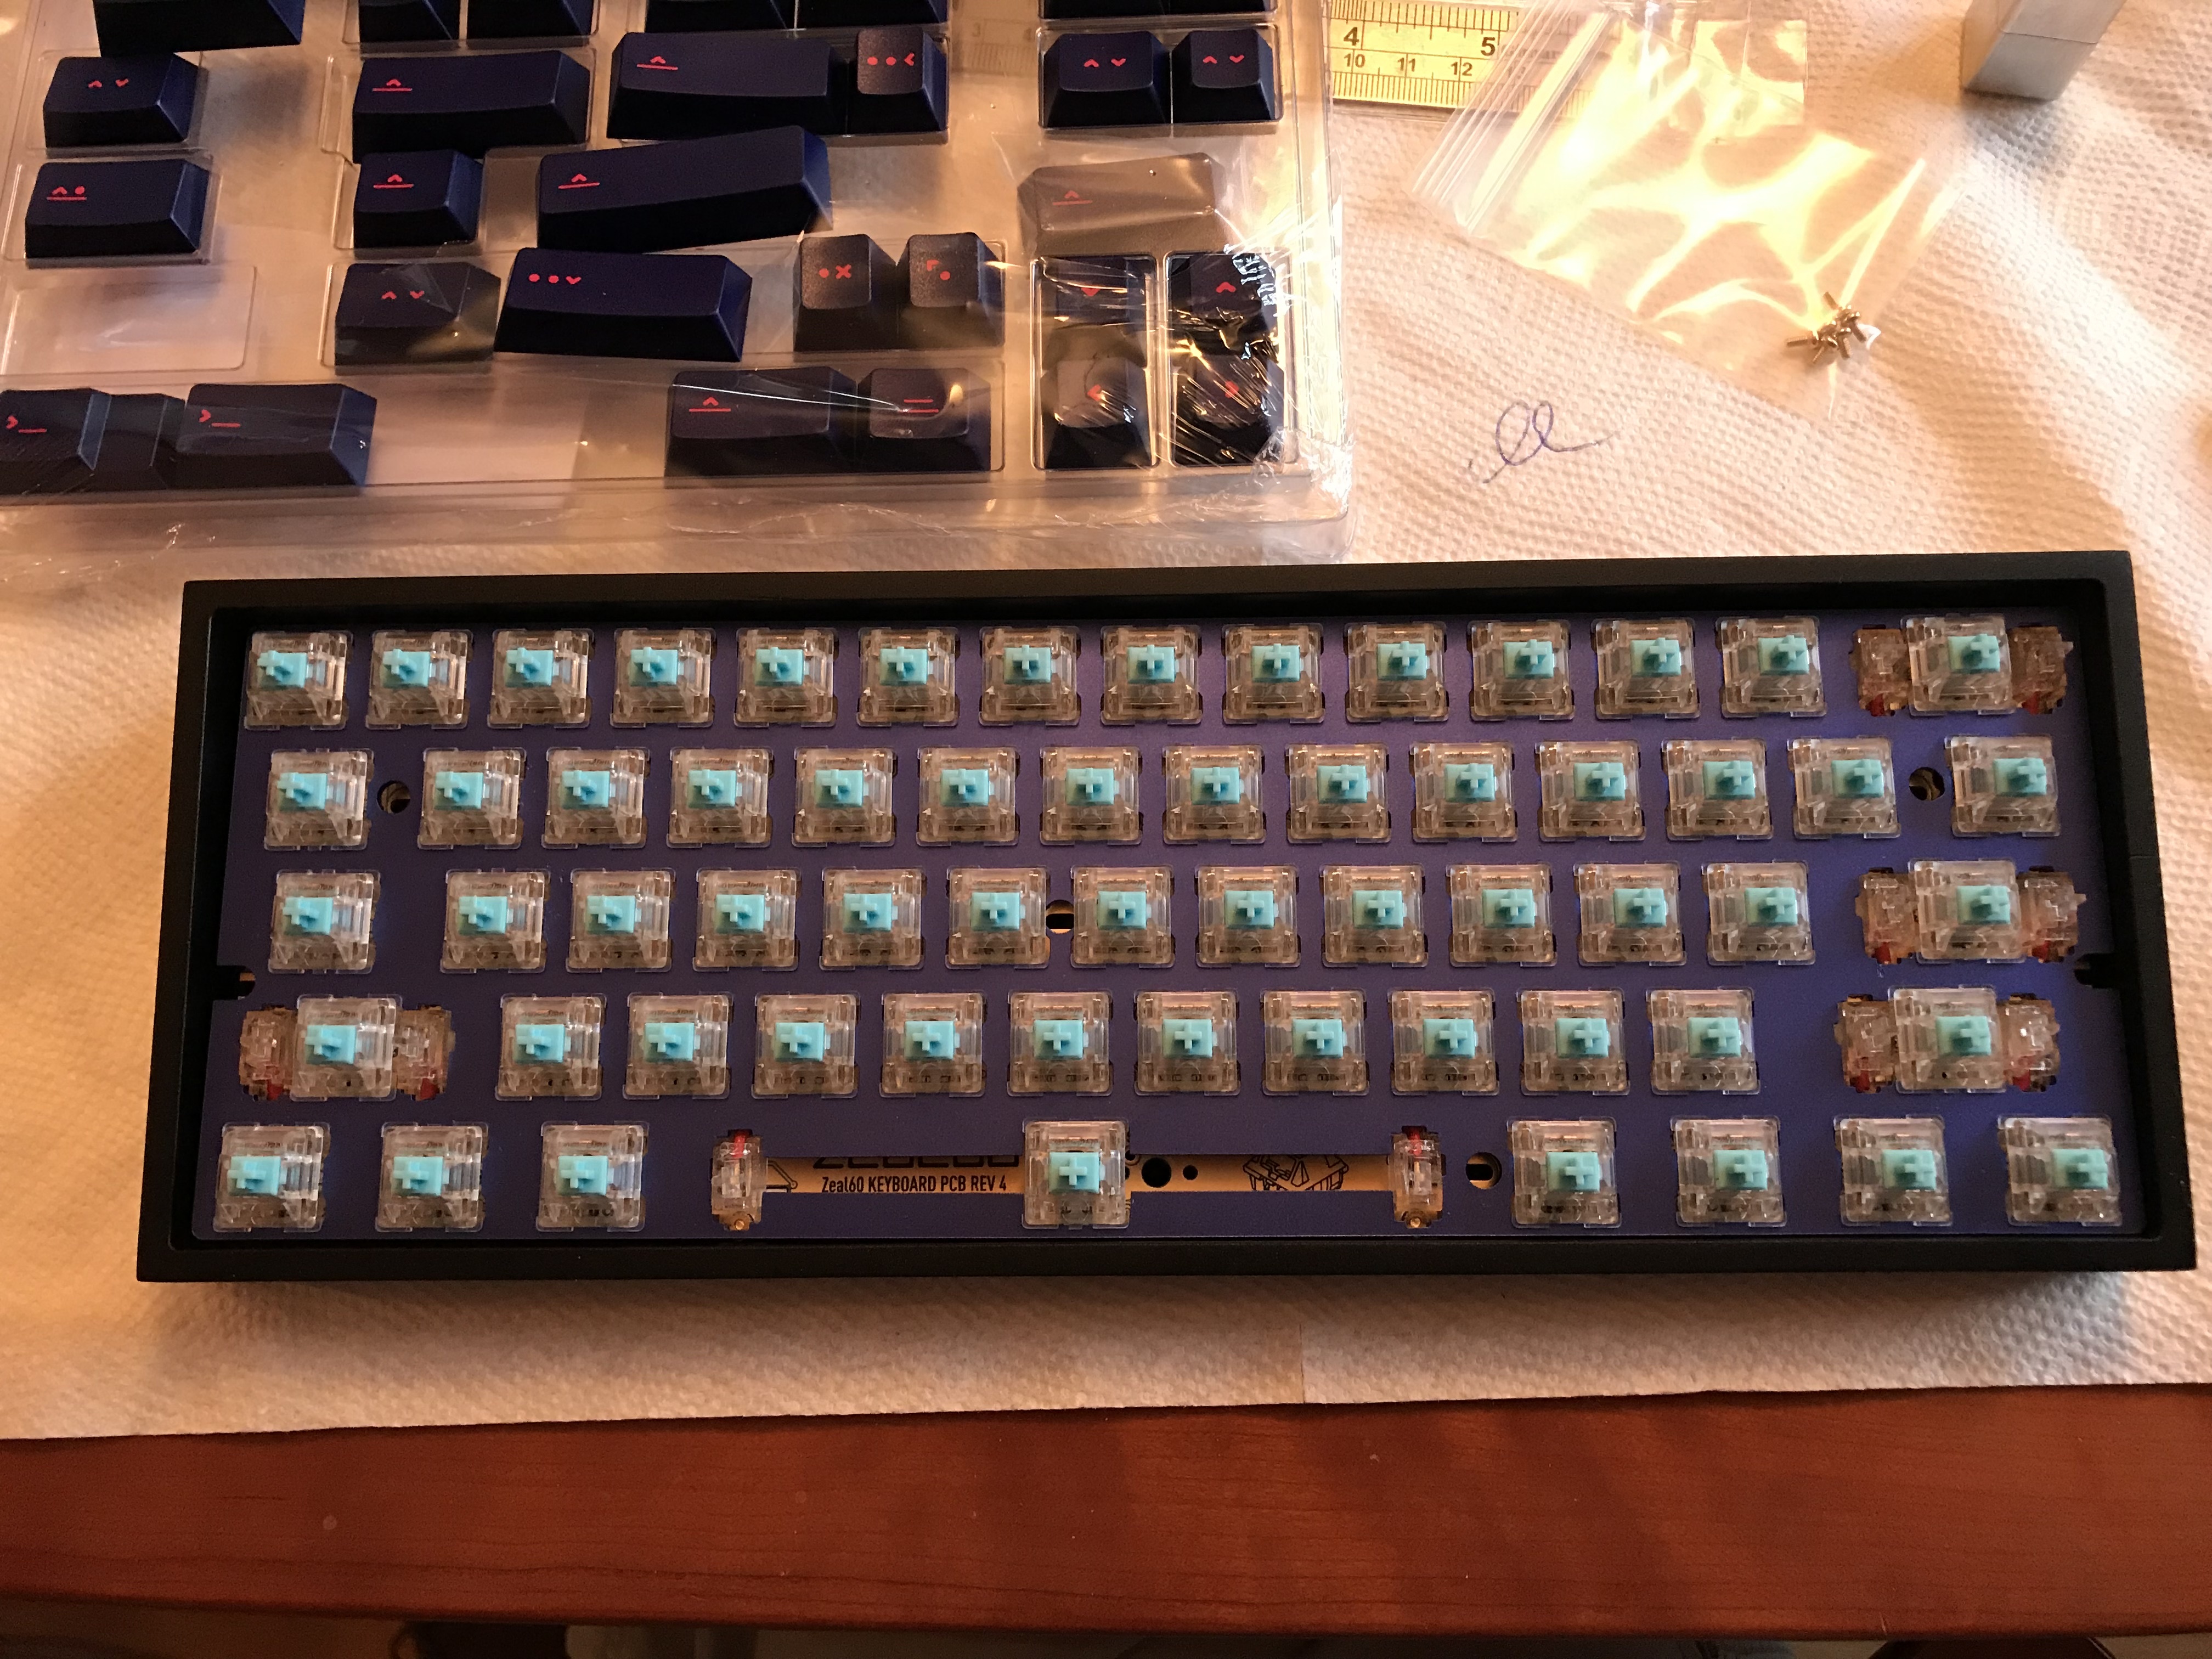
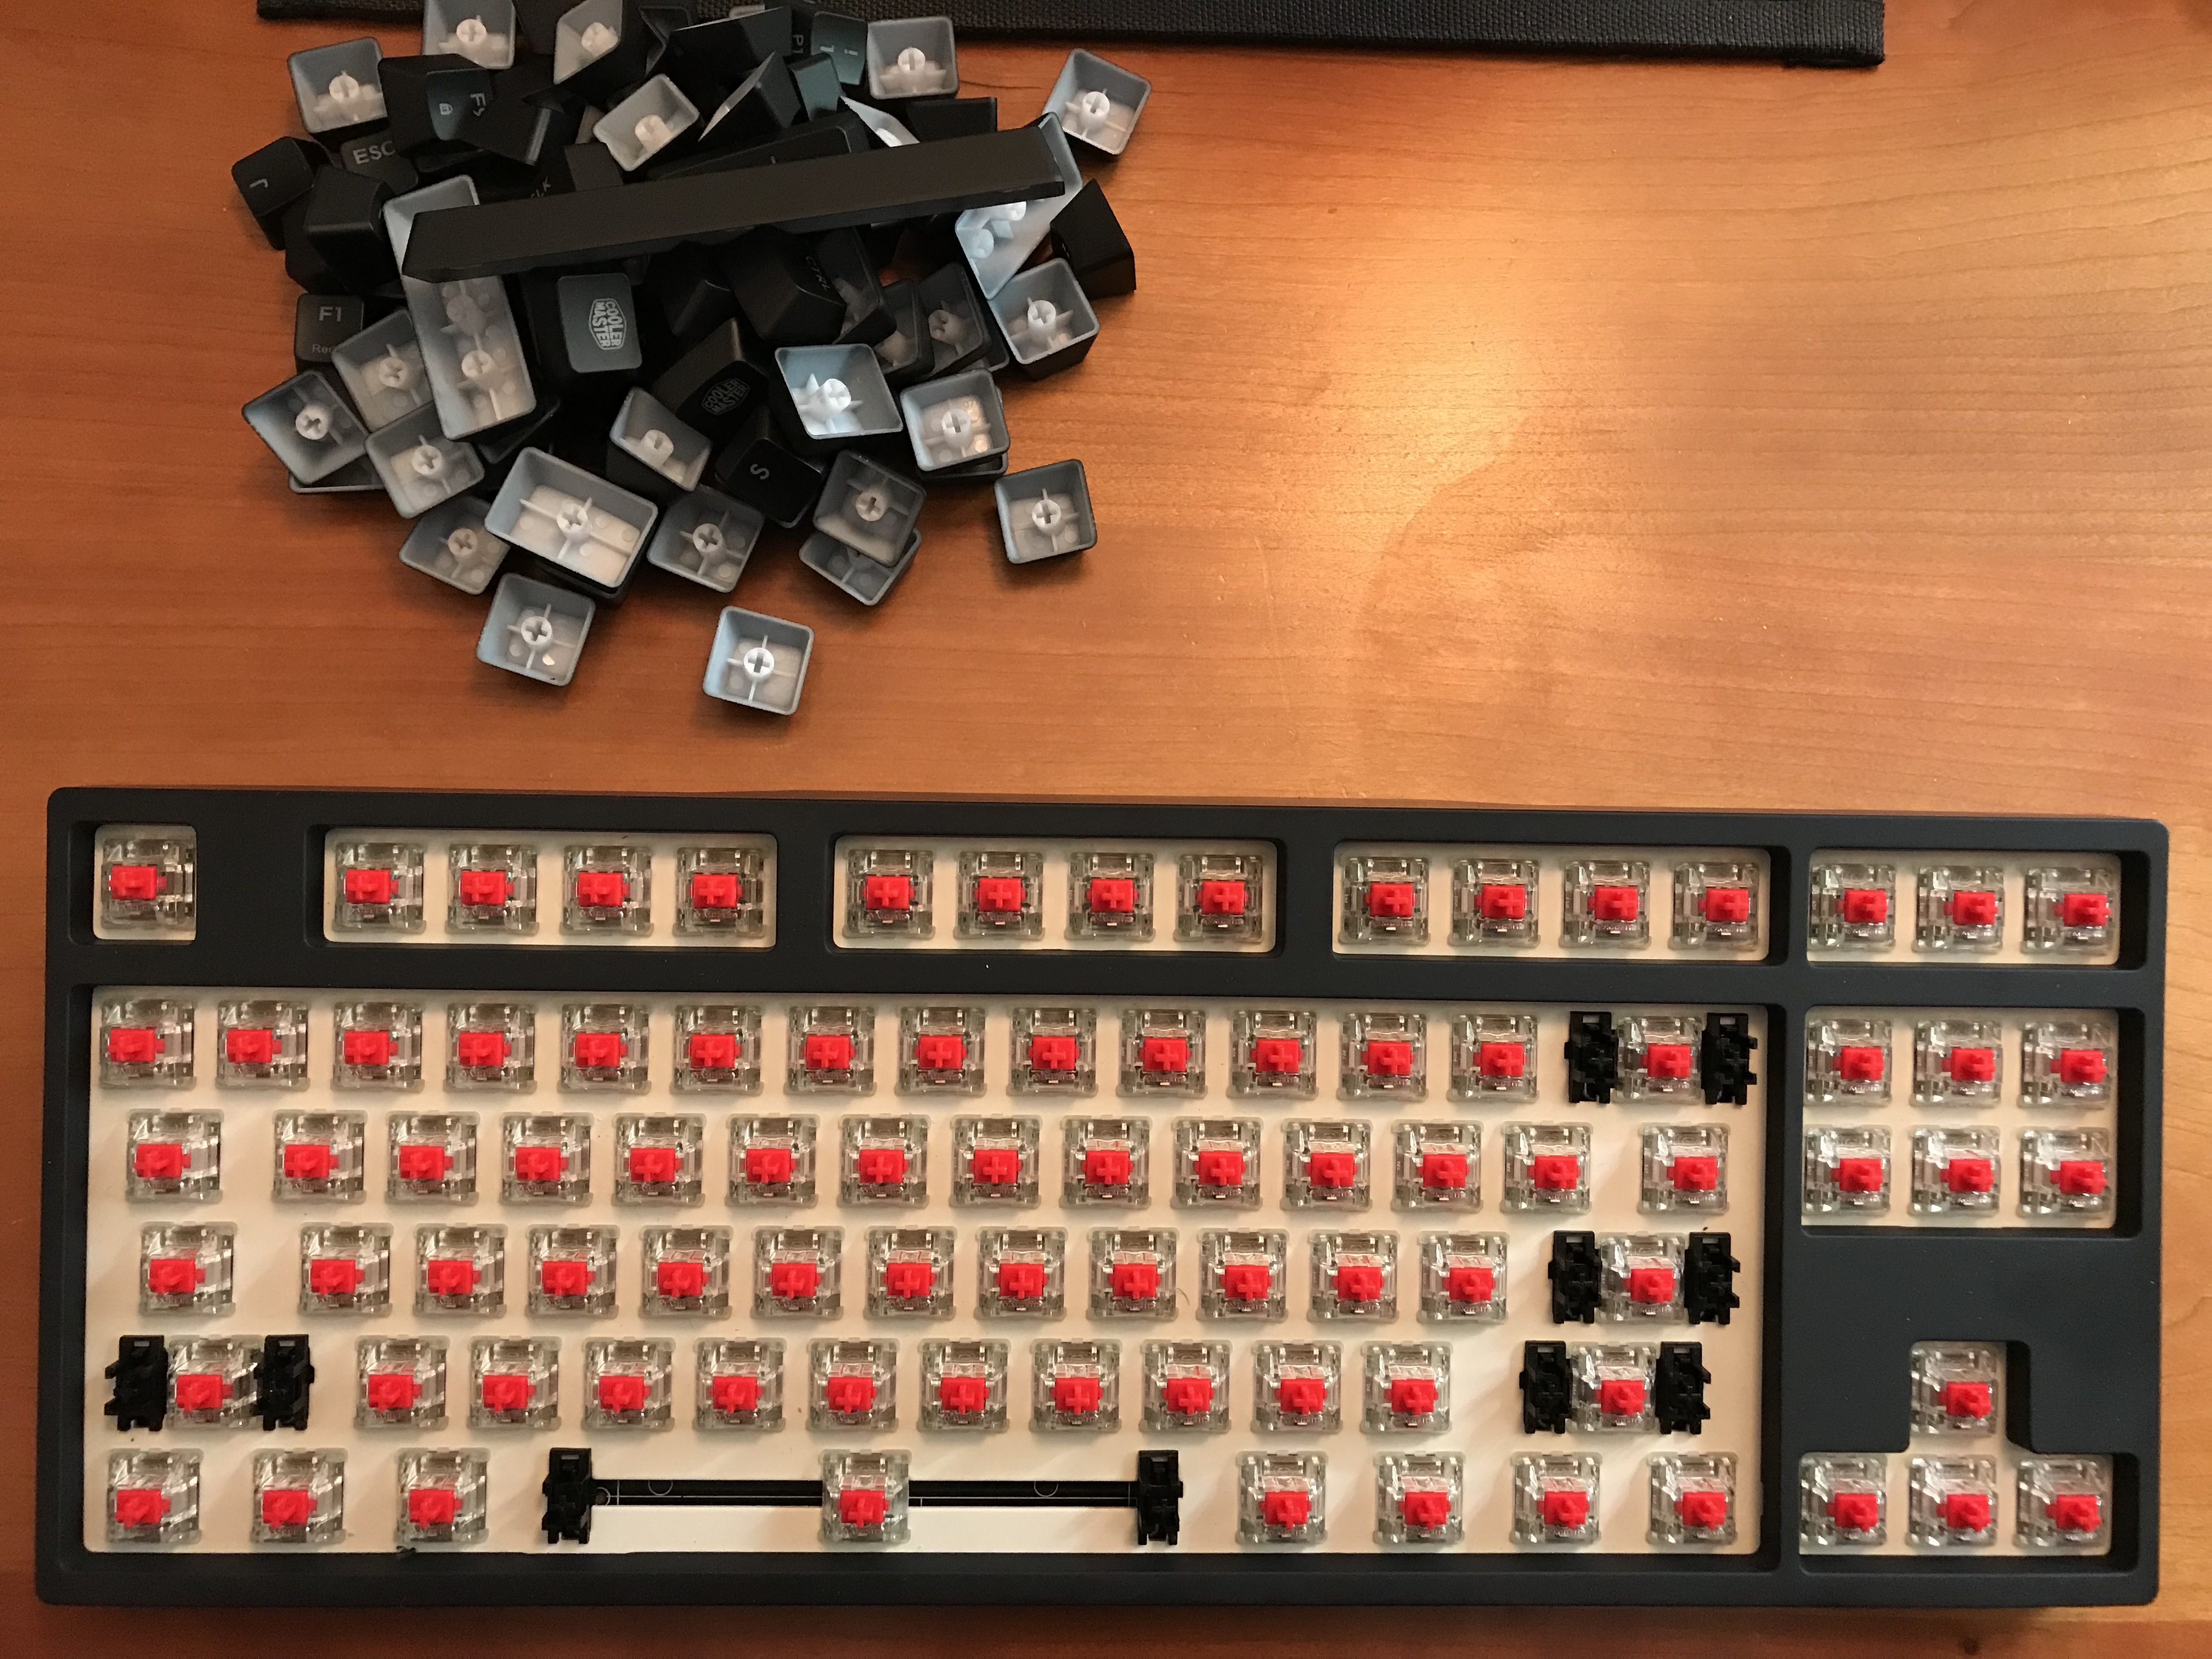
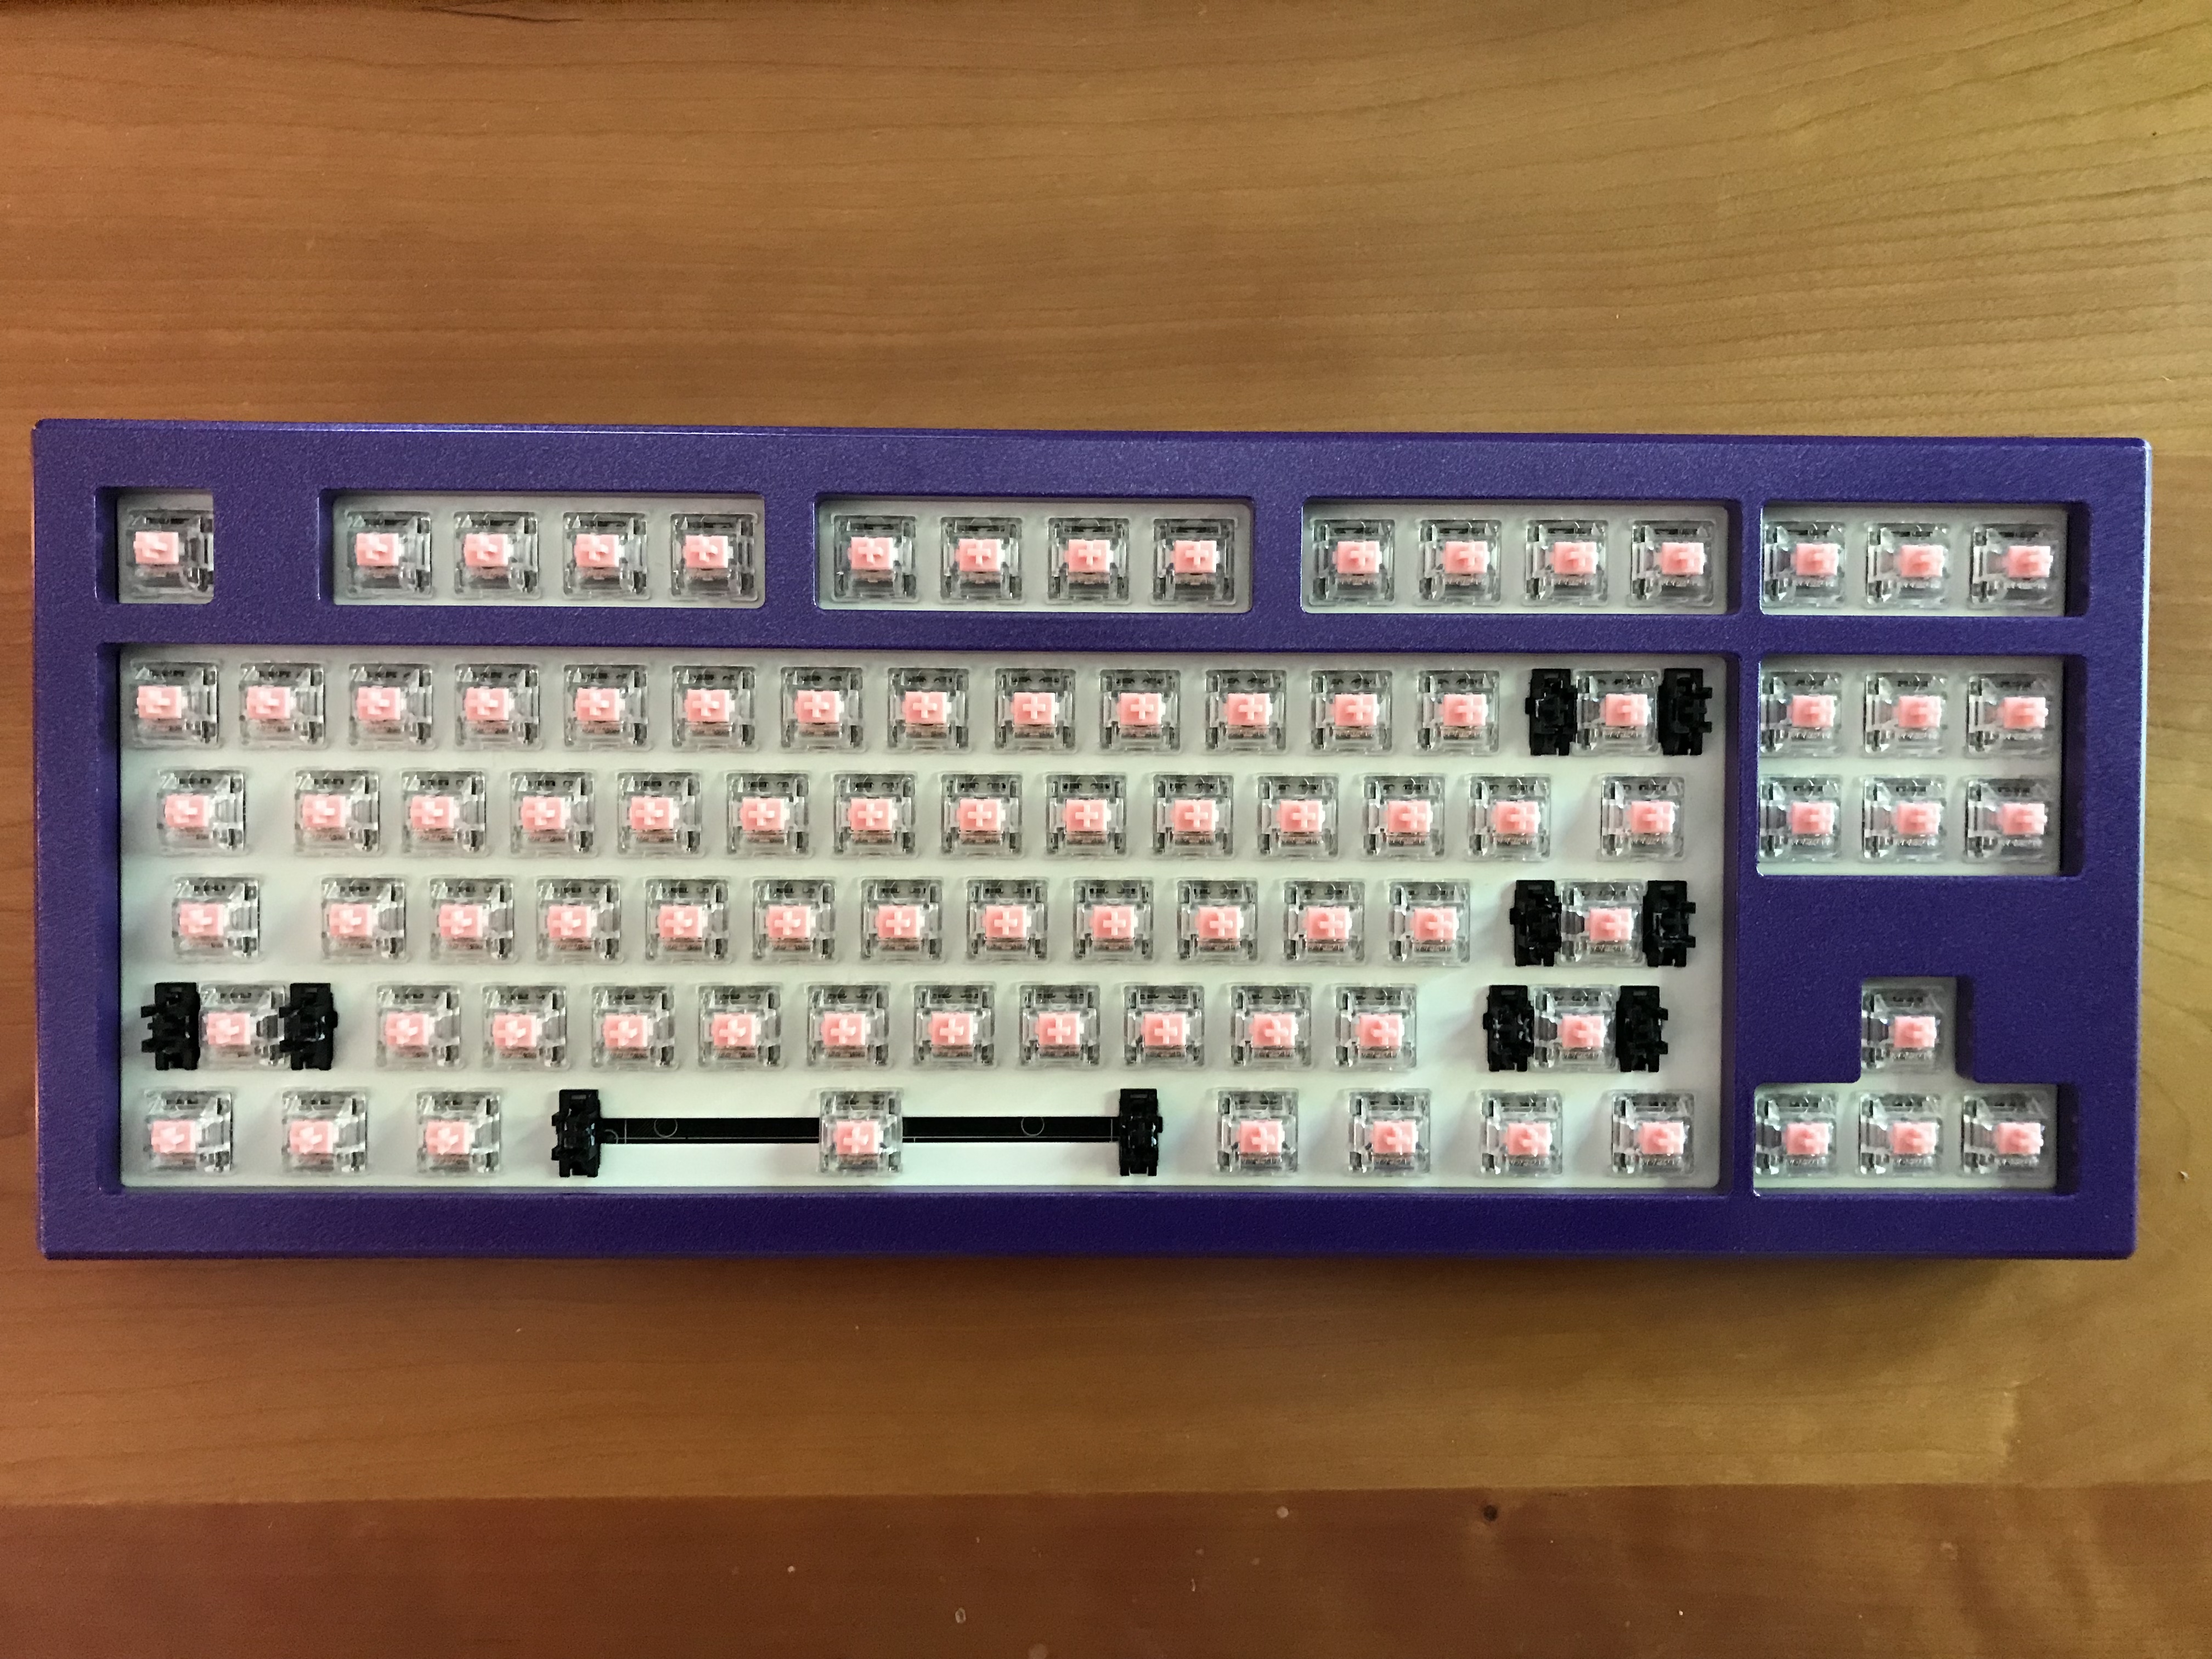
I was hoping the thumb-bruising experience I had with the tx108se was a one-off, but no. Several of the switches required significant force to be properly seated. But not all of them - the tolerances on this plate’s switch holes were all over the place. Possibly the least consistent plate from hole to hole that I’ve worked with. Here, the stabs and a handful of switches are placed, for a quick bit of initial soldering to establish good fit between the plate and PCB.
Where the magic happens.
We can now resume seating switches, but now is also a good time to address PCB/plate sound dampening.
I’ve pretty much switched over to the @donpark Sorbothane strut mod approach, cutting a few very small squares of Sorbothane, and wedging them into spaces between the plate and PCB. Here’s one of those squares, tucked into the space below the backspace key:
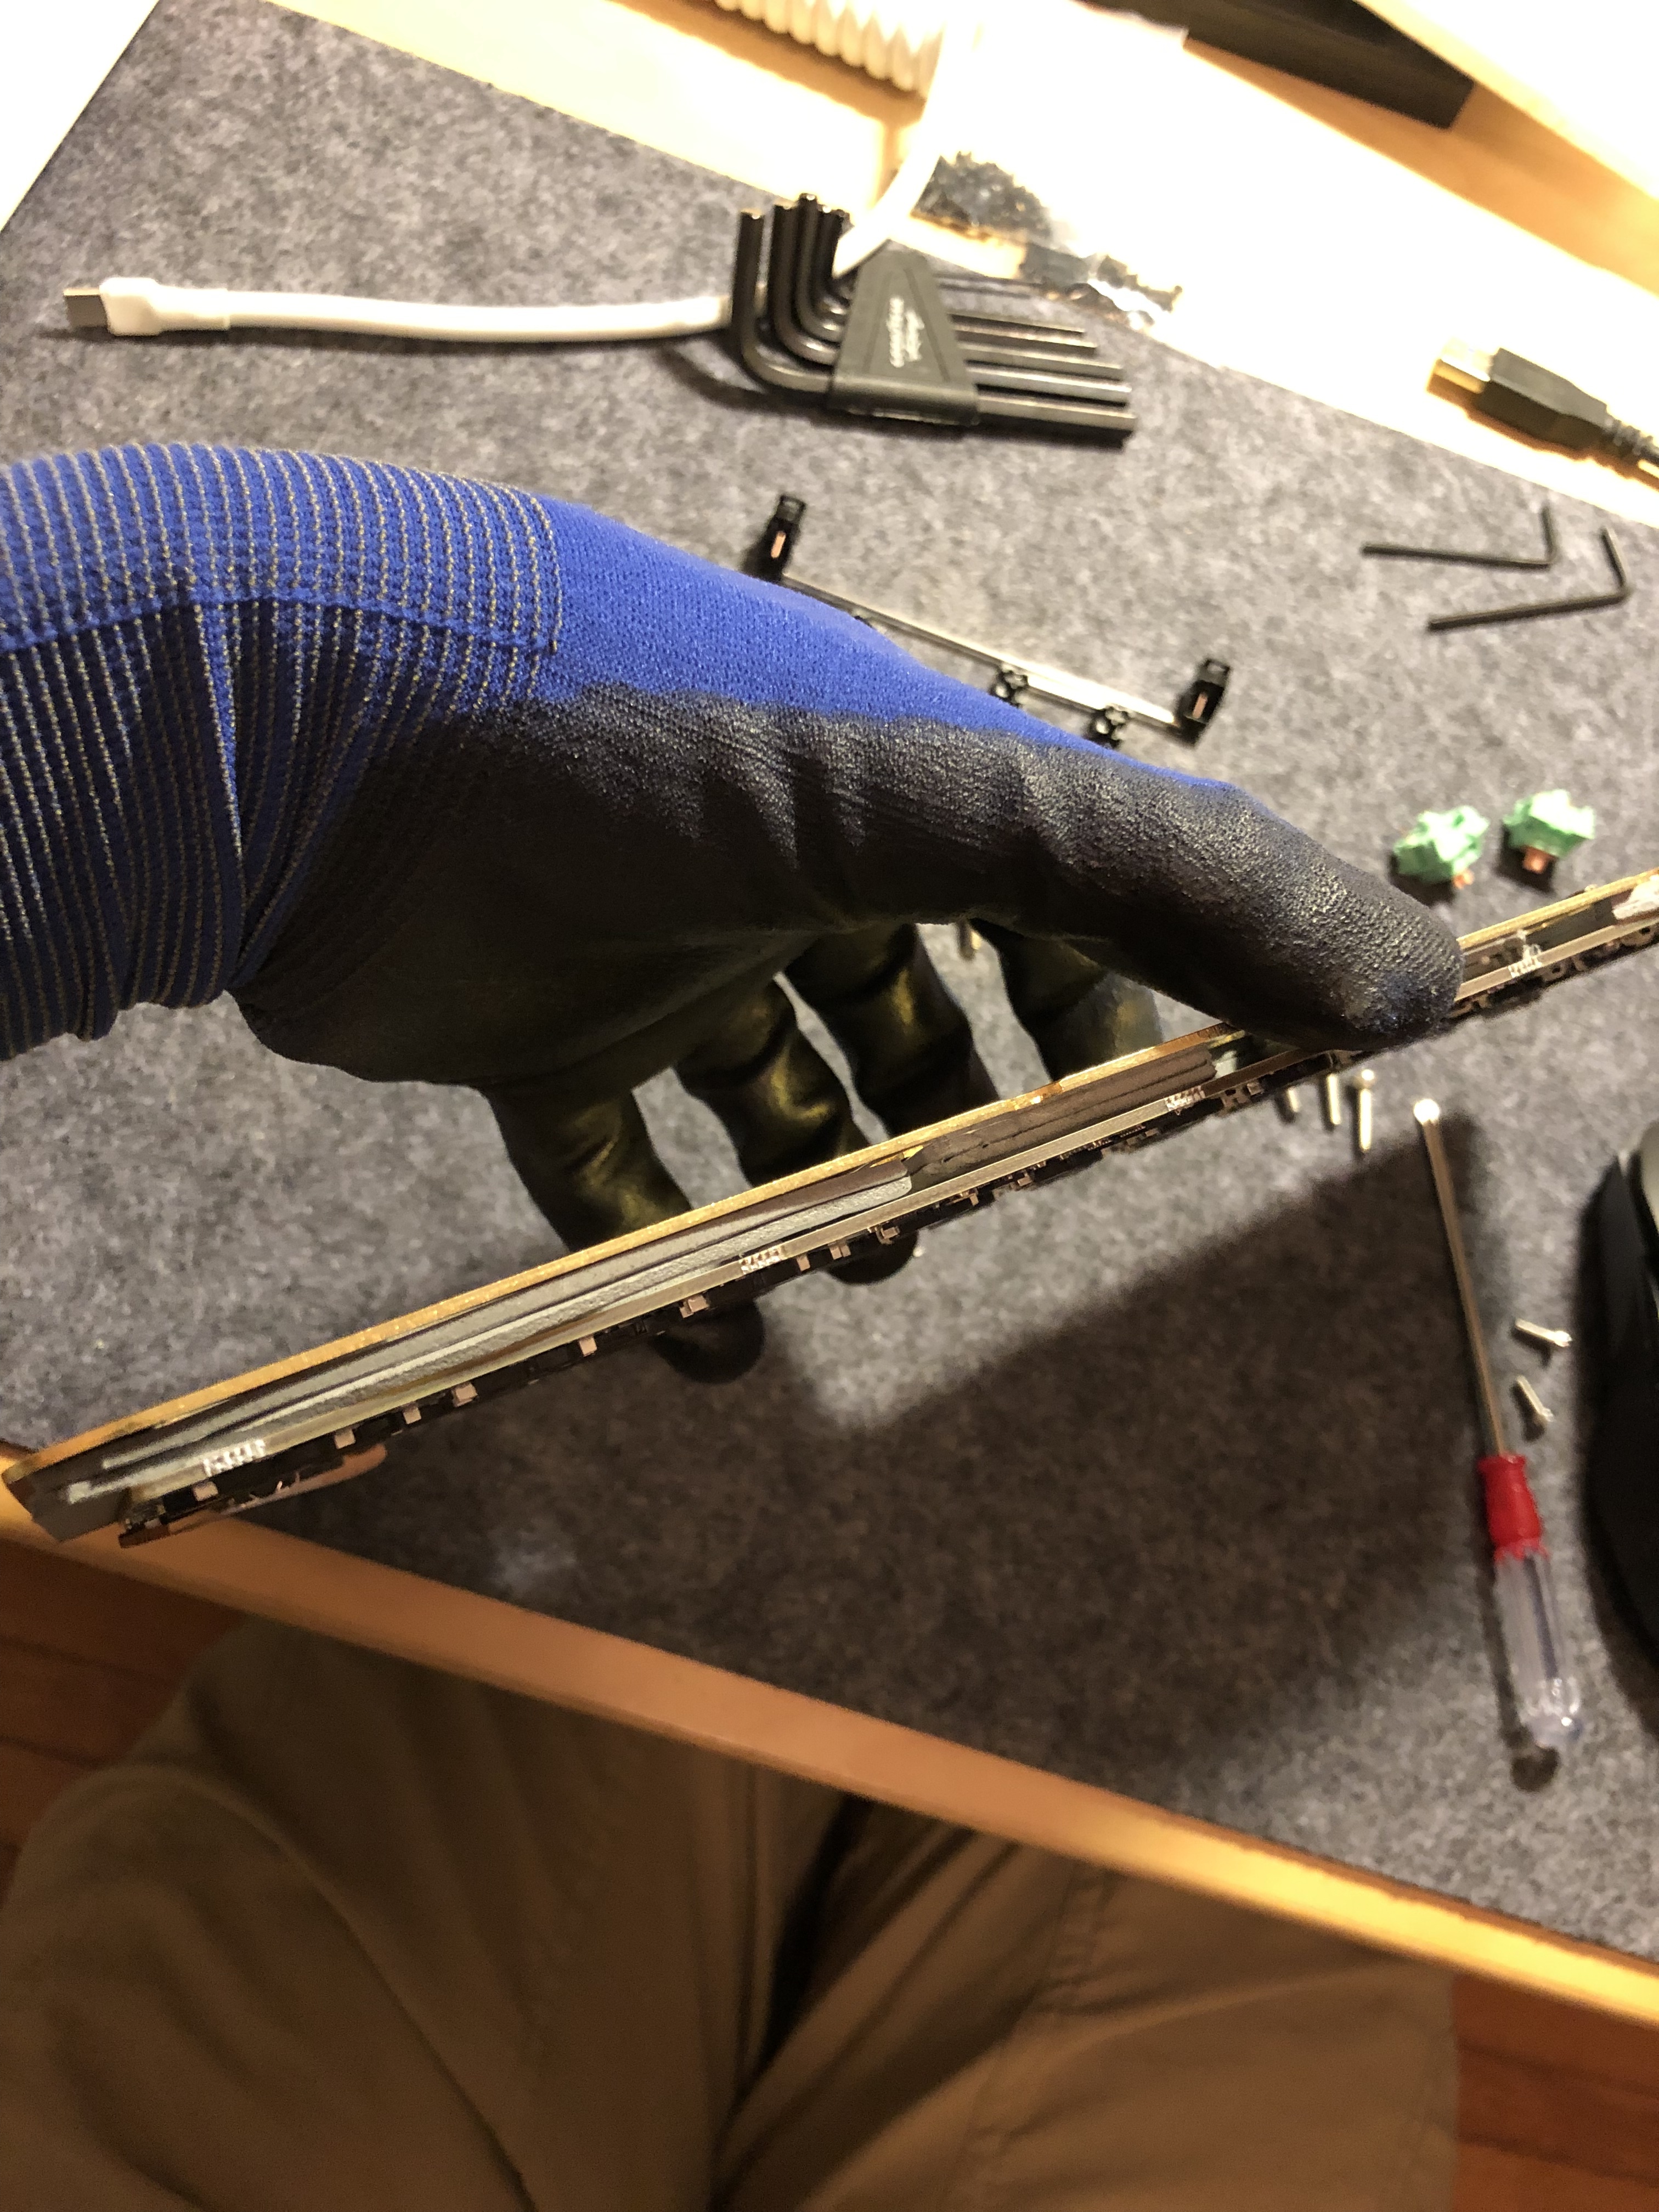
From here, it’s just seating all of those switches in that stubborn plate, more soldering work, and a quick round with a keytester to make sure everything is functioning as expected. The complete PCB/plate assembly:
If the keyboard thing doesn’t work out, maybe there’s a second career as a hibachi.
Let’s get it out there right now - if you’ve never built a kbd67 before, you are going to need sound dampening. Without any treatment, the sound of the board (especially with a brass plate) is harsh, pingy, and hollow. Normally, I use Sorbothane for all sound dampening applications in my builds, but I do like to try new things, and this seemed like a good build to try out craft foam.
Here, after making the cutout for USB jack clearance, I’ve marked the locations of the underglow RGBs on the PCB, in preparation for making more cutouts to allow the LEDs clearance.
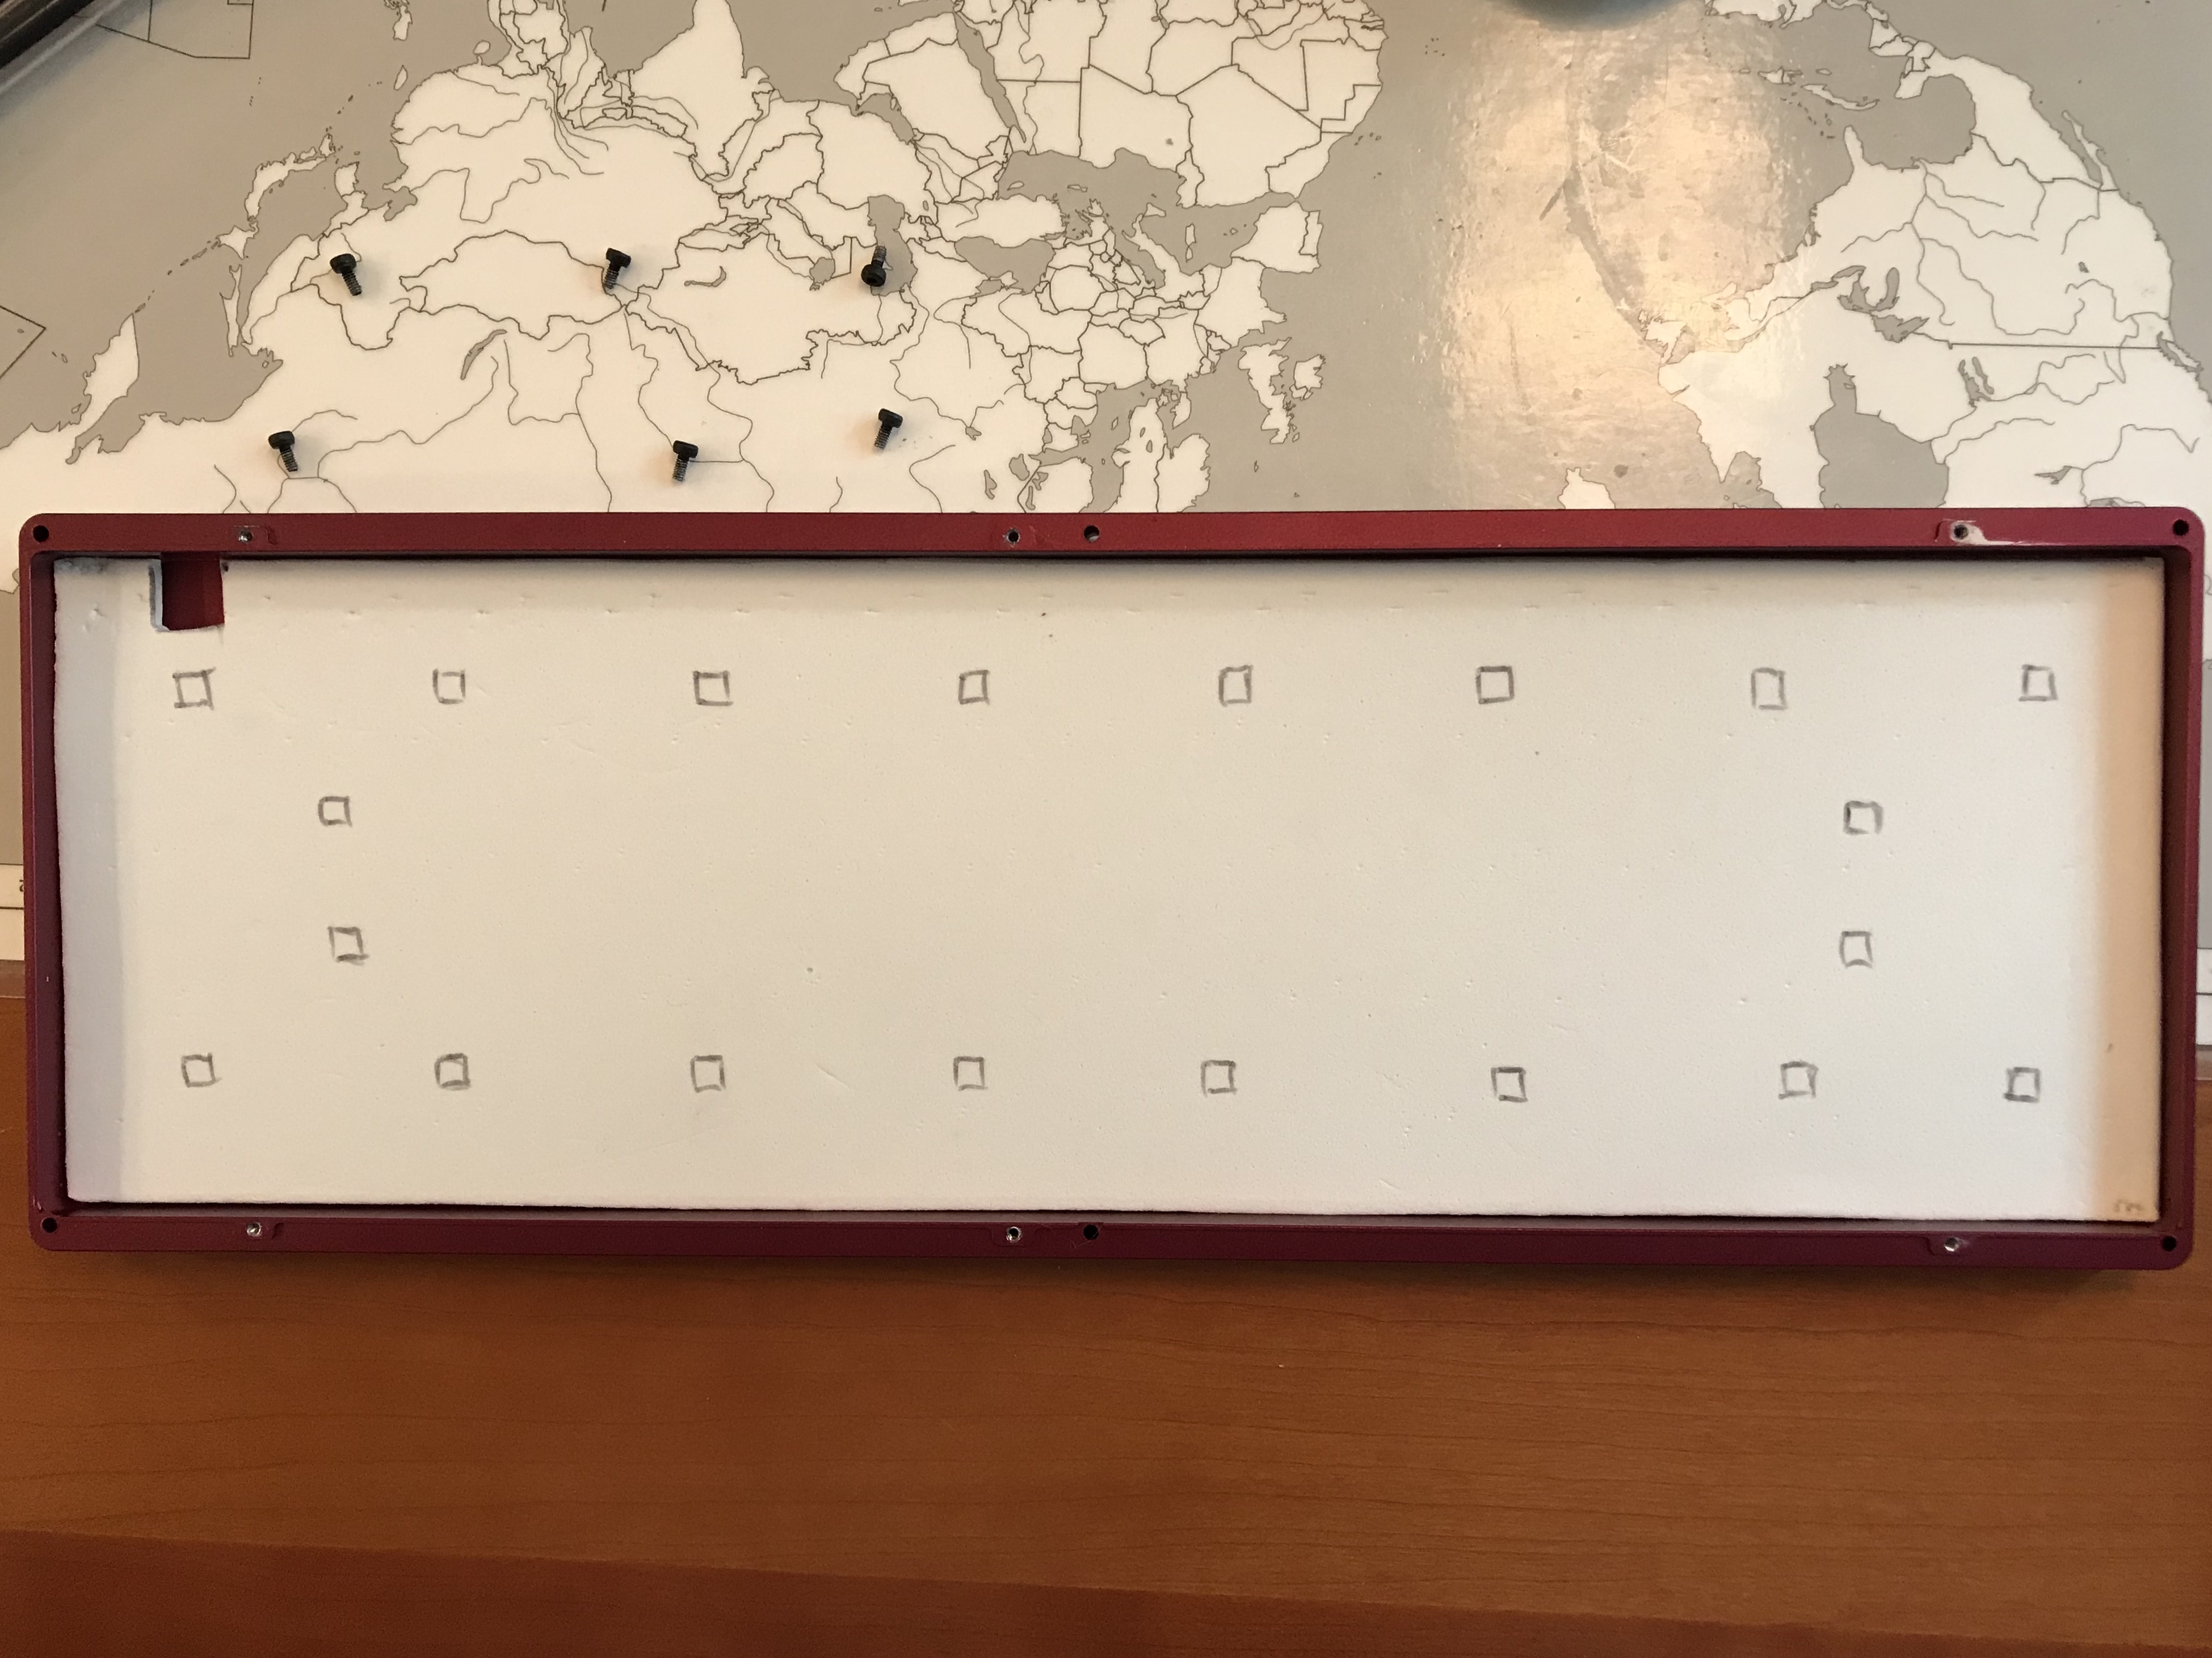
Also can’t hurt to avoid undue pressure on the controller or the reset button.
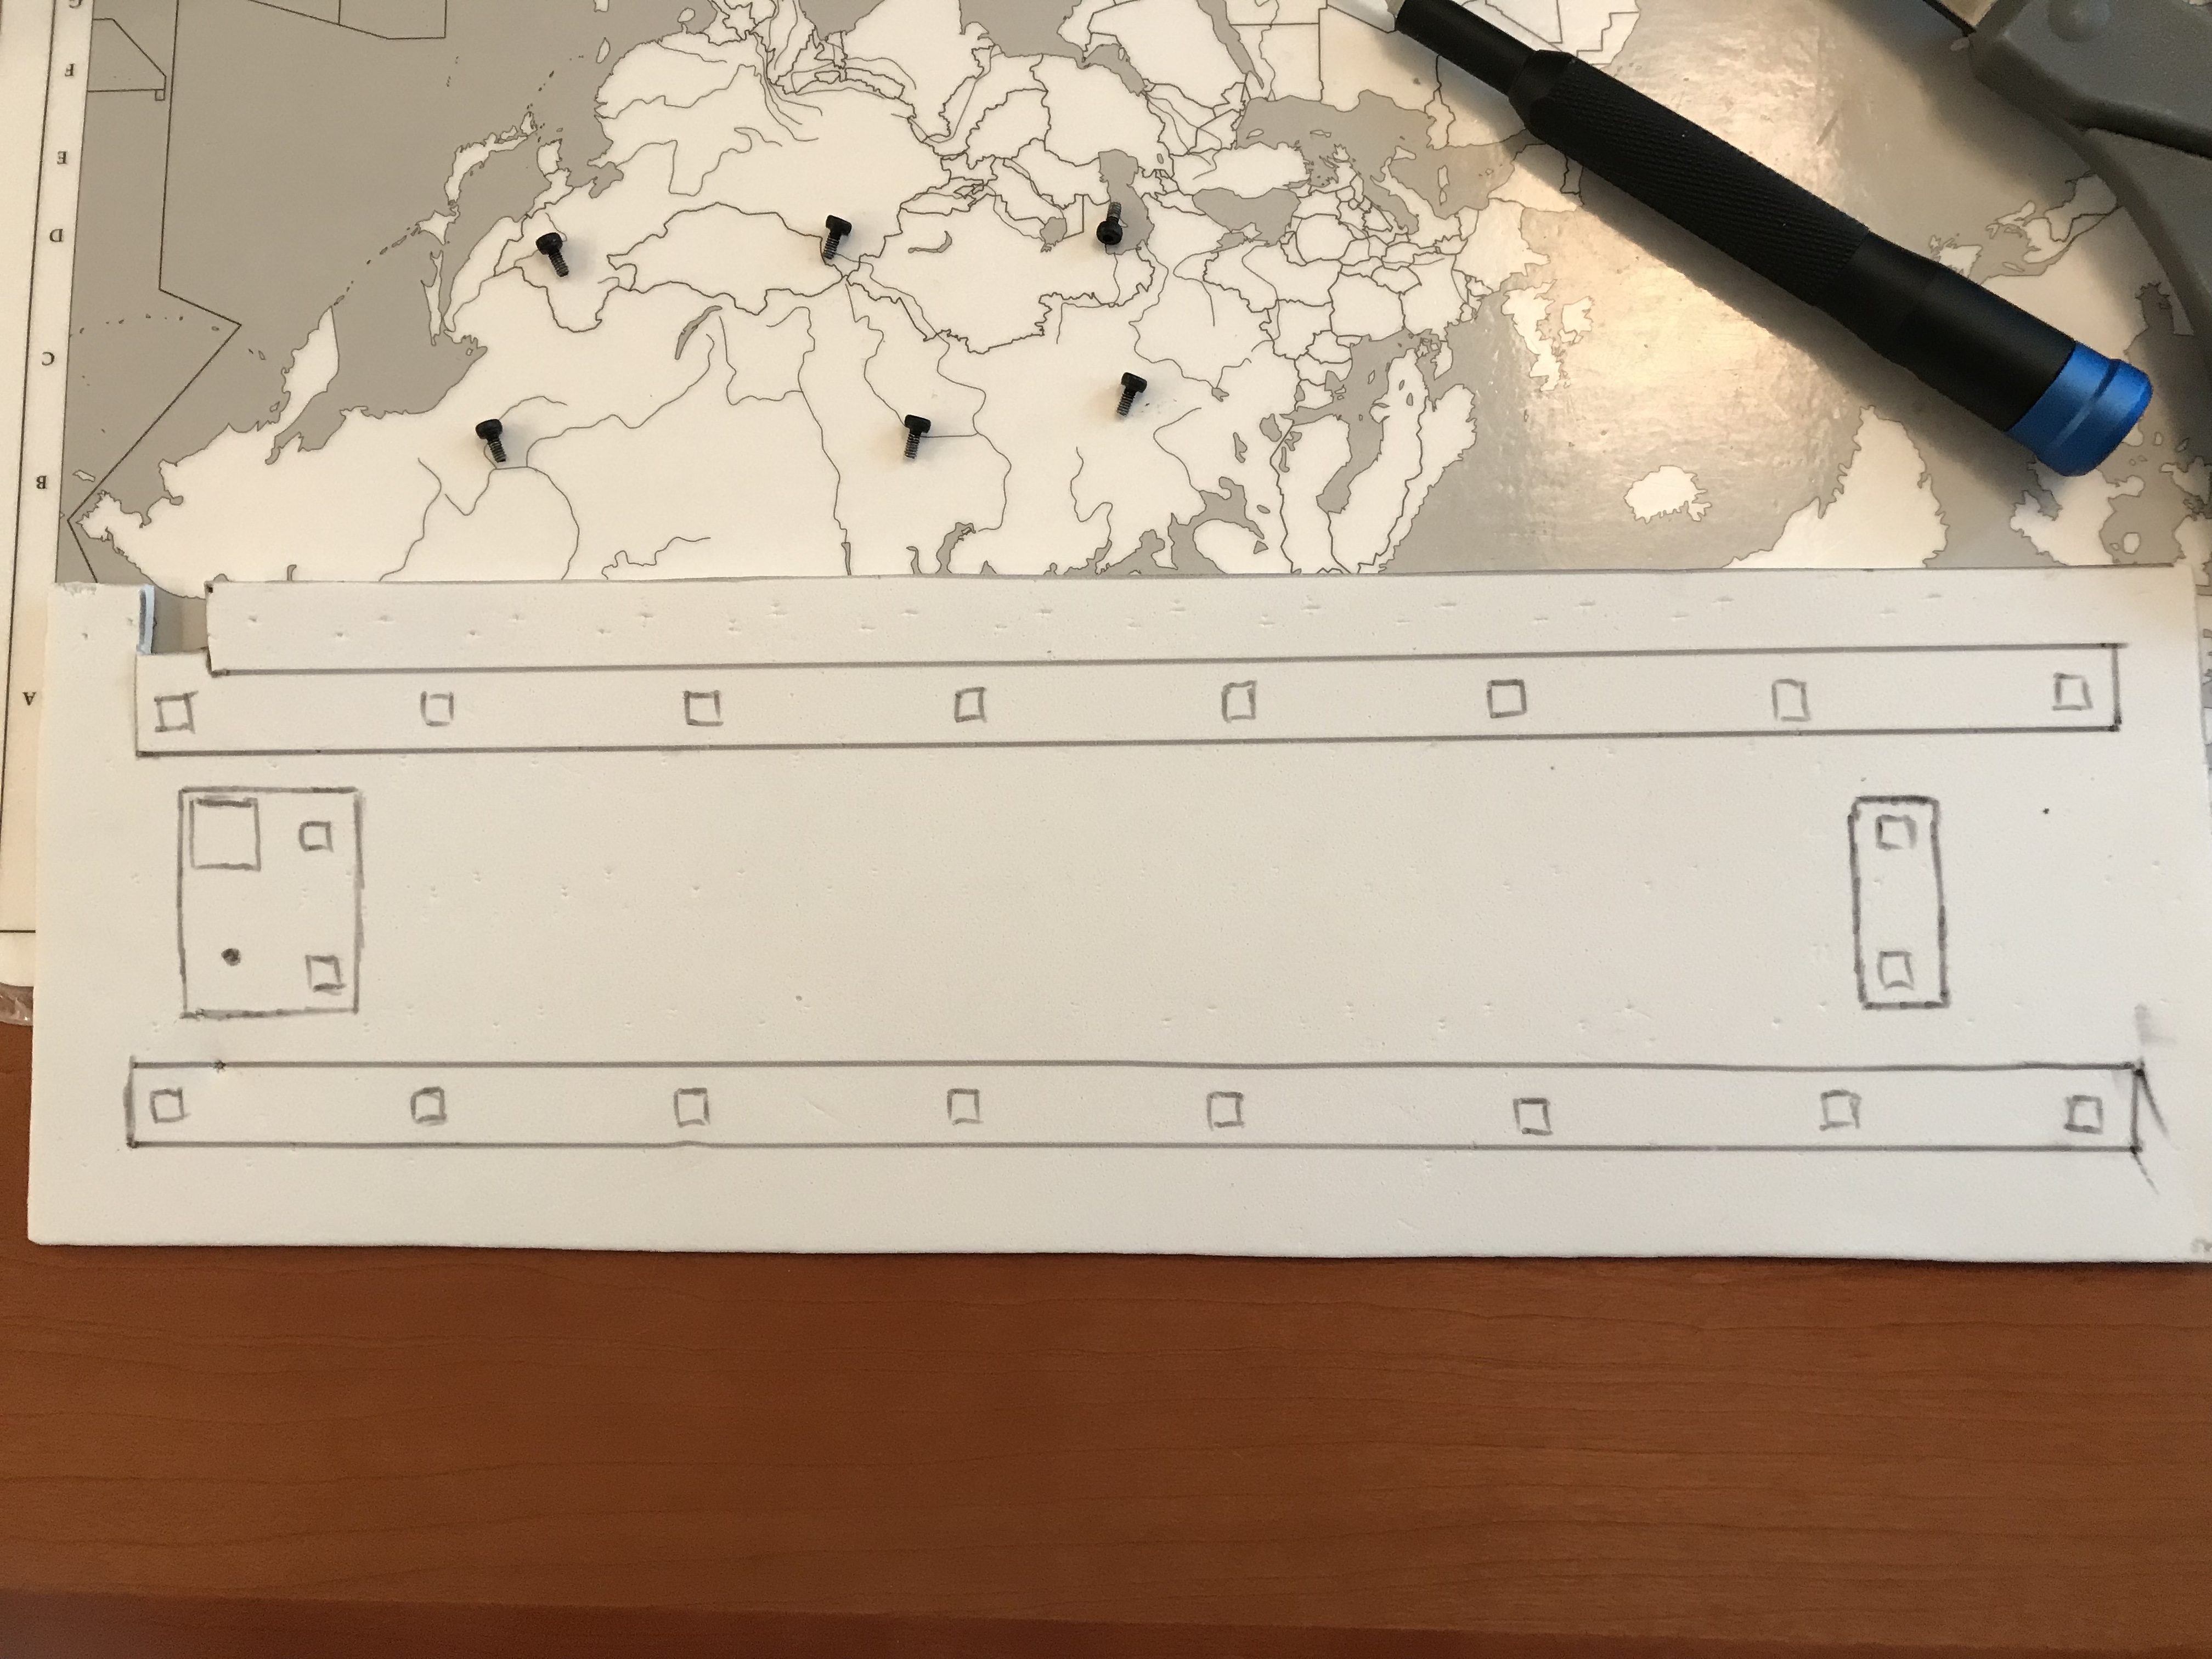
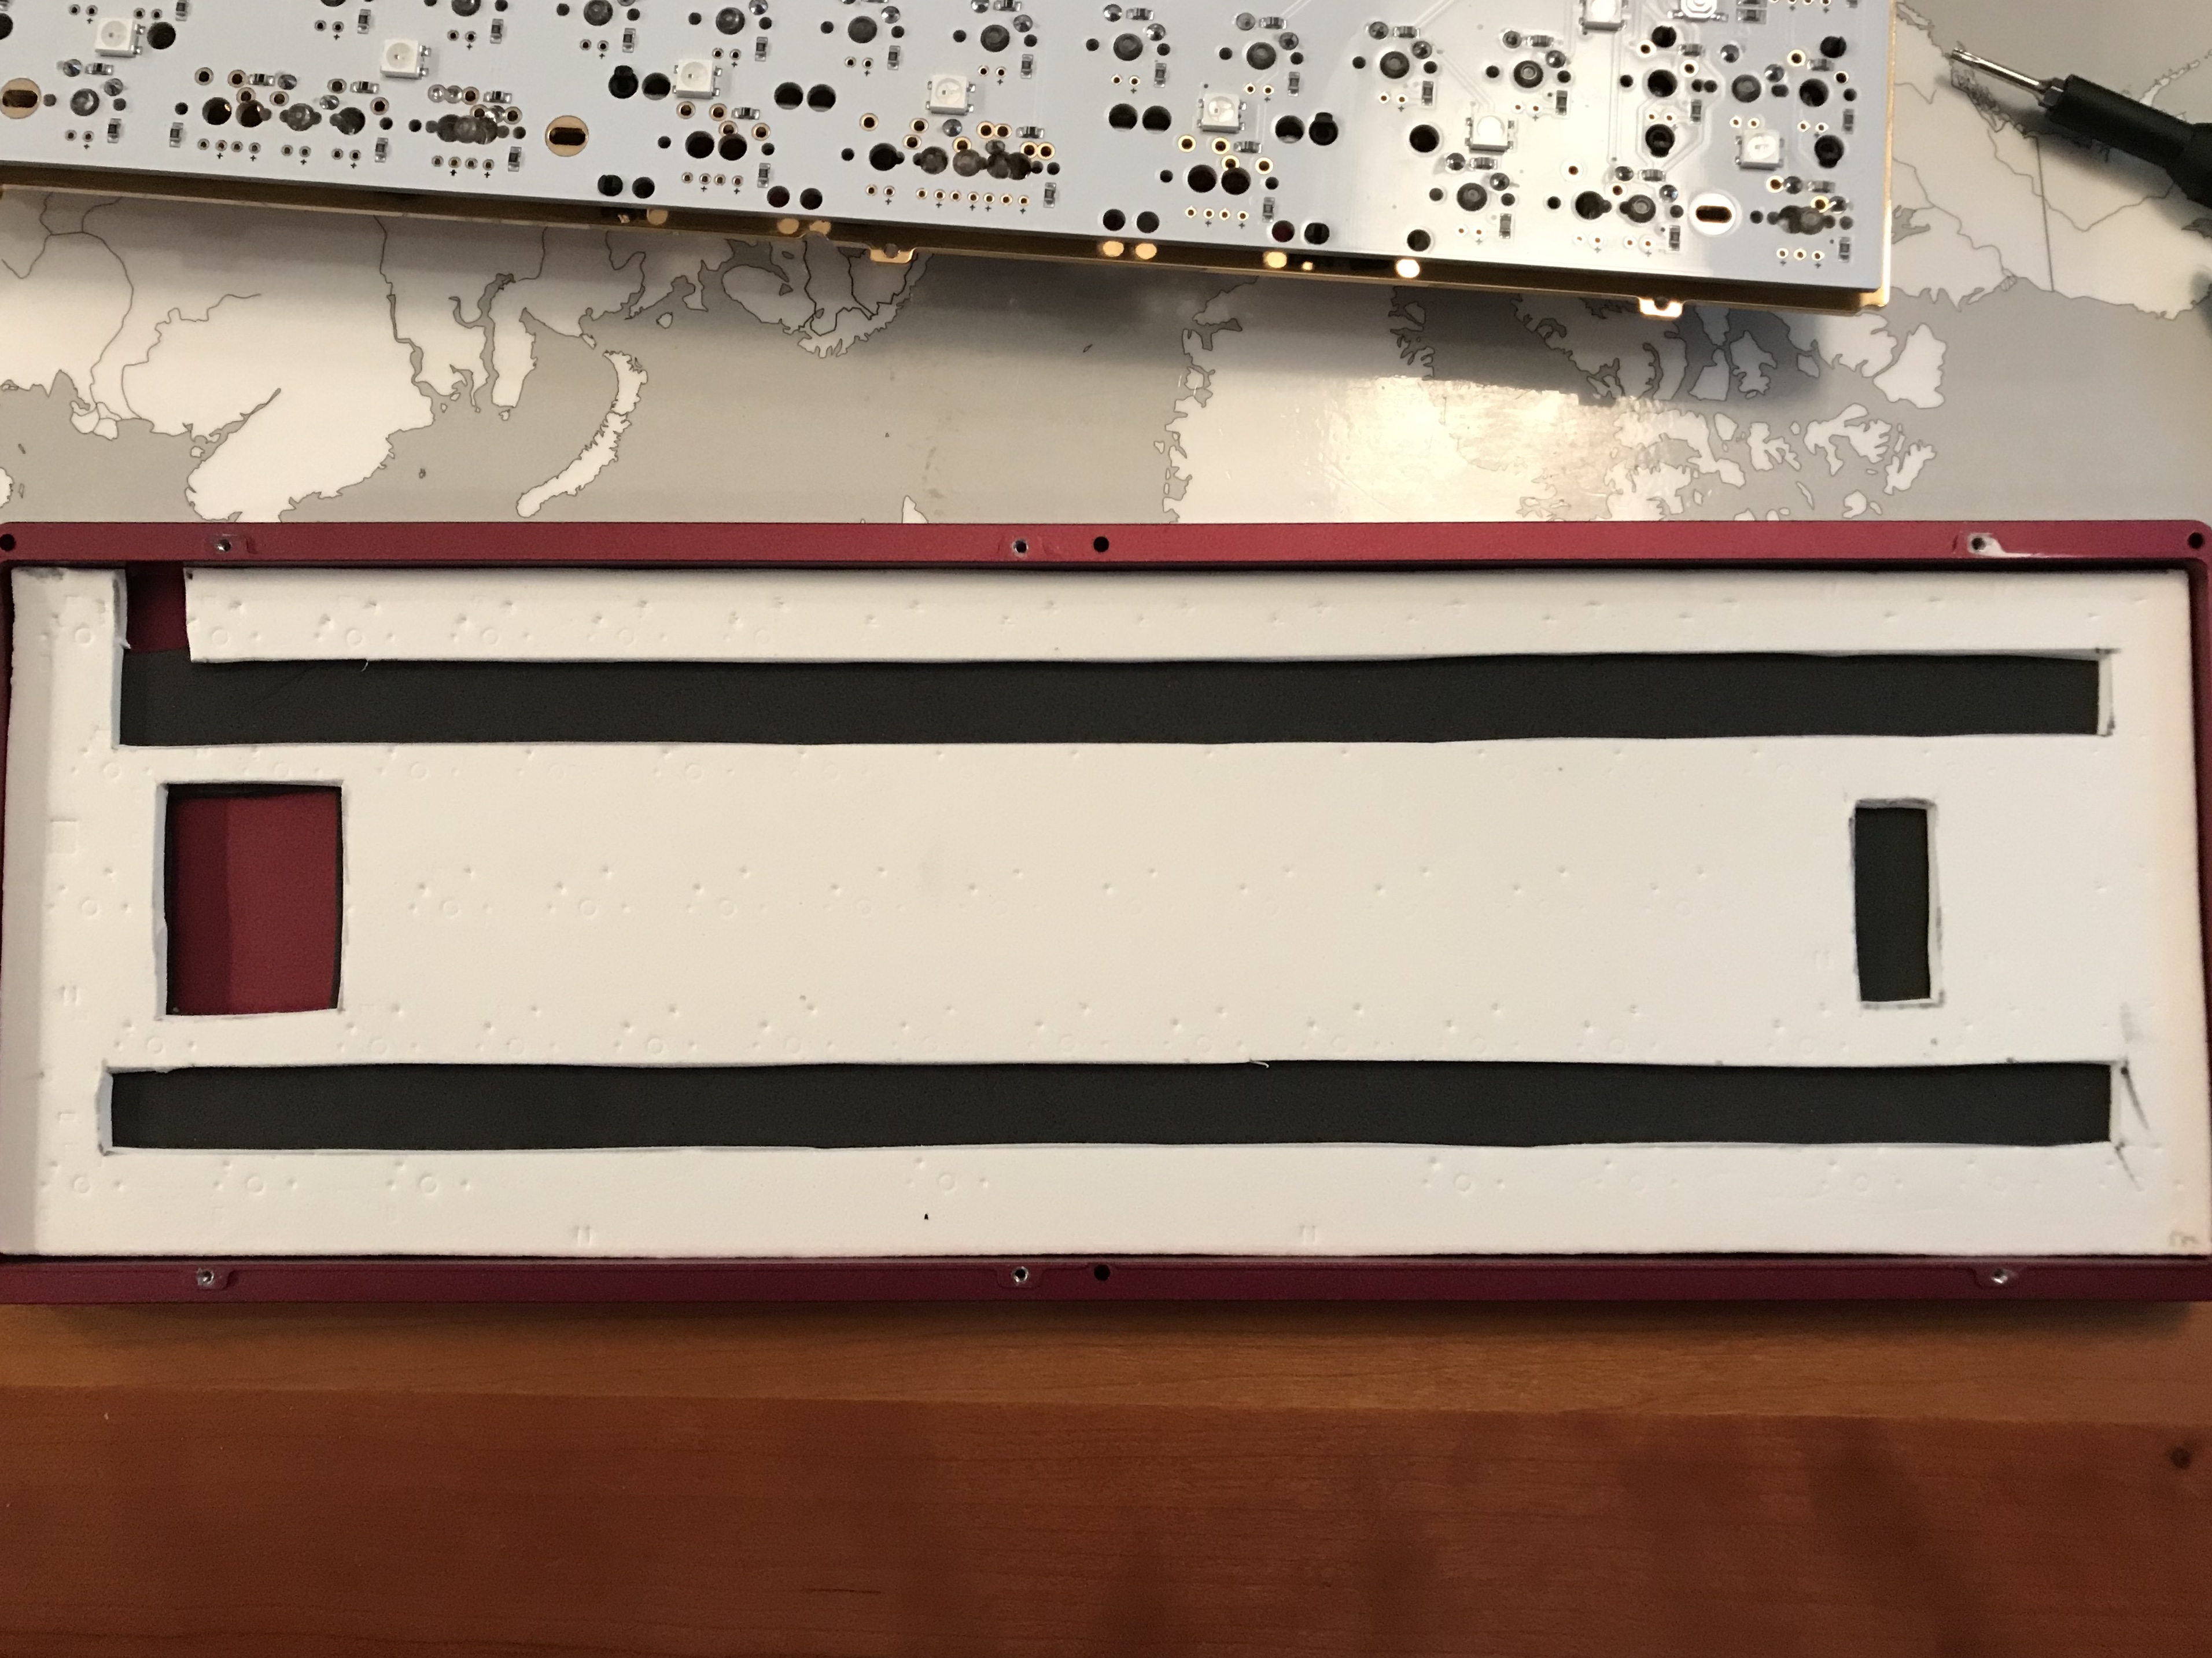
The final foam layout (two sheets, black and white) is held in place by pressure from the PCB. Here, you can see the indentations produced by the switch pins when the plate and PCB are mounted in place:
The kbd67 case separates into two pieces. The plate is attached to the bottom of the case by six screws; the top has cutouts to make room for the screw heads. You then put the top and bottom of the case together, flip it upside down, and use six long screws to attach the case halves.
Before you screw everything together on a kbd67, note that the reset button on the PCB is not accessible once the case is put together, so now is the time to flash new firmware to the PCB if you’re going that route. I’ve learned that lesson the hard way, so in addition to flashing before final assembly, I also make sure the flashed firmware provides the RESET keycode on another layer, so that we don’t have to open it up again to flash it if we don’t want to.
In addition, our friends are Mac users, so I had to spend a bit of time setting up a new keymap with Mac-centric keycodes, something I hadn’t done before, but that wasn’t a big deal. One minor gotcha - the Mission Control and Dashboard function keys aren’t available as QMK keycodes, so strictly speaking, they can’t be built into the firmware in the same way that media control keys can be (this is a simplification of the underlying technical issue, which is described in much more detail on GitHub). However, on a Mac you can use the Keyboard preferences to set up macros to do the same thing, so I just had those function keys send the default macros that the Mac uses. Not perfect, but I suspect most users would never notice.
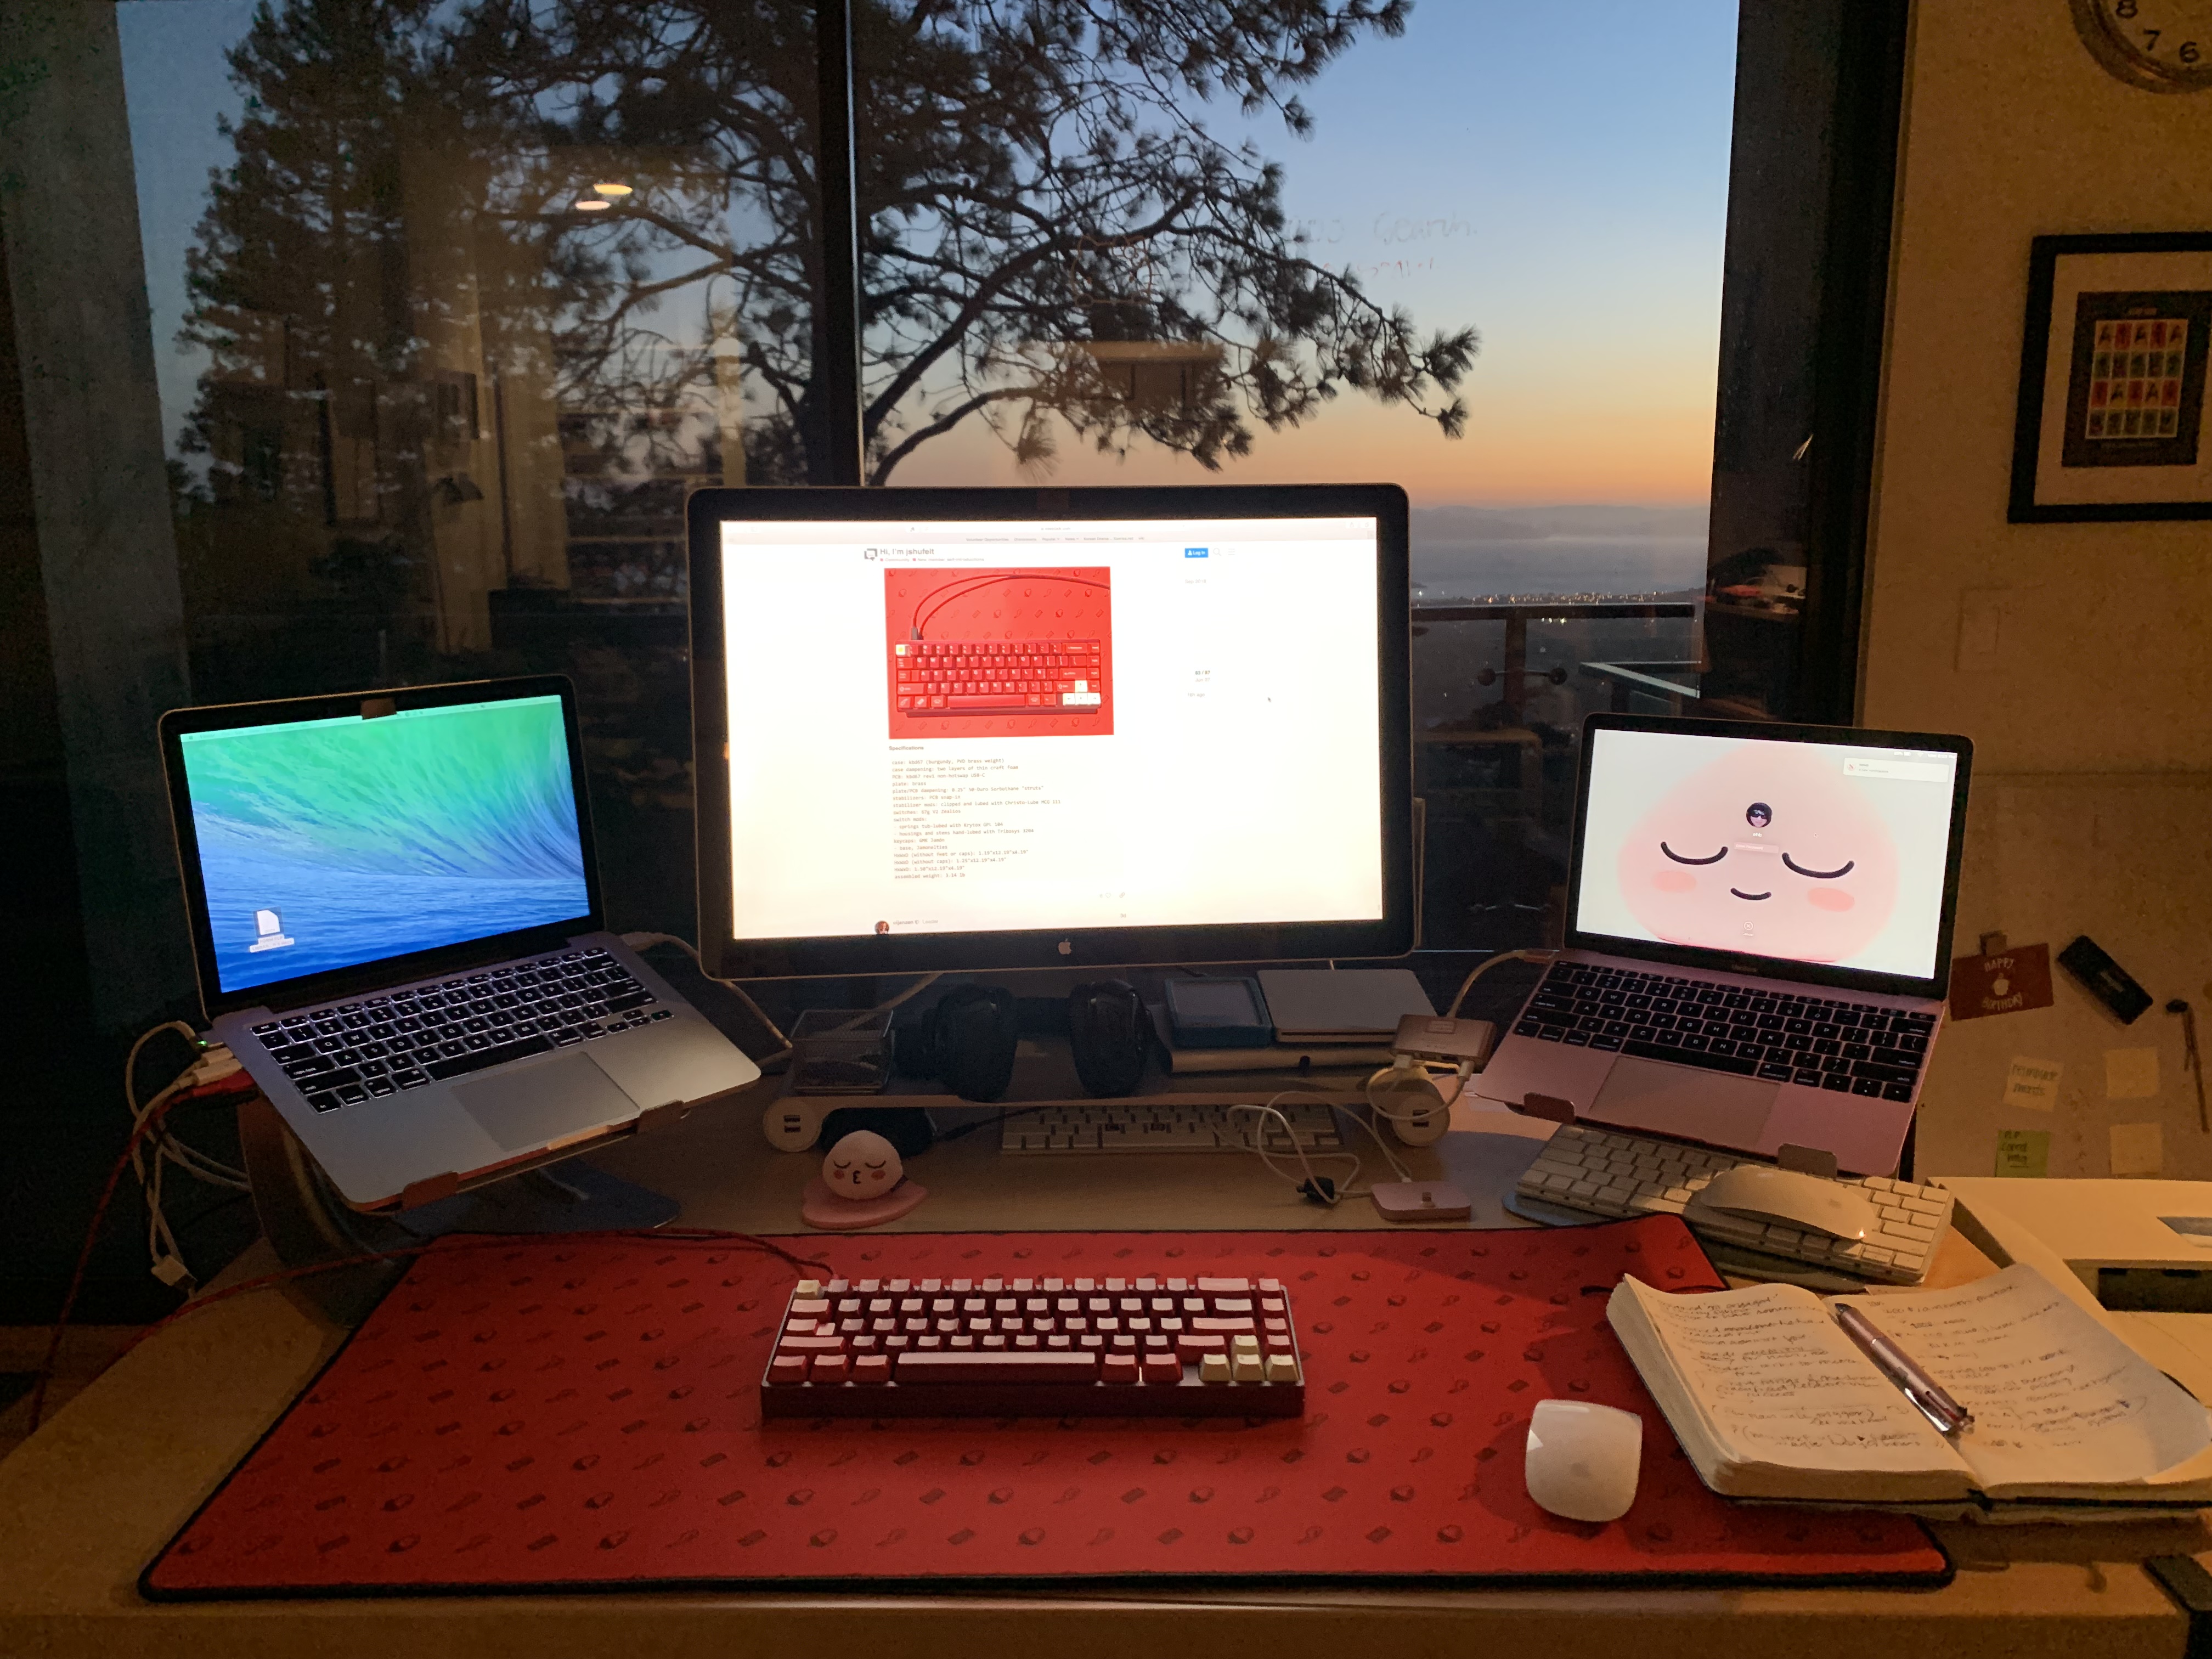
To complete this entire package of fun, I threw in a Jamon-themed deskpad, and sleeved and soldered a couple of color-appropriate USB cables. Before we partake of a slice or two of fine ham, let’s review.
Lessons learned
- Thin layers of craft foam, with sufficient pressure between the case and PCB, can do 80-90% of the sound job that Sorbothane does, and for this build, it worked well. With that said, if no metallic ping of any kind is tolerable, then Sorbothane is still the best option.
- 67g V2 Zealios are definitely heavier-feeling than their V1 counterparts. Neither here nor there, just an observation. The sound is not quite as focused as a Holy Panda, but that’s also just an observation. I find the sound from both switches to be quite pleasing.
- I glossed over the cable builds, but that was the first time I’ve done that project. If you’re sleeving the cable with paracord, it’s really important to have the ends of the cut cable be flush; otherwise, the wires inside the cable will eventually snag on the paracord as you’re threading it, and at that point, not only is it impossible to proceed further with the sleeving, but any snag will likely crimp the paracord in such a way that no further sleeving attempt will make it past that crimp, either. I found it best to stretch the wire sheath outward to effectively recess the internal wires an 1/8th of an inch or so, to completely avoid the issue.
With that, it’s time to return the favor of meat.
Specifications
case: kbd67 (burgundy, PVD brass weight)
case dampening: two layers of thin craft foam
PCB: kbd67 rev1 non-hotswap USB-C
plate: brass
plate/PCB dampening: 0.25" 50-Duro Sorbothane "struts"
stabilizers: PCB snap-in
stabilizer mods: clipped and lubed with Christo-Lube MCG 111
switches: 67g V2 Zealios
switch mods:
- springs tub-lubed with Krytox GPL 104
- housings and stems hand-lubed with Tribosys 3204
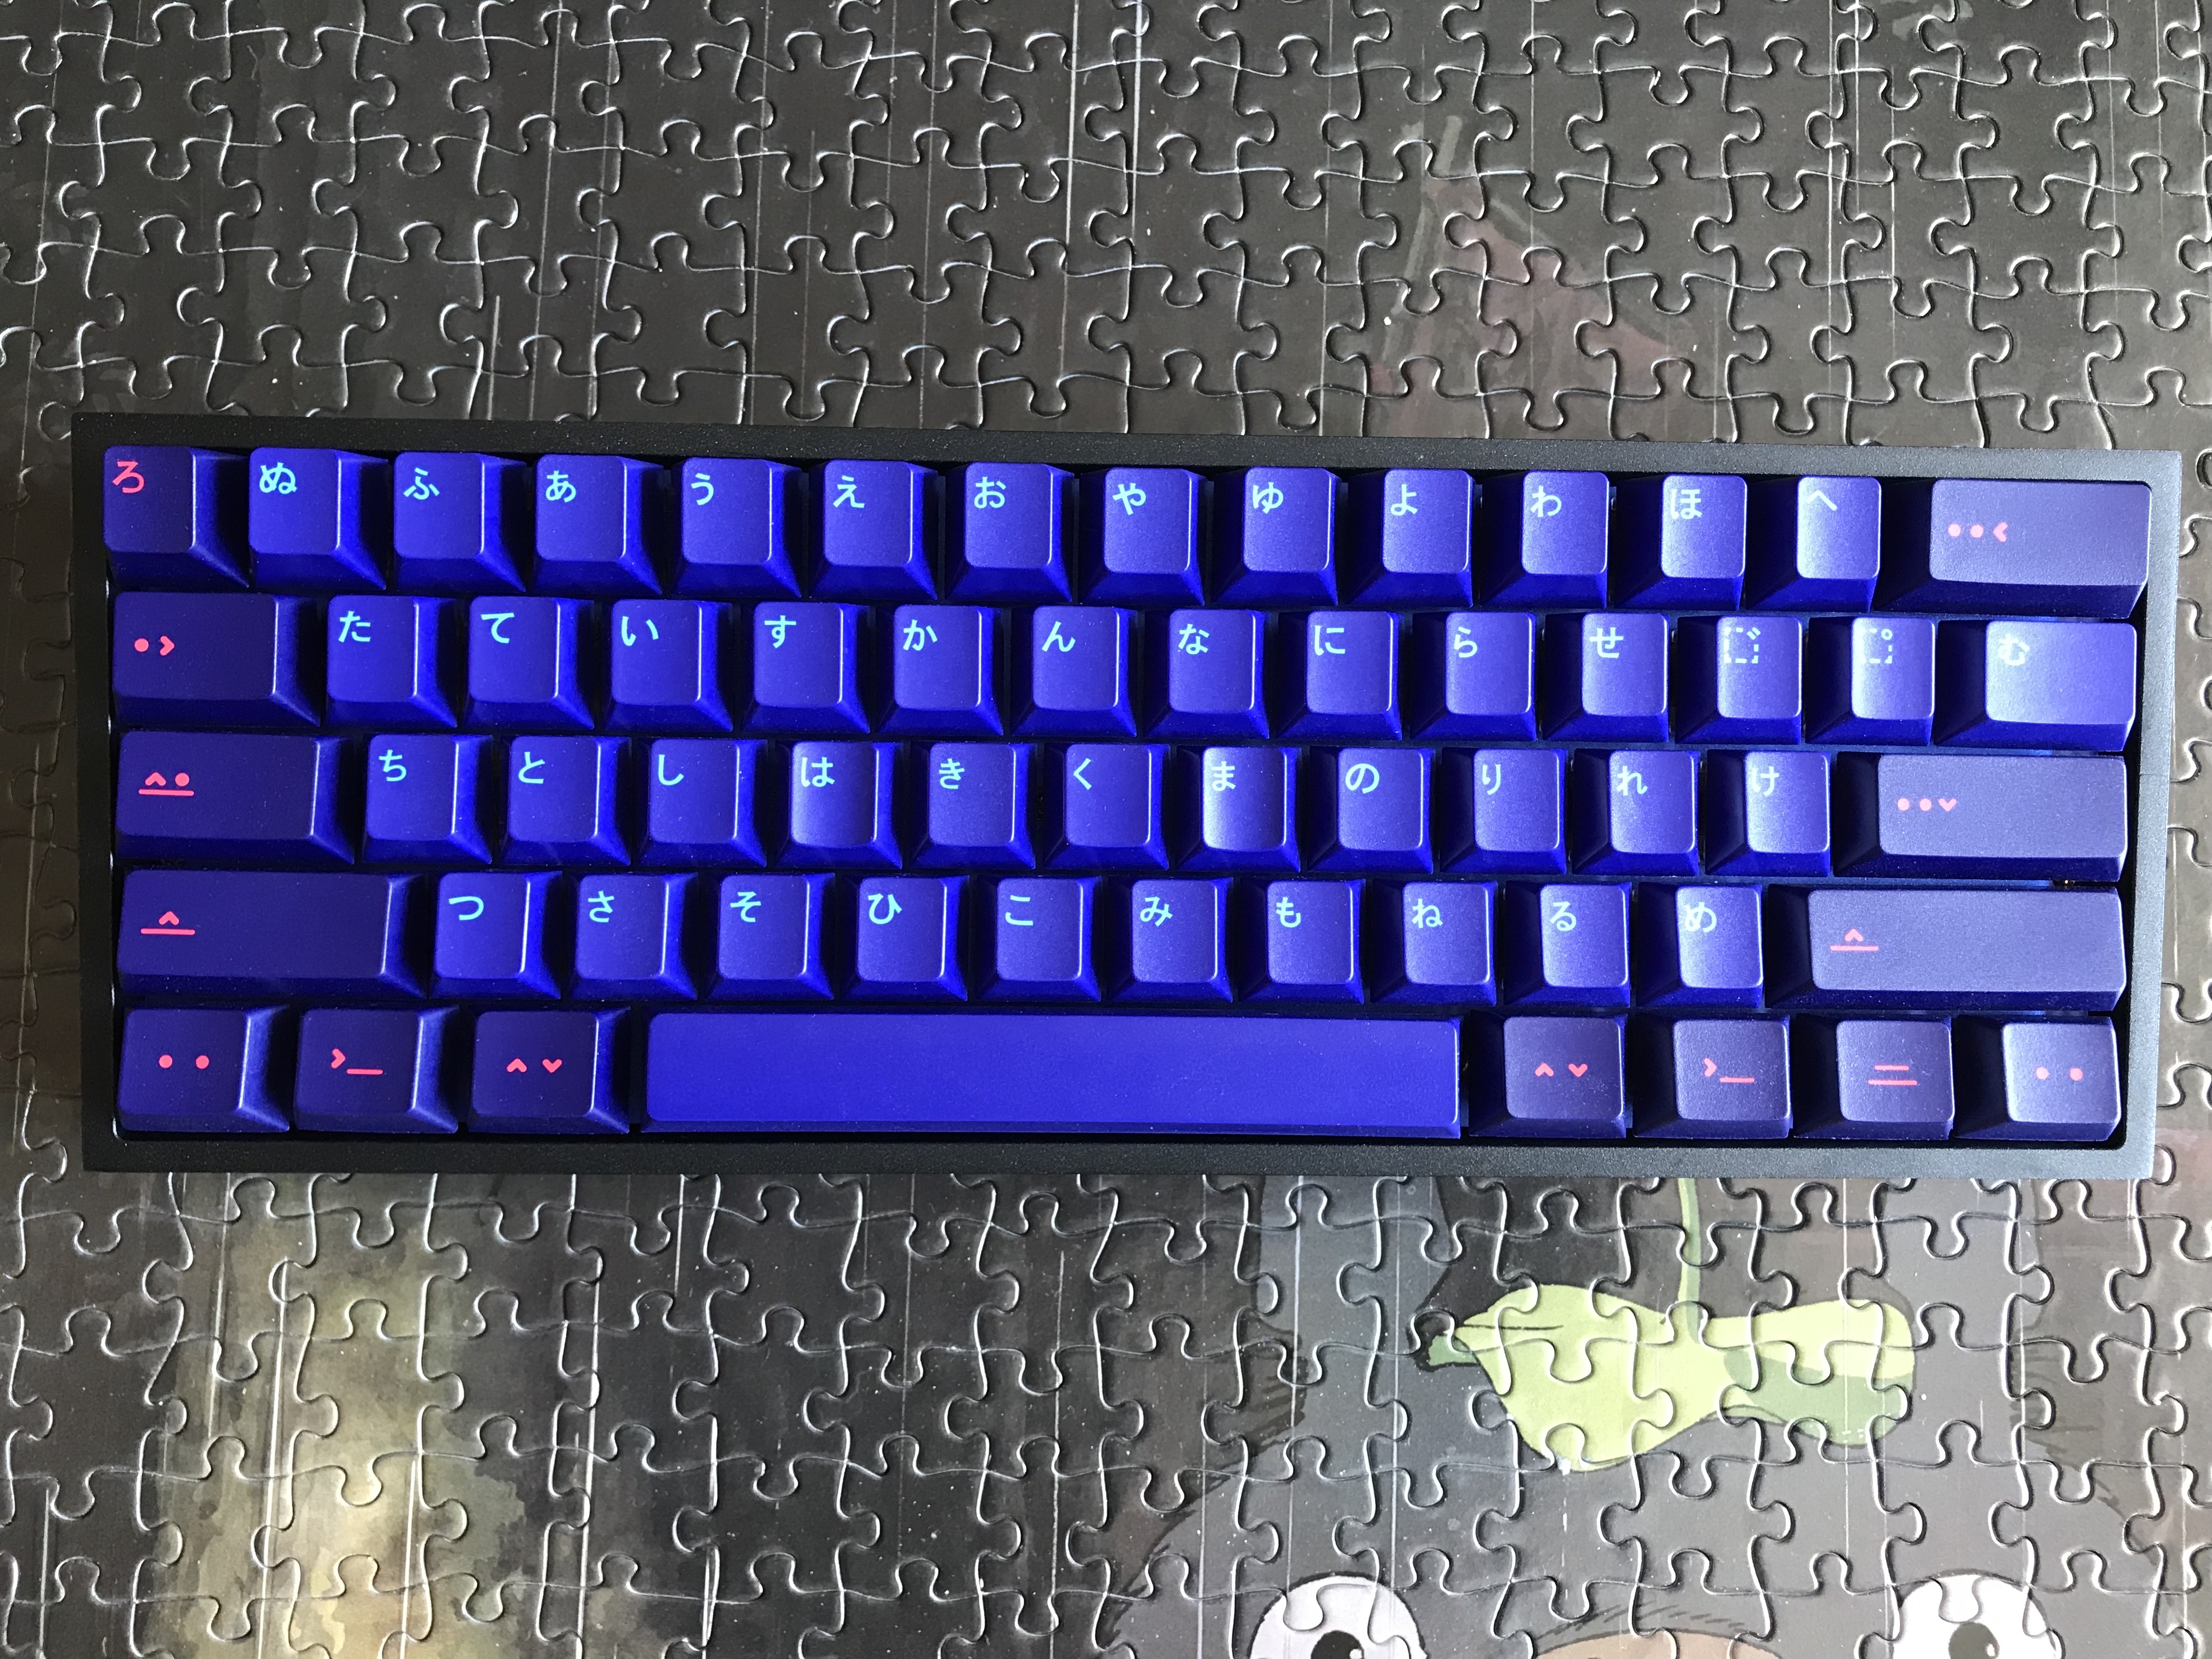
keycaps: GMK Jamón
- base, Jamonelties
HxWxD (without feet or caps): 1.19"x12.19"x4.19"
HxWxD (without caps): 1.25"x12.19"x4.19"
HxWxD: 1.50"x12.19"x4.19"
assembled weight: 3.14 lb
13 Likes
Well done! I hope that cured your friend of the custom keyboard itch.
1 Like
that was a good read
1 Like
Awesome. Can’t wait to read more. You have really put your time into these guides!
1 Like
As always great build log.
Thank you so much !
1 Like
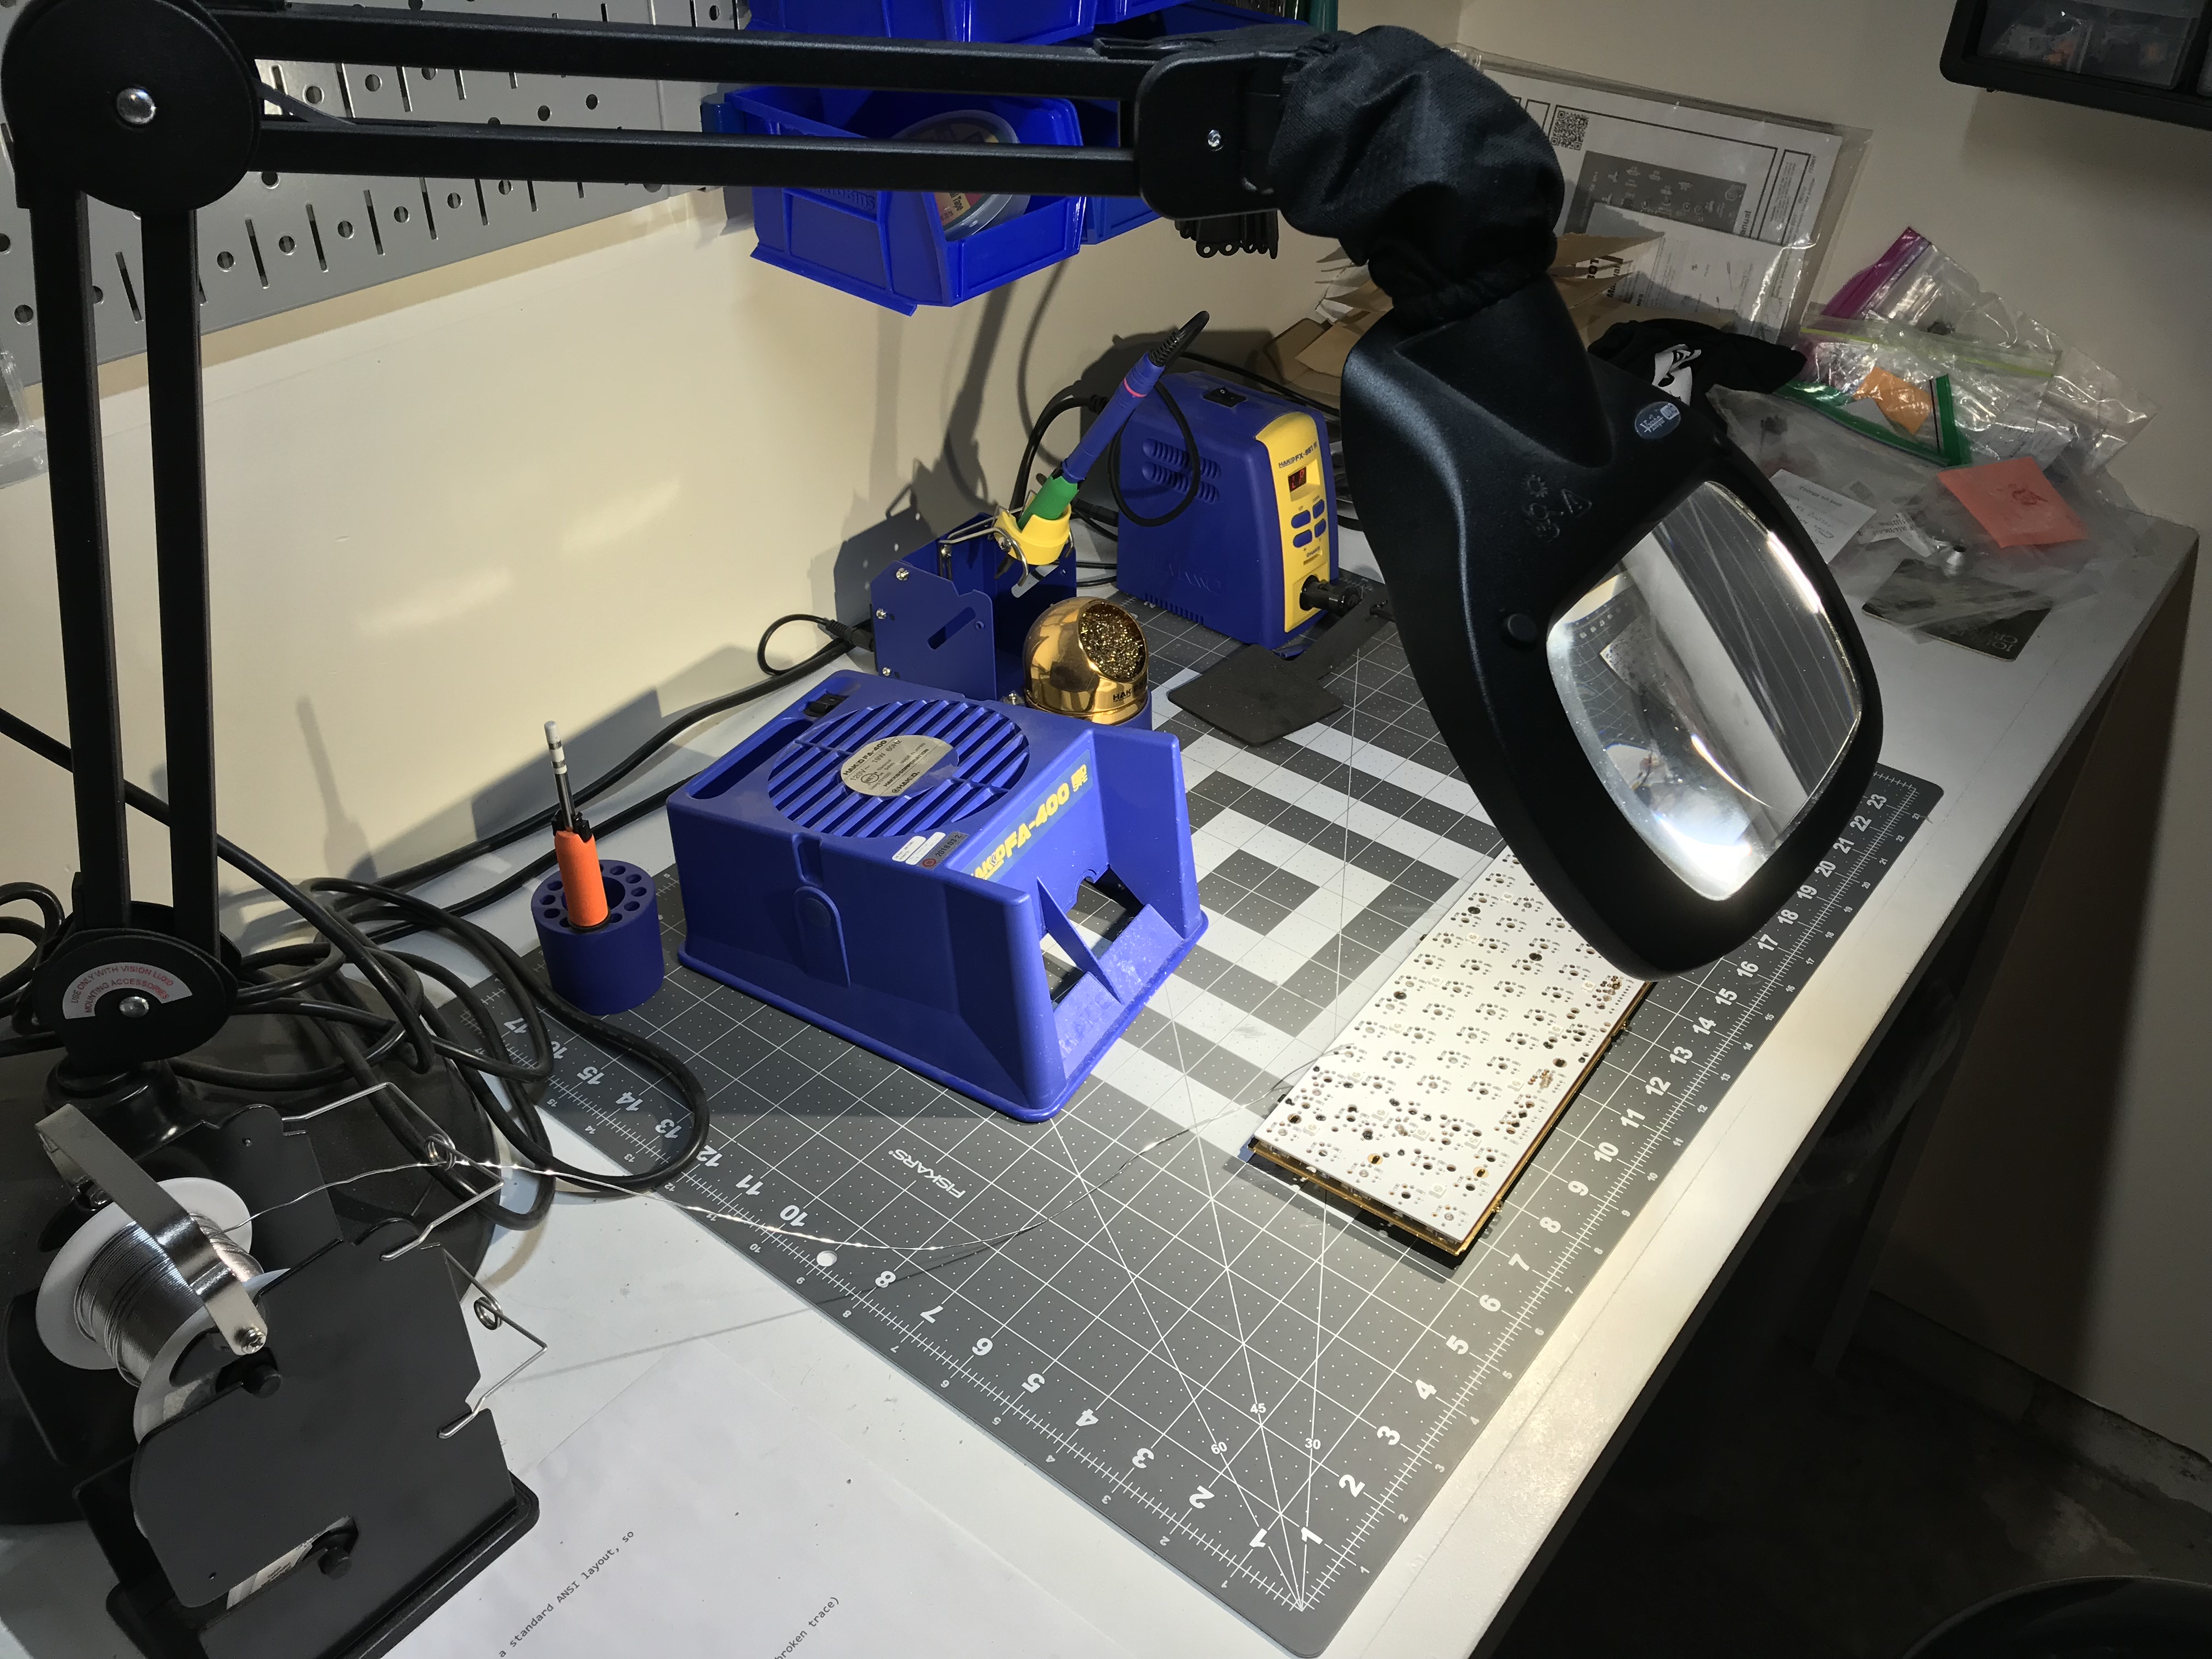
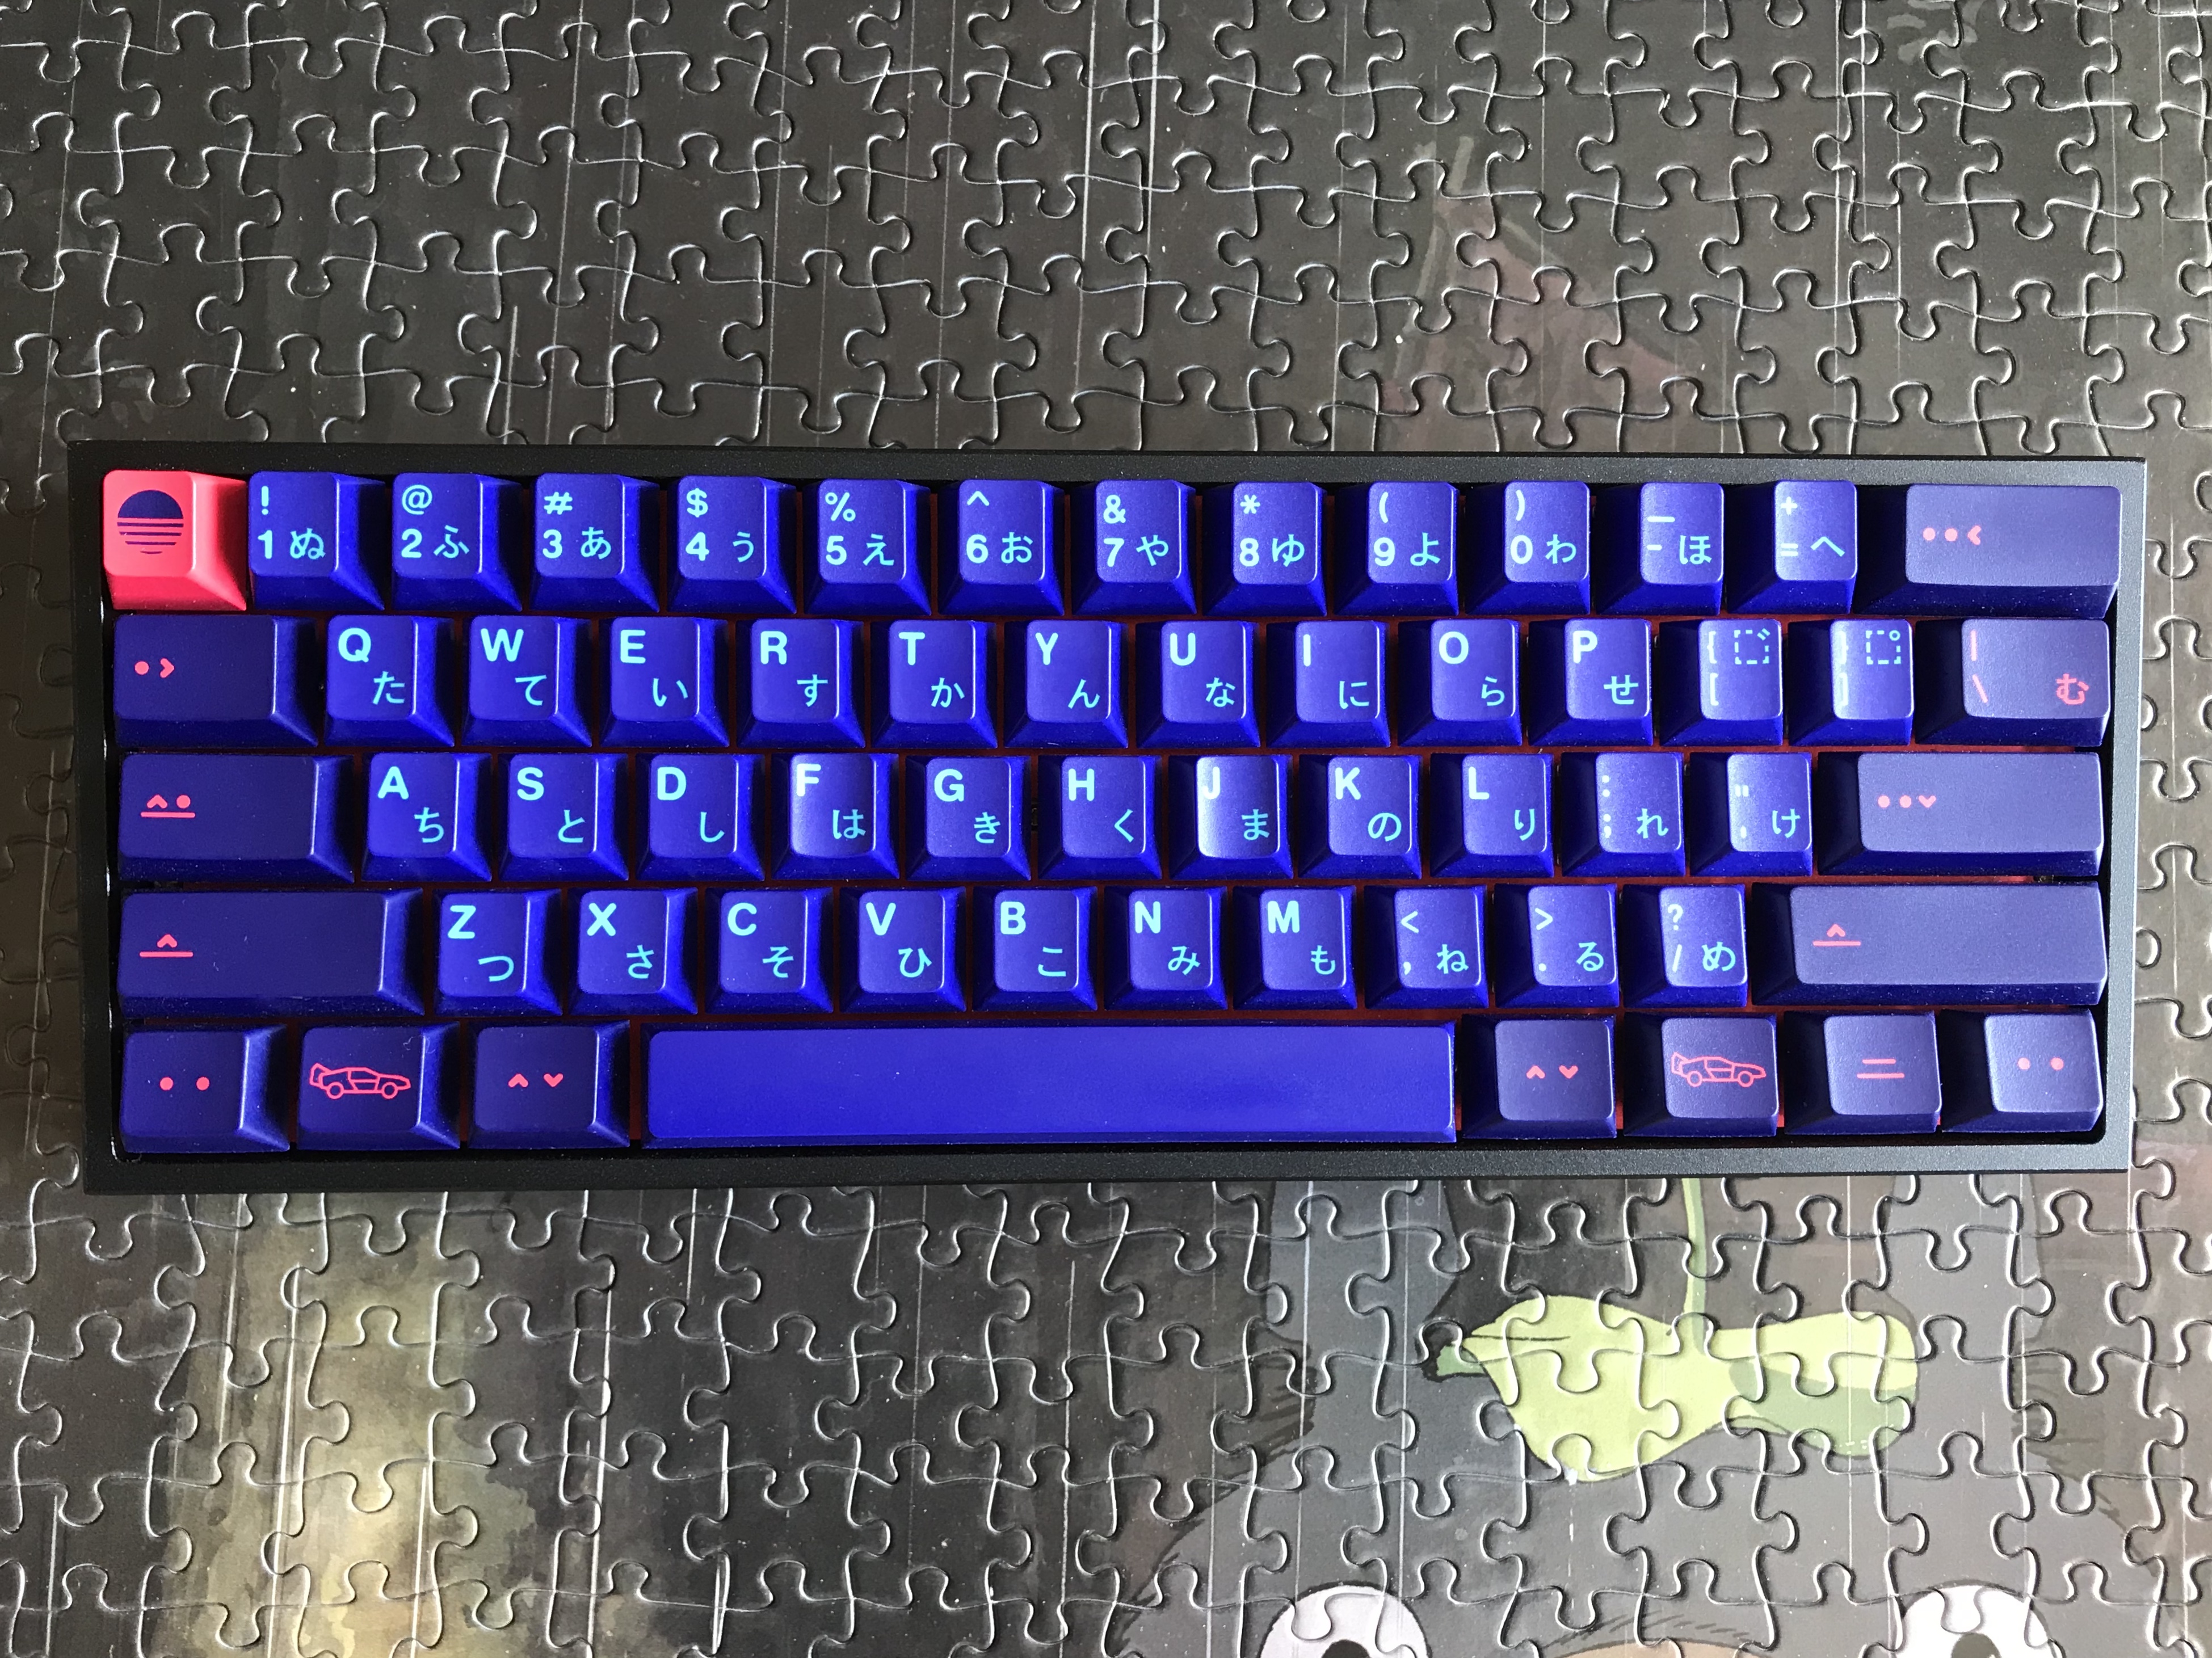
Build #21: Klippe+ Black/Red (Laser Trio 1/3)
Good news, bad news. Good news first? Since I started doing these logs nearly a year ago (!), I’m getting much faster at doing builds, and generally feel comfortable that I can get a good result with every build, even if I do occasionally have to open a build up for some fine tuning. The bad news is that I’m not much faster at writing them up - so we have a backlog of less recent builds. As a consequence, we’ll be looking at a couple of builds that were done earlier this year, when I was trying new parts, materials, and mods, with hit-or-miss results, as well as one more recent build, which we’re collectively going to call the Laser Trio.
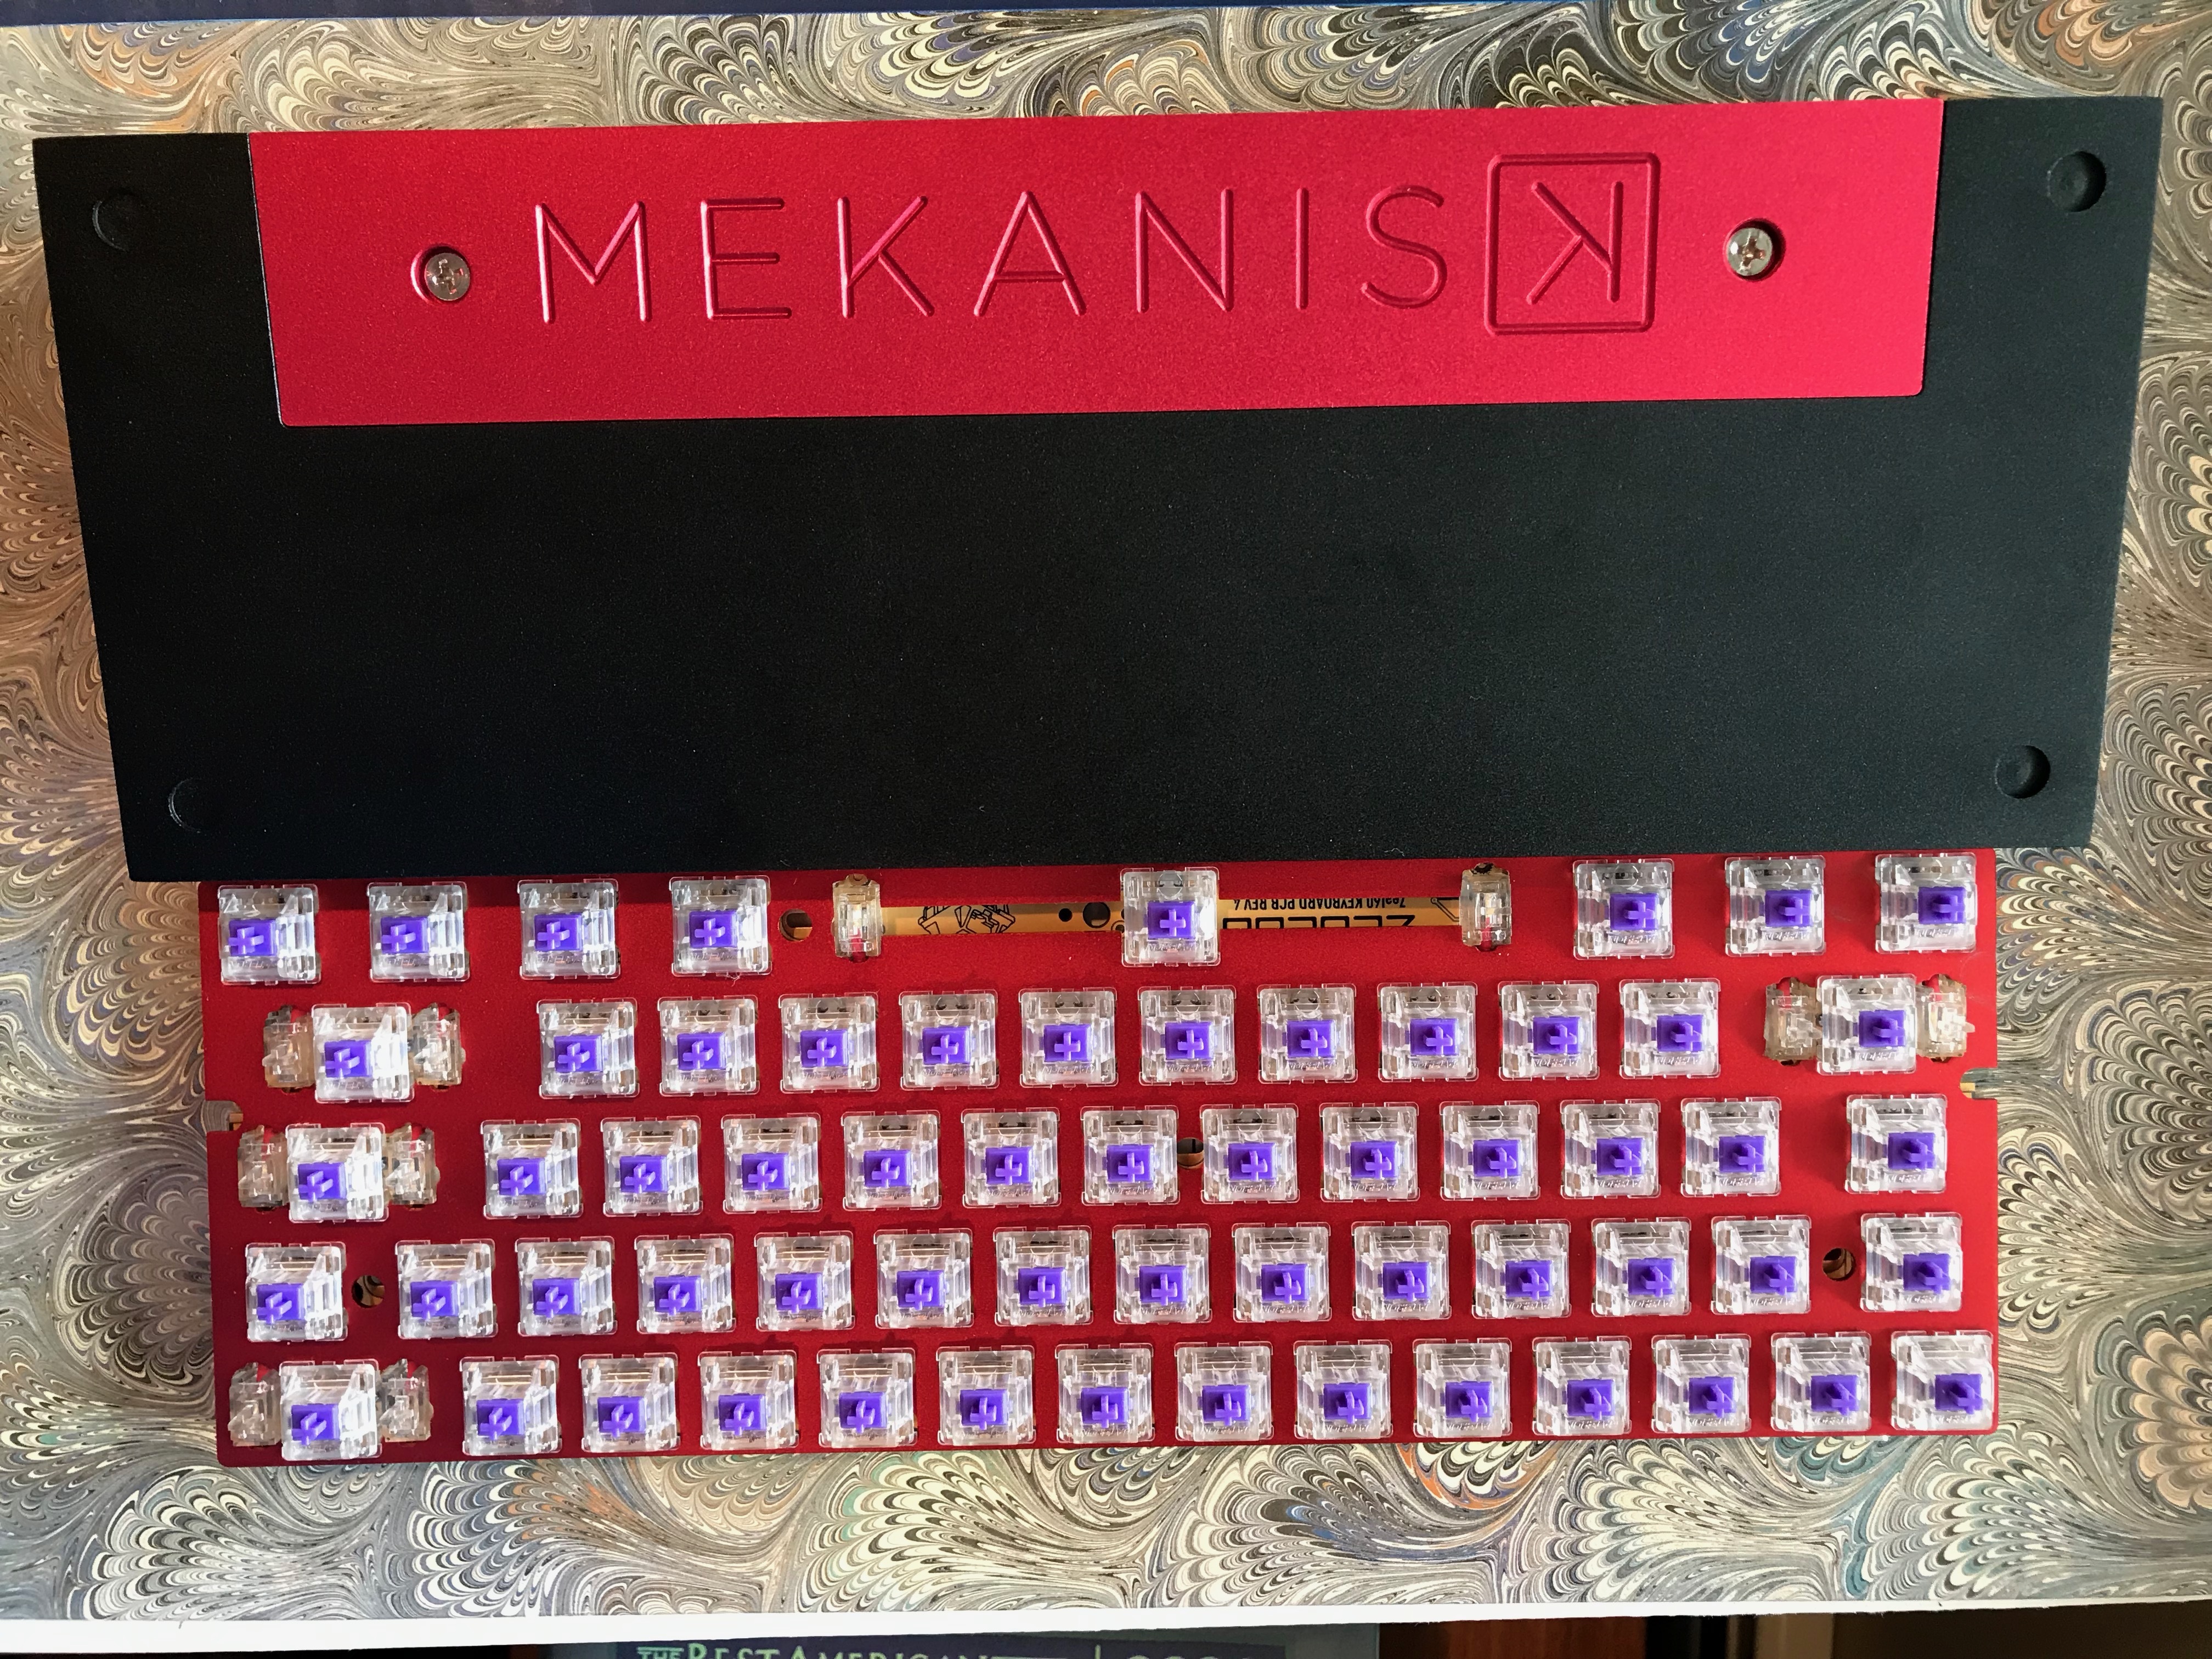
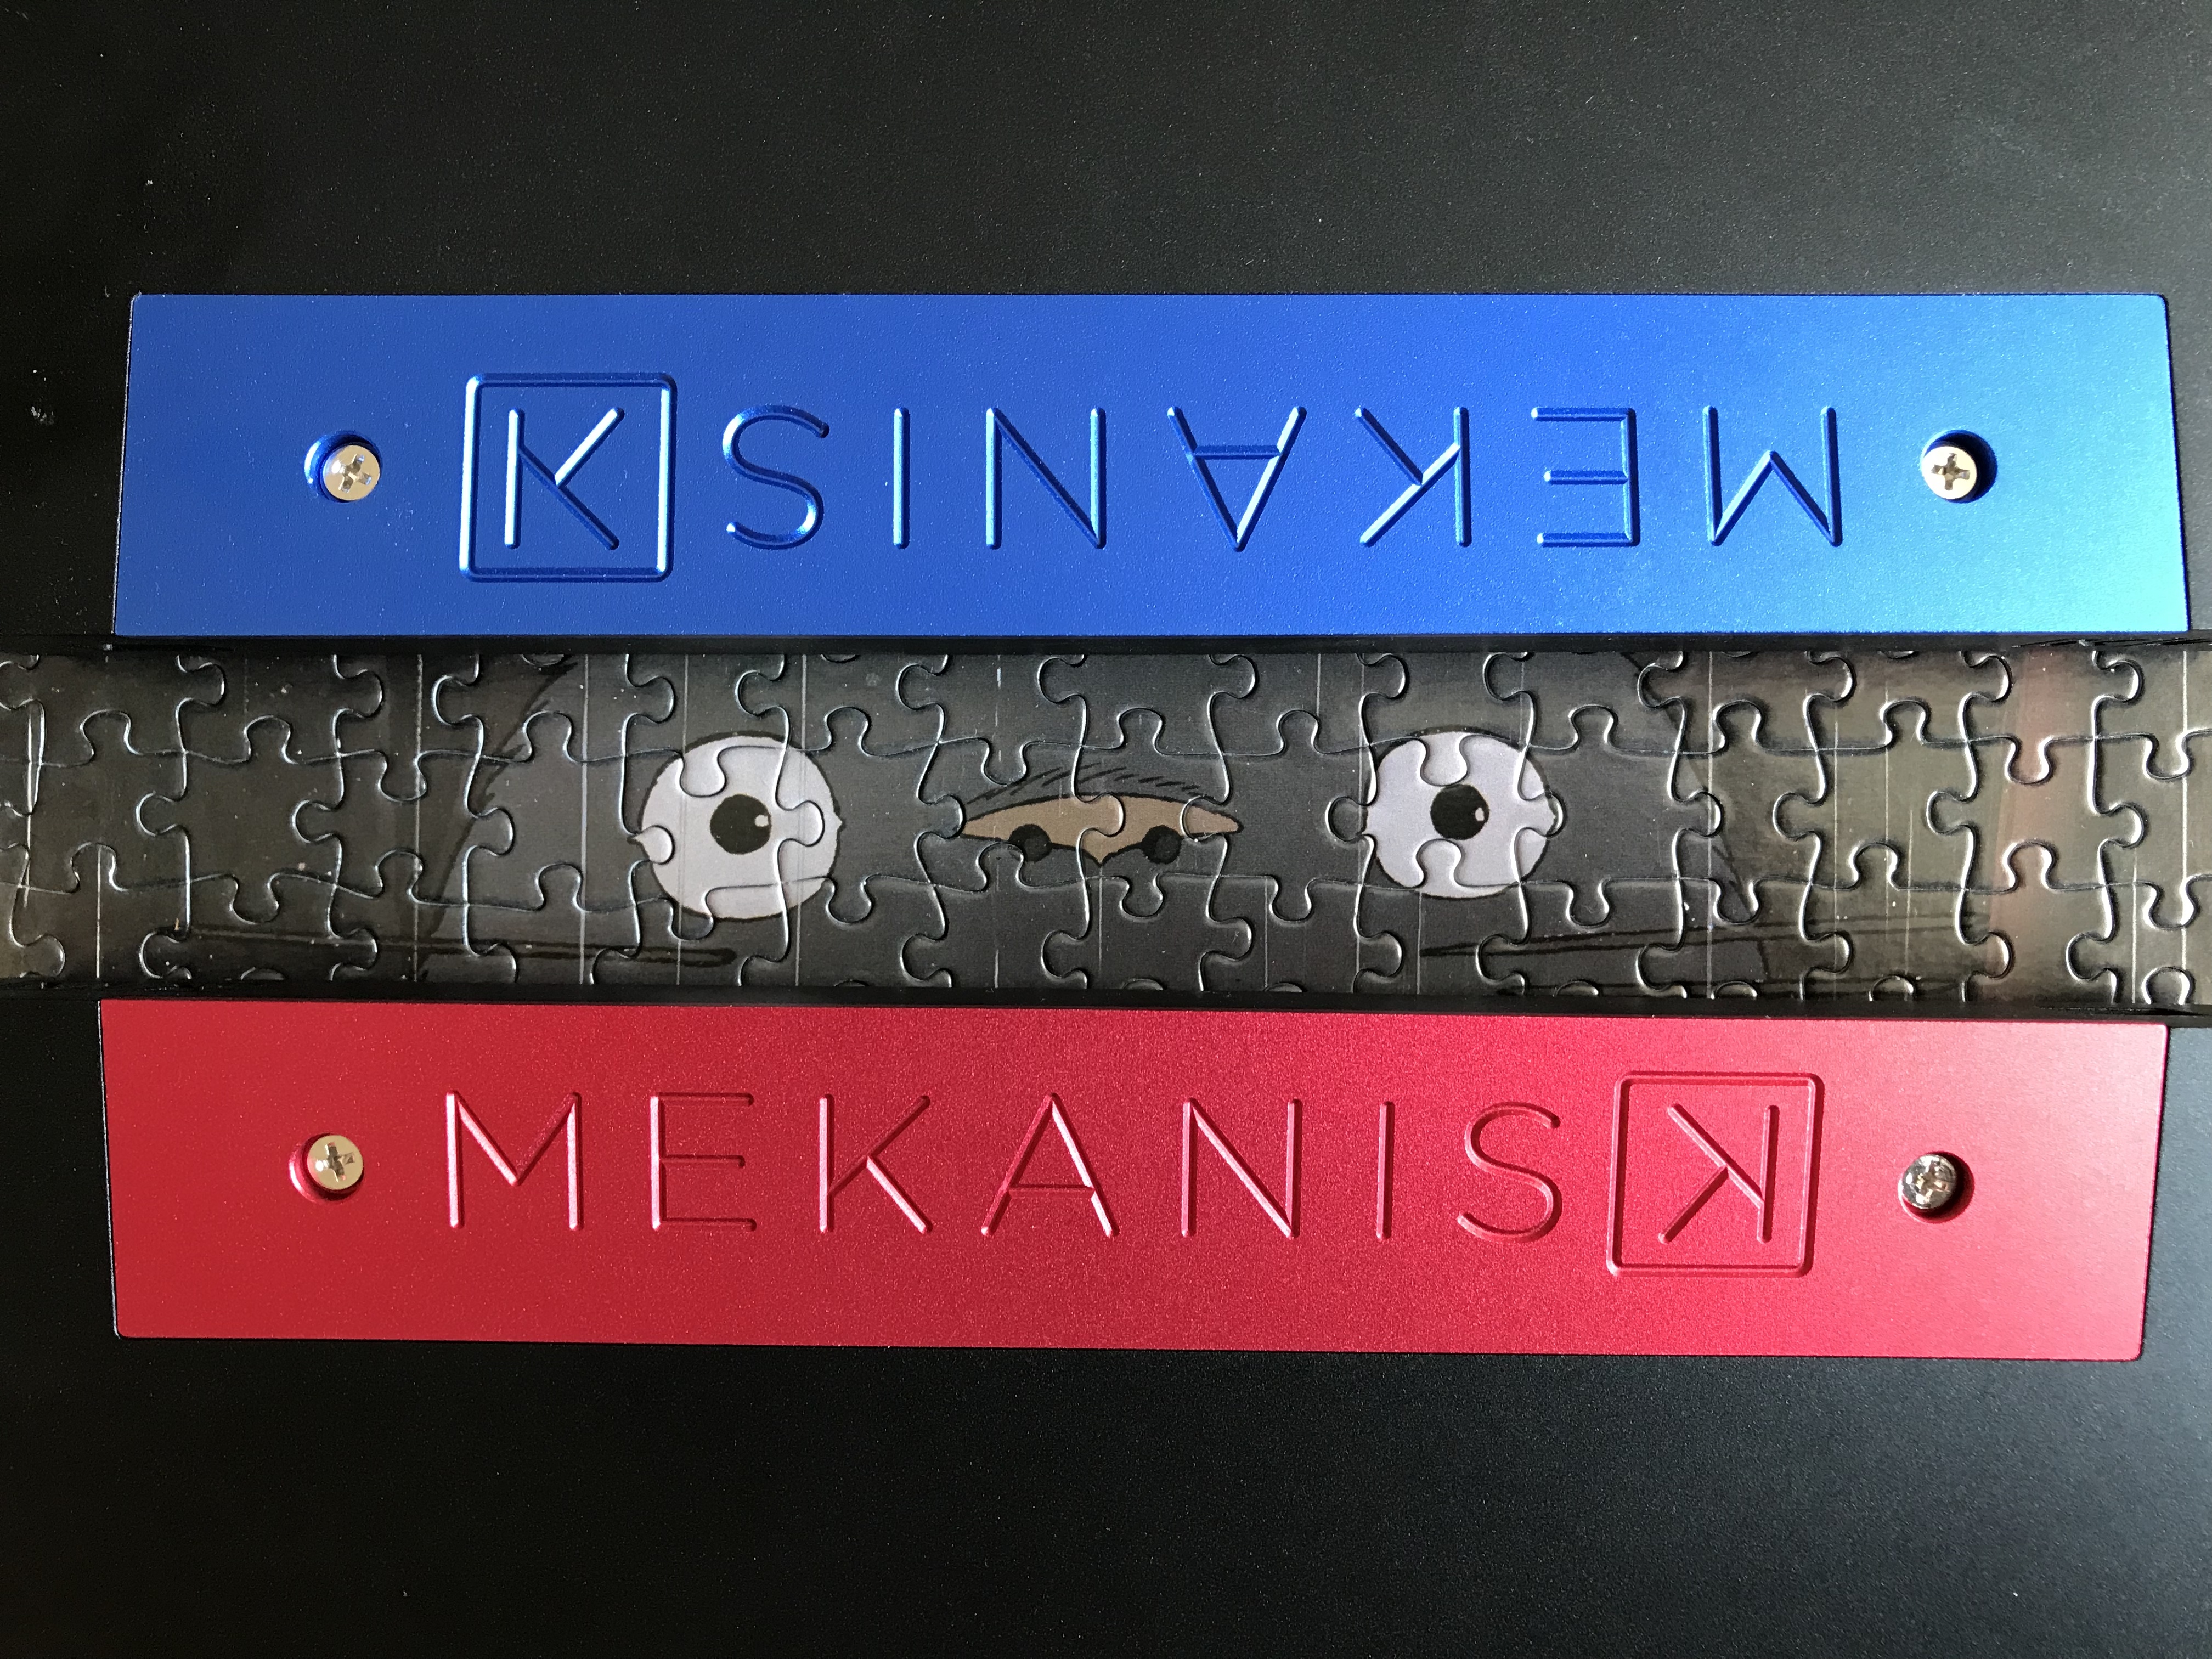
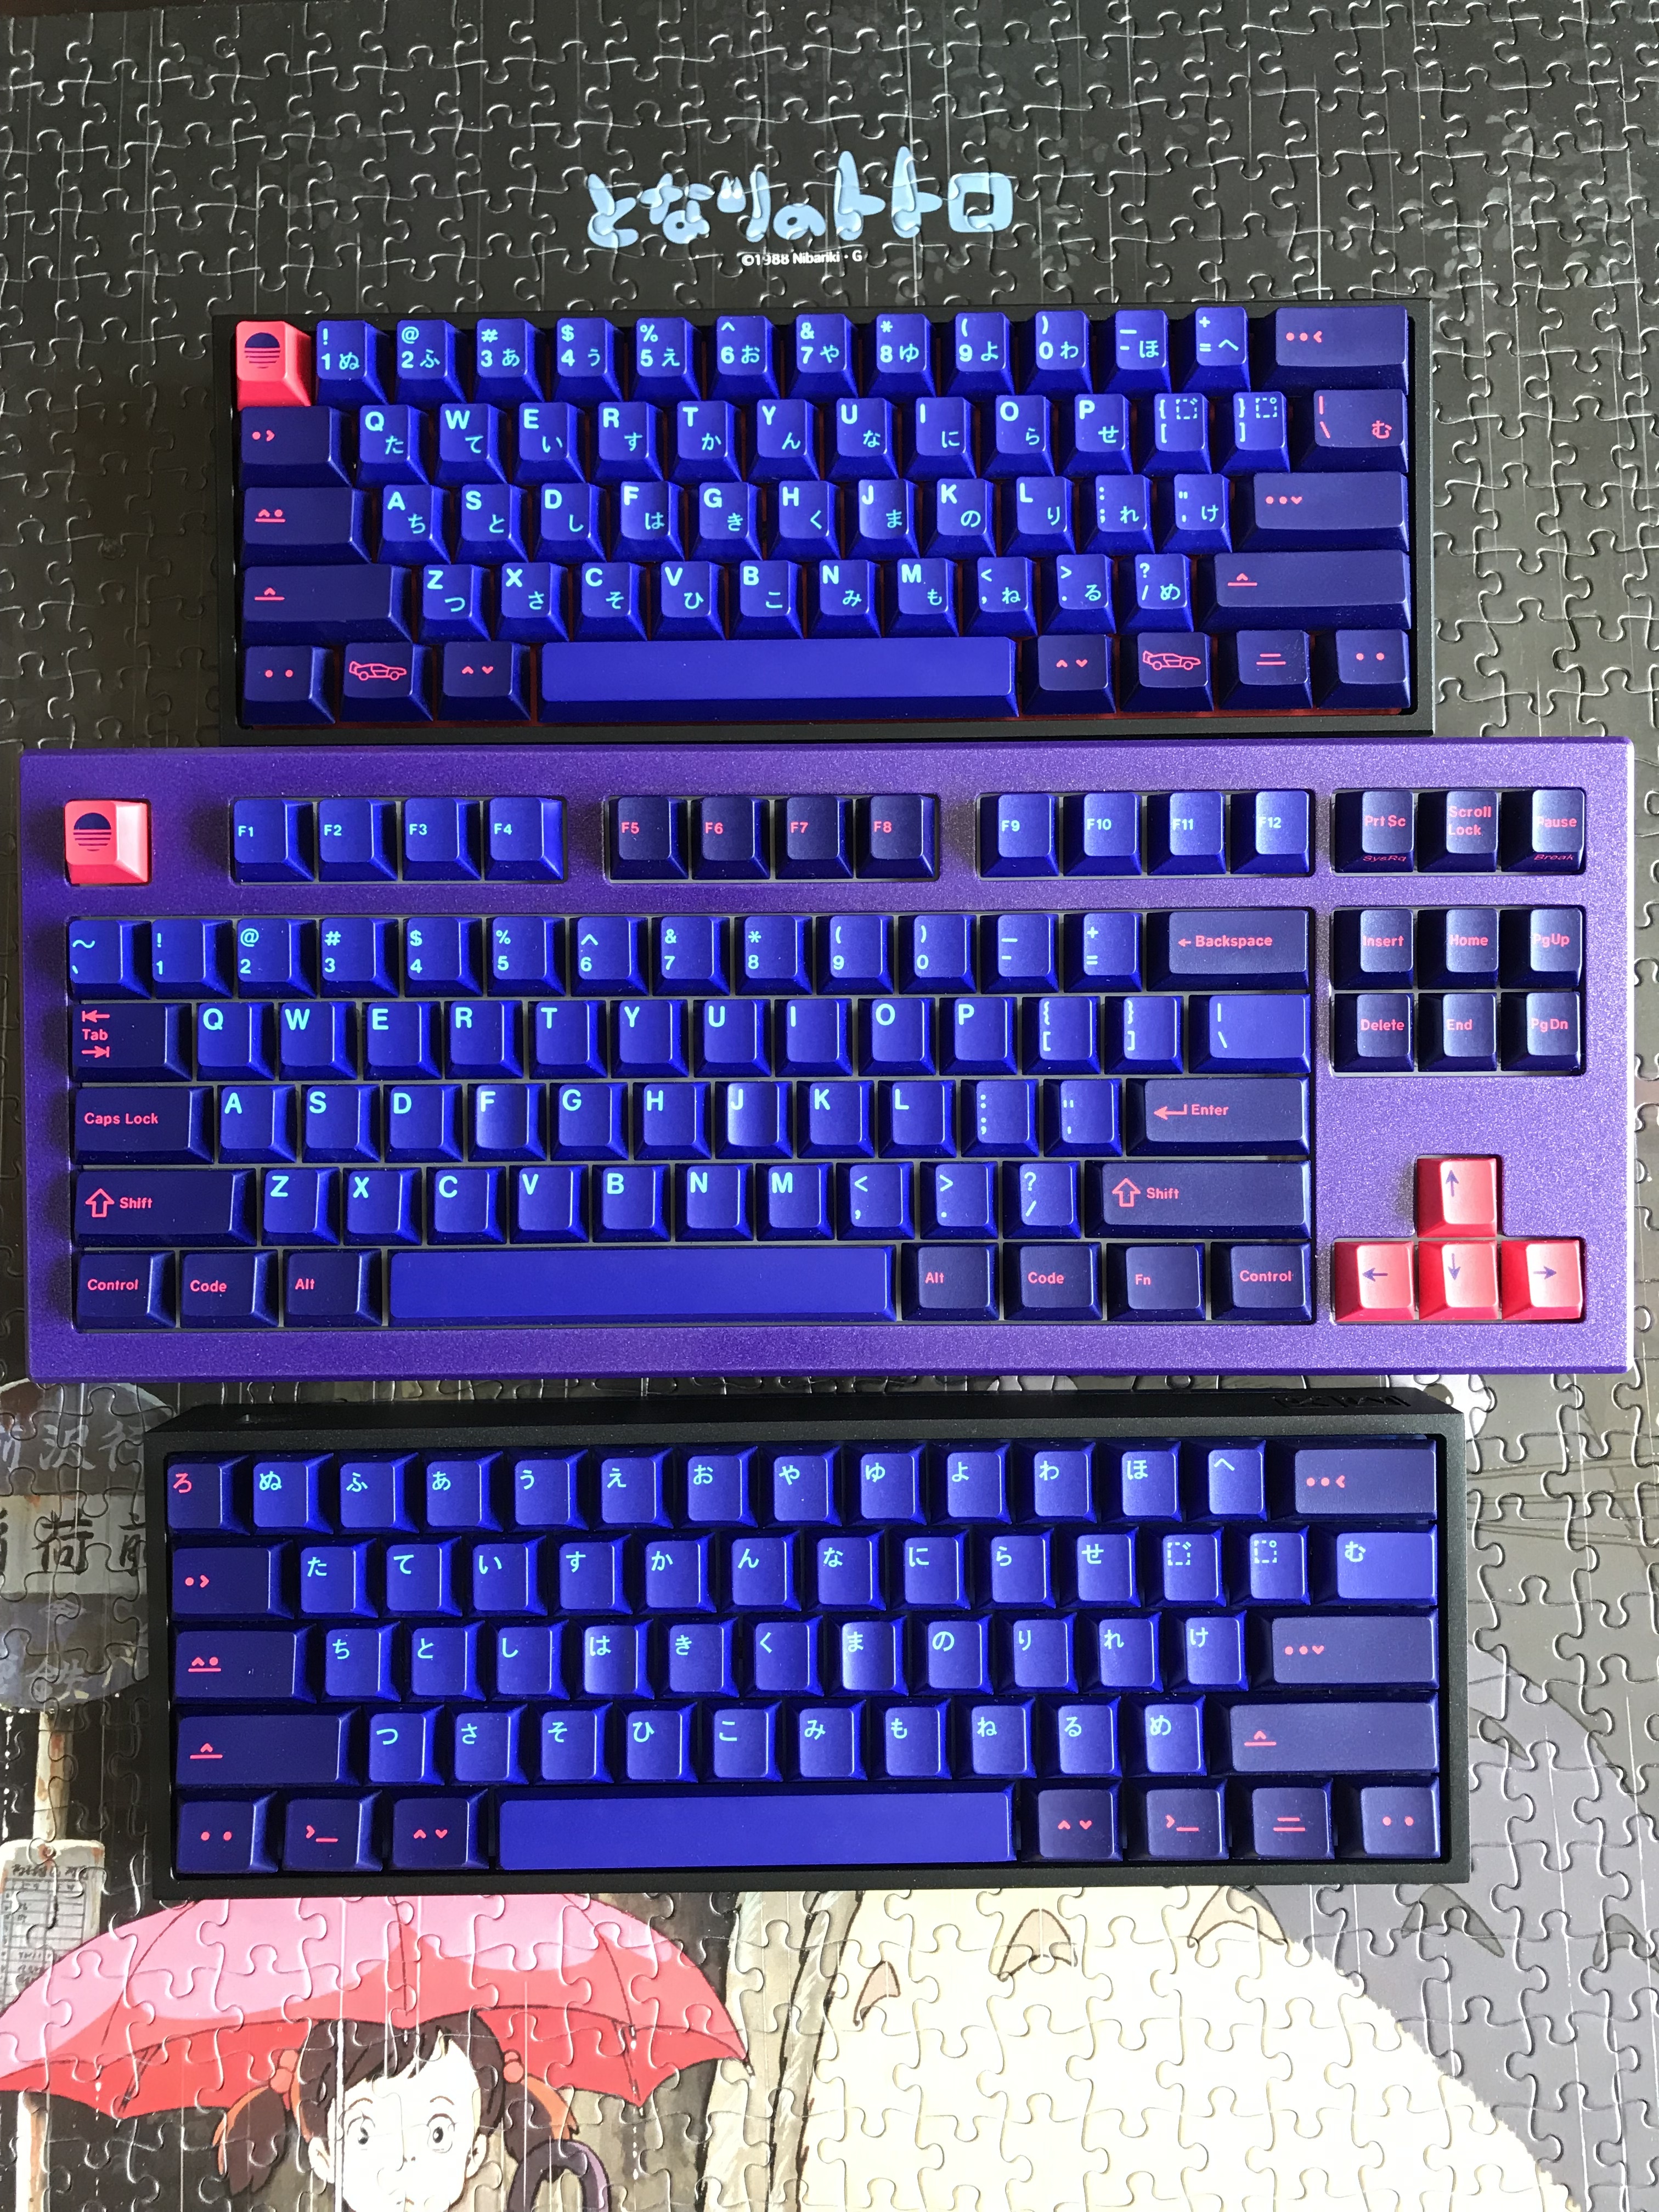
The Klippe+ case, run as a group buy by Mekanisk in October 2018, and fulfilled at the very end of 2018, was an update to the original Klippe tray-mount case, introducing the option of a branded base weight with a different anodization color than the rest of the case. I loved the look of this update, and wanted to try matching these color options with GMK Laser to achieve a stark, modern, and aggressive vibe with the builds. First up for the Laser Trio: a black Klippe with a red base, and the Laser gaijin and mitowaves sets for a particularly loud look.
We’ve got to get some switches ready first. Here, I’m working through a batch of 62g V2 Zealios. I think this was one of the first few builds where I began tub lubing springs with Krytox GPL 104 to save time, while still manually applying 3204 to the stems and housings. More often than not, these days I’m still using the same approach, as I get consistently good results with it.
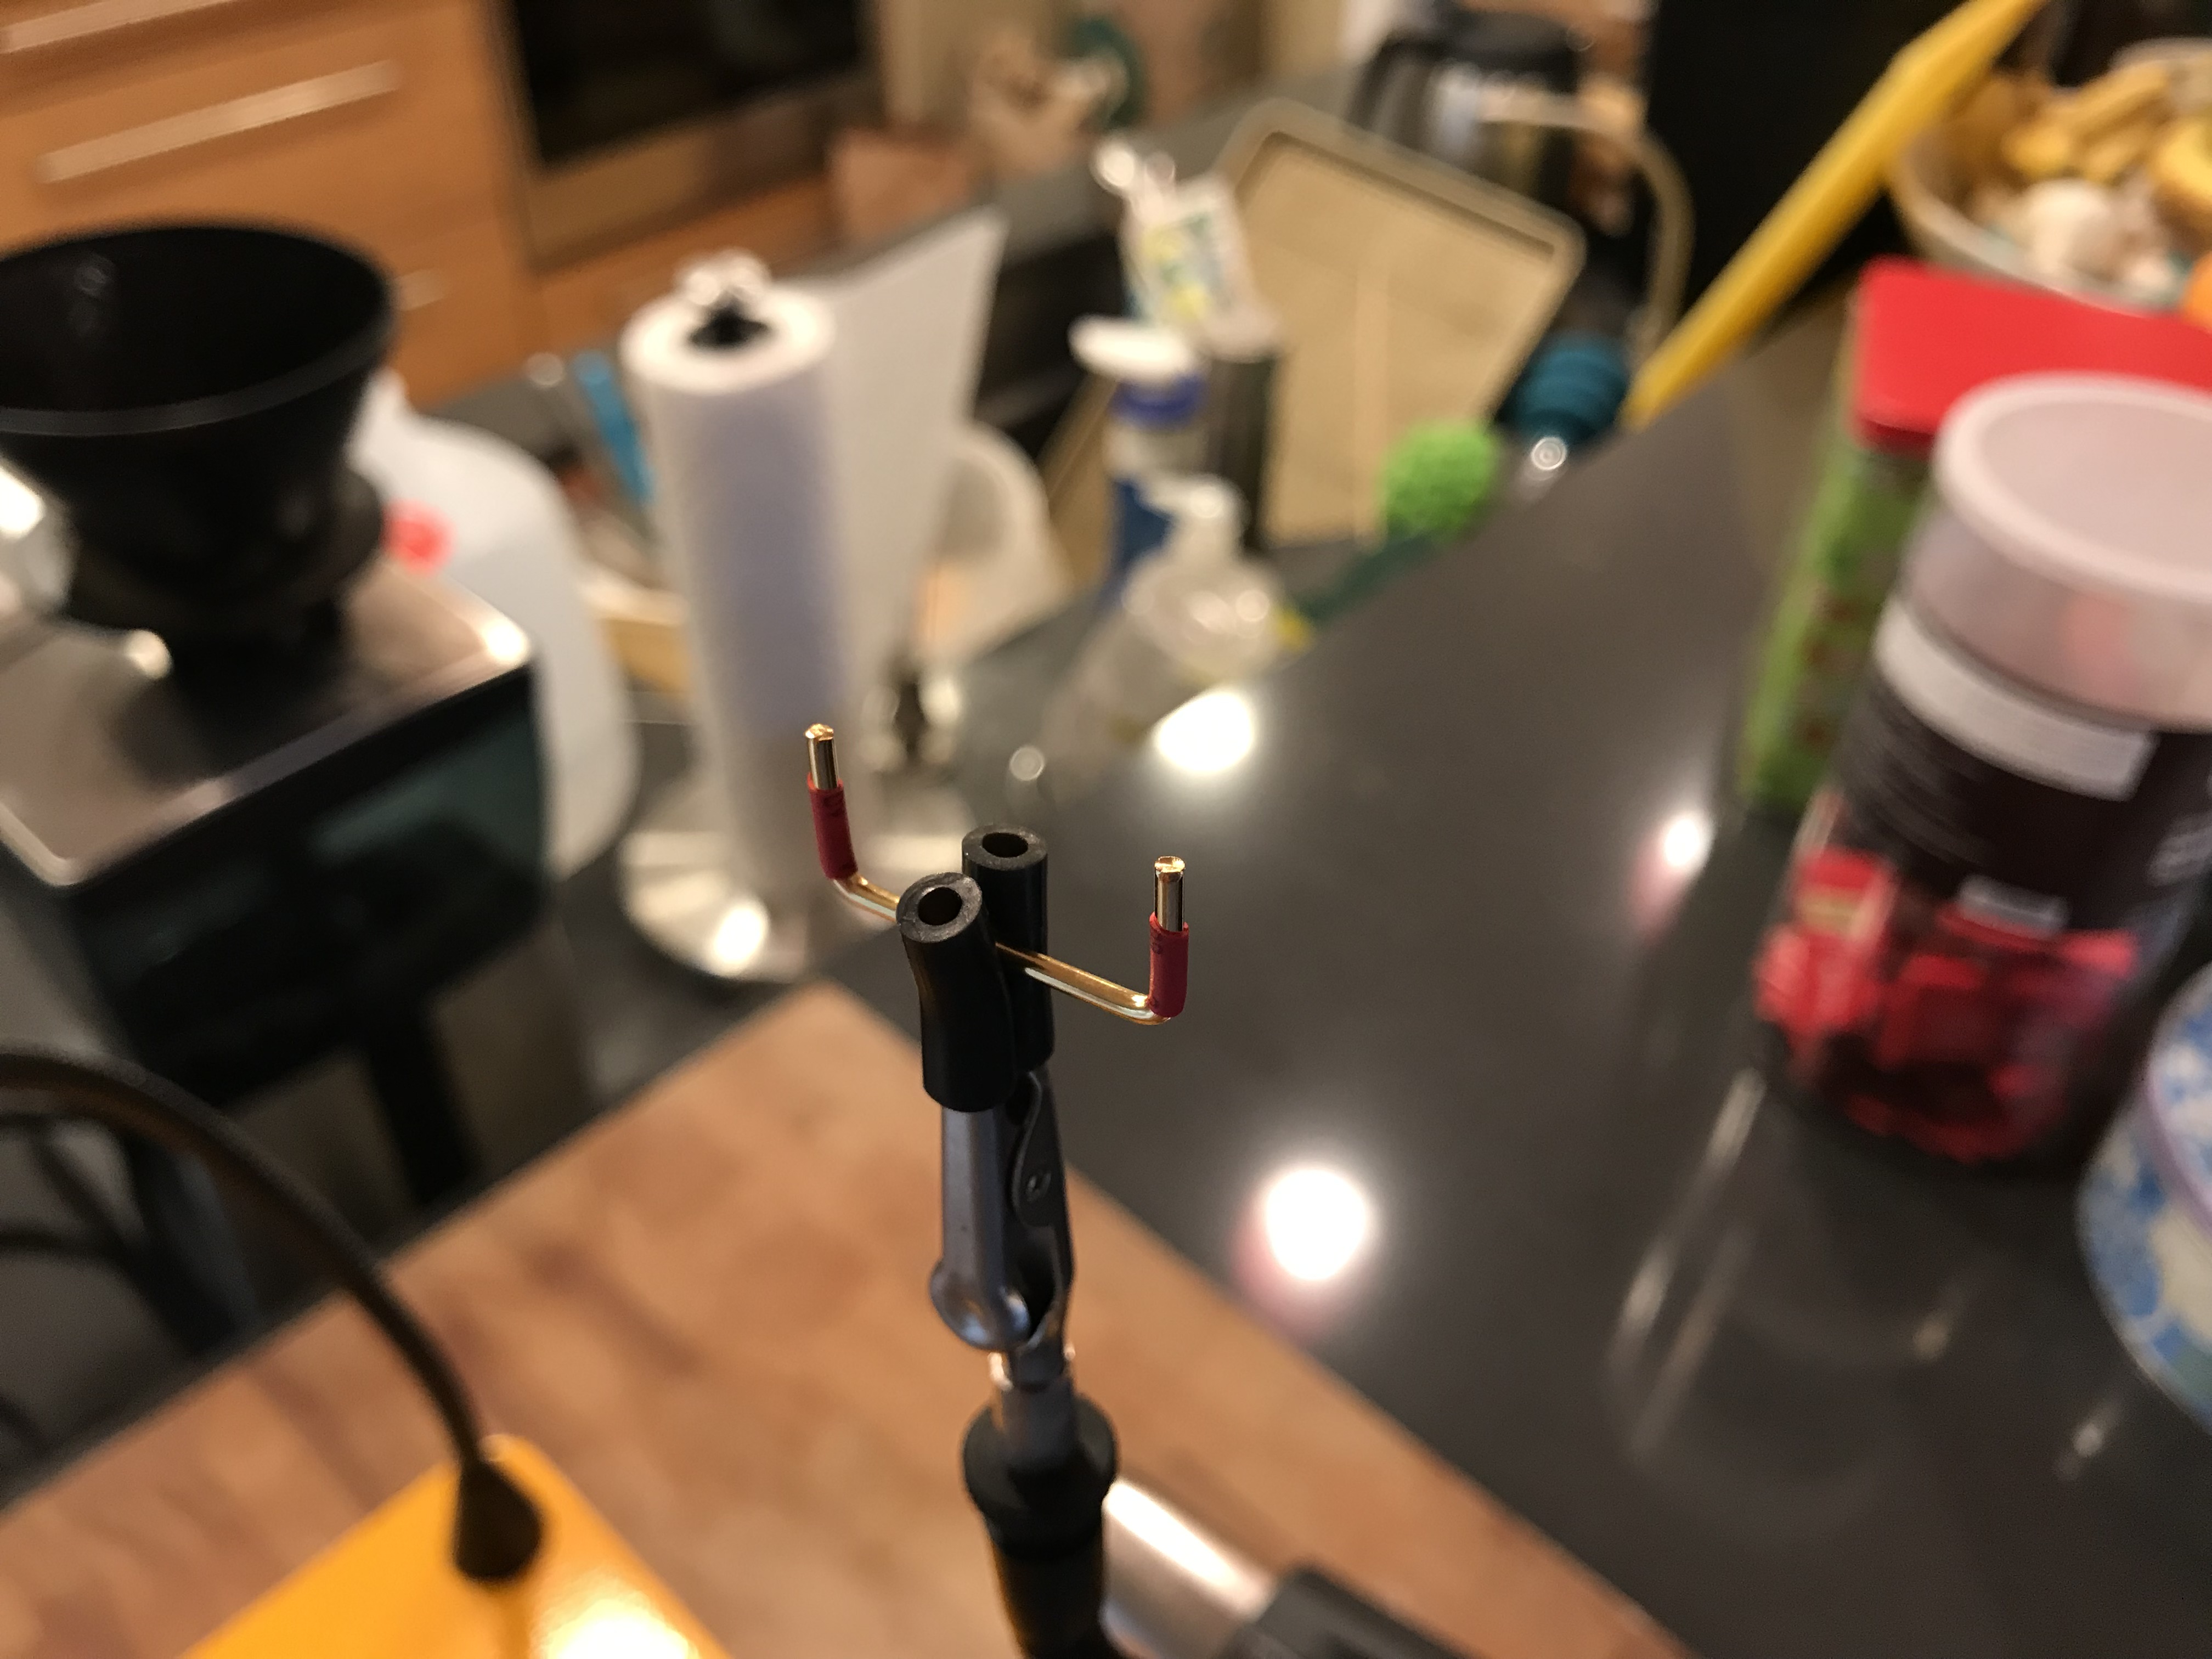
I wanted to try out a new stab mod for this build - the Rama heat-shrink mod, which involves cutting a piece of heat-shrink tubing to a 6mm length, and applying the 6mm tubing to the stabilizer arms right at the bends. The theory here is that the heatshrink tubing eliminates the hard metal-on-plastic impact sound when the stabilizers pop back up on an upstroke. Prior to experimenting with this mod, my feeling was that most of the irritating stab noise was coming from upstroke and rattle, which the Rama mod and lube should address, so I didn’t feel a need to do the bandaid mod.
I did find it helpful to use some extra mechanical hands to hold the stab in place while I used a heat gun to apply the heat shrink.
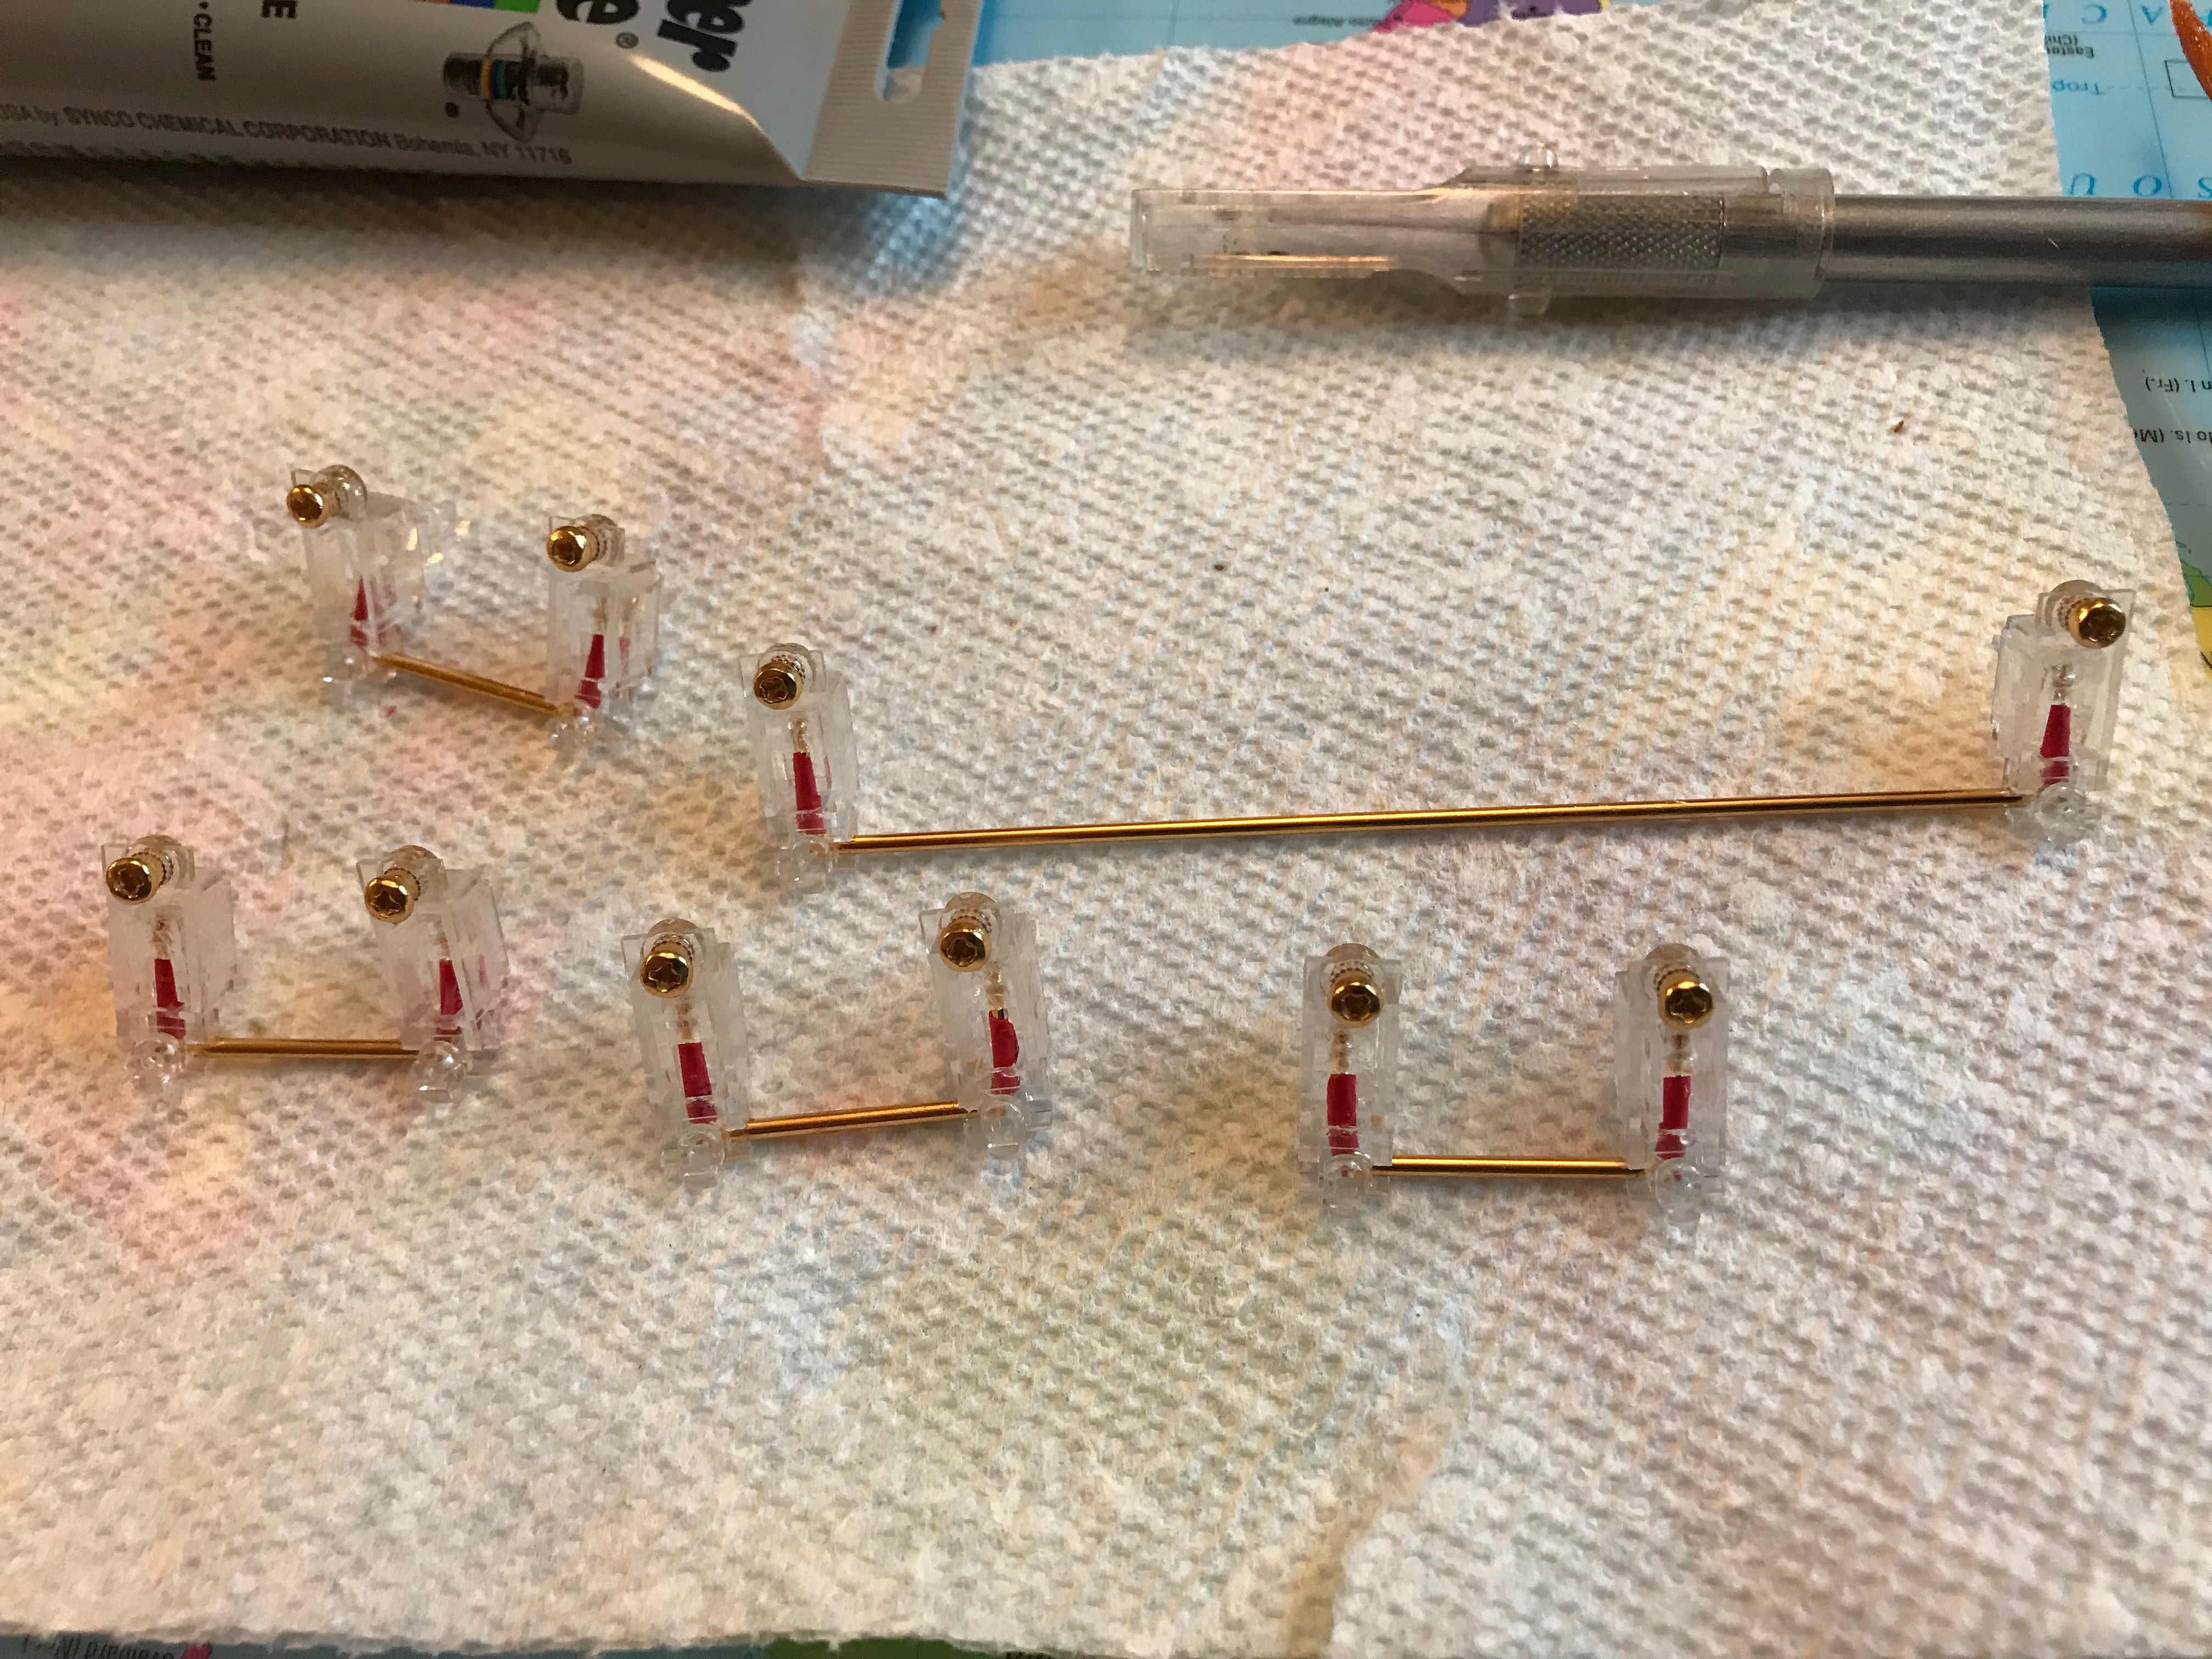
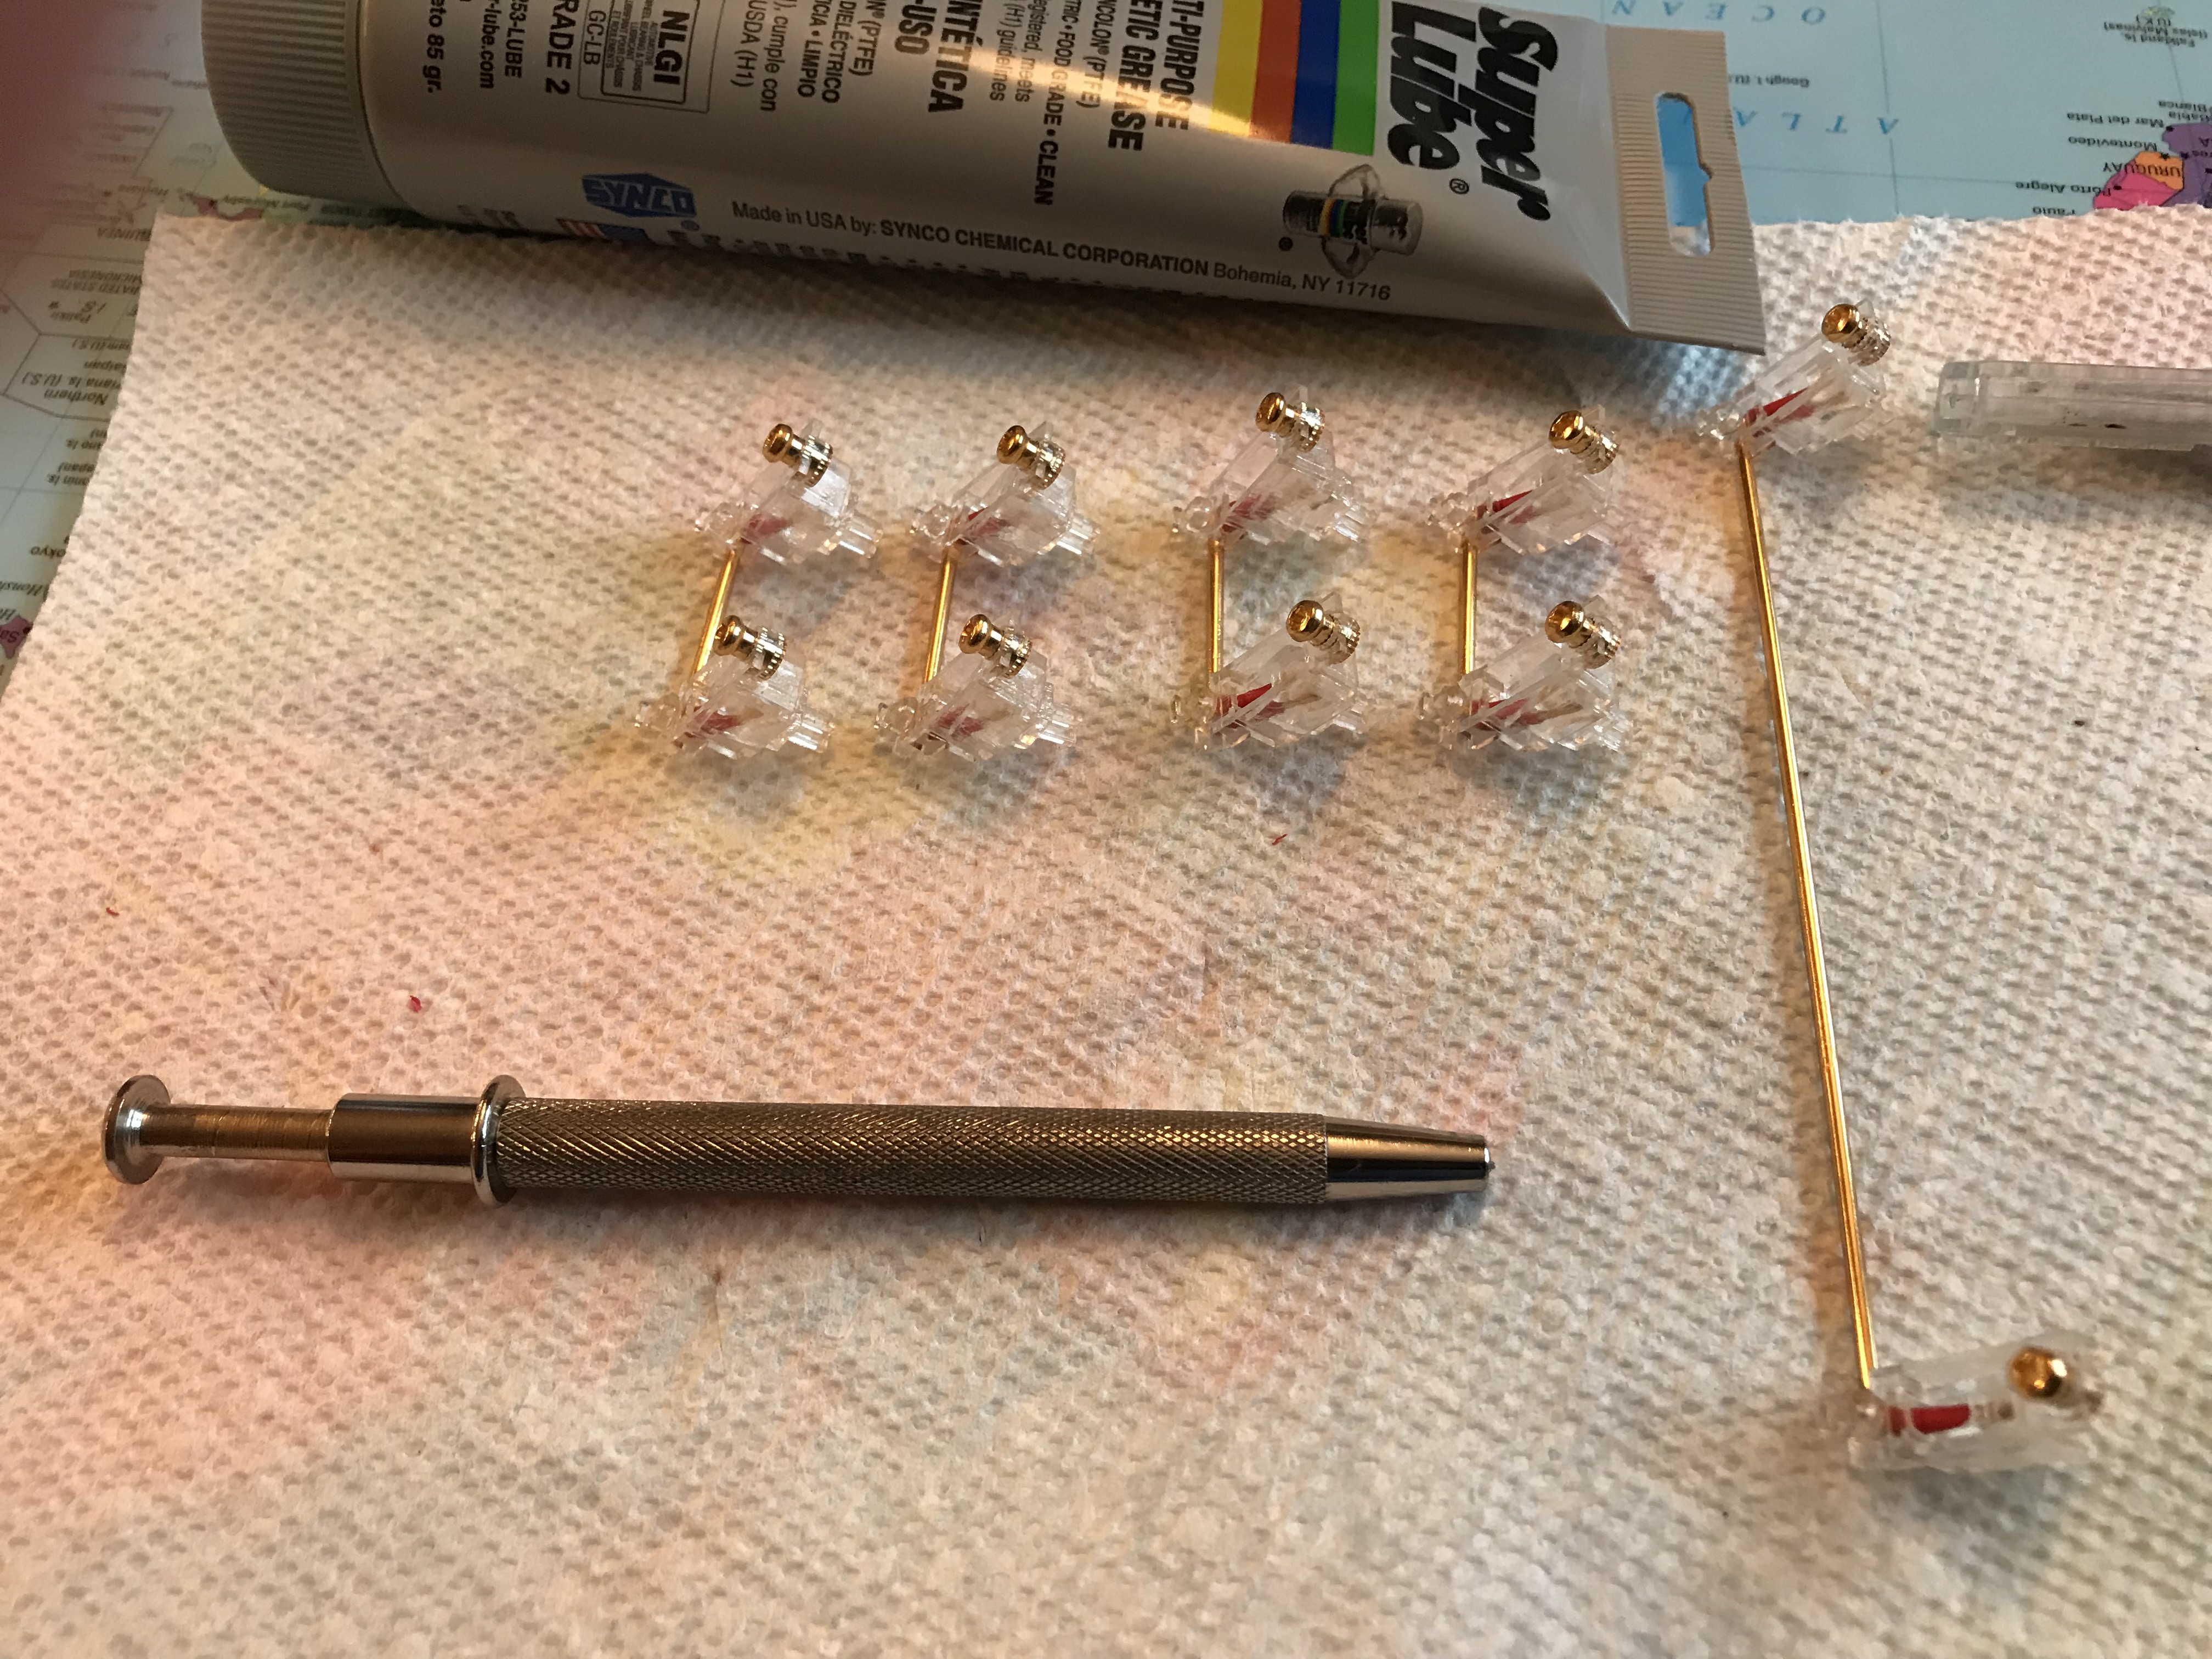
For this build, I wanted to use Zeal stabs with a standard ANSI layout, so I needed to do the mod to 4x2u and 1x6.25 stabs.
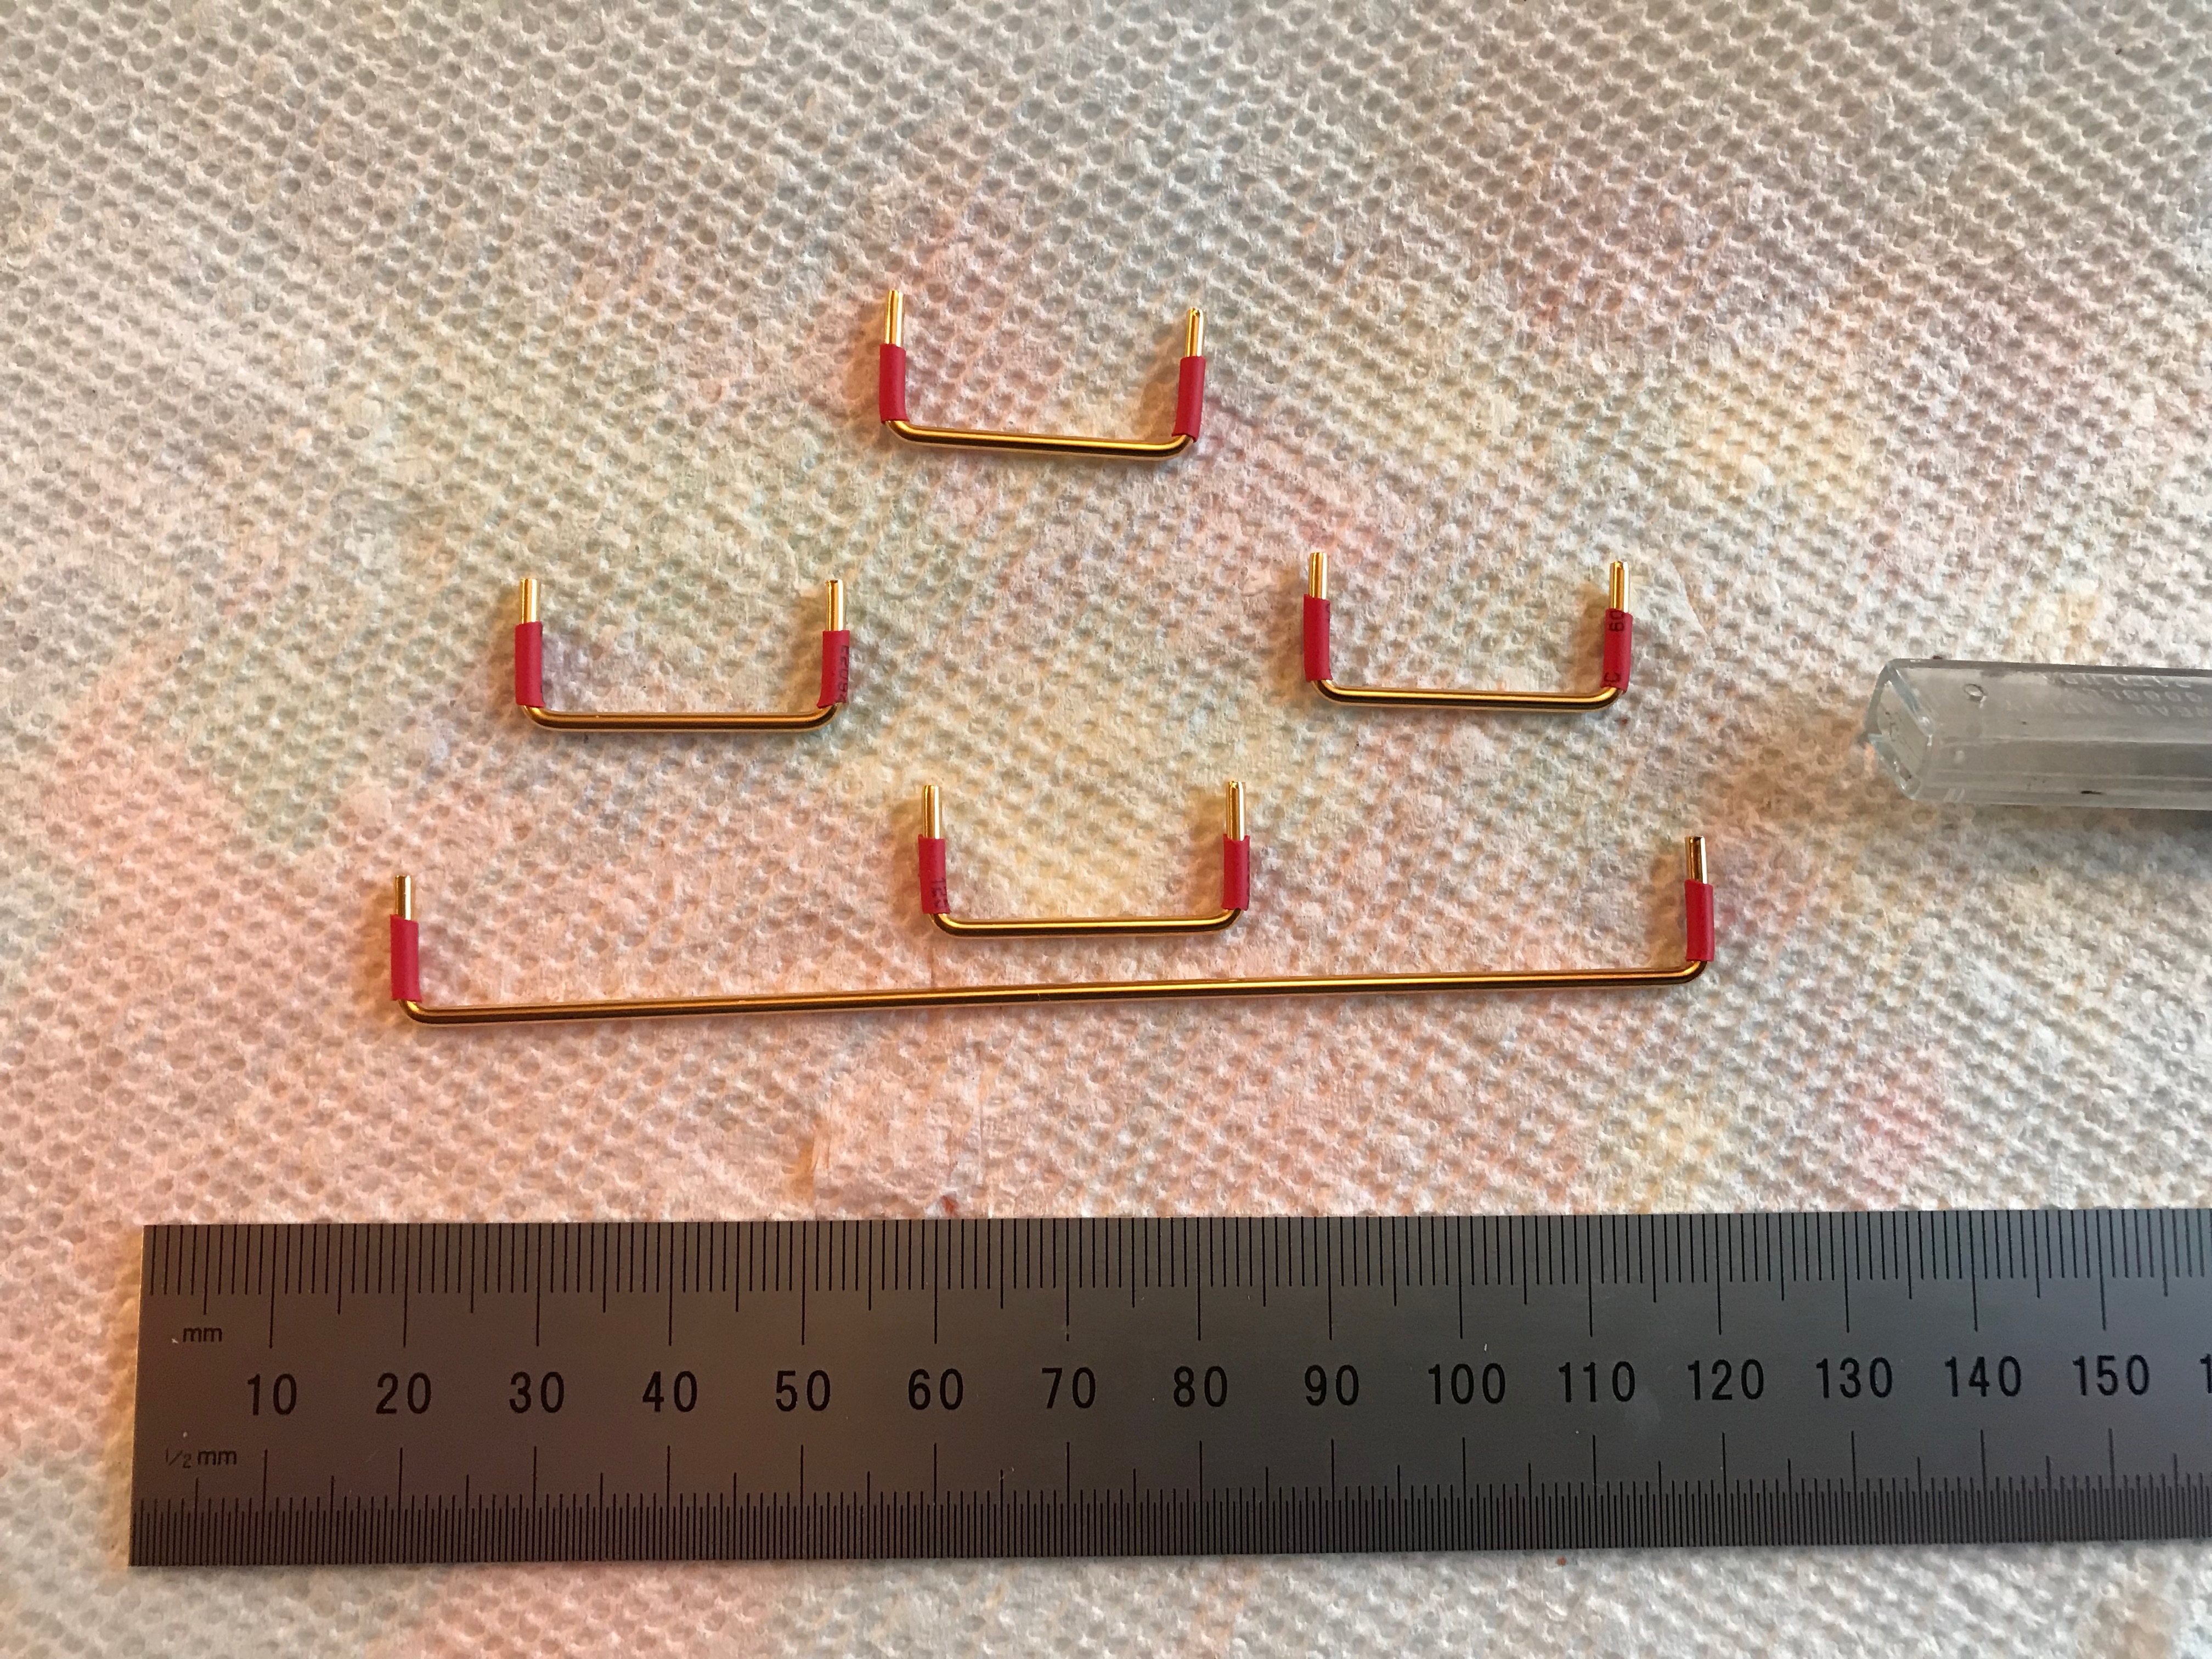
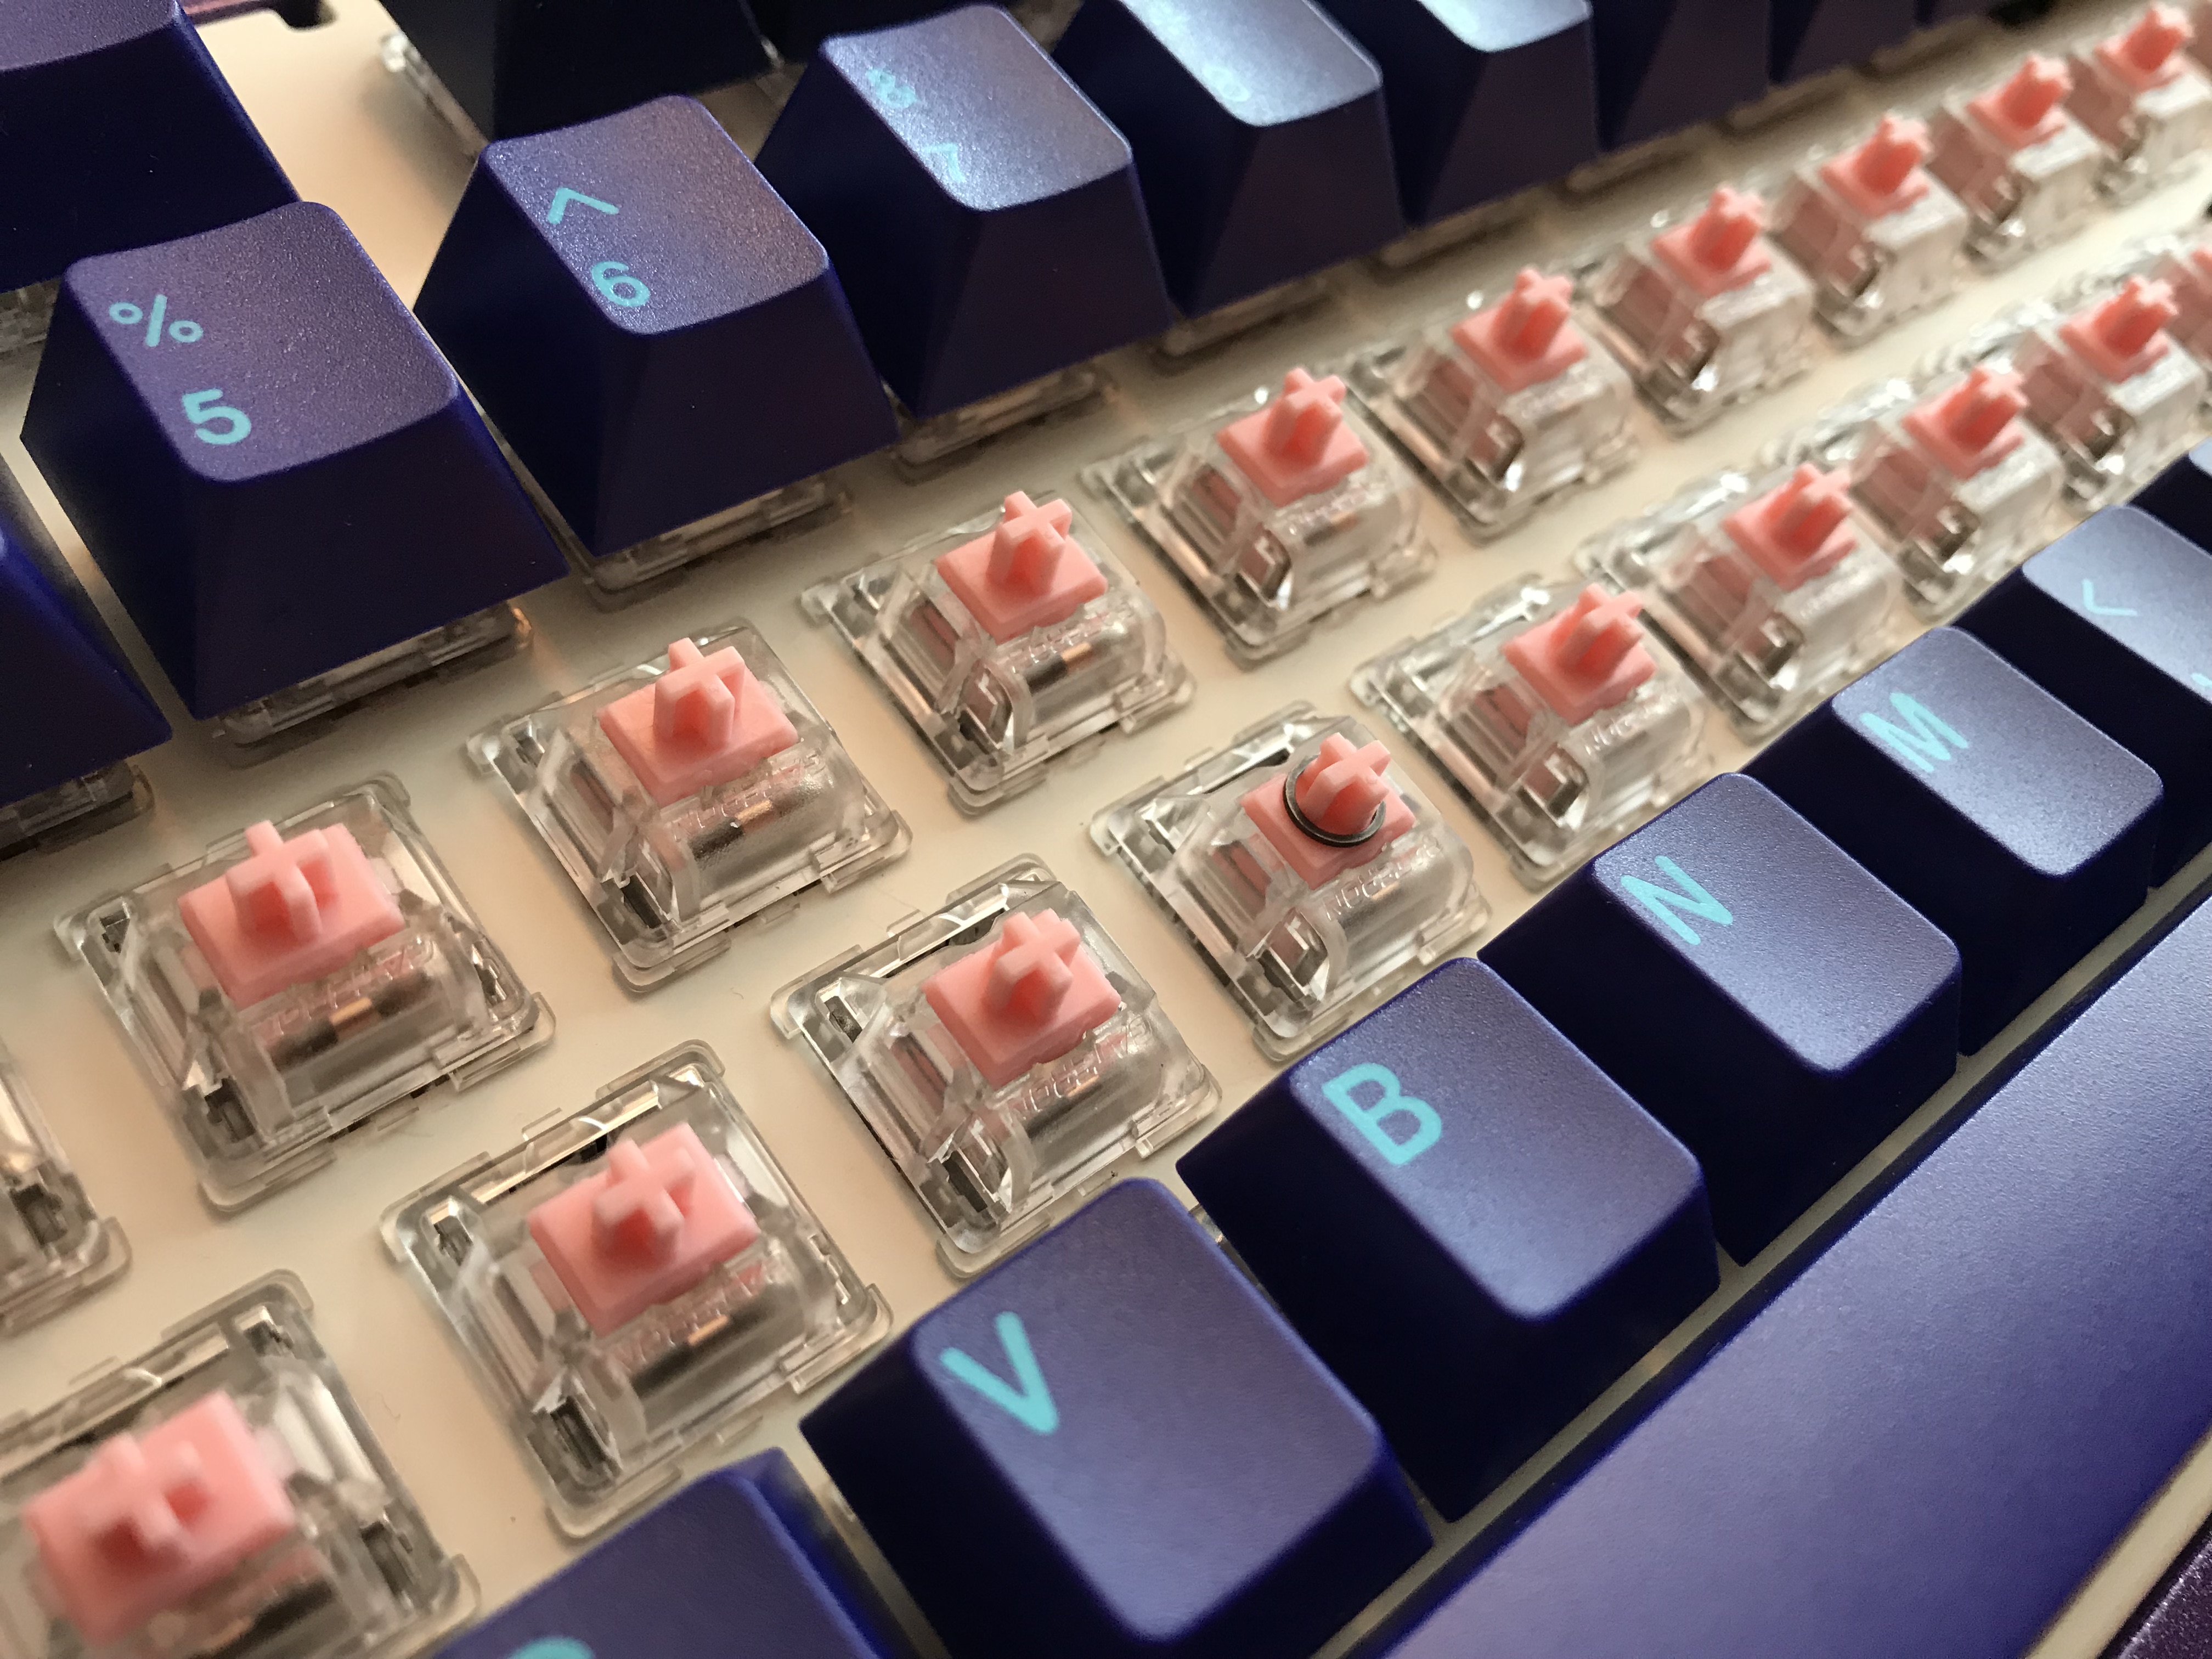
Here we see the stabs after lubing and reassembly. Being able to see the stab mods through the transparent Zeal housings will prove useful in a later build log…
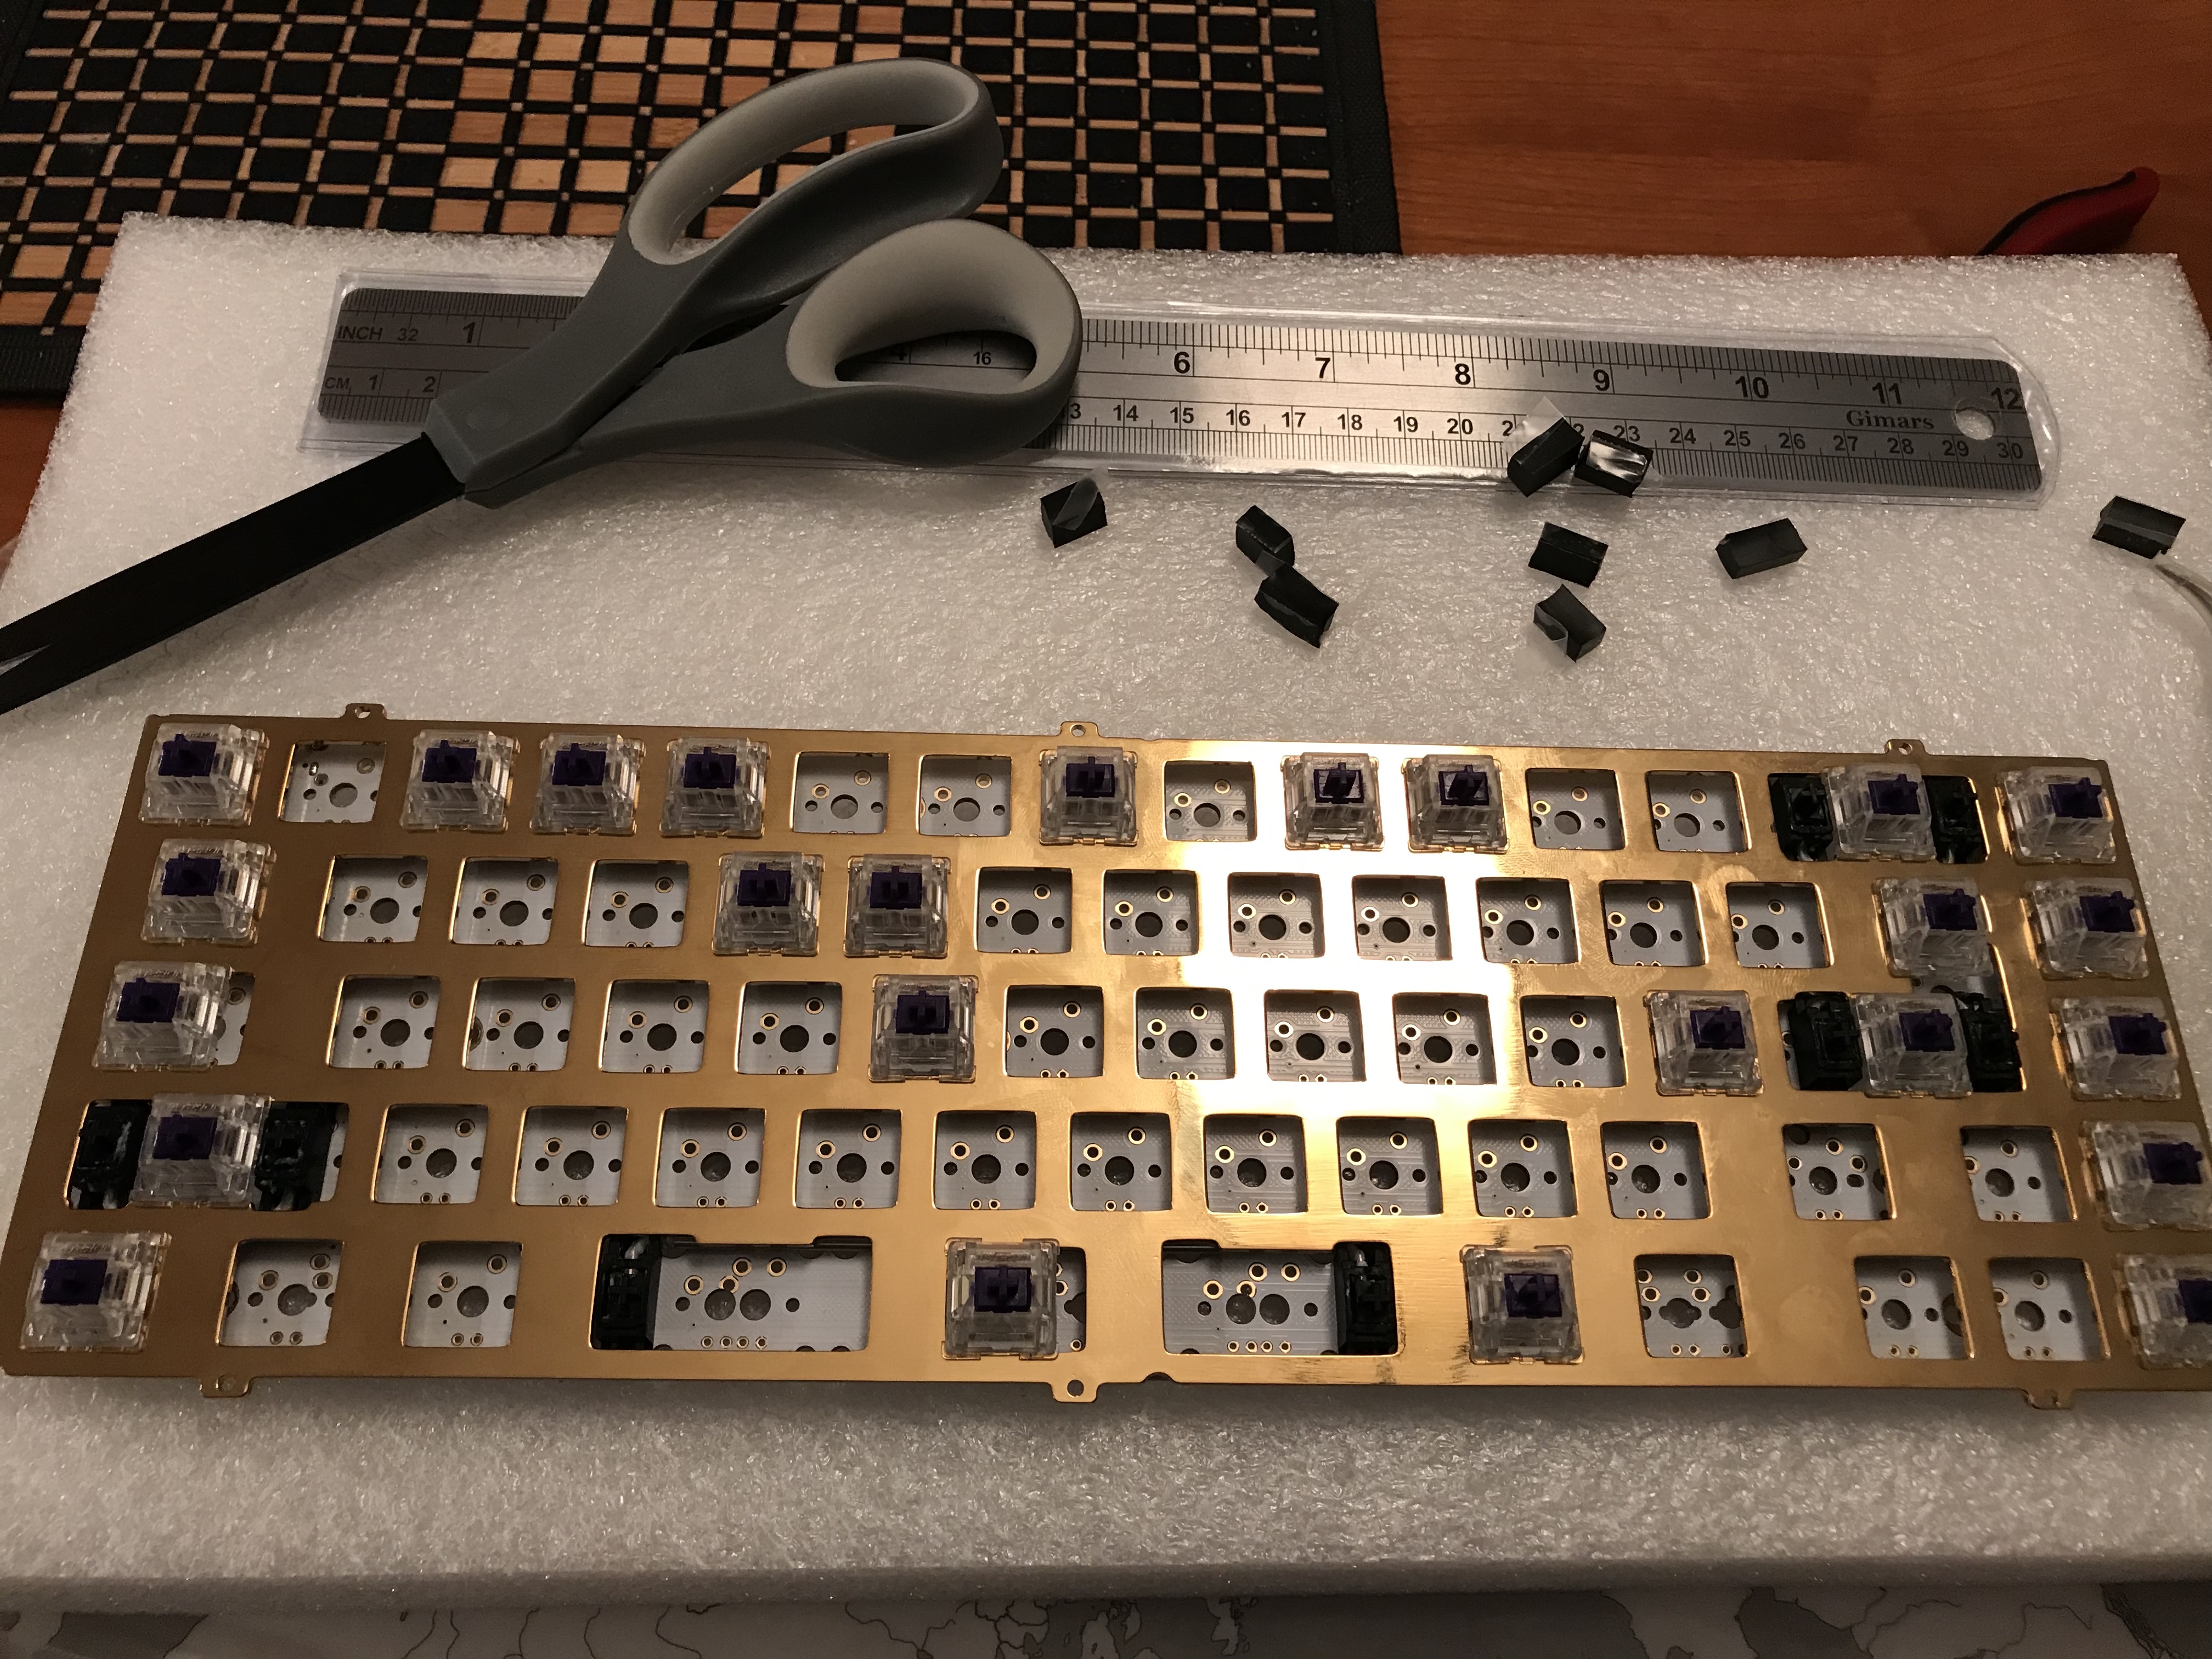
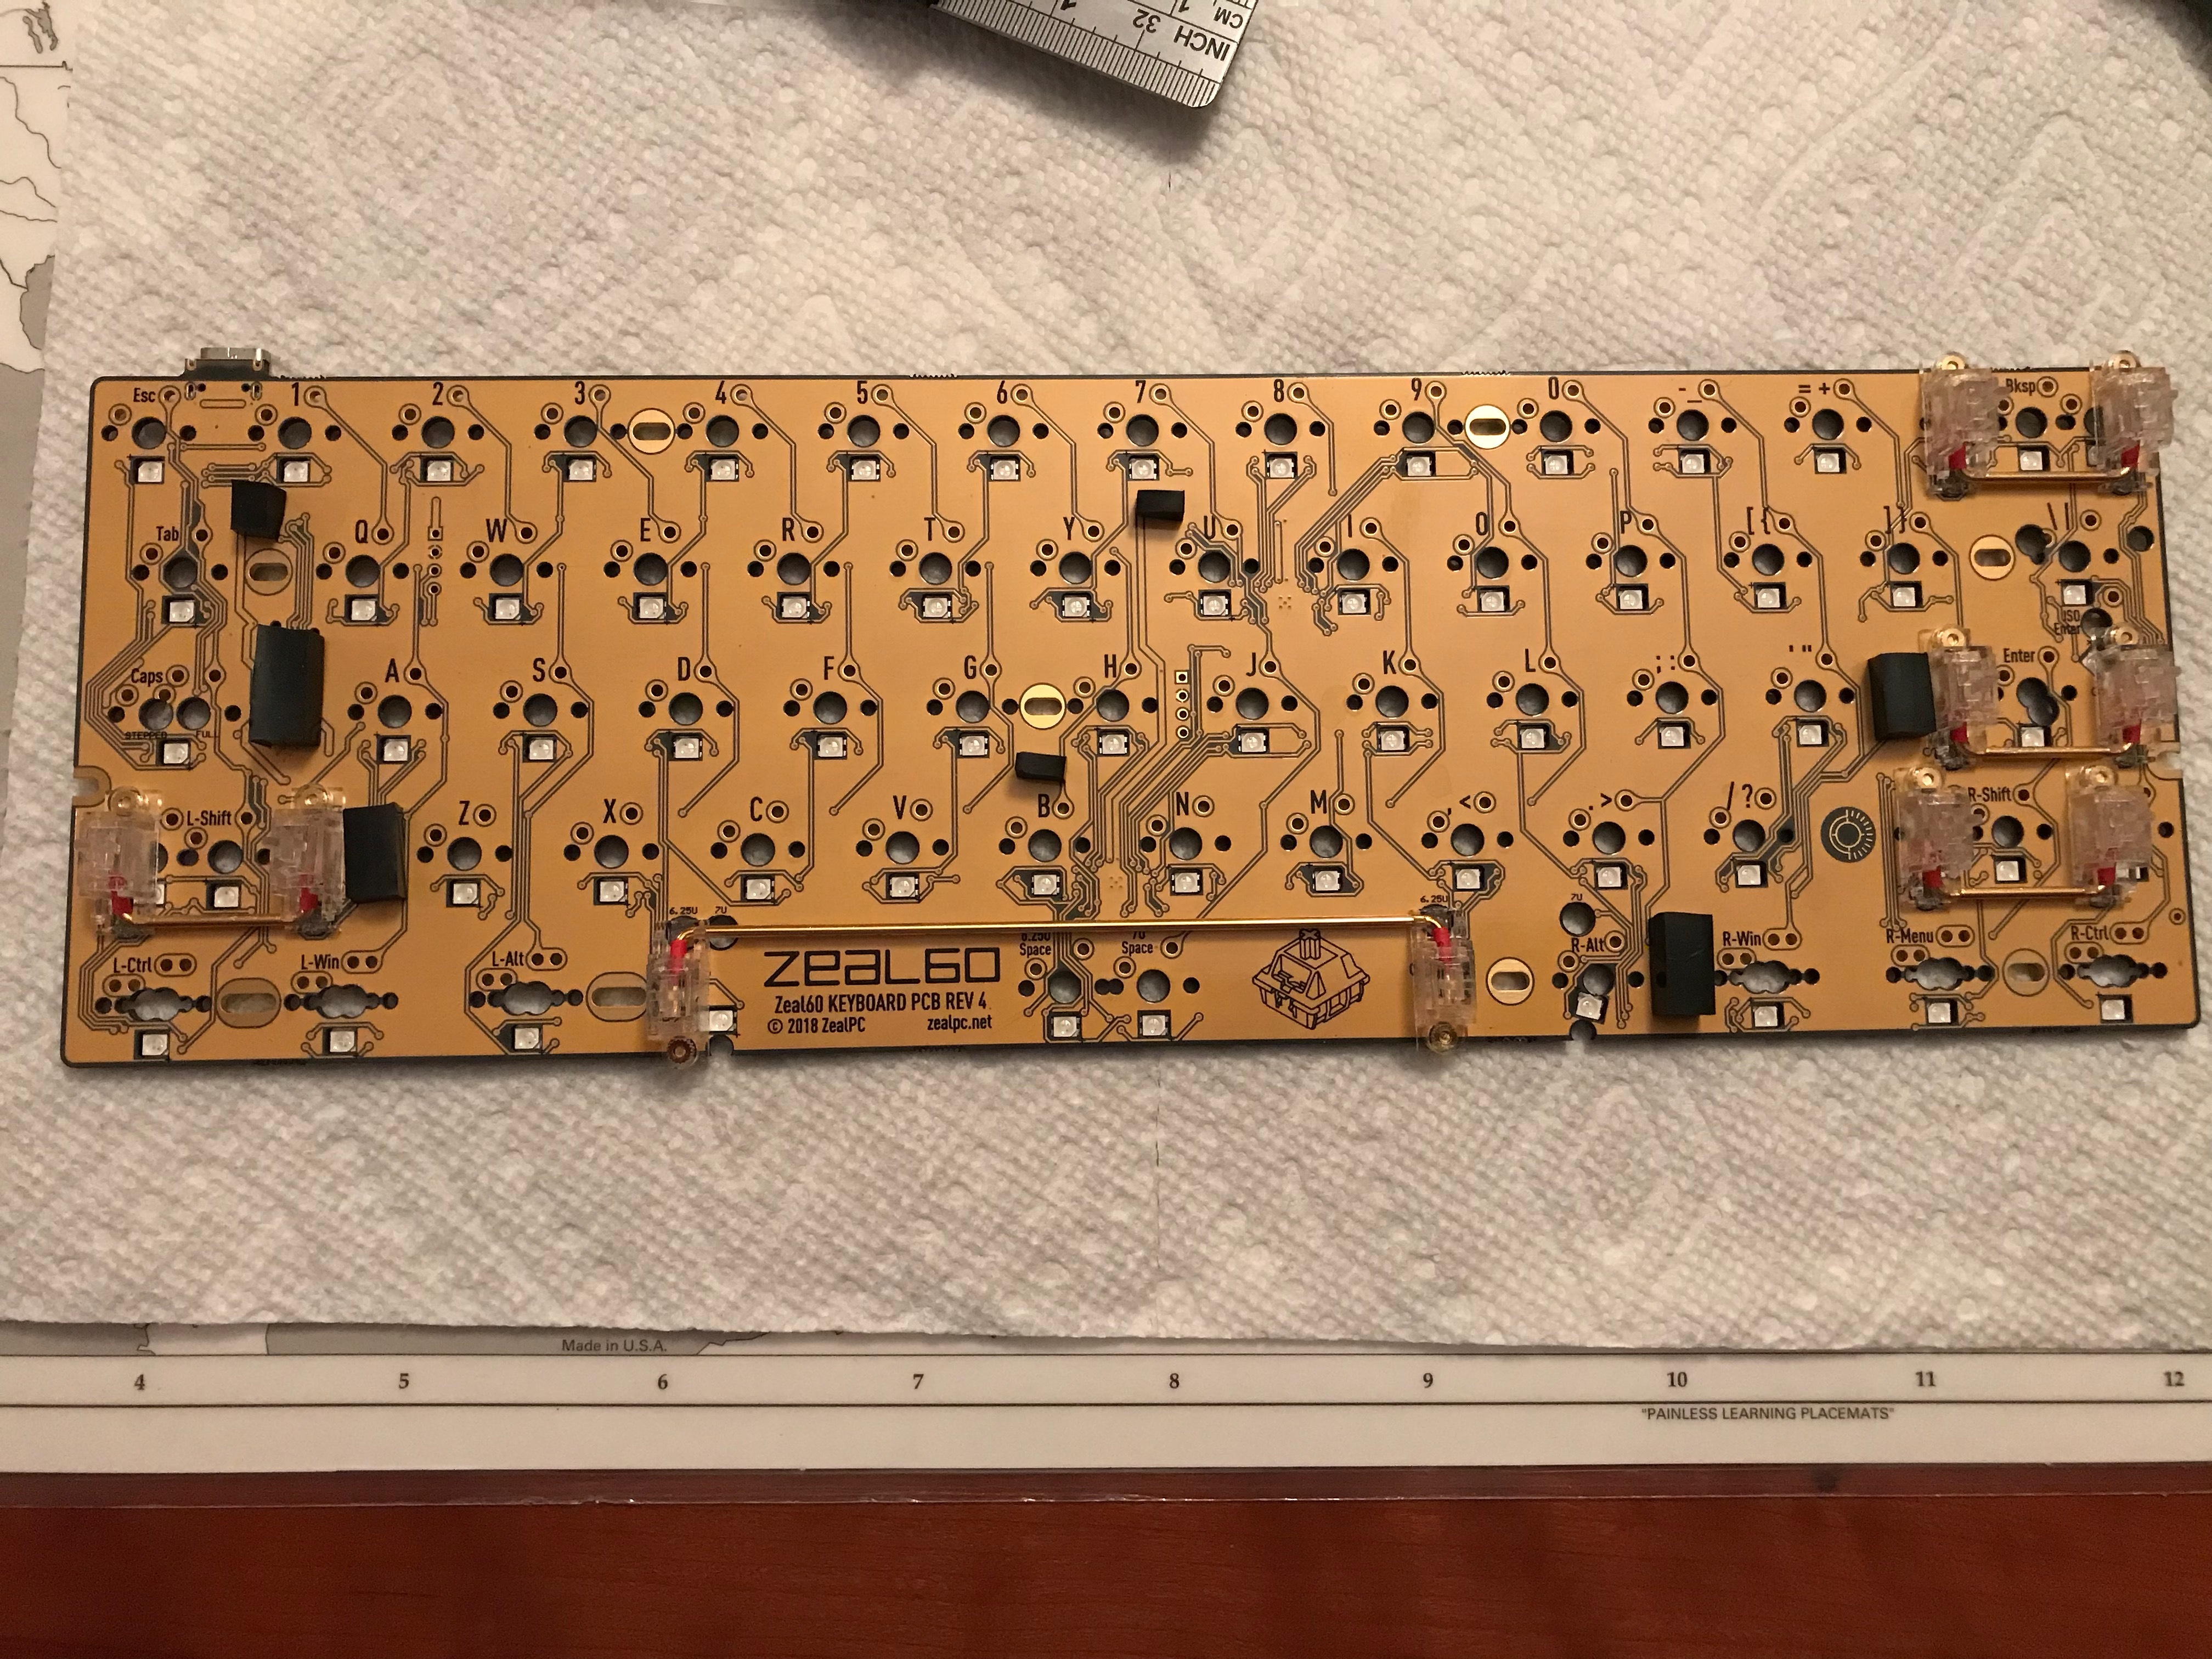
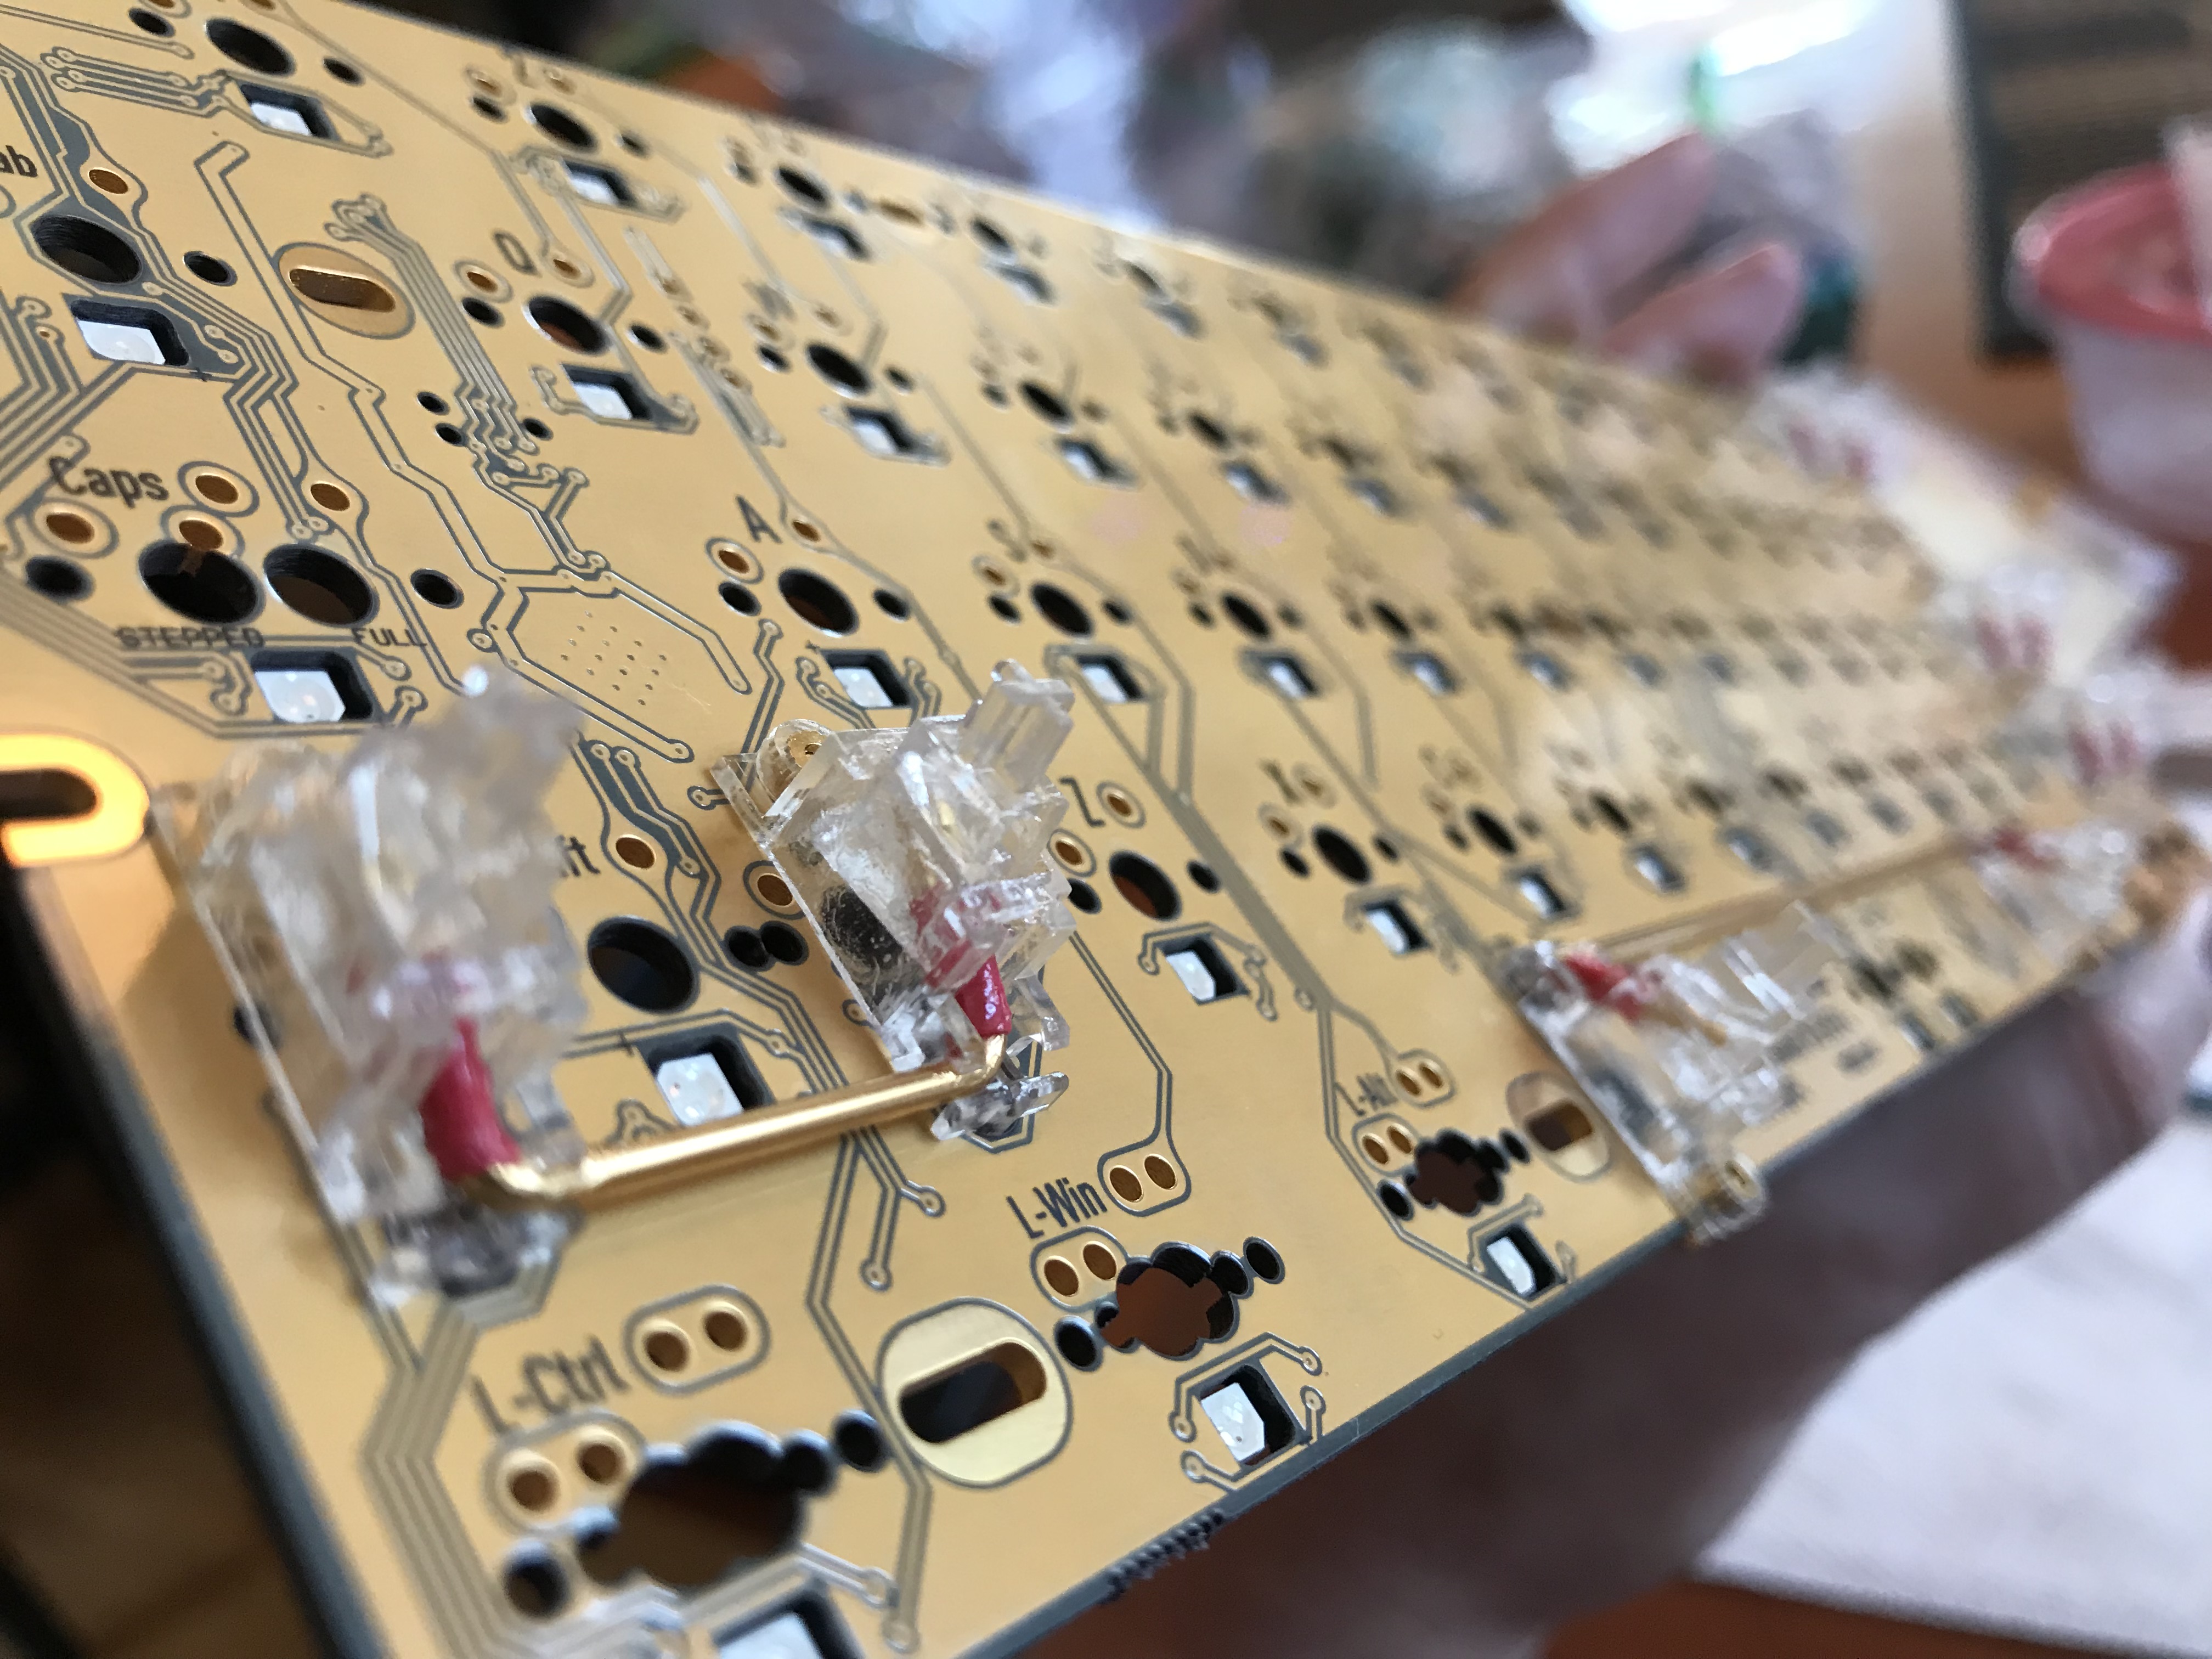
Let’s Zeal it up, babe. It’s worth mentioning that the Zeal60 PCB requires soldering a few pairs of pads together to function properly; the board supports a few different layouts, and your choice of layout will require a specific set of pads to be jumpered. Because all of the pad pairs in question are adjacent, no jumper wire is needed - it’s enough to apply drops of solder to each pad, and then place the tip of the soldering iron so that it joins the two drops.
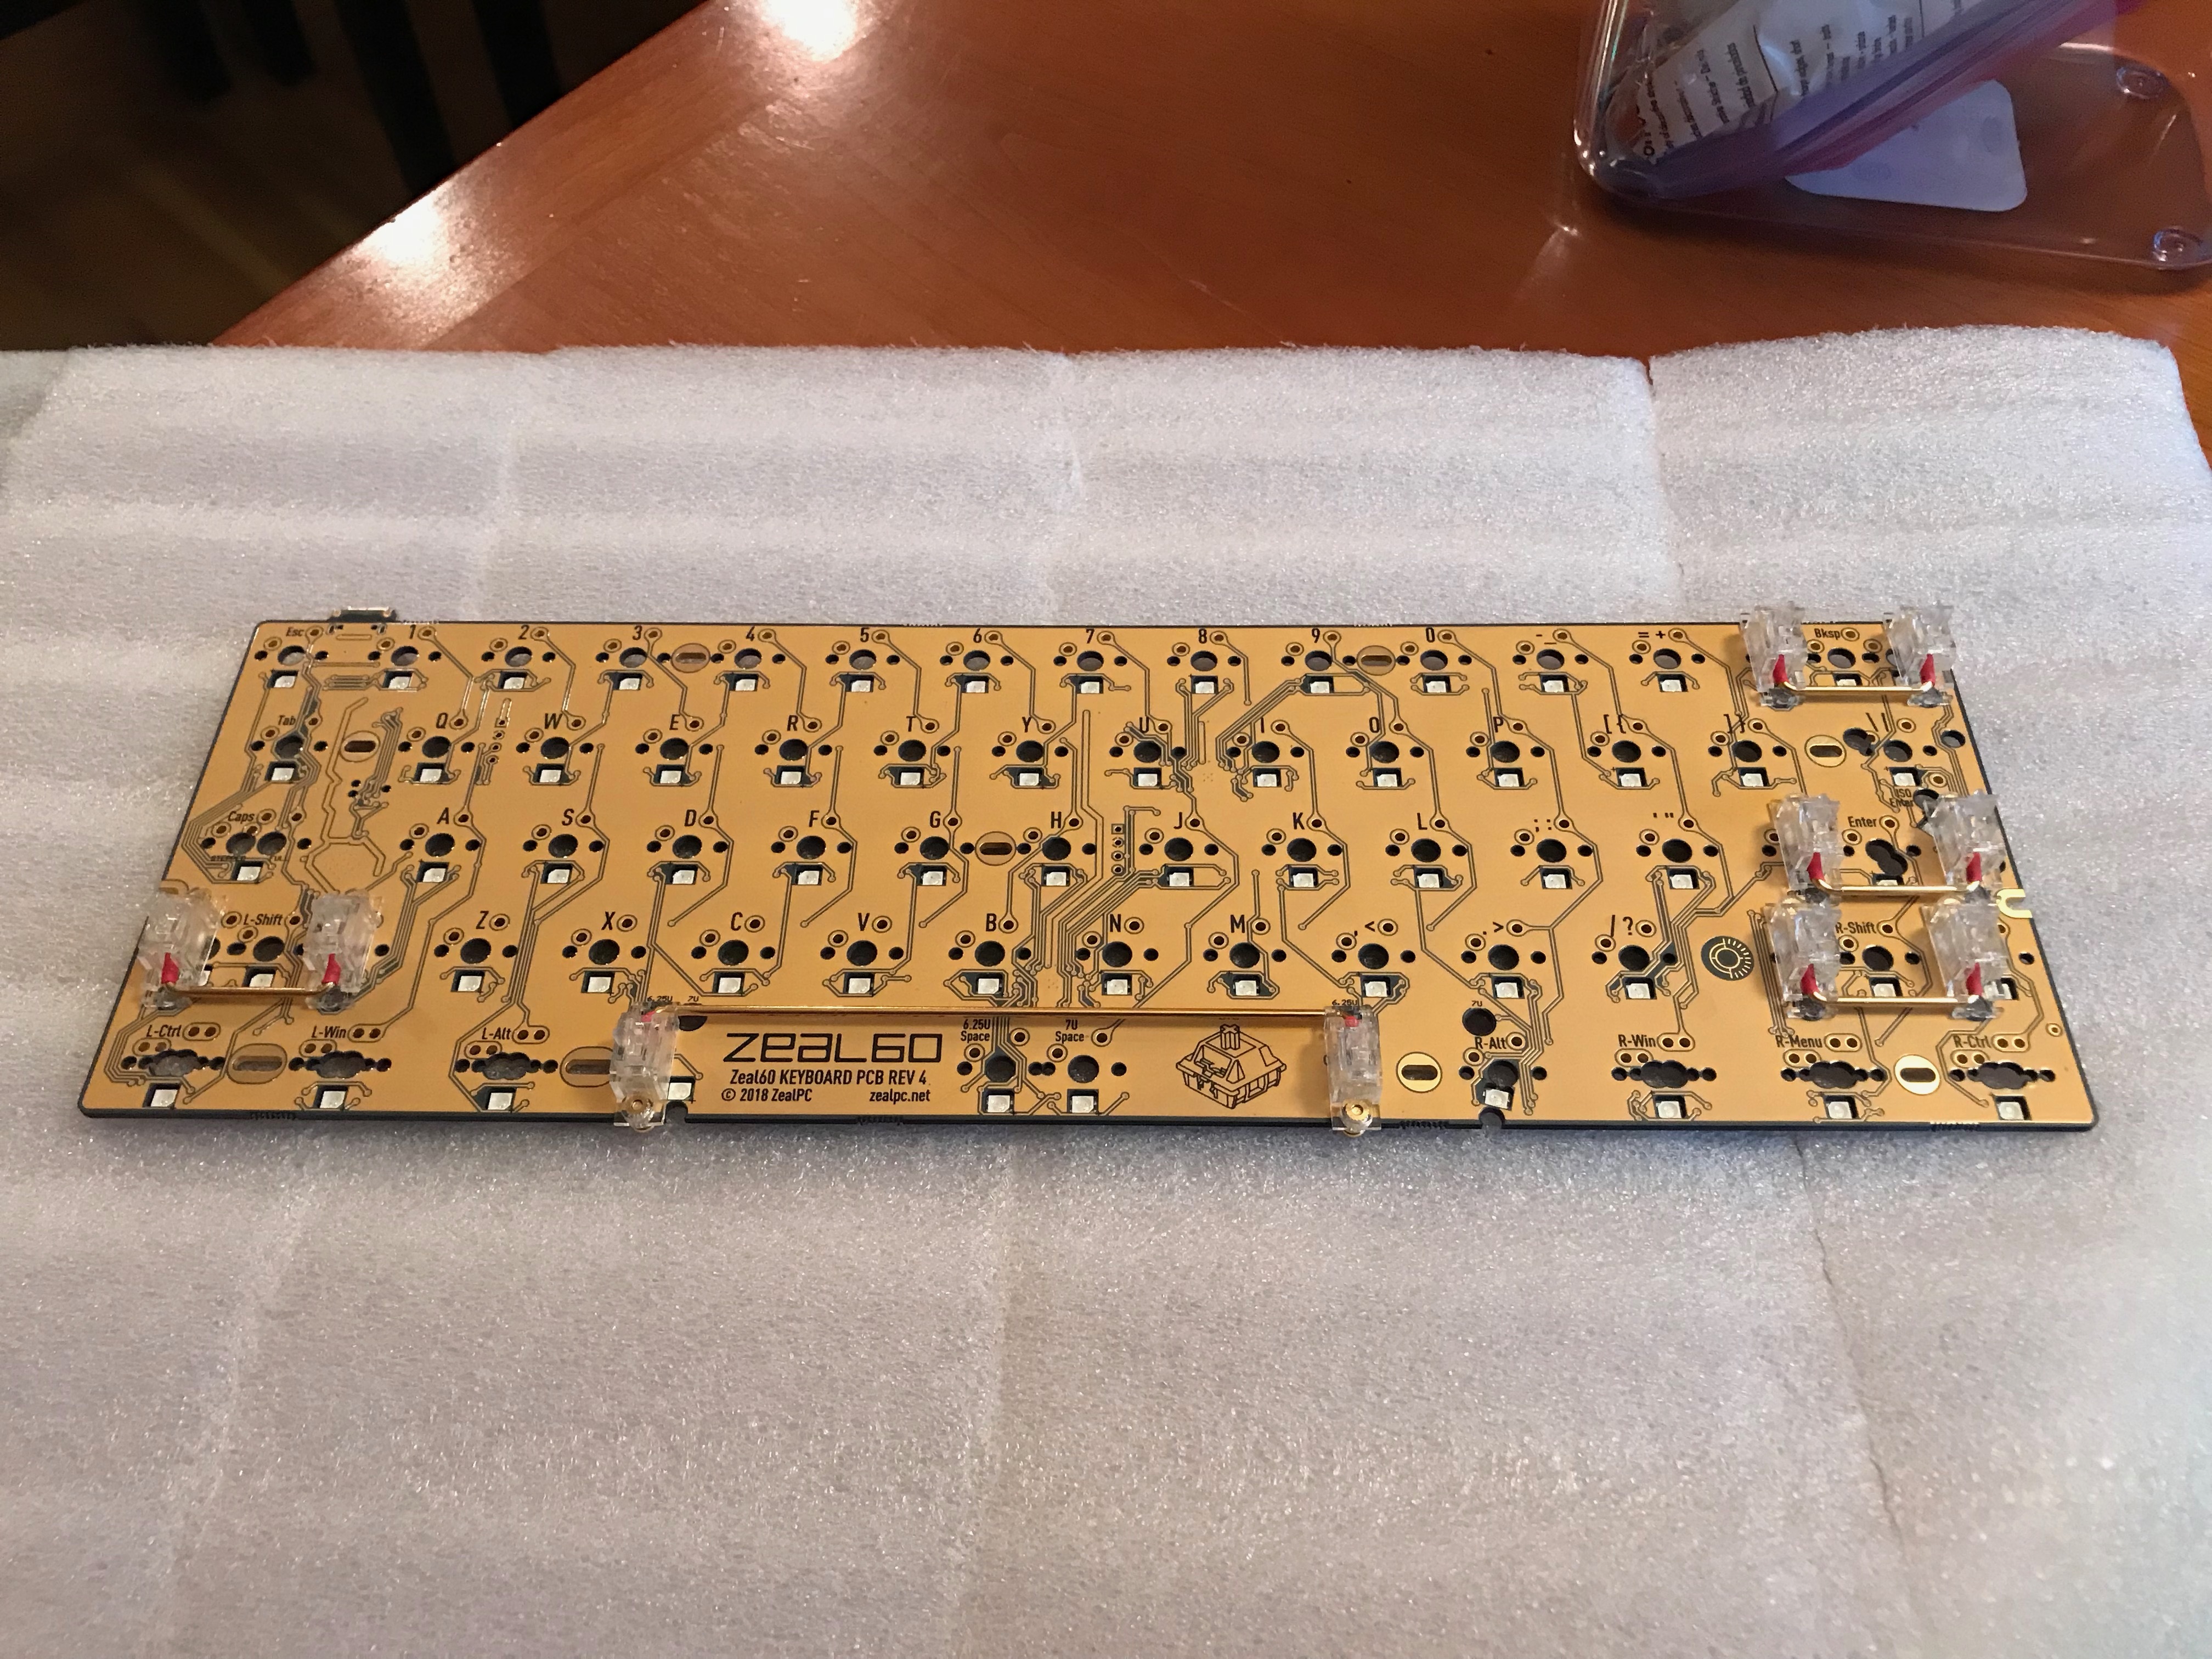
For color matching purposes, I went with an aluminum plate with red anodization, but this particular plate was not cut consistently or accurately for the stabs, so I had to do some filing. Here you can see the silvery raw aluminum after I filed away some excess material to get better fit and clearance for the stab housings.
I note in passing that the plate was also slightly warped when it arrived (sigh), so I ended up using some small C-clamps during soldering to get a good fit.
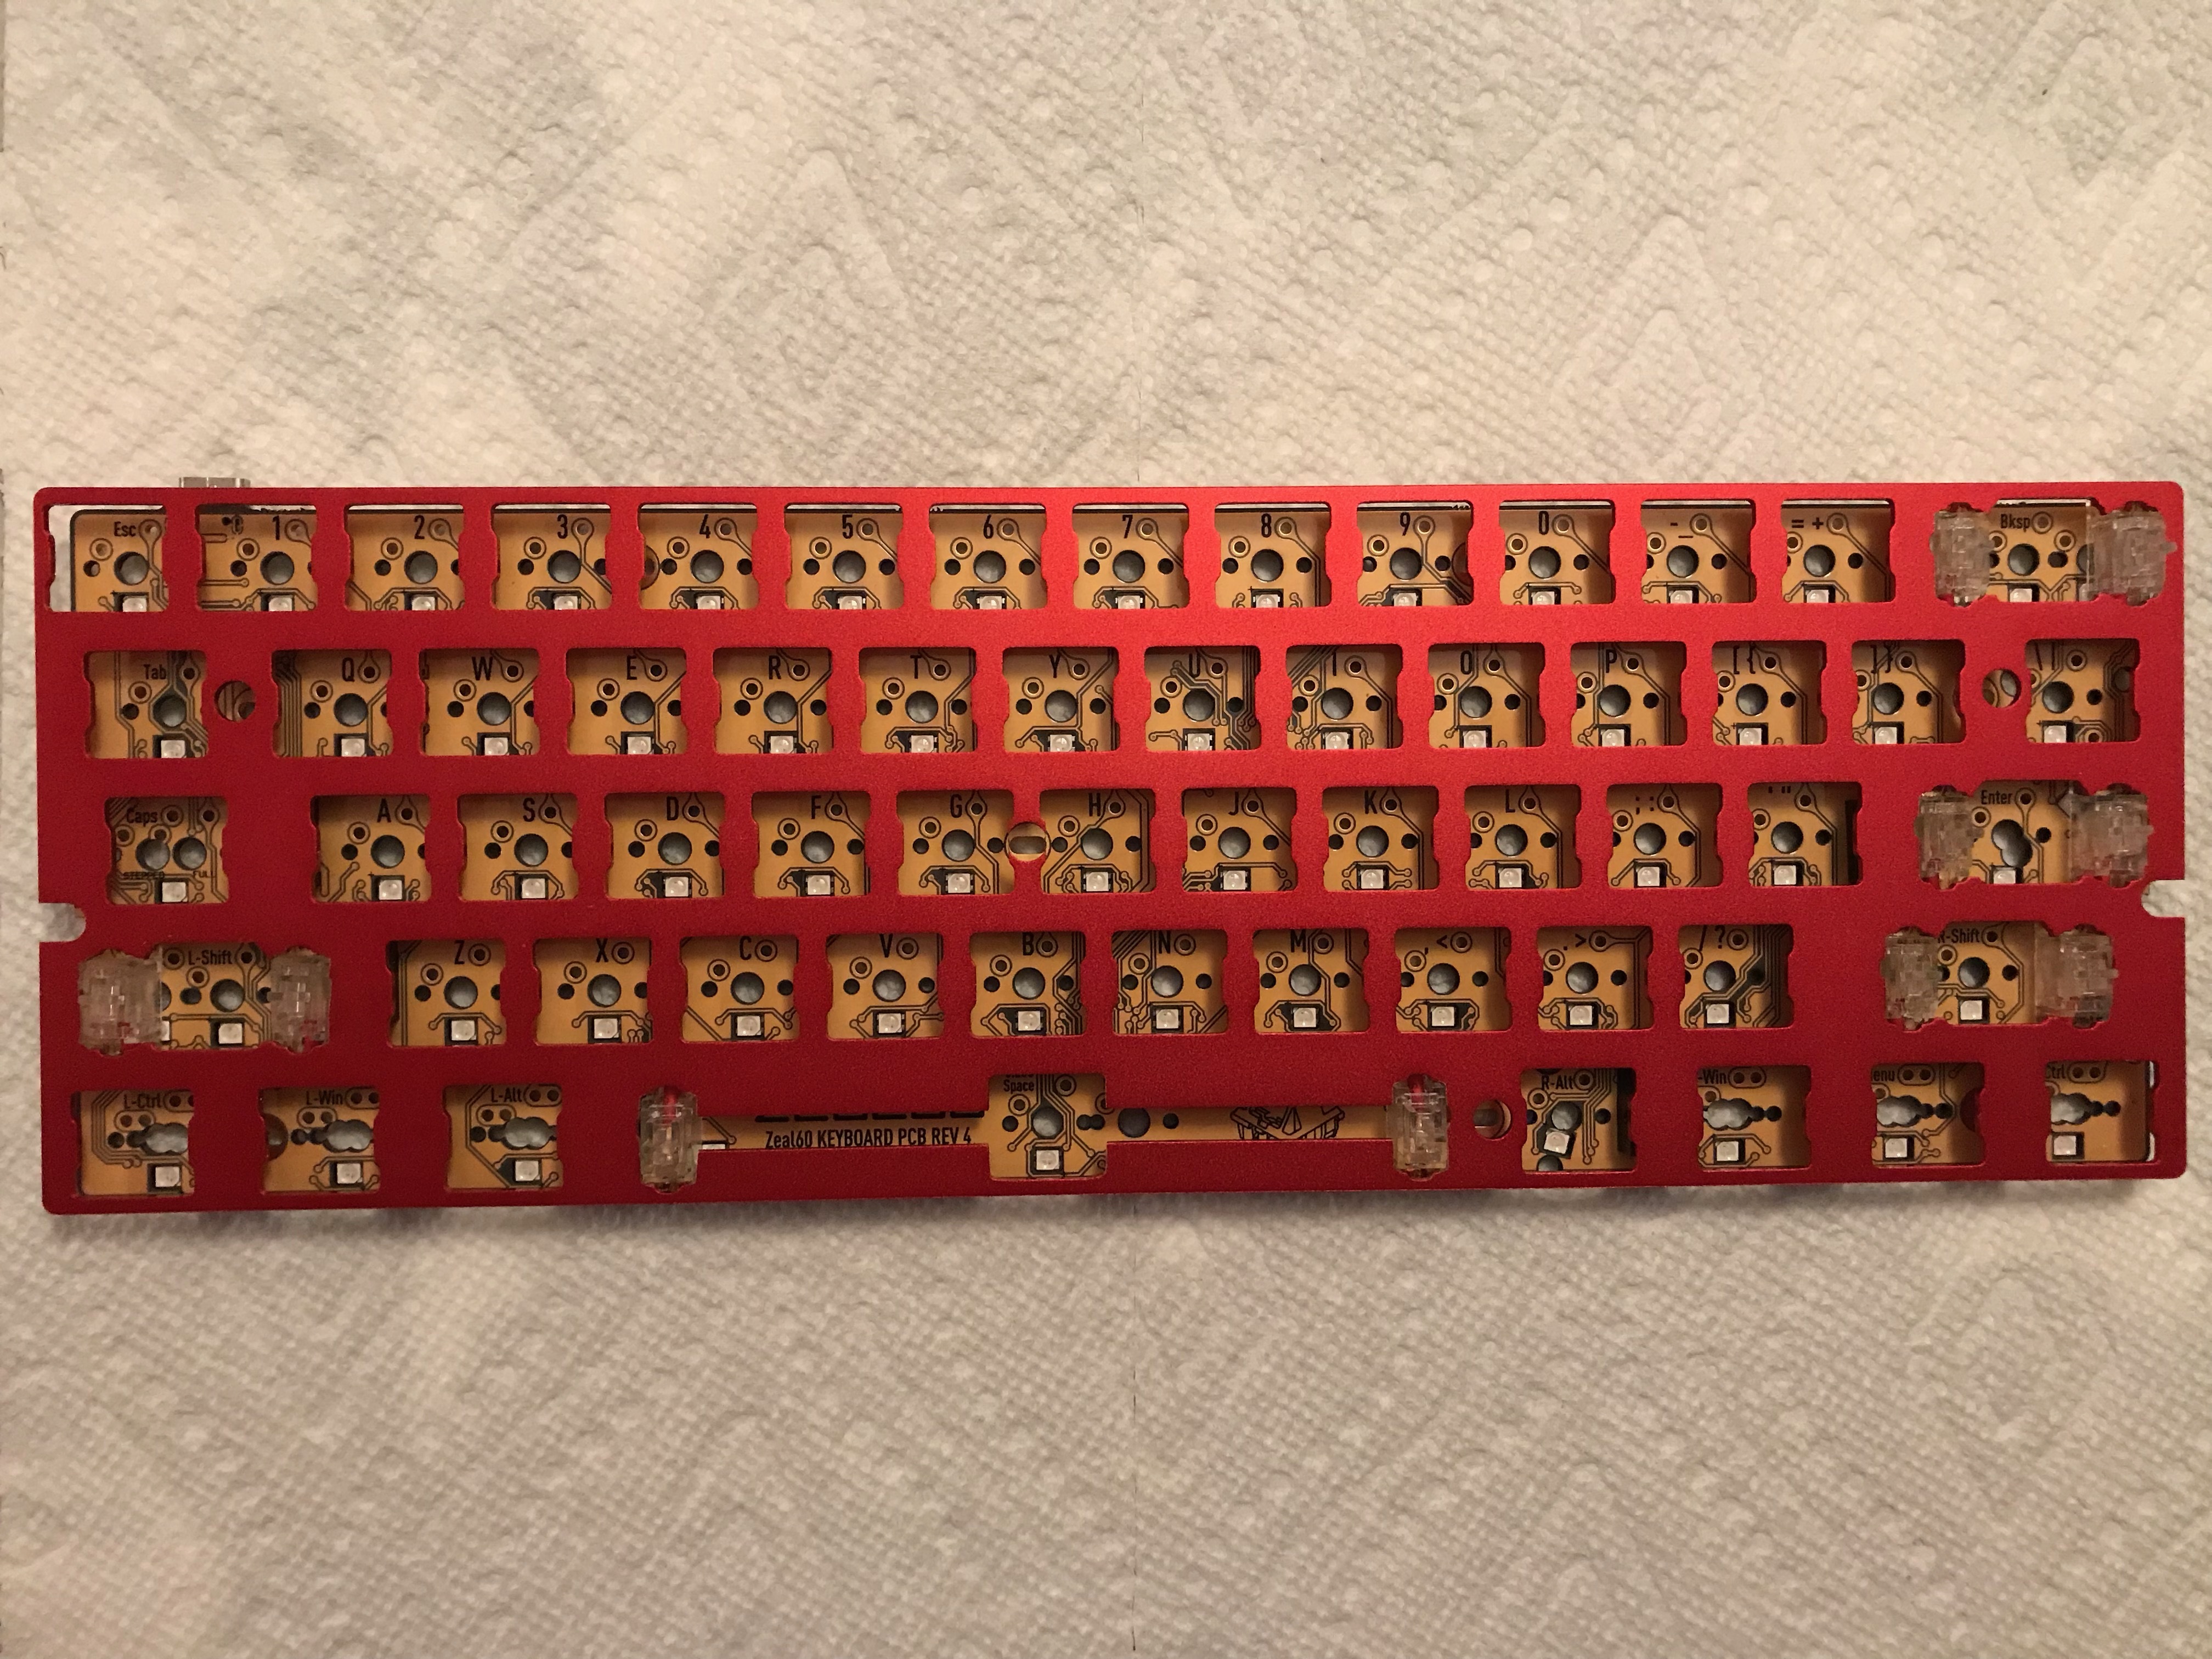
Recall that this was an older build, so I hadn’t yet tried the Sorbothane strut mod, which is my current approach for handling PCB/plate sound dampening. For this build, I did PCB/plate dampening in the way I had usually been doing it up to this point - place small squares of Sorbothane strategically to make good contact between the PCB and the plate.
We have clearance.
It’s not a great photo, but hopefully this gives you some idea of the Sorbothane contact and compression between the PCB and the plate.
More potato pics! A pair of looks at the plate/PCB assembly and the Klippe+ case…
I did a quick hack job on a sheet of Sorbothane to fit it between the PCB and the case, leaving its protective plastic sheet on, and making room for screw standoffs and the ledges around the case perimeter. I also like to cutaway areas where the controller, USB jack, and reset button are placed. You can see the indentations left by some switch pins - this is about the level of compression I like to see for best sound dampening results.

Going for that gaudy overdone RGB look.
Playing around with Mitowaves icons.
So that was all good and well. How did the board feel and sound? The good news was that all of the non-stabilized keys felt and sounded great - the 62g V2 Zealios have a lot of tactility and pop, but the lighter spring weight compensated for that to an extent. Quite nice. Unfortunately, it became clear very quickly that the stabs were sluggish and sticky.
Fast forward three months, to March 2019, and I came back to this build to diagnose and correct the stabs. I did manage to figure out what was going on, but in the interests of suspense (and consistency of photos with respect to the story), you’ll have to wait for the next build log in this Laser Trio series for the full stab story. As always, stay tuned…
What I will say for the purposes of this build log: once those issues were resolved, the result is probably my favorite 60% tray-mount build to date, specifically for sound and feel. Sometimes people treat additional weight as little more than a meme, but I disagree; up to a point, a heavier case yields a deeper sound, and I find it’s easier to tune away residual ping with Sorbothane or foam with a heavier case than it is with lighter counterparts.
Lessons learned
- The Rama heat-shrink mod and Zeal stabs are not a good combination. Details to come in the
next build log. - With tray mount cases, it’s easy to measure the gap between the PCB and case by measuring the height of a screw post, which helps to determine the necessary Sorbothane thickness (a good rule of thumb is to multiply the measured gap by 1.1-1.2 to obtain the desired Sorbothane thickness).
- The Klippe is sometimes maligned for its expense relative to the Tofu, its relatively recent competition in the 60% tray mount category, but you are getting something for that extra expense - it’s substantially heavier, and that weight contributes appreciably and positively to feel and sound. (It’s also worth noting that more recent Klippe releases are closing that price gap, making the Klippe even more attractive.)
Specifications
case: Klippe+ (black case, red weight)
case dampening: 0.1" 40 Duro Sorbothane sheet with cutouts
PCB: Zeal60 R4
plate: red anodized aluminum
plate/PCB dampening: 0.25" 50 Duro Sorbothane, small squares
stabilizers: Zeal R2 transparent (1x6.25u, 4x2u)
stabilizer mods: lubed with SuperLube
switches: 62g V2 Zealios
switch mods:
- springs tub-lubed with Krytox GPL 104
- housings and stems hand-lubed with Tribosys 3204
keycaps: GMK Laser
- Gaijin, Blocknet, Mitowaves
HxWxD (without caps): 1.38" x 11.18" x 4.25"
HxWxD: 1.75" x 11.18" x 4.25"
assembled weight: 3.12 lb
6 Likes
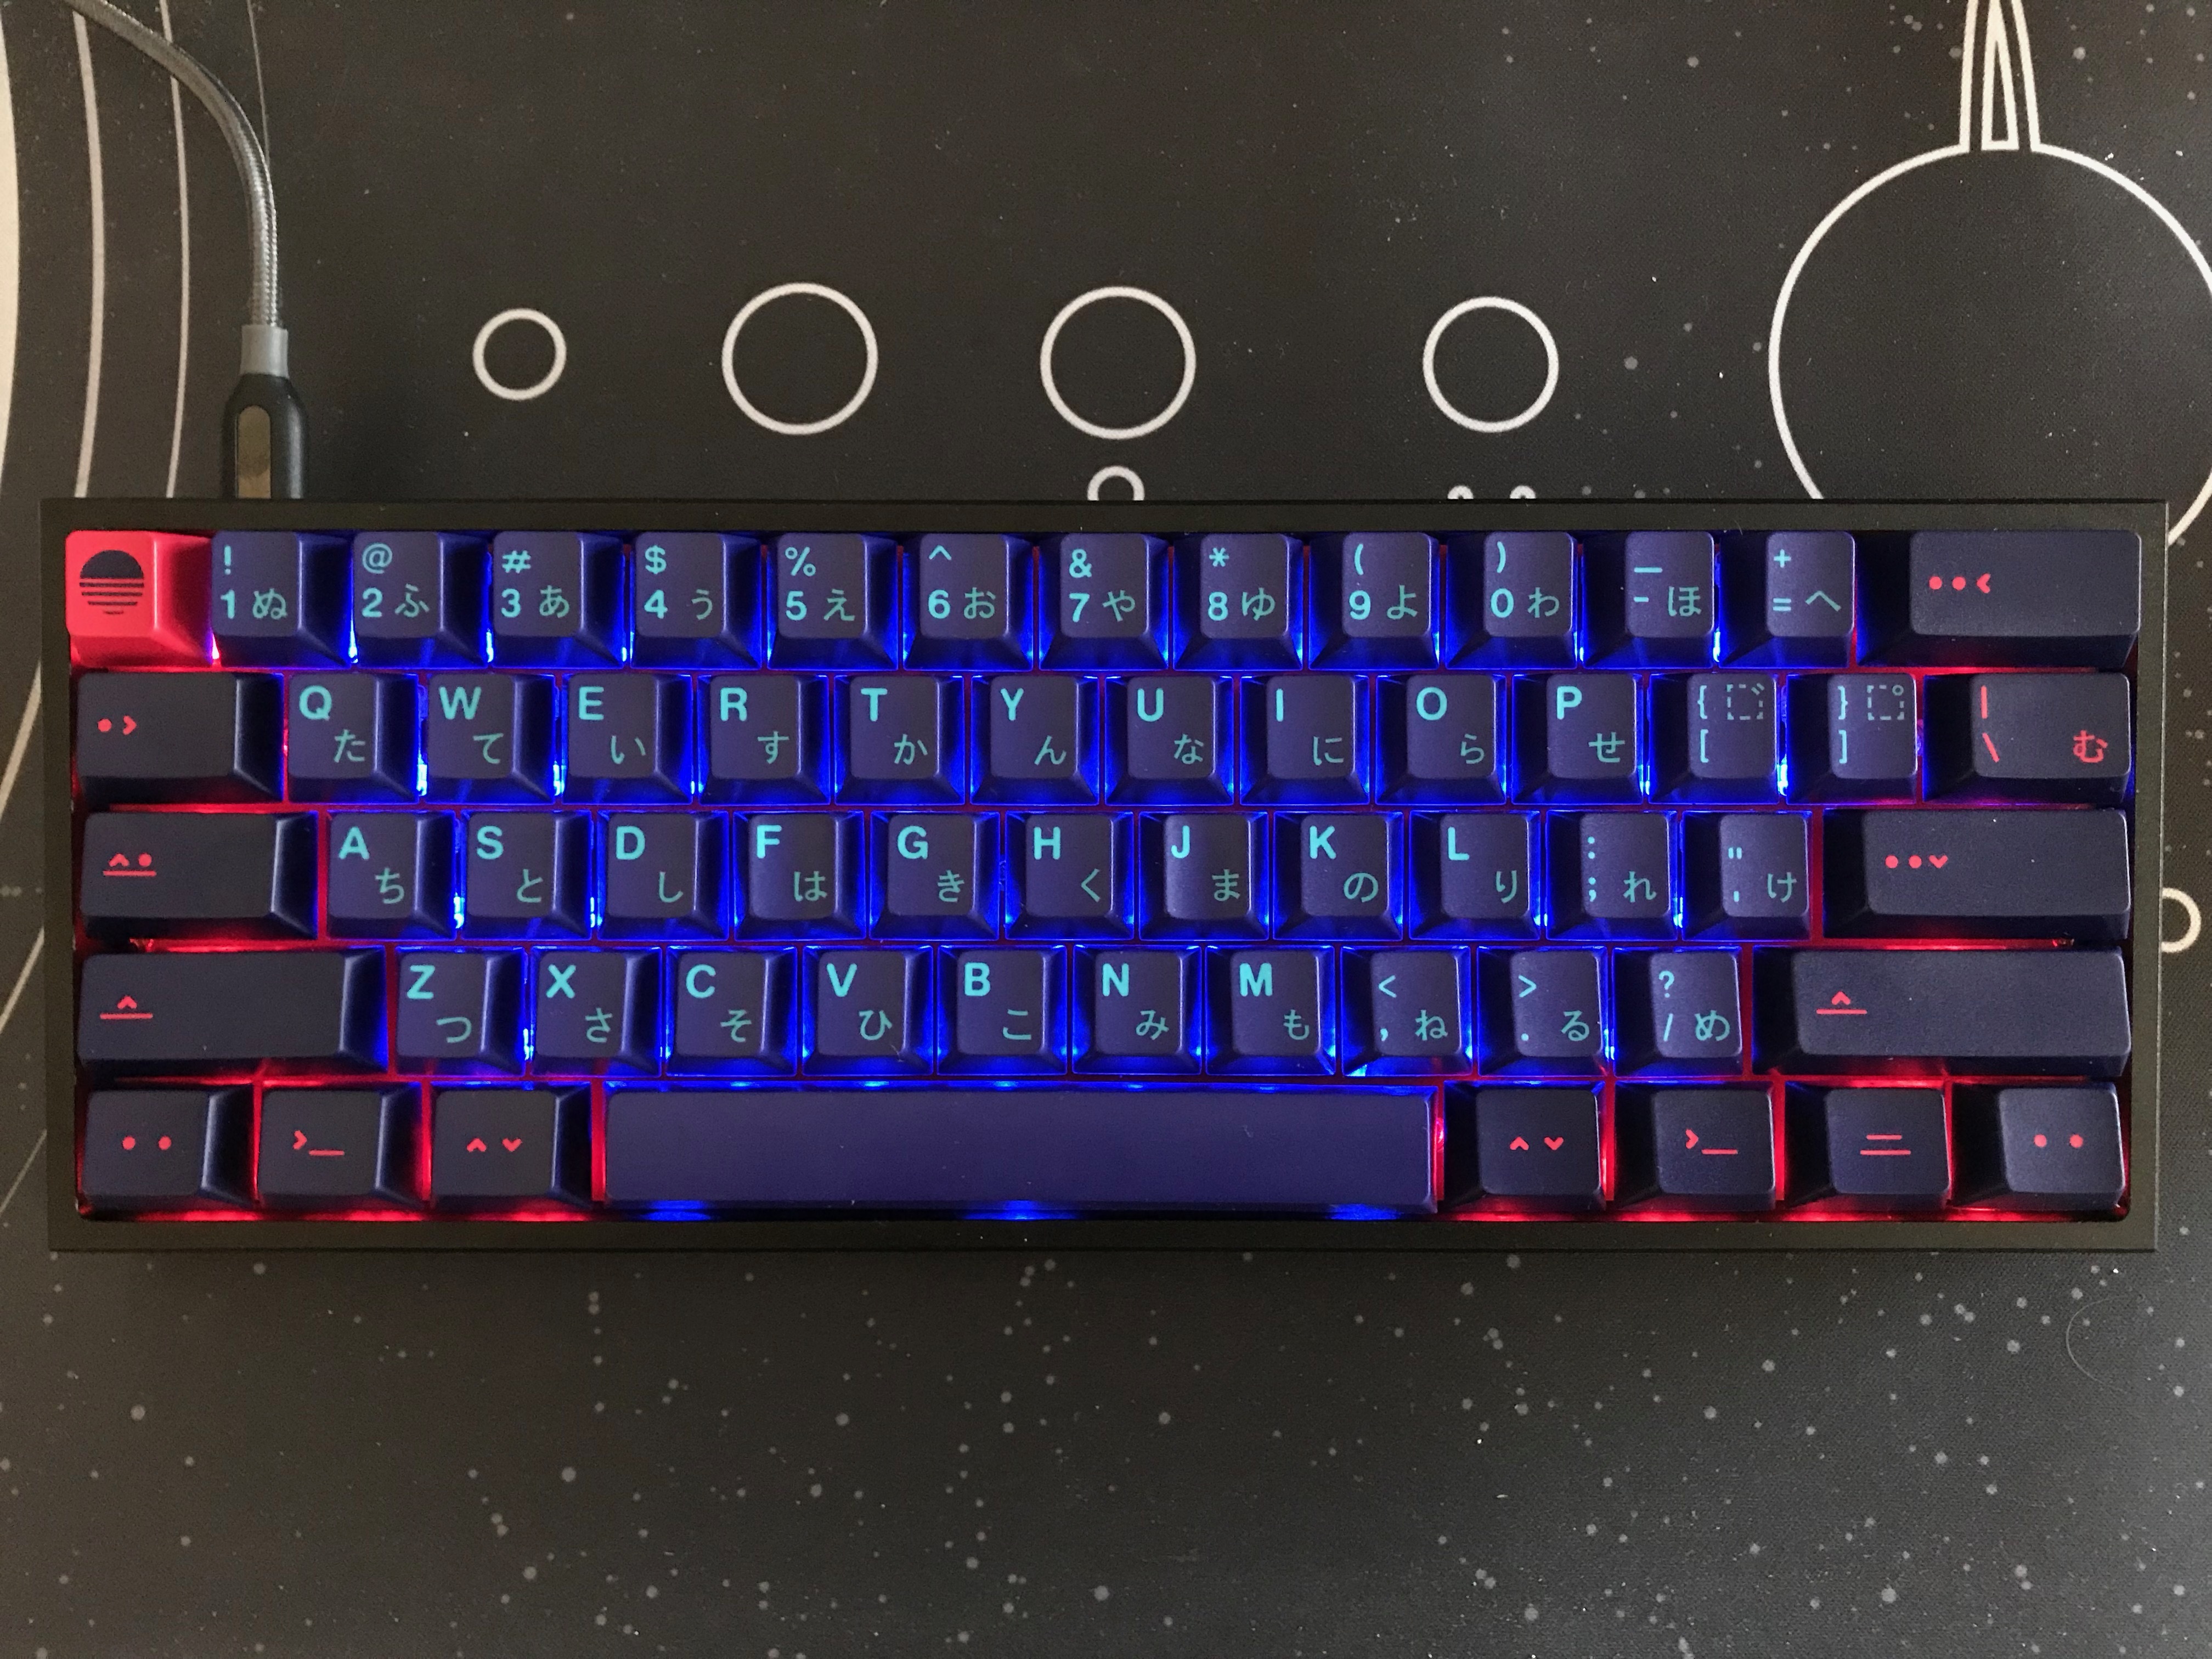
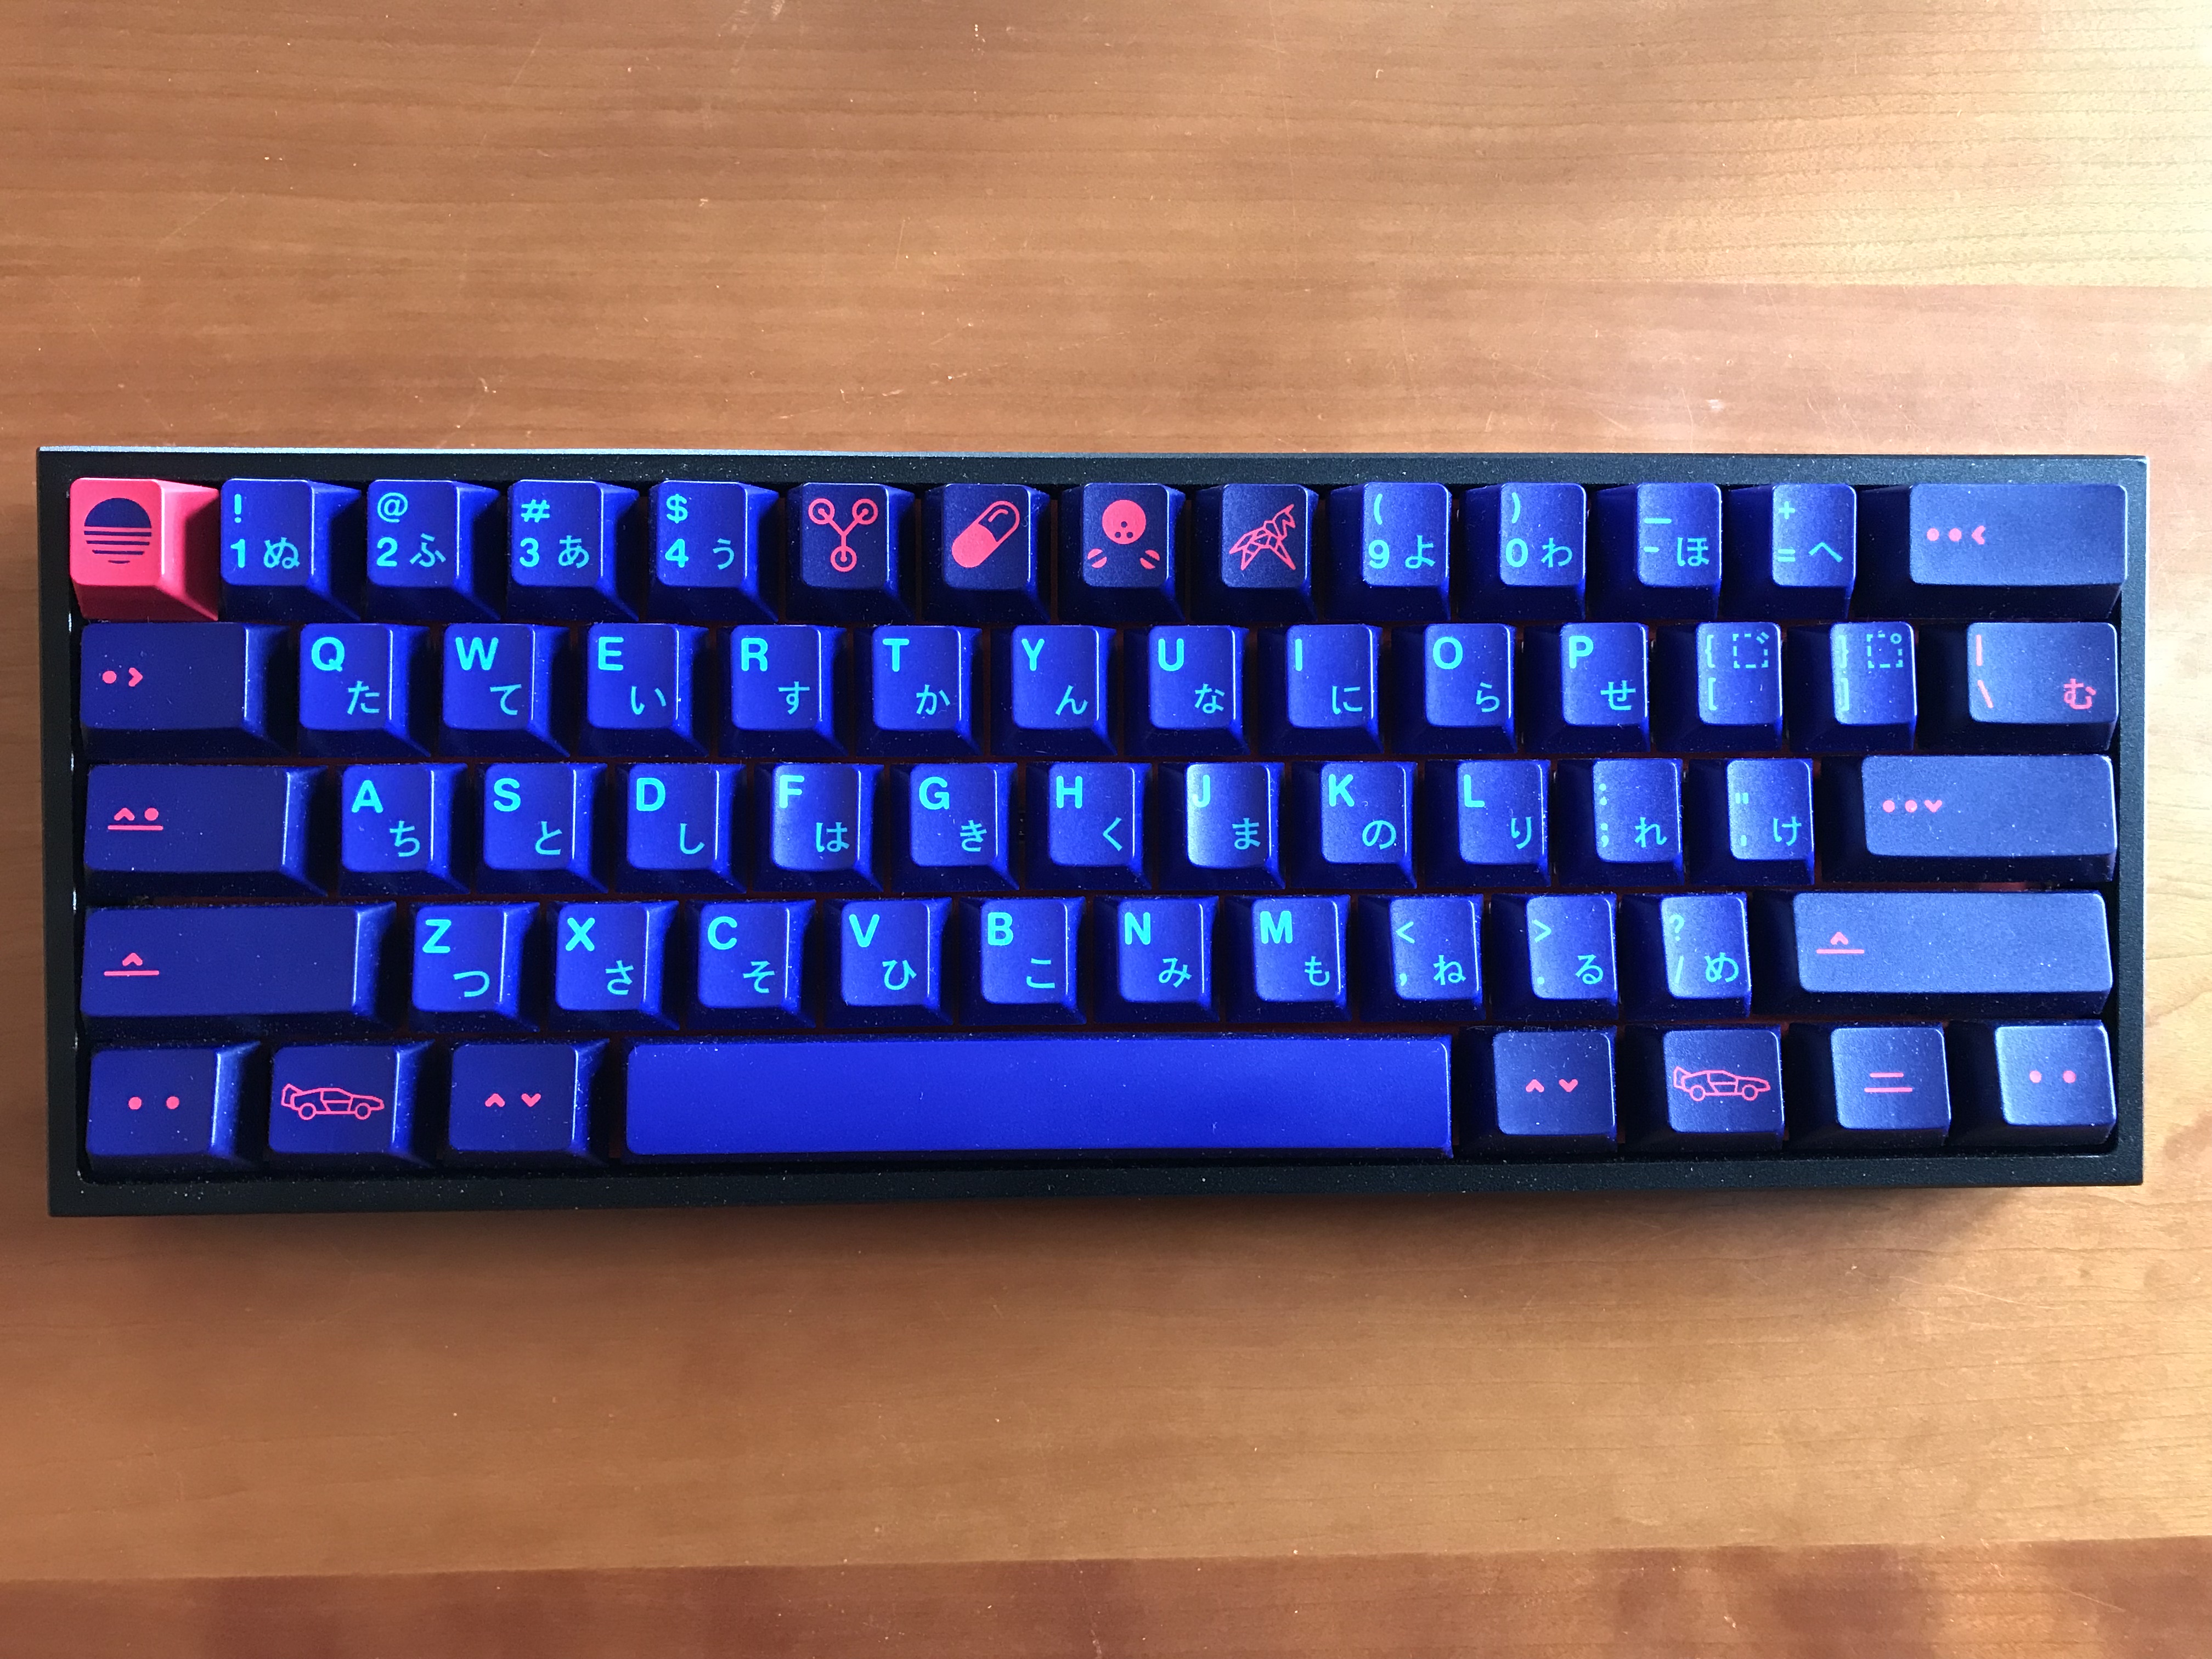
Build #22: Klippe+ Black/Blue (Laser Trio 2/3)
In the previous build log, we introduced the first member of the Laser Trio, a black Klippe+ with a red weight, red plate, and splashes of red from GMK Laser kits. With this build, I wanted to try out a slightly more visually subdued version of the same build, using a blue weight, blue plate, and the GMK Laser Kobe kit, and in keeping with that more subdued theme, I opted for 62g V2 Zilents. As with the previous build, the first task is switch lubing, and what can I say at this point that I haven’t already said? It’s switch lubing.
Waiting for the resolution to the Rama heatshrink mod cliffhanger? Let’s jump right in. In order to diagnose the problem, I repeated the heatshrink mod on this build, installed the stabs, soldered in switches, installed the PCB/plate sandwich into the case, and tested.
Sure enough, the same sluggish, sticky behavior. Why? And why did I build the entire board to test this problem, when I could have just installed the stabs on an empty PCB and tested right then? Sometimes a time machine would be handy.
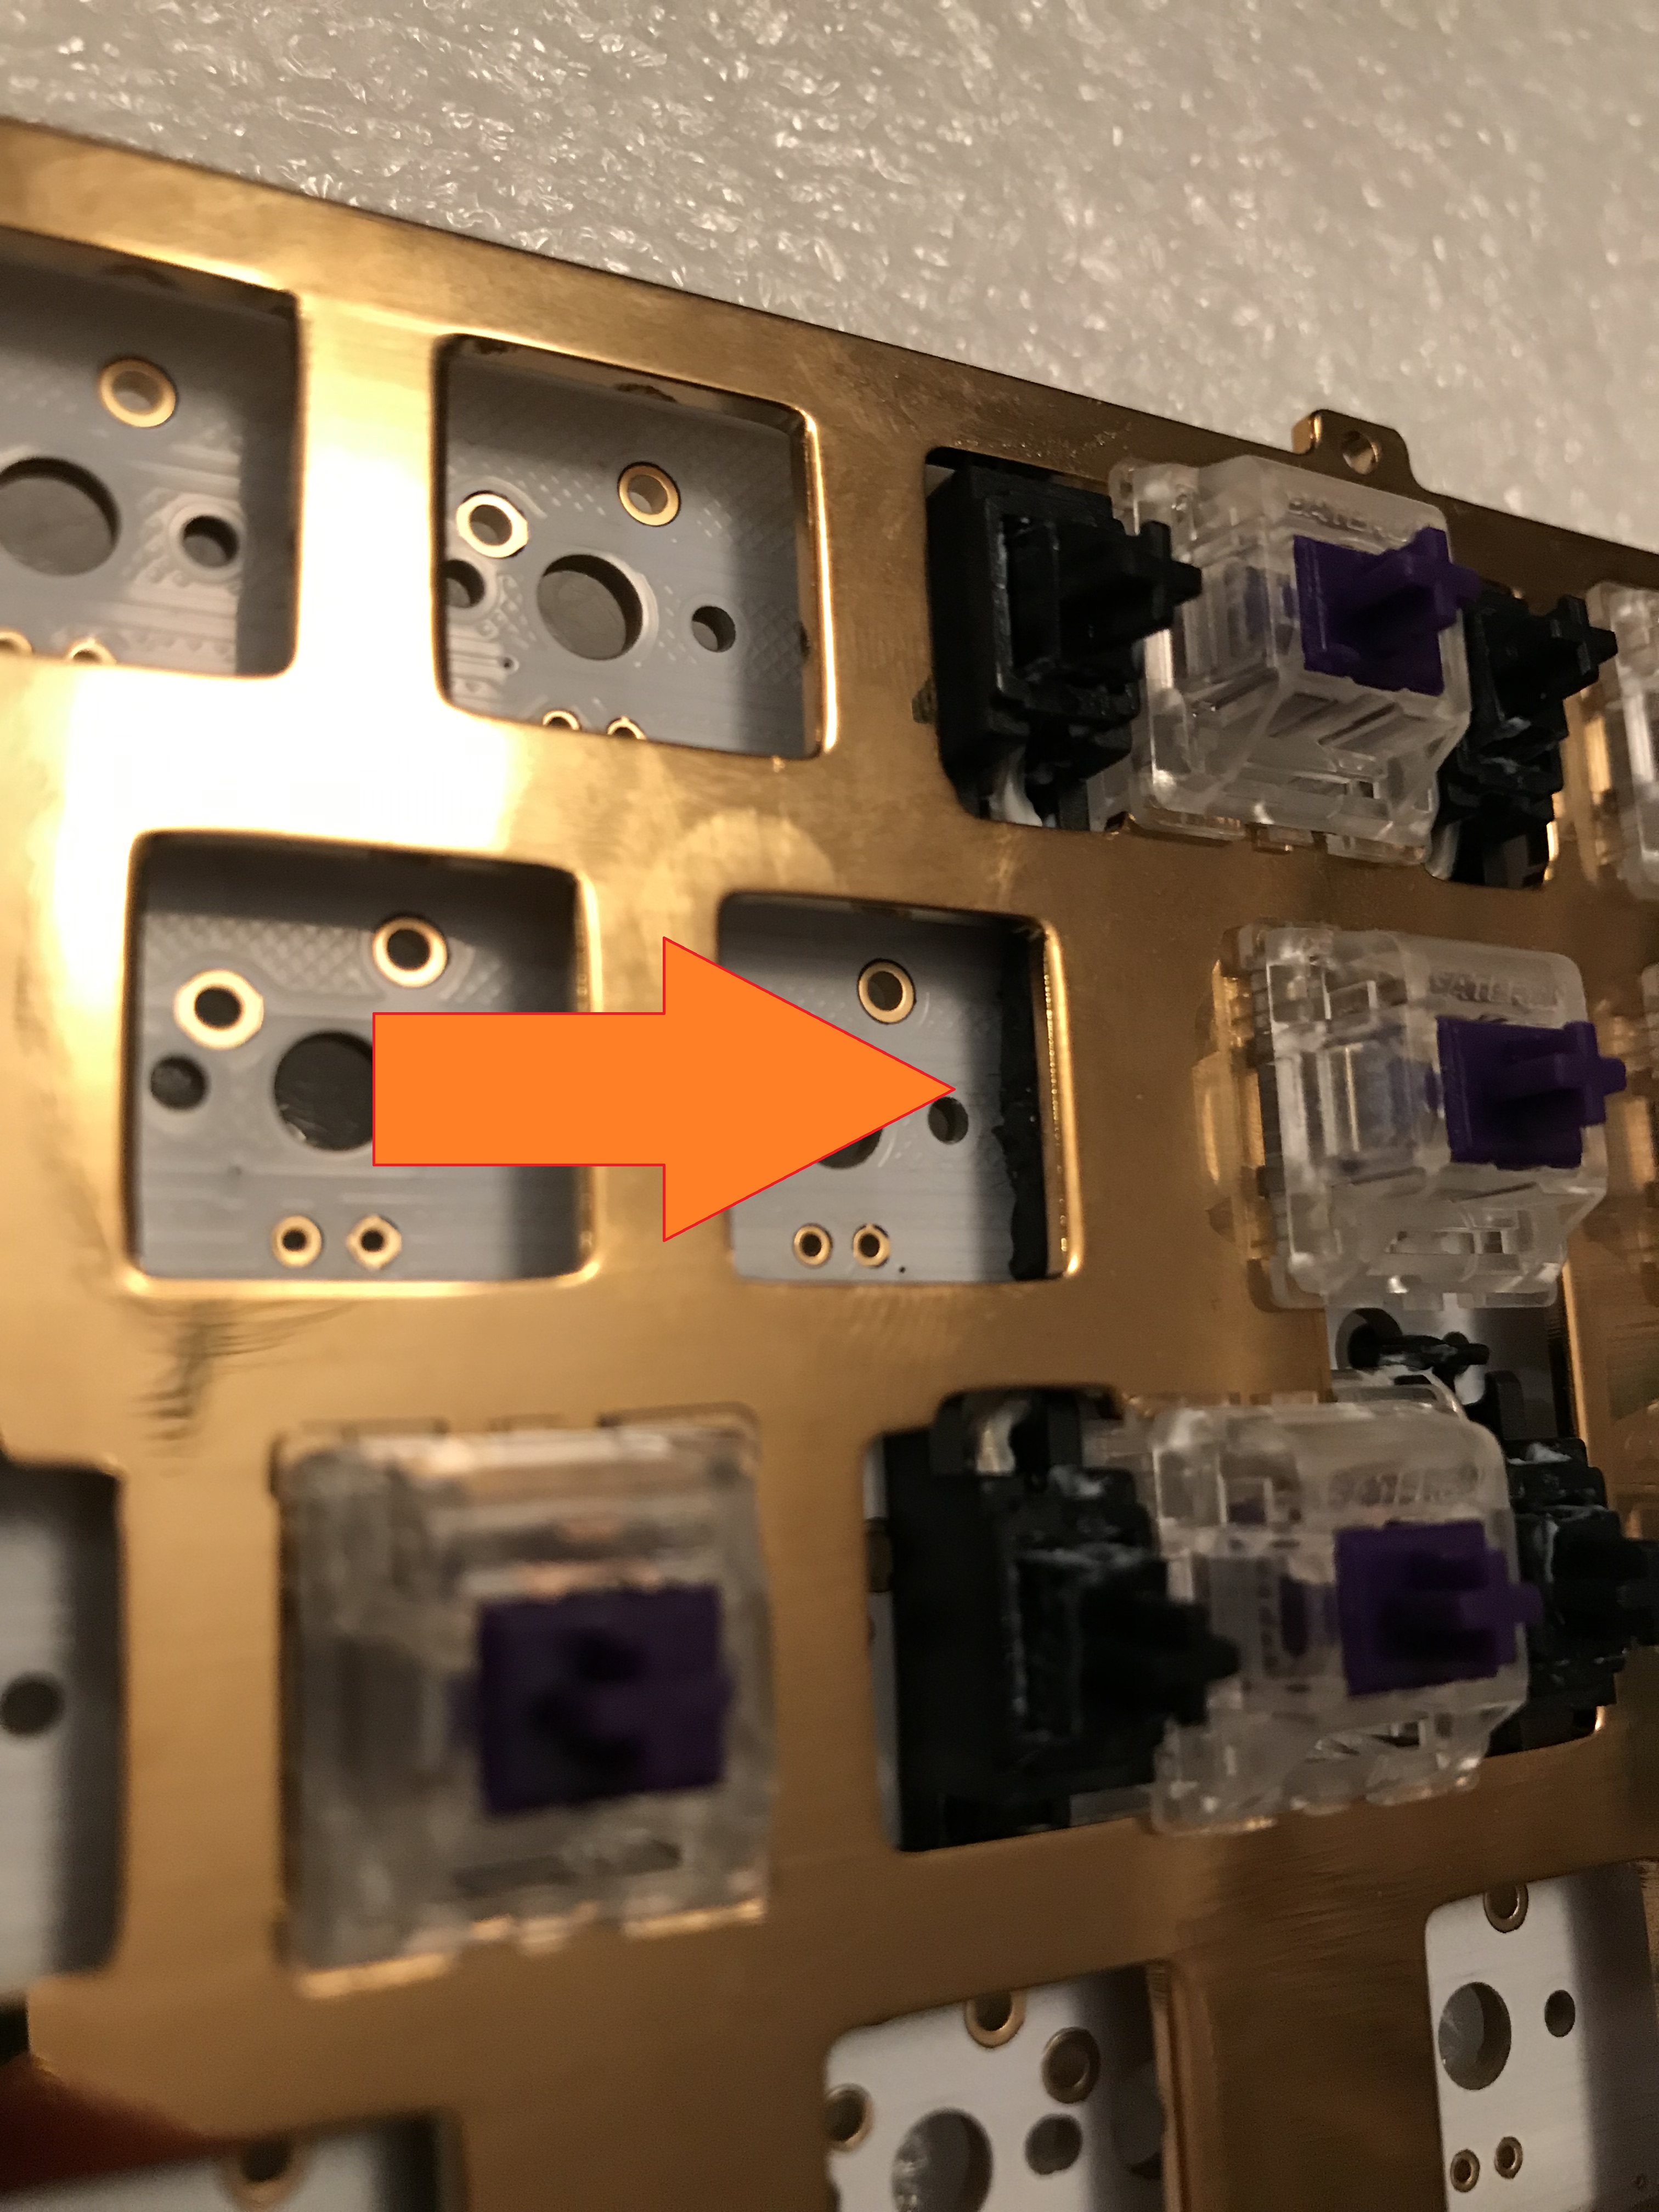
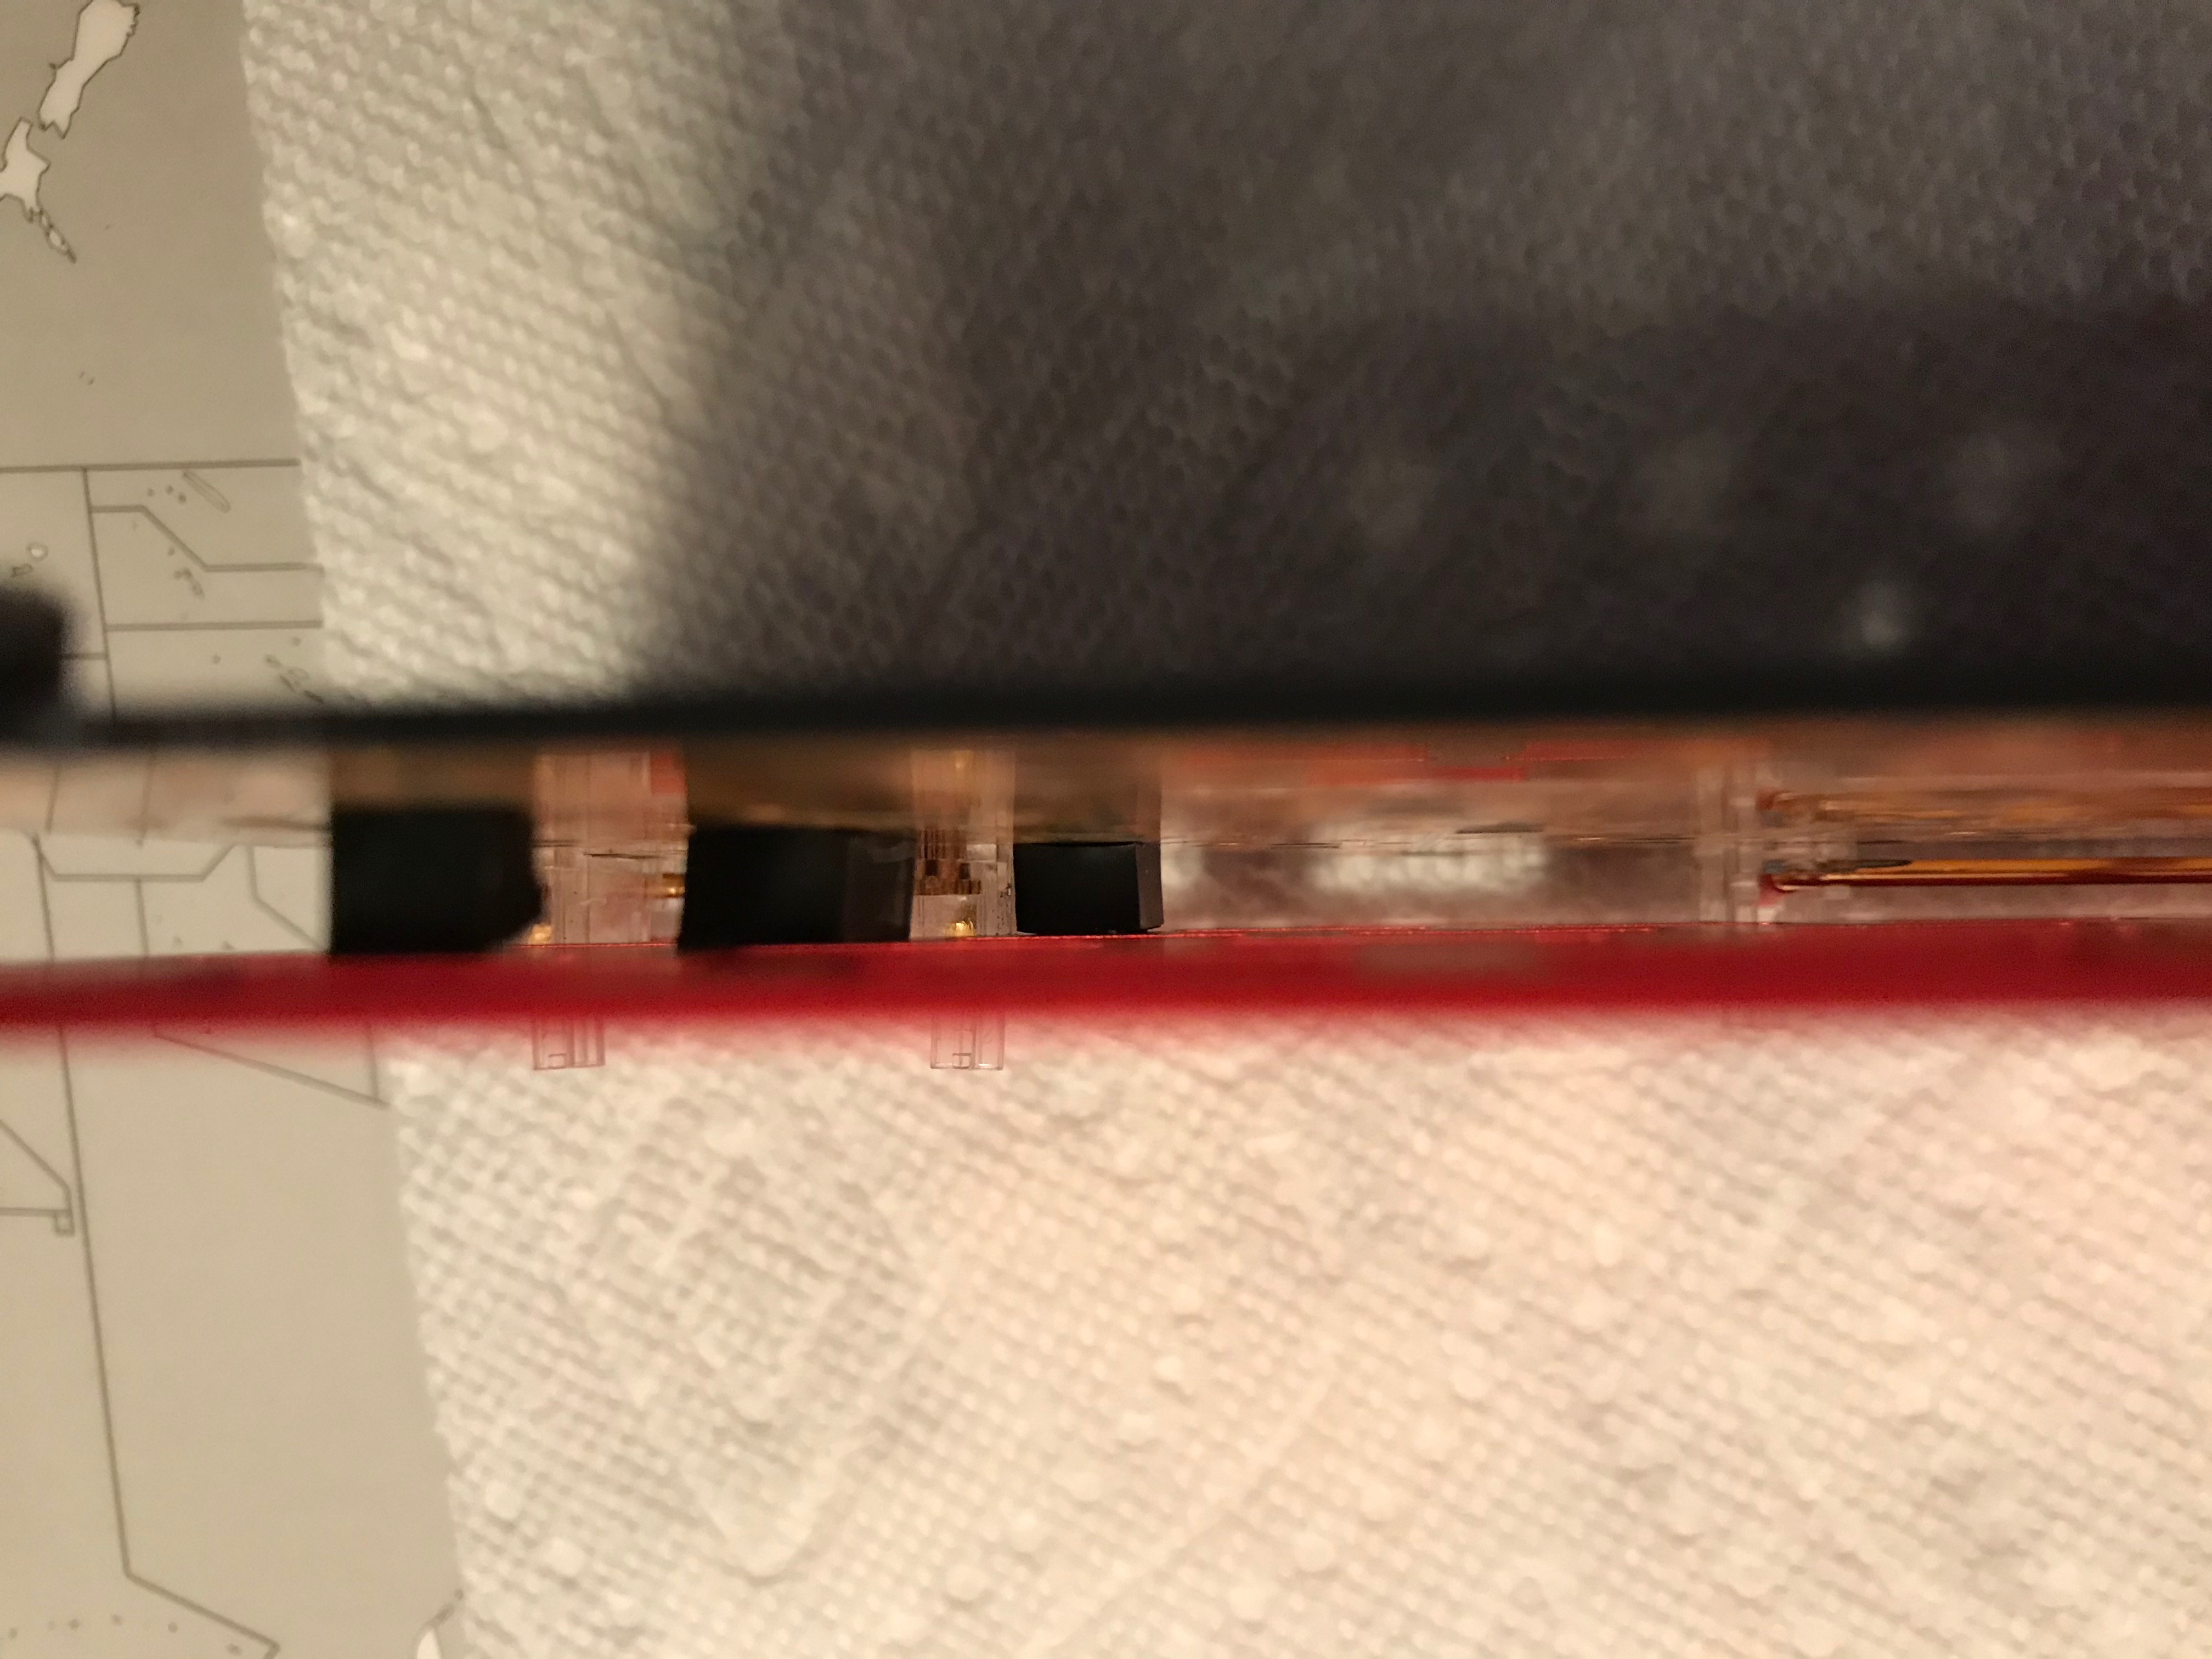
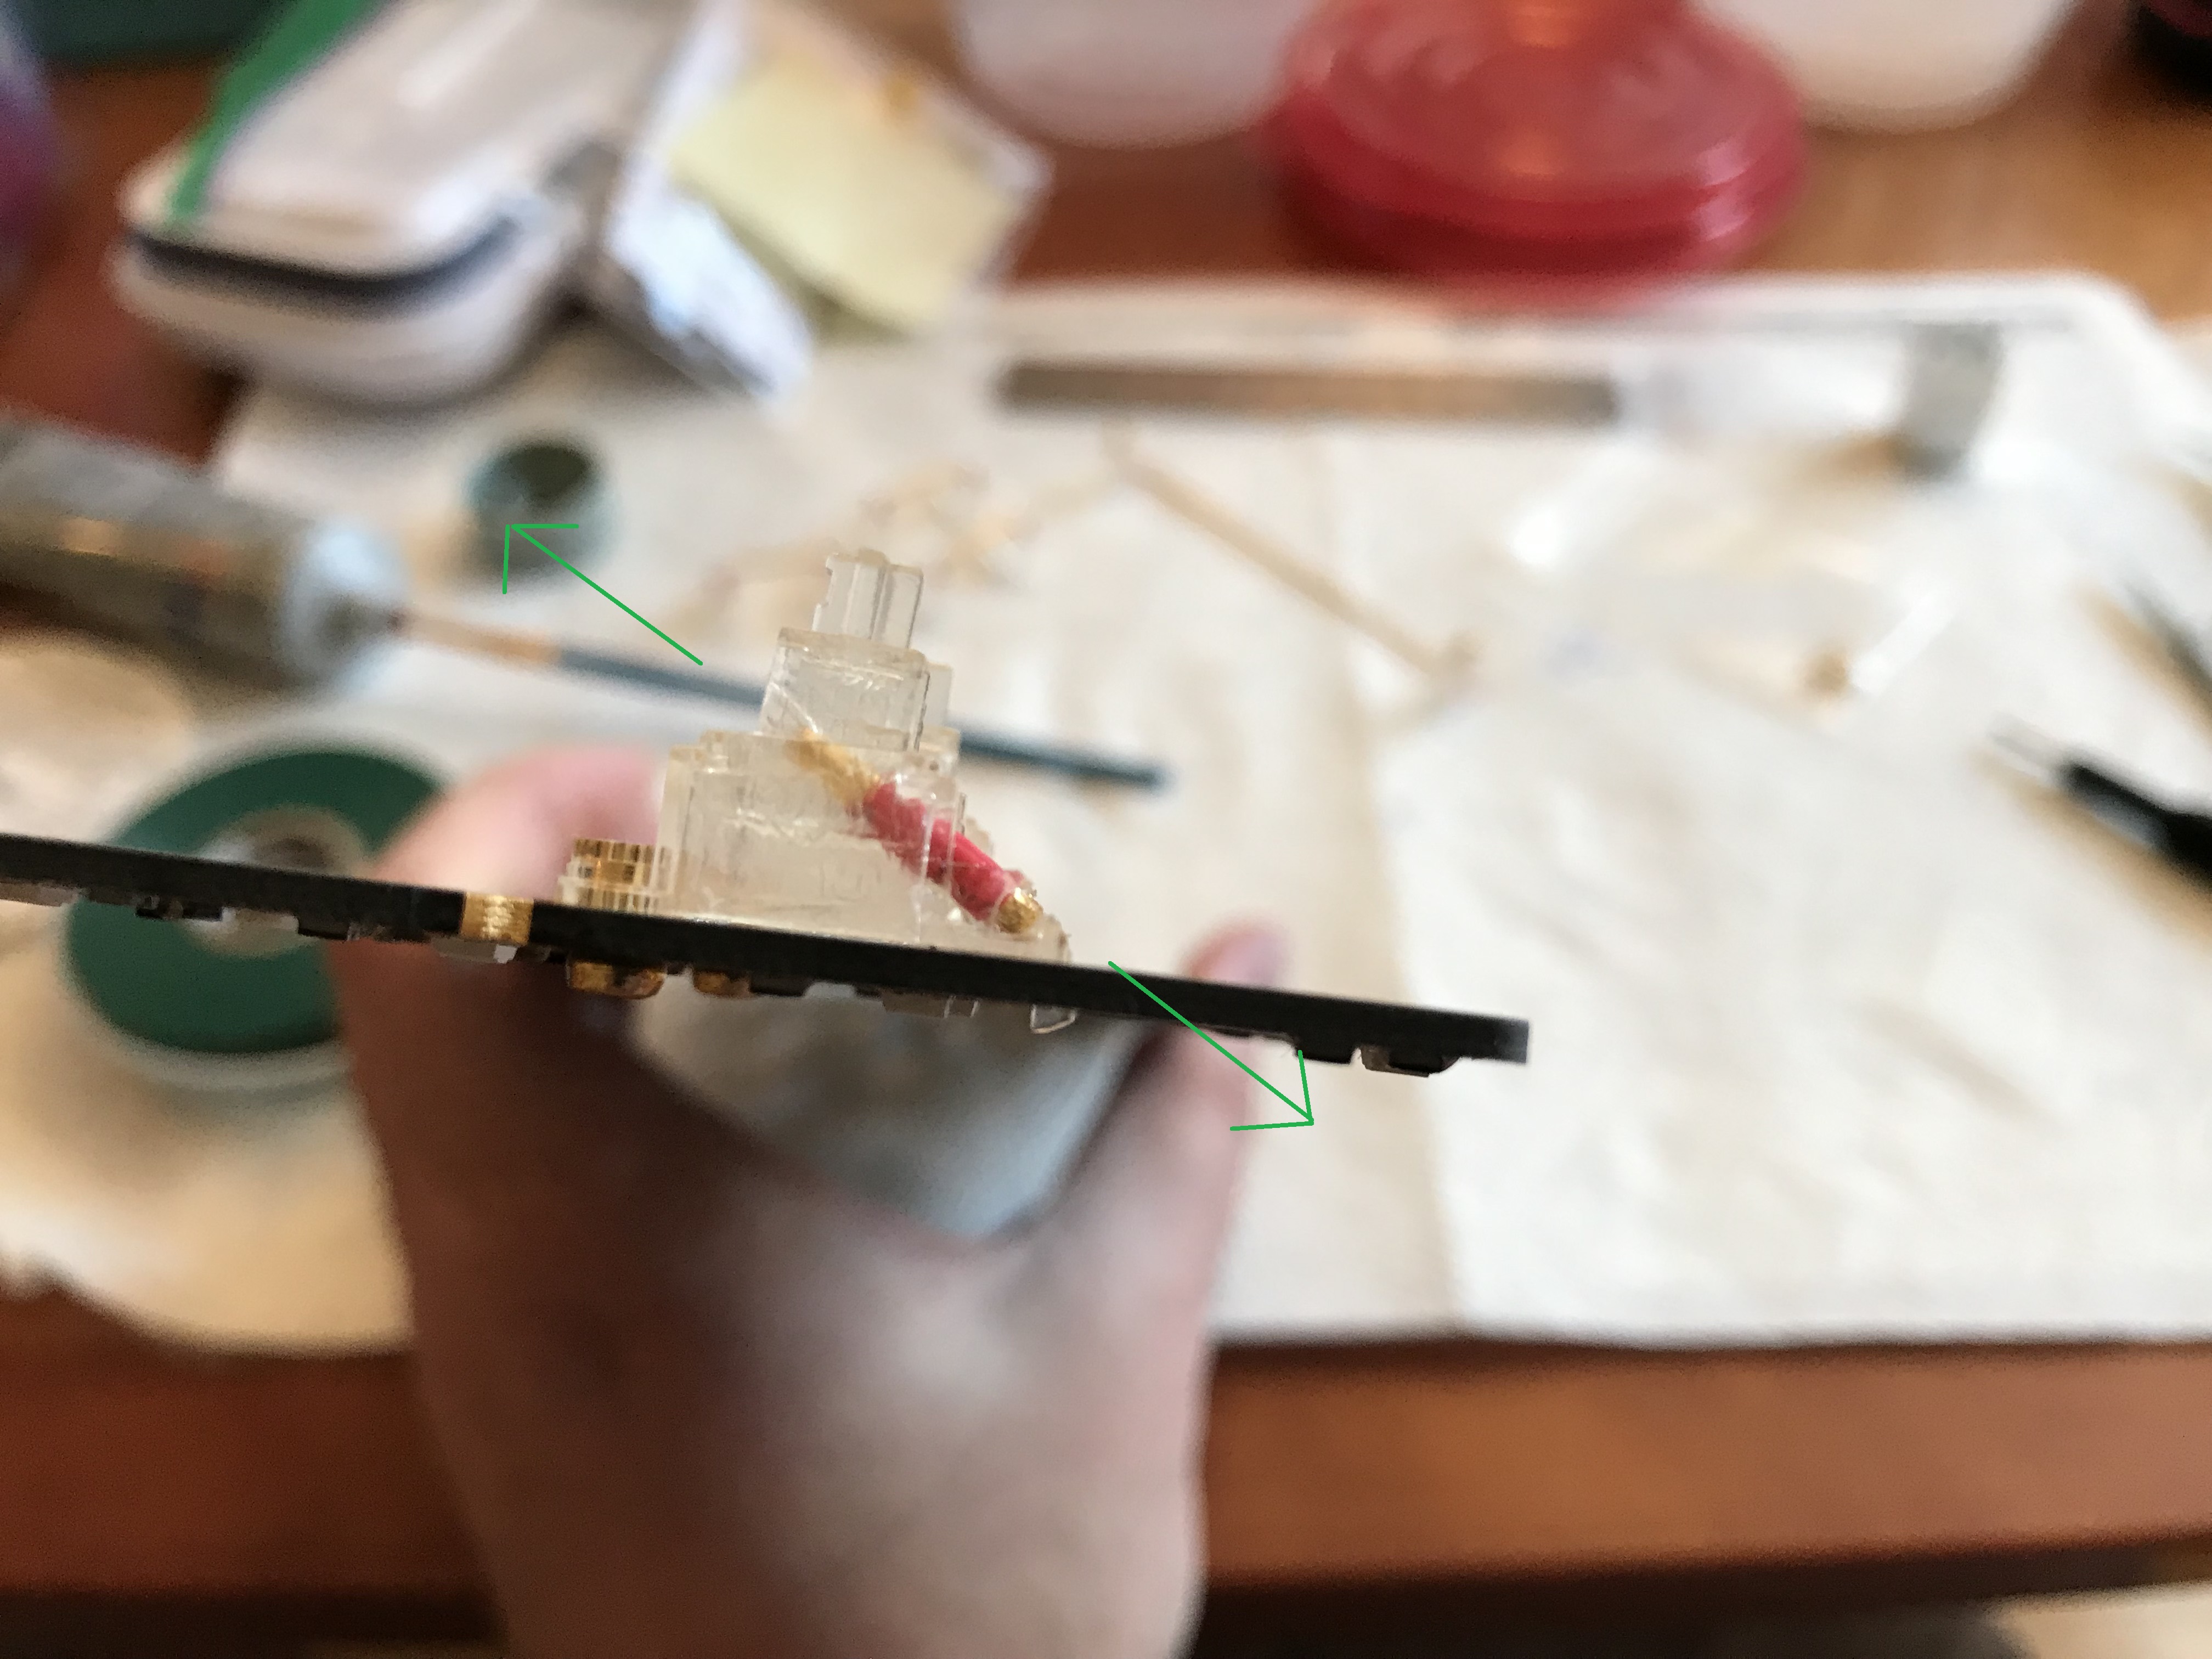
I have no answer to the latter question, but at least I have one for the former. Zeal stab wires are gold plated, and aside from the bling factor, another attribute of that plating is that it is smooth, noticeably more so than GMK stab wires. While you can apply heatshrink to these gold plated stab wires, eventually the heatshrink tube will loosen, and begin to move back and forth along the end of those smooth stab wires (the green arrows below illustrate the direction of movement). At some point, when the tube slides to the end of the wire, the tolerances inside the housing are tight enough that the tubing catches on the housing when the stabilizer stem moves, creating the sticky behavior.
I can imagine several potential solutions to this problem (use different wires or stabilizers, try tighter heatshrink, use epoxy to bond the tubing into place), but given that Zeal stabs are generally high quality stabs, I felt the best approach was a retreat from the Rama mod: desolder the board, unscrew and remove the stabs, remove the heatshrink from the stabs, relube, and try again. This did the trick. Thank goodness for desoldering guns.
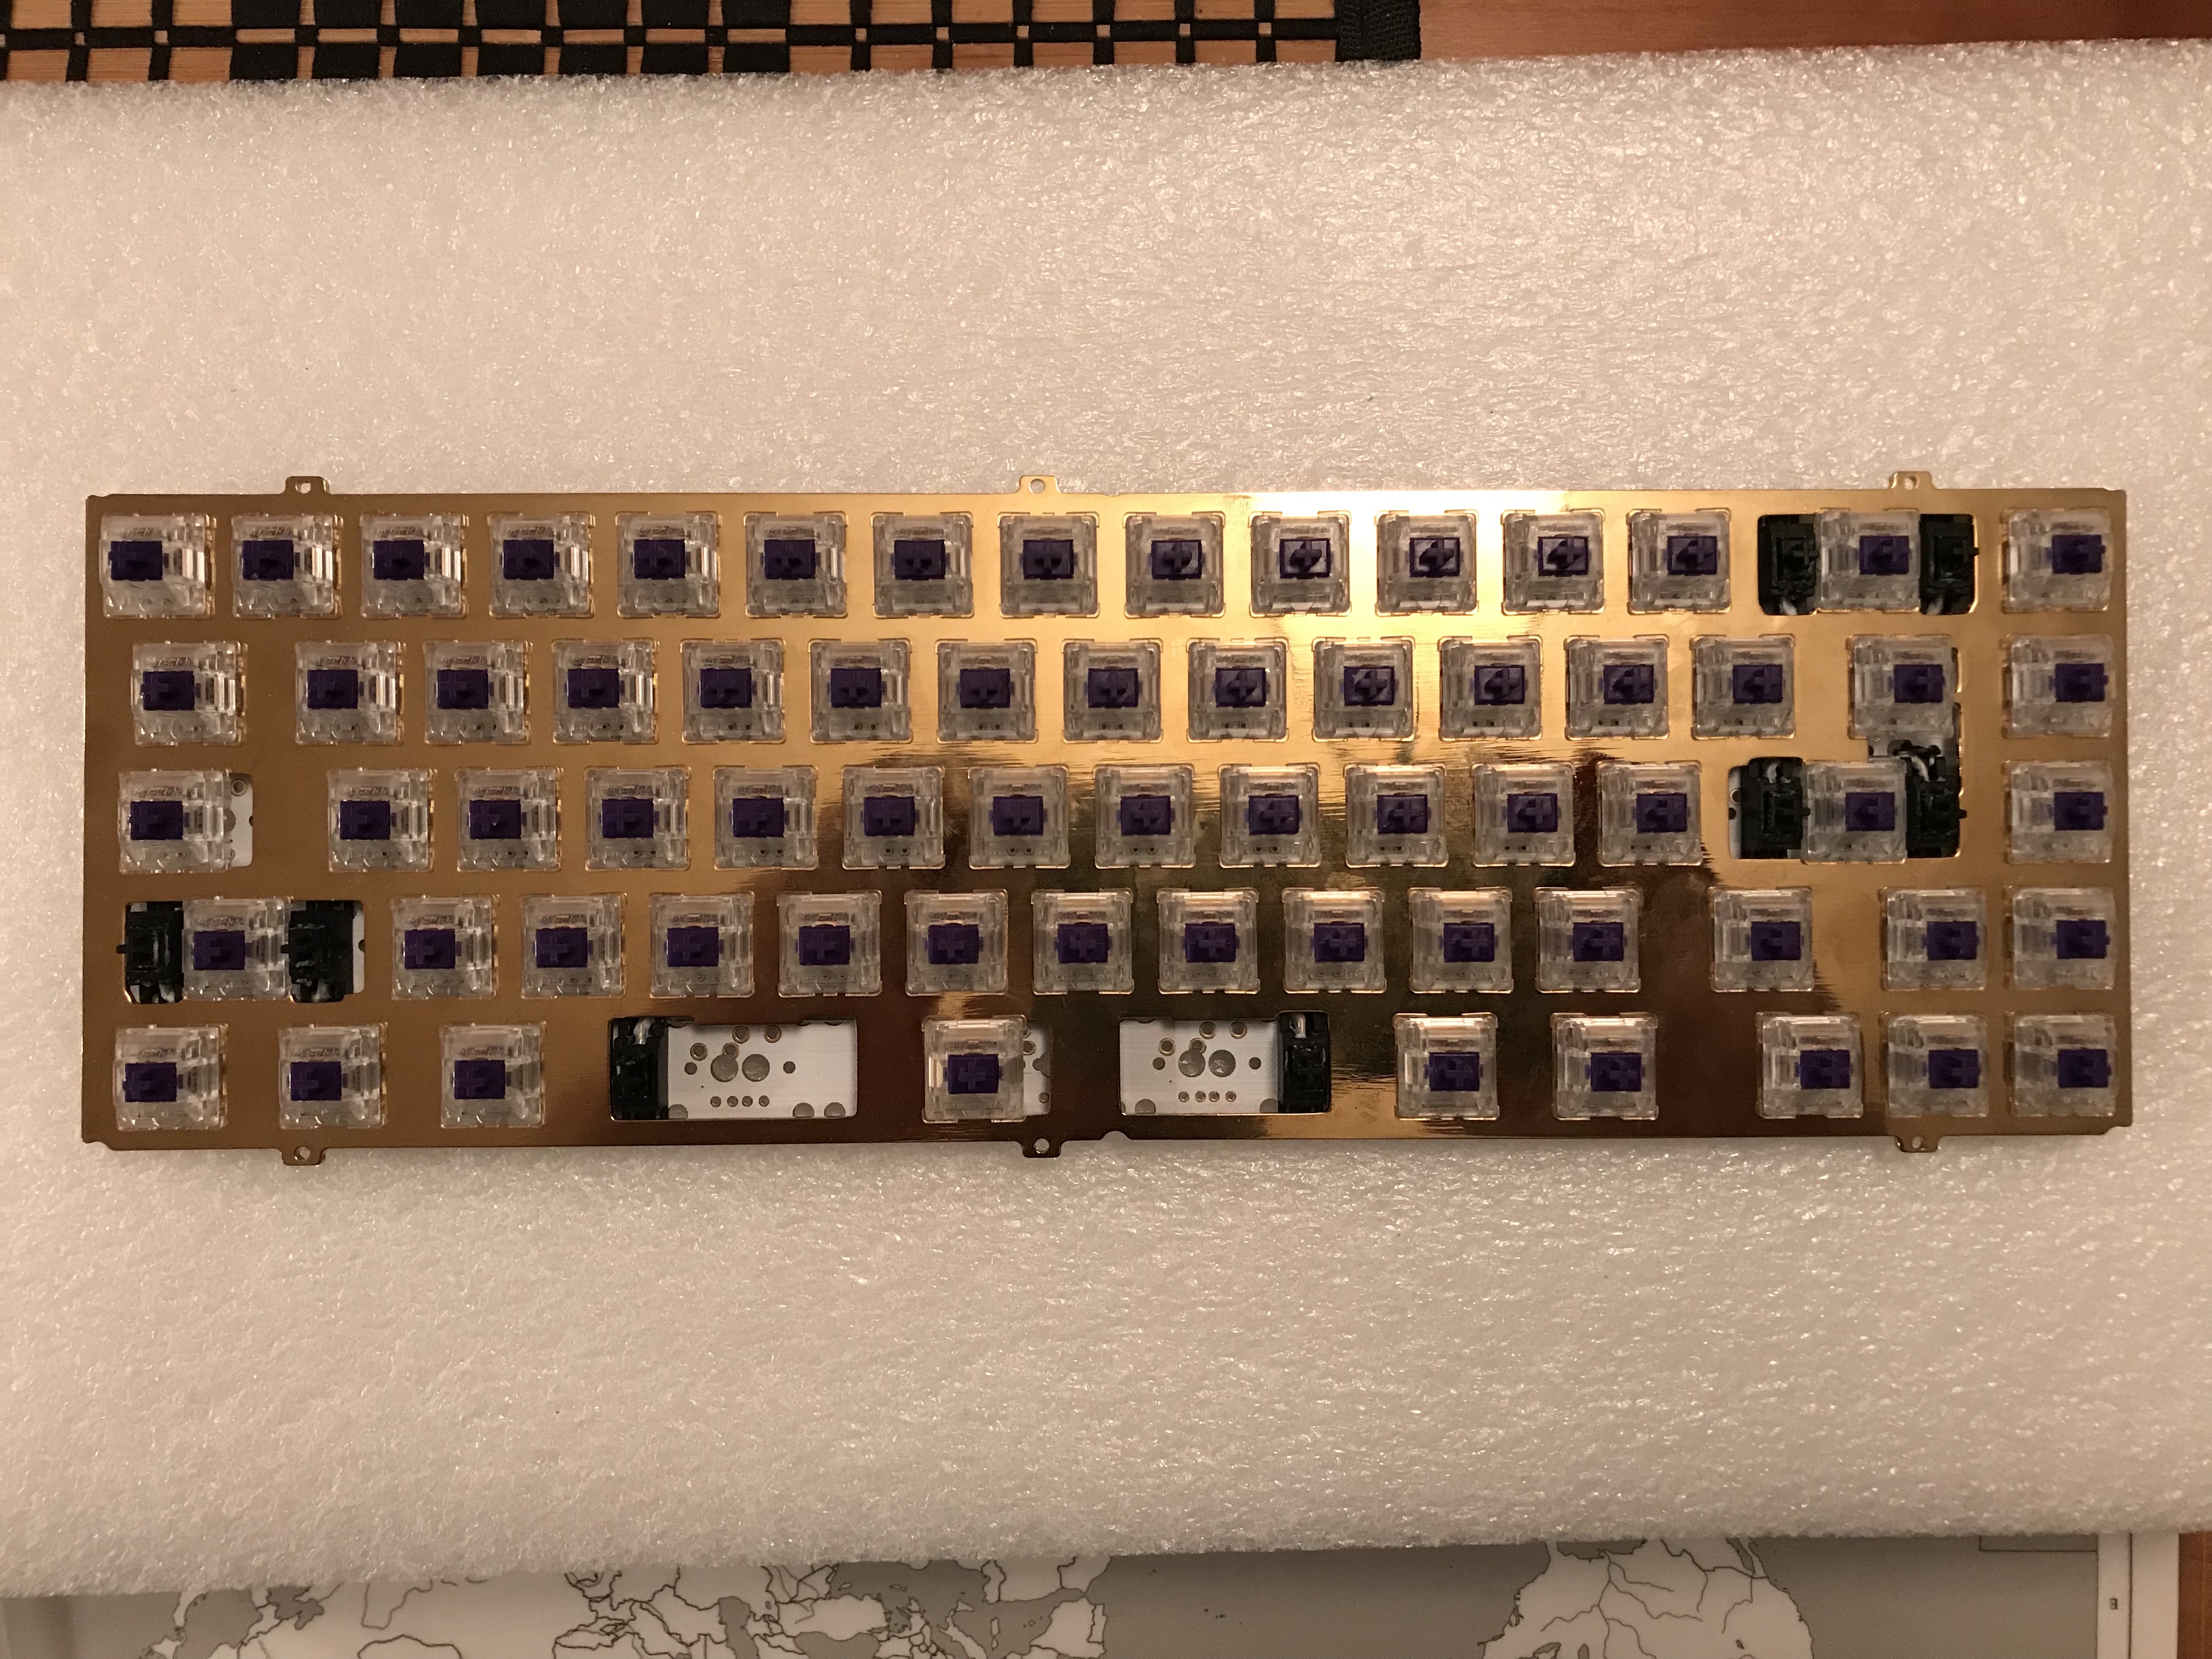
With that solution in place, the build went quickly from there, perhaps my fastest build up to that point (ignoring, of course, the entire desoldering that just took place, for this build AND for the previous build, to fix the stab problem. Sigh). Here, I’ve installed a few switches to get the plate and PCB lined up.
This was also one of my earliest attempts using the @donpark Sorbothane strut mod, in which small Sorbothane pieces are inserted into the gaps between switches through plate cutouts, before all of the switches have been installed. Here’s a side view of one such Sorbothane piece.
YMMV, but I think the blue plate and light blue Zilent stems work well here. As with the previous build, to facilitate direct comparison of sound and feel, I used a Sorbothane sheet between the PCB and case.
So, what do I think of this second member of the Laser Trio? It’s a fun board. In terms of sound, the Zilents have a bit of a “scratchy” sound that may not be to everyone’s taste, but there’s no question this board’s acoustics would be acceptable in a shared office environment. As far as switch feel goes, the 62g Zilents are a bit on the light side for me, but much more workable than the V1 Zilents with the same weight, where at times I felt that breathing on the keys was going to result in actuation. Exaggeration, of course, but yeah. Subjectively, the 62g V2 feels like something between a 65g and 67g V1.
Full disclosure: out of curiosity, I tried this build with and without the Sorbothane layer between the case and PCB, with and without a deskmat. While the best sound came from the combination of the Sorbothane case treatment and the use of a deskmat, the deskmat alone got 90% of the way there, eliminating the bulk of the metallic ping that resulted from using the untreated board on a hard wooden desk without the deskpad.
Lessons learned
- The Rama shrink-wrap mod doesn’t mix well with Zeal stabs - the tolerances are too tight and the wires are too smooth to prevent the shrink wrap from sliding and catching on the housing.
- Don’t try a new mod on two boards at the same time - if the mod proves unsuccessful, you’ll be undoing it twice.
- Don’t forget that the surface underneath the keyboard is part of the sonic equation - the presence or absence of a deskmat contributes significantly to the sound of a board.
- This was the first build in which I tried @donpark’s Sorbothane strut approach, and I’ve been using it since; it’s easier to get good plate/switch/PCB fit first, before installing Sorbothane.
- Take your time seating the PCB/plate sandwich in the Klippe+; it may initially look like you have it seated properly, but you’ll be able to tell otherwise since the screw holes won’t line up well with the PCB.
Specifications
case: Klippe+ (black case, blue weight)
case dampening: 0.1" 40 Duro Sorbothane sheet with cutouts
PCB: Zeal60 R4
plate: blue anodized aluminum
plate/PCB dampening: 0.25" 50 Duro Sorbothane, small squares
stabilizers: Zeal R2 transparent (1x6.25u, 4x2u)
stabilizer mods: lubed with SuperLube
switches: 62g V2 Zilents
switch mods:
- springs tub-lubed with Krytox GPL 104
- housings and stems hand-lubed with Tribosys 3204
keycaps: GMK Laser
- Kobe, Blocknet
HxWxD (without caps): 1.38" x 11.18" x 4.25"
HxWxD: 1.75" x 11.18" x 4.25"
assembled weight: 3.17 lb
5 Likes
FYI, I’m now using plate paddings from https://mkultra.click/ on all of my boards. While the Sorbothane ‘strut’ hack only improved the feel, plate paddings improved the sound as well. I think it’ll eventually become a ‘must’, like plates. Highly recommended.
3 Likes
Oooh, interesting. This might be a personal preference thing - both when I was installing the Sorbothane between the PCB and plate the “hard way”, and when I install it with your approach, I definitely hear a sound improvement. Specifically, the high frequency “ping” from plate impact is largely to completely attenuated with Sorbo, and that yields a deeper bassy sound which I prefer.
With that said, I’ve got a couple mkultra plate pads waiting on builds. Maybe I should think about doing an A/B comparison with a focus on sound…
1 Like
As always, a very pleasant read and I can’t wait for part three of this trilogy!
For PCB/plate dampening I’ve been going to my local hobby store and picking up some foam sheets. They’re about 2mm thick so if you adhere 2 of them together you get a pretty good fit between the plate and PCB.
It’s a bit cheap but it works well enough. Here’s what it looks like for my Rocketeer I’m working on.
Hmm thought I had a pic before I mounted it but I basically cut out the whole row. So the keys aren’t totally isolated but at least each row is.
2 Likes
Thanks for sharing this! I have some of that foam leftover from the kbd67 Jamon build, never occurred to me to try it for PCB/plate dampening. More experiments!
Build #23: Norbatouch Pi Astrophysical Purple (Laser Trio 3/3)
For the last of the Laser Trio, I’ve had a specific build in mind for a while - a pairing of GMK Laser with a Norbatouch, in the Astrophysical Purple finish. Certainly not a novel idea; even a brief bit of googling will reveal other builds with this exact pairing. Still, the reds and blues of Laser and that powder-coated purple just make sense to me, and I wanted to see it in real life.
For this build, I used a CoolerMaster MasterKeys Pro S as the donor, and I’ve covered the build process for combining a MasterKeys Pro S and a Norbatouch Pi in exhaustive detail, so this log will be comparatively brief. Here we see the donor board with keycaps removed.
And here, we see the plate/PCB assembly.

As with the previous Norbatouch Pi build, we desolder the existing switches (in this case, Cherry Reds), remove the OEM stabs and replace them with clipped, lubed, and O-ring modded GMK plate stabs, solder in new lubed switches (62g Sakurios), and install Sorbothane struts between the plate and PCB. The result of all this work may not look radically different, but the feel and sound is another matter entirely. Smooth…
And, following our previous approach, we wrap pieces of Sorbothane in gaffer tape and place those between the PCB and the case before screwing the case halves together. With that done, we get our first look at the board, sans keycaps:
The MasterKeys Pro S PCB has north-facing LEDs, and we’ll be using GMK keycaps, so we need to apply washers to clean up the sound on rows 2 and 3 (the Tab and CapsLock rows). In this case, we’re using washers from NovelKeys, which means we need two washers per key. Here, you can see the installed washers on the H key. These washers are very thin, and tend to cling together - it’s easy to think you’ve installed two washers, and later realize you’ve installed one or three.
Lessons learned
- I’ve mentioned it before, but I really like the O-ring mod on plate mount stabs; it’s very hard to distinguish the sound of stabilized keys from regular keys with this mod in place.
- I have a strong preference for tactile switches, but the lubed Sakurios are really smooth and pleasant to use, and I’m finding the lighter 62g weight more enjoyable than I was expecting. Coupled with the thock that the Norbatouch Pi and the Sorbothane contribute, this might well be the first linear board I enjoy using.
- Christo 111 works just as well on plate-mount stabs as it does screw-in stabs.
- Don’t forget to use washers on PCBs with north-facing LEDs and GMK caps. Once you hear the caps hitting the switch housings, you won’t be able to unhear it, and washers get most if not all of the sound back.
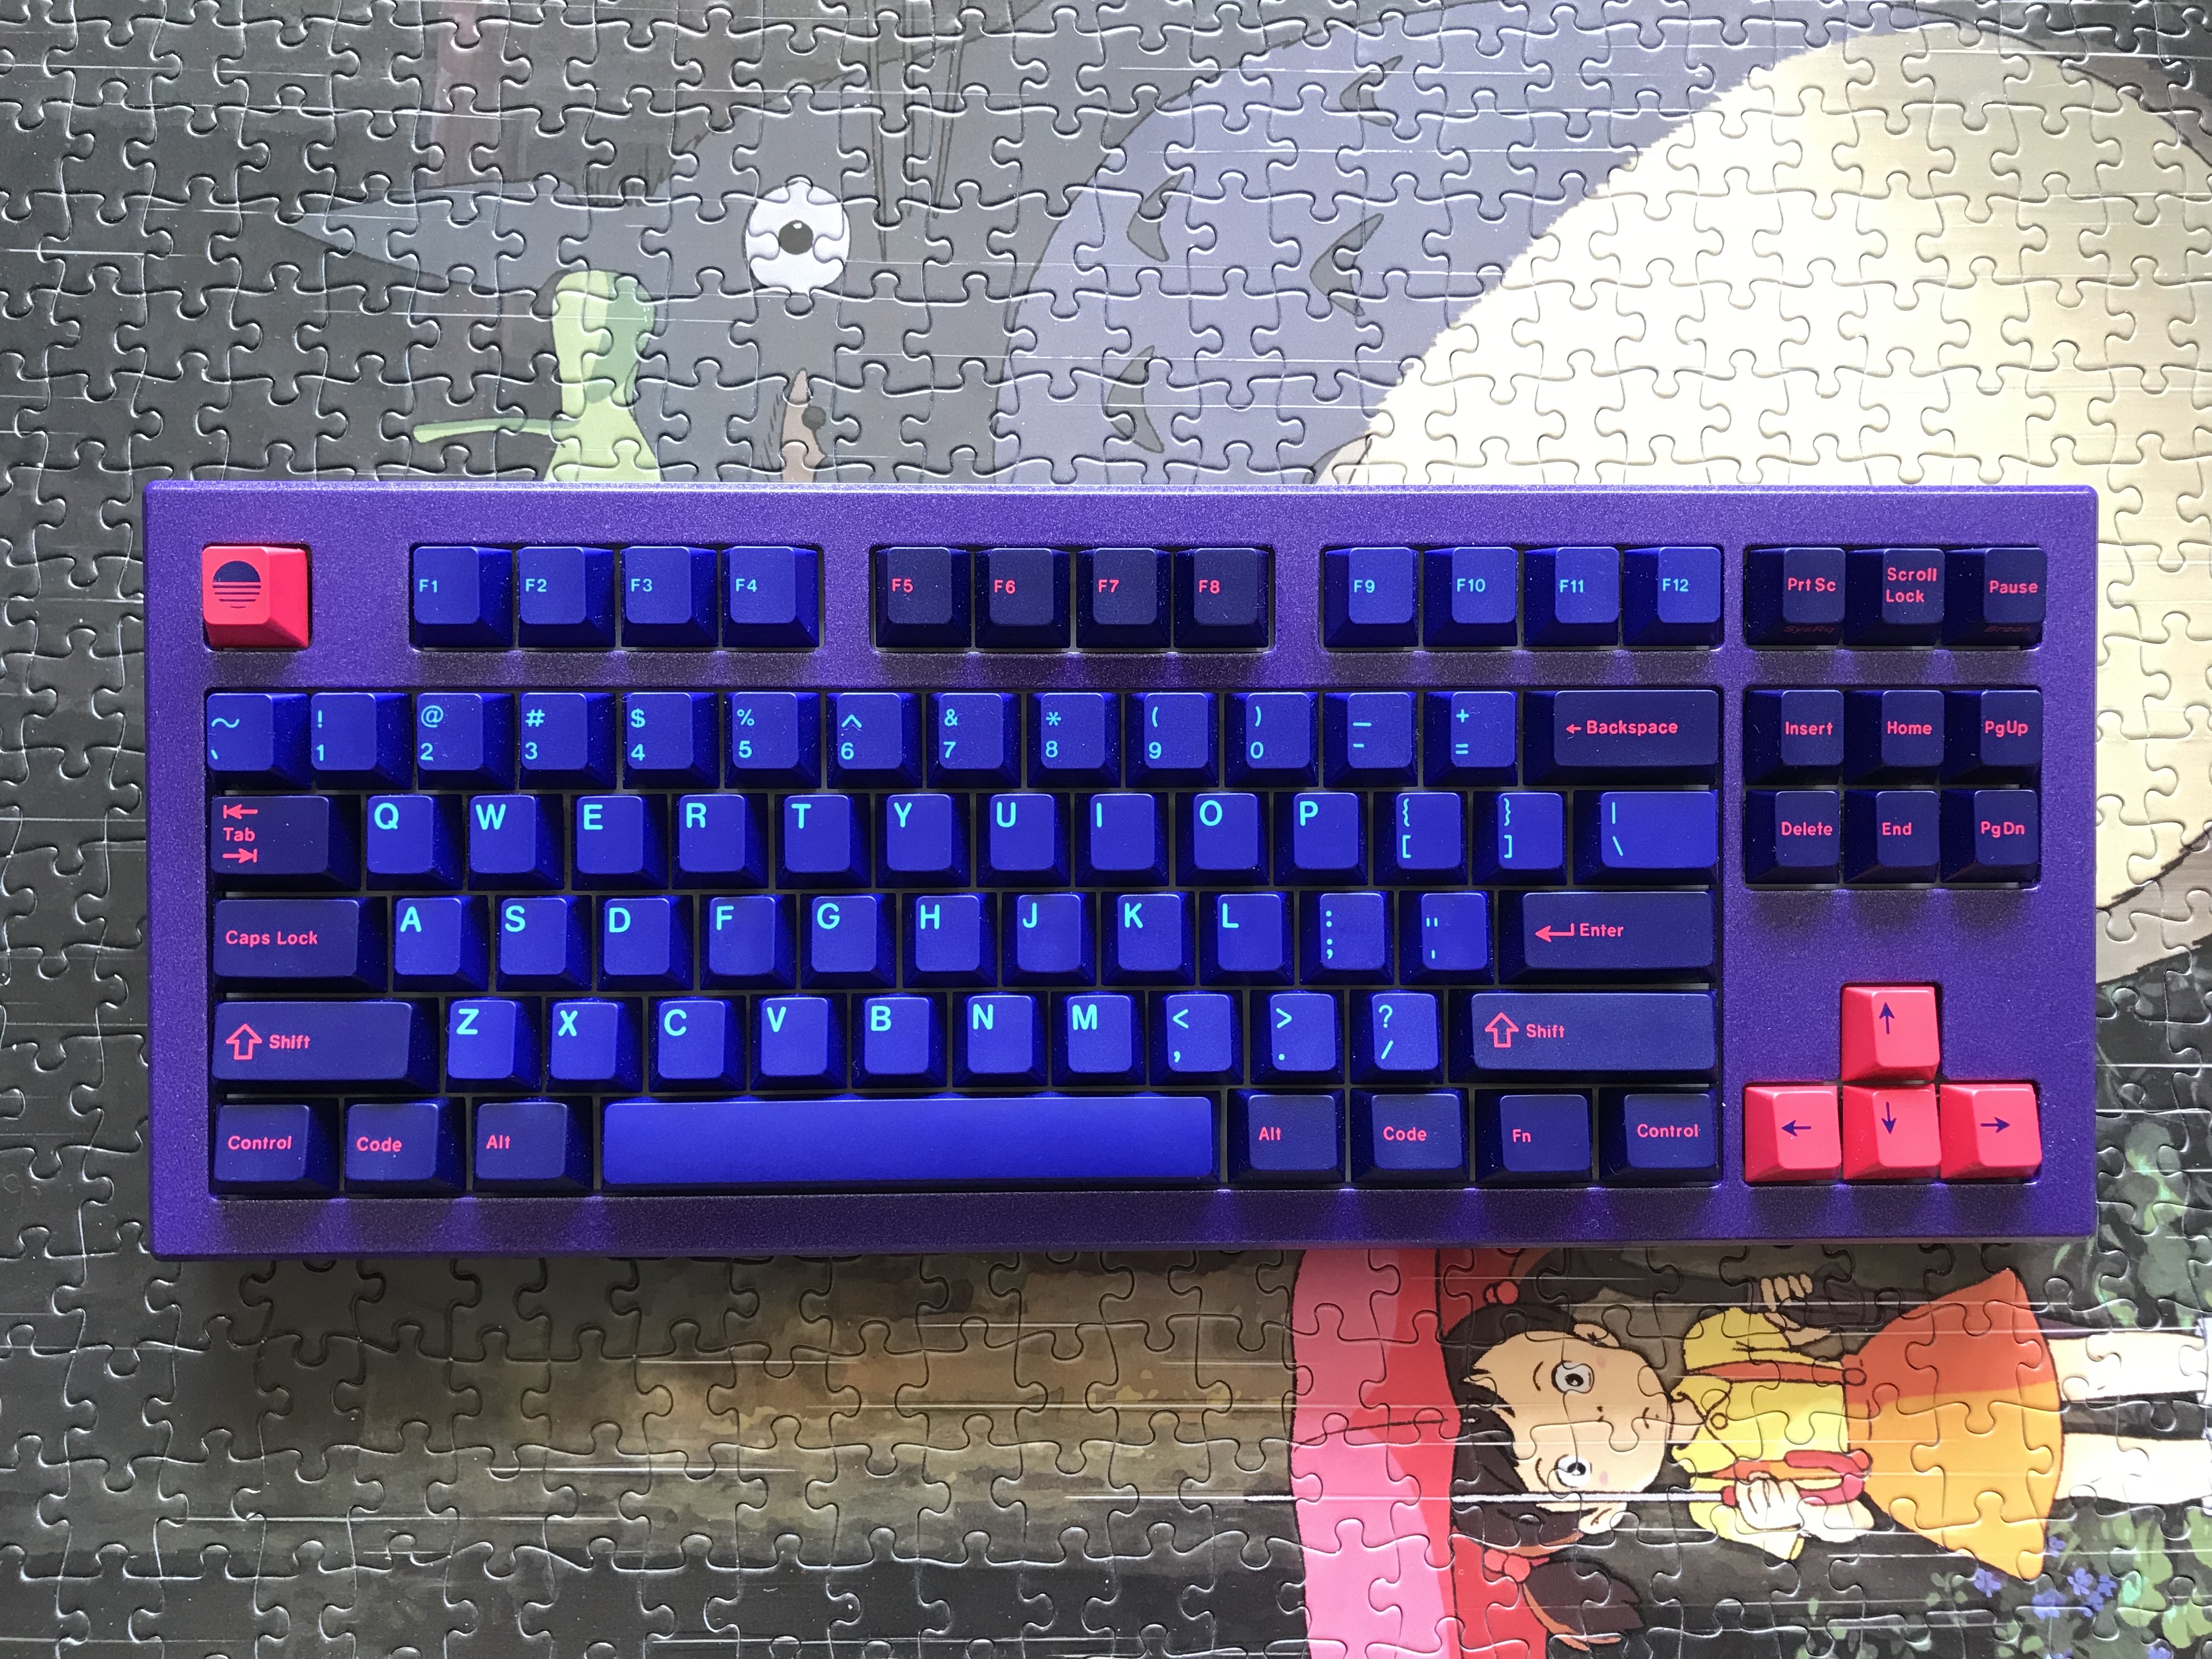
Before we move on to group photos, let’s take a quick look at the final board. Gotta love that purple…
Specifications
donor board: CoolerMaster MasterKeys Pro S RGB
case: Norbatouch Pi (Astrophysical purple finish)
case dampening: 0.1" 40 Duro Sorbothane, stacked to 0.2", wrapped with gaffer tape
PCB: donor
plate: donor
LEDs: per-key RGB, integrated in PCB
plate/PCB dampening: @donpark Sorbothane strut mod, 0.25" 50 Duro Sorbothane
stabilizers: GMK plate-mount
stabilizer mods: clipped (all four legs), lubed with Christo-Lube MCG 111,
  and O-ring modded
switches: replaced donor Cherry Reds with 62g Sakurios
switch lubing:
- manually lubed housings/stems with Tribosys 3204
- tub lubed springs with Krytox GPL 104
keycaps: GMK Laser
- Cyberdeck, Mitowaves
HxWxD (without feet or caps): 1.0"x14.63"x5.75"
HxWxD (without caps): 1.63"x14.63"x5.75"
HxWxD: 1.93"x14.63"x5.75"
assembled weight: 4.59 lb
3 Likes
Builds #21-23: Laser Trio family album
Once again, I’m not a photographer. Nonetheless, we need a little family album, don’t we?
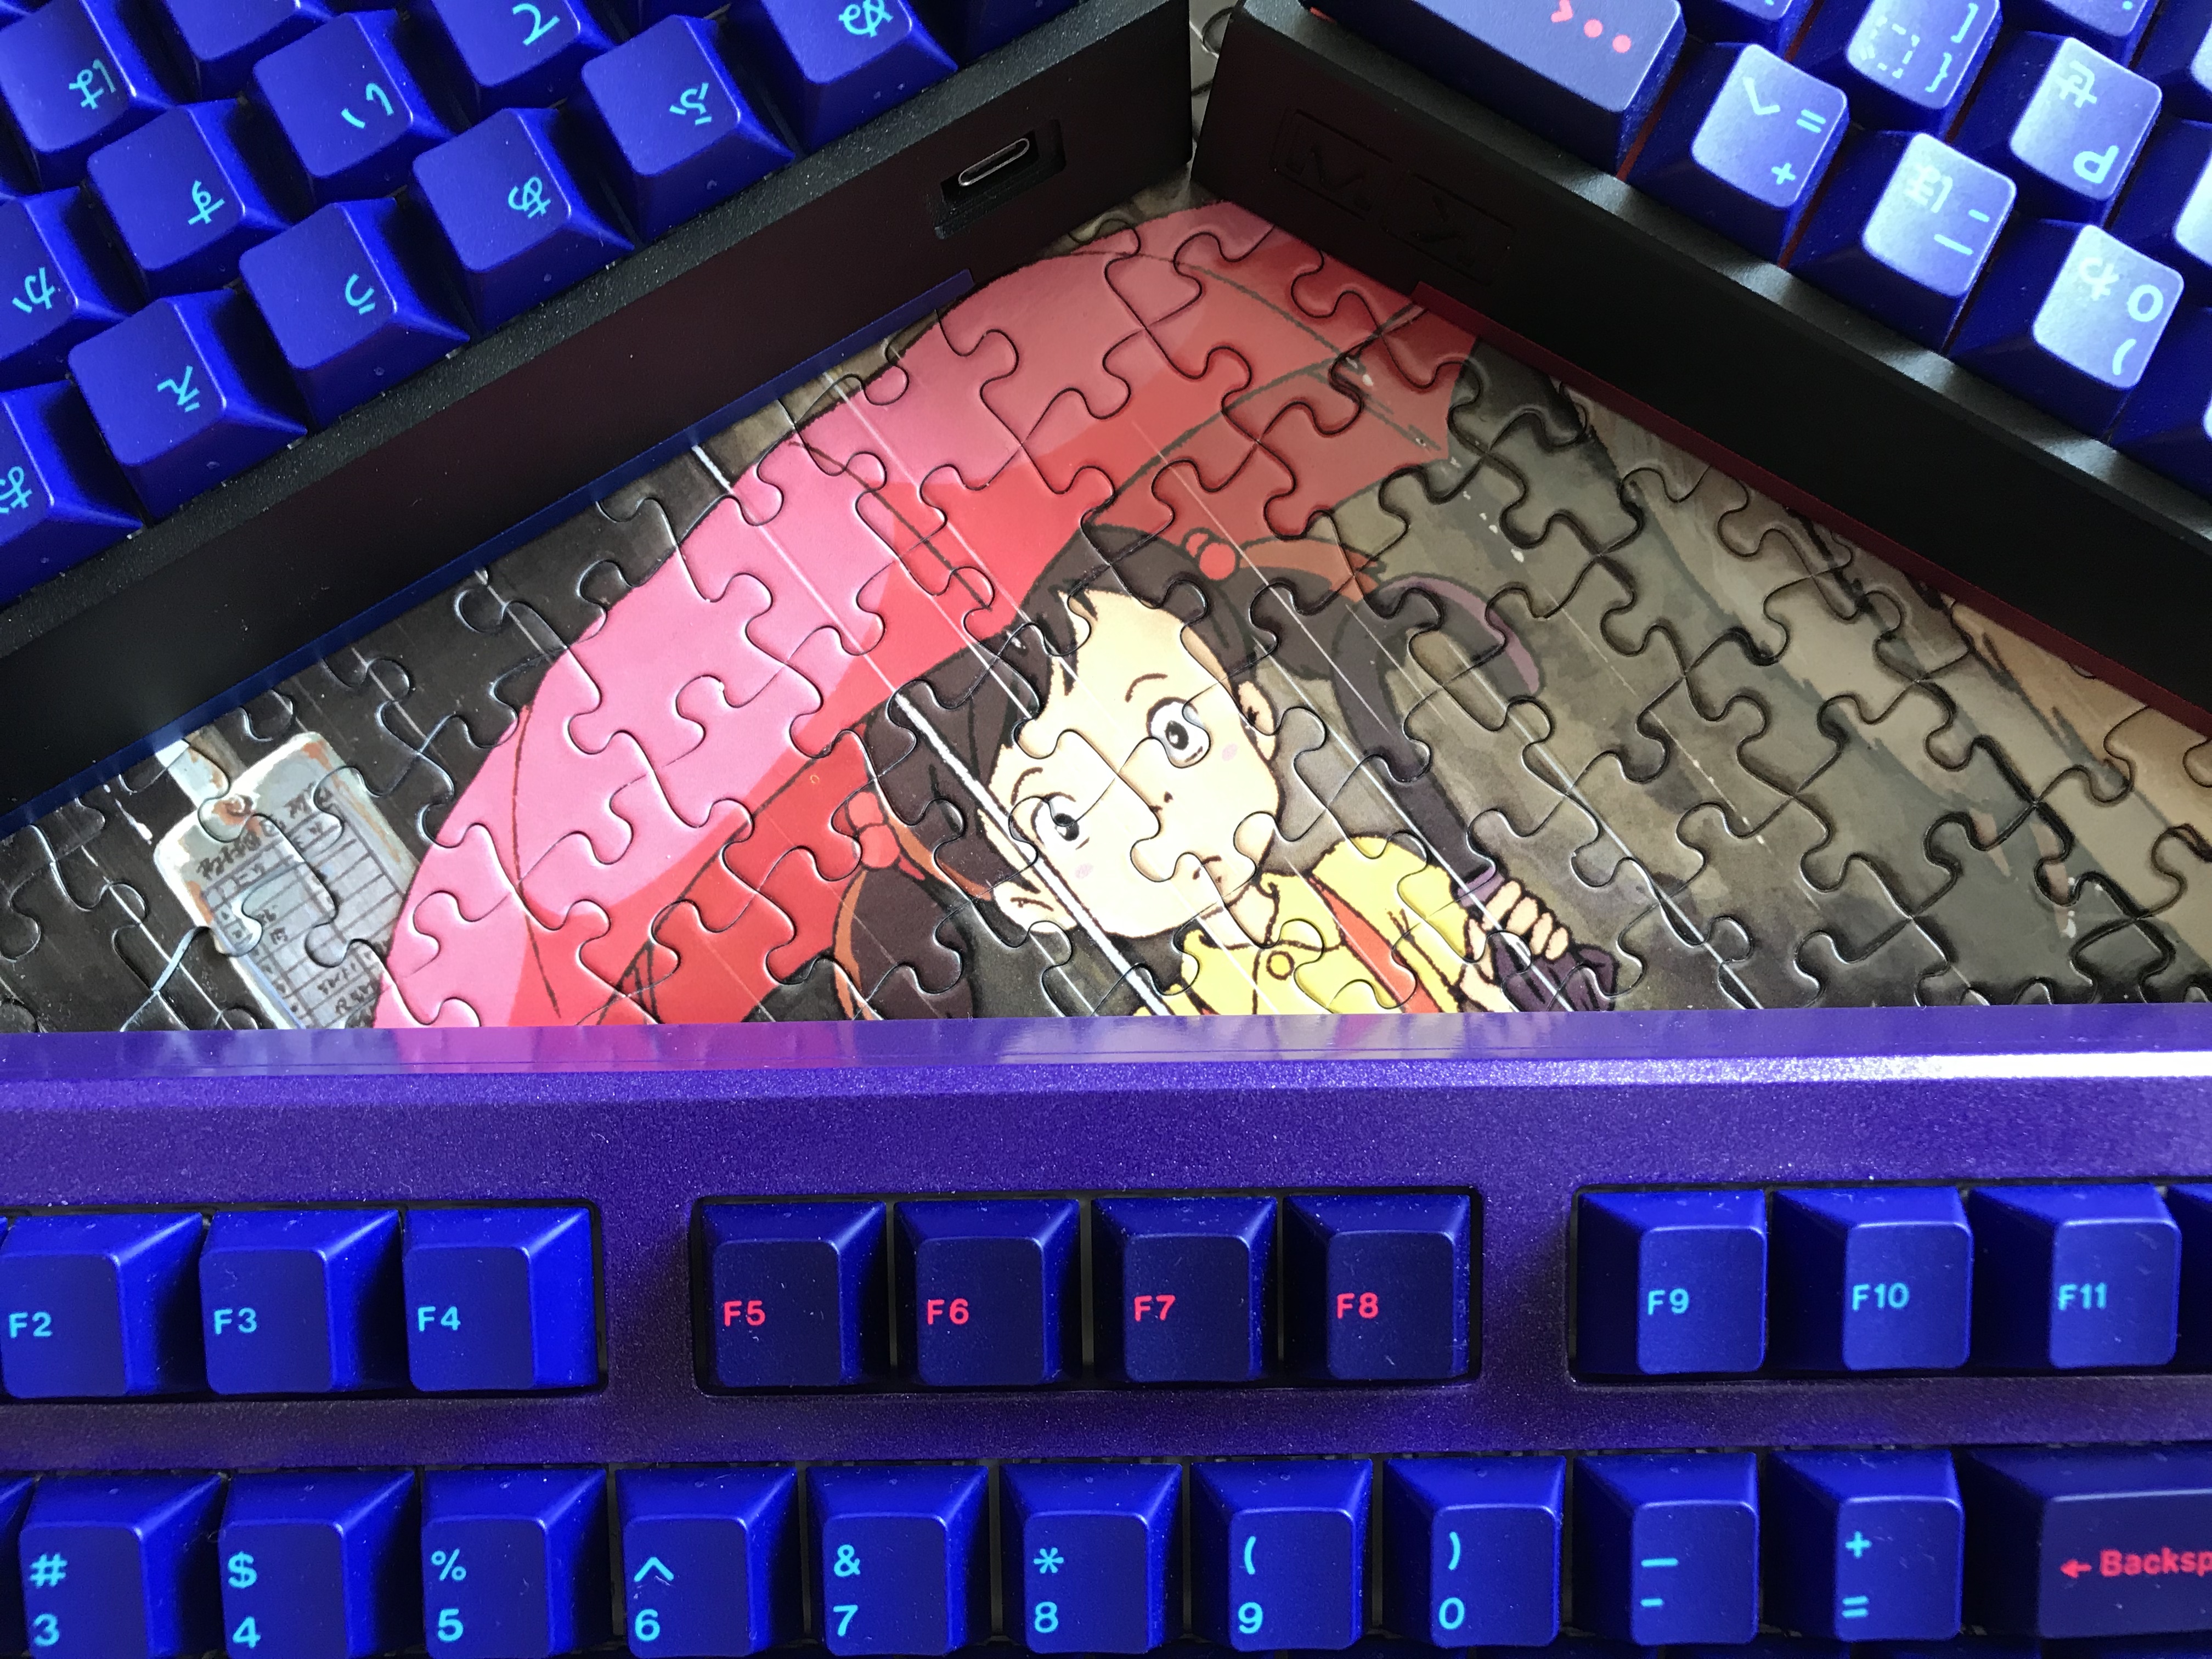
The Klippe+ weights add a stark, clean splash of color that I love.
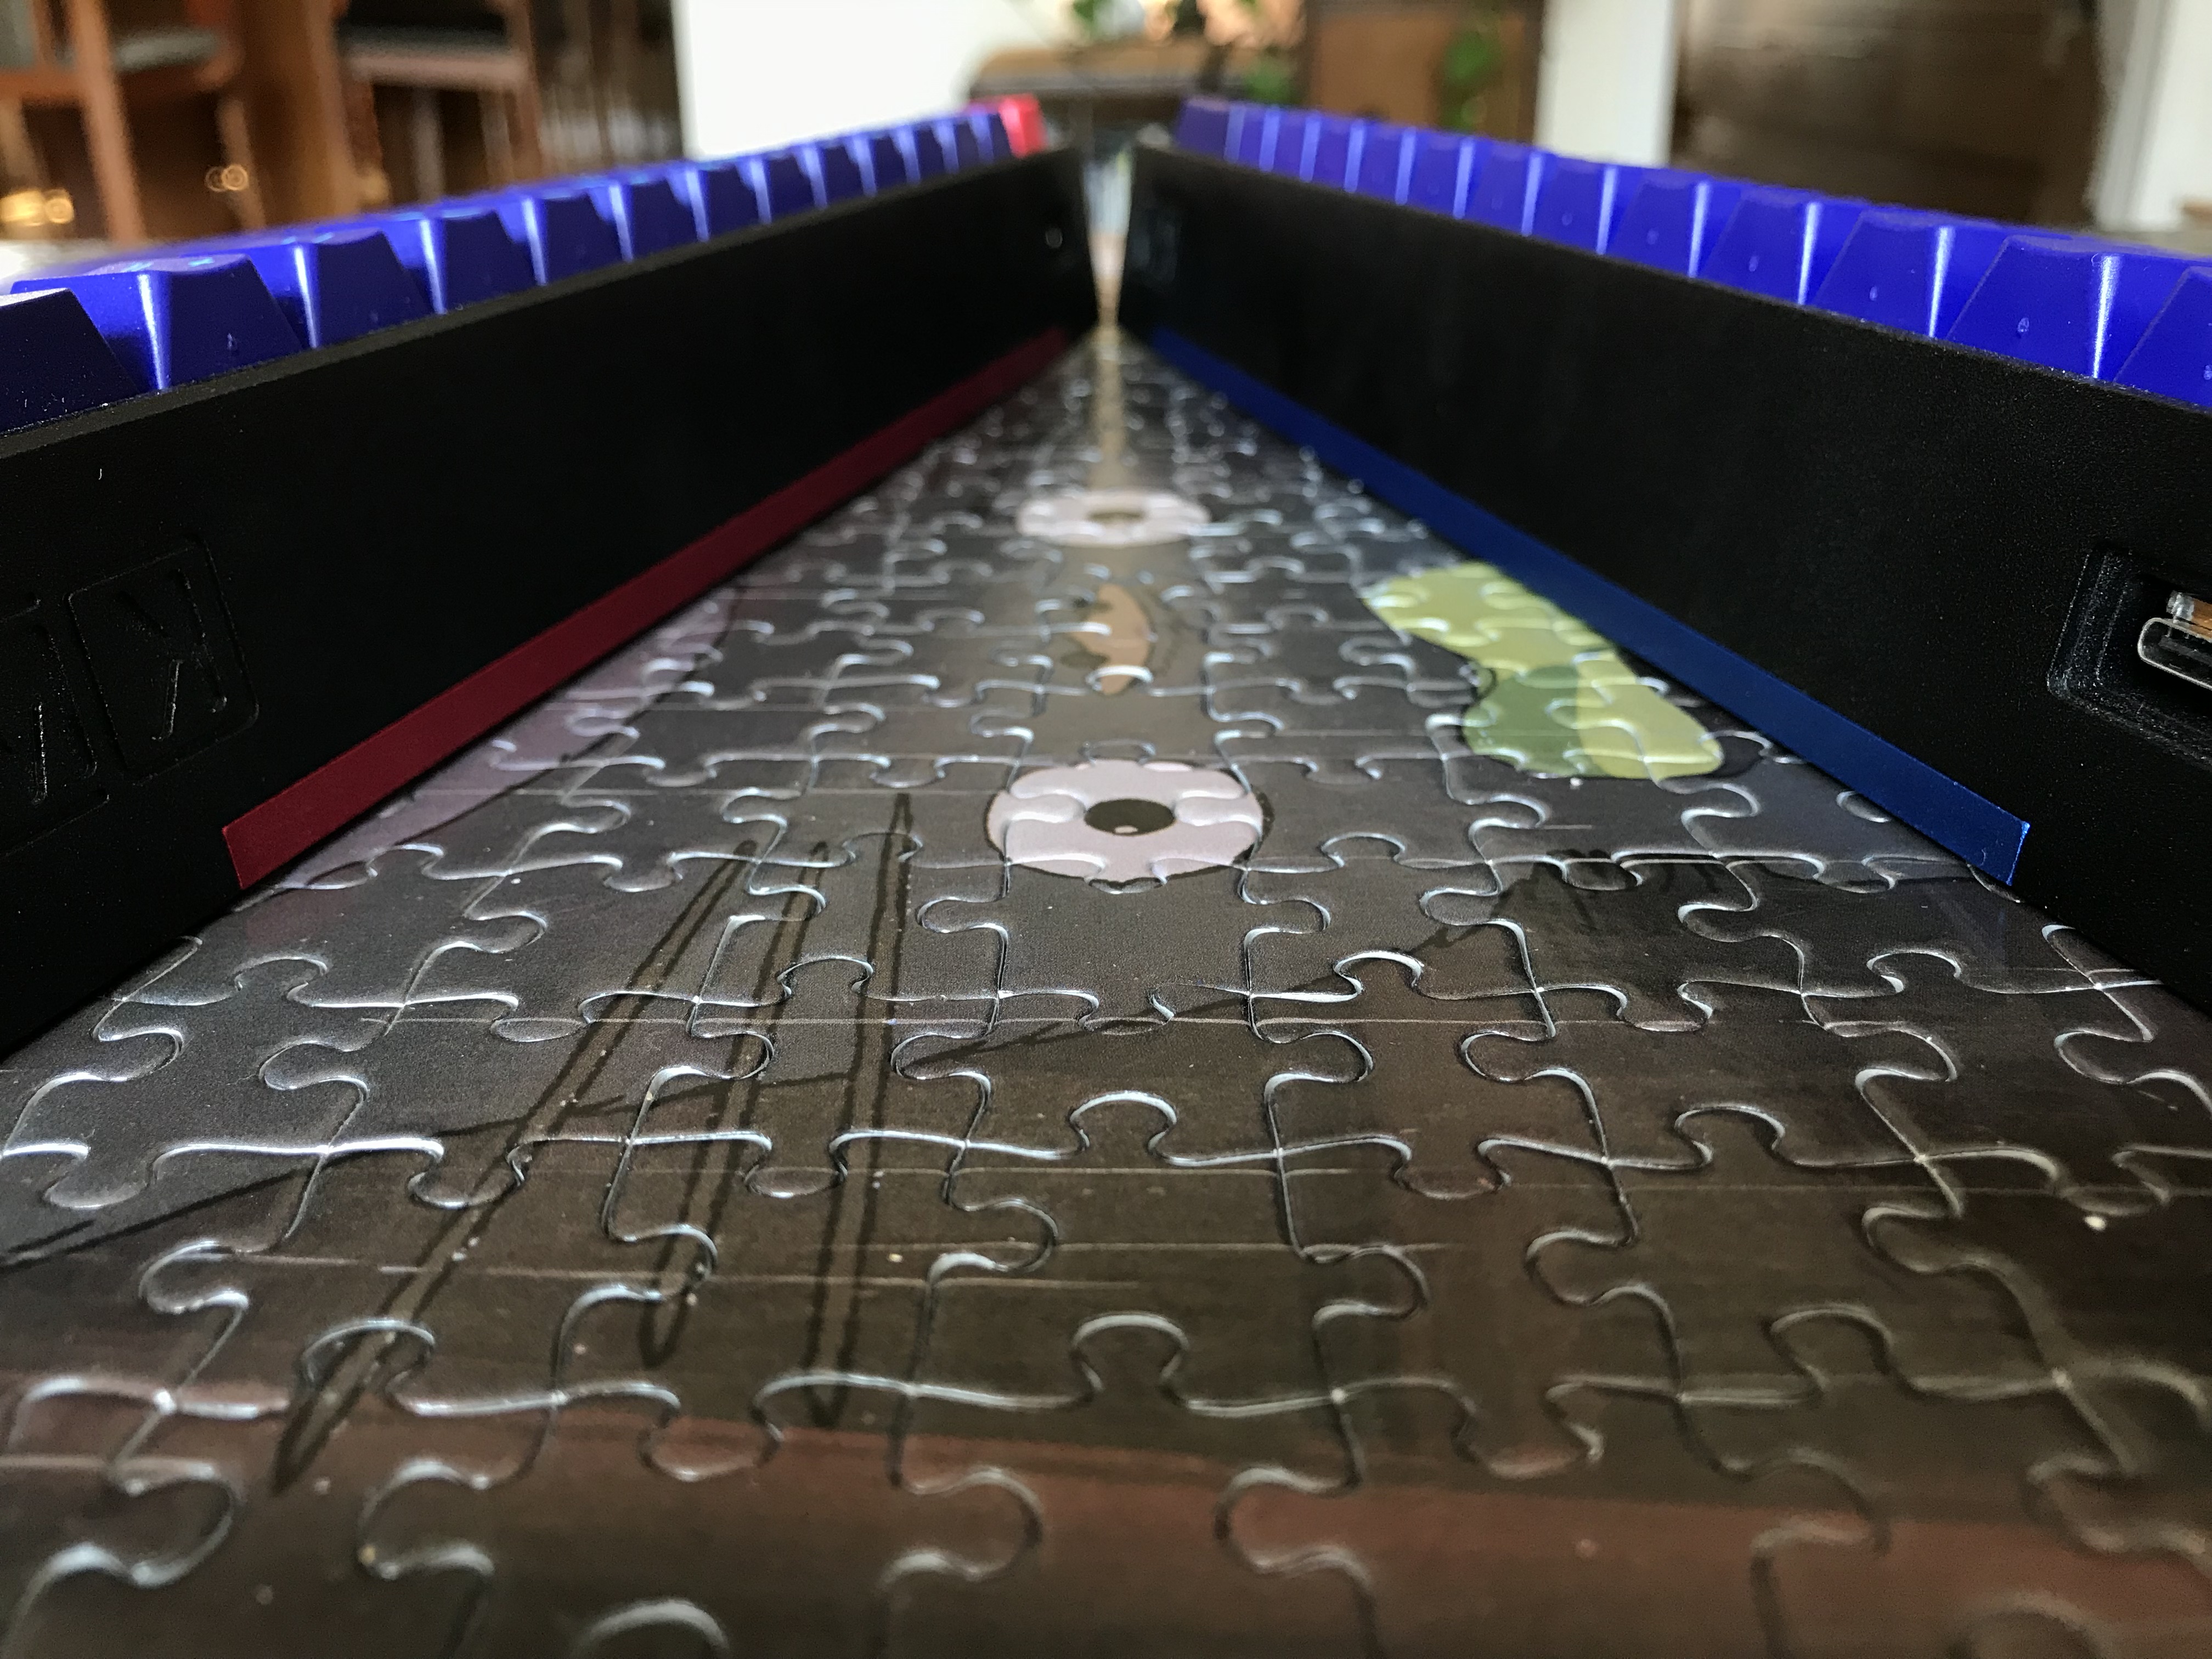
I mean, look at that.
Smile for the camera.
n00b trap!
8 Likes
Love it 
The builds are adding and stacking, and that’s great !
I am curious, what do you do with all the builds? Have you kept all of them ?
1 Like
All part of the growing collection. I wish I had enough space to display and cycle through all of them for daily driving, but in practice most are in storage bins, and a small number of them stay near my desk for regular rotation.
I would like to go back and rebuild a few of the early ones - between switch lubing, stab mods, and sound dampening, I’m sure much better results are possible.
4 Likes
It appears it’s been a year since I joined keebtalk. Thanks to all of you who have been following these logs and sharing your thoughts - I really appreciate it. You’re awesome.
16 Likes
Great to see you having fun, Papachoux!
1 Like