386 Bondwell laptop that has a full mechanical keyboard 
Not rare. In fact they were sort of crap beyond the keyboard.
386 Bondwell laptop that has a full mechanical keyboard
Not rare. In fact they were sort of crap beyond the keyboard.
Ah, I see. Well definitely interesting nonetheless! GL restoring or harvesting it! Gonna have to keep that name in the back of my mind for next time I’m e-bay surfing for vintage boards. I’d definitely grab one if it’s not priced all crazy.
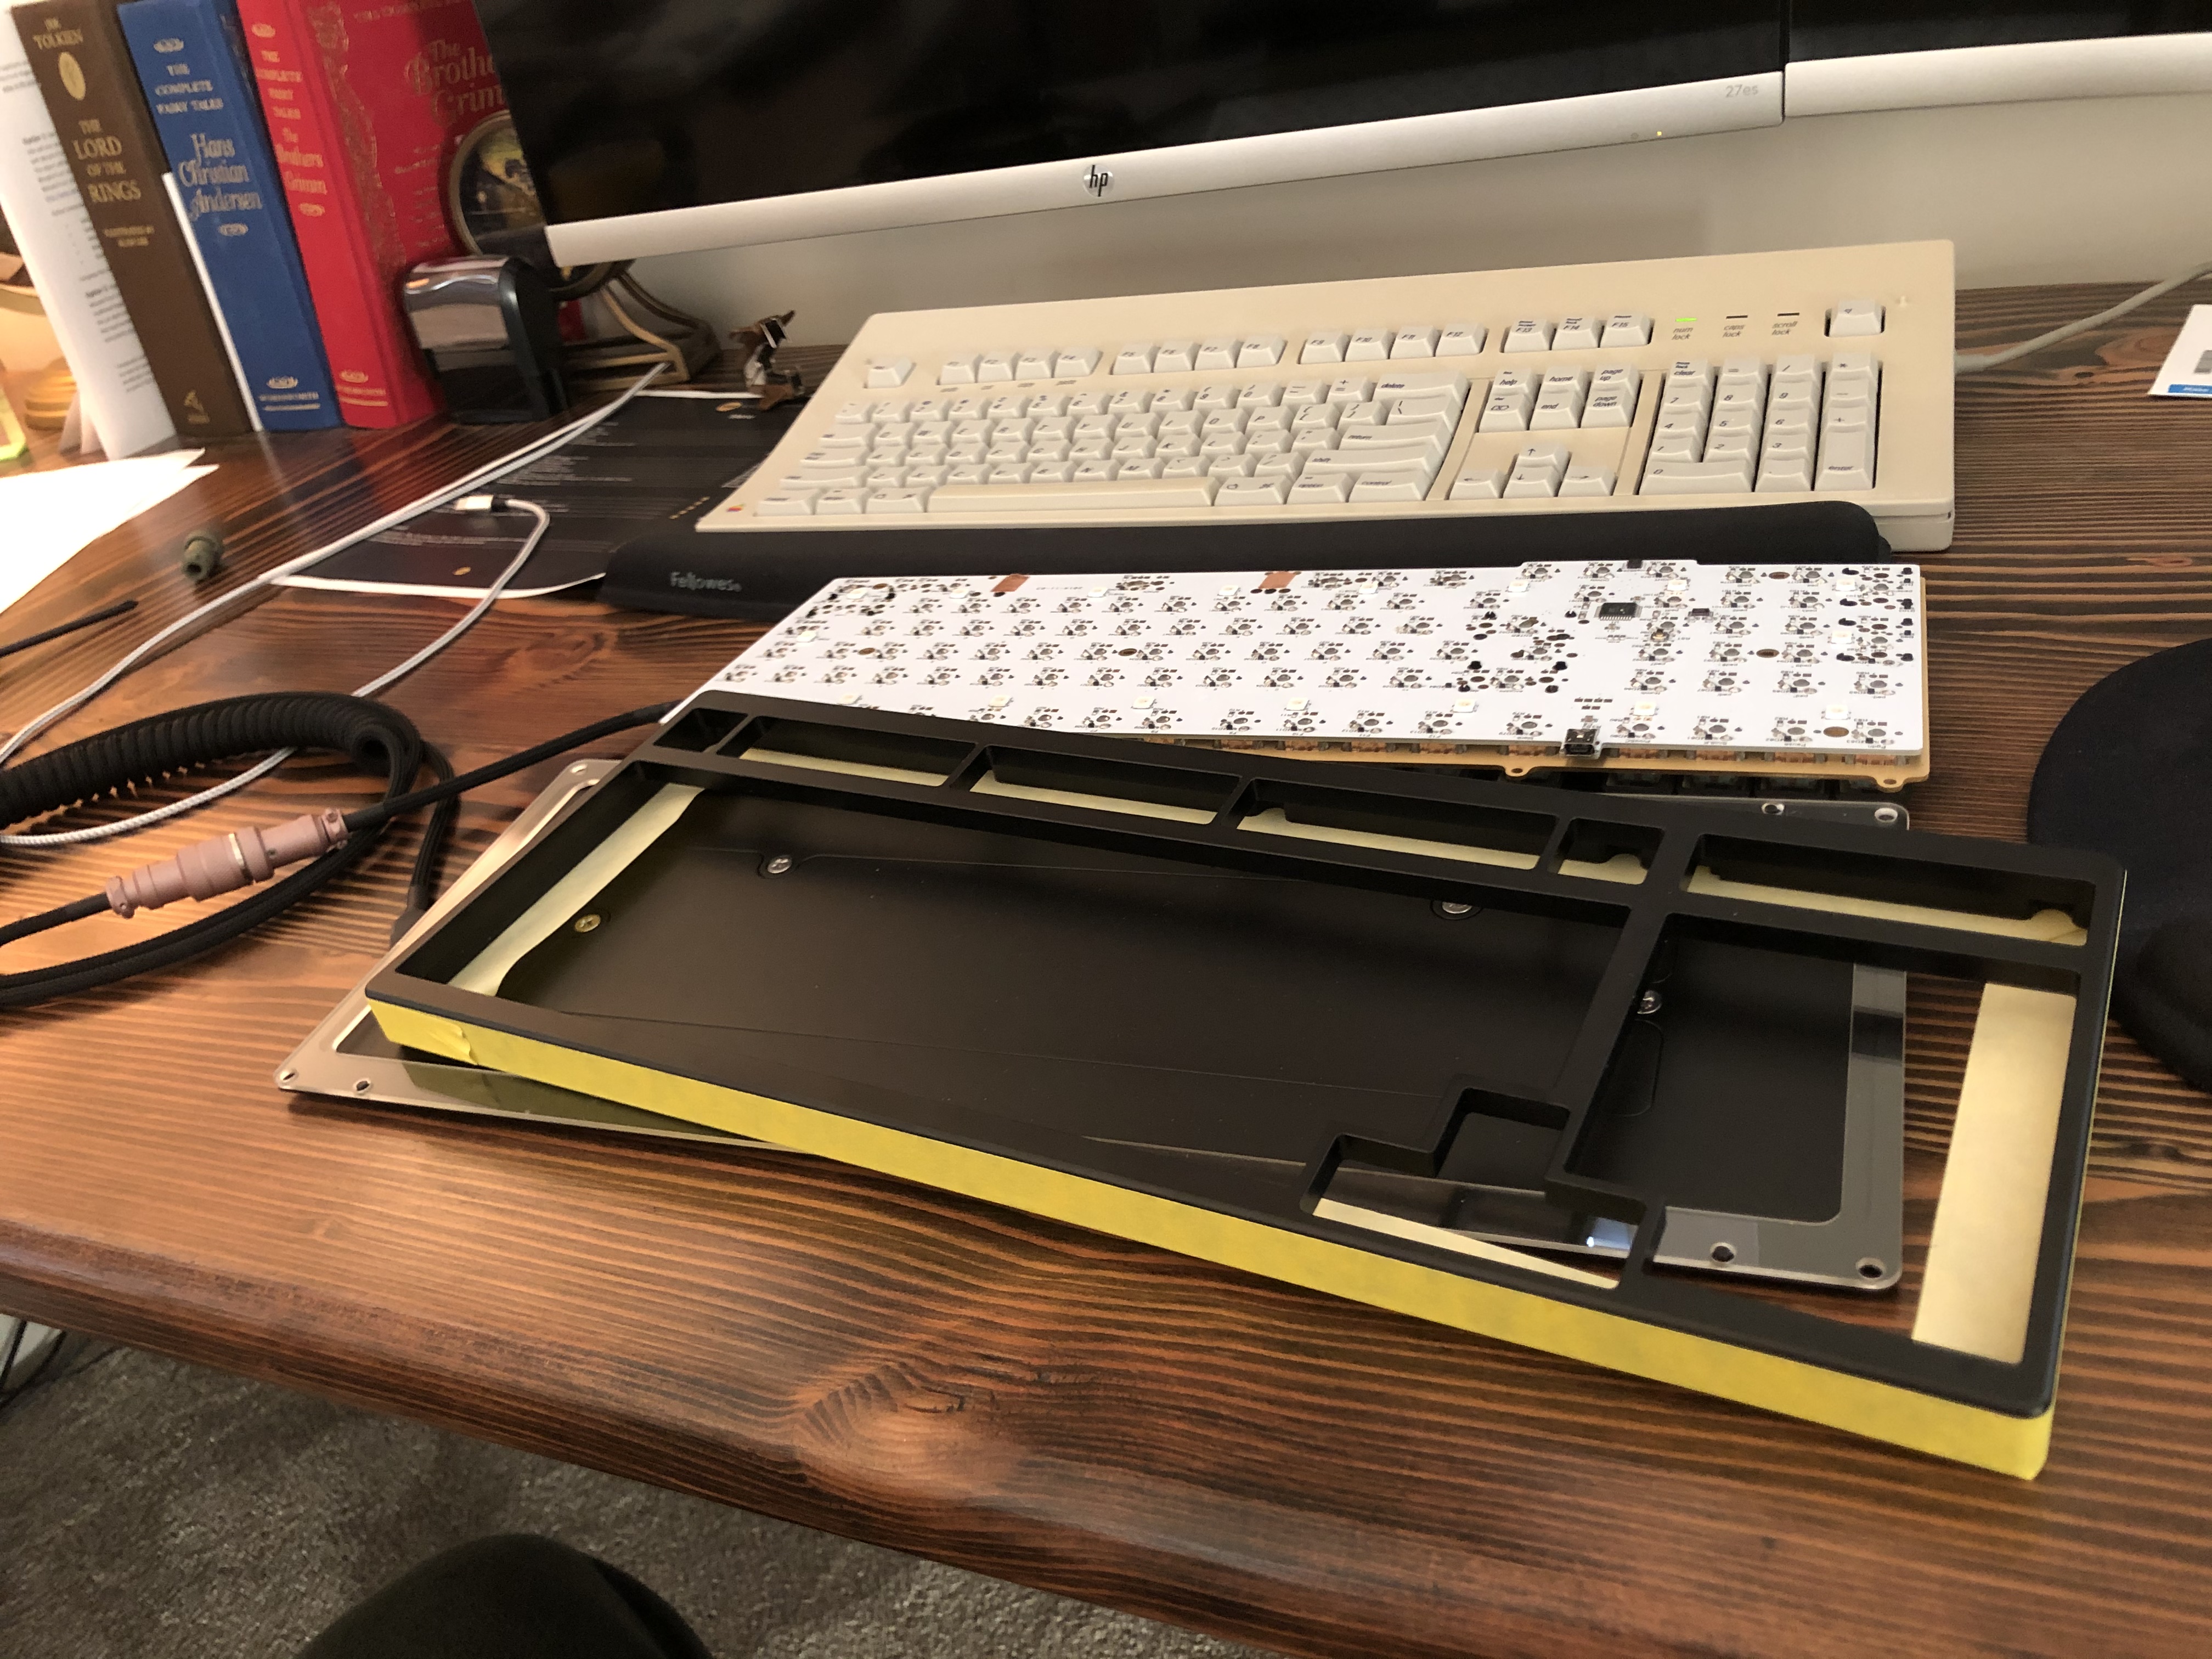
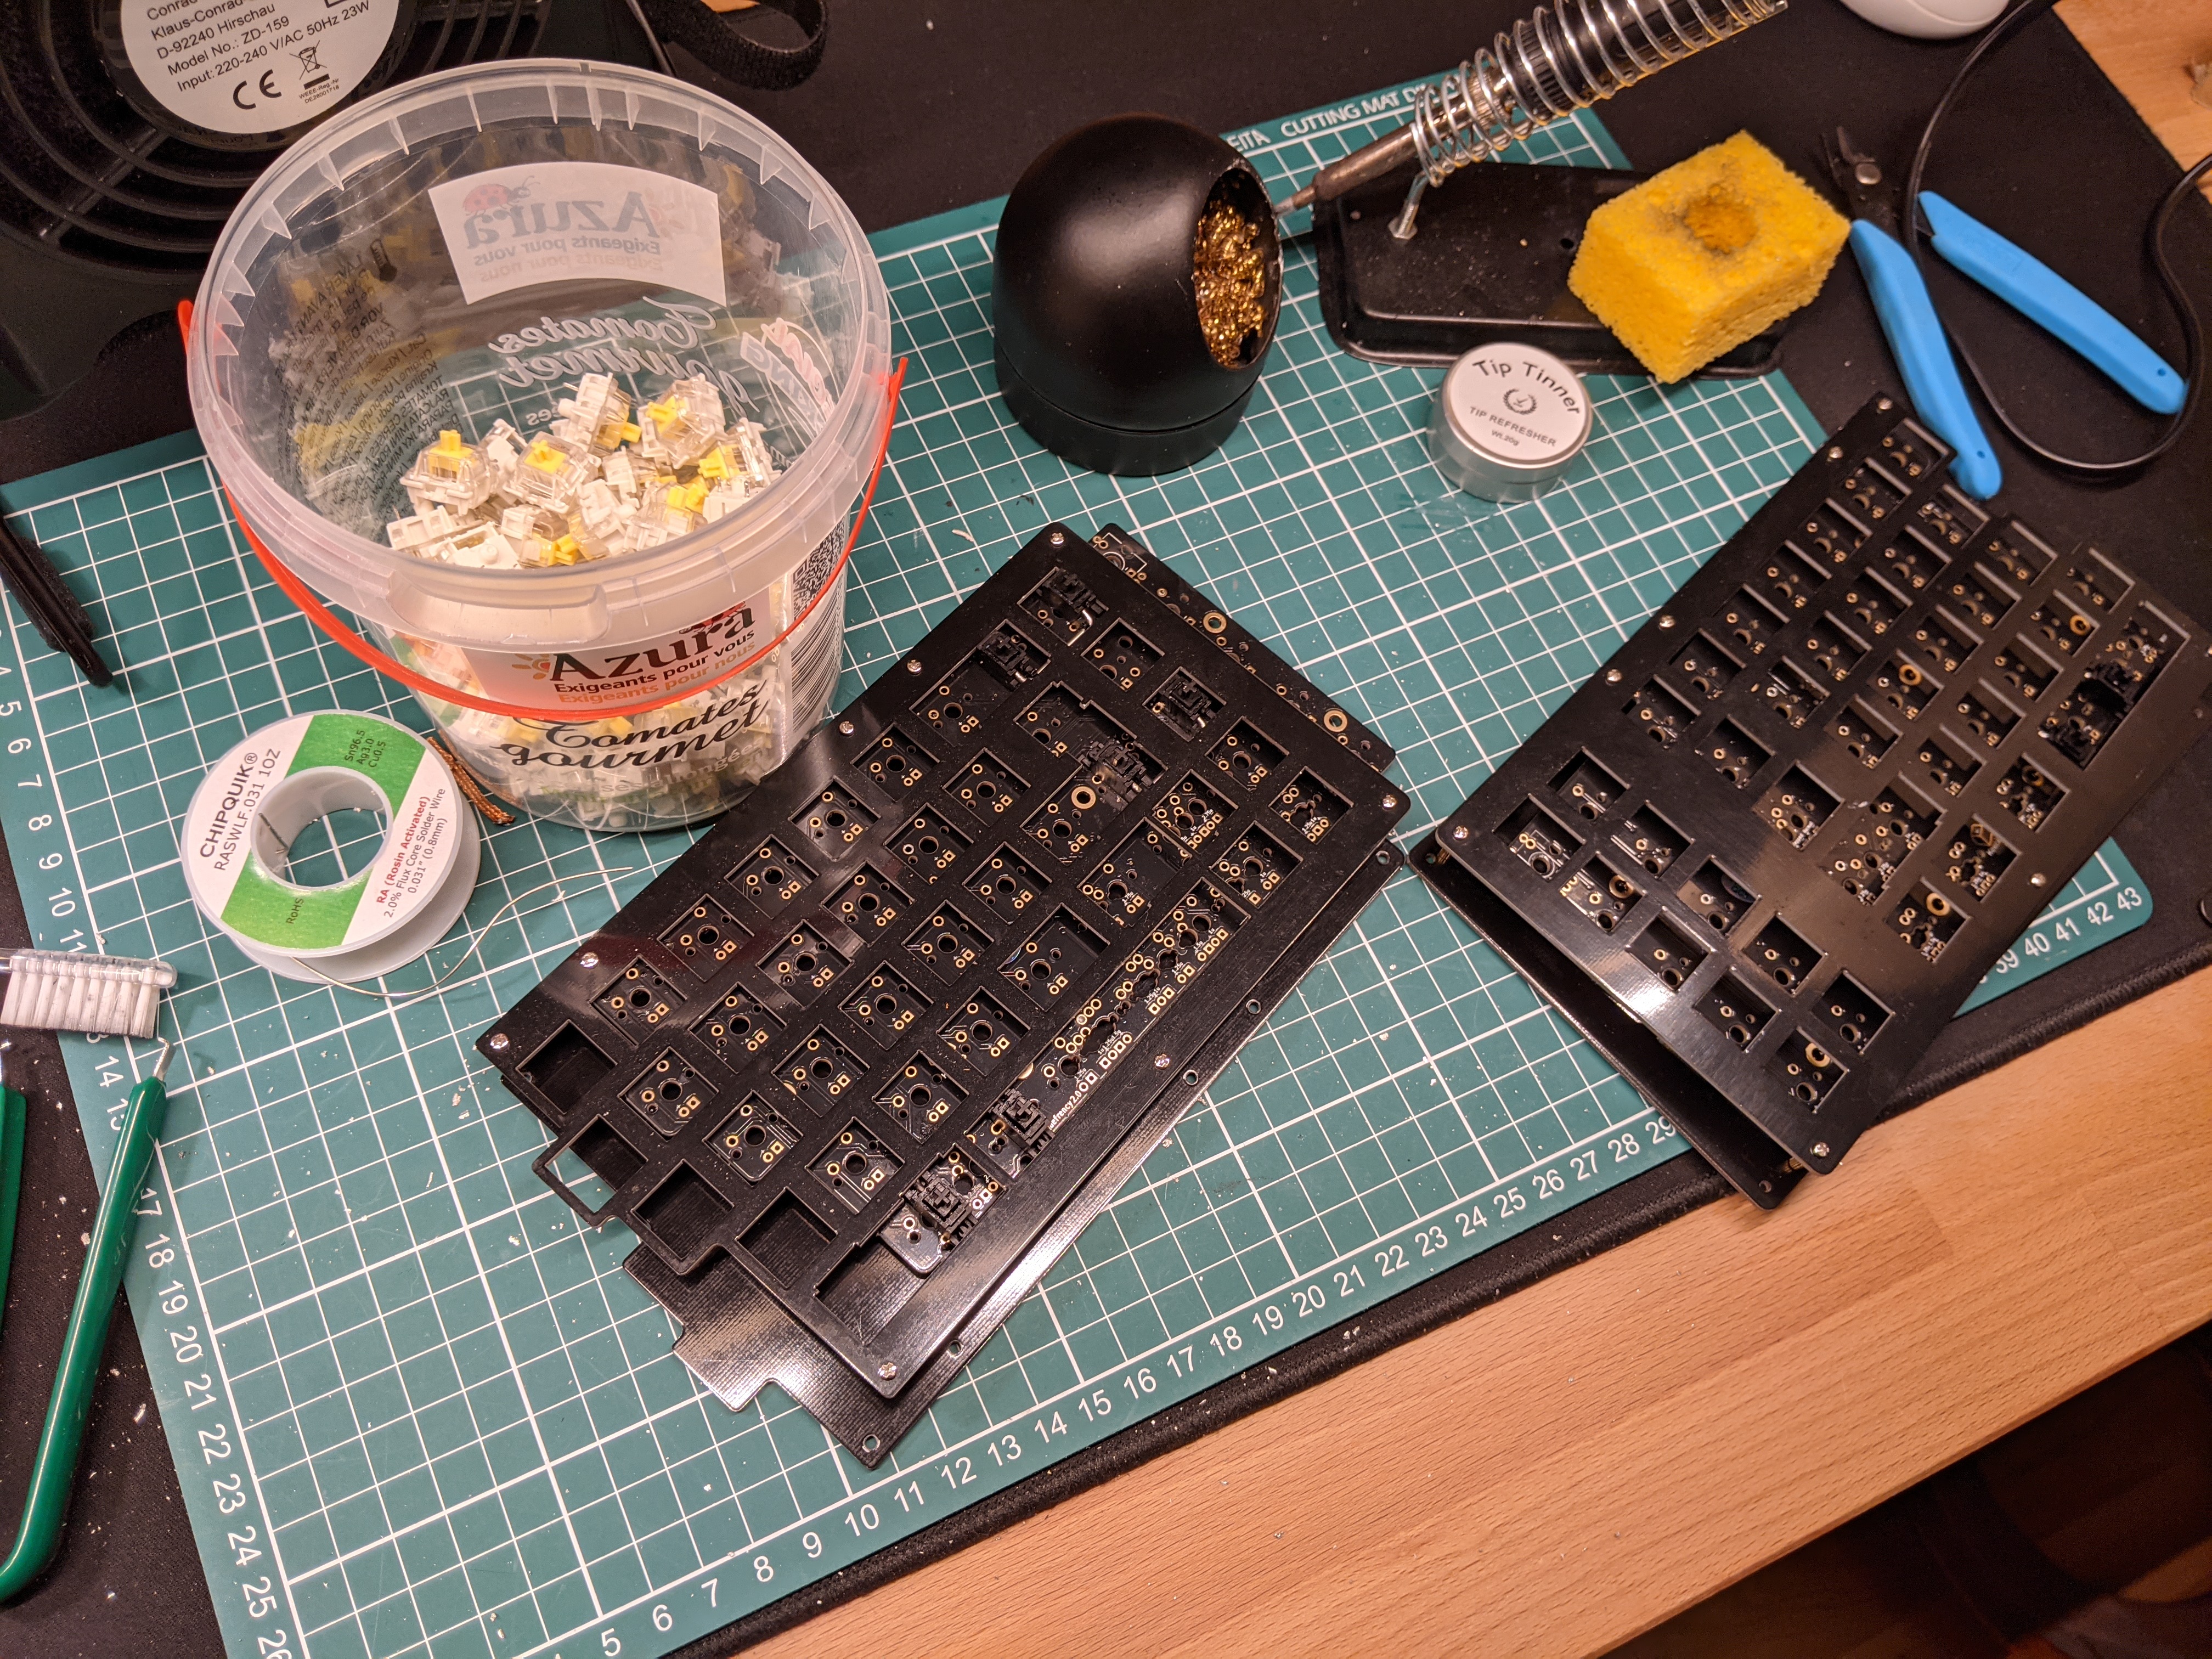
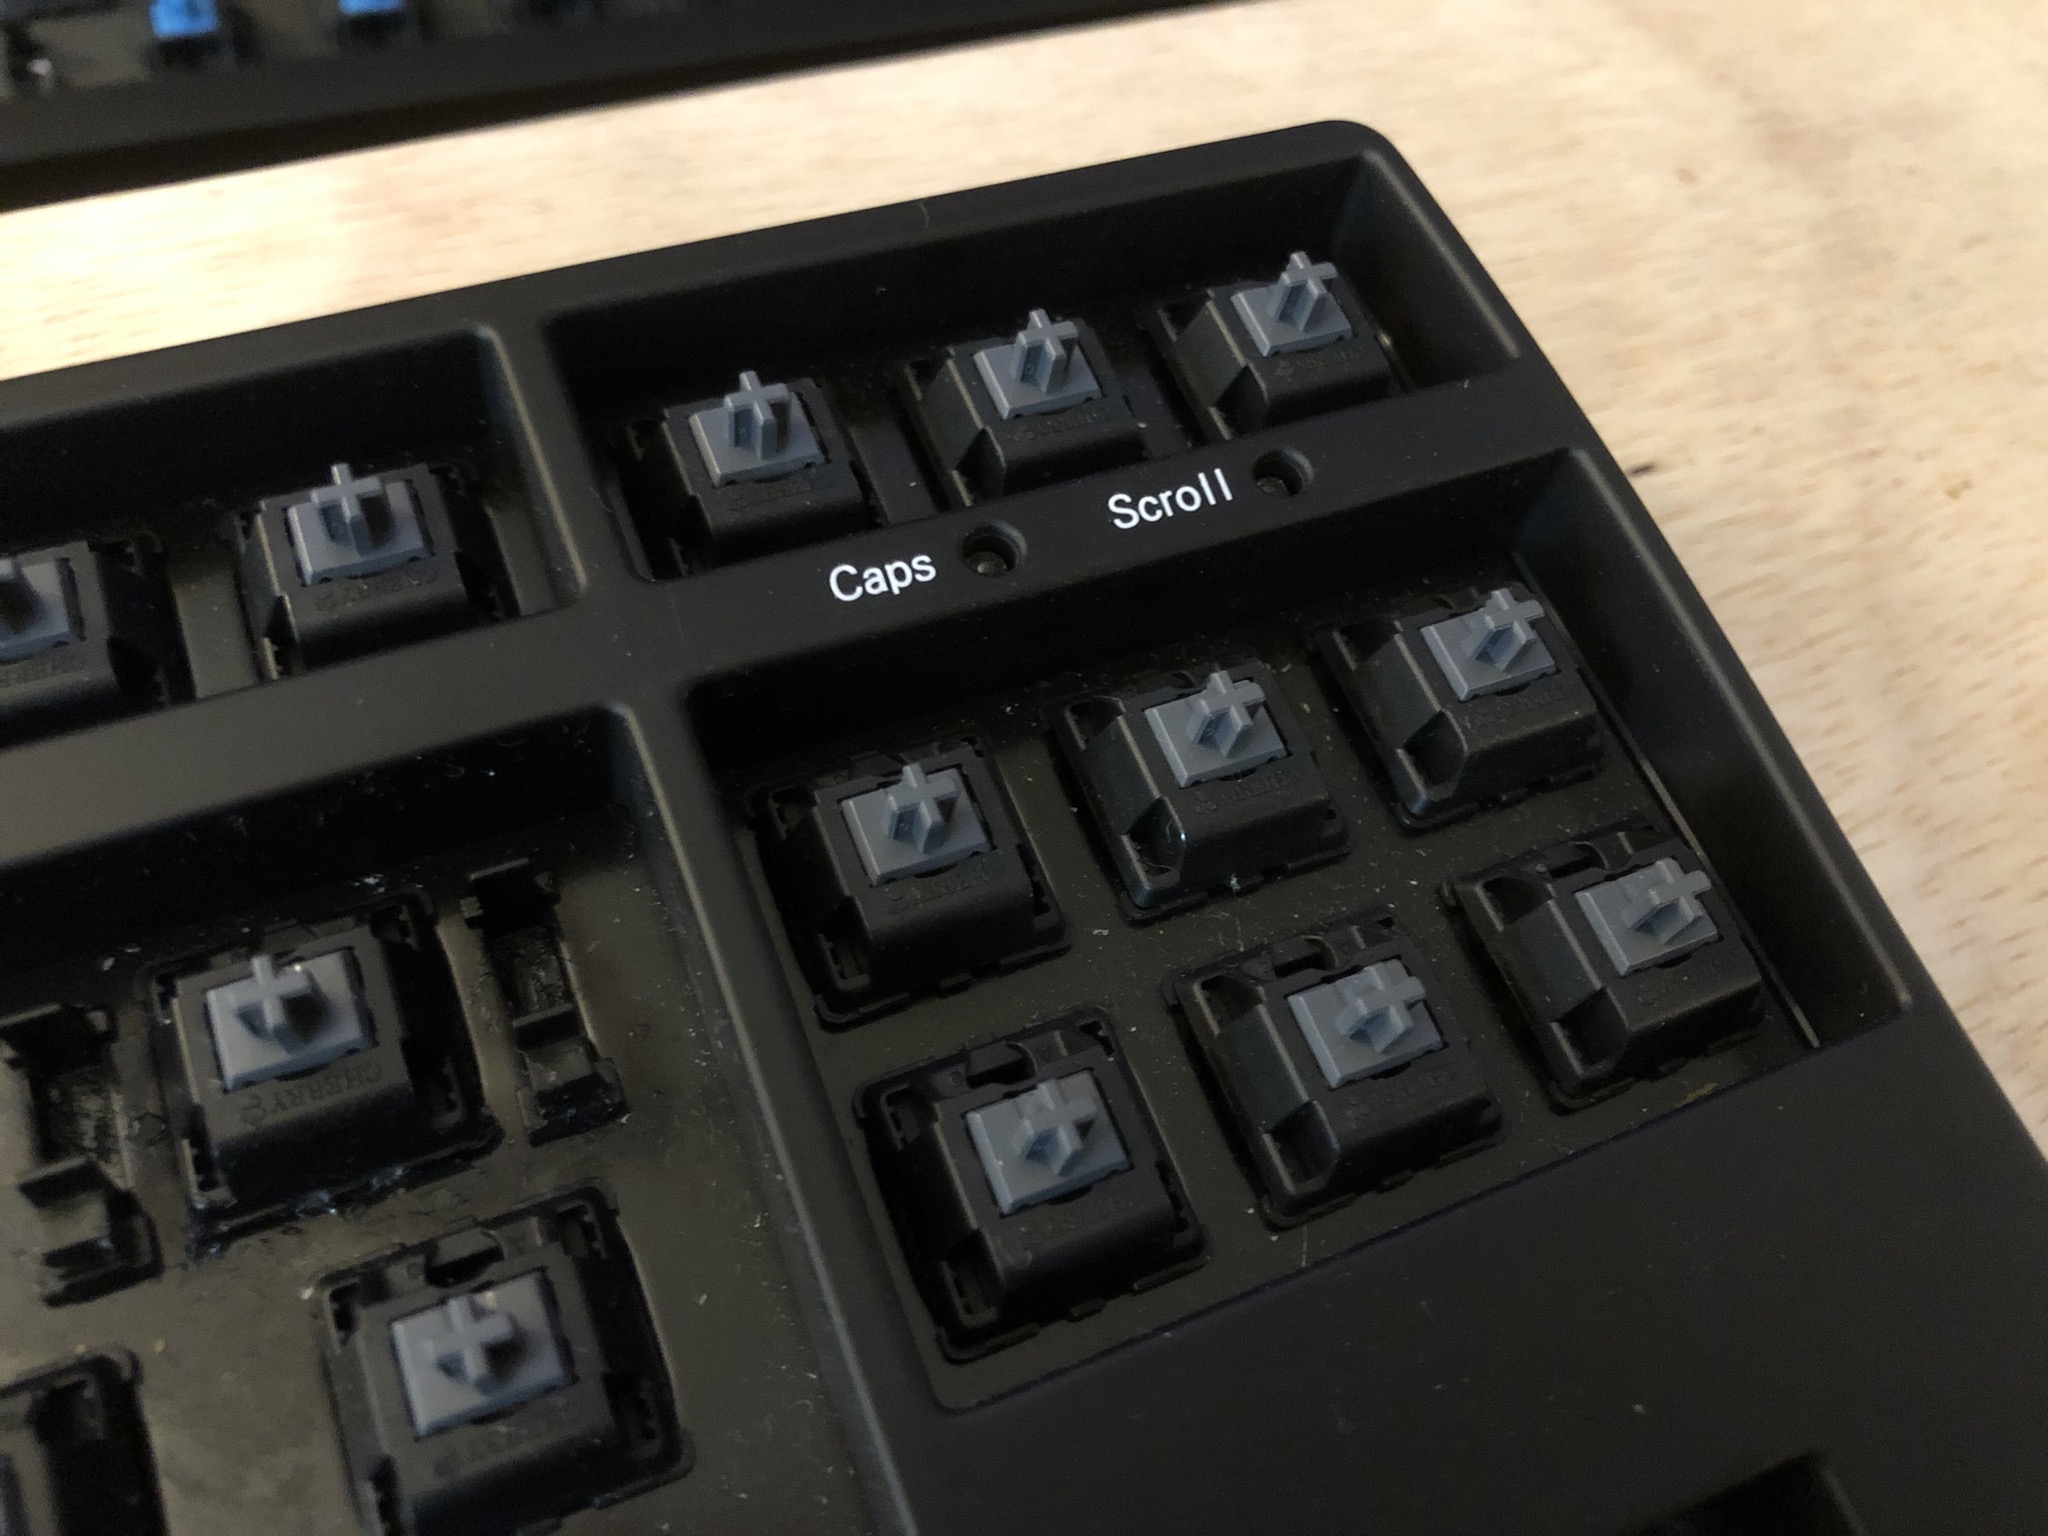
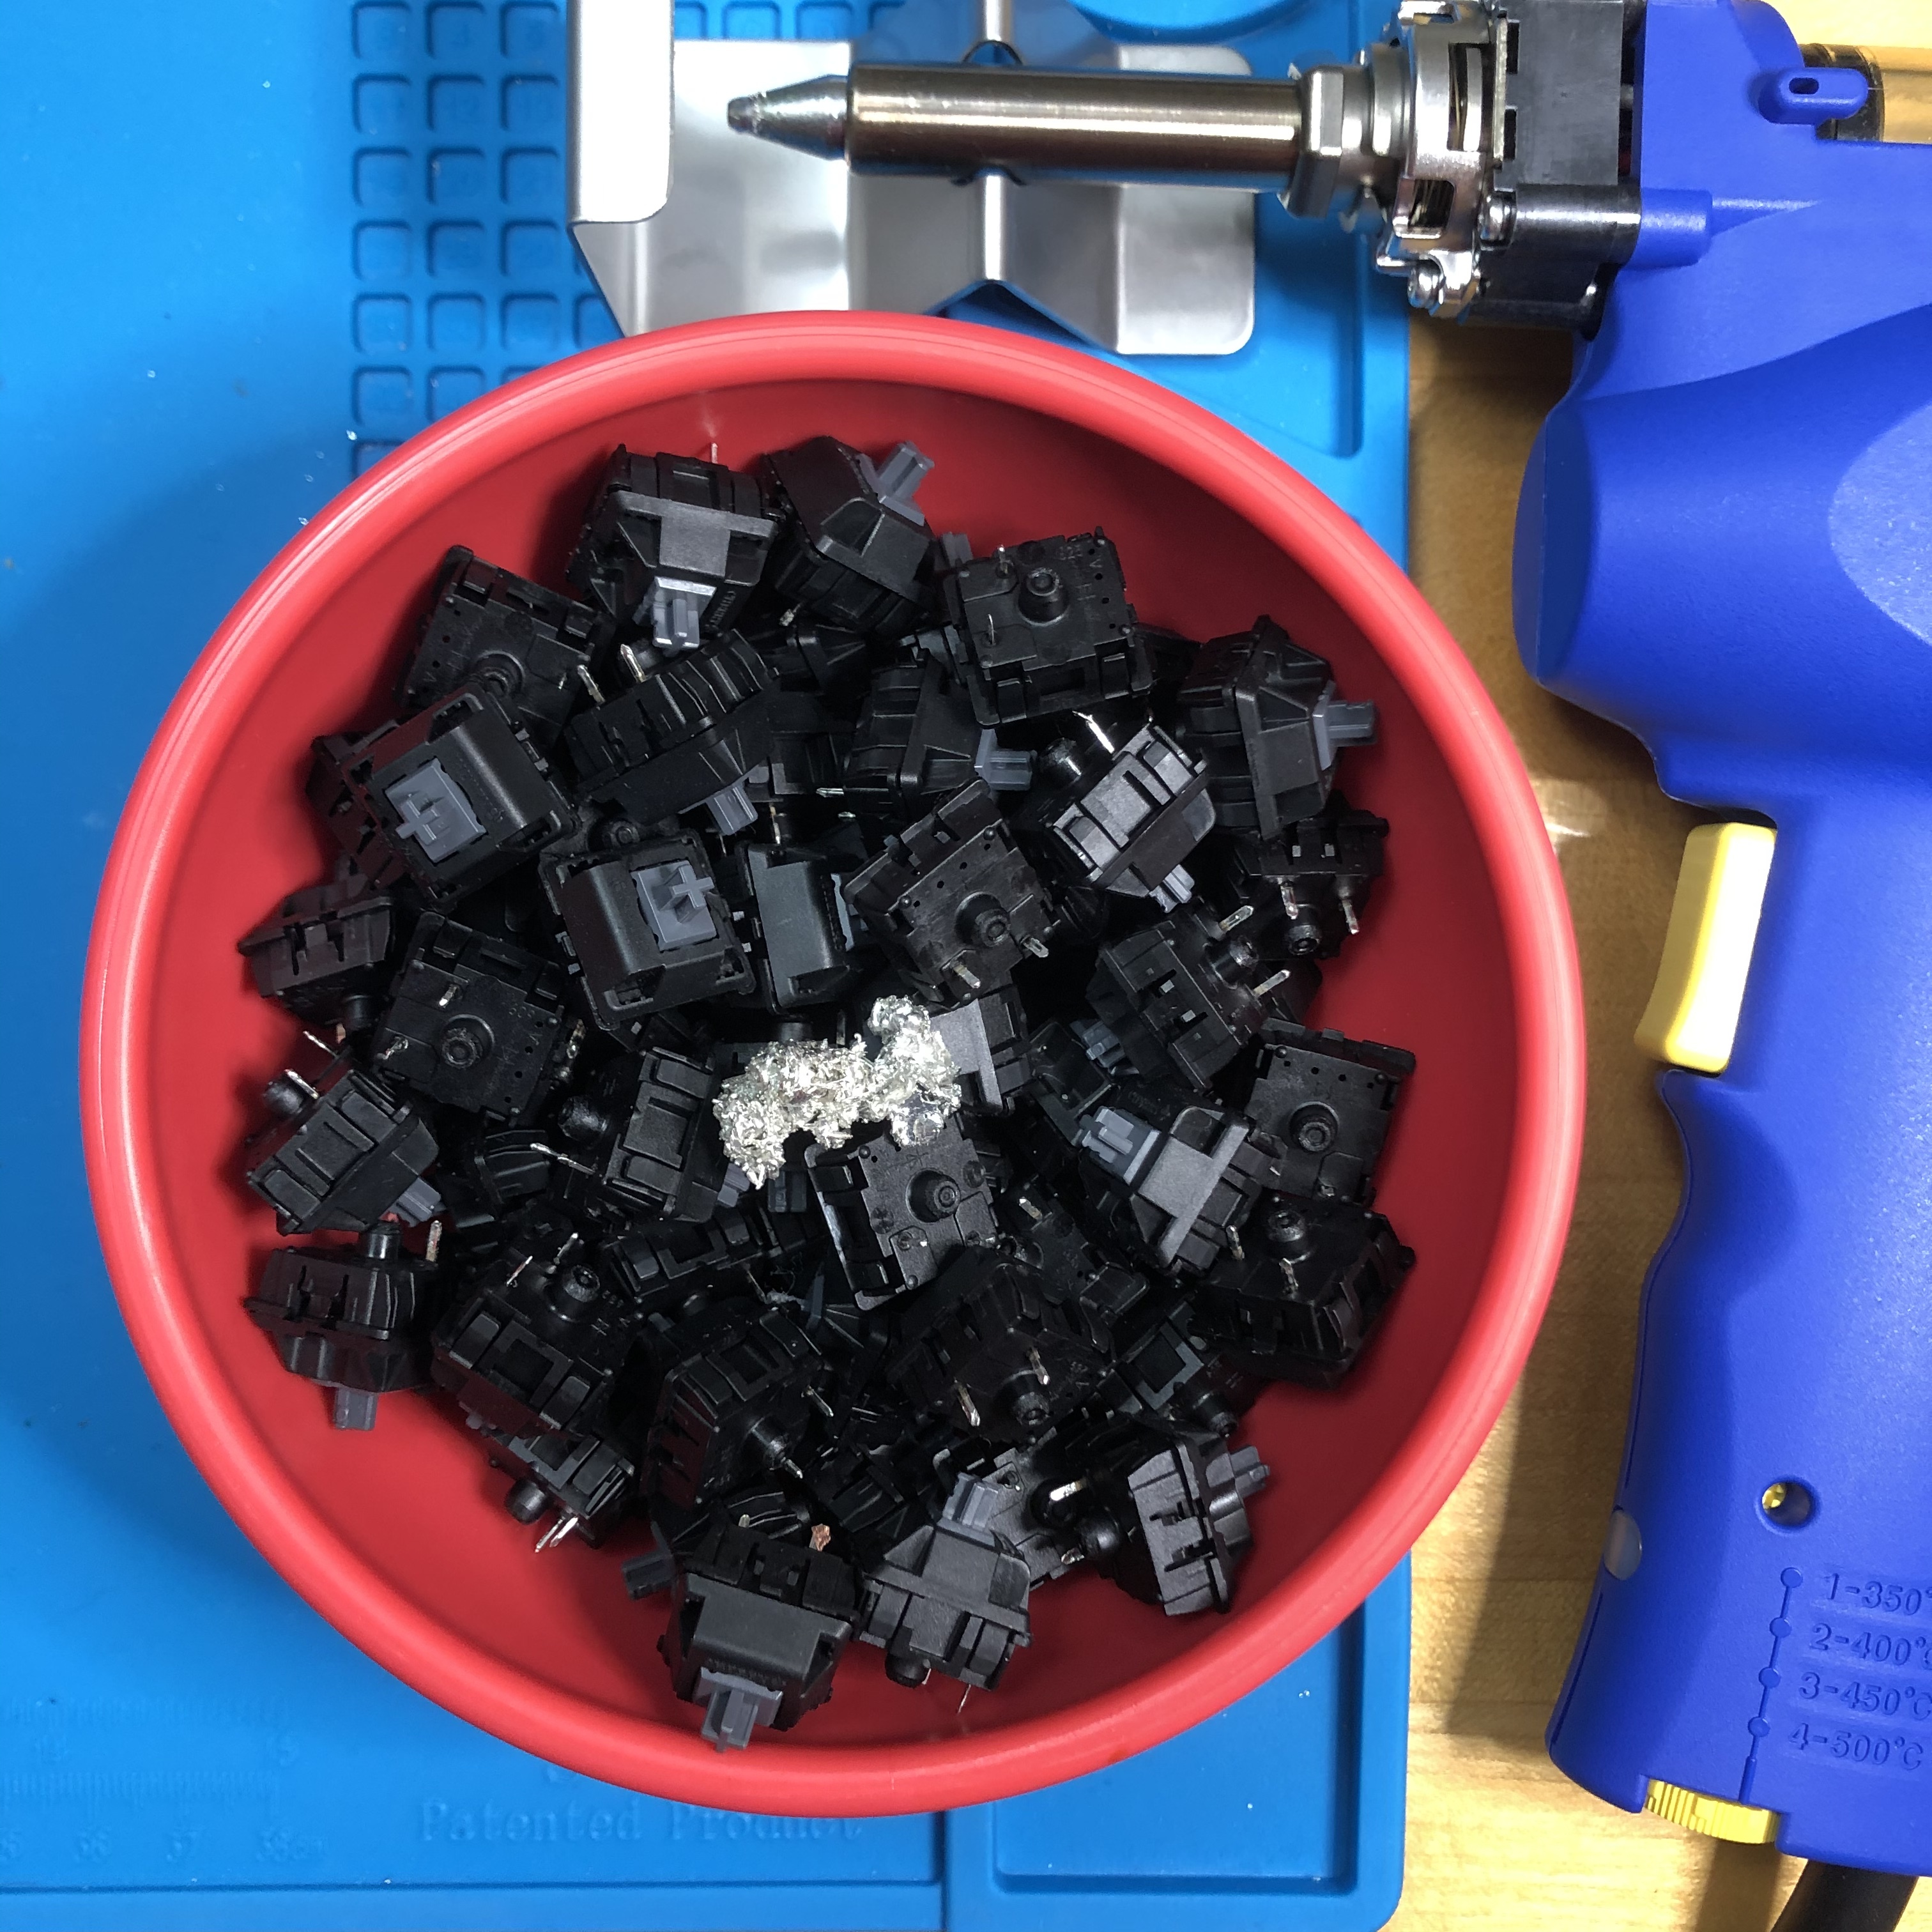
I’ve been dreading to desolder this donor board and the target board…
But it worked out surprisingly well this time, at least as far as this donor board goes. Also surprised that the Engineer SS-02 worked less well than the cheapo sucker that’s in every 20 Euro soldering iron set. Maybe I’m not using/ cleaning it right…
The SS-02 works great for the first board or so, but clogs often and thoroughly after that. Also, if you unscrew it for a cleaning, you have to relubricate the plunger or it will stick and have terrible suction.
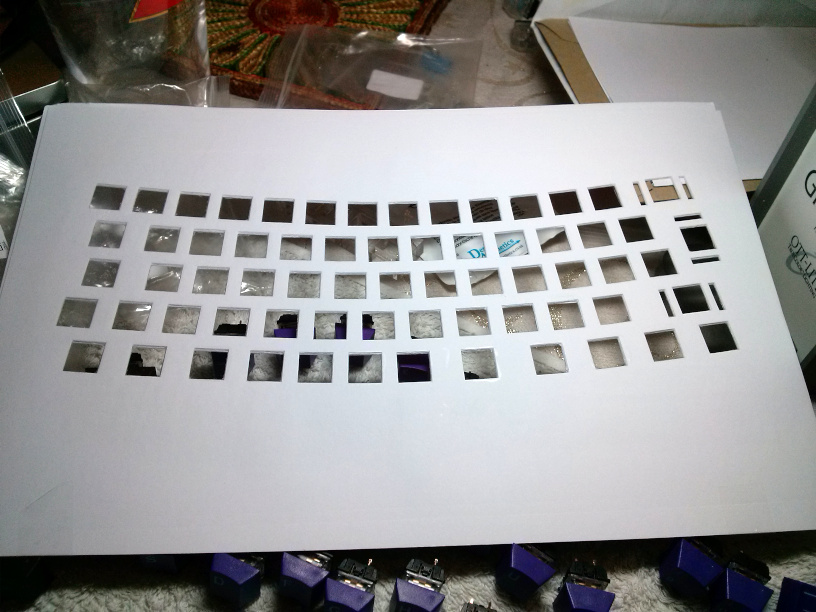
My weirdest project for a while - I have an oddball curved keyboard layout in mind. I wanted to see how it feels under the fingers, whether it works for me, and whether I’ve got the spacings and angles right, before having either a PCB or switch plate made.
So here’s today’s chore - a prototype switchplate made from three layers of 250gsm card.
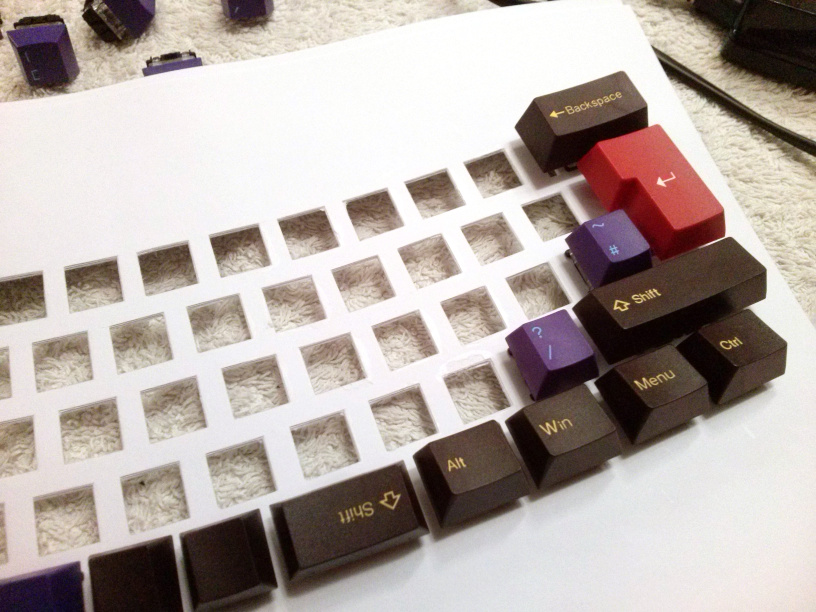
I put the caps on the switches before inserting them for obvious reasons. (Gateron Yellows for the main keys, blacks for the oversize keys. Keycaps are Tai-hao Chocolate Factory with ISO option. I’m currently using an ANSI board; it taught me that I will never again compromise on ISO layout - but that means my choice of keycaps is severely limited.)
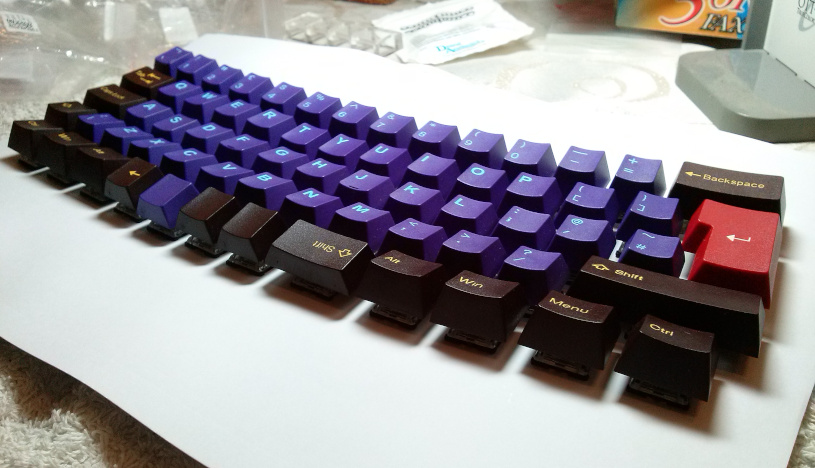
The end result looks, feels (and sounds!) surprisingly good considering there’s so little holding it all together.
A few tweaks needed, (plus the small matter of actually wiring it!) but I like it enough that I think it will become an actual thing at some point.
@robinsonb5 This is crazy… I love it! ergo iso is a very underexplored field
You’re totally right!
I did a deep clean now and its suction has returned to the initial good level. But I’ve realized that the clogging over time isn’t even my biggest issue. It’s the nozzle cleaning that I need to do almost after every suck. It got better after I shortened the nozzle, so bits actually got pressed out, but they never do completely. Maybe I’m doing something wrong there as well?
The other thing is that the strong spring is quite hard/uncomfortable to repeatedly press. Maybe my hand is just too small and weak 
Any additional advice would be very welcome!
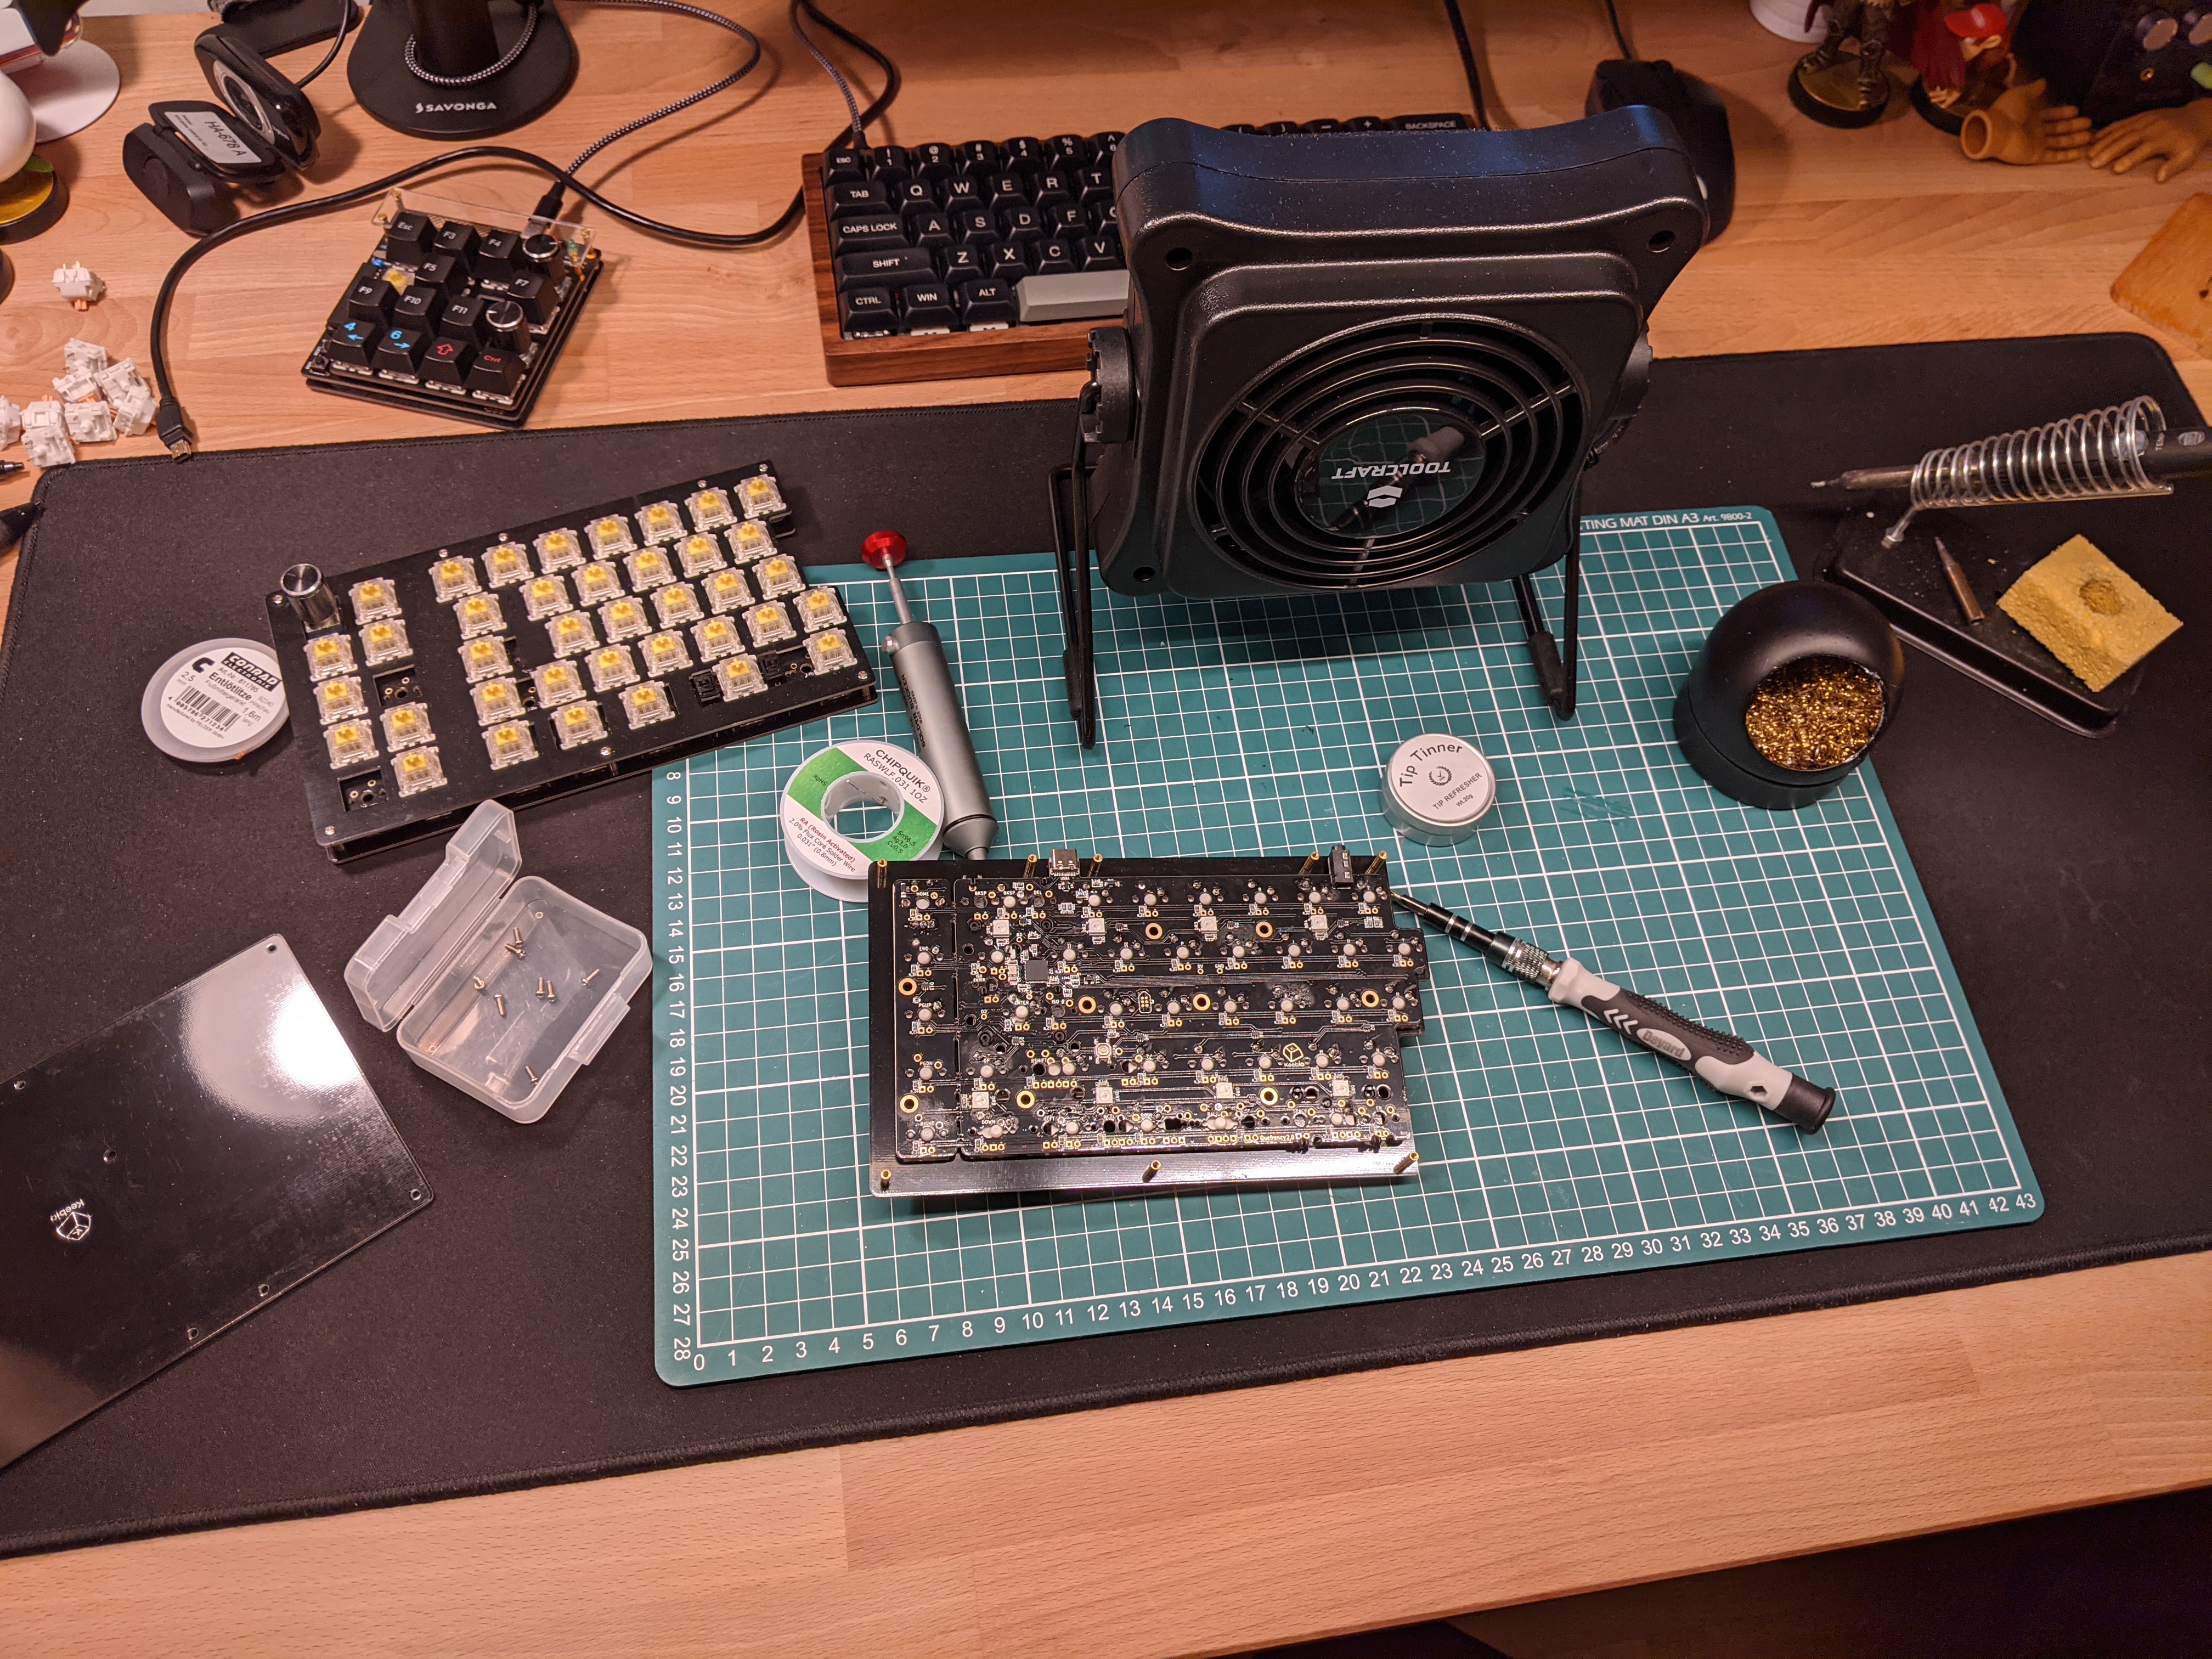
That’s my continued frustration with it as well. The nozzle clogs after every suck. I have to depress the plunger all the way and pull out the solder with my fingers. This year I decided to save up and buy a Hakko FR-301, and I don’t regret it one bit. In fact any thoughts of it being a gratuitous and unjustifiable purchase fade away instantly when I use it. A board is desoldered in minutes vs hours, it gives you much less trepidation in switch choice as you can easily and safely take them back off, and you can help out local friends or soon to be friends with their boards.
Hell yeah! That thing is a life saver. I’m trying to clean it out after every use so I’m good to go the next time which thankfully isn’t that much work. Make sure you tin the tip after use and I’m sure it will last forever.
My expectations were high, and yet, completely exceeded.
What was before a multi-hour slog involving literal pain, this was an entirely painless half-hour procedure.
hehe hakko go brrrrrrrt
Yeah that thing is amazing
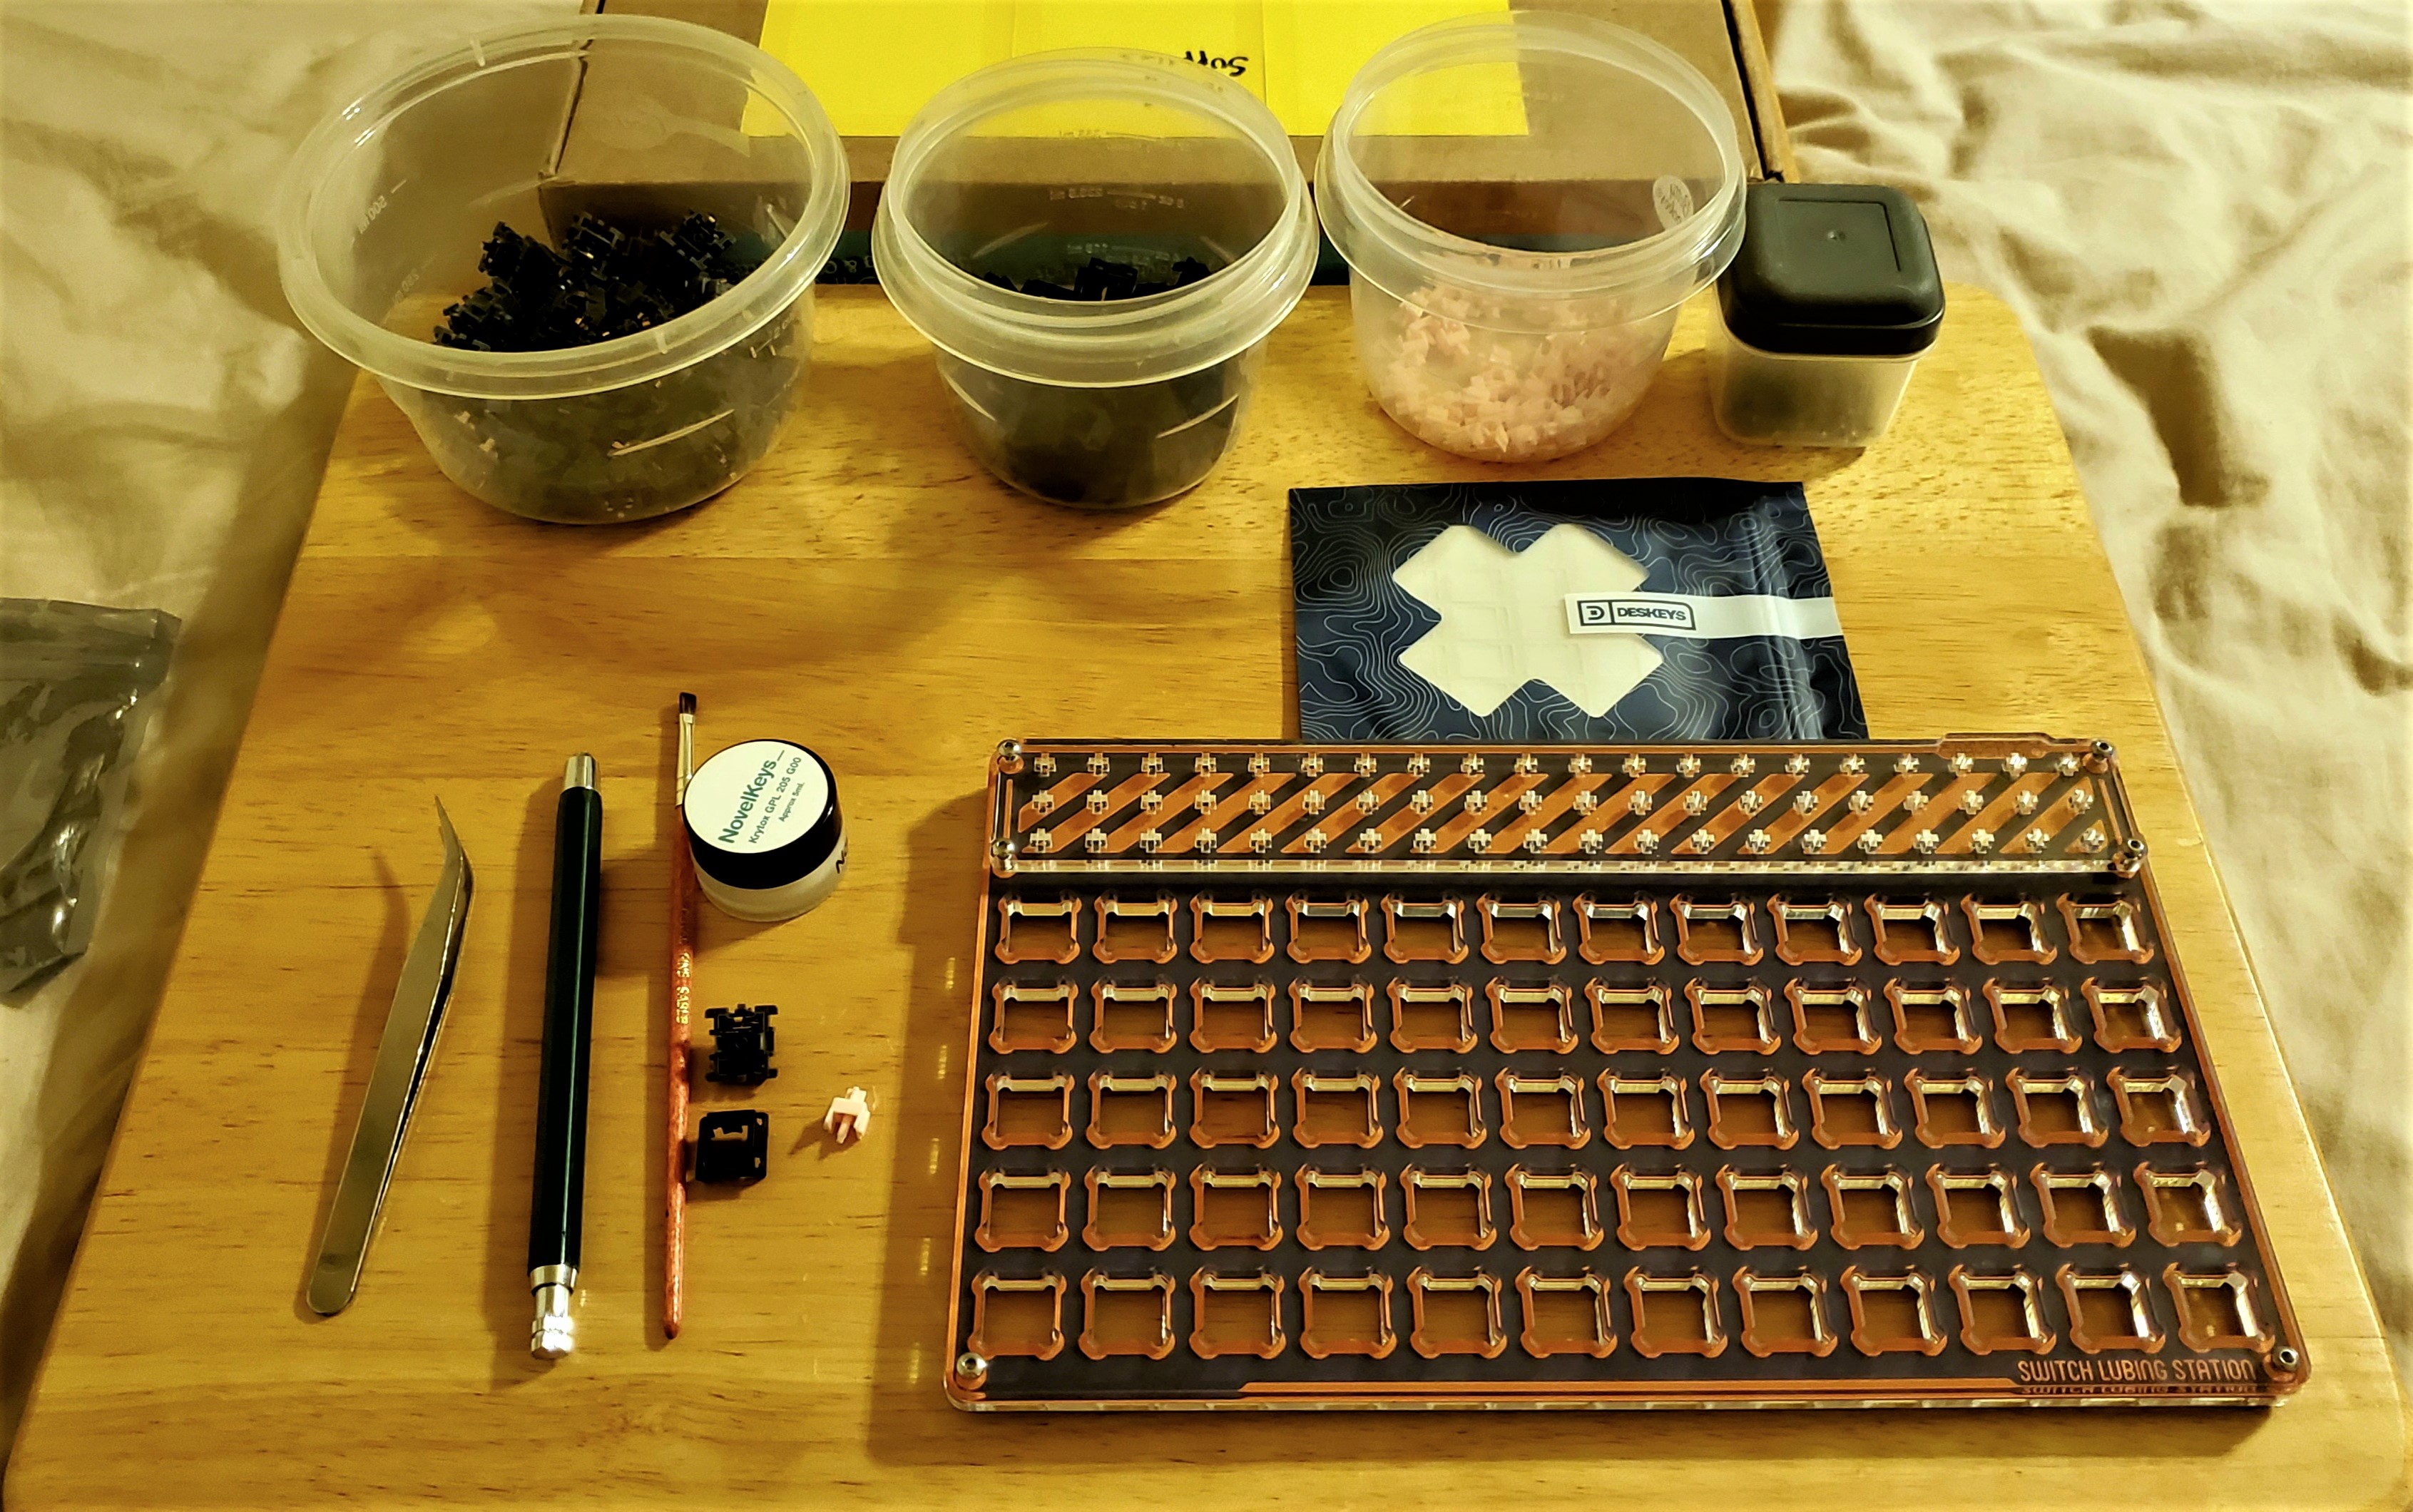
Excellent. I’m hoping to get one for Christmas. Are those speed silvers? Hard to tell. Speed silvers can burn in hell.
MX Silent Blacks. If Tealios are ice-skating, these are tripping into wet sand. I hear the stems are redeemable, though.
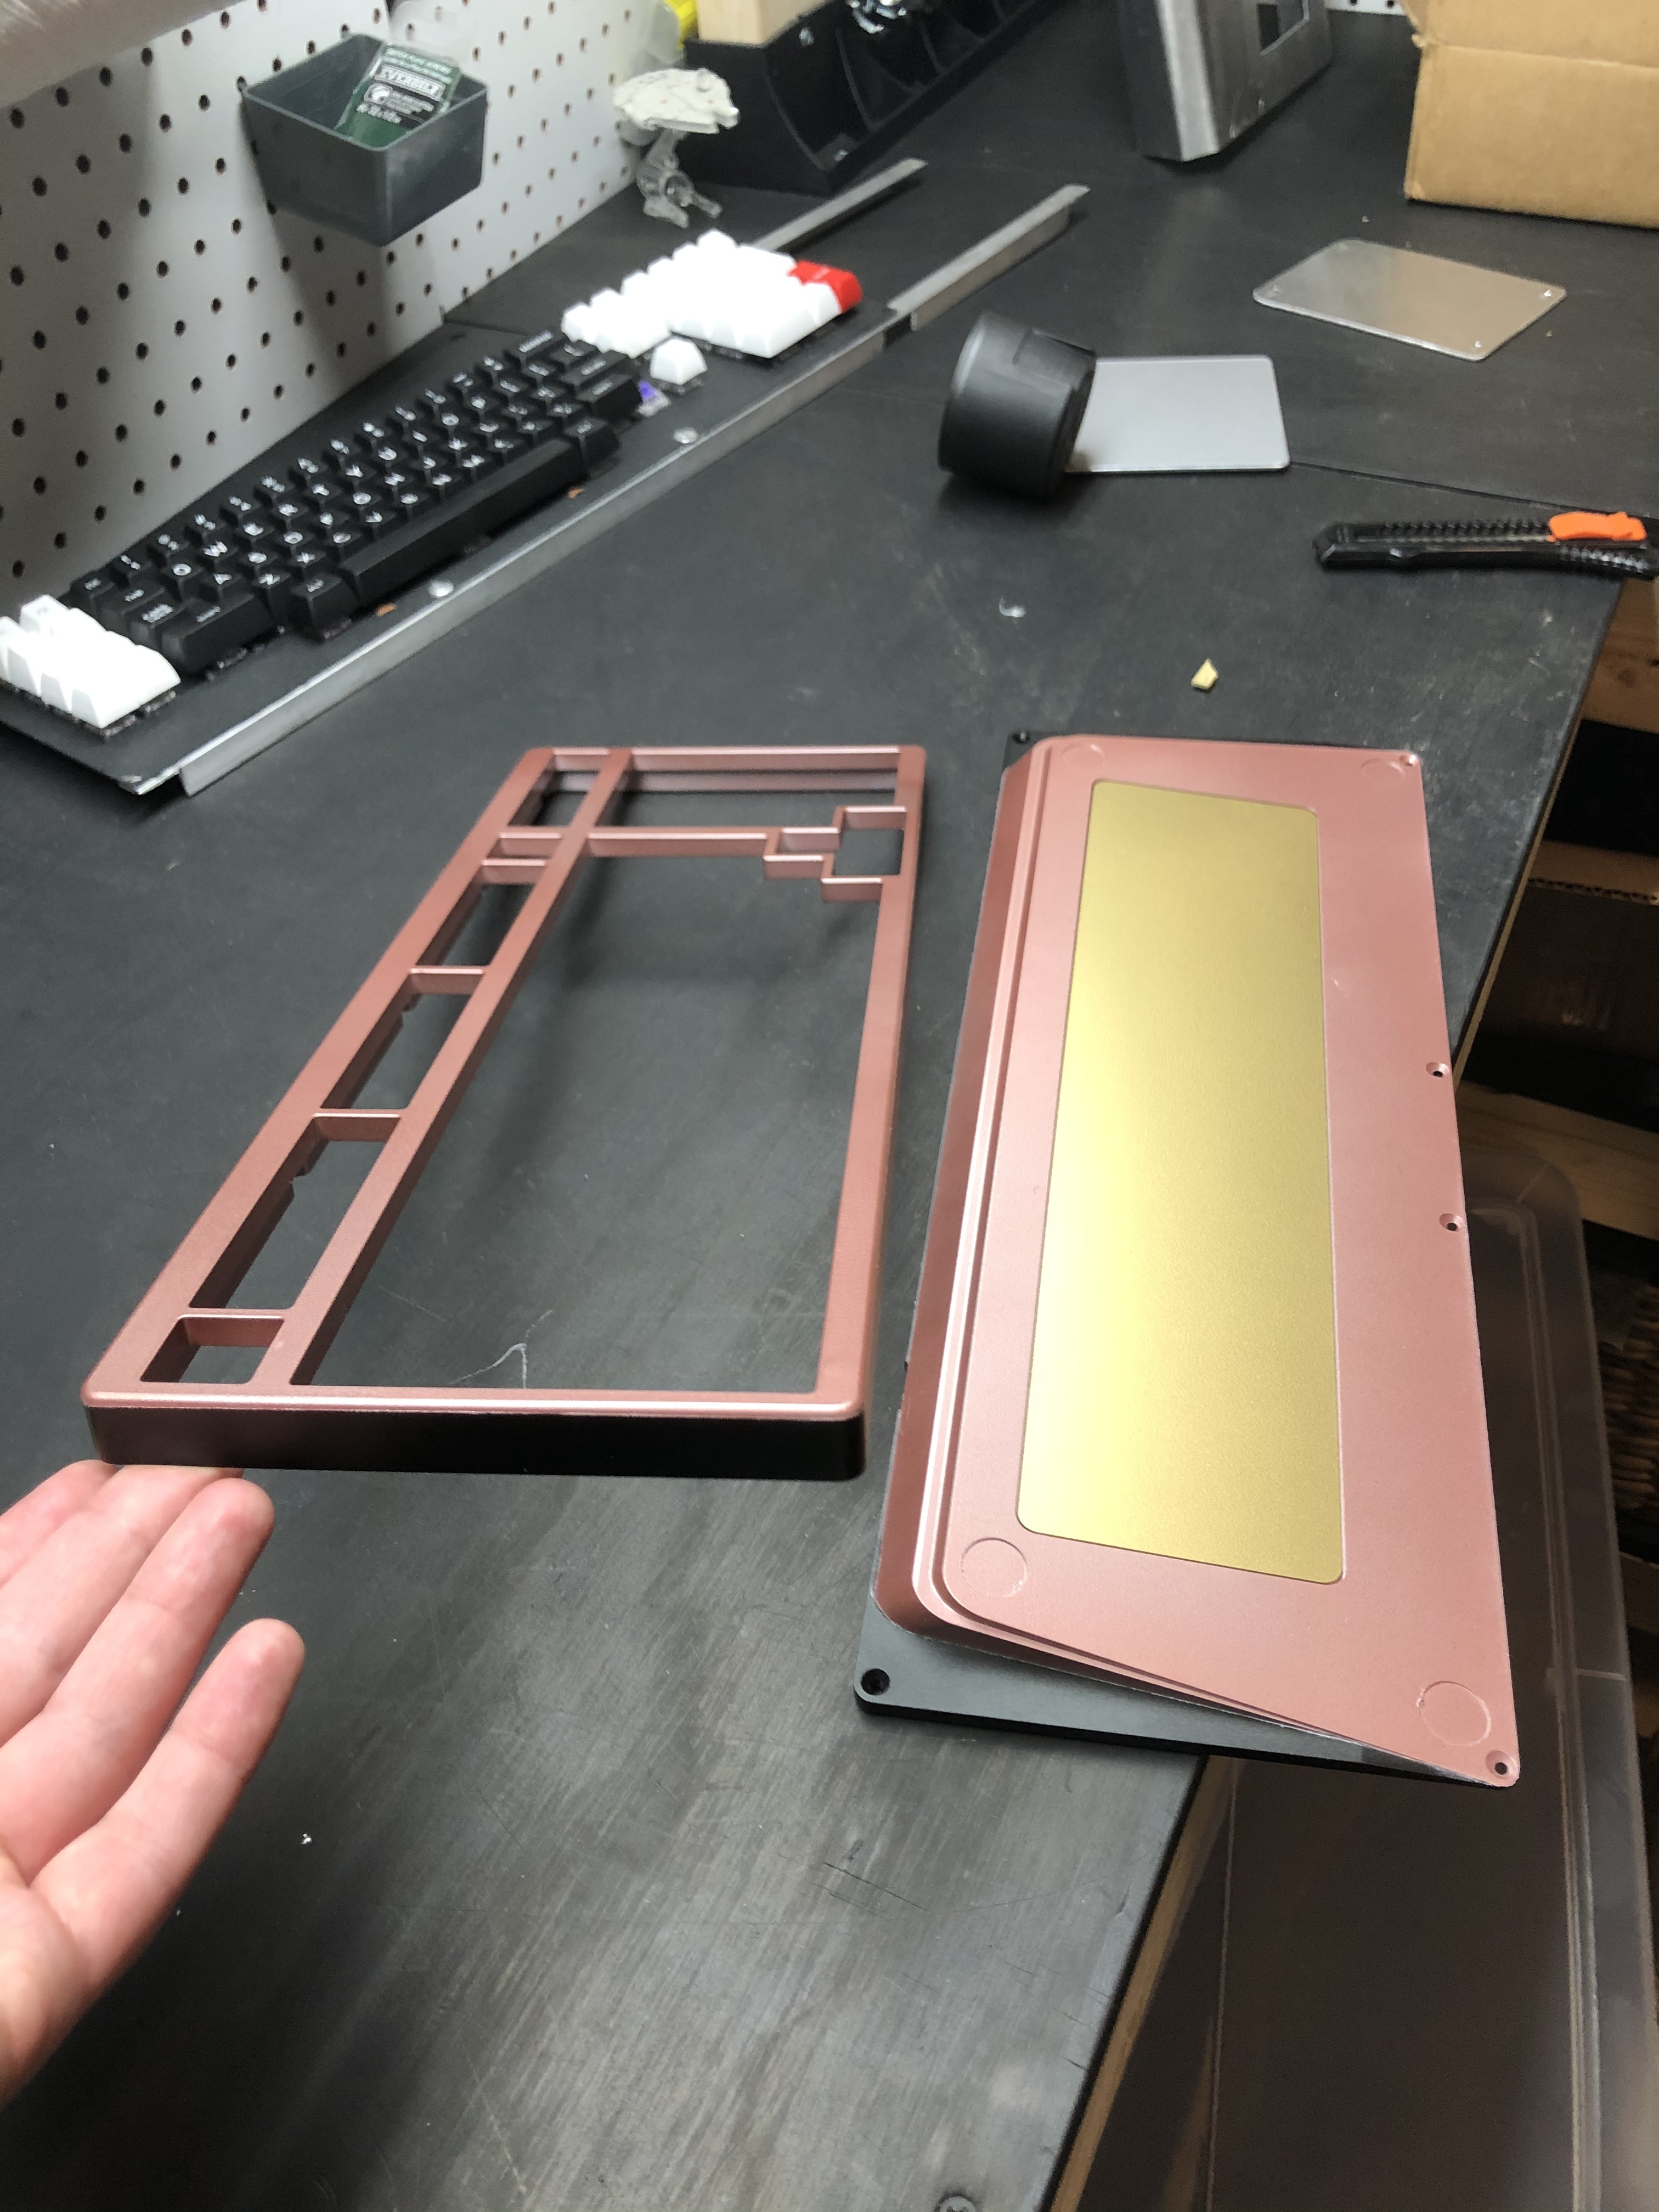
Today I finally got around to installing the case foam for my Kbd8x.
Pro is that it definitely sounds less hollow than before.
Con is that it is way too snug! After re-assembly the spacebar was registering multiple keystrokes.
Don’t need no sticky keys, so my solution was just to cut out the spacebar section with scissors. That solved my issue. I still would not recommend the case foam, and would instead recommend making your own dampener. 3.0mm is just way too thick. You could easily halve that thickness and it would probably still probably be a bit snug.
Are you using standoffs to attach it to a case, or tapping for screws?