What are these keycaps? I am looking for a dry gritty keycaps, and these look the way I am looking for.
What are those keycaps?
These are GMK Teradrive.
Many keycaps are going to have nice texturing on them when you first get them, but most of them will wear down quickly–especially ABS and GMK’s ABS.
I do love evenly shined keycaps, though… 
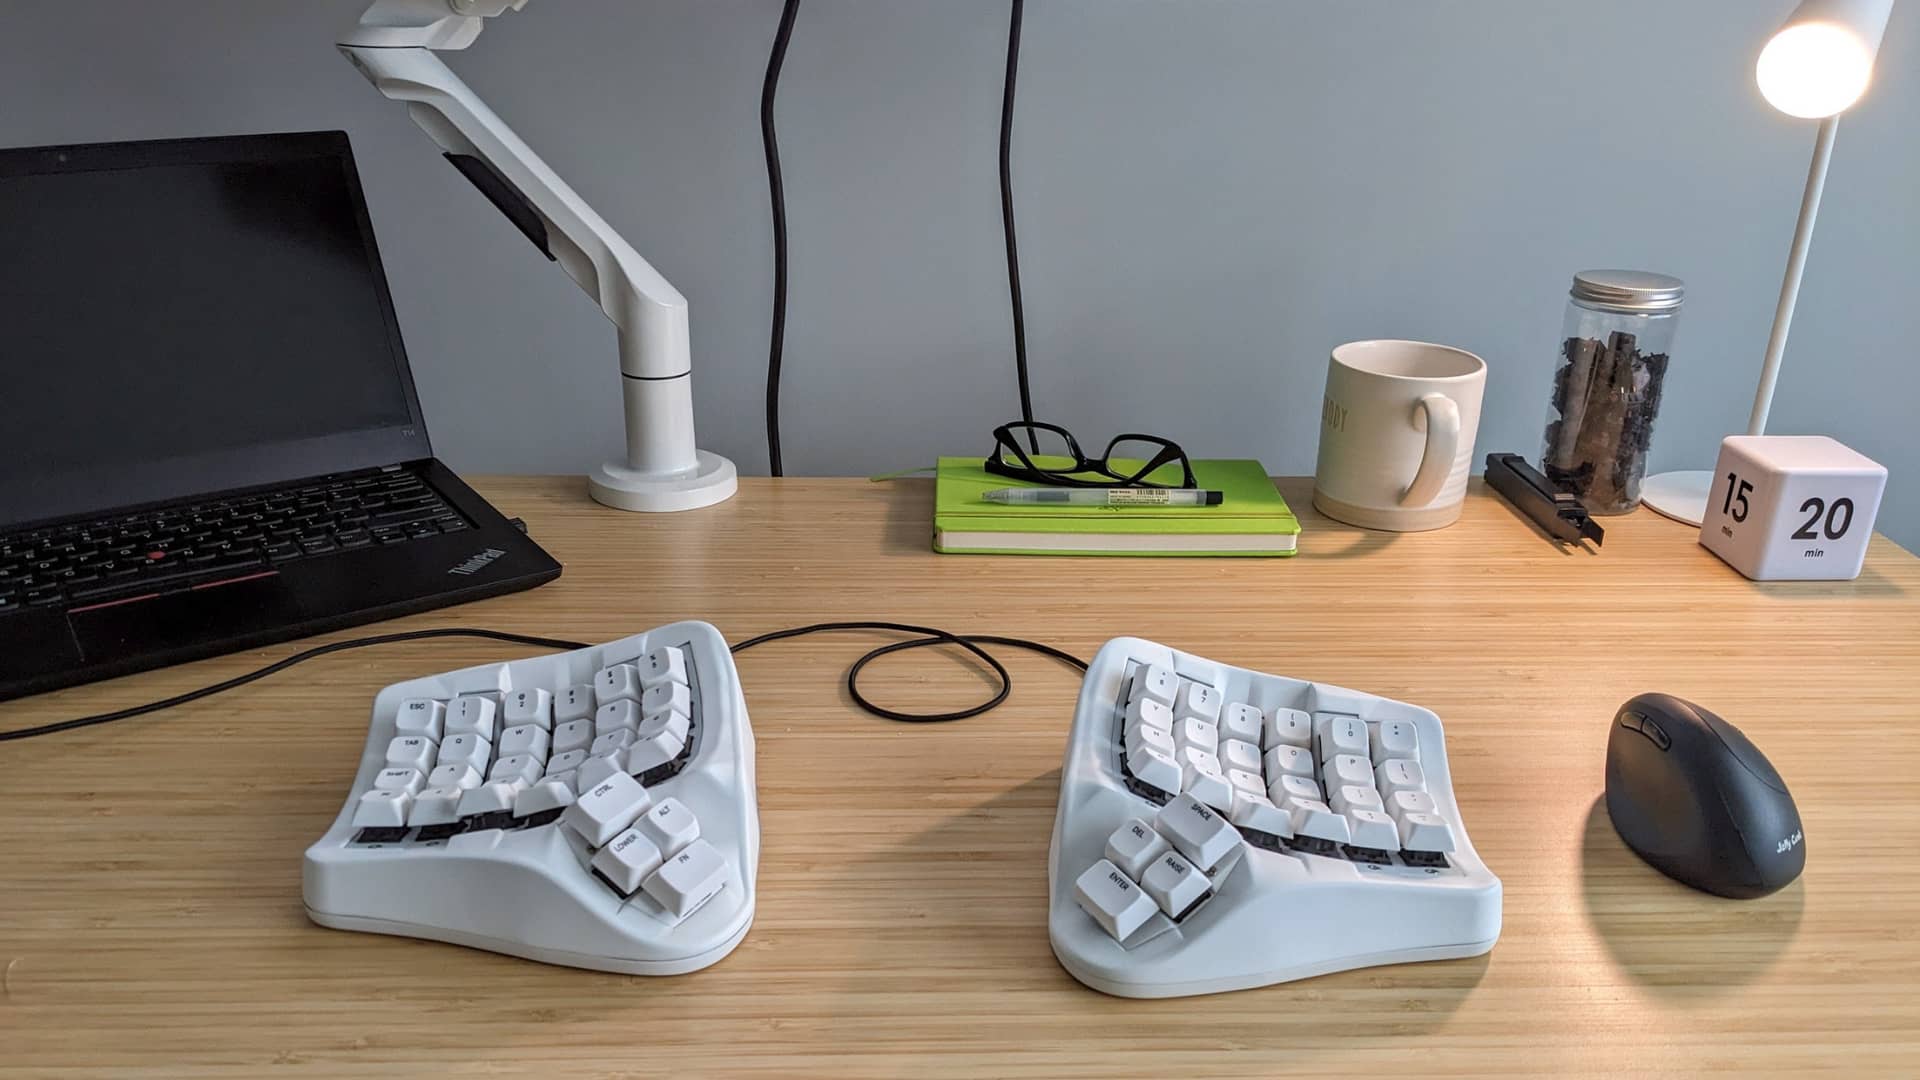
Took pictures of some boards before listing them for sale. Figured I’d share the photos here 
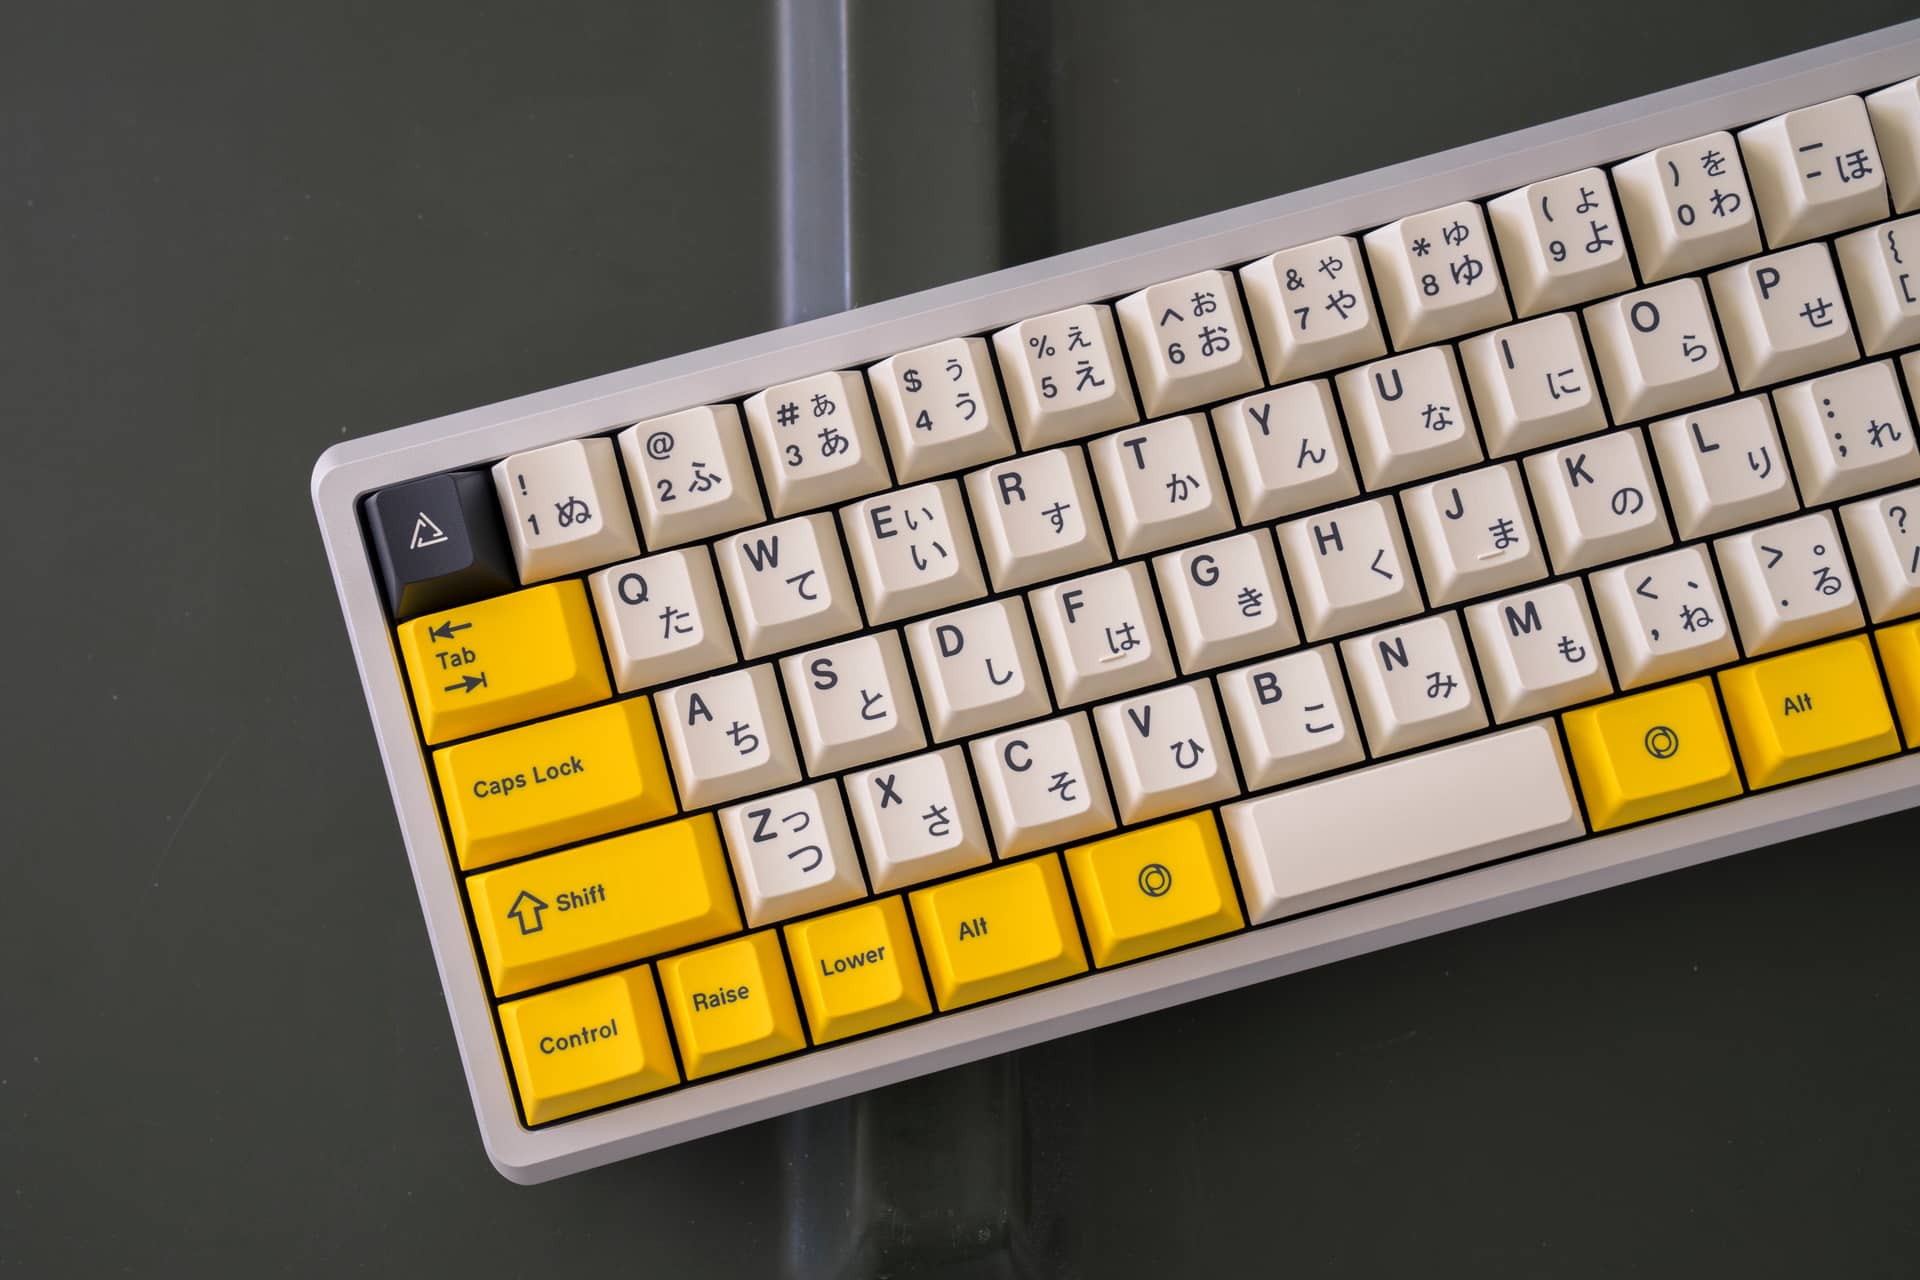
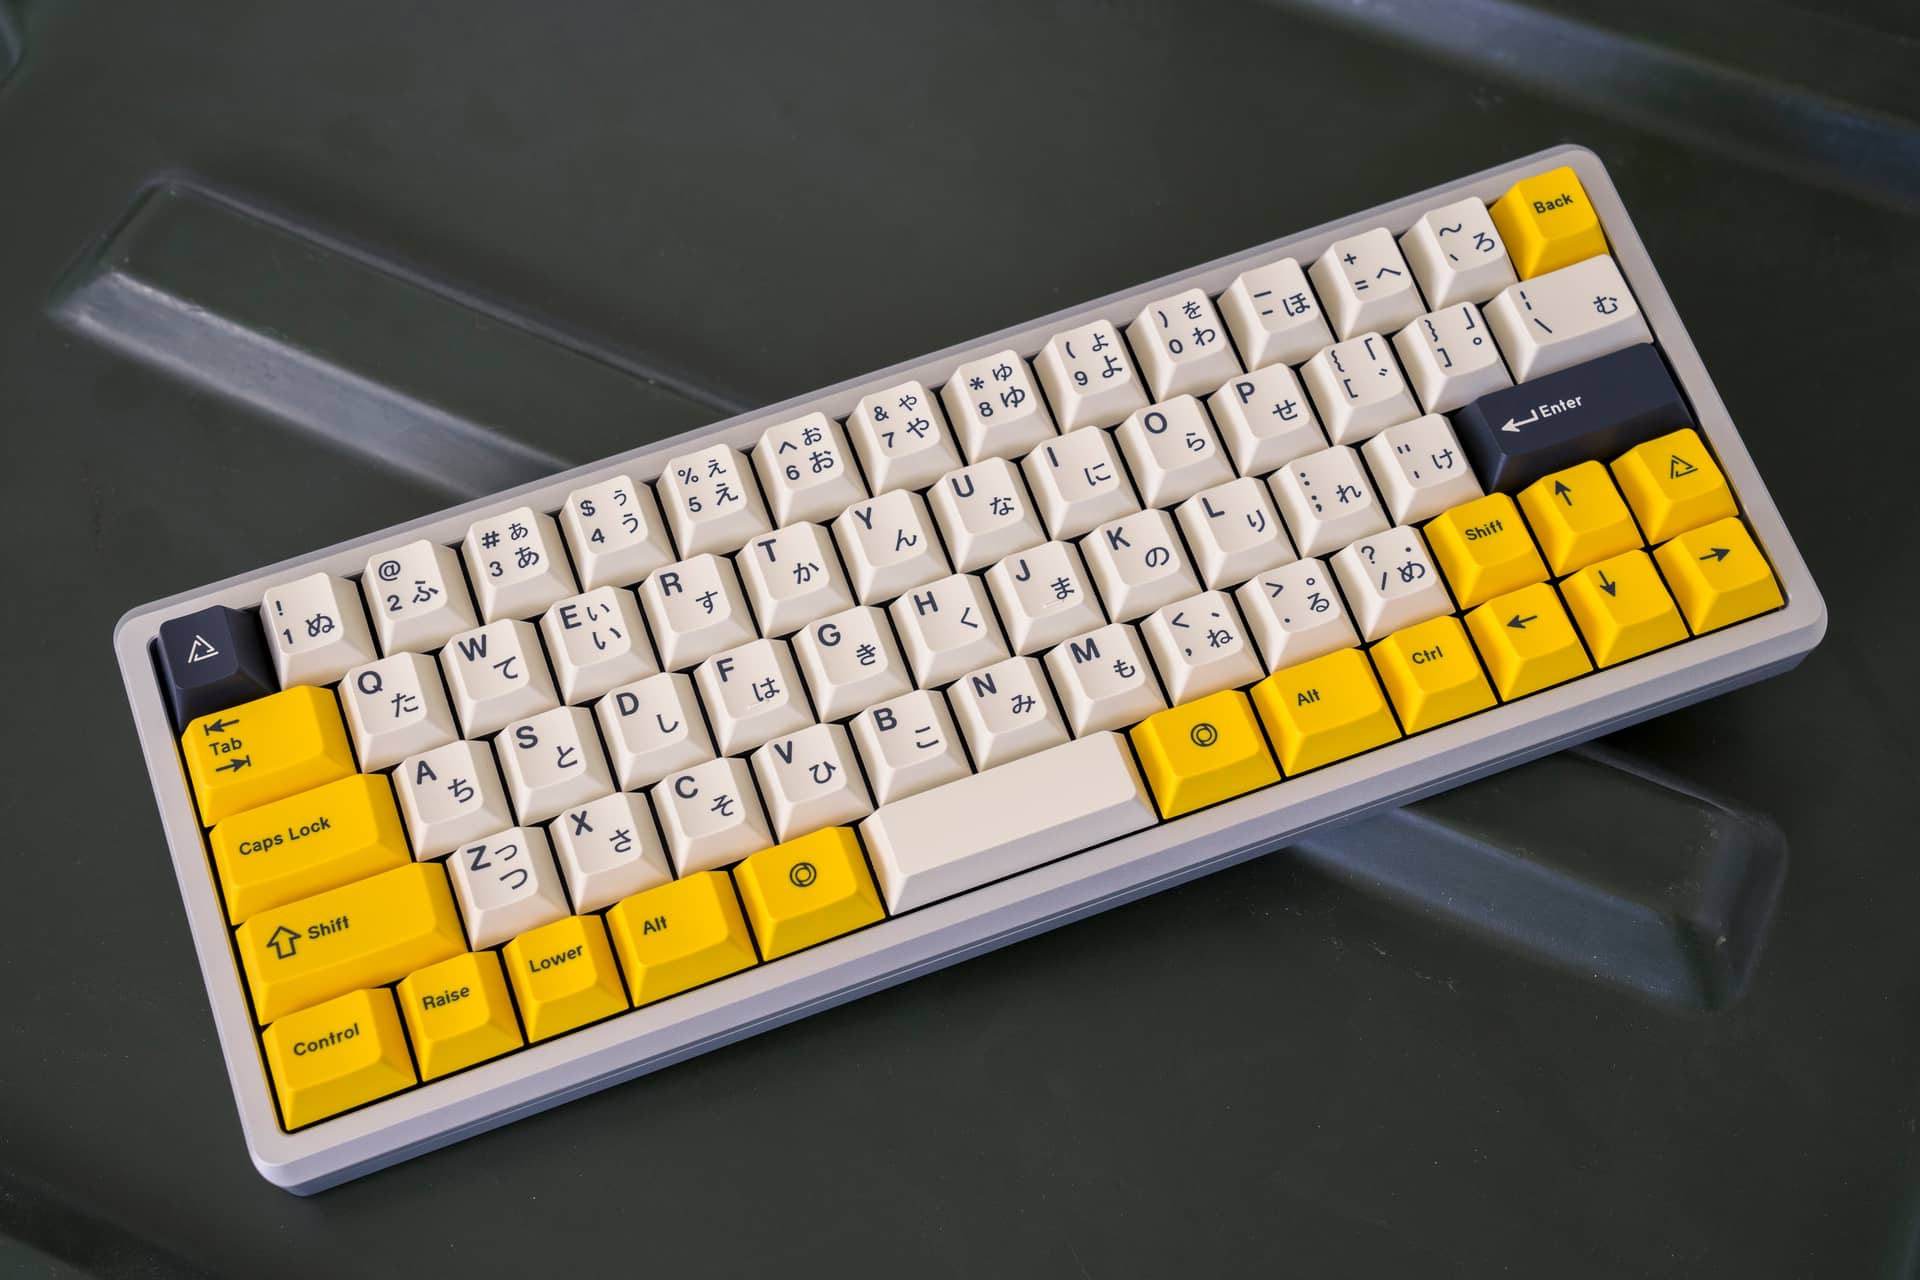

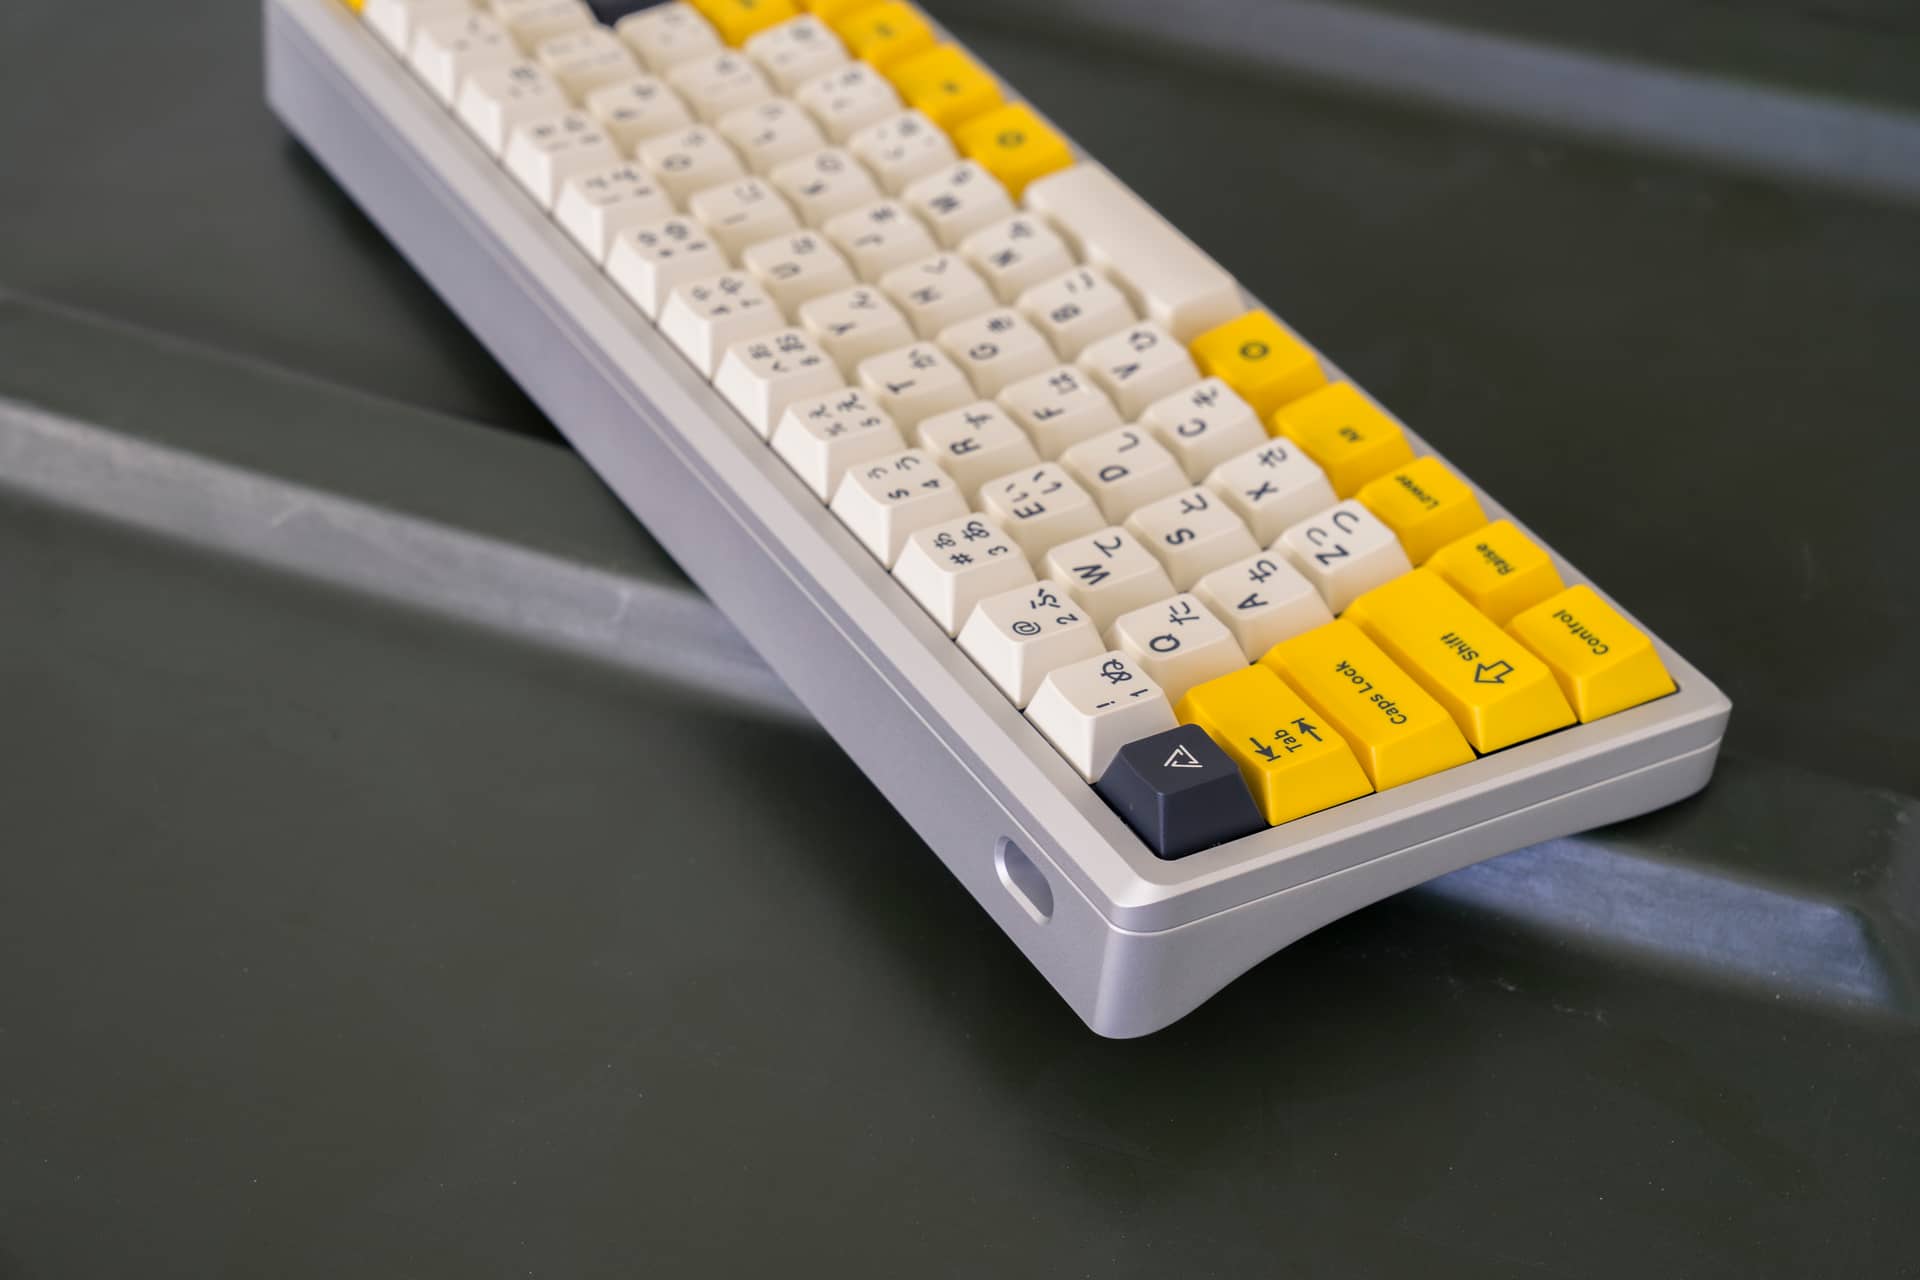
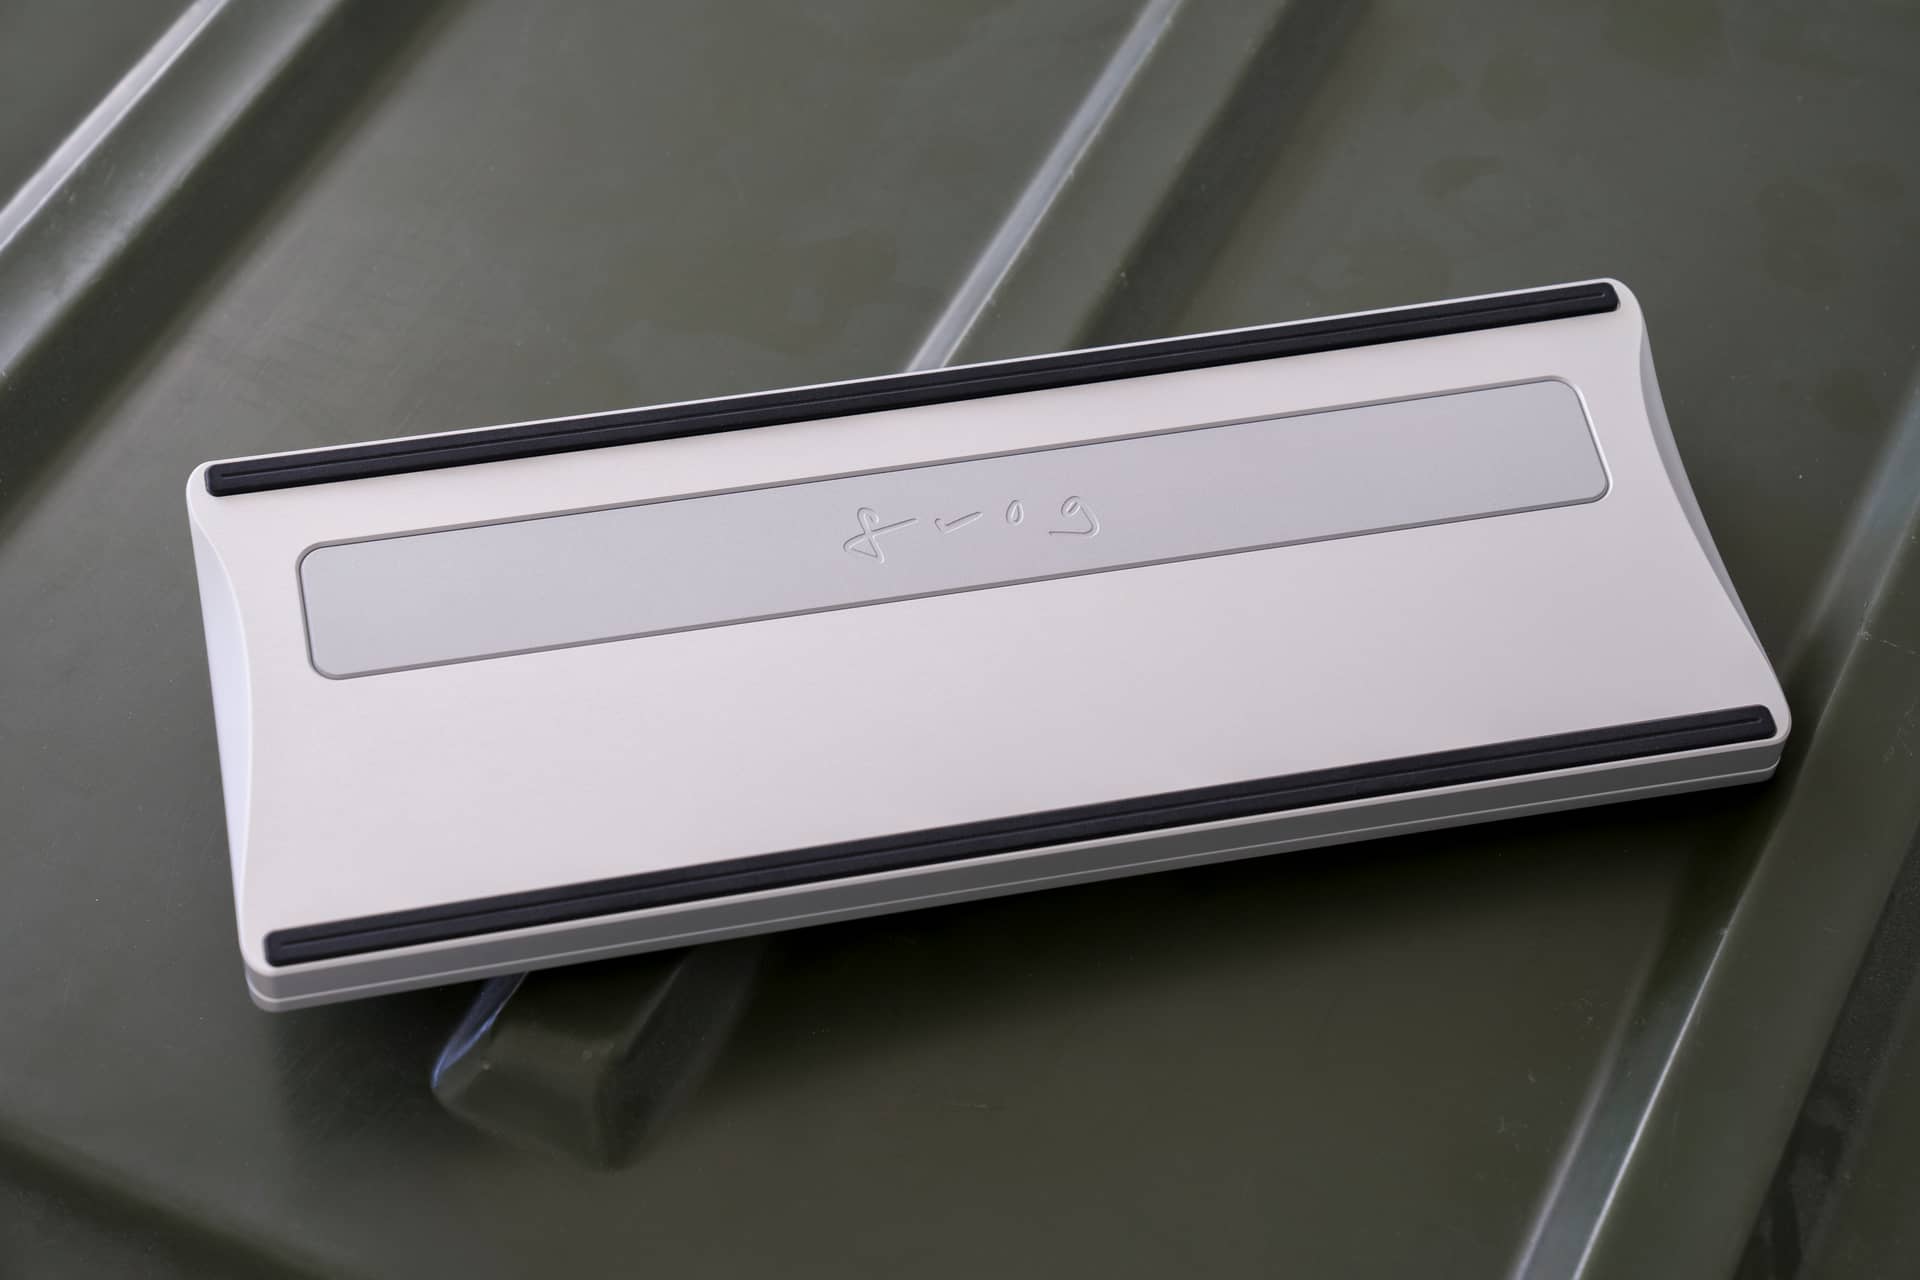
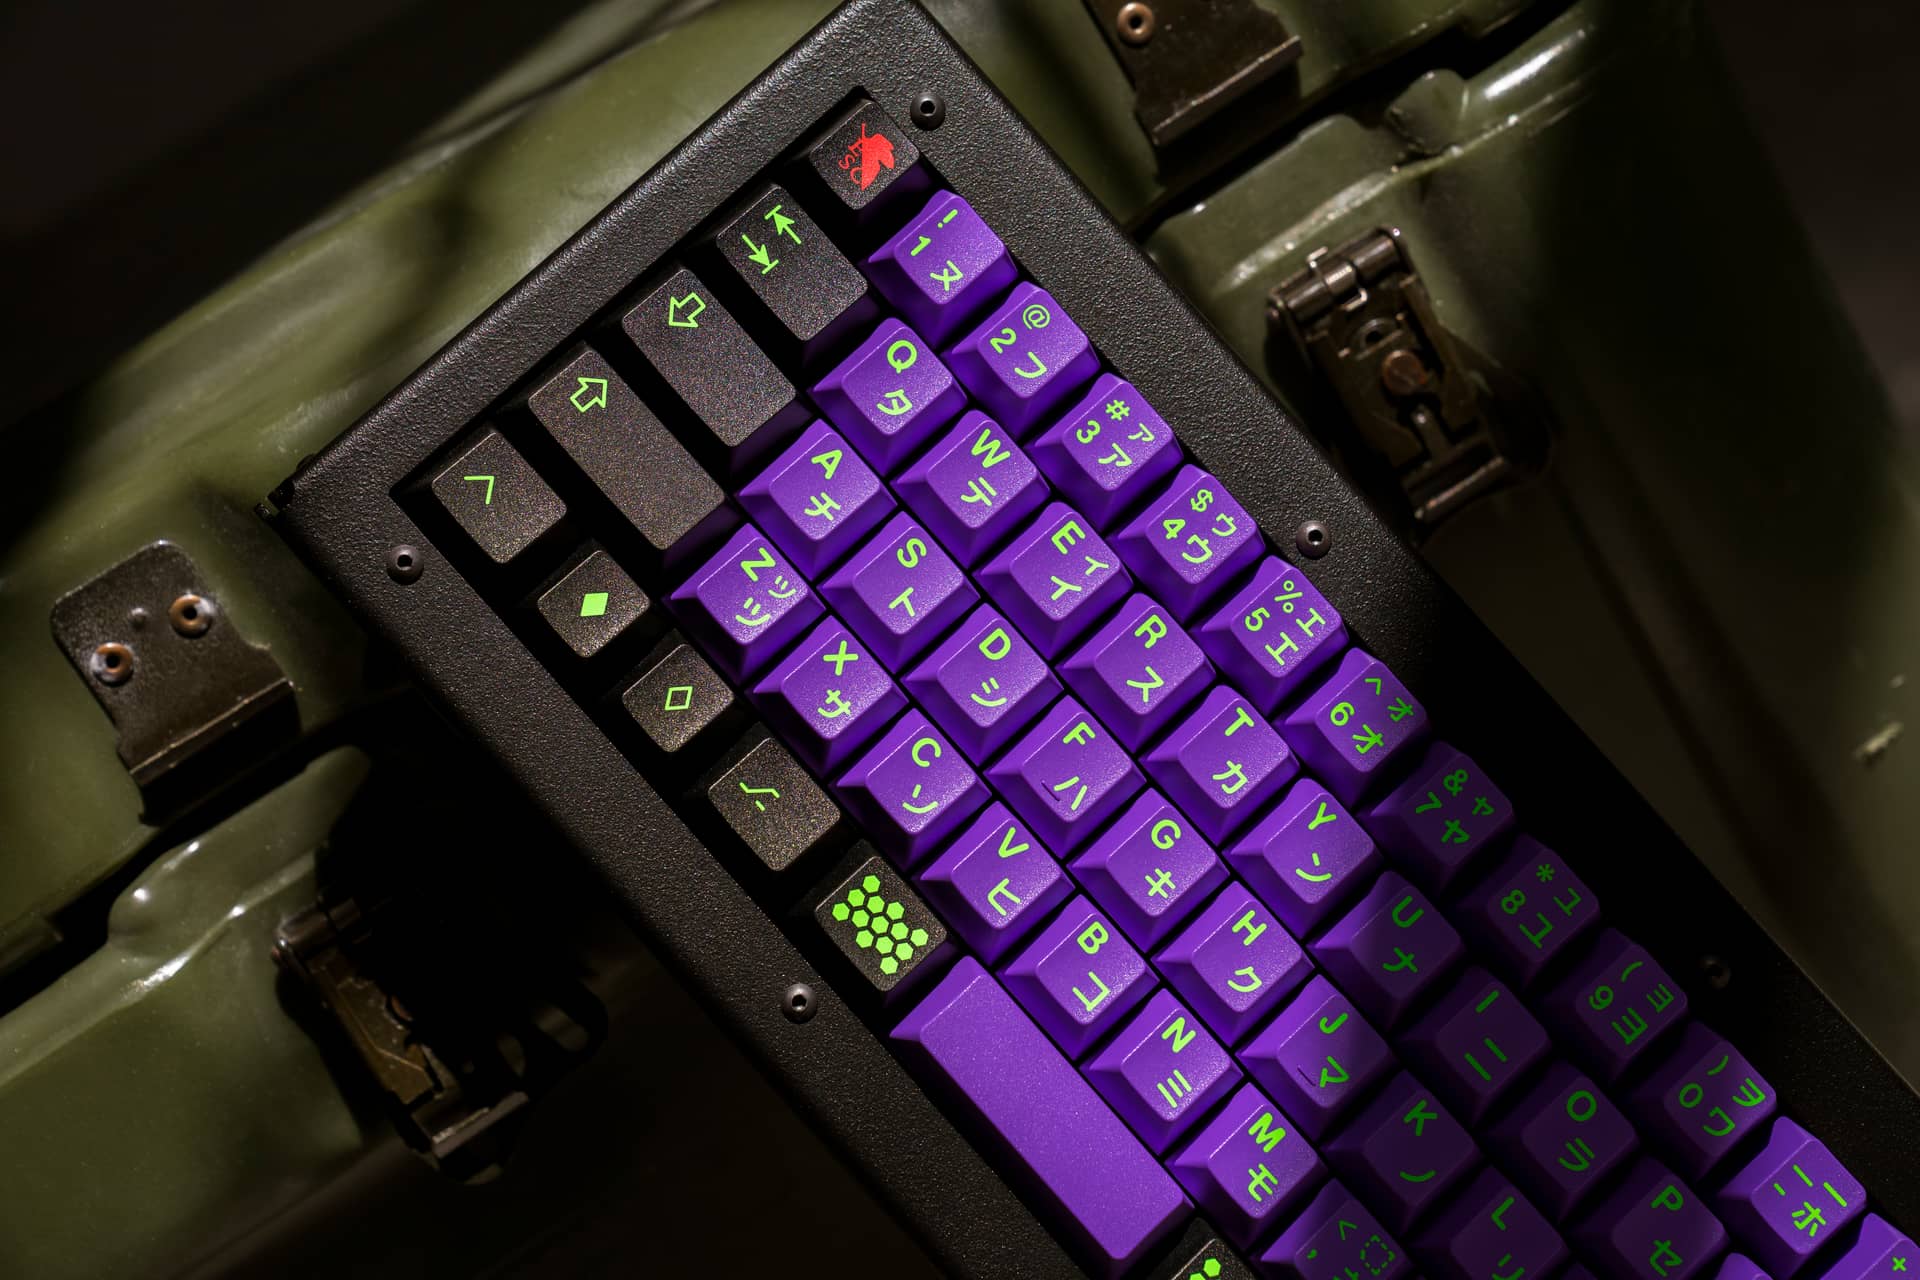
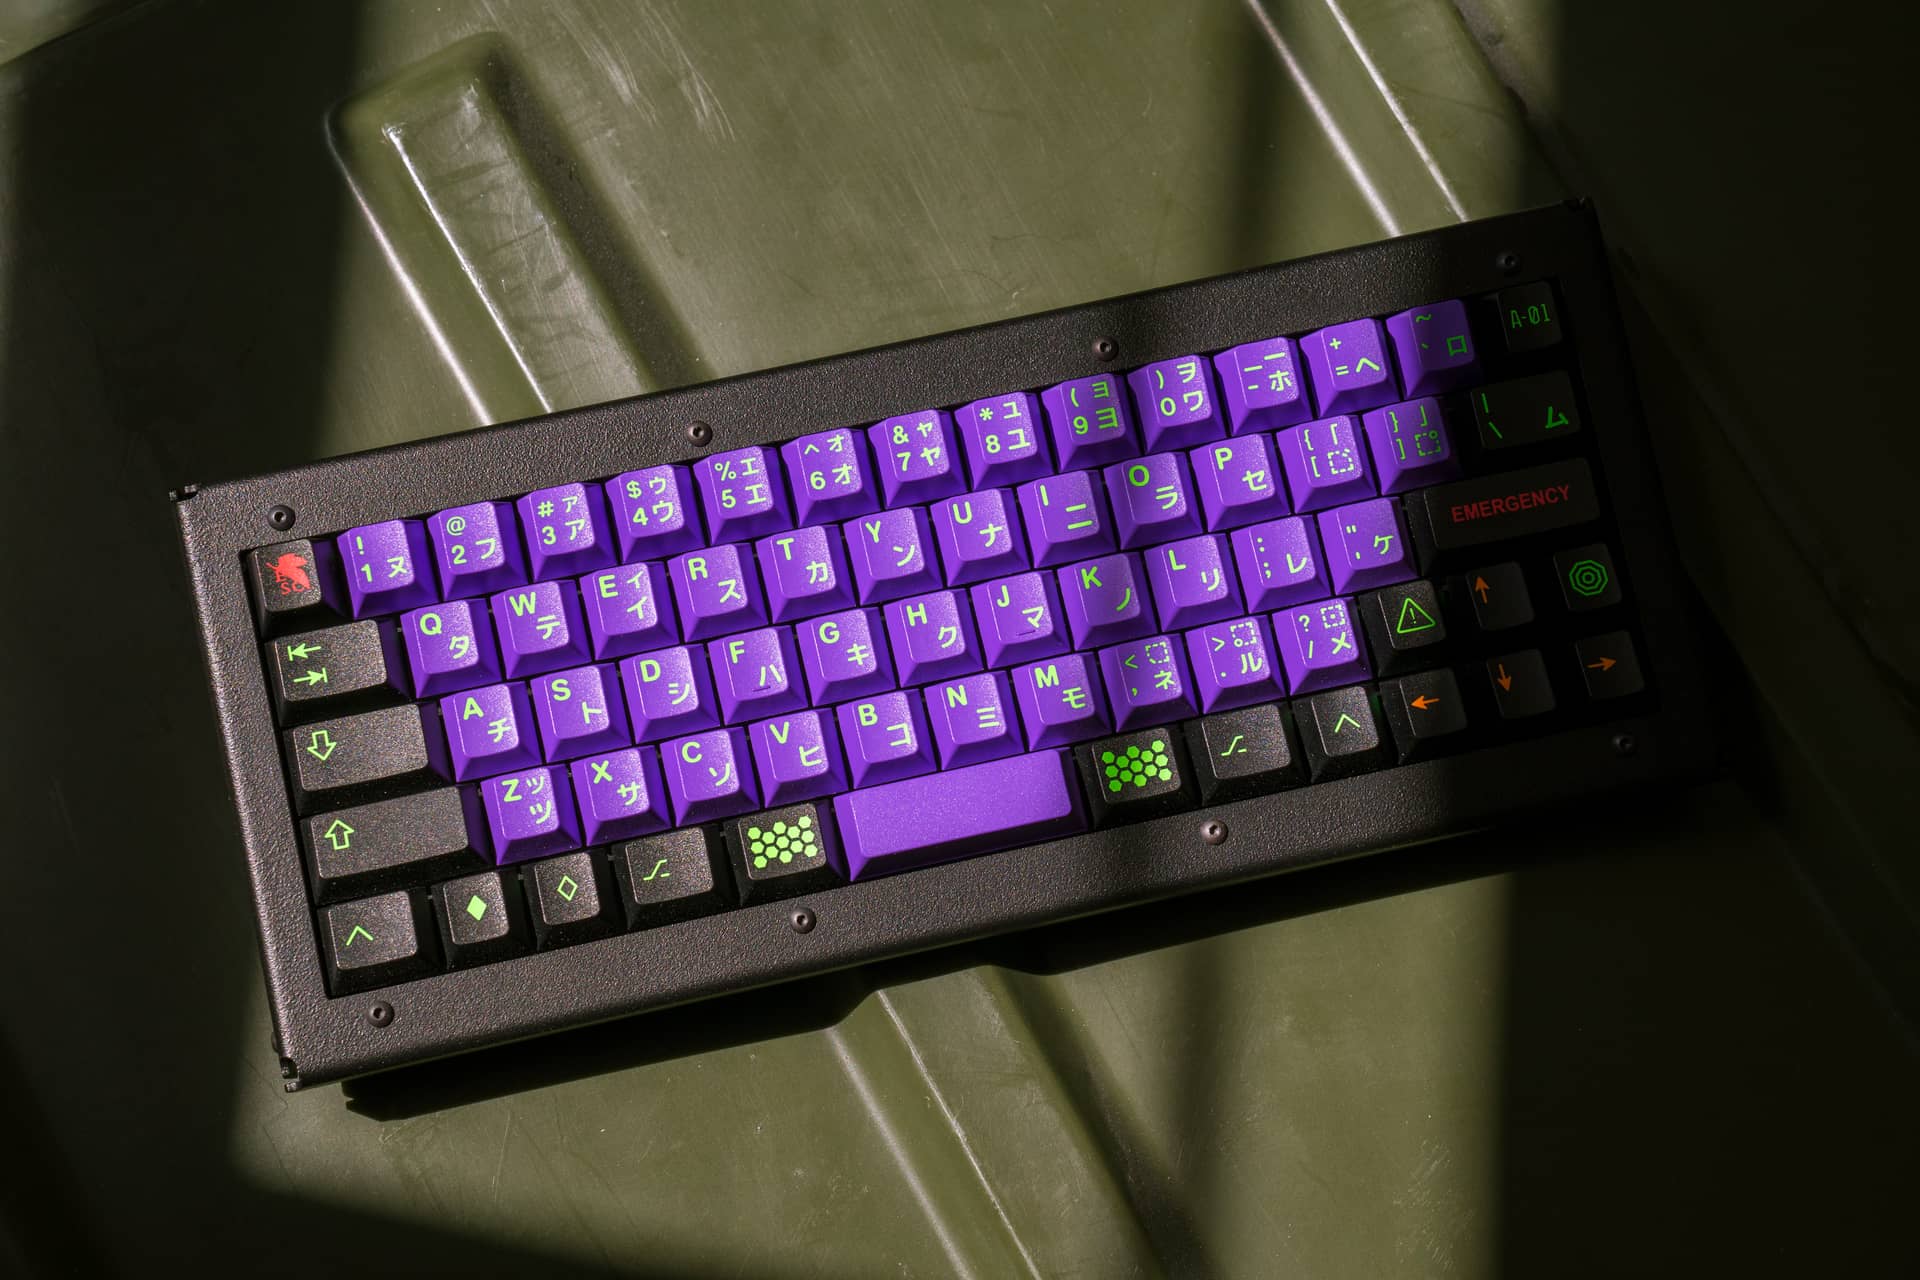
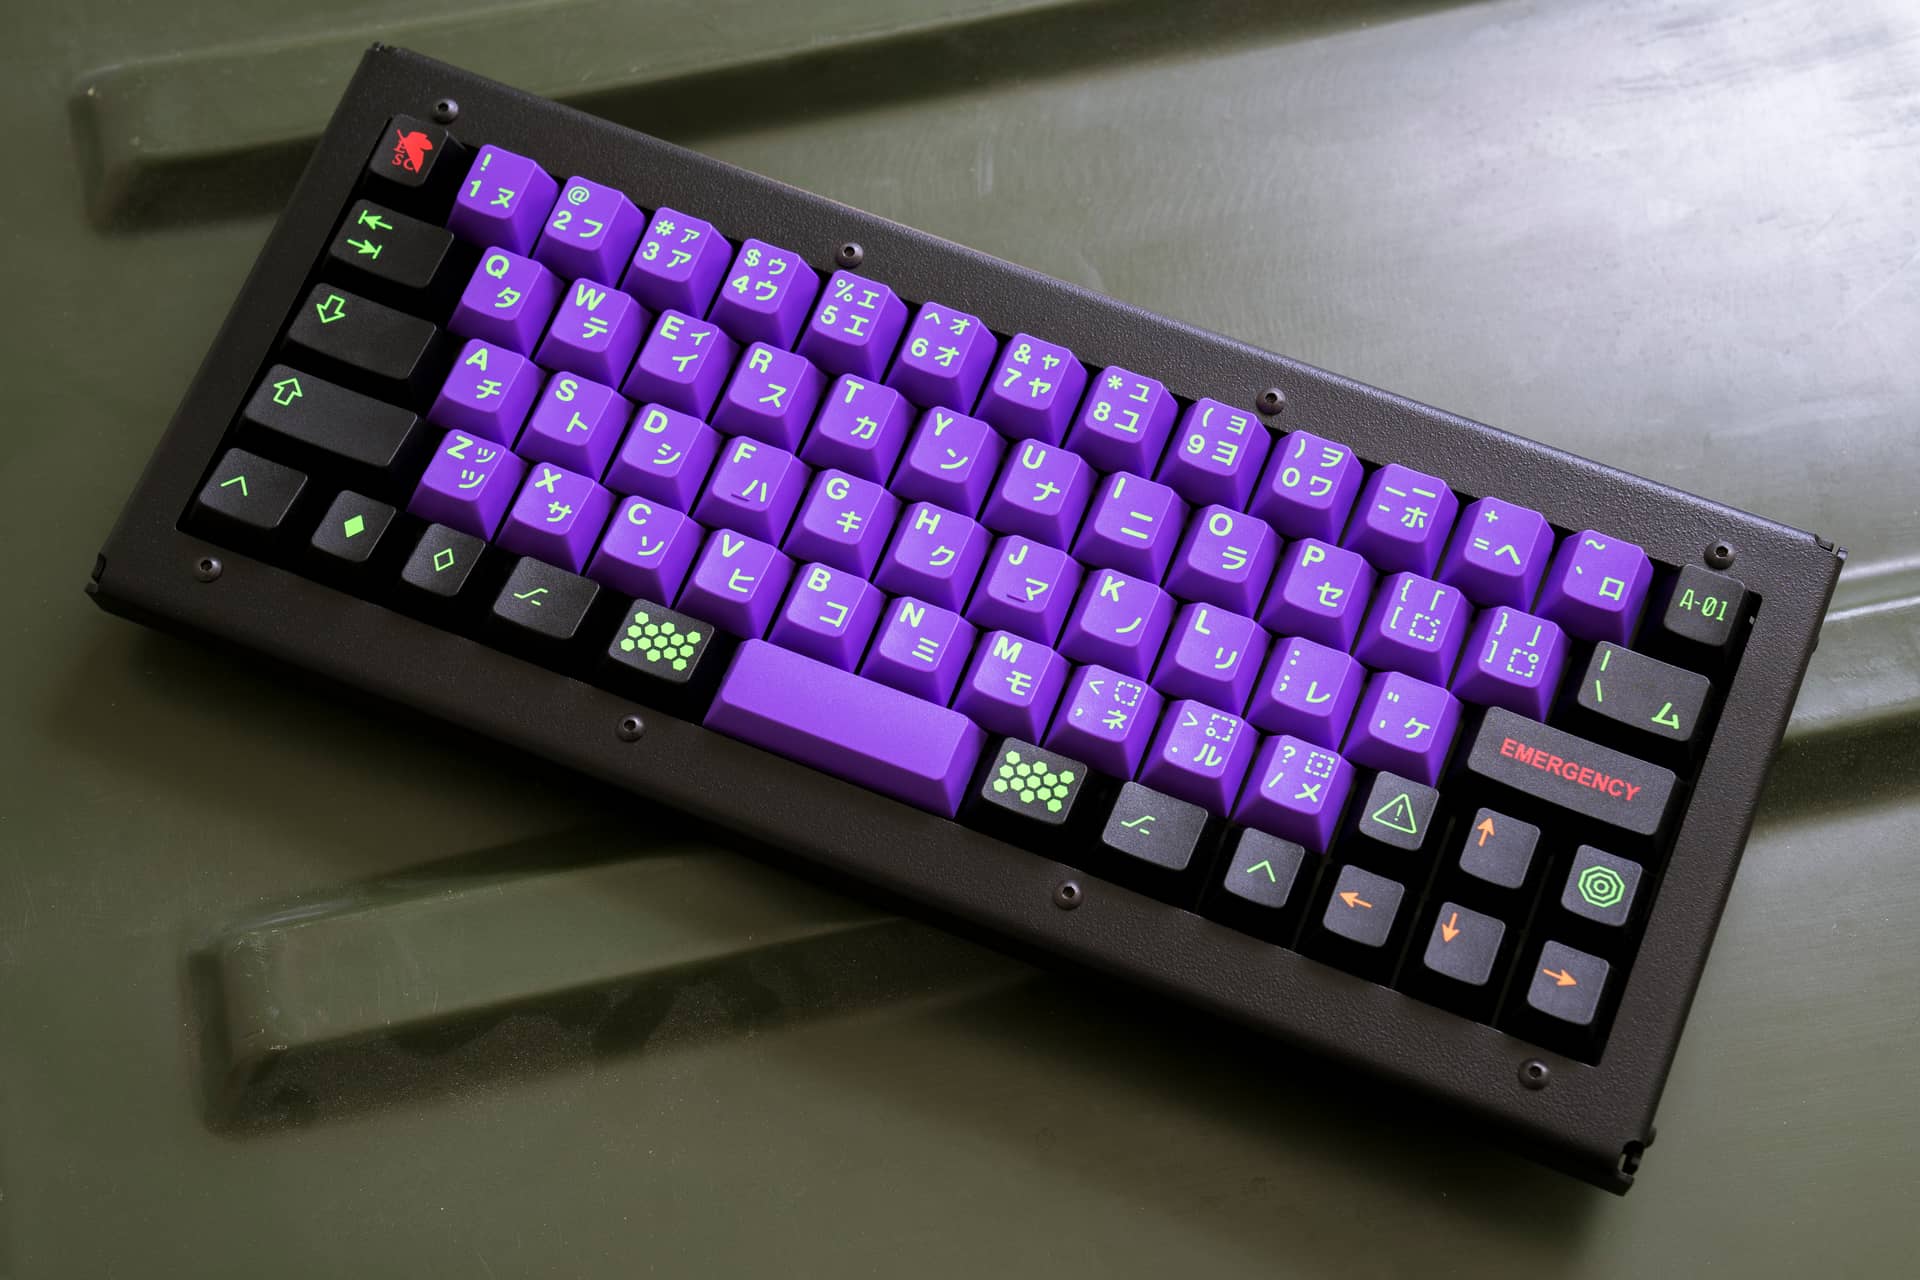
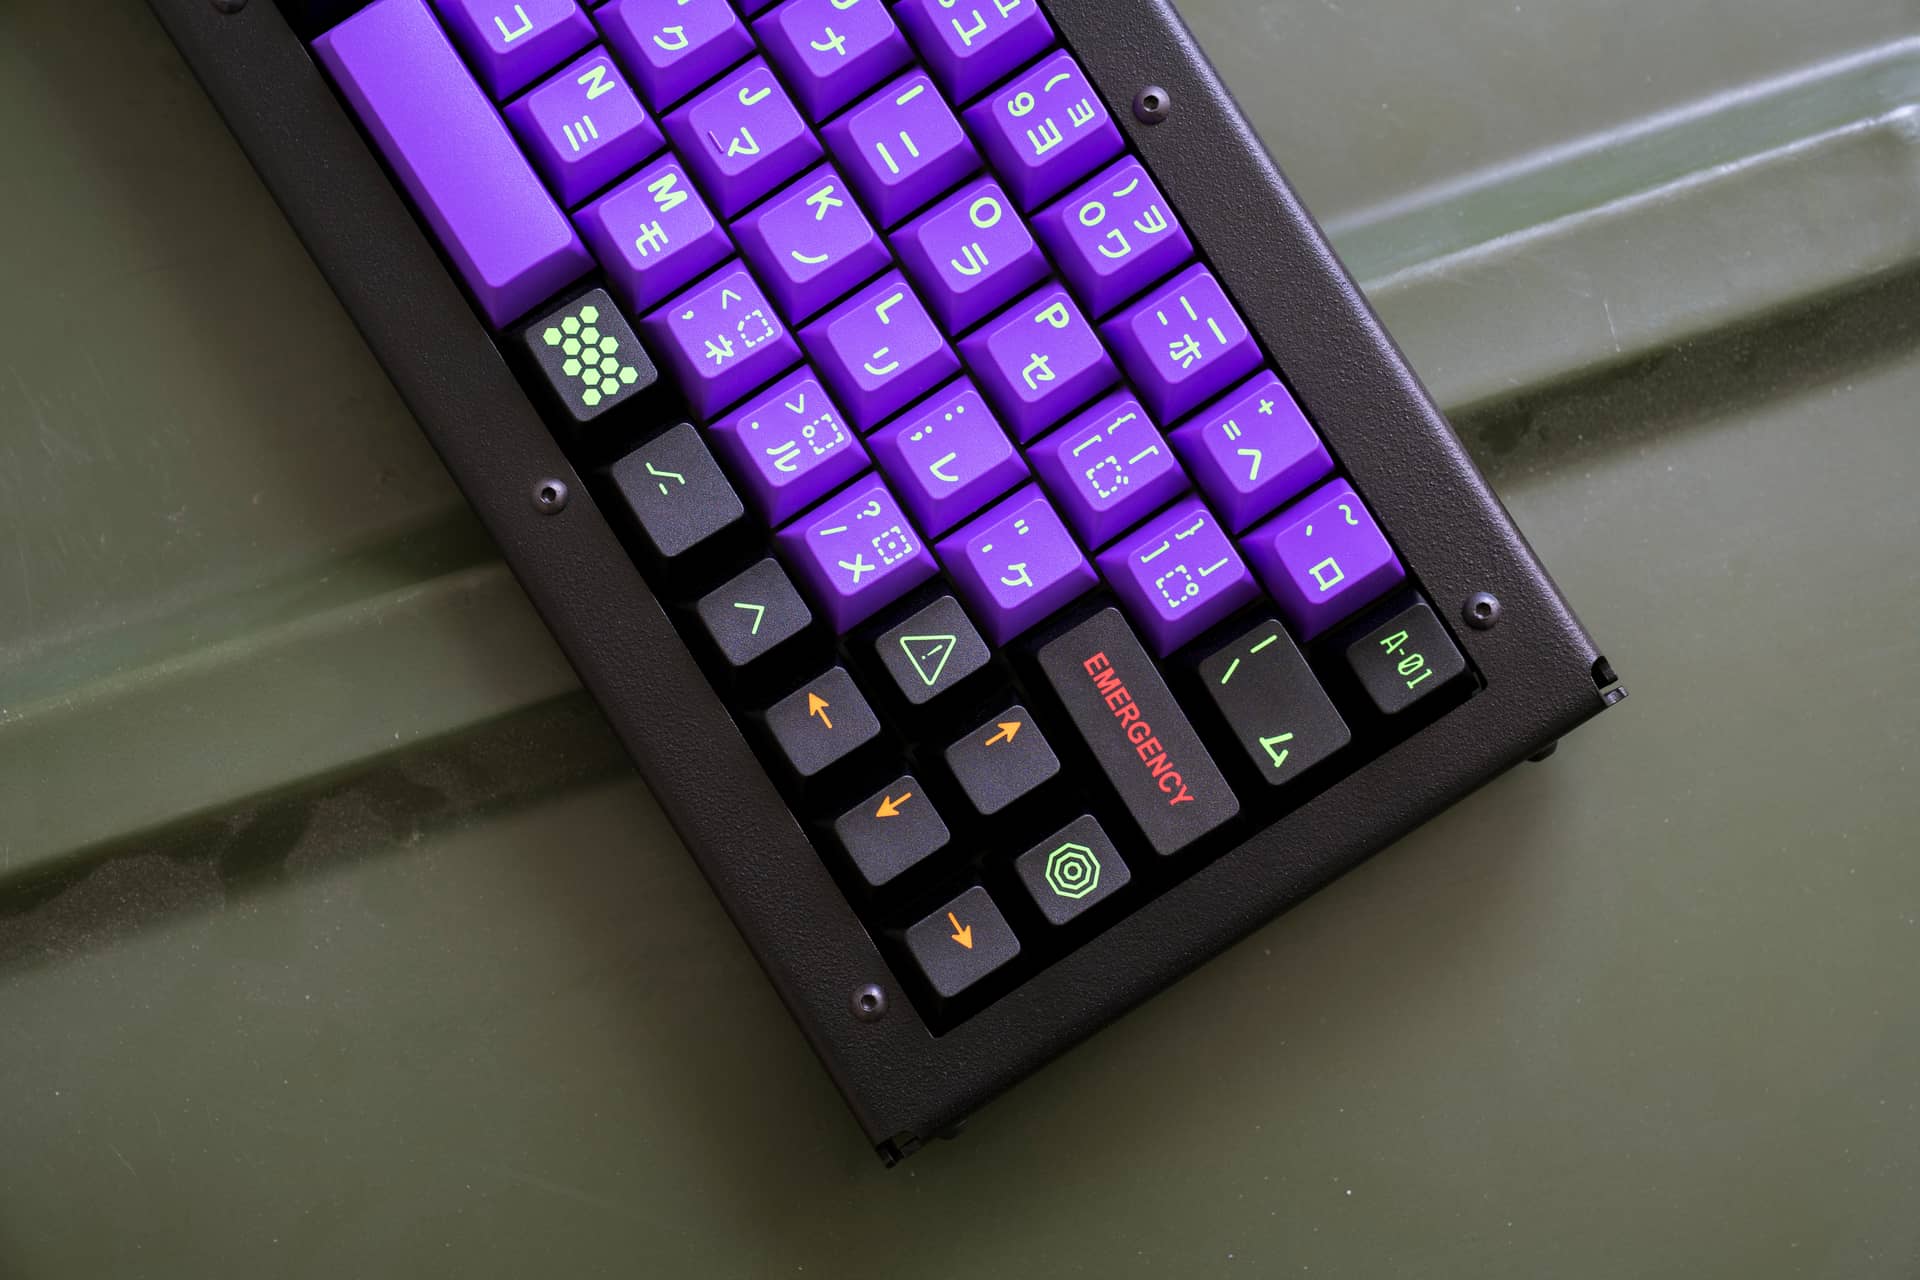
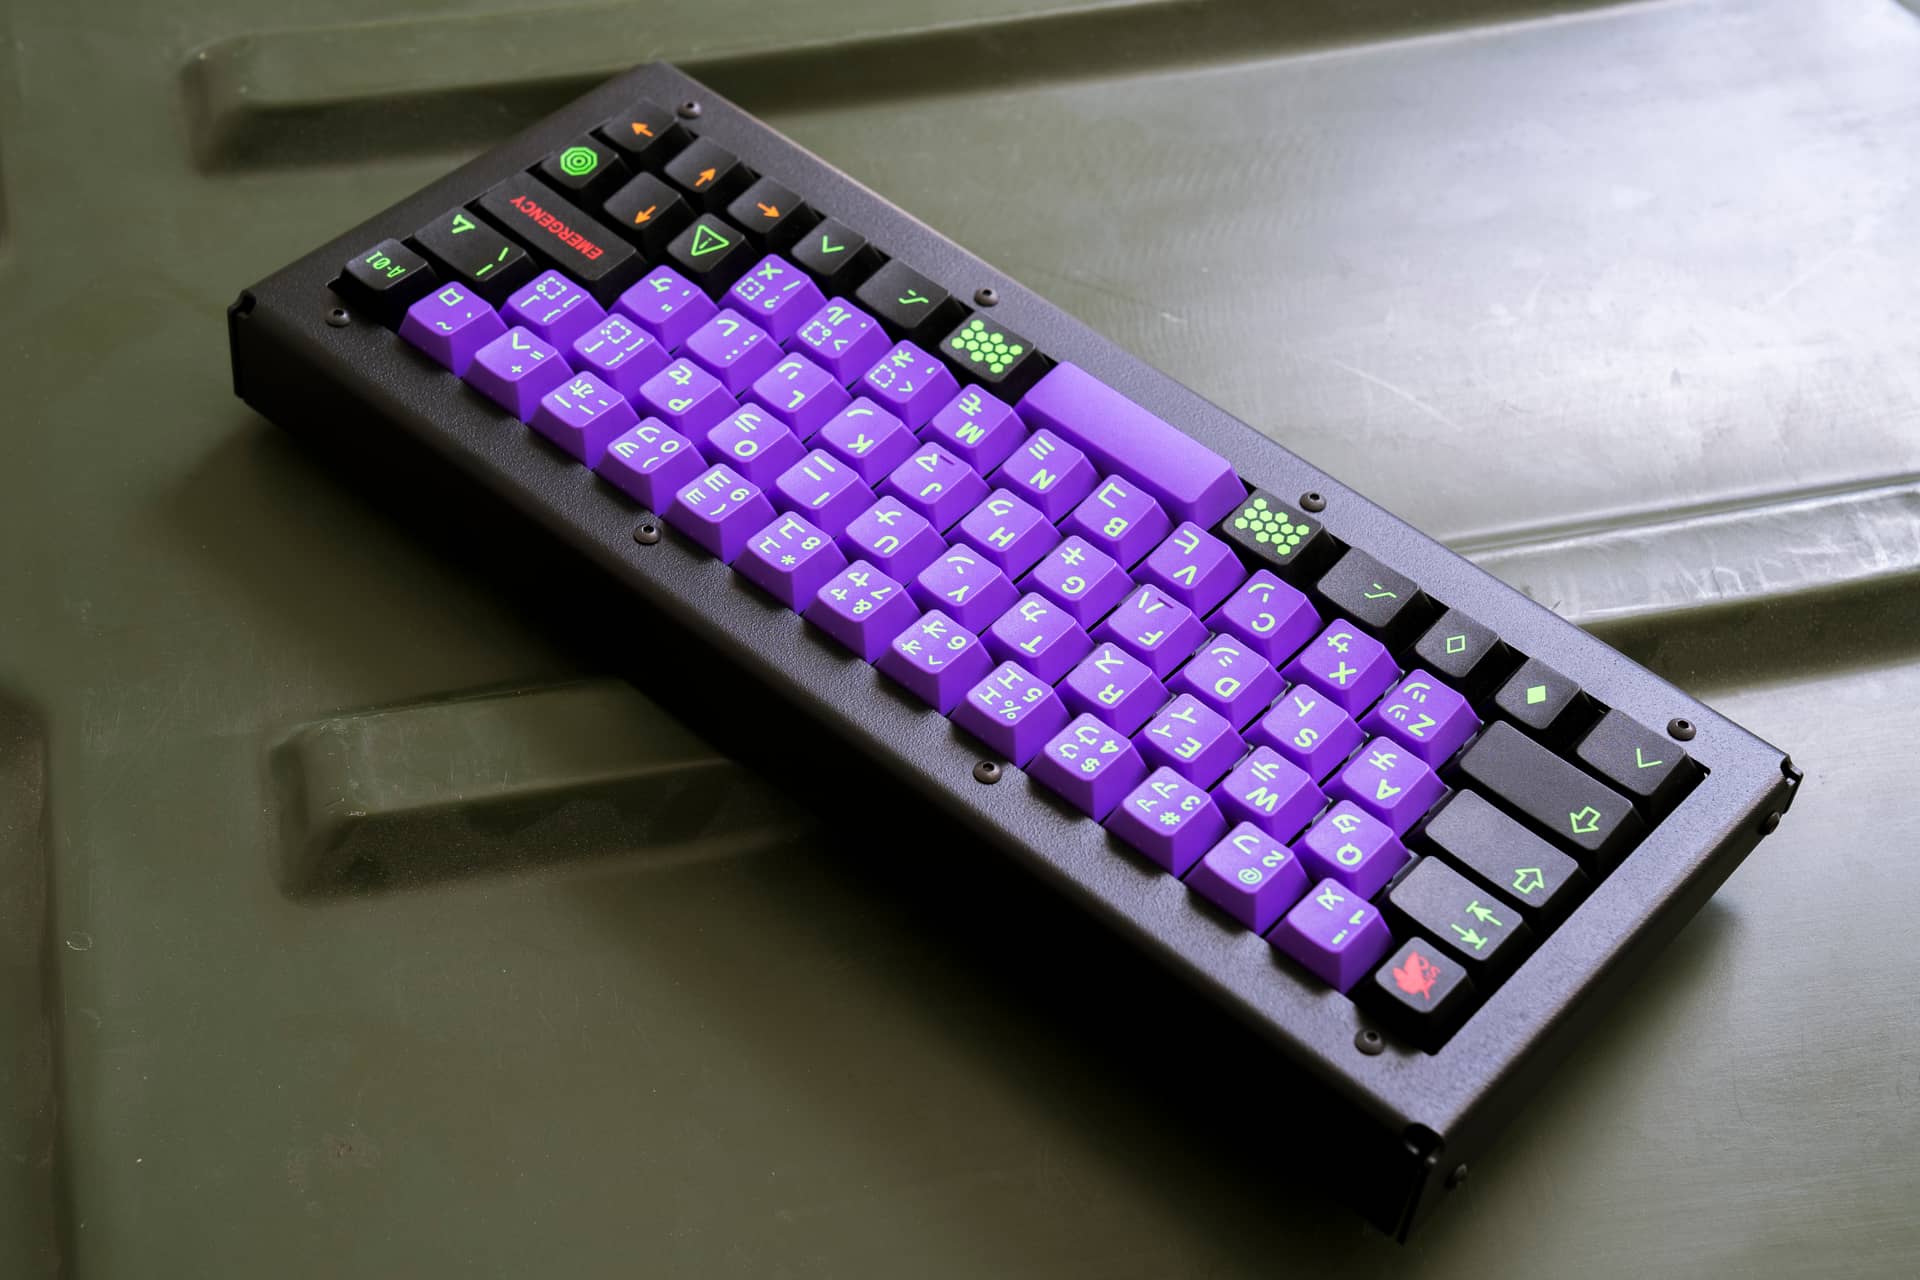
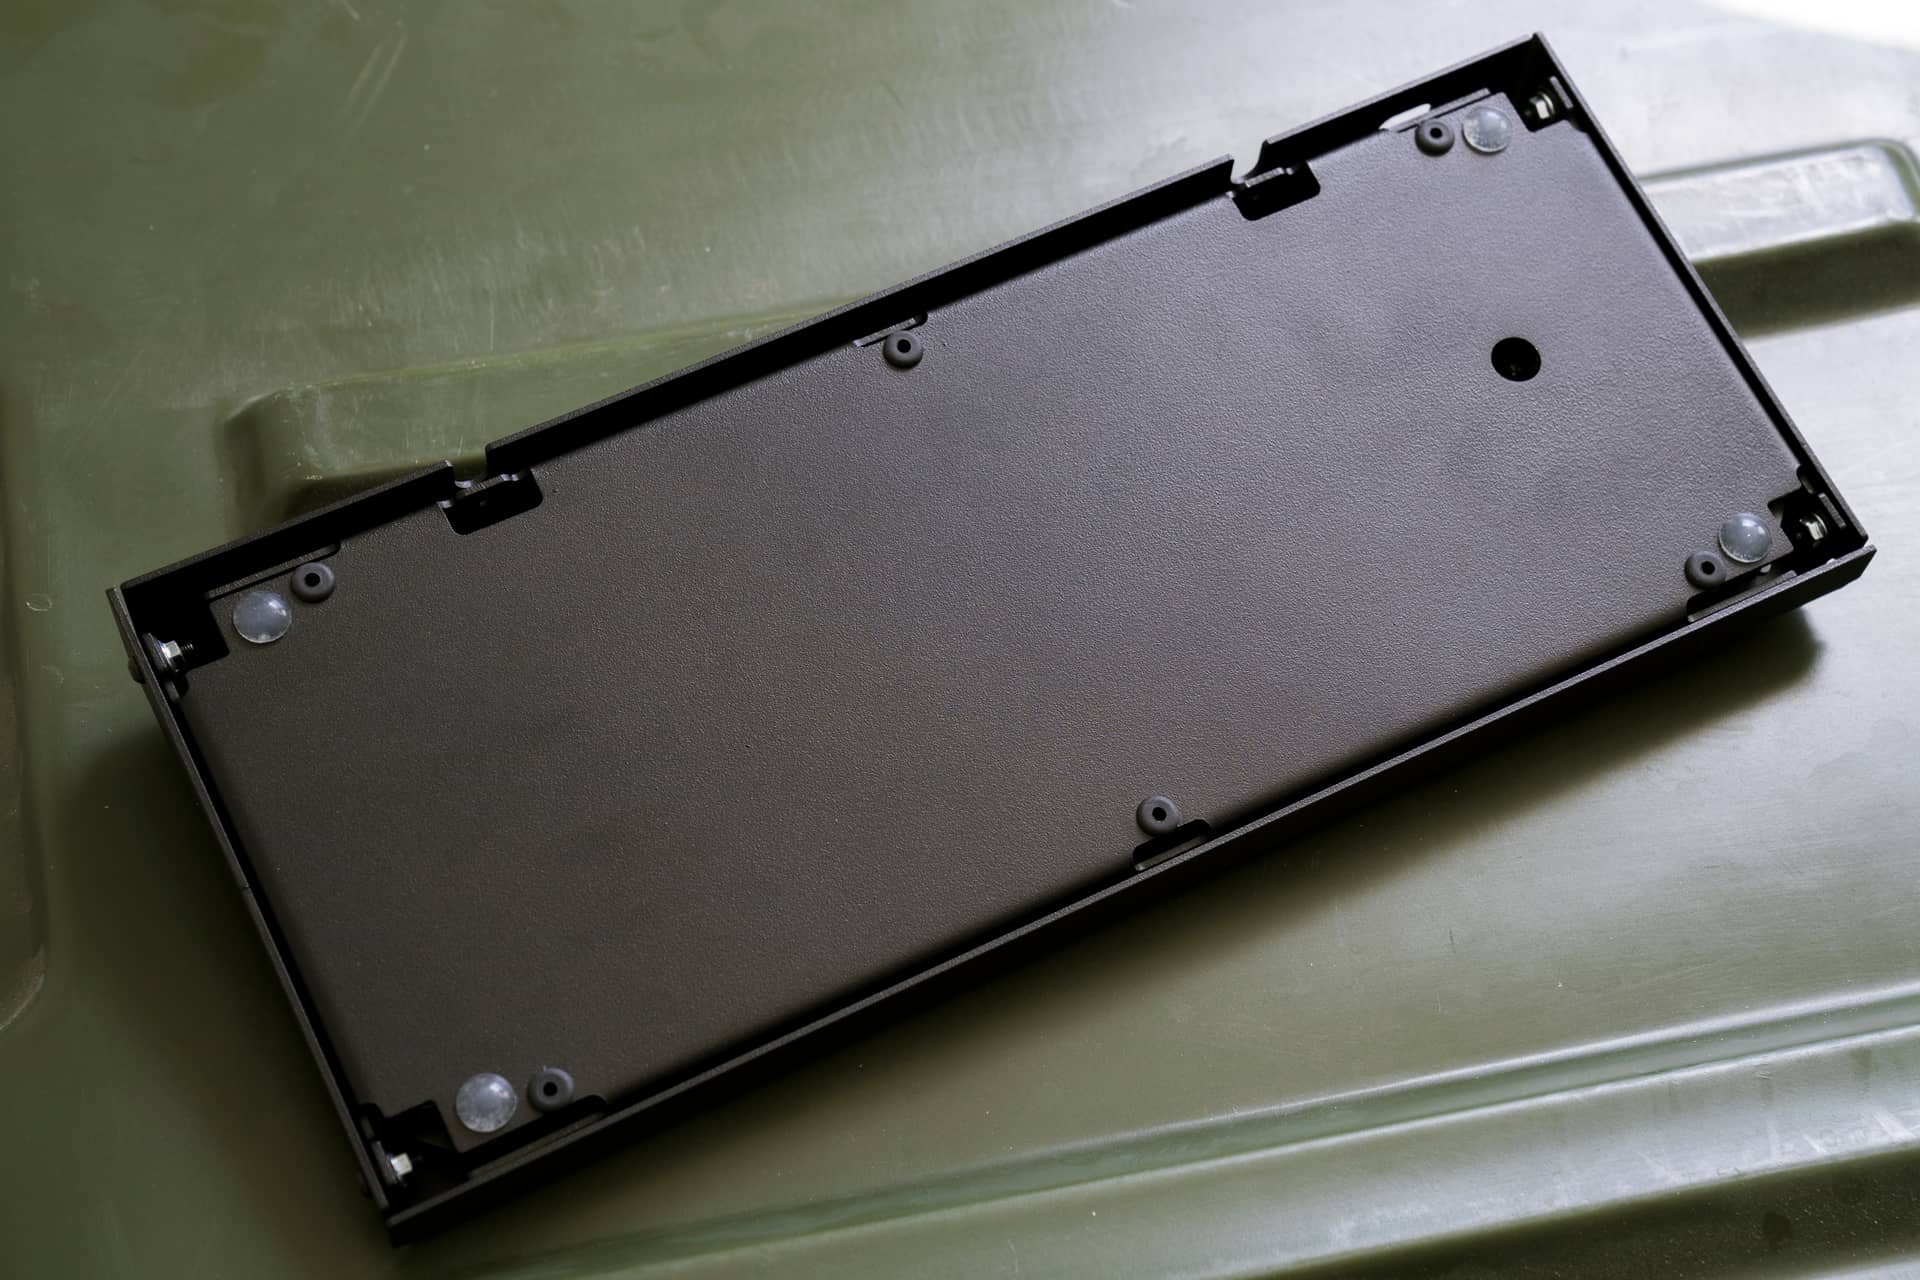

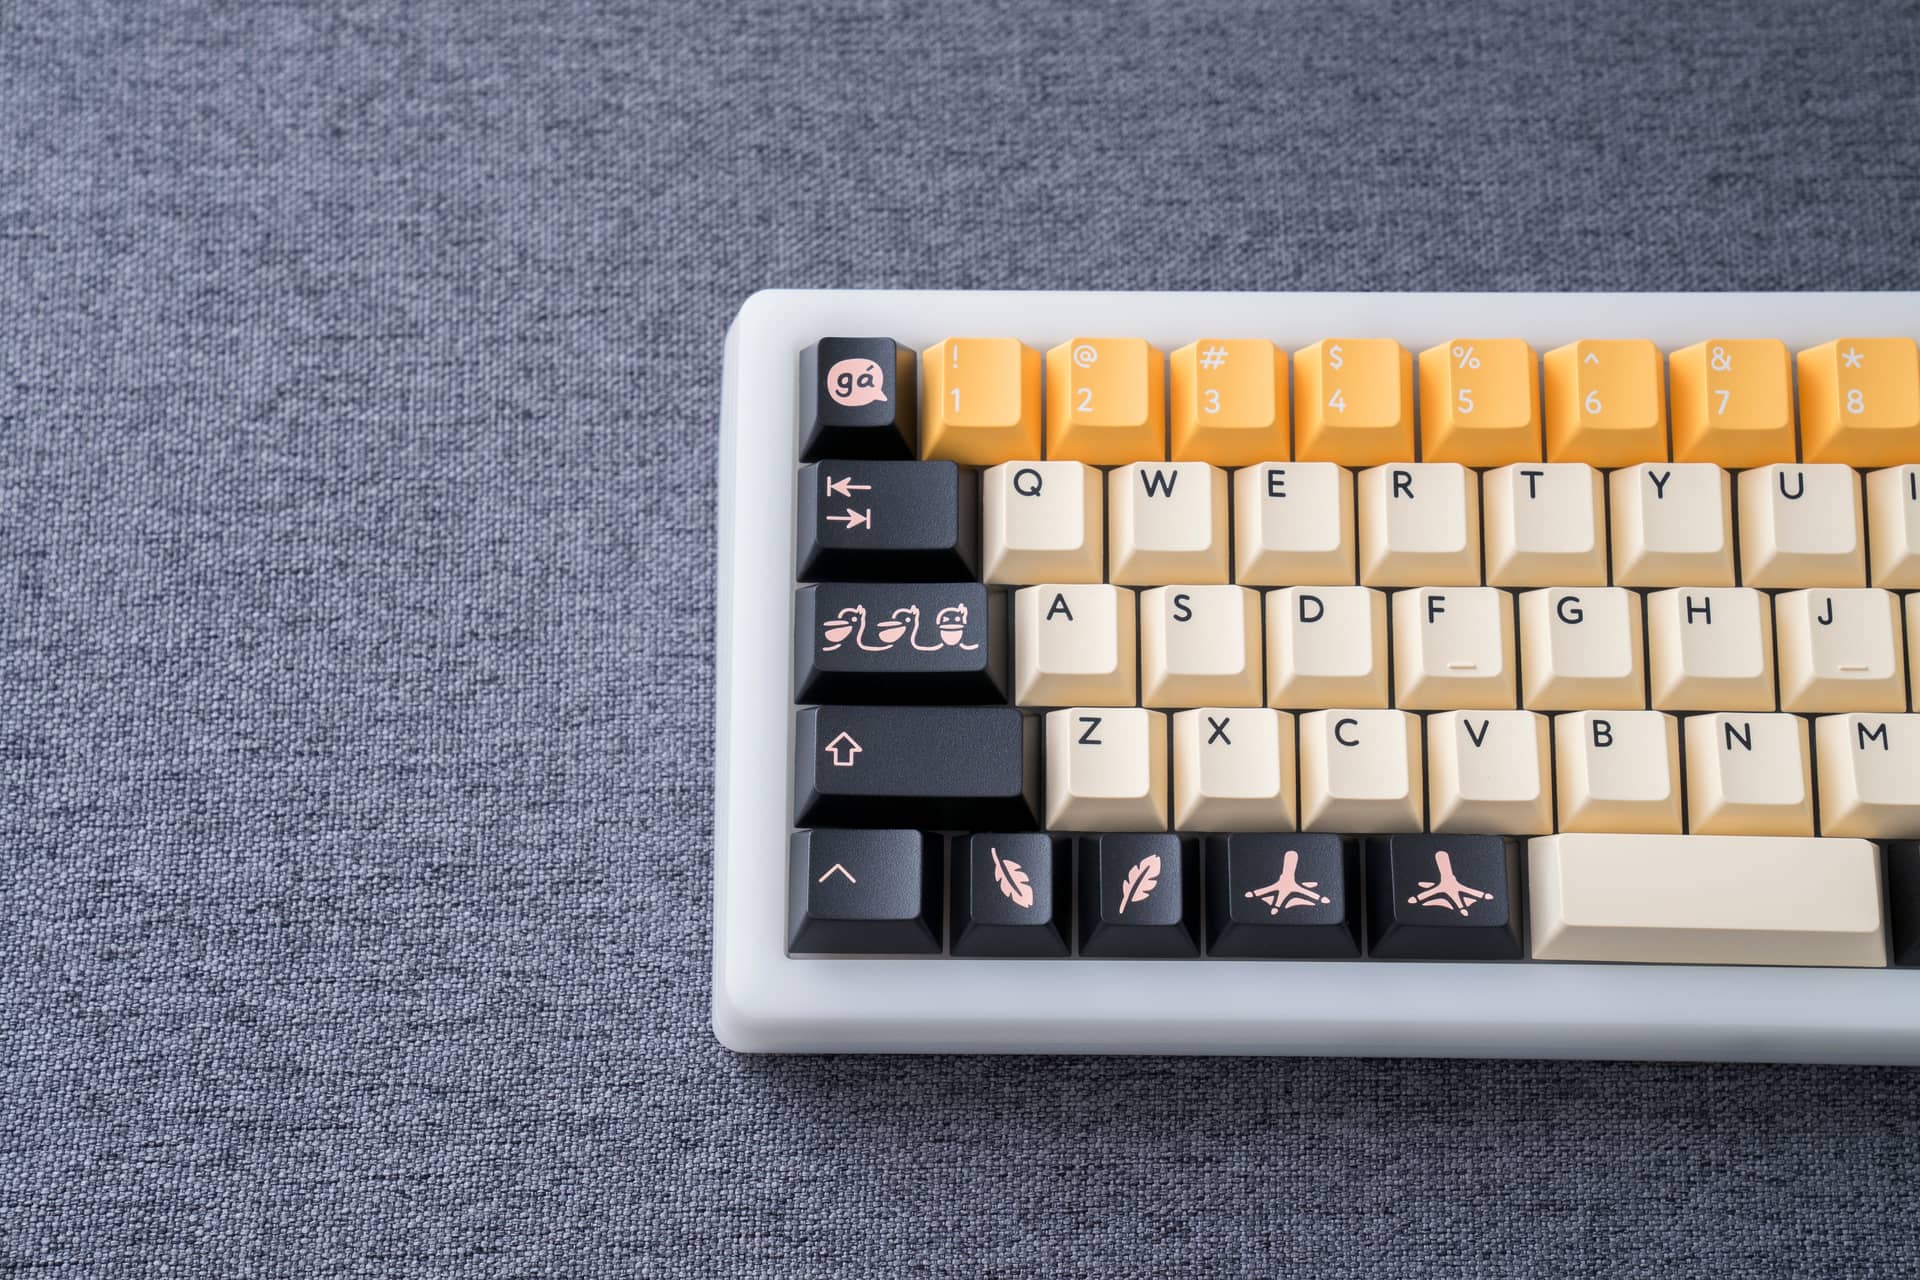
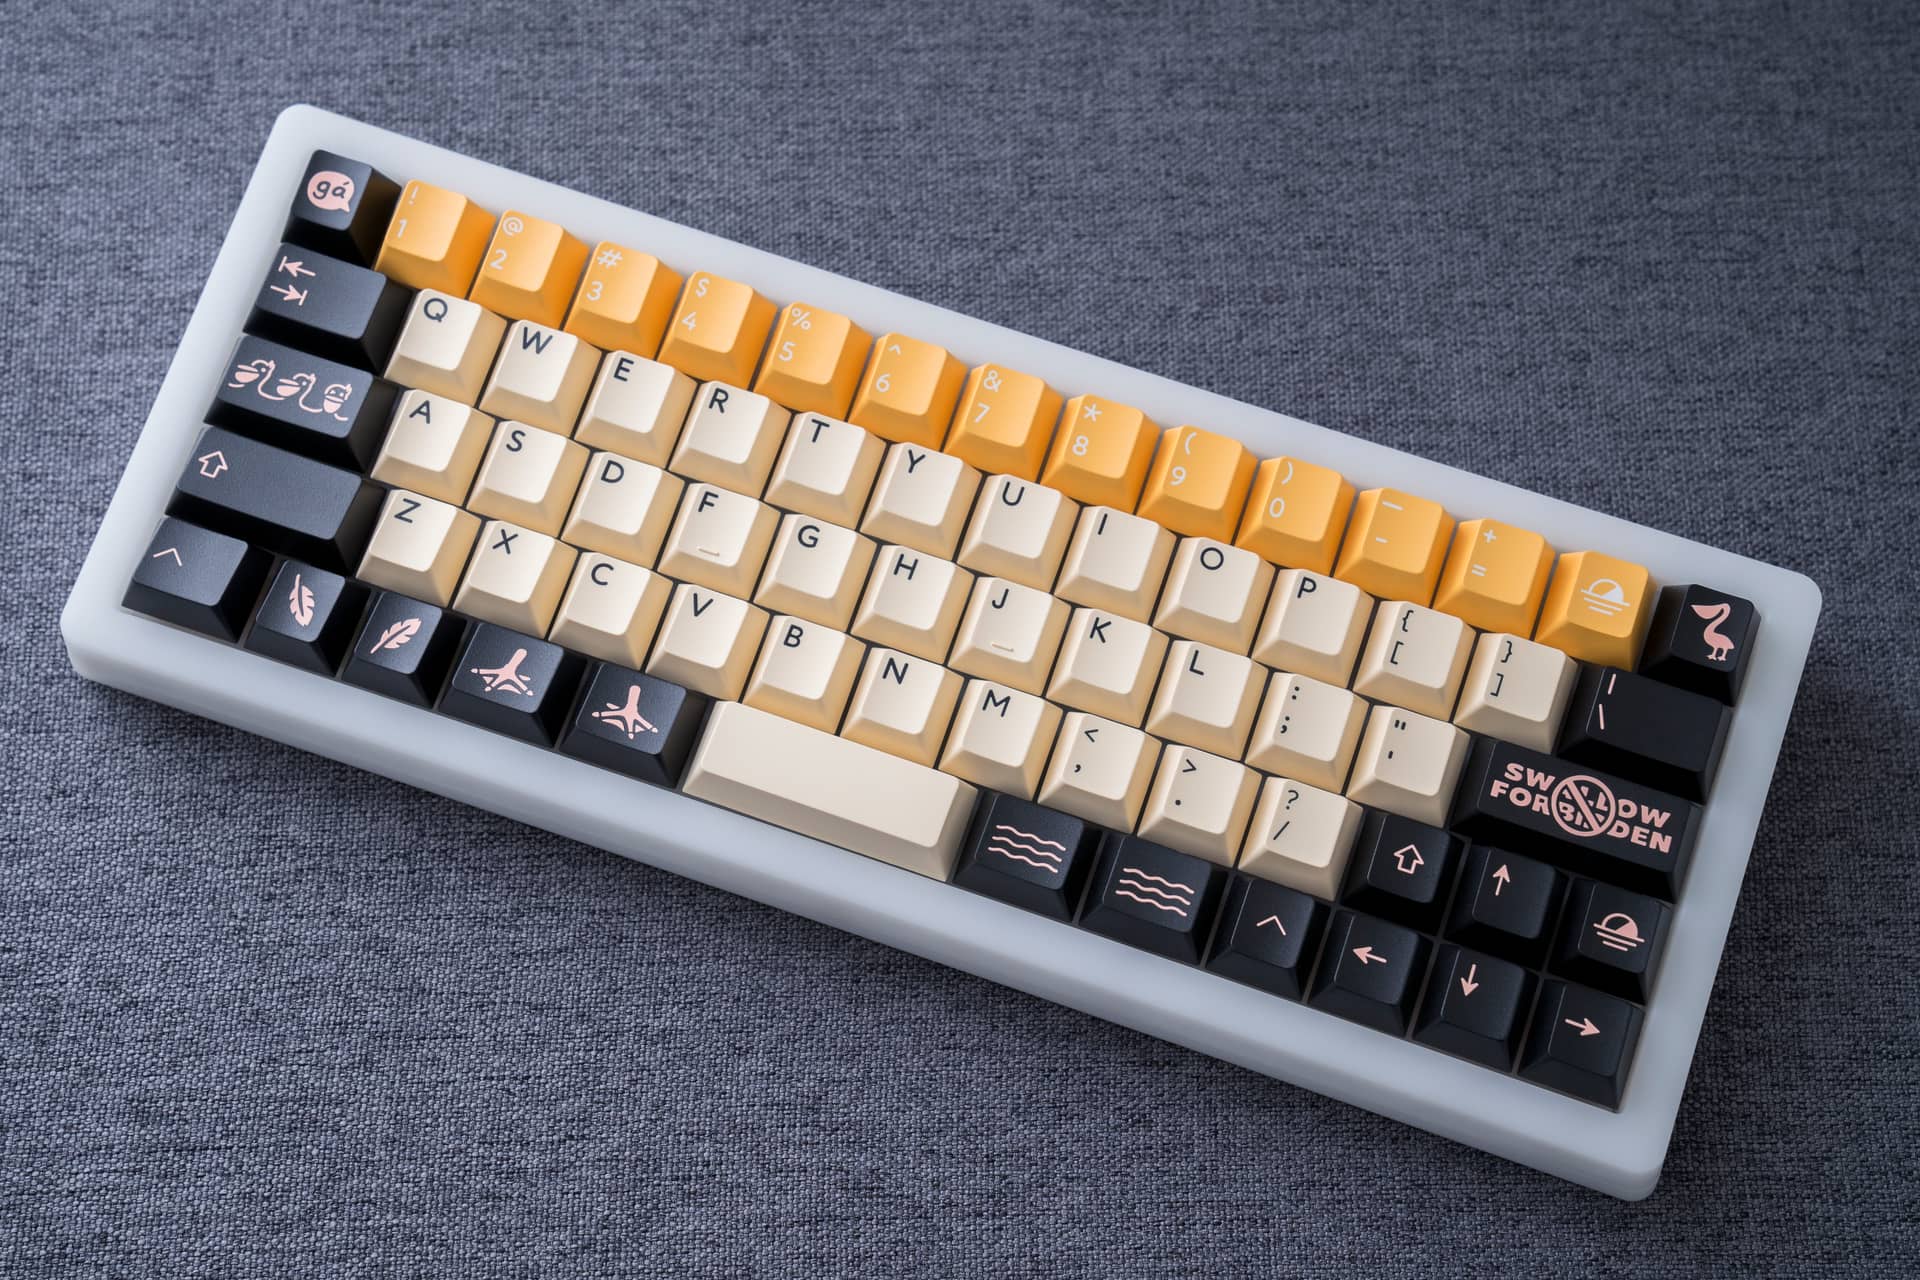
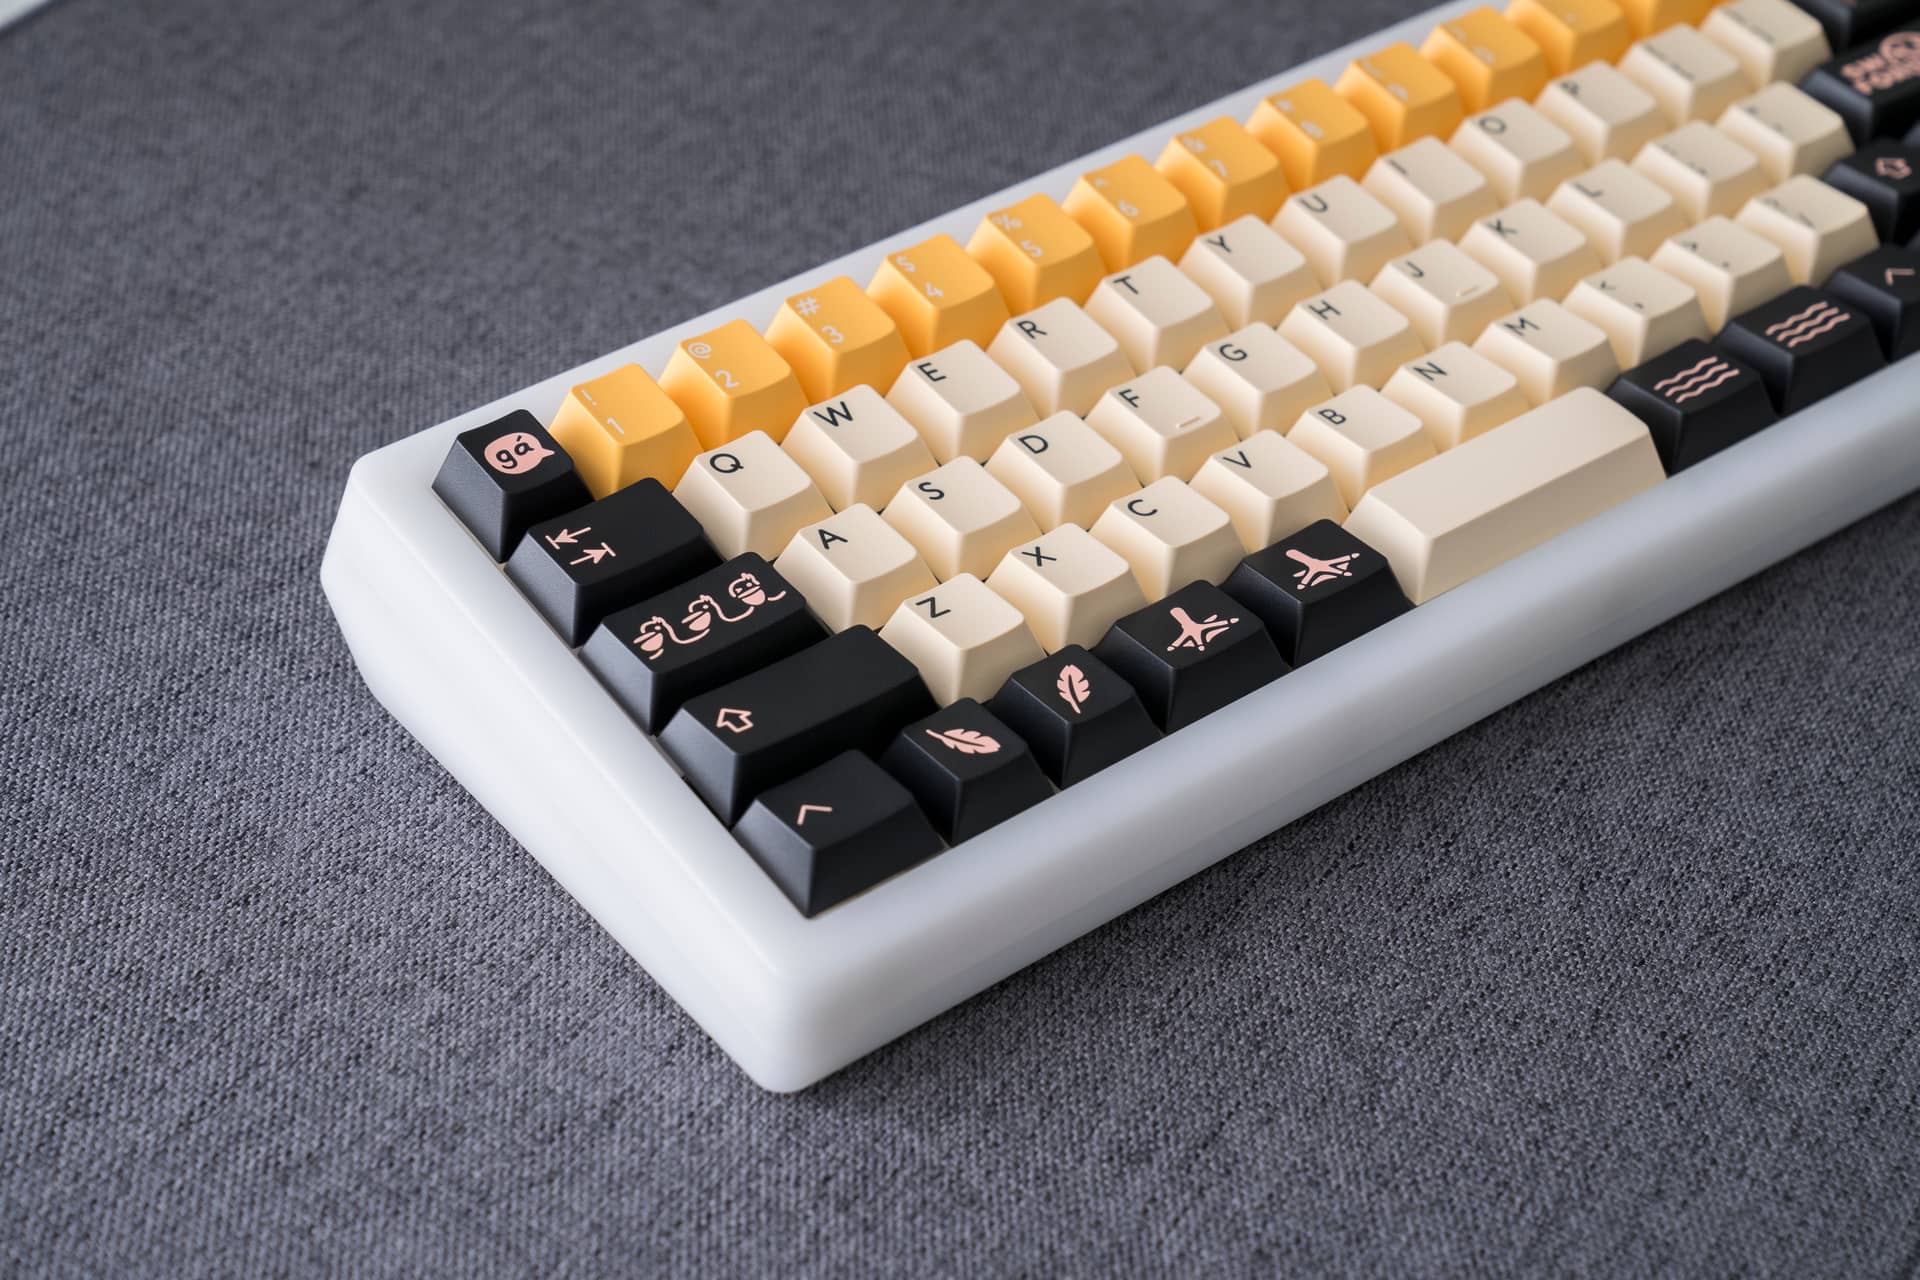
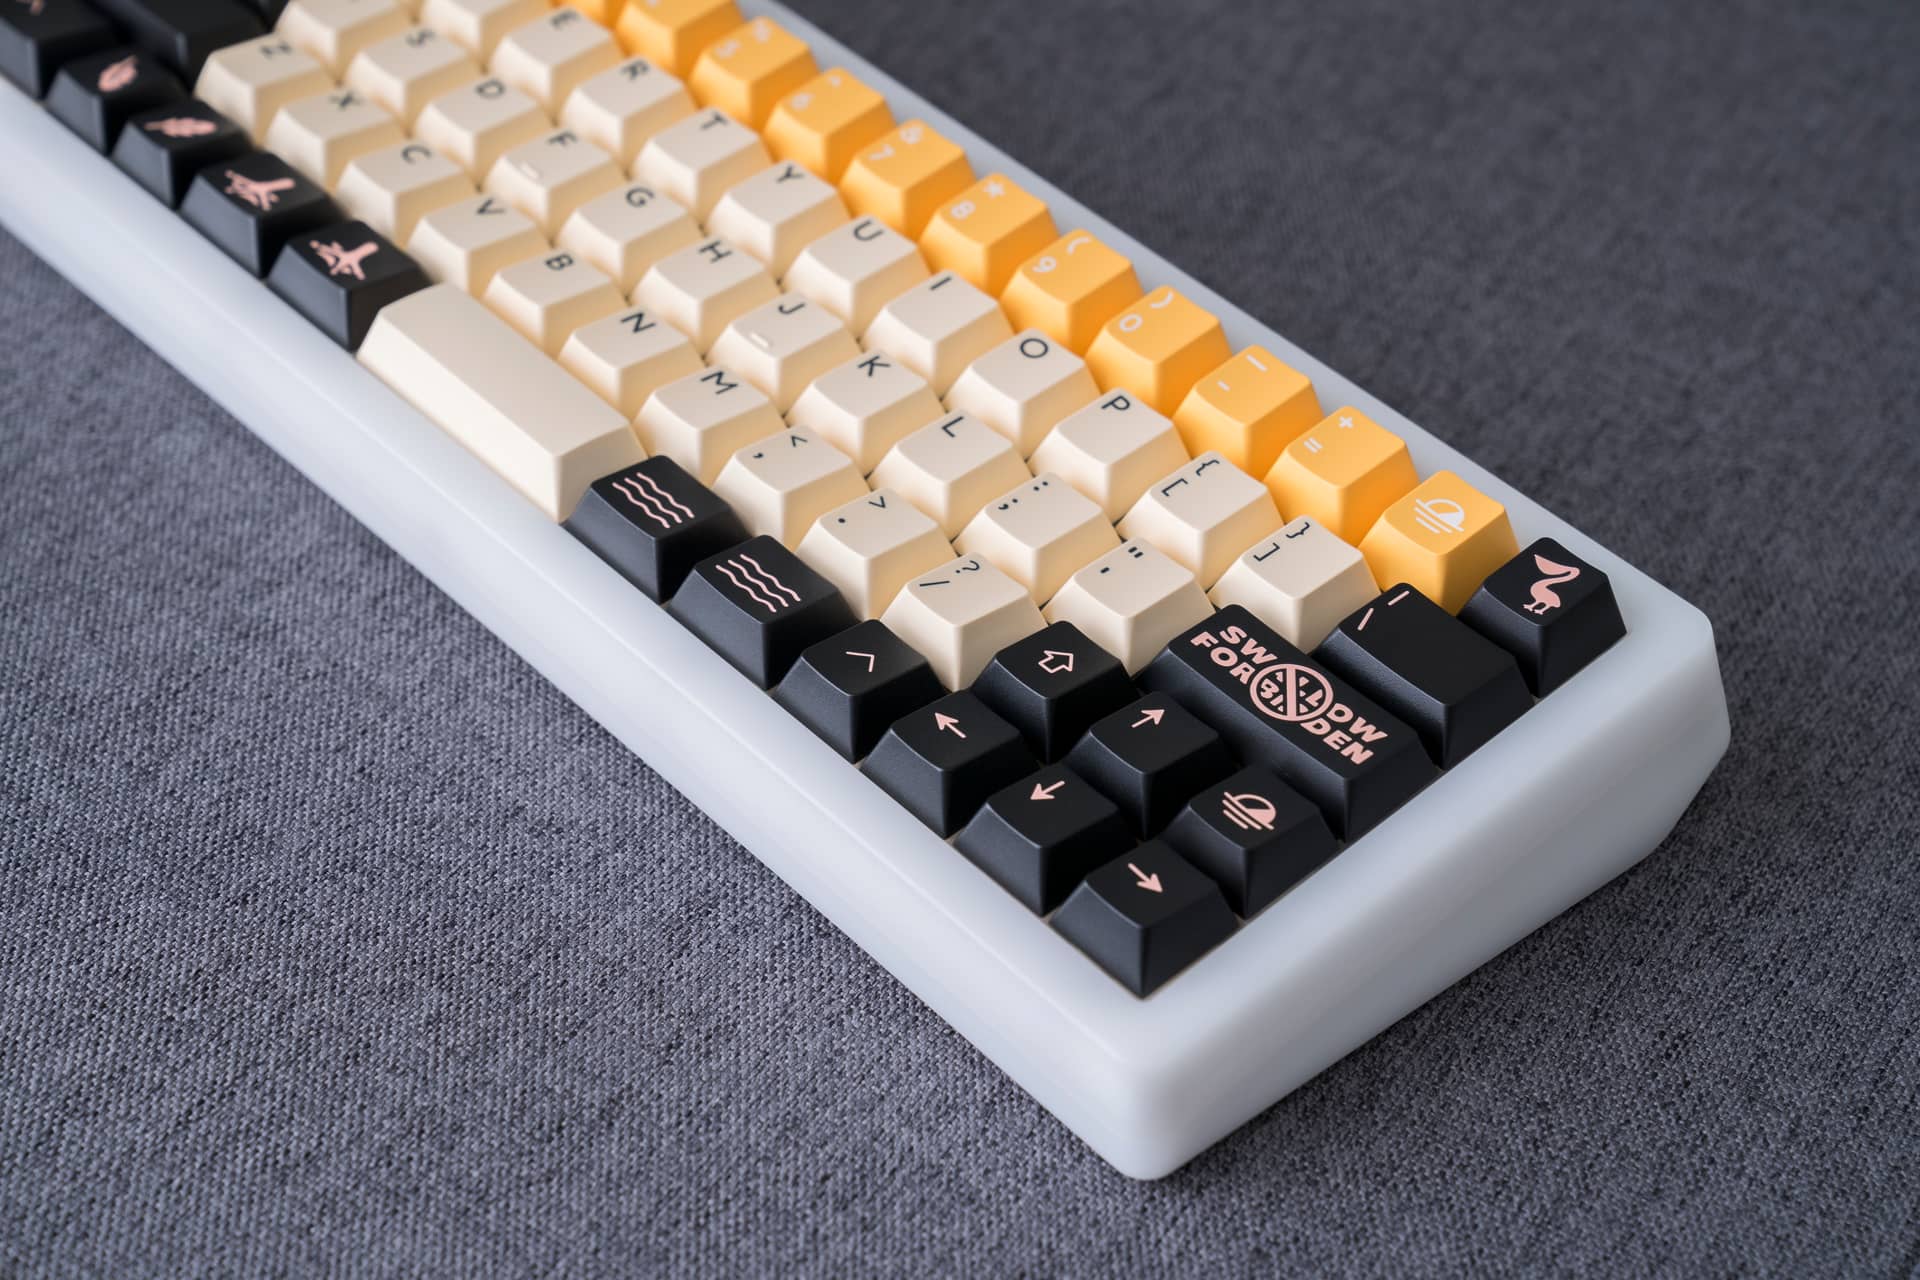
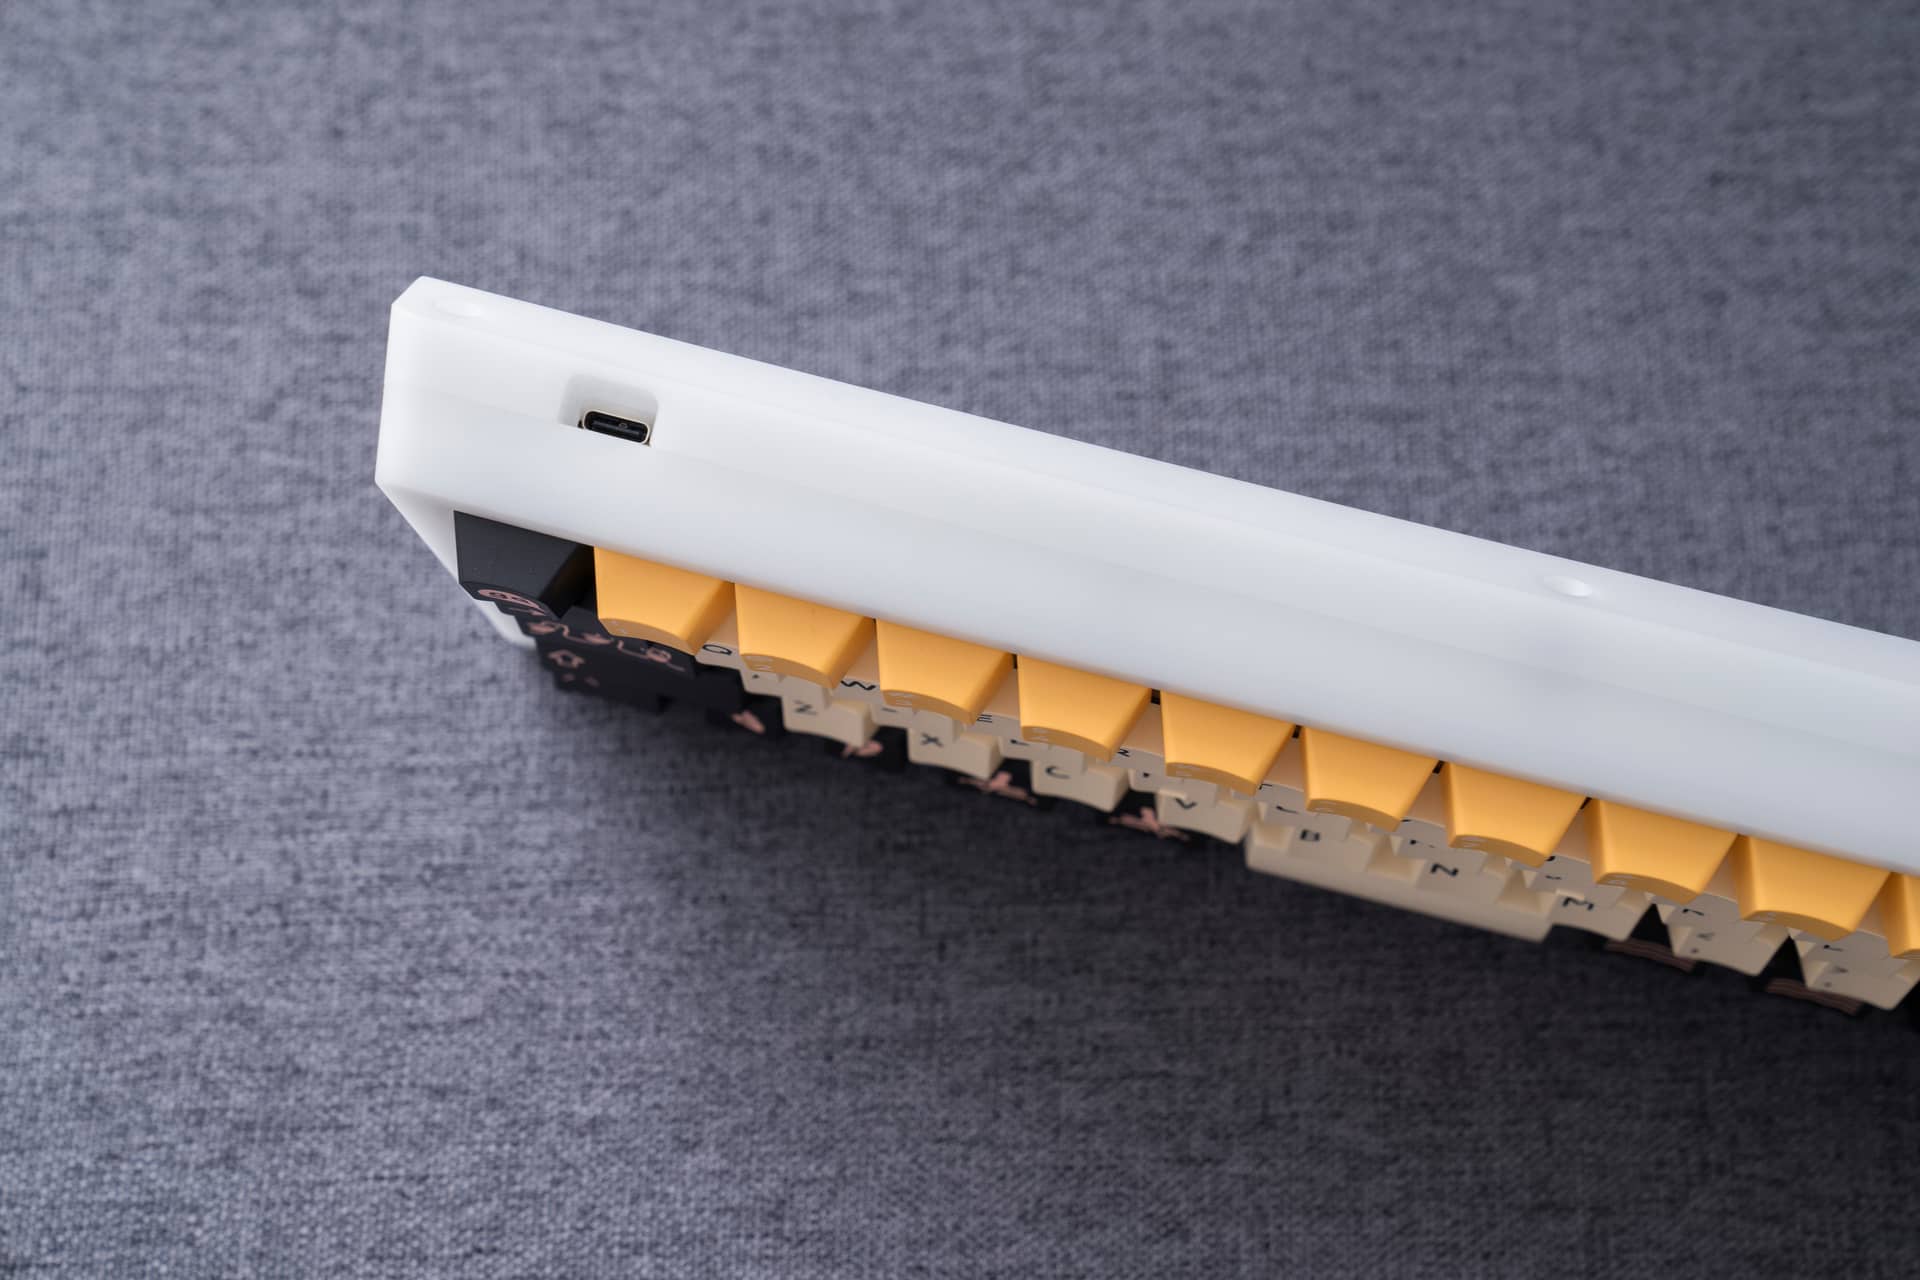
Anybody else just fascinated with the curves and details of keyboards?
8 Likes
That’s how I feel every time I get a package
Also, I had no idea I needed this board OMG that PC is gorgeous.
1 Like
You can bet your bottom dollar I am!
1 Like
I ordered a set. I’ll report back. Sure is expensive 
1 Like
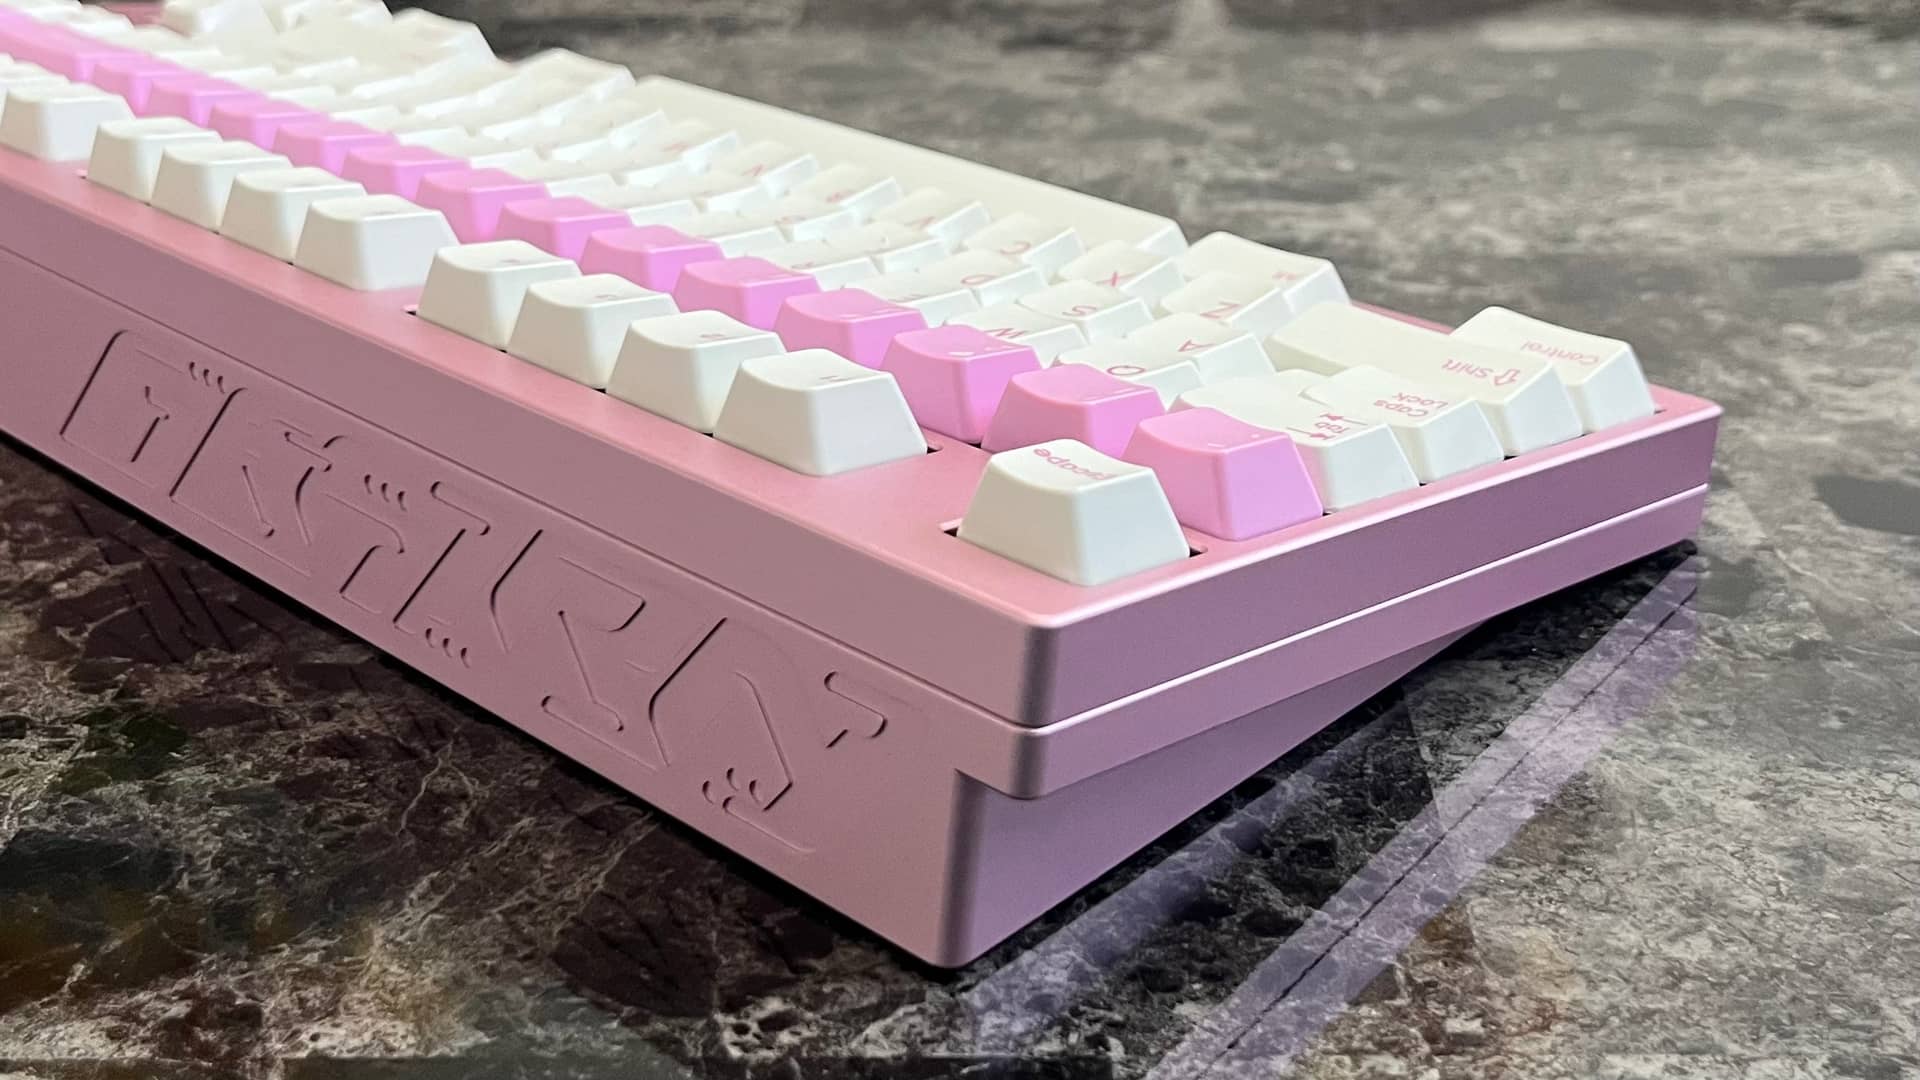
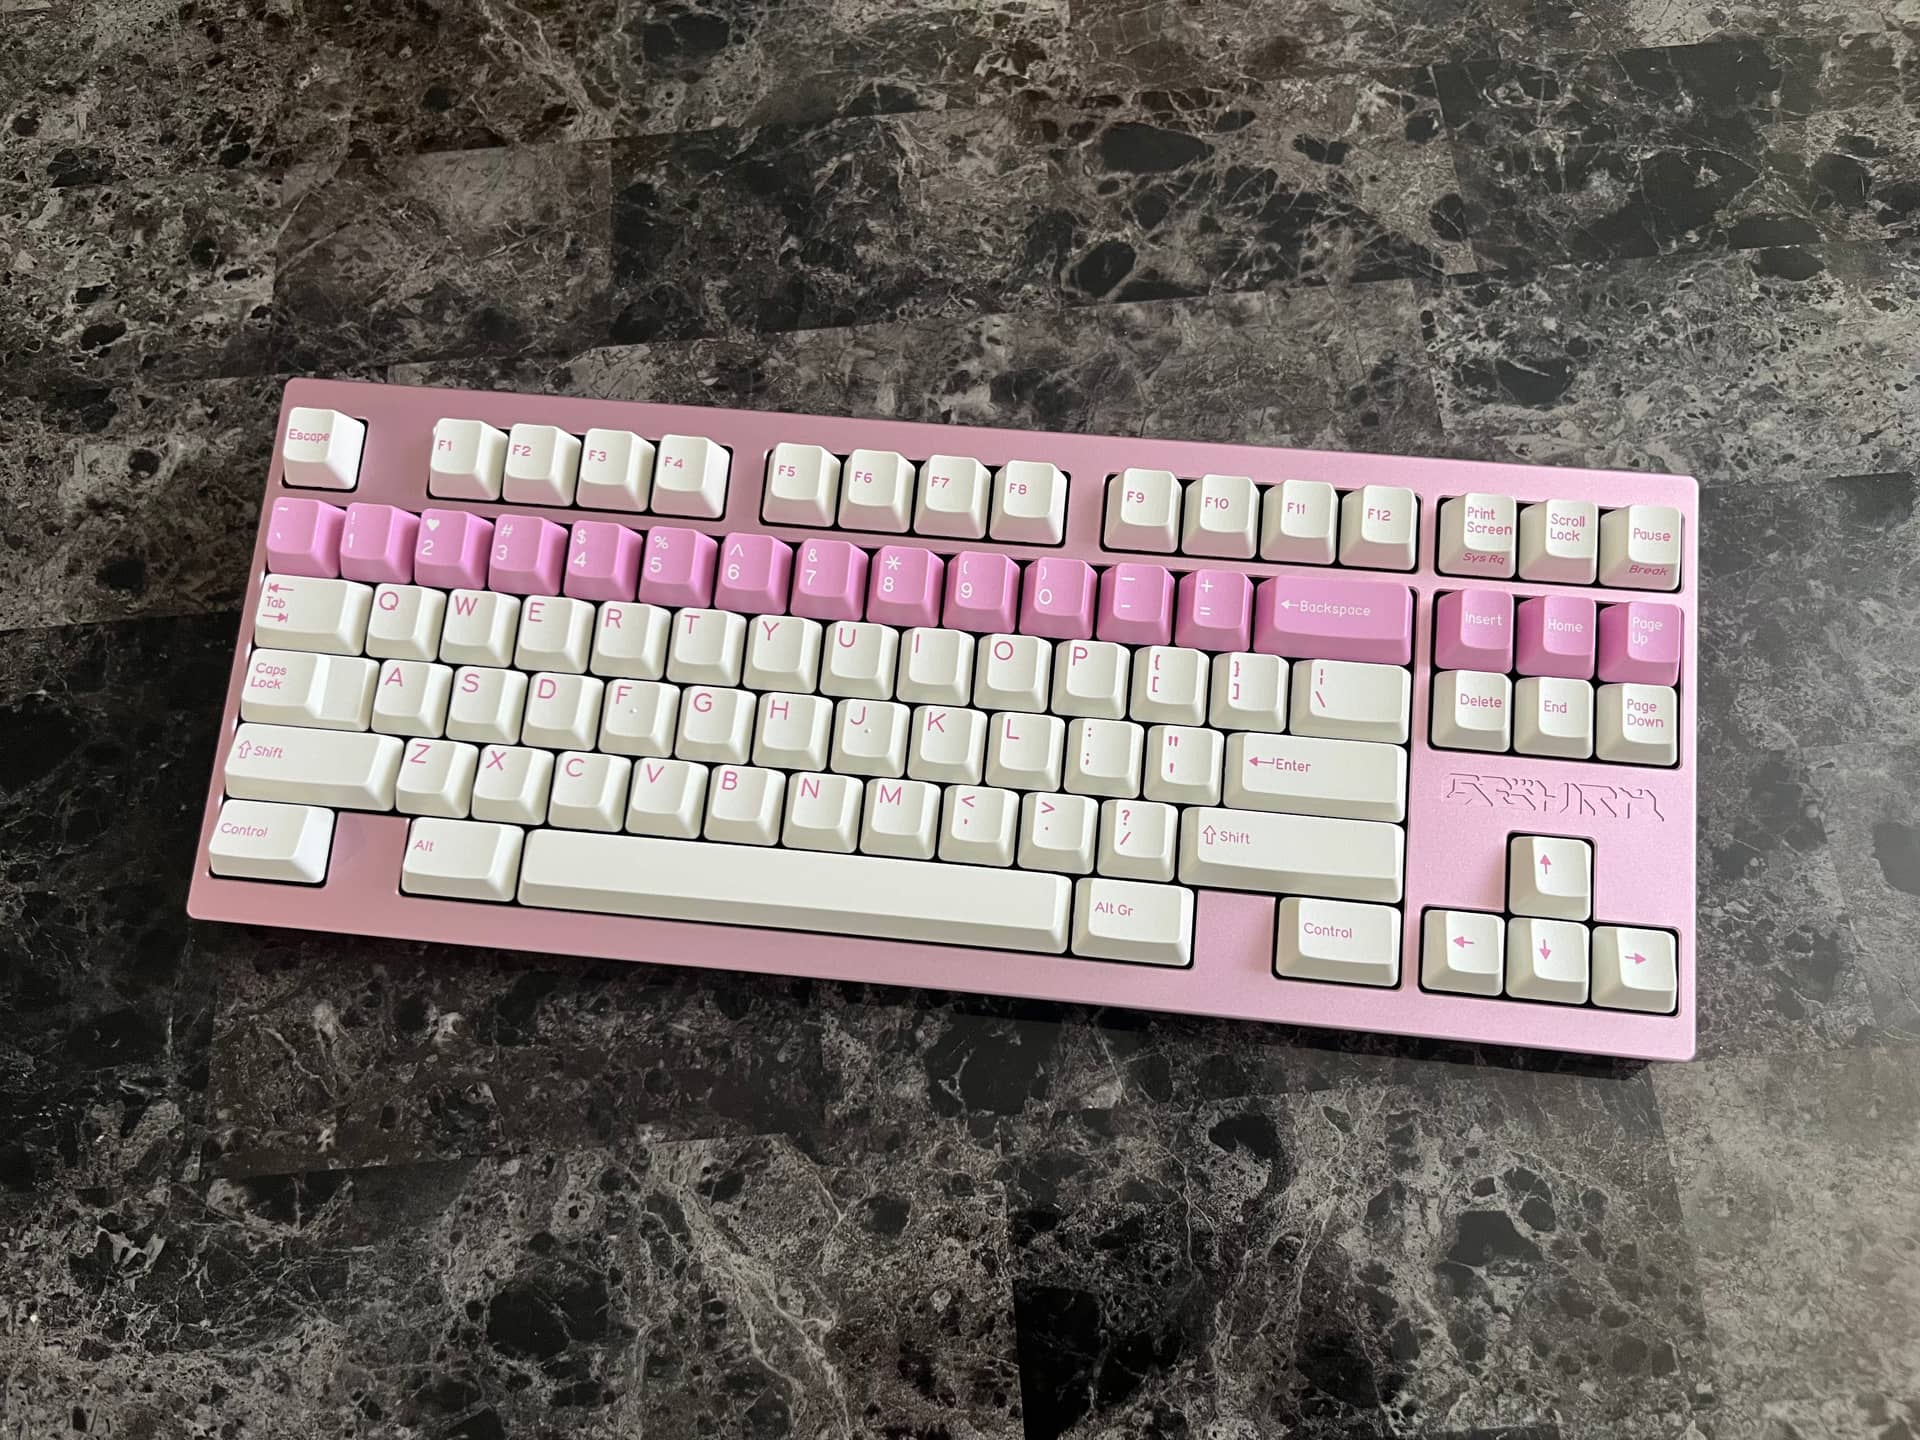
That looks great!
1 Like
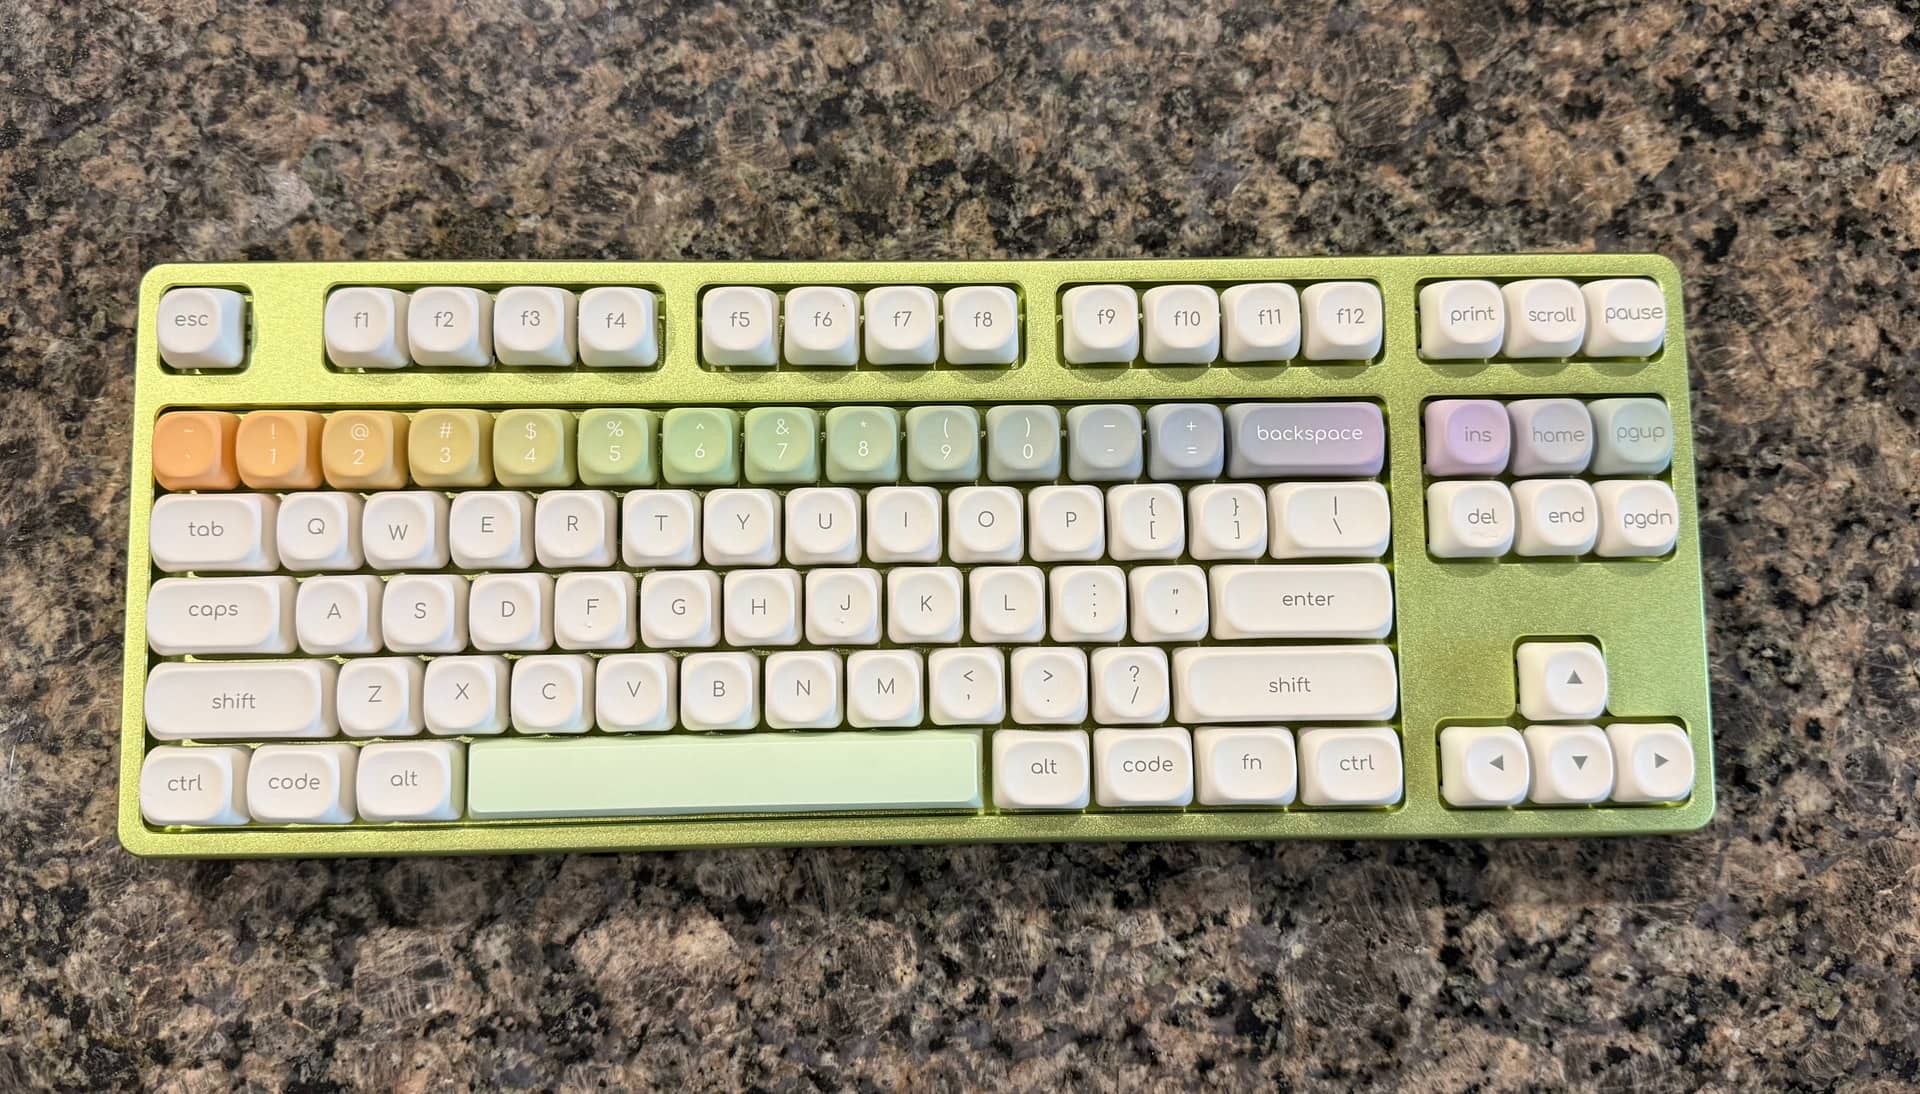
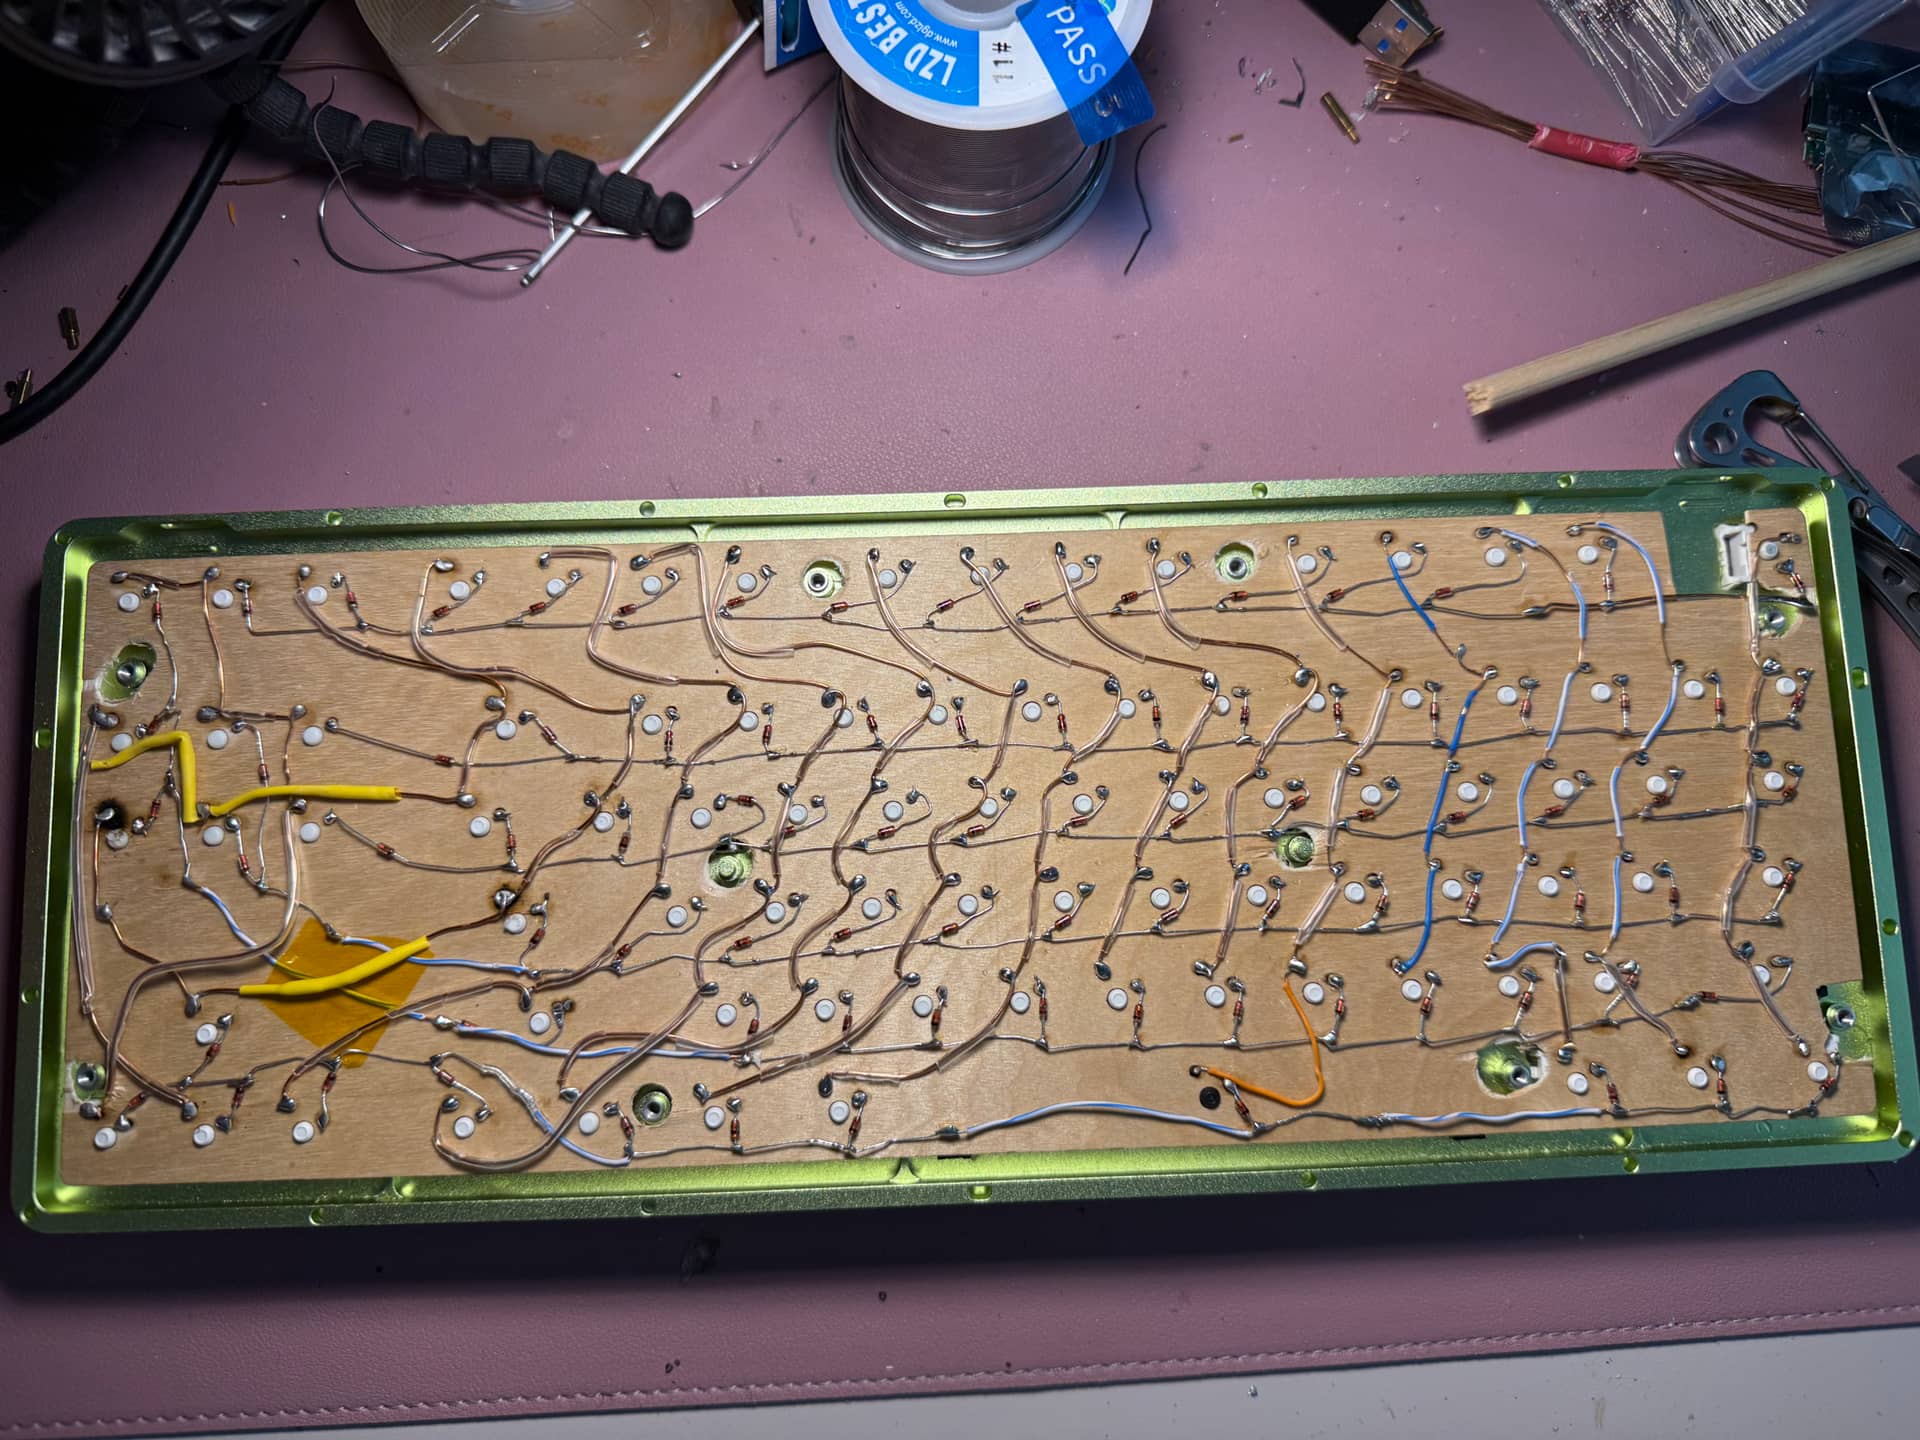
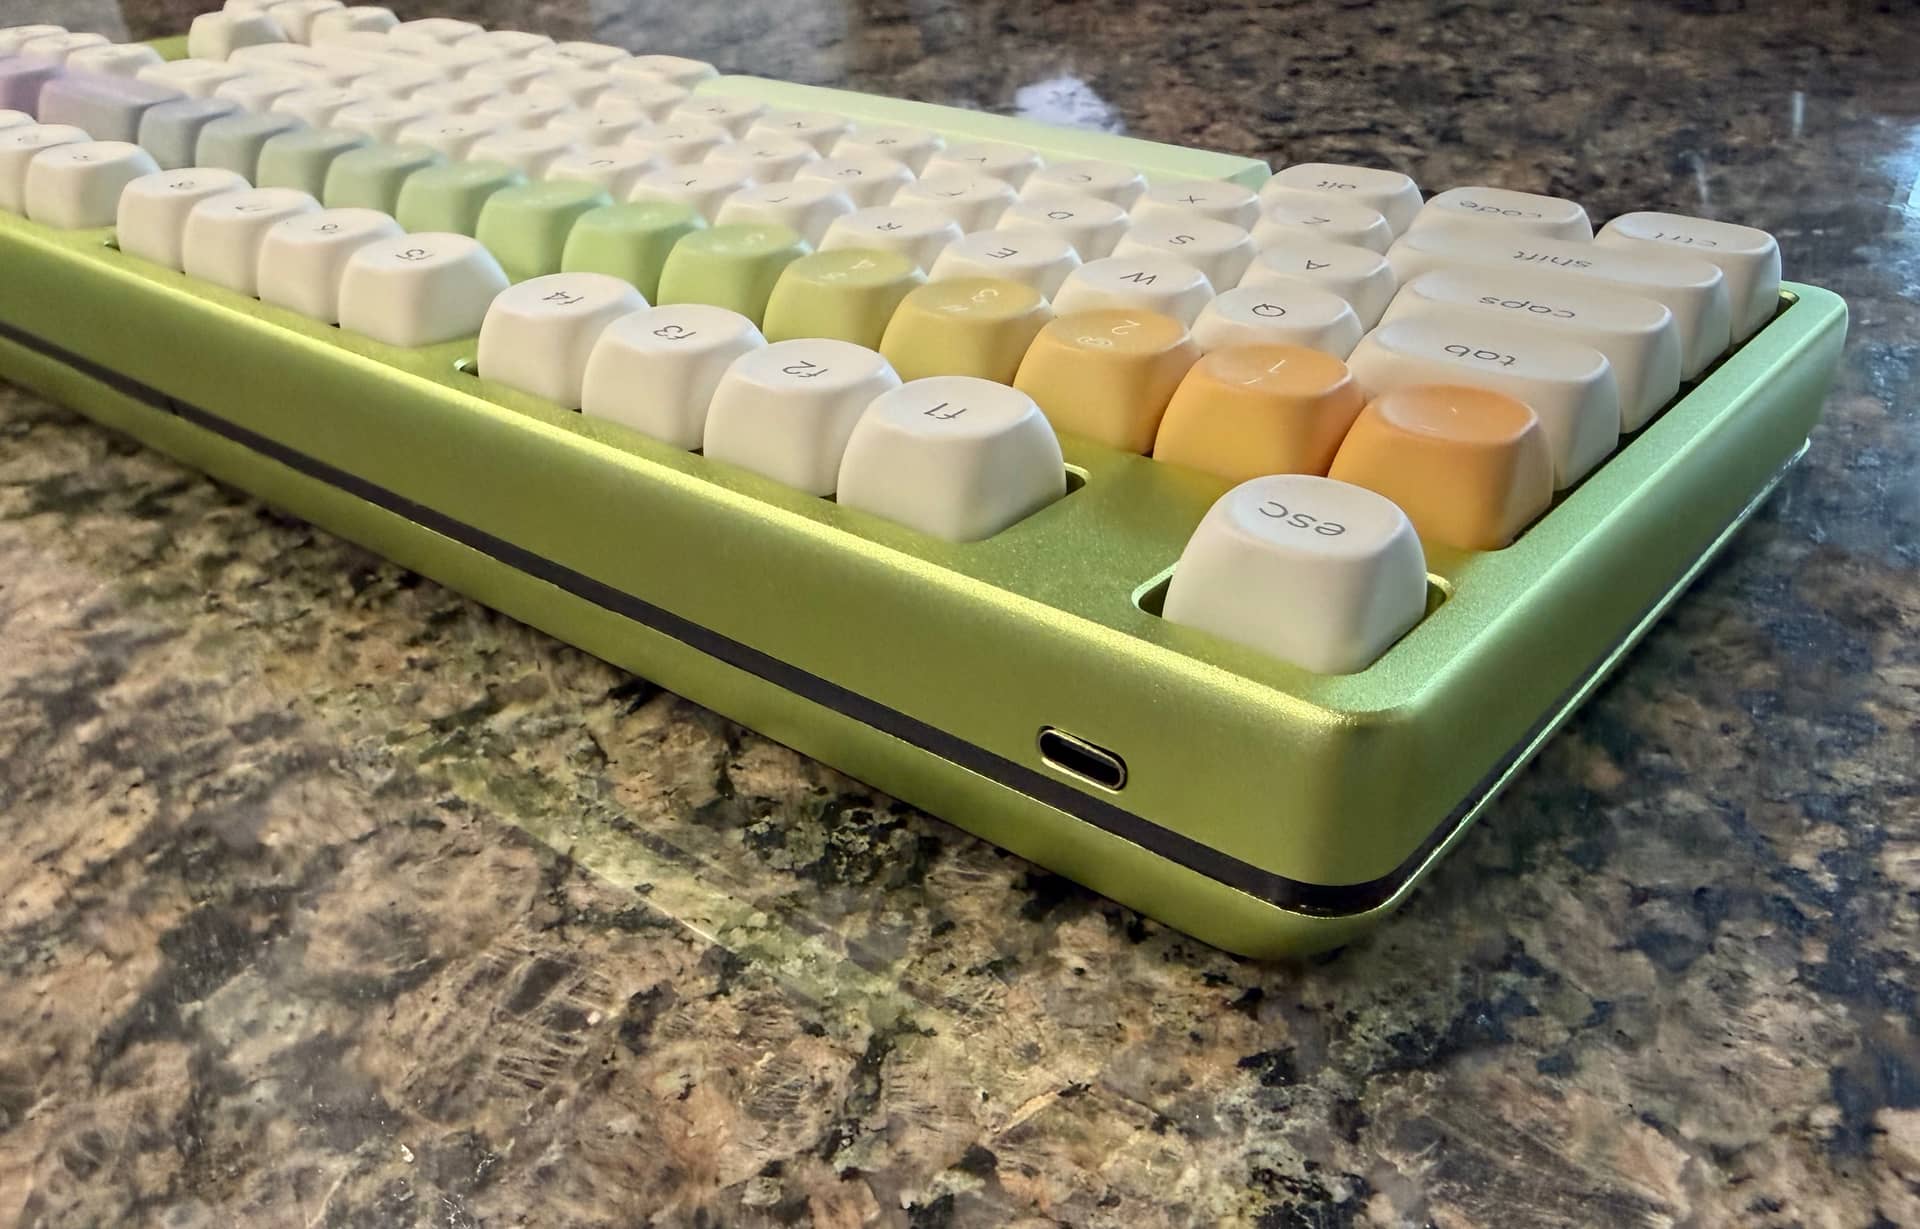
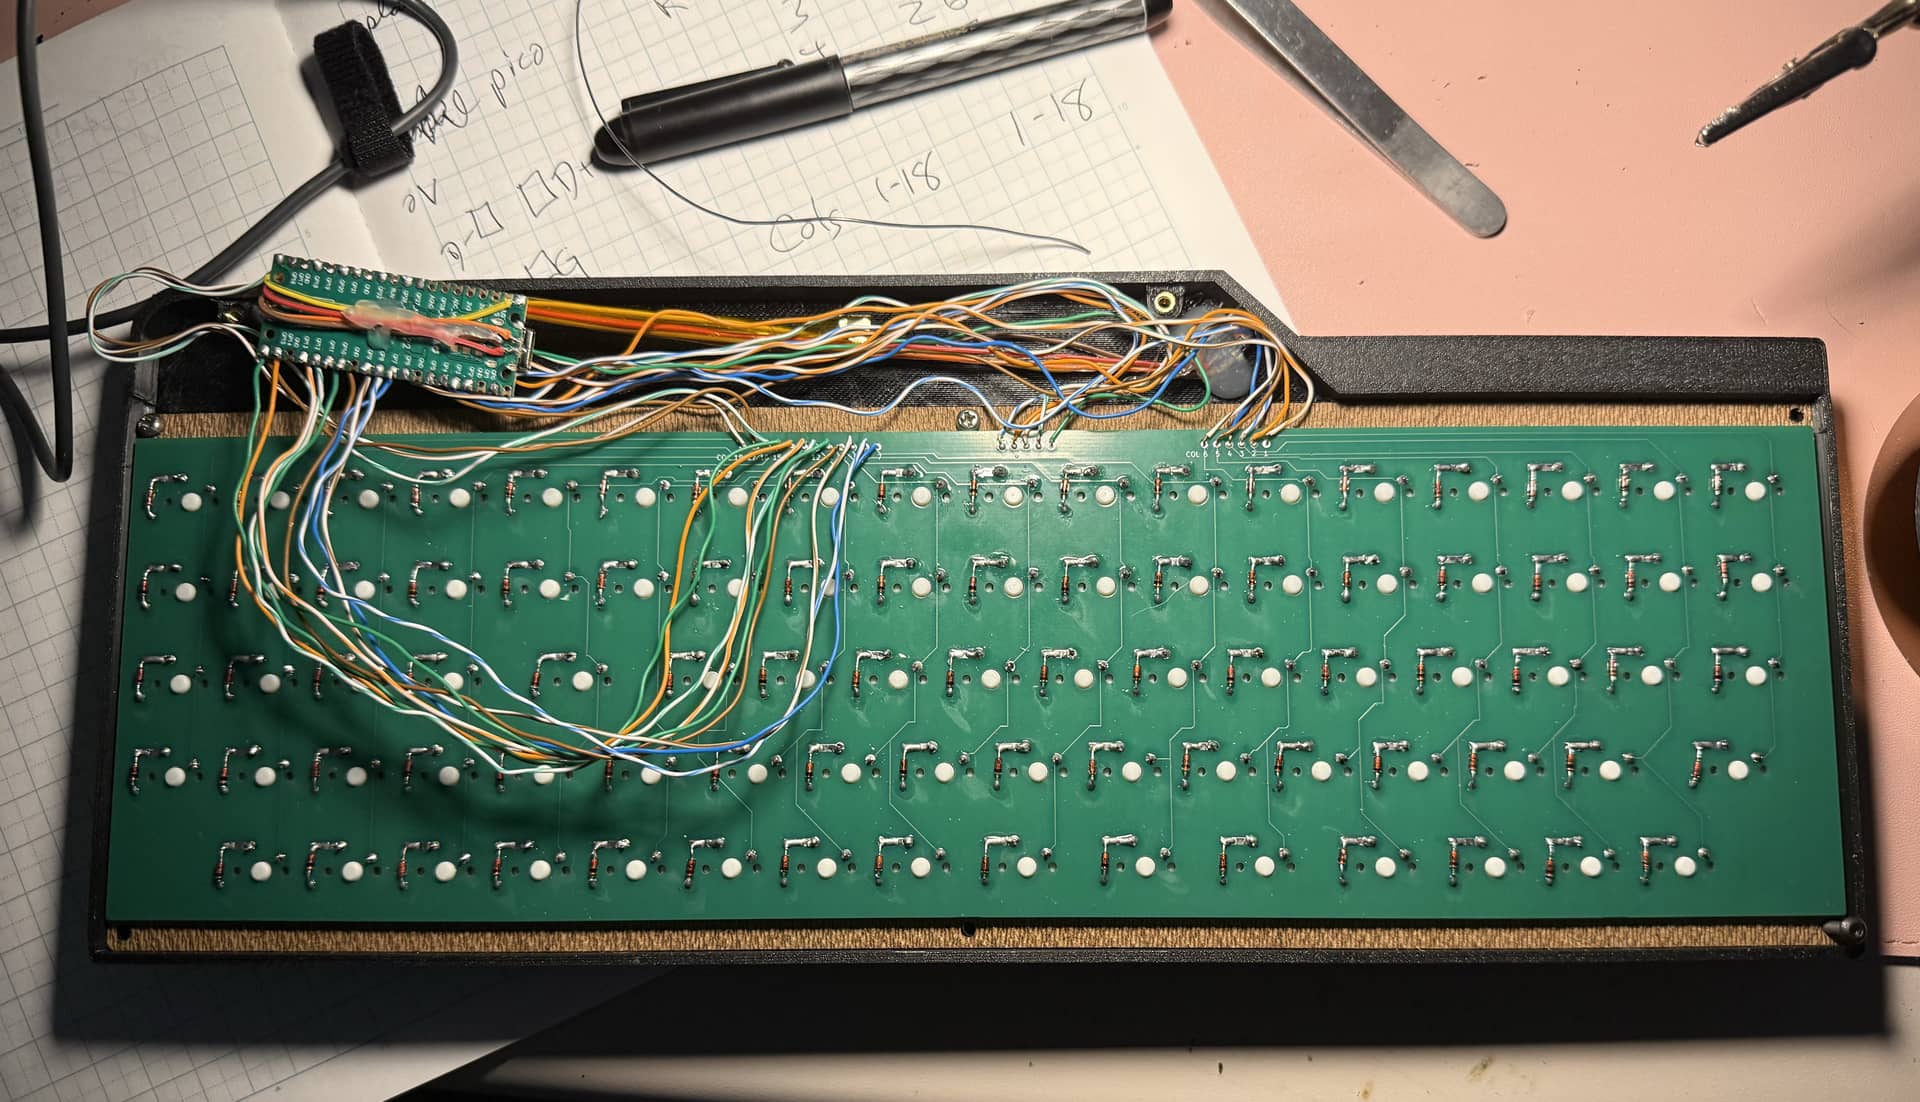
The build based on the ten-buck CTRL is done, at least for now. After tape-reinsulating the first few columns that had relied solely on the Cat6 strands’ internal insulation (see photo from before my fix), versus the heat shrink tubing of the rest of them, I only had three shorts and one dead switch left to fix. MOA caps are actually very nice to type on, and thick PBT can never really sound bad, though the wonky legends and warped spacebars on this particular set explain perfectly well why I got it as cheap as I did. This one is actually sporting the bar from an old set of XDA clones because the MOA bananas were using up all the slop and then some in the cheap stabs and making them bind.
The various reds that I spring-swapped and lubed came out pretty nice and I like them as well as I do any other heavy linear I’ve tried though I suppose, like that time I made brownies from scratch that were exactly as good as ones from a mix, one does wonder if the time commitment was worth it even if technically the endeavor was a success. 
The 3D-printed spacer came out pretty well too and did indeed give me enough space for everything to fit into the case, and the USB port is working and seems physically stable, so mission accomplished there, LOL. The ZMK Shield Wizard made that part of it incredibly easy. It worked from the get-go, and this time I remembered to enable ZMK Studio.
14 Likes
That’s a very impressive build, from the standpoint of cost-effectiveness.
2 Likes
My Yuzu set is finished and headed to my mailbox! They send you images to proof them and they look fantastic. Exactly like I wanted. Hopefully they’ll look just as good IRL
6 Likes
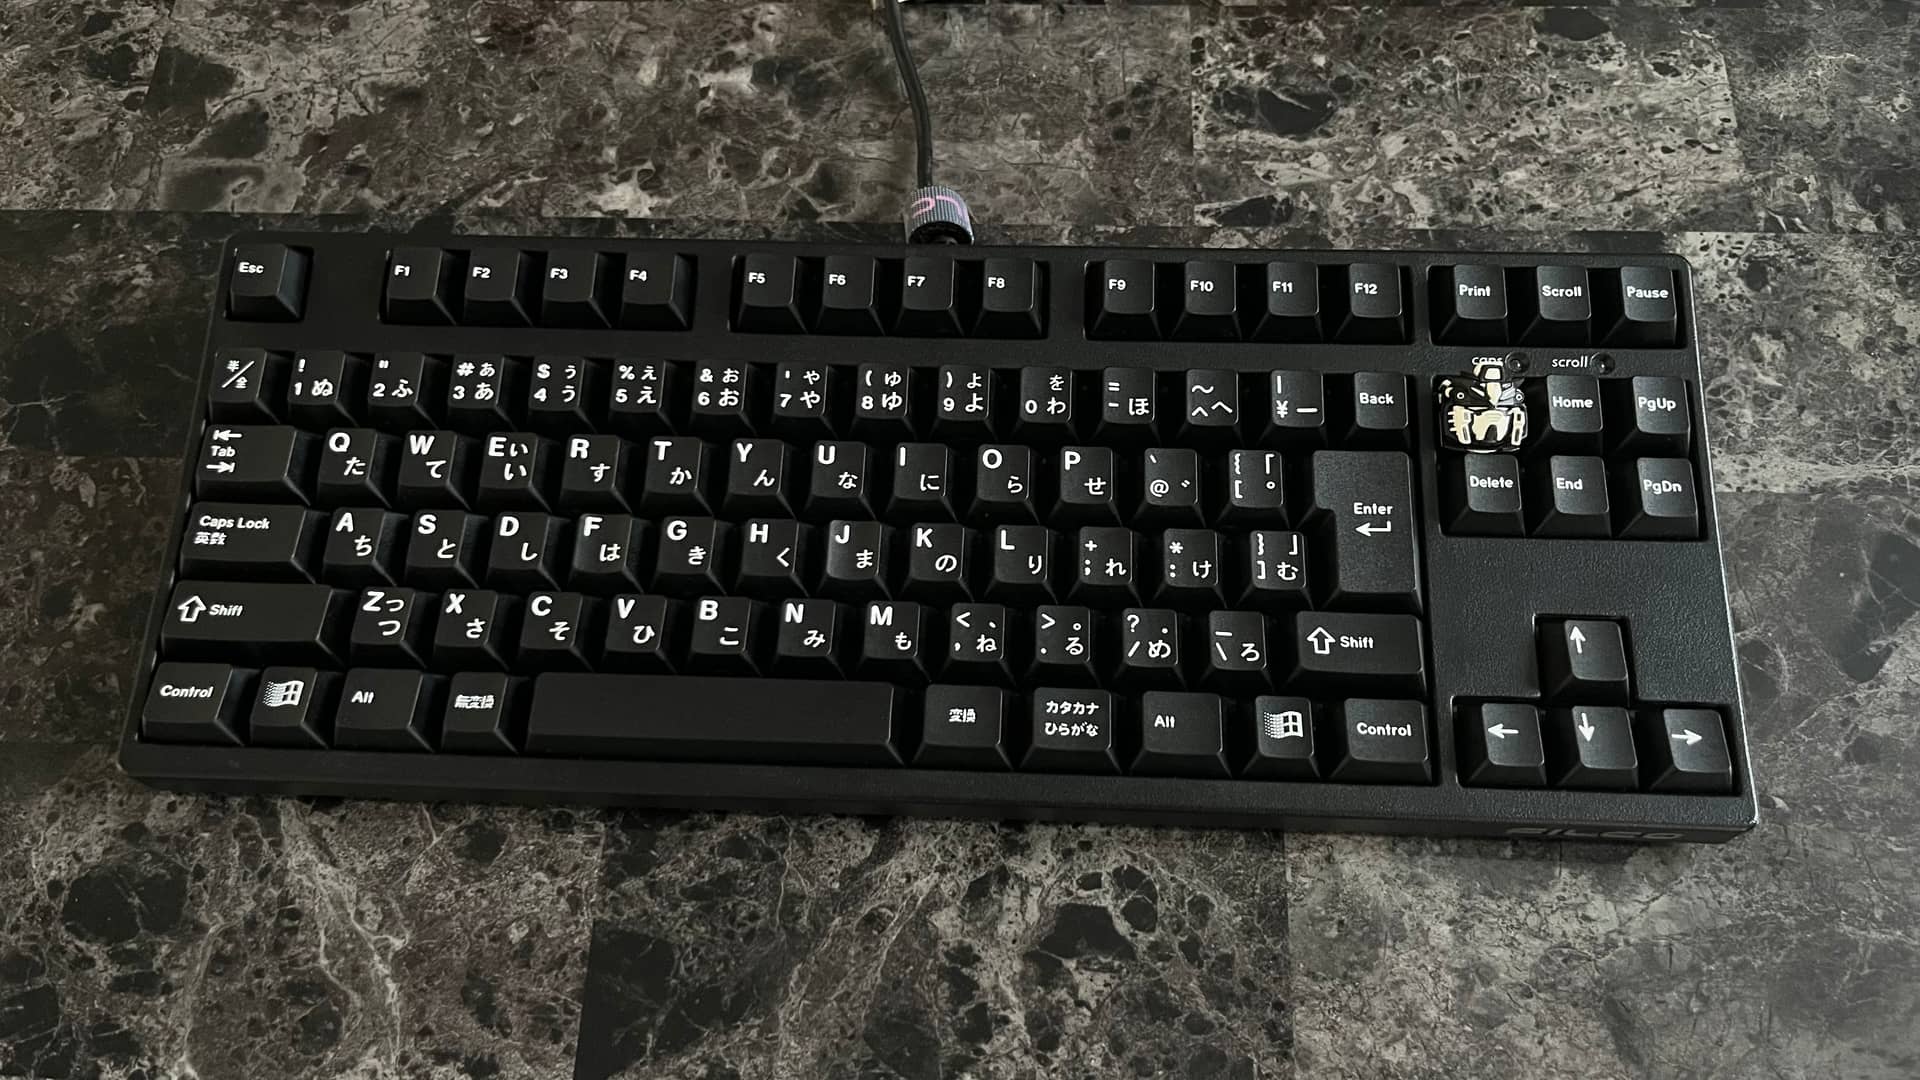
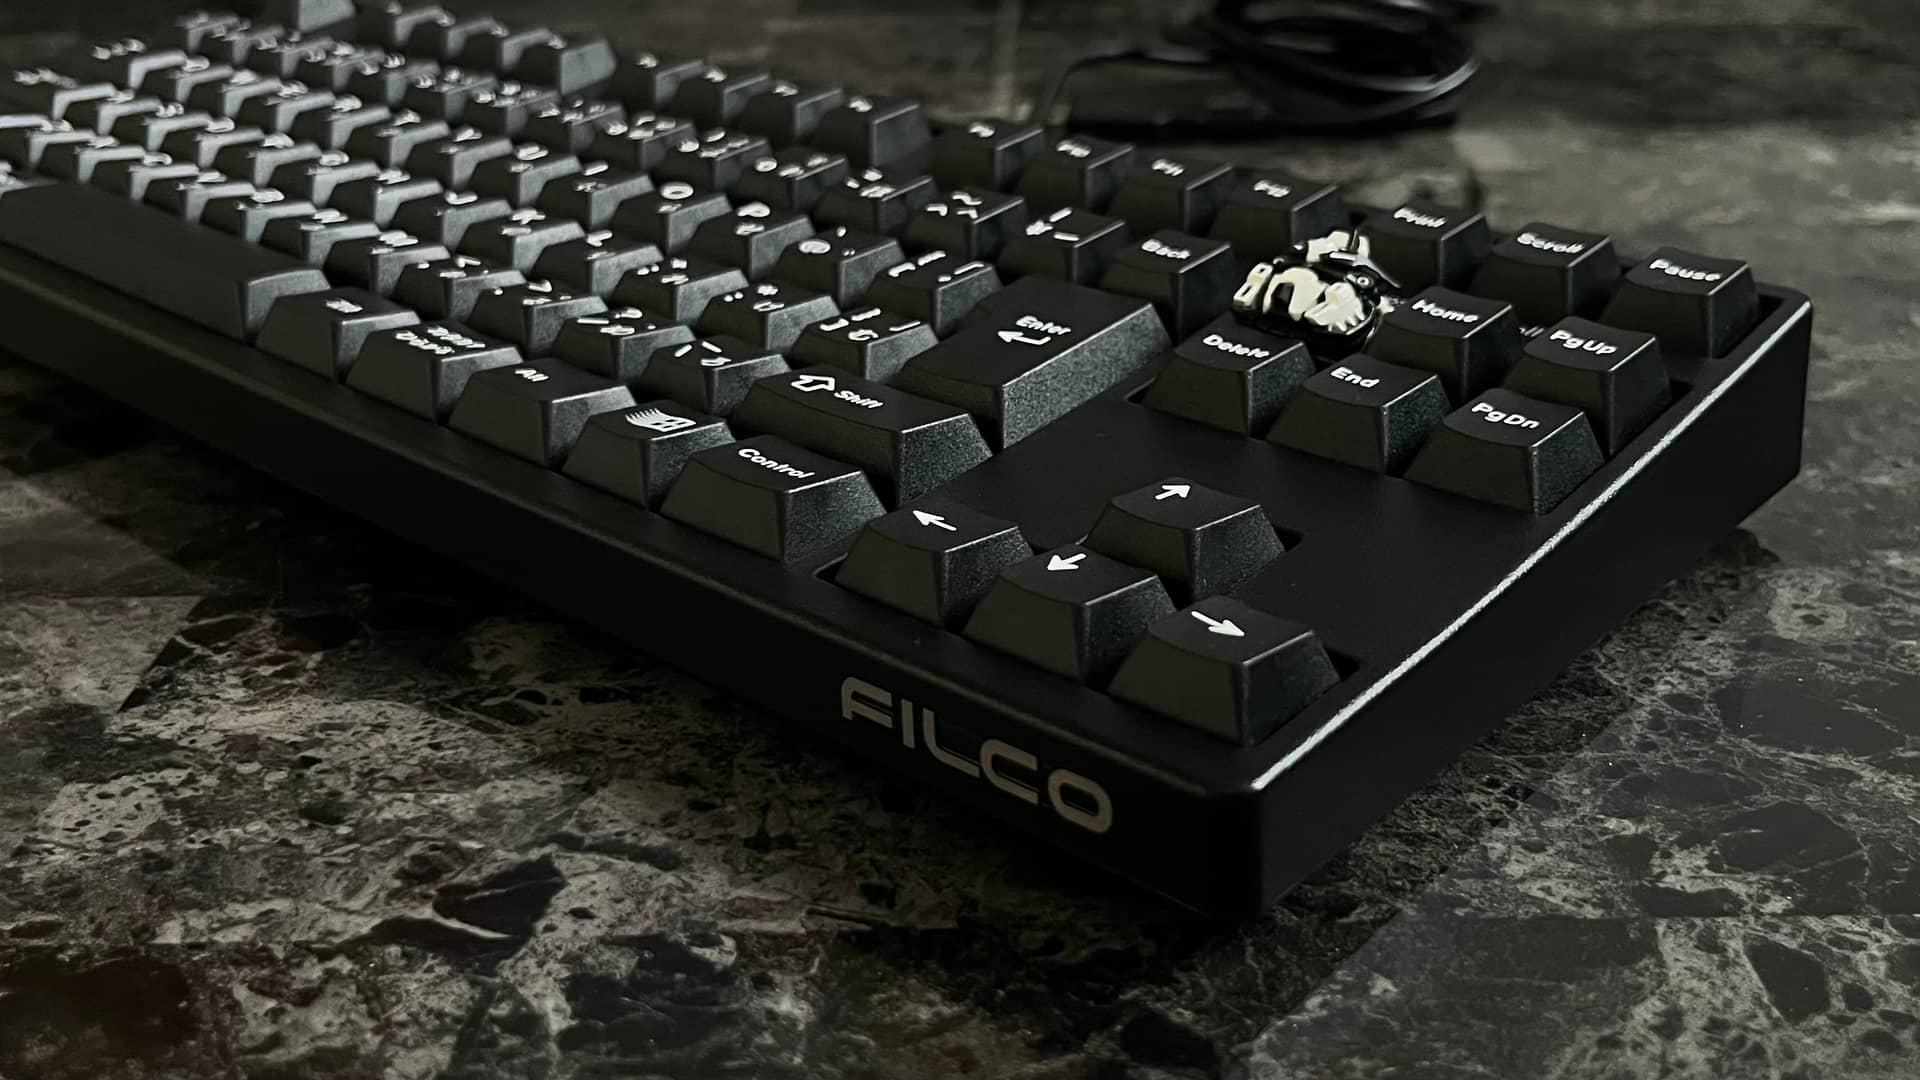
Very cool! Did you have the legends custom printed?
Yep I did. How can you tell?
Well first off, they seem to have come out brilliantly. Having a perfect set of legends for a unique board is always nice. I have dabbled in DIY legends, and XDA is an easy choice, and the placement of yours is perfectly sensible but didn’t quite match most commercially available designs.
What technique/technology did you use? The contrast seems really good!
1 Like
Wow thanks! This keyboard was 3D printed with SLA and then painted over with matte paint. The XDA keycaps I found a manufacturer who was willing to send samples for a custom order 
1 Like
Also I gotta say, it’s incredible you can tell that just by looking at it!
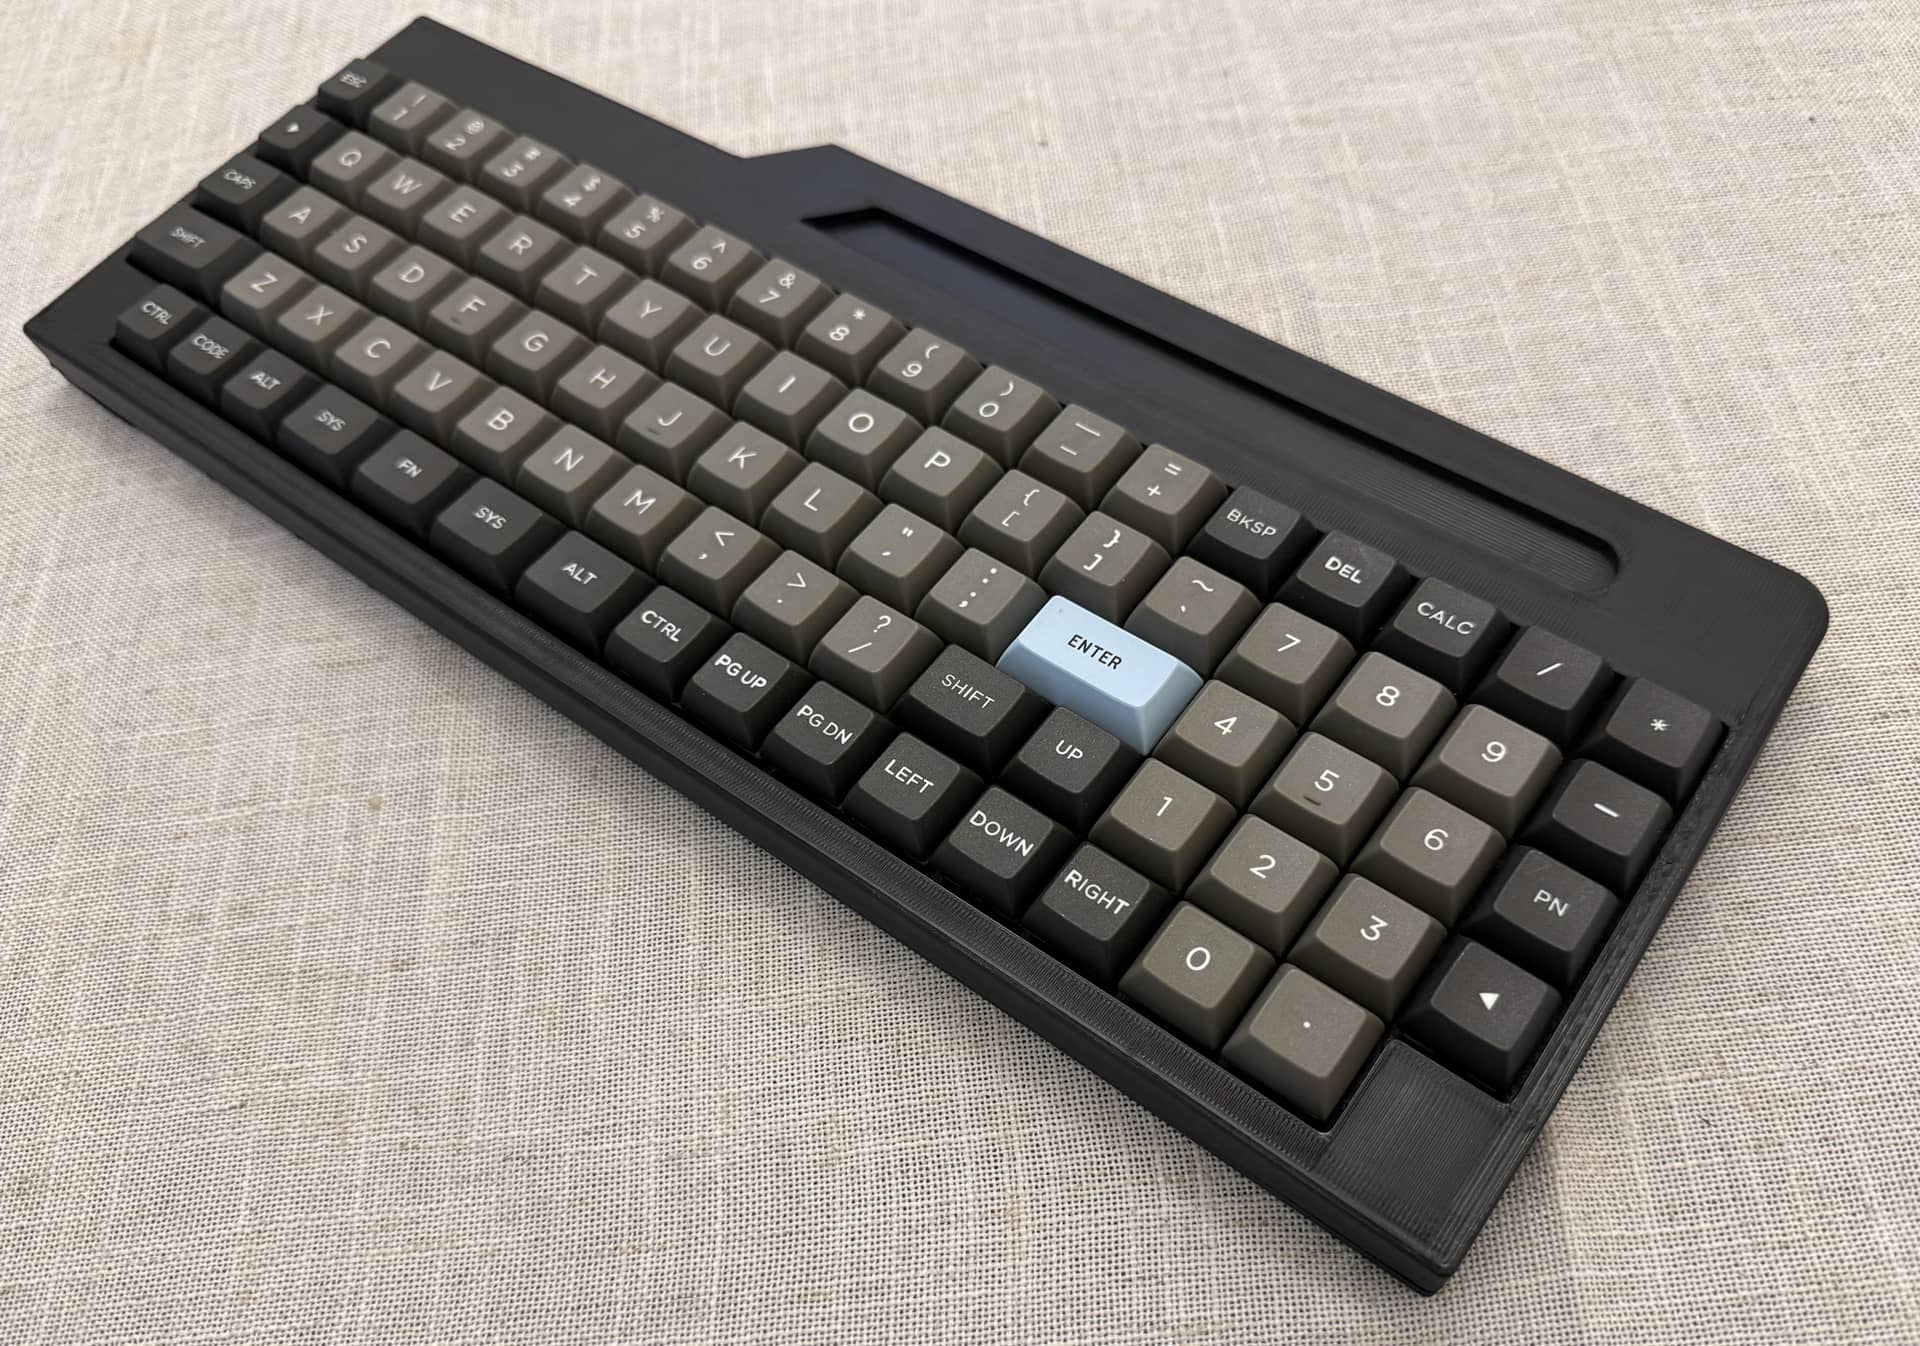
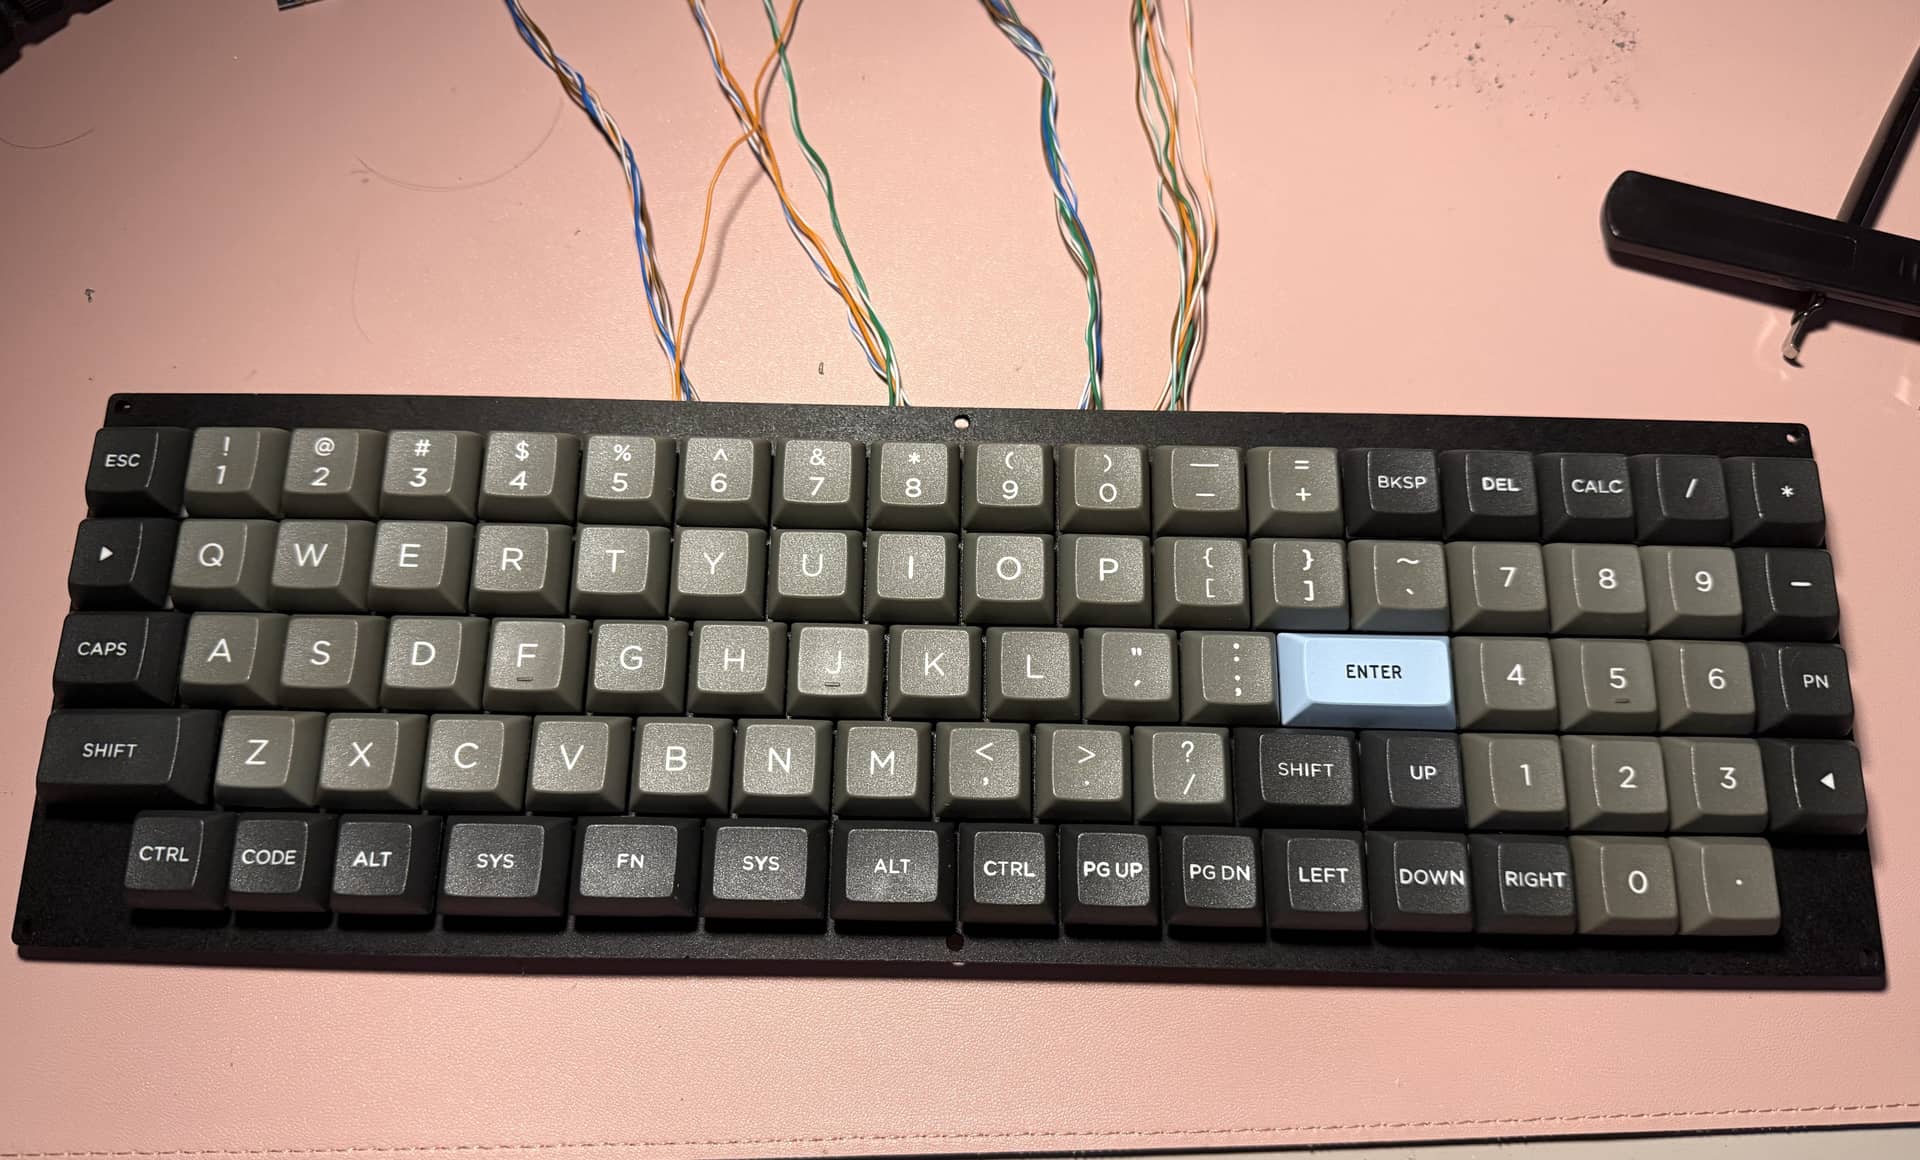
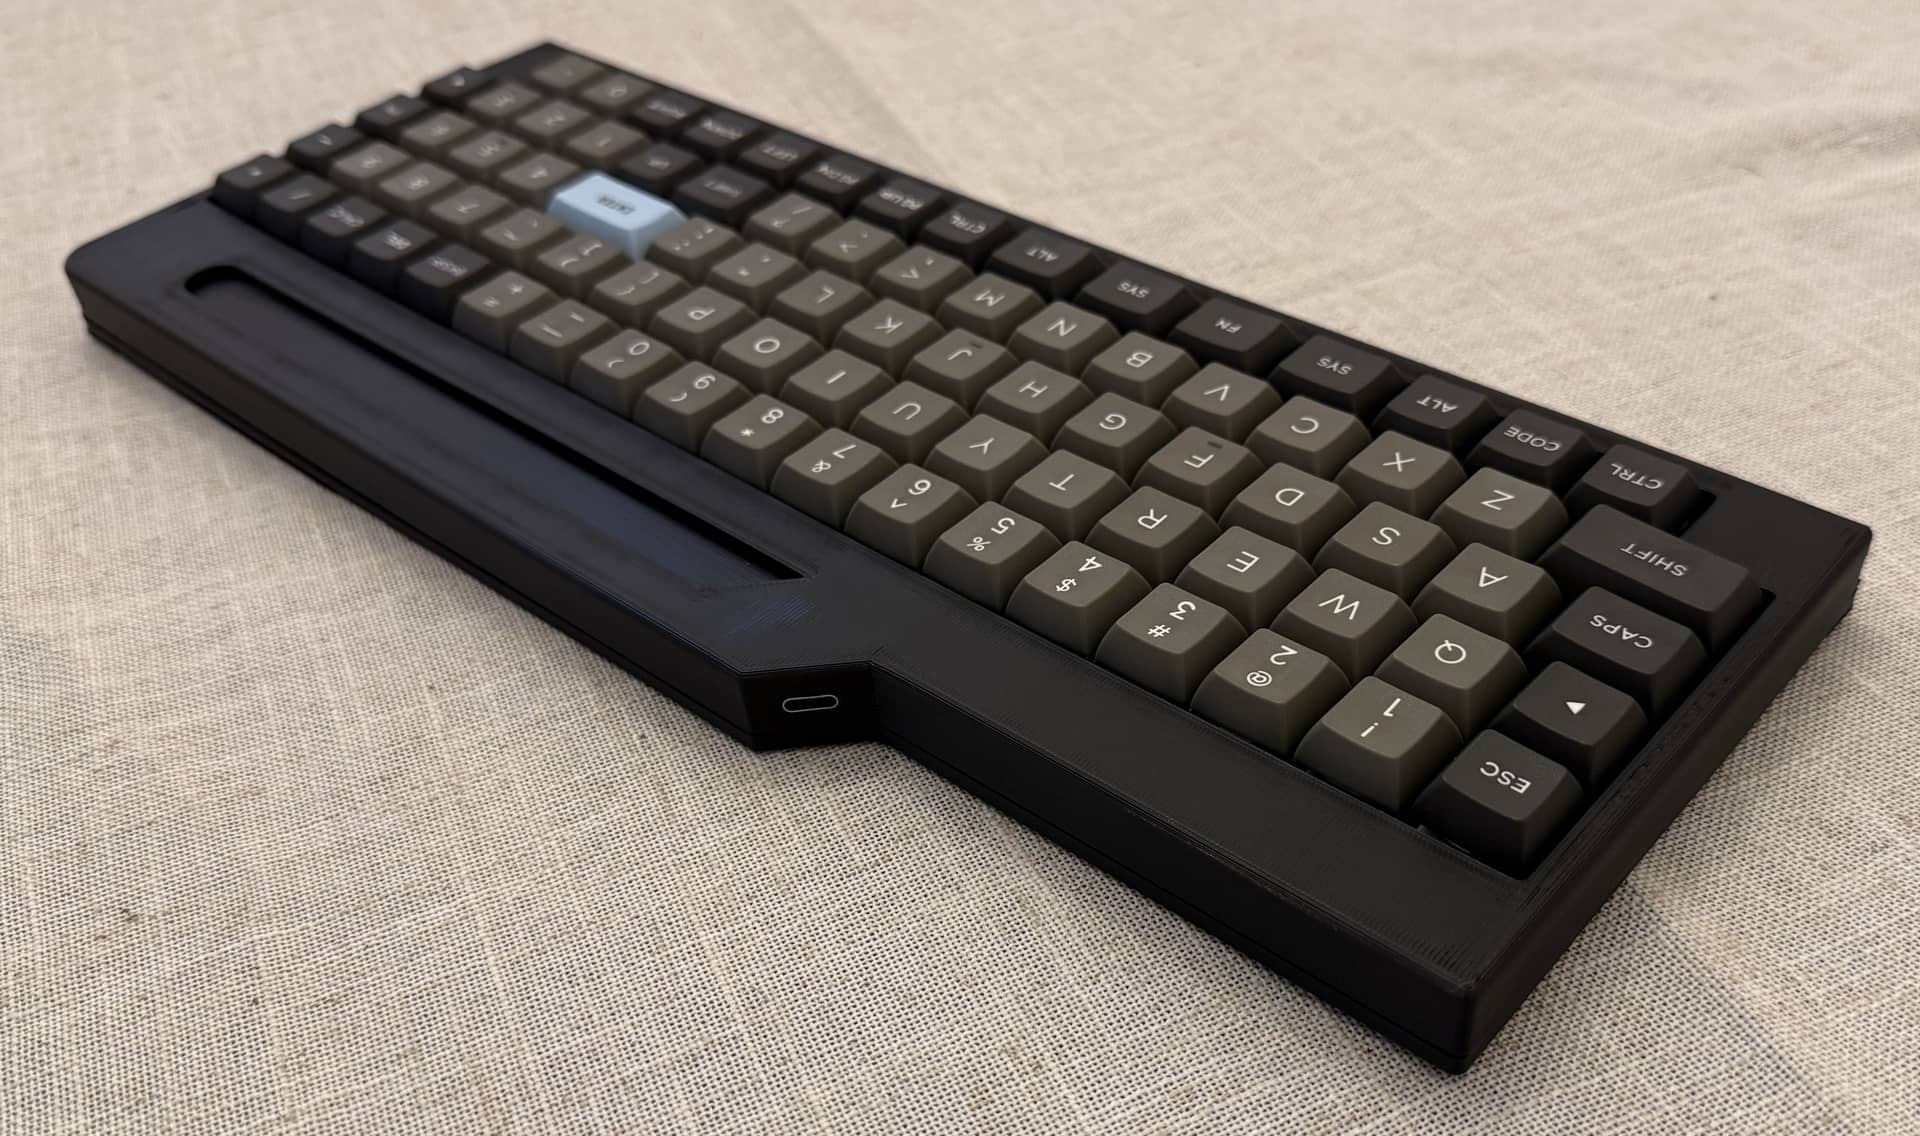
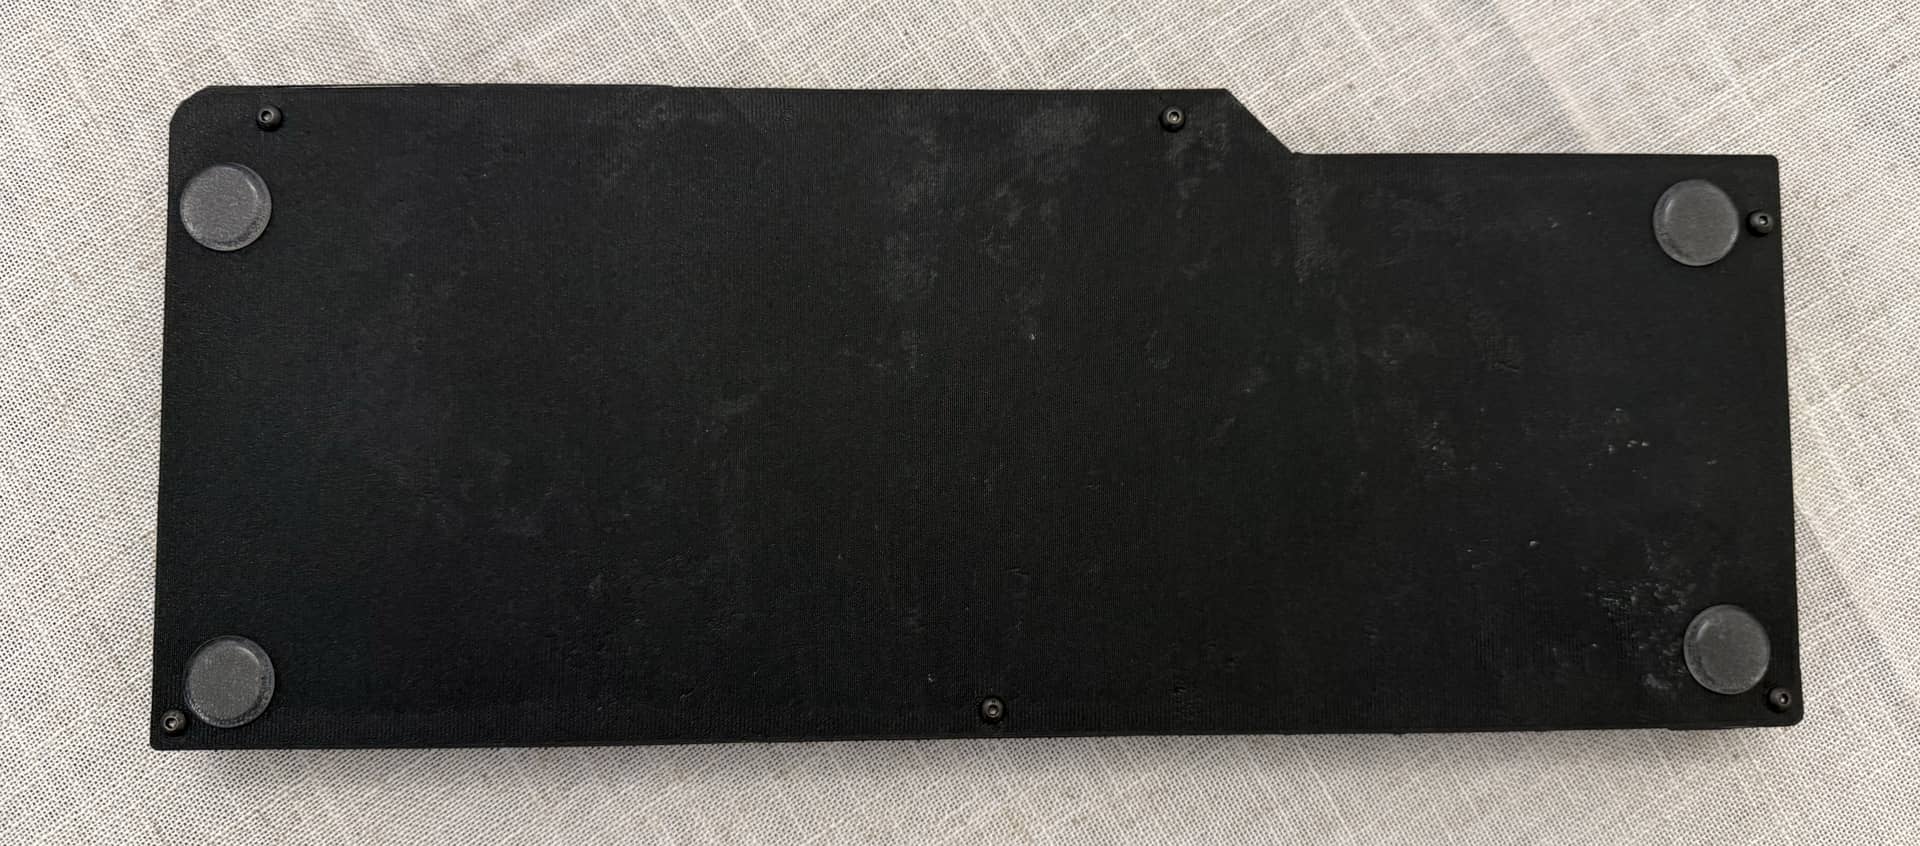
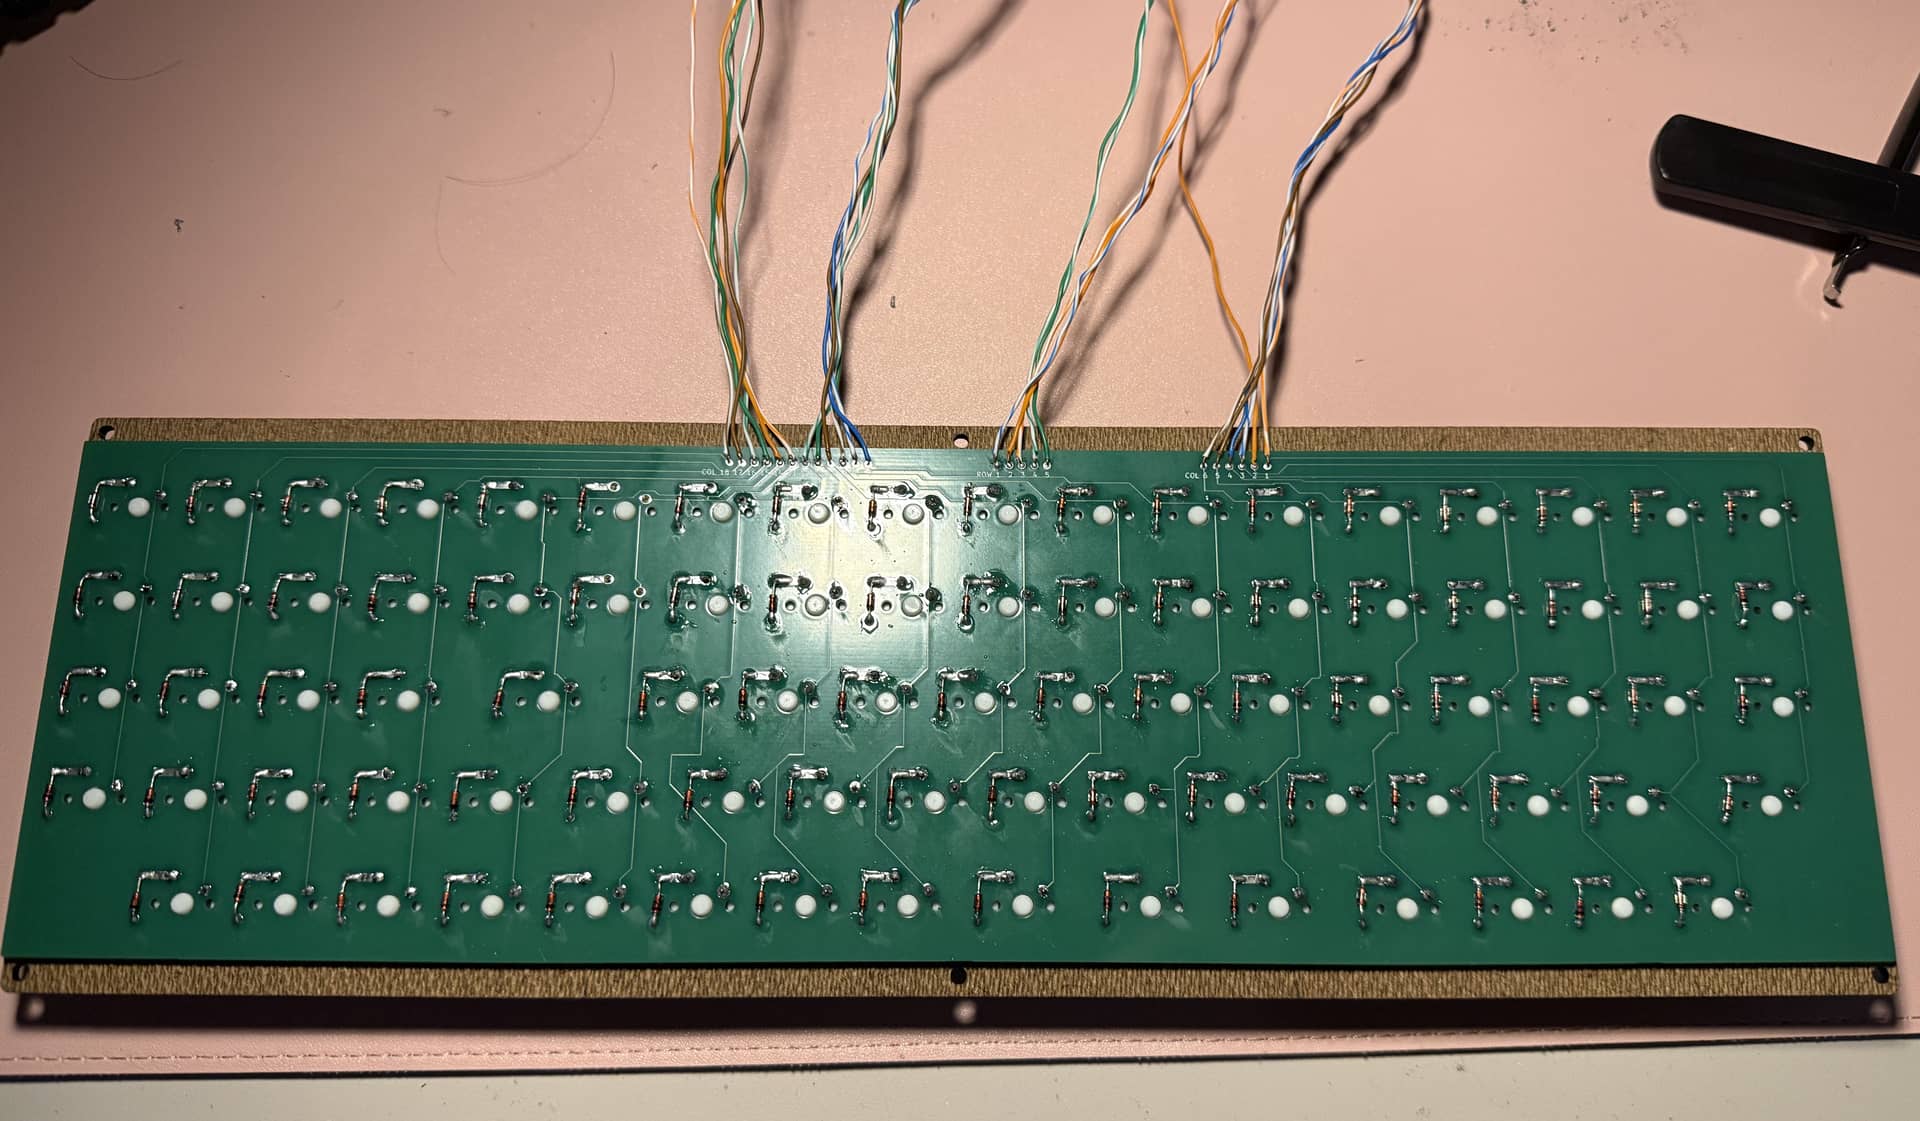
No-stabs FRL1800-ish with the half-height clicky switches is done. This one came together fairly quickly, and in general I’m pleased with it. The biggest oopsie was in being too ambitious with the thinness I could achieve, which in the end actually cost me a millimeter or two of thickness because instead of an inset bottom plate, I had to gin up a slim but non-zero bottom case. ZMK is again proving very easy to work with, though I forgot to update the keycodes to include an unlock key for Studio, so I’ll eventually have to flash it again.
The typing feel on these mid-height switches is very interesting. They’ve come up a couple of times on Keebtalk. To refresh memories, they’re normal MX switches on the bottom, but the tops are vertically shrunk down. For these blues, there is no room for a click jacket, so they use a mechanism that looks like nothing so much as a ball catch mechanism for cabinet doors (or keyboard cases, LOL). There is a horseshoe shaped spring in the bottom housing, and a ovoid protrusion in the slider. As the slider goes down it expands the horseshoe, which eventually snaps back and taps the plastic to make the sound. It feels out of time in the sense that it’s so obviously not a clickjacket or clickbar. It just seems like you’ve stumbled on some sort of lesser-known vintage clicky, although I can imagine it might be somewhat reminiscent of Space Invaders.
I’m pretty happy to have a board with them around, and with the main challenge for this type of switch being stabilizers, my no-stabs tendencies are a good fit. I really don’t enjoy the SMD pads on the little USB port I used, and the part that goes to the MCU just didn’t seem to like me, but I was able to solder that end to some test pads on the Pi Pico, and I do like the cleaner USB port you end up with, versus mounting the MCU itself somewhere. The pen groove was sized to handle even a fairly chunky fountain pen, and it does its job while evoking the Silitek IBM membrane boards. I always thought the designs of those boards and the Apple M0487 deserved better than the mush they got.
EDIT: I just fixed the the two transposed caps in the pics. Happy hunting!
10 Likes